

This contemporary Cashew Cream recipe is a great vegan substitute for sour cream. And is it easy, or what? Use it for topping soups or as a simple sauce for vegetables or grains. It's also a great garnish for Southwestern-style tortilla specialties, as on the Black Bean Tostadas shown above. Photo by Hannah Kaminsky. [Read more...]
Search Results for: cashew cream
Creamy Green Pea and Cashew Butter Soup

A delectable, high-protein puree featuring cashew butter and green peas in a base of white beans or silken tofu, this is a nearly-instant soup. It's a treat when you crave fresh soup but don't have the time for a lot of chopping and simmering. Serve with a crusty bread. [Read more...]
Vegan Cream of Broccoli Soup
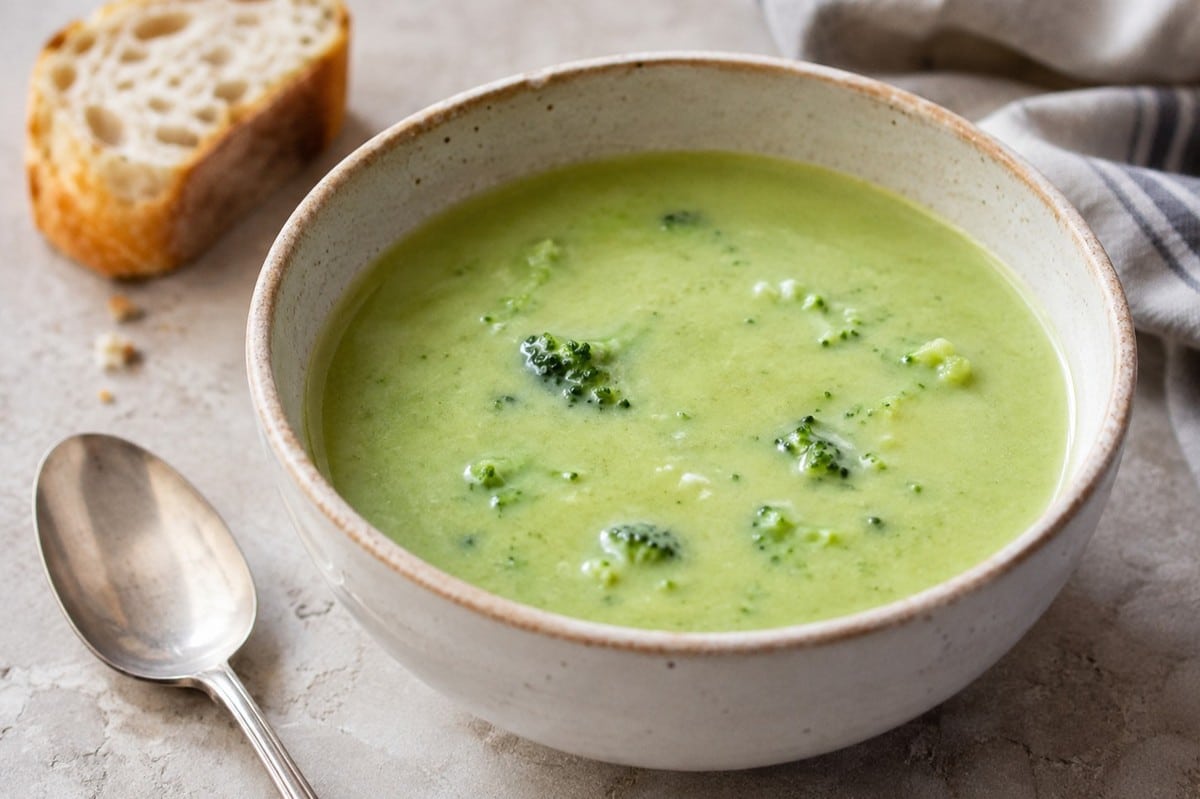
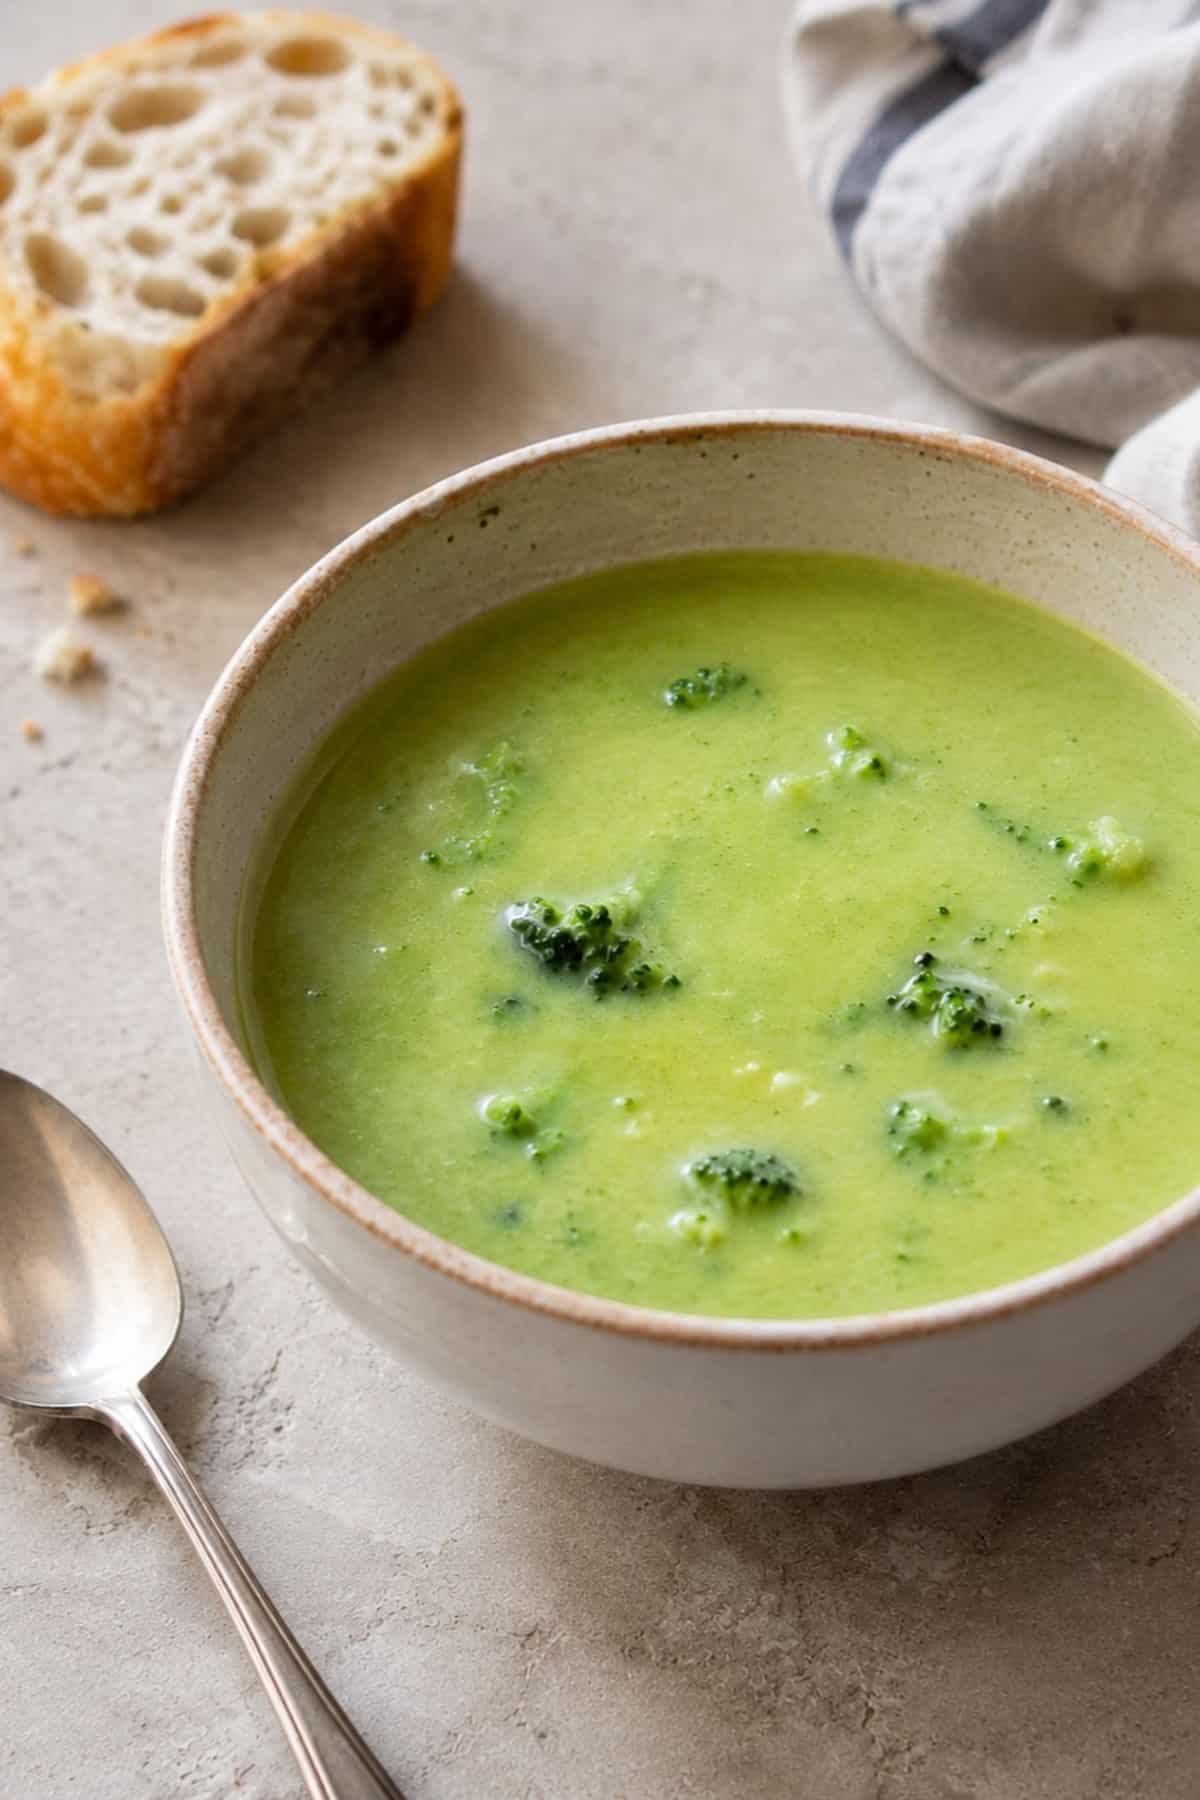
This vegan cream of broccoli soup gets its thick, velvety texture from pureed white beans and cashews instead of any dairy, and it comes together with just a handful of pantry staples. Broccoli is the whole point here, so it goes in generously - both florets and stems - and simmers just long enough to turn tender without losing its bright green color.
What makes this soup a keeper is how little it asks of you for how much comfort it delivers. Everything simmers together in one pot, then gets blended smooth (or just a little chunky, if you prefer some texture) and finished with a squeeze of lemon juice that keeps the richness from feeling heavy. It's ready in about 30 minutes from start to finish, making it an easy weeknight dinner alongside a good loaf of bread.
Key Ingredients & Substitutions
- Broccoli - use both the florets and the stems (peel the stems if they're especially tough); it all softens and blends smooth together, and using the whole head cuts down on waste.
- Canned white beans - cannellini or great northern beans both work well. They're what gives this soup its thick, creamy body without any dairy or added starch.
- Raw cashews - blended right into the soup, these add richness and a subtle creaminess. If you need a nut-free version, raw sunflower seeds make a good substitute.
- Vegetable broth - use a good-quality broth, since it makes up most of the soup's liquid and flavor base. Low-sodium broth lets you control the salt level yourself.
- Lemon juice - added at the very end, this brightens the whole pot and keeps the soup from tasting flat or overly rich.
Helpful Tips
- Don't oversimmer the broccoli - 12 to 15 minutes is usually enough for it to turn tender. Cooking it much longer can dull its color and flavor.
- An immersion blender is the easiest tool here since you can puree right in the pot, but a standard blender works too - just blend in batches and vent the lid to let steam escape safely.
- Leave the soup a little chunky if you like some texture, rather than blending it completely smooth. A few small broccoli pieces left throughout add a nice bite.
- Taste after adding the lemon juice and adjust the salt and pepper - the acidity can make the soup taste like it needs a bit more seasoning than you'd expect.
Variations
Swap in raw sunflower seeds for the cashews if you need a nut-free version, or use chickpeas in place of the white beans for a slightly different flavor and a bit more heartiness. A pinch of nutmeg or a few fresh thyme leaves stirred in while it simmers adds a nice earthy note. For a little heat, top individual bowls with a pinch of red pepper flakes or a drizzle of good olive oil just before serving.
Serving Ideas
A thick slice of crusty bread for dipping is really all this soup needs, but it also pairs nicely with a simple green salad for a fuller meal. It's a natural partner for many kinds of wraps or sandwiches, too, if you want something more substantial alongside it.
Storing & Freezing
Leftovers keep well in an airtight container in the refrigerator for up to 4 days; reheat gently on the stovetop, stirring occasionally, since it can scorch if left unattended over high heat. This soup also freezes nicely for up to 3 months, since it's pureed rather than relying on cream - just thaw it in the refrigerator overnight before reheating.
Recipe
Vegan Cream of Broccoli Soup
A quick, dairy-free cream of broccoli soup made thick and creamy with pureed white beans and cashews, ready in about 30 minutes.
Print
Pin
Save
Servings:
Ingredients
- 2 tablespoons olive oil
- 1 onion peeled and chopped
- 3 cloves garlic peeled and minced
- 2 lbs broccoli chopped (florets and stems both)
- 15 oz canned white beans drained and rinsed
- 4 cups vegetable broth
- ¼ cup raw cashews or sunflower seeds if nut-free
- juice of ½ lemon
- salt and pepper to taste
Instructions
- Heat the olive oil in a large pot over medium heat. Add the onion and cook 5 minutes until soft. Add the garlic and cook 1 more minute.
- Add the broccoli, white beans, broth, and cashews. Bring to a boil, then reduce heat and simmer 12–15 minutes, until the broccoli is very tender.
- Blend until smooth, using an immersion blender right in the pot, or in batches in a regular blender. (Leave it just a little chunky if you'd like some small broccoli pieces to remain.)
- Stir in the lemon juice, then season with salt and pepper to taste.
Nutrition (Estimate per Serving)
Calories: 210kcalCarbohydrates: 26gProtein: 10gFat: 8gSaturated Fat: 1gPolyunsaturated Fat: 2gMonounsaturated Fat: 4gSodium: 480mgPotassium: 620mgFiber: 8gSugar: 5gVitamin A: 1200IUVitamin C: 110mgCalcium: 90mgIron: 3mg
Vegan-ize any recipe!Grab our free vegan cheat sheet, packed with my favorite easy substitutions to make any recipe vegan.
Frequently Asked Questions
Can I use frozen broccoli instead of fresh?
Yes - frozen broccoli works well here since the soup is pureed anyway. There's no need to thaw it first; just add it straight to the pot and simmer until tender, which may take a couple of minutes less than with fresh broccoli.
Can I make this without cashews?
Yes - raw sunflower seeds make an easy nut-free substitute and blend into the soup just as smoothly. You can also leave them out entirely for a lighter, less rich soup, since the white beans alone still give it a good creamy body.
More Vegan Soups
Vegan Creamy Mushroom Pasta
This vegan creamy mushroom pasta delivers everything you want in a comfort food dinner - a velvety, herb-flecked sauce, tender baby bella mushrooms, and hearty pasta, all ready in under 30 minutes.
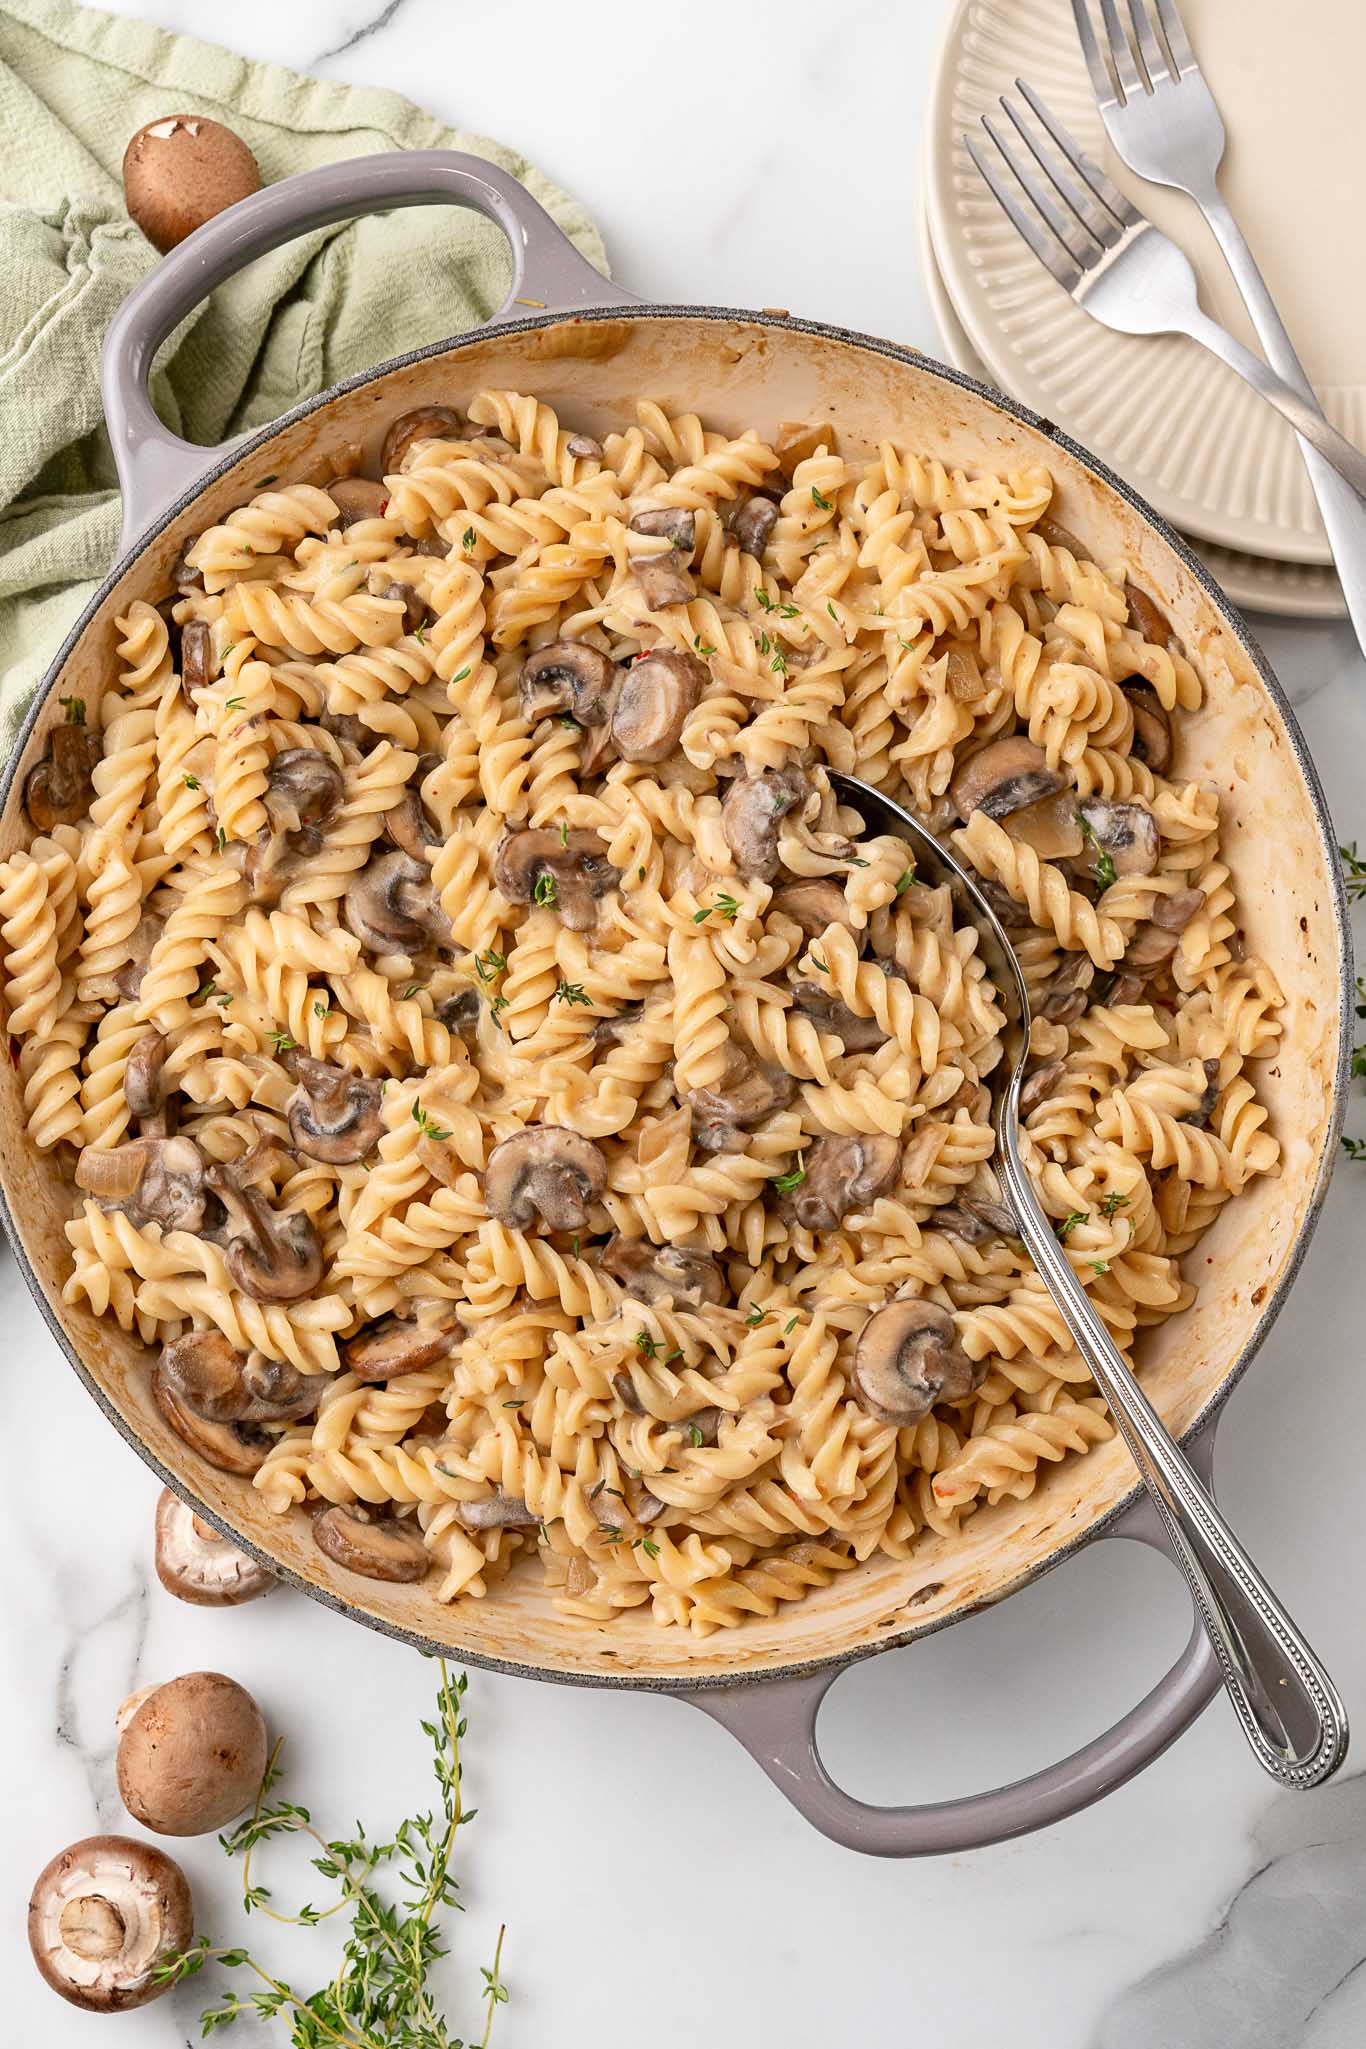
Key Ingredients & Substitutions
- Pasta. Rotini or penne work beautifully here - their ridges and tubes catch the creamy sauce. Any short pasta shape works; if you use spaghetti or linguine, just be sure to toss well so every strand gets coated.
- Baby bella mushrooms. Also called cremini, these bring a deep, savory flavor and meaty texture. White button mushrooms are the easiest swap, or go more luxurious with shiitakes, oyster mushrooms, or a mix of whatever's at the store.
- Full-fat coconut milk. This is the backbone of the creamy sauce - don't use light coconut milk or the sauce will be thin. Cashew cream (blend 1 cup soaked cashews with ¾ cup water) works beautifully if you want a more neutral flavor.
- Vegan butter. Combined with flour, it forms the roux that thickens the sauce. Olive oil can substitute in a pinch, though the butter adds more richness.
- Vegetable broth. Use a good-quality broth - it forms the other half of the sauce. Low-sodium is fine; just taste and adjust salt at the end.
- Soy sauce. Adds umami depth that makes the sauce complex. Tamari works as a 1:1 swap and keeps the dish gluten-free.
- White wine. A dry white like Chardonnay or Pinot Grigio deglazes the pan and adds brightness. If you'd rather skip it, substitute an equal amount of extra vegetable broth with a small squeeze of lemon juice.
- Fresh thyme. The aromatic that ties everything together. Dried thyme works in a pinch - use about half as much (1 teaspoon dried instead of 2 teaspoons fresh).
Helpful Tips
Don't rush the mushrooms. Give them space in the pan and let them cook undisturbed for a couple of minutes before stirring. They need time to release their liquid and then let that liquid fully evaporate - this is where the deep, savory flavor comes from. If you rush this step by stirring constantly, you'll end up with steamed, waterlogged mushrooms instead of golden, concentrated ones.
Make a proper roux. After adding the vegan butter to the cooked mushrooms, let it melt fully before sprinkling in the flour. Stir the flour into the butter and vegetables and cook for about a minute - this cooks out the raw flour taste and ensures your sauce won't be starchy. It should look like a pale, sandy paste clinging to the vegetables.
Add the broth slowly. Pour in a splash of vegetable broth, stir vigorously until smooth, then add more. This gradual approach prevents lumps from forming in the sauce. If you do end up with a few lumps, a quick whisk usually smooths everything out.
Use the pasta cooking water. Before you drain the pasta, scoop out a cup of the starchy cooking water. If your sauce turns out thicker than you'd like after adding the pasta, a splash of pasta water loosens it perfectly and helps everything cling together.
Taste before serving. The soy sauce adds salt, and different broths vary in saltiness - so always taste the finished sauce before plating. A pinch of salt, an extra crack of black pepper, or a squeeze of lemon can make a big difference.
Also worth trying: our Italian-style vegan sausage and peppers.
Variations
- Add greens. Stir a few handfuls of fresh spinach or baby kale into the sauce just before adding the pasta - it wilts in about a minute and adds color and nutrients.
- Boost the protein. Fold in crispy baked tofu cubes, white beans, or slices of vegan sausage to make it a heartier meal.
- Make it spicy. Double the red pepper flakes or stir in a teaspoon of sriracha or calabrian chili paste for a sauce with a kick.
- Switch the mushrooms. Shiitakes add a more intense, earthy flavor; oyster mushrooms are silkier and delicate; portobello caps sliced into strips give big, meaty bites. A mix of two or three varieties is especially good.
- Go gluten-free. Use your favorite gluten-free pasta and swap the soy sauce for tamari. The rest of the recipe is naturally gluten-free.
- Add a sun-dried tomato twist. Stir in 2-3 tablespoons of chopped sun-dried tomatoes (oil-packed) with the garlic for a sweet, jammy contrast to the earthy mushrooms.
Serving Ideas
This pasta is a full meal on its own, but a simple side rounds it out nicely. Warm, crusty bread or garlic bread is the obvious choice - you'll want something to swipe up every last bit of sauce from the bowl. A lightly dressed arugula salad with lemon and olive oil cuts through the richness beautifully.
For a bigger spread, roasted broccoli or asparagus alongside this dish is a great pairing - the slight char on the vegetables plays well against the creamy sauce. If you're serving this for guests, pair it with a side of glazed baked onions and pasta dishes like vegan zucchini lasagna or a hearty vegan pot pie casserole or Vegan Pasta Alfredo with Peas & Asparagus for variety.
Storing & Freezing
Leftovers keep well in an airtight container in the refrigerator for up to 4 days. The pasta will absorb some of the sauce as it sits, so when reheating add a splash of vegetable broth or plant milk and stir over medium-low heat until the sauce loosens and everything is warmed through. It reheats beautifully on the stovetop; the microwave works too, just stir halfway through.
This dish doesn't freeze well - the coconut milk sauce tends to separate and become grainy after thawing, and the pasta turns mushy. It's best made fresh or enjoyed within a few days from the fridge. If you want to meal prep ahead, you can make the sauce (without the pasta) and freeze that separately for up to 2 months, then cook fresh pasta to toss with it when ready.
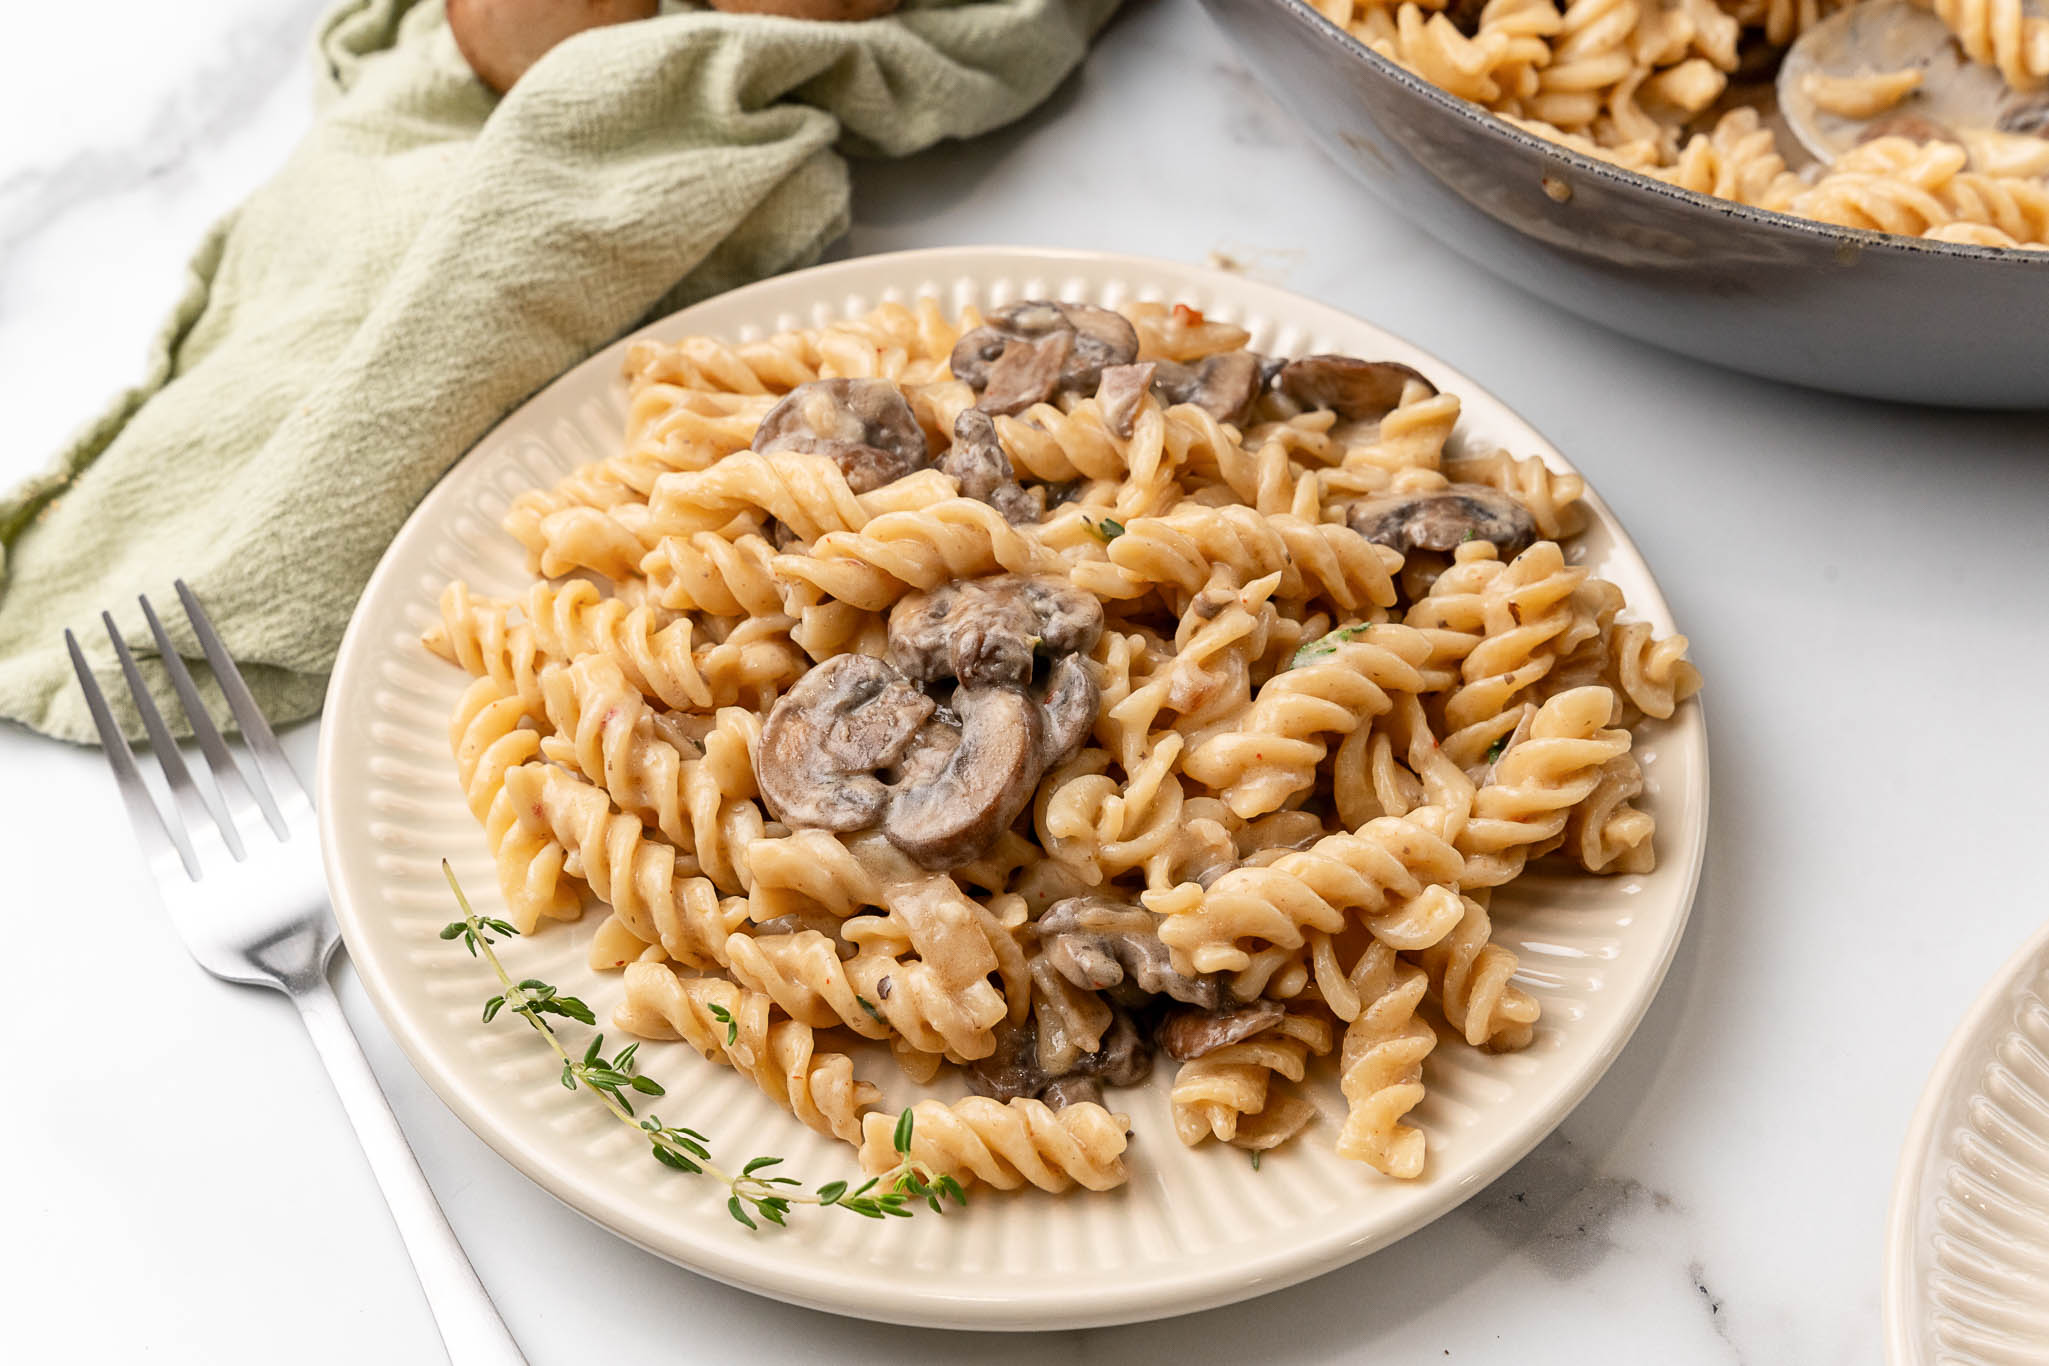
More Vegan Pasta Recipes
If you loved this creamy mushroom pasta, here are a few more vegan pasta dinners to try:
- Vegan Vodka Pasta
- Vegan Spinach Mushroom Lasagna
- Vegan Pasta Alfredo with Peas & Asparagus
- Roasted Butternut Squash and Pasta Casserole
Recipe
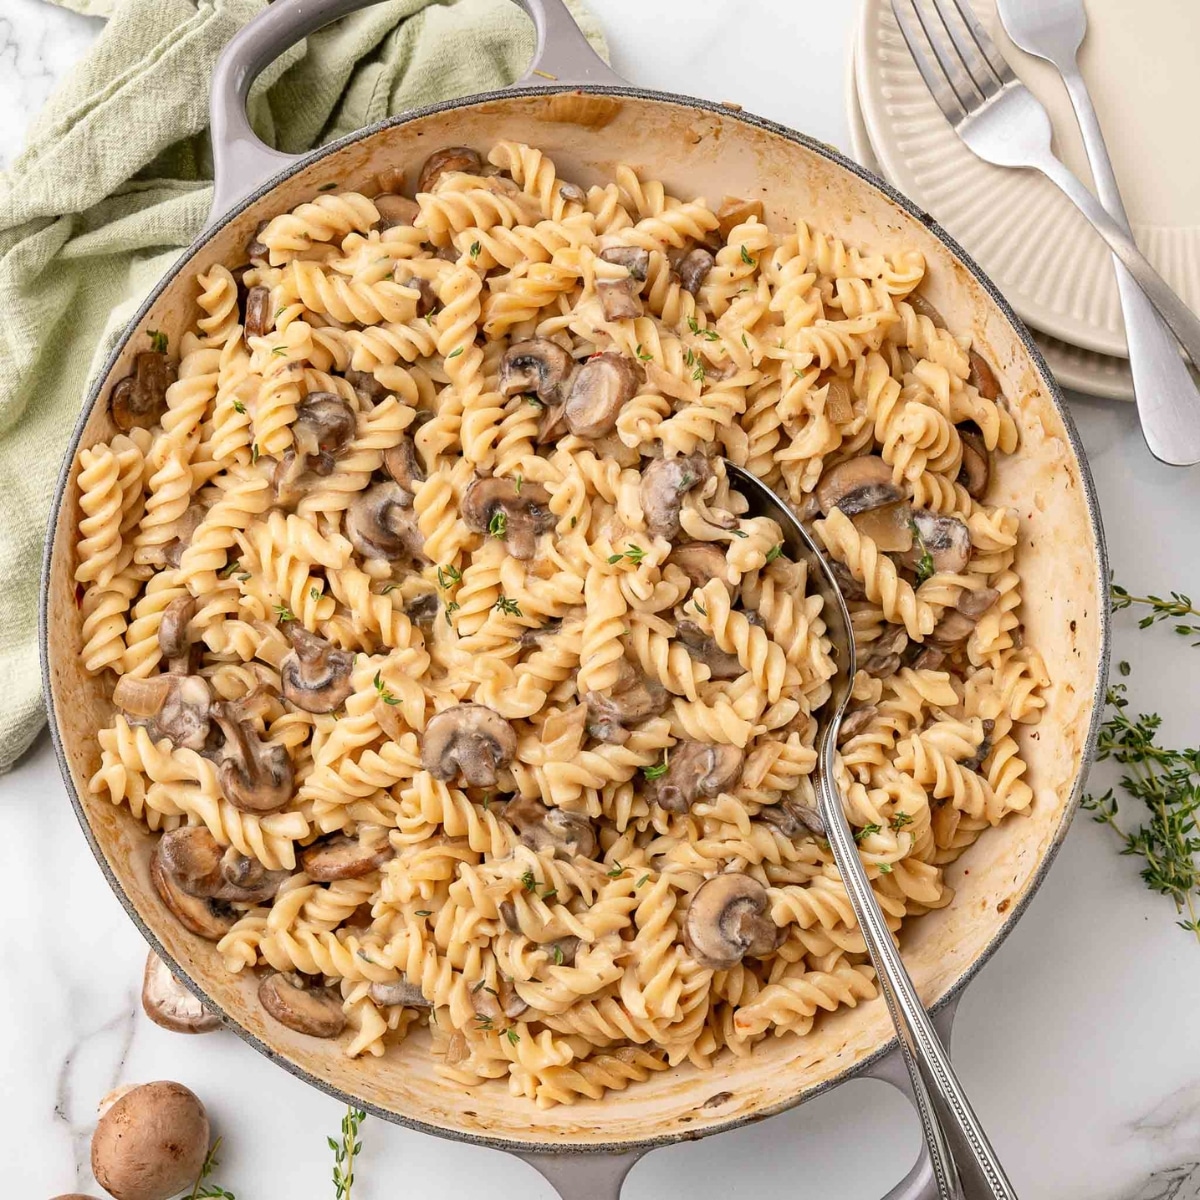
Vegan Creamy Mushroom Pasta
Rich, velvety, and packed with earthy mushroom flavor, this vegan creamy mushroom pasta comes together in under 30 minutes with simple pantry staples — no dairy needed.
Print
Pin
Save
Servings: servings
Ingredients
- 1 lb pasta rotini or penne recommended
- 2 tablespoons olive oil
- 1 medium yellow onion diced
- 16 oz baby bella mushrooms sliced
- 3 cloves garlic minced
- ¼ teaspoon red pepper flakes optional
- 2 tablespoons dry white wine such as Chardonnay or Pinot Grigio; sub extra broth if preferred
- 3 tablespoons vegan butter
- 3 tablespoons all-purpose flour use gluten-free flour blend if needed
- 1 cup vegetable broth
- 1 cup full-fat coconut milk shaken well before opening
- 2 tablespoons soy sauce or tamari for gluten-free
- 2 teaspoons fresh thyme minced, plus more to garnish
Instructions
- Cook the pasta according to package directions until al dente. Reserve a cup of pasta water before draining, then drain and set aside.
- Heat the olive oil in a large skillet over medium heat. Add the diced onion and cook, stirring frequently, until softened and translucent, about 4–5 minutes.
- Add the sliced mushrooms and spread them into a single layer. Cook without stirring for 2 minutes, then stir and continue cooking until the mushrooms have released their liquid and it has fully evaporated, about 8–10 minutes total. Add the minced garlic and red pepper flakes and cook for 1 more minute.
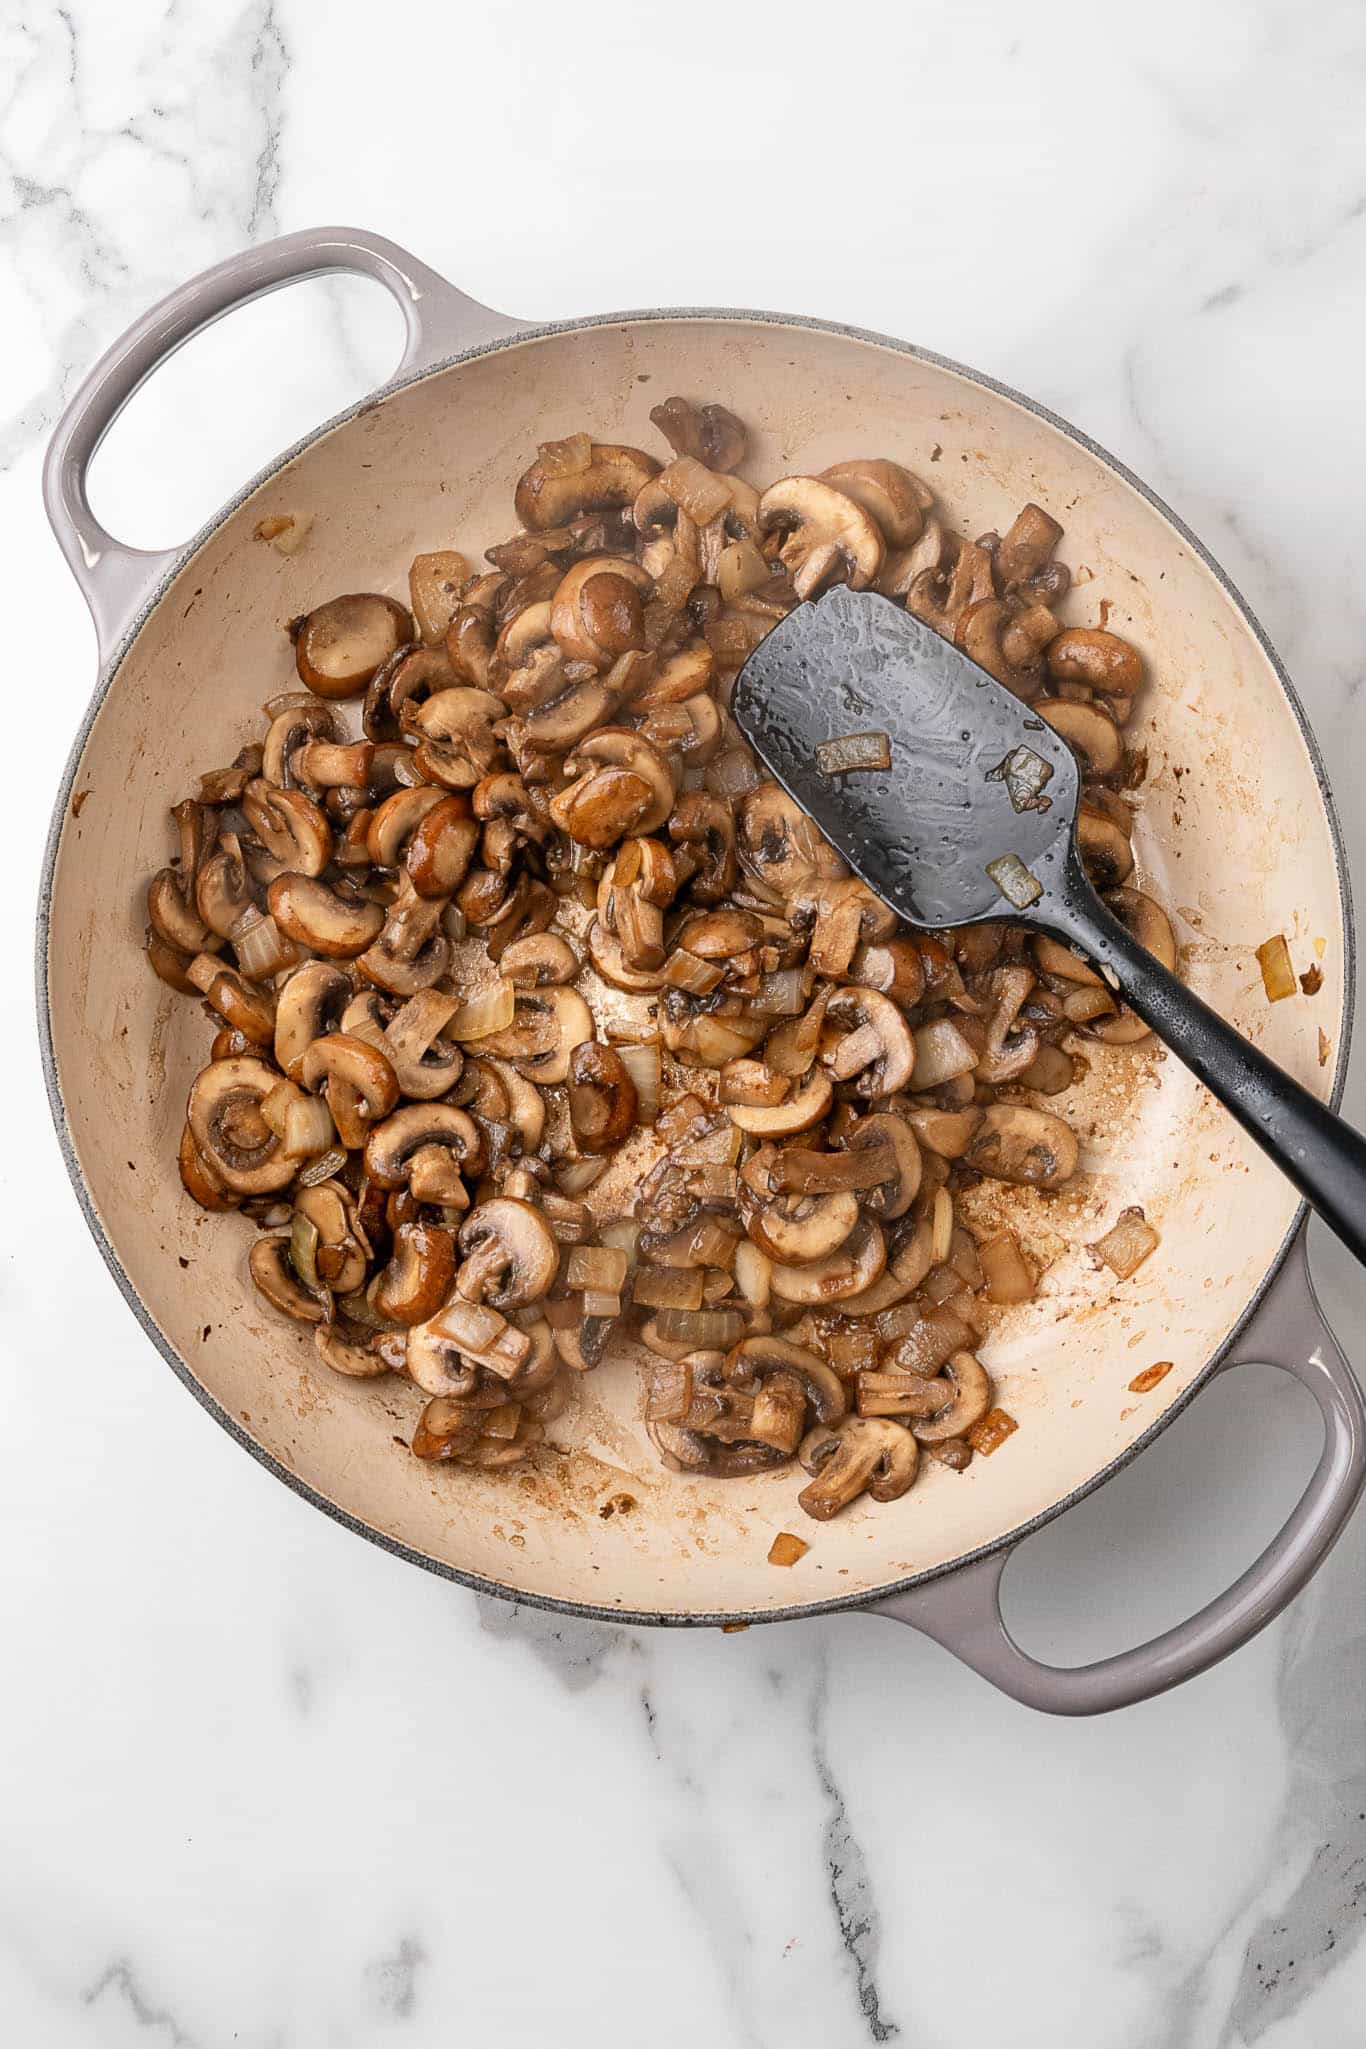
- Pour in the white wine and scrape up any browned bits from the bottom of the pan. Let the liquid reduce by half, about 1 minute. Add the vegan butter and let it melt completely, then sprinkle the flour over the vegetables and stir to coat. Cook for 1 minute to eliminate the raw flour taste.
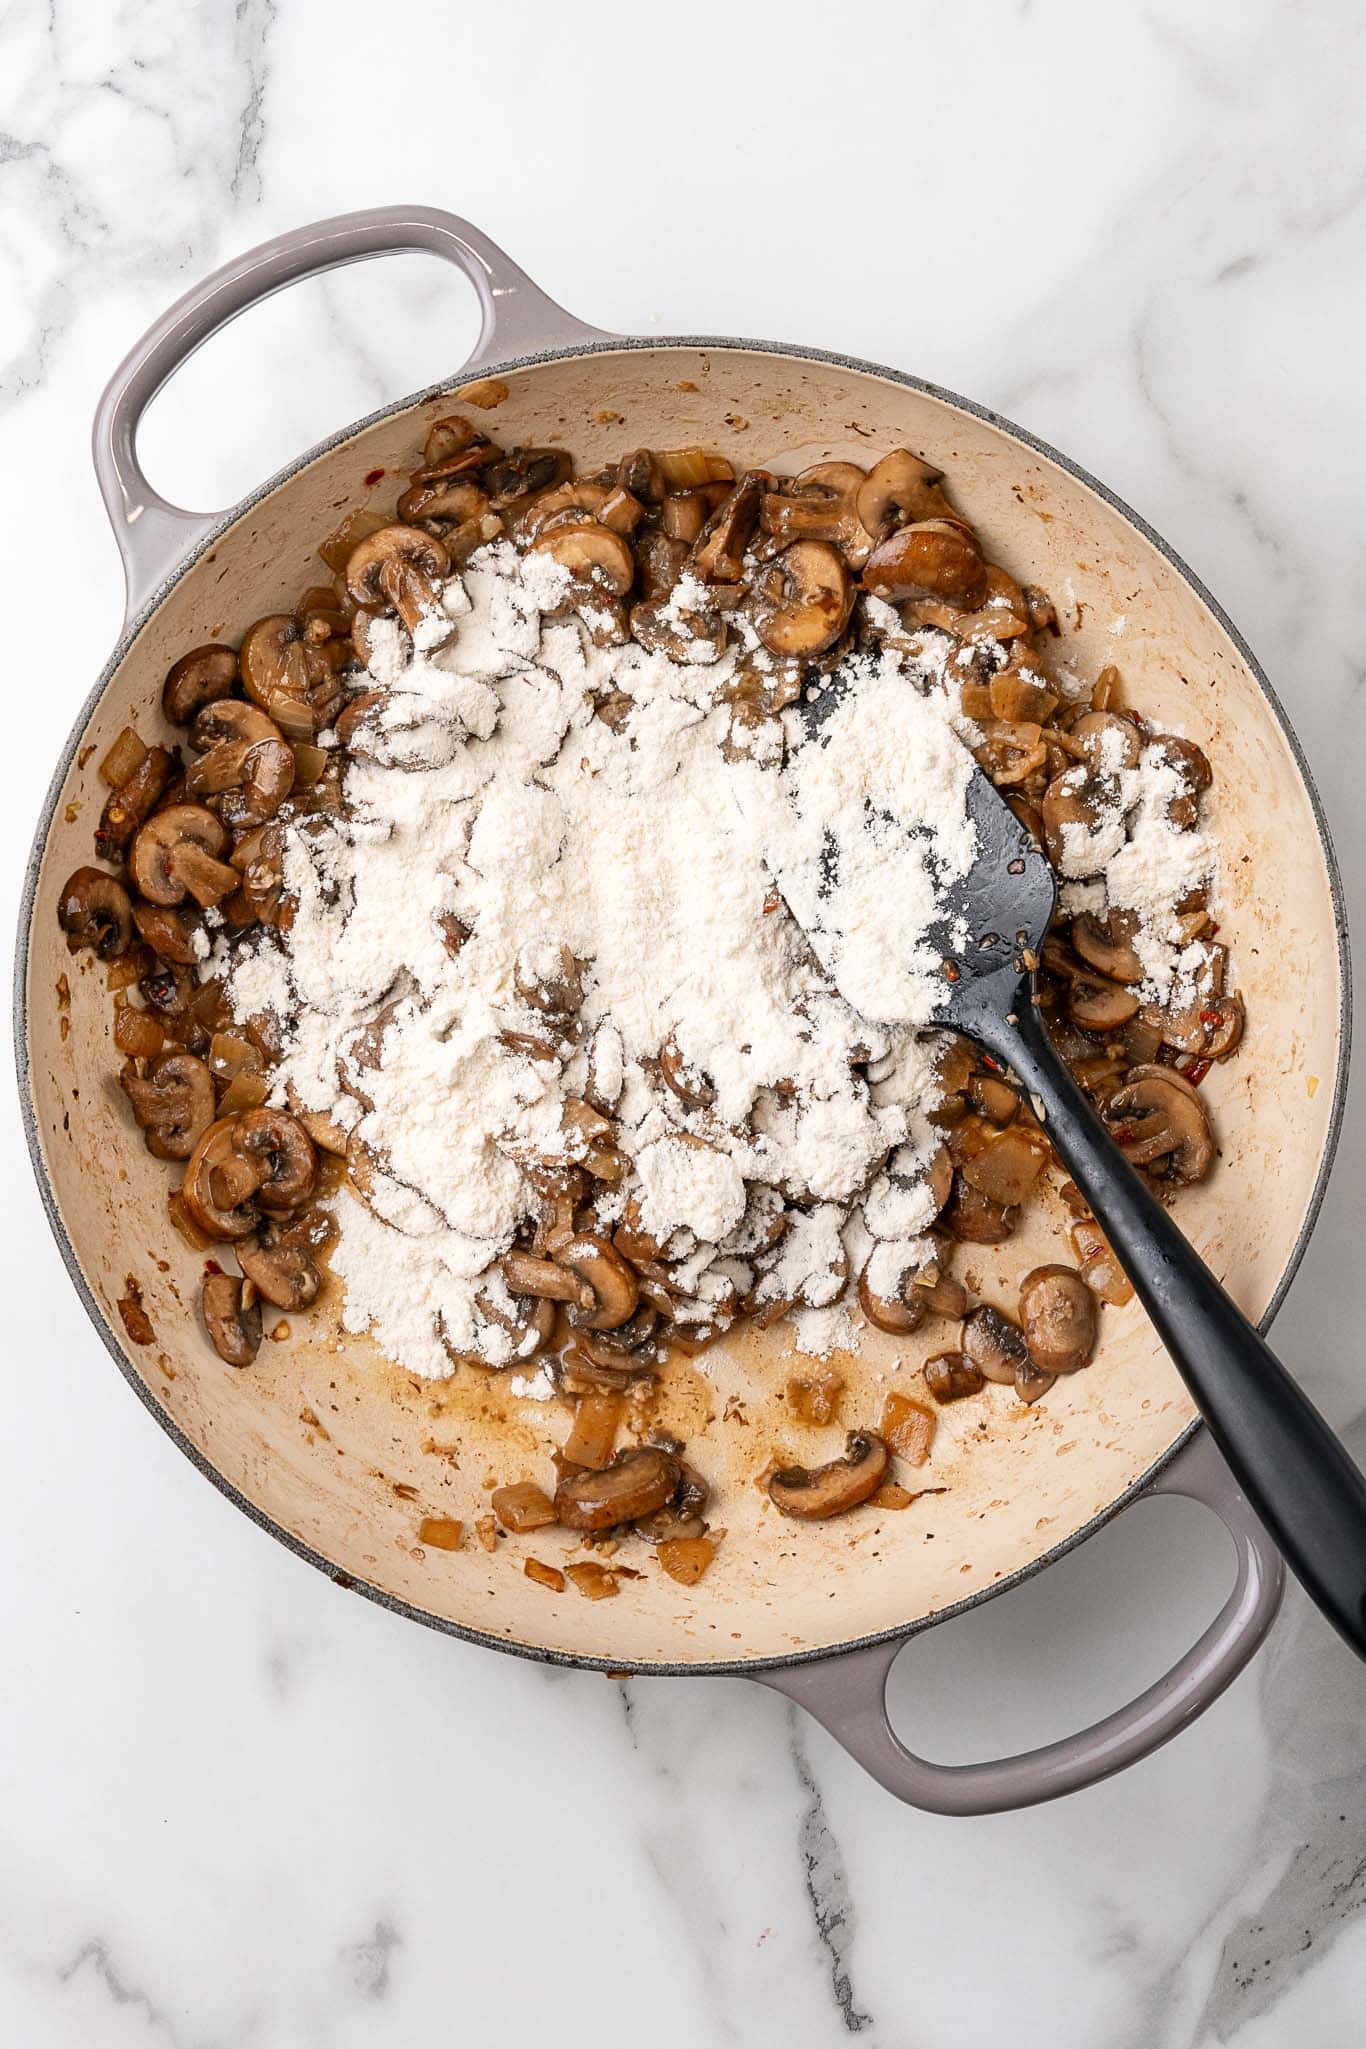
- Slowly pour in the vegetable broth a little at a time, stirring continuously after each addition to prevent lumps. Once all the broth is incorporated, stir in the coconut milk, soy sauce, and thyme.
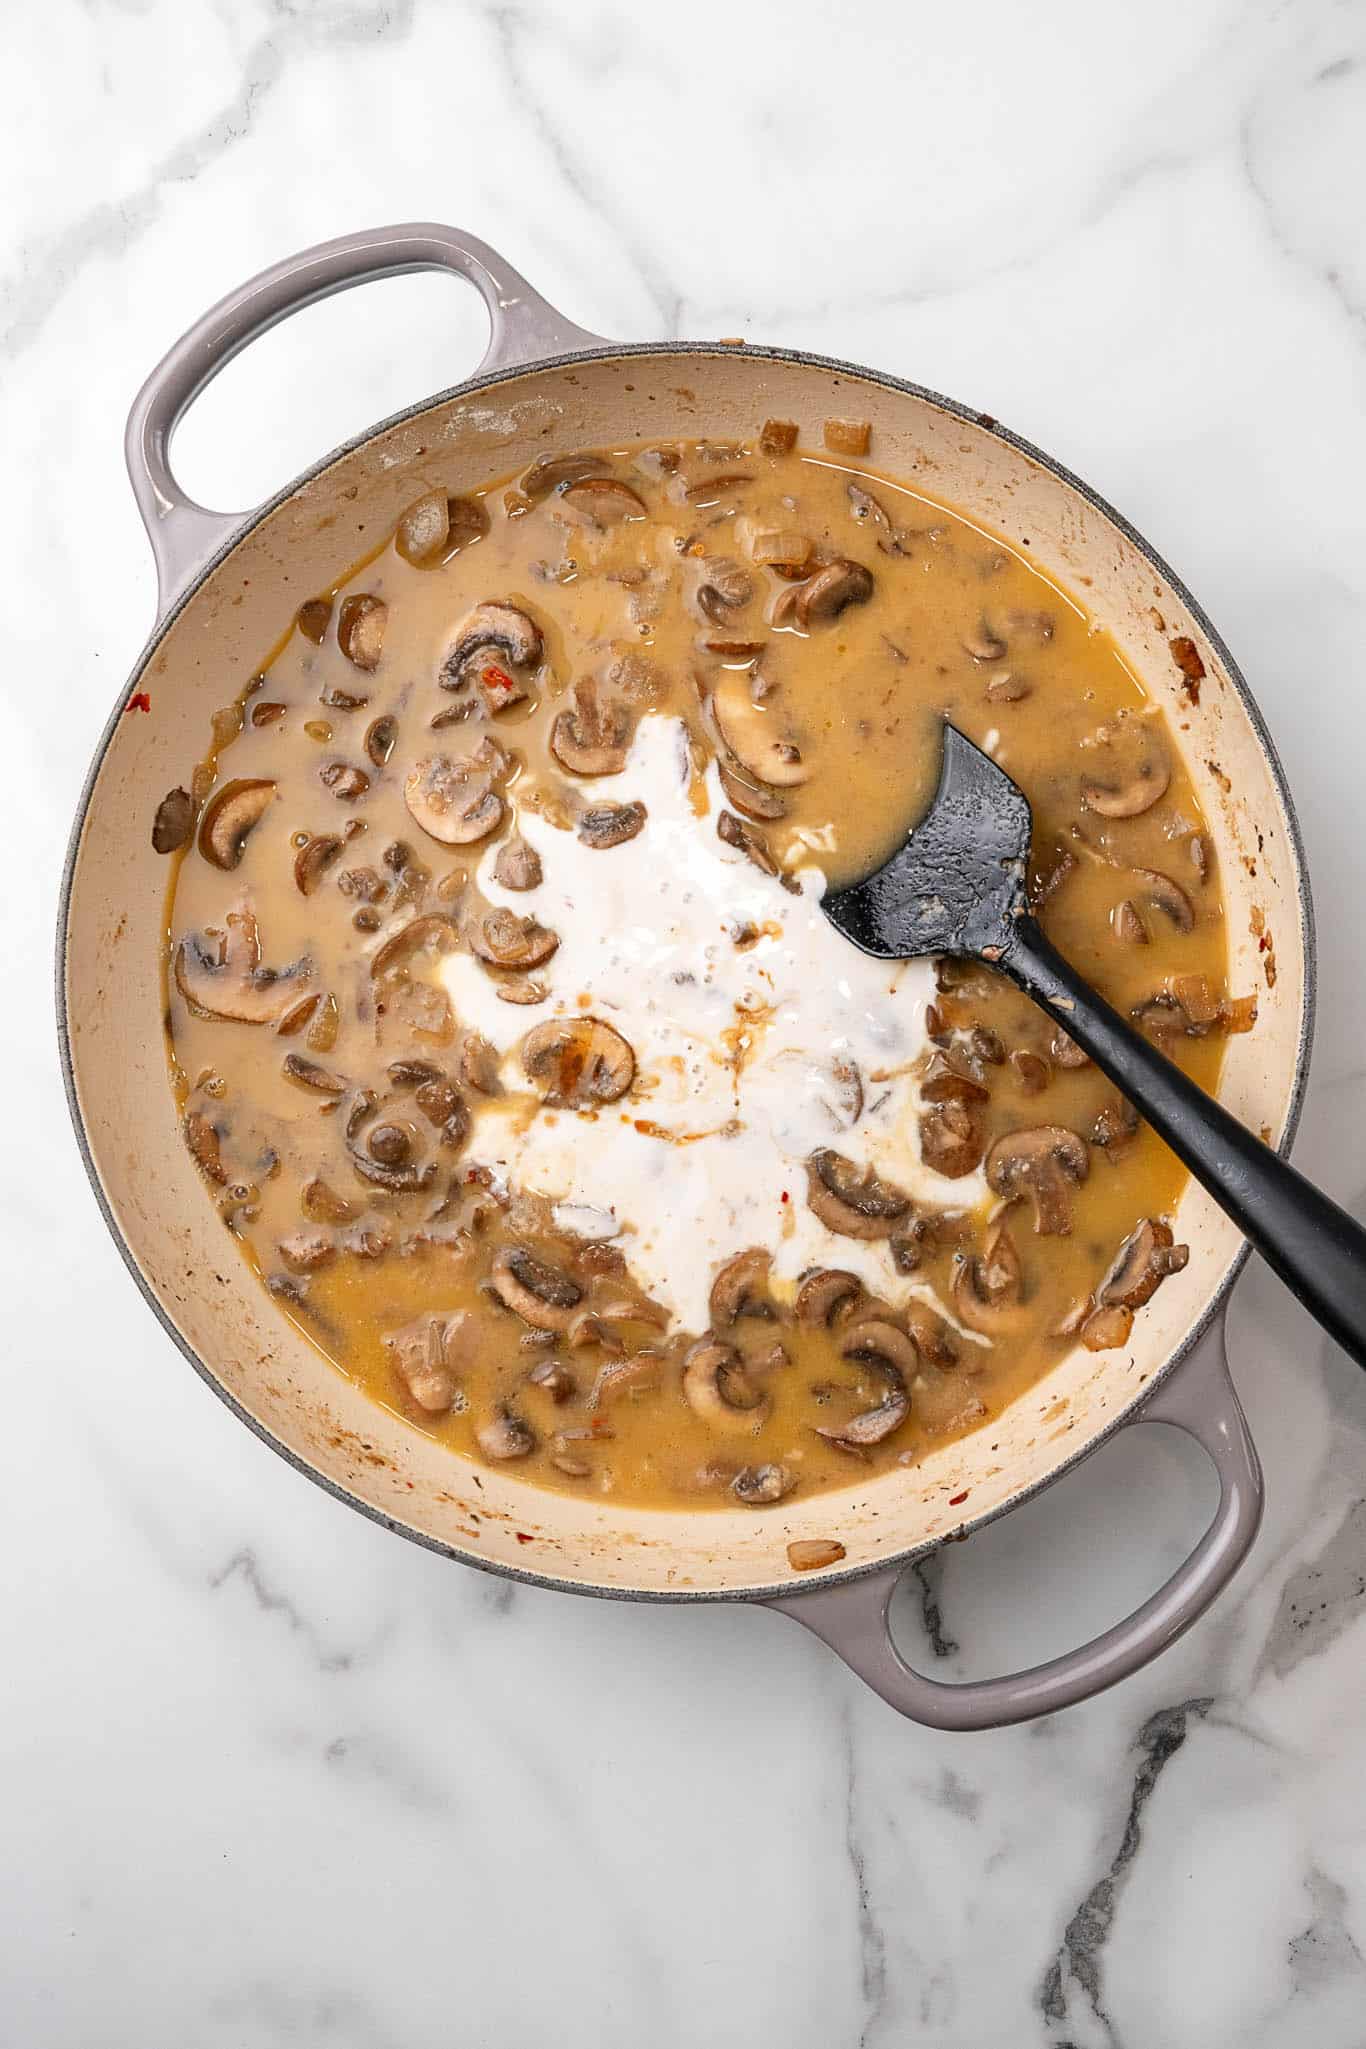
- Bring the sauce to a gentle simmer and cook, stirring occasionally, until thickened to a creamy consistency, about 3–4 minutes. If the sauce becomes too thick, loosen it with a splash of reserved pasta water.
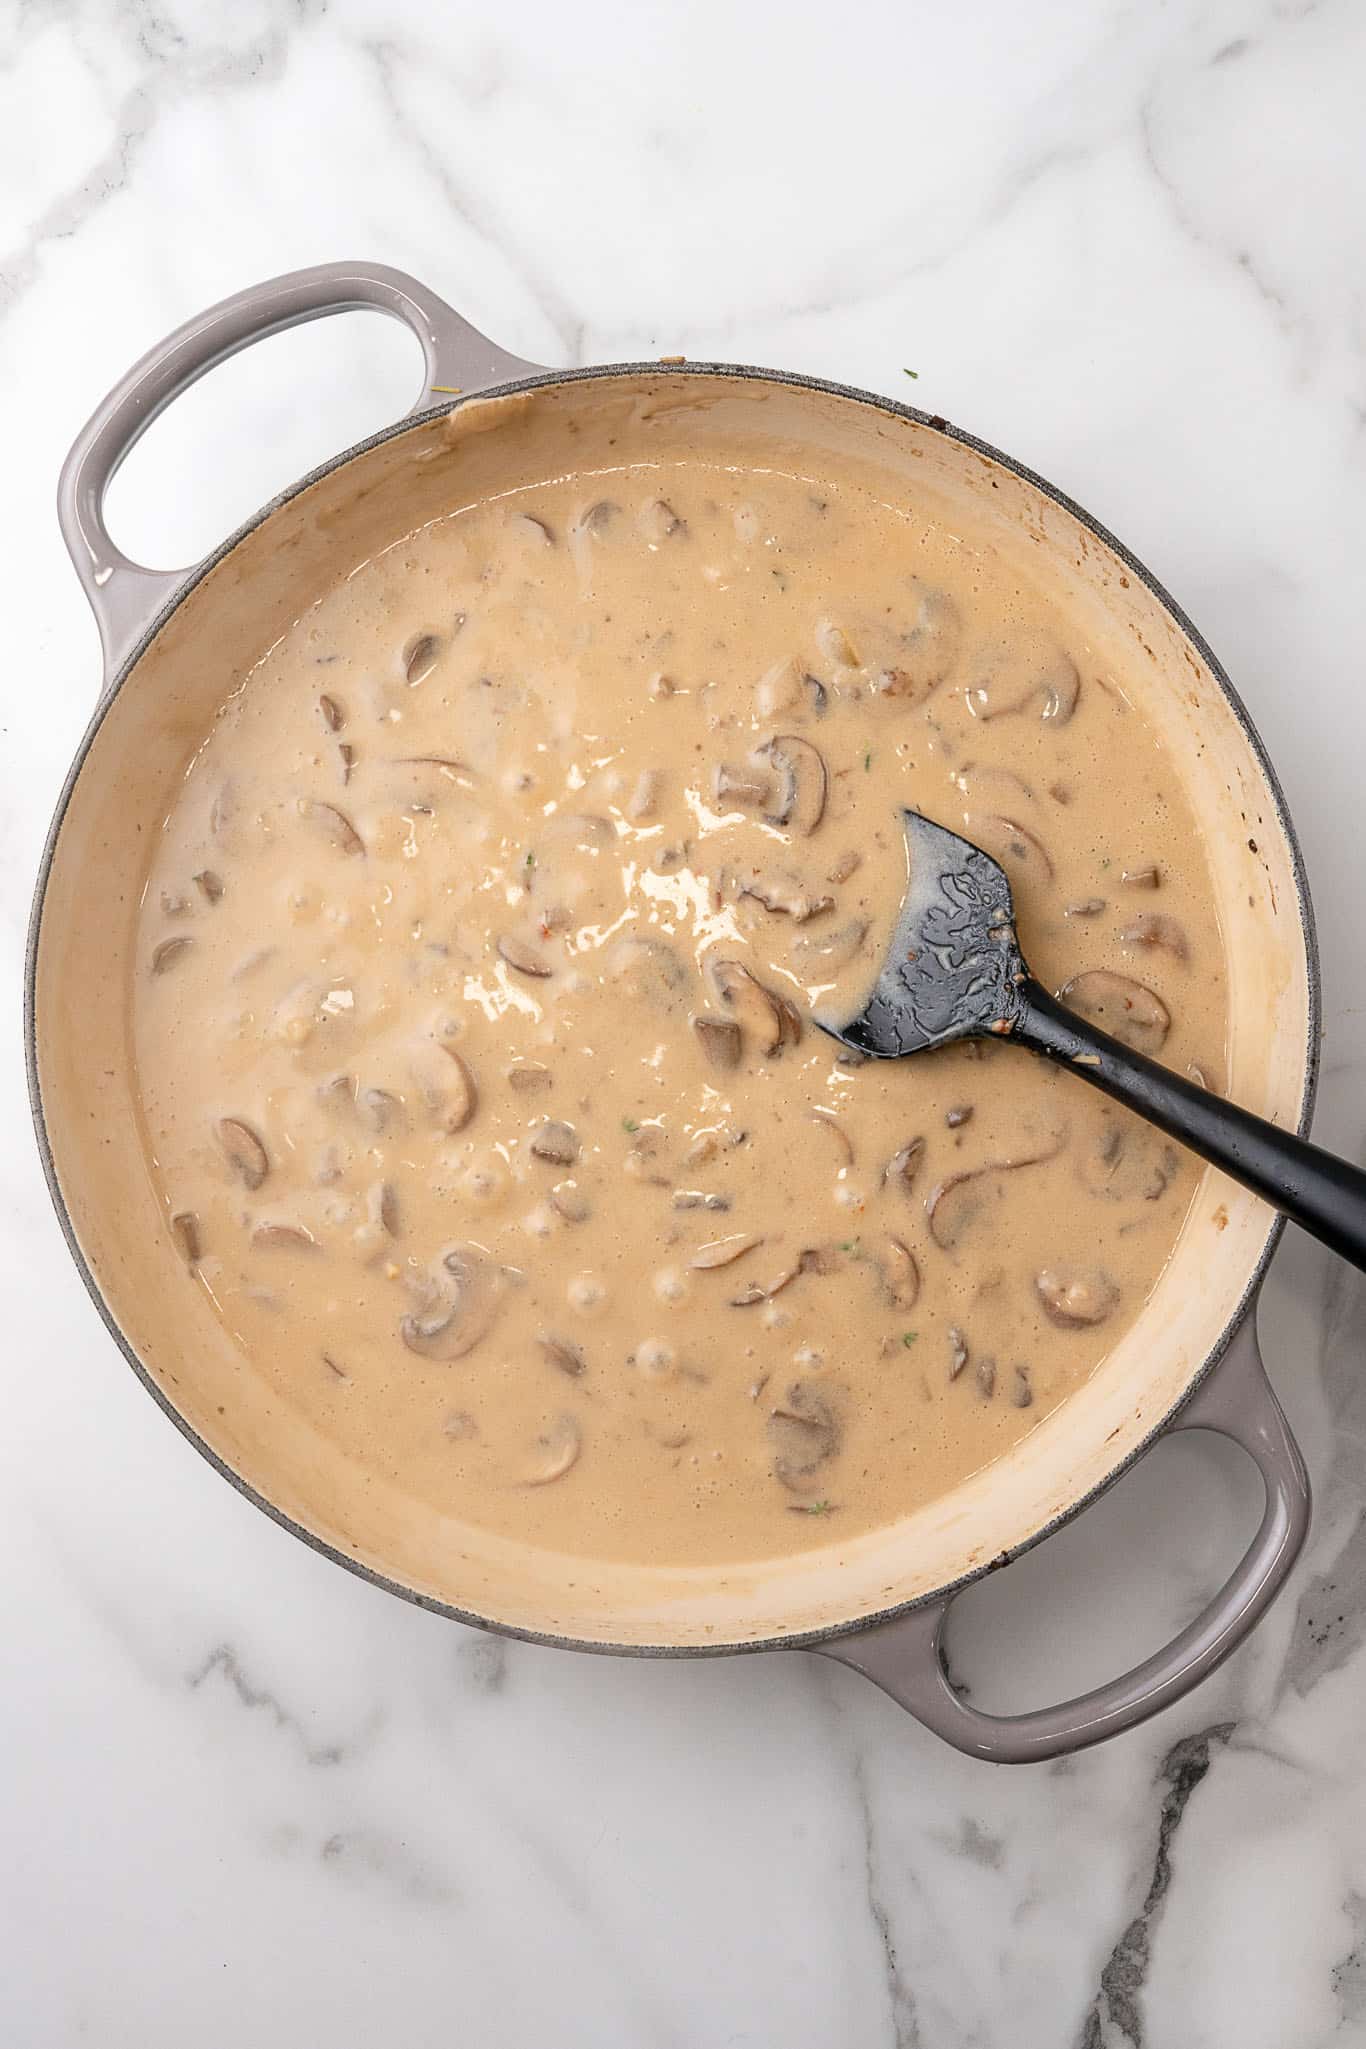
- Add the cooked pasta to the skillet and toss well to coat every piece in the sauce. Taste and adjust salt and pepper as needed.
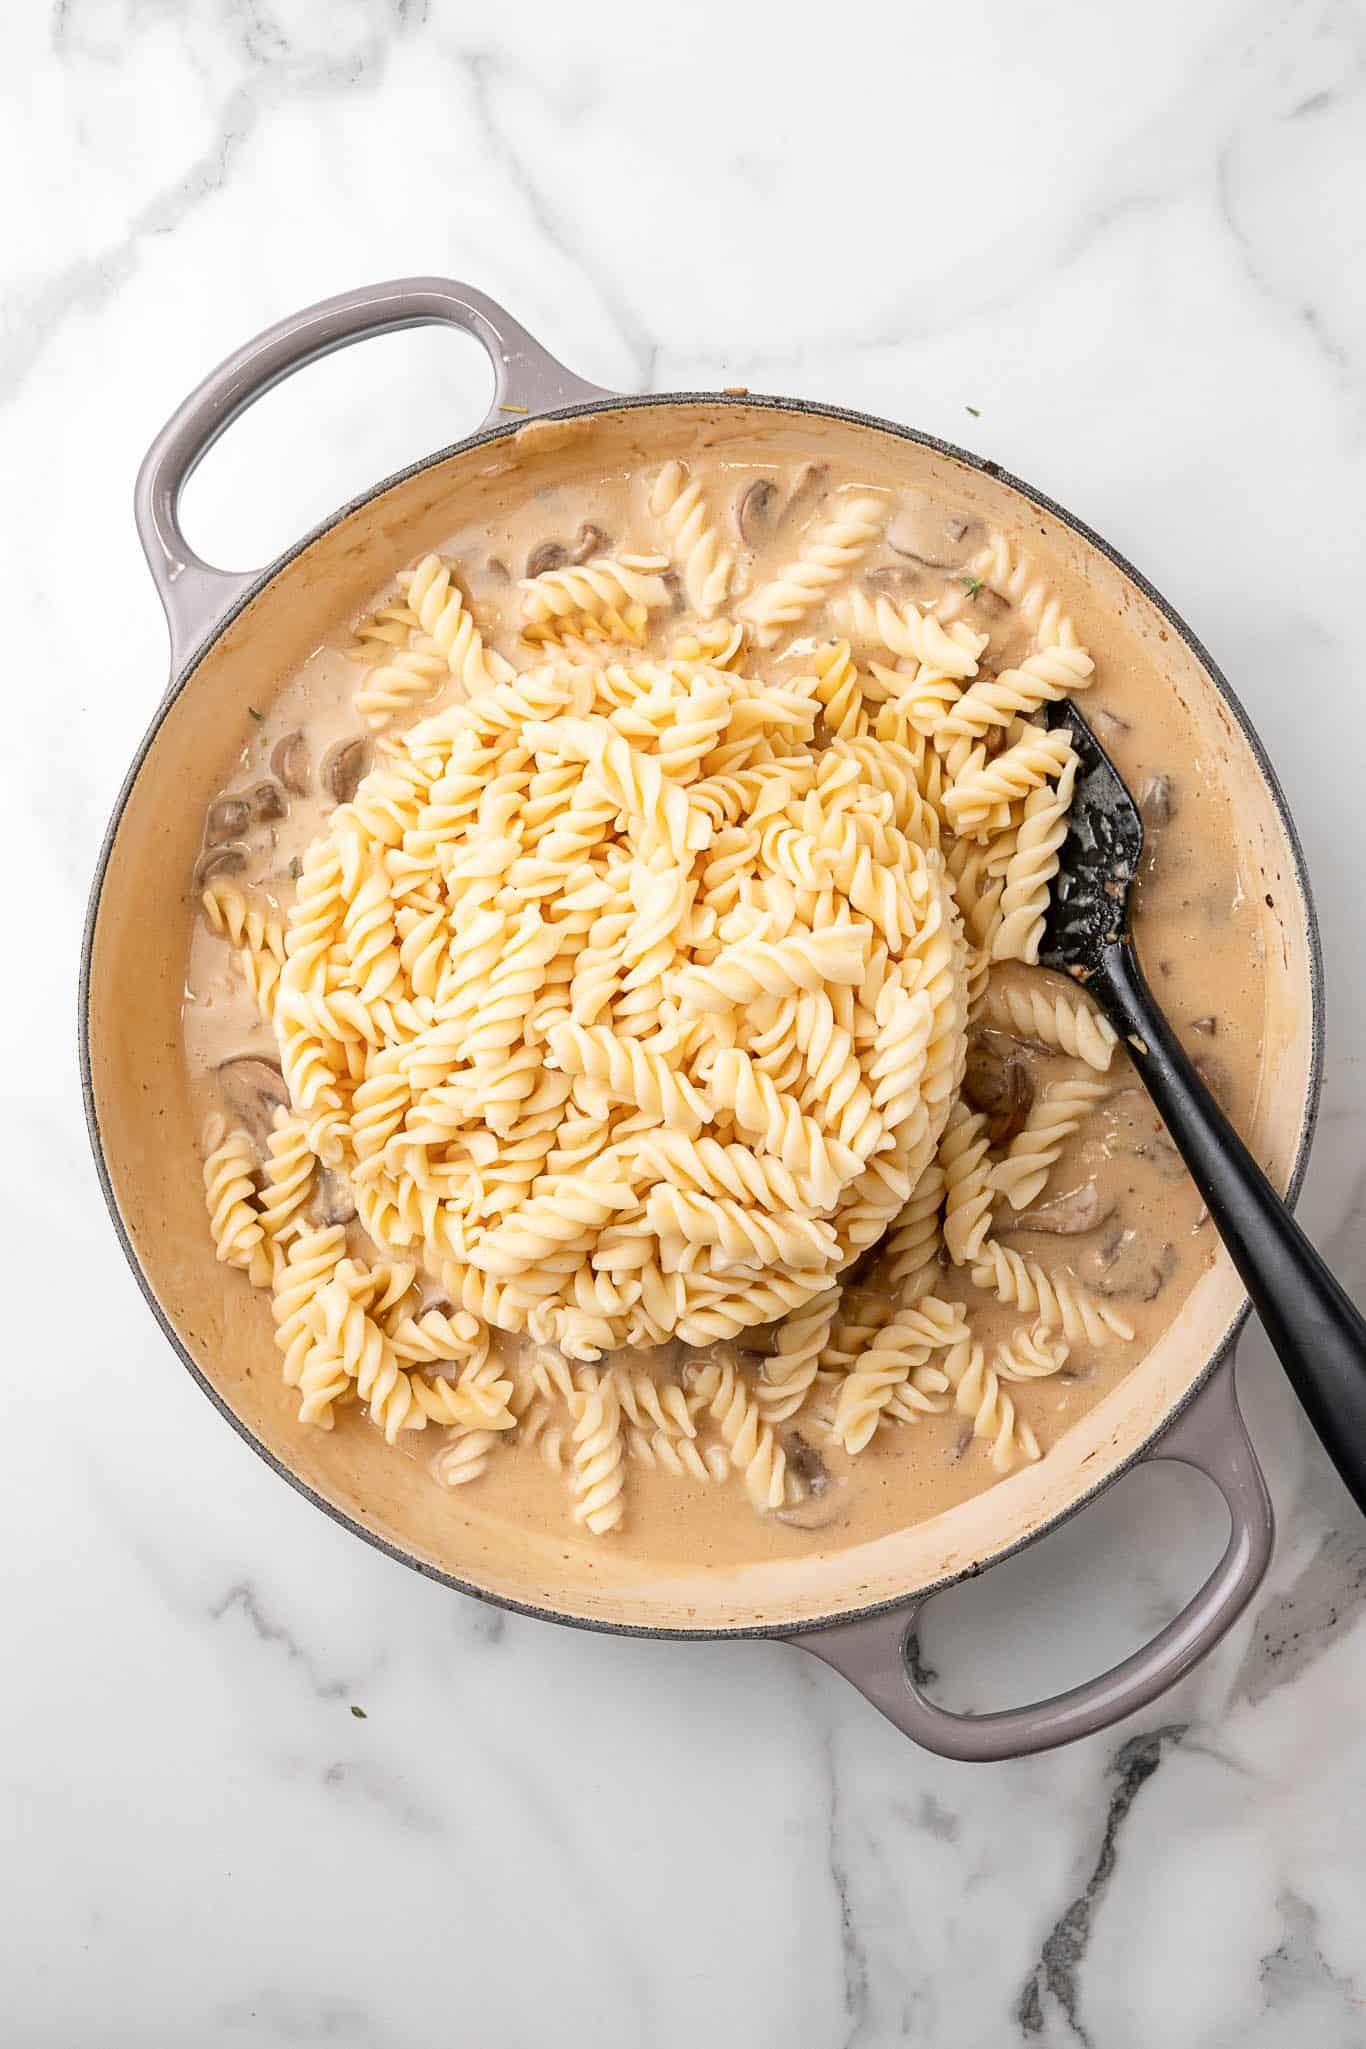
- Serve immediately, garnished with fresh thyme leaves.
Nutrition (Estimate per Serving)
Calories: 3kcalCarbohydrates: 1gProtein: 14gFat: 19gSaturated Fat: 9gPolyunsaturated Fat: 2gMonounsaturated Fat: 6gTrans Fat: 0.03gSodium: 235mgPotassium: 651mgFiber: 3gSugar: 1gVitamin A: 125IUVitamin C: 3mgCalcium: 48mgIron: 3mg
Vegan-ize any recipe!Grab our free vegan cheat sheet, packed with my favorite easy substitutions to make any recipe vegan.
Vegan Cream of Asparagus Soup
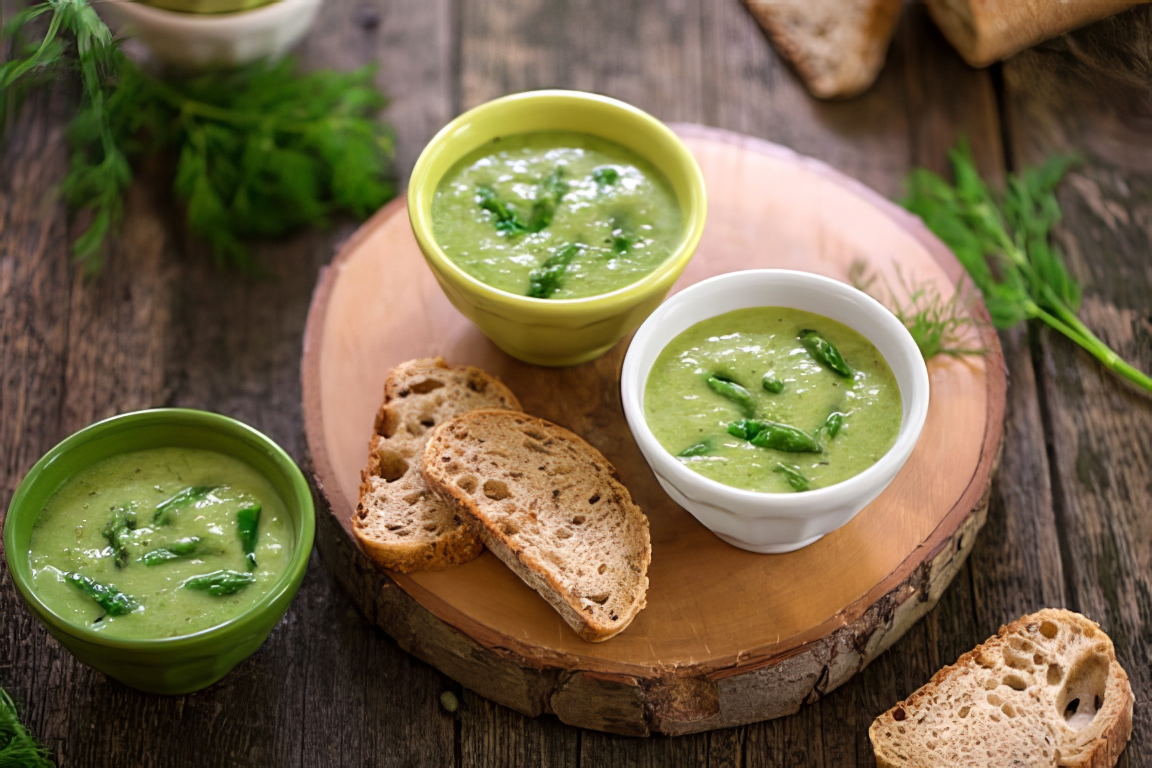
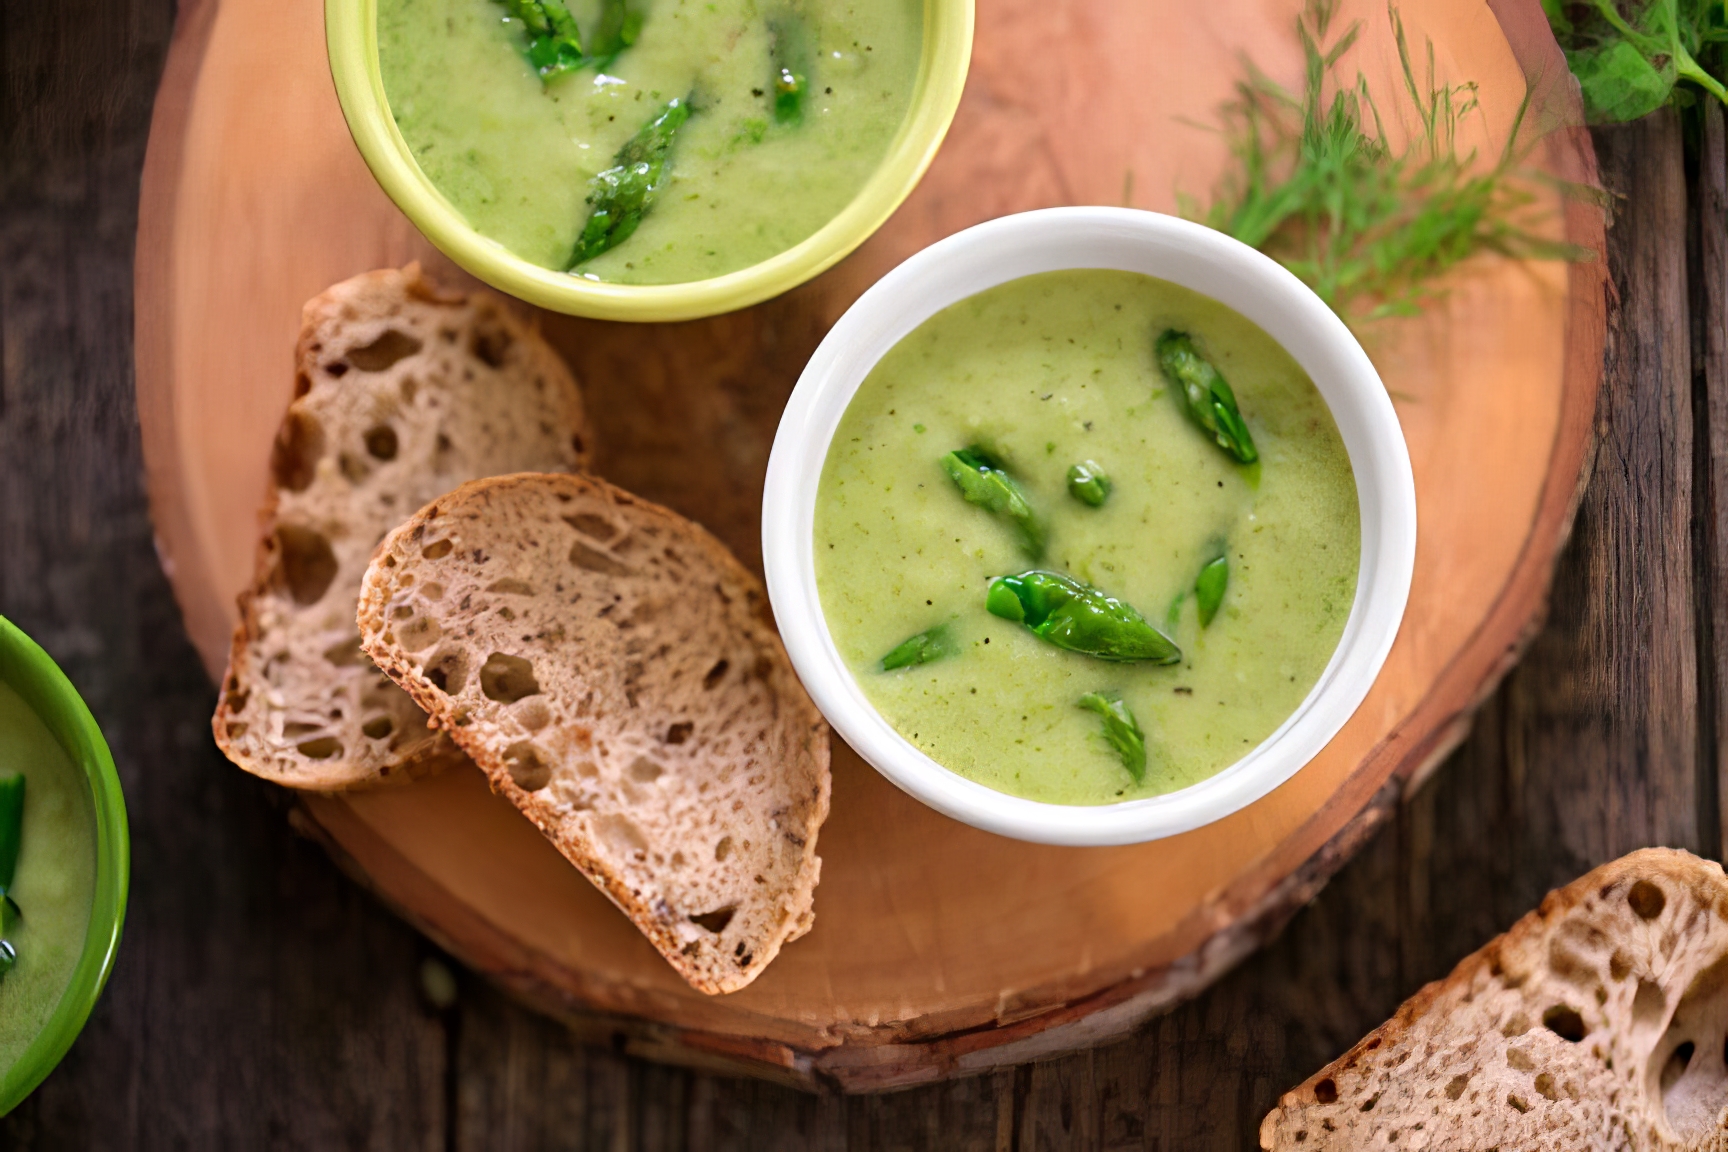
This Vegan Cream of Asparagus Soup is the ultimate ode to spring's most vibrant vegetable. Silky, flavorful, and deceptively simple, it's a dish that's both comforting and sophisticated. Perfect for a light lunch, an elegant dinner starter, or even a make-ahead meal for busy weekdays.
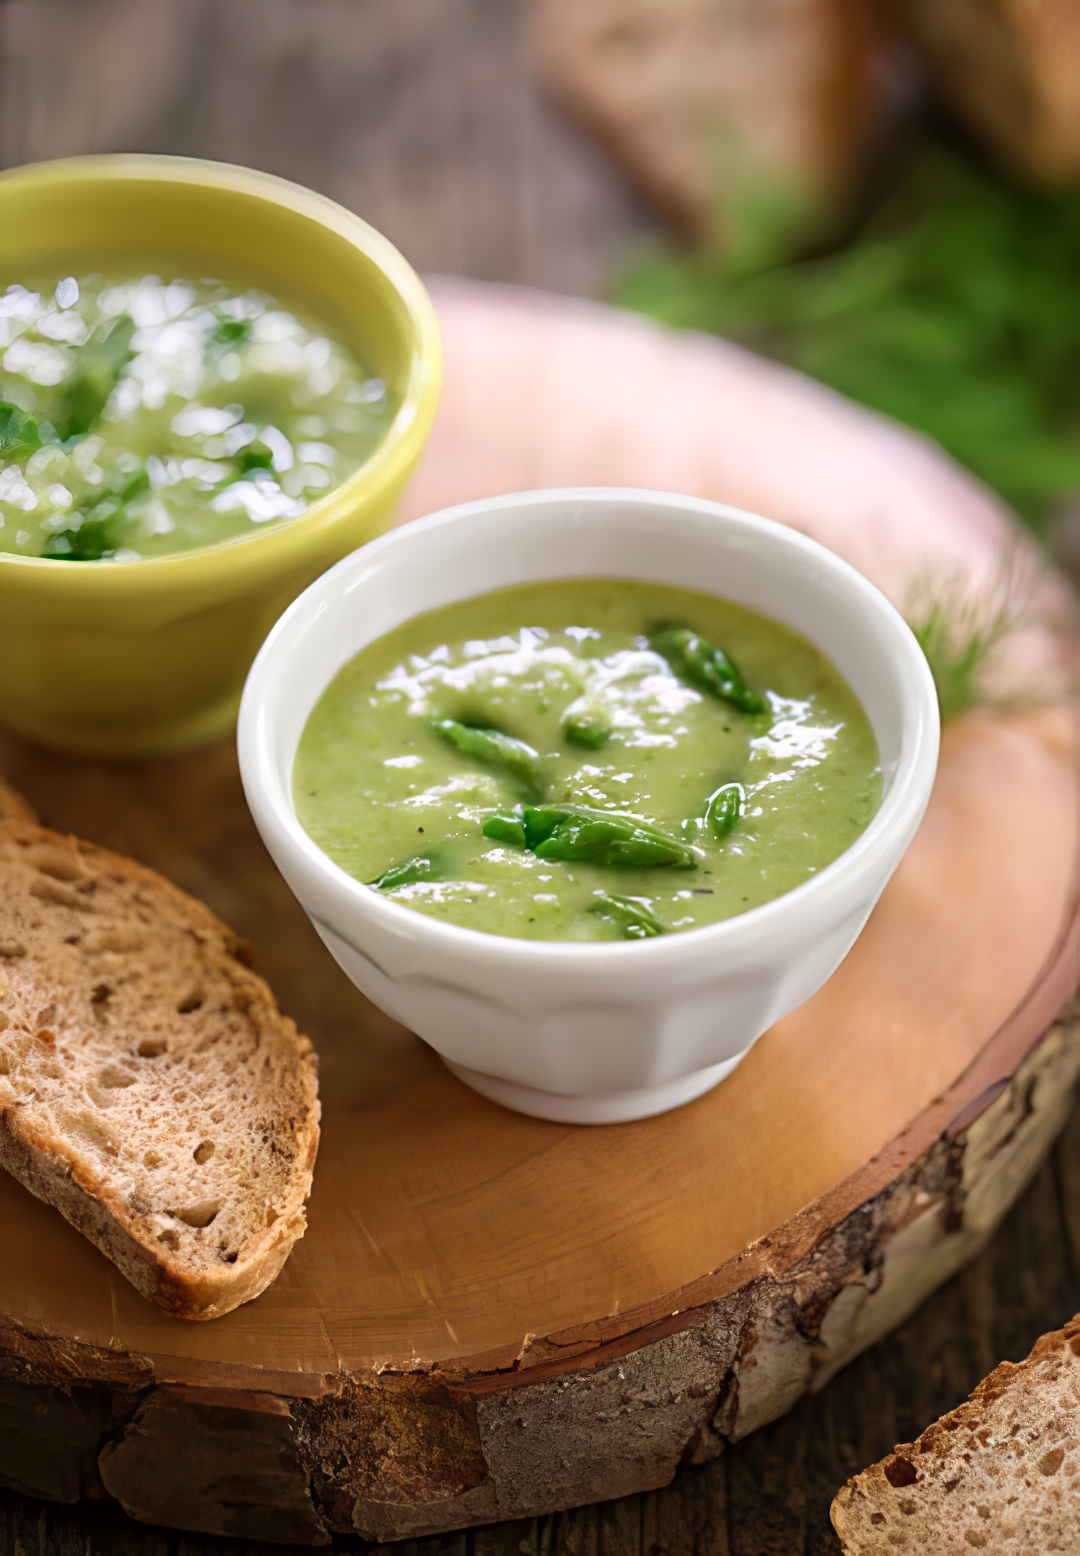
Let's face it: asparagus doesn't always get the attention it deserves. It's the veggie equivalent of the shy kid at the back of the class-quietly amazing, but often overlooked. This soup changes the game. By pairing tender asparagus with the creamy goodness of nondairy milk and the savory depth of fresh herbs, you get a dish that feels indulgent but is secretly packed with nutrients.
Oh, and did I mention the little garnish of asparagus tips and fresh dill? Fancy enough to impress your dinner guests, easy enough to whip up on a Tuesday. That's what I call winning.
This Vegan Cream of Asparagus Soup Is...
- Elegant yet easy: A restaurant-worthy dish you can make in your own kitchen.
- Plant-based perfection: Creamy without the cream, and totally dairy-free.
- Versatile: Serve it as an appetizer, a main course, or even as a chilled summer soup.
- Meal prep-friendly: Flavors deepen as it sits, making leftovers even better.
- Nutrient-rich: Packed with vitamins, minerals, and fiber from the star ingredients.
Helpful Tips & Substitutions
Trim asparagus properly: Snapping off the woody ends ensures a tender and smooth soup.
Cook just until tender: Overcooking asparagus can dull its bright flavor. Keep an eye on your pot!
Nondairy milk: This adds creaminess without overpowering the asparagus flavor. Almond, oat, or cashew milk are excellent choices. You could also use coconut milk for a bit of a twist.
Variations to Try
Chilled Asparagus Soup: Let the soup cool completely, then chill in the fridge for a refreshing summer option.
Spicy Kick: Add a pinch of cayenne or a swirl of chili oil for heat lovers.
Lemon-Tarragon Twist: Replace dill with fresh tarragon and add a squeeze of lemon juice for a citrusy upgrade.
Crunchy Garnish: Top with toasted almonds or croutons for added texture.
Protein Boost: Stir in silken tofu or white beans for a heartier version.
More Vegan Recipes
If you love this Vegan Cream of Asparagus soup, be sure to check out these other delicious ideas:
Also worth trying: our miso butternut squash soup.
Also worth trying: our yellow squash soup.
- Old Fashioned Vegan Stew
- Vegan Minestrone Soup
- Vegan Cream of Cauliflower Soup
- Vegan Cream of Broccoli Soup
Recipe
Vegan Cream of Asparagus Soup
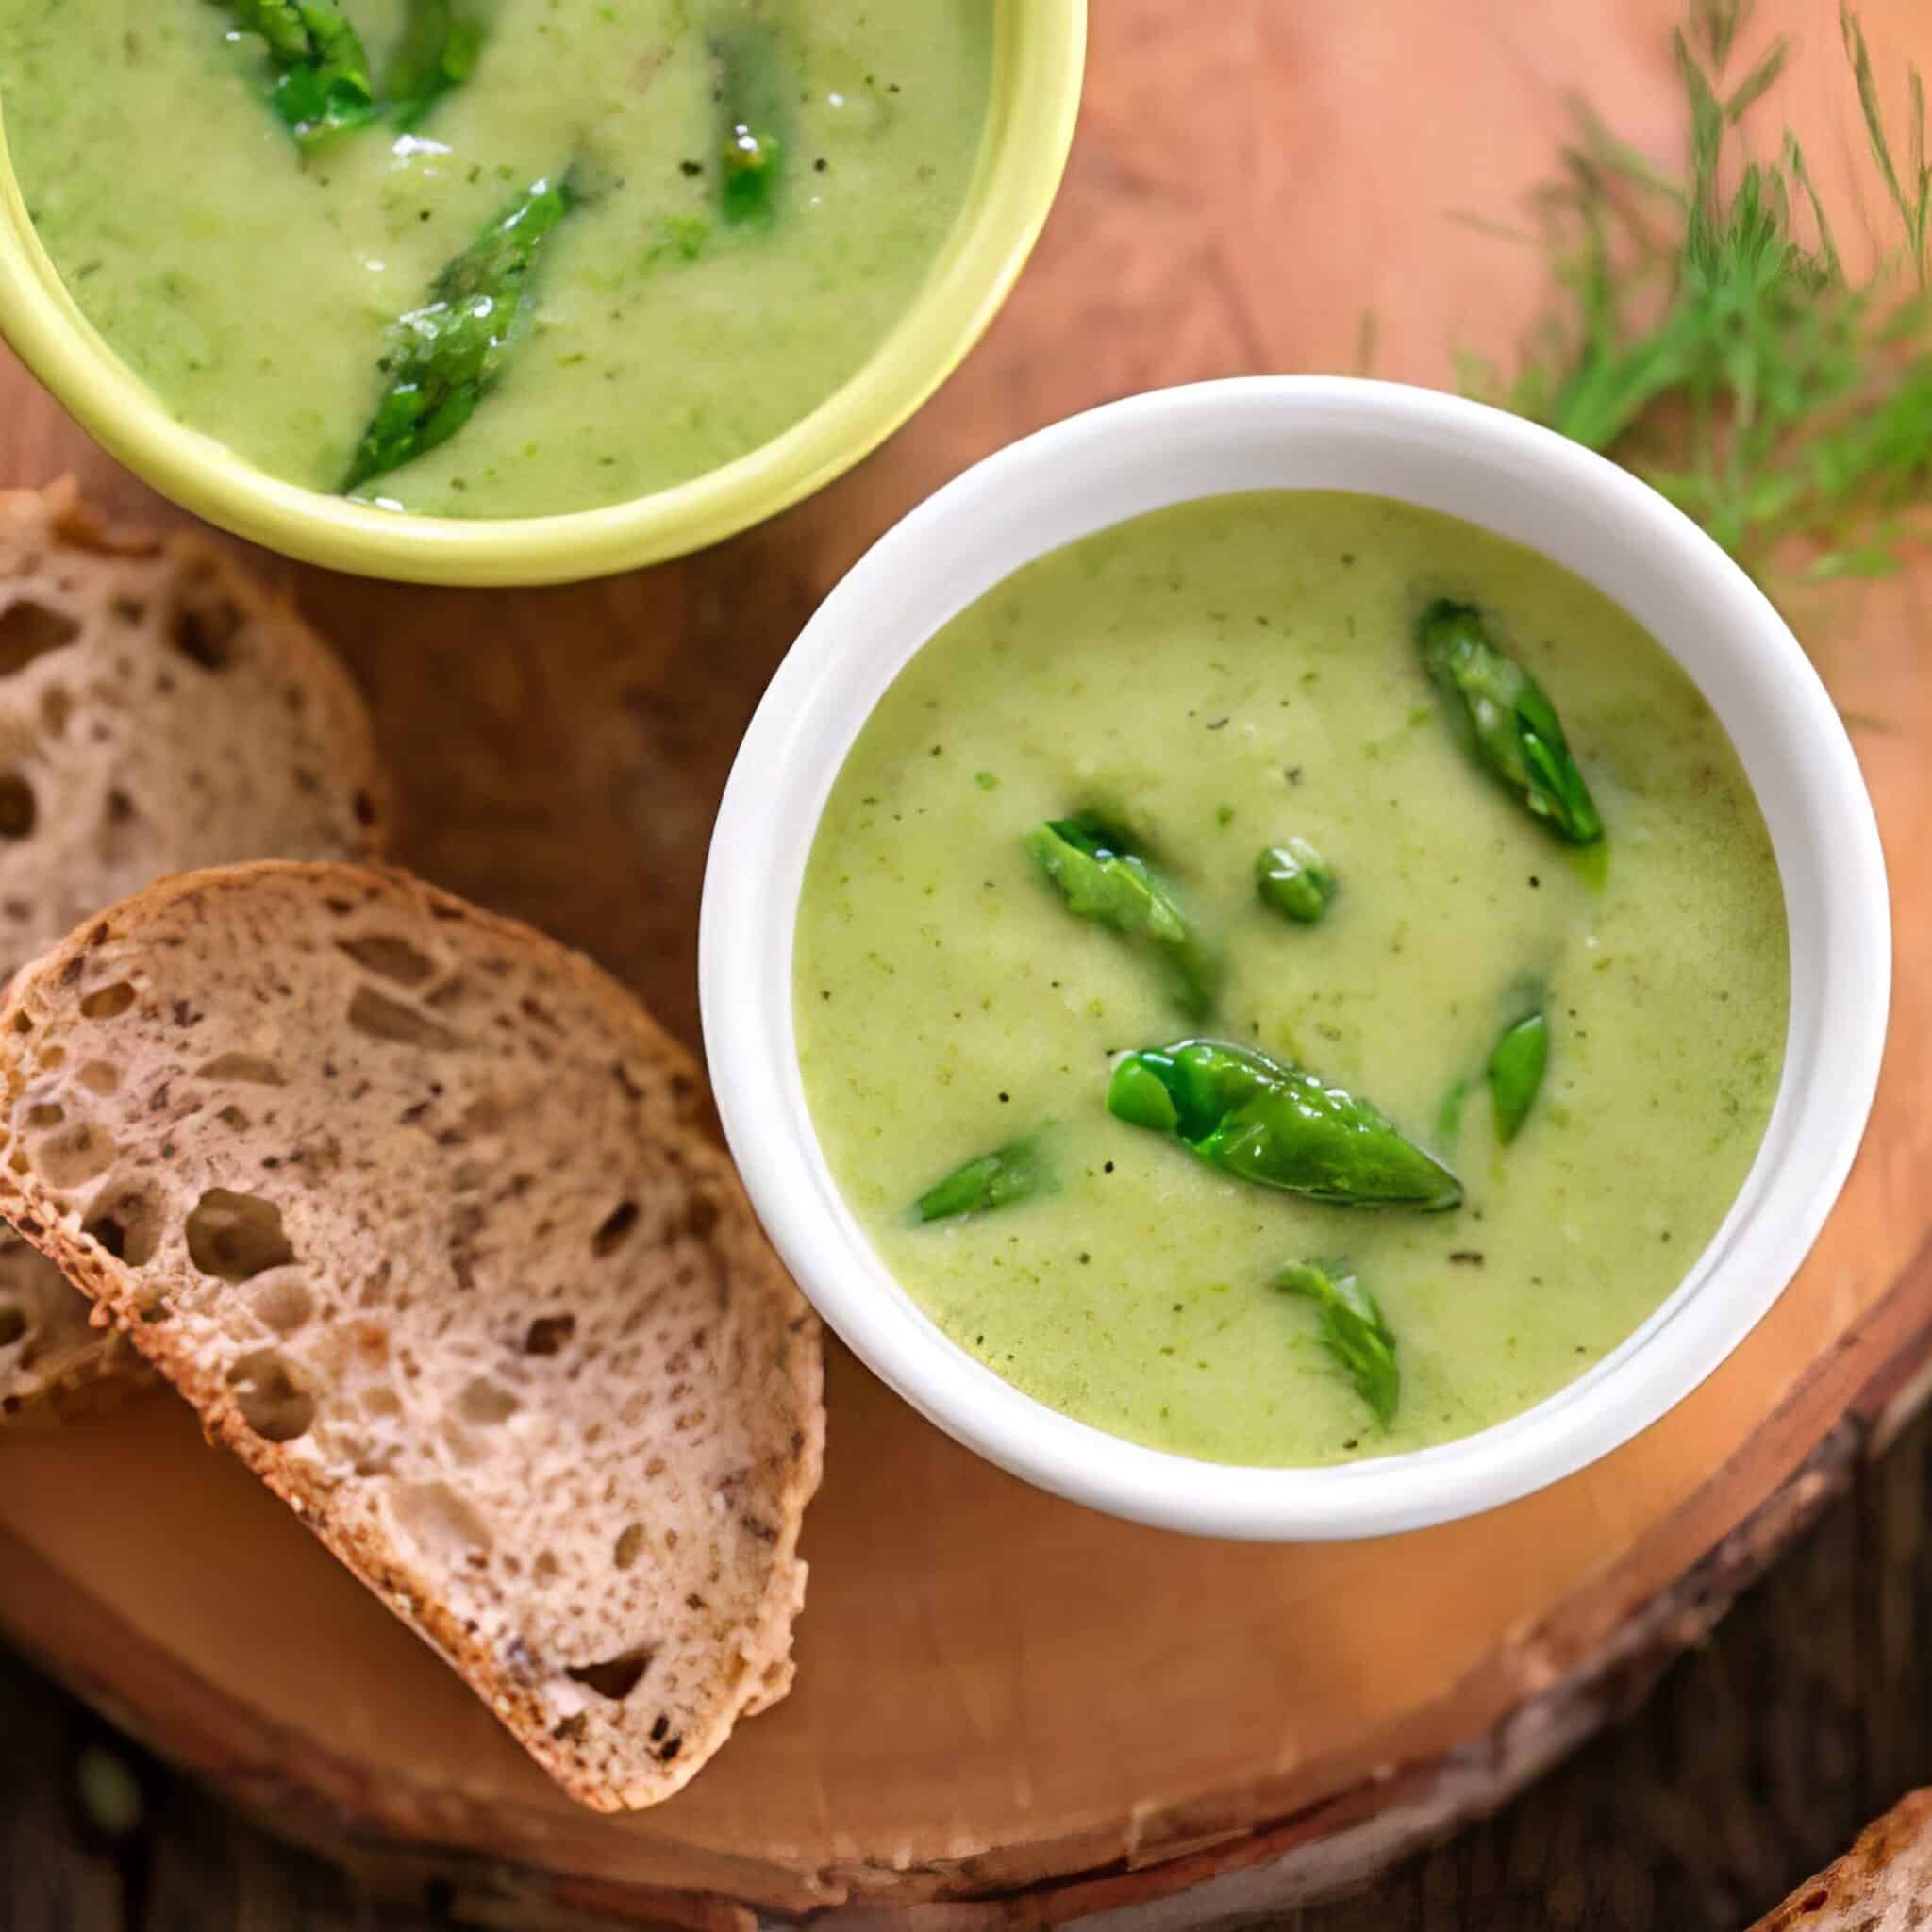
This vegan cream of asparagus soup is bright, creamy, and packed with fresh flavors.
Print
Pin
Save
Servings:
Equipment
- immersion blender or traditional blender
Ingredients
- 2 pounds asparagus
- 1 ½ tablespoons olive oil
- 1 large onion chopped
- 1 clove garlic minced
- 1 large potato finely diced
- 32 ounces vegetable broth
- ¼ cup fresh dill chopped, plus more for garnish
- 1 teaspoon dried basil
- Pinch nutmeg
- ¾ cup nondairy milk plain, unsweetened
- Salt and freshly ground pepper to taste
Instructions
- Prep the Asparagus: Trim 1 inch off the tough bottoms of the asparagus stalks and discard. Peel any tough skin, then cut the stalks into 1-inch pieces. Set aside the tips for garnish.
- Sauté the Aromatics: Heat olive oil in a large soup pot over medium heat. Add chopped onion and minced garlic, cooking until golden and fragrant.
- Simmer the Soup: Add the asparagus pieces, diced potato, vegetable broth, dill, basil, and a pinch of nutmeg. Bring to a gentle boil, then reduce heat, cover, and simmer for about 15 minutes, or until the asparagus and potatoes are tender.
- Blend: Use an immersion blender to puree the soup directly in the pot. Alternatively, transfer the solids to a blender in batches, puree until smooth, and return to the pot.
- Adjust Consistency: Stir in ½ to 1 cup of nondairy milk until the soup reaches your desired thickness. Season with salt and pepper to taste.
- Prepare the Garnish: Steam the reserved asparagus tips until tender-crisp.
- Serve: Ladle the soup into bowls, top with steamed asparagus tips, and garnish with fresh dill. Enjoy hot, or let it cool for a chilled variation!
Vegan-ize any recipe!Grab our free vegan cheat sheet, packed with my favorite easy substitutions to make any recipe vegan.
Vegan Cream Cheese

Have you ever tried vegetable cheese? It's delicious and easy to prepare. It's also healthy and nutritious!
The cheese can be eaten right away, but its taste is refined over time. I suggest letting it rest for at least 8 hours.

Recipe

Vegan Cream Cheese
Have you ever tried vegetable cheese? It's delicious and easy to prepare. It's also healthy and nutritious!
Print
Pin
Save
Servings: cup
Ingredients
- 1 cup raw cashews unsalted
- 2 tbsp. pressed lemon
- 2 tbsp. apple vinegar
- 3 tbsp. water
- ½ tsp. garlic powder
- ½ tsp. white pepper
- ½ tsp. salt
Instructions
- Soak cashews in a bowl of water for at least 12 hours. The more they soak, the creamier the cheese will be.
- The next day, drain well.
- Pour all the ingredients into the blender and blend for a few minutes until you obtain a homogeneous, creamy preparation.
- Transfer the resulting preparation into a ramekin or a small glass bowl.
- Keep cheese in the fridge for about 8 hours before serving, so the flavor will develop.
- Like all cheeses, it is better at room temperature. Take cheese out of the fridge a little before eating.
Nutrition (Estimate per Serving)
Calories: 744kcalCarbohydrates: 45gProtein: 25gFat: 57gSaturated Fat: 10gPolyunsaturated Fat: 10gMonounsaturated Fat: 31gSodium: 976mgPotassium: 945mgFiber: 6gSugar: 9gVitamin A: 7IUVitamin C: 17mgCalcium: 68mgIron: 9mg
Vegan-ize any recipe!Grab our free vegan cheat sheet, packed with my favorite easy substitutions to make any recipe vegan.
Italian Eggplant Casserole with Cashew-Tofu Ricotta

This is my healthy, gluten-free substitute for eggplant parmigiana. Not frying the eggplant saves time and calories, and both of those can be at a premium. Its very saucy and perfect over pasta. Recipe from The Vegan Slow Cooker* by Kathy Hester, reprinted by permission of the author. Photo by Cara Lyons of Cara's Cravings. [Read more...]
How to Make Cashew Milk in Just a Few Easy Steps
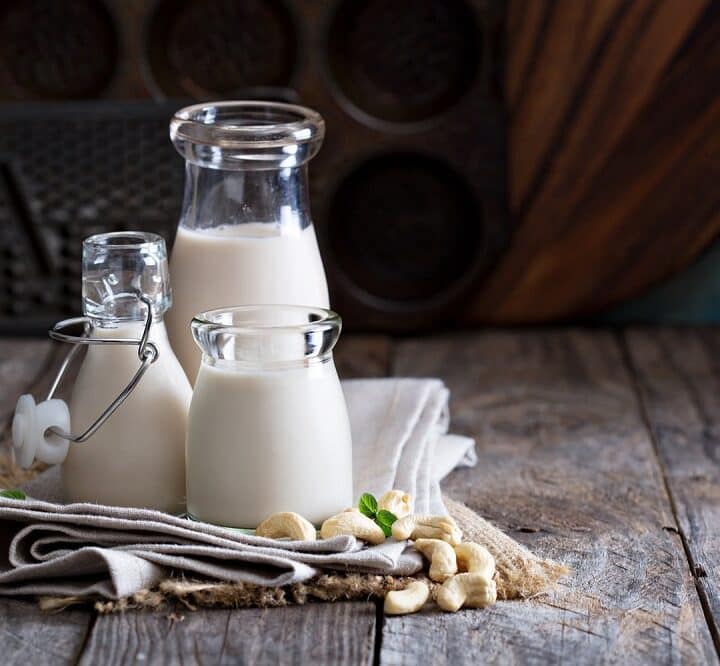
Plant-based alternatives for cow’s milk have been around for quite some time. However, their reputation has really grown in recent years, and they’ve become a staple on many store shelves. Of course, this coincides with the growing popularity of veganism, but non-vegans use milk substitutes as well due to lactose intolerance, cholesterol concerns, or simply taste preference.
Because of this, there is a rather wide range of options to choose from. Soy milk is likely the most popular, but rice, almond, and coconut milk also rate highly. However, a new contender has entered the race—cashew milk. It has quite a few things going for it and is definitely worth a try. What is more, it is very simple to make at home, so you can easily see its benefits for yourself.
To help you do that, this article will tell you everything you need to know about how to make cashew milk and why it might just be the best choice for you.
Why Choose Cashew Milk?
Cashews contain minerals such as magnesium and copper, along with plenty of vitamins. These benefits extend to cashew milk, which is also cholesterol-free. However, despite the nutritional goodness, the main draw is the taste.
As you may be aware, the taste of popular milk substitutes is not to everyone’s liking. For example, many find that soy milk has a “bean-like” flavor that not all can enjoy.
In general, milk substitutes tend to have an aftertaste that can be problematic. Additionally, they can also be very watery and thin. In essence they are really nothing like the liquid they are replacing. But that is not the case with cashew milk!
Instead, cashew milk may very well be the creamiest plant-based milk you can get. It is delicious, rich, and thick.
Now, while it is possible to buy cashew milk in some stores, it is not the easiest product to find. Thankfully, you don’t need to scour every supermarket in your vicinity, because you can just make it yourself. It requires a bit of preparation beforehand, but the actual work time takes only minutes.
In addition to the convenience, making your own cashew milk also gives you complete control over the end product. You can tweak the thickness to your liking, choose whether you want to add any sweetener, etc.
All you need to do is simply stick to the following steps and you will know how to make cashew milk that is just right for you.
How to Make Cashew Milk at Home: What You Need
Core Ingredients:
- Raw cashews, 1 cup
- Filtered water, 4 cups for blending plus what you need to soak the cashews
You also need a blender or a food processor.
Optional Ingredients:
- A pinch of sea salt
- Your sweetener of choice (maple syrup, vanilla extract, agave syrup, etc.)
You may also want to use a mesh strainer.
The quantities are here mainly for reference and you can make a bigger batch if you want to. However, this is an amount that most blenders will be able to handle, and it is best to only process this much milk at a time. If it’s your first time trying cashew milk, this is more than enough to see if cashew milk is for you.
How to Make Cashew Milk at Home: Step-by-Step
When it comes to the question of how to make cashew milk at home, the answer is: very easily. As you can see, the list of ingredients is quite short. If you want the purest taste, you just need cashew nuts, water, and a blender.
Consequently, the process itself is also rather simple. Even if you include the optional steps, the work you have to do is pretty much effortless.
Step 1: Soaking
The first thing you need to do is place the cashew nuts in a bowl of some sort and completely cover them with water (filtered works best). You’re doing this for two reasons.
First, it’s so the cashews will be easier to blend. Second, it helps remove the phytic acid from the cashews. Phytic acid makes it more difficult for your body to absorb minerals, and you may have heard people call it an anti-nutrient. By soaking the cashew nuts beforehand, you are ensuring that you get the healthiest milk possible.
The cashews need to stay underwater for at least four hours. However, it is best if you just put them in the fridge and leave overnight. Either way, drain them once they are done soaking and rinse thoroughly.
Step 2: Blending
Now, while the cashews are still wet, add them to your blender along with four cups of filtered water. Begin blending on a low setting, then switch to high after a bit. You are done when you have a completely smooth liquid with no traces of nuts. If you have a high-powered blender, this only takes a minute. If not, it’ll be a little longer, but it is still a quick job.
Here is one note about the water-to-cashews ratio: This proportion will result in a liquid that is similar to whole milk in terms of texture. You can adjust the creaminess by adding more or less water. Just make sure you don’t go too far either way. You can also add the water gradually until you reach a consistency you’re happy with. But for your first time, it’s best to stick to the 4-to-1 scale.
Step 3: Add the Sweetener and/or Salt (Optional)
Just before you finish blending, you have the opportunity to enhance the flavor, if you wish. You can add a little bit of salt or go the other way and make the milk sweeter. A huge benefit of making it yourself is that you can simply adjust the taste to your preferences.
Step 4: Straining (Optional)
A great thing about cashew milk is that you absolutely do not need to strain it. If you have a weaker blender, it is possible for some chunks to remain, though. You may also simply want the milk to be as smooth as possible. Either way, pour the milk through a strainer and stir the solid part if needed. You can even make two batches, strain one, and see which you prefer.
That's all there is to it! Keep the cashew milk in the fridge until you’re ready to use it, and it should be good for at least three or four days. Just remember to shake it, because the ingredients can separate a bit.
As you can see, the entire process is very straightforward. The end product tastes great, has a wonderful texture, and can be used in a variety of situations. Now that you know how to make cashew milk on your own, there is no reason not to give it a try as soon as possible.
Creamy Vegan Salad Dressing Recipes

Salad dressing can get a little tricky when you’re vegan. Most are made out of oils and vinegars. But if you want a hearty, creamy dressing, many have mayonnaise in them. Luckily, it’s easy to get a creamy, vegan salad dressing by using ingredients like vegan mayonnaise, hummus or even nuts like cashews. Below are some of the top creamy vegan salad dressing recipes. [Read more...]
Raw Vegan Orange Creamsicle Ice Cream Cake
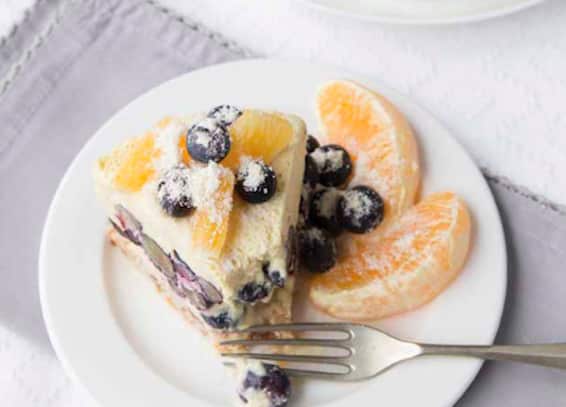
This summery dessert has everything you love about Creamsicles, but in cake form! While the presentation makes it look like you've been working on this dessert for days, it actually requires very little effort. Best of all, this orange creamsicle ice cream cake is vegan and raw.
This frozen cake is designed to be made in a springform pan so that the sides can be removed. Much like any ice cream cake, this recipe will melt when removed from the freezer. [Read more...]
8 Vegan Frozen Treats You Can Make Without an Ice Cream Machine
Whether you're in the dog days of summer or in the midst of a heat wave lingering into September, a frozen treat is always welcome.
You don't need any kind of special machine to make these all-natural, delicious vegan ice creams and ice pops, most made with fresh fruit and all made with other wholesome ingredients.
Some of these do require popsicle molds, which are inexpensive. I have this cheap set from Amazon.
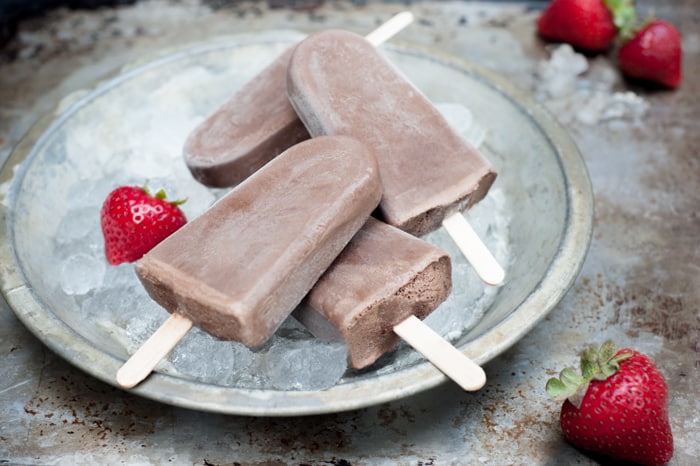
Let's start with Leslie Cerier's Cocoa Cashew Coconut Ice Pops. The perfect summer popsicle for kids of all ages, these feature cashews, coconut milk, and cocoa.
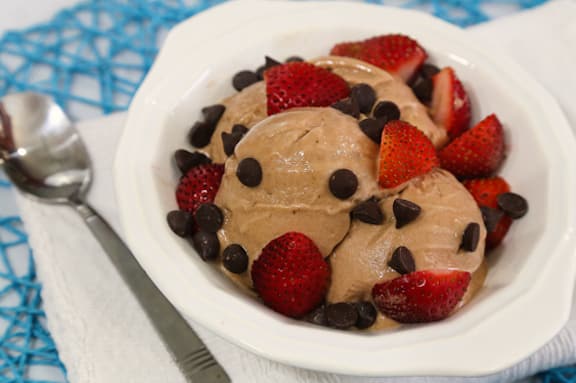
Chocolate Banana Frozen Soft Serve is another chocolate-y treat. Your taste buds won't believe that this frozen treat is made almost purely of banana. The velvety texture and mild chocolate flavor will have you hooked. Freezing bananas that are getting almost too ripe is perfect for making treats like this, or for using in smoothies.
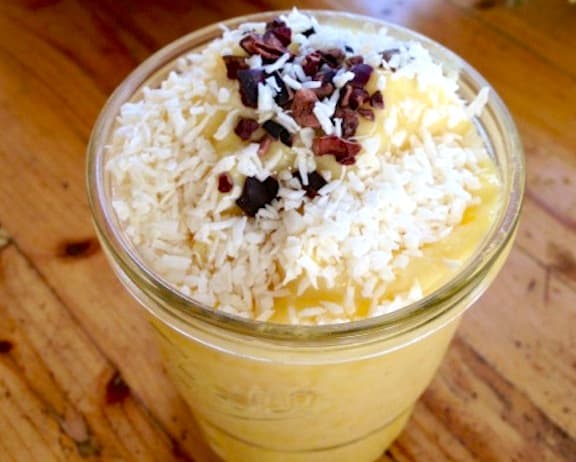
Creamy Pineapple Crush with a dusting of shredded coconut and cacao nibs satisfies any sweet tooth … without the fat and processed sugar. Three basic ingredients, all pure foods, whipped up into a creamy frozen dessert that couldn't be easier to make.
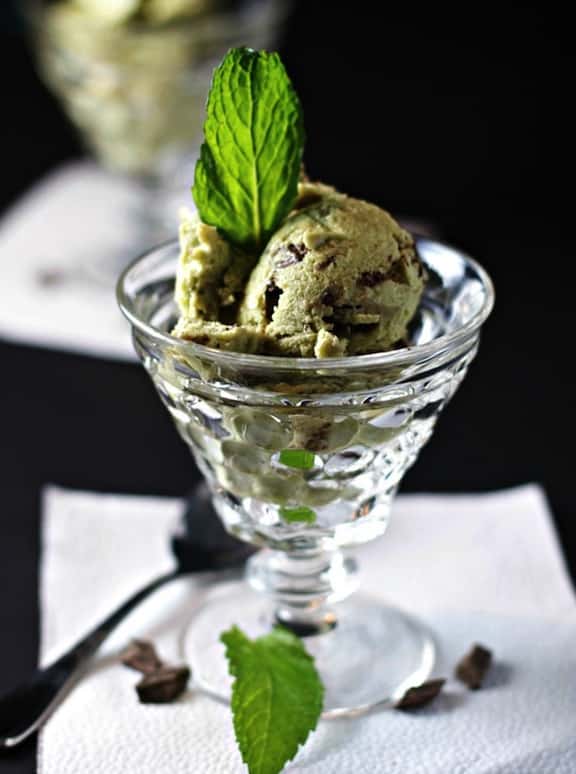
Mint Chocolate-Chip Ice Cream is so delicious, it's hard to believe that it's made from bananas and avocados. Avocados power up the nutrition in this dessert and gives it that beautiful green hue. Add a few drops of mint extract, chocolate chips and enjoy!

Fresh Mango or Nectarine and Blueberry Ice Pops prove that all you need are ice pop molds and fresh summer fruits to create easy, refreshing, and healthy frozen treats. Make sure your fruit is lush and ripe or these won't have optimal flavor.

Crazy Carrot Pops are ice pops made from real fruits and veggies - lots of fun for kids to eat, and reassuring for parents to know they're giving their children a wholesome treat.
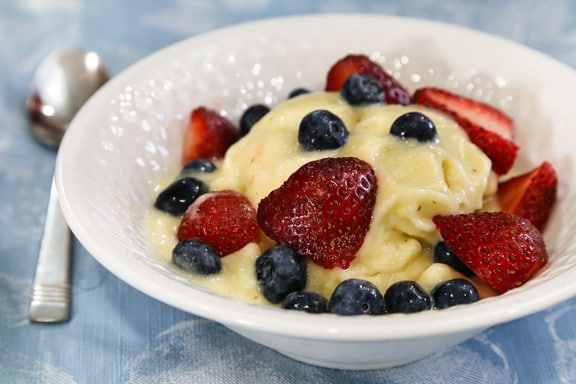
To make Vegan Banana Ice Cream, frozen bananas blend up and become just like soft-serve ice cream. Use a food processor, not a blender for this. Depending on the size of the food processor, you may have to make this in two batches.
Also try: our vegan fudgesicles.
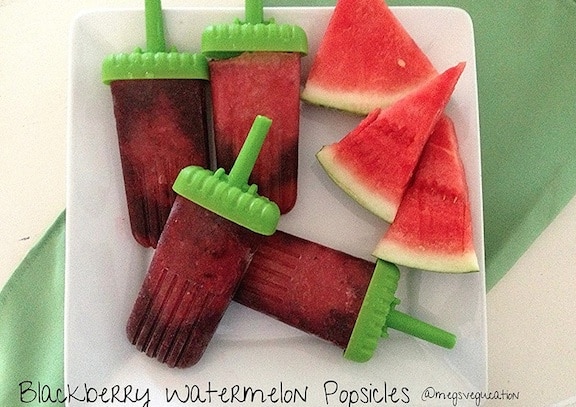
You'll be surprised at how quick Blackberry Watermelon Popsicles are to make, and how delicious the outcome is. You can can also vary these these with any kind of fruit you can blend!
Hope you found something to make your summer a little bit sweeter. For more ideas, check out all of our vegan ice cream recipes or other delicious vegan desserts.
Baked Eggplant Stacks with Cashew Ricotta

A twist on a classic Italian meal features baked eggplant slices stacked with cashew ricotta, balsamic infused baby spinach and your favorite marinara sauce. Just add a colorful salad and fresh whole grain bread (or a simple pasta or grain dish) for a fantastic meal. Make sure to start soaking the cashews and pine nuts for the "ricotta" well ahead of time. Contributed by Jennifer Strohmeyer, from Virtually Vegan Mama. [Read more...]
Cashew Chocolate Mousse Pie

This vegan chocolate mousse pie, made of raw cashews and silken tofu, is rich and delicious. It goes down very easy, so depending on how many you are serving, you may want to double the recipe and make two. This is a great finish for holiday meals, but it’s simple enough to prepare for dessert, any day of the week. Adapted from Vegan Holiday Kitchen* by Nava Atlas.
Creamy Bow Tie Pasta with Mushrooms and Dried Tomatoes

In the original version of this simple but elegant dish of bowtie pasta, mushrooms, and dried tomatoes, the ingredients are enveloped in a rich cream sauce. I've streamlined and veganized it by making a creamy sauce of low-fat white beans instead. Serve with a colorful salad and fresh crusty bread. Photos by Hannah Kaminsky. [Read more...]
Colorful and Creamy Potato Salad

Whether you're in need of a side dish for an everyday dinner or looking for a dish to share at a potluck or outdoor meal, you'll find this lively potato salad quite pleasing. Green peas, bell peppers, olives, and herbs enliven a classic salad. Photos by Evan Atlas. [Read more...]
Creamy Chilled Avocado Soup

Requiring no cooking, this creamy chilled avocado soup is remarkably refreshing on a hot summer day. It's best eaten on the same day as it is made, since avocado discolors and does not keep well under refrigeration once peeled. This raw soup makes a great opener for a Southwestern-style meal of burritos, enchiladas, or the like. Adapted from Vegan Soups and Hearty Stews for All Seasons. Photos by Hannah Kaminsky. [Read more...]
Cashew Butter Sauce

You will love this creamy Cashew Butter Sauce. It's vegan, healthy, and delicous on everything! This sauce will become your new sauce go-to.

This sauce is one of the most luscious, versatile sauces in my repertoire. It tastes great on sweet potatoes, grains, vegetables, and noodles.
Here are lots more recipes for simple sauces and such.
How to Make Cashew Butter Sauce
- Heat oil in a saucepan.
- Add bell pepper and scallions and cook until soft.
- Add tomato and cook until soft.
- Sprinkle in flour, stir, add water, and simmer.
- Whisk in remaining ingredients and cook until thick.
- Season with salt and pepper and serve.
Full directions for how to make Cashew Butter Sauce are in the printable recipe card at the bottom of the post.
Cashew Butter Sauce FAQs
Is this butter sauce vegan?
This butter sauce is totally vegan. It's made with cashews instead of milk or butter, so the sauce doesn't contain any dairy.
Can I add more vegetables to this sauce?
You can definitely add more vegetables to this sauce. Sliced broccoli and carrots could be good options. Alternatively, you could take out the bell pepper. Whatever vegetables you use, just make sure to cook them until soft.
Recipe

Cashew Butter Sauce
You will love this creamy Cashew Butter Sauce. It's vegan, healthy, and delicous on everything! This sauce will become your new sauce go-to.
Print
Pin
Save
Servings: cups
Ingredients
- 2 teaspoon olive oil
- ½ medium bell pepper red, orange, or yellow bell pepper; finely diced
- 3 scallions minced
- 1 cup tomato finely diced
- 1 tablespoon unbleached white flour
- 1 cup vegetable stock or water
- ½ cup cashew butter
- ½ teaspoon good-quality curry powder
- ½ teaspoon ginger fresh or jarred; optional
- salt and freshly ground pepper to taste
Instructions
- Heat the oil in a saucepan.
- Add the bell pepper and scallions and cook over medium-low heat until the bell pepper softens, about 4 minutes.
- Add the tomato and cook for 3 to 4 minutes longer, stirring, until it softens.
- Sprinkle the flour in and stir until well blended with the vegetables. Pour in the water and bring to a gentle simmer.
- Whisk in the cashew butter, then add the curry and optional ginger. Cook for another 2 to 3 minutes, until smooth and thick.
- Season with salt and pepper, then serve at once. Or, cover until needed, then heat through before serving.
Nutrition (Estimate per Serving)
Calories: 459kcalCarbohydrates: 28gProtein: 13gFat: 36gSaturated Fat: 7gPolyunsaturated Fat: 6gMonounsaturated Fat: 22gSodium: 488mgPotassium: 652mgFiber: 4gSugar: 5gVitamin A: 1987IUVitamin C: 52mgCalcium: 53mgIron: 4mg
Vegan-ize any recipe!Grab our free vegan cheat sheet, packed with my favorite easy substitutions to make any recipe vegan.
Adapted from Vegan Express. Photo by Susan Voisin, Fatfreevegan.com.
Vegan Sour Cream

Here’s an easy preparation for vegan sour cream made from silken tofu. I especially like this as a garnish for Southwestern-style dishes and cold soups. Adapted from Vegan Soups and Hearty Stews for All Seasons. [Read more...]
Vegan Pumpkin Bars
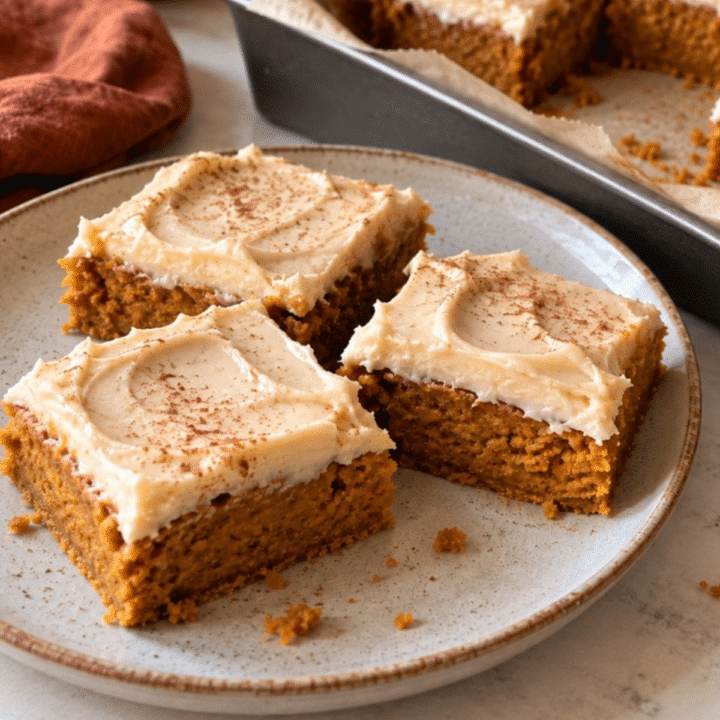
These vegan pumpkin bars are soft, moist, and warmly spiced, with a thick layer of tangy vegan cream cheese frosting and a light dusting of cinnamon on top. No eggs, no dairy, and easy to whip up for a Fall dessert.
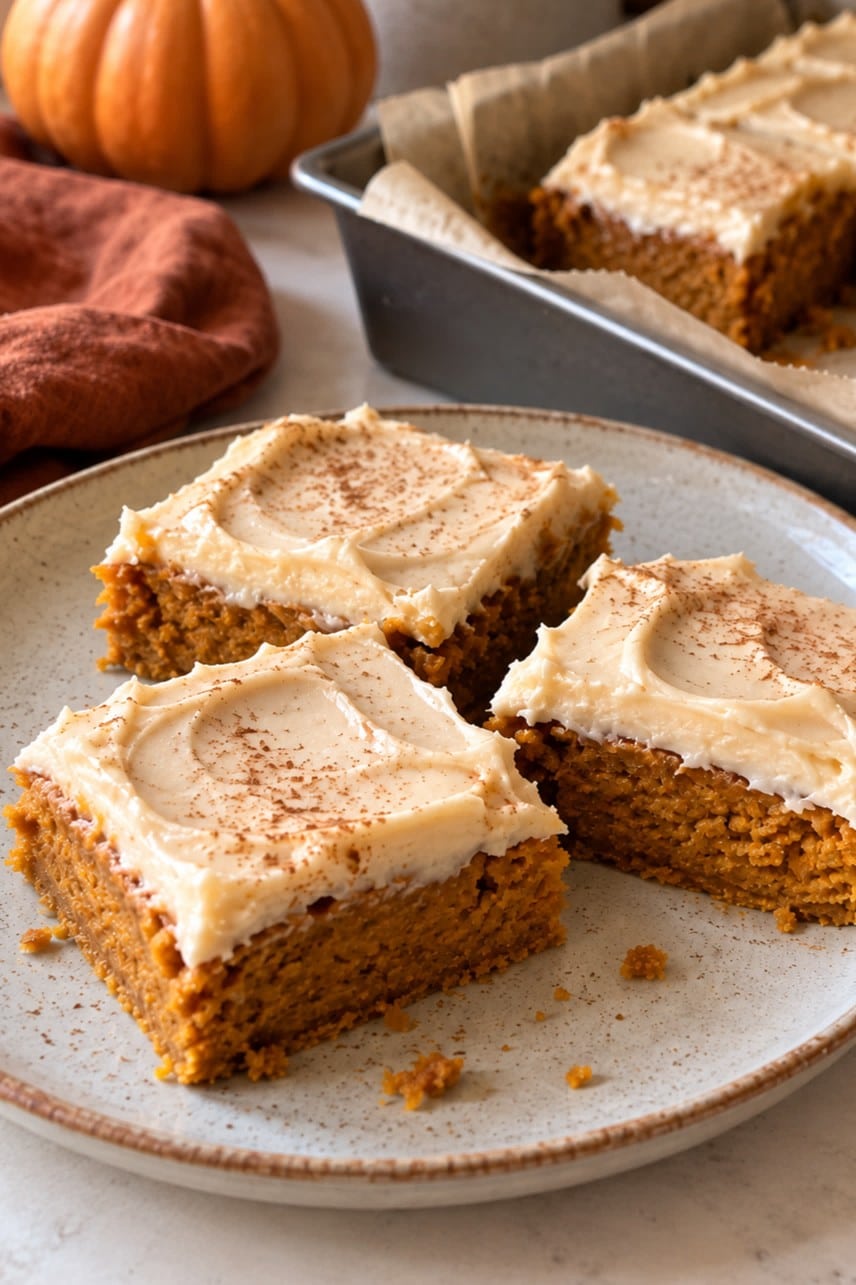
Think of them as a cross between pumpkin bread and sheet cake. Soft enough to eat with a fork, but sturdy enough to pack in a lunchbox or carry to a potluck. And super simple to throw together with ingredients you probably already have in your pantry!
Key Ingredients & Substitutions
- Pumpkin puree. Use a 15-ounce can of plain pumpkin puree, not pumpkin pie filling, which is already sweetened and spiced. Homemade pumpkin puree works too, but it can be a bit more watery, so drain it off well and pat with a few paper towels before adding it to your batter.
- Pumpkin pie spice and cinnamon. A store-bought pumpkin pie spice plus a bit of extra cinnamon gives these pumpkin bars their classic flavor. No pumpkin pie spice? You can mix your own by combining 1 teaspoon cinnamon, ½ teaspoon ginger, ¼ teaspoon nutmeg, and a pinch each of allspice and cloves.
- Brown sugar and granulated sugar. Brown sugar adds moisture and that distinct caramel note, while granulated sugar keeps the crumb light. You'll want to make sure you choose vegan friendly brands, like this vegan brown sugar and this organic cane sugar. Coconut sugar can also be used to replace the brown sugar, though the bars will be a little darker and less sweet.
- Apple cider vinegar and baking soda. The vinegar reacts with the baking soda to help the bars rise. If you don't have apple cider vinegar, you can substitute lemon juice or white vinegar in a pinch.
- Neutral oil. Avocado, canola, or vegetable oil keeps the bars nice and moist. Melted refined coconut oil also works, but it tends to firm up in the fridge, so the bars will be denser when refrigerated.
- Vegan cream cheese. Brands vary a lot in texture. We've had good luck with the Miyokonos or Kite Hill vegan cream cheese lately, which both seem to hold their shape well when whipping.
- Vegan butter. Stick-style vegan butter makes a firmer frosting than soft tub spreads. Earth Balance Vegan Buttery Sticks are our favorite for baking recipes like this one.
- All-purpose flour. Spoon it into the measuring cup and level it off rather than scooping, or the bars can turn dry. A 1:1 gluten-free baking flour blend is the easiest swap if you need these gluten-free.
Helpful Tips
Don't overmix the batter. Once the dry ingredients go into the pumpkin mixture, stir only until you no longer see streaks of flour. Overworking the batter develops the gluten and leads to tough, rubbery bars. A few small lumps will bake out.
Line the pan with a parchment sling. Leaving a few inches of parchment hanging over the long sides of the 9x13-inch pan lets you lift the whole slab out after it has cooled for 20 minutes. It cools faster on a rack, and cutting neat bars on a board is much easier than cutting in the pan. I tested mine both ways, and found the parchment paper version much easier.
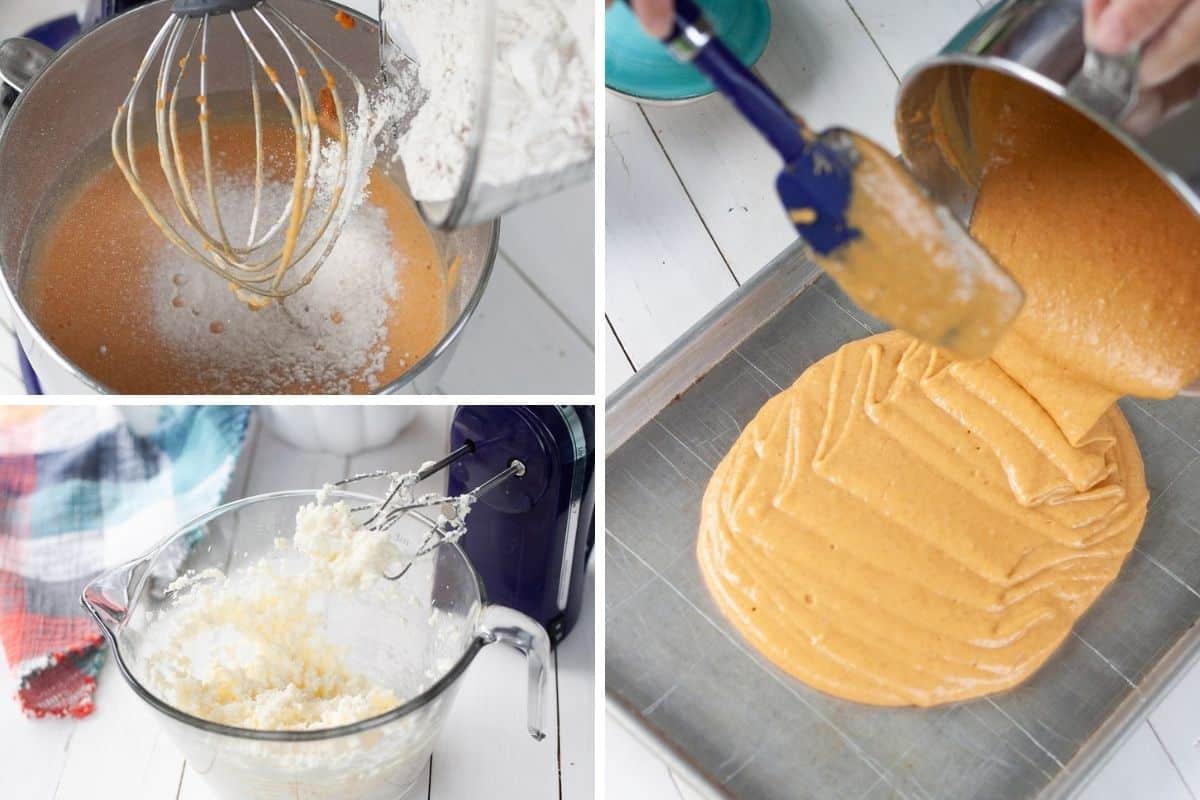
Check for doneness early. Ovens can vary a bit, so start checking at 28 minutes. The bars are ready when the center springs back when you press it lightly and a toothpick near the middle comes out clean or with a few moist crumbs. Pulling them a minute early is better than a minute late- they keep setting as they cool.
Let them cool completely before frosting. Even slightly warm bars will melt that vegan cream cheese frosting into a glaze. So give them a full hour on the rack, or speed things up with 20 minutes in the fridge once they're close to room temperature.
Beat the butter first, then the cream cheese. Vegan cream cheese can get runny if it's beaten for too long, so cream the vegan butter on its own until fluffy, then add the cream cheese and mix only until smooth. If the frosting still seems thin, add a little more powdered sugar or chill it for 15 to 20 minutes.
Variations
- Cashew cream frosting. For a frosting without store-bought cream cheese or butter, blend soaked raw cashews with maple syrup, melted refined coconut oil, a splash of nondairy milk, lemon juice, and vanilla until silky, then chill it until spreadable. The full instructions for this are in the recipe notes below.
- Chocolate chip pumpkin bars. Fold ¾ cup vegan mini chocolate chips into the batter. They're good with or without the frosting, a bit like our pumpkin chocolate chip muffins in bar form.
- Maple frosting. Swap 2 tablespoons of the powdered sugar for pure maple syrup and add ¼ teaspoon maple extract. It pairs especially well with the spiced cake.
- Nutty crunch. Sprinkle ½ cup chopped toasted pecans or walnuts over the frosted bars instead of the cinnamon.
- Halloween pumpkin bars. Tint a few spoonfuls of frosting orange or black with some gel food coloring and top with some vegan-friendly Halloween sprinkles.
- Unfrosted snack bars. Skip the frosting entirely for a healthier option. Sprinkle the batter with a little turbinado sugar before baking for a more lunchbox-friendly bar.
Serving Ideas
These bars are made for sharing. Cut them into 12 generous squares for dessert, or into 24 smaller pieces for a bake sale, a school party, or a Thanksgiving dessert table alongside a classic vegan pumpkin pie.
For a cozy afternoon treat, serve a bar with a mug of homemade vegan pumpkin spice latte, hot apple cider, or a strong cup of coffee. They also look great on a Halloween dessert board next to vegan Halloween cupcakes.
Storing & Freezing
Because of the cream cheese frosting, store frosted pumpkin bars in an airtight container in the refrigerator for up to 5 days. They're delicious cold, but letting them sit out for 15 minutes before serving brings back their soft texture and fuller flavor.
For freezing, the unfrosted slab freezes best. Wrap the cooled bars tightly in plastic wrap and foil and freeze for up to 3 months, then thaw overnight in the fridge and frost the day you serve them. Frosted bars can also be frozen in a single layer until firm, then transferred to a container to freeze for up to 1 month. Thaw them in the refrigerator.
To make ahead for a party, bake the bars a day in advance, keep them covered at room temperature once cooled, and make the frosting shortly before serving.
More Vegan Fall Desserts
If you loved these pumpkin bars, here are a few more treats you might enjoy:
- Vegan Carrot Cake with Maple Cream Cheese Frosting
- Vegan Blondies
- Vegan Sweet Potato Brownies
- Tasty Vegan Pumpkin Recipes
Recipe
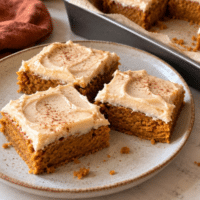
Vegan Pumpkin Bars
These vegan pumpkin bars are soft, moist, and perfectly spiced, with a thick layer of tangy vegan cream cheese frosting. Perfect for Fall!
Print
Pin
Save
Servings: bars
Equipment
- stand mixer or hand mixer
Ingredients
For the pumpkin bars
- 2 cups all-purpose flour spooned and leveled
- 2 teaspoons ground cinnamon
- 2 teaspoons pumpkin pie spice
- 1 teaspoon baking powder
- 1 teaspoon baking soda
- ½ teaspoon salt
- 1 cup organic brown sugar light, packed, vegan friendly brand
- ½ cup organic granulated sugar vegan friendly brand
- 1 15-ounce can pumpkin puree not pumpkin pie filling
- ½ cup neutral oil such as avocado, canola, or vegetable oil
- ½ cup unsweetened nondairy milk
- 2 teaspoons vanilla extract
- 1 tablespoon apple cider vinegar
For the creamy vegan frosting
- 8 ounces vegan cream cheese softened
- ½ cup vegan butter softened
- 2 ½ cups organic powdered sugar vegan friendly brand, plus more if needed
- 1 teaspoon vanilla extract
- salt a pinch
For garnish
- ground cinnamon for dusting
Instructions
- Prepare the pan. Preheat the oven to 350°F. Lightly grease a 9x13-inch baking pan, then line it with parchment paper, leaving enough overhang on the long sides to lift the bars out later.
- Mix the dry ingredients. In a medium bowl, whisk together the flour, cinnamon, pumpkin pie spice, baking powder, baking soda, and salt.
- Mix the wet ingredients. In a large bowl, whisk together the brown sugar, granulated sugar, pumpkin puree, oil, nondairy milk, vanilla, and apple cider vinegar until smooth.
- Make the batter. Add the dry ingredients to the pumpkin mixture and stir just until no dry streaks remain. Avoid overmixing; a few small lumps are fine.
- Bake. Spread the batter evenly in the prepared pan and smooth the top with a spatula. Bake for 28 to 34 minutes, until the center springs back when lightly pressed and a toothpick inserted near the middle comes out clean or with a few moist crumbs.
- Cool completely. Let the bars cool in the pan for about 20 minutes, then use the parchment to lift them out onto a wire rack. Let them cool completely, about 1 hour, before frosting.
- Make the frosting. With a stand mixer or hand mixer, beat the softened vegan butter until creamy. Add the vegan cream cheese and beat just until smooth. Add the powdered sugar gradually, then the vanilla and a pinch of salt, and beat until creamy and spreadable. If the frosting seems too soft, beat in another ¼ to ½ cup powdered sugar or refrigerate it for 15 to 20 minutes.
- Frost the bars. Spread the frosting generously over the cooled pumpkin bars. A few swirls from the back of a spoon or an offset spatula give them a pretty, homemade finish.
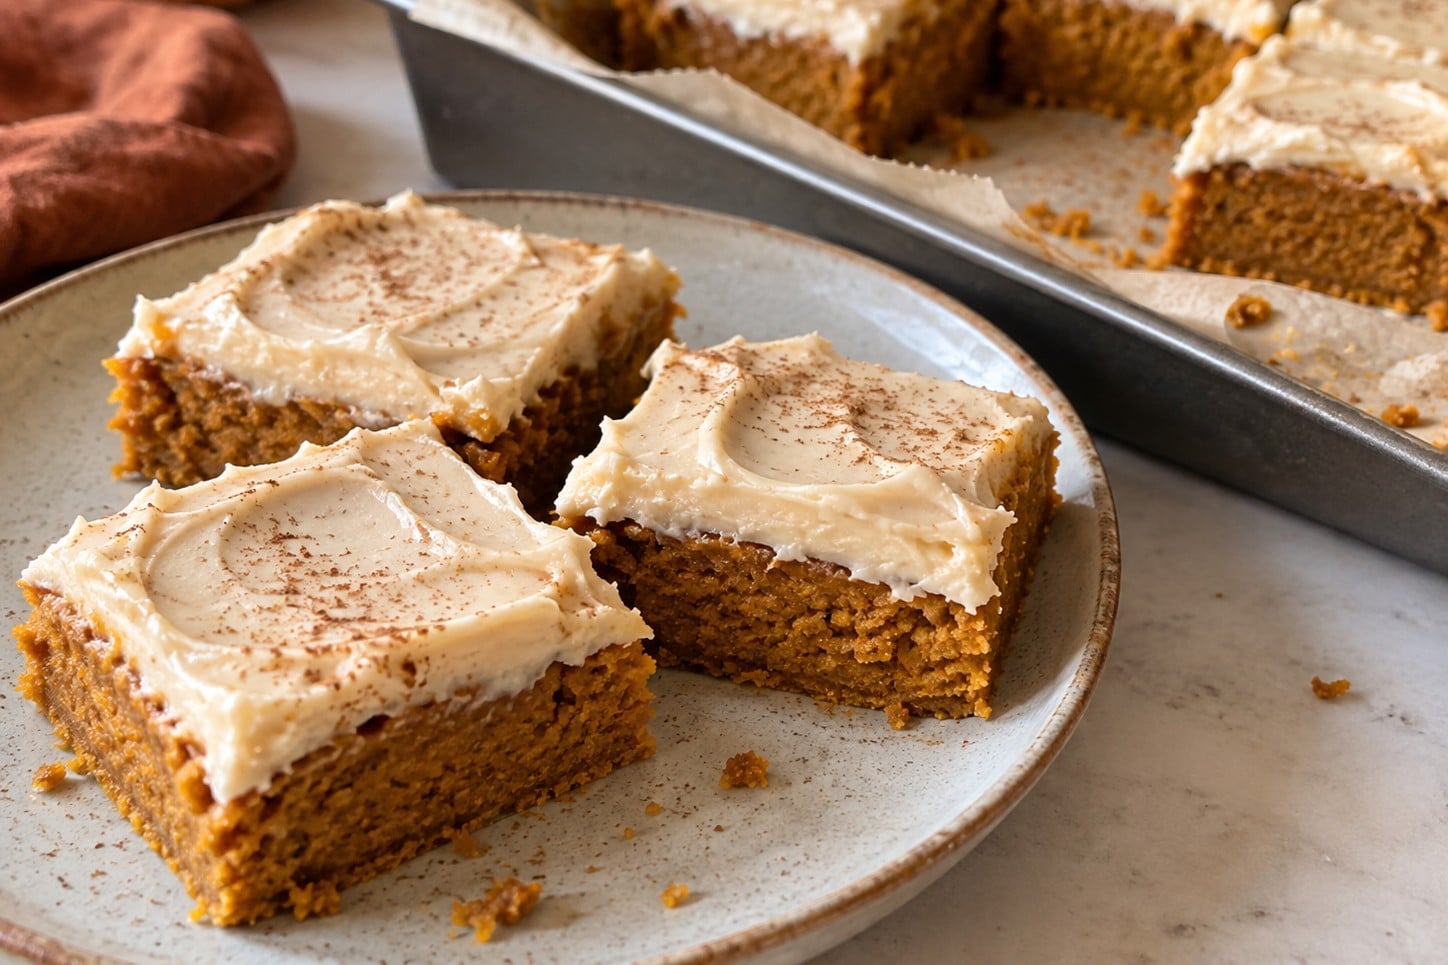
- Garnish and slice. Lightly dust the top with ground cinnamon. Cut into 12 large bars (3 rows by 4 rows). For the cleanest cuts, chill the frosted slab for 20 to 30 minutes first and wipe the knife between cuts.
Notes
Cut the slab 4 rows by 6 rows for 24 bite-sized bars, instead of 12 large ones.
Best brands: Miyoko's Creamery or Kite Hill vegan cream cheese and Earth Balance Vegan Buttery Sticks are the brands that have given me the thickest, most reliable frosting. Tub-style spreads are softer and make a looser frosting.
Cashew frosting option: Soak 1 ½ cups raw cashews in hot water for 30 minutes (or cold water for 4 hours), then drain. Blend with ⅓ cup maple syrup, ¼ cup melted refined coconut oil, 3 tablespoons unsweetened nondairy milk, 1 tablespoon lemon juice, 2 teaspoons vanilla extract, and a pinch of salt until completely smooth, scraping down the blender as needed. Refrigerate for 1 to 2 hours, until thick enough to spread, then frost the cooled bars.
Storage: Keep frosted bars covered in the refrigerator for up to 5 days. Unfrosted bars can be frozen for up to 3 months.
Nutrition (Estimate per Serving)
Calories: 474kcalCarbohydrates: 70gProtein: 4gFat: 21gSaturated Fat: 4gPolyunsaturated Fat: 4gMonounsaturated Fat: 8gTrans Fat: 0.1gSodium: 377mgPotassium: 56mgFiber: 2gSugar: 51gVitamin A: 374IUVitamin C: 0.1mgCalcium: 69mgIron: 1mg
Vegan-ize any recipe!Grab our free vegan cheat sheet, packed with my favorite easy substitutions to make any recipe vegan.
Roasted Vegetable Pumpkin Soup
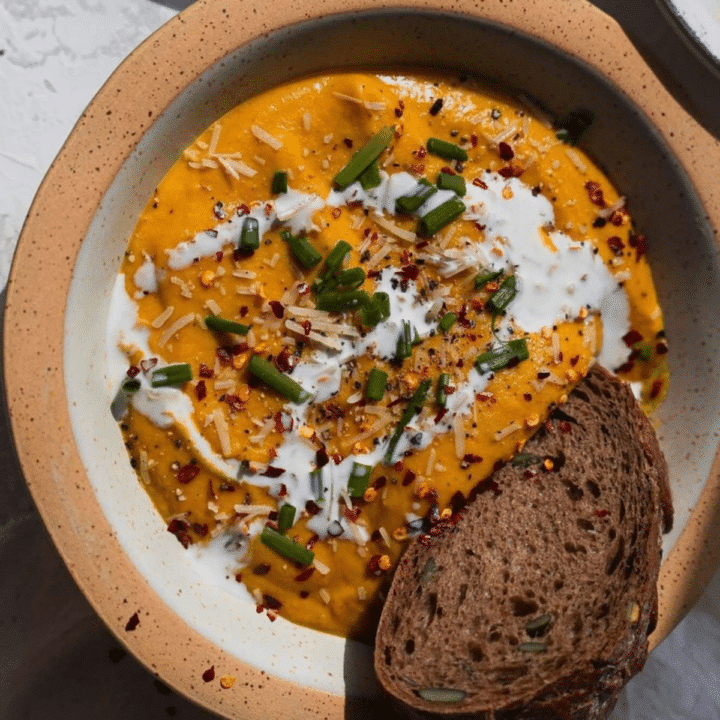
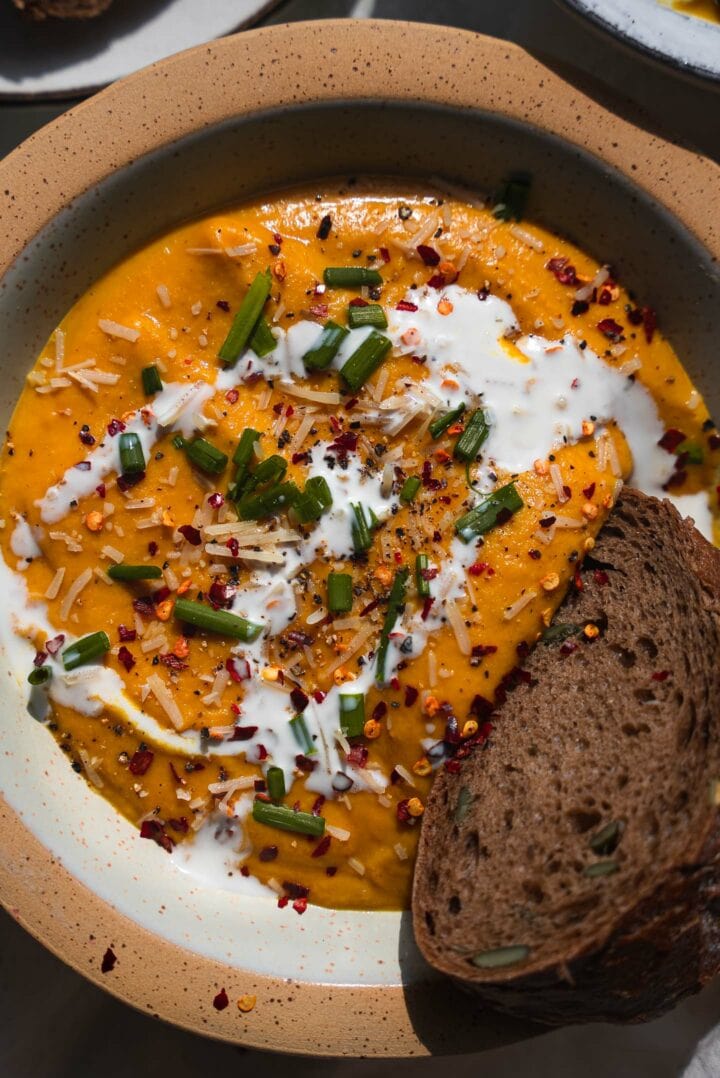
This roasted vegetable pumpkin soup is fall comfort in a bowl: pumpkin, carrots, red bell pepper, red onion and a whole bulb of garlic roast until caramelized, then get blended with coconut milk and warm spices into a silky, savory soup. It's easy to make, completely plant-based, and perfect with a thick slice of crusty bread.
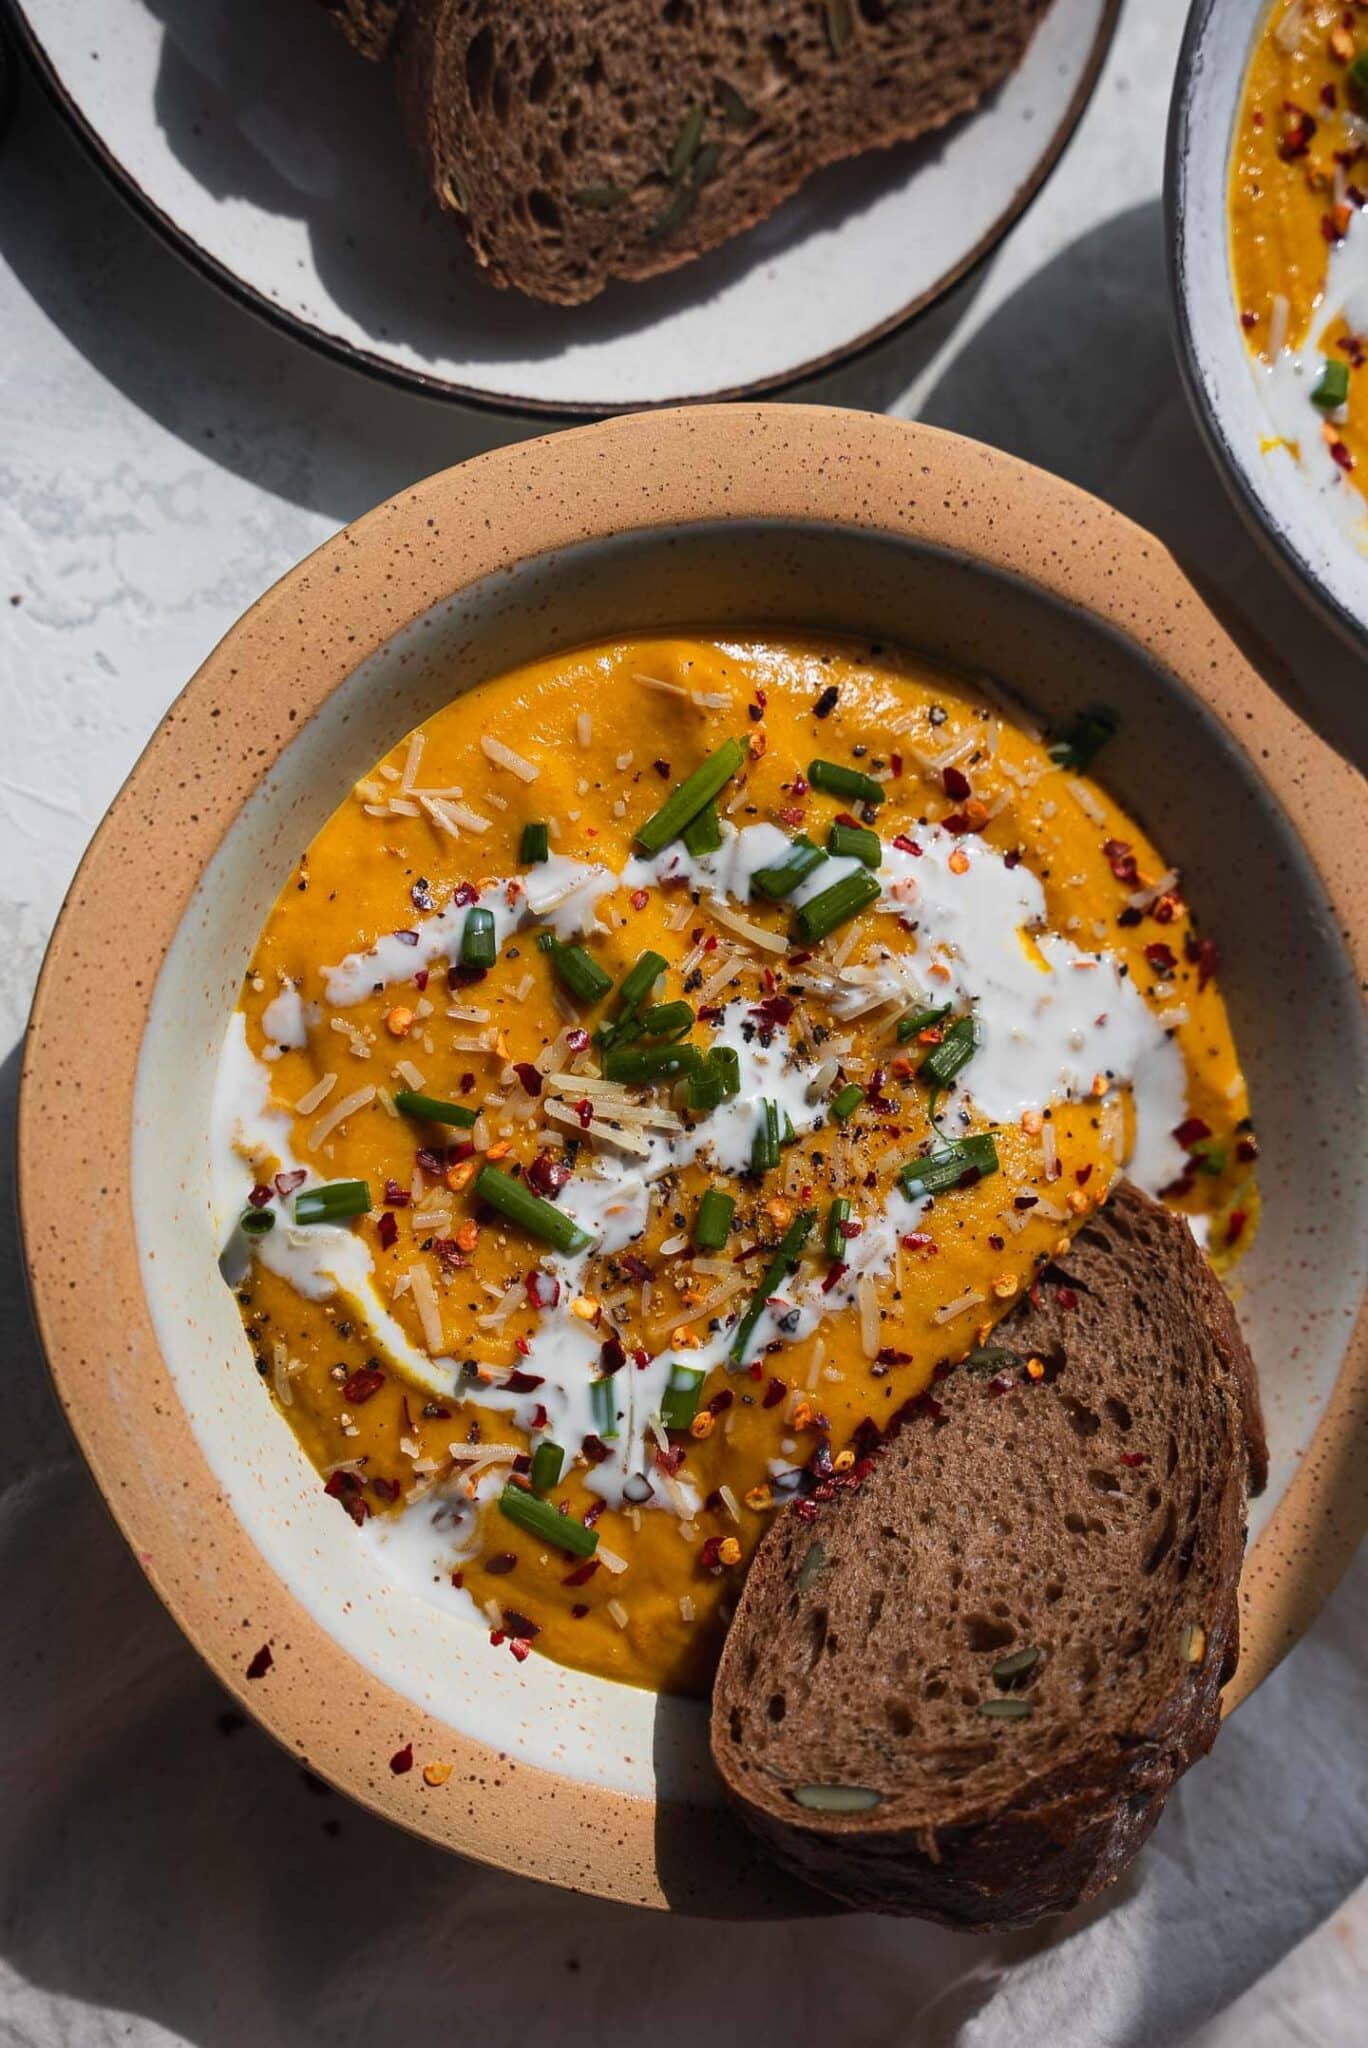
What makes this soup special is the roasting. Instead of simmering raw pumpkin in broth, everything goes into the oven first, where the edges caramelize and the garlic turns soft and sweet. That extra step gives the finished soup a depth of flavor that tastes like it took all day, even though most of the cooking time is completely hands-off.
Key Ingredients & Substitutions
- Pumpkin. A small sugar pumpkin (also called a pie pumpkin) has sweet, dense flesh that roasts beautifully. Avoid large carving pumpkins, which are watery and bland. Butternut, kabocha or red kuri squash all work as swaps with no other changes.
- Carrots. They add natural sweetness and help give the soup its deep orange color. Sweet potato is a good substitute if you're out.
- Red bell pepper. Roasted red pepper adds a sweet, slightly smoky flavor and deepens the soup's gorgeous orange color. An orange or yellow bell pepper works just as well.
- Red onion. Roasted red onion turns jammy and mellow. A yellow onion works too, or use two shallots for a slightly milder flavor.
- Whole garlic bulb. Roasting a full head of garlic tames its bite and makes it creamy and sweet. Don't worry, the soup won't taste overwhelmingly garlicky.
- Coconut milk. Full-fat canned coconut milk makes the soup rich and creamy without any dairy. Light coconut milk works if you want a lighter soup, or use unsweetened oat milk or cashew cream for a more neutral flavor.
- Turmeric, cumin and onion powder. This simple spice trio adds warmth and a gentle earthiness that pairs perfectly with the sweet roasted vegetables. Swap the cumin for smoked paprika for a smokier bowl.
- Lemon juice. A squeeze of lemon at the end brightens everything up and balances the richness of the coconut milk. Lime juice works too.
- Vegetable stock. Use your favorite low-sodium vegetable broth, and add a little extra if you like a thinner soup.
How to Make Roasted Vegetable Pumpkin Soup
Prepare the pumpkin
Start by cutting the pumpkin in half right next to the stem and scooping out the seeds. Cut each half into wedges, then peel each wedge with a sharp knife or sturdy vegetable peeler and cut the flesh into bite-sized cubes. (Save the seeds for roasting if you like, they make a great crunchy topping.)
Roast the vegetables
Preheat the oven to 350°F (180°C) and line a large baking tray with parchment paper. Spread the cubed pumpkin, carrots, red bell pepper strips and red onion quarters on the tray, drizzle with olive oil and season with salt and pepper.
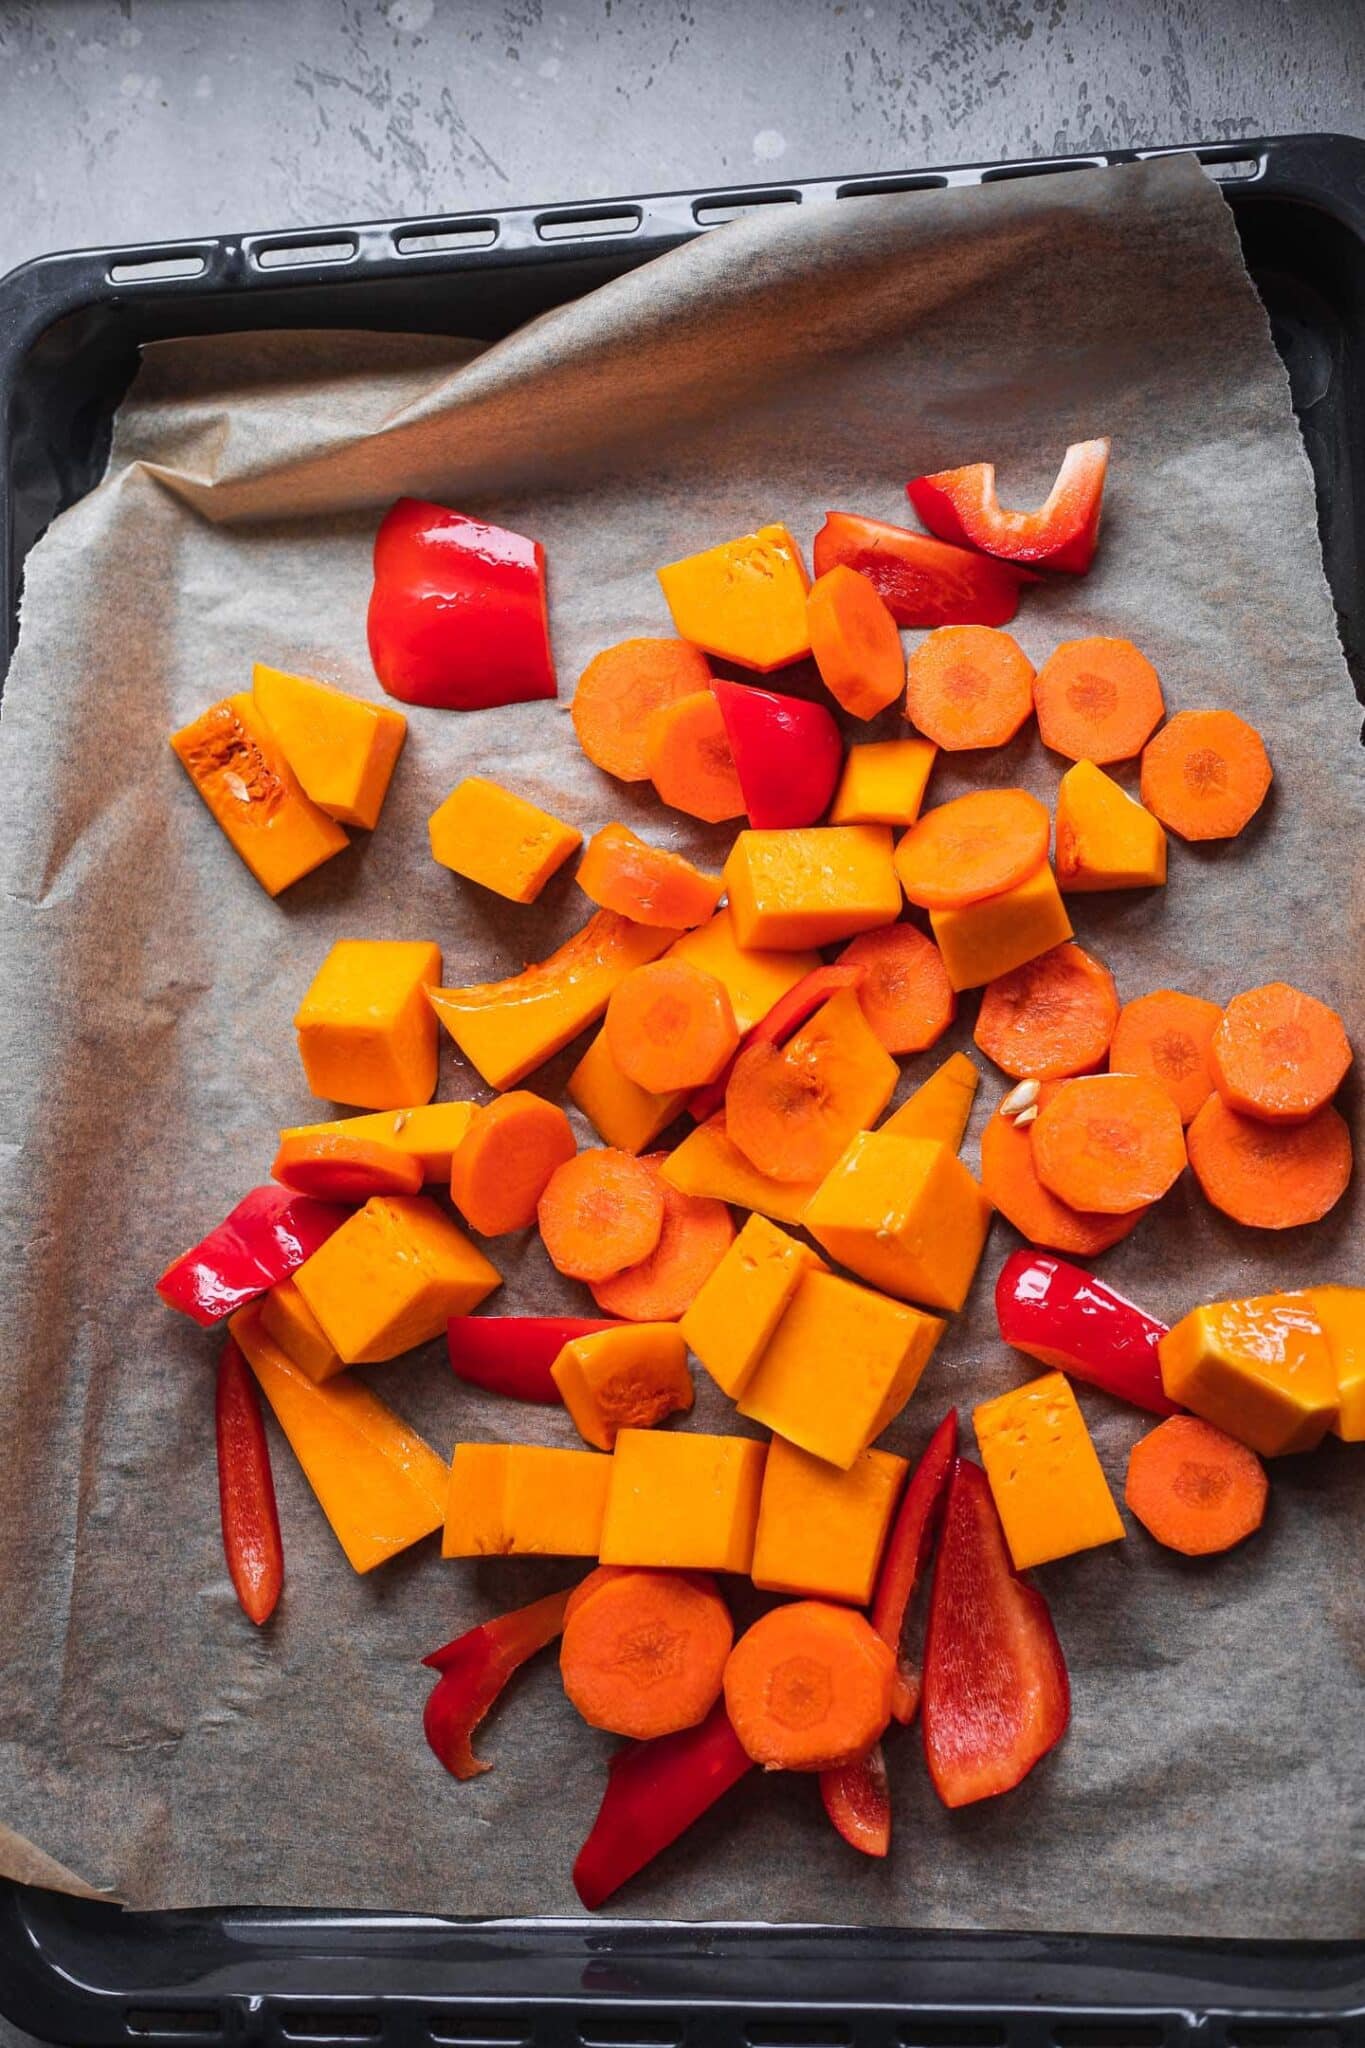
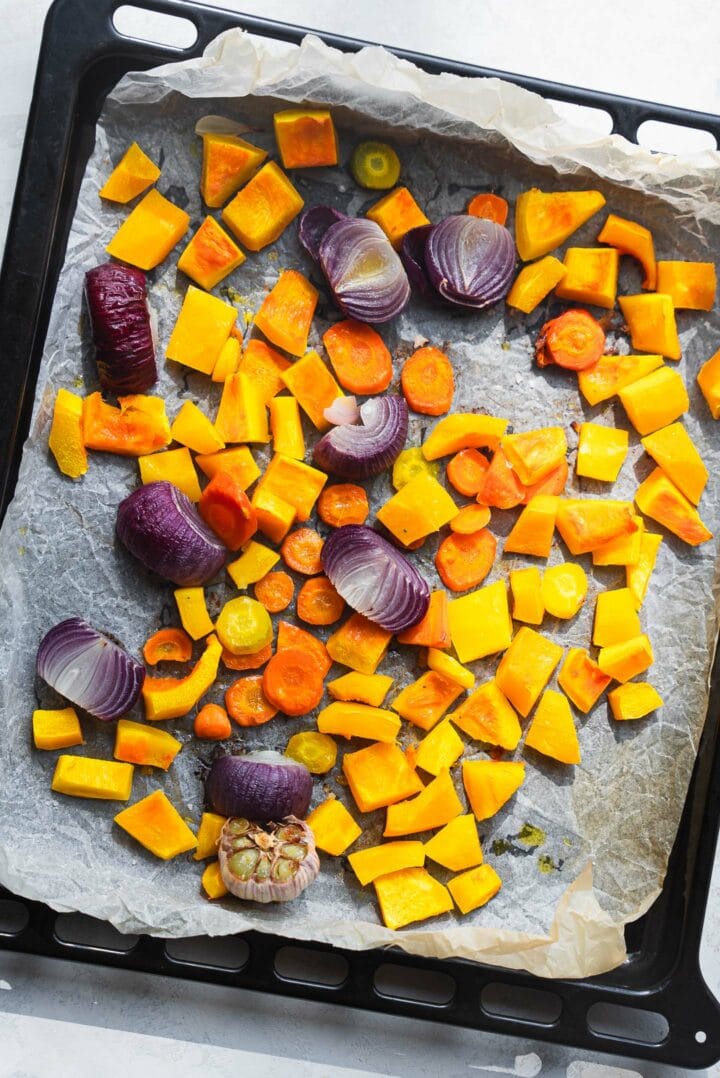
Slice the very top off the garlic bulb to expose the cloves, drizzle or spray it with a little oil, wrap it in foil and set it on the tray next to the vegetables. Roast for about an hour, until everything is soft and caramelized at the edges.
Blend and serve
Once the vegetables are cool enough to handle, transfer them to a blender or food processor. Squeeze the soft garlic cloves out of their skins and add them too, along with the coconut milk, turmeric, cumin, onion powder, lemon juice, the rest of the salt and pepper, and the vegetable stock. Blend until completely smooth.
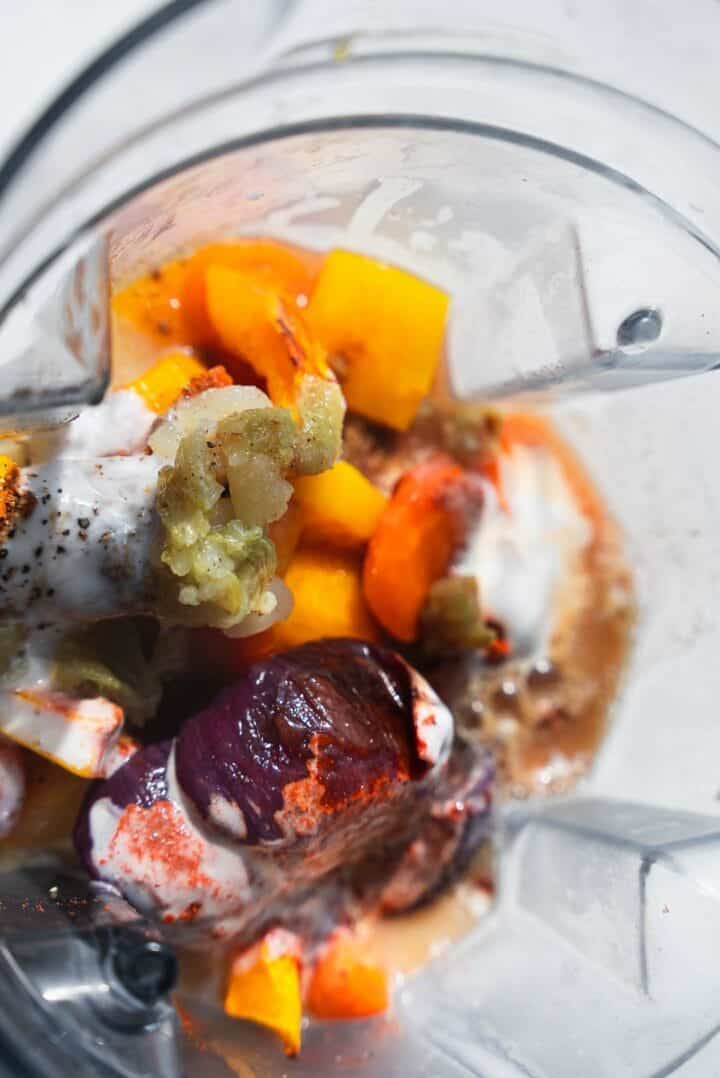
Pour the soup into a saucepan and warm it over medium heat for a few minutes, stirring often. Taste, adjust the seasoning, and it's ready to serve.
Helpful Tips
Cut everything to a similar size. Pumpkin cubes and carrot pieces that are roughly the same size roast evenly, so you won't end up with some pieces charred and others still firm. Carrots take a little longer than pumpkin, so cut them slightly smaller.
Don't crowd the tray. Vegetables that are piled on top of each other steam instead of roasting, and you lose the caramelized flavor that makes this soup so good. If your tray is full, split everything between two trays.
Let the vegetables cool before blending. Hot liquids expand in a blender and can push the lid off. Let everything cool for 10 minutes, blend in batches if needed, and hold the lid down with a folded towel. If you'd rather skip the transfer, an immersion blender lets you blend right in the saucepan.
Adjust the texture at the end. This soup is naturally thick and velvety. For a silkier, restaurant-style result, a high-speed blender does the best job. Add more vegetable stock a splash at a time until it's as thick or thin as you like.
Season after blending. Roasted vegetables vary in sweetness, so always taste the finished soup before serving. A pinch more salt or an extra squeeze of lemon usually makes all the flavors pop.
Variations
- Add sweet potato. Swap one of the carrots for a small sweet potato for an even creamier, naturally sweeter soup.
- Make it spicy. Add a pinch of cayenne or a teaspoon of red curry paste when blending, and finish with chili flakes.
- Thai-inspired. Blend in a little fresh ginger and a spoonful of red curry paste, and swap the lemon juice for lime.
- Extra protein. Stir a can of drained white beans or chickpeas into the finished soup, or blend them in for an even creamier texture.
- Different squash. Butternut, kabocha or acorn squash all work in place of pumpkin, so you can make this soup well past pumpkin season.
- Herby version. Roast a few sprigs of fresh thyme or sage with the vegetables, then remove the stems before blending.
Serving Ideas
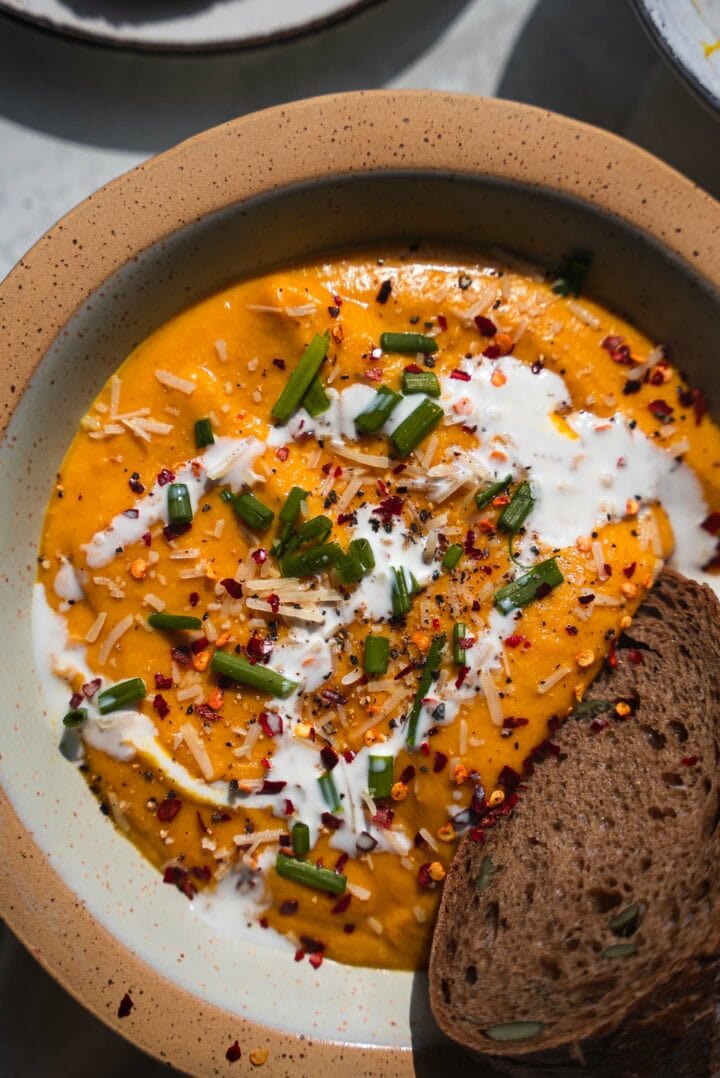
This soup is made for dunking, so serve it with plenty of good bread. Crusty whole-grain or rye bread is a classic, and homemade focaccia bread, vegan cornbread or warm vegan biscuits all make it a meal.
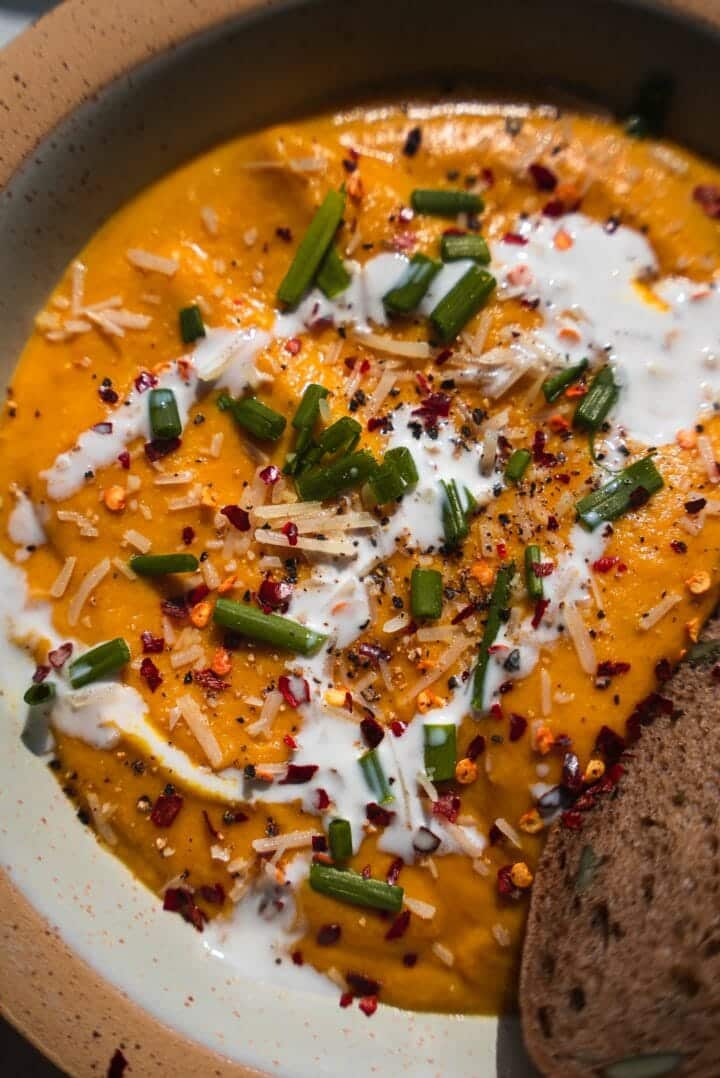
For toppings, drizzle each bowl with a swirl of coconut cream and finish with chopped chives, chili flakes, black pepper and a sprinkle of vegan parmesan or toasted pumpkin seeds. Crispy roasted chickpeas or baked tofu cubes make great crunchy "croutons" too.
To turn it into a heartier dinner, spoon the soup over cooked rice, quinoa or small pasta shapes, or serve it alongside a big green salad. It also makes a lovely starter for a fall or holiday meal.
Storing & Freezing
This soup is perfect for batch cooking. Let it cool, then transfer it to an airtight container and keep it in the refrigerator for up to 4 days. It will thicken as it sits, so stir in a splash of vegetable stock or water when you reheat it on the stove or in the microwave.
To freeze, portion the cooled soup into freezer-safe containers or bags, leaving a little room for it to expand, and freeze for up to 3 months. Thaw overnight in the fridge, then reheat gently on the stove over medium heat, stirring often, until warmed through. Give it a quick whisk if it looks slightly separated.
More Cozy Vegan Soups
If you loved this recipe, here are a few more you might enjoy:
- Vegan Butternut Squash Soup
- Vegan Spicy Pumpkin and Peanut Soup
- Sweet Potato Lentil Soup
- Cozy Vegan Soups for Fall and Winter
Recipe

Roasted Vegetable Pumpkin Soup
A cozy, creamy vegan pumpkin soup made with roasted pumpkin, carrots, red bell pepper, red onion and a whole bulb of garlic, blended with coconut milk and warm spices.
Print
Pin
Save
Servings: servings
Equipment
- Baking tray
- Saucepan
Ingredients
- 1 small sugar pumpkin about 3 lbs, or 5 cups peeled and cubed
- 2 medium carrots peeled and chopped
- 1 large red bell pepper seeded and cut into strips
- 2 large red onions quartered
- 1 bulb garlic
- 2 tablespoon olive oil
- 1 teaspoon salt divided
- 1 teaspoon black pepper divided
- 1 cup coconut milk full-fat, canned
- 1 teaspoon ground turmeric
- 1 teaspoon ground cumin
- 1 teaspoon onion powder
- 1 large lemon juiced
- ½ cup vegetable stock plus more to thin
Instructions
- Preheat the oven to 350°F (180°C) and line a large baking tray with parchment paper.
- Cut the pumpkin in half next to the stem and scoop out the seeds. Cut each half into wedges, peel them with a sharp knife or sturdy vegetable peeler, and cut the flesh into bite-sized cubes.
- Spread the pumpkin, carrots, red bell pepper and red onion on the baking tray. Drizzle with the olive oil and season with ½ teaspoon salt and ½ teaspoon pepper, tossing to coat.
- Slice the top off the garlic bulb to expose the cloves, drizzle or spray it with a little oil, wrap it in foil and place it on the tray with the vegetables.
- Roast for about 1 hour, until the vegetables are soft and caramelized at the edges. Let cool for 10 minutes.
- Transfer the roasted vegetables to a blender or food processor. Squeeze the garlic cloves out of their skins and add them, along with the coconut milk, turmeric, cumin, onion powder, lemon juice, vegetable stock and the remaining ½ teaspoon salt and ½ teaspoon pepper. Blend until completely smooth, working in batches if needed.
- Pour the soup into a saucepan and warm over medium heat for 3 to 5 minutes, stirring often. Thin with more stock if you like, taste and adjust the seasoning, then serve topped with a swirl of coconut cream, chives and chili flakes.
Notes
Butternut, kabocha or red kuri squash can replace the pumpkin with no other changes. The soup thickens as it sits; thin leftovers with a splash of stock when reheating.
Nutrition (Estimate per Serving)
Serving: 1bowlCalories: 320kcalCarbohydrates: 38gProtein: 6gFat: 20gSaturated Fat: 12gPolyunsaturated Fat: 1gMonounsaturated Fat: 6gSodium: 735mgPotassium: 1530mgFiber: 6gSugar: 16gVitamin A: 34118IUVitamin C: 100mgCalcium: 122mgIron: 6mg
Vegan-ize any recipe!Grab our free vegan cheat sheet, packed with my favorite easy substitutions to make any recipe vegan.
Vegan Green Goddess Dressing
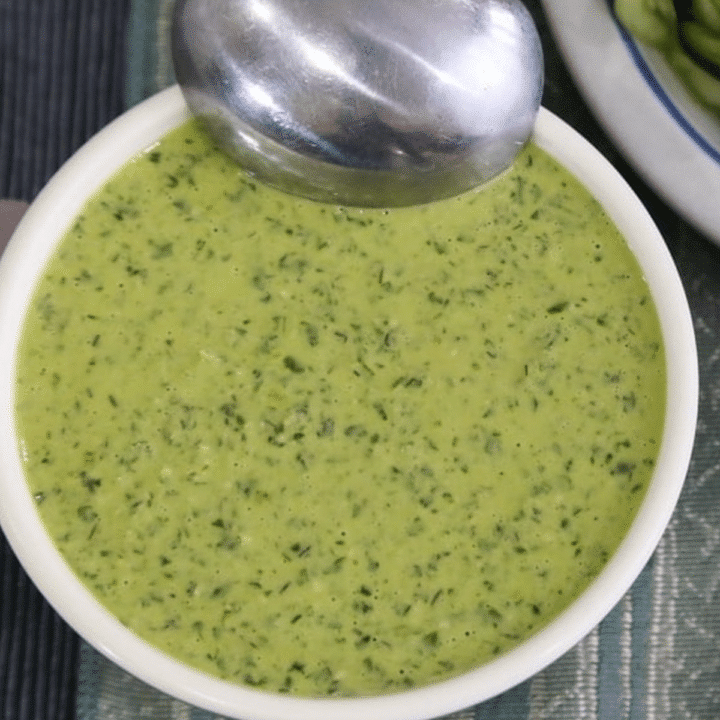
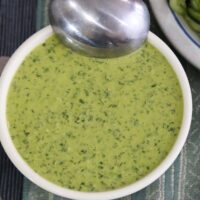
This vegan green goddess dressing is a vibrant, herby blend of fresh parsley, dill, and scallion, brightened with lemon and thickened with creamy tahini instead of the mayonnaise or sour cream found in most versions. It comes together in the food processor in under five minutes, with no cooking required.
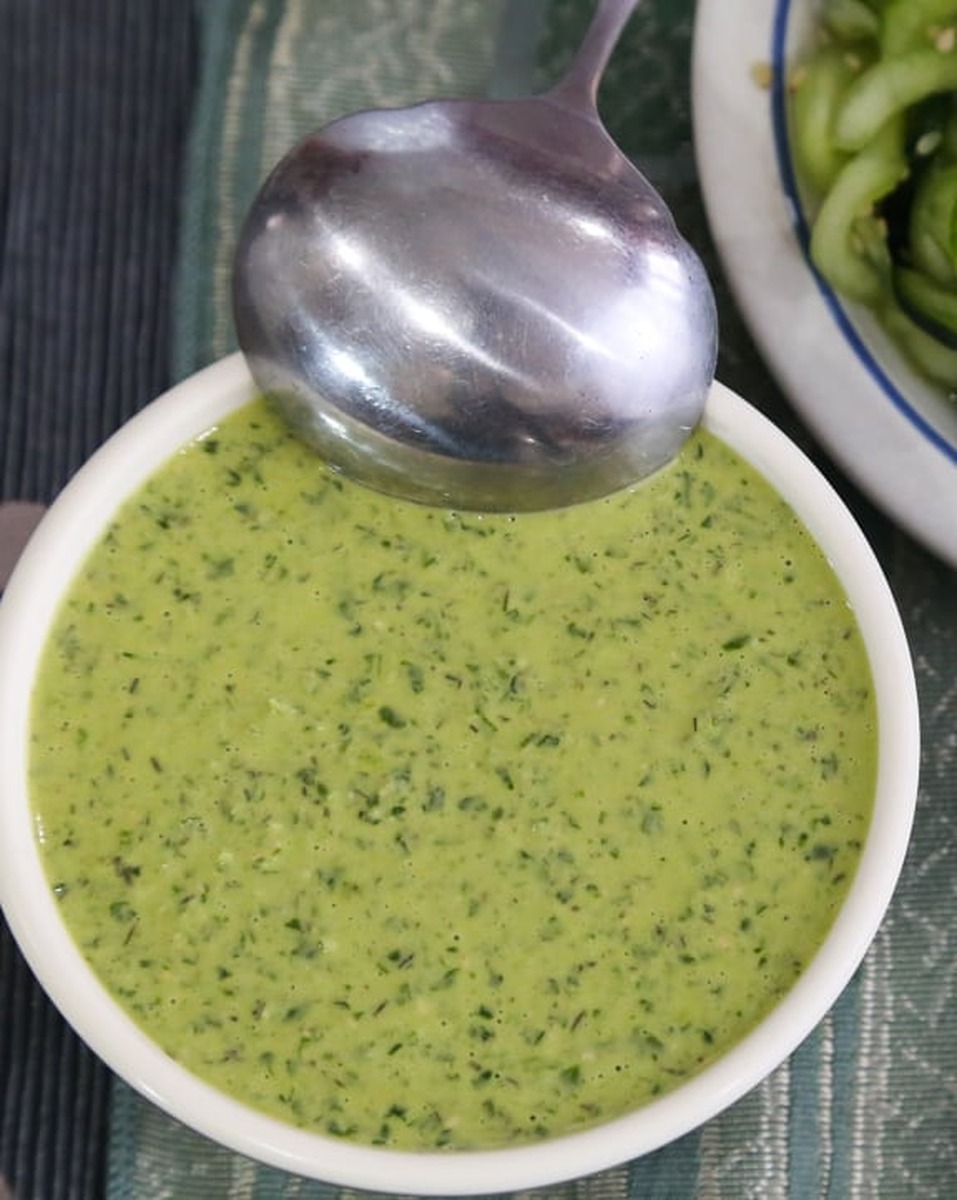
Photos by Evan Atlas.
Key Ingredients & Substitutions
- Fresh parsley. The backbone of this dressing's color and flavor — use flat-leaf (Italian) parsley if you can find it, since it tends to be milder than curly parsley. In a pinch, swap in a mix of parsley and baby spinach for a slightly sweeter, less assertive dressing.
- Tahini. This sesame seed paste gives the dressing its richness and creamy texture without any dairy. Look for a smooth, pourable tahini rather than one that has separated or gone stiff in the jar — give it a good stir before measuring. Cashew butter or a store-bought vegan mayo can stand in if you're out of tahini, though the flavor will lean sweeter and less nutty.
- Cucumber. Adds moisture and a cool, fresh crunch that lightens the dressing. English or Persian cucumbers work well since they have fewer seeds; regular cucumbers are fine too, just peel and seed them first as the recipe calls for.
- Lemon juice. Fresh lemon juice brightens the whole dressing and keeps the herbs tasting fresh rather than flat. Start with the juice of half a lemon, taste, and add more if you want extra tang — bottled lemon juice works in a pinch but won't be quite as vibrant.
- Scallion. Contributes a mild, fresh onion flavor without overpowering the herbs. A small shallot or a couple tablespoons of chopped chives make good substitutes if scallions aren't available.
- Fresh dill and/or basil. These add a second layer of herbal flavor on top of the parsley. Use one or the other, or both if you have them — fresh tarragon is a nice substitute if you want a slightly anise-like note instead.
- Salt. Just enough to bring all the flavors together. Start with a little less than you think you need, since the tahini and lemon both add their own intensity.
- Freshly ground pepper. A few grinds finishes the dressing with a little warmth. Black pepper is traditional, but a pinch of white pepper works too if you don't want visible flecks.
Helpful Tips
Taste as you go. Because this dressing is essentially a handful of raw ingredients blended together, its flavor depends entirely on how fresh and potent your parsley, lemon, and tahini are. Taste after the first minute of processing and adjust the salt, lemon, or pepper before you decide it's finished.
Use a real food processor if you can. A food processor minces the parsley and dill much more finely and evenly than a blender does, which gives the dressing its classic flecked, creamy texture. If a blender is all you have, stop and scrape down the sides more often so the herbs don't just clump around the blades.
Let it rest before serving. Green goddess dressing tastes good right away, but it actually improves after 15 to 20 minutes in the refrigerator, once the flavors have had a chance to meld and the herbs have mellowed slightly.
Adjust the consistency to match how you're using it. For a pourable salad dressing, thin it with a tablespoon of water or extra lemon juice. For a thicker dip for vegetables or pita, cut back on the liquid or add an extra spoonful of tahini.
Shake before every use. Because there's no gum or stabilizer holding it together, the dressing can separate slightly as it sits. A quick shake in a lidded jar or a stir with a spoon brings it right back together.
Variations
- Extra creamy version. Blend in two tablespoons of vegan mayonnaise or unsweetened cashew cream along with the other ingredients for a richer, more indulgent dressing.
- Garlicky green goddess. Add one small clove of garlic to the food processor for a sharper, more savory dressing — great alongside something simple like steamed potatoes or plain rice.
- Spicy green goddess. Blend in a small jalapeño (seeds removed for less heat) or a dash of your favorite hot sauce for a dressing with a little kick.
- Avocado green goddess. Add half a ripe avocado to the food processor for an even creamier, more filling dressing that works well as a sandwich spread.
- Herb swap. Trade the dill and basil for fresh tarragon, mint, or cilantro depending on what you have on hand or what the rest of your meal calls for.
- Make it a dip. Cut the liquid back — using less lemon juice and skipping any water — for a thicker consistency you can serve alongside cut vegetables or pita chips. Our Vegan Ranch Dressing (or Dip!) is another good one to keep in the fridge for the same purpose.
Serving Ideas
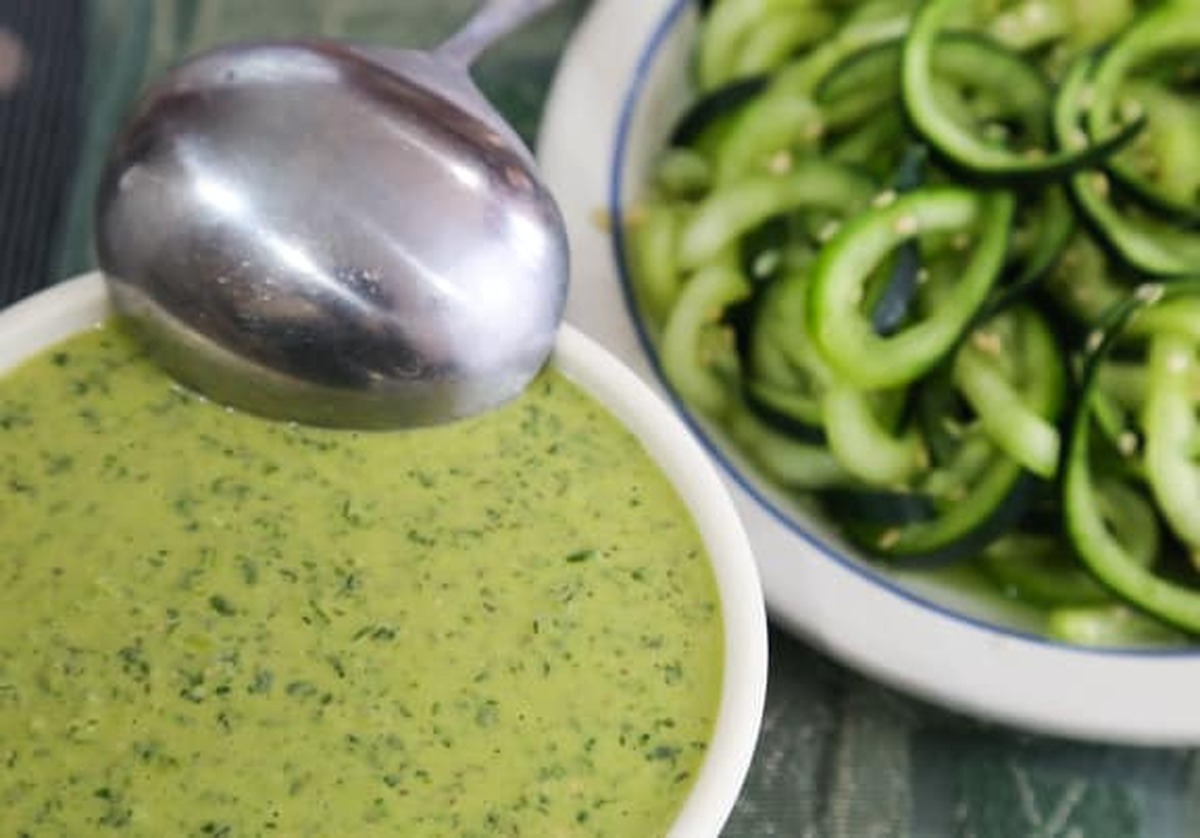
This dressing is best known as a salad topper, and it's especially good on tomato salads, where the acidity and herbs balance the sweetness of ripe tomatoes. It also shines on grain and bean salads — try it over a bowl of quinoa, barley, or white beans, or drizzled over a tabbouleh-style salad with parsley and bulgur. Cucumber, potato, and pasta salads all take well to it too, since the tahini base clings nicely to starchy or crunchy ingredients alike — it's also excellent spooned over a bowl of massaged kale salad.
Beyond salads, this dressing doubles easily as a dip for raw vegetables or pita, a spread for sandwiches and wraps in place of mayonnaise, or a drizzle over roasted vegetables, baked tofu, or a grain bowl. A spoonful stirred into a bowl of lentils or chickpeas turns a simple side into something much more flavorful.
Storing & Freezing
Store the dressing in an airtight jar or container in the refrigerator for up to 5 days. Because it's made almost entirely of fresh herbs and produce, it will darken slightly in color over time — this is normal and doesn't affect the flavor, though the dressing tastes best within the first few days. Give it a good shake or stir before each use, since some separation is normal.
This dressing doesn't freeze well. The fresh herbs and cucumber lose their texture once thawed, and the dressing tends to separate and turn watery, so it's best to make only as much as you'll use within the week rather than freezing the extra.
More Vegan Dressings and Salads
If you loved this recipe, here are a few more you might enjoy:
- Vegan Ranch Dressing (or Dip!)
- Massaged Kale Salad with Orange-Miso Dressing
- Tabbouleh Salad (with Quinoa, Bulgur, or Couscous)
- Vegan Jícama Salad with Oranges and Watercress
Recipe
Vegan Green Goddess Dressing
A vibrant, herby vegan dressing made with fresh parsley, dill, and creamy tahini instead of the mayonnaise or sour cream in traditional green goddess dressing. Makes about 1 cup (8 servings of roughly 2 tablespoons each).
Print
Pin
Save
Servings: servings
Ingredients
- 1 cup fresh parsley leaves packed, some stems are fine (about 60g)
- ¼ cup tahini sesame paste (about 60g)
- ½ cup cucumber peeled, seeded, and chopped (about 75g)
- ½ to 1 lemon juiced, to taste (about 15-30ml)
- 1 scallion coarsely chopped (about 15g)
- 1 tablespoon fresh dill and/or several fresh basil leaves (about 3g)
- ½ teaspoon salt (about 3g)
- black pepper freshly ground, to taste
Instructions
- Place the parsley, tahini, cucumber, lemon juice, scallion, dill (and/or basil), salt, and pepper in the bowl of a food processor.
- Process for 1 to 2 minutes, stopping to scrape down the sides as needed, until the herbs are very finely minced and the dressing is smooth and creamy.
- Taste and adjust the salt, lemon juice, or pepper as needed. Transfer to a tightly lidded jar or bottle and shake well before each use.
Nutrition (Estimate per Serving)
Calories: 50kcalCarbohydrates: 3gProtein: 2gFat: 4gSaturated Fat: 0.6gSodium: 140mgPotassium: 90mgFiber: 1gSugar: 1gVitamin A: 3IUCalcium: 2mg
Vegan-ize any recipe!Grab our free vegan cheat sheet, packed with my favorite easy substitutions to make any recipe vegan.
Vegan Ranch Dressing (or Dip!)
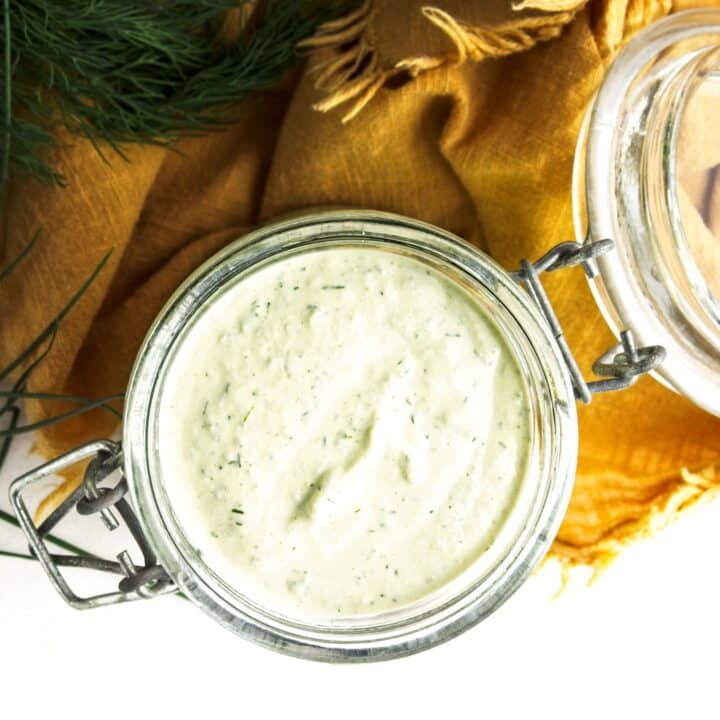
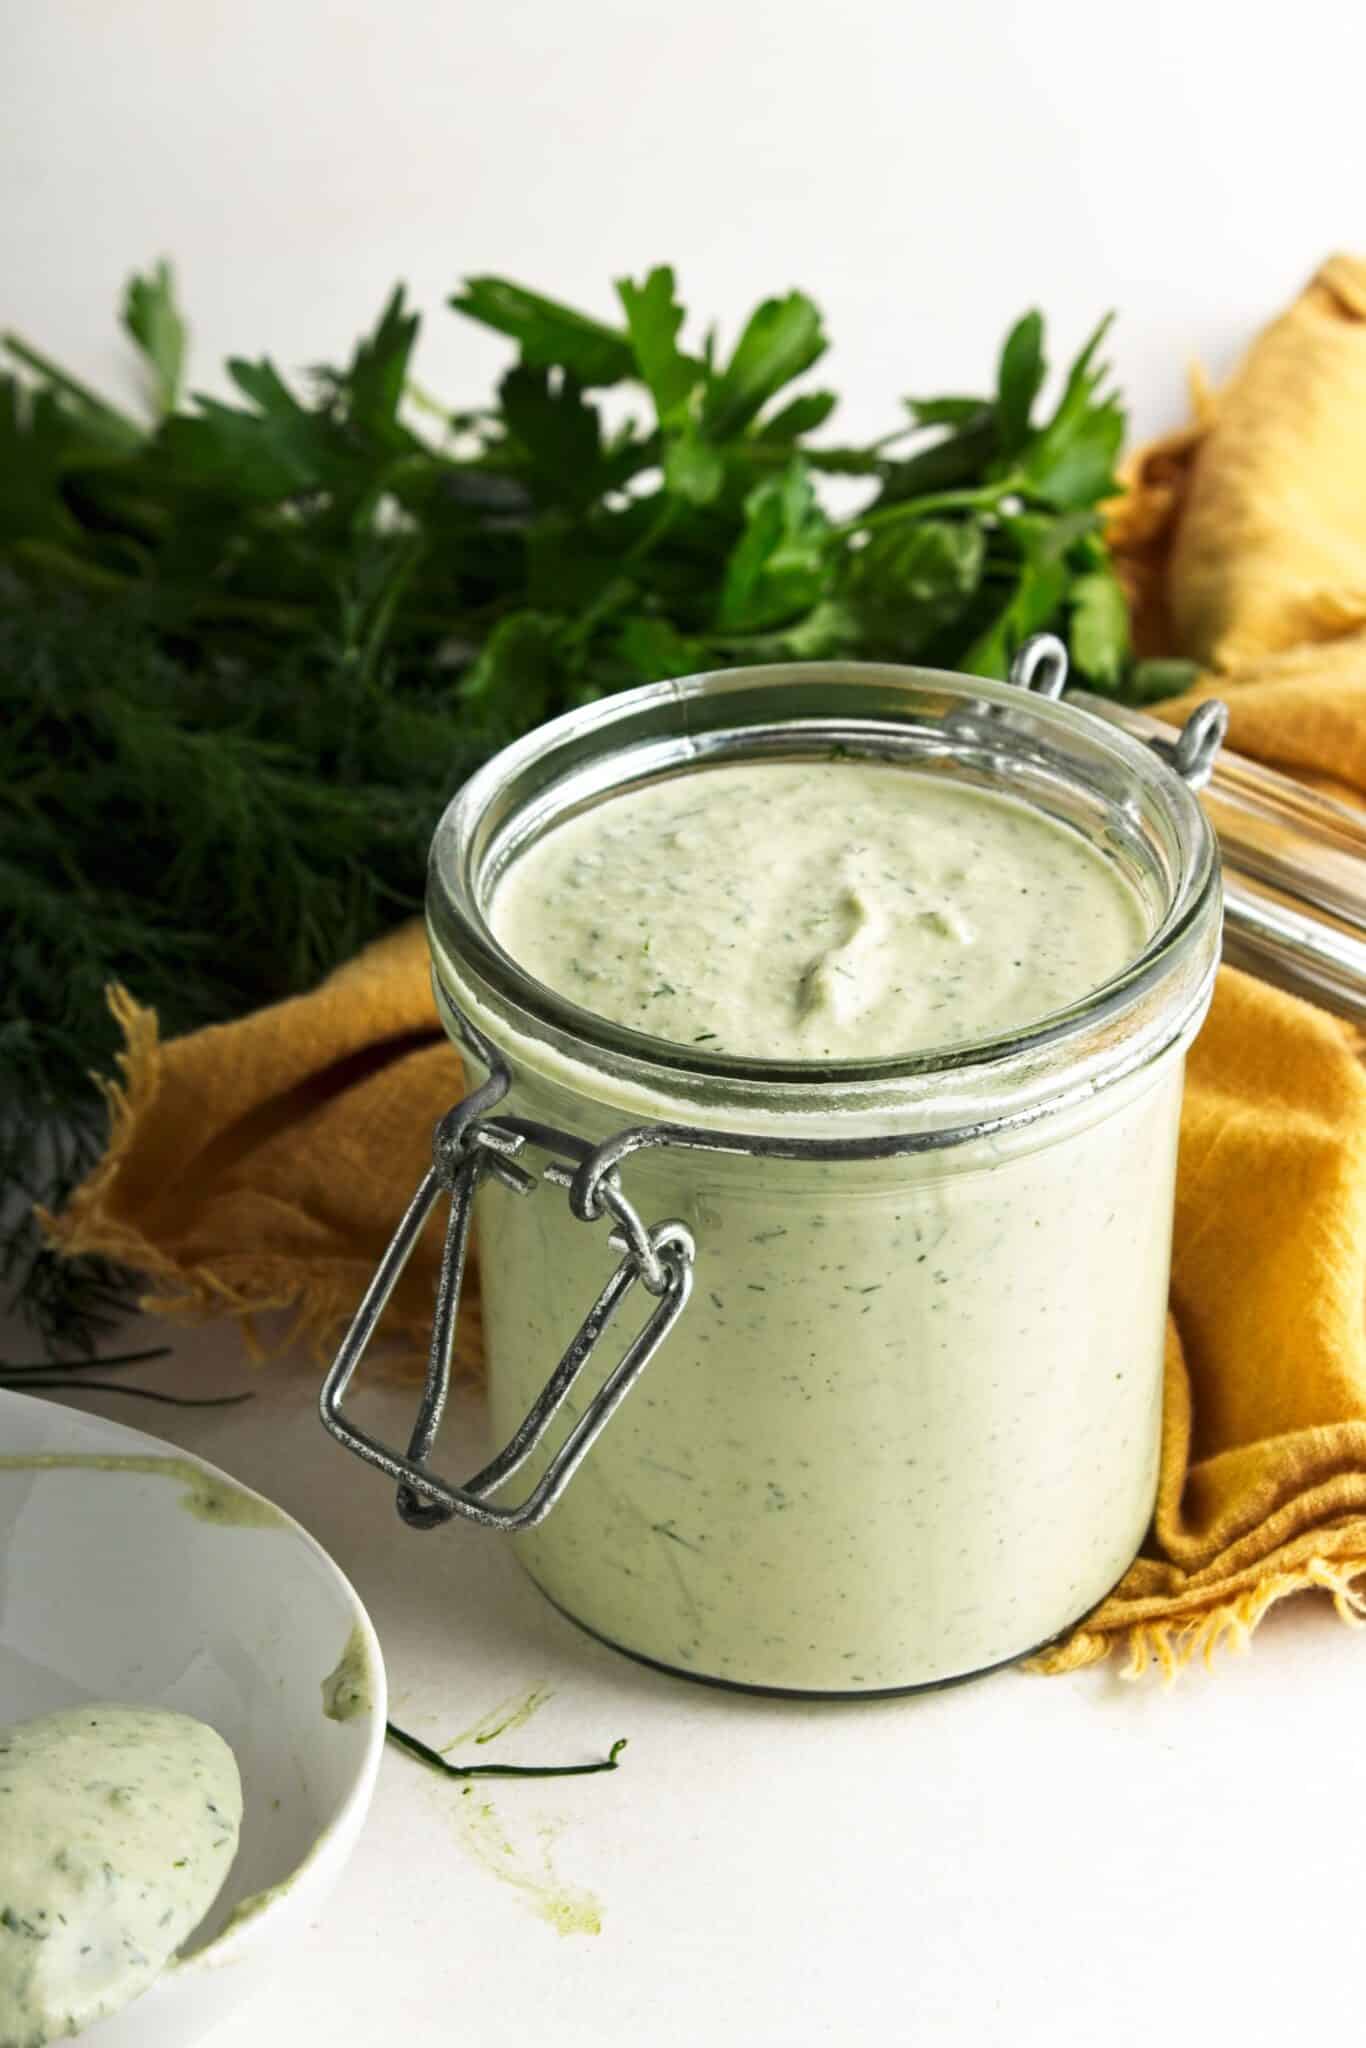
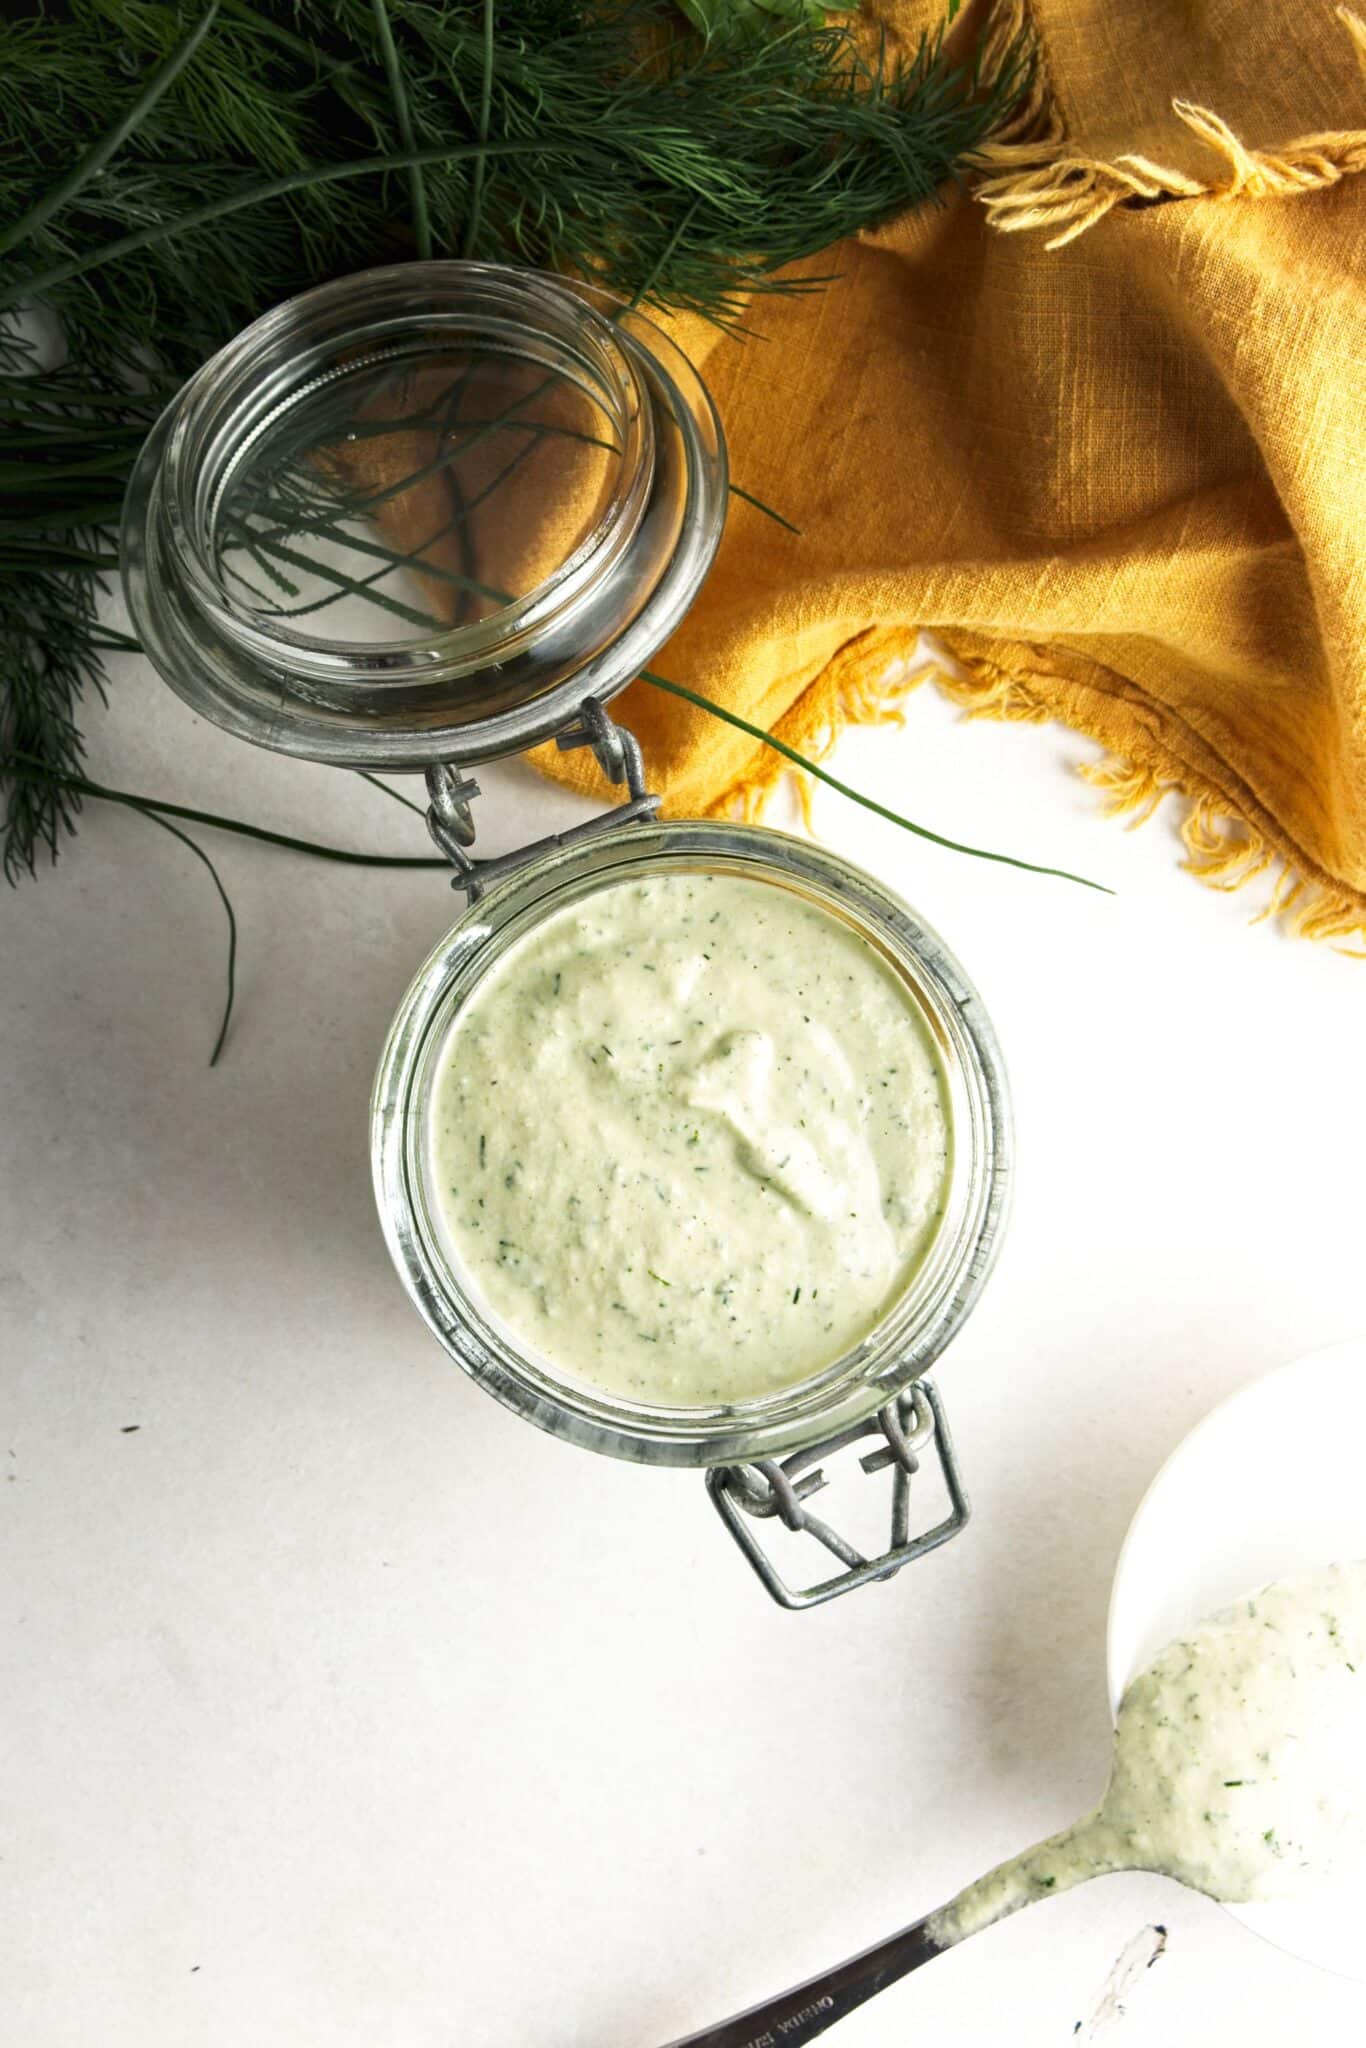
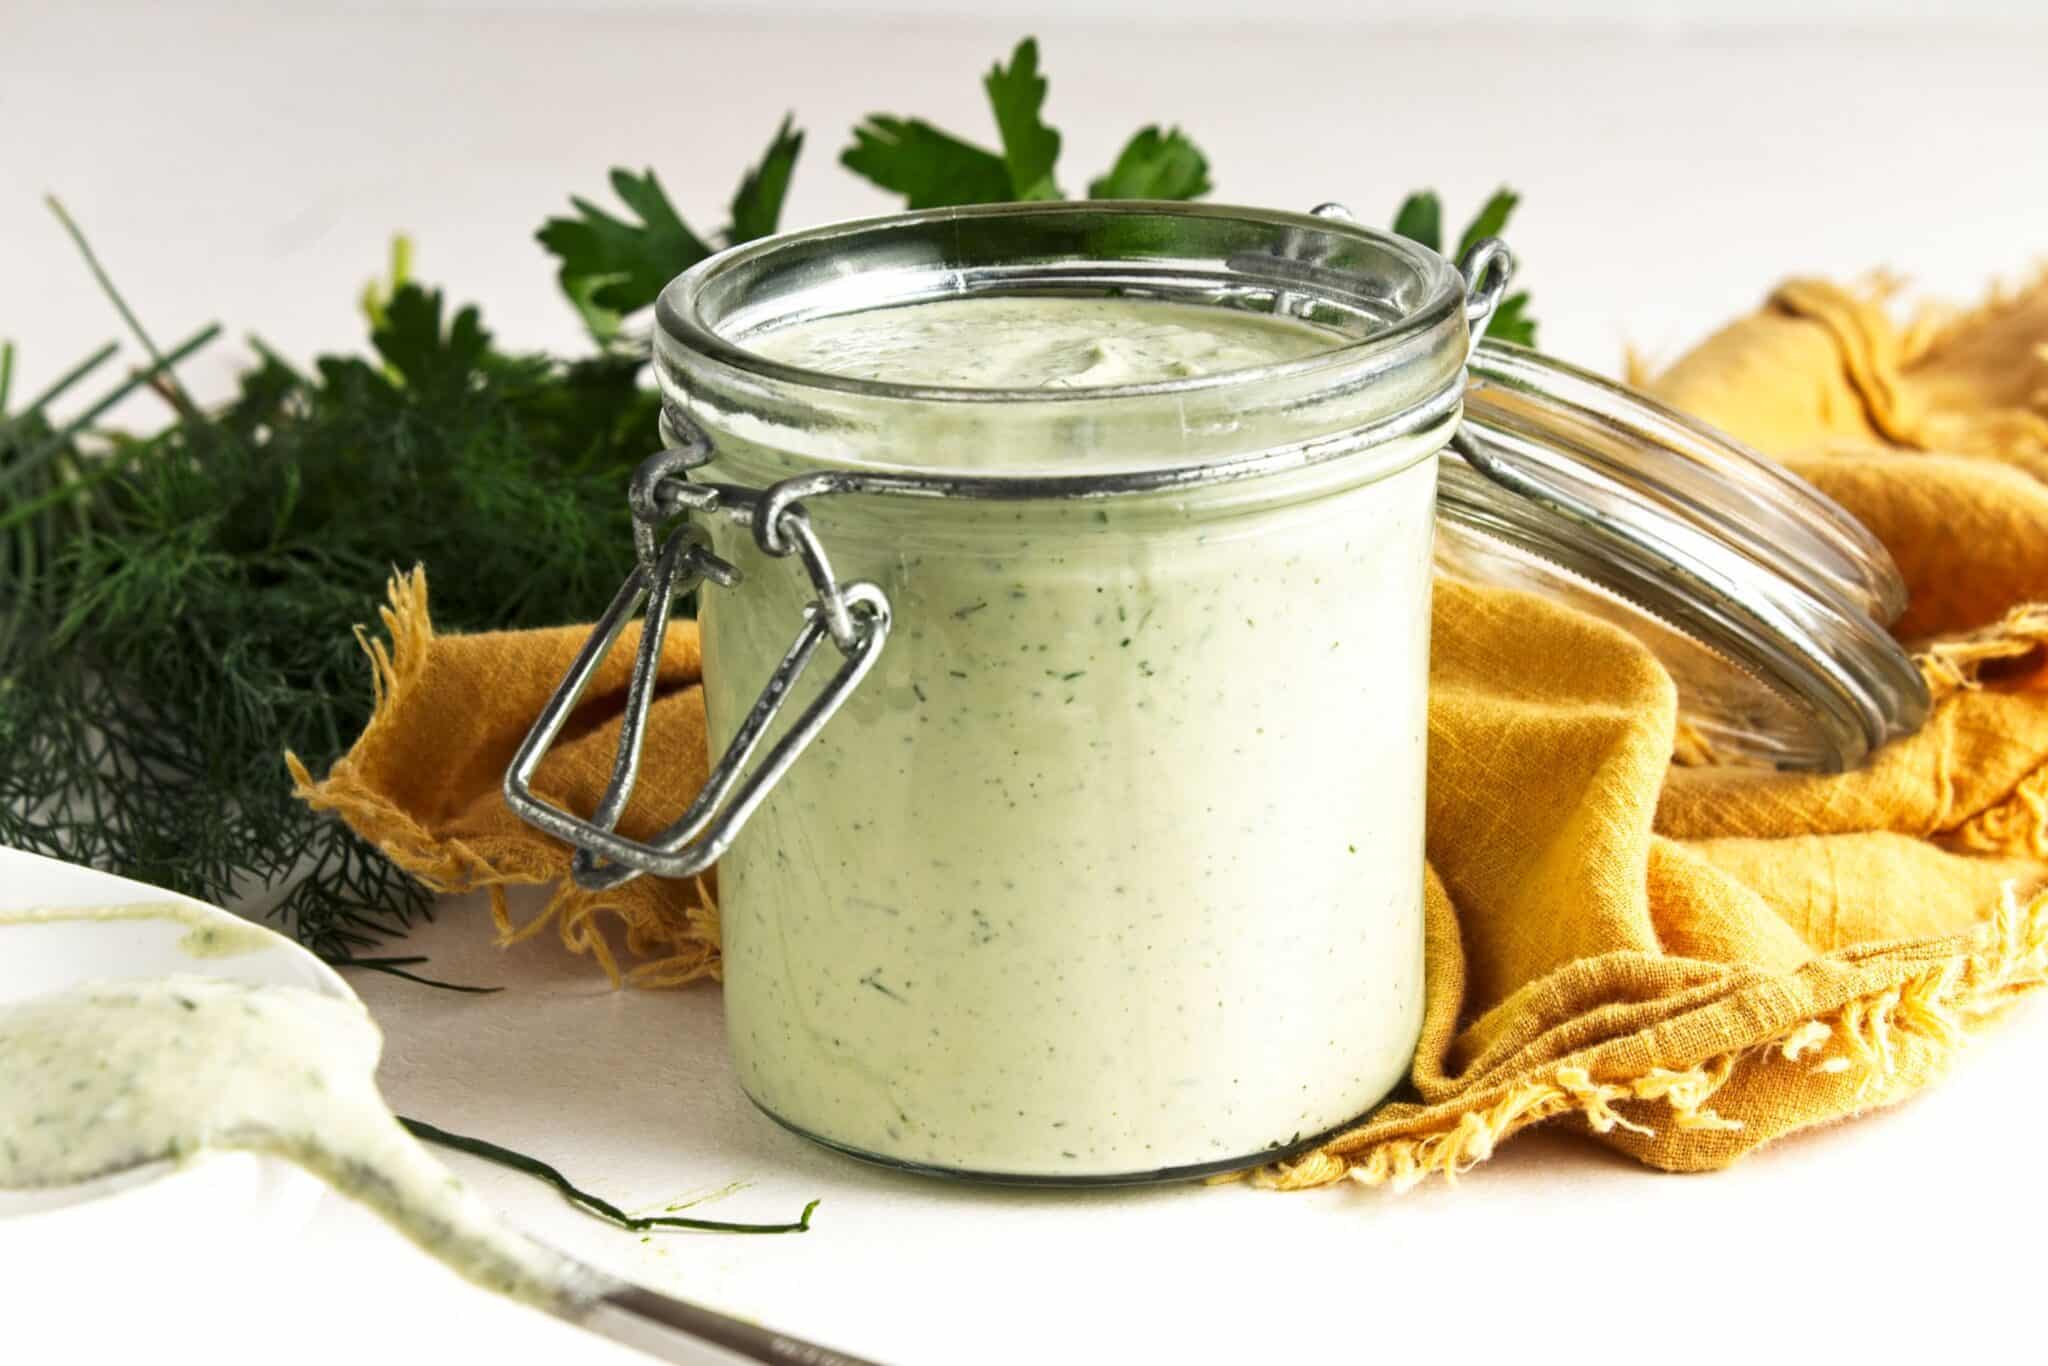
Nothing beats a really good ranch, and this vegan version gets there with a base of soaked cashews and a generous handful of fresh dill, parsley, and chives. It works equally well as a dip for raw veggies or spooned over a big green salad.
Key Ingredients & Substitutions
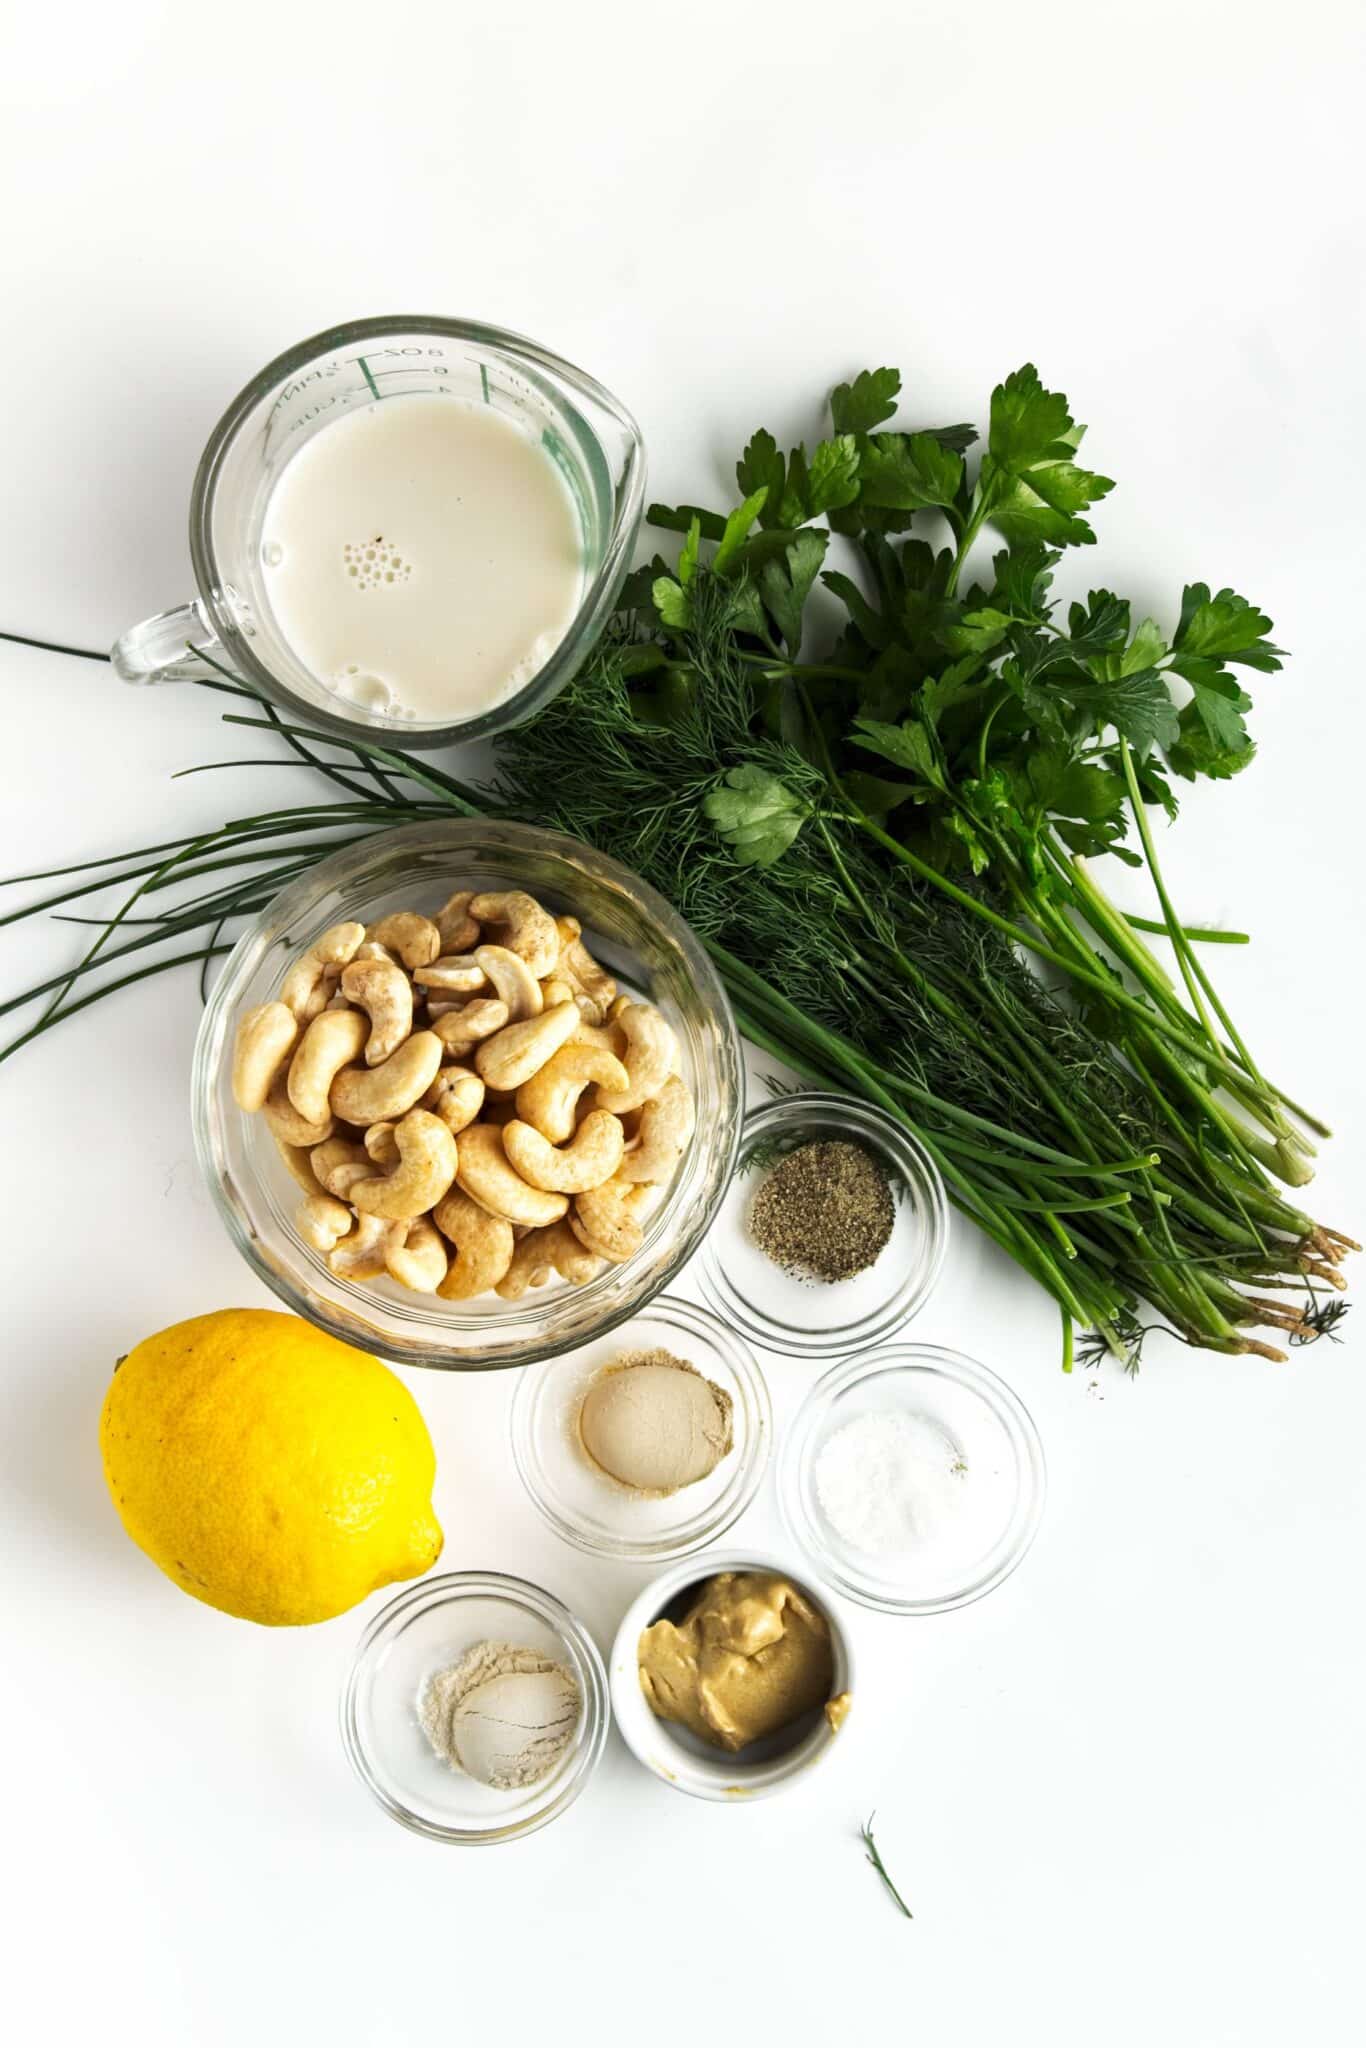
- Raw cashews. Soaked and blended, cashews are what give this dressing its rich, creamy body without a drop of dairy. If you're nut-free, raw sunflower seeds soak and blend the same way, though the flavor will be slightly earthier. Cashews show up in a lot of our vegan sauces for exactly this reason—see our Cashew Cream (Vegan Sour Cream) for another example.
- Unsweetened almond milk. This thins the cashews into a pourable base. Any unsweetened plant milk works here—oat, soy, or cashew milk are all fine substitutes. Just avoid vanilla or sweetened versions, which will throw off the savory flavor.
- Fresh lemon juice. Brings the tang that a good ranch needs. White wine vinegar or apple cider vinegar can stand in if you're out of lemons.
- Dijon mustard. A small amount adds depth and a little extra tang without tasting overtly mustardy. In a pinch, yellow mustard works, though the flavor will be milder.
- Garlic powder and onion powder. This is the flavor backbone of classic ranch, and it's worth using the powdered versions rather than fresh garlic and onion—fresh aromatics will taste bright and oniony rather than like the ranch flavor you're going for.
- Fresh parsley, dill, and chives. The herby flecks that make ranch look and taste like ranch. Fresh is best here; if you only have dried on hand, use about a teaspoon of each, keeping in mind the flavor will be milder and less vibrant.
Helpful Tips
Use a high-speed blender if you have one. Cashews blend into a silky, completely smooth base much more easily in a high-powered blender. A standard blender will still work, but plan on blending a bit longer and scraping down the sides a few times to make sure no bits of cashew are left behind.
No time to soak overnight? Do a quick soak instead. Cover the cashews with boiling water and let them sit, uncovered, for 15 to 20 minutes. They won't be quite as soft as an overnight soak, but they'll blend smooth enough for this recipe.
Pulse the herbs in at the end, don't puree them. A few short pulses distributes the parsley, dill, and chives evenly while leaving visible flecks of green throughout. Over-blending turns the whole dressing a uniform pale green, which looks more like a green goddess dressing than a ranch.
Adjust the thickness to match how you're using it. For a pourable salad dressing, thin it with an extra tablespoon or two of almond milk or water. For a scoopable dip, leave it as is, or even cut back the liquid slightly for something thicker.
Short on time? Keep a good store-bought vegan ranch on hand as a cheat. Follow Your Heart Vegan Ranch Dressing and Hidden Valley Plant Powered Ranch are both dairy-free versions worth keeping in the fridge for nights when homemade isn't in the cards.
Variations
- Spicy ranch. Blend in a teaspoon of hot sauce or a pinch of cayenne for a dressing with some kick.
- Avocado ranch. Add half a ripe avocado to the blender for an even creamier, greener dip.
- Smoky chipotle ranch. Stir in a minced chipotle pepper in adobo sauce for a smoky, slightly spicy twist that's especially good on tacos or burrito bowls.
- Herb swap. Try tarragon or basil in place of one of the herbs for a different flavor angle.
- Extra tangy. Increase the lemon juice by a tablespoon, or add a small splash of vinegar, if you like your dressing on the sharper side.
- Garlicky ranch. Add a small fresh garlic clove along with the garlic powder for a punchier, more assertive garlic flavor. If you'd rather keep things milder, a Garlic Mustard Vinaigrette is a good lighter alternative to serve alongside this ranch on a mixed salad.
Serving Ideas
This is one of those dressings that earns a permanent spot in the fridge. Use it as a dip for a platter of raw veggies like carrots, celery, bell peppers, and broccoli. Or spoon it over a simple green salad in place of a bottled dressing. It's also the ideal finishing sauce for Vegan Buffalo Cauliflower, cooling down the heat from the buffalo sauce the same way ranch always does.
For a bigger spread, add a small bowl of this dressing to a Vegan Charcuterie Board alongside crackers, olives, and marinated veggies. It's also great drizzled over baked potatoes, tucked into a wrap with roasted vegetables, or served as a dipper for pizza crusts, which is a way underrated way to eat it.
Storing & Freezing
Store the dressing in an airtight container (a jar with a tight lid works great) in the refrigerator for up to 5 days. It will thicken slightly as it chills, so give it a good stir, or add a splash of almond milk, before serving if you'd like it thinner again.
This dressing doesn't freeze well. The cashew base tends to separate and turn grainy once thawed, so it's best to make only as much as you'll use within the week rather than trying to freeze leftovers.
More Vegan Salad Dressings & Dips
If you loved this recipe, here are a few more you might enjoy:
Recipe
Vegan Ranch Dressing (or Dip!)
This vegan ranch dressing is rich and creamy thanks to a base of soaked cashews, with fresh dill, parsley, and chives for that classic herby ranch flavor. Use it as a dressing, a veggie dip, or a topping for just about anything.
Print
Pin
Save
Servings: servings
Ingredients
- 1 cup raw cashews soaked overnight
- ½ cup + 2 tbsp almond milk or other unflavored non-dairy milk
- 2 tablespoon fresh lemon juice
- 1 tablespoon Dijon mustard
- 1 ½ teaspoon garlic powder
- 1 teaspoon onion powder
- 1 teaspoon salt
- ½ teaspoon ground black pepper
- 2 tablespoon fresh parsley finely chopped
- 2 tablespoon fresh dill finely chopped
- 2 tablespoon fresh chives finely chopped
Instructions
- Place the cashews in a bowl, cover with a few inches of water, and soak in the refrigerator for at least 8 hours or overnight. (Short on time? Cover the cashews with boiling water instead and let them soak, uncovered, for 15 to 20 minutes, then drain.)
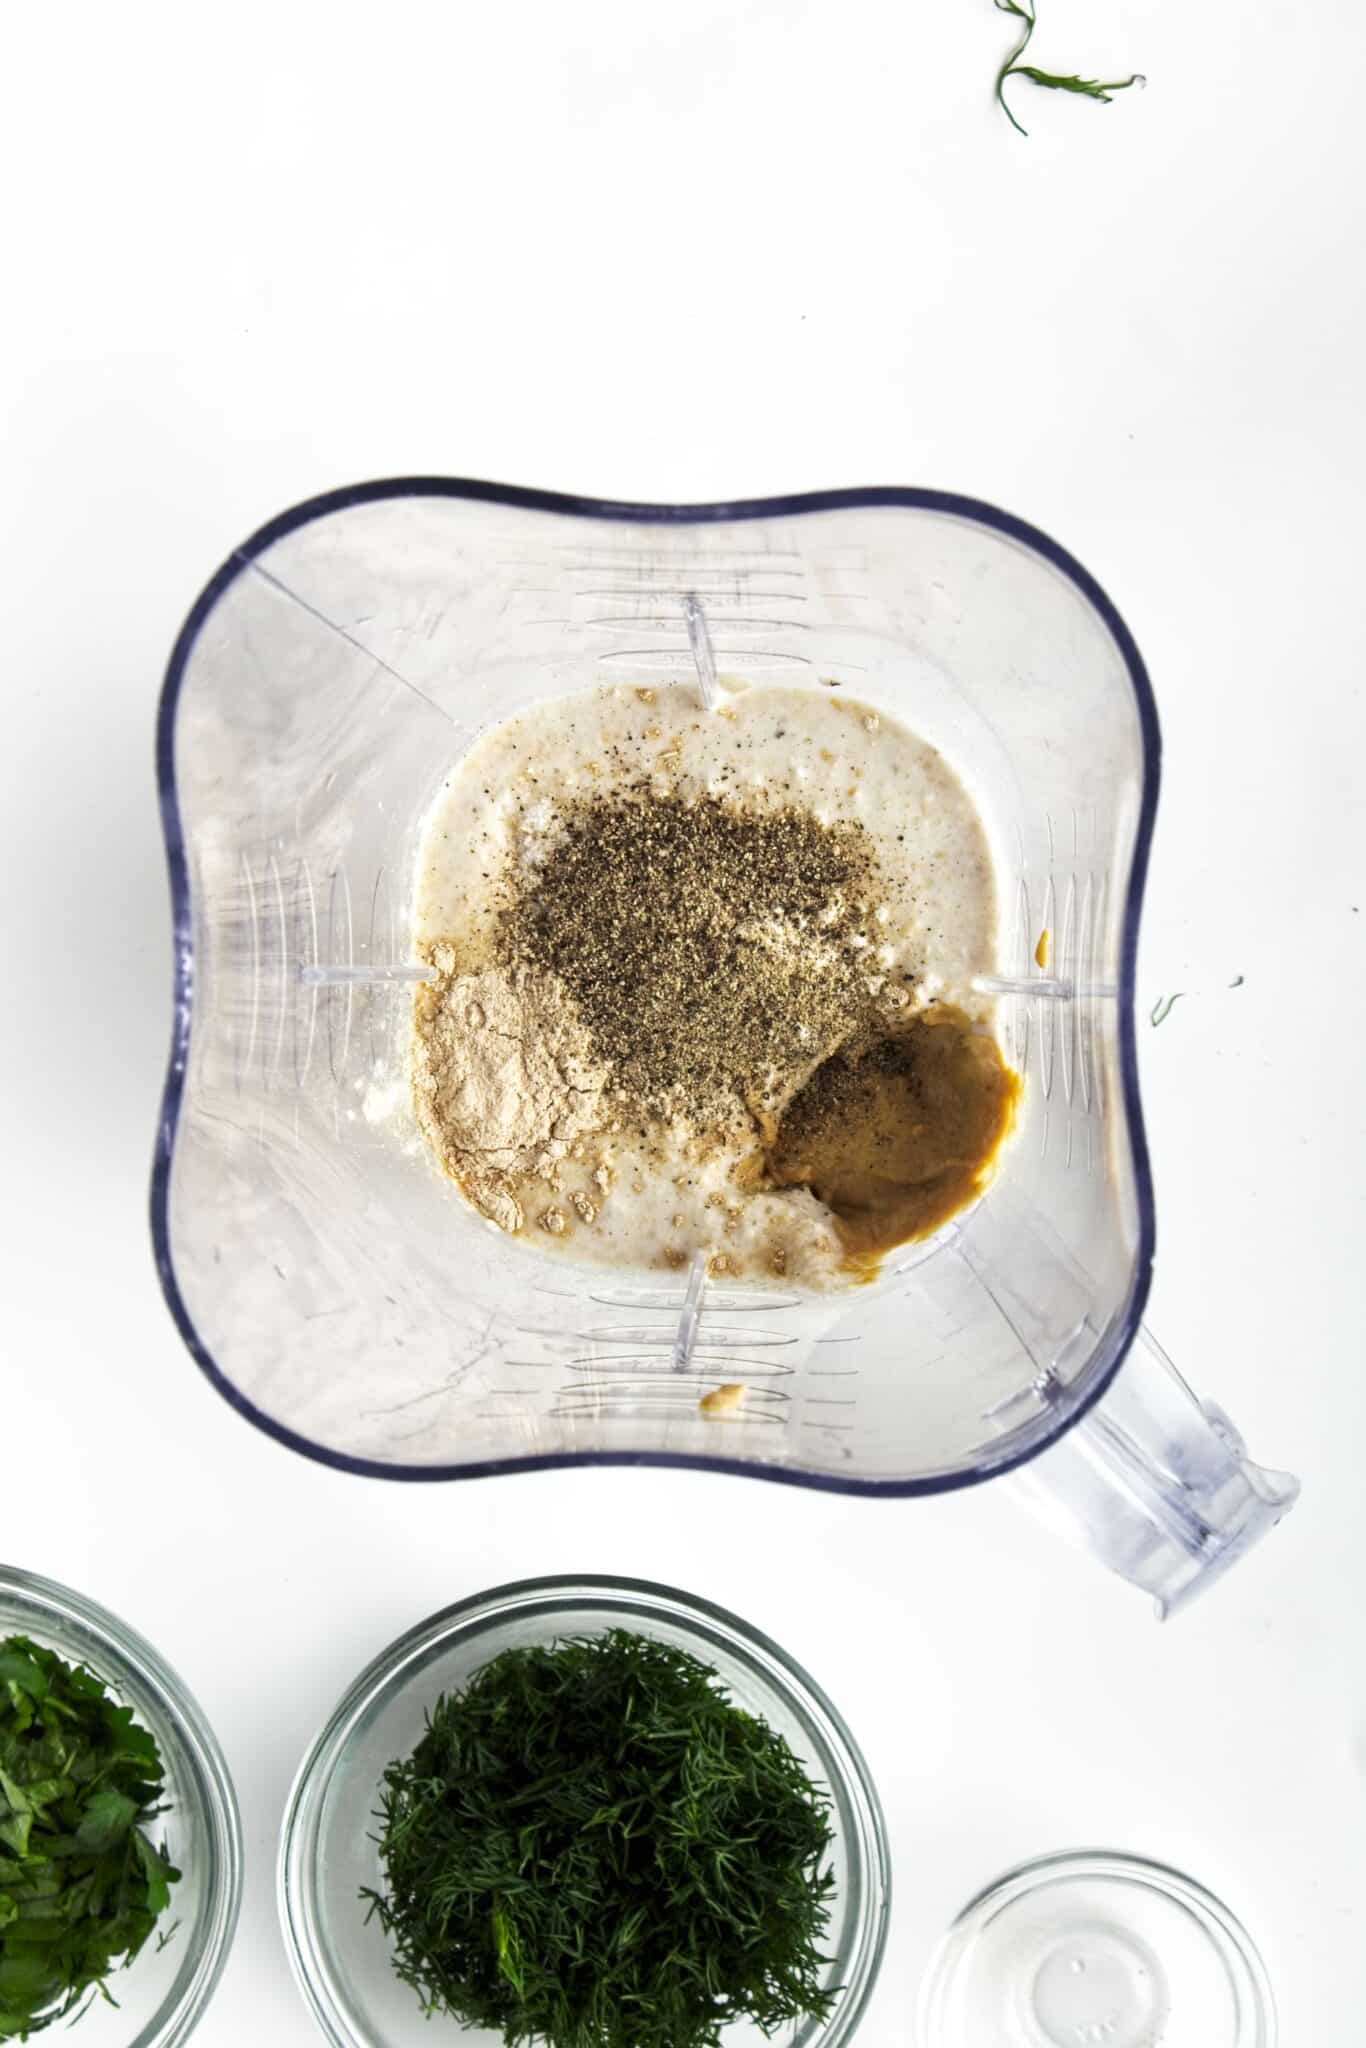
- Drain the cashews and add them to a blender along with the almond milk. Blend on high for 1 to 2 minutes, until completely smooth with no visible cashew bits (a high-speed blender will get there faster; a standard blender may need a bit longer and a scrape-down or two).
- Add the Dijon mustard, lemon juice, garlic powder, onion powder, salt, and pepper. Blend again on high for 30 to 60 seconds, until fully smooth and creamy.
- Taste and adjust the seasoning, adding more salt or lemon juice as needed. More lemon juice will make the dressing tangier.
- Add the parsley, dill, and chives. Pulse the blender 4 to 5 times, just until the herbs are evenly distributed. Don't over-blend, or the dressing will turn a uniform green instead of showing flecks of fresh herbs.
- Transfer the dressing to a covered container, such as a jar with a tight lid, and refrigerate for at least 1 hour before serving to let the flavors meld. Thin with a little extra almond milk or water for a pourable dressing, or leave as is for a thicker dip.
Notes
The dressing can be stored in an airtight container in the fridge for up to 5 days.
If you prefer a slightly sweeter dressing, try adding a small pinch of sugar.
Nutrition (Estimate per Serving)
Calories: 68kcalCarbohydrates: 4gProtein: 2gFat: 5gSaturated Fat: 1gPolyunsaturated Fat: 1gMonounsaturated Fat: 3gSodium: 230mgPotassium: 60mgSugar: 1gVitamin A: 34IUVitamin C: 1mgCalcium: 1mgIron: 3mg
Vegan-ize any recipe!Grab our free vegan cheat sheet, packed with my favorite easy substitutions to make any recipe vegan.
Fresh Tomato Corn Gazpacho
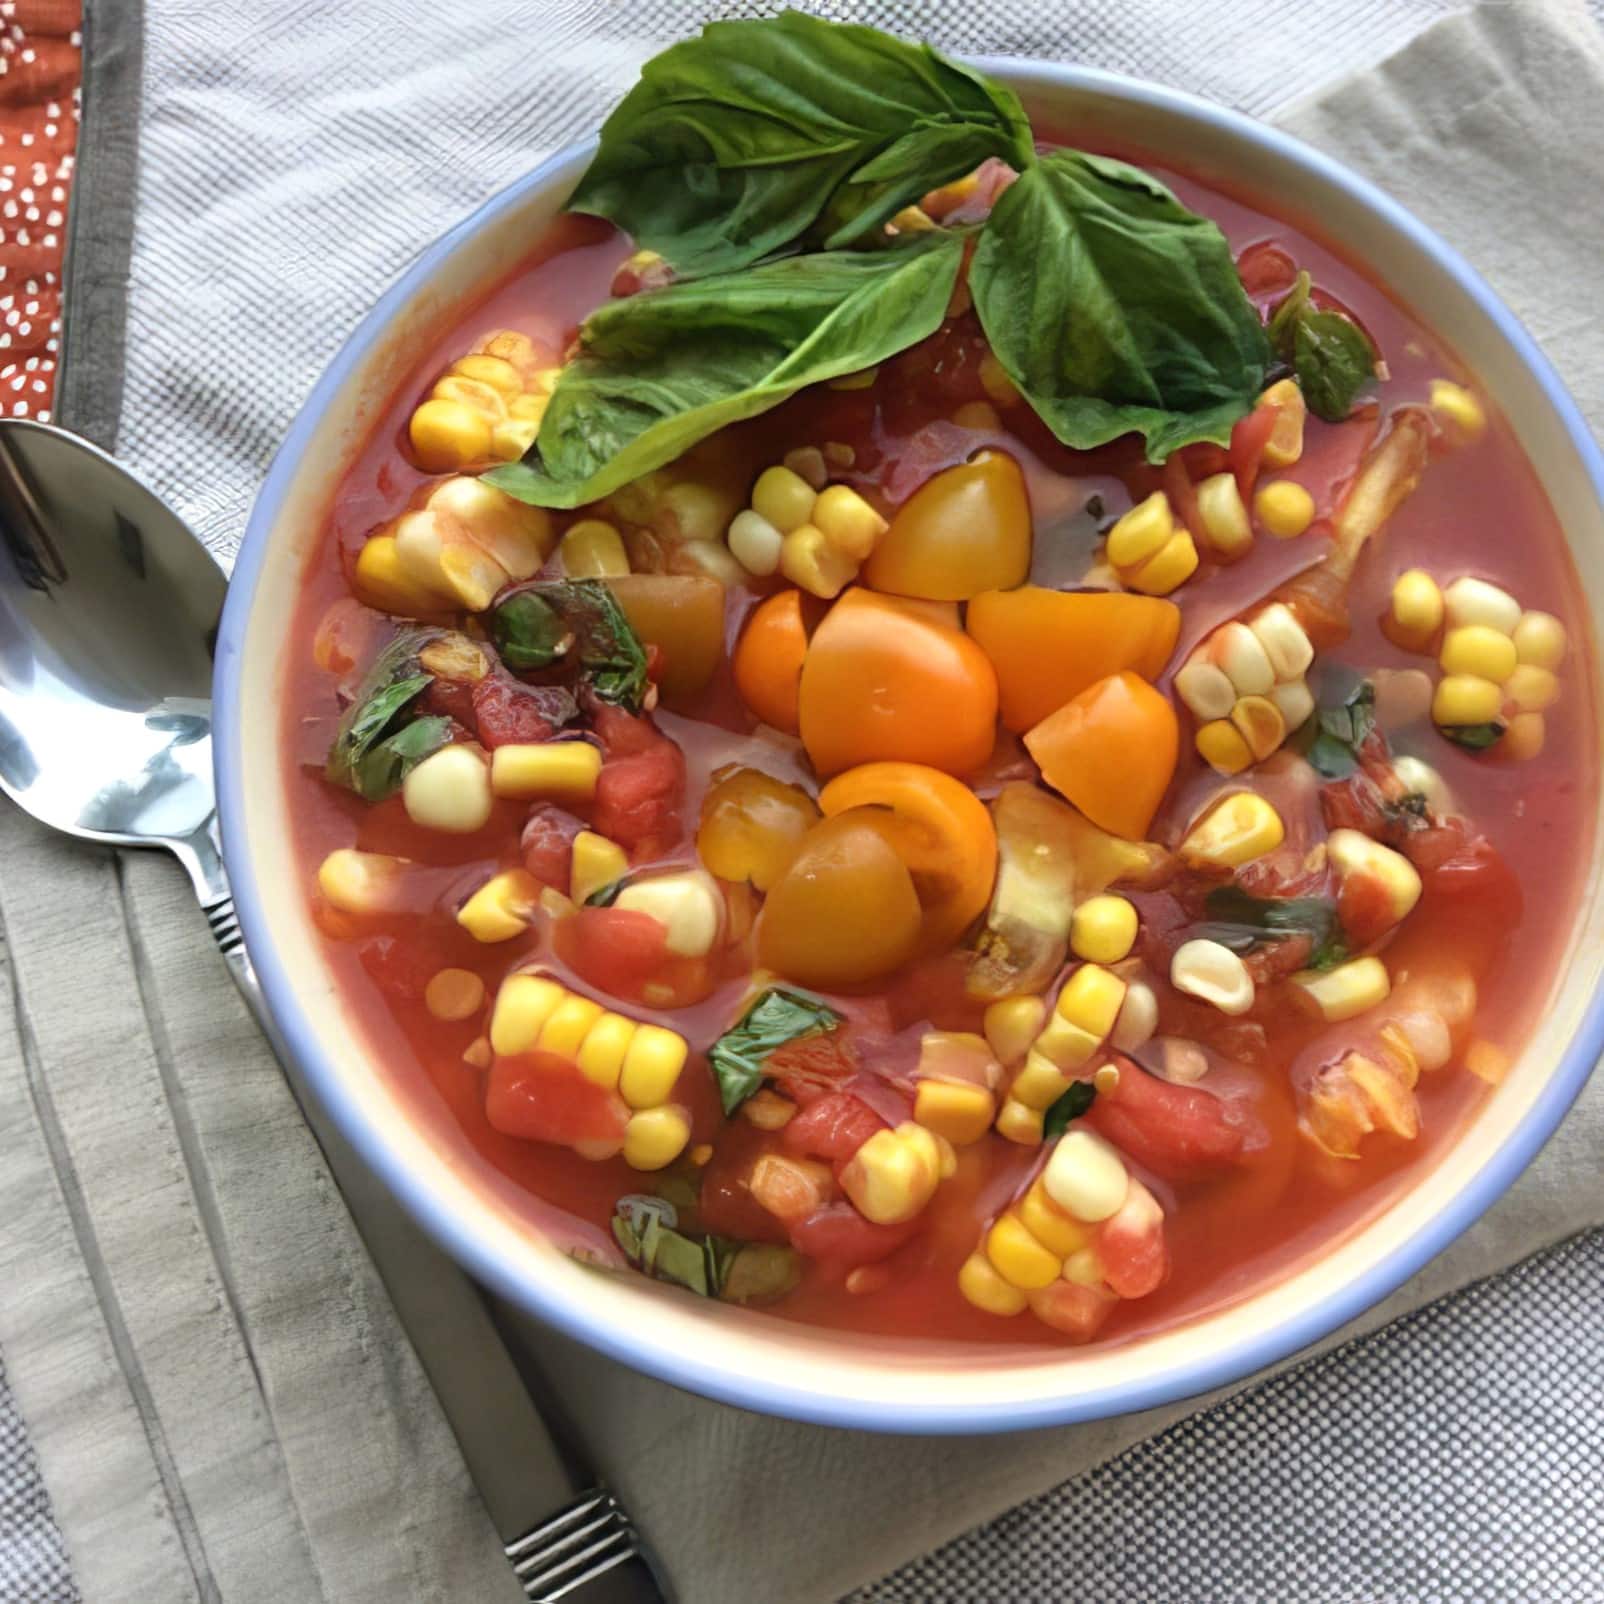
This Vegan Tomato Corn Gazpacho is like summer in a bowl. A vibrant, chilled soup that combines the sweetness of fresh corn with the tanginess of ripe tomatoes. It's a refreshing dish, perfect for hot days!
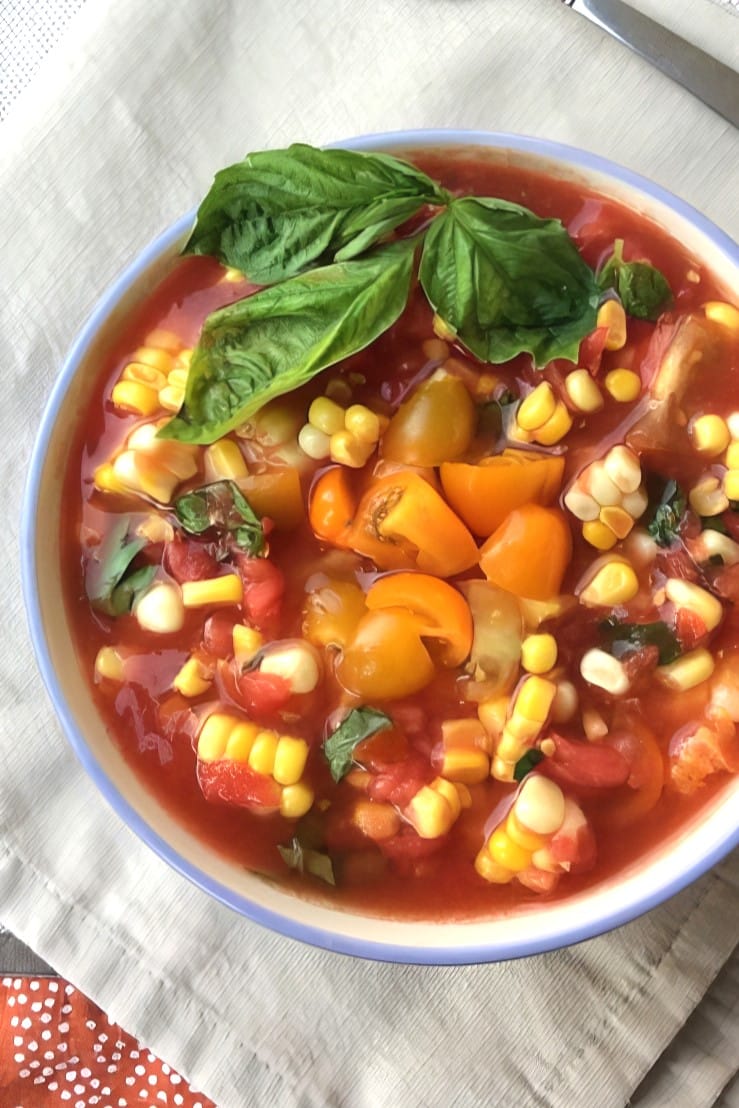
When the sun is blazing and turning on the stove feels like a chore, this Tomato Corn Gazpacho comes to the rescue. It's a no-cook, flavor-packed soup that brings together two of summer's superstars: juicy tomatoes and sweet corn.
The addition of fresh herbs and a hint of spice elevates this dish, making it a standout at any gathering or a simple weeknight meal.
This Tomato Corn Gazpacho Is...
- Quick and Easy: Ready in just 20 minutes, plus chilling time.
- No-Cook: Perfect for keeping the kitchen cool during hot days.
- Vegan and Gluten-Free!
- Flavorful: A delightful blend of sweet, tangy, and spicy notes.
- Make-Ahead Friendly: Flavors deepen as it chills, making it ideal for meal prep.
Helpful Tips for the Best Gazpacho
Use Peak-Season Produce: The quality of the tomatoes and corn directly impacts the flavor. Opt for the freshest available.
Use Fresh Corn: The fresh corn give the soup a natural sweetness and crunch. If fresh corn isn't available, you can use frozen corn that has been thawed. But the texture may not be as pleasing.
Chill Thoroughly: Allowing the gazpacho to chill for at least an hour enhances the flavors and provides a refreshing experience.
Variations to Try
Add a Spicy Kick: Add a diced jalapeño or a dash of hot sauce for heat.
Creamy Version: Stir in a dollop of vegan yogurt or cashew cream for a richer texture.
Tropical Twist: Incorporate diced mango or pineapple for a sweet contrast.
Herb Infusion: Experiment with different herbs like cilantro or mint for a unique flavor profile.
Crunchy Toppings: Top with toasted pumpkin seeds or croutons for added texture.
More Vegan Recipes
If you love this vegan gazpacho, be sure to check out these other delicious recipes:
Also worth trying: our miso butternut squash soup.
Also worth trying: our yellow squash soup.
Recipe
Vegan Tomato Corn Gazpacho
This chilled vegan gazpacho is packed with fresh summer flavors!
Print
Pin
Save
Servings:
Ingredients
- 4 cups ripe tomatoes diced, heirloom variety preferred
- 2 ears fresh corn kernels removed (or 1½ cups thawed frozen corn)
- 4 scallions thinly sliced
- 3 ½ cups tomato juice adjust for desired thickness
- ¼ cup fresh parsley chopped, or basil
- 2 tablespoons fresh dill chopped, optional
- salt and freshly ground black pepper to taste
- yellow cherry tomatoes halved (for garnish, optional)
Instructions
- Prepare the Base: In a large bowl, combine the diced tomatoes, corn kernels, scallions, and fresh herbs.
- Add Tomato Juice: Stir in the tomato juice, starting with 3 cups, and adjust to reach your preferred soup consistency.
- Season: Add salt and pepper to taste. Mix well.
- Chill: Cover the bowl and refrigerate for at least 1 hour to let the flavors meld.
- Serve: Ladle the chilled soup into bowls. Garnish with halved cherry tomatoes or additional fresh herbs, if desired. Enjoy!
Nutrition (Estimate per Serving)
Calories: 46kcalCarbohydrates: 11gProtein: 2gFat: 0.3gSaturated Fat: 0.05gPolyunsaturated Fat: 0.1gMonounsaturated Fat: 0.1gSodium: 22mgPotassium: 598mgFiber: 2gSugar: 8gVitamin A: 1767IUVitamin C: 45mgCalcium: 34mgIron: 1mg
Vegan-ize any recipe!Grab our free vegan cheat sheet, packed with my favorite easy substitutions to make any recipe vegan.
15-Minute Vegetable Curry (with frozen veggies!)
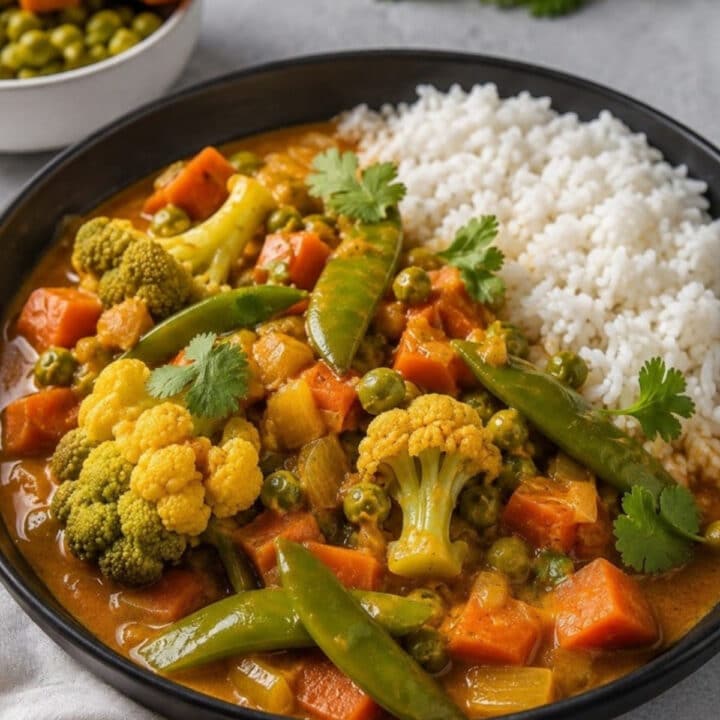
Whoever said that a hearty, flavorsome curry needs hours of simmering and a pantry full of exotic spices clearly hasn't tried my Quick & Easy Vegetable Curry! A bag of frozen vegetables, a can of chickpeas and creamy coconut milk come together in a fragrant, gently spiced sauce, and dinner is on the table in about 15 minutes.
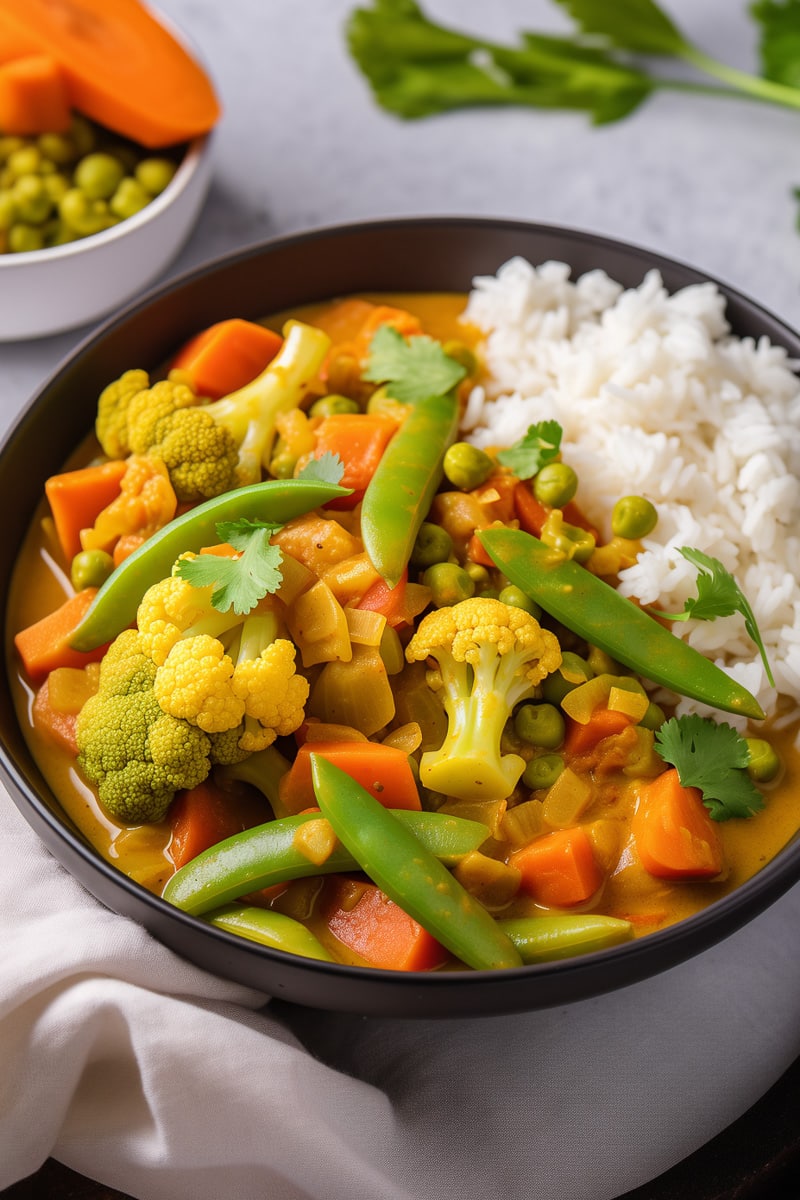
This curry is the dish you turn to on those frantic weeknights when the fridge is half-empty, the family is hungry, and time is of the essence. Ready in just 15 minutes, thanks to the help of some frozen veggies, it's like a little weeknight magic trick. Now you see an empty kitchen, now you don't!
This Quick & Easy Vegetable Curry is...
- Unbelievably fast. Ready, set, curry in just 15 minutes!
- Surprisingly simple. It uses ingredients you likely have on hand already.
- Comfort food. Each spoonful is like a warm, spice-infused embrace.
- Versatile. Have some extra veggies or tofu? Toss them in! This recipe is easy to customize.
Key Ingredients & Substitutions
- Frozen vegetables. I love the classic mix of carrots, peas, corn, and green beans, but literally any frozen veggie blend will do, so pick your own favorite. There's no need to thaw them first; they go straight from the freezer into the pan.
- Curry powder. This is the most important of the spices in this recipe, so I recommend choosing a high-quality curry powder for the best flavor. Blends vary a lot in heat and intensity, so taste and adjust. Garam masala works in a pinch, though it gives a warmer, less turmeric-forward flavor.
- Cumin, turmeric, garlic and ginger. These build on the curry powder and give the sauce real depth. If you don't have fresh ginger, use ¼ teaspoon of ground ginger and add it with the other spices.
- Coconut milk. This brings creaminess and lots of flavor. Full-fat canned coconut milk gives the richest sauce. Light coconut milk works if you'd like something lighter, and for a coconut-free version, use a creamy unsweetened oat milk or cashew cream (both are covered in the variations below).
- Chickpeas. A can of chickpeas turns the curry into a filling one-pot meal and adds plant protein. White beans, lentils or cubed tofu are all good swaps.
- Vegetable broth. Note that vegetable broth brands can vary pretty wildly in terms of saltiness. So be sure to taste your curry at the end, and adjust the salt accordingly. You may find that no extra salt is needed at all, or you may want to add quite a bit!
Which Vegetables Work Best (Fresh vs. Frozen)
Frozen vegetables are the secret to the 15-minute timing. They're already washed, chopped and blanched, so they only need a few minutes in the simmering sauce to become tender. A classic mix of carrots, peas, corn and green beans is great, and so are frozen cauliflower florets, broccoli, cut spinach, edamame, bell pepper strips or a "stir-fry" blend. Frozen vegetables are picked and frozen at their peak, so they're a genuinely good choice here, not just a shortcut.
Fresh vegetables work too; they just take a little longer. Cut everything into small, even pieces so it cooks at the same rate. Add the sturdiest vegetables first (diced potato, sweet potato, carrot or cauliflower), let them simmer for about 8 minutes, and then add quicker-cooking ones such as zucchini, bell pepper, green beans or peas. Tender greens like spinach go in at the very end. Expect the total cooking time to stretch to 20 to 25 minutes, depending on what you use.
Whichever you choose, aim for about 3 cups of vegetables for one can of coconut milk. Much more than that and the sauce gets thin and the flavors get diluted.
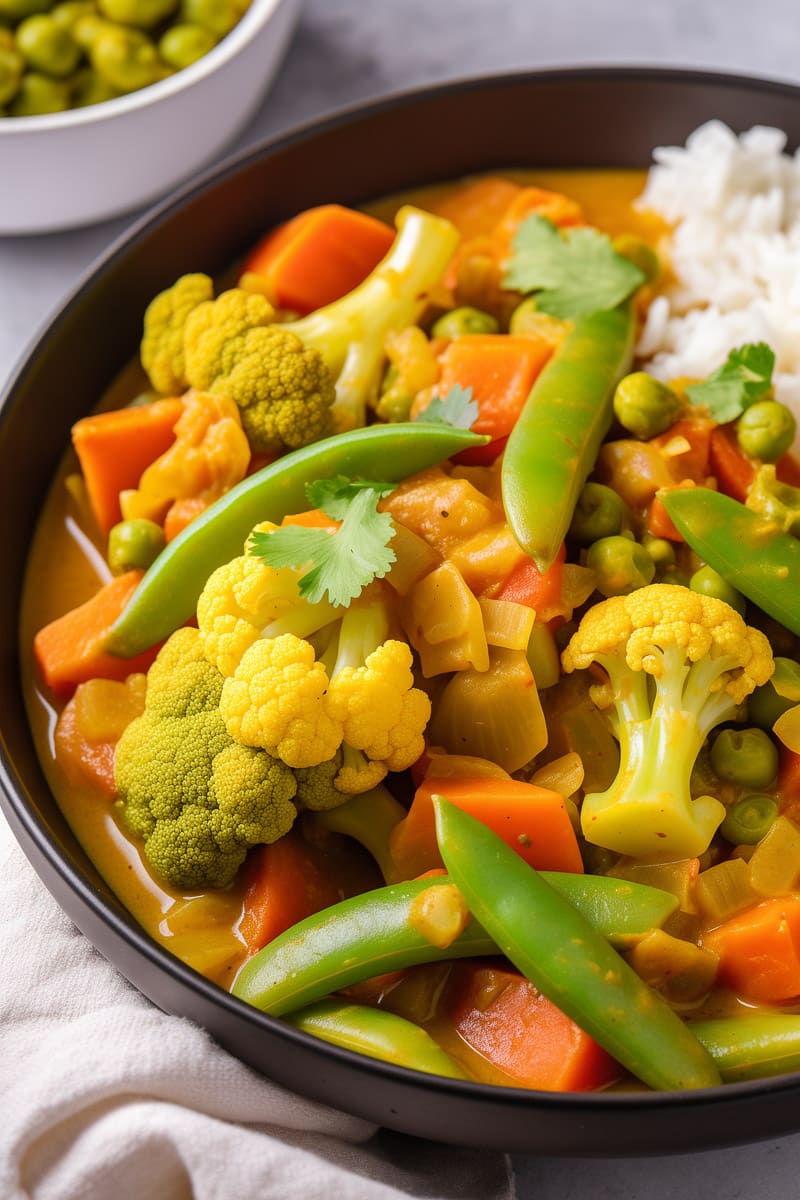
Helpful Tips
Don't be shy with the curry powder. If your curry powder is on the mild side, don't be shy to add a bit more than called for. You measure that stuff with your heart.
Bloom the spices. Cooking the curry powder, cumin and turmeric in the oil for a full minute before adding the liquid wakes up their flavor. Stir constantly so they don't scorch; if the pan looks dry, add a splash of broth.
Use a wide pan. A large, deep skillet or sauté pan gives the sauce more surface area, so it comes back to a simmer quickly after the frozen vegetables go in and reduces a little as it cooks.
Adjust the thickness at the end. If the sauce is thinner than you'd like, let it simmer uncovered for a few extra minutes or mash a few of the chickpeas against the side of the pan. If it's too thick, loosen it with a splash of broth or water.
Finish with acid. A squeeze of lime juice right before serving brightens all the warm spices and balances the richness of the coconut milk. Taste again after adding it, and then adjust the salt.
Make It Your Own
- Chickpeas, or not. Chickpeas are already in the recipe, but you can double them for an extra-hearty curry, or swap in white beans, kidney beans or a cup of cooked lentils. Leave them out entirely for a lighter vegetable side dish.
- Protein power-up with tofu. Toss in some pan-fried tofu or tempeh for an extra protein punch. Cube extra-firm tofu, brown it in a separate pan, and stir it in at the end so it stays crisp. For more ideas, see our family-friendly tofu recipes or these easy curried sweet potatoes and tofu.
- Coconut milk swaps. Light coconut milk gives a thinner, lighter sauce. For a coconut-free curry, use 1 cup of creamy unsweetened oat milk or cashew cream plus an extra ½ cup of broth, or stir in a can of crushed tomatoes for a tomato-based curry.
- Spice level. As written, this curry is mild and kid-friendly. For more heat, add a pinch of cayenne or red pepper flakes with the spices, a sliced green chili with the garlic, or use a hot curry powder. Serve chili sauce on the side if some at the table like it milder.
- Add fresh greens. Stir in a couple of handfuls of baby spinach or shredded kale in the last minute of cooking for extra nutrients. And it looks gorgeous too!
- Make it sweeter. For a sweeter curry, try adding a dash of maple syrup or agave syrup, or a handful of golden raisins.
Serving Suggestions
Serve this curry hot with a side of fluffy basmati rice to soak up the sauce, or dress it up with our lemon-flavored rice with vegetables. Quinoa or couscous make a tasty twist, and cauliflower rice is a good lower-carb option.
It's also delicious with flatbreads for scooping, like roti, vegan naan bread or our homemade chapati. Round out an Indian-inspired spread with our masala lentils or Madras lentils, plus a spoonful of minty apple-apricot chutney.
I like to garnish my curry with some chopped fresh cilantro and some lime wedges, a classic combo. But this would also be great topped with chopped peanuts or cashews, sliced red onion, a dollop of plain vegan yogurt, or lemon instead of lime.
Storing & Freezing
Store this vegetable curry in an airtight container in the refrigerator for 3 to 4 days. Like most curries, it tastes even better the next day as the flavors meld, which makes it a great make-ahead lunch. To serve again, simply reheat over medium heat on the stovetop, adding a splash of broth or water if the sauce has thickened.
The curry can be frozen for up to 3 months, though the vegetables will be a little softer and the coconut milk may separate slightly once thawed. A good stir while reheating brings the sauce back together. Thaw it overnight in the fridge and reheat gently on the stovetop. For the best texture, freeze the curry without rice and cook the rice fresh when you serve it.
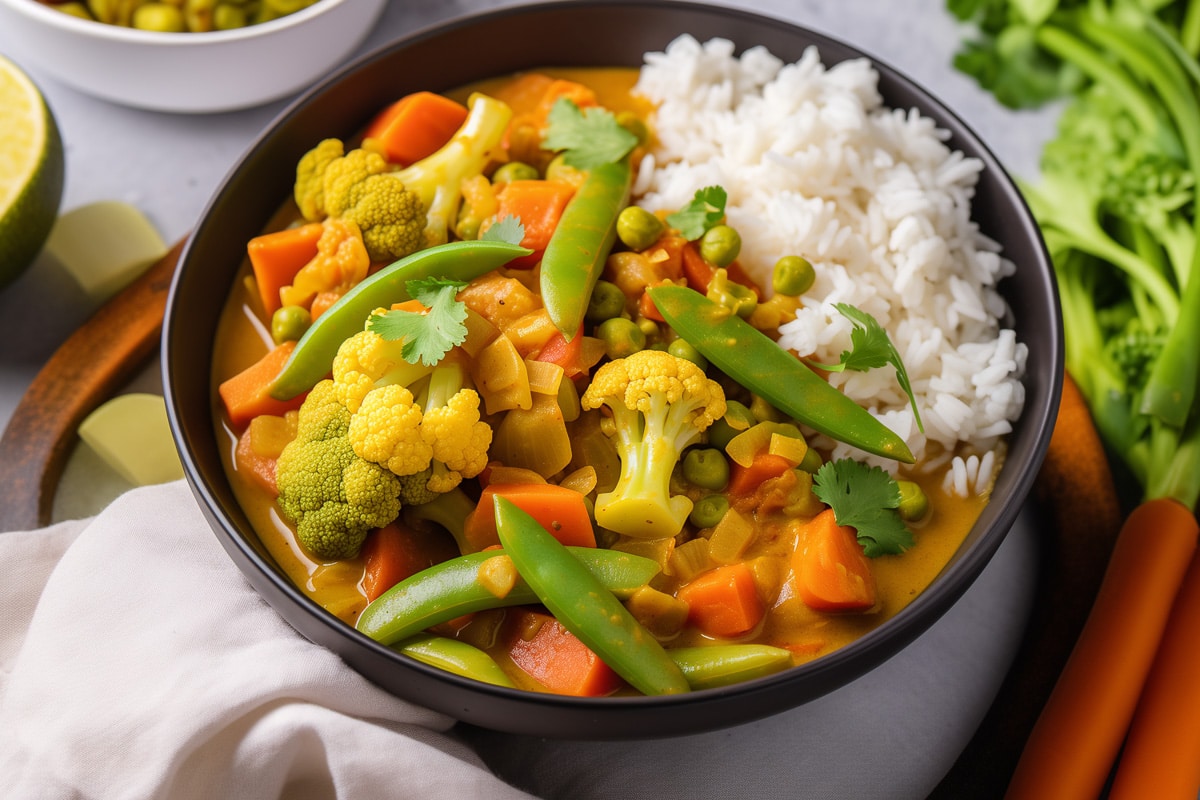
Made this curry? I'd love to hear how it turned out and which vegetables you used! Please leave a star rating in the recipe card below, and share your tweaks in the comments.
More Easy Vegan Indian Recipes
If you love this quick and easy vegetable curry, be sure to check out these other delicious vegan recipes:
Recipe

15-Minute Vegetable Curry (with frozen veggies!)
This 15-minute vegetable curry turns a bag of frozen veggies, a can of chickpeas and creamy coconut milk into a fragrant, warmly spiced weeknight dinner. Serve it over basmati rice or with warm naan.
Print
Pin
Save
Servings: servings
Ingredients
- 2 tablespoons coconut oil
- 1 small red onion finely chopped
- 2 cloves garlic minced
- 1 inch piece of ginger grated
- 1½ tablespoons good-quality curry powder adjust according to taste
- 1 teaspoon ground cumin
- ½ teaspoon turmeric powder
- 1 (14-ounce) can coconut milk full-fat for the creamiest sauce
- 1 cup vegetable broth
- 3 cups mixed frozen vegetables such as carrots, peas, corn, and green beans
- 1 (15-ounce) can chickpeas drained and rinsed
- Salt and pepper to taste
- Fresh cilantro and lime wedges for serving
Instructions
- Heat 2 tablespoons of coconut oil in a large skillet over medium heat. Sauté 1 small chopped red onion for about 3 minutes until soft. Then, add 2 minced garlic cloves and 1-inch grated ginger, cooking for another minute until fragrant.
- Stir in 1½ tablespoons of curry powder, 1 teaspoon of ground cumin, and ½ teaspoon of turmeric. Cook for 1 minute to release the flavors.
- Pour in a 14-ounce can of coconut milk and 1 cup of vegetable broth, mixing well.
- Add 3 cups of mixed frozen vegetables and a 15-ounce can of drained and rinsed chickpeas. Bring to a simmer, then reduce the heat to maintain a gentle simmer.
- Let the curry cook for about 8-10 minutes, or until the vegetables are tender.
- Season with salt and pepper to taste.
- Serve hot, garnished with fresh cilantro and a squeeze of lime juice. This curry goes well with rice or flatbread.
Notes
Using fresh vegetables: cut them into small, even pieces and add sturdier ones (carrots, potatoes, cauliflower) first. Simmer a few minutes longer, until tender.
Spice level: this version is mild. Add a pinch of cayenne or a sliced green chili with the garlic for more heat.
Storage: keeps 3 to 4 days in the fridge and up to 3 months in the freezer.
Nutrition (Estimate per Serving)
Calories: 424kcalCarbohydrates: 35gProtein: 10gFat: 31gSaturated Fat: 25gPolyunsaturated Fat: 1gMonounsaturated Fat: 2gSodium: 489mgPotassium: 701mgFiber: 10gSugar: 2gVitamin A: 7095IUVitamin C: 18mgCalcium: 99mgIron: 7mg
Vegan-ize any recipe!Grab our free vegan cheat sheet, packed with my favorite easy substitutions to make any recipe vegan.
30-Minute Vegan Chana Masala
This easy vegan chana masala is a quick take on the Indian classic: tender chickpeas simmered in a spiced tomato and onion gravy, all in one pan. Canned chickpeas are the shortcut that gets it on the table in just 30 minutes, so it's a real weeknight option rather than a weekend project.
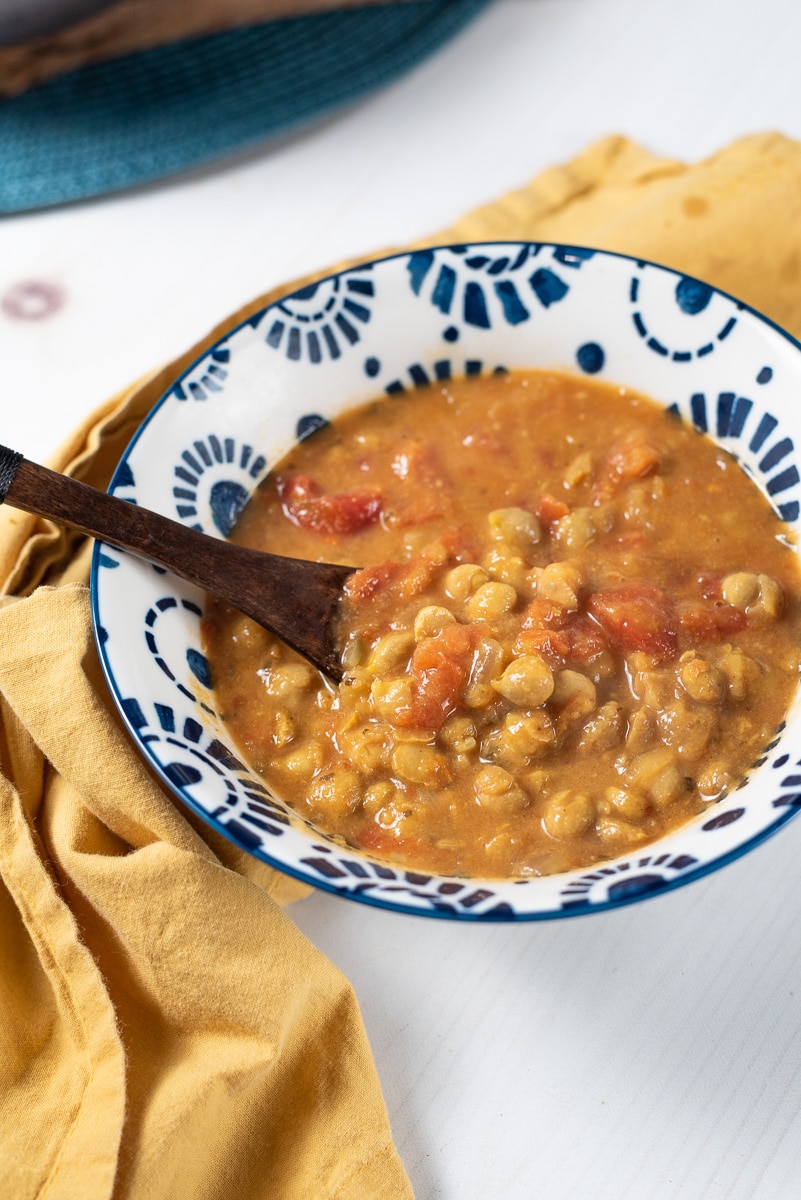
It's been a minute since I've added a new curry recipe to the blog, so I wanted to share this quick and easy chana masala with you. It's absolutely packed with flavor, and yet it's simple enough to make on a busy weeknight. What's not to love?
What Is Chana Masala?
Chana masala, also known as "chole" in many parts of India, is a popular dish that originates from the Indian subcontinent, particularly the northern regions. The name describes it well: "chana" means chickpeas, and "masala" refers to a mixture of spices. Legumes like chickpeas have been a staple of Indian cooking for centuries, prized for their versatility and nutrition.
Traditionally, chana masala starts with dried chickpeas that are soaked overnight, boiled until tender, and then simmered for a long time in a spicy, tangy tomato-based sauce with cumin, coriander, garam masala, and turmeric. Every region, and really every family, has its own version, with different spice blends and cooking techniques.
A Quick 30-Minute Version of the Classic
This recipe keeps the flavors of the classic but skips the long soak and boil. Because canned chickpeas are already fully cooked, they only need about 10 minutes in the sauce to soak up the spices, so the whole dish comes together in roughly 10 minutes of chopping and 20 minutes at the stove. Here's why it's become a regular in my kitchen:
- Hearty and satisfying. The chickpeas make a filling, comforting base that's loaded with plant-based protein and fiber.
- Flavor-packed. A blend of traditional Indian spices, bloomed in oil, means every bite is bursting with flavor.
- Easy to make. It uses easy-to-find ingredients, one pan, and straightforward steps, and it's ready in about 30 minutes.
- Naturally vegan and gluten-free. No special swaps needed; just check that your vegetable broth is gluten-free if that matters to you.
Key Ingredients & Substitutions
- Canned chickpeas. These are the star of the show and the reason this version is so fast. Drain and rinse them well to remove the starchy canning liquid. If you prefer to cook dried chickpeas, you'll need about 1 ½ to 2 cups cooked chickpeas; just cook them ahead so the 30-minute timing still works. Chickpeas are also commonly called garbanzo beans.
- Garam masala. I use a handful of common Indian spices, but garam masala is the most important one, because it gives the dish its classic warm flavor. A good-quality blend makes a real difference (I like this one).
- Whole cumin seeds. Sizzling the seeds in hot oil at the start gives the sauce a toasty, nutty base. If you only have ground cumin, stir in ¾ teaspoon with the other ground spices instead. (These whole cumin seeds keep for ages.)
- Turmeric, coriander, and red chili powder. Turmeric adds earthy color, coriander adds a citrusy note, and Indian red chili powder brings the heat. Kashmiri chili powder is milder and gives a deeper red color; cayenne works too, but start with less.
- Tomatoes and tomato paste. I use a fresh tomato, which I think gives the best flavor and texture. You can substitute a 15-ounce can of diced or crushed tomatoes if you prefer (use about half the can for one large tomato, or the whole can for a saucier curry). Tomato paste deepens the color and flavor quickly, which helps a short-cooked sauce taste like it's been simmering all afternoon.
- Onion, garlic, and ginger. This aromatic trio is the backbone of the gravy. Chop the onion finely so it softens and browns quickly.
- Lemon juice. A squeeze at the end brightens all the spices. In a pinch, a little lime juice or a splash of vinegar will do the same job.
Helpful Tips
Prep everything before you turn on the heat. The cooking moves quickly once the cumin seeds hit the oil, so have your onion, garlic, ginger, tomato, and spices chopped and measured first. That 10 minutes of prep is what keeps the whole recipe at 30 minutes.
Let the tomatoes break down. Cook the tomatoes and tomato paste until they're soft and you see the oil start to separate at the edges of the pan. It only takes a few minutes, and it's the sign that the raw tomato taste is gone and the base is ready for the spices.
Adjust the spice level to your taste. As written, the recipe is mildly spicy (at least from my perspective!). Add more chili powder or a second green chili to amp up the heat, or leave both out for a milder dish that kids will enjoy.
Mash a few chickpeas for a thicker gravy. Near the end of simmering, press a spoonful of chickpeas against the side of the pan with the back of your spoon. The starch thickens the sauce naturally, so you get a restaurant-style gravy without a long simmer.
Add the lemon juice last. Stirring it in right before serving keeps its flavor fresh and bright. Taste again after adding it, and adjust the salt, since both make the spices pop.
Variations
- Creamier chana masala. Stir in a splash of coconut milk or cashew cream at the end for a richer, creamier texture.
- Tangy twist. Add an extra squeeze of lemon juice, or a pinch of amchur (dried mango powder), for a more pronounced sour note.
- Add greens. Stir a couple of handfuls of baby spinach or chopped kale into the pan during the last few minutes of simmering, until wilted.
- Chana aloo. Add a cup of diced, already-cooked potatoes with the chickpeas for a heartier curry. If you love a good potato curry, try our Tofu Aloo Gobi next.
- Garnish galore. Top your chana masala with fresh cilantro, finely diced red onion, or a spoonful of our Minty Apple-Apricot Chutney for a sweet-tart contrast.
Serving Ideas
Pair this vegan chana masala with fluffy basmati rice or warm vegan naan to scoop up every bit of the gravy. For something a little different, serve it with our Lemon-Flavored Rice with Vegetables, or spoon it over a bed of fresh greens for a lighter meal.
For a full Indian-style dinner, serve it alongside another quick curry, like our 30-Minute Aloo Gobi or Masala Lentils, with a cooling side of sliced cucumbers and red onion dressed with lemon and salt.
Storing & Freezing
Let leftover chana masala cool, then store it in an airtight container in the fridge for 3 to 4 days. Like most curries, it tastes even better the next day once the spices have had time to meld, which makes it a great make-ahead lunch. The gravy thickens as it sits, so add a splash of water or broth when you reheat it on the stovetop over medium heat or in the microwave.
Chana masala also freezes well. Freeze it in portions in freezer-safe containers for up to 2 months, leaving a little room at the top for expansion. Thaw overnight in the fridge, then reheat over medium heat, stirring often, until hot all the way through. Add a fresh squeeze of lemon and some chopped cilantro to wake up the flavors before serving.
More Vegan Indian Recipes
If you love this vegan chana masala, be sure to check out these other Indian-inspired vegan recipes:
- Easy Vegan Dal Tadka
- 30-Minute Madras Lentils
- Bhindi Masala (Okra Masala)
- 15-Minute Vegetable Curry
- Easy Lentil Curry
Recipe
30-Minute Vegan Chana Masala
This easy vegan chana masala is a quick version of the Indian classic: canned chickpeas simmered in a spiced tomato and onion gravy, all in one pan and ready in just 30 minutes. Perfect for a weeknight meal!
Print
Pin
Save
Servings: servings
Ingredients
- 15 oz canned chickpeas (one 15-ounce can) drained and rinsed
- 1 large onion finely chopped
- 3 cloves garlic minced
- 1 inch piece of ginger minced
- 1 large tomato finely chopped (or ½ a 15-ounce can diced tomatoes)
- 1 green chili finely chopped (optional, adjust to taste)
- 2 tablespoons tomato paste
- 1 teaspoon cumin seeds
- 1 teaspoon ground coriander
- 1 teaspoon garam masala
- ½ teaspoon turmeric powder
- ½ teaspoon red chili powder Indian or Kashmiri; adjust to taste
- juice of half a lemon
- 2 tablespoons cooking oil such as coconut or vegetable oil
- Salt to taste
- Fresh cilantro optional, for garnishing
- 1 cup vegetable broth
Instructions
- Bloom the cumin and cook the onion: Heat the oil in a large skillet or wide pan over medium heat. Add the cumin seeds and let them sizzle for about 30 seconds, until fragrant. Add the chopped onion and cook, stirring often, until softened and golden at the edges, 5 to 6 minutes.
- Add garlic and ginger: Stir in the minced garlic and ginger and cook for 1 minute, until fragrant.
- Cook the tomatoes and spices: Add the chopped tomato, green chili (if using), and tomato paste. Cook, stirring, until the tomato is soft and the oil starts to separate at the edges, 4 to 5 minutes. Stir in the ground coriander, garam masala, turmeric, red chili powder, and about ½ teaspoon salt, and cook for 30 seconds.
- Add the chickpeas: Add the drained and rinsed chickpeas and stir to coat them in the spice mixture.
- Simmer: Pour in the vegetable broth, bring to a boil, then reduce the heat to medium-low and simmer for about 10 minutes, stirring occasionally, until the gravy thickens. Since canned chickpeas are already cooked, they only need this short simmer to absorb the flavors. For a thicker gravy, mash a few chickpeas against the side of the pan.
- Finish and season: Stir in the lemon juice, then taste and adjust the salt and heat. Garnish with fresh cilantro.
- Serve: Serve hot with basmati rice, naan, or your favorite Indian bread.
Notes
Dried chickpeas: Use 1 ½ to 2 cups cooked chickpeas in place of the can. Cook them ahead of time so the recipe still comes together in 30 minutes.
Canned tomatoes: Use half of a 15-ounce can of diced or crushed tomatoes in place of the fresh tomato, or the whole can for a saucier curry.
Spice level: As written it's mildly spicy. Add more chili powder or a second green chili for more heat, or leave both out for a mild version.
Storage: Refrigerate leftovers in an airtight container for 3 to 4 days, or freeze for up to 2 months. Add a splash of water or broth when reheating.
Nutrition (Estimate per Serving)
Calories: 196kcalCarbohydrates: 23gProtein: 7gFat: 10gSaturated Fat: 1gPolyunsaturated Fat: 3gMonounsaturated Fat: 5gTrans Fat: 0.03gSodium: 640mgPotassium: 390mgFiber: 7gSugar: 4gVitamin A: 600IUVitamin C: 10mgCalcium: 63mgIron: 2mg
Vegan-ize any recipe!Grab our free vegan cheat sheet, packed with my favorite easy substitutions to make any recipe vegan.
Best Vegan Potato Salad Recipe
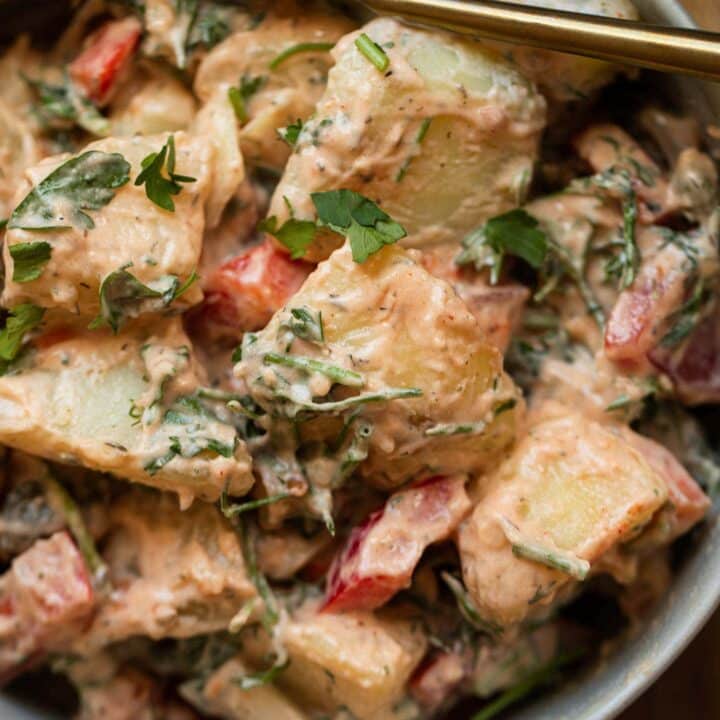
The best vegan potato salad recipe, loaded with fresh herbs and lots of vegetables! Creamy, indulgent and flavorful, it's a perfect summery side dish that's great for BBQs and picnics. It's guaranteed to impress even the fussiest eaters!
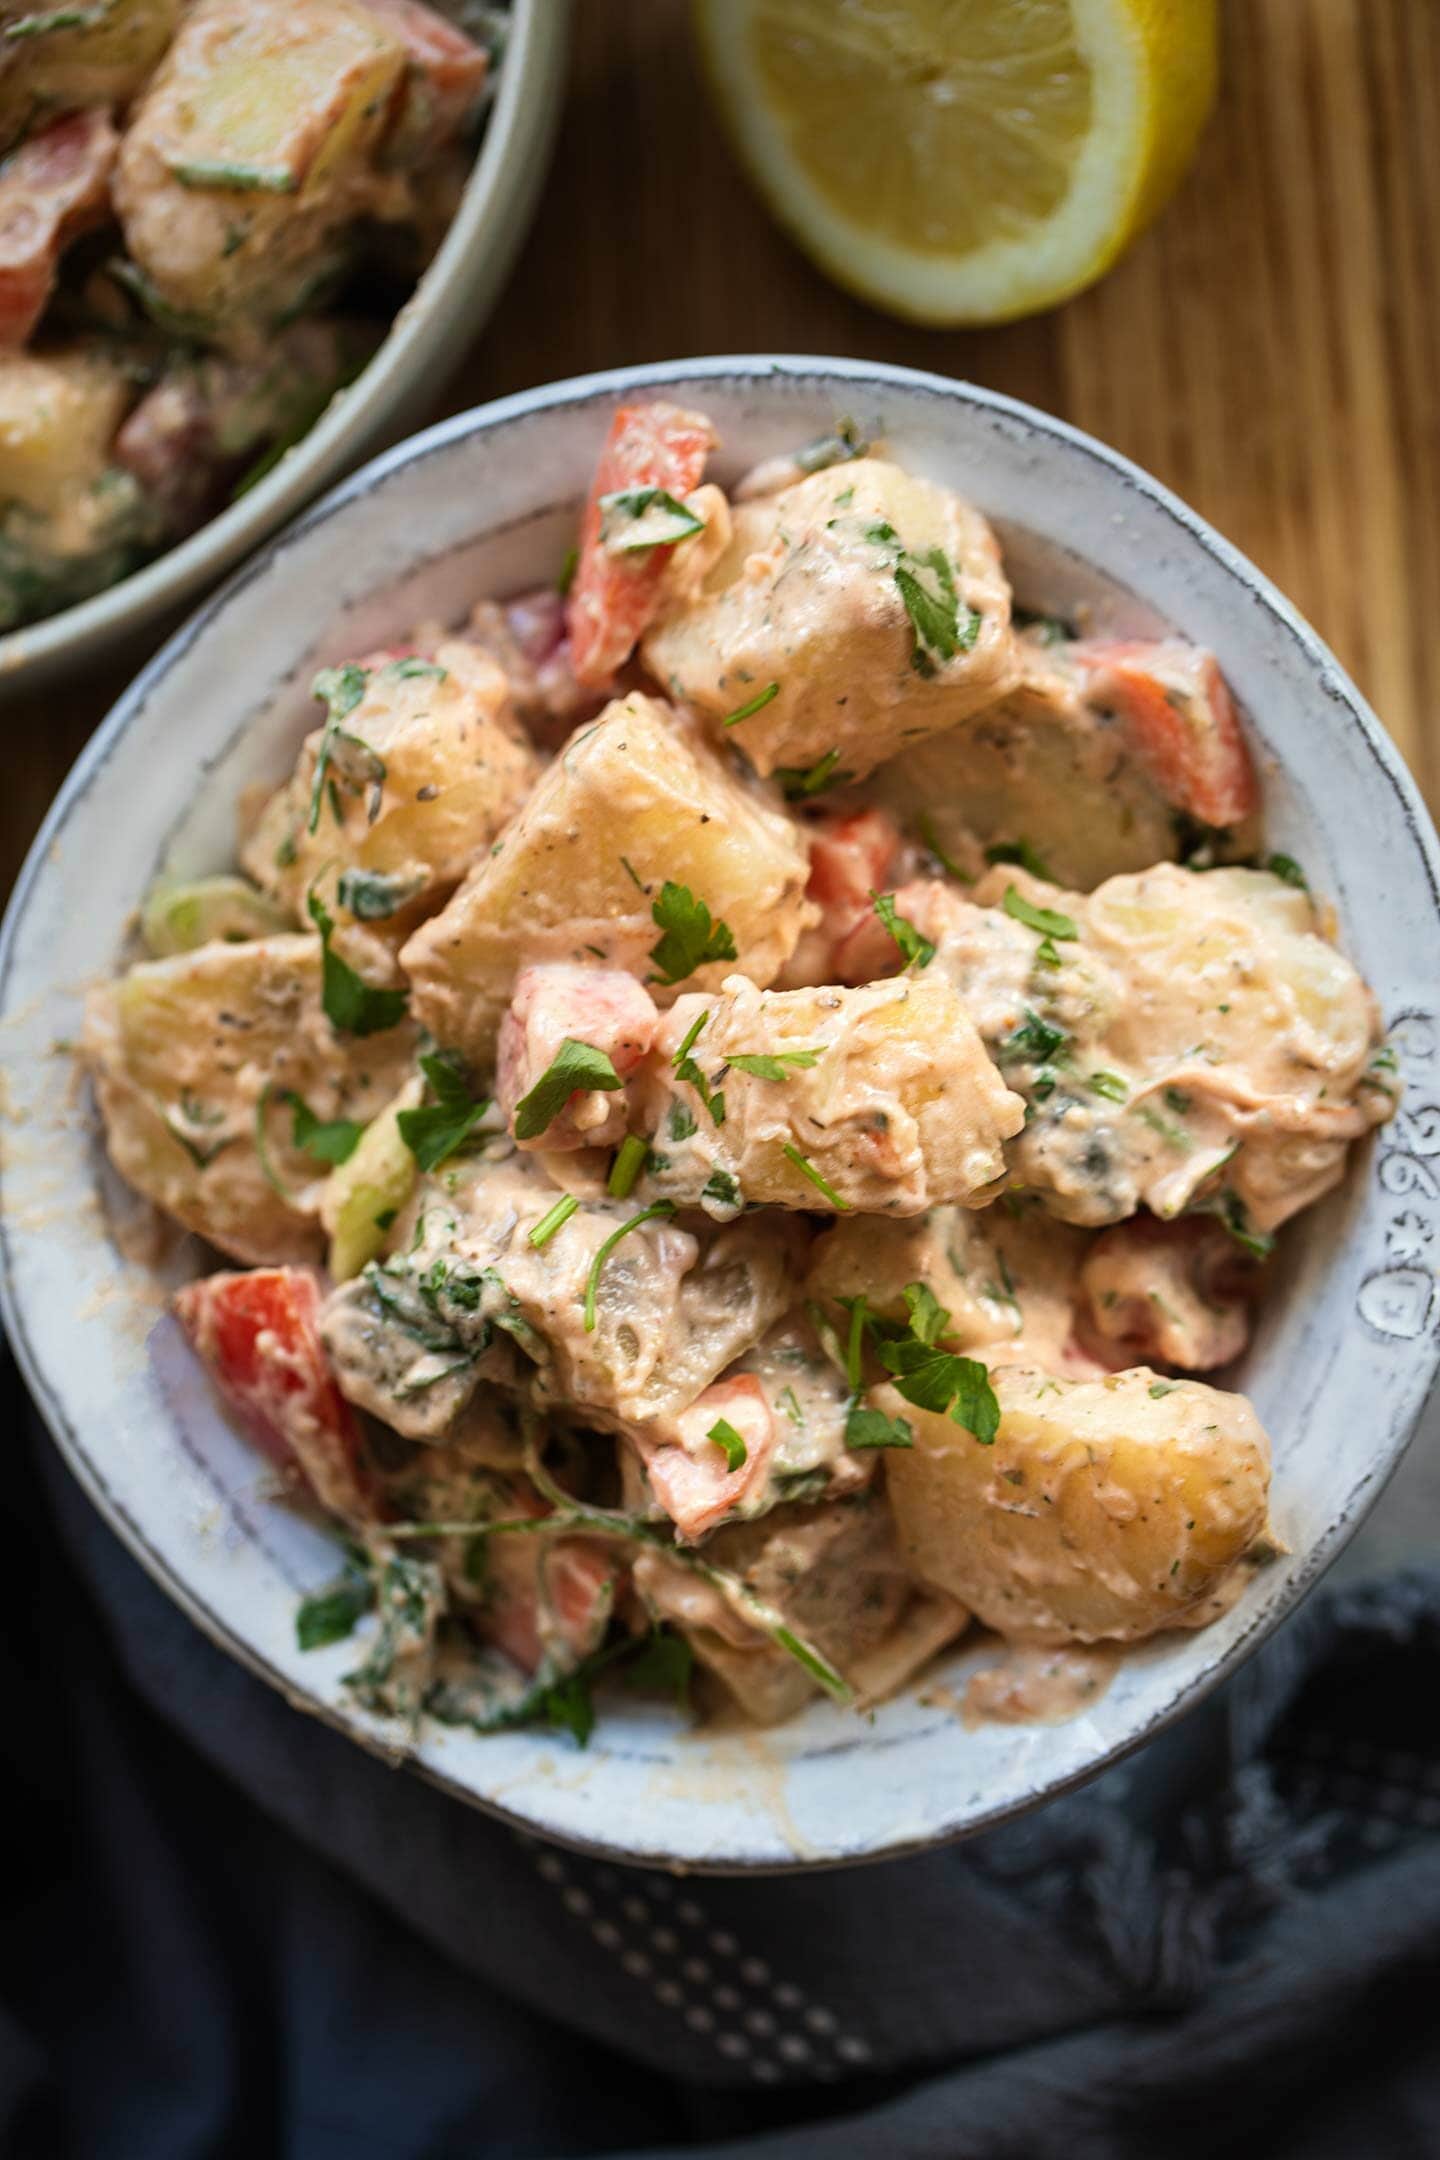
As summer approaches, I find myself craving salad more and more. Potato salad in particular. It's just such a nostalgic dish that goes so well with everything, making it ideal for an outdoor get-together. And I believe that when it comes to potato salad, homemade is always the way to go. Not only is it hard to find vegan potato salads at the store, all the ones that are available are mediocre at best.
But don't worry, because this amazing dairy-free potato salad will be perfect for vegans and non-vegans alike. Last year, I made a potato salad with smoky tempeh. But, I wanted to develop an even simpler recipe for which you need literally 20 minutes. The ingredients and preparation are super simple, but the resulting flavor is phenomenal. It's herby, it's refreshing, it has just the right amount of tanginess. The potatoes are creamy and fluffy, adding hints of earthiness and nostalgia.
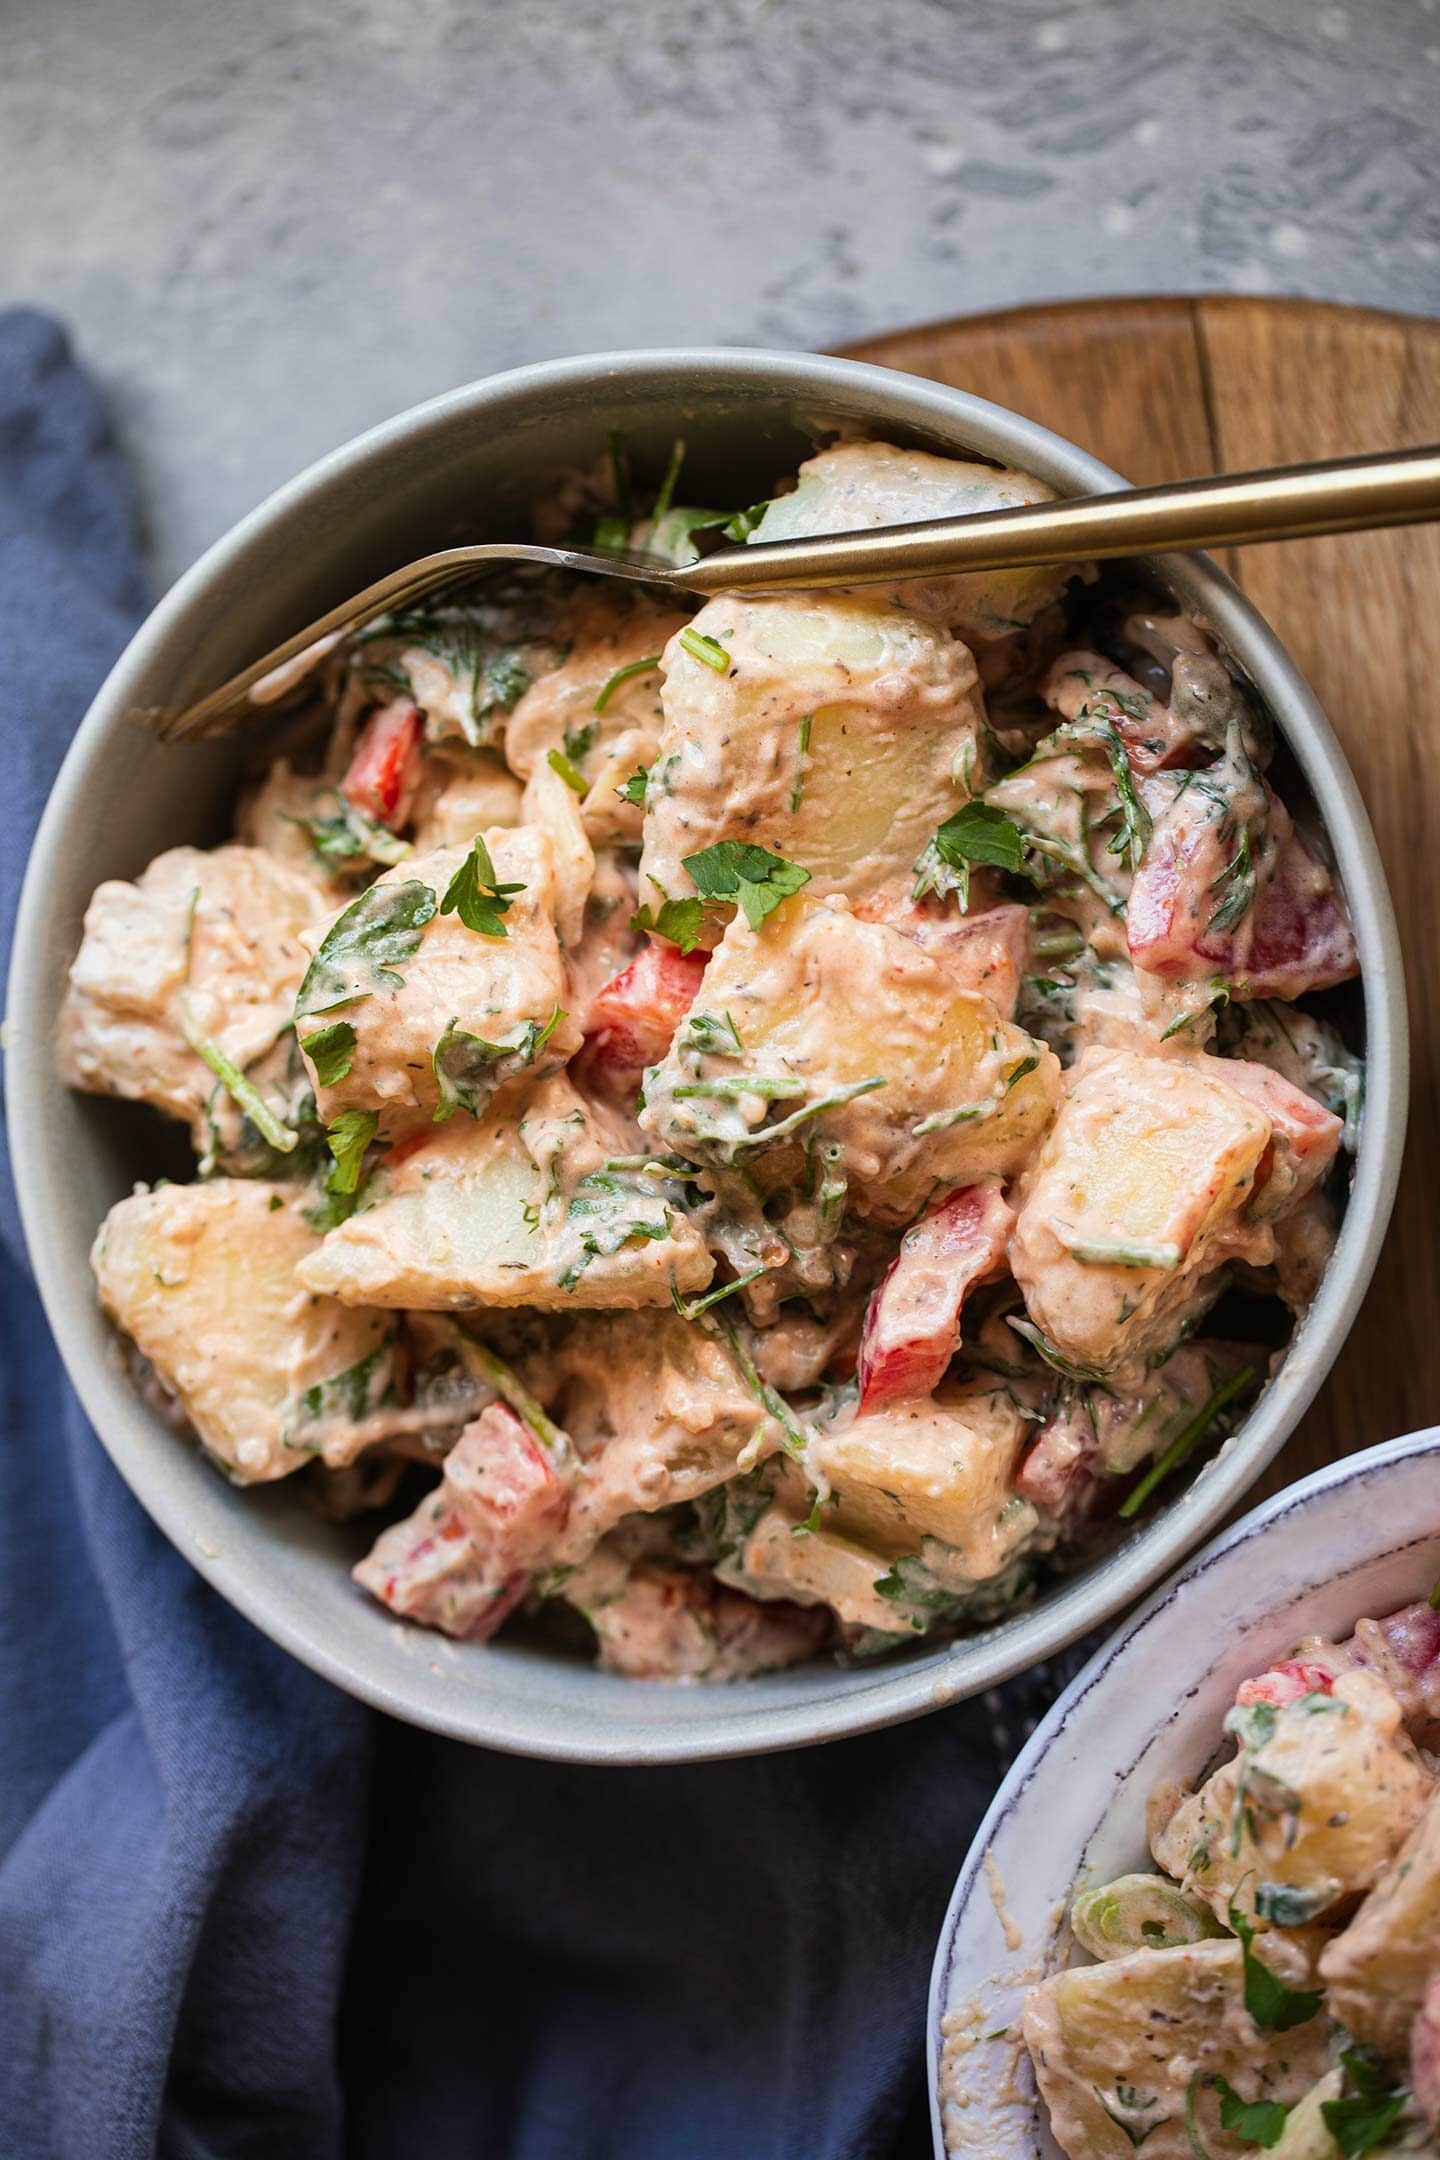
Bring it along to a BBQ or picnic, or serve as a side dish for any summery dinner. There's a few tricks that you need to keep in mind when it comes to making a perfect potato salad, but overall, it's an ideal effortless dish that everyone will love.
Vegan potato salad recipe ingredients
Potatoes. You can use any potato variety of your choice, but waxy potatoes usually work best. You can use either large potatoes, simply peeling and dicing them, or new potatoes, which you can boil whole and save even more time.
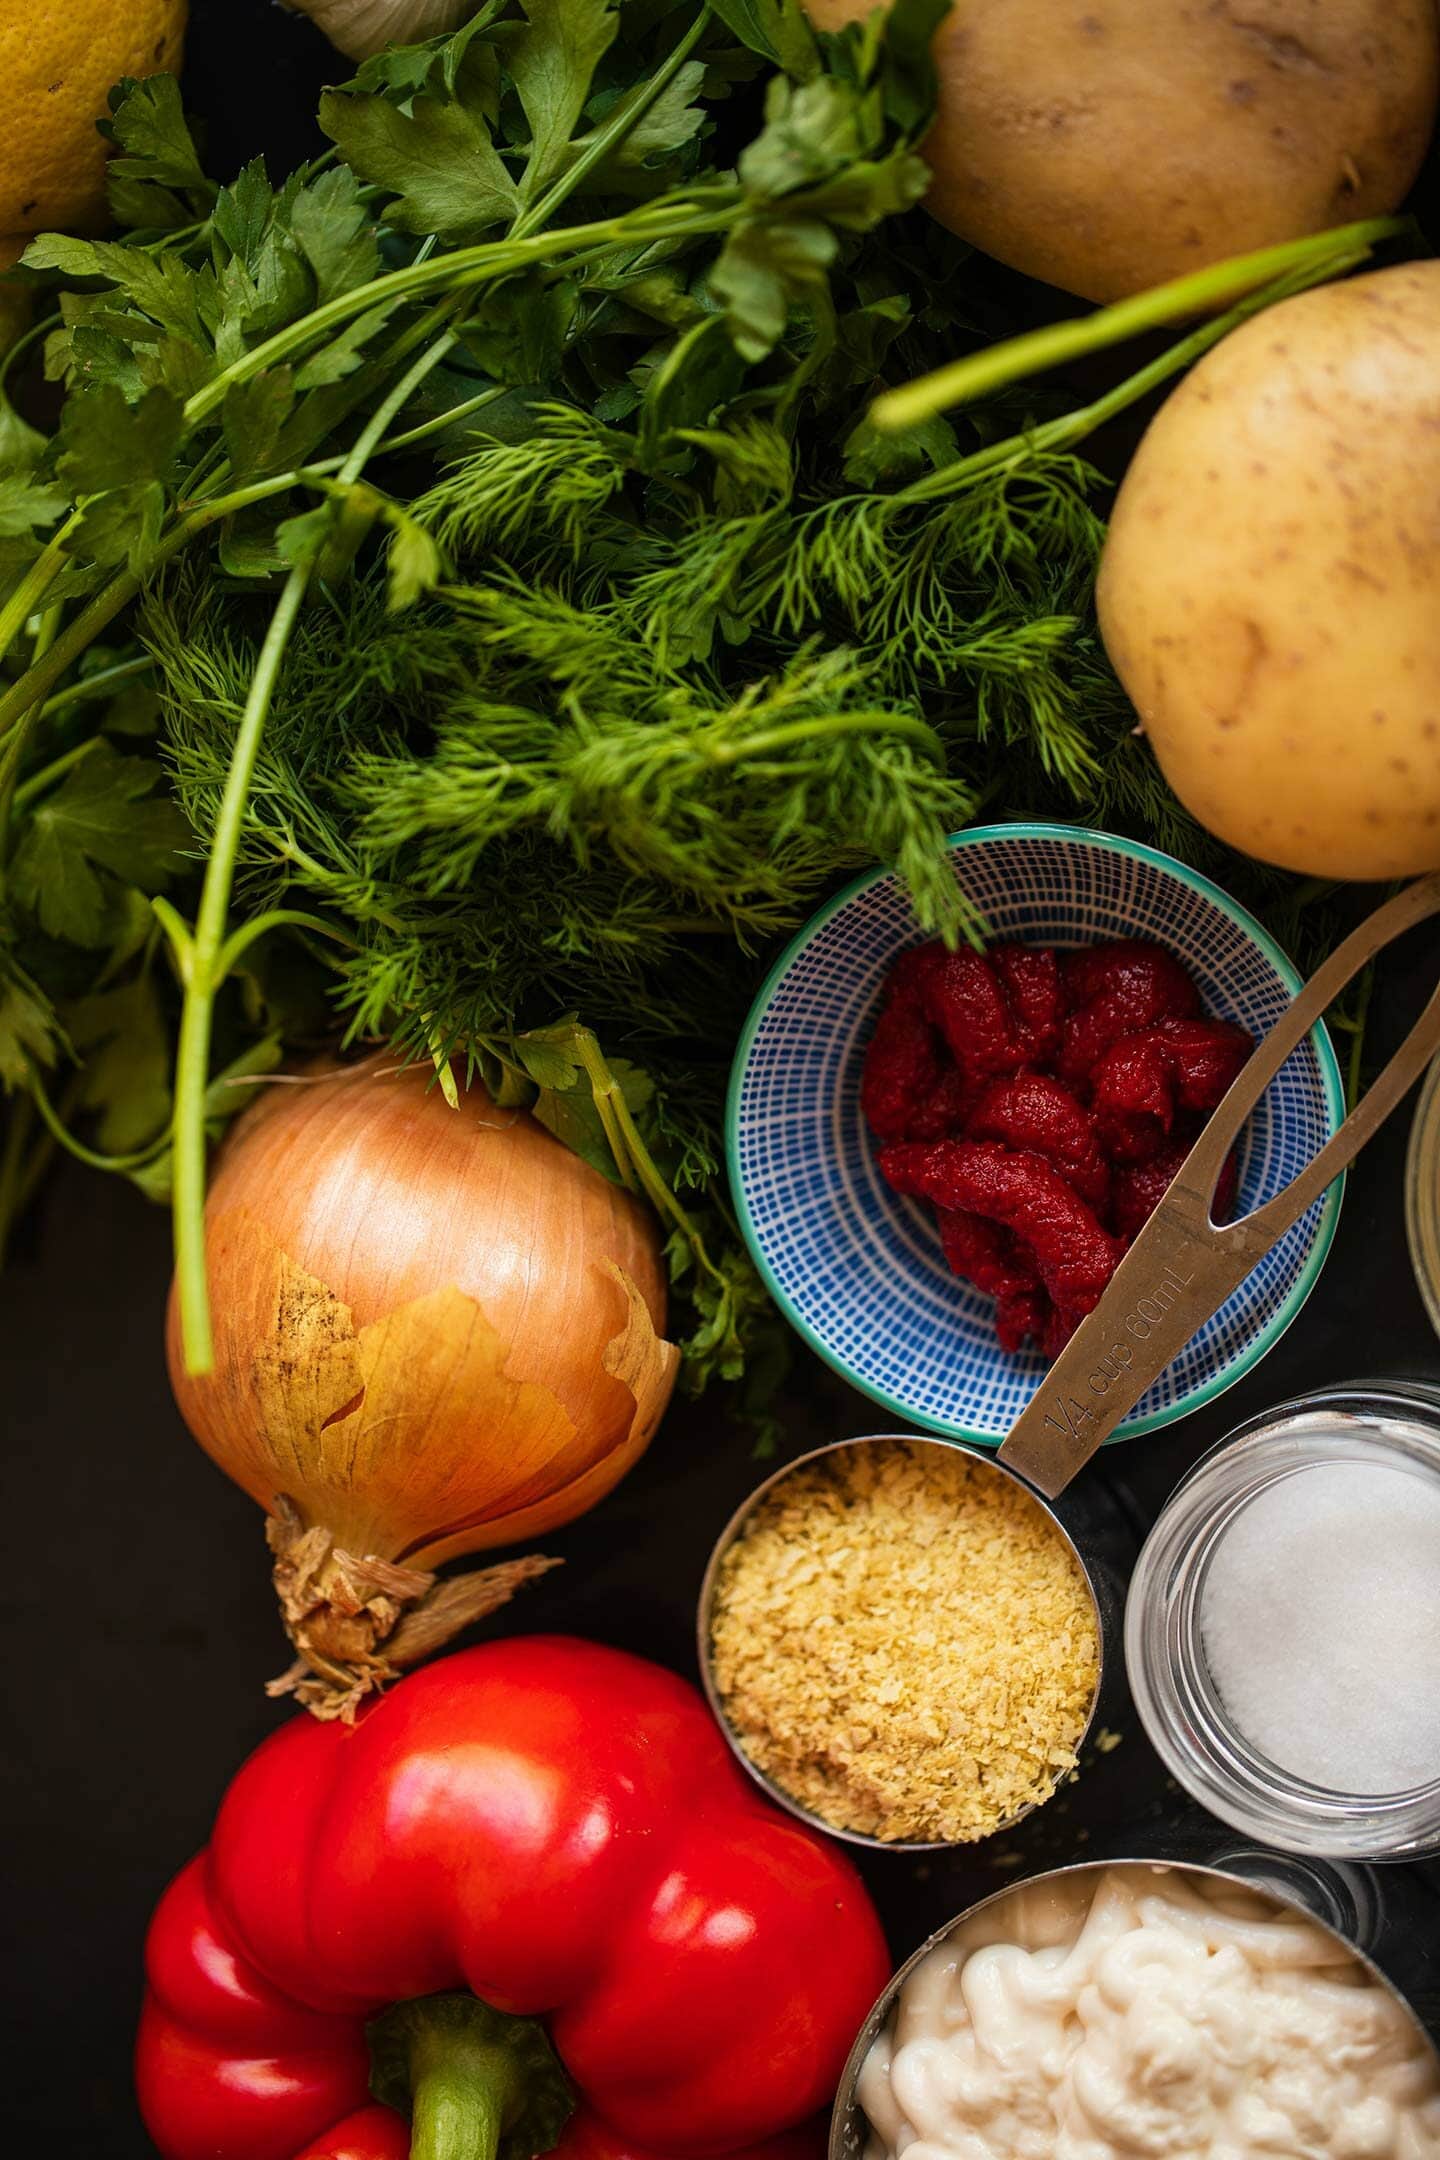
Vegetables of your choice. You can really add any vegetables that you prefer or that you may have in the fridge. I used red peppers, onions, and carrots. Other vegetables that work well involve cucumber, zucchini and cauliflower.
Fresh herbs. I used dill and cilantro. A generous amount of fresh herbs is an ideal addition to vegan potato salad. They add a lot of flavor and freshness, working perfectly with the other ingredients to create nuance.
Garlic. Don't skip this, because garlic is a key ingredient that can take any salad to the next level.
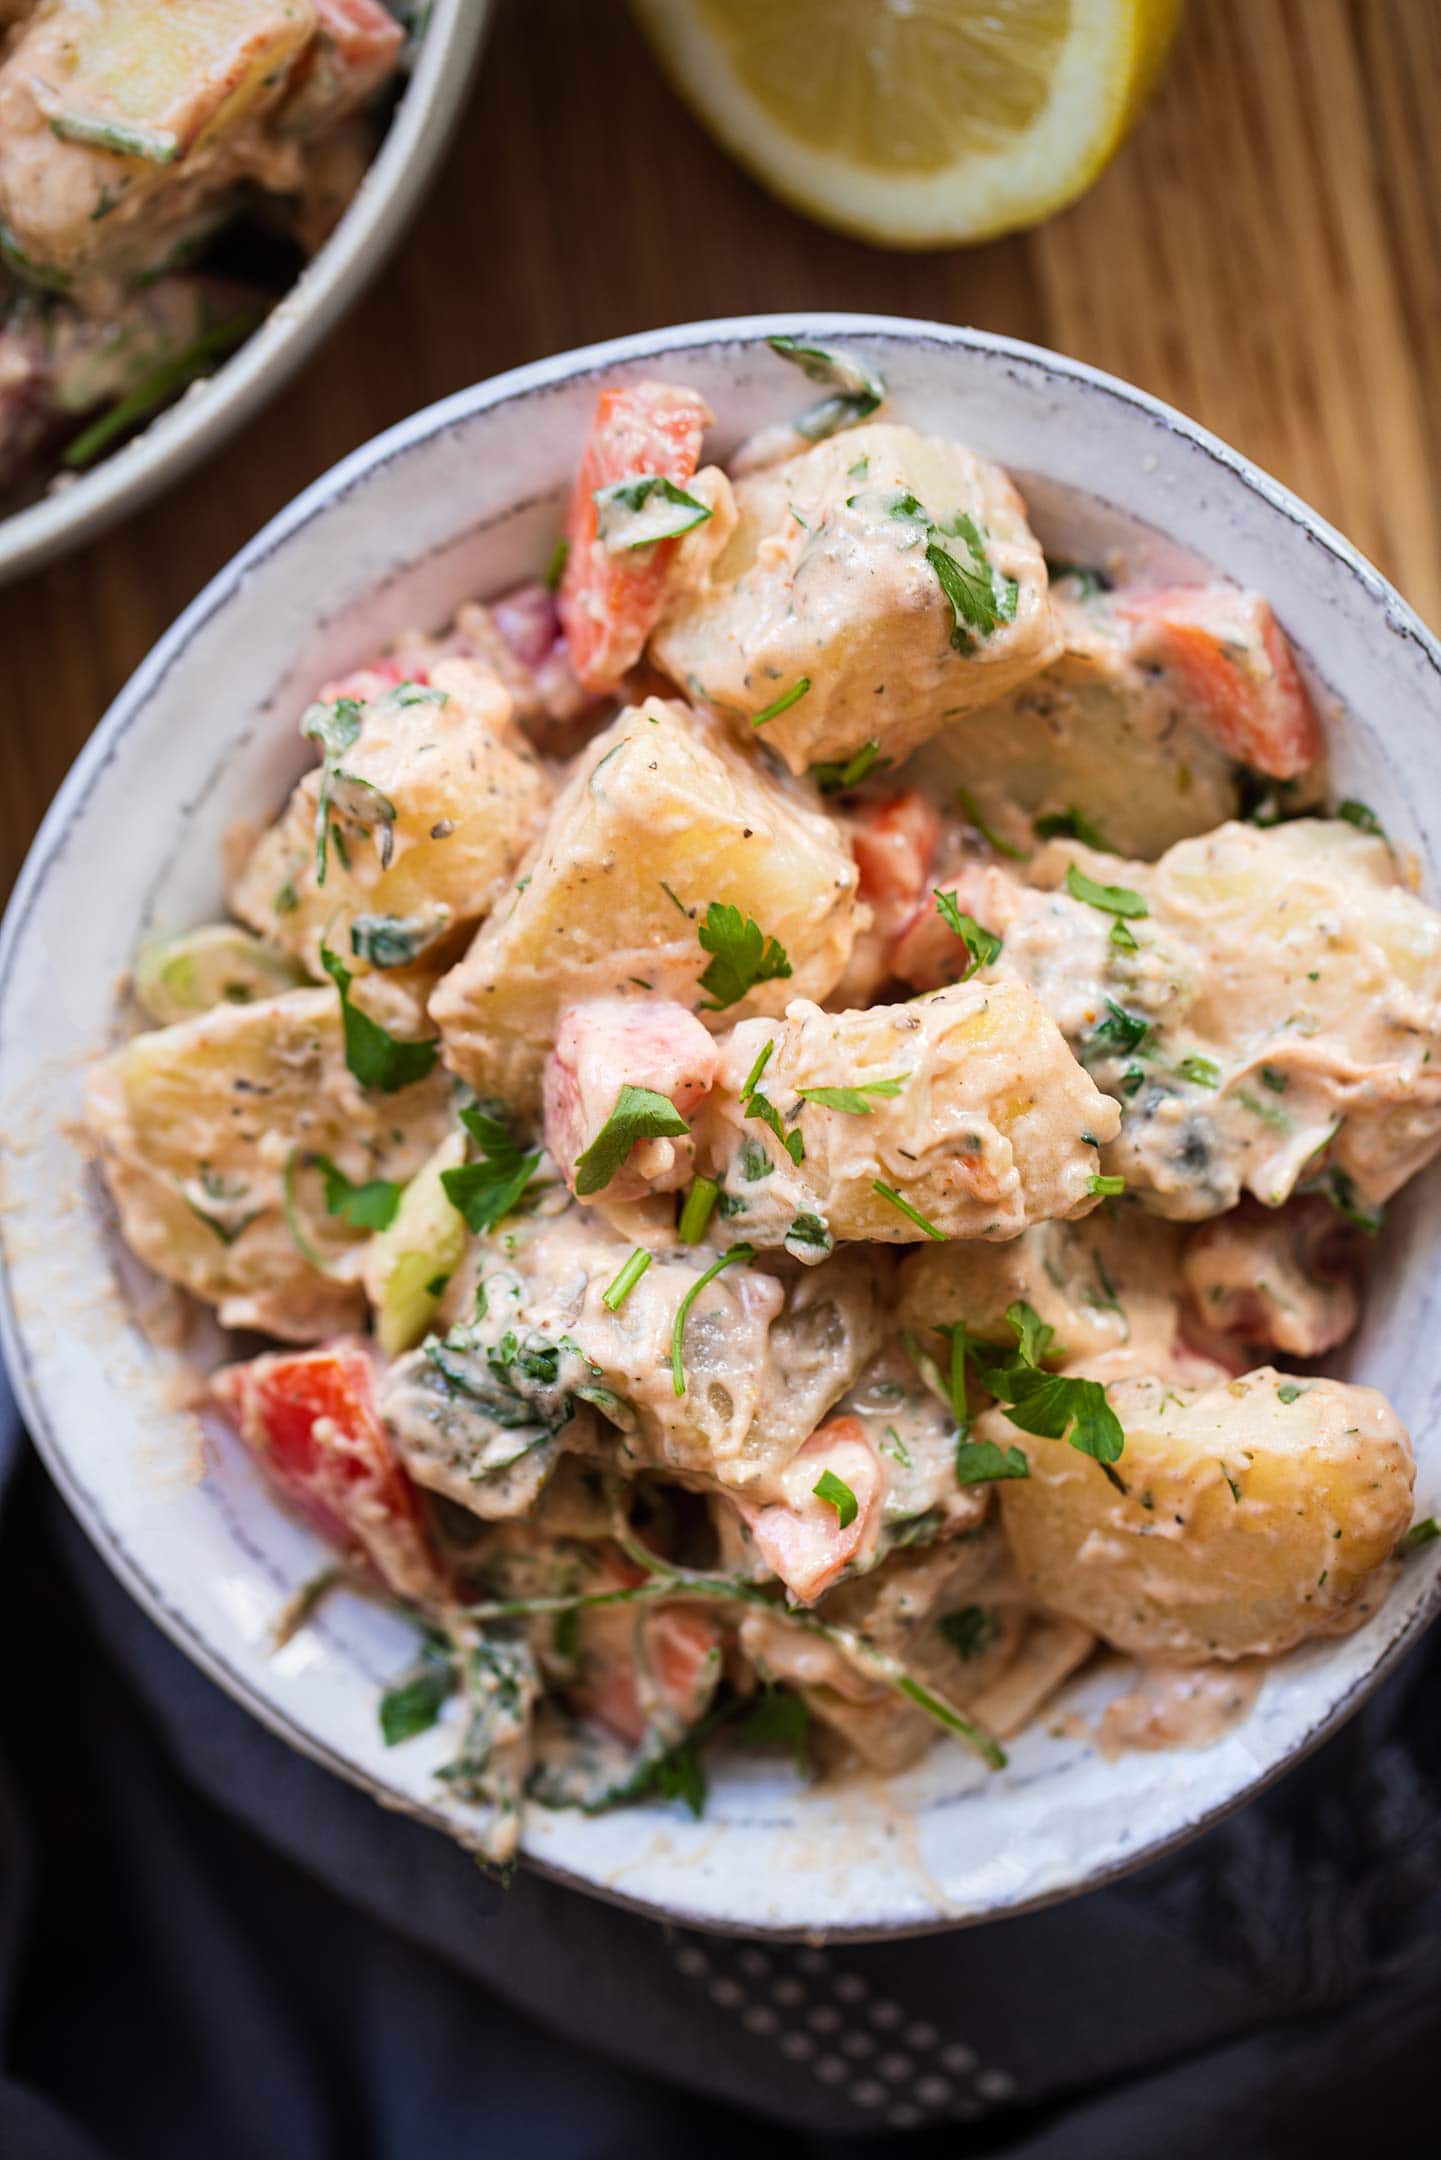
Pickles. Once again, don't leave out the finely diced pickles, because they add that signature tanginess we all love in a potato salad. Capers also work really well.
Lemon juice. I would recommend using freshly-squeezed lemon juice for the best results in order to give the potato salad a more authentic flavor.
Vegan mayonnaise. You can either make your own, or use a good quality store-bought vegan mayo. Keep reading as I've listed some substitutions below that you can use instead. You can also leave it out completely for a more fresh/light salad.
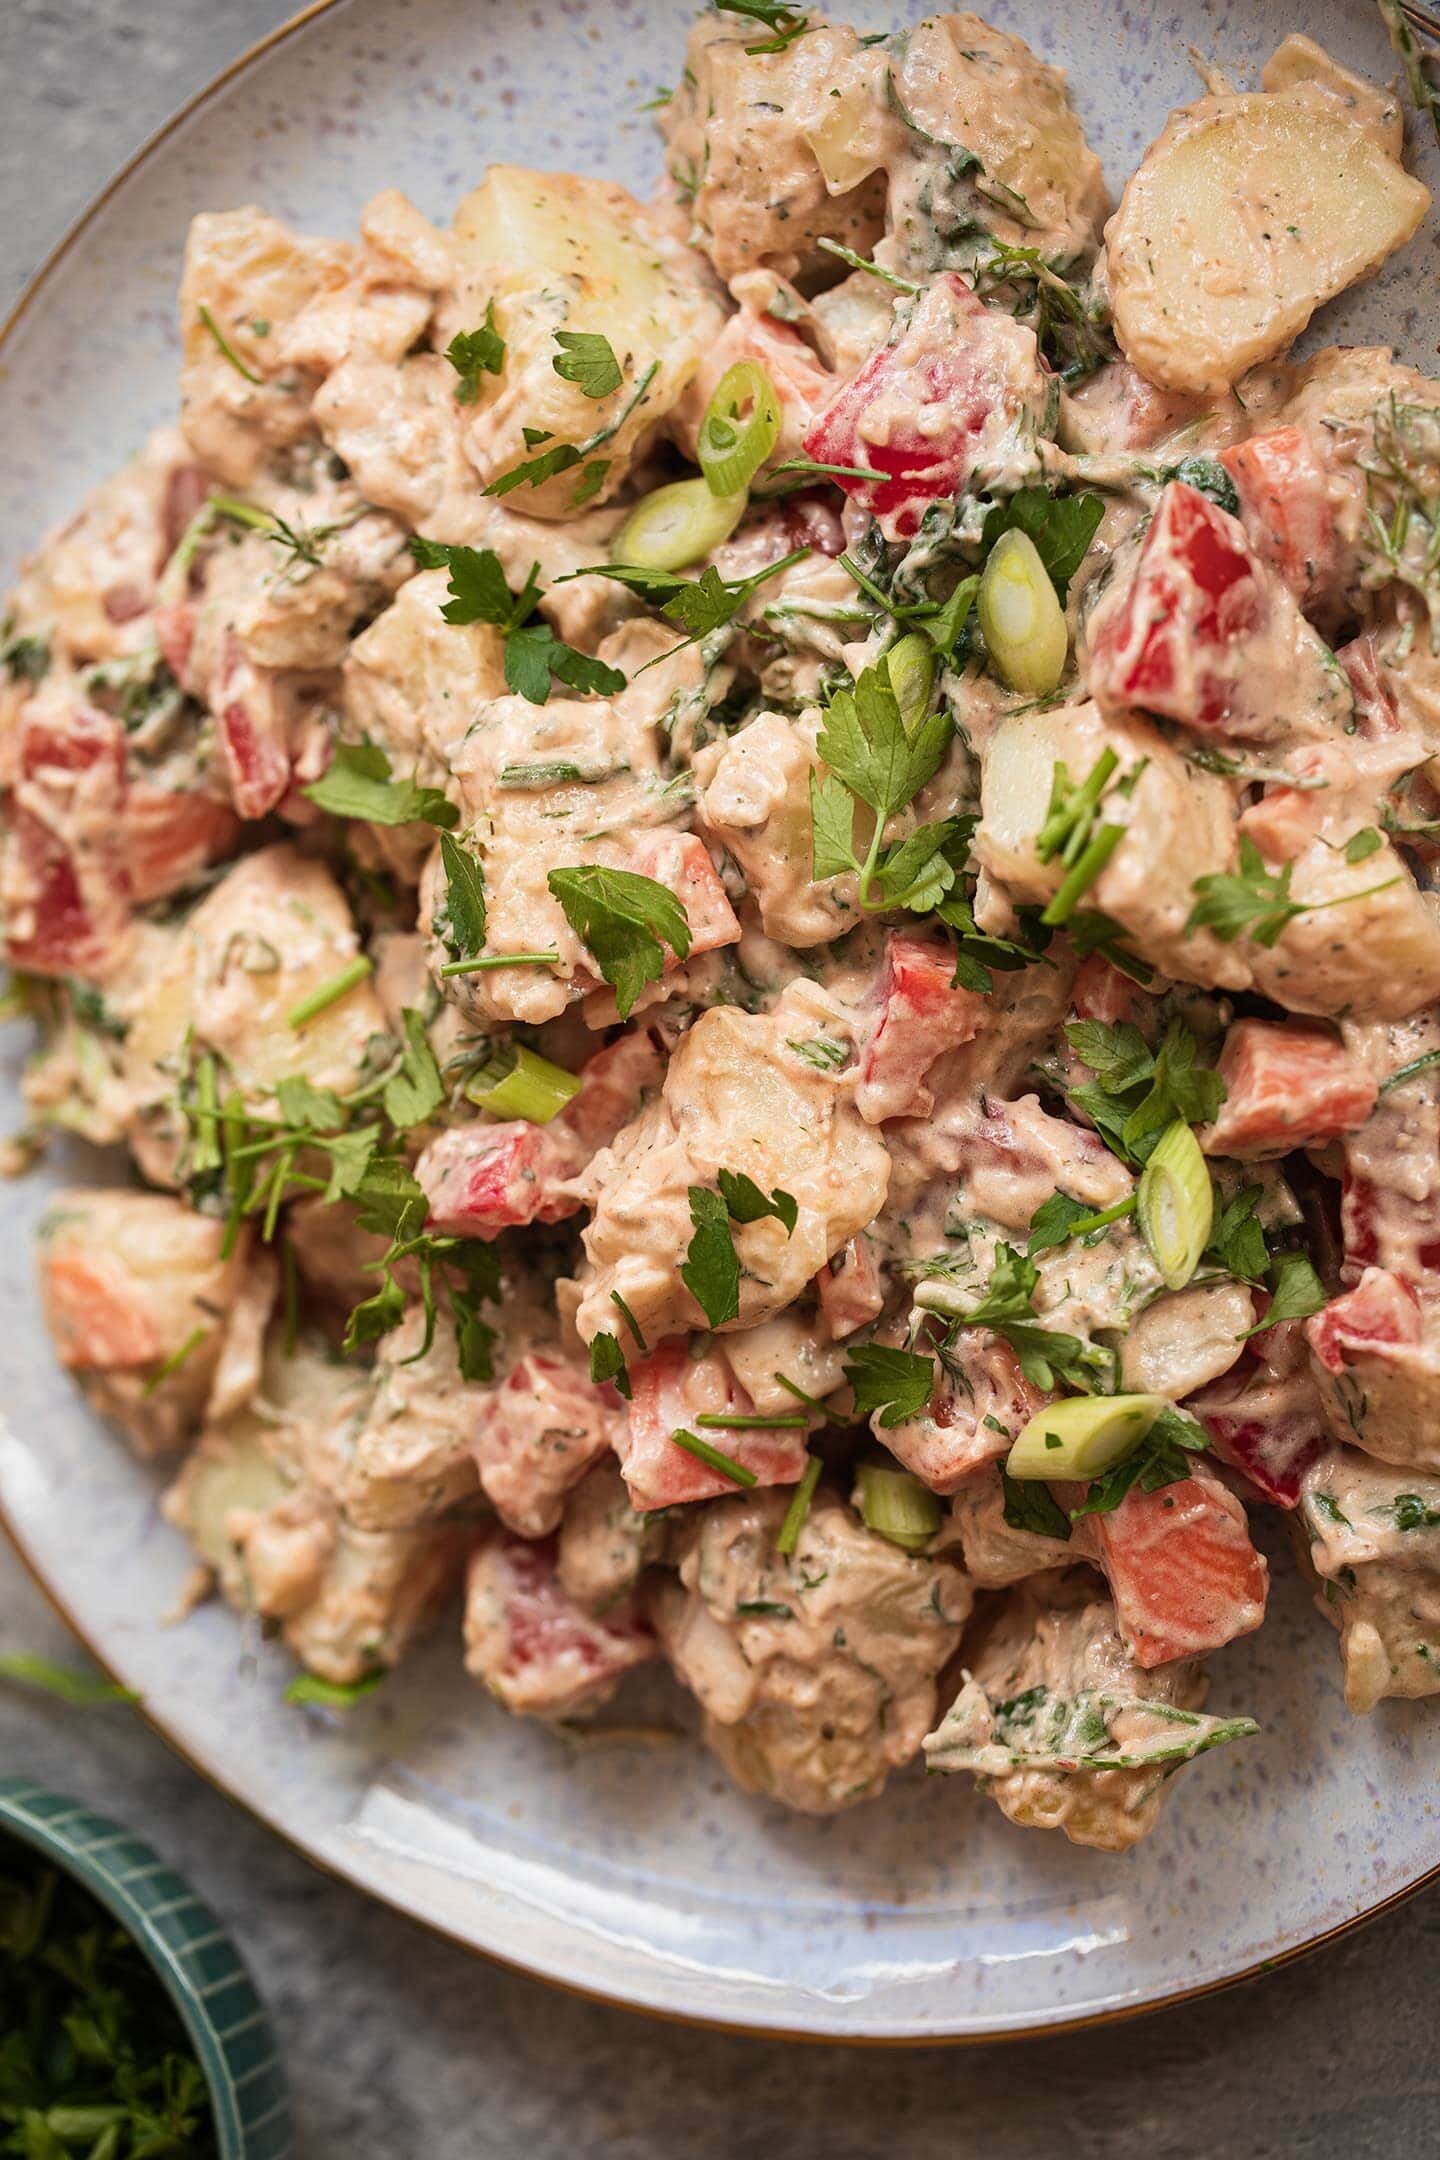
Nutritional yeast. This is great for adding a hint of cheesiness. You can leave it out or add grated vegan cheese instead.
Tomato paste. This will also help to create a distinctive tangy flavor.
Mustard. This is another key potato salad ingredient that helps to create that signature authenticity. Ensure that it's vegan though because some brands have sneaky non-vegan ingredients.
Dried thyme. Great for another layer of earthiness.
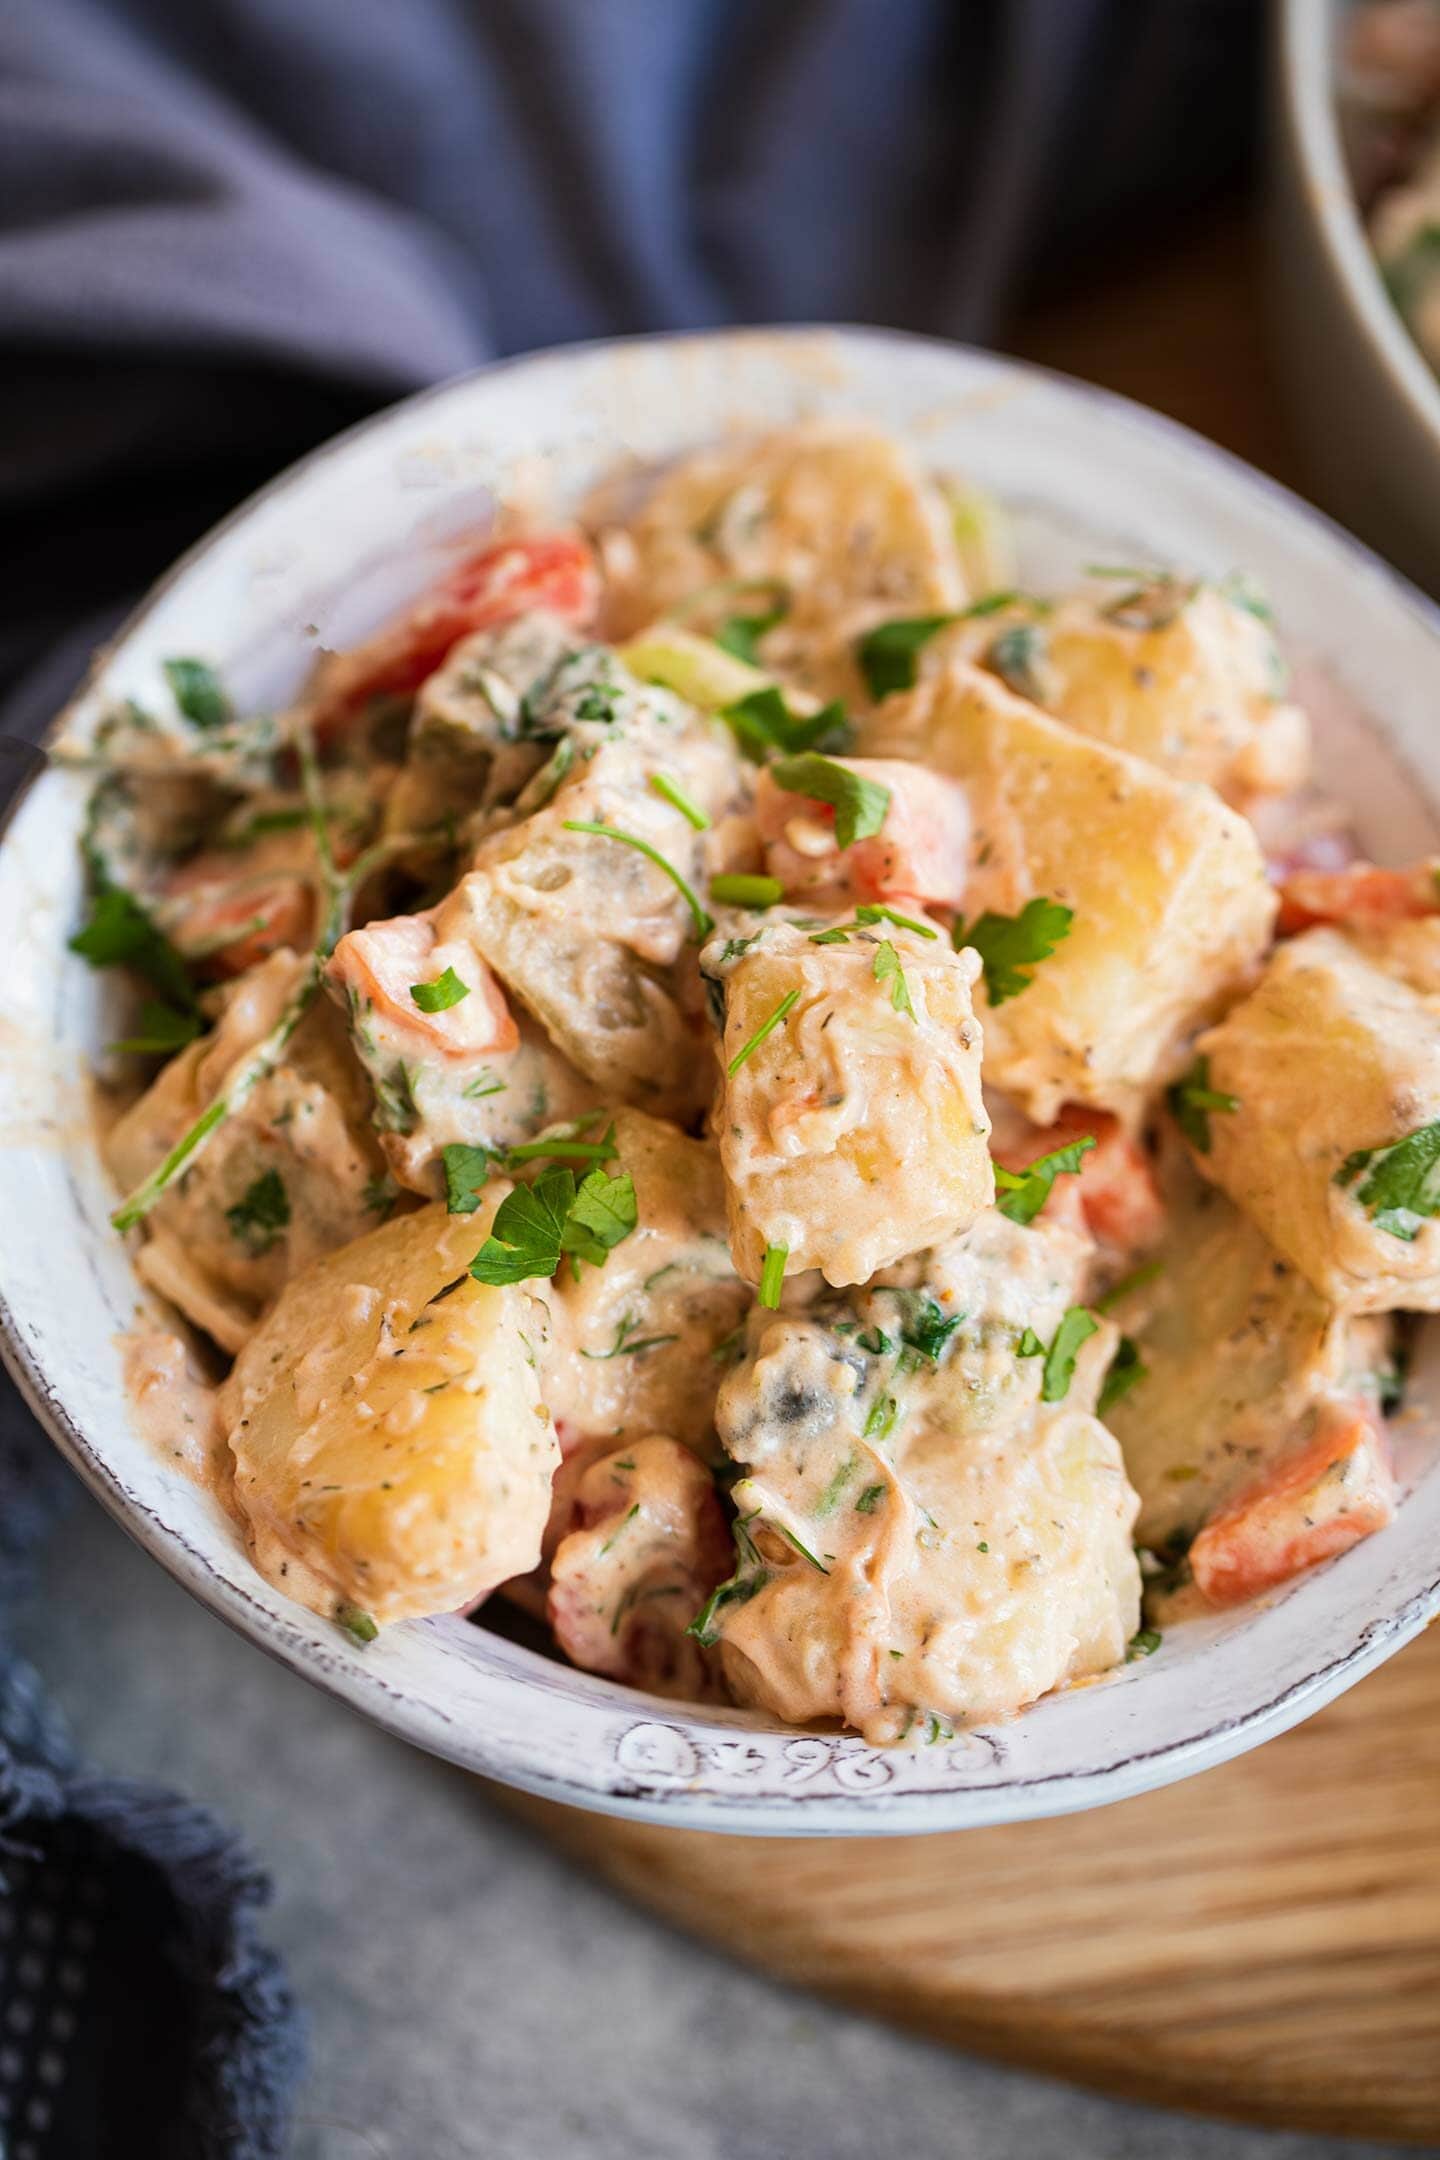
How to make vegan potato salad from scratch
Start by generously salting a saucepan of water and add the peeled and diced potatoes. Cook until fully fork-tender, but make sure not to overcook. For medium-sized potato chunks, you will need around 12-15 minutes.
Meanwhile, you can prepare the other vegetables by de-seeding and dicing the peppers, peeling and dicing the onion, and peeling and chopping the carrots. Also finely chop the dill and cilantro.
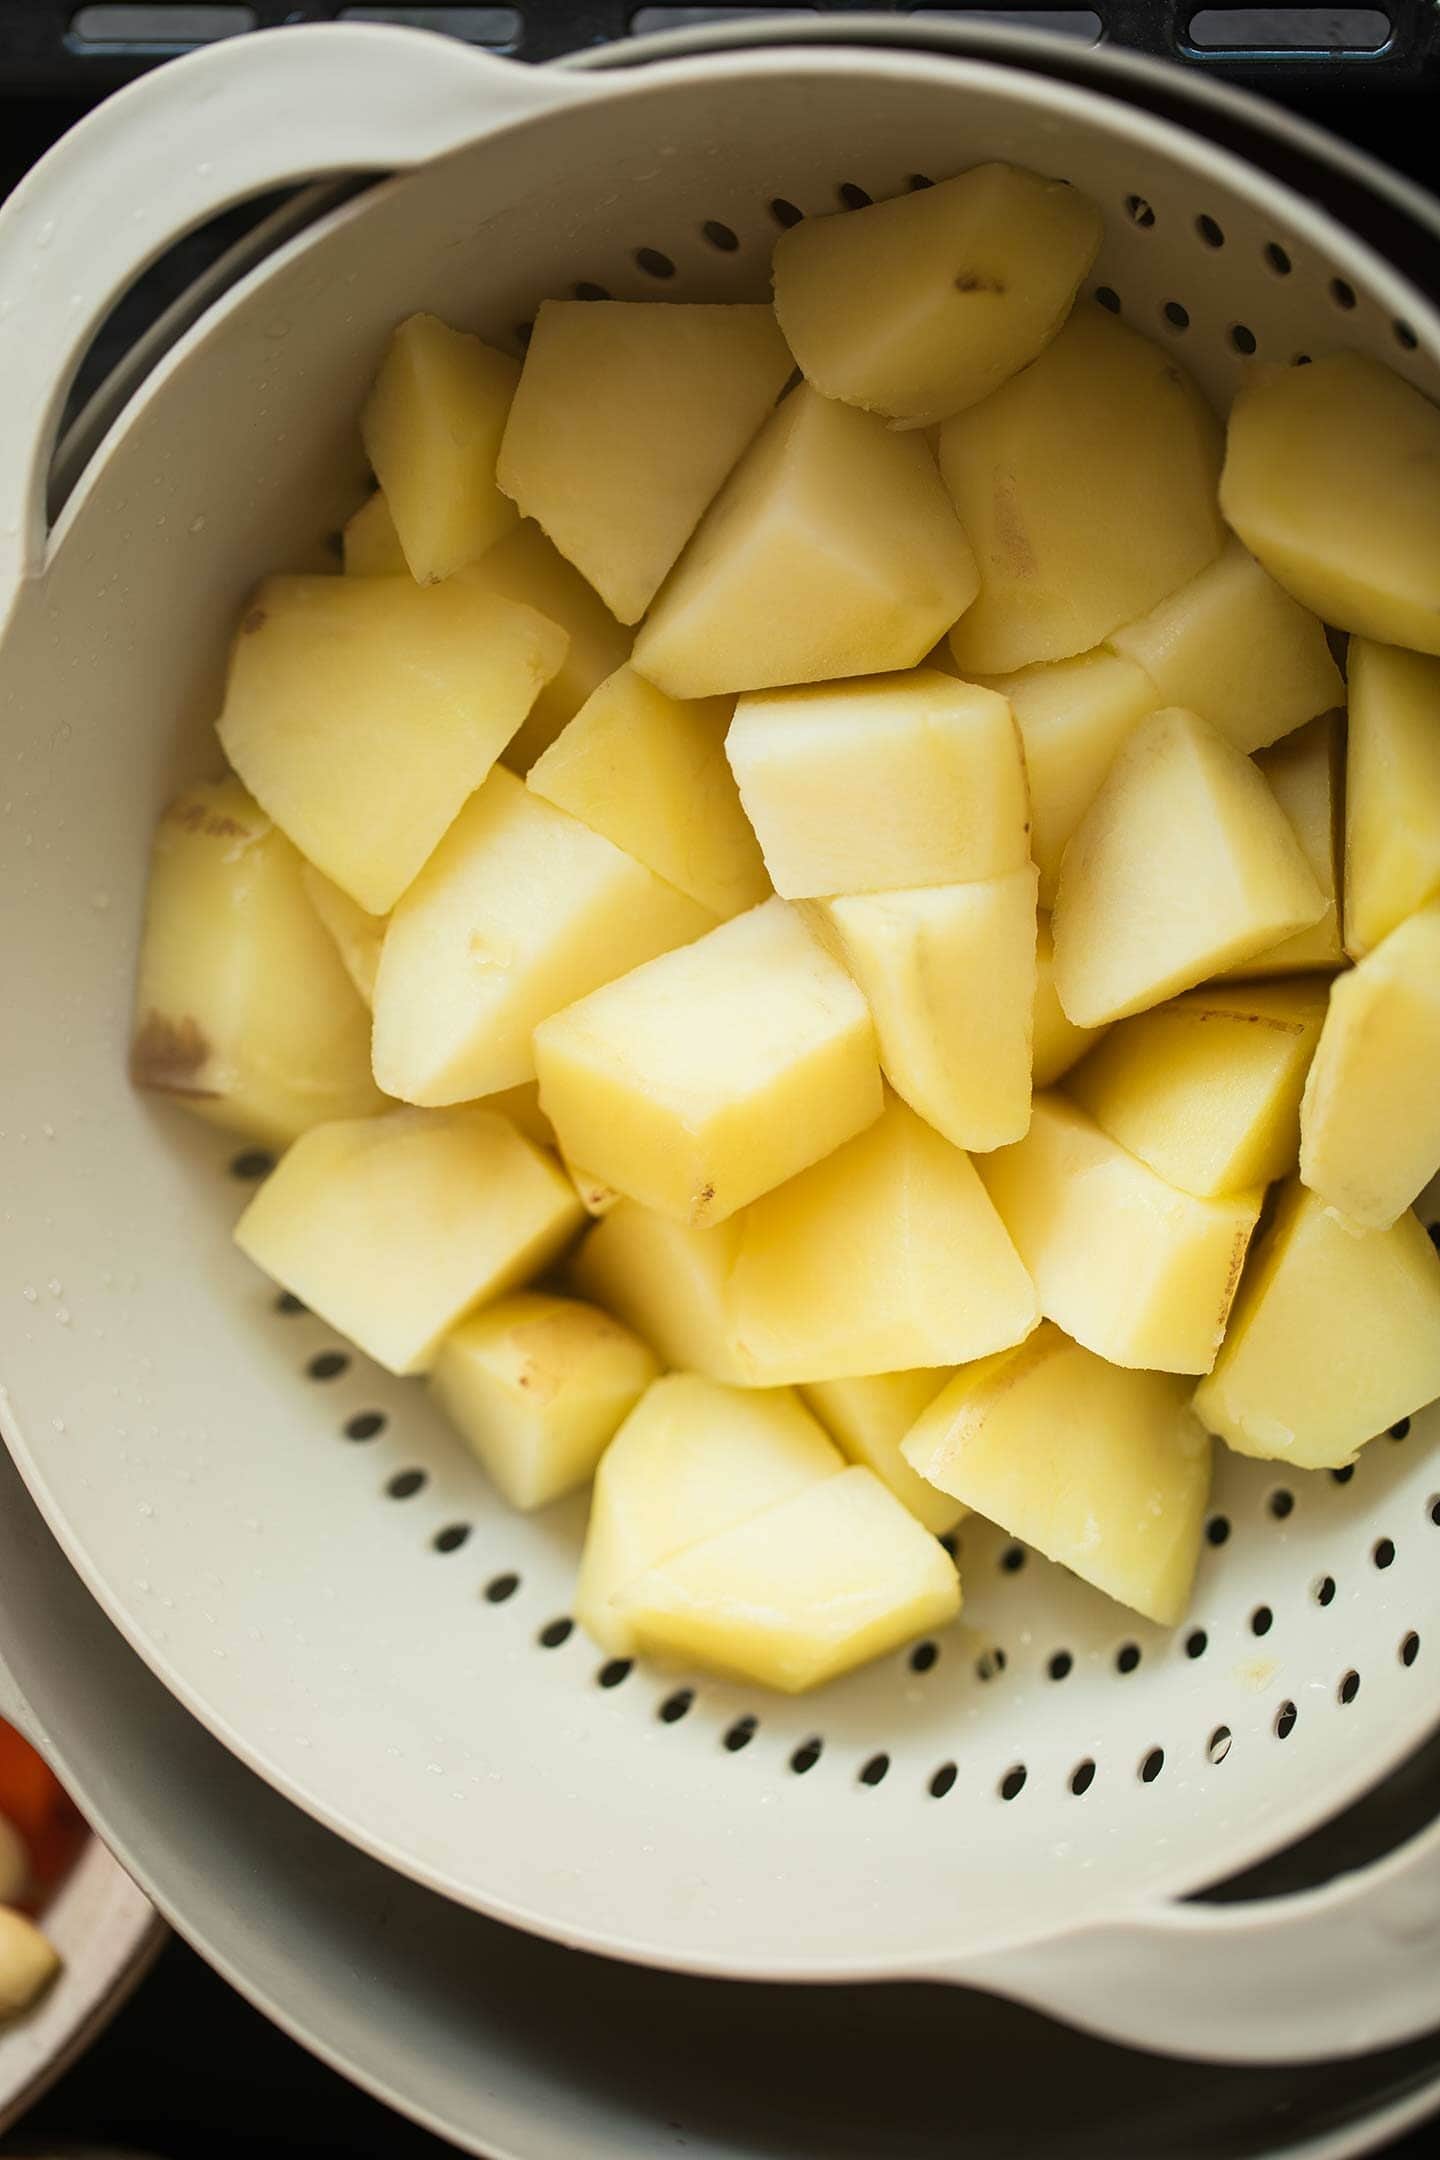
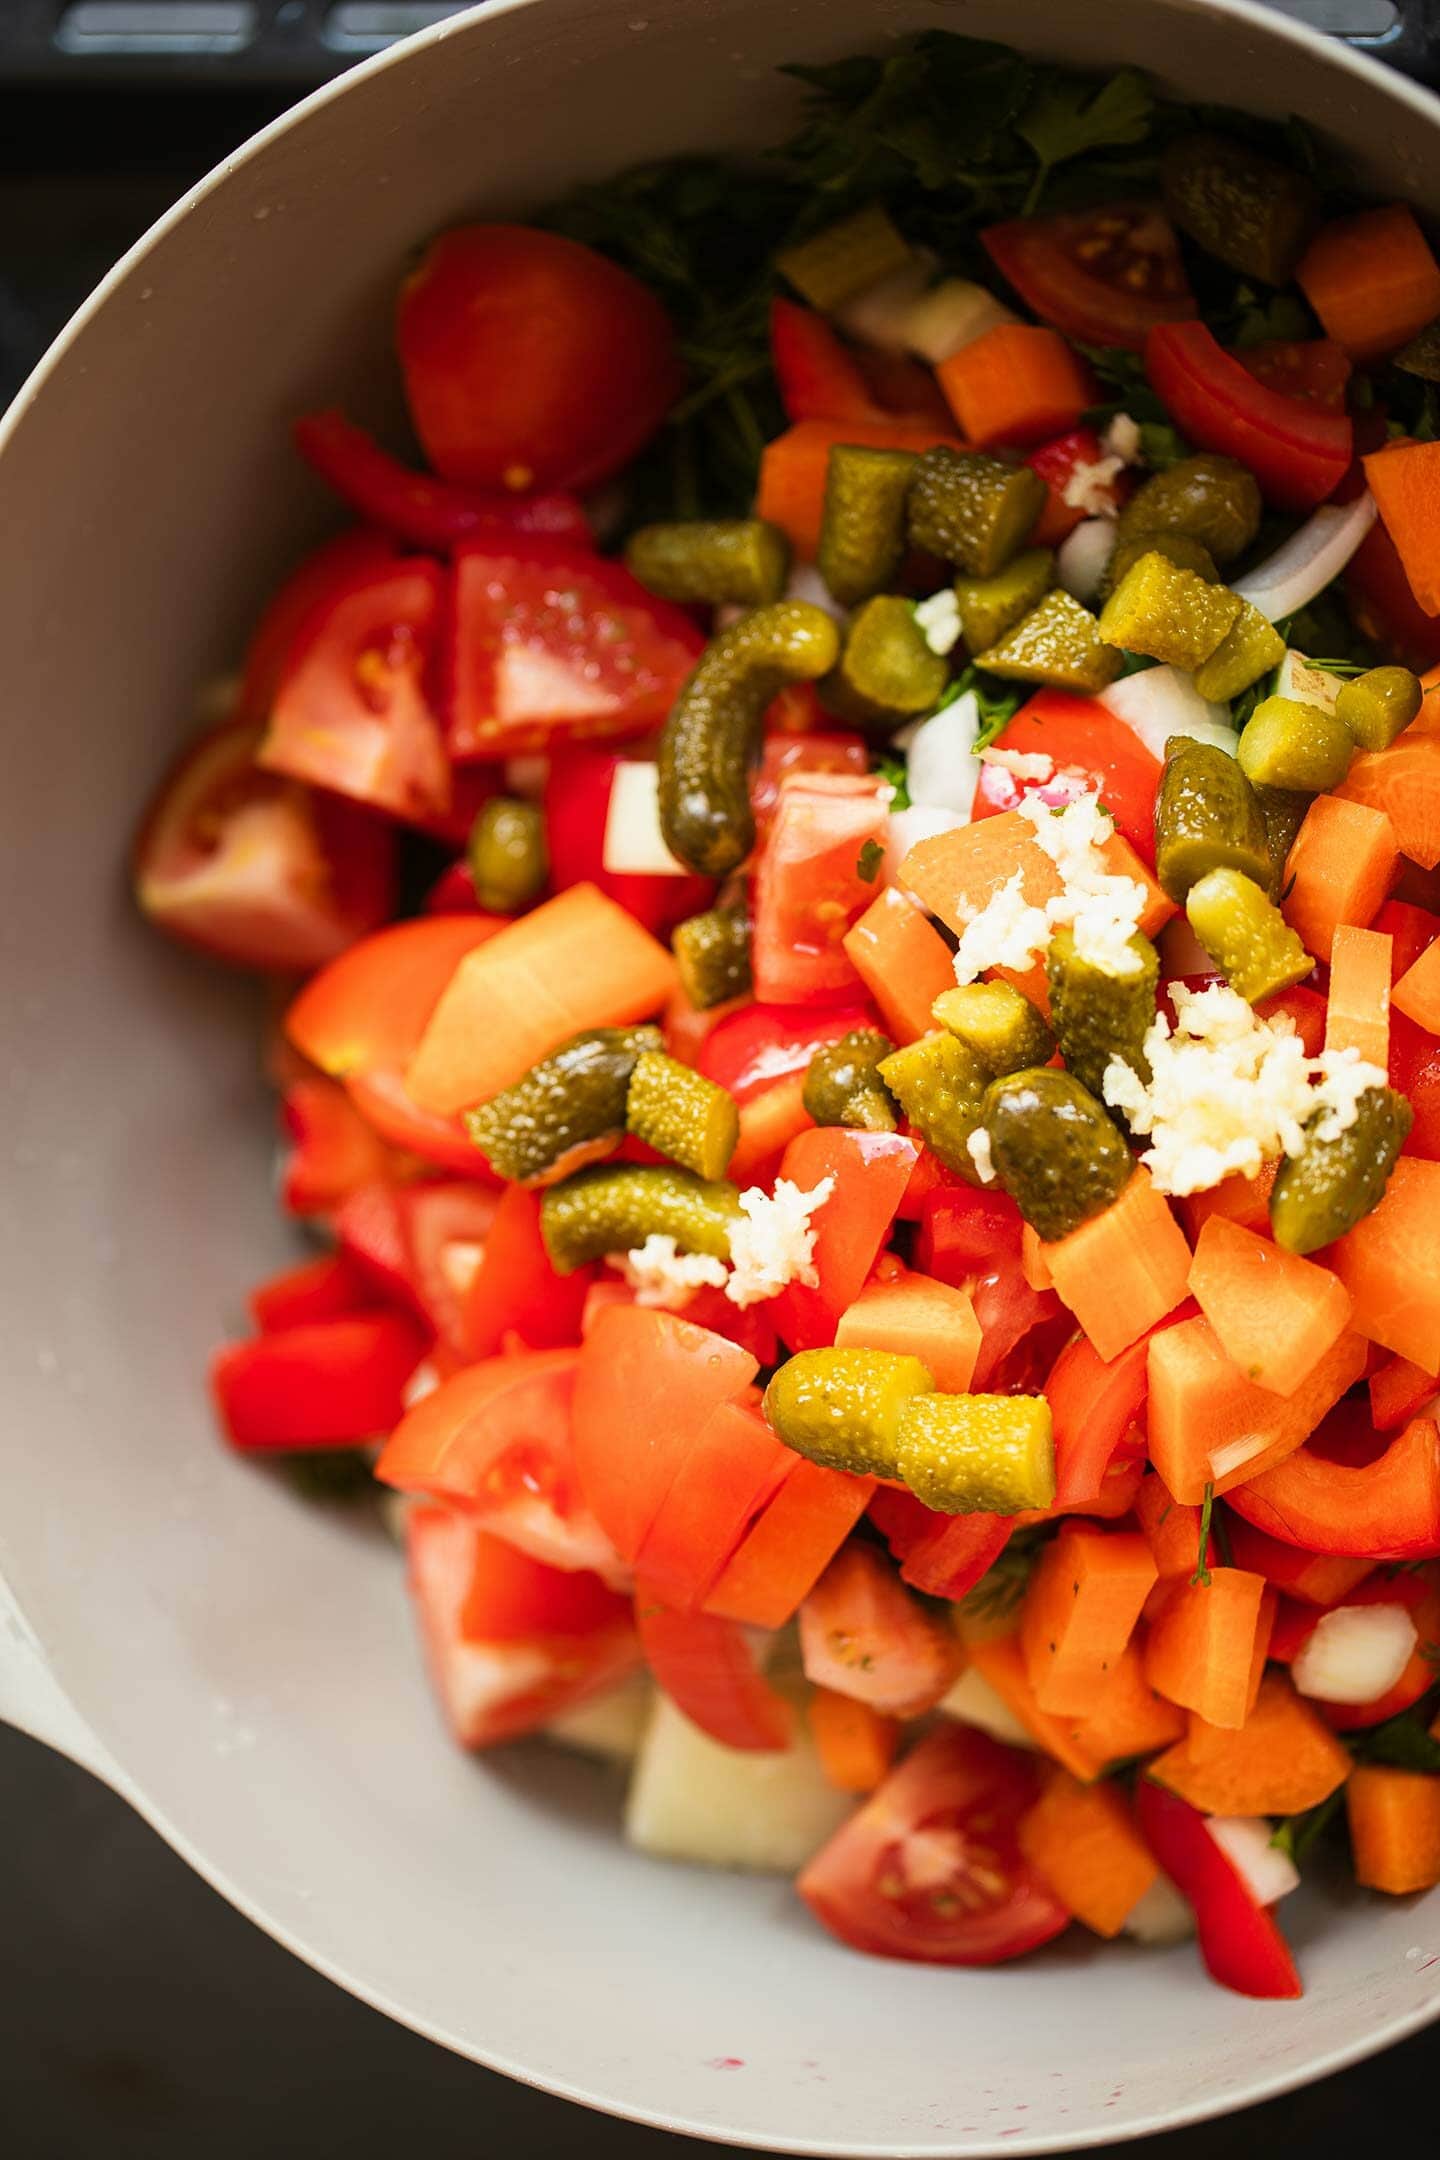
When the potatoes are ready, drain and rinse them, and shake them a few times in the colander to fluff up. Then, transfer them to a large mixing bowl together with the vegetables, fresh herbs, garlic, pickles and lemon juice. Mix together thoroughly.
Now, add the vegan mayonnaise, nutritional yeast, tomato paste, mustard and dried thyme. Mix together thoroughly once again, and the potato salad is now ready to serve!
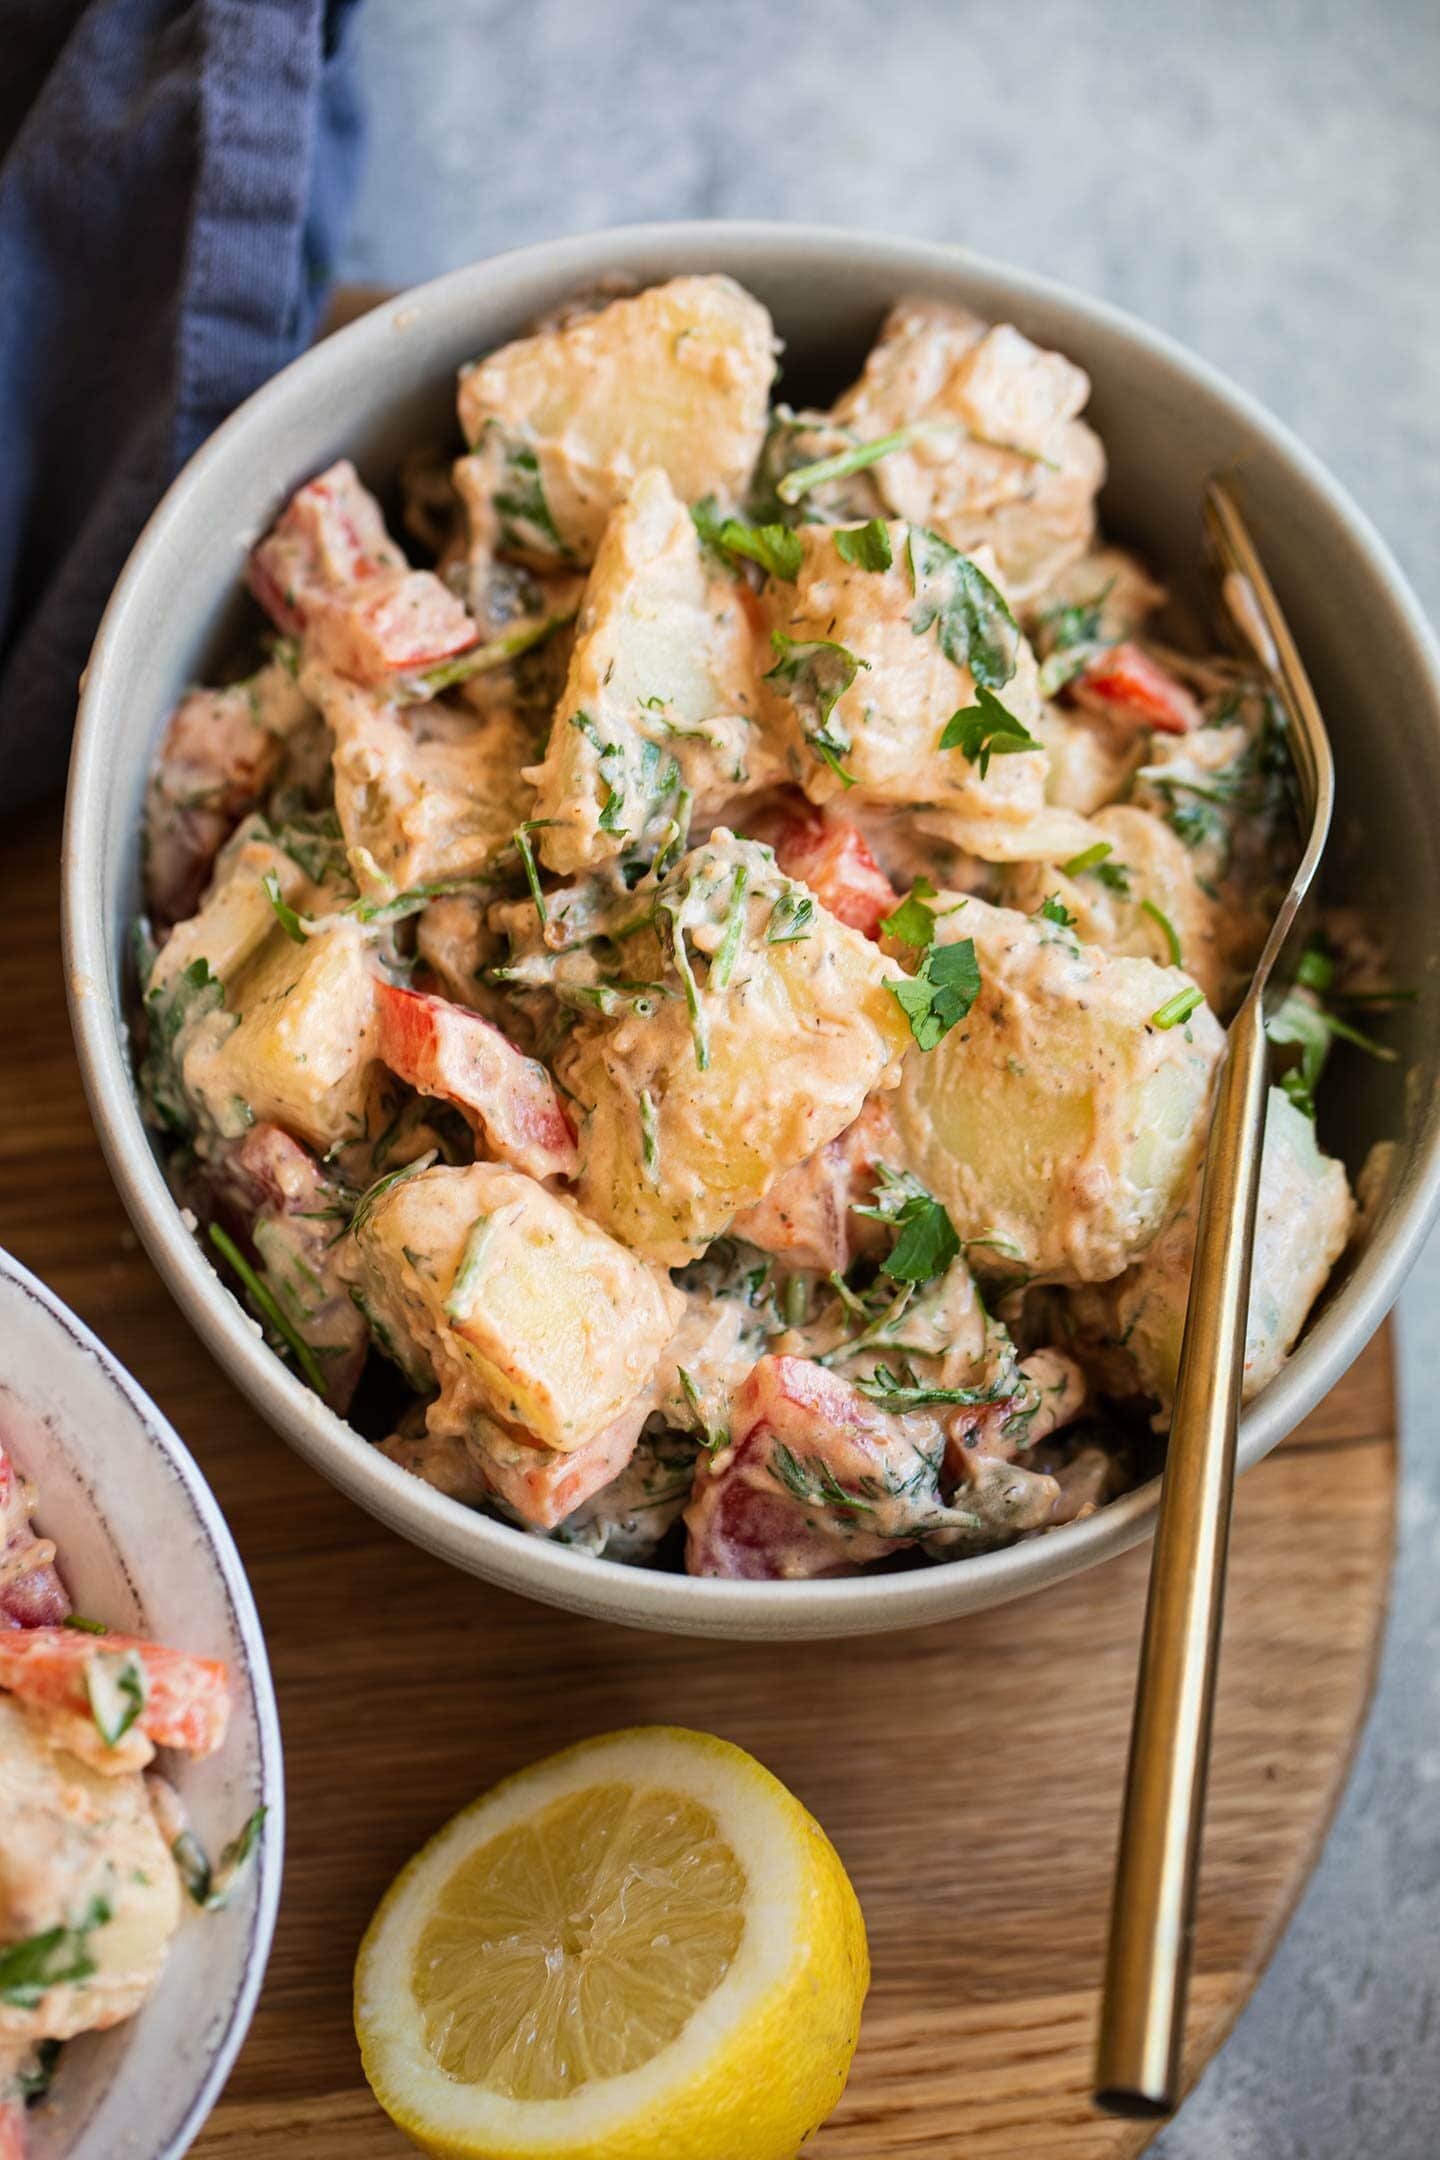
Tips for success
- Make sure to generously salt the water before boiling the potatoes. This will help to maximise the flavor of the actual potatoes.
- Shaking the potatoes in the colander a few times, like in my recipe for crispy roast potatoes, will help to fluff them up and make the final vegan potato salad creamier.
- Be generous with the fresh herbs and the vegetables! This is key for adding texture and freshness, which is key to a great summery side dish.
- Serve immediately while still slightly warm, or leave to chill in the fridge for 15 minutes before serving.
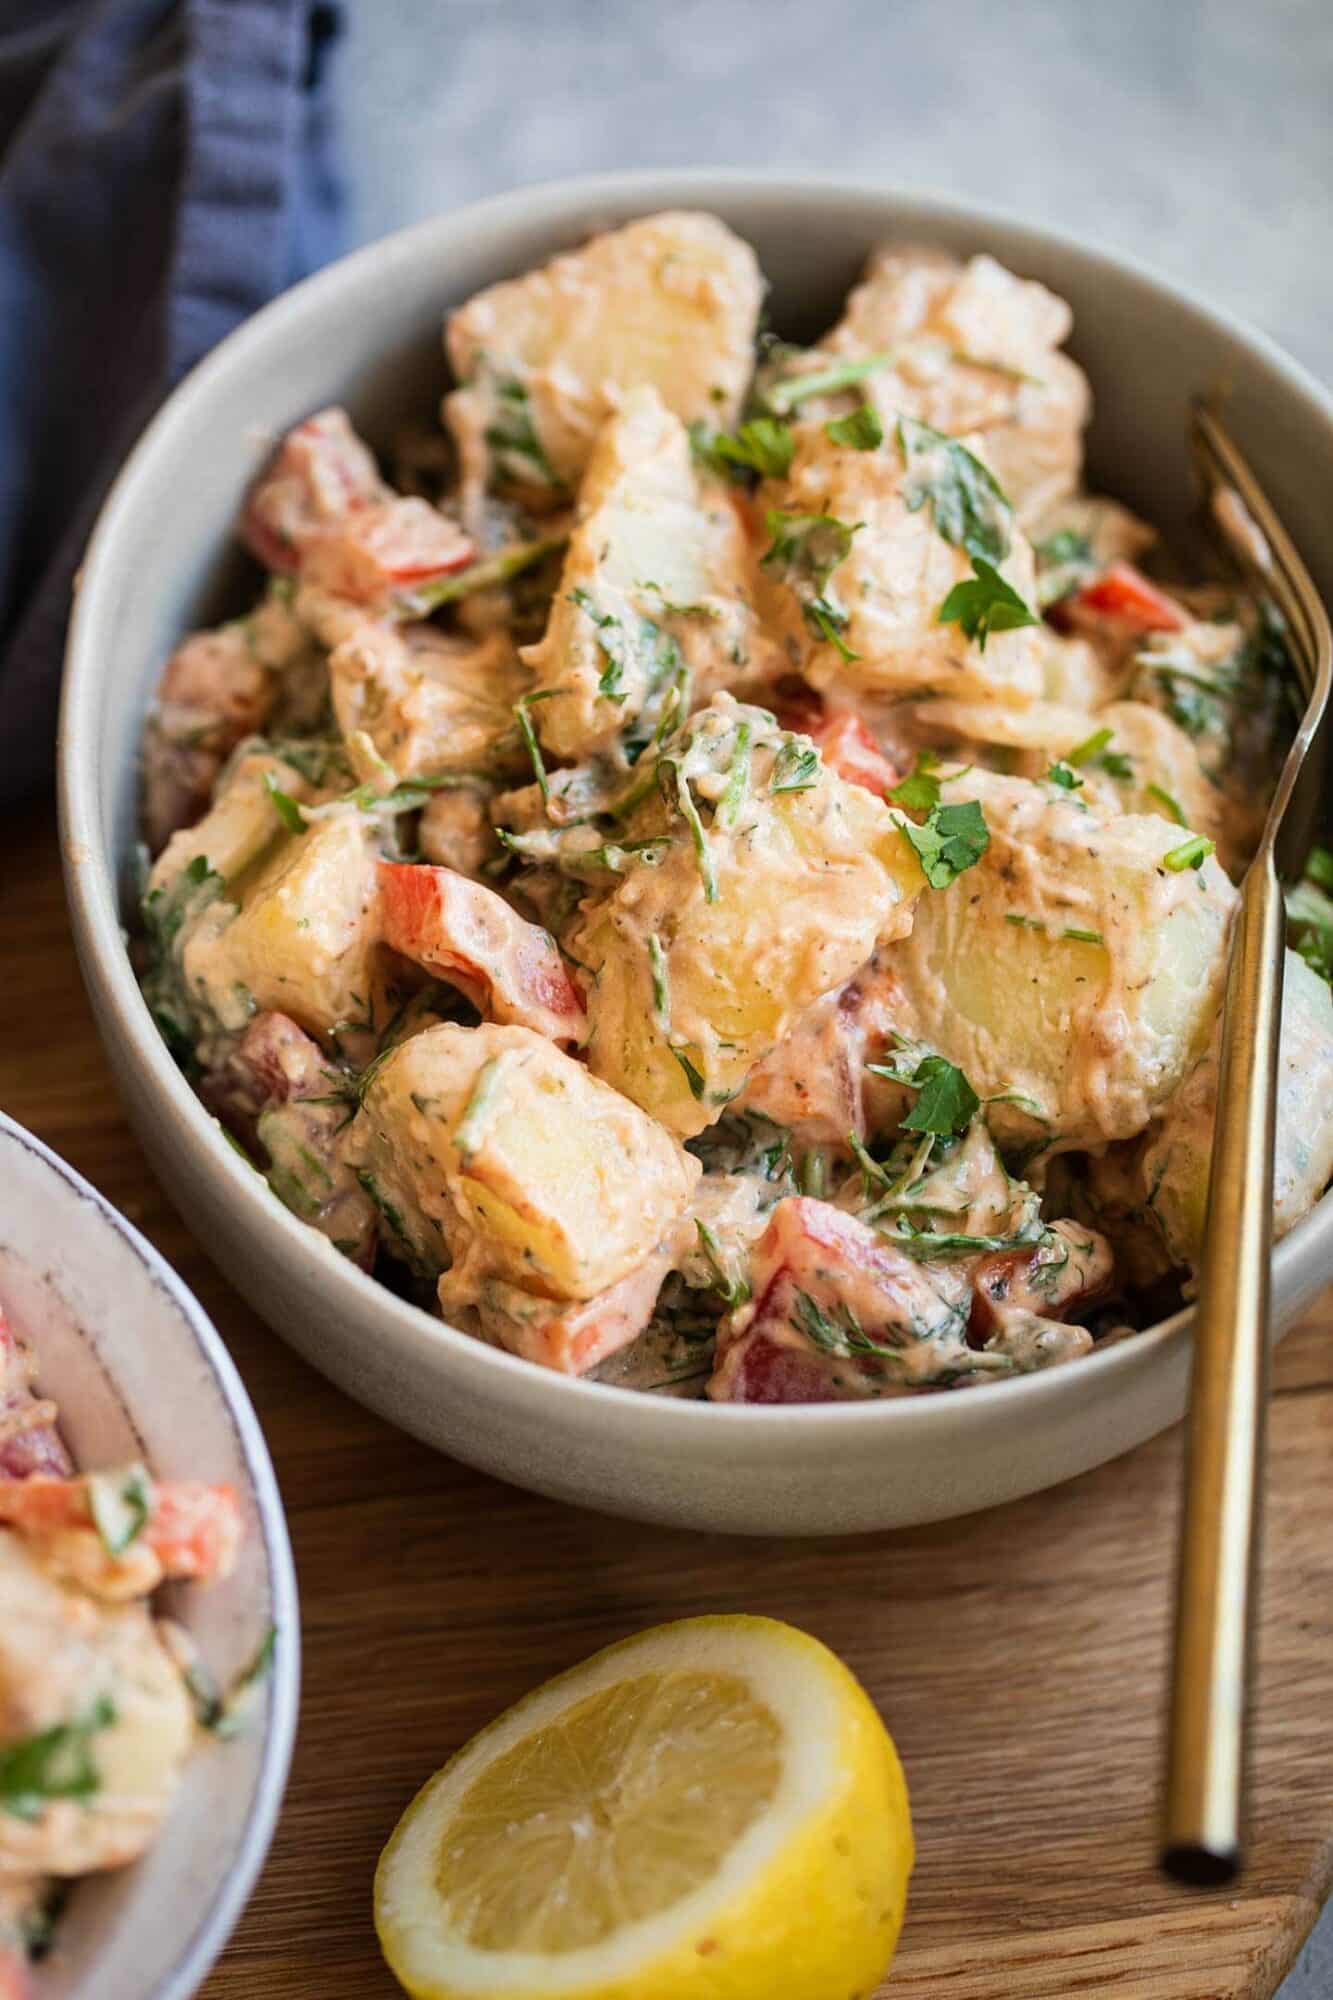
Alternatives to vegan mayonnaise
While using vegan mayonnaise in potato salad is probably the easiest option, I understand that it may not be everyone's cup of tea. If that's the case, you can use homemade vegan sour cream instead, or spicy cashew cream. Simply using a dairy-free yoghurt, like soy yoghurt or coconut yoghurt, would also work. Just make sure that it's unsweetened and neutrally-flavored.
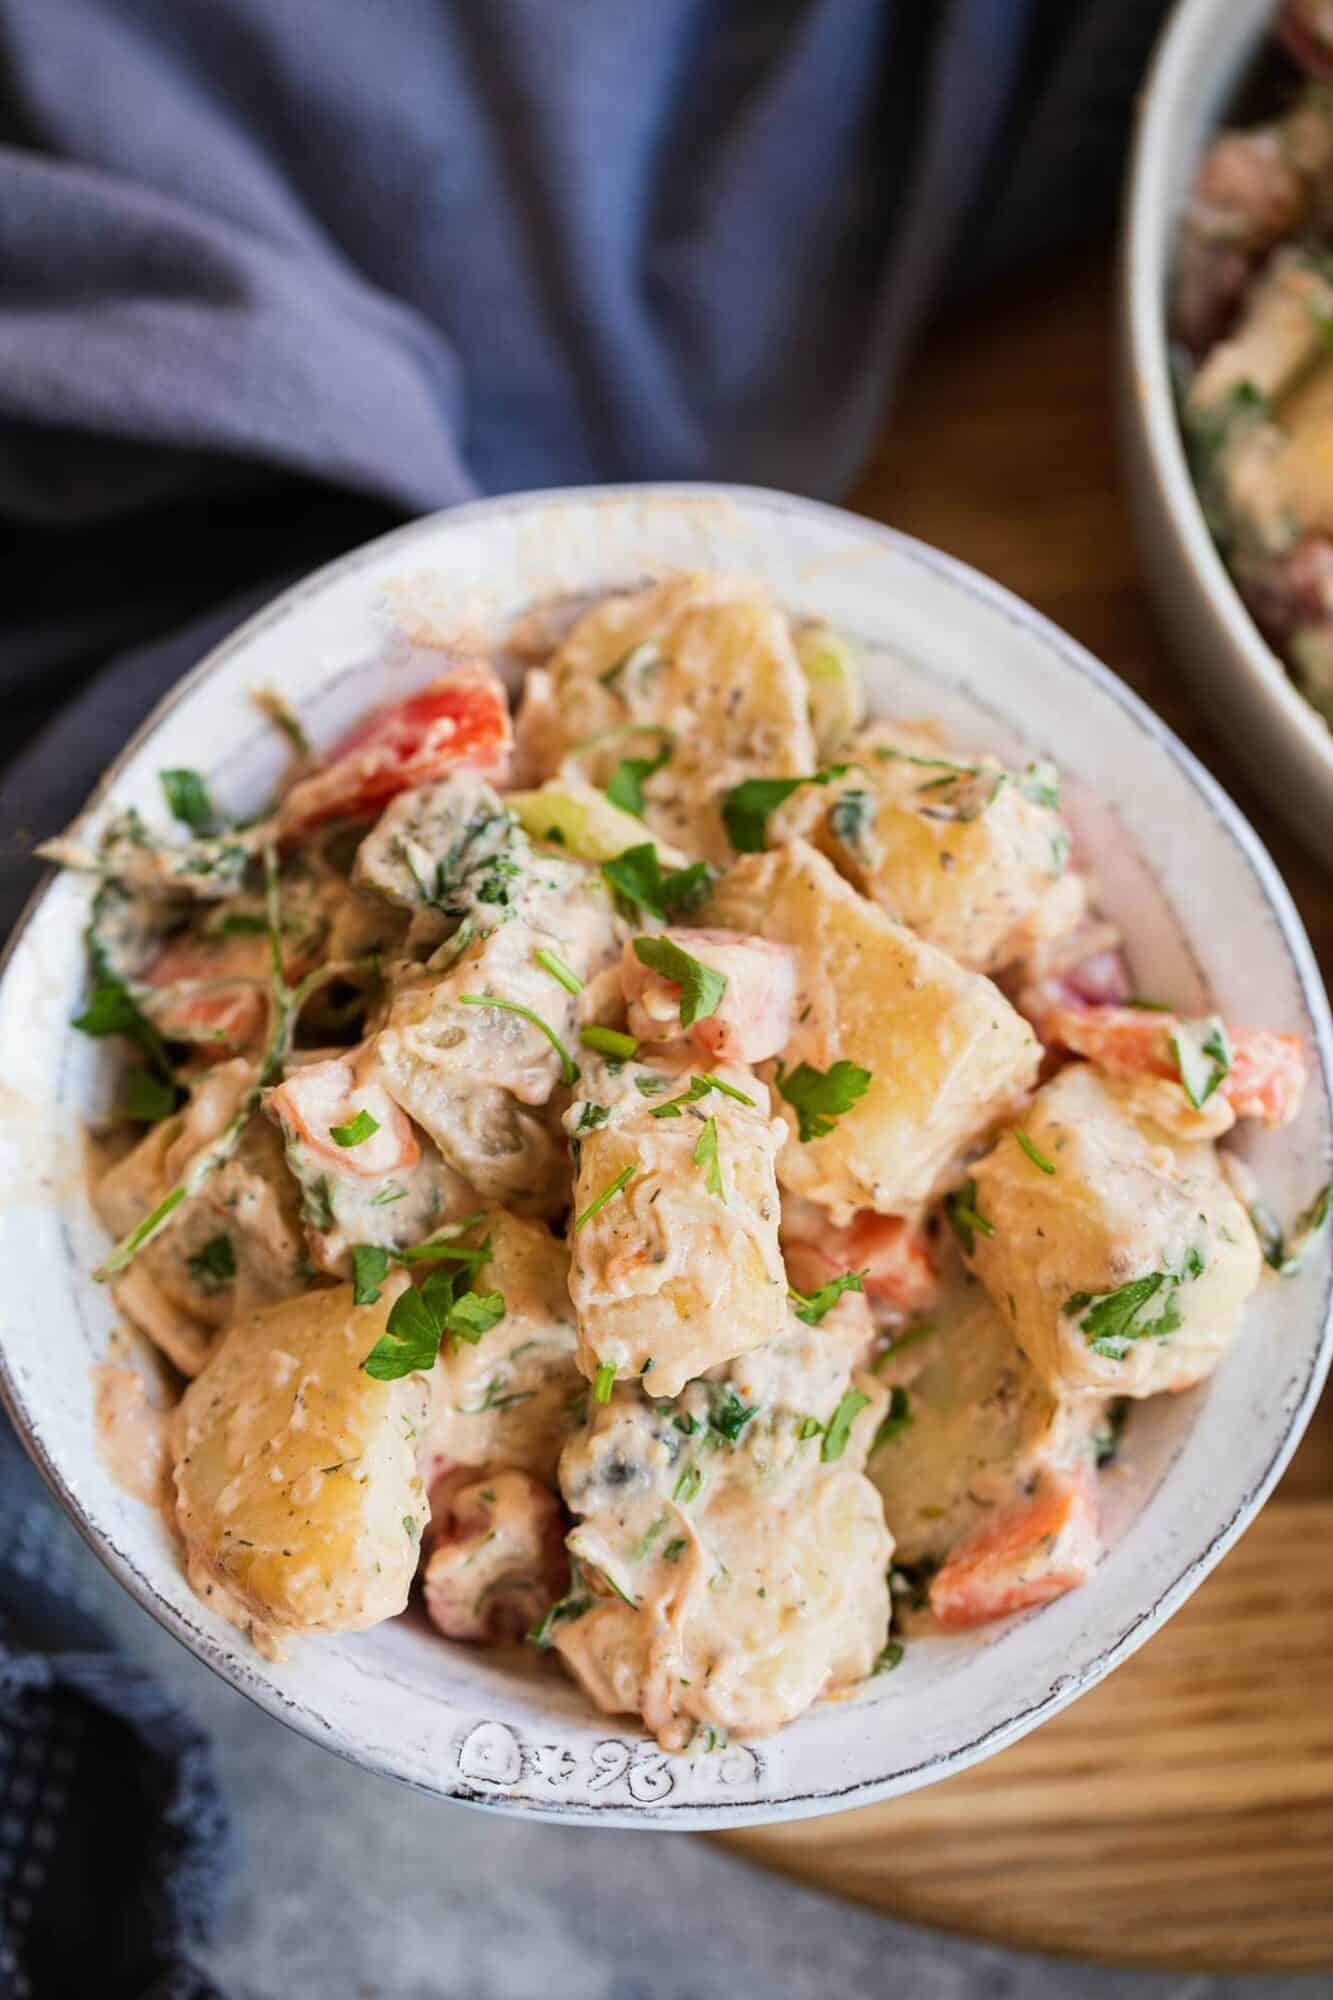
How to make vegan potato salad ahead of time
Potato salad keeps really well in the fridge and tastes even better the next day! You can keep it in the fridge in an airtight container for up to 4 days. Unfortunately, however, this is not a freezer-friendly dish as freezing and thawing ruins the texture.
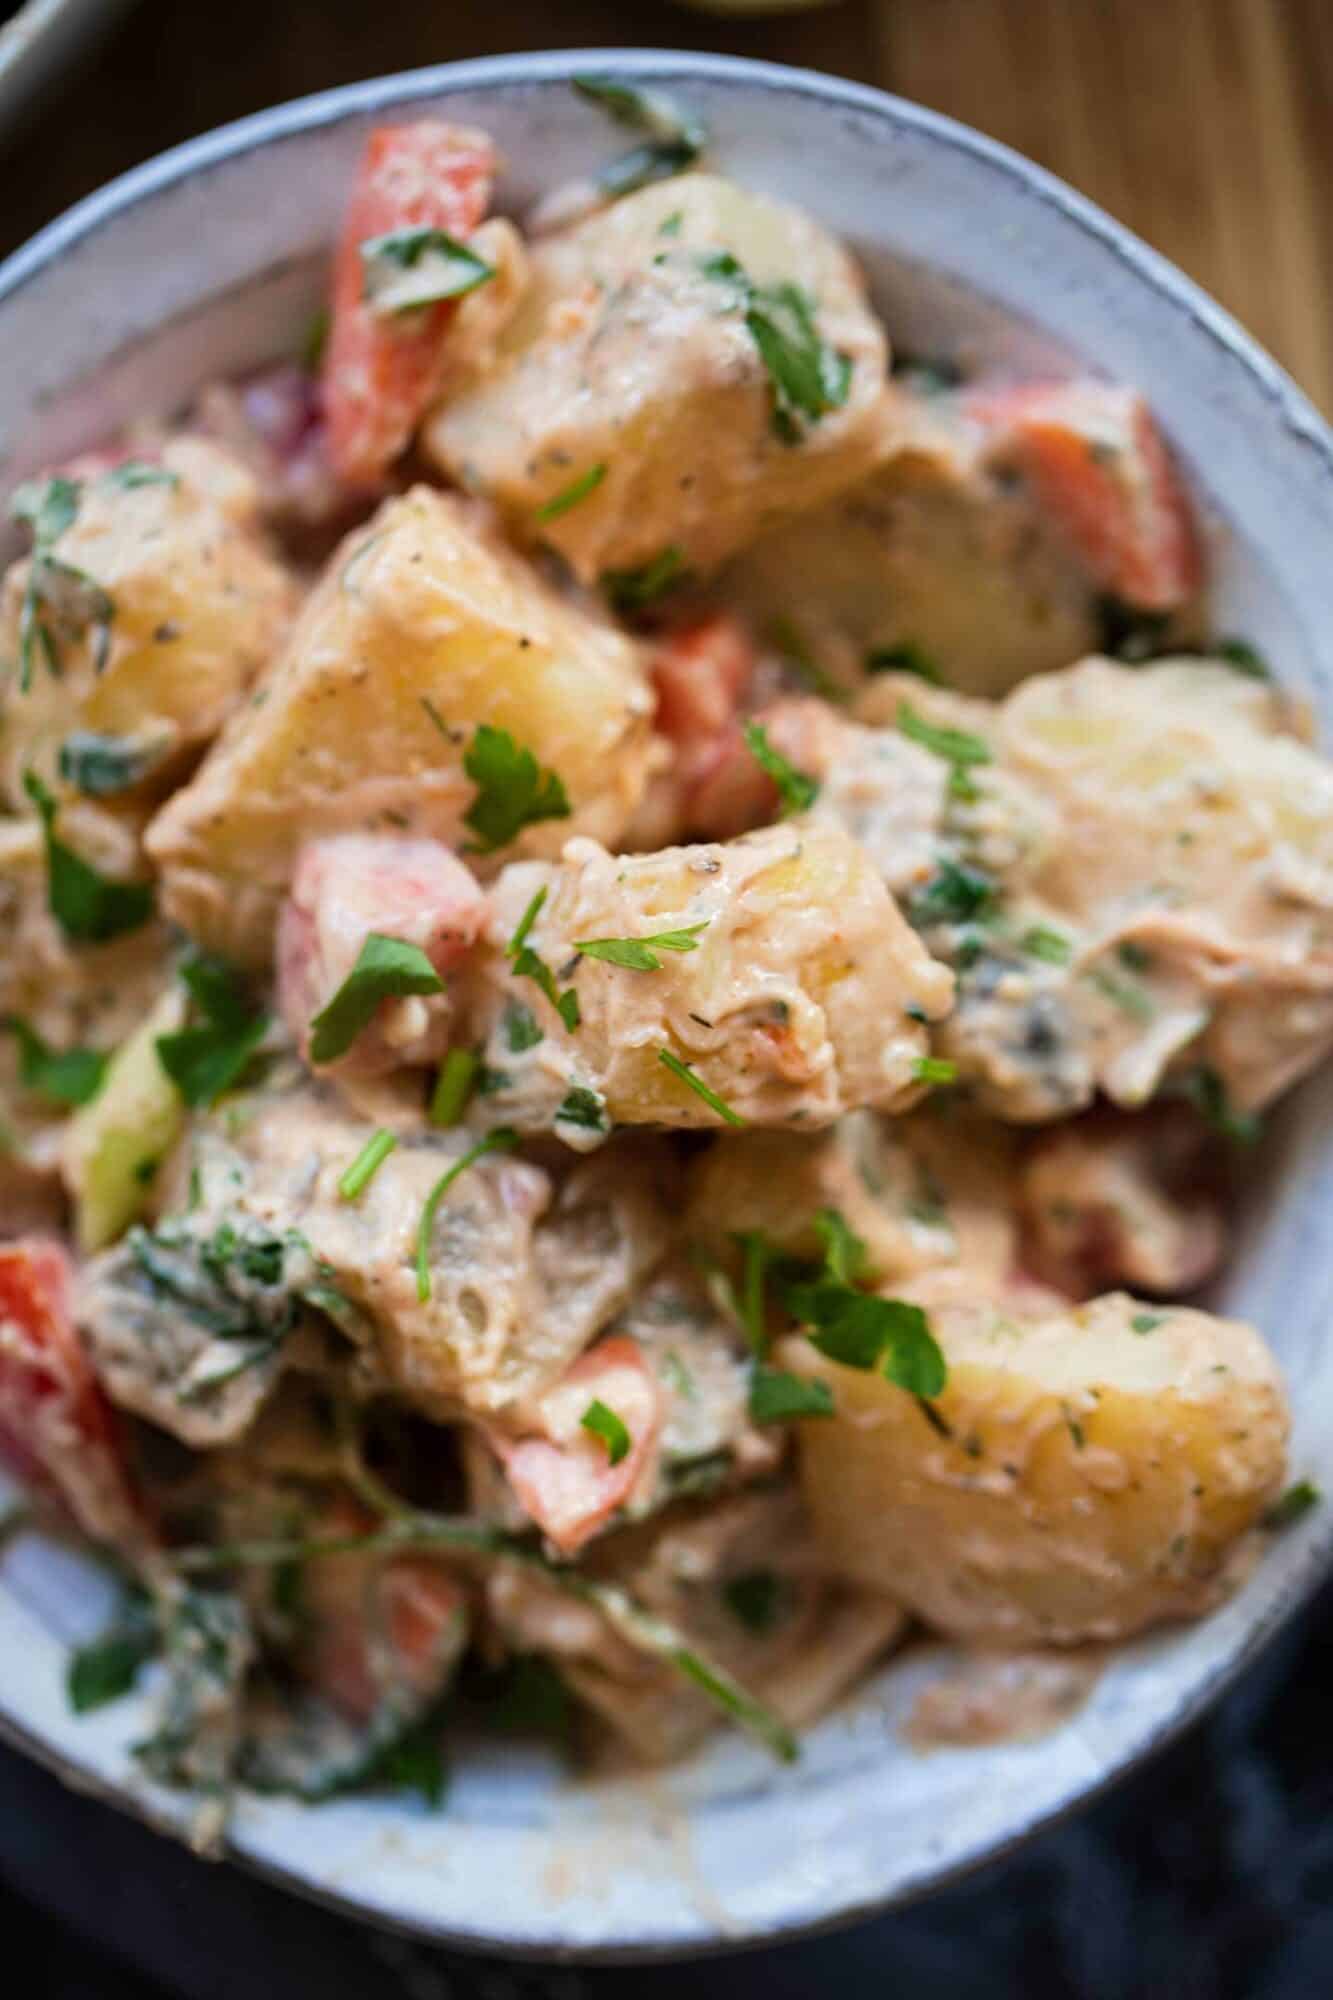
Other amazing vegan side dishes
- Vegan cauliflower cheese is comforting and crowd-pleasing.
- Try a creamy vegan pasta salad for a refreshing, summery side dish.
- You just can't go wrong with crispy sweet potato wedges!
- Smashed potatoes with avocado sauce are crispy and cheesy.
- Try a macaroni salad with tofu 'feta'!
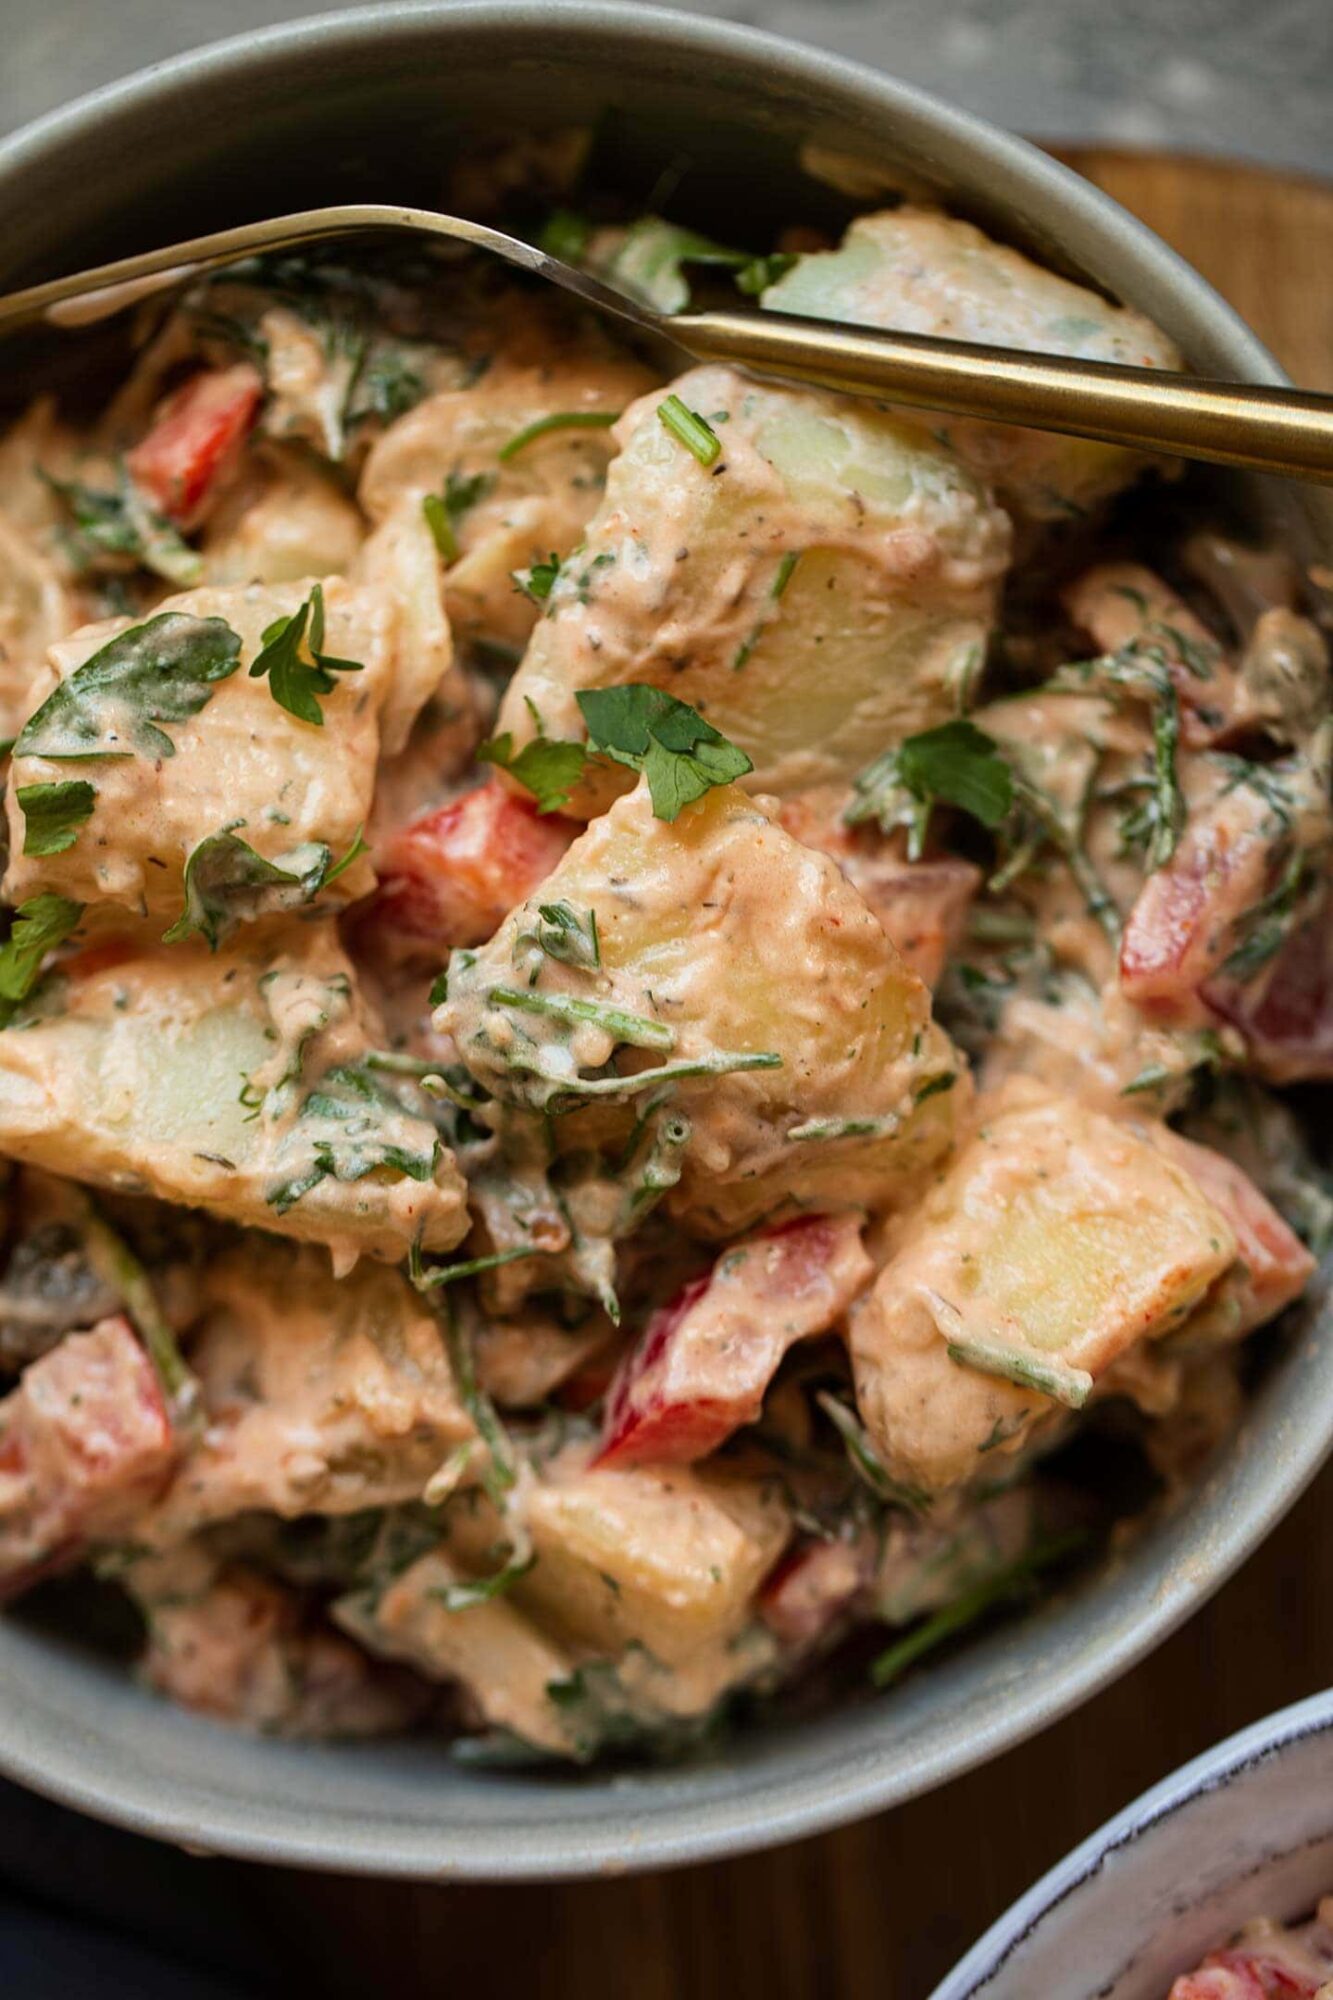
If you give this vegan potato salad recipe a go, be sure to tag me on Instagram (@earthofmariaa) so I can see your creations, and leave your feedback in the comments below together with a star rating - I love hearing from you!

Recipe
Best Vegan Potato Salad Recipe
This best vegan potato salad recipe with lots of vegetables is an ideal side dish for summer! Creamy and herby, with just the right amount of tanginess, it's great for BBQs and picnics. Guaranteed to impress vegans and non-vegans alike!
Print
Pin
Save
Servings:
Equipment
- Saucepan
- Colander
- Mixing bowl
Ingredients
- 5 cups potatoes peeled and diced
- 1 large red bell pepper
- 1 large onion
- 2 large carrots
- 1 cup dill
- 1 cup cilantro
- 3 cloves garlic minced
- ½ cup pickles diced
- 1 large lemon juice of
- 1 ½ cups vegan mayonnaise
- ¼ cup nutritional yeast
- 2 tablespoon tomato paste
- ½ tablespoon mustard
- 1 tablespoon dried thyme
Instructions
- Generously salt a saucepan of water and add the peeled and diced potatoes. Cook until fully fork-tender, but make sure not to overcook. For medium-sized potato chunks, you will need around 12-15 minutes.
- Prepare the other vegetables by de-seeding and dicing the peppers, peeling and dicing the onion, and peeling and chopping the carrots. Also finely chop the dill and cilantro.
- Drain and rinse the potatoes, and shake them a few times in the colander to fluff up. Then, transfer them to a large mixing bowl together with the vegetables, fresh herbs, garlic, pickles and lemon juice. Mix together thoroughly.
- Add the vegan mayonnaise, nutritional yeast, tomato paste, mustard and dried thyme. Mix together thoroughly once again. Serve immediately, or leave to chill in the fridge for 15 minutes.
Video
Notes
- Make sure to generously salt the water before boiling the potatoes.
- Shaking the potatoes in the colander a few times, like in my recipe for crispy roast potatoes, will help to fluff them up and make the final vegan potato salad creamier.
- Be generous with the fresh herbs and the vegetables!
- This vegan potato salad keeps well in the fridge for 4-5 days in an airtight container.
Nutrition (Estimate per Serving)
Calories: 344kcalCarbohydrates: 19gProtein: 3gFat: 27gSaturated Fat: 3gSodium: 388mgPotassium: 500mgFiber: 3gSugar: 4gVitamin A: 4341IUVitamin C: 47mgCalcium: 51mgIron: 2mg
Vegan-ize any recipe!Grab our free vegan cheat sheet, packed with my favorite easy substitutions to make any recipe vegan.
Vegan Spinach Artichoke Dip

This vegan spinach artichoke dip is made with simple ingredients for an appetizer, snack or side dish that is incredibly cheesy and savoury. You only need 30 minutes to make this from scratch. It is also gluten-free, dairy-free and a great time-saving recipe.

No, your eyes are not fooling you. This cheesy deliciousness is 100% vegan and dairy-free. Whenever I make spinach artichoke dip, I love spreading it on some bread, relaxing with a good book, and enjoying every bite. It really is that amazing, so I would recommend you grab the ingredients and make it ASAP.
Whatever time of year it happens to be, this is an ideal snack or appetizer. You can serve it hot or cold, depending on whether you want cosiness or something a bit more fresh-tasting. Anyway, I won't ramble on for much longer because I'm just too excited to share this recipe!

Table of contents
About this vegan spinach artichoke dip
This is pretty much anything you'd want in a dairy-free dip. It's extremely cheesy, despite using just wholesome plant based ingredients. The optional sprinkle of melty vegan cheese on top really takes it to the next level.

This is a great option for feeding vegans and non-vegans alike. It's incredibly savoury and flavourful, with the spinach adding a hint of earthiness without being at all overwhelming. Cashews make a great neutral base. The other 'secret' ingredient used here is silken tofu, which is great for making the texture even smoother.

This will make your kitchen smell so good, you will want to dive into it immediately. And I recommend that you do, because this is one of those recipes that's phenomenal straight out of the oven. Serve it as a side dish/appetizer, or a snack to enjoy in front of the TV. Either way, it may just become your new family favourite!
Ingredients you'll need

- Olive oil. This is for cooking the onions and artichokes. You can also use coconut oil or any other oil with a neutral flavour.
- Onion. This is cooked in the olive oil to make it even more fragrant, which will add an amazing wholesome undertone to the dip.
- Tinned artichoke hearts. Either in water or brine, these are a great time-saving option. They are also easy to find online and in most major supermarkets.
- Cashews. Make sure to either soak these for at least 2 hours before making the recipe, or simmer them in a saucepan for 10 minutes. Use raw, unflavoured cashews rather than the roasted variety.
- Silken tofu. This is a secret ingredient that will make the texture even smoother and creamier. However, you can also use coconut milk or vegan cream cheese.
- Mustard. This helps to add a distinctively cheesy flavour.
- Miso paste. Once again, this is great for helping create a umami flavour. It's such a great versatile ingredient that I would totally recommend having in your cupboard!
- Salt. When you transfer it to the cast iron skillet/baking dish, you can taste and add more if you wish, so I would recommend starting with a smaller amount.
- Tamari. Much like the miso paste, this will give the artichoke dip a umami flavour.
- Lemon juice. Essential for a hint of tanginess, which works together with the other ingredients without being overpowering!
- Spinach. Another essential ingredient - I would say that this recipe is a fantastic way to eat more greens! You can chop the spinach leaves finely before adding them in so that you don't encounter huge chunks of spinach.
- Vegan cheese. This is optional, but highly recommended! Choose a brand that melts well.
Spinach artichoke dip step-by-step
This is just a summary of the instructions to go together with the step-by-step photos. For ingredient amounts, scroll down to the recipe card at the end of the post.
Firstly, preheat the oven to 180 degrees C (350 F).
Now heat the olive oil in a pan or skillet over a medium-high heat. Add the onion and artichokes, cooking for 5 minutes, until softened.


Next, add the soaked cashews, sautéd onions and artichokes, tofu, mustard, miso paste, salt, tamari and lemon juice to a blender or food processor. Blend until as smooth as possible.


Transfer the dip back into the pan or skillet over a medium heat and add the spinach. Stir continuously over a medium heat for a few minutes, until the spinach wilts.
If using a cast iron skillet, sprinkle the dip with grated vegan cheese and add straight to the oven. Or, you can transfer to a round baking dish, sprinkle with the cheese, and add to the oven after that. Bake for 20 minutes, until crispy and lightly browned on top.


Allow to cool for 5 minutes before diving in!
How to serve spinach artichoke dip

You can serve this dip as a snack, starter or appetizer. It also makes a great side dish. It goes really well with toasted bread, bread sticks, vegetables, crackers, and chips. You can also use it as a spread on toast, sprinkled with some chilli flakes and drizzled with extra lemon juice. Yum!
Frequently asked questions
Is this spinach artichoke dip gluten-free?
Yes, this recipe is naturally gluten-free. You can serve it with gluten-free bread.
How long does it keep in the fridge?
You can transfer it to the fridge and store in an airtight container for up to 4 days.
Is this recipe freezer-friendly?
Due to the addition of spinach, unfortunately this dip does not keep well in the fridge.

Other vegan dip and spread recipes
- Try out my vegan sour cream for another simple and versatile option.
- My spicy vegan cashew cream is great for using in a variety of recipes.
- For a sweet option, try out pumpkin hummus.
- Add a cauliflower Alfredo sauce to pasta for an incredible dinner!

Let me know in the comments: what's your favourite dip or spread? If you give this vegan spinach artichoke dip a go, be sure to tag me on Instagram (@earthofmariaa) so I can see your creations, and leave your feedback in the comments below together with a star rating!
Also try: our Glazed Baked Onions.
Recipe

Vegan Spinach Artichoke Dip
This vegan spinach artichoke dip is ready in under 30 minutes, using simple ingredients. Bursting with savoury umami flavours, it makes a fantastic appetizer or snack. It's also gluten-free, dairy-free, and a great time-saving option.
Print
Pin
Save
Servings:
Equipment
- Conventional oven
- Pan or cast iron skillet
- Round baking dish
Ingredients
- 1 tablespoon olive oil
- 1 large onion diced
- 1 tin artichoke hearts (14oz/400g)
- 1 ⅓ cups cashews soaked
- 10 oz silken tofu (or 1 cup coconut milk)
- ½ tablespoon mustard ensure vegan
- ½ tablespoon miso paste
- ½ teaspoon salt
- 1 tablespoon tamari
- 1 lemon juice of
- 3 cups spinach loosely packed
- ½ cup grated vegan cheese optional
Instructions
- Preheat the oven to 180 degrees C (350 F).
- Heat the olive oil in a pan or skillet over a medium-high heat. Add the onion and artichokes, cooking for 5 minutes, until softened.
- Add the soaked cashews, sautéd onions and artichokes, tofu, mustard, miso paste, salt, tamari and lemon juice to a blender or food processor. Blend until as smooth as possible.
- Transfer the dip back into the pan or skillet over a medium heat and add the spinach. Stir continuously over a medium heat for a few minutes, until the spinach wilts. At this stage, taste and add more salt if needed.
- If using a cast iron skillet, sprinkle the dip with grated vegan cheese and add straight to the oven. Or, you can transfer to a round baking dish, sprinkle with the cheese, and add to the oven after that. Bake for 20 minutes, until crispy and lightly browned on top.
- Allow to cool for 5 minutes and enjoy!
Video
Notes
Soak the cashews for at least 2 hours in warm water, or simmer them in a saucepan for 10 minutes to soften.
This spinach artichoke dip can be kept in the fridge for up to 4 days in an airtight container.
Nutrition (Estimate per Serving)
Calories: 130kcalCarbohydrates: 9gProtein: 5gFat: 9gSaturated Fat: 2gSodium: 271mgPotassium: 215mgFiber: 1gSugar: 2gVitamin A: 707IUVitamin C: 8mgCalcium: 30mgIron: 2mg
Vegan-ize any recipe!Grab our free vegan cheat sheet, packed with my favorite easy substitutions to make any recipe vegan.


Vegan Crunchwrap Supreme

This vegan Crunchwrap Supreme is made with a smoky tempeh filling, homemade dairy-free nacho 'cheese', and guacamole. It's bursting with flavour, and is perfect for an indulgent lunch. Easy to make gluten-free.

You know those recipes that you just want to make over and over again? Yep, this tempeh Crunchwrap is one of those for me. I am seriously obsessed. I've seen Crunchwraps all over social media for a while, and knew I needed to make my own vegan version.
The original Crunchwrap Supreme is from Taco Bell, made with beef and nacho cheese. But, a homemade, plant based version is incredibly easy to put together. Just follow the steps below and you will see for yourself! Chances are, if you're like me and love wholesome comfort food, you will love this as well.
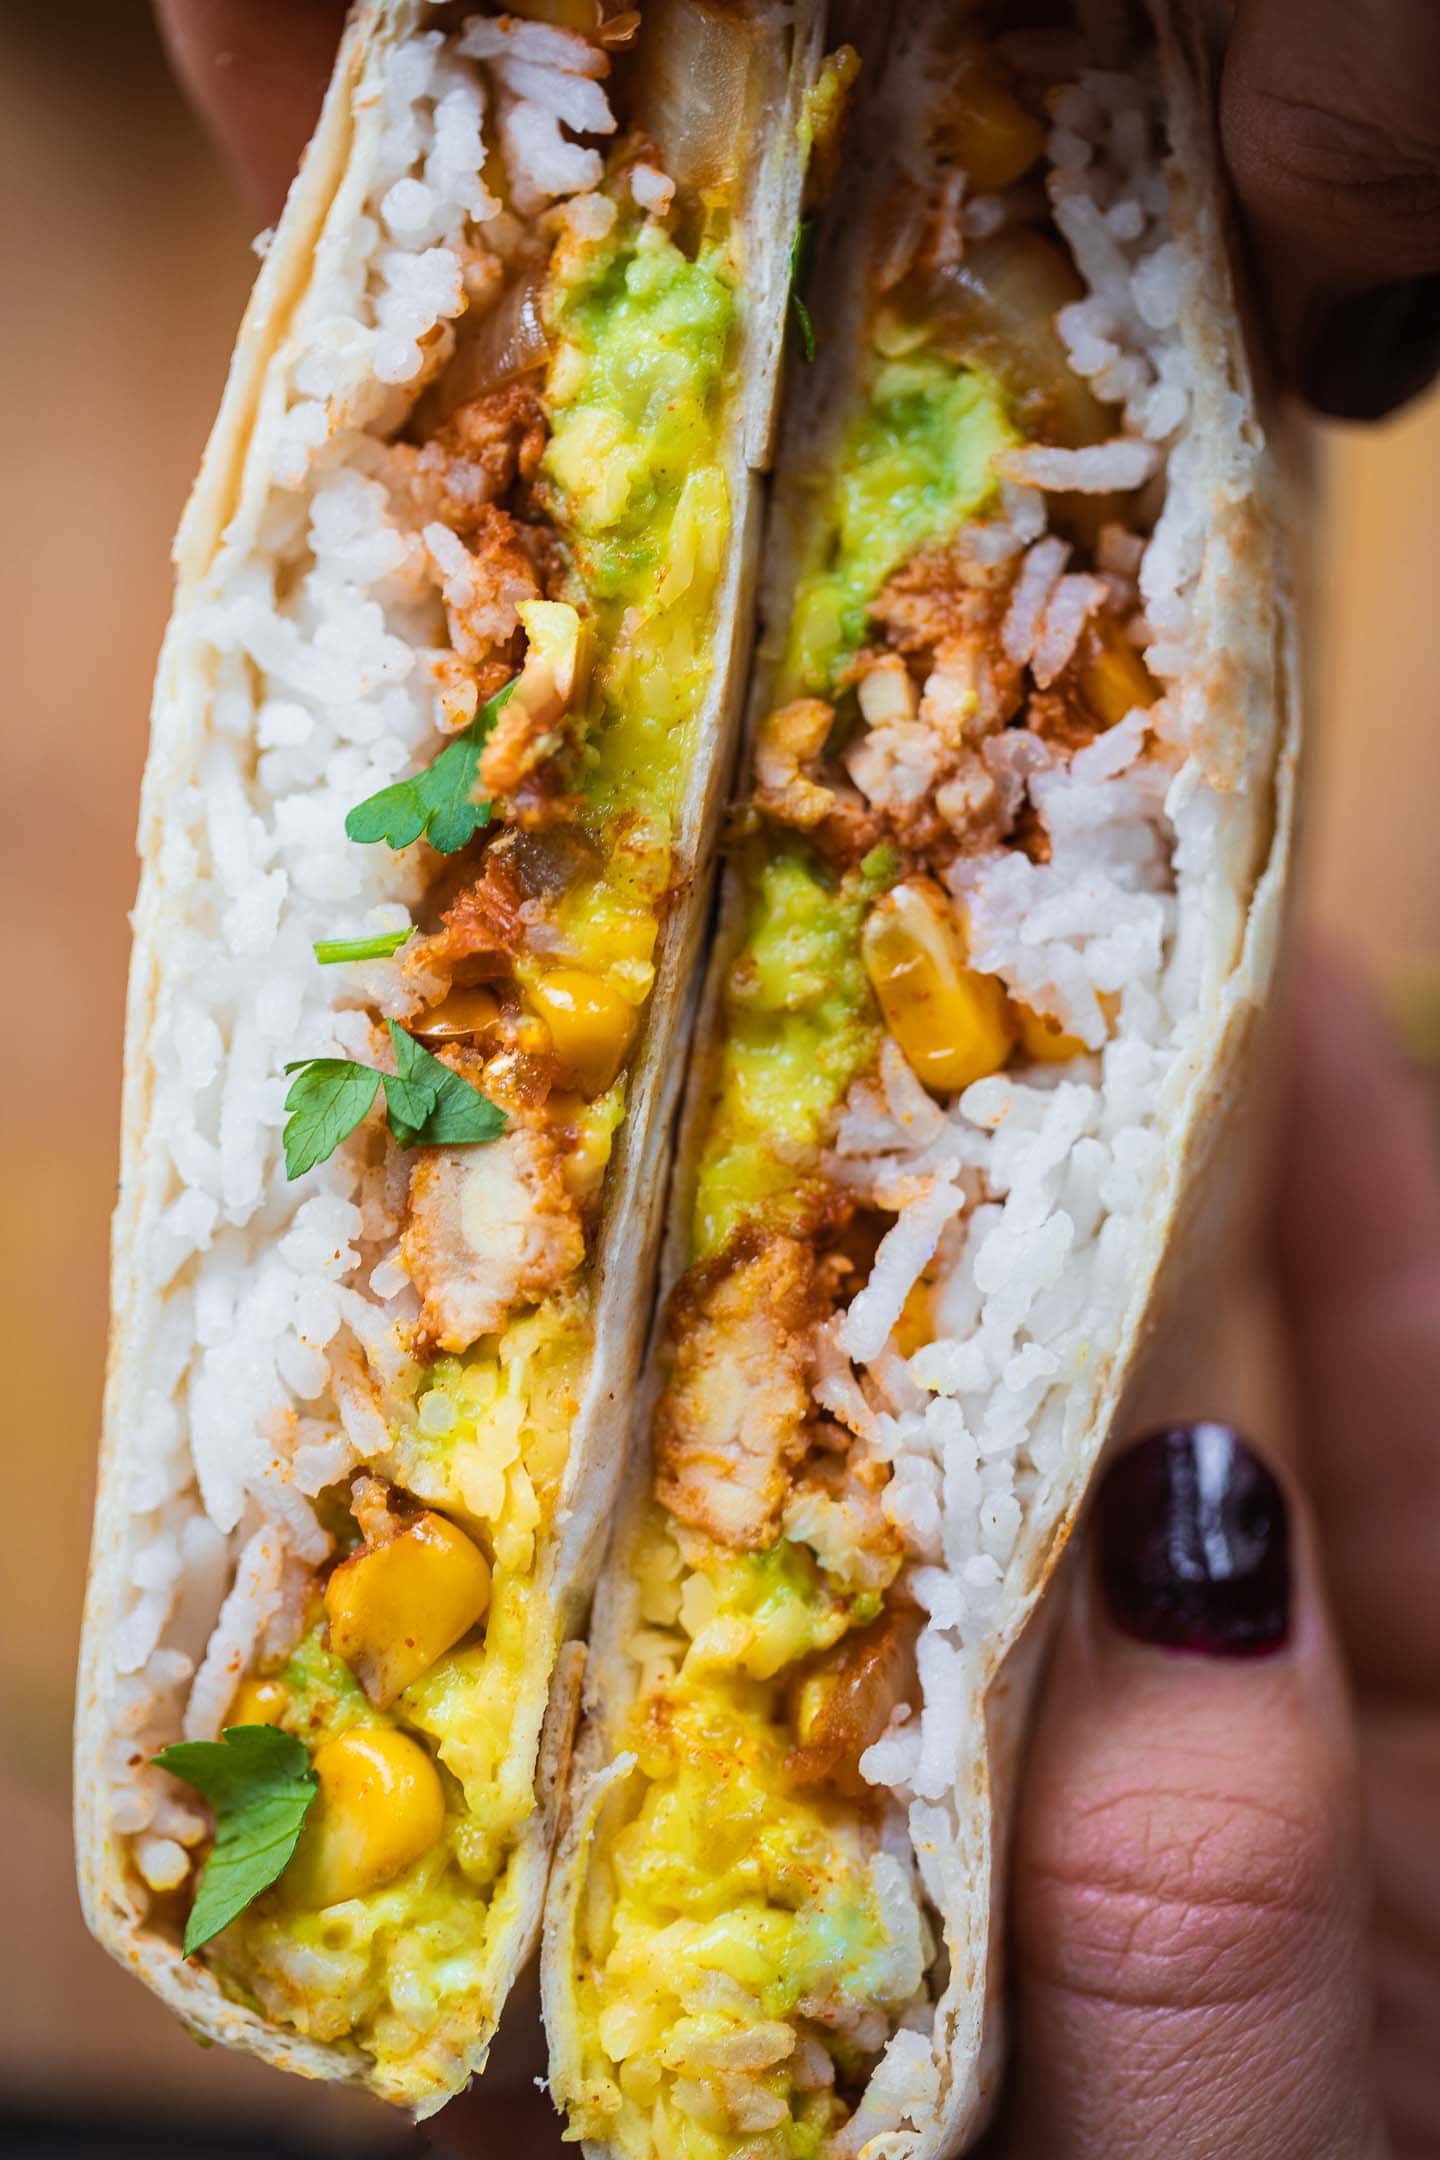
About this vegan Crunchwrap Supreme
The thing that I love about Crunchwraps is that you can really load them up with different ingredients and they won't fall apart. Well, you have to try very hard in order for that to happen (I've had a few such accidents myself during recipe testing lol). Regardless, every bite is packed full of deliciousness, and the wonderful crispy texture of the wrap really brings everything together.

Here, I used tempeh for the filling. I love tempeh, because it's such a versatile ingredient with a great texture and a neutral flavour. With just a few ingredients, it's so easy to transform it. In this Crunchwrap recipe, it takes the place of the ground beef.

I also made a homemade nacho 'cheese' sauce. The great thing about this one is just how simple it is. You don't need a blender, and there are no cashews. You simply put all the ingredients to a saucepan, whisk, and you're good to go! In fact, I love using this 'cheese' as a sauce for many recipes, such as salads and nourish bowls.
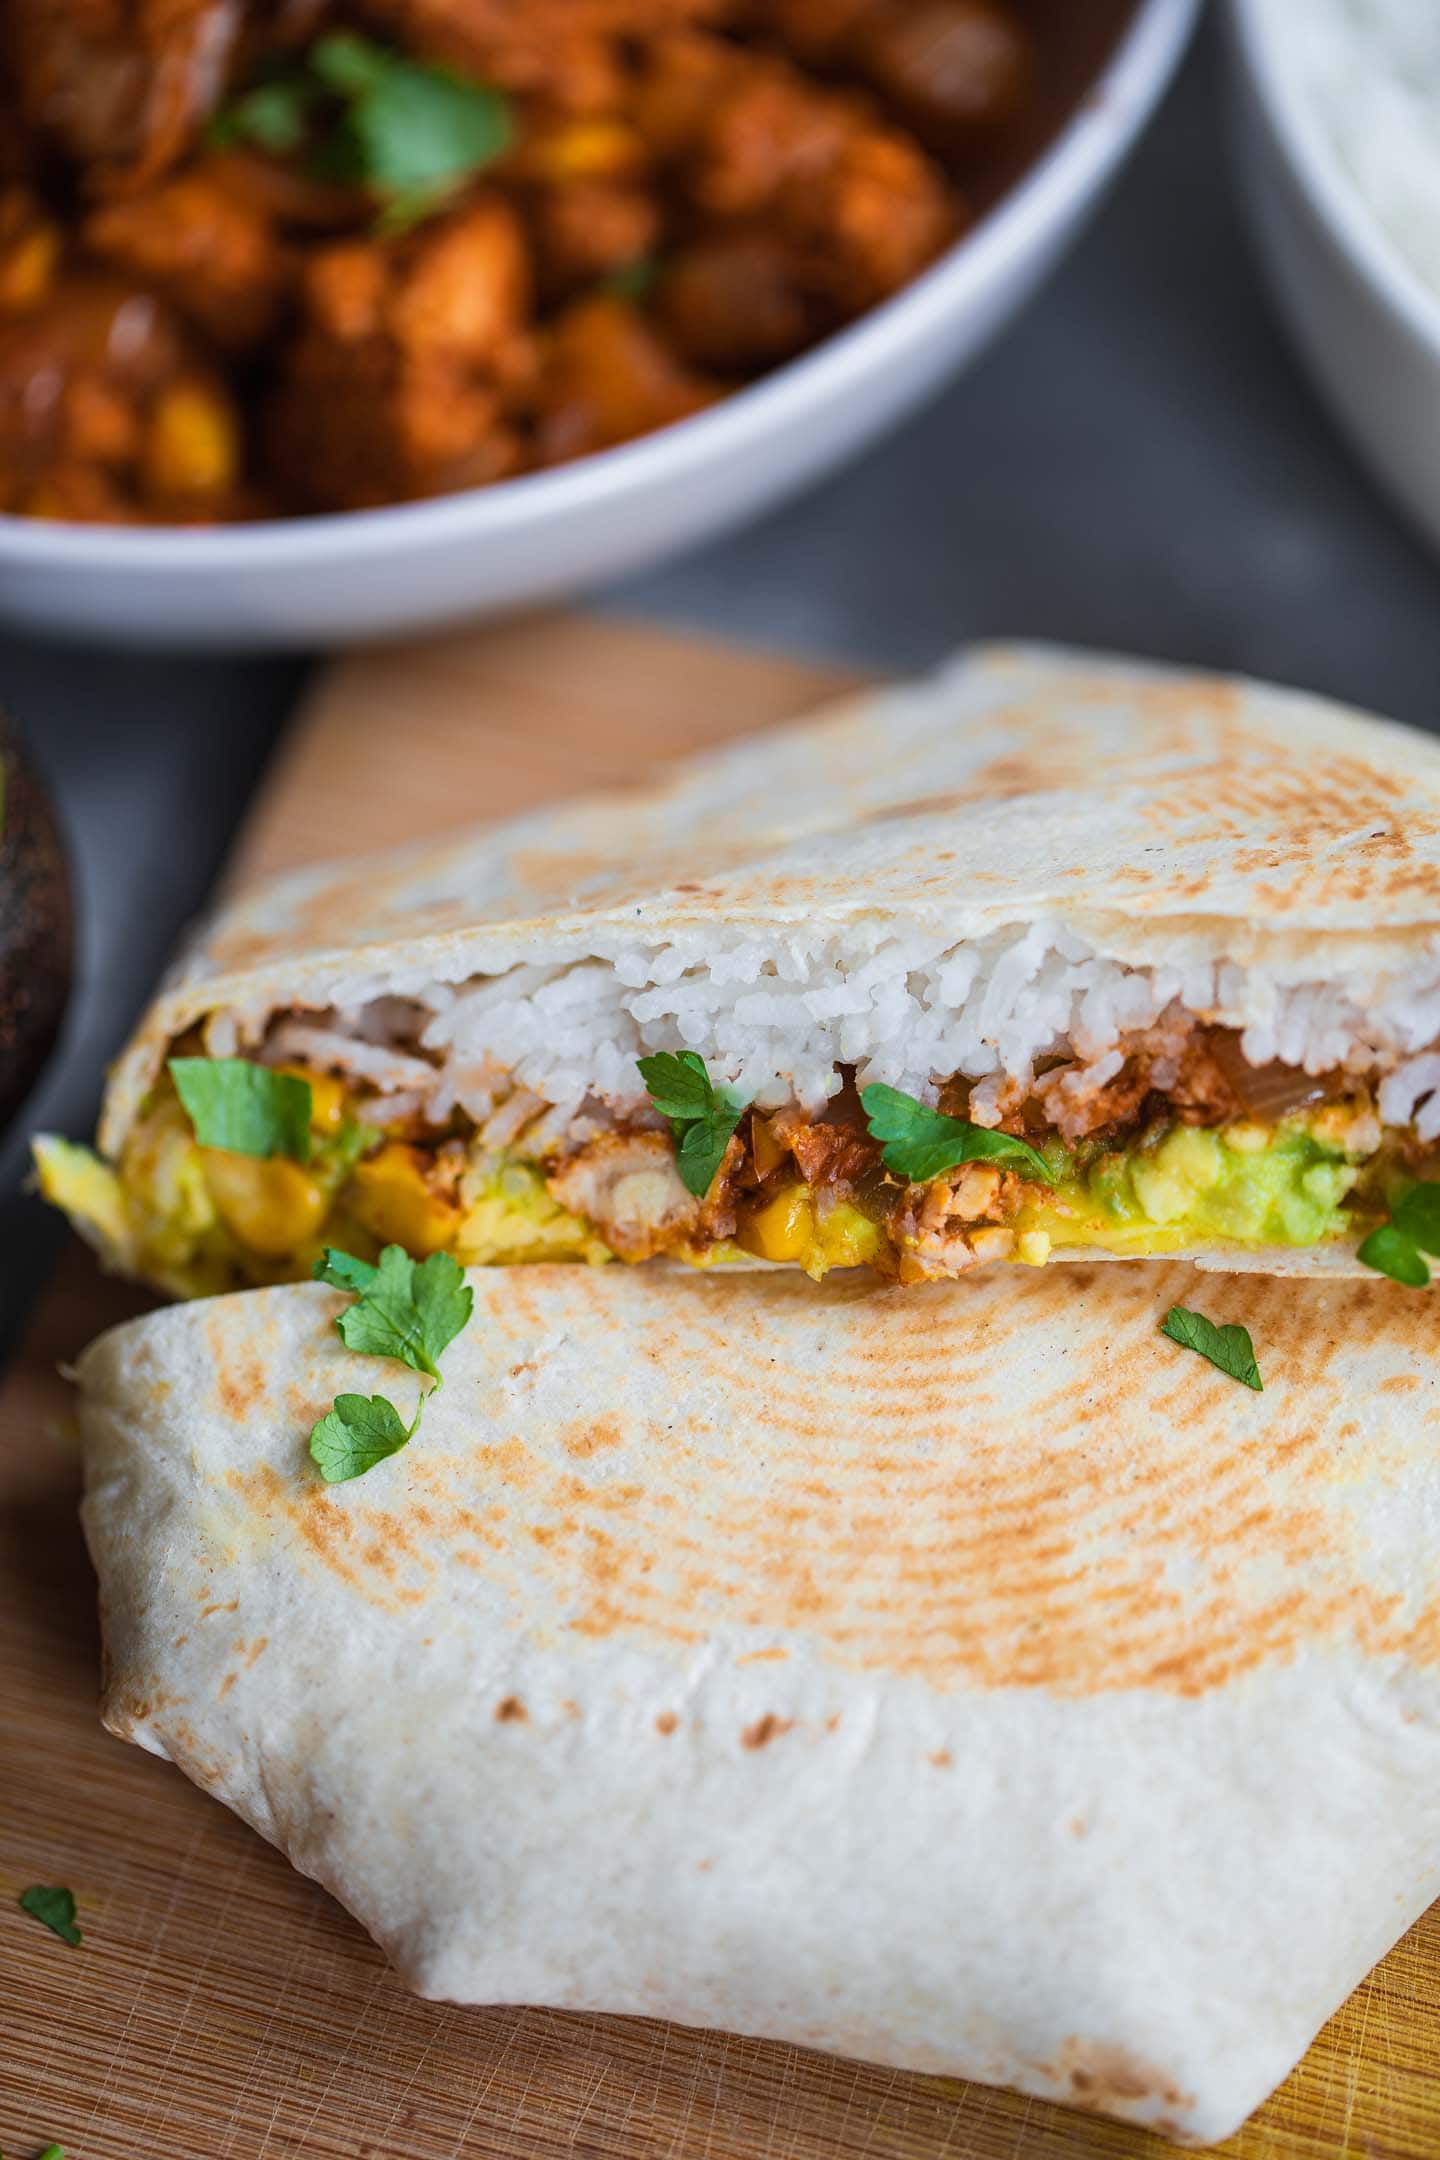
I also added avocado, rice and a little bit of grated vegan cheese. Simple, but incredibly yummy!
Smoky tempeh filling
You only need a few simple ingredients to make the smoky tempeh filling. Those are:
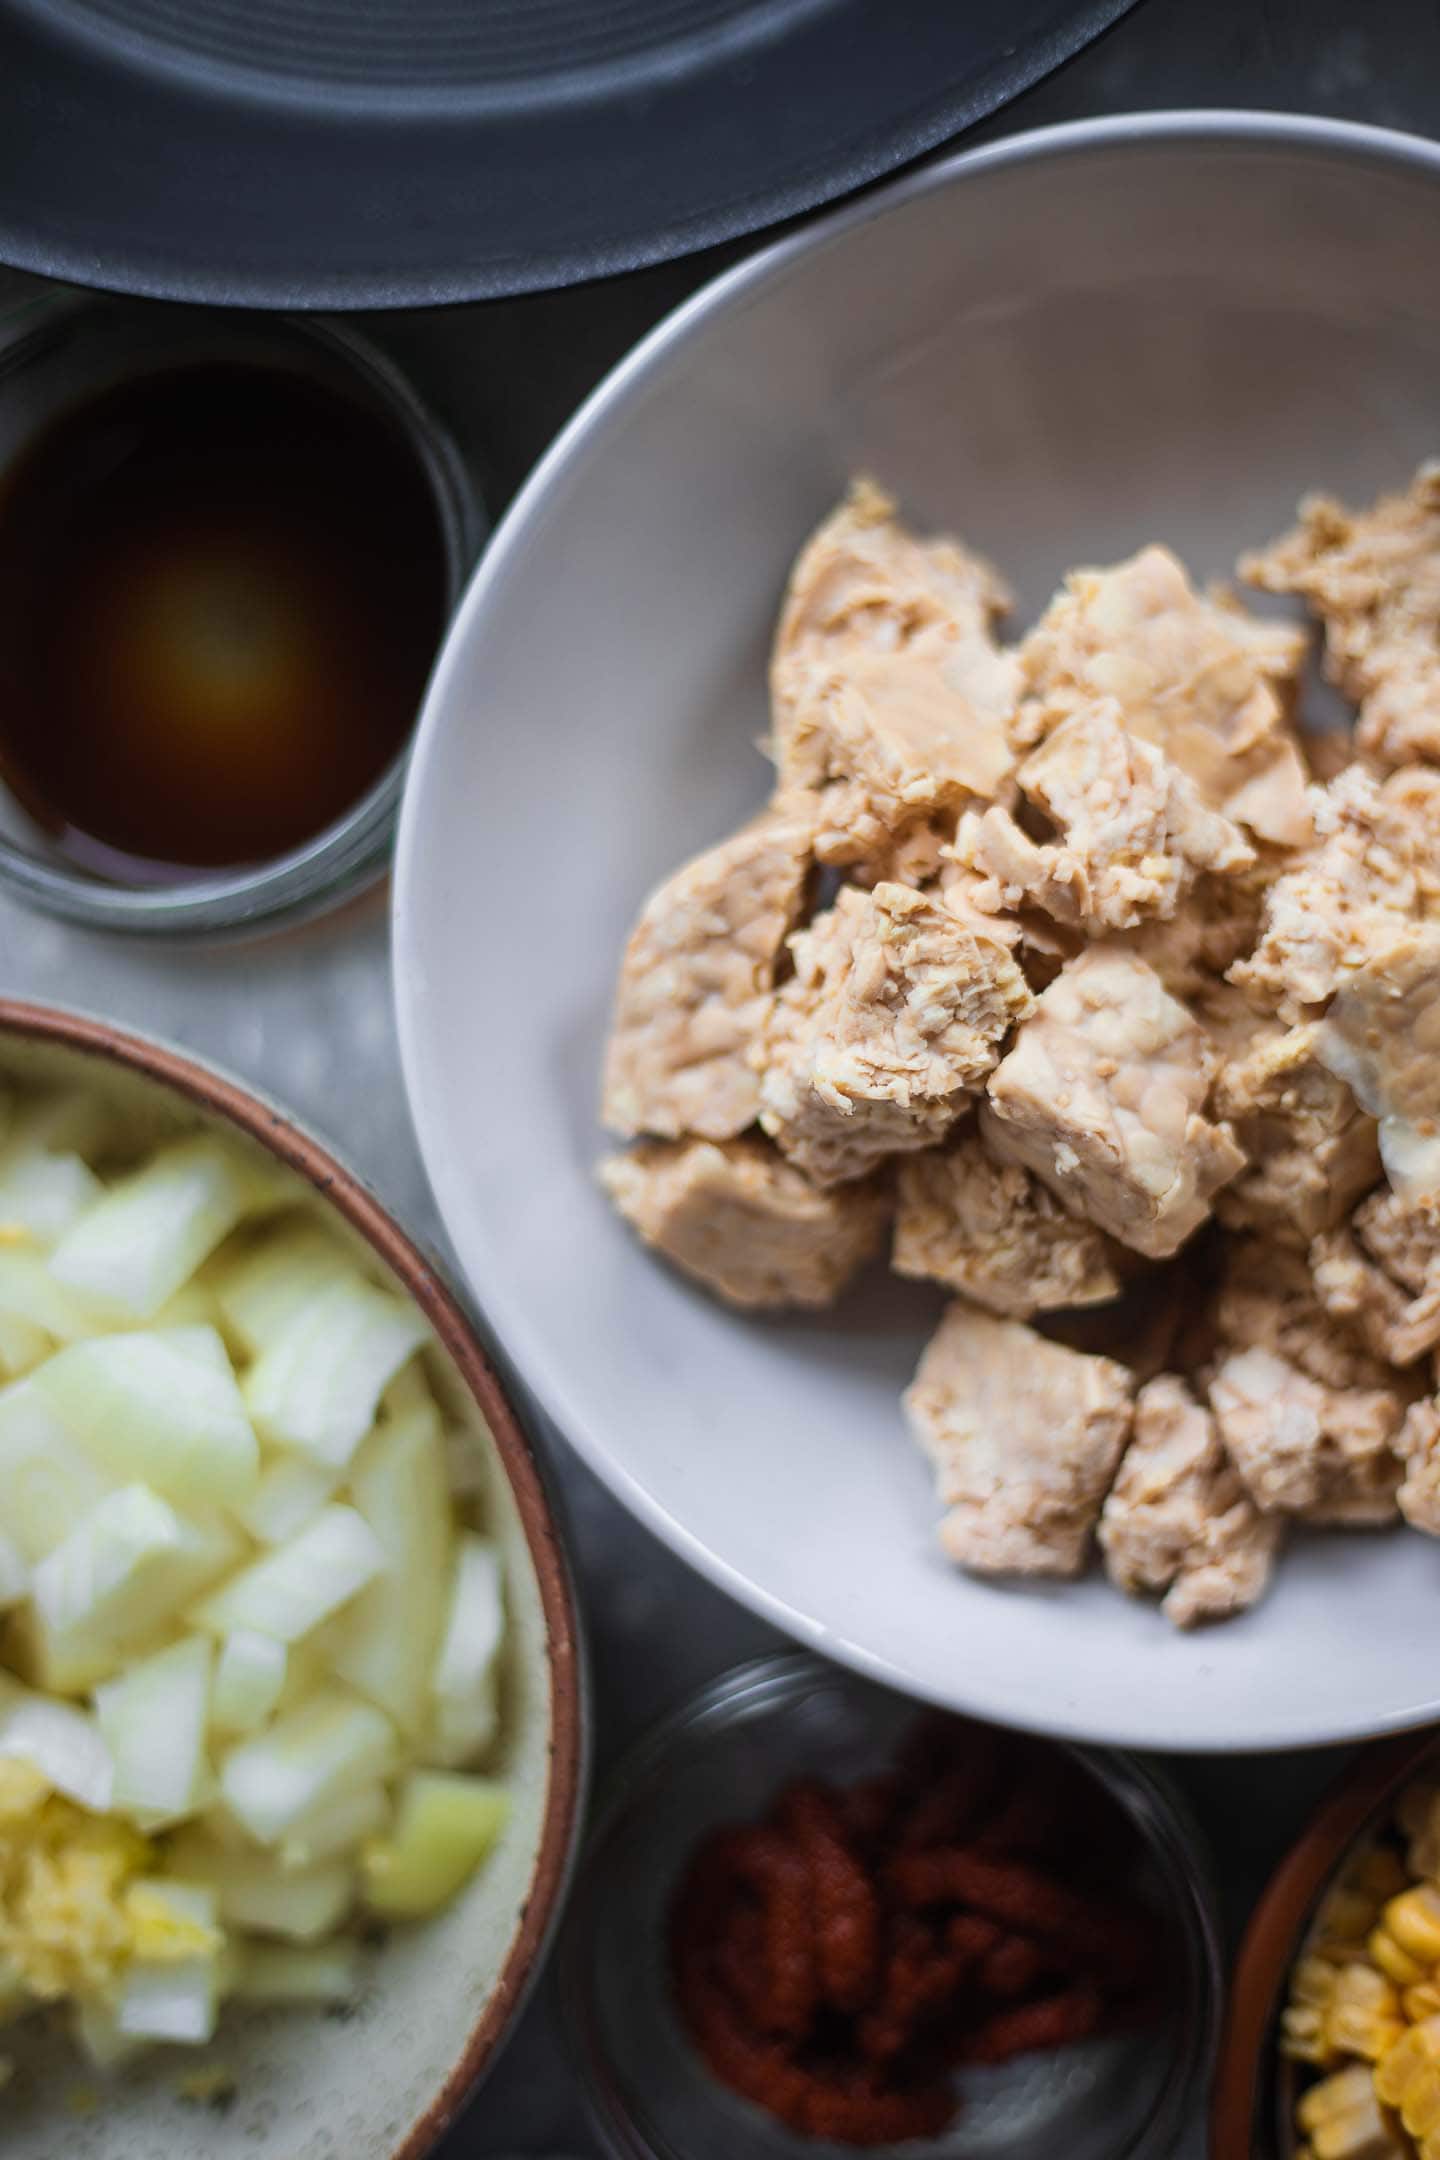
- Onion and garlic.
- Tempeh. I would recommend steaming this beforehand to get rid of any bitter flavour. You can also use crumbled extra firm tofu.
- Sweetcorn.
- Tomato paste.
- Tamari. You can also use soy sauce if not avoiding gluten, or coconut aminos for a soy-free version.
- Cumin and smoked paprika.
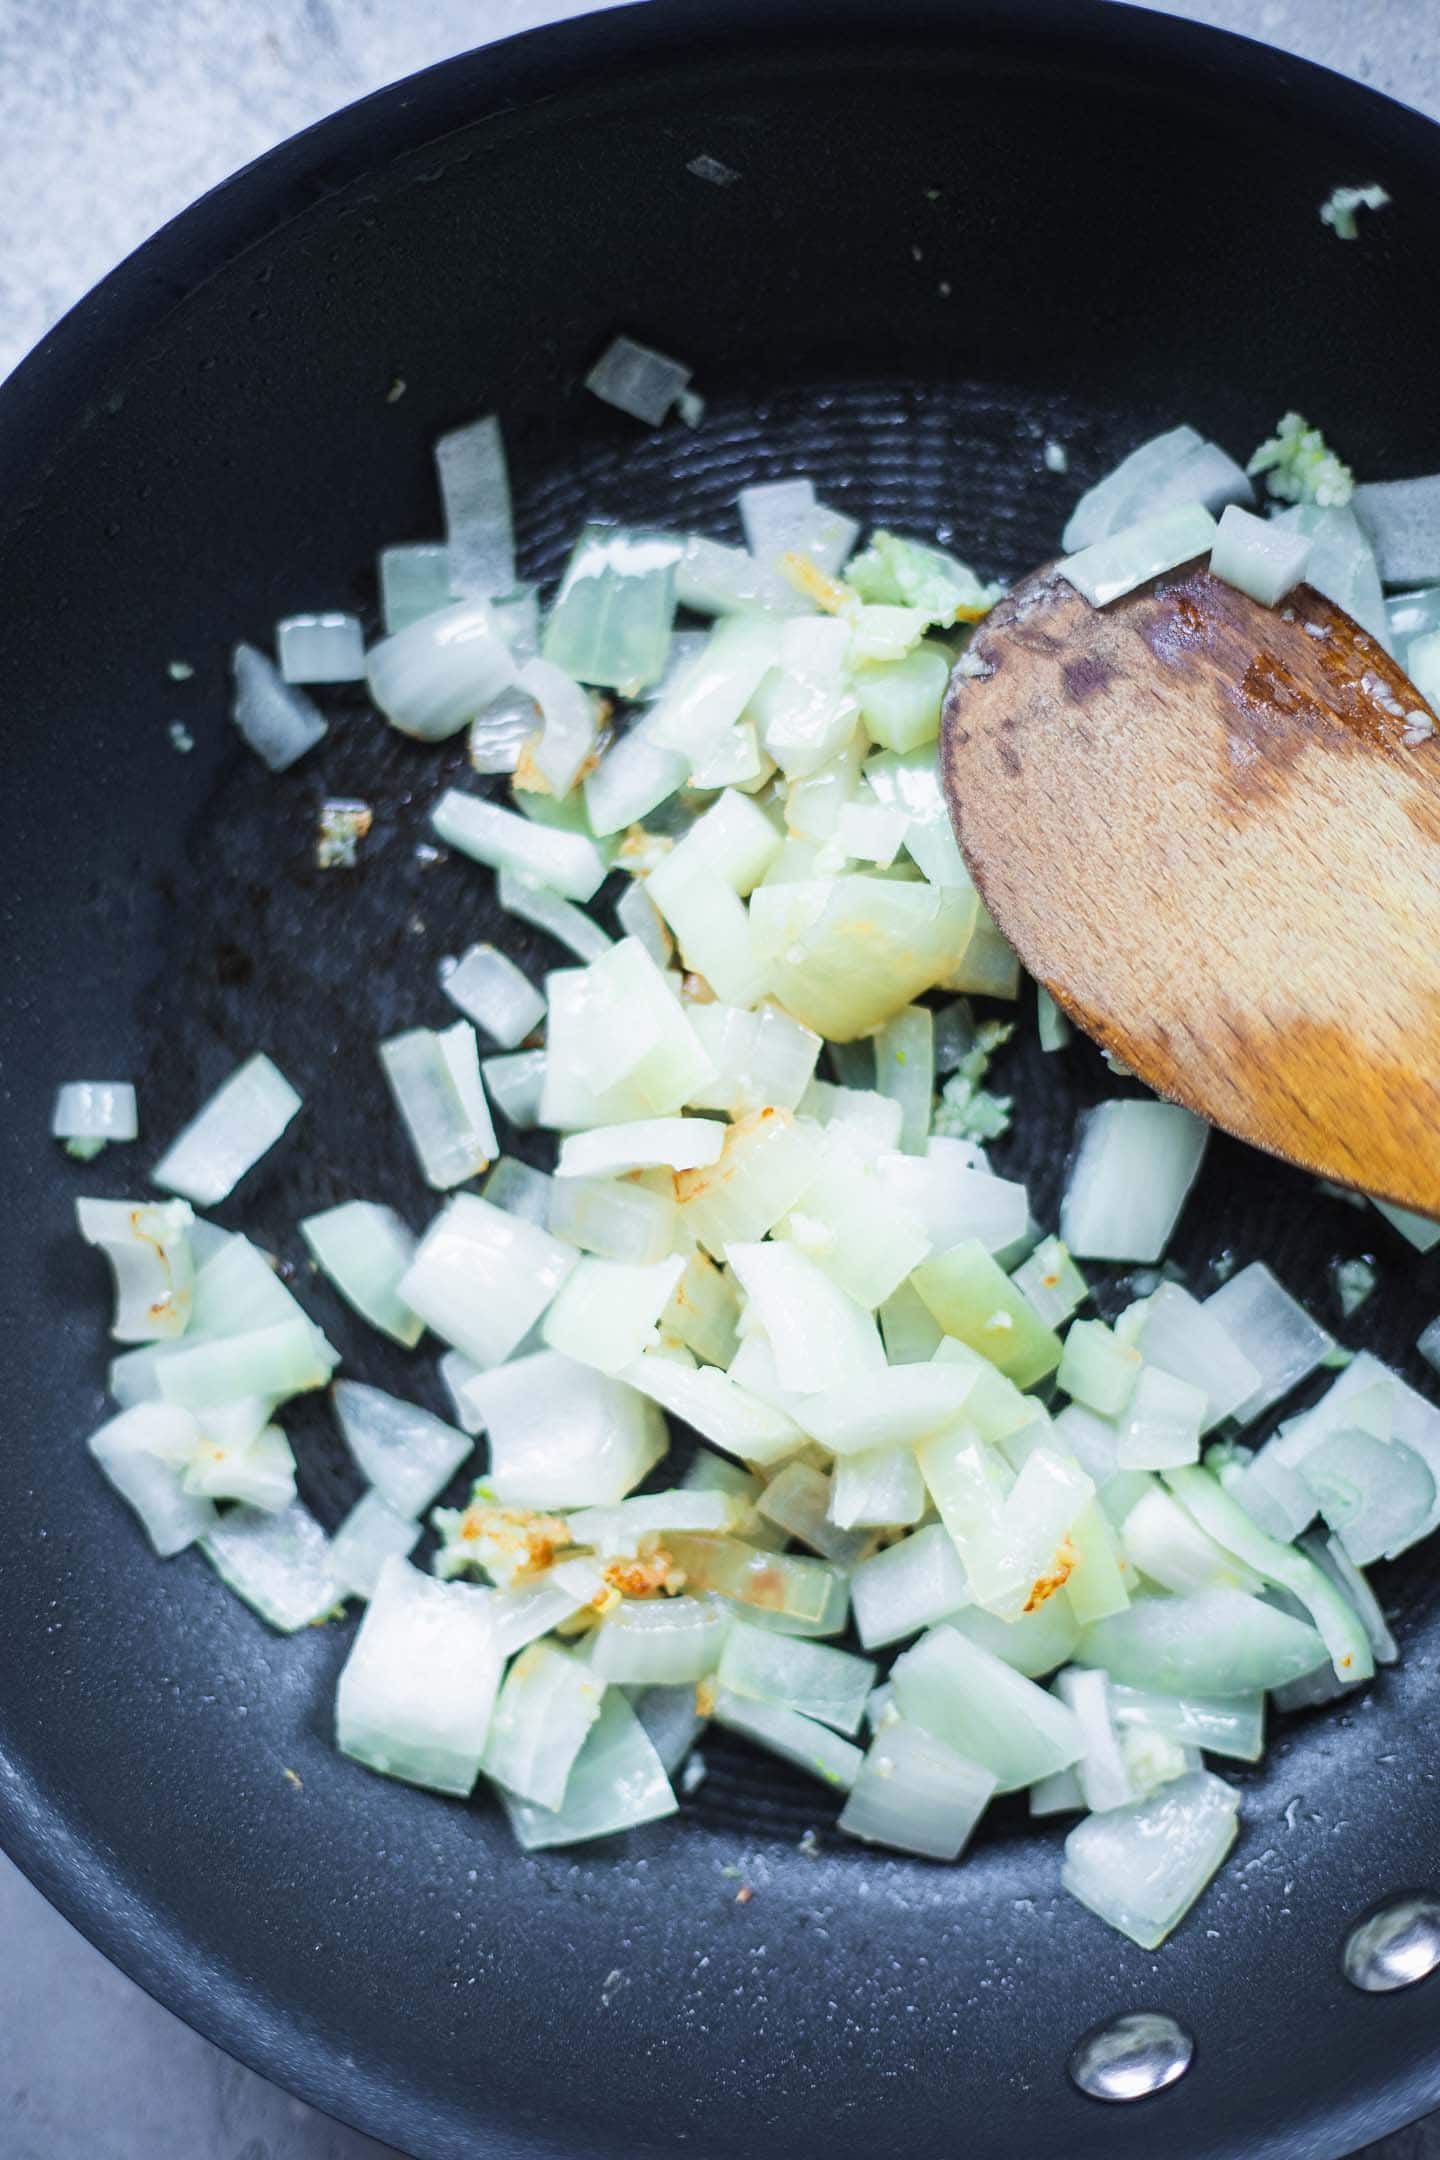
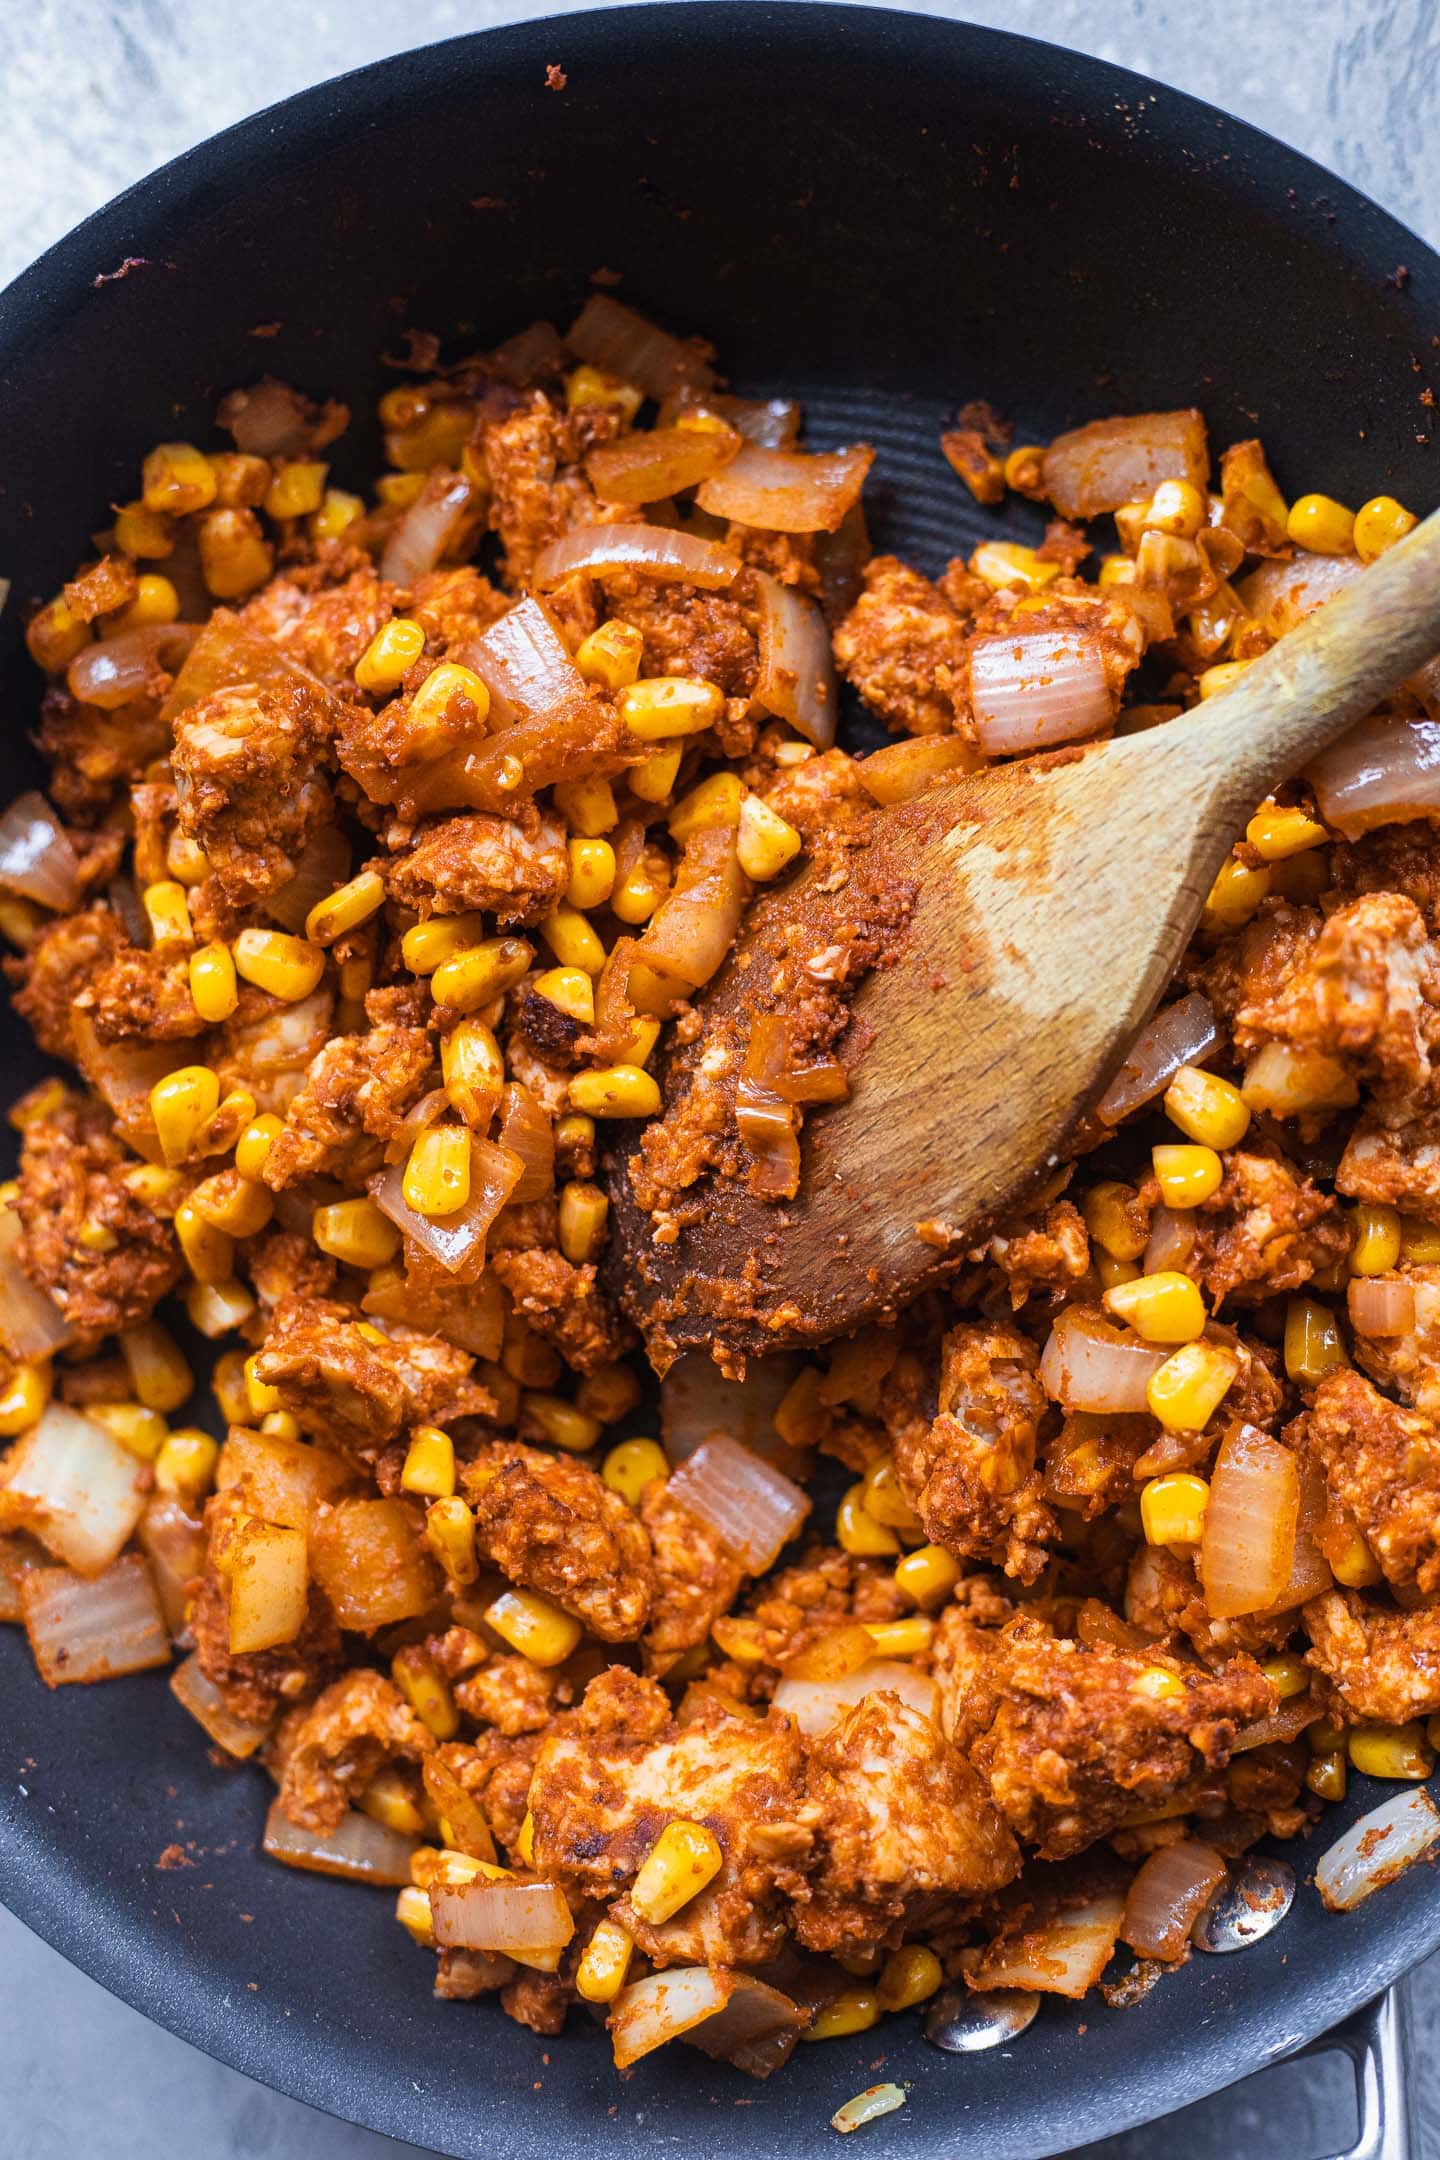
Simply cook the onion and garlic. Then, when they soften, add the rest of the ingredients and cook over a medium-high heat for around 5 minutes. That's it!
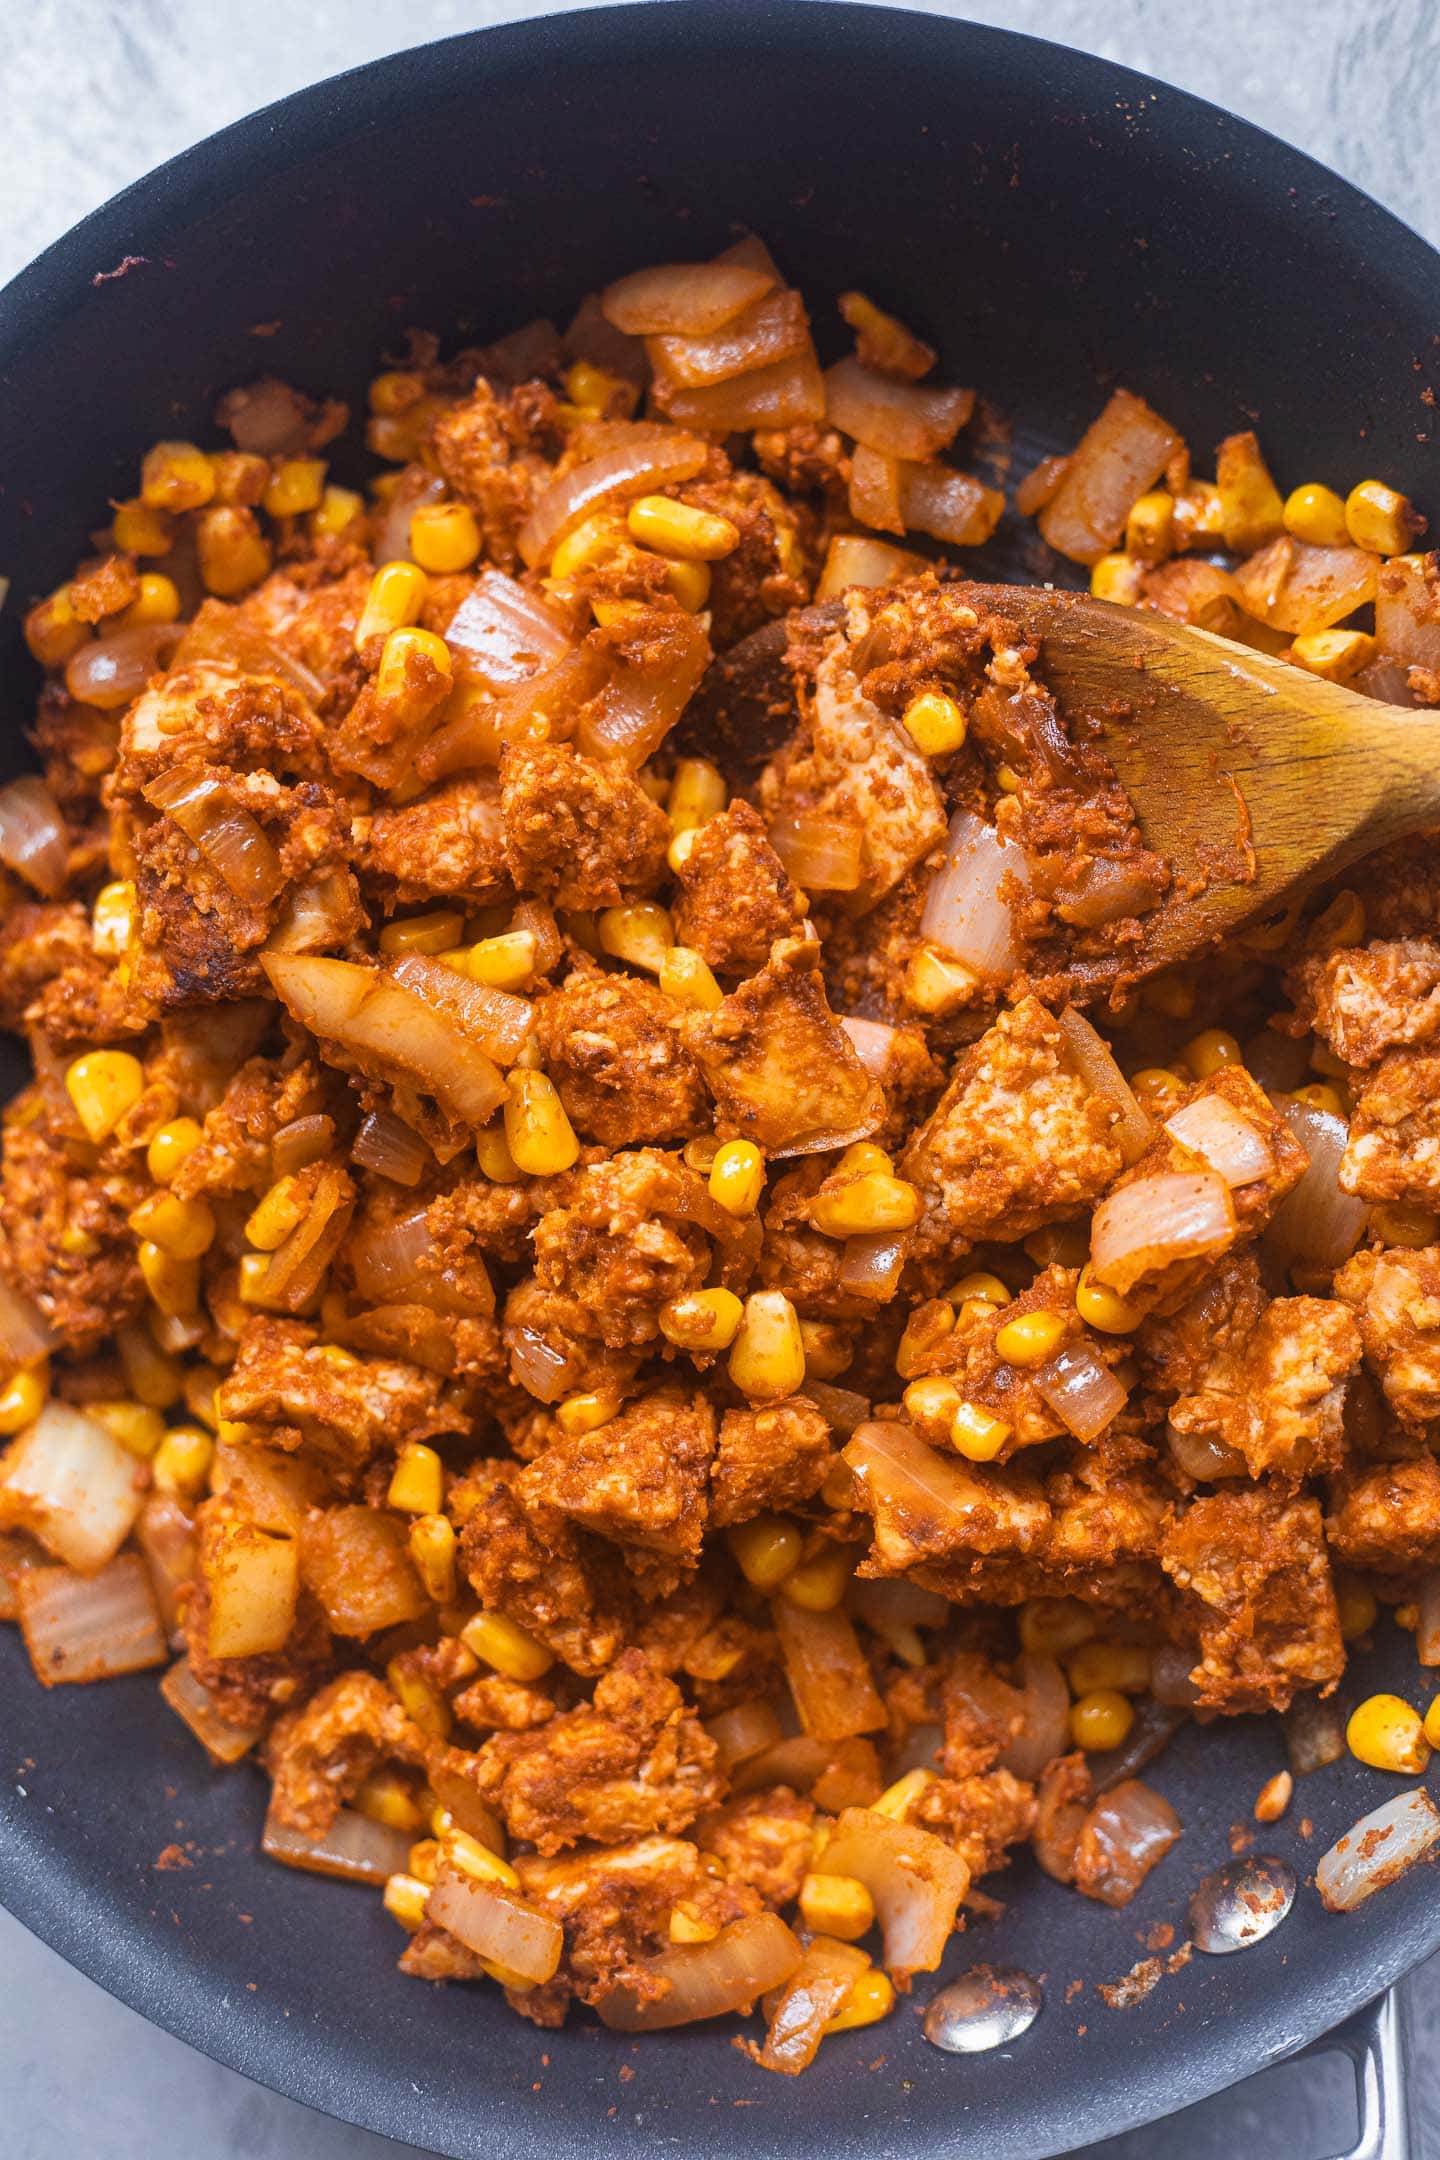
Vegan nacho cheese
As I mentioned, this nacho 'cheese' is cashew-free and doesn't require a blender. The ingredients you will need are:
- Coconut milk. Full fat coconut milk from a tin works best.
- Turmeric.
- Salt.
- Nutritional yeast. This is great for adding a 'cheesy' flavour.
- Apple cider vinegar.
- Cornstarch.
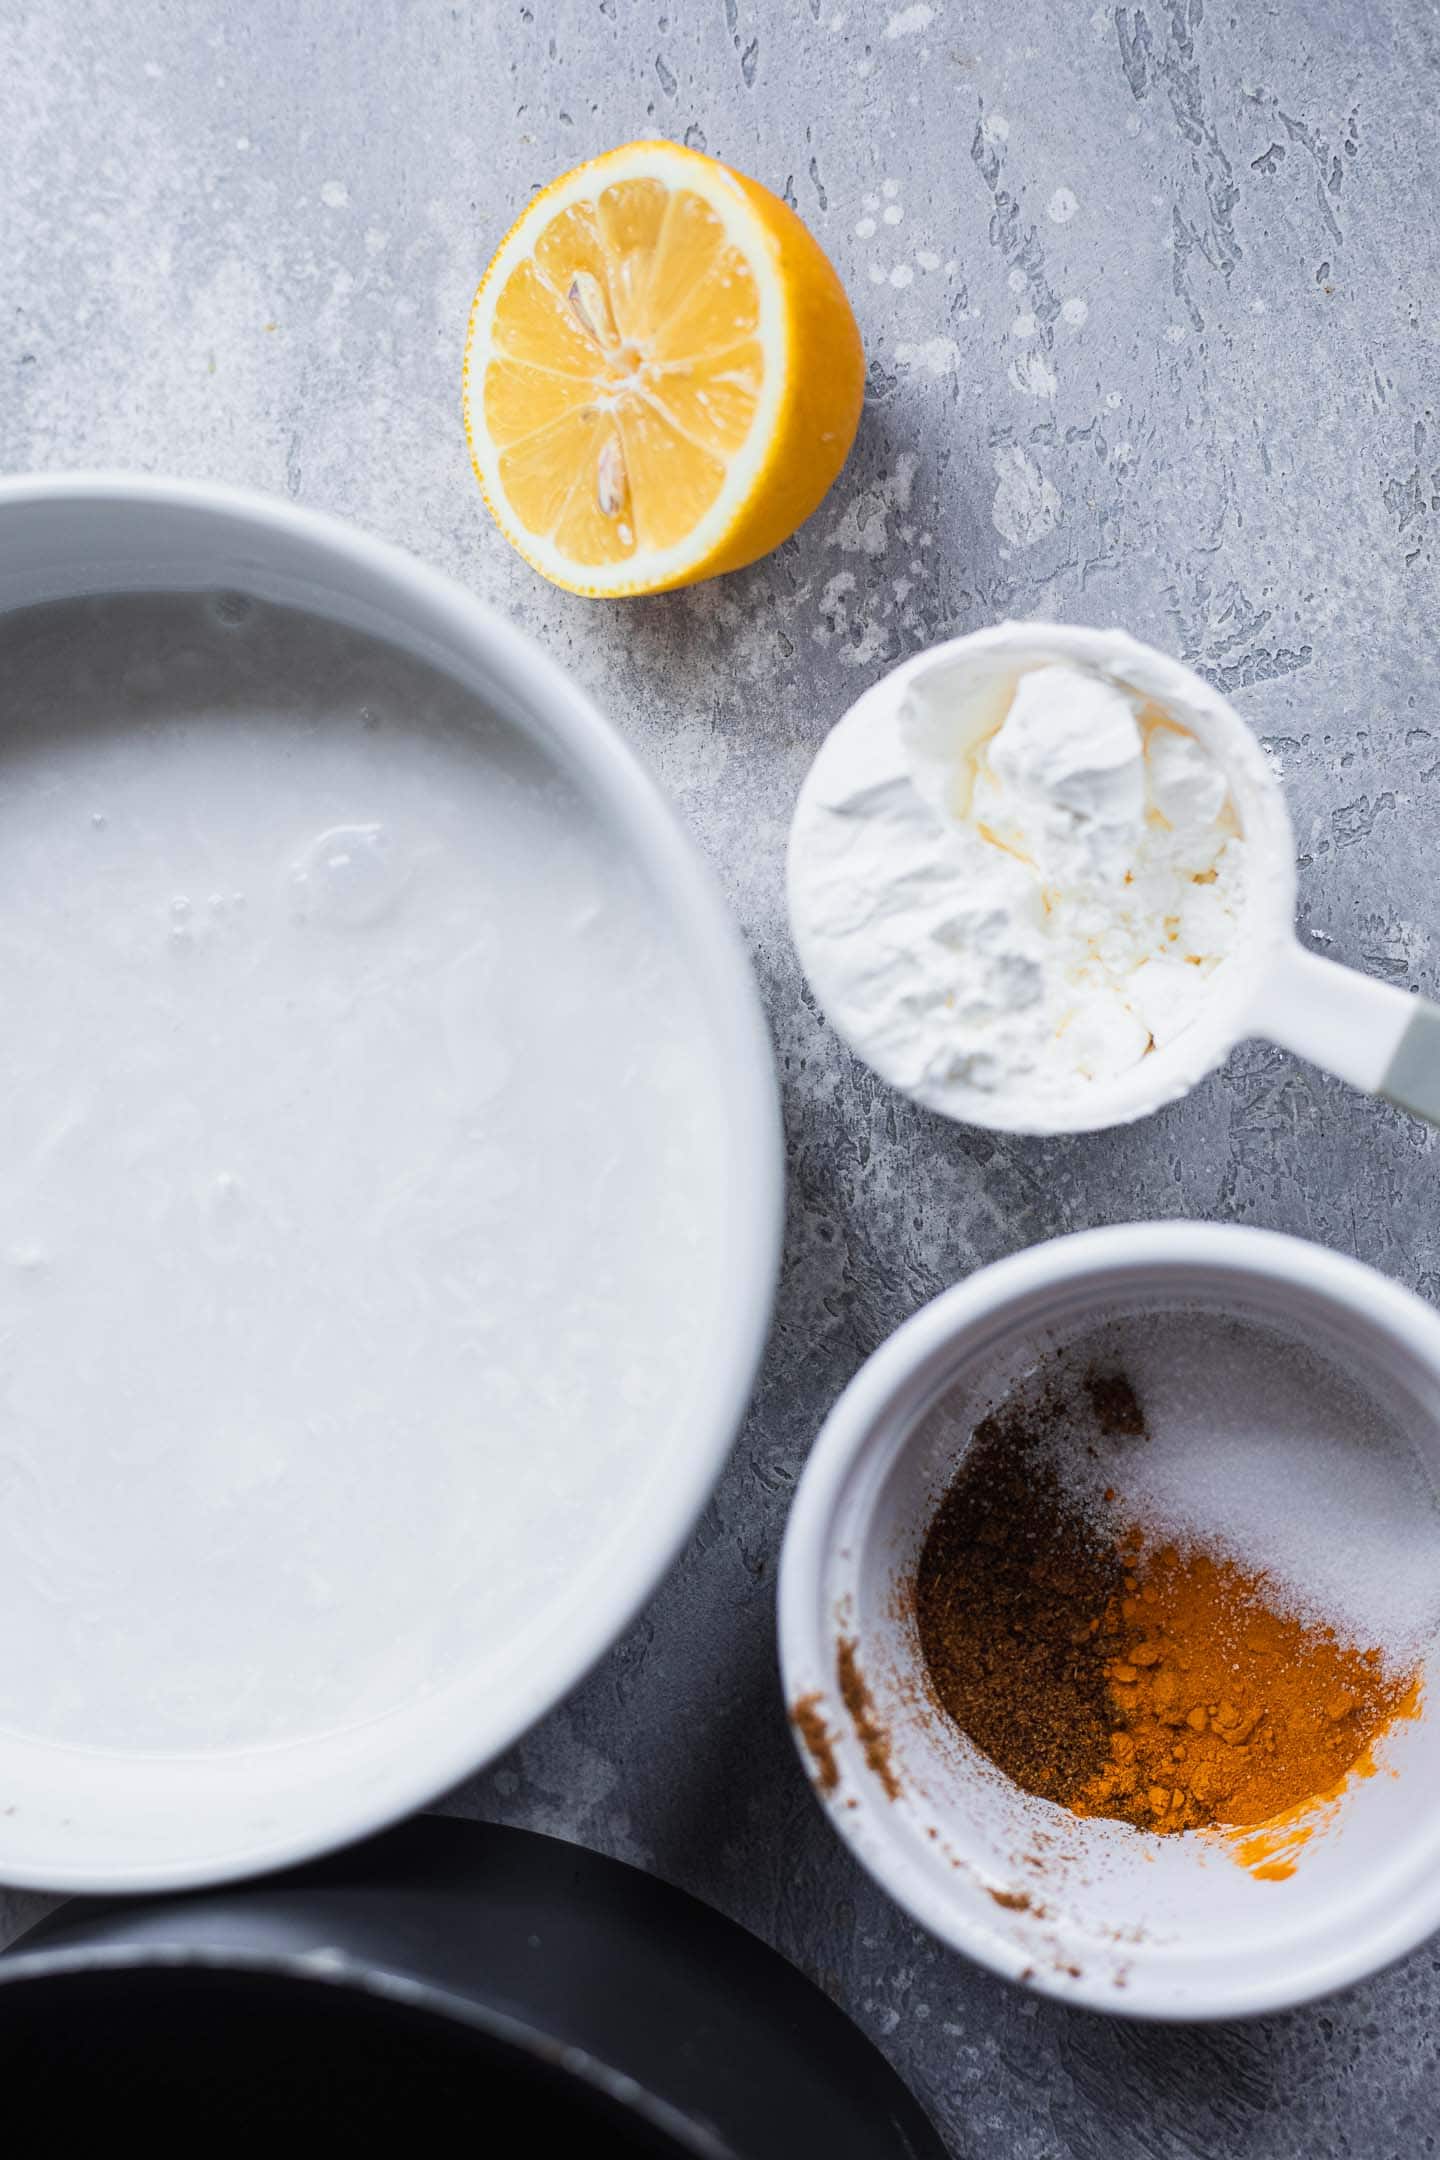
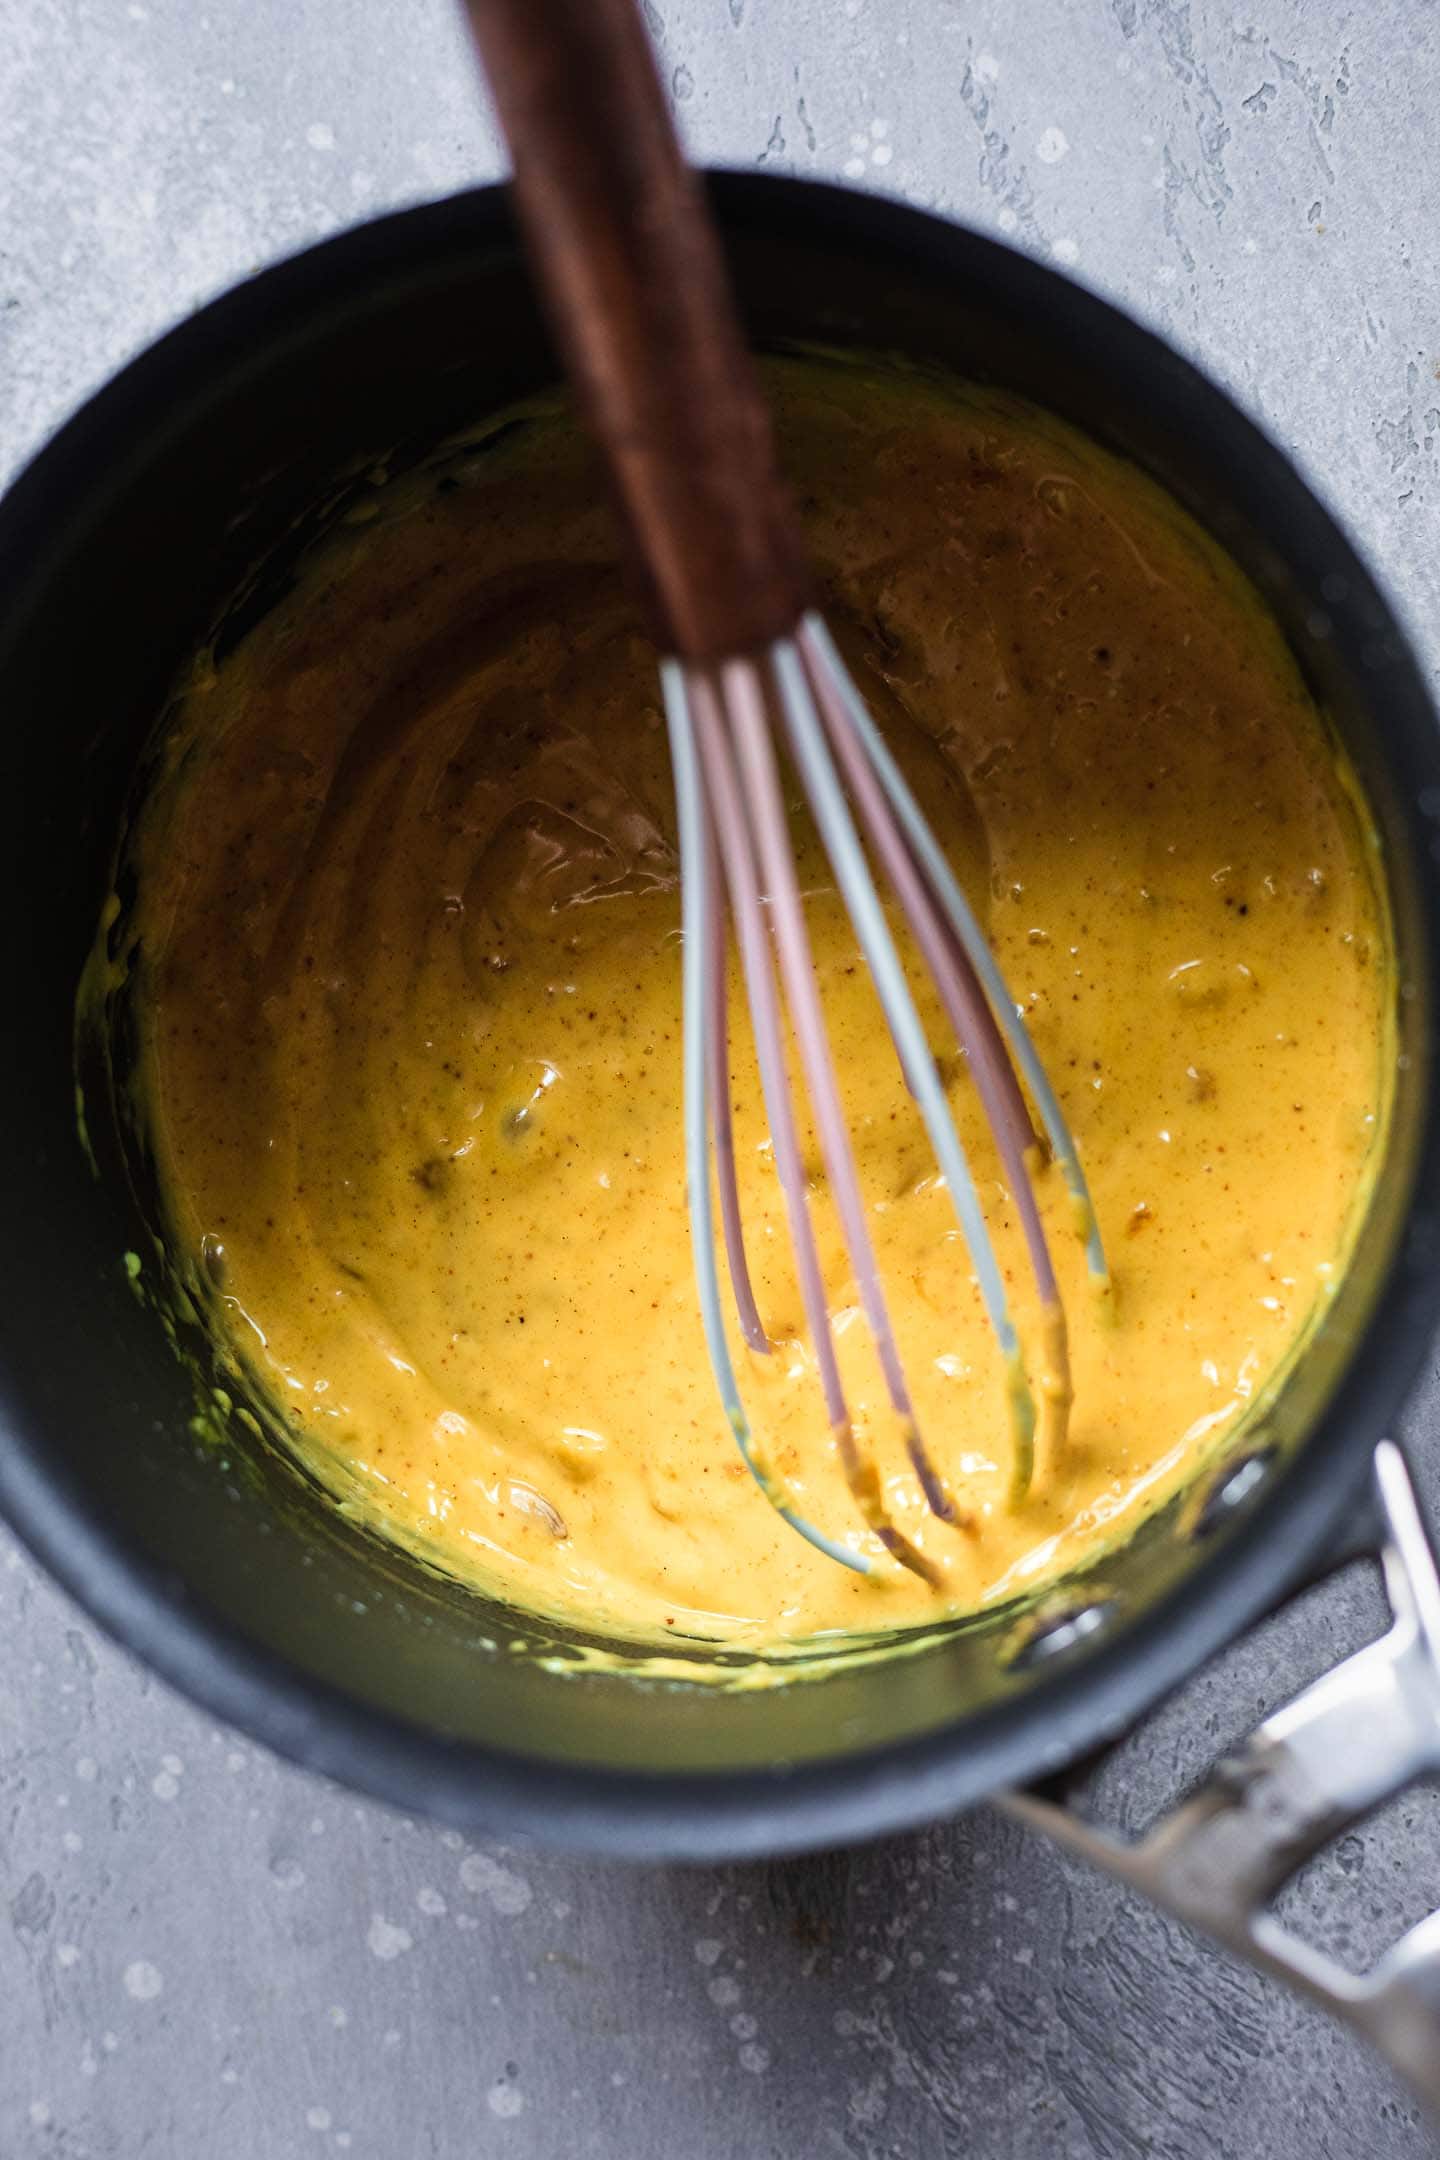
Simply add all the ingredients to a saucepan and whisk over a medium heat until the 'cheese' thickens.
What else should I add to a vegan Crunchwrap?
Crunchwraps are super versatile - you can switch up the ingredients and try out different fillings to see which ones you prefer. As you can see, I added rice, mashed avocado and grated vegan cheese. However, the following filling ideas also work really well:
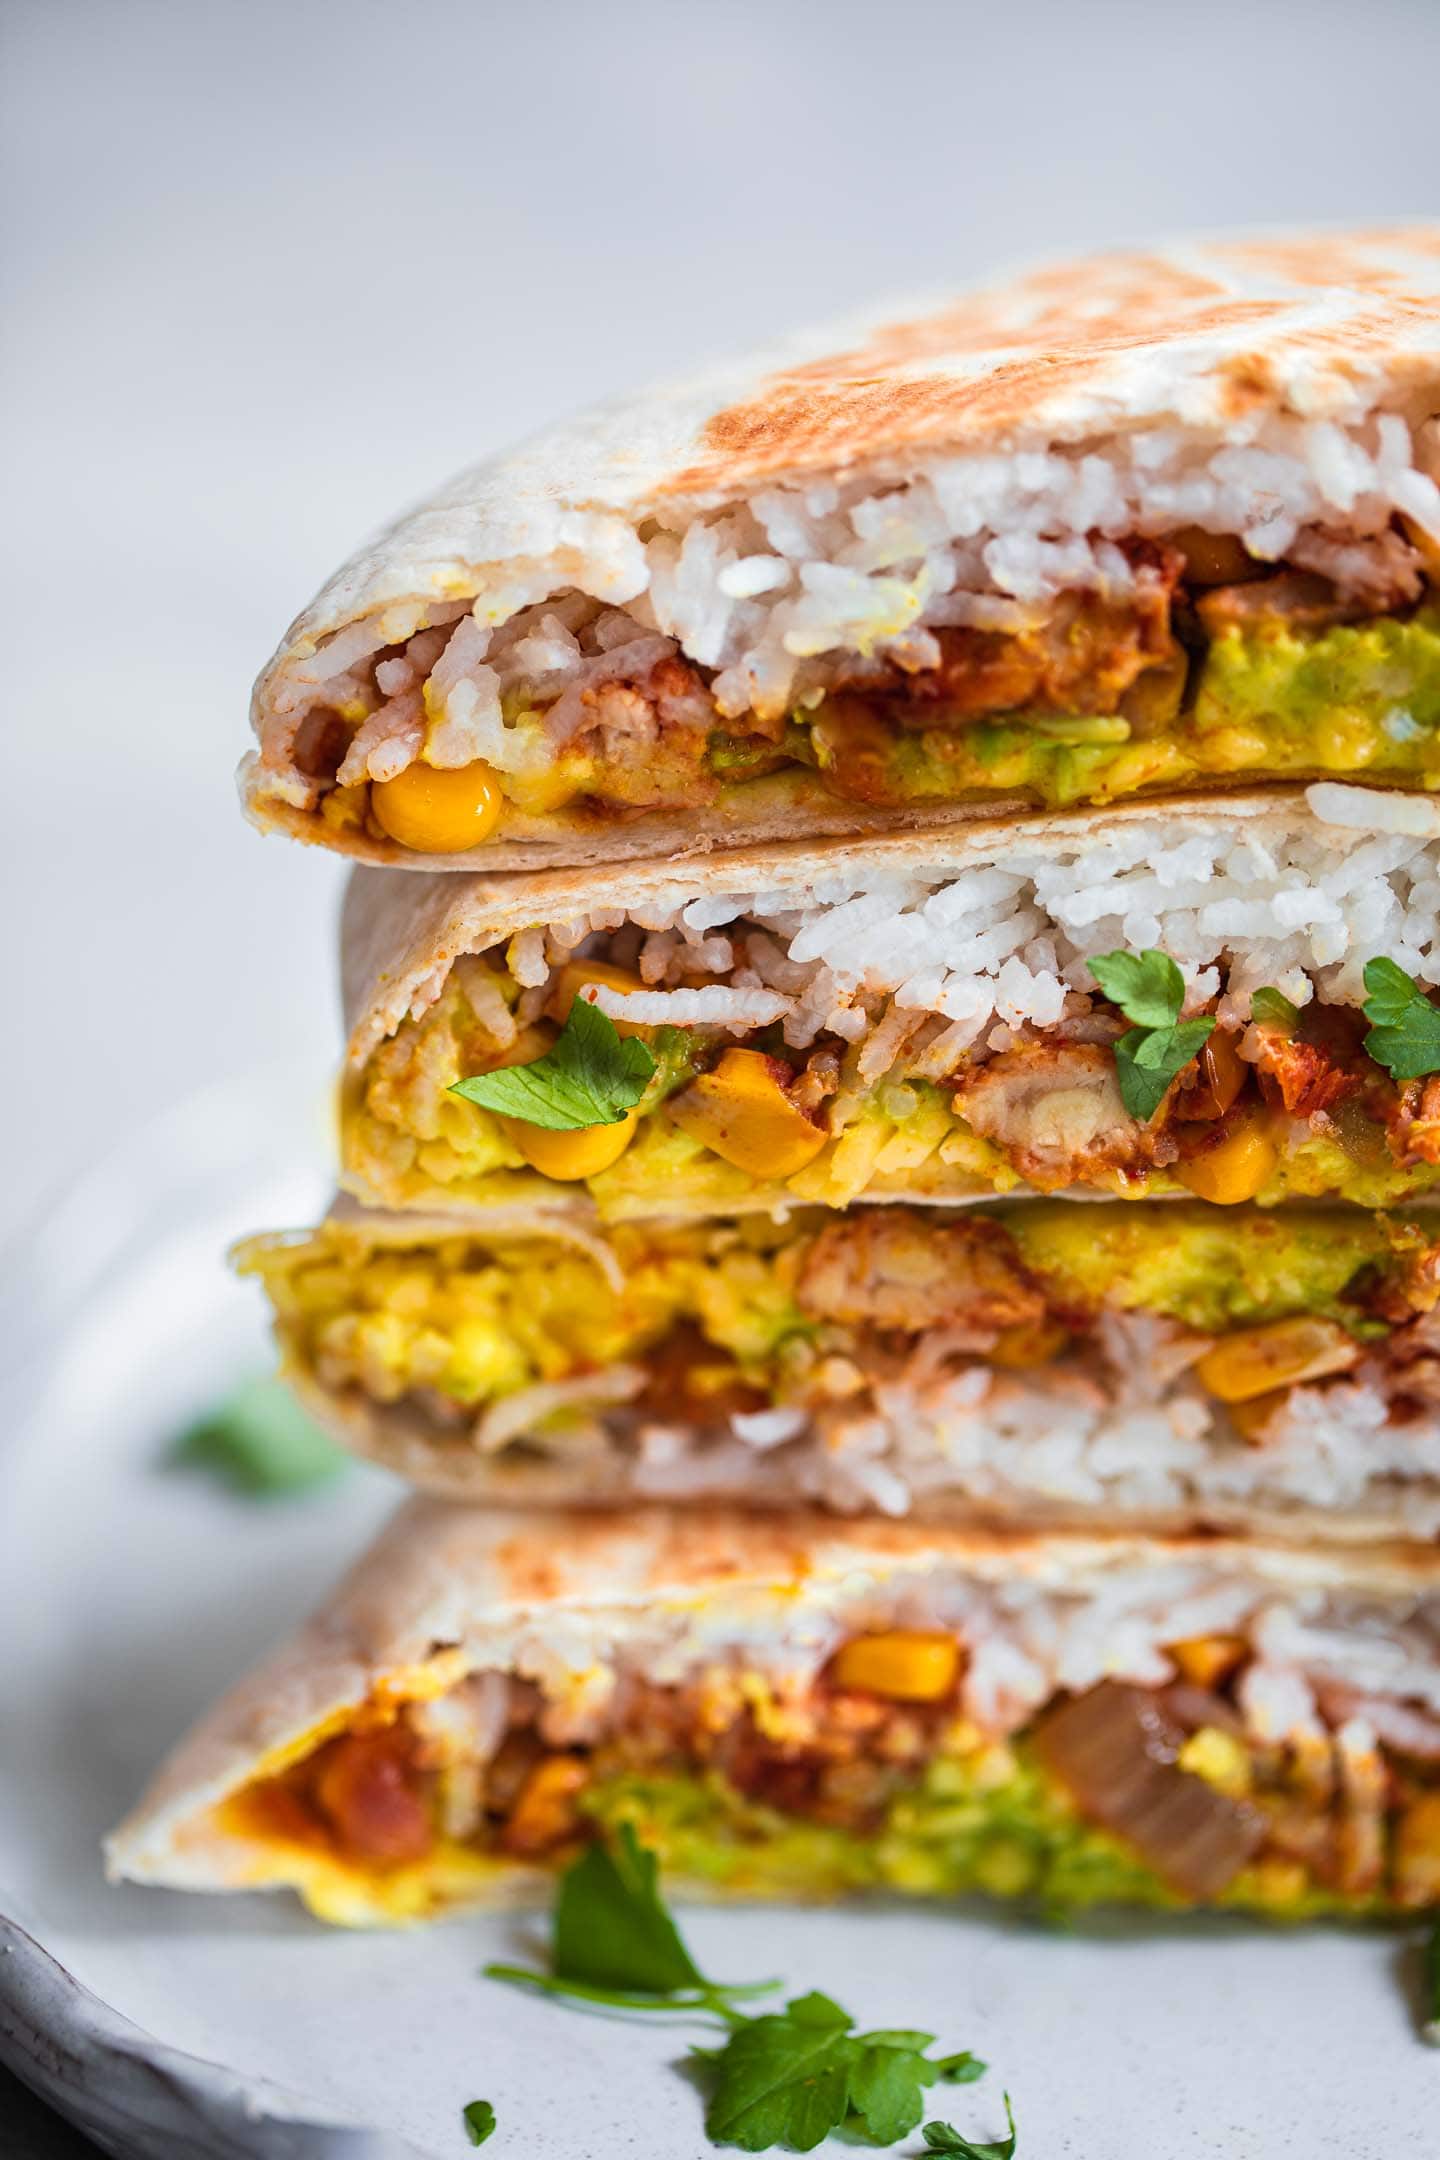
- Quinoa.
- Wholegrain rice.
- Vegetables of your choice, such as tomatoes, carrots and zucchini.
- Vegan sour cream.
- Spicy cashew cream.
- Chunky guacamole.
- Black beans.
- Vegan walnut taco meat - a savory walnut-mushroom mixture that makes a fantastic hearty filling.
- Sweet potato.
- Tostada shells or corn chips for some extra crunch.
Try out different ones and see which ones you like best! The great thing is that there are so many options, so you will never get bored of this recipe.

Vegan Crunchwrap Supreme step-by-step
I would recommend starting by cooking the rice. While that's cooking, make the tempeh filling and the cheese sauce. By preparing them simultaneously, you will save a lot of time.
Place a large tortilla on a flat surface and add 3-4 tablespoon rice in the middle, spreading it out into a circle.
Next, add smoked tempeh on top, followed by a layer of mashed avocado. Finish with the homemade nacho 'cheese', and a sprinkle of grated vegan cheese.
Place a smaller tortilla on top and press down lightly. You can either buy a small tortilla at the store, or make your own by placing a round cup or cookie cutter in the centre of a large tortilla and cutting around the edges. Do not discard the rest of the tortilla - you can use it for homemade chips to dip in any leftover nacho 'cheese' sauce.
Fold the edges of the tortilla towards the centre until completely sealed. Press it down once again and flip.
Now use a spatula to transfer the Crunchwrap to a lightly greased frying pan. Cook for 3-4 minutes on each side over a medium-high heat, until crispy.
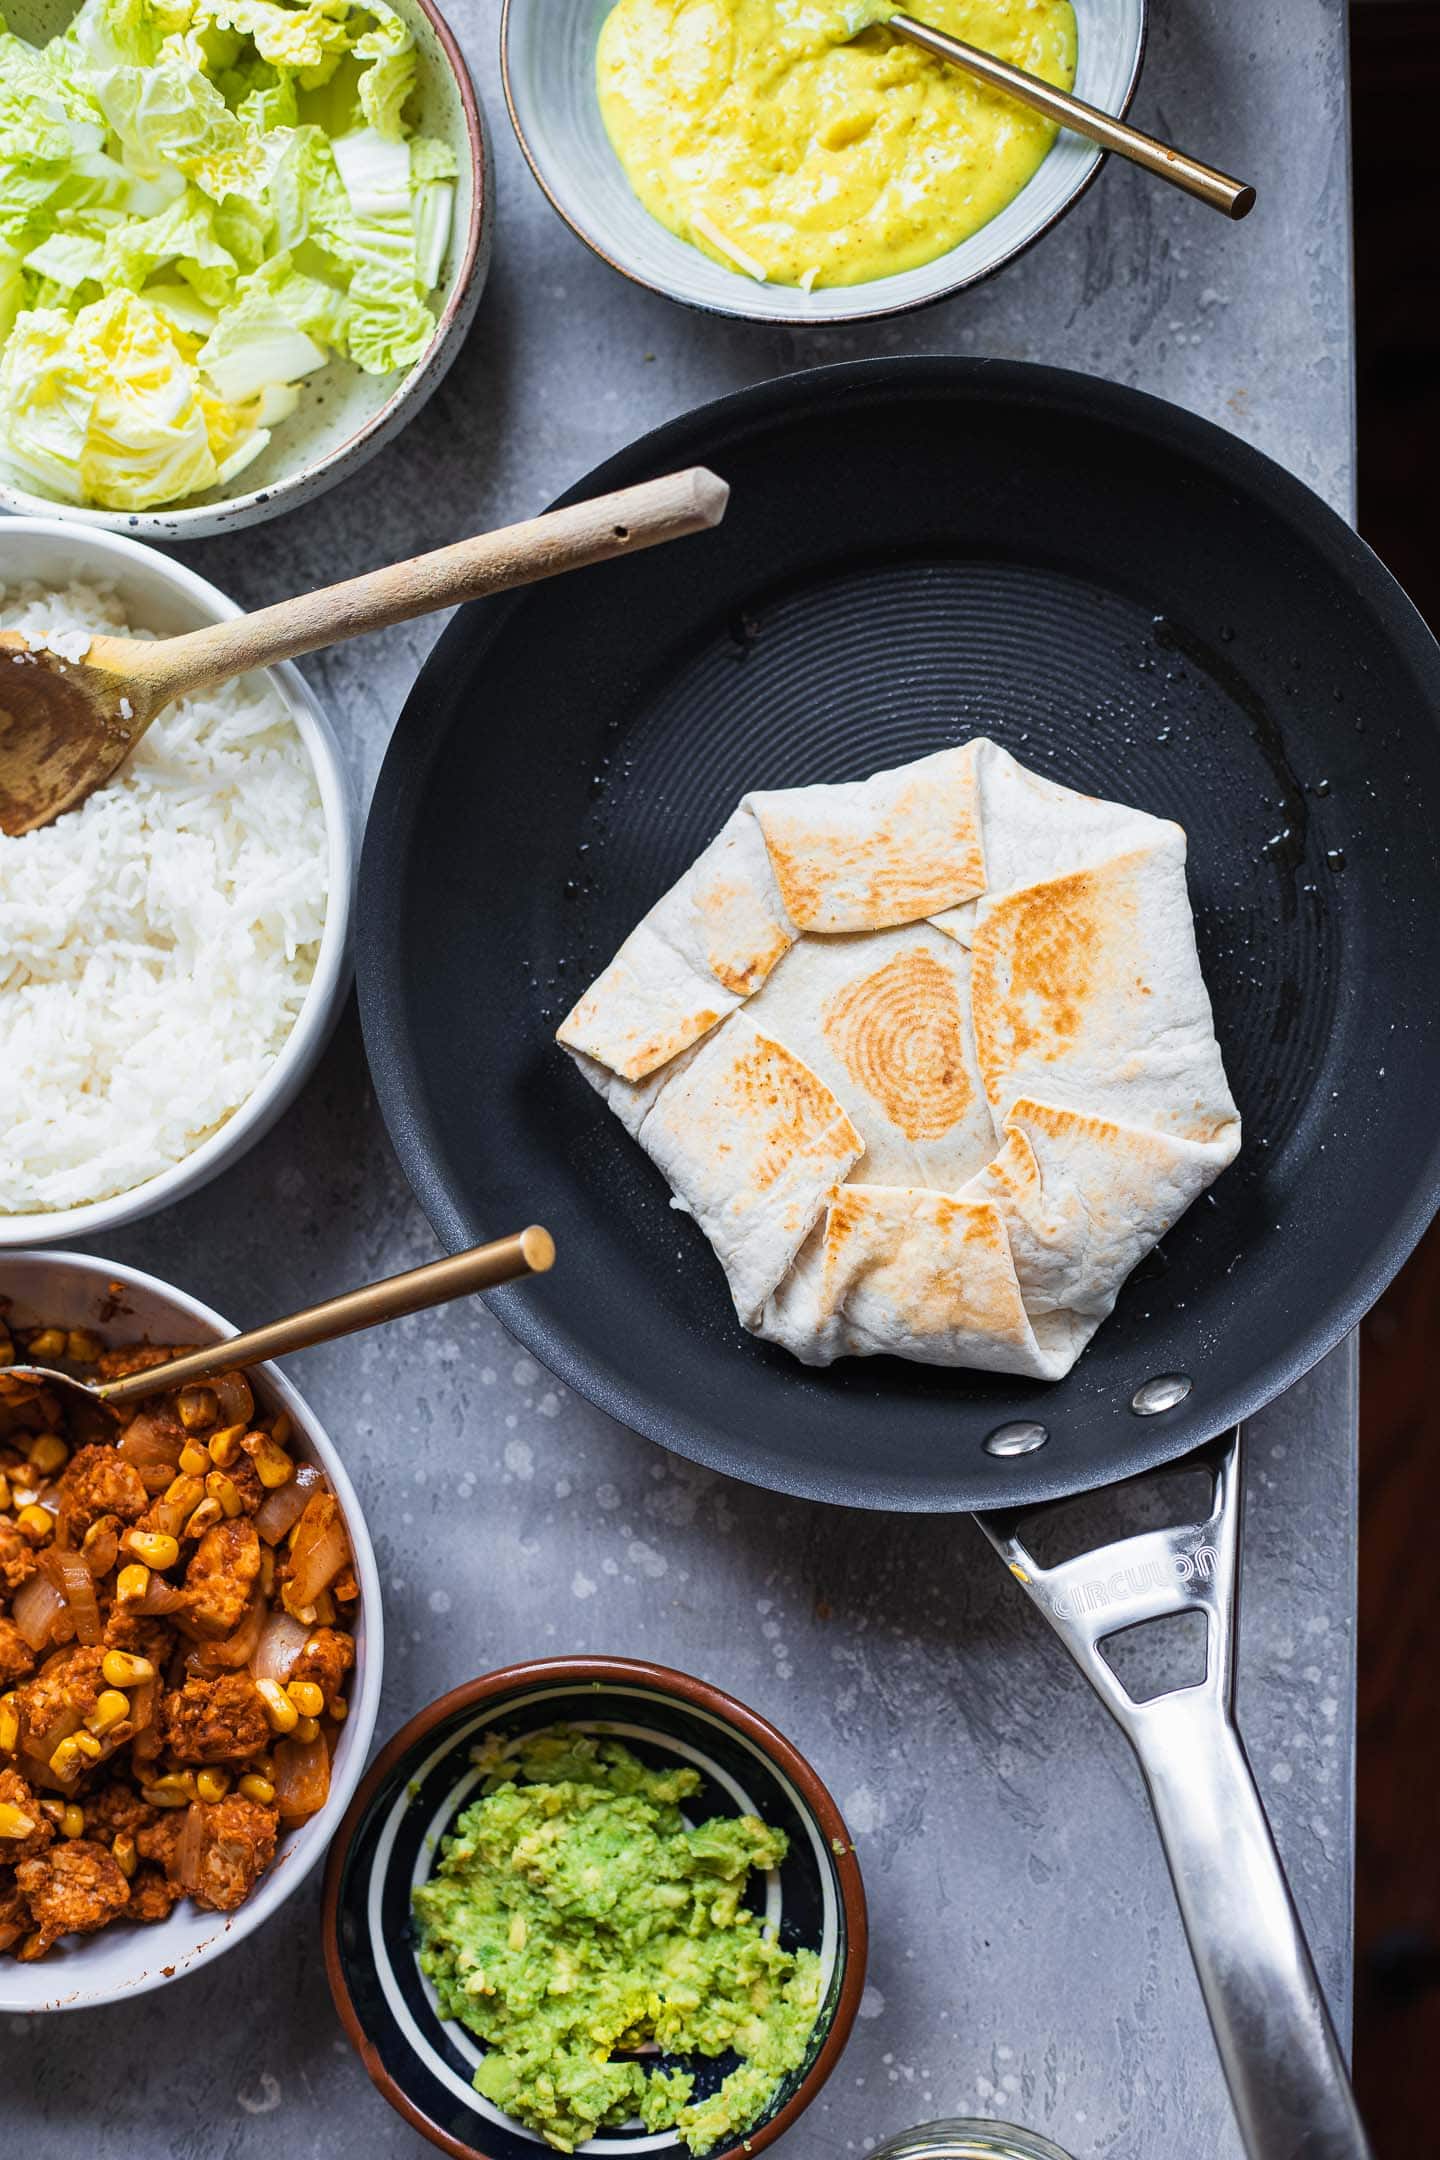
Can I make a Crunchwrap ahead of time?
You can make this vegan Crunchwrap Supreme ahead of time and leave in the fridge for 2-3 days, but keep in mind this may cause the wrap to go soggy.
Instead, I would recommend making the smoky tempeh, the rice and the nacho 'cheese' sauce ahead of time and storing them in separate containers for up to around 3 days, and assemble the wraps when ready.
Also worth trying: our vegan sloppy joes.
Other delicious vegan lunch recipes
- Sweet potato soup, if you're after something cosy!
- Falafel - these make an amazing addition to pitta bread, wraps and sandwiches.
- Butter bean sweet potato stew - this is a great comforting meal that's ready in no time!
- My vegan lentil burgers are easy to make and super flavourful.
- For a delicious taco filling, try this vegan walnut taco meat - hearty, protein-rich, and packed with Tex-Mex flavor.
- So are avocado wraps with chickpeas!
Let me know in the comments: what's your favourite plant based lunch? If you give this vegan Crunchwrap Supreme recipe a go, be sure to tag me on Instagram (@earthofmariaa), and leave your feedback in the comments below
Recipe

Vegan Cruchwrap Supreme
This vegan Crunchwrap Supreme is made with tempeh, dairy-free nacho 'cheese', rice and avocado. It's easy to make and perfect for a plant based lunch that's ready in 30 minutes!
Print
Pin
Save
Servings: crunchwraps
Equipment
- Frying pan
- Saucepan
- Whisk
Ingredients
For the smoky tempeh filling
- 1 tablespoon olive oil
- 1 medium onion diced
- 2 cloves garlic minced
- 5 oz tempeh crumbled
- ½ cup fresh sweetcorn
- 2 tablespoon tomato paste
- 2 tablespoon tamari
- 1 teaspoon cumin
- 1 teaspoon smoked paprika
For the dairy-free nacho 'cheese' sauce
- ½ cup coconut milk full-fat, from a tin
- ½ teaspoon turmeric
- ½ teaspoon salt
- 3 tablespoon nutritional yeast
- 1 tablespoon apple cider vinegar
- 2 tablespoon cornstarch
Other ingredients to serve
- ½ cup cooked rice
- 1 large avocado mashed
- ¼ cup vegan cheese grated
Instructions
Make the tempeh filling
- Heat the olive oil in a non-stick frying pan over a medium-high heat. Add the onion and garlic, cooking for 2-3 minutes, until softened.
- Add the tempeh, sweetcorn, tomato paste, tamari, cumin and smoked paprika. Cook for 5 minutes, until the tempeh is lightly crispy.
Make the 'cheese' sauce
- Add the coconut milk, turmeric, salt, nutritional yeast, apple cider vinegar and cornstarch to a saucepan. Whisk until the 'cheese' thickens.
Assemble the Crunchwraps
- Place a large tortilla on a flat surface and add 3-4 tablespoon rice in the middle, spreading it out into a circle.
- Add smoked tempeh on top, followed by a layer of mashed avocado. Finish with the homemade nacho 'cheese', and a sprinkle of grated vegan cheese.
- Place a smaller tortilla on top and press down lightly. You can either buy a small tortilla at the store, or make your own by placing a round cup or cookie cutter in the centre of a large tortilla and cutting around the edges.
- Fold the edges of the tortilla towards the centre until completely sealed. Press it down once again and flip.
- Now use a spatula to transfer the Crunchwrap to a lightly greased frying pan. Cook for 3-4 minutes on each side over a medium-high heat, until crispy.
Video
Notes
Do not discard the rest of the tortilla when making the smaller circle - you can use it for homemade chips to dip in any leftover nacho 'cheese' sauce.
Nutrition (Estimate per Serving)
Calories: 737kcalCarbohydrates: 63gProtein: 29gFat: 46gSaturated Fat: 17gSodium: 1881mgPotassium: 1578mgFiber: 14gSugar: 7gVitamin A: 999IUVitamin C: 21mgCalcium: 157mgIron: 8mg
Vegan-ize any recipe!Grab our free vegan cheat sheet, packed with my favorite easy substitutions to make any recipe vegan.
Vegan Falafel (Gluten-free)

How to make vegan falafel, with a baked and a fried option! Crunchy on the outside with a sesame seed crust, as well as fluffy and soft on the inside, this easy falafel recipe is packed full of flavour and uses just simple ingredients. Gluten-free, easy to make.

I absolutely love the start of a new year. It's a time of fresh opportunities, a chance to leave negative energy behind, review your goals and improve yourself with a fresh burst of motivation. Of course, you don't have to wait until a new year or even a new week to do that. But I always love the atmosphere the start of a new year brings!
Another great thing about the start of a new year is Veganuary. With participation more than doubling each year, this challenge encourages people to go vegan for the month of January. After completion, a lot of people decide to adopt a fully vegan lifestyle.

This year, I've decided to run a series on my blog where I share a lot of basic vegan recipes that anyone wishing to eat more plants needs to know. These recipes will be ideal if you're participating in Veganuary 100%, or just want to incorporate more vegan meals into your dinner rotation.

Gluten-free vegan falafel
To start this series, I will teach you how to make amazing vegan falafel. This recipe took a few tries, but I absolutely love how it turned out. Falafel is naturally vegan most of the time, and makes a great addition to lunches, dinners, and even snacks.

Here, I've featured both a baked and a fried version. Regardless of which method you choose, it's going to be incredibly delicious. Think perfectly crispy and crunchy on the outside, soft on the inside, and with a lot of flavour. Plus, you don't need many ingredients to create such deliciousness! I make falafel at least one a week, and could not recommend it more.
Ingredients and substitutions
As I mentioned, you only need a handful of simple ingredients for delicious vegan falafel. These are:

- Chickpeas. You can use either soaked dried chickpeas (instructions below), which is the most common method for falafel, or canned chickpeas. If you use dried chickpeas, they will be more firm on the inside. Either way, make sure to drain them very well and pat them dry with a paper towel - this will help the falafel keep their shape.
- Red onion. Great for texture and a tangier flavour.
- Fresh cilantro. This adds a wonderful green colour and freshness. However, if you don't like cilantro, you can leave it out or replace with fresh parsley.
- Garlic cloves.
- Sesame seeds. These will add a nutty undertone. They will also be used to coat the falafels.
- Buckwheat flour and rice flour. They will work together to not only help the falafels keep their shape, but will also help enhance the savoury flavour. You can use any flour of your choice.
- Spices: turmeric, cumin, dried basil, salt and smoked paprika. You can add other spices of your choice - for instance, add garlic powder if you want a stronger garlicky flavour. You can also adjust the amounts depending on your preference.
- Olive oil. This will give the falafels a great soft and fluffy texture on the inside, and ensure that they are not too dry. If you want to keep them oil-free, you can use tahini.
- Lemon juice. Needed to create a distinctive tangy flavour!
How to make crispy vegan falafel
If you are using dried chickpeas, soak them in cold water for at least 3 hours, or overnight. Drain and rinse them, and pat them dry with a paper towel.
If using canned chickpeas, drain and rinse them, and pat them with a paper towel, making sure they are as dry as possible.


Transfer the chickpeas to a blender or food processor together with the other ingredients, setting aside some of the sesame seeds to coat the falafel. Blend on a low setting for a few seconds, until mostly smooth, but with a bit of texture left.


Scoop out around 2-3 tablespoon of the mixture per falafel and shape them using your hands. If they stick, dip your hands in a little bit of flour before shaping. Dip the falafel in the sesame seeds on both sides and lay them out on a flat surface.
How to fry falafel
To make fried falafel, heat a thin layer of olive oil or avocado oil in a large flat pan or skillet. Add the falafel to the pan, working in batches if necessary - it's important not to overcrowd the pan.

Fry for around 2-3 minutes on one side, then flip and fry for 2 minutes more, until crispy and browned.
How to bake falafel
If you want to make baked falafel, preheat the oven to 180 degrees C (350F) before blending.


Lay out the falafel on a large baking tray lined with parchment paper. Bake in the preheated oven for 25 minutes, flipping half way through.
Storing and freezing falafel
These vegan falafel keep well in the fridge in an airtight container for 4-5 days.

You can also freeze them in a freezer-friendly container for up to 3 months. Once cooked and cooled down, freeze them on a baking tray and then transfer to freezer-friendly containers or bags. To reheat, thaw in the fridge and then warm up either by frying, or baking at 180 degrees C (350F) for 20 minutes.
Recipe tips

- I would definitely recommend using dry chickpeas and soaking them, as this results in the best texture.
- If using canned chickpeas, make sure to dry them really well before adding to the blender/food processor.
- If using dry chickpeas, it is not necessary to use flour.
- Adjust the spices according to your preference, and try out different flavour options.
Serving suggestions for vegan falafel
You can serve these falafel as a snack or a side dish with a dip of your choice, such as vegan tzatziki, hummus, vegan sour cream, guacamole, or spicy cashew cream.

You can also add them to salads, serve in pita or flatbread, in a sandwich, or as part of a nourish bowl.
Other recipes you might love
- Crispy tofu
- Cauliflower wings with almond dip
- Vegan 'chicken' nuggets
- Gluten-free zucchini bread
- Vegan lentil burgers

Let me know in the comments: what's your favourite way to serve falafel? Will you be joining Veganuary this year, or have you ever done it? If you give this vegan falafel recipe a go, be sure to tag me on Instagram (@earthofmariaa), and leave your feedback in the comments below, together with a star rating.
Recipe

Vegan Falafel (Gluten-free)
How to make vegan falafel, that's crispy and crunchy on the outside, soft on the inside, and packed full of earthy, tangy flavour. Serve in a pita or flatbread, a salad or in a sandwich with a sauce of your choice. Gluten-free and easy to make in under 30 minutes, using simple ingredients.
Print
Pin
Save
Servings: large falafels
Equipment
- Spoon
- Skillet or frying pan (if frying)
- Conventional oven (or baking)
Ingredients
- 1 cup dried chickpeas or 3 cups (2 cans) canned chickpeas
- 1 medium onion diced
- ¾ cup chopped cilantro
- 3 cloves garlic
- ½ cup sesame seeds
- 3 tablespoon buckwheat flour
- 1 tablespoon rice flour
- ½ teaspoon turmeric
- 1 teaspoon cumin
- 1 tablespoon dried basil
- 1 teaspoon salt
- ½ teaspoon smoked paprika
- 1 tablespoon olive oil
- ½ lemon juice of
Instructions
- If you are using dried chickpeas, soak them in cold water for at least 3 hours, or overnight. Drain and rinse them, and pat them dry with a paper towel.
- If using canned chickpeas, drain and rinse them, and pat them with a paper towel, making sure they are as dry as possible.
- Transfer the chickpeas to a blender or food processor together with the onion, cilantro, garlic, sesame seeds, buckwheat flour, rice flour, turmeric, cumin, dried basil, salt, smoked paprika, olive oil, and lemon juice. Set aside ¼ cup of the sesame seeds to coat the falafel. Blend on a low setting for a few seconds, until mostly smooth, but with a bit of texture left.
- Scoop out around 2-3 tablespoon of the mixture per falafel and shape them using your hands. If they stick, dip your hands in a little bit of flour before shaping. Dip the falafel in the sesame seeds on both sides and lay them out on a flat surface.
- To fry: To make fried falafel, heat a thin layer of olive oil or avocado oil in a large flat pan or skillet. Add the falafel to the pan, working in batches if necessary - it's important not to overcrowd the pan. Fry for around 2-3 minutes on one side, then flip and fry for 2 minutes more, until crispy and browned.
- To bake: If you want to make baked falafel, preheat the oven to 180 degrees C (350F) before blending. Lay out the falafel on a large baking tray lined with parchment paper. Bake in the preheated oven for 25 minutes, flipping half way through.
Video
Notes
The nutritional information is an estimate, and doesn't include any oil used for frying.
Nutrition (Estimate per Serving)
Calories: 194kcalCarbohydrates: 25gProtein: 8gFat: 8gSaturated Fat: 1gSodium: 300mgPotassium: 340mgFiber: 7gSugar: 4gVitamin A: 78IUVitamin C: 6mgCalcium: 135mgIron: 4mg
Vegan-ize any recipe!Grab our free vegan cheat sheet, packed with my favorite easy substitutions to make any recipe vegan.

Black Bean and Zucchini Tortilla Casserole
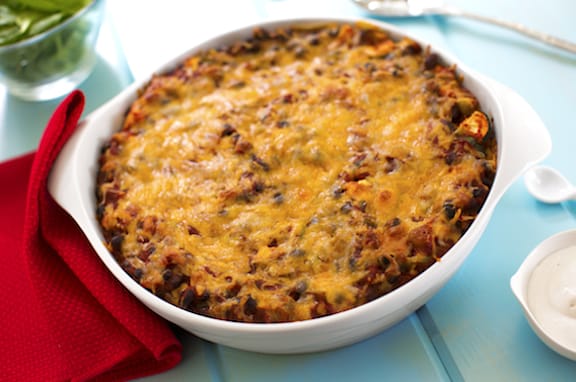
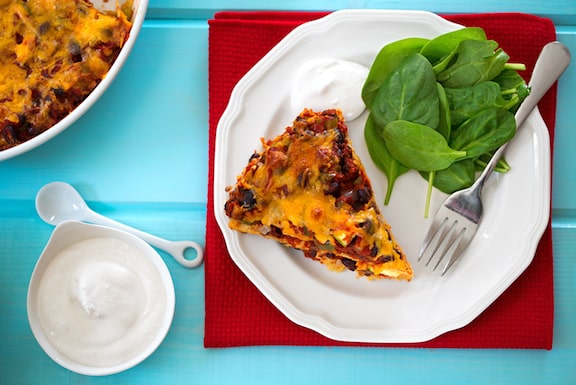
Chilaquiles is a classic Southwestern casserole that layers soft corn tortillas with beans and cheese (vegan in this case).
Adding zucchini and chiles adds to the lively flavors. This recipe makes a nice change-of-pace holiday main dish but is also easy enough to make for weeknight meals.
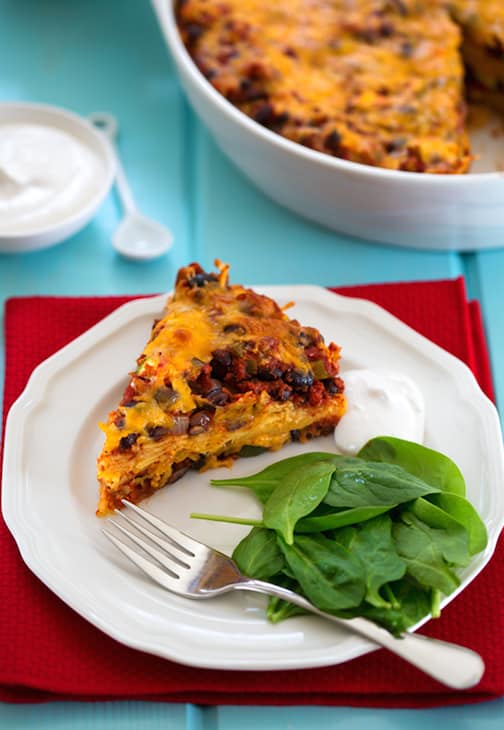
More Recipes
- Here are more easy bean main dishes.
- Find lots more tortilla recipes in A Southwestern Supper.
- Here are more recipes for a Vegetarian and Vegan Friendly Thanksgiving.
- Find more ways to make Special Occasions and Entertaining easier and healthier.
- Browse more of VegKitchen's vegan casserole recipes.
Photos by Hannah Kaminsky.
Adapted from The Vegetarian Family Cookbook.
Recipe

Black Bean and Zucchini Tortilla Casserole
This southwestern-style casserole makes for a nice change-of-pace holiday main dish, but this is also easy enough to make for weeknight meals.
Print
Pin
Save
Servings:
Ingredients
- 1 ½ tablespoon extra-virgin olive oil
- 1 cup chopped onion
- 1 medium green bell pepper diced
- 1 28 oz can crushed or pureed tomatoes
- 1 -2 small fresh hot chile peppers seeded and minced, or 1 (4 oz) can chopped mild green chiles
- 2 teaspoon chili powder or more, to taste
- 1 teaspoon dried oregano
- 1 teaspoon ground cumin
- 1 16-20 oz can black beans, drained and rinsed
- 1 medium zucchini quartered lengthwise and thinly sliced
- 12 corn tortillas torn or cut into several pieces
- 8 oz cheddar-style nondairy cheese Daiya is great with this!
- vegan sour cream homemade or purchased or Cashew Cream for garnish, optional
Instructions
- Preheat the oven to 400°F.
- Heat the oil in a large saucepan. Sauté the onion until translucent. Add the green pepper and continue to sauté until it has softened and the onions are golden.
- Stir in the crushed tomatoes and seasonings, black beans, and zucchini. Bring to a simmer, then simmer gently for 5 minutes.
- Layer as follows in a lightly oiled 9 x 13 inch or 2-quart round casserole dish: half of the tortillas, half of the tomato-black bean mixture, and half of the cheese. Repeat.
- Bake for 15 to 20 minutes, or until the cheese is bubbly. Let stand for 5 to 10 minutes, then cut into squares or wedges to serve.
Nutrition (Estimate per Serving)
Calories: 221kcalCarbohydrates: 29gProtein: 4gFat: 10gSaturated Fat: 3gSodium: 314mgPotassium: 235mgFiber: 5gSugar: 3gVitamin A: 319IUVitamin C: 26mgCalcium: 74mgIron: 2mg
Vegan-ize any recipe!Grab our free vegan cheat sheet, packed with my favorite easy substitutions to make any recipe vegan.
This post was originally published on 21 September 2014.
Zucchini Fritters

These zucchini fritters are crispy on the outside and soft on the inside. Healthy and easy to make, these are a great way to make your kids eat plenty of vegetables.
They're perfect for a quick meal or to take away in your lunch box. You can also serve these fritters with cashew cream cheese-the combination is so delicious!

Recipe

Zucchini Fritters
These zucchini fritters are crispy on the outside and soft on the inside. Healthy and easy to make, these are a great way to make your kids eat plenty of vegetables.
Print
Pin
Save
Servings: -10
Ingredients
Instructions
- Peel and grate zucchini.
- Put them in a colander, sprinkle with salt, and let them sit for 1 hour.
- Rinse well and dry in a towel—squeeze very hard!
- In a bowl, add flour, flax eggs, herbs, minced garlic, pepper, and salt to the zucchini. Mix well. If the consistency is very liquid, add a little flour.
- Heat 4 tablespoons of olive oil in a pan.
- When the pan is hot, arrange a tablespoon of the zucchini preparation.
- Brown for 3 minutes then turn regularly until the patties are golden brown. Add a few spoons of water to the pan if needed.
- Serve hot.
Notes
Flax Egg:
Ingredients
1 tsp. ground flaxseed
2 tbsp. water Instructions Mix and allow to swell for 5 minutes.
2 tbsp. water Instructions Mix and allow to swell for 5 minutes.
Nutrition (Estimate per Serving)
Calories: 146kcalCarbohydrates: 14gProtein: 3gFat: 9gSaturated Fat: 1gPolyunsaturated Fat: 2gMonounsaturated Fat: 6gSodium: 5mgPotassium: 183mgFiber: 2gSugar: 1gVitamin A: 390IUVitamin C: 10mgCalcium: 27mgIron: 1mg
Vegan-ize any recipe!Grab our free vegan cheat sheet, packed with my favorite easy substitutions to make any recipe vegan.
10 Amazing Vegan Avocado Toast Recipes

Avocado toast is one of those rare healthy food trends that is truly worthy of all its buzz. With its wealth of healthy fats and carbs, avocado toast is easy, good for you, comforting, perfect for a quick breakfast or lunch. And why not for dinner, too? It's a perfect accompaniment to almost any kind of soup.
Here are 10 amazing vegan avocado toast recipes that are so good, you won't know which to try first!
When did avocado toast become such a thing? By now, Instagram must have hundreds of thousands of photos of it on display. And though it's been around longer than 2013, that year could have been the tipping point.
That's when Gwyneth Paltrow include a recipe for it in her cookbook, It's All Good. She admitted how stupid-simple it is, and that it's hardly even a recipe: "It's the holy trinity of Vegenaise, avocado and salt that makes this like a favorite pair of jeans - so reliable and easy and always just what you want." Her more recent book, It's All Easy, offers up three more variations on avocado toast.
Now, more health-oriented restaurants than ever feature avocado toast on the menu, even though it's almost mindlessly easy to make at home. Come to think of it, avocado toast may have already turned the corner from hot trend to modern classic. Here are some of our favorite vegan variations from around the web.

Jessica Nadel ate the Avocado Toast with Coconut "Bacon" shown at top for about a month after coming up with this delectable combo. And who can blame her? Crunchy, sweet-and-salty coconut bacon is such a great foil for avocado.

Karissa Bowers of Organic Authority offers up this simple Avocado Toast with Radishes and Dill. The simple, clean flavors of this trio of ingredients needs only to be embellished with a drizzle of olive oil (and salt & pepper) to taste sublime.

Eat Within Your Means calls this The Best Avocado Toast, and it sure is action-packed! Embellished with corn, tomatoes, cilantro, and hemp seeds, avocado toast is taken to another level.

Avocado Toast with Cilantro Lime Cashew Cream also exists on another level - a level of sheer bliss for the palate. Thanks to With Food + Love for this beauty!

The Edgy Veg offers this Middle Eastern Avocado Toast, in a pairing with hummus, topped with a generous dusting of za'atar, a traditional spice blend. Brilliant! Link through for two more avocado toast ideas in the same post.

Creamy mashed avocado topped with garlicky sautéed mushrooms - we're there. Thanks to The Wholesome Fork for Garlic Mushroom Avocado Toast, a delectable and easy idea.

Julie Morris claims that there's only one thing better than creamy avocado on toast, and that's creamy avocado on toast with just a teeny touch of buttery coconut oil. And there's only one thing better than THAT - this recipe for Avocado Nori Crostini.

Avocado Toast with Spiced Chickpeas from Lazy Cat Kitchen is an explosion of flavor and texture. Why wait, try this today!

Easy Avocado Toast from My Darling Vegan keeps it simple with a sprinkle of red pepper flakes, nutritional yeast, and Himalayan salt. If you use a really good avocado, this lets its flavor shine through.

Smashed Bean and Avocado Toast from This Savory Vegan spices things up with jalapeño, red onion, garlic, cumin, and more. With a base of pinto beans, it's a higher-protein variation on avocado toast that makes for a quick dinner sandwich.
Still hungry? Check out more of our delicious vegan sandwiches and wraps!
Vegan Noodle Kugel
This mildly sweet vegan noodle kugel, made dairy-free, is a classic Jewish comfort food: tender ribbon noodles baked in a creamy, cinnamon-scented custard with apples and raisins until the top turns golden and crisp. It's always welcome at celebrations such as the Jewish New Year (Rosh Hashanah) and Hanukkah!
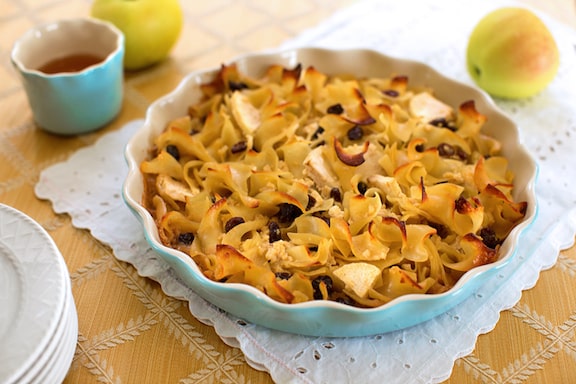
This vegan noodle kugel has long been one of the favorite holiday dishes in our home. It's traditionally served for Jewish holidays such as Hanukkah or Jewish New Year. But I think it's a fantastic dish for just about any special occasion, as it's always a big crowd pleaser.
A traditional sweet kugel leans on egg noodles, eggs, butter, and plenty of dairy (usually cottage cheese and sour cream). This version swaps in soft tofu and vegan sour cream or cream cheese for that rich, custardy middle, and it holds together beautifully once it rests.
Key Ingredients & Substitutions
- Ribbon-style noodles. Noodle kugel is traditionally made with egg noodles, but for this vegan version you can use other soft ribbon noodles like spelt ribbons, or flat, soft rombi pasta. Egg-free fettuccine broken into shorter lengths works well too. Read labels carefully: most "wide egg noodles," and even some "yolk-free" noodles, still contain egg whites.
- Soft tofu. Mashed soft tofu stands in for the cottage cheese and eggs of a classic kugel. It adds protein and gives the filling that familiar curd-like texture. Blotting it well keeps the kugel from turning watery; silken tofu is too loose here, so stick with soft or medium-soft.
- Vegan sour cream or cream cheese. This is what makes the kugel rich and slightly tangy, the way the dairy version is. You can use store-bought brands, or you can make your own homemade vegan sour cream, sour cashew cream, or vegan cream cheese. Cream cheese makes a denser, richer kugel; sour cream makes a lighter, tangier one.
- Agave and sugar. Agave nectar blends smoothly into the tofu mixture, while the sugar helps the top caramelize. Maple syrup works in place of agave, or try a drizzle of homemade vegan apple honey for a nod to the honey-and-apple traditions of Rosh Hashanah.
- Vegan butter. For the vegan butter, I always recommend the Earth Balance brand for the best texture. Melted coconut oil works in a pinch, though you'll lose a little of that buttery flavor.
- Apple or pear, raisins, cinnamon, and vanilla. Thin slices of apple or pear soften into the noodles as they bake, and dark or golden raisins add little pockets of sweetness. A teaspoon of cinnamon and a generous splash of vanilla round everything out.
Helpful Tips
Undercook the noodles slightly. Boil them a minute or two short of the package time. They'll keep softening in the oven as they soak up the creamy mixture, and starting al dente keeps the finished kugel from going mushy.
Blot the tofu well. Pressing out the excess water between towels is what lets the tofu mixture cling to the noodles instead of pooling at the bottom of the dish.
Leave some noodles sticking up. When you spread the mixture in the dish, don't smooth the top flat. The ribbons that poke up are the ones that turn crisp and golden, and those crunchy edges are everyone's favorite part.
Let it rest before cutting. Give the kugel a full 15 minutes out of the oven. It firms up as it cools slightly, so the squares hold their shape. It's also good served at room temperature, which makes it an easy dish to bring along to a holiday gathering.

Variations
- Raisins or not. Raisins are a love-them-or-leave-them ingredient in kugel. Skip them entirely, swap in dried cranberries or chopped dried apricots, or plump them first in a little warm apple juice for extra-juicy bites.
- Extra apple. Use two apples instead of one, or fold in a half cup of unsweetened applesauce for a softer, more fruit-forward kugel. Tart apples like Granny Smith balance the sweetness nicely.
- Cinnamon-crumb topping. Toss crushed cornflakes or graham crackers with a tablespoon of melted vegan butter and a little cinnamon sugar, and scatter it over the top before baking.
- Less sweet. Cut the sugar to ¼ cup and let the fruit do more of the work. This makes the kugel work better as a side dish alongside a savory main.
- Savory kugel. Leave out the agave, sugar, raisins, fruit, cinnamon, and vanilla. Instead, add a sautéed onion, a clove or two of garlic, salt, pepper, and some fresh dill, and use plain vegan sour cream for a savory noodle side.
Serving Ideas
On the holiday table, noodle kugel sits happily between the mains and the desserts. For Rosh Hashanah, serve it alongside a round loaf of egg-free vegan challah, sweet potato tzimmes, and Sephardic stewed white beans, with apple slices for dipping on the side. It's equally at home on a Hanukkah spread next to latkes and applesauce.
Sweet kugel also makes a lovely brunch dish. Cut it into squares and serve it warm or at room temperature with fresh fruit and coffee, or bring it to a potluck, since it travels well and doesn't need to be piping hot to taste good.
Storing & Freezing
Let the kugel cool completely, then cover the dish tightly or transfer the squares to an airtight container. It keeps in the refrigerator for 4 to 5 days. Enjoy it cold, at room temperature, or rewarmed in a 350°F oven for 10 to 15 minutes (cover it with foil so the top doesn't get too dark). You can also make the whole kugel a day ahead of a holiday meal and reheat it just before serving.
Noodle kugel freezes well. Wrap individual squares or the whole cooled kugel in plastic wrap and then foil, and freeze for up to 2 months. Thaw overnight in the refrigerator, then reheat, covered, at 350°F until warmed through, about 20 minutes for a full dish. Uncover for the last few minutes to re-crisp the top.

More Vegan Jewish Holiday Recipes
If you love this vegan noodle kugel, check out these other holiday-worthy ideas:
- Vegan Purim Cookies
- Egg-Free Vegan Challah
- Just-as-Sweet-as-Honey Cake
- Vegan Jewish New Year Recipes
Recipe photos by Hannah Kaminsky.
Recipe

Vegan Noodle Kugel
This mildly sweet vegan noodle kugel bakes tender ribbon noodles in a creamy tofu and vegan sour cream custard with apples, raisins, and cinnamon until golden on top. A classic, dairy-free Jewish comfort food for Rosh Hashanah, Hanukkah, or brunch.
Print
Pin
Save
Servings: servings
Ingredients
- 8 ounces ribbon-style noodles egg-free, such as spelt ribbons or fettuccine broken into shorter lengths
- 8 ounces soft tofu
- 8 ounces vegan sour cream or vegan cream cheese (or use homemade Vegan Sour Cream or Cashew Cream) about 1 cup
- ¼ cup agave nectar or maple syrup
- ⅔ cup dark or golden raisins optional
- 1 medium apple or pear peeled, cored, and cut into small, thin slices
- ¼ cup vegan butter melted, such as Earth Balance
- ½ cup sugar organic, vegan
- 2 teaspoons vanilla extract
- 1 teaspoon cinnamon
Instructions
- Preheat the oven to 350°F. Lightly oil a shallow 2-quart round or rectangular baking dish.
- Cook the noodles in a large pot of boiling water until just al dente, a minute or two short of the package time, then drain well.
- Meanwhile, cut the tofu into 3 or 4 slices, then blot well between layers of paper towel or a clean tea towel. Transfer to a large mixing bowl and mash until finely crumbled. Stir in the vegan sour cream or cream cheese and the agave nectar until well combined.
- Add the cooked noodles and all the remaining ingredients (raisins, apple or pear, melted vegan butter, sugar, vanilla, and cinnamon) and stir gently until the noodles are evenly coated. Transfer the mixture to the prepared baking dish, leaving some noodles poking up on top so they crisp.
- Bake, uncovered, for 35 to 40 minutes, or until the top begins to turn golden and crisp at the edges. Let stand 15 minutes before cutting into squares. This is also good served at room temperature.
Notes
Noodles: check labels, since most wide egg noodles (and some "yolk-free" noodles) contain egg. Spelt ribbons or egg-free fettuccine work well.
Make ahead: bake a day ahead, refrigerate, and reheat covered at 350°F for 15 to 20 minutes.
Storage: keeps 4 to 5 days in the refrigerator, or freeze well-wrapped for up to 2 months. Thaw overnight in the fridge before reheating.
You'll also need a little oil or vegan butter to grease the baking dish.
Nutrition (Estimate per Serving)
Calories: 372kcalCarbohydrates: 61gProtein: 8gFat: 11gSaturated Fat: 3gPolyunsaturated Fat: 5gMonounsaturated Fat: 2gTrans Fat: 1gSodium: 192mgPotassium: 183mgFiber: 2gSugar: 30gVitamin A: 283IUVitamin C: 1mgCalcium: 52mgIron: 1mg
Vegan-ize any recipe!Grab our free vegan cheat sheet, packed with my favorite easy substitutions to make any recipe vegan.
Vegan Chickpea Salad Recipes

Chickpeas should be a mainstay in any vegan diet. They’re super easy to cook with and are a great source of iron and protein. They also have a subtle nutty flavor that mixes well with just about any other flavoring. And their hearty grainy texture is super satisfying. Below are several vegan chickpea salad recipes, both for sandwiches and served as side dishes.
Chickpea salad: A great vegan substitute for egg salad sandwiches is a chickpea salad sandwich. This combines chickpeas with vegan mayo, along with veggies like onions, celery, pickles and red bell peppers. Yellow mustard, pepper and lemon juice also add plenty of flavor.
Cucumber chickpea salad with lemony tahini dressing: The super cool thing about this recipe? It’s served right inside a hallowed out tomato. The cucumbers add just the right amount of crunch to the chickpea base.
Chickpea sunflower sandwich: This is another recipe that combines chickpeas with vegan mayo. It also adds in roasted sunflower seeds to add to the flavor. Mustard, maple syrup and dill also contribute to a dish with rich, complex flavors. The recipe is served up on wheat bread with lettuce, avocado, red onions and tomatoes.
Chickpea salad sandwich: This super easy recipe simply calls for blending soaked chickpeas, cashew cream, red onions and celery together. It’s then seasoned with salt to taste. Serve it up on whole wheat bread with toppings like sprouts, tomatoes and pickles.
Mashed chickpea salad sandwich: This sandwich is served with a layer of mashed avocado, in addition to the chickpea salad. To make the mashed chickpea salad, you can combine the chickpeas with hummus, tahini or vegan mayo.
Mediterranean pesto chickpea salad: Fans of pesto rejoice! This recipe goes great as a sandwich. It calls for chickpeas (of course), black olives, artichoke hearts, red bell peppers and salt and pepper to taste. It’s all mixes together with an easy pesto base.
Lentil and chickpea salad sandwich: If you love the earthy flavor of lentils, then you’ll want to try this dish. If you have dieting concerns, the person who made this recipe cut it with red lentils because they are lower in fat, but higher in protein and fiber. The ingredients are combined with vegan mayo in this dish.
Chickpea salad: Looking for a more traditional salad, like the kind you can throw in a bowl and eat? This recipe throws in a hearty amount of chickpeas combined with ingredients like peppers, kalamata olives and parsley.
Mediterranean chickpea salad sandwich: In addition to the chickpea salad, this sandwich loads in the cucumbers, tomatoes, red onions and mashed avocado. The salad itself calls for flavorings like tahini, lemon juice, turmeric, smoked paprika, salt, garlic powder and cumin.
Curried chickpea salad sandwich: Here’s a great lunch idea for curry fans. In addition to the obvious chickpeas and curry in this dish, there’s also the sweet taste of diced apples. Dried cranberries also add fruity flavor against the mustard and vegan mayo base.
If you love bold chickpea flavors beyond salads, don’t miss our vegan chana masala — a quick one-pot Indian-spiced curry that makes a perfect weeknight dinner.
Also try: our Okra Masala Bindi Bhaji.
Also try: our 30 Minute Madras Lentils Vegan.
Also try: our Glazed Baked Onions.
Let's Go Nuts for Good Health
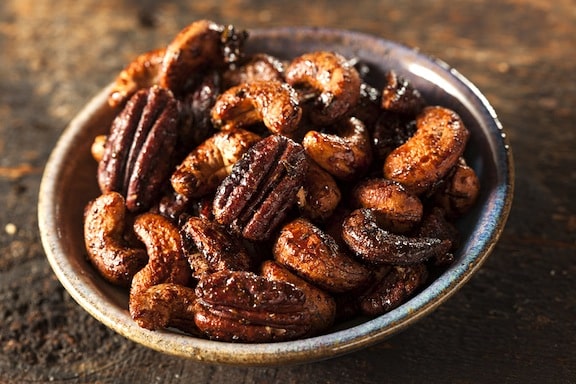
Here's a look at the benefits of eating nuts regularly, and the best nuts to eat. If you're going for a more balanced diet, trying to lower your cholesterol, and even want to lose weight, be sure to include nuts in your daily fare.
Just a single handful can have a powerful, positive impact on your diet. Nuts are high in fiber, protein, and - most important - good fats. The fiber and protein will leave you feeling full and can help curb cravings.
People who eat nuts daily tend to feel satiated and, as a result, eat fewer calories throughout the day. The monounsaturated and polyunsaturated fats will help regulate cholesterol, reduce your risk of cancer, and deter type 2 diabetes. They even help keep skin hydrated and plump - meaning you will look younger.
Types of Nuts and Their Benefits
Almonds
Almonds are packed with vitamin E, healthy fats, and fiber. They are known for their ability to support heart health, regulate blood sugar levels, and promote healthy brain function. The combination of magnesium and riboflavin in almonds contributes to increased energy production and reduced fatigue. Check out these delicious recipes featuring almonds and almond butter!
Walnuts
Walnuts are rich in omega-3 fatty acids, which are essential for brain health and function. Their polyphenol content provides antioxidant and anti-inflammatory properties. Regular consumption of walnuts has been linked to improved cognitive function, reduced risk of heart disease, and enhanced sperm quality in men.
Walnuts are delicious tossed over a salad like this one, baked into sweet treats like these carrot walnut muffins, or as an ingredient in energy balls.
Cashews
Cashews are a good source of healthy fats, fiber, and minerals like copper and magnesium. They support healthy bones and nerve function, aid in weight management due to their satiating effect, and contribute to a healthy heart by reducing bad cholesterol levels.
I love cashew cream as a dairy replacement, or try making these cashew fat bombs for a healthy treat!
Pistachios
Pistachios are low in calories and high in protein, making them an excellent snack choice for weight management. Rich in antioxidants like lutein and zeaxanthin, pistachios support eye health and may help reduce the risk of age-related macular degeneration.
Roasting pistachios is my favorite way to enjoy them. Or get creative with this pistachio pesto sauce.
Brazil Nuts
Brazil nuts are known for their high selenium content, which plays a crucial role in antioxidant defense and thyroid function. Selenium also supports immune health, reproductive health, and DNA synthesis. Incorporating a few brazil nuts into your diet can provide your daily recommended intake of this essential mineral. Try tossing Brazil nuts in this sweet and spicy glaze.
Hazelnuts
Hazelnuts are a great source of vitamin E, healthy fats, and antioxidants. They contribute to heart health, aid in weight management, and provide neuroprotective benefits. The antioxidants in hazelnuts help combat oxidative stress and reduce the risk of chronic diseases. Use them to make your own vegan nutella!
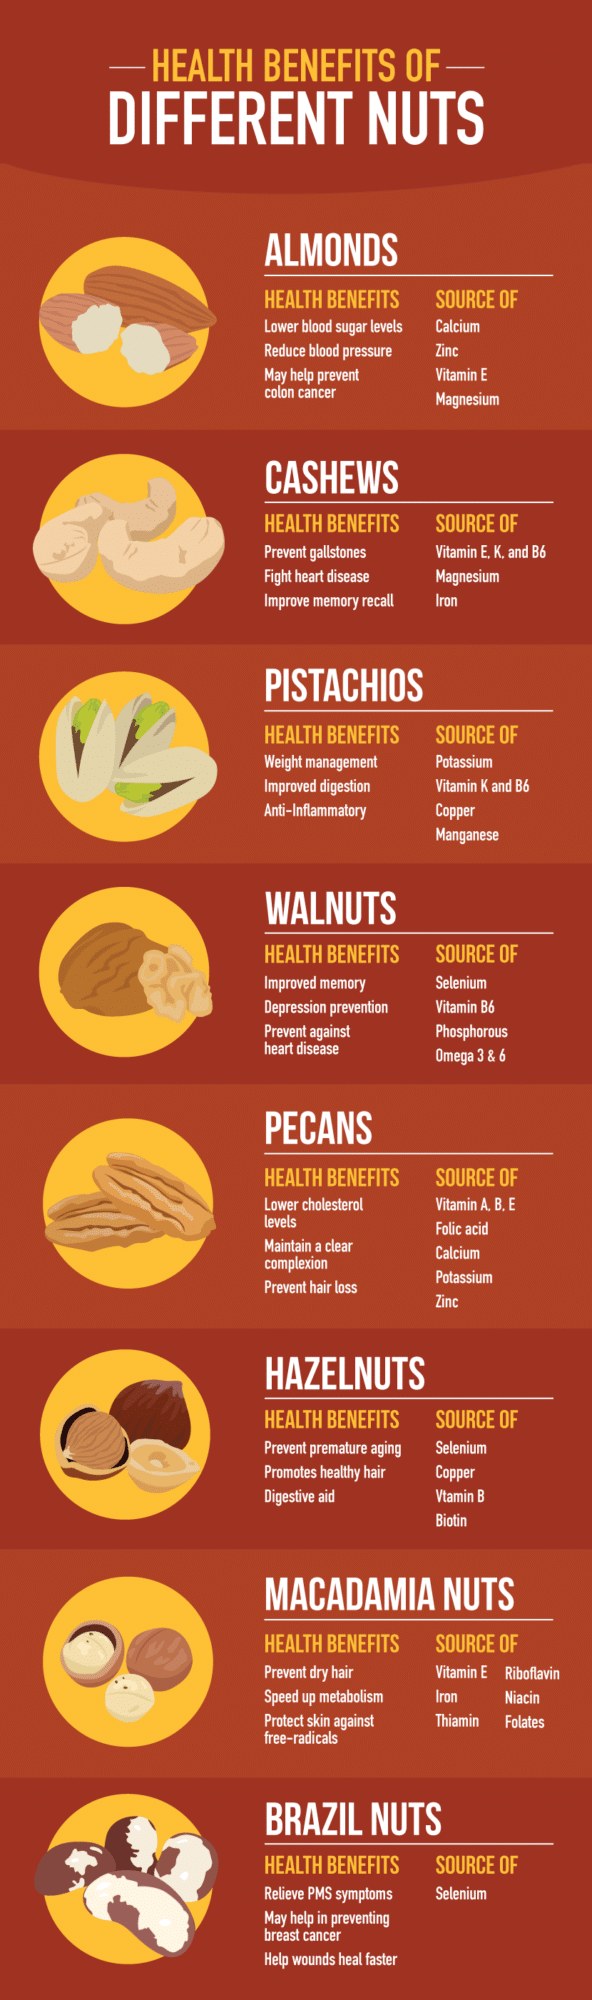
Nutritional Benefits of Nuts
Nuts are rich in a variety of essential nutrients that support overall well-being. They provide an excellent source of plant-based proteins, healthy fats, vitamins (such as vitamin E and B vitamins), minerals (such as magnesium, potassium, and selenium), and dietary fiber. Incorporating a variety of nuts into your daily diet can significantly contribute to meeting your nutritional requirements.
Heart Health
Regular consumption of nuts has been linked to a reduced risk of heart disease. The abundance of monounsaturated and polyunsaturated fats found in nuts, including omega-3 fatty acids, helps to increase the levels of good cholesterol (HDL) while reducing bad cholesterol (LDL) levels. This cholesterol-balancing effect of nuts aids in maintaining cardiovascular health and reduces the risk of heart attacks or strokes.
Weight Management
Contrary to popular belief, including nuts in your diet can actually aid in weight management. Despite their calorie density, nuts have been associated with increased satiety and reduced appetite, leading to reduced calorie intake overall. The combination of healthy fats, protein, and fiber in nuts helps to keep you feeling full and satisfied for longer periods, reducing the likelihood of unhealthy snacking or overeating.
Brain Health
Nuts, especially walnuts, are known for their brain-boosting properties. Rich in antioxidants, omega-3 fatty acids, and vitamin E, nuts play a vital role in maintaining cognitive function and preventing age-related decline. These nutrients contribute to improved memory, enhanced focus, and overall brain health. Incorporating a handful of nuts into your daily routine can support optimal brain function.
Diabetes Management
Nuts have shown great potential in managing diabetes. With their low glycemic index, they have a minimal impact on blood sugar levels. The healthy fats, protein, and fiber content in nuts help regulate blood sugar and insulin levels. Additionally, the magnesium content in nuts has been associated with improved insulin sensitivity. Including nuts as part of a balanced diet can assist in better diabetes management.
Anti-inflammatory Properties
Many nuts, such as almonds and pistachios, possess anti-inflammatory properties due to their rich content of antioxidants and polyphenols. Chronic inflammation is linked to numerous health conditions, including heart disease, diabetes, and certain cancers. By incorporating anti-inflammatory foods like nuts, you can help combat inflammation, support a healthy immune system, and reduce the risk of chronic diseases.
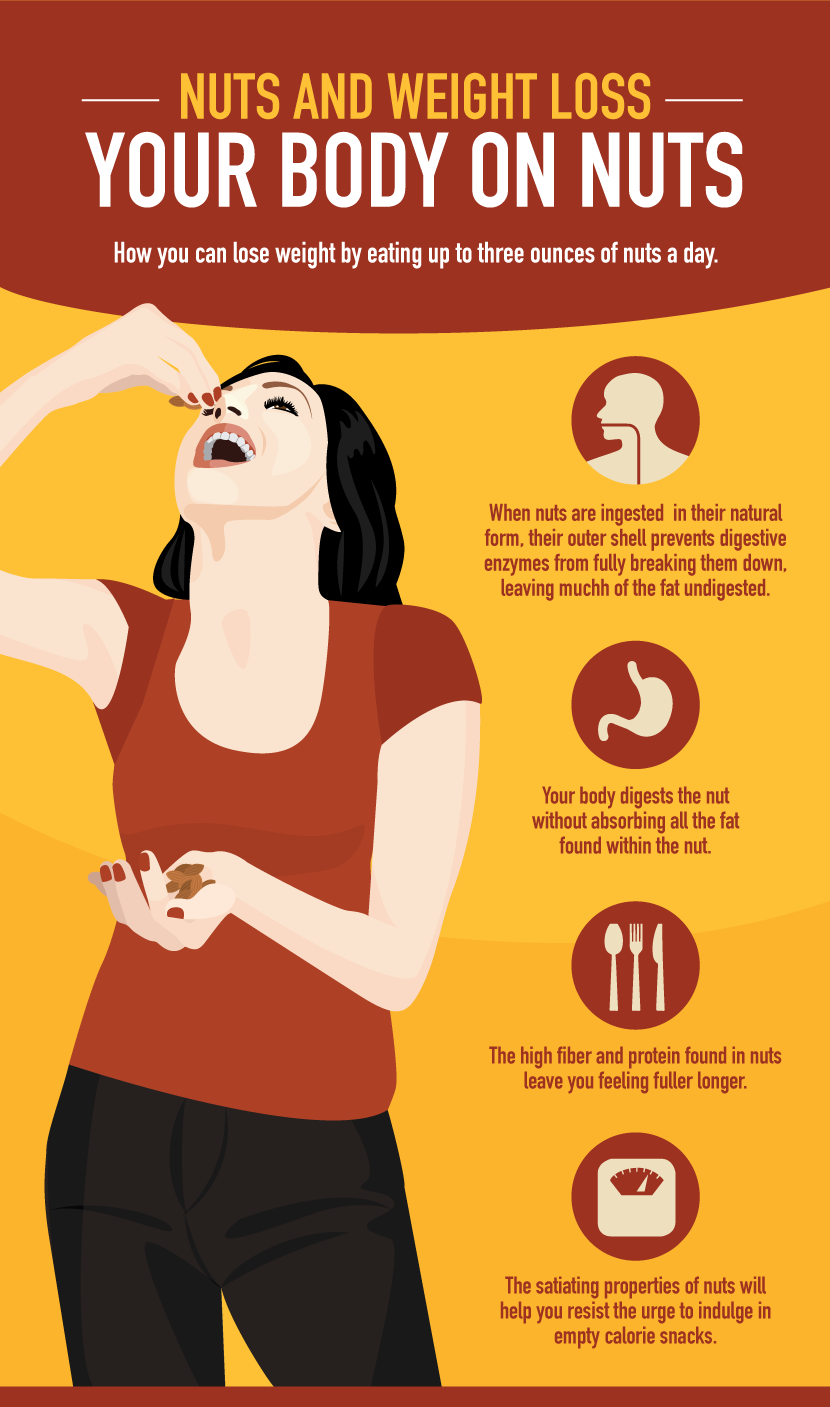
The infographics were provided by eReplacementParts.com
More Vegan Eating Resources
If you found this guide to nuts helpful, check out these other plant based tips and recipes:
Raspberry Chia Breakfast Jars

This Raspberry Chia Pudding is packed with flavor from raspberries, vanilla, and brown sugar - and loaded with healthy protein from chia seeds. It makes a tasty and simple overnight breakfast recipe. Perfect for meal prep!

Chia seed pudding has become an internet sensation. And for good reason! It's a fun and easy way to have a delicious vegan breakfast ready to grab and go in the morning!
This berry-loaded version is one of my new favorites. It comes from The Great Vegan Protein Book - which you totally check out if you're into plant based cooking!
This Raspberry Chia Pudding is:
- Loaded with fresh berry flavor.
- Creamy and indulgent.
- Loaded with healthy protein!
- An easy overnight breakfast recipe.
- Perfect for meal prep.
Tips & Tricks
We love serving this pudding-like, fruity treat in pretty glasses or jars for a light breakfast or snack. It's so pretty, it feels like you're dining in a fancy cafe.
If you want to fancy things up a bit further, a dollop of coconut whipped cream or a drizzle of vegan nutella are also great additions.
The results will be far richer, but you could use cashew cream instead of tofu or yogurt to make this soy-free. Be sure to prepare it to the consistency of yogurt by adding extra water, if needed. It must be super smooth!
Adjust the quantity of extra sugar, to your own taste. You could also simply use more maple syrup instead of adding any sugar.
Regular chia seeds are okay to use, but white chia seeds make for a prettier result.
More Recipes
If you love this recipe, be sure to check out these other vegan breakfast ideas:
Recipe and photos from The Great Vegan Protein Book by Celine Steen and Tamasin Noyes. @2015, Fair Winds Press. Reprinted by permission.
Recipe

Raspberry Chia Breakfast Jars
This Raspberry Chia Pudding is packed with flavor from raspberries, vanilla, and brown sugar - and loaded with healthy protein from chia seeds. It makes a tasty and simple overnight breakfast recipe. Perfect for meal prep!
Print
Pin
Save
Servings:
Ingredients
- 12 ounces frozen raspberries thawed but not drained
- 12 ounces soft silken tofu or unsweetened plain vegan yogurt
- ¼ cup pure maple syrup
- 2 tablespoons maple sugar or light brown sugar optional
- ¼ cup white chia seeds
- ½ teaspoon pure vanilla extract
- 6 ounces fresh berries raspberries or blueberries, rinsed and thoroughly drained
Instructions
- Place the thawed raspberries in a blender or use an immersion blender to blend the berries until smooth. If you don't like berry seeds, pass the mixture through a fine-mesh sieve.
- Add the tofu or yogurt, maple syrup, and sugar to the berries and blend again until smooth. Place into a large bowl.
- Stir the chia seeds and vanilla into the mixture. Cover and chill for at least 3 hours or overnight. Stir before serving.
- Place a few of the fresh berries at the bottom of the serving dish. (You can also stir the berries directly into the mixture, keeping a few for garnishing.)
- Divide the chia preparation on top and sprinkle with the remaining berries. Leftovers can be stored in an airtight container in the refrigerator for up to 4 days.
Notes
Prep time does not include the overnight resting.
Nutrition (Estimate per Serving)
Calories: 162kcalCarbohydrates: 28gProtein: 5gFat: 4gSaturated Fat: 1gPolyunsaturated Fat: 3gMonounsaturated Fat: 1gTrans Fat: 1gSodium: 7mgPotassium: 268mgFiber: 7gSugar: 18gVitamin A: 36IUVitamin C: 16mgCalcium: 97mgIron: 1mg
Vegan-ize any recipe!Grab our free vegan cheat sheet, packed with my favorite easy substitutions to make any recipe vegan.
Best Vegan Milk (Non-Dairy) Alternatives
Walk down the refrigerated or shelf-stable aisle at almost any grocery store and you will find a dozen or more non-dairy milks, which makes picking the best vegan milk feel harder than it should. This guide covers every major option, including soy, almond, oat, rice, coconut, cashew, hazelnut, hemp, pea, and macadamia milk, with what each one is made from, its pros and drawbacks, the jobs it does best in the kitchen, and a few brands worth trying.
There is no single winner. The best nondairy milk for your morning latte is not necessarily the best one for a creamy soup or a batch of muffins, so use the comparison table and the use-case guide below to match the milk to the job.
Best Vegan Milk at a Glance
Protein is the biggest nutritional difference between these milks. One published review of commercial products measured about 8 grams of protein per cup of cow's milk, compared with roughly 6 grams for soy milk, 7.5 for pea milk, 2.7 for oat milk, and just 1 for almond milk (Dairy and Plant-Based Milks: Implications for Nutrition and Planetary Health). Brands vary, so always check the label. The table below gives a rough picture for plain, unsweetened versions.
| Milk | Flavor and texture | Protein per cup (approx.) | Best for |
|---|---|---|---|
| Soy | Creamy, mild, slightly beany | 6 to 9 g | Everything: drinking, baking, coffee, sauces |
| Pea | Neutral, fairly creamy | 7 to 8 g | Smoothies, cereal, nut-free and soy-free households |
| Oat | Naturally sweet, thick, mellow | 2 to 4 g | Lattes, baking, creamy soups and sauces |
| Almond | Light, subtly nutty, thin | 1 g | Smoothies, cereal, pancakes, low-calorie drinking |
| Cashew | Mild, smooth, a little buttery | 1 to 4 g, varies by brand | Creamy sauces, soups, coffee |
| Coconut (carton) | Light, distinctly coconutty | 0 to 1 g | Cereal, smoothies, tropical flavors |
| Coconut (canned) | Very rich and thick | Low per serving | Curries, soups, desserts, whipped cream |
| Rice | Thin, sweet, watery | About 1 g | Allergy-friendly drinking, thinning sauces and dips |
| Hazelnut | Toasty, nutty, rich | About 1 g | Coffee, hot chocolate, chocolate desserts |
| Hemp | Earthy, slightly grassy | 2 to 4 g | Smoothies, oatmeal |
| Macadamia | Buttery, smooth, rich | 1 g | Coffee, drinking straight |
A quick note on shopping. Choose unsweetened and unflavored versions as your everyday default, since plain plant milks labeled "original" often contain added sugar, and the Harvard T.H. Chan School of Public Health suggests keeping flavored versions under about 10 grams of sugar per serving. Look for a milk fortified with calcium and vitamin D, and vitamin B12 as well if plant milk is a major part of your diet.
Soy Milk
What it is. Soy milk is made by soaking and grinding soybeans with water and straining out the pulp. It has been made for centuries and remains the most nutritionally complete of the plant milks.
Benefits. Soy milk has the most protein of the traditional plant milks, roughly matching cow's milk, and it is mostly unsaturated fat. It is also the only plant milk that the USDA's MyPlate guidance counts as part of the Dairy Group, as long as it is fortified with calcium and vitamins A and D.
Drawbacks. Soy is a common allergen, and some people notice a slightly beany flavor, especially in plain versions. Brands differ a lot in taste, so if you did not like the first one you tried, try another.
Best uses. Soy milk is the most versatile all-rounder. It froths well for lattes, works one-to-one in baking, and thickens sauces and soups nicely. It also curdles most readily when mixed with lemon juice or vinegar, which makes it the best choice for vegan "buttermilk" in recipes like Vegan Biscuits and Easy Vegan Cornbread. It also works beautifully in Vegan Butternut Squash Soup and Vegan Cinnamon Roll in a Mug.
Brands to try. Pacific Foods Organic Unsweetened Soy and Silk Organic Unsweetened Shelf-Stable Soy Milk are both widely available and made with simple ingredients.
Almond Milk
What it is. Almond milk is made by grinding almonds with water and straining the mixture. Commercial versions are mostly water, typically with a small percentage of almonds, plus added calcium and vitamins.
Benefits. Unsweetened almond milk is one of the lowest-calorie options, often around 30 to 40 calories per cup, and it is free of lactose and cholesterol. Its light, subtly nutty flavor disappears easily into recipes.
Drawbacks. It is very low in protein, about 1 gram per cup, so it is not a nutritional stand-in for dairy on its own. It is a tree nut, so it is off the table for anyone with a nut allergy. On the environmental side, almond milk generally has a lower carbon and land footprint than dairy, but it uses more water than some other plant milks (see the note on sustainability below).
Best uses. Almond milk shines in smoothies, over cereal, and in pancakes, muffins, and other baked goods where its mild flavor stays out of the way. Try it in Vegan Gluten-Free Pancakes, Vegan Blueberry Pancakes, Vegan French Toast, or the Vegan Chocolate Raspberry Banana Smoothie. It is thinner than soy or oat, so it is less suited to creamy soups and sauces.
Brands to try. Silk Shelf-Stable Unsweetened Almond Milk and Califia Farms Unsweetened Almond Milk are dependable everyday choices. You can also make your own with our Homemade Almond Milk.
Oat Milk
What it is. Oat milk is made from oats blended with water, and most commercial versions use enzymes to break some of the oat starch into simple sugars. That is why oat milk tastes naturally sweet, even without added sugar, and why the sugars can show up as "added sugars" on the label.
Benefits. It is creamy and mellow, and it is typically nut-free and soy-free, which makes it a friendly choice for many households. It has more protein than almond or rice milk, usually a few grams per cup, and it contains some oat fiber.
Drawbacks. Oat milk is higher in carbohydrates and calories than almond milk, and it is lower in protein than soy or pea milk. Oats are naturally gluten-free but are often processed alongside wheat, so anyone avoiding gluten should look for a certified gluten-free label.
Best uses. Oat milk is a favorite for coffee because it steams and foams well, especially in "barista" versions, so it is the go-to for an Oat Milk Latte. Its body also makes it a good pick for waffles and other baked goods, like our Vegan Pumpkin Waffles, and it adds silkiness to soups such as Vegan Cream of Asparagus Soup.
Brands to try. Oatly Original Oatmilk is the brand that made oat milk a household name, and Pacific Foods Organic Original Oat Milk is another good shelf-stable option.
Rice Milk
What it is. Rice milk is made from milled rice, usually brown rice, and water, often with a little oil and salt. It is the thinnest and most watery of the common plant milks, with a naturally sweet, mild taste.
Benefits. Rice milk contains no nuts, soy, or dairy, so it is often the choice for people who cannot tolerate other plant milks (check the label if you also avoid gluten). It is also inexpensive.
Drawbacks. It is low in protein and higher in carbohydrates than most other options, and it does not add much richness to recipes. Rice and rice products also tend to contain more inorganic arsenic than many other foods, and the FDA notes that infants and children can be more susceptible to arsenic exposure (FDA arsenic in rice risk assessment). It is best enjoyed as one of several options rather than the main drink for young children.
Best uses. Because it is thin and lightly sweet, rice milk is handy for thinning sauces and dips, as in our silken-tofu-based Vegan Sour Cream, and as one of the options in Vegan Butternut Squash Soup. Our Vegan Substitutions Guide covers how to swap it in for dairy milk measure for measure.
Brands to try. Dream Organic Rice Milk (Classic Original) is a long-running shelf-stable option.
Coconut Milk
What it is. There are really two products under this name. Canned coconut milk is made by simmering grated coconut flesh with water and straining it, which gives a thick, rich liquid used as a cooking ingredient. Carton coconut milk is a much thinner drinking beverage made from coconut cream diluted with water and usually fortified.
Benefits. Canned coconut milk brings unmatched richness and body to vegan cooking without any nuts or soy. The carton kind is light and pleasant, with a clear coconut flavor.
Drawbacks. Full-fat canned coconut milk is high in saturated fat, so it is best treated as a special-occasion cooking ingredient rather than an everyday drink, and neither type offers much protein. Coconut flavor is also hard to hide, so it will show up in whatever you use it in.
Best uses. Reach for canned full-fat coconut milk for curries, soups, and creamy sauces, as in our 15-Minute Vegetable Curry and Vegan Creamy Mushroom Pasta. It is also the secret behind creamy desserts, like Vegan Fudgesicles, Baked Coconut Rice Pudding, and Homemade Vegan Eggnog, and it even works in Vegan Banana Oat Pancakes. Chilled canned coconut cream can be whipped into a dairy-free whipped topping. The carton version is best for cereal and smoothies.
Brands to try. For canned, Thai Kitchen Organic Unsweetened Coconut Milk is easy to find. For a drinkable carton, try So Delicious Shelf-Stable Unsweetened Coconutmilk.
Cashew Milk
What it is. Cashew milk is made by blending cashews with water. Because cashews are soft, it turns out smooth and creamy, with a mild, slightly sweet, buttery taste.
Benefits. It is one of the creamiest plant milks for its calorie count and blends into coffee and sauces without a strong flavor of its own. It is also easy to make at home with a blender.
Drawbacks. Many store-bought cashew milks are mostly water with a small amount of cashews, so they are low in protein and other nutrients. Like all tree nut milks, they are not suitable for anyone with a nut allergy.
Best uses. Cashew milk is excellent in creamy soups and sauces, in coffee, and in smoothies. If you want real thickness, blend whole soaked cashews right into the dish, the way we do in our Vegan Cream of Broccoli Soup. Our Homemade Vegan Eggnog also relies on blended raw cashews for its creamy body, and you can find the milk itself in How to Make Cashew Milk in Just a Few Easy Steps.
Brands to try. Elmhurst 1925 Unsweetened Cashew Milk is made with just cashews and water, without gums.
Hazelnut Milk
What it is. Hazelnut milk is made from ground, often roasted, hazelnuts and water. It has a toasty, rich, distinctly nutty flavor.
Benefits. The flavor is the main draw, since a little goes a long way in coffee and chocolate drinks. Like other nut milks, it is free of lactose and cholesterol.
Drawbacks. It is usually low in protein, it can be pricier and harder to find than almond or oat milk, and the pronounced flavor will not suit every recipe. It is also off-limits for anyone with a tree nut allergy.
Best uses. Use hazelnut milk in coffee, hot chocolate, and chocolate desserts, or swap it for the milk in a chocolate cake or muffins when you want a nutty note. If you like the flavor, our Vegan Nutella is a natural companion.
Brands to try. Pacific Foods Unsweetened Hazelnut Milk is one of the more widely available choices.
Hemp Milk
What it is. Hemp milk is made from hulled hemp seeds blended with water. It has an earthy, slightly nutty and grassy flavor, and its color is a creamy off-white.
Benefits. Hemp seeds are a plant source of omega-3 fatty acids, and many hemp milks list omega-3 (ALA) on the label. Hemp milk is nut-free and soy-free, and it offers a modest amount of protein.
Drawbacks. The earthy taste is not for everyone, and it can be thinner than oat or soy milk.
Best uses. Hemp milk is at its best in smoothies, oatmeal, and granola, where fruit and spices balance its flavor. It is one of the easiest plant milks to make at home, since hemp seeds do not need soaking, so see our How to Make Homemade Hemp Milk.
Brands to try. Pacific Foods Unsweetened Hemp Milk is a good place to start.
Pea Milk
What it is. Pea milk is made from pea protein blended with water and a small amount of oil, plus added nutrients. It does not taste like peas, and the flavor is neutral and lightly creamy.
Benefits. It is the plant milk that comes closest to soy for protein, at around 8 grams per cup for some brands, and it is free of nuts, soy, and gluten, which makes it useful for allergy-conscious families.
Drawbacks. It is newer than the other options, so there are fewer brands to choose from, and it can cost more than soy or oat milk.
Best uses. Try pea milk in smoothies, cereal, and baking, where its protein helps and the neutral taste stays out of the way. It also works in coffee, though the foam is not always as good as with oat or soy.
Brands to try. Ripple Unsweetened Original Plant Based Milk is the best-known pea milk on the market.
Macadamia Milk
What it is. Macadamia milk is made from macadamia nuts and water. It is rich and buttery, and it is one of the smoothest-tasting plant milks.
Benefits and drawbacks. It has a luxurious mouthfeel and is high in monounsaturated fat, but it is low in protein and generally costs more than other plant milks. As with other nut milks, it is not suitable for people with a tree nut allergy.
Best uses. It is lovely on its own, in coffee, and in smoothies. Milkadamia Unsweetened Macadamia Milk is the brand to look for.
Other options. You may also come across flax, pistachio, walnut, quinoa, and banana milks. They tend to be more specialized and harder to find, but they follow the same rules: check the label for protein, fortification, and added sugar.
Choosing the Best Non-Dairy Milk for the Job
Because these milks behave so differently, it helps to pick by use rather than looking for a single "best." Here is a quick cheat sheet.
- For drinking straight and for cereal. Soy, pea, and oat milk taste the most like dairy milk, while almond and cashew milk are lighter. Rice milk is sweet and thin.
- For coffee and lattes. Barista-style oat milk, soy milk, and pea milk tend to foam and steam best. Almond and soy can separate in very hot, acidic coffee, so pour the coffee in slowly or warm the milk first.
- For baking. Soy, oat, and almond milk all swap one-to-one for dairy milk in cakes, muffins, pancakes, and quick breads. For vegan buttermilk, stir 1 tablespoon of lemon juice or vinegar into 1 cup of plant milk and let it sit for 5 minutes, as in our Vegan Red Velvet Cake.
- For thickening soups and sauces. Oat milk, soy milk, cashew milk, and canned coconut milk add the most body. For extra creaminess, blend in soaked cashews or a little white beans.
- For desserts, ice cream, and whipped toppings. Full-fat canned coconut milk and cashew cream give the richest, creamiest results, as in Vegan Banana Pudding (made with canned coconut cream) and Vegan Tiramisu.
- For smoothies and chia pudding. Almond, oat, soy, and coconut milk all work well. Try our Chia Breakfast Bowl or Raspberry Chia Pudding.
- For allergies. Nut-free choices include soy, oat, rice, pea, and hemp milk, and soy-free choices include almond, oat, rice, pea, and coconut milk. Always check the label for allergen statements.
Which Plant Milks Are Best for the Planet?
If sustainability is a factor in your decision, all of these plant milks have a smaller footprint than dairy. According to Our World in Data, using data from a major 2018 analysis of food production, cow's milk causes about three times as many greenhouse gas emissions and uses about ten times as much land as plant milks, and it uses two to twenty times as much freshwater (Dairy vs. plant-based milk: what are the environmental impacts?). Among the plant milks, there is no clear winner on every measure. Almond milk, for example, has lower emissions and land use than soy milk, but it needs more water. If you are aiming for the lightest footprint, oat and soy milk are both strong choices.
Make Your Own Non-Dairy Milk
Most plant milks are simple to make at home with a blender, water, and a strainer or nut milk bag, and homemade versions skip the gums, oils, and added sugars found in some cartons. They do not come fortified with calcium or vitamin D, however, and they generally keep only a few days in the refrigerator, so make small batches. Start with our Homemade Almond Milk, Homemade Hemp Milk (no soaking or straining required with a high-speed blender), or Cashew Milk.
Storing Plant Milks
Shelf-stable cartons can be kept in the pantry until you open them, which makes them handy for stocking up and for recipes that only need a cup. Once opened, store them in the refrigerator and use them within about a week to ten days, or by the date on the carton. Always shake well before pouring, since natural separation is normal, especially in versions without gums.
Frequently Asked Questions About Vegan Milk
What is the best vegan milk overall? It depends on how you plan to use it. Unsweetened soy milk is the most versatile and the highest in protein of the traditional options, oat milk is a favorite for coffee and creamy cooking, and almond milk is the lightest. If you need to avoid nuts and soy, pea milk and oat milk are good alternatives.
What is the best nondairy milk for baking? Soy, oat, and almond milk all work well in baking. Soy milk is the best for vegan buttermilk because it curdles most readily with an acid, and the rest can be swapped in one-to-one for regular milk.
Which non-dairy milk is closest to cow's milk? Soy milk is closest nutritionally, with similar protein, and pea milk is a close second. Oat milk is closest in creaminess and mild flavor.
Can I substitute vegan milk one-to-one for regular milk? In most recipes, yes. Use plain, unsweetened milk for savory dishes, and keep in mind that thinner milks like almond and rice will give a slightly lighter result than oat, soy, or coconut milk.
Are plant milks a good choice for young children? Not all plant milks are nutritionally equivalent to cow's milk, and low-protein options like almond and rice milk are not a full substitute. Check with your child's pediatrician before making plant milk a young child's main drink, and if you do, fortified soy milk is generally the closest match.
More Dairy-Free Swaps and Recipes
If you are building a dairy-free kitchen, these guides and recipes are a good next stop:
Black Bean Tostadas
A tostada is a crisp tortilla piled generously with any variety of toppings, often including beans, crisp lettuce, and salsa. Good accompaniments include: baked potatoes or sweet potatoes; or fresh corn on the cob. Add a salad and/or a simple steamed veggies, you've got an easy weeknight meal or fun quick fare to serve company. Recipe from Plant Power: Transform Your Kitchen, Plate, and Life with More Than 150 Fresh and Flavorful Vegan Recipes by Nava Atlas. ©2014, published by HarperOne, reprinted by permission. Photos by Hannah Kaminsky. [Read more...]
Twice Baked Golden Potatoes

These little gems have ALL the flavor without the fatty ingredients we have indulged in the past. The two examples that I will touch on (because the other one is kinda obvious) is replacing dairy ingredients with nuts and incorporating the veggies and spices. Normally when people think of twice baked potatoes they think of creamy potatoes and smoky bacon flavors. How do you achieve these traditional flavors while adhering to a completely veggie lifestyle? Easy!
Classic Carrot-Raisin Salad

Here’s a simple salad that goes with just about anything. Carrot-raisin salad might just be the first that kids will enjoy! A food processor is a must for preparing this salad quickly; or you can start with pre-grated carrots that come packaged, but make sure they look nice and fresh. [Read more...]
Avocado and Sweet Potato Quesadillas or Soft Tacos

Combining sweet potatoes, avocados, and vegan cheese in soft tacos or quesadillas is downright sensuous. Whether you make these into soft tacos or crispy quesadillas, serve with plenty of napkins! For a bigger crowd or hungrier eaters, double the recipes, as these go down easy! Photos by Hannah Kaminsky.
Tempeh Fries with Horseradish-Dill Mayonnaise

If your meal needs just a little extra something in the protein department, but not necessarily a filling main dish, this is a nice choice. It also works well as an appetizer. These fries can be a bit addictive, so you may want to double the recipe if serving hungry tempeh fans. Adapted from Vegan Express. Photos by Hannah Kaminsky. [Read more...]