Skip to primary navigation
Skip to main content
Skip to primary sidebar
Vegan Recipes
Appetizers
Baking and Sweets
Breakfast
Main Dishes
Pasta and Noodles
Salads
Sandwiches and Wraps
Sauces, Dressings, and Condiments
Side Dishes
Soups, Stews, and Chilis
Snacks and Dips
Desserts
Drinks
Canning and Preserving
Cheese-y Delights
Global Recipes
Raw Vegan
Slow-Cooker
Vegan Living
Vegan Substitutions Guide
Green Kitchen
Healthy Eating Tips
Food and Produce Guides
Vegan Food Hacks
Kid Friendly
Vegan Product Reviews
More Vegan Living
About
Shop Cookbooks
search...
menu icon
Vegan Recipes
Vegan Living
Cookbooks
About Us
Freebie!
Facebook
Instagram
Pinterest
Twitter
search icon
search...
Vegan Recipes
Vegan Living
Cookbooks
About Us
Freebie!
Facebook
Instagram
Pinterest
Twitter
×
Home
Search Results for: gluten-free
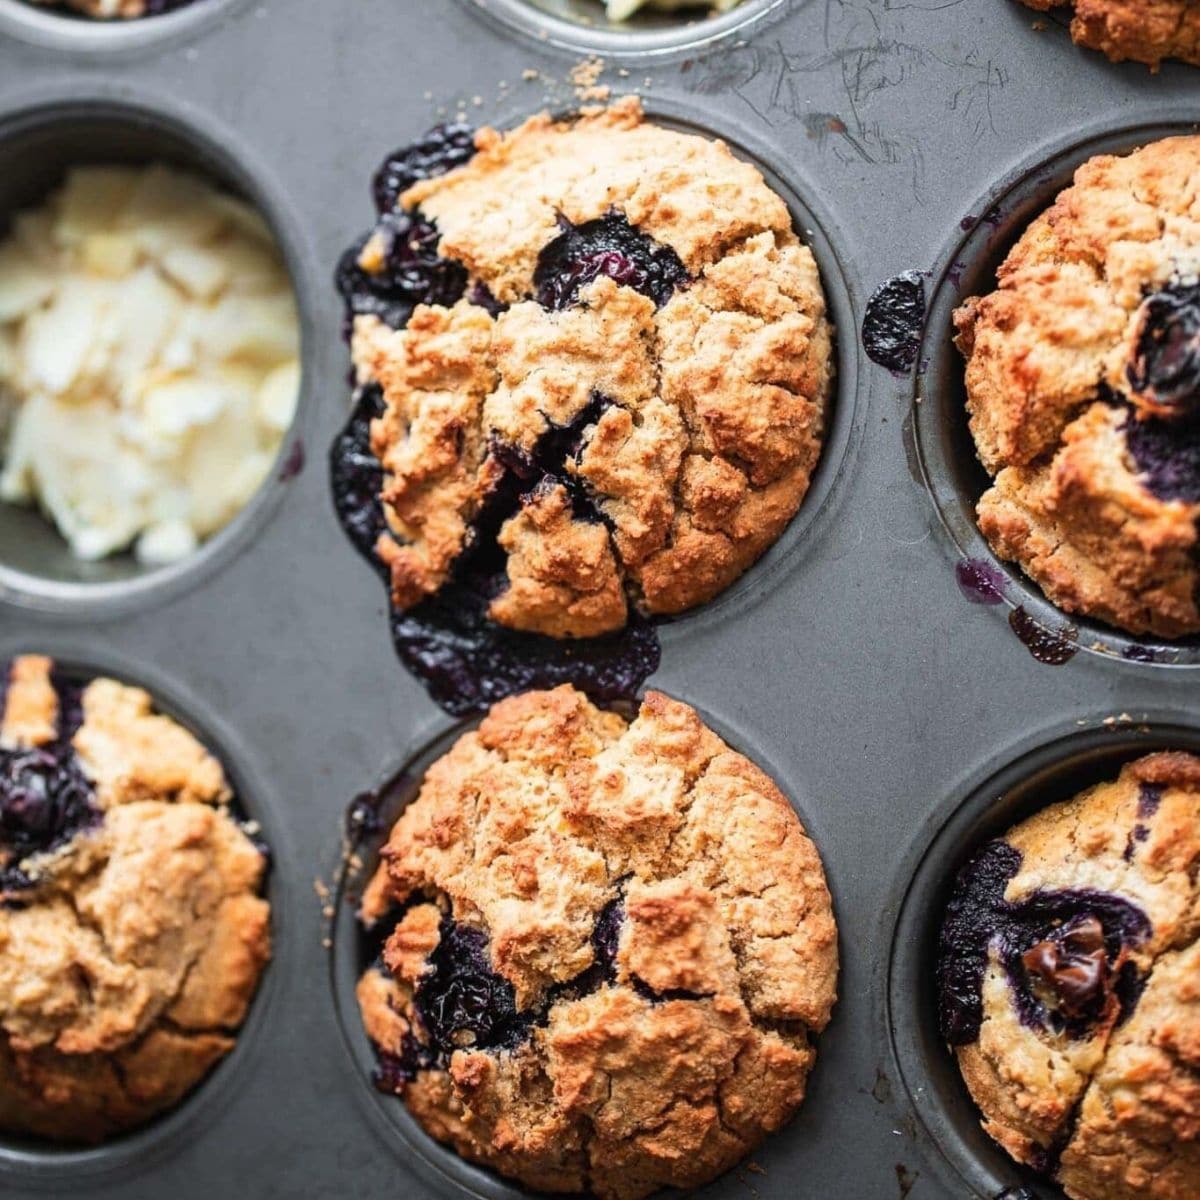
Vegan Blueberry Muffins (Gluten-free)
Gluten-free Vegan Quinoa Bread Rolls
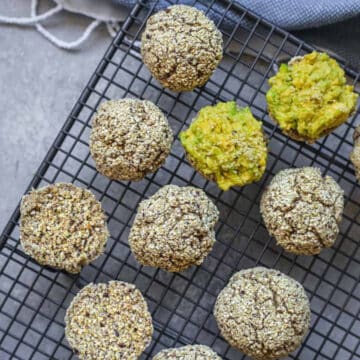
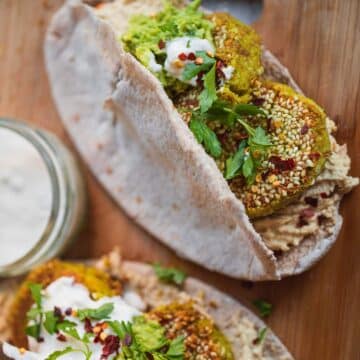
Vegan Falafel (Gluten-free)
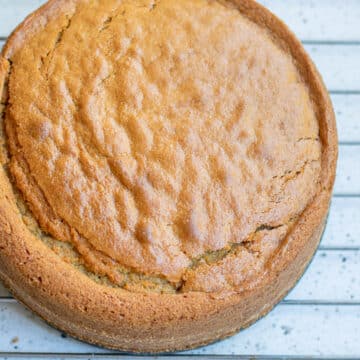
Easy Gluten-Free Vegan Vanilla Cake
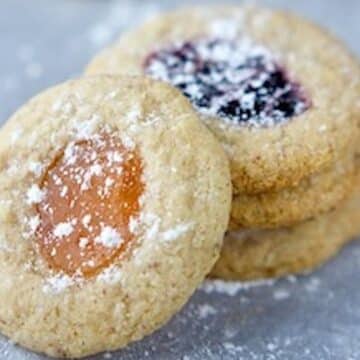
Vegan and Gluten-Free Almond Thumbprint Cookies
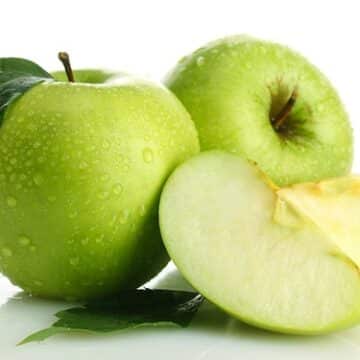
Granny Smith Apple Crumb Pie (Gluten-Free)
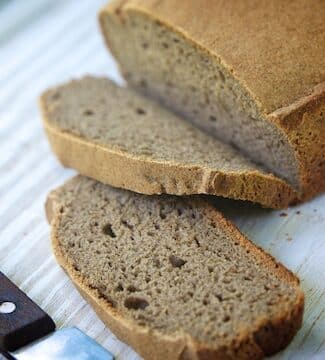
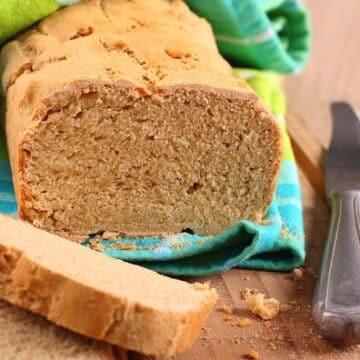
Basic Brown Bread (Gluten-Free)
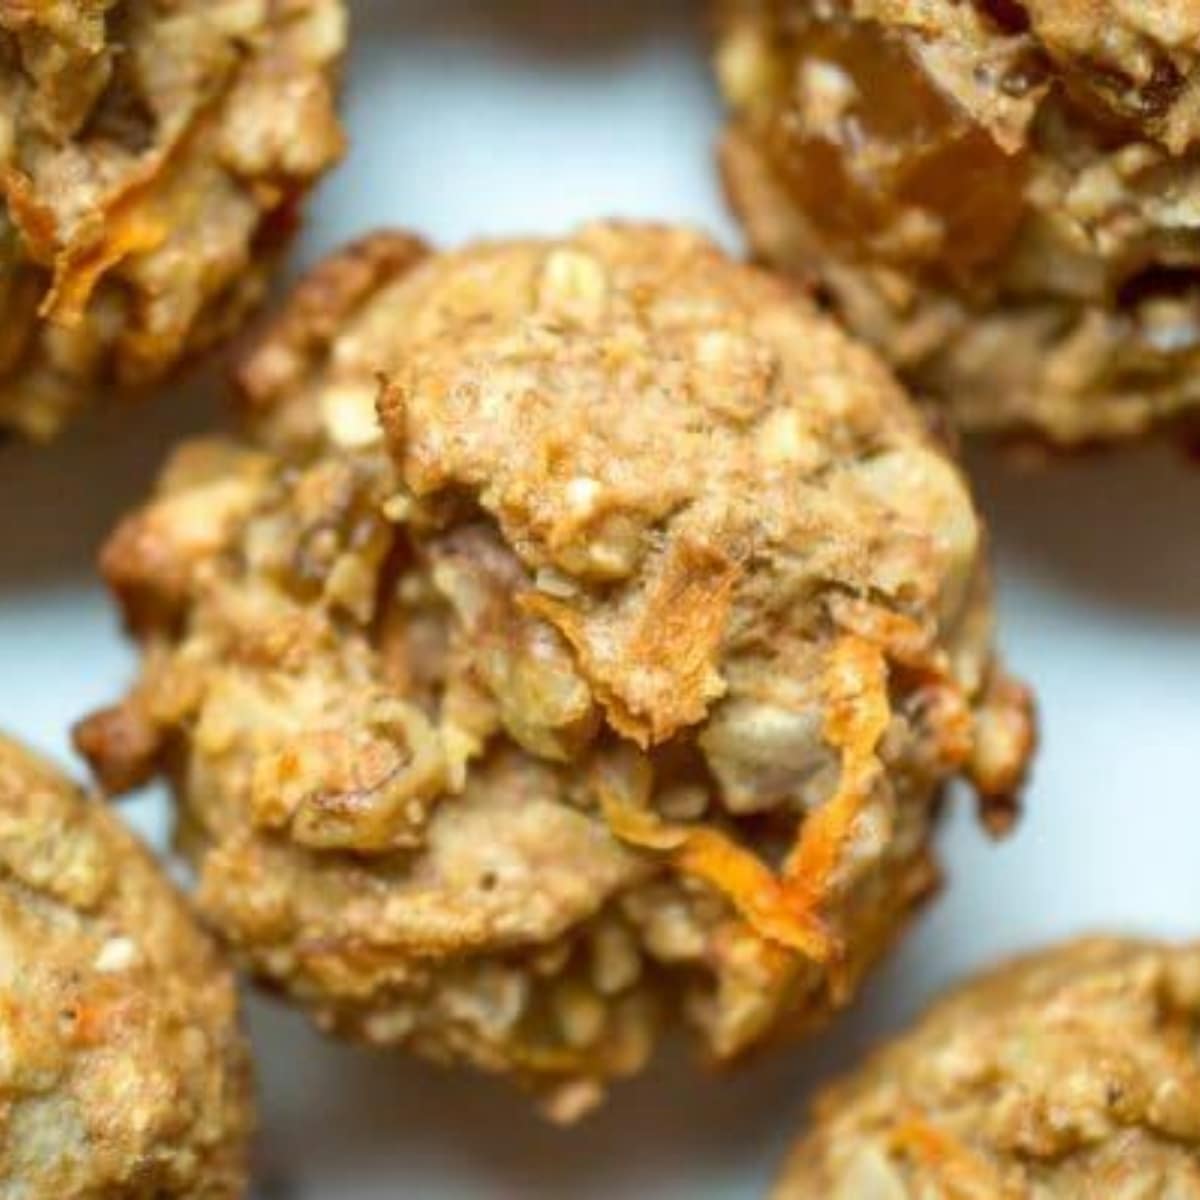
Healthy Carrot Muffins - vegan, gluten-free
Gluten-Free Peach Pie
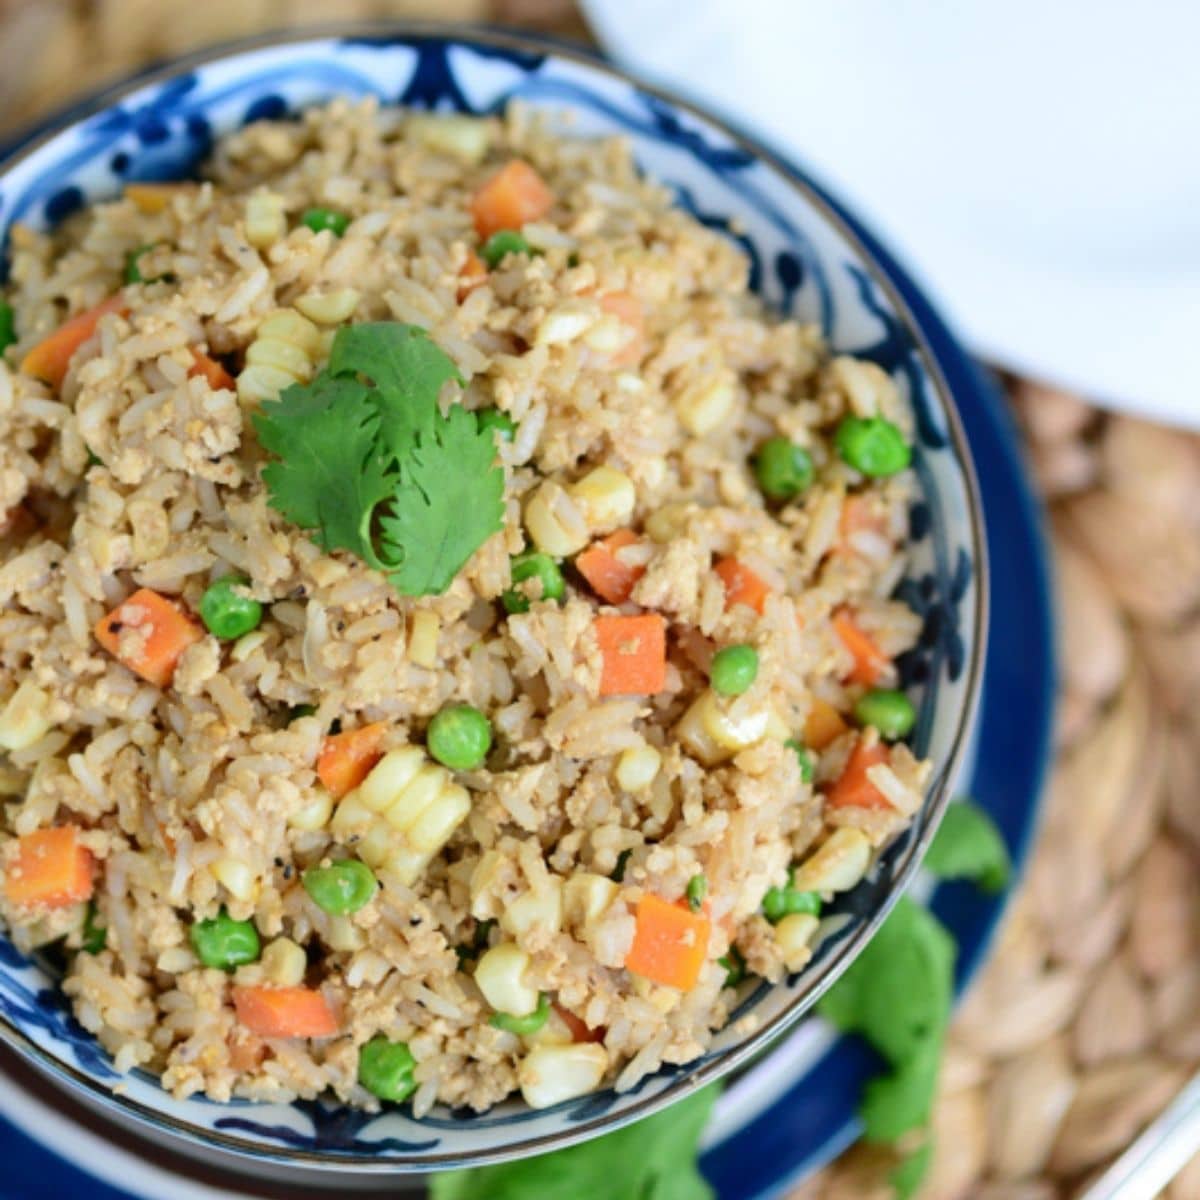
Vegan Fried Rice with Tofu {gluten-free}
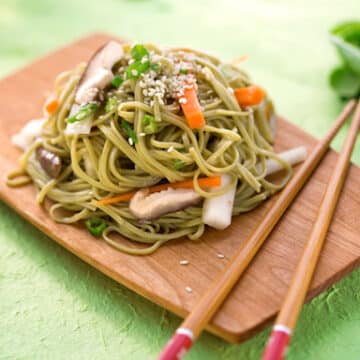
Chilled Noodles in a Spicy Sauce (Gluten-Free)
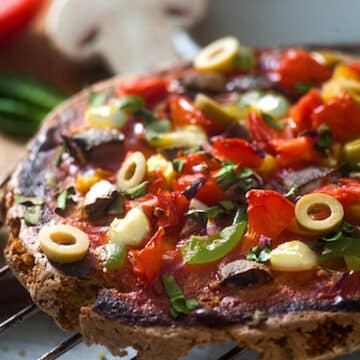
Gluten-Free Quinoa Pizza Crust or Flatbread
Gluten-Free and Low-Gluten Pasta Varieties
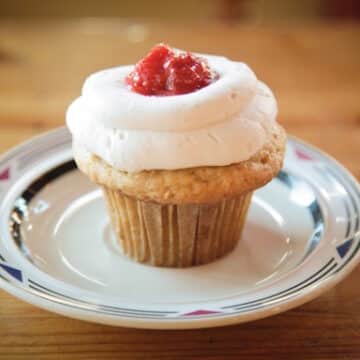
Gluten-Free Coconut Strawberry Shortcake Cupcakes
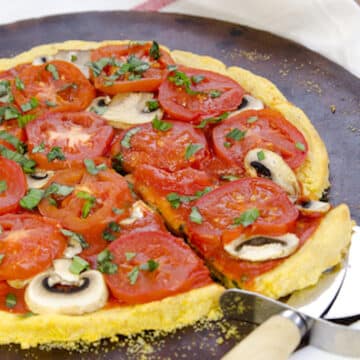
Polenta Pizza Crust (Gluten-Free)
5 Delicious and Easy Vegan Gluten-Free Desserts
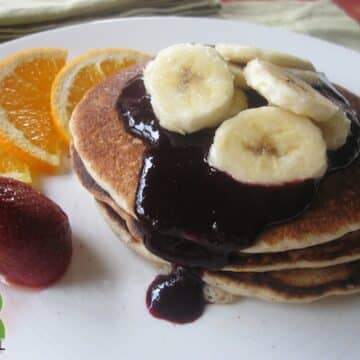
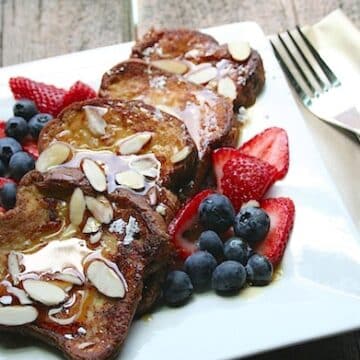
Gluten-Free & Vegan "Buttermilk" Pancakes with Blueberry Syrup
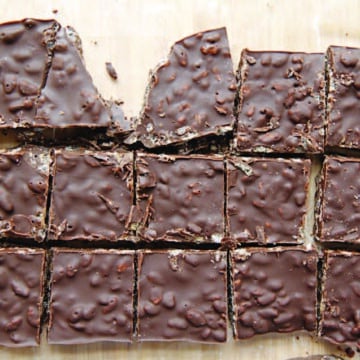
Gluten-Free Chocolate No-Nut Crisp
Gluten-free versus Wheat-free
6 Gluten-Free and Vegan Cookies to Try Soon
Emmy's Organics Vegan and Gluten-Free Foods
Vegan Gluten-Free Strawberry Shortcake Muffins
Gluten-Free Poured Pizza Crust
Great Gluten-Free Vegan Eats by Allyson Kramer
Nikki Goldbeck's Vegan & Gluten-Free Breakfasts
The Complete Idiot’s Guide to Gluten-Free Vegan Cooking
Gluten-Free Cooking and Baking Tips
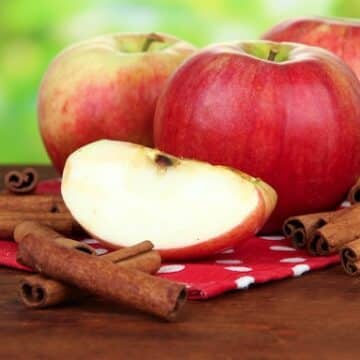
Baked Apples (Gluten-Free)
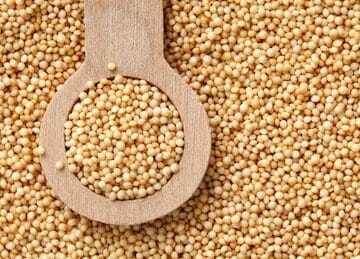
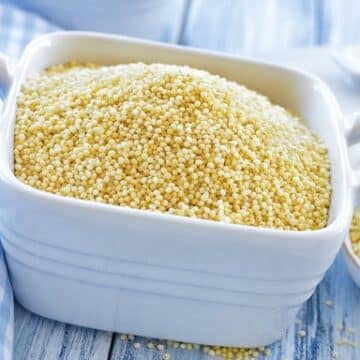
10 Gluten-Free Grains for Everyone
10 Ways to Go Gluten-Free
Gluten-Free Hamburger Buns
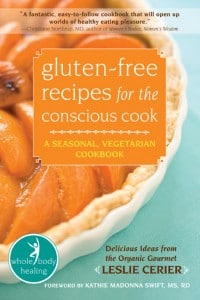
Gluten-Free Recipes for the Conscious Cook by Leslie Cerier
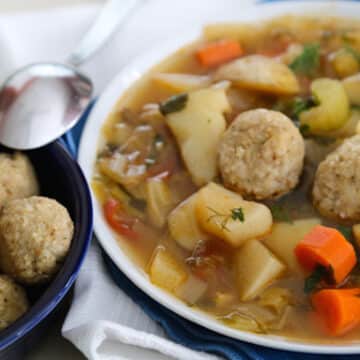
Vegan Matzo Balls (with a Gluten-Free Variation)
Sloppy Janes (Gluten-Free Sloppy Joes)
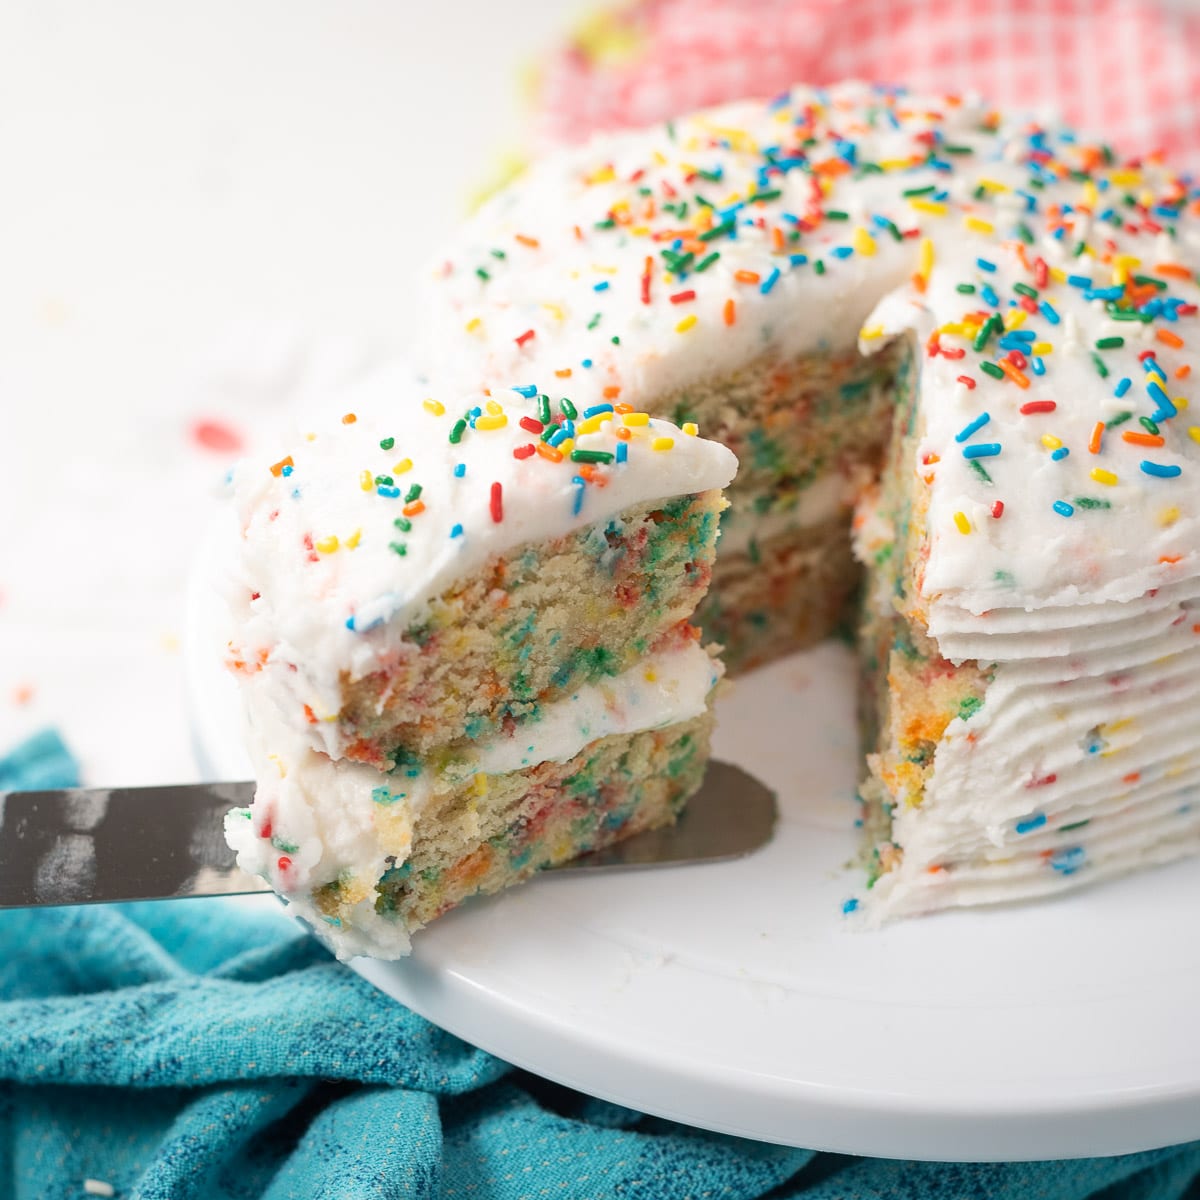
Vegan Funfetti Cake
Vegan Lemon Ginger Scones
Vegan Halloween Cupcakes
Vegan Chickpea Patties
Vegan Cinnamon Roll in a Mug
Vegan Zucchini Lasagna
Go to page
1
Go to page
2
Go to page
3
Interim pages omitted
…
Go to page
9
Go to
Next Page »