Skip to primary navigation
Skip to main content
Skip to primary sidebar
Vegan Recipes
Appetizers
Baking and Sweets
Breakfast
Main Dishes
Pasta and Noodles
Salads
Sandwiches and Wraps
Sauces, Dressings, and Condiments
Side Dishes
Soups, Stews, and Chilis
Snacks and Dips
Desserts
Drinks
Canning and Preserving
Cheese-y Delights
Global Recipes
Raw Vegan
Slow-Cooker
Vegan Living
Vegan Substitutions Guide
Green Kitchen
Healthy Eating Tips
Food and Produce Guides
Vegan Food Hacks
Kid Friendly
Vegan Product Reviews
More Vegan Living
About
Shop Cookbooks
search...
menu icon
Vegan Recipes
Vegan Living
Cookbooks
About Us
Freebie!
Facebook
Instagram
Pinterest
Twitter
search icon
search...
Vegan Recipes
Vegan Living
Cookbooks
About Us
Freebie!
Facebook
Instagram
Pinterest
Twitter
×
Home
Search Results for: fresh veg
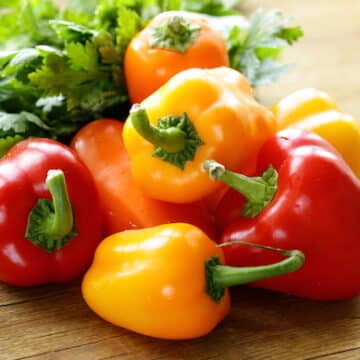
How to Grow Fresh Vegetables With Hydroponics All Year Round
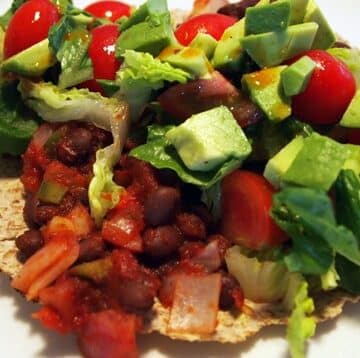
Super-Easy Black Bean and Fresh Veggie Tostadas
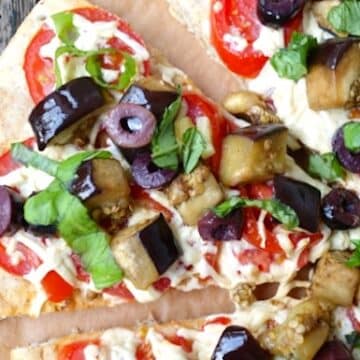
Vegan Eggplant Pizza with Fresh Tomatoes and Olives
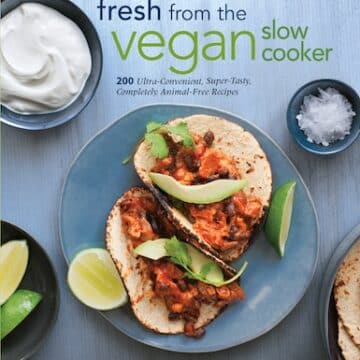
Fresh from the Vegan Slow-Cooker
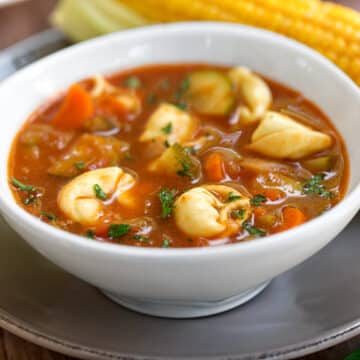
Vegan Fresh Tomato and Tortellini or Ravioli Soup
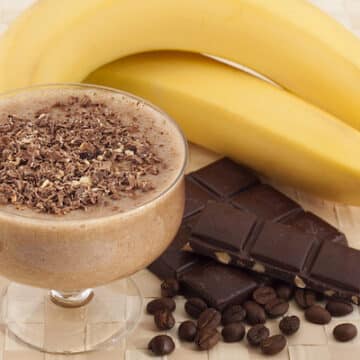
4 Vegan Coffee Smoothies for Summer Refreshment
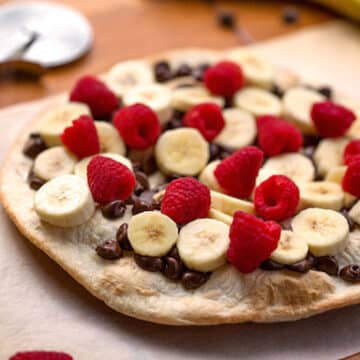
Chocolate + Fresh Fruit = Easy, Impressive Vegan Desserts
Fresh From the Vegan Slow Cooker by Robin Robertson
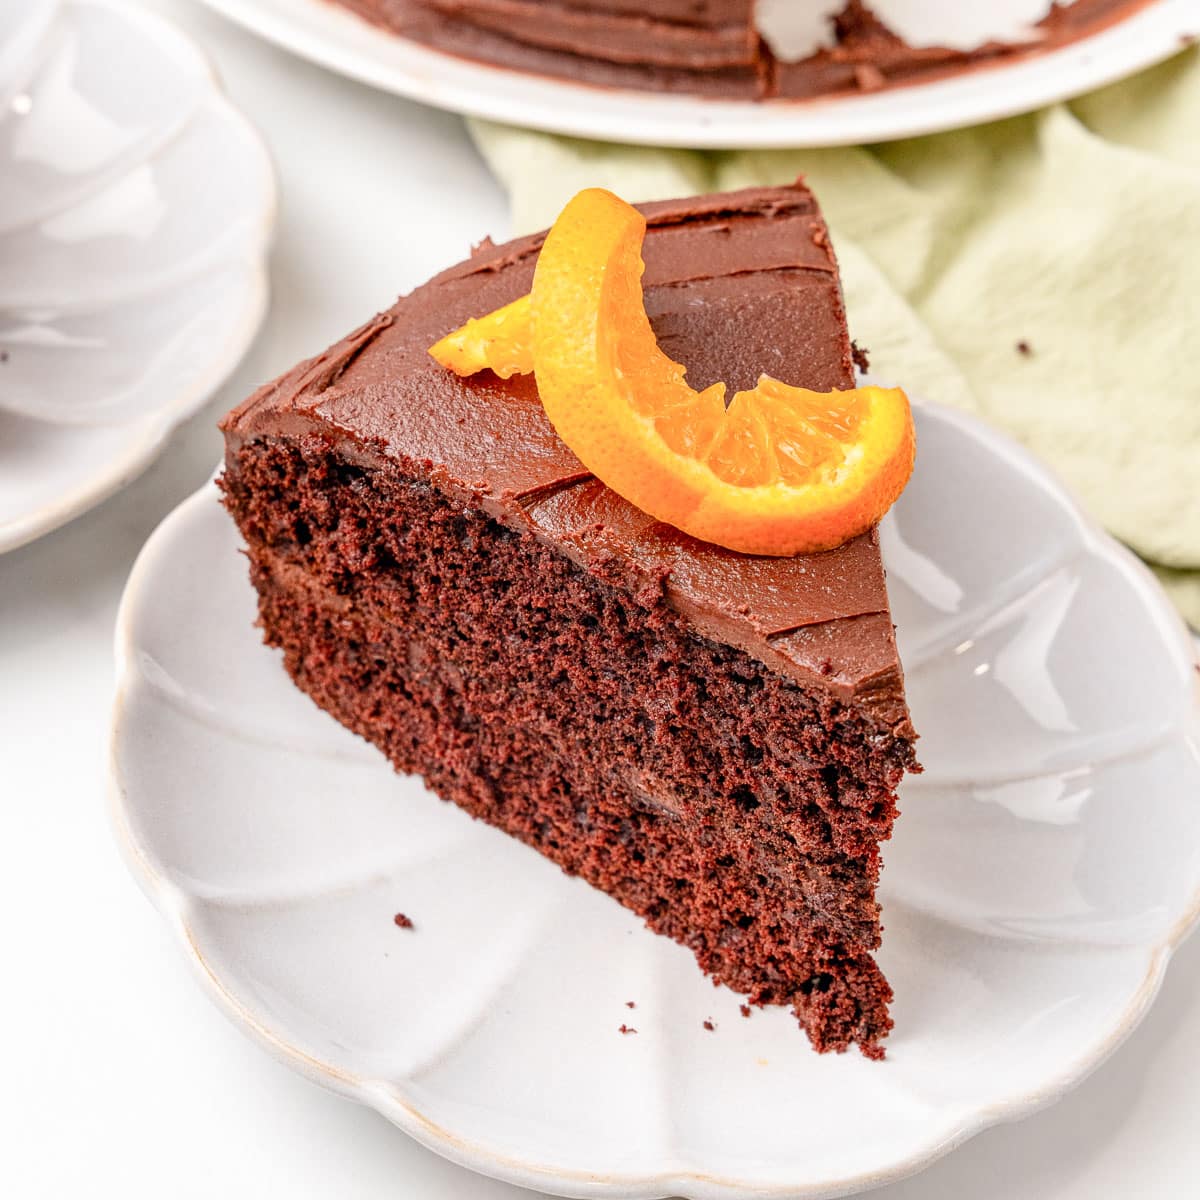
Vegan Chocolate Orange Cake
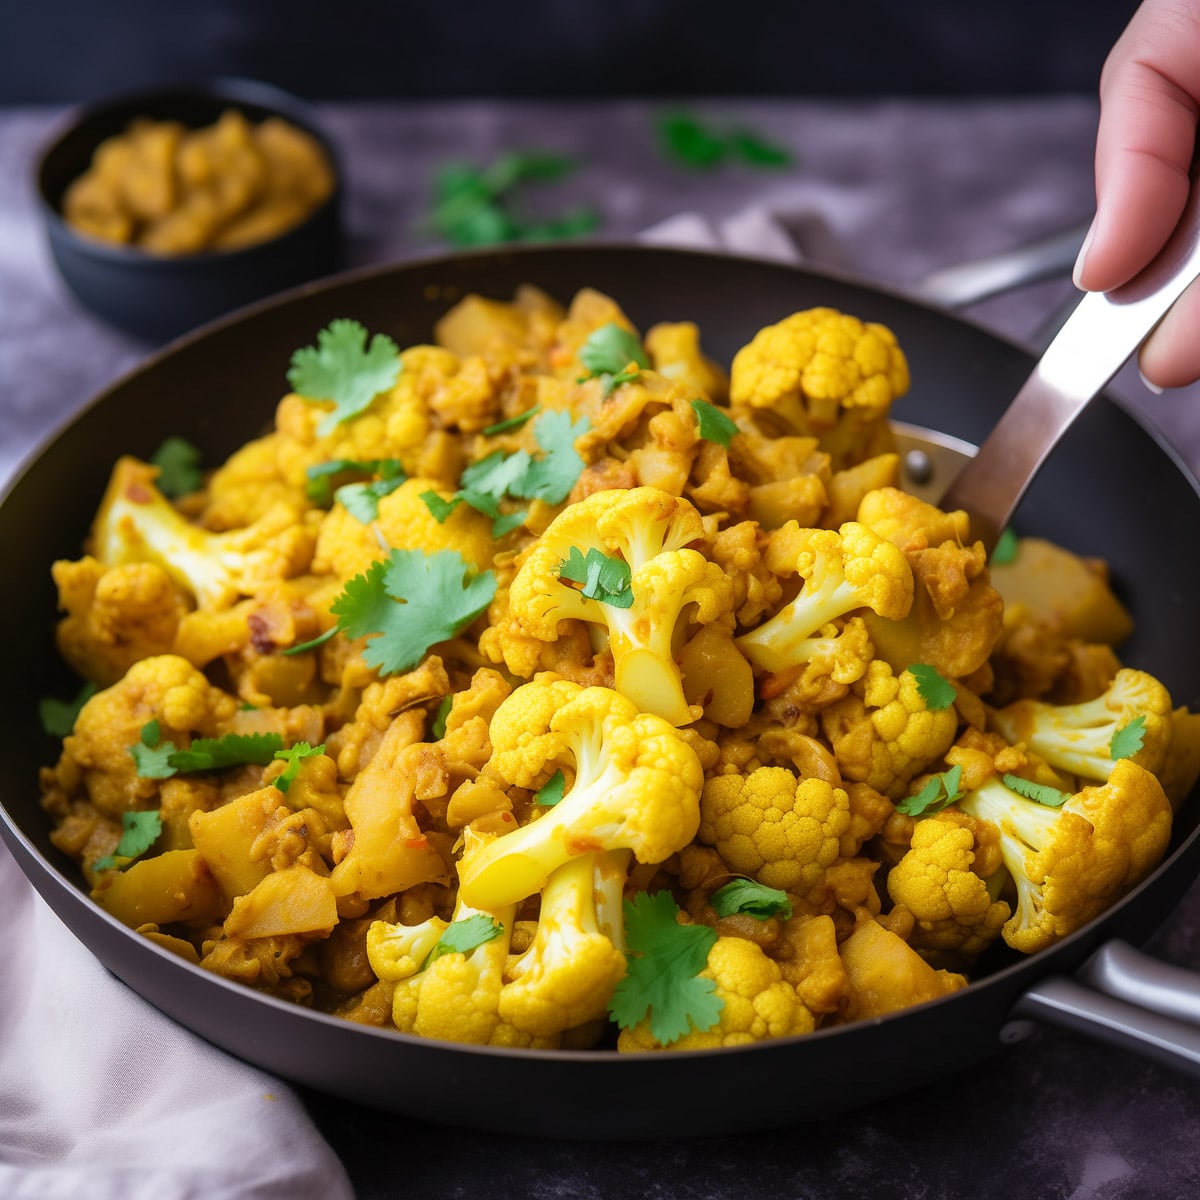
30-Minute Aloo Gobi (Vegan)
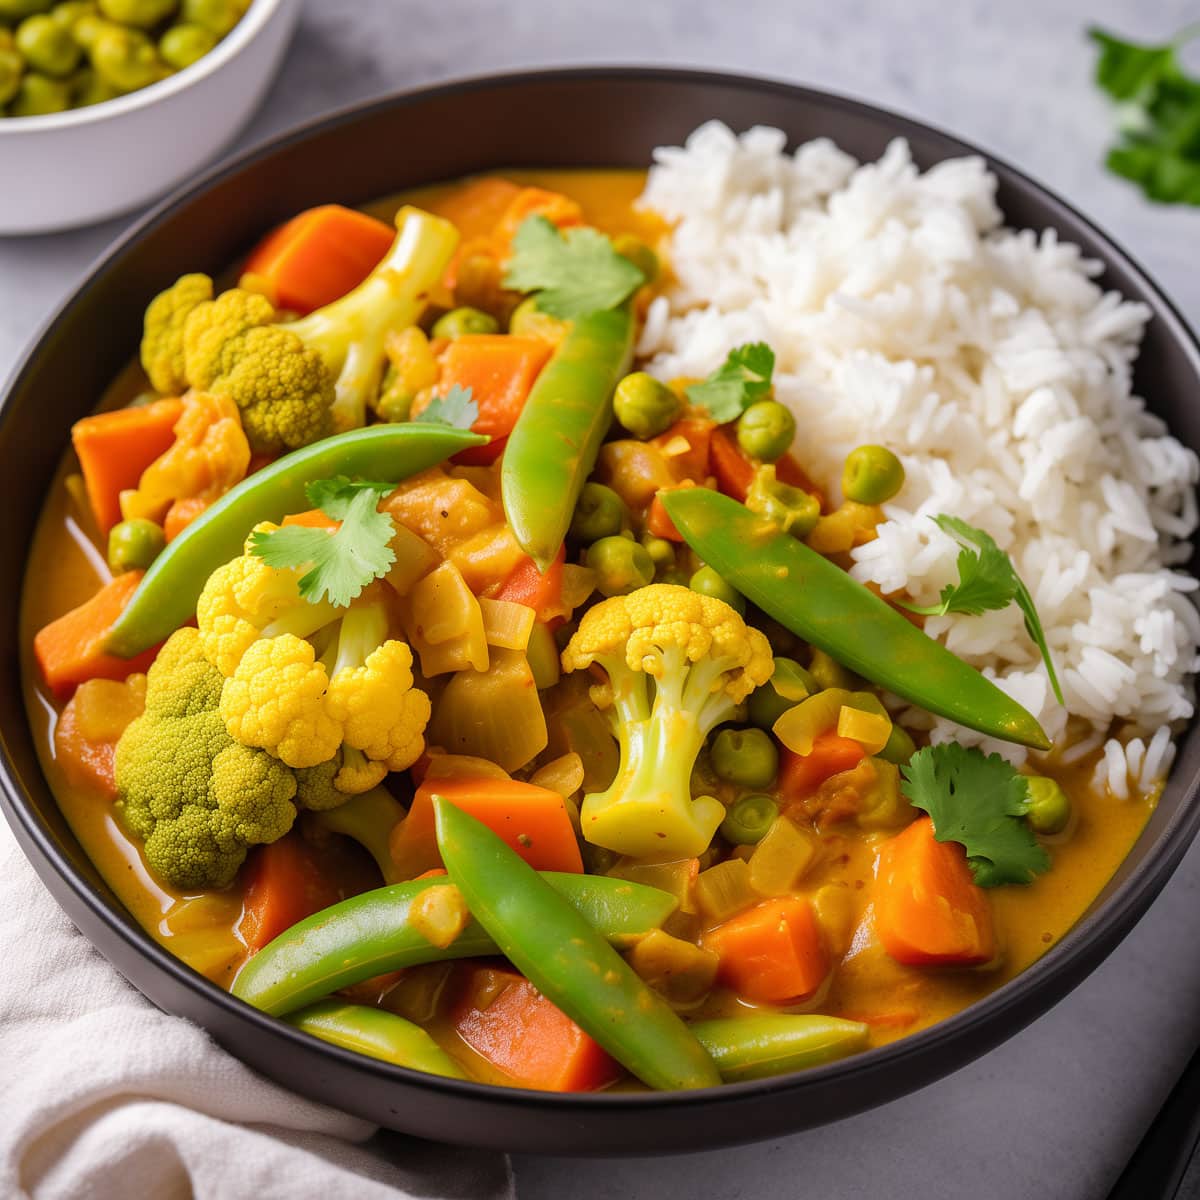
15-Minute Vegetable Curry (with frozen veggies!)
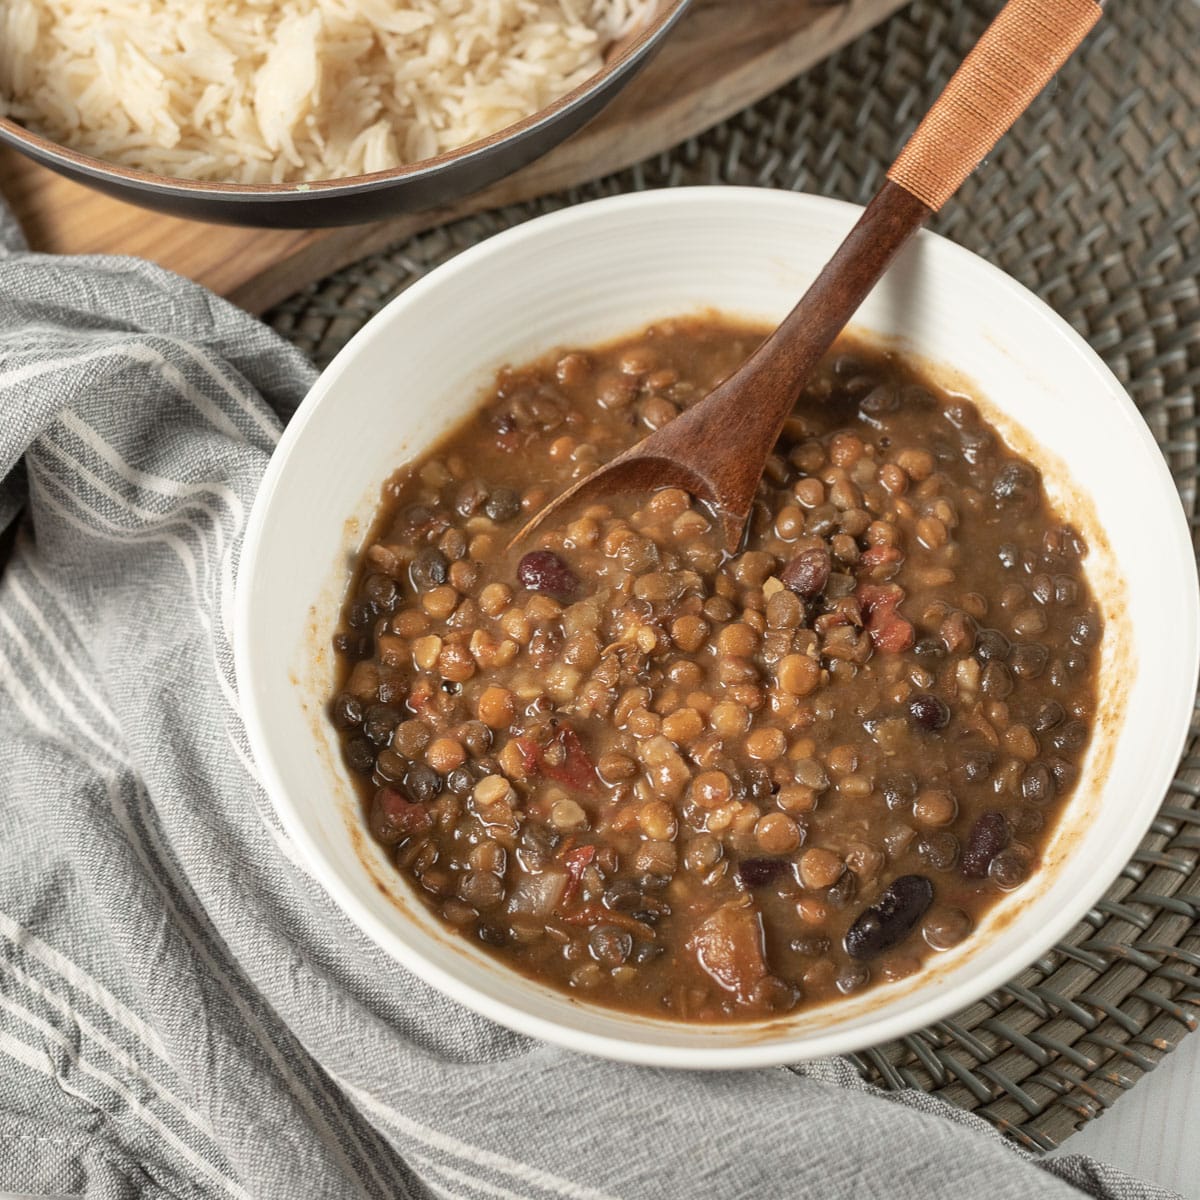
30-Minute Madras Lentils (Vegan)
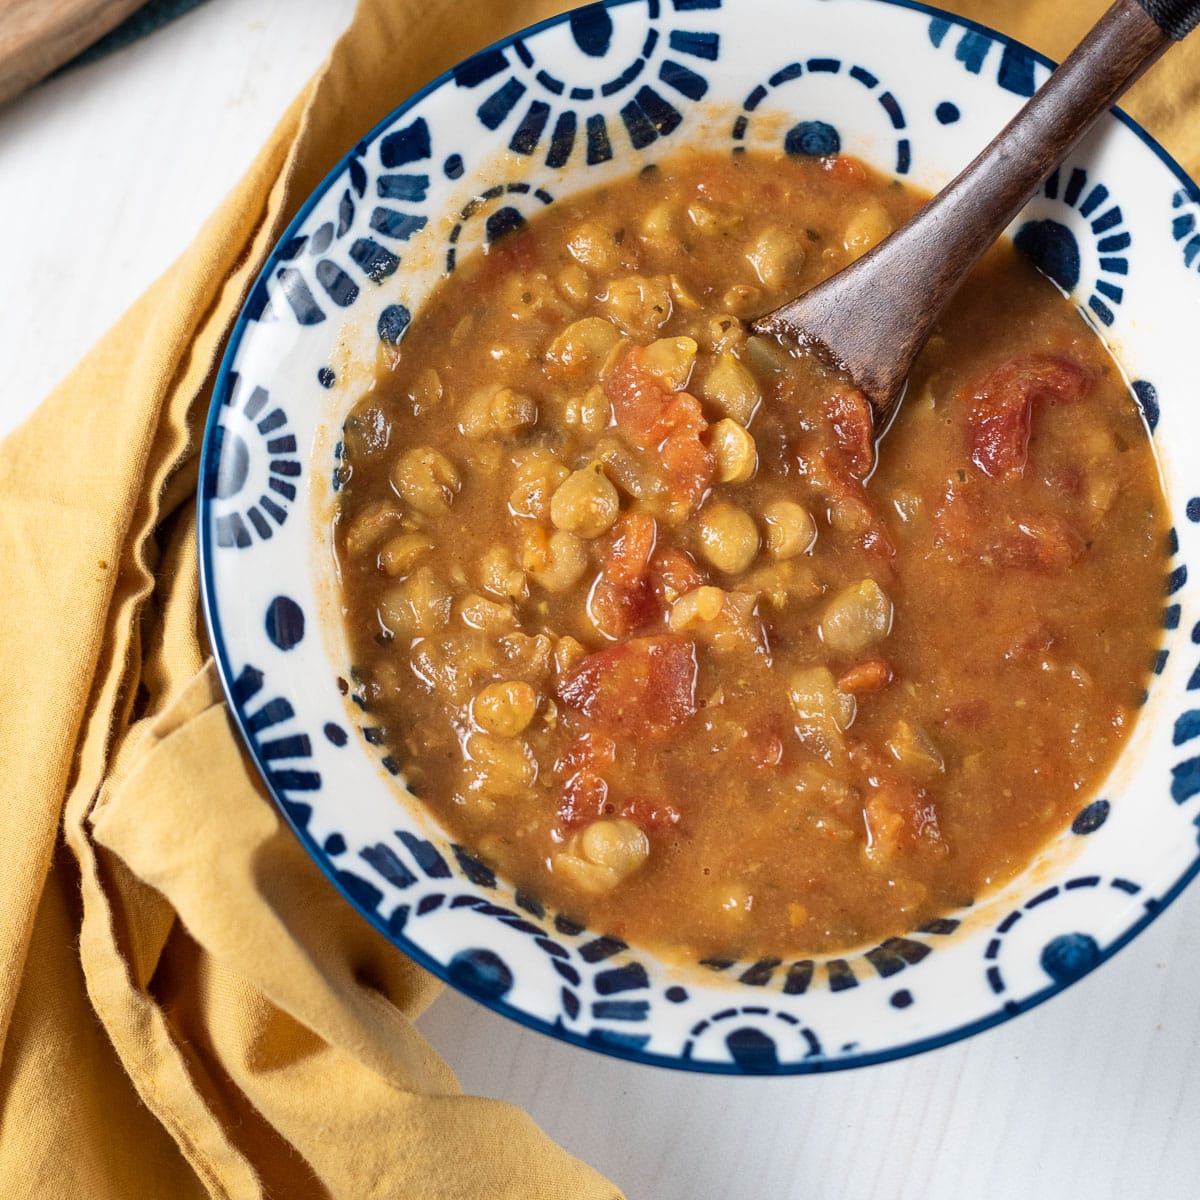
Easy Vegan Dal Tadka
30-Minute Vegan Chana Masala
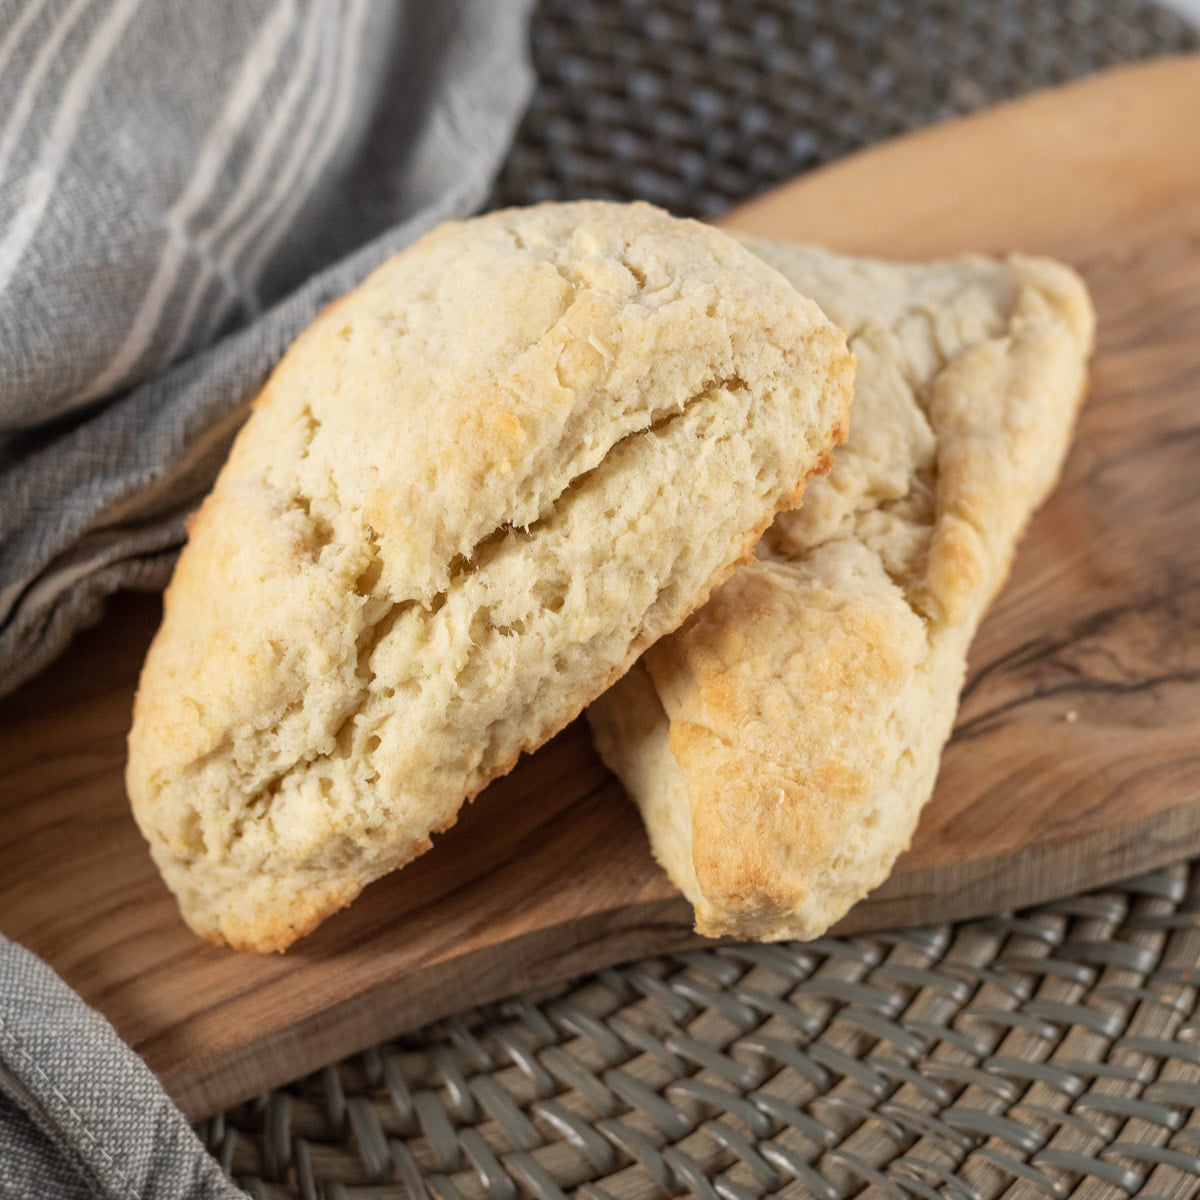
Vegan Lemon Ginger Scones
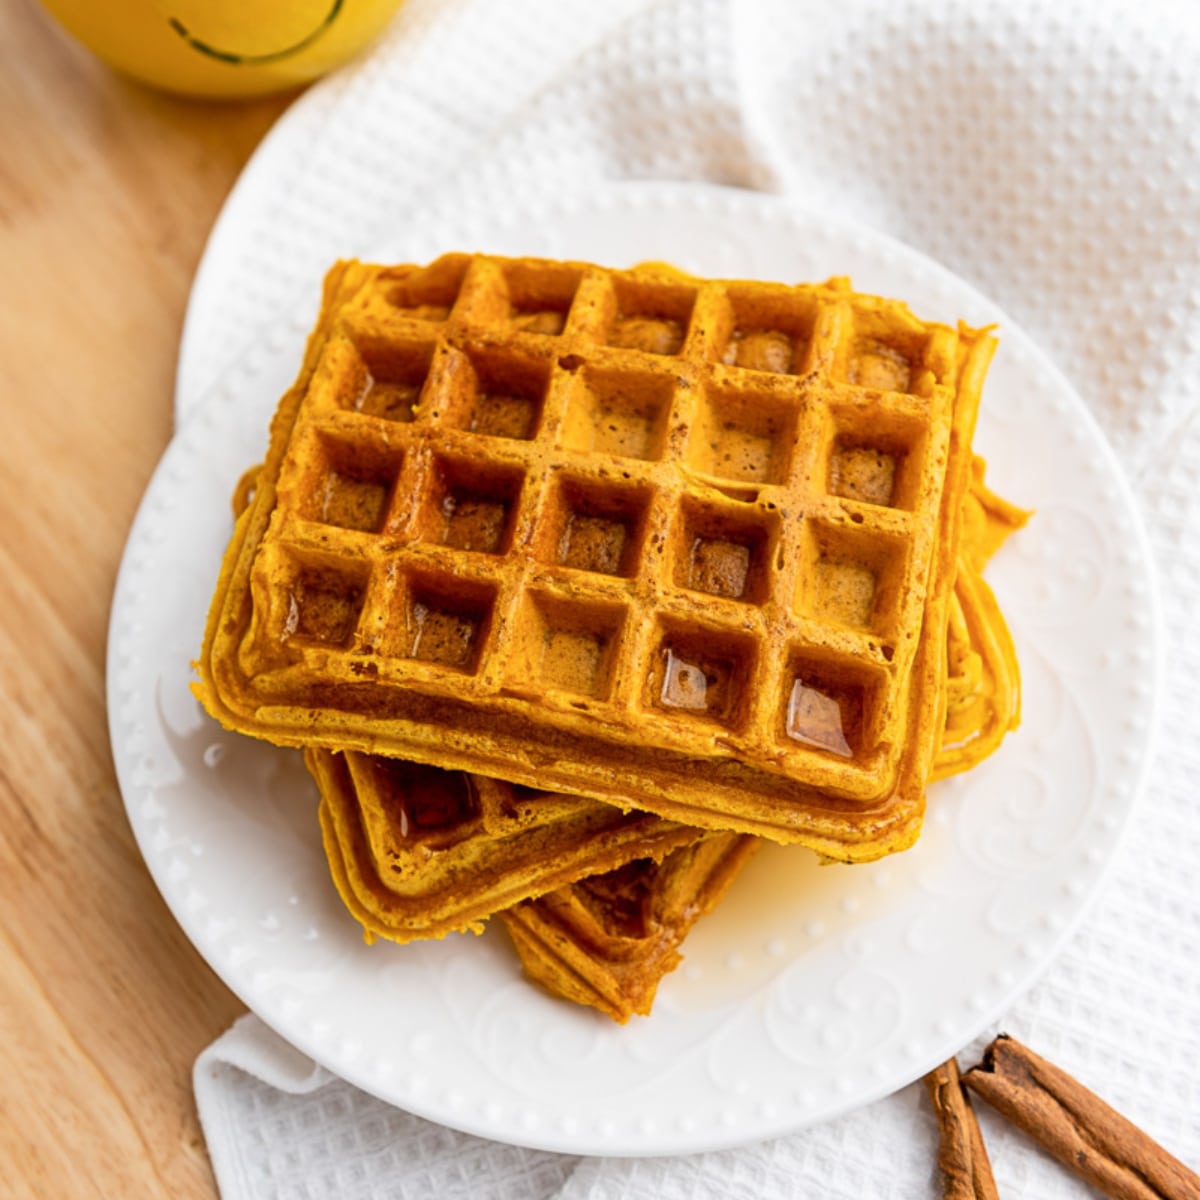
Vegan Pumpkin Waffles
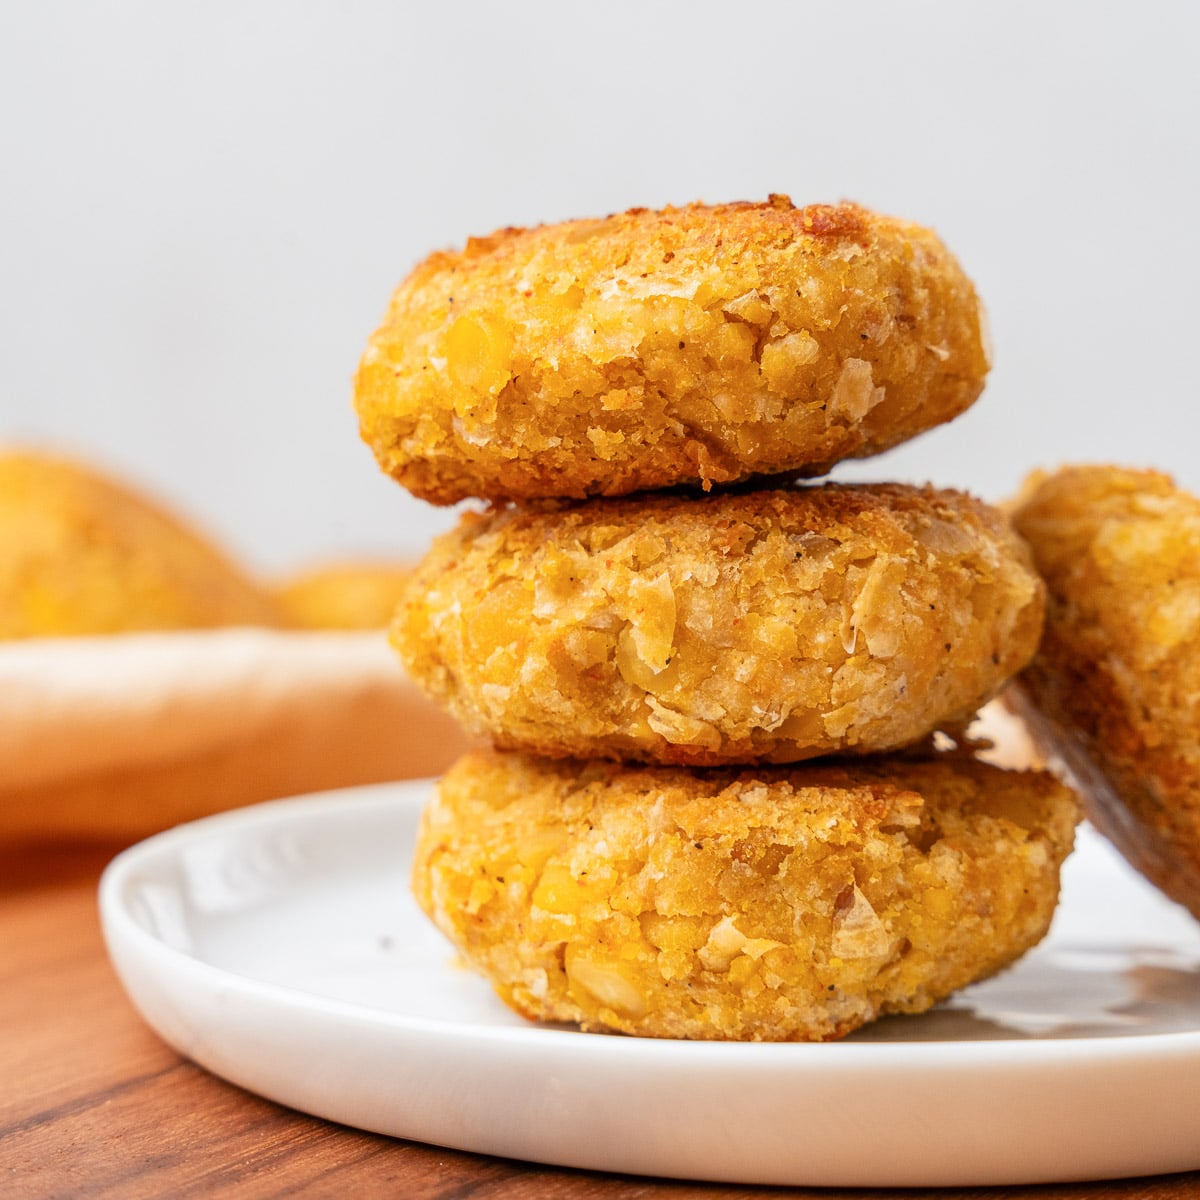
Vegan Chickpea Patties
Vegan Zucchini Lasagna
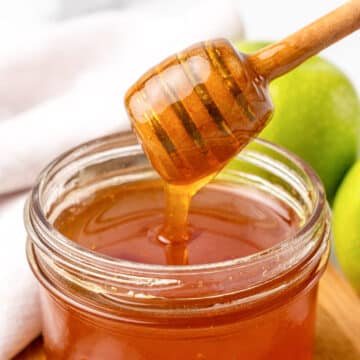
Vegan Apple Honey
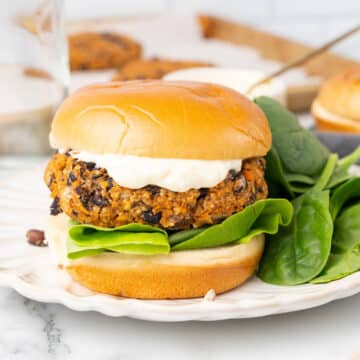
Chipotle Black Bean Burgers (Vegan)
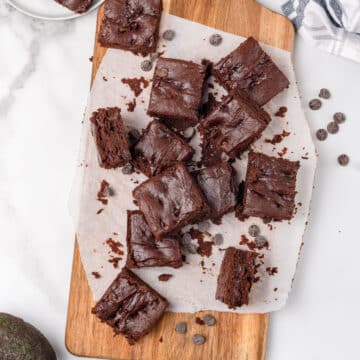
Fudgy Avocado Brownies (Vegan!)
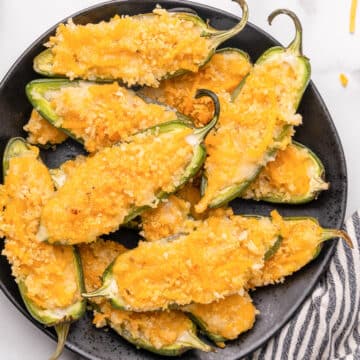
Vegan Jalapeno Poppers
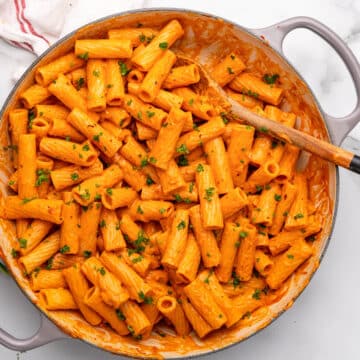
Vegan Vodka Pasta
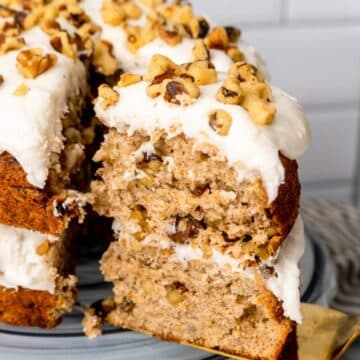
Vegan Banana Cake
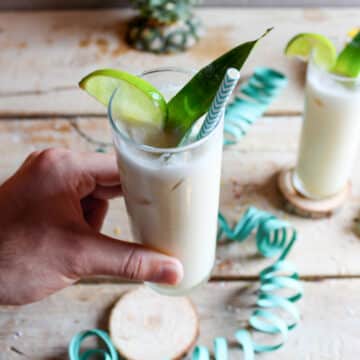
Vegan Pina Colada
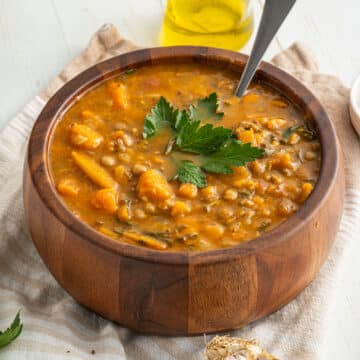
Sweet Potato Lentil Soup (Vegan & Vegetarian)
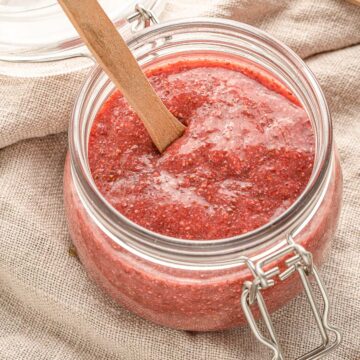
Raw Vegan Strawberry Jam
Easy Vegan Coleslaw
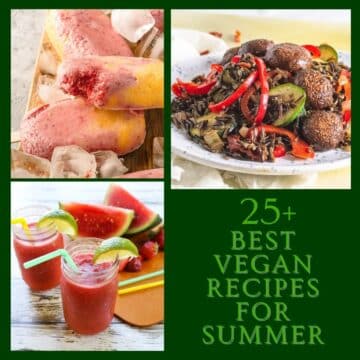
25+ Best Vegan Recipes For Summer
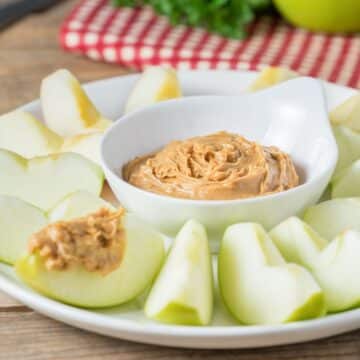
5-Minute Vegan Peanut Butter Dip
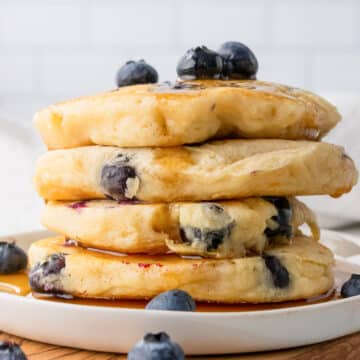
Vegan Blueberry Pancakes
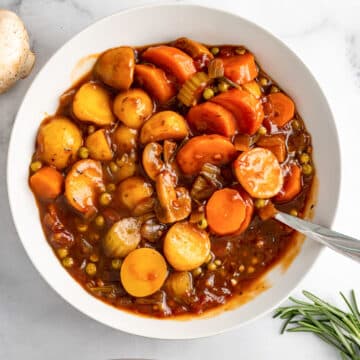
Old-Fashioned Vegan Stew
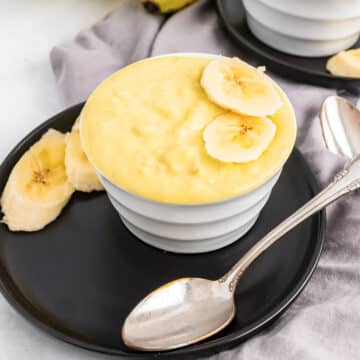
Vegan Banana Pudding
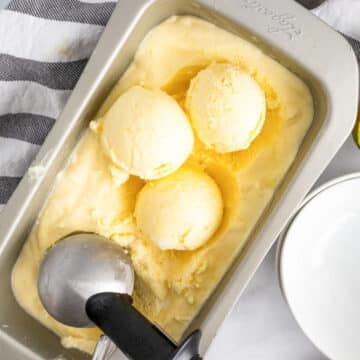
Vegan Mango Ice Cream
35 Vegan Cookie Recipes
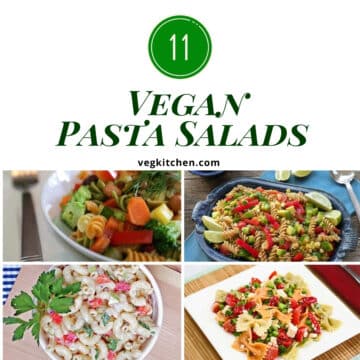
11 Vegan Pasta Salads
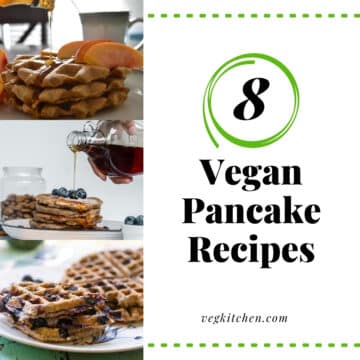
The Best Vegan Pancake Recipes!
Vegan Strawberry Mango Popsicles
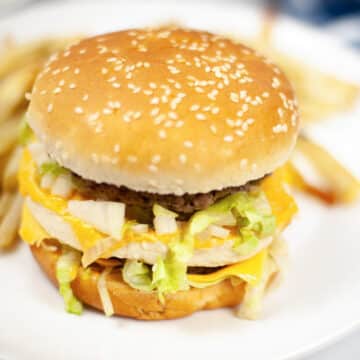
Copycat Vegan Big Mac Sauce
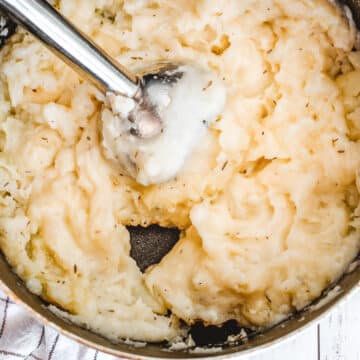
Vegan Mashed Potatoes
Go to page
1
Go to page
2
Go to page
3
Interim pages omitted
…
Go to page
49
Go to
Next Page »