VegKitchen

  • Vegan Recipes
    • Appetizers
    • Breakfast
    • Main Dishes
    • Pasta and Noodles
    • Salads
    • Sandwiches and Wraps
    • Sauces, Dressings, and Condiments
    • Side Dishes
    • Soups, Stews, and Chilis
    • Snacks and Dips
    • Desserts
    • Drinks
    • Cheese-y Delights
    • Raw Vegan
    • Slow-Cooker
  • Vegan Living
    • Vegan Substitutions Guide
    • Kid Friendly
    • More Vegan Living
  • About
  • Shop Cookbooks
menu icon
go to homepage
  • Recipes
  • Vegan Life
  • Cookbooks
  • Freebie!
search icon
Homepage link
  • Recipes
  • Vegan Life
  • Cookbooks
  • Freebie!
×
Home » You searched for chocolate

Search Results for: chocolate

No-Bake Vegan Cocoa Maca-roons

August 10, 2014 by Nicole @ VegKitchen 13 Comments

Vegan no-bake coconut Maca-roons

These no-bake vegan cocoa maca-roons pack almonds, dates, and cacao into a naturally sweet, energizing bite rolled in coconut - no oven, and ready in about 15 minutes.
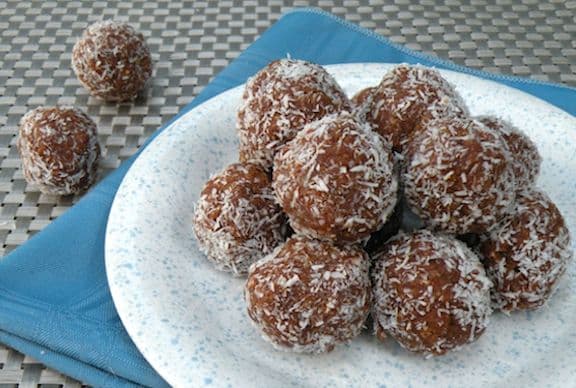
Vegan no-bake coconut maca-roons piled on a plate

Key Ingredients & Substitutions

  • Almonds. Ground into the base of the maca-roons for texture and healthy fats. Swap in walnuts or cashews if you prefer.
  • Nut butter or tahini. Binds the mixture together and adds richness. Almond butter, peanut butter, or tahini all work.
  • Medjool dates. The natural sweetener and binder. Make sure they're soft and moist - if yours are dry, soak them in warm water for 10 minutes and drain well first.
  • Maca powder. Adds an energizing, malty flavor. If you're not using maca, omit it and substitute ¼ cup fine oatmeal or wheat germ.
  • Cacao or cocoa powder. Brings the chocolate flavor throughout the mixture.
  • Shredded coconut. Mixed in for texture and used again on the outside to coat each ball. Unsweetened coconut keeps these from turning too sweet.
  • Maple syrup or agave nectar. Adds a touch of extra sweetness. Adjust to taste depending on how sweet your dates are.

Variations

  • Chocolate-dipped. After chilling, dip half of each maca-roon in melted dairy-free chocolate and let set.
  • Nut-free. Swap the almonds and nut butter for sunflower seeds and sunflower seed butter.
  • Extra chewy. Add an extra date or two for a softer, chewier texture.
  • Spiced. Add a pinch of extra cinnamon or a dash of espresso powder for a mocha-spice flavor.
  • Citrus twist. Add a bit of orange or lemon zest for a brighter flavor.
  • Protein-boosted. Blend in a scoop of chocolate or vanilla protein powder, adding a splash of water if the mixture gets too dry.

Tips for the Best No-Bake Vegan Cocoa Maca-roons

  • Use soft, moist dates. Dry dates won't blend into a cohesive mass - soak them in warm water for about 10 minutes and drain well if they feel firm.
  • Process in stages. Grinding the almonds first, then adding everything else, gives the smoothest, most evenly textured maca-roons.
  • Add water sparingly. A tablespoon at a time is plenty - too much will make the mixture too wet to roll.
  • Wet your hands before rolling. This keeps the sticky mixture from clinging to your palms as you shape the balls.
  • Chill before serving. Refrigerating for about an hour firms up the maca-roons so they hold their shape.

How to Serve

Arrange these maca-roons on a plate for an easy no-bake dessert, snack, or lunchbox treat. They also make a great homemade gift when packed into a small tin or jar. Store any extras in an airtight container in the refrigerator for up to a week, or freeze them for longer storage - just let them sit at room temperature for a few minutes before serving.

Looking for more ways to use maca? Check out our 5 Vegan Maca Recipes roundup for more energizing ideas.

No-bake vegan cocoa maca-roons vertical photo

Recipe

Vegan no-bake coconut Maca-roons

No-Bake Vegan Cocoa Macaroons

5 from 5 votes
These no-bake vegan cocoa maca-roons blend almonds, dates, and cacao into a naturally sweet, energizing bite rolled in coconut.
Print Pin Save Saved!
Prep Time: 15 minutes minutes
Total Time: 15 minutes minutes
Servings: 20 to 24
Prevent your screen from going dark

Ingredients

  • ½ cup slivered or sliced almonds
  • ½ cup nut butter or tahini
  • ½ cup Medjool dates about 8 to 10
  • ¼ cup maca powder or see note
  • 2 tablespoons cacao or organic cocoa powder
  • ½ teaspoon cinnamon
  • 2 teaspoons vanilla extract
  • ½ cup shredded coconut plus more for rolling
  • 2 to 3 tablespoons maple syrup or agave nectar to taste
US Customary - Metric

Instructions

  • Place the almonds in a food processor and process until finely ground.
  • Add the remaining ingredients (except the extra coconut for coating) and process until the mixture starts holding together as a mass. If it doesn't come together after a minute or two — this depends on how moist the dates are and how dense the nut butter is — add water, no more than a tablespoon at a time, until it does.
  • Roll the mixture into 1-inch balls. Spread the extra coconut on a small plate and roll each ball in it to coat.
  • Arrange the coated balls on a plate and refrigerate for about an hour before serving.

Nutrition (Estimate per Serving)

Calories: 93kcalCarbohydrates: 9gProtein: 3gFat: 6gSaturated Fat: 1gPolyunsaturated Fat: 1gMonounsaturated Fat: 3gTrans Fat: 1gSodium: 7mgPotassium: 155mgFiber: 2gSugar: 6gVitamin A: 6IUVitamin C: 1mgCalcium: 45mgIron: 1mg
Vegan-ize any recipe!Grab our free vegan cheat sheet, packed with my favorite easy substitutions to make any recipe vegan.
Vegan Mocha Maca Banana Smoothie

August 6, 2014 by Nicole @ VegKitchen 2 Comments

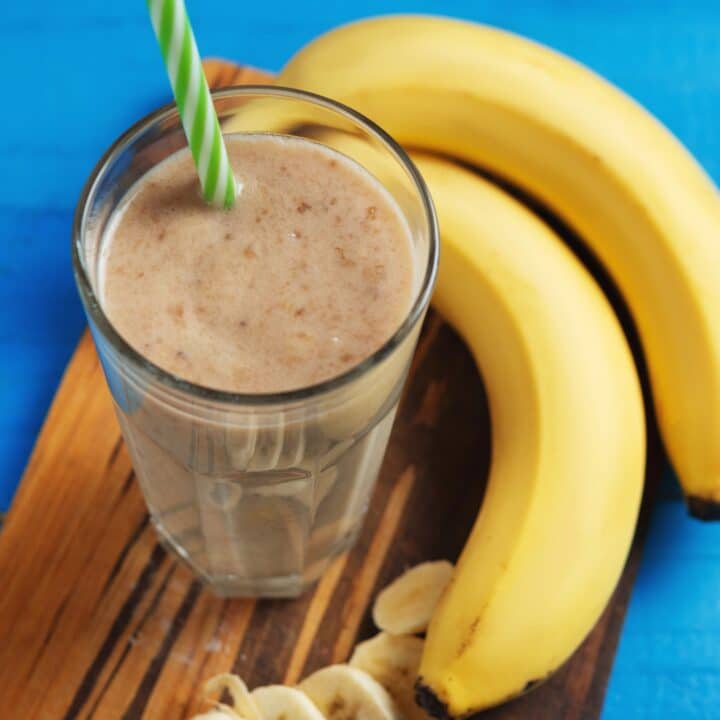
Vegan mocha maca banana smoothie in a glass with bananas

This vegan mocha maca banana smoothie blends rich coffee and cocoa with frozen banana and a boost of maca powder for a creamy, energizing sip you can make in five minutes flat.

Vegan mocha maca banana smoothie in a glass with bananas

Key Ingredients & Substitutions

  • Frozen bananas. They're the creamy base of the smoothie. No frozen bananas on hand? Use fresh, ripe bananas and add a handful of ice.
  • Maca powder. Adds an earthy, malty flavor and a natural energy boost. If you're new to maca, start with the lesser amount and use a gelatinized maca for easier digestion.
  • Instant coffee. Dissolved in boiling water for that mocha kick. Use decaf if you want the flavor without the caffeine, or substitute ¼ cup strong brewed coffee, cooled.
  • Cocoa or cacao powder. Brings the chocolate flavor. Cacao powder is less processed and a touch more bitter; cocoa powder is milder and sweeter.
  • Vanilla almond milk. Adds creaminess and a hint of sweetness. Any nondairy milk works, including oat or soy milk.
  • Liquid sweetener. Maple syrup or agave nectar rounds out the bitterness from the coffee and cocoa. Add to taste.
  • Cinnamon. A warm background note that plays well with the mocha flavor. Leave it out if you'd like a cleaner mocha taste.

Variations

  • Peanut butter mocha. Blend in a tablespoon of peanut or almond butter for extra richness.
  • Mint mocha. Add a few fresh mint leaves or a drop of peppermint extract.
  • Protein boost. Stir in a scoop of vanilla or chocolate vegan protein powder.
  • Frozen coffee cubes. Freeze leftover coffee in an ice cube tray and use those instead of regular ice for a stronger, less watered-down flavor.
  • Spiced mocha. Add a pinch of cayenne or extra cinnamon for a Mexican hot chocolate-inspired twist.
  • Chocolate chunk. Blend in a tablespoon of dairy-free chocolate chips for little bursts of chocolate throughout.

Tips for the Best Mocha Maca Banana Smoothie

  • Freeze your bananas ahead of time. Peel and slice ripe bananas, then freeze them in a single layer so they blend smoothly instead of forming a hard block.
  • Fully dissolve the coffee and cocoa. Stirring them into boiling water first, rather than adding the powders straight to the blender, keeps the smoothie from turning gritty.
  • Start with less maca. Its flavor is strong and a little bitter, so use the lower end of the range until you know how much you like.
  • Blend in stages. Add the liquid first, then the bananas, so the blades move freely and everything purees evenly.
  • Taste right before serving. Coffee and cocoa can vary in bitterness, so adjust the sweetener at the end rather than at the start.

How to Serve

Pour this smoothie into tall glasses and enjoy it as an energizing breakfast or afternoon pick-me-up. For a heartier meal, serve it alongside granola or a bowl of vegan overnight oats. On a hot day, pour the extra into popsicle molds and freeze for a mocha treat, or top each glass with a dusting of cocoa powder and a couple of coffee beans for a coffee-shop-style finish.

Looking for more ways to use maca? Check out our 5 Vegan Maca Recipes roundup for more energizing ideas.

Vegan mocha maca banana smoothie vertical photo

Recipe

Vegan mocha maca banana smoothie in a glass with bananas

Mocha Maca Banana Smoothie

5 from 5 votes
This vegan mocha maca banana smoothie blends coffee, cocoa, and frozen banana with energizing maca powder for a creamy, 5-minute treat.
Print Pin Save Saved!
Prep Time: 8 minutes minutes
Total Time: 8 minutes minutes
Servings: 2
Prevent your screen from going dark

Ingredients

  • 1 heaping teaspoon organic instant coffee
  • 2 teaspoons cocoa or cacao powder or see variation, below
  • ½ cup boiling water
  • 2 frozen bananas broken into chunks
  • 1 cup vanilla almond milk sweetened or not
  • 1 to 2 tablespoons maca powder
  • Pinch of cinnamon
  • Liquid sweetener agave, stevia, maple syrup, etc. if using unsweetened almond milk, to taste, optional
  • Ice for serving optional
US Customary - Metric

Instructions

  • Combine the instant coffee and cocoa powder in a mug with the boiling water and stir until fully dissolved. Pour this mixture into a blender.
  • Add the frozen bananas, almond milk, maca powder, and cinnamon, and blend until completely smooth.
  • Divide between two glasses. Taste, then stir in more sweetener if needed, or thin with a splash more almond milk if the smoothie is too thick.
  • Add ice and blend again briefly if you'd like it extra cold, then serve at once.

Nutrition (Estimate per Serving)

Calories: 142kcalCarbohydrates: 31gProtein: 3gFat: 2gSaturated Fat: 1gPolyunsaturated Fat: 1gMonounsaturated Fat: 1gSodium: 167mgPotassium: 535mgFiber: 5gSugar: 16gVitamin A: 76IUVitamin C: 11mgCalcium: 180mgIron: 1mg
Vegan-ize any recipe!Grab our free vegan cheat sheet, packed with my favorite easy substitutions to make any recipe vegan.

Unbaked Fudgy Brownies

July 3, 2014 by Nicole @ VegKitchen 9 Comments

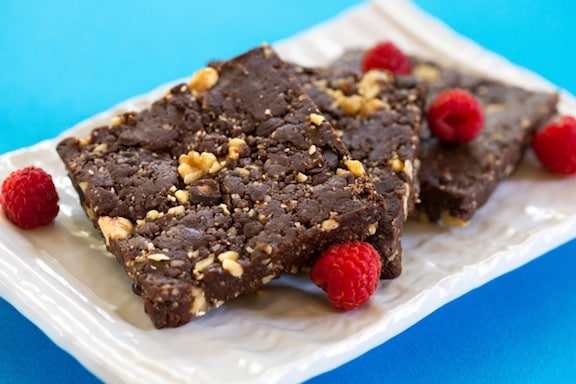
Unbaked vegan chocolate brownies

You won't believe how easy it is to make these unbaked vegan chocolate brownies, rich with nuts and sweetened with dates. They're flourless, gluten-free, and altogether rich and yummy. Recipe from Plant Power: Transform Your Kitchen, Plate, and Life with More Than 150 Fresh and Flavorful Vegan Recipes by Nava Atlas. ©2014, published by HarperOne, reprinted by permission. Photos by Hannah Kaminsky.   [Read more...]

Health Benefits of Chia, Flax, and Hemp Seeds

May 10, 2014 by Nicole @ VegKitchen 49 Comments

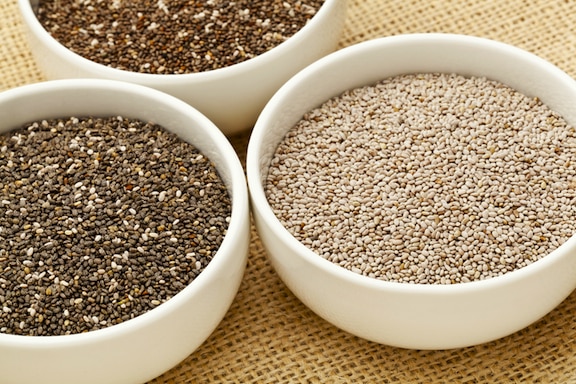
Chia seeds - varieties

Chia, hemp, and flaxseeds seem to be everywhere these days! This trio of tiny seeds offers an abundance of health benefits, not the least of which are the valuable Omega-3 fatty acids. These seeds aren’t just for those following plant-based diets, but anyone who wants to boost their intake of nutrients. Read on for a brief introduction to these small but mighty super foods, their comparative benefits, and some ways to use them in your daily fare. [Read more...]

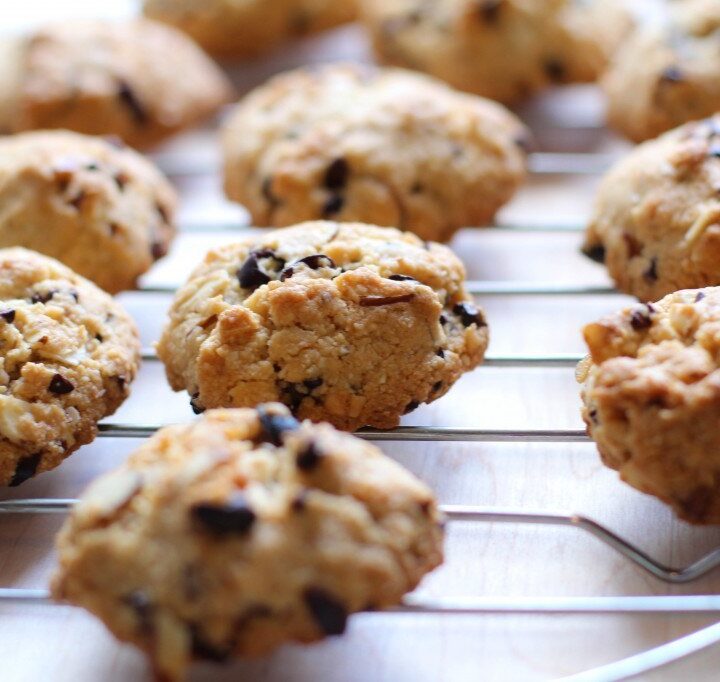
Crunchy Almond Cacao Nib Cookies

March 26, 2014 by Nicole @ VegKitchen 14 Comments

Cacao Nib Cookies

These cookies are truly guilt free. They're refined sugar-free, dairy free, and filled with nutritional ingredients. They are very light and the cacao nibs offer the perfect crunchy texture. If you are unfamiliar with cacao nibs, they are nature’s chocolate chips. Cacao nibs are literally cacao beans that have been roasted and separated from their husks, then peeled and crumbled.

They may look sweet, but aren’t. They're pure, bitter cacao, and offer a great crunch to baked goods. Cacao nibs are also very nutritional. Did you know they have a higher antioxidant level than blueberries? And, they're one of the best sources of magnesium. Cacao nibs offer a great, natural way to include this important mineral in your diet, while satisfying those chocolate cravings.  Recipe and photos contributed by Sophia Zergiotis, from Love and Lentils. 

Makes about 16

  • 1 ¼ cups almond flour
  • ¼ cup coconut oil (soften if very hard)
  • 3 tablespoons maple syrup
  • ½ cup shredded unsweetened coconut
  • ¼ cup raw cacao nibs
  • 1 teaspoon pure vanilla extract
  • ½ cup chopped almonds
  • ¼ teaspoon salt
  • ¼ teaspoon baking soda

Preheat oven to 350°F.

In a small bowl, mix coconut oil, maple syrup, and vanilla.

In a separate bowl, mix flour, salt, baking soda, almonds, coconut, and cacao nibs. Add dry ingredients to wet.

Line a baking sheet with parchment paper. Drop tablespoons of the dough onto the baking sheet about 1 to 2 inches apart.

Bake in the preheated oven for 10 to 12 minutes or until golden around the edges. Let stand for a minute or two, then cool on a wire rack.

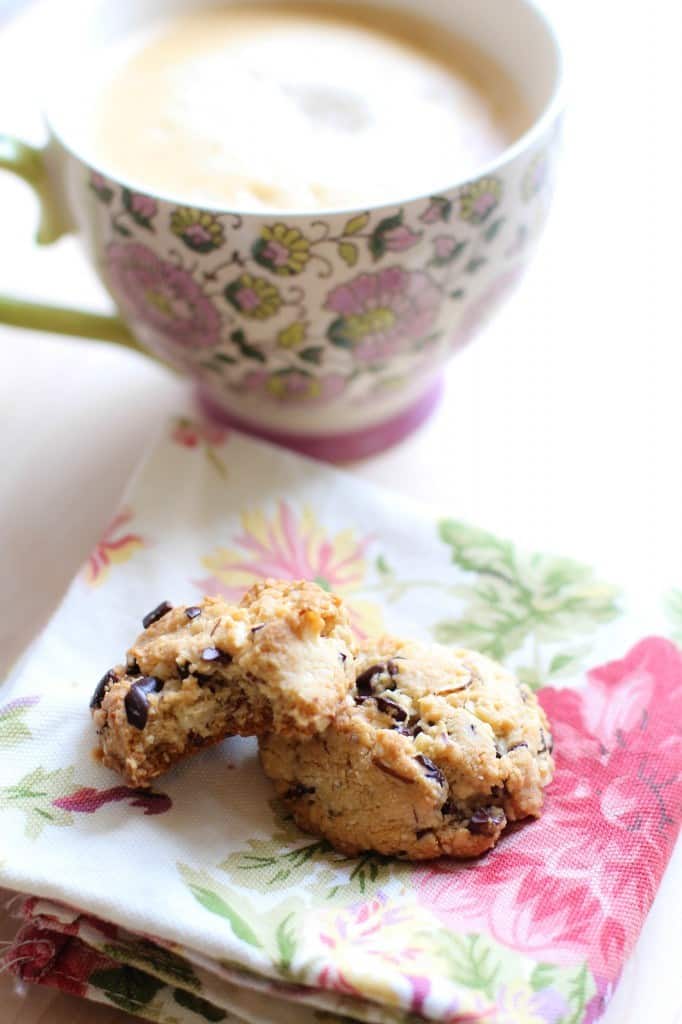
Enjoy with a nice cup of coffee or tea and store the rest of the cookies in an air tight container for up to a week.

Cacao Nib Cookies 2

  • Explore more of VegKitchen's Vegan Cookies and Bars.

Vegan Zucchini-Raisin Muffins

December 16, 2013 by Nicole @ VegKitchen 12 Comments

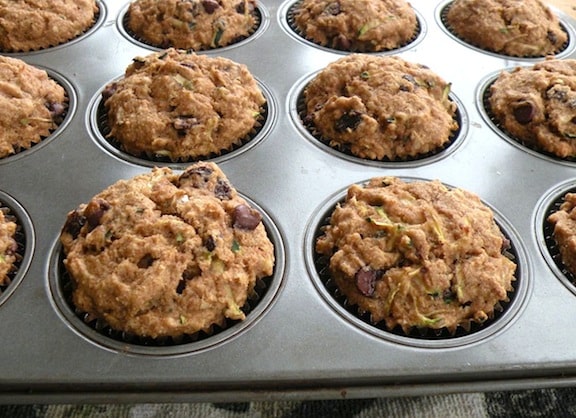
Zucchini-raisin muffins

These delectable and healthy vegan zucchini-raisin muffins give you the classic  combo in an egg-free, dairy-free rendition. Use them as an alternative to sandwiches for brown-bag or school lunch, or as a healthy snack. For this recipe, the chocolate chips and walnuts are optional, but I like to use them both!
[Read more...]

Buckeye Pie

November 11, 2013 by Nicole @ VegKitchen 10 Comments

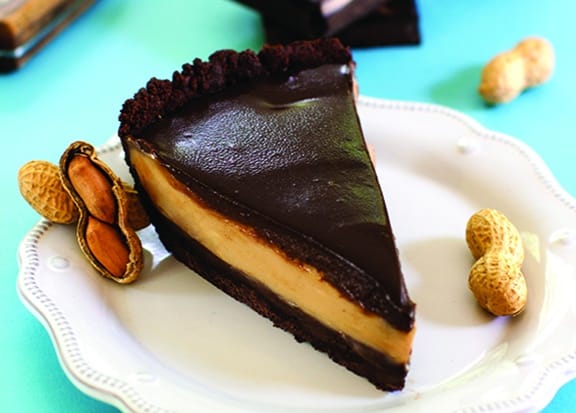
Buckeye Pie Hannah Kaminsky

Cradled in a chocolate crust and blanketed by a ganache topping, the silky peanut butter mousse at the center is creamy and luscious. The hardest part of this pie is making the crust (if indeed you’re making yours from scratch), so once it’s baked and ready to go, you’re more than halfway done! Recipe adapted from Easy as Vegan Pie by Hannah Kaminsky. © 2013, Skyhorse Publishing, reprinted by permission. Photos by Hannah Kaminsky.

[Read more...]

Vegan Butternut Squash Smoothie

October 13, 2013 by Nicole @ VegKitchen 9 Comments

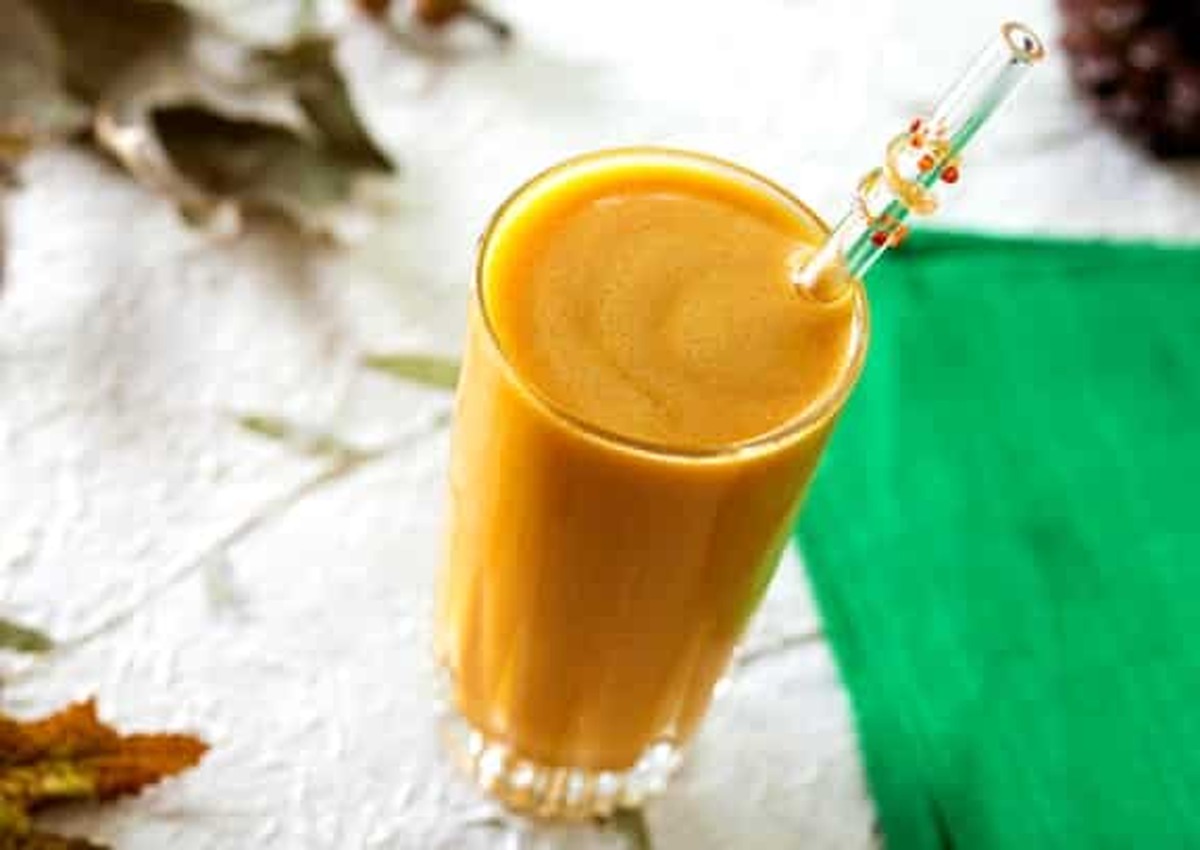
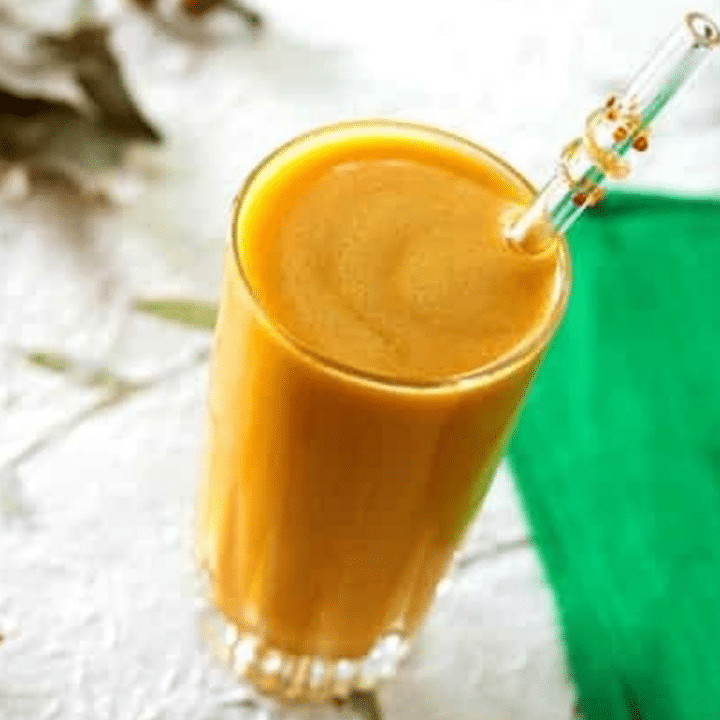
Vegan butternut squash smoothie featured image, overhead close-up of the smoothie in a glass with a glass straw

This velvety vegan smoothie tastes like a liquid slice of pumpkin pie — no oven required. Warmly spiced with cinnamon and ginger and packed with vitamins A and C, this butternut squash smoothie is the one you'll want on repeat all fall and winter.

Vertical photo of a vegan butternut squash smoothie in a tall glass with a glass straw and green napkin

Photos by Hannah Kaminsky of Bittersweet Blog.

Key Ingredients & Substitutions

  • Butternut squash. Well-baked and mashed squash gives this smoothie its silky texture and naturally sweet, almost pie-like flavor. Sugar pumpkin or golden acorn squash both work well as substitutes — just use a good, sweet squash.
  • Vanilla nondairy milk. Sweetened or unsweetened both work, and any nut milk is fine here. Sweetened milk means you likely won't need to add extra sweetener at all.
  • Orange juice. Fresh-squeezed is best for brightness, but any good-quality OJ will do.
  • Cinnamon and ground ginger. This classic warm-spice combo is what makes the smoothie taste like pumpkin pie in a glass. Swap in ½ teaspoon grated fresh ginger if you want a more distinct, peppery kick.
  • Cashew or almond butter. Adds richness and a dose of healthy fat and protein so the smoothie feels like a real breakfast, not just juice.
  • Vanilla extract. Rounds out the spices and enhances the natural sweetness of the squash.
  • Liquid sweetener (optional). Stevia, agave, or maple syrup — but taste the smoothie first. You may not need any, especially if you're using sweetened nondairy milk.

Helpful Tips

Bake the squash ahead of time. This smoothie relies on well-baked, mashed butternut squash for its smooth texture and mellow sweetness, so bake a squash (or two) whenever you have the oven on for something else and freeze the extra puree in single-cup portions for whenever a craving hits.

Cutting a raw squash is the hardest part — prebaking makes it easy. See VegKitchen's video on how to prebake a whole butternut squash so it becomes simple to cut in half and scoop. Bake it a little longer than the video instructs; you want to be able to pierce the narrow neck very easily with a knife.

Using a high-speed blender? You can skip baking altogether and start with about 1 ¼ cups raw butternut squash chunks instead. A powerful high-speed blender like a Vitamix will break the raw squash down completely; if the mixture gets a little warm from the blending friction, just add a few ice cubes to cool it back down to smoothie temperature.

Taste before you sweeten. Between the squash, orange juice, and vanilla nondairy milk, this smoothie already has a lot of natural sweetness built in. Blend first, taste, and only add liquid sweetener if it actually needs it.

Chill your ingredients for a frostier texture. Using cold nondairy milk and orange juice straight from the fridge (or squash puree that's been chilled after baking) gives you a thicker, more milkshake-like smoothie without watering it down with ice.

A tall glass of creamy orange butternut squash smoothie with a glass straw, set on a white surface with fall leaves and a pinecone

Variations

  • Swap the squash. Sugar pumpkin or golden acorn squash both make excellent substitutes for butternut, as long as the squash is good and sweet.
  • Add a frozen banana. Blend in half a frozen banana for extra creaminess and natural sweetness (you may not need any liquid sweetener at all).
  • Boost the protein. Stir in a scoop of your favorite vanilla or unflavored plant-based protein powder to turn this into a more filling meal.
  • Make it a smoothie bowl. Use less liquid and pour the thicker result into a bowl, then top with granola, pepitas, and a drizzle of maple syrup.
  • Deepen the spice. Add a pinch of ground nutmeg or clove along with the cinnamon and ginger for a more complex, pie-spice flavor.
  • Make it extra green. Blend in a handful of baby spinach; the color mellows into a warm gold-green but the flavor barely changes.

Serving Ideas

This smoothie is filling enough to be breakfast on its own, especially with the almond butter and squash providing some staying power. For a heartier morning, pair a glass with a slice of whole-grain toast spread with more nut butter, or a handful of granola on the side.

It also makes a nice not-too-sweet dessert or afternoon pick-me-up during pumpkin season — serve it in a small glass alongside a slice of vegan pumpkin pie for a fun flavor echo, or set out a pitcher of it next to other fall favorites like butternut squash soup for a cozy, all-squash brunch spread.

Storing & Freezing

This smoothie is best enjoyed right after blending, but leftovers will keep in an airtight container or sealed jar in the refrigerator for up to 1 day. The squash and juice will naturally separate as it sits, so give it a good shake or a quick re-blend before drinking.

To freeze, pour the finished smoothie into an airtight container or ice cube tray and freeze for up to 1 month. Thaw partially in the refrigerator overnight, then re-blend to bring back the smooth texture before serving — it won't be quite as fresh-tasting as a newly blended batch, but it's a handy way to have a portion ready to go.

More Vegan Drinks

If you loved this vegan smoothie, here are a few more you might enjoy:

  • Vegan Chocolate Raspberry Banana Smoothie
  • Vegan Pina Colada
  • Dragonfruit Lemonade (3 Ingredients!)
  • 5 Vegan Maca Recipes

Recipe

Vegan butternut squash smoothie featured image, overhead close-up of the smoothie in a glass with a glass straw

Vegan Butternut Squash Smoothie

4.78 from 18 votes
This creamy vegan butternut squash smoothie tastes like a liquid slice of pumpkin pie, gently spiced with cinnamon and ginger and naturally sweetened. It's a cozy, vitamin-packed way to start a fall or winter morning.
Print Pin Save Saved!
Prep Time: 5 minutes minutes
Servings: 2 large (12-ounce) smoothies, or 3 smaller (8-ounce) servings
Prevent your screen from going dark

Ingredients

  • 1 cup butternut squash well-baked and mashed; see notes (about 245g)
  • ¾ cup vanilla nondairy milk sweetened or unsweetened; any nut milk works well (about 177ml)
  • ¾ cup orange juice preferably fresh-squeezed (about 177ml)
  • ½ teaspoon cinnamon ground (about 1.3g)
  • ¼ teaspoon ginger ground; or ½ teaspoon grated fresh ginger for a more distinct flavor (about 0.5g)
  • 1 tablespoon cashew or almond butter heaping (about 16g)
  • ½ teaspoon vanilla extract (about 2.5ml)
  • liquid sweetener to taste, optional; stevia, agave, or maple syrup; taste first, you may not need it, especially if using sweetened nondairy milk

Instructions

  • Combine the mashed butternut squash, nondairy milk, orange juice, cinnamon, ginger, cashew or almond butter, and vanilla extract in a blender.
  • Blend on high until completely smooth and creamy, about 30 to 60 seconds. Taste, then blend in liquid sweetener if you'd like it sweeter.
  • Pour into glasses and serve at once at room temperature.

Notes

If using a high-speed blender and you have the means to cut up a raw butternut squash, you can start with 1 ¼ cups raw chunks instead of baked squash. You can also use sugar pumpkin or golden acorn squash in place of the butternut — this works best with a good, sweet squash.

Nutrition (Estimate per Serving)

Calories: 170kcalCarbohydrates: 31gProtein: 3gFat: 6gSaturated Fat: 0.6gSodium: 40mgPotassium: 480mgFiber: 3gSugar: 20gVitamin A: 8500IUVitamin C: 45mgCalcium: 60mgIron: 1mg
Vegan-ize any recipe!Grab our free vegan cheat sheet, packed with my favorite easy substitutions to make any recipe vegan.

Jamocha Silk Pie

July 2, 2013 by Nicole @ VegKitchen Leave a Comment

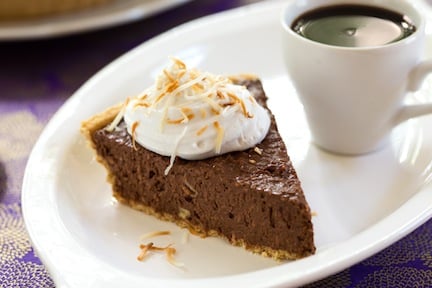
Vegan chocolate, coconut, tofu mousse pie detail

This concept is not original – you can’t throw a stone in vegan blogland and not find a tofu and cocoa-type pie. But the ingredients are what give it a uniquely rich flavor profile and texture. With the blend of chocolate and a hint of coffee, one slice will sate you for the day. And it’s easy and pretty enough to throw together for last-minute company. This takes only about 10 minutes to make, plus about 30 minutes to firm up in the freezer — if you can wait that long. Recipe contributed by Ashlee Piper, of The Little Foxes. Photos by Hannah Kaminsky, of Bittersweet. [Read more...]

Vegan Mexican Hot Cocoa

January 3, 2013 by Nicole @ VegKitchen Leave a Comment

mexican hot cocoa alicia simpson

Switch up your typicla hot cocoa routine with this Vegan Mexican Hot Cocoa. Sweet with a bit of a kick, this hot cocoa will become an instant favorite!

vegan mexican hot cocoa
[feast_advanced_jump_to]

The taste and aroma of Mexican chocolate are hard to resist. The notes of almond, cinnamon, and vanilla (with just a hint of spice from cayenne pepper!) will take your taste buds to another world. Be careful with the cayenne, though-with such a sweet base underneath it, the heat jumps out quick. If you aren't paying attention when you add that dash of cayenne, you'll have one spicy hot cocoa on your hands!

Sweet tooth still craving? Here are more Vegan Baking and Sweets.

How to Make Vegan Mexican Hot Cocoa

  1. Whisk all ingredients together in a saucepan.
  2. Heat until warmed through.
  3. Divide hot cocoa between four mugs.
  4. Serve each mug with a cinnamon stick if desired.

Full directions for how to make Vegan Mexican Hot Cocoa are in the printable recipe card at the bottom of the post.

Vegan Mexican Hot Cocoa FAQs

How long can you keep leftover hot cocoa?

You can keep your leftover hot cocoa for up to 1 week. Store it in an airtight container, like a drink pitcher, in the fridge. When you're ready to drink more, just pour a bit of cocoa into a mug and reheat it in the microwave.

Can I add other toppings to my hot cocoa besides cinnamon sticks?

You can add whatever toppings you like to your hot cocoa! Marshmallows, peppermint, and whipped cream are all great options. You can even mess around with the seasonings and flavorings to make a hot cocoa totally unique to your taste.

Recipe

mexican hot cocoa alicia simpson

Vegan Mexican Hot Cocoa

No ratings yet
Switch up your typicla hot cocoa routine with this Vegan Mexican Hot Cocoa. Sweet with a kick, this hot cocoa will become an instant favorite!
Print Pin Save Saved!
Servings: 4
Prevent your screen from going dark

Ingredients

  • ¼ cup unsweetened cocoa powder
  • ¼ cup agave nectar plus 1 tablespoon
  • ¾ teaspoon ground cinnamon
  • 4 cups unsweetened plain almond milk
  • ¾ teaspoon vanilla extract
  • ½ teaspoon almond extract
  • 1 dash cayenne pepper
  • cinnamon sticks for serving, optional

Instructions

  • Whisk all the ingredients together in a medium saucepan.
  • Heat over medium heat until warmed through.
  • Divide hot cocoa between four mugs.
  • Place a cinnamon stick inside each mug before serving if you'd like.

Nutrition (Estimate per Serving)

Calories: 94kcalCarbohydrates: 15gProtein: 2gFat: 4gSaturated Fat: 1gPolyunsaturated Fat: 2gMonounsaturated Fat: 2gSodium: 327mgPotassium: 86mgFiber: 3gSugar: 10gVitamin A: 1IUVitamin C: 2mgCalcium: 311mgIron: 1mg
Vegan-ize any recipe!Grab our free vegan cheat sheet, packed with my favorite easy substitutions to make any recipe vegan.
Contributed by Alicia C. Simpson from Quick and Easy Low-Cal Vegan Comfort Food: 150 Down-Home Recipes Packed with Flavor, Not Calories*, © 2012, published by The Experiment. Photo by Sara Lynn Paige.

*This post contains affiliate links. If the product is purchased by linking through this review, VegKitchen receives a modest commission, which helps maintain our site and helps it to continue growing!

Stewed Spiced Pears in Red Wine

December 7, 2012 by Nicole @ VegKitchen 1 Comment

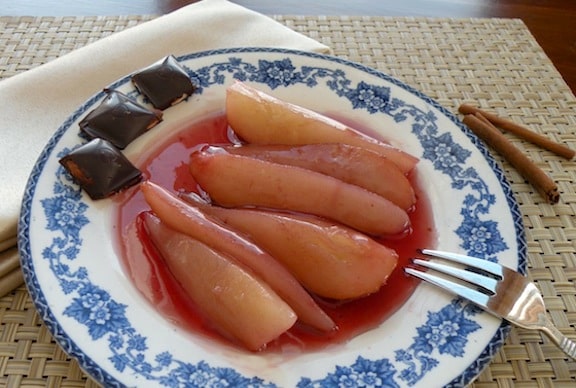
Pears stewed in red wine

In this light dessert, pears are lightly cooked in red wine and apple juice and gently spiced with cinnamon and allspice. A delicious and elegant way to present pears, this is especially nice in the winter when so few other fruits are available. [Read more...]

Vegan Pumpkin Bread

October 29, 2012 by Nicole @ VegKitchen Leave a Comment

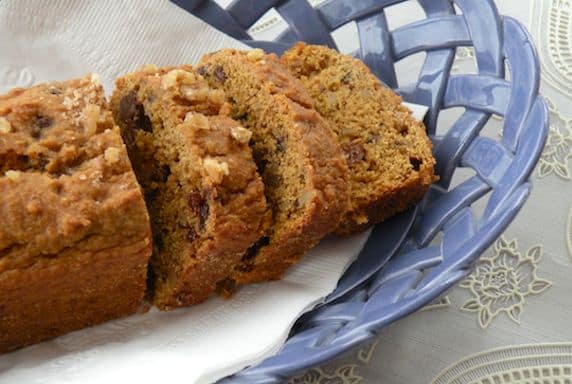
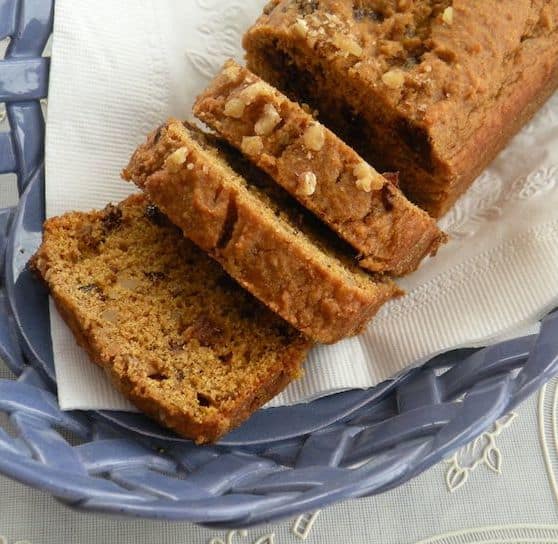
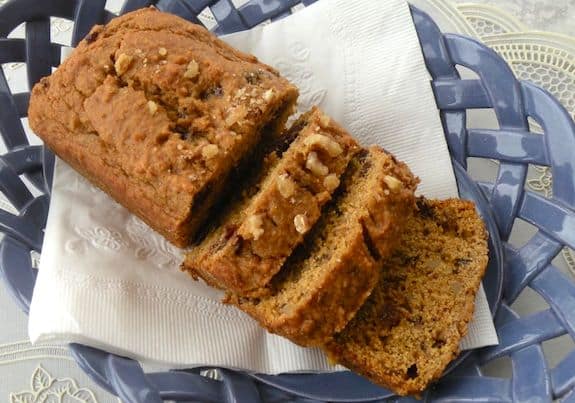
Pumpkin or squash mini-loaves

This Vegan Pumpkin Bread is perfect for Fall! Packed with delicious pumpkin spice flavor, it makes a tasty snack or a fantastic holiday gift.

vegan pumpkin bread on a blue plate

This vegan pumpkin bread is one of my all time favorite Fall treats. It's so simple to make, totally delicious, and I usually have all the ingredients on hand to start with.

I typically bake this recipe in three mini loaf pans (like these), so I can keep one for my family and gift the others to friends. They make a nice gift to bring when visiting friends and relatives over the winter holidays.

These pumpkin breads are also a great family-friendly treat, full of nutritious ingredients, to make and enjoy at home. A mug of hot cocoa is the very best companion for this pumpkin bread, but tea will work too.

mini pumpkin loaf

If you love this vegan pumpkin bread, be sure to check out these other tasty ideas:

  • Vegan Pumpkin Pie
  • Vegan Chocolate Chip Pumpkin Muffins
  • Vegan Pumpkin Protein Balls

Recipe

Pumpkin or squash mini-loaves

Vegan Pumpkin Bread (Mini Loaves!)

No ratings yet
This Vegan Pumpkin Bread is perfect for Fall! Packed with delicious pumpkin spice flavor, it makes a tasty snack or a fantastic holiday gift.
Print Pin Save Saved!
Prep Time: 20 minutes minutes
Cook Time: 30 minutes minutes
Total Time: 50 minutes minutes
Servings: 36 slices
Prevent your screen from going dark

Equipment

  • 3 Mini Loaf Pans

Ingredients

  • 1 ½ cups whole wheat pastry flour
  • ½ cup sugar
  • 2 teaspoon ground ginger
  • 2 teaspoon ground cinnamon
  • 2 teaspoon baking powder
  • ½ teaspoon baking soda
  • 1 cup pumpkin puree fresh or canned
  • 2 tablespoon maple syrup
  • 2 tablespoon safflower oil
  • 2 tablespoon orange juice or apple juice, more or less as needed
  • ⅔ cup raisins or currants
  • ⅓ cup finely chopped walnuts or pecans
  • ½ cup vegan chocolate chips optional
US Customary - Metric

Instructions

  • Preheat the oven to 350°F.
  • Combine the first 6 (dry) ingredients in a mixing bowl and stir together.
  • In another bowl, combine the pumpkin puree, syrup, and oil and whisk together until smooth. Make a well in the center of the dry ingredients and pour in the wet mixture. Stir together until completely mixed. If the batter is too stiff to mix, add a very small amount of juice to loosen it a bit, but let it should remain thick.
  • Stir in the raisins or currants, walnuts or pecans, and optional chocolate chips.
  • Divide the batter between 3 lightly oiled mini loaf pans (mine are 6 by 3 inches).
  • Bake for 25 to 30 minutes, or until a knife inserted into the center of one tests clean.

Nutrition (Estimate per Serving)

Calories: 69kcalCarbohydrates: 12gProtein: 1gFat: 2gSaturated Fat: 1gPolyunsaturated Fat: 1gMonounsaturated Fat: 1gTrans Fat: 0.001gSodium: 40mgPotassium: 66mgFiber: 1gSugar: 5gVitamin A: 1062IUVitamin C: 1mgCalcium: 24mgIron: 1mg
Vegan-ize any recipe!Grab our free vegan cheat sheet, packed with my favorite easy substitutions to make any recipe vegan.
Magic Vegan Muffins, with Variations

July 18, 2012 by Nicole @ VegKitchen 6 Comments

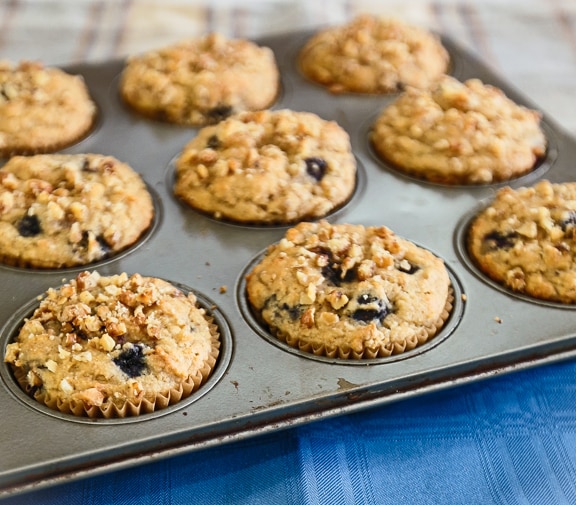
Lemony Blueberry Muffins

The magic in these vegan muffin recipes is that they use no eggs or dairy, but instead use applesauce as a binding and fat substitute. It's a great healthy baking technique, making the muffins amazingly moist while greatly reducing the need for added fat. Kids love muffins, and by using wholesome ingredients, they become a great substitute for sandwiches for school lunches, as well as serving as any time snacks. [Read more...]

Vegan a la Mode by Hannah Kaminsky

July 7, 2012 by Nicole @ VegKitchen 1 Comment

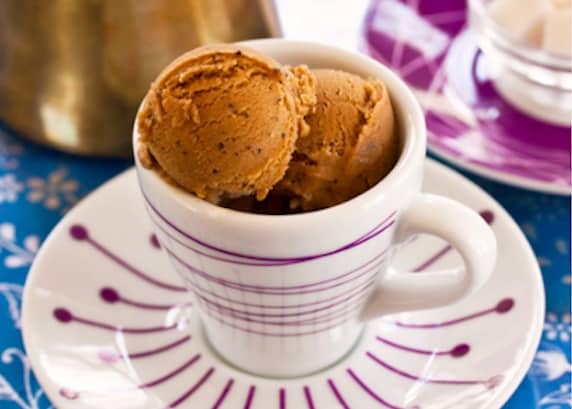
Turkish coffee ice cream

Sweltering temps have blanketed the Northeast again just as Hannah Kaminsky’s third book, Vegan a la Mode,* has hit the shelves. Icy cold treats are the perfect solution and Kaminsky’s sumptuous photos and highly creative recipes will have you ordering an ice cream maker before you can click out of this post. [Read more...]

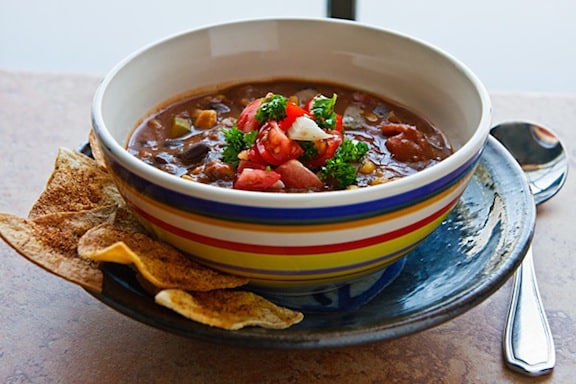
A Big Pot of Really Good Chili

January 29, 2012 by Nicole @ VegKitchen 11 Comments

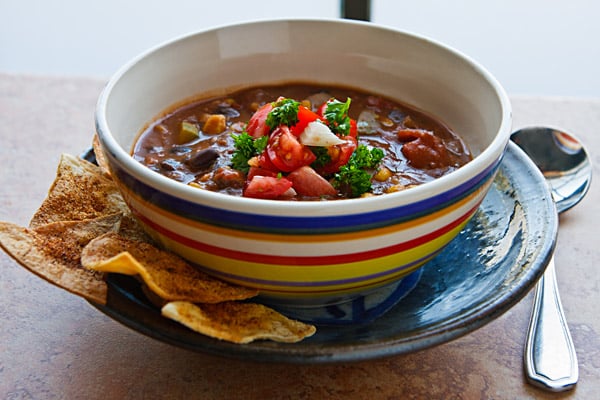
Big Pot of Really Good Vegan Chili

When you need a heaping helping of something fast, inexpensive, and hearty, I can think of few things that fit these criteria better than A Big Pot of Really Good Chili.

A Big Pot of Really Good Chili Recipe
A Big Pot of Really Good Chili; photo by Susan Voisin
[feast_advanced_jump_to]

I have been making this chili recipe for years. Simple, hearty, and warming, this chili is a great choice for casual winter parties like Super Bowl Sunday, or for everyday meals.

Chili is one of those foods that, I believe, can never go wrong and is great for any occasion. Depending on the setting, you can serve this chili with some homey cornbread, an elegant salad, or even a decadent chocolate cake (for dessert, of course)!

How to Make A Big Pot of Really Good Chili

  1. Heat oil in a large pot.
  2. Saute onion until translucent. Add garlic.
  3. Add all but last 3 ingredients.
  4. Simmer, covered, for 30 minutes.
  5. Season to your liking.
  6. Let chili sit, off the heat, until ready to serve.
  7. Serve garnished with cliantro and tomatoes.

Full directions for how to make A Big Pot of Really Good Chili are in the printable recipe card below.

A Big Pot of Really Good Chili FAQs

Why do you let the chili sit after cooking?

If you have time, you can let your chili sit-off the heat-for an hour or so after cooking. This gives the flavors in the chili more time to meld together. I always try to follow this step, but you can totally skip it if you want to!

What is the best way to store leftover chili?

I suggest storing your leftover chili in the fridge. Keep it in an airtight container and eat it within 5 days. You can also freeze your chili (see below).

Can you freeze chili?

Freezing chili is a great way to meal prep! I suggest freezing your chili in serving-size freezer-safe containers or baggies. Then, when you want some chili, simply pull out however many servings you need at a time and reheat them.

You can make an entire batch to freeze, freeze half of the finished chili, or simply freeze whatever leftovers you may have.

Here are more Bean Stews and Chilis.

Recipe

Big Pot of Really Good Vegan Chili

A Big Pot of Really Good Chili

No ratings yet
When you need something fast, inexpensive, and hearty, you'll want to make yourself A Big Pot of Really Good Chili.
Print Pin Save Saved!
Servings: 12
Prevent your screen from going dark

Ingredients

  • 2 tablespoon extra-virgin olive oil
  • 2 medium onions finely chopped
  • 5 cloves garlic minced
  • 1 medium green bell pepper diced
  • 1 medium red bell pepper diced
  • 84 oz beans of your choice try a combination of pinto, pink, and black beans; drained and rinsed
  • 28 oz tomatoes diced, with liquid
  • 16 oz tomato sauce
  • 1 jalapeño peppers or other hot peppers, seeded and minced OR 8 oz mild or hot green chiles, chopped
  • 1 tablespoon good-quality chili powder
  • 1 tablespoon unsweetened cocoa powder
  • 2 teaspoon dried oregano
  • 2 teaspoon ground cumin
  • salt and freshly ground pepper to taste
  • ripe tomatoes chopped, for garnish
  • cilantro or parsley, chopped, for garnish

Instructions

  • Heat the oil in a large soup pot.
  • Add the onion and sauté over medium-low heat until translucent.
  • Add the garlic and sauté until the onion is golden.
  • Add the remaining ingredients except the last three.
  • Bring to a simmer, then cover. Continue to simmer gently for 30 minutes, stirring occasionally, until the peppers are tender and the flavors meld.
  • Season with salt and pepper, and adjust the other seasonings.
  • If time allows, let the chili stand for several hours before serving. Heat through as needed. The chili should be nice and thick; if your chili is too thick, stir in a cup of water.
  • Serve your chili in individual bowls, garnished with tomatoes and cilantro.

Nutrition (Estimate per Serving)

Calories: 313kcalCarbohydrates: 54gProtein: 19gFat: 4gSaturated Fat: 1gPolyunsaturated Fat: 1gMonounsaturated Fat: 2gSodium: 219mgPotassium: 1184mgFiber: 17gSugar: 6gVitamin A: 1282IUVitamin C: 38mgCalcium: 87mgIron: 7mg
Vegan-ize any recipe!Grab our free vegan cheat sheet, packed with my favorite easy substitutions to make any recipe vegan.
Recipe from Vegan Holiday Kitchen. Photo by Susan Voisin.

Best Vegan Christmas Recipes

December 1, 2011 by Nicole @ VegKitchen 32 Comments

recipes for a vegan Christmas dinner menu

If you're planning a vegan Christmas dinner, you've come to the right place! I've rounded up all my favorite holiday worthy vegan recipes right here.

recipes for a vegan Christmas dinner menu

The best part of the holiday season has always been the food. Ok, fine. All the family togetherness is nice and all too. But really we're there to eat, right? 😉

And there's no reason for us plant based eaters to be left out of the fun. So I've gathered up all my favorite vegan Christmas recipes here. From appetizers to meatless main dishes to indulgent vegan desserts - there's something for everyone!

And if you're here planning your holiday menu, don't forget to check out our new Vegan Thanksgiving and Vegan Christmas cookbooks!

Best Vegan Christmas Recipes

Here's a mix-and-match list of festive and colorful vegan Christmas recipes to make planning your holiday gatherings easier and healthier.

Vegan Appetizers

These plant-centric appetizers are the perfect way to start off your vegan Christmas feast!

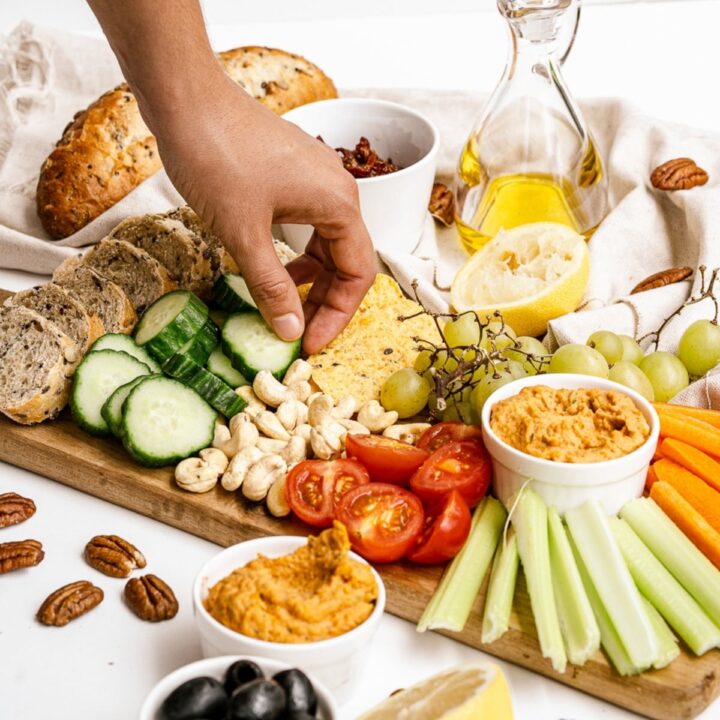
vegan charcuterie

Vegan Charcuterie Board

Ok, fine. It's not really charcuterie if it's vegan. But this gorgeous vegan snack board is the perfect way to kick off any celebration.

Image for Vegan Spinach Artichoke Dip

Vegan Spinach Artichoke Dip

This vegan-friendly spinach artichoke dip is packed with fresh, flavorful ingredients and only takes 30 minutes to throw together!

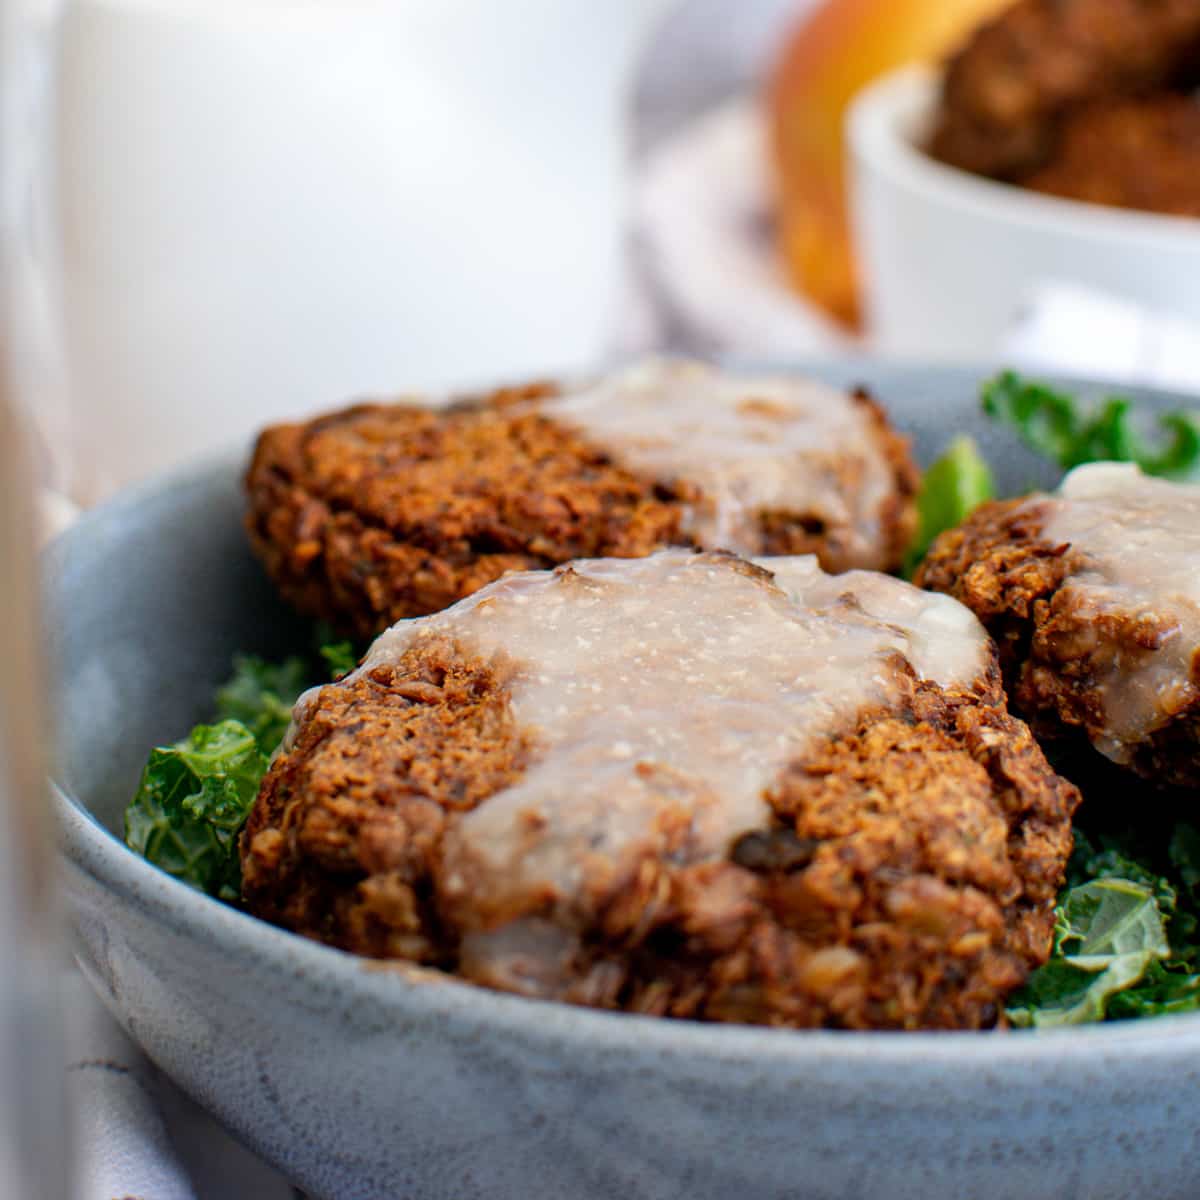
lentil patties

Lentil Fritters with Garlic Sauce

These tasty lentil cakes are loaded with mushrooms, garlic, lentils, quinoa, walnuts, and more! Perfect for snacking.

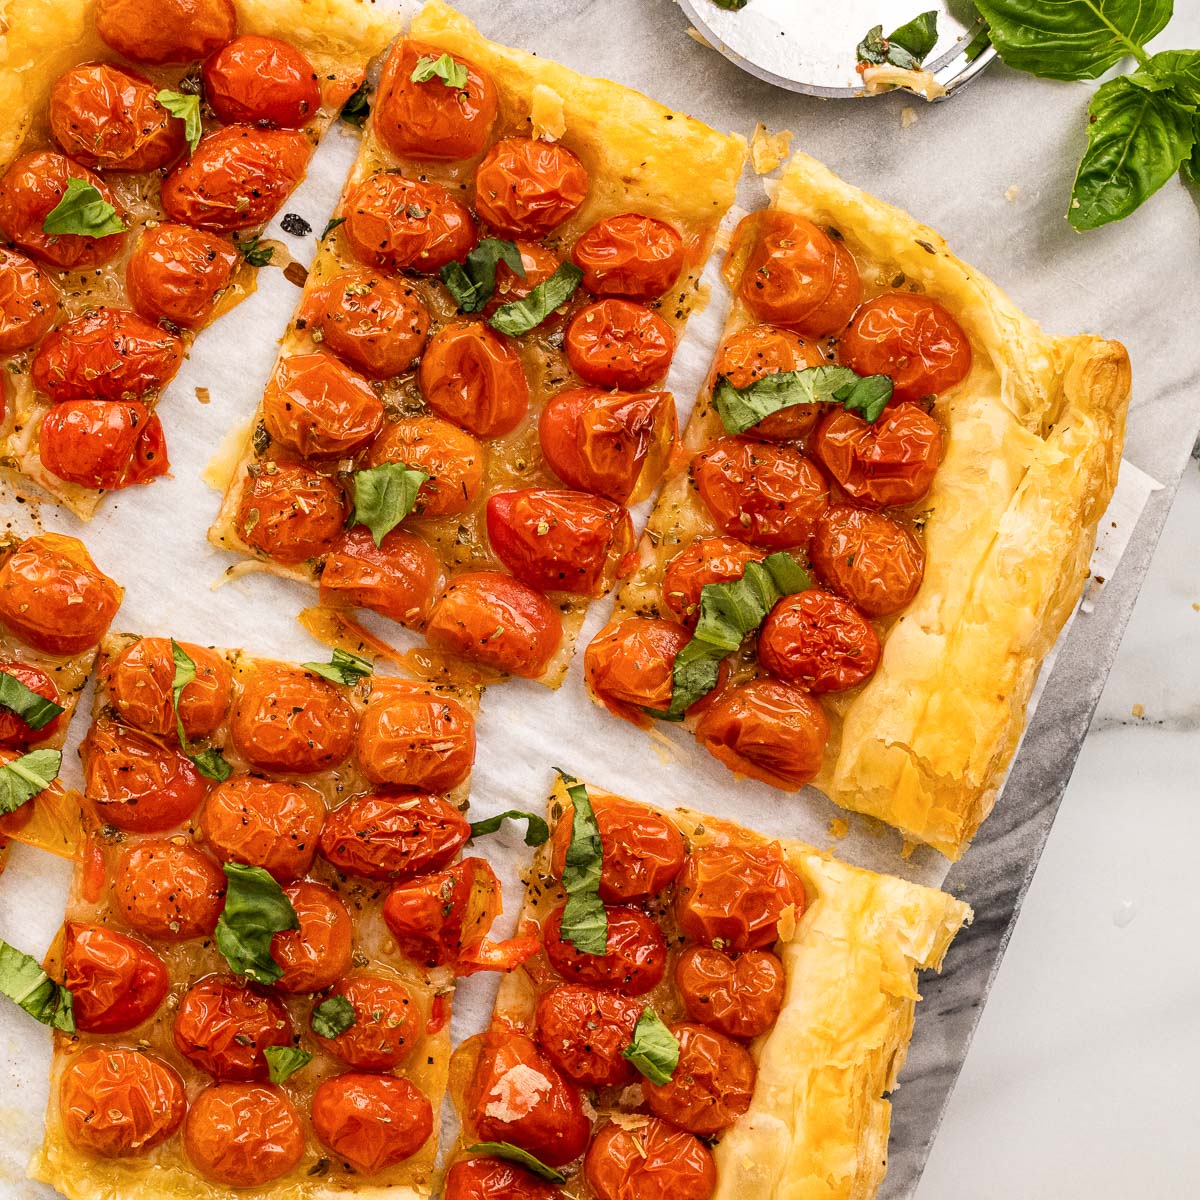
Image for Puff Pastry Tomato Tart

Puff Pastry Tomato Tart

Photo Credit: www.deliciouseveryday.com

This light and flaky tomato tart is so pretty and only takes 30 minutes to make. And it's totally vegan if you use a vegan puff pastry!

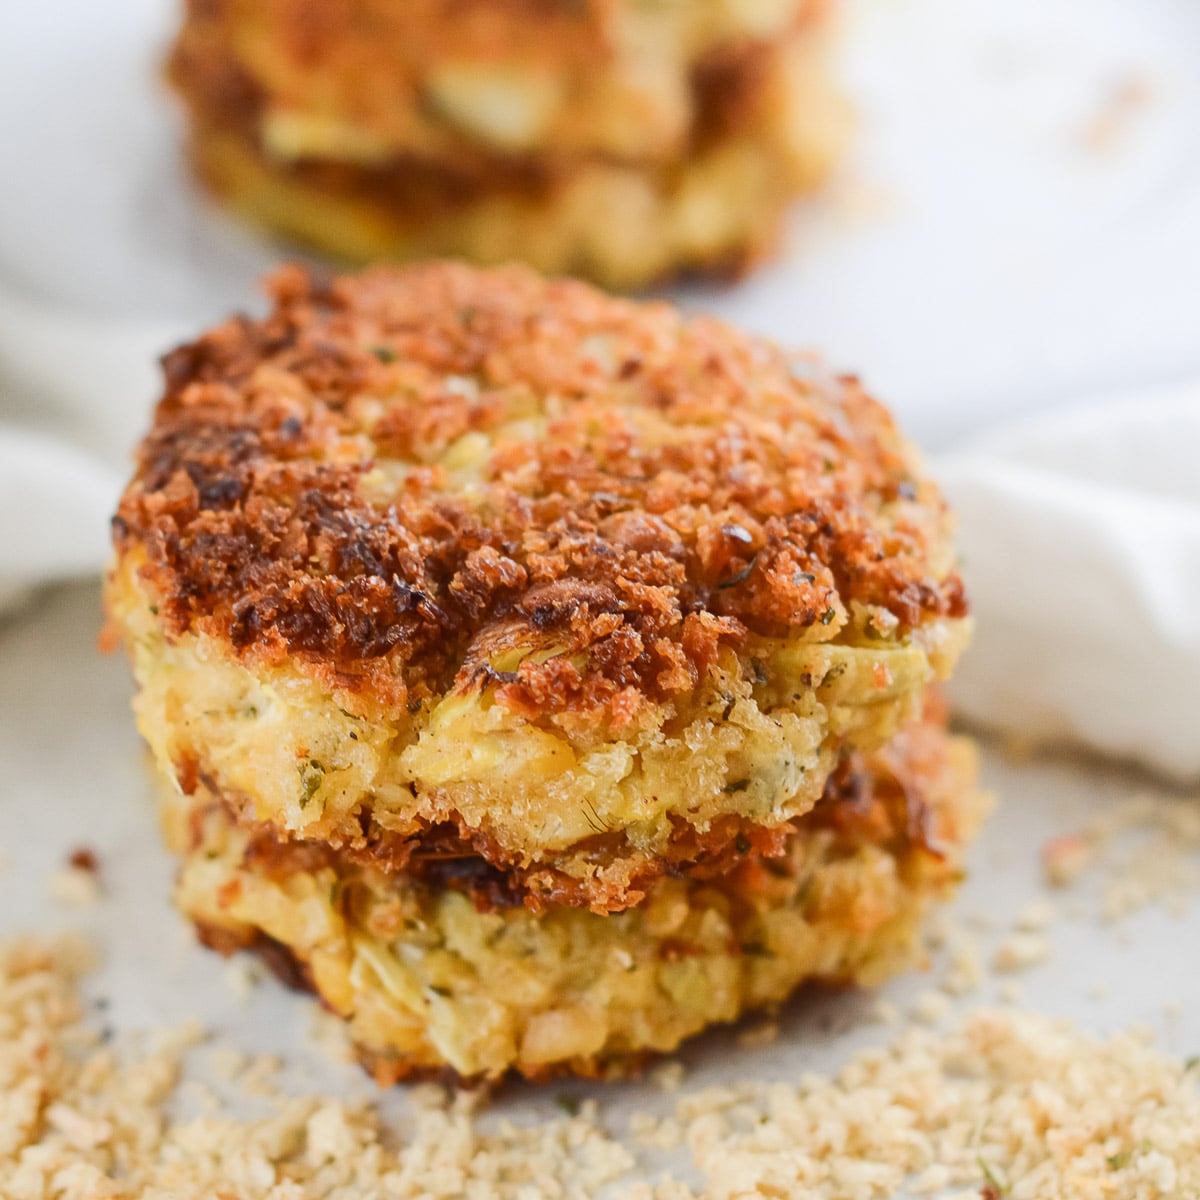
Image for Vegan Crab Cakes

Vegan Crab Cakes

Photo Credit: www.deliciouseveryday.com

These easy vegan "crab cakes" are packe with delicious garbanzo beans, artichokes, and cajun seasoning

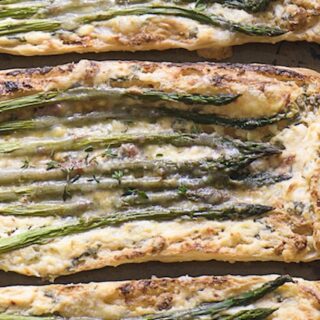
Image for Savory Asparagus and Sun-Dried Tomato Herb Tart

Savory Asparagus and Sun-Dried Tomato Herb Tart

A very simple savory tart recipe that uniquely combines asparagus and sun-dried tomatoes with vegan cheese, all nestled in a perfect puff-pastry square. 

Smoky vegan cheddar cheez

Smoky Vegan Cheddar Cheez

You can make this vegan "cheese" spread in no time. Serve it up with your favorite crackers or slices of fresh veggies for a healthy starter.

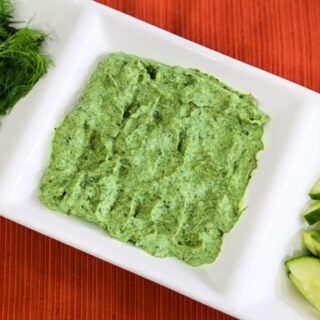
Spinach and Cumber Spread or Dip

Spinach and Cucumber Dip

One of my old favorites, this tasty spinach spread, with hints of dill and crisp cucumber, never loses its charm. Perfect with fresh veggies on a snack tray!

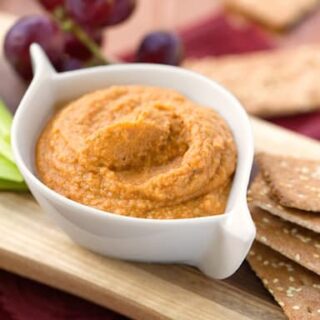
White bean and sun-dried tomato pate

White Bean and Sun-Dried Tomato Pâté

Here’s an old standby that never fails to please — a savory spread based on creamy white beans, accentuated with sun-dried tomatoes.

Vegan Salads

These hearty vegan salads are the perfect way to add some greens to the Christmas table!

Image for Kale Avocado Salad (with Lemon Dijon Dressing!)

Kale Avocado Salad (with Lemon Dijon Dressing!)

Photo Credit: www.deliciouseveryday.com

This fresh salad is loaded with fresh kale, white beans, sunflower seeds, avocado, drizzled with a lemon dijon dressing.

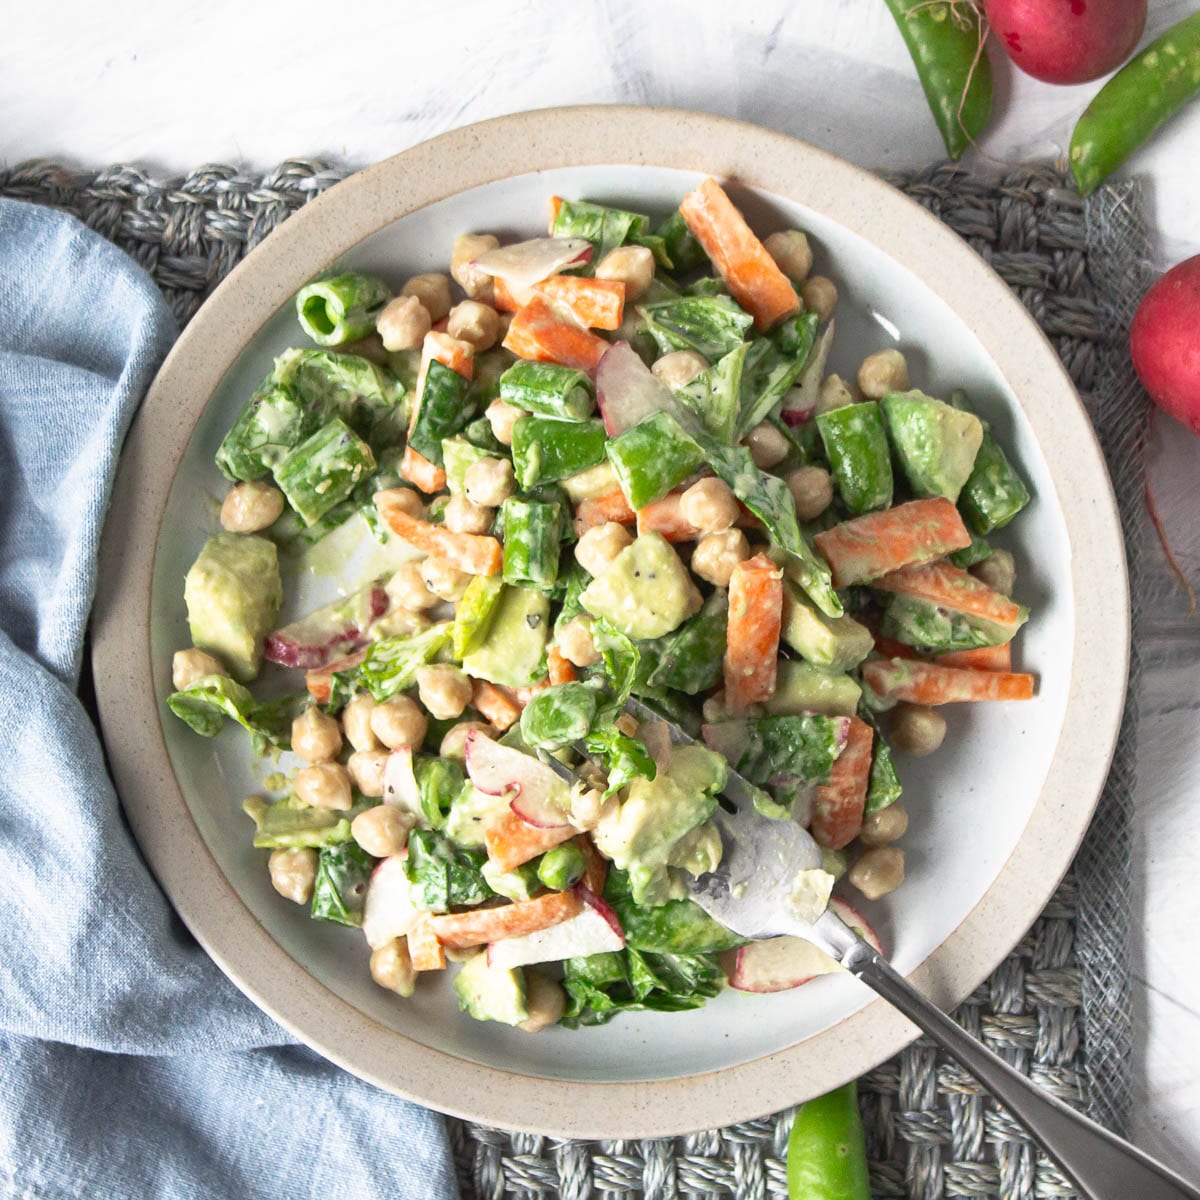
Image for Chickpea Avocado Salad with Tahini Maple Dressing

Chickpea Avocado Salad with Tahini Maple Dressing

Photo Credit: www.deliciouseveryday.com

This creamy chopped salad is ready in under 20 minutes and topped with a sweet Tahini Maple Dressing. 

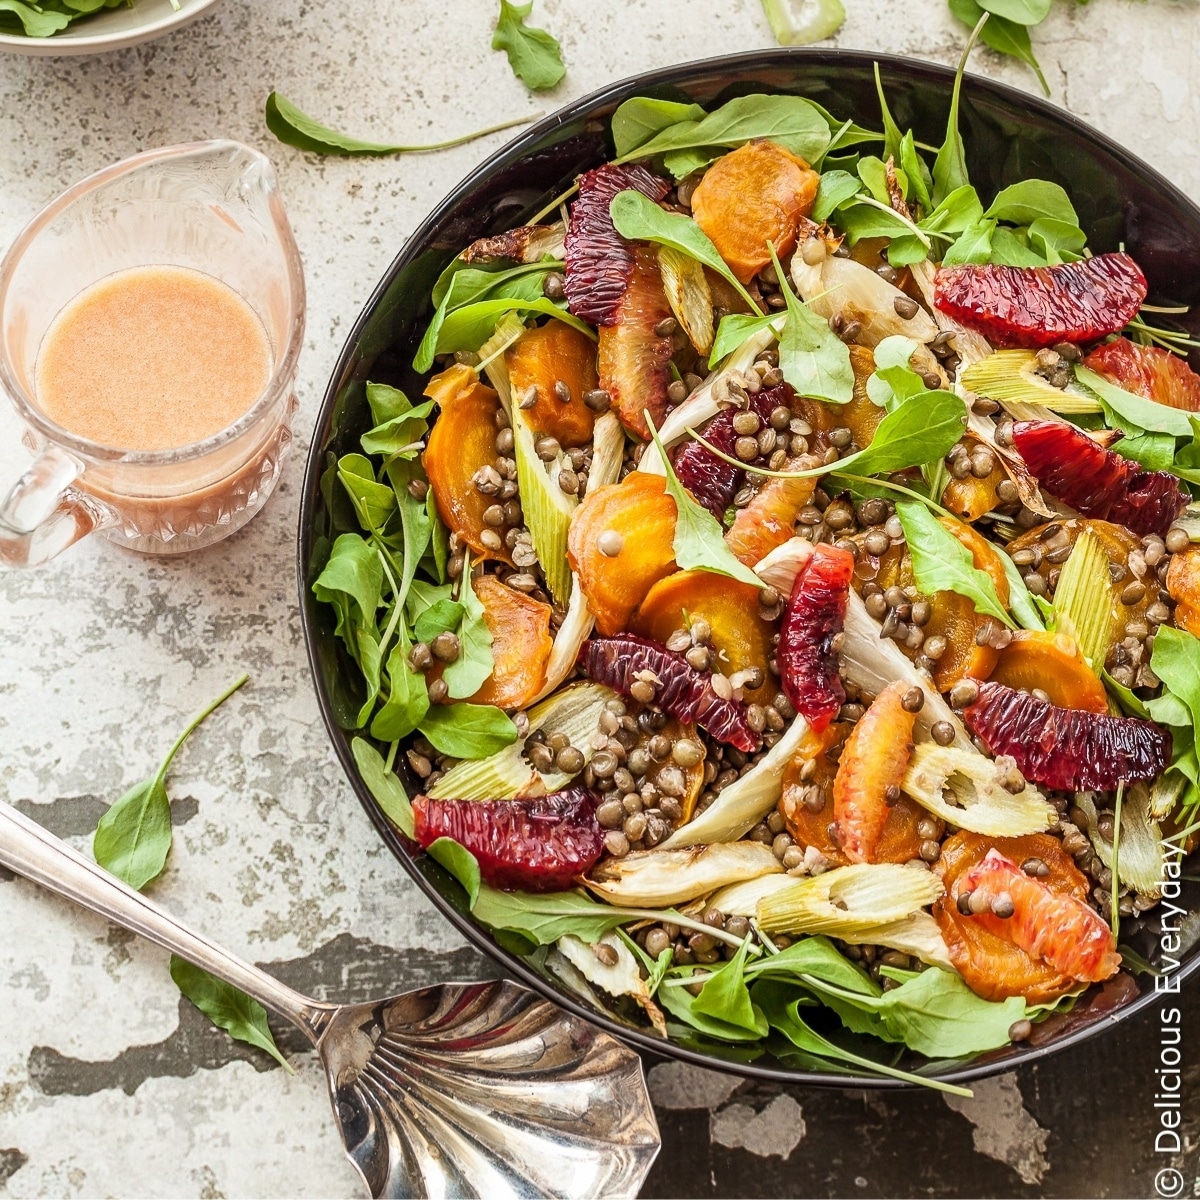
Image for Roast Beetroot Salad with Lentils, Fennel and Blood Orange

Roast Beetroot Salad with Lentils, Fennel and Blood Orange

Photo Credit: www.deliciouseveryday.com

This beautiful vegan Roast Beetroot Salad with Lentils, Fennel and Blood Orange  with a Blood Orange Dressing will brighten up your holiday table.

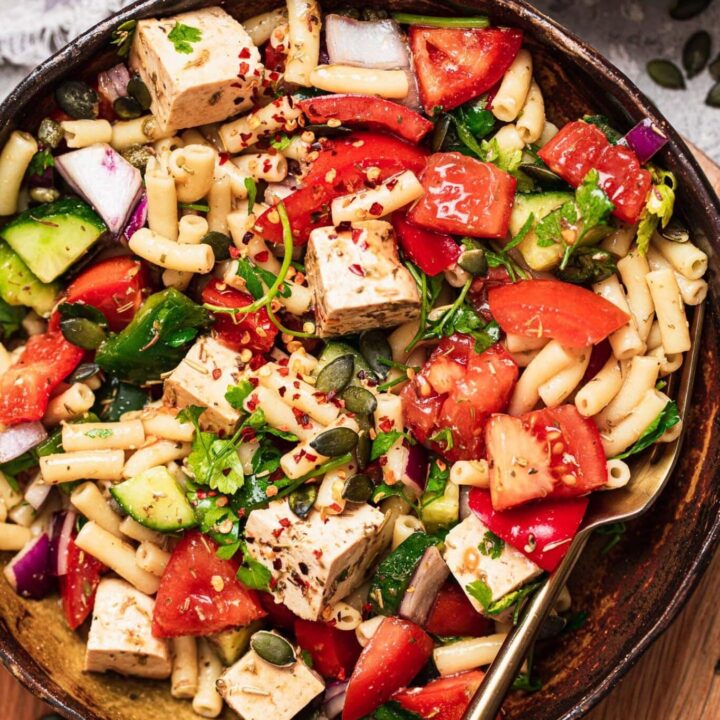
Image for Vegan Macaroni Salad

Vegan Macaroni Salad

Photo Credit: ohmyveggies.com

Macaroni salad is a family favorite - and this vegan version is loaded with fresh veggies and a tasty tofu "feta".

contemporary vegan waldorf salad

Contemporary Waldorf Salad

An American classic, Waldorf salad is a crunchy mixture of apples, walnuts and celery. This version is updated with vegan mayonnaise and a bed of baby greens.

massaged kale salad with cranberries and cashews

Massaged Kale Salad with Cranberries and Cashews

This Massaged Kale Salad with Cranberries and Cashews is luscious, festive, and just as welcome for every day as well as holiday meals. Its colors make it especially nice for a vegan Christmas meal.

Fruity massaged kale salad

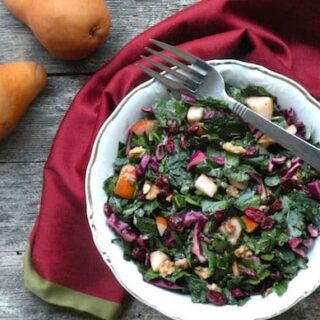
Fruity Kale Salad

This simple and beautiful massaged kale salad provides a gorgeous burst of color for every day or special occasion meals (festive enough to include in a vegetarian/vegan Christmas dinner menu).

Hearty Vegan Main Dishes

These Christmas-worthy main dishes are vegan friendly and ready to be the star of the show!

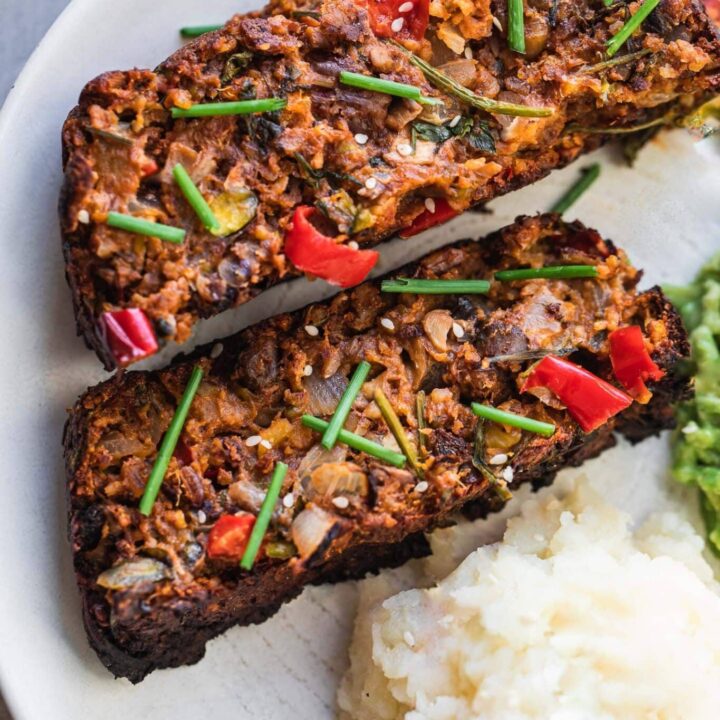
lentil meatloaf

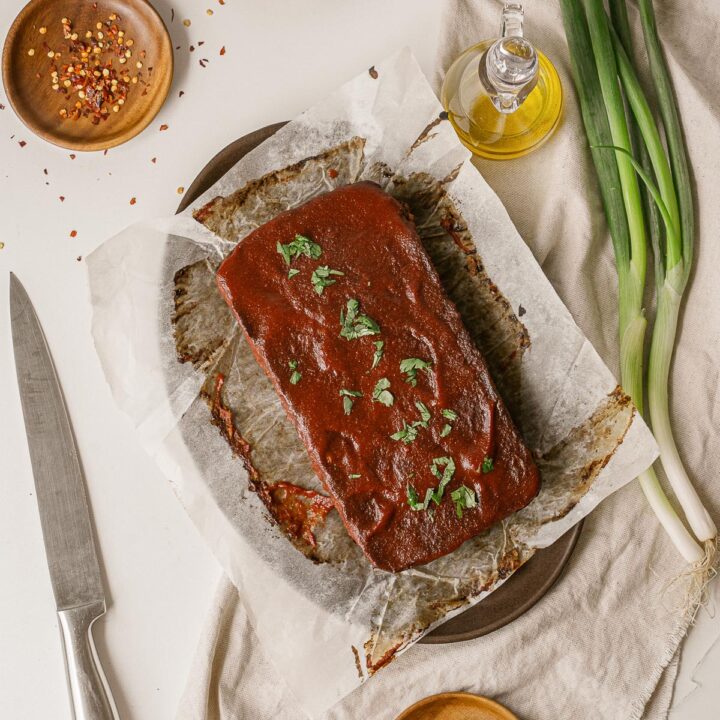
Vegan Lentil Meatloaf with Tomato Glaze

This vegan lentil loaf is filled with healthy flavor from lentils and veggies, and topped with a savory tomato glaze.

Image for Sweet Potato Gnocchi

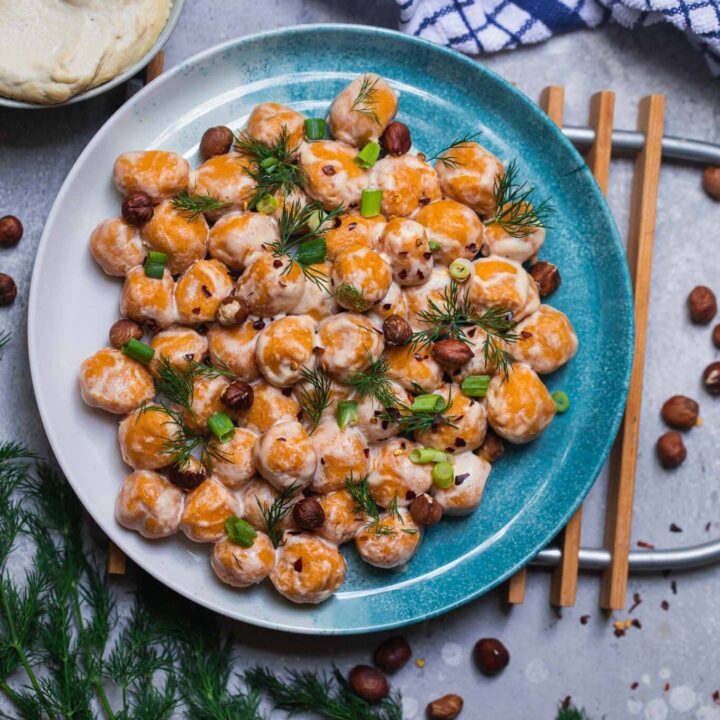
Sweet Potato Gnocchi

Gnocchi was almost my favorite dish growing up, and this vegan version will not disappoint. Made with just 5 ingredients and fancy enough for Christmas dinner.

Image for Vegan Baked Mac And Cheese

Vegan Baked Mac And Cheese

For a kid-friendly vegan main dish, you can't go wrong with this flavorful and creamy vegan mac and cheese.

Image for Vegan Bolognese Sauce

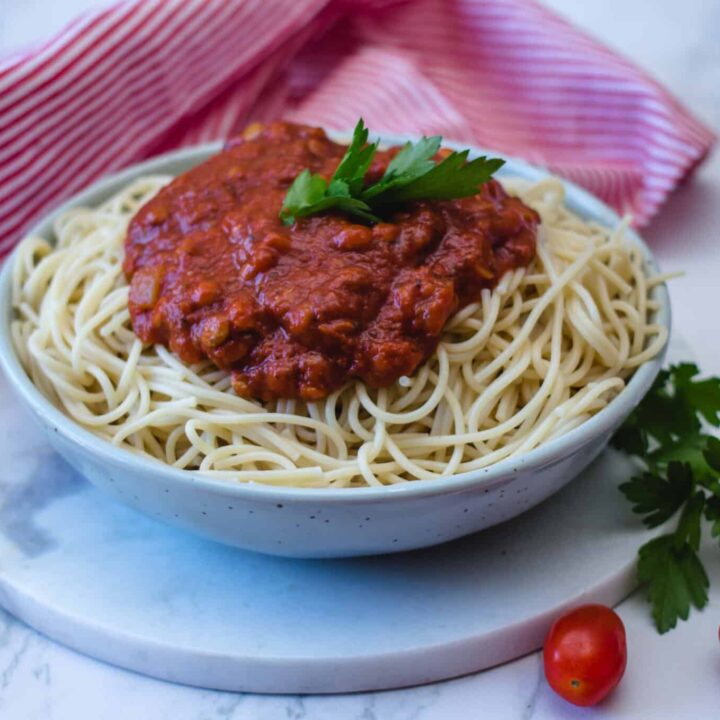
Vegan Bolognese Sauce

Serve up an Italian-inspired Christmas feast with this hearty vegan bolognese sauce, paired with your favorite pasta.

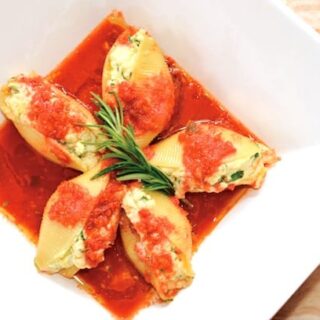
Stuffed Shells with Vegan Almond "Ricotta" from Artisan Vegan Cheese by Miyoko Schinner

Vegan Stuffed Shells with Almond "Ricotta"

Traditional stuffed shells get a vegan makeover with a simple and creamy almond "ricotta"!

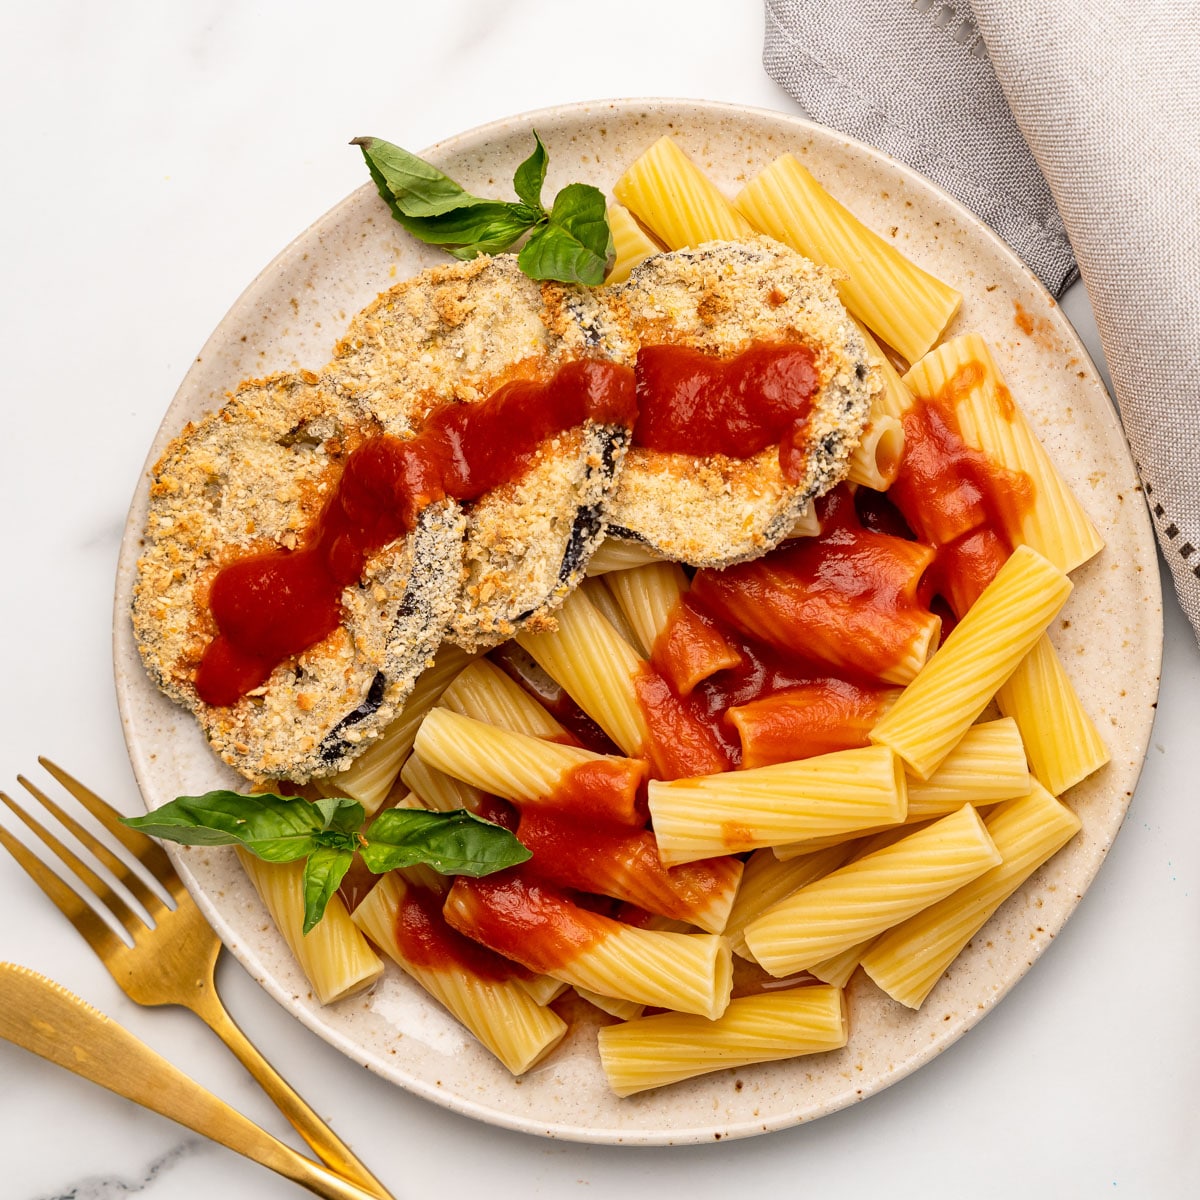
Image for Vegan Eggplant Parmesan

Vegan Eggplant Parmesan

Photo Credit: www.deliciouseveryday.com

A 30 minute main dish that is sure to be a holiday hot! Breaded eggplant is baked until crispy and served up with marinara sauce and noodles. Yum!

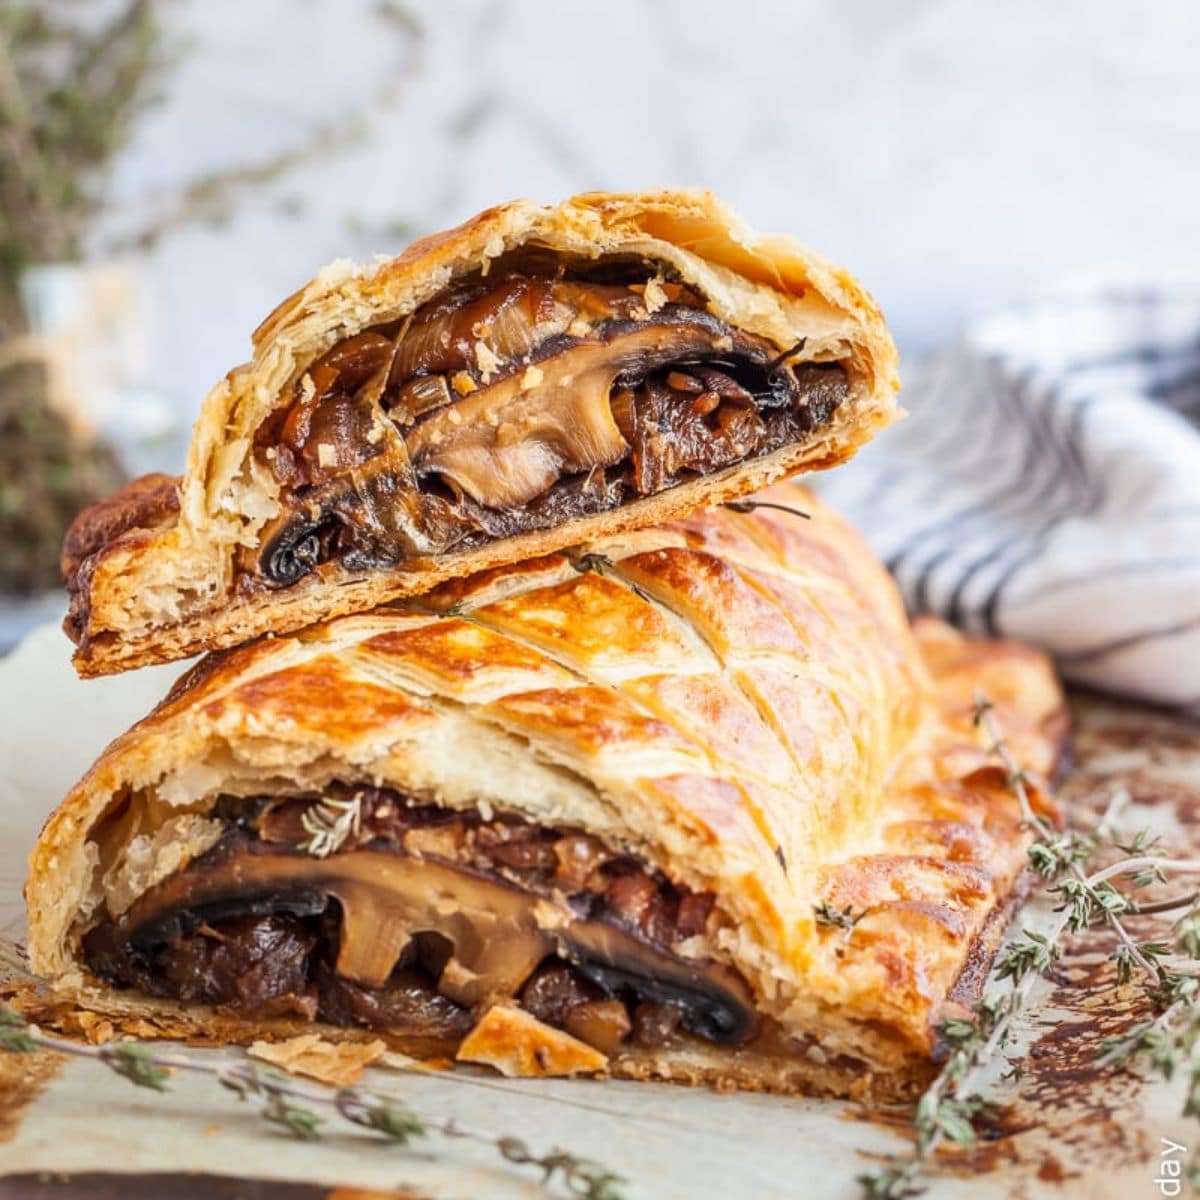
Image for Vegan Mushroom Wellington Recipe

Vegan Mushroom Wellington Recipe

Photo Credit: www.deliciouseveryday.com

Juicy mushrooms take center stage in this vegan mushroom wellington - a fun spin on the classic beef wellington. 

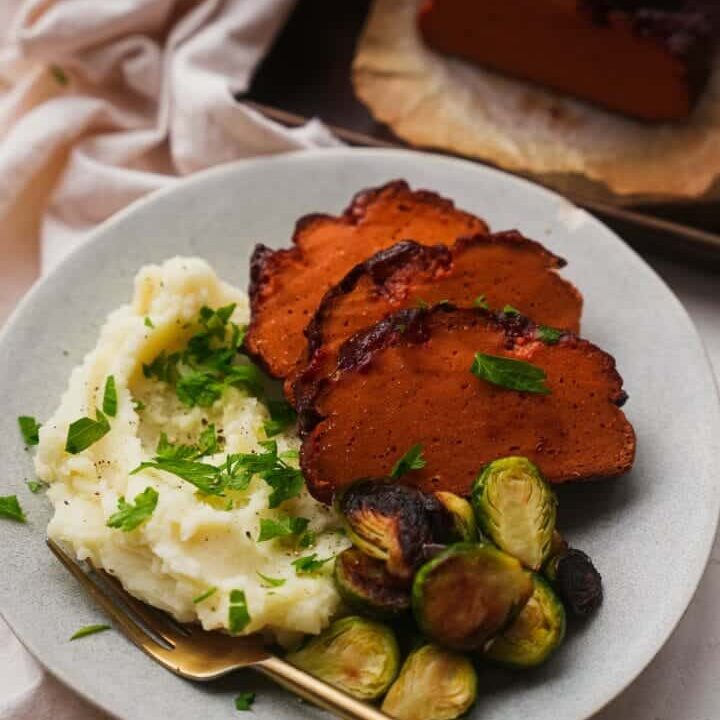
Image for Vegan "Ham" Recipe

Vegan "Ham" Recipe

Photo Credit: ohmyveggies.com

his impressive and realistic vegan "ham" is guaranteed to impress as a centerpiece at any holiday feast.

Image for Vegan Nut Roast

Vegan Nut Roast

Photo Credit: ohmyveggies.com

This vegan roast is packed with veggies, almonds, pecans, and pistachios. And it's gluten free too.

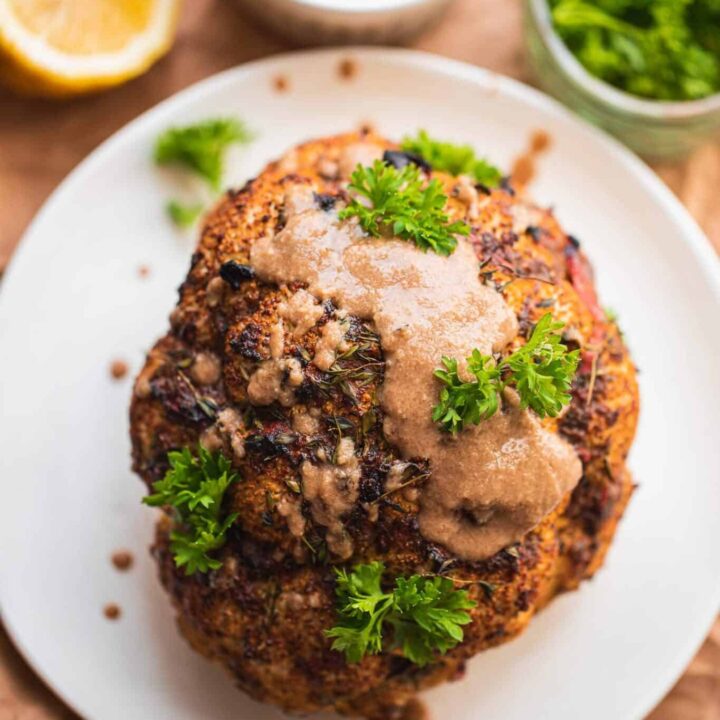
Image for Whole Roasted Cauliflower With Tahini Sauce

Whole Roasted Cauliflower With Tahini Sauce

Photo Credit: ohmyveggies.com

Ther's something so impressive about serving up a whole roasted cauliflower head. And this one couldn't be tastier thanks to the homemade tahini sauce!

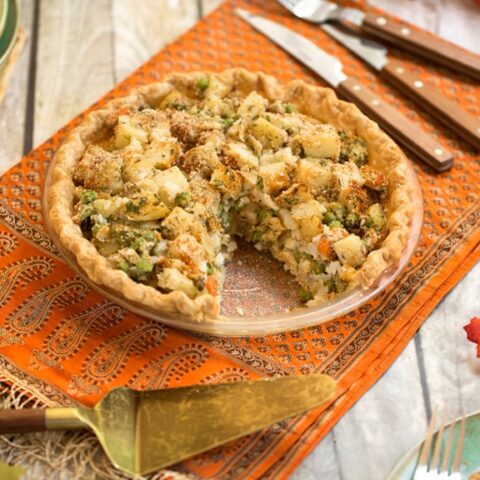
Hearty Vegetable Pot Pie

Hearty Vegetable Pot Pie

Everyone loves the nostalgic classic, vegetable pot pie. Many VegKitchen readers have let us know that this mild dish of hearty veggies enclosed in pie crust is on their regular cool-weather meal rotation; it's also a crowd-pleasing vegan option for a Thanksgiving or Christmas menu.

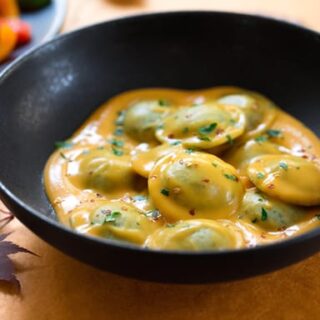
Ravioli in sweet potato sauce

Ravioli in Sweet Potato Sauce

Sweet potato sauce for pasta? Try it and see! Serve with colorful sautéed bell peppers and zucchini for a more colorful, veggie-packed meal. This is a nice company dish, so if you'd like more servings, simply double the recipe.

Sweet potato and edamame shepherd's pie recipe

Sweet Potato and Edamame Shepherd's Pie

This vegan sweet potato variation on shepherd's pie makes a festive holiday centerpiece, especially for Thanksgiving or Christmas.

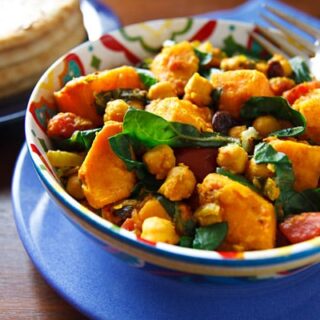
Curried Sweet Potatoes with Chard and Chickpeas

Curried Sweet Potatoes with Chard and Chickpeas

A superb fusion of flavors permeates this nourishing harvest dish of sweet potatoes and chard. Serve like a stew in shallow bowls, accompanied by warm flatbread.

Vegan Side Dishes

These vegan friendly holiday side dishes are so good they may just be the star of the show!

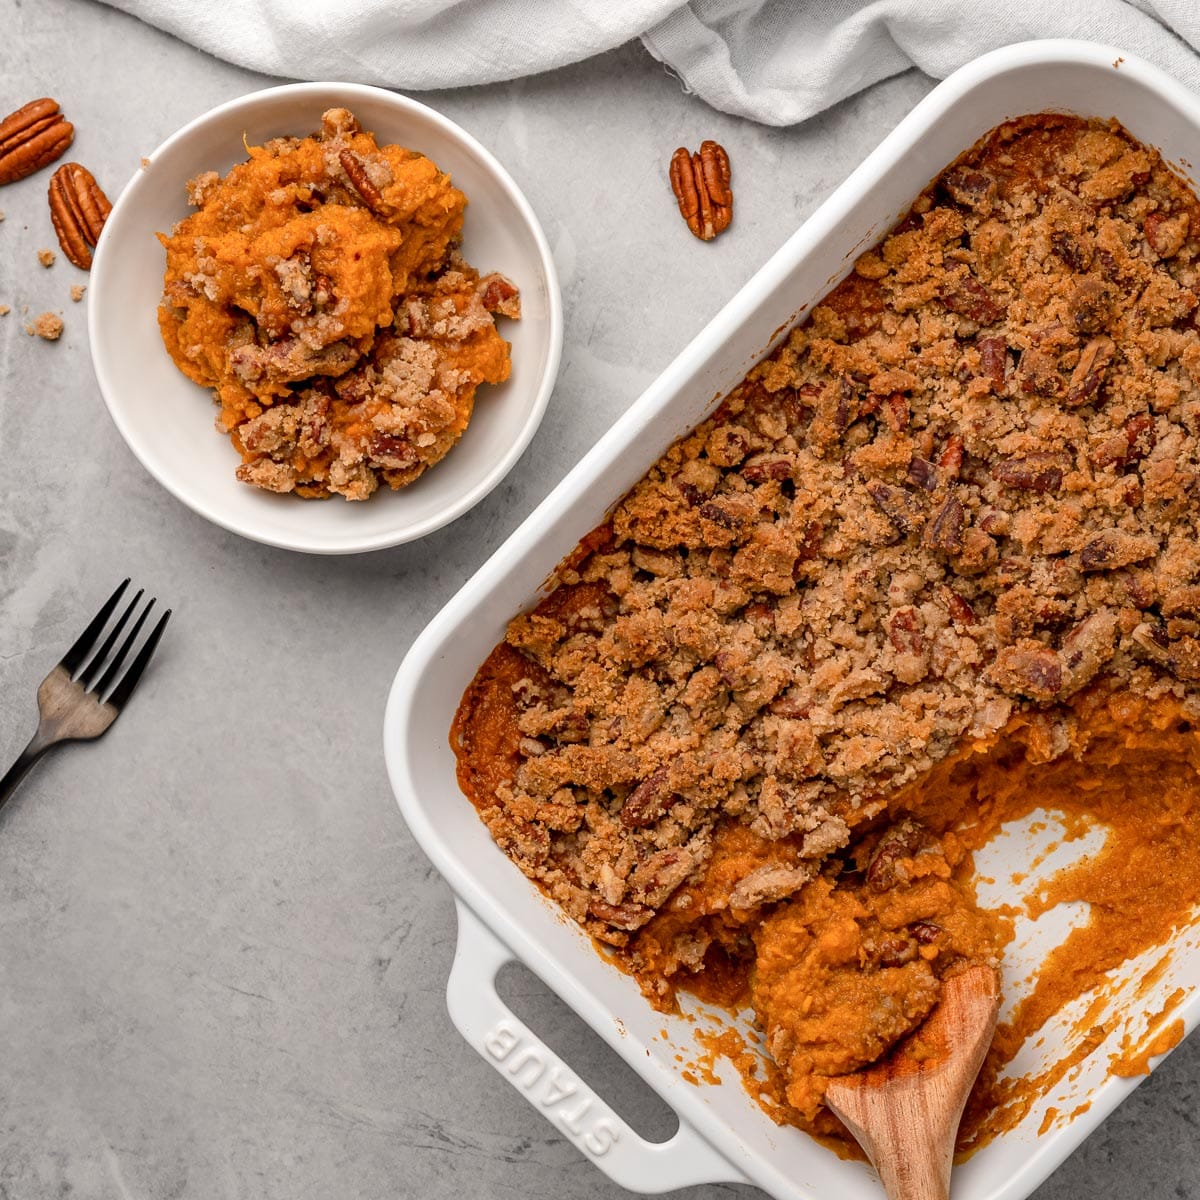
vegan sweet potato casserole

Vegan Sweet Potato Casserole

No one will miss the marshmallows when you serve up this delicious vegan sweet potato casserole. Packed with fall flavors and the perfect crunchy topping.

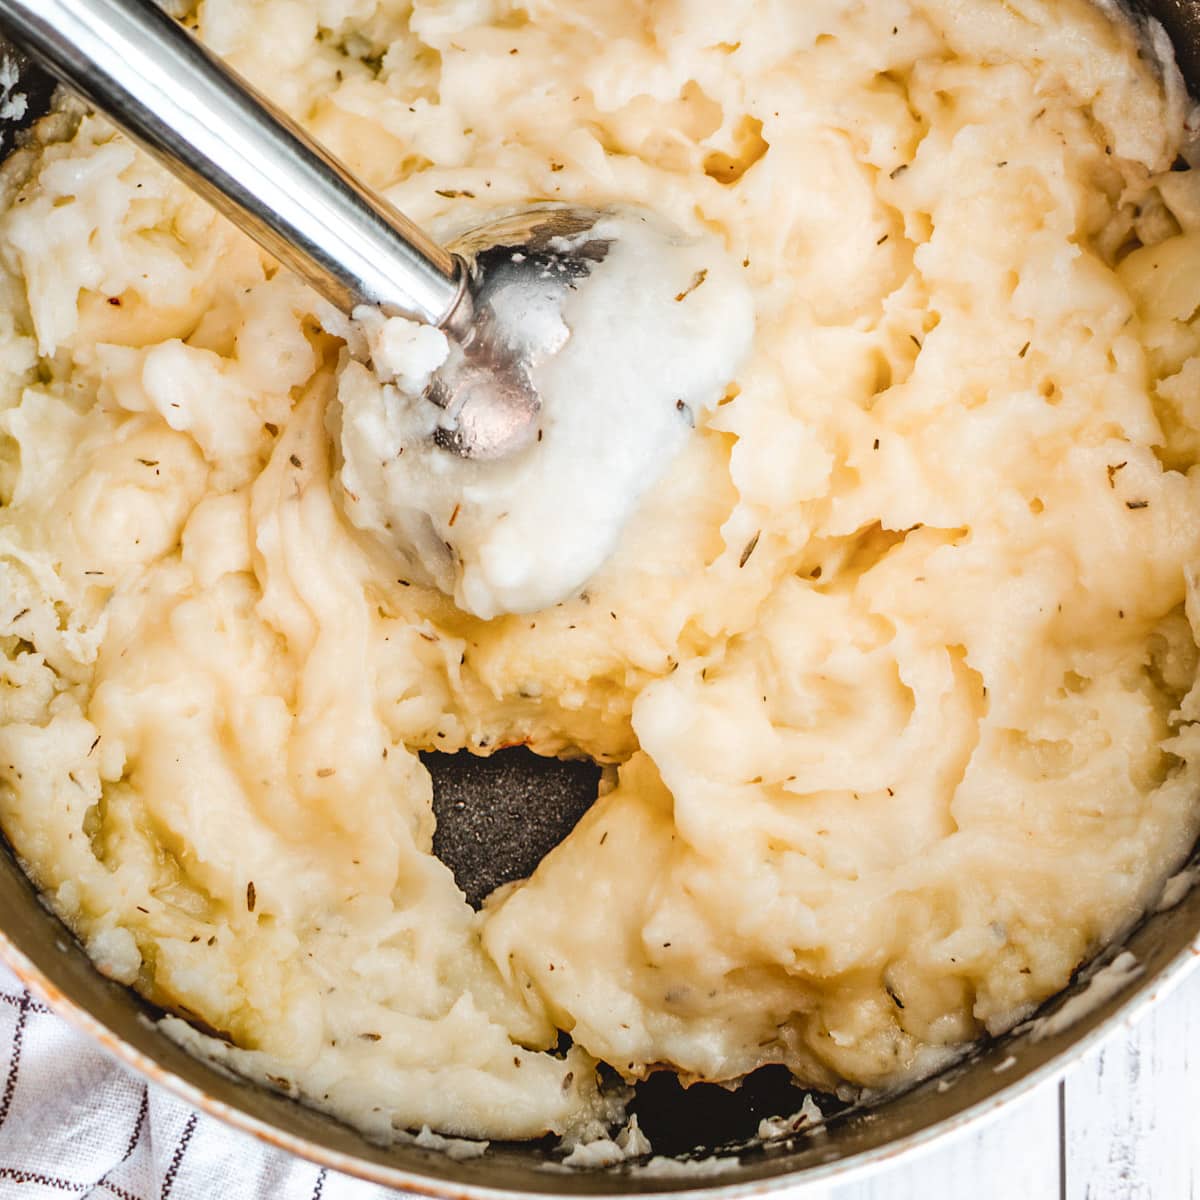
vegan mashed potatoes

Vegan Mashed Potatoes

It's not a holiday feast without mashed potatoes, and this vegan-ized recipe is so rich and creamy, you'd never guess it's dairy free.

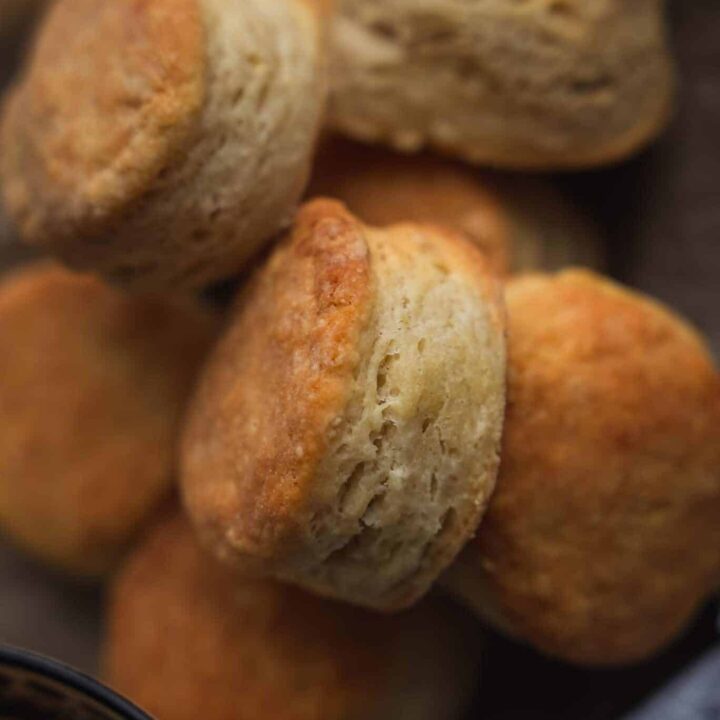
Image for Vegan Biscuits

Vegan Biscuits

Fresh homemade biscuits are a must at any holiday celebration! These are light, fluffy, and irresistible.

Cheesy Roasted Vegetables

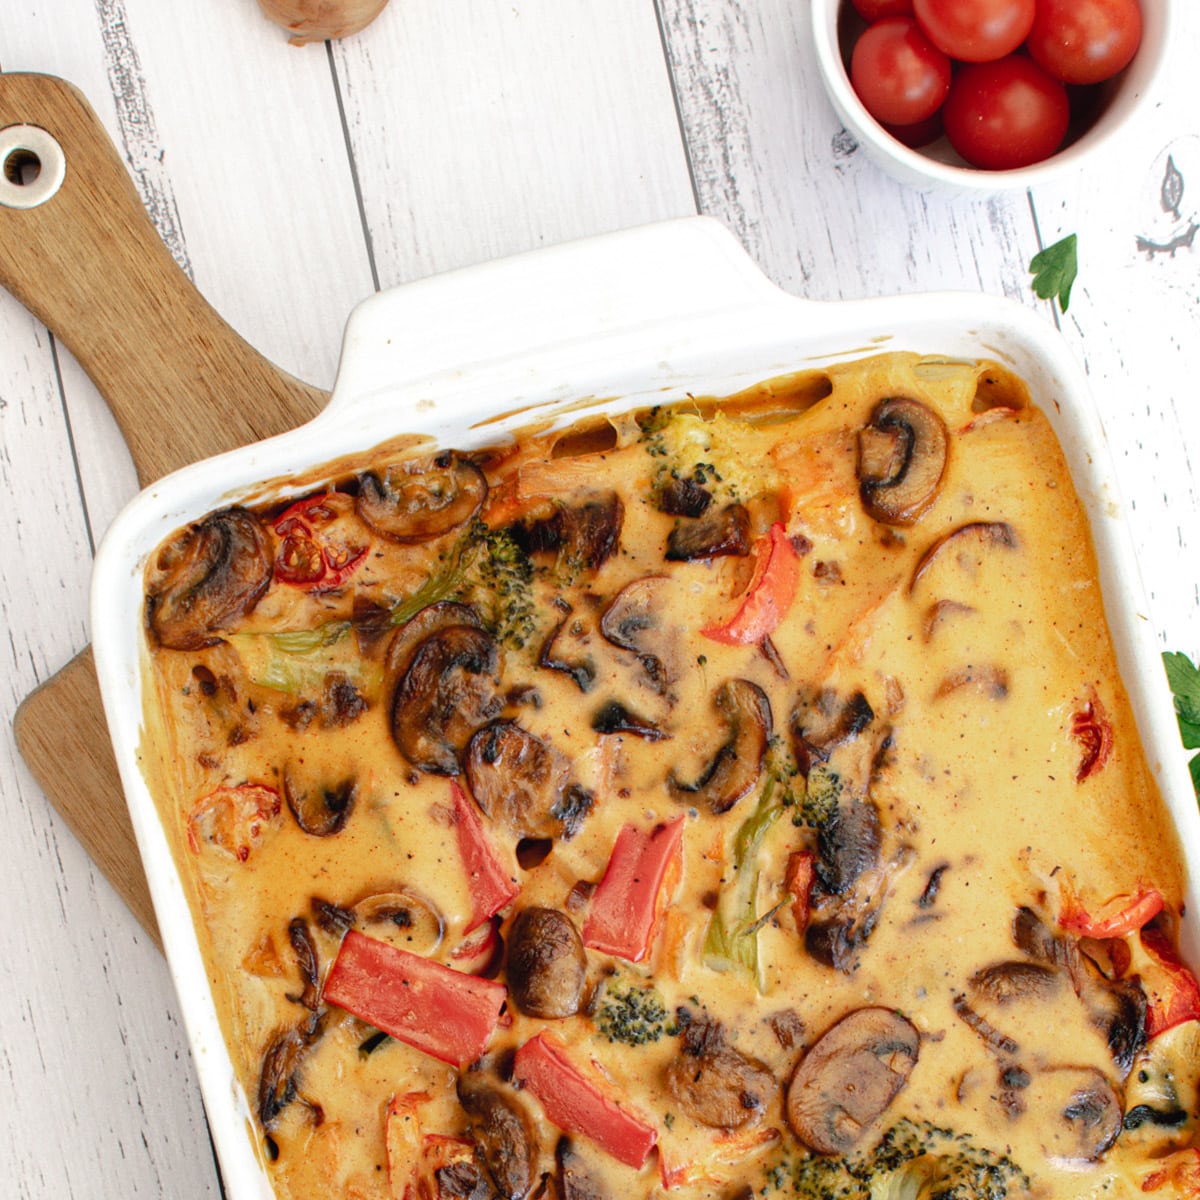
Roasted Veggies with Vegan Cheese Sauce

Even the kids will eat those veggies when they're roasted and tossed in this creamy vegan cheese sauce.

Image for Vegetable Terrine

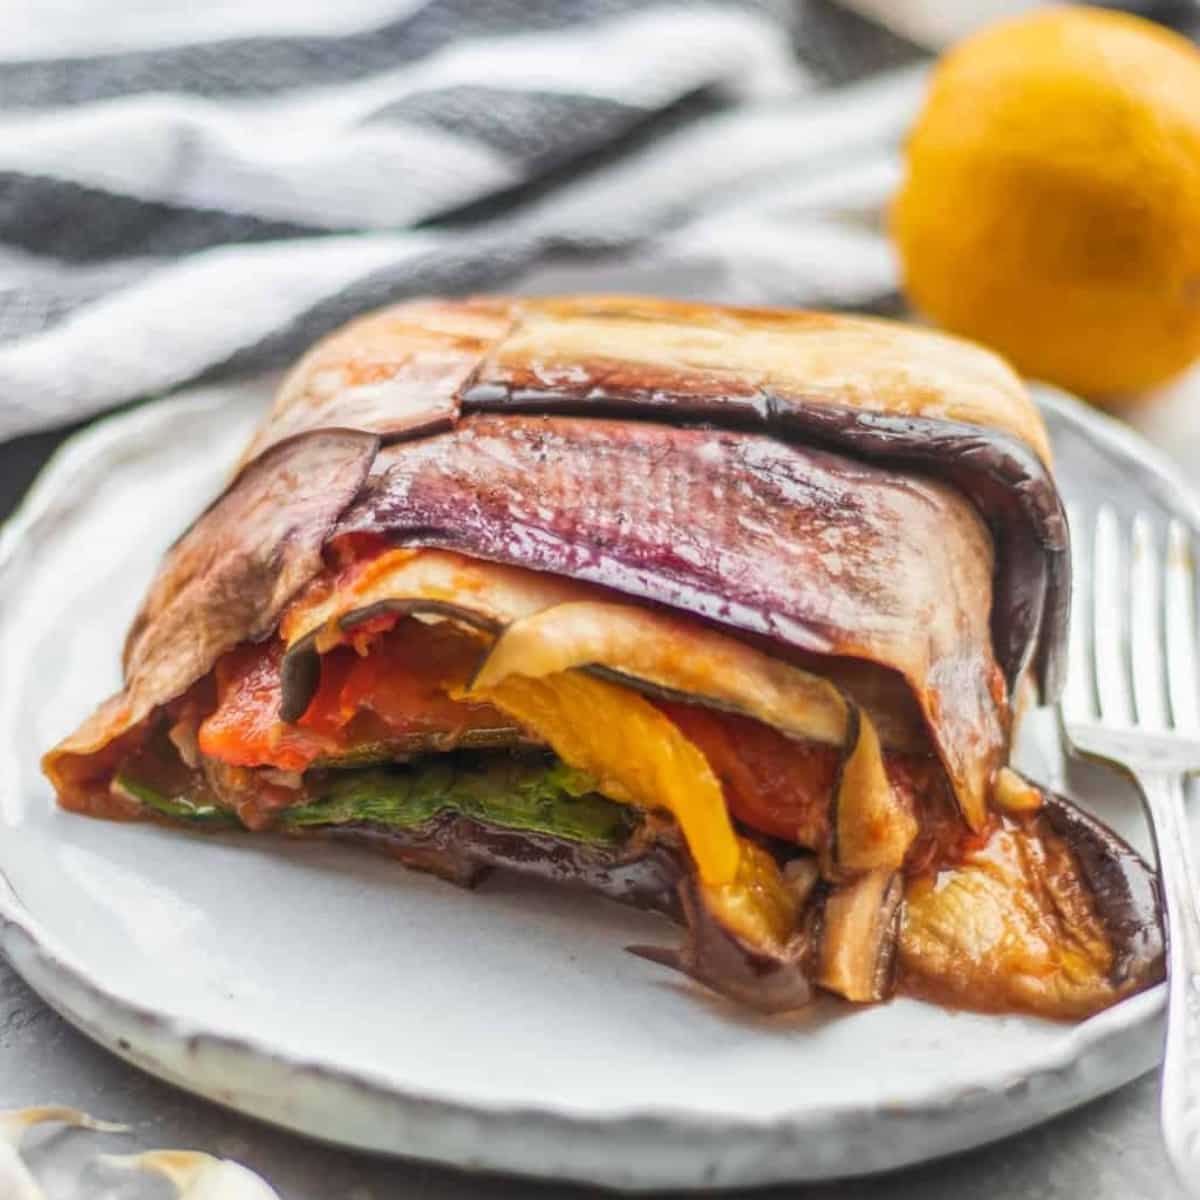
Vegetable Terrine

Photo Credit: ohmyveggies.com

This gorgeous vegetable terrine is loaded with roasted veggies like eggplant, zucchini, and bell peppers.

Image for Roasted Cauliflower with Lemon, Garlic, and Herbs

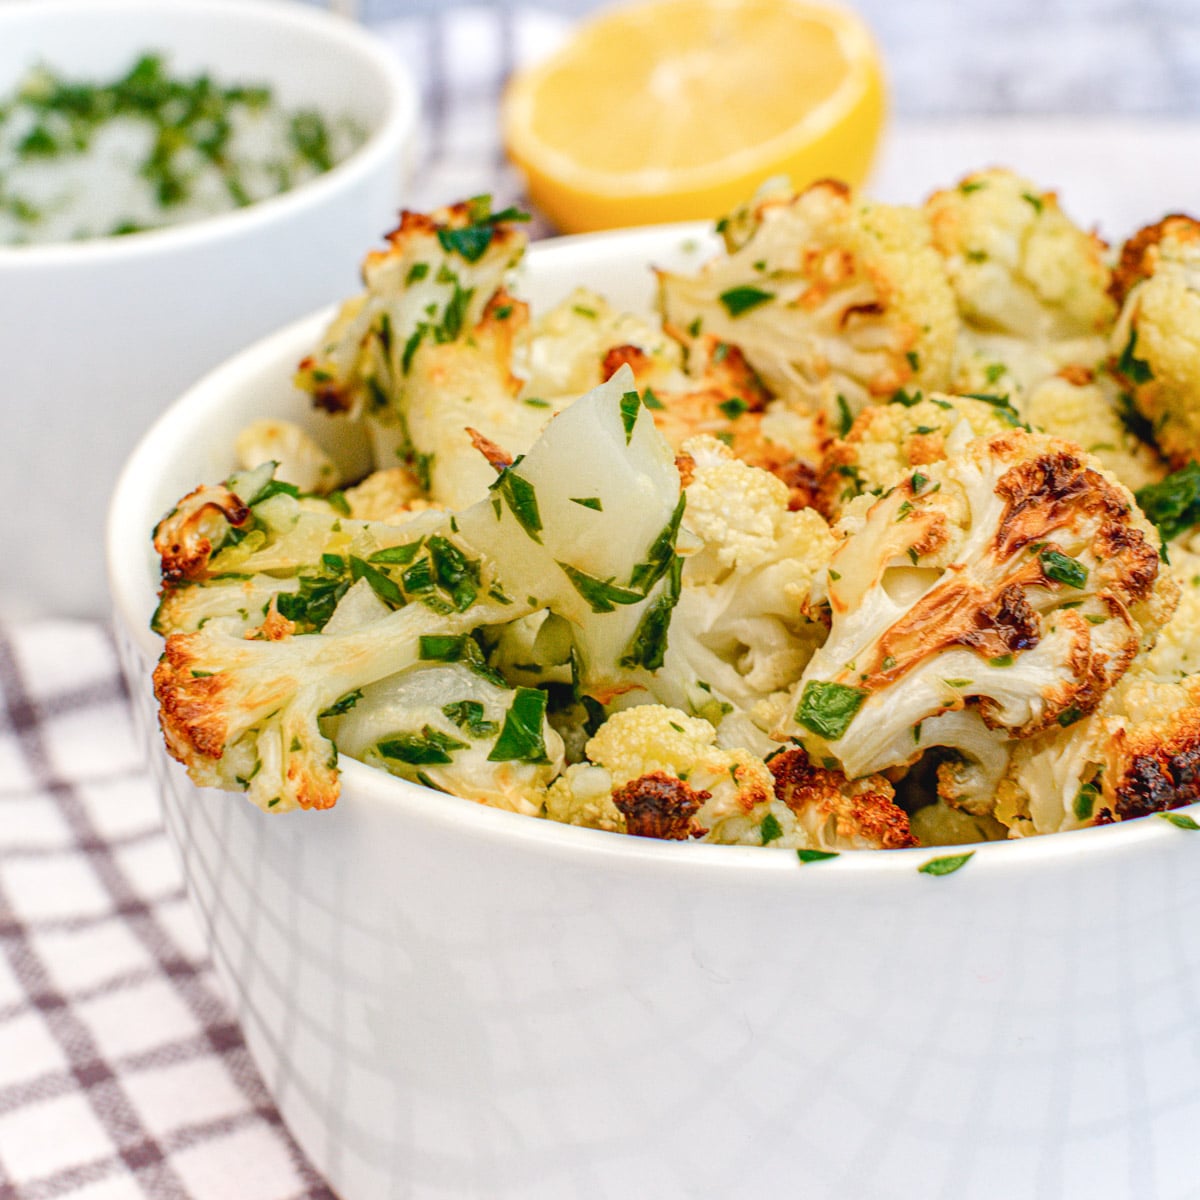
Roasted Cauliflower with Lemon, Garlic, and Herbs

Photo Credit: www.deliciouseveryday.com

This simple roasted cauliflower is loaded with flavor from lemon, garlic, and herbs.

Quinoa Cauliflower pila

Quinoa with Cauliflower, Cranberries, and Nuts

This pilaf combines two perfect ingredients - cauliflower and quinoa. And it's easy to make in advance too!

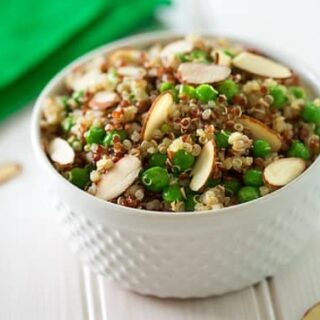
Simple quinoa pilaf with peas and almonds recipe

Simple Quinoa Pilaf with Peas and Almonds

Lots of peas and toasted almonds combined with quinoa add up to a tasty and nourishing pilaf.

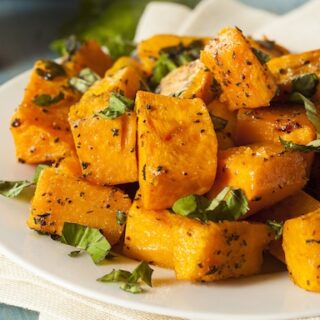
Soy and Maple-Glazed Squasha

Maple-Glazed Winter Squash

This roasted butternut squash is tossed in a flavorful soy and maple glaze. It's a little bit sweet, a little bit savory, and a whole lot of delicious.

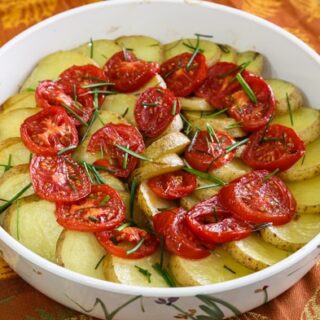
Roasted Potatoes and Tomatoes with Rosemary

Roasted Potatoes and Tomatoes with Rosemary

This recipe for Roasted Potatoes and Tomatoes with Rosemary is just pure comfort food!

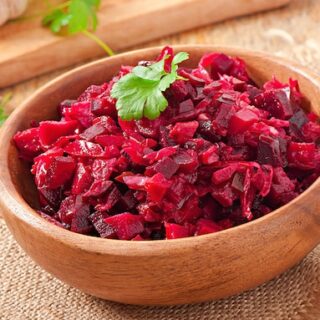
how to cook beets

Orange-Glazed Beets

This is a great way to use beets when they're plentiful at the farm market or from your home garden. They're great in the winter, too.

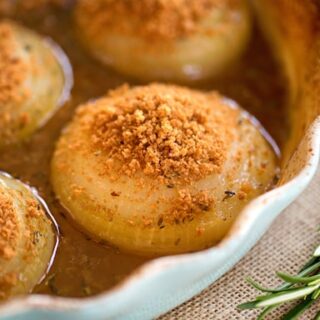
Glazed baked onions

Glazed Baked Onions

Slow-baking onions gives them a mellow sweetness. Glazed Baked Onions make a nice side dish for a holiday feast.

Vegan Holiday Desserts

These vegan desserts are so rich and indulgent, no one would ever know they're completely vegan!

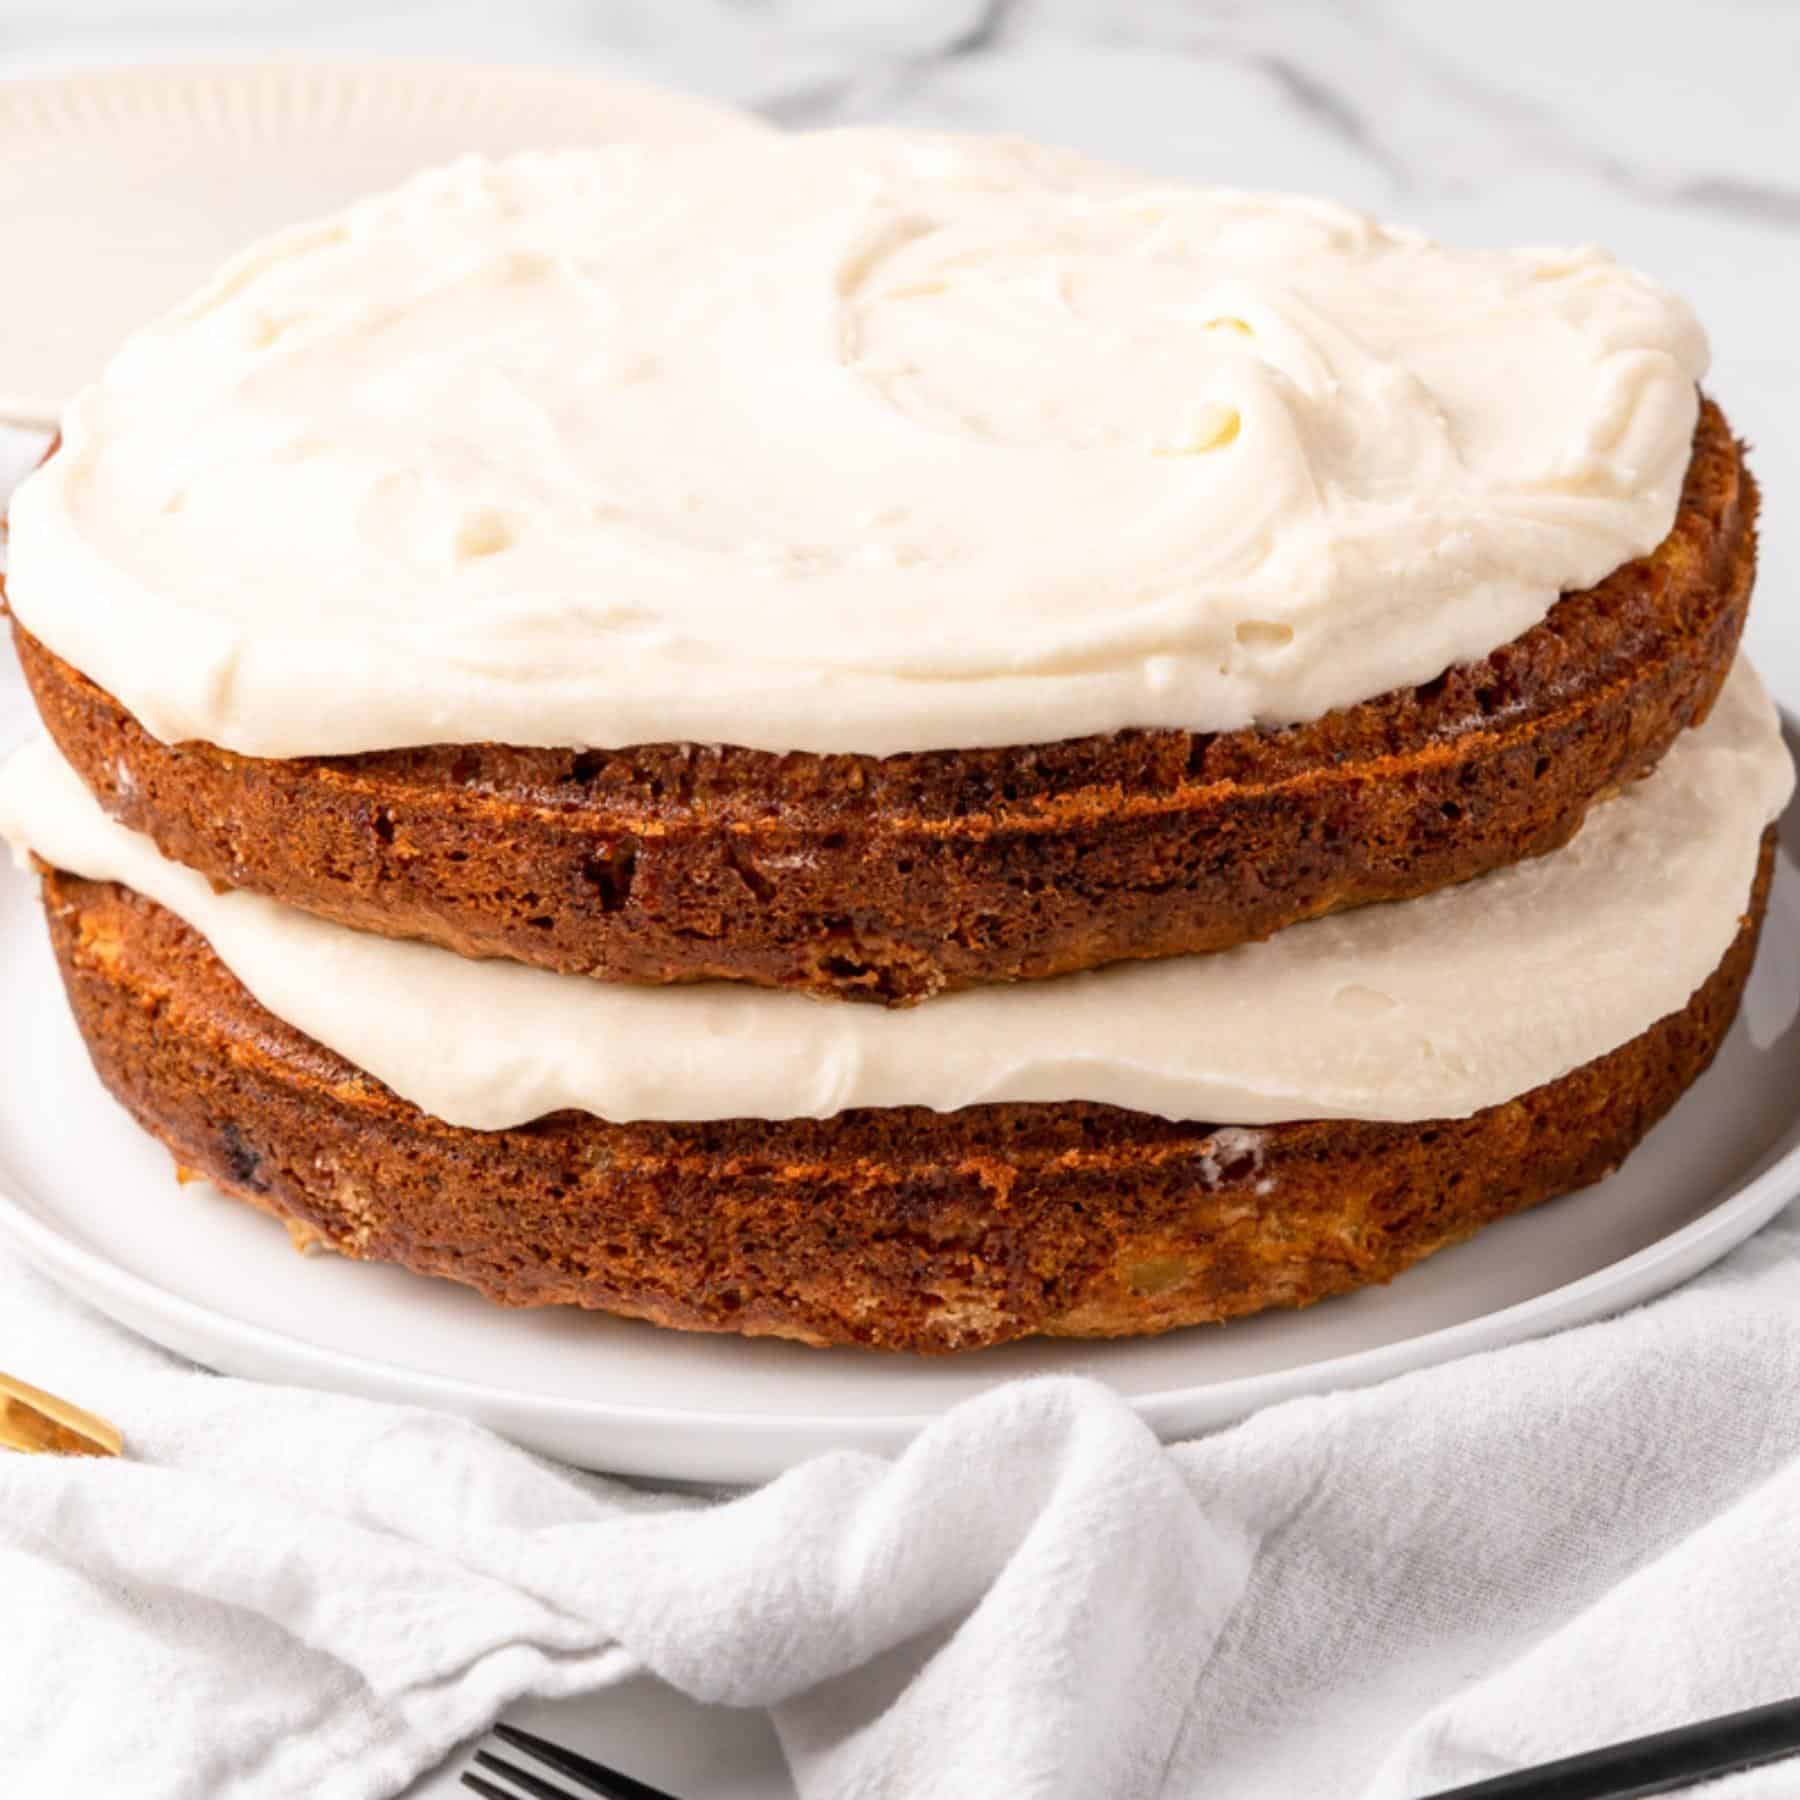
vegan hummingbird cake

Vegan Hummingbird Cake

This layered cake is packed full of crushed pineapple, coconut, bananas and topped with a silky smooth vegan cream cheese frosting!

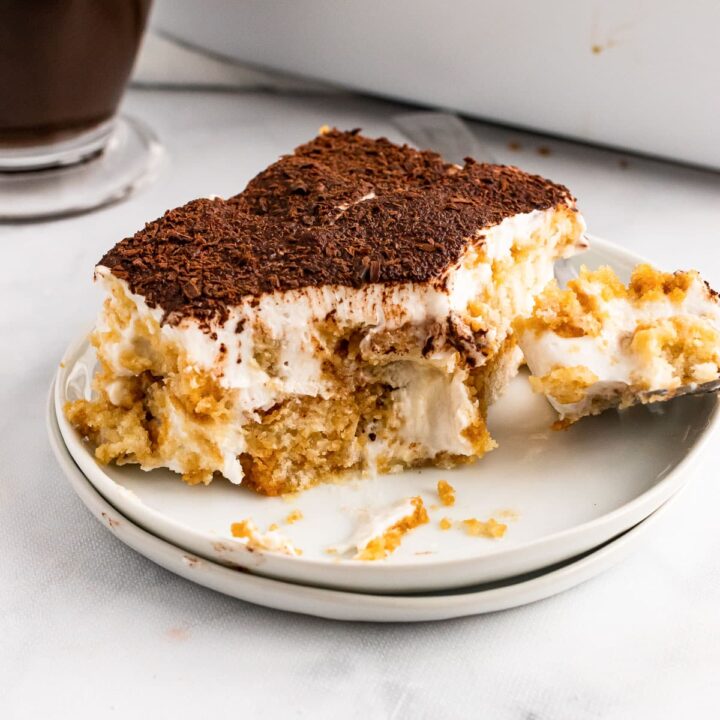
vegan tiramisu

Vegan Tiramisu

No dairy in this tiramisu - just plenty of creamy, delicious flavor.

vegan thumbprint cookies

Vegan Thumbprint Cookies

These 5 ingredient cookies are the perfect Christmas cookies - with a juicy jam filled center.

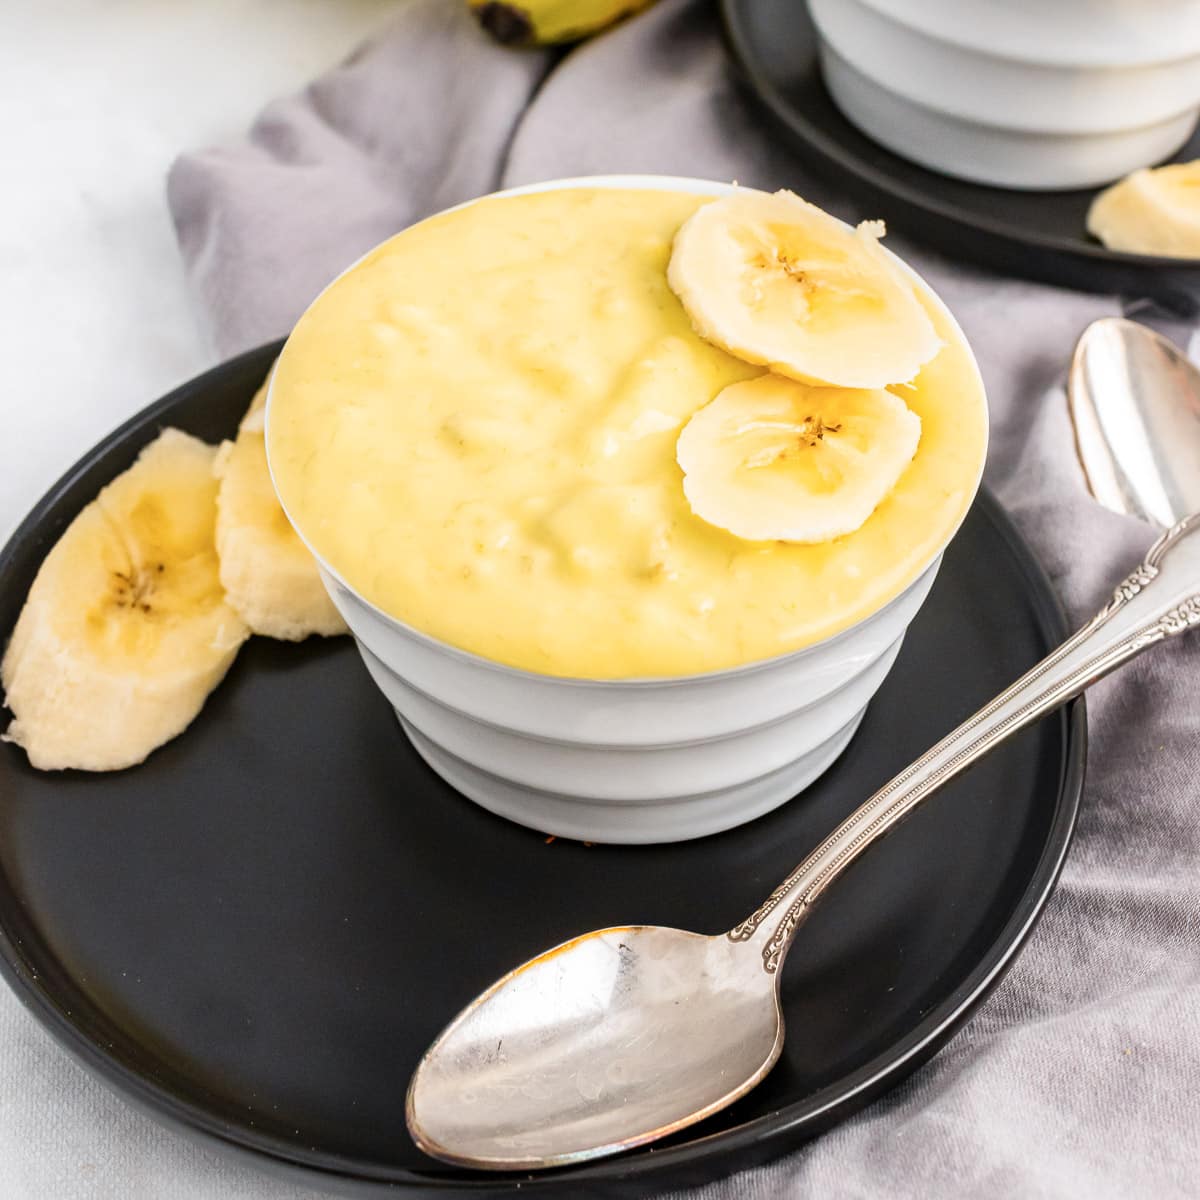
vegan banana pudding

Vegan Banana Pudding

Full of sweet banana flavor, this pudding is sure to be a hit with the whole family. 

Image for Vegan Peanut Butter Cups

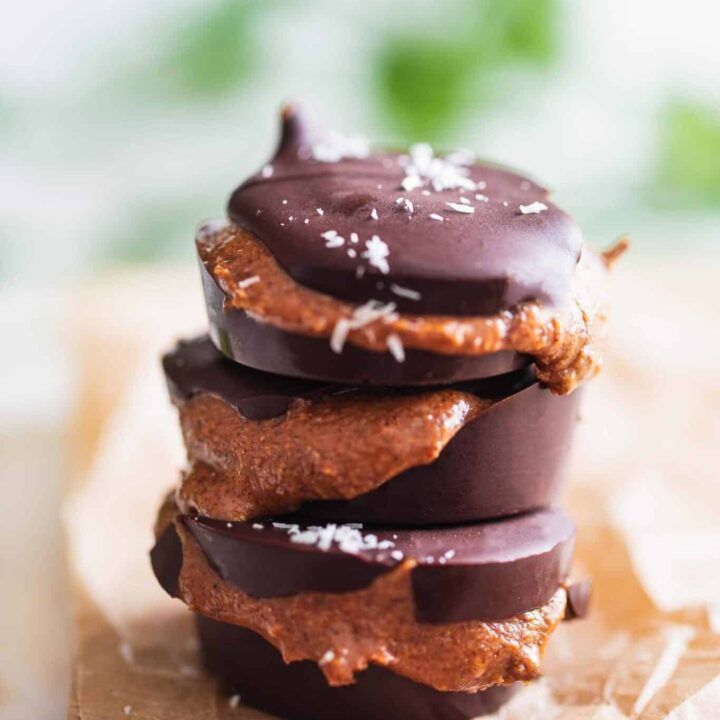
Vegan Peanut Butter Cups

These homemade vegan peanut butter cups are made using just 6 ingredients and taste better than store-brought. 

Stack of vegan sweet potato brownies on parchment paper

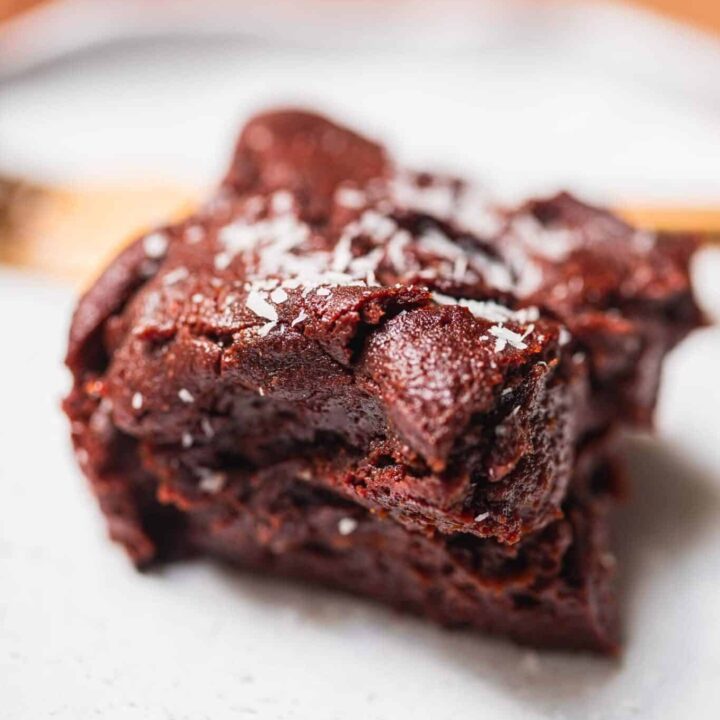
Vegan Sweet Potato Brownies

What could be better than brownies? Sweet potato brownies, of course!

vegan lemon bars

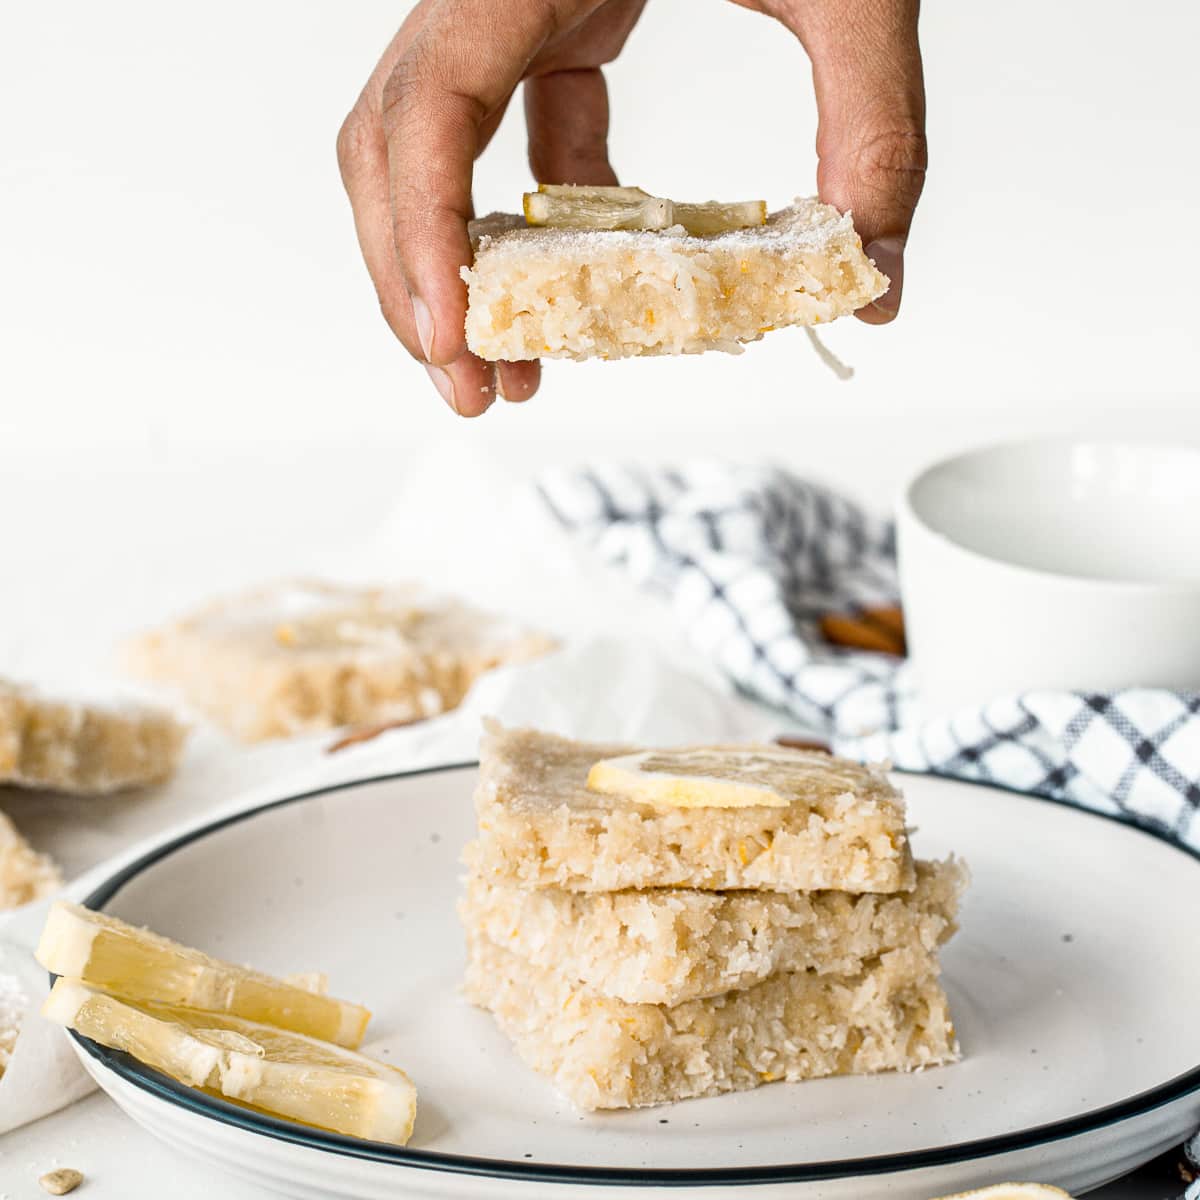
No-Bake Vegan Lemon Bars

These No-Bake Vegan Lemon Bars require just six ingredients and are loaded with zesty flavor!

Vegan Orange Cranberry Muffins

Orange-Cranberry Muffins

These delicious and healthy vegan muffins or mini-loaves prove that pairing orange and cranberry makes for a lively flavor combination in baked goods. For winter holiday baking or giving, this batter is nice made into mini-loaves.

Easy vegan chocolate cake

Easy Vegan Chocolate Cake

This totally delectable, moist vegan chocolate cake is our family’s favorite for special occasions.

I hope you found the perfect additions to your vegan Christmas menu. For more inspiration, check out all of my vegan Christmas recipes, and these delicious ideas:

Also try: our Vegan Pot Pie Casserole.

Also try: our Pumpkin Mac Cheese.

Also try: our Creamy Pasta And Butternut Squash Casserole.

  • 12 Days of Vegan Christmas Cookies
  • 50+ Vegan Gift Ideas
  • Boozy Chocolate Bread Pudding

And for the easiest holiday yet, don't forget to check out my complete Vegan Christmas cookbook!

Vegan Pumpkin Ice Cream

October 5, 2011 by Nicole @ VegKitchen 1 Comment

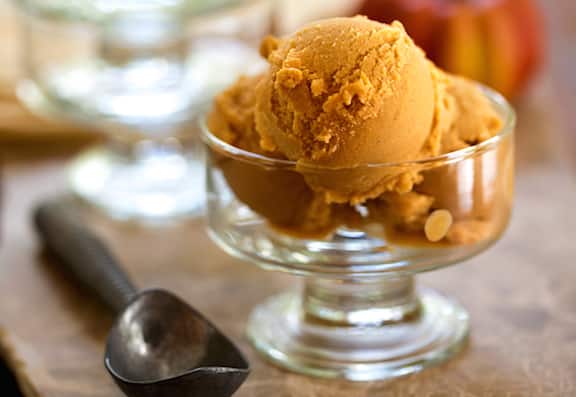
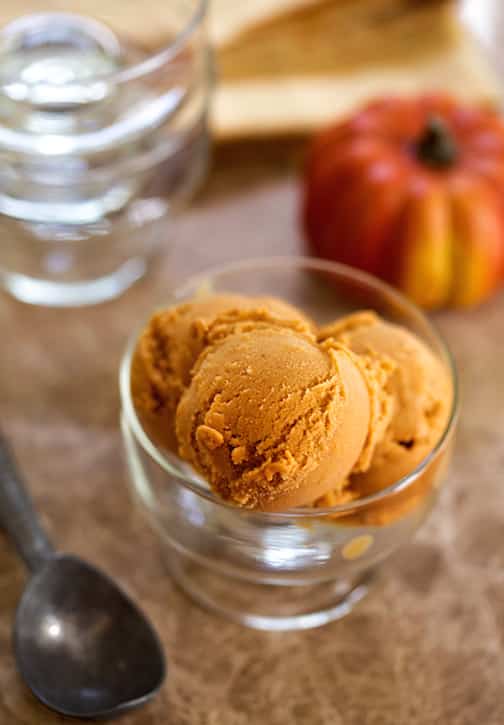
Vegan pumpkin spice ice cream

This vegan pumpkin ice cream is bursting with the flavors of pumpkin, maple, and coconut. Warm cinnamon, nutmeg, and ginger give it all the cozy character of pumpkin pie, but in cool, creamy, scoopable form — it's the perfect sweet treat for fall. It's no secret that we love ice cream around here; the blog is jam-packed with delicious vegan ice cream recipes.

Vegan pumpkin spice ice cream

Key Ingredients & Substitutions

  • Full-fat coconut milk. Canned, not the carton kind — it gives the ice cream its rich, creamy body without any dairy.
  • Pumpkin puree. Canned works just fine, or use fresh cooked and pureed pumpkin if you prefer. Pureed sweet potato or squash can also be substituted.
  • Maple syrup. Sweetens the ice cream and adds a warm, autumnal note that pairs beautifully with the pumpkin and spices.
  • Cinnamon, nutmeg, and ginger. This trio gives the ice cream its classic pumpkin-pie-spice character — adjust the ratios to taste if you like it spicier.
  • Unsweetened nondairy milk. Almond or soy milk both work well to thin the base to the right consistency for churning.

Variations

  • Add a swirl. A ribbon of dairy-free caramel or maple sauce swirled in during the last few minutes of churning adds extra decadence.
  • Add crunch. Chopped toasted pecans or walnuts folded in after churning add texture that plays well against the creamy base.
  • Make it a pie topper. A scoop melts beautifully over a warm slice of pie for an easy à la mode dessert.
  • Adjust the spice blend. A pinch of ground cloves or allspice alongside the cinnamon, nutmeg, and ginger deepens the pumpkin-pie flavor even further.

Tips for the Best Pumpkin Ice Cream

  • Chill the base thoroughly. At least 2 hours in the refrigerator before churning helps the ice cream freeze up faster and with a smoother texture.
  • Blend until fully smooth. This ensures the spices and pumpkin puree are evenly distributed throughout, with no streaks.
  • Don't skip the ice cream maker chill time. If using a bowl-style machine, make sure the bowl has been fully frozen beforehand, or the base won't set up properly.
  • Let it firm up before scooping. Fresh-churned ice cream is soft-serve consistency; a couple of hours in the freezer afterward gives it a firmer, more scoopable texture.

Make Ahead & Storage

This ice cream keeps well in an airtight, freezer-safe container for up to 2 weeks. Since it's dairy-free, it can freeze a bit harder than traditional ice cream, so let it sit at room temperature for 5 to 10 minutes before scooping for the best texture.

How to Serve

Serve on its own or over a warm slice of vegan pumpkin pie or alongside a vegan pumpkin chocolate chip cookie.

Scoop of vegan pumpkin ice cream

More Vegan Recipes

If you love this vegan pumpkin ice cream, be sure to check out these other delicious vegan ideas:

  • Pumpkin Protein Balls
  • Vegan Mango Ice Cream
  • Best Vegan Thanksgiving Desserts

Recipe

Vegan pumpkin spice ice cream

Vegan Pumpkin Ice Cream

4.50 from 2 votes
This vegan pumpkin ice cream is bursting with the flavors of pumpkin, maple, and coconut. It's the perfect sweet treat for Fall!
Print Pin Save Saved!
Prep Time: 10 minutes minutes
Cook Time: 5 minutes minutes
Freezing Time: 2 hours hours
Total Time: 2 hours hours 15 minutes minutes
Servings: 8 servings
Prevent your screen from going dark

Equipment

  • ice cream maker

Ingredients

  • 14 ounces coconut milk canned, full fat
  • 1 cup pumpkin puree canned or fresh
  • ½ cup unsweetened nondairy milk such as almond or soy milk
  • ½ cup maple syrup
  • 1 ½ teaspoons ground cinnamon
  • 1 teaspoon vanilla extract
  • ½ teaspoon ground nutmeg
  • ¼ teaspoon ground ginger
US Customary - Metric

Instructions

  • Combine all of the ingredients in a blender and process until smooth. Cover and chill in the refrigerator for at least 2 hours.
  • Transfer to an ice cream maker and freeze according to the manufacturer’s directions.

Notes

Makes 1 generous quart

Nutrition (Estimate per Serving)

Calories: 172kcalCarbohydrates: 18gProtein: 2gFat: 11gSaturated Fat: 9gPolyunsaturated Fat: 1gMonounsaturated Fat: 1gSodium: 17mgPotassium: 242mgFiber: 1gSugar: 14gVitamin A: 4825IUVitamin C: 3mgCalcium: 64mgIron: 2mg
Vegan-ize any recipe!Grab our free vegan cheat sheet, packed with my favorite easy substitutions to make any recipe vegan.
Recipe by Cathe Olson from Lick It! Creamy Dreamy Vegan Ice Creams Your Mouth Will Love* (Book Publishing Company; reprinted by permission). You can check out Cathe's blog here. Photos by Hannah Kaminsky.

*This post contains affiliate links. If the product is purchased by linking through this review, VegKitchen receives a modest commission, which helps maintain our site and helps it to continue growing!

A Guide to Salt Varieties

September 30, 2011 by Nicole @ VegKitchen 22 Comments

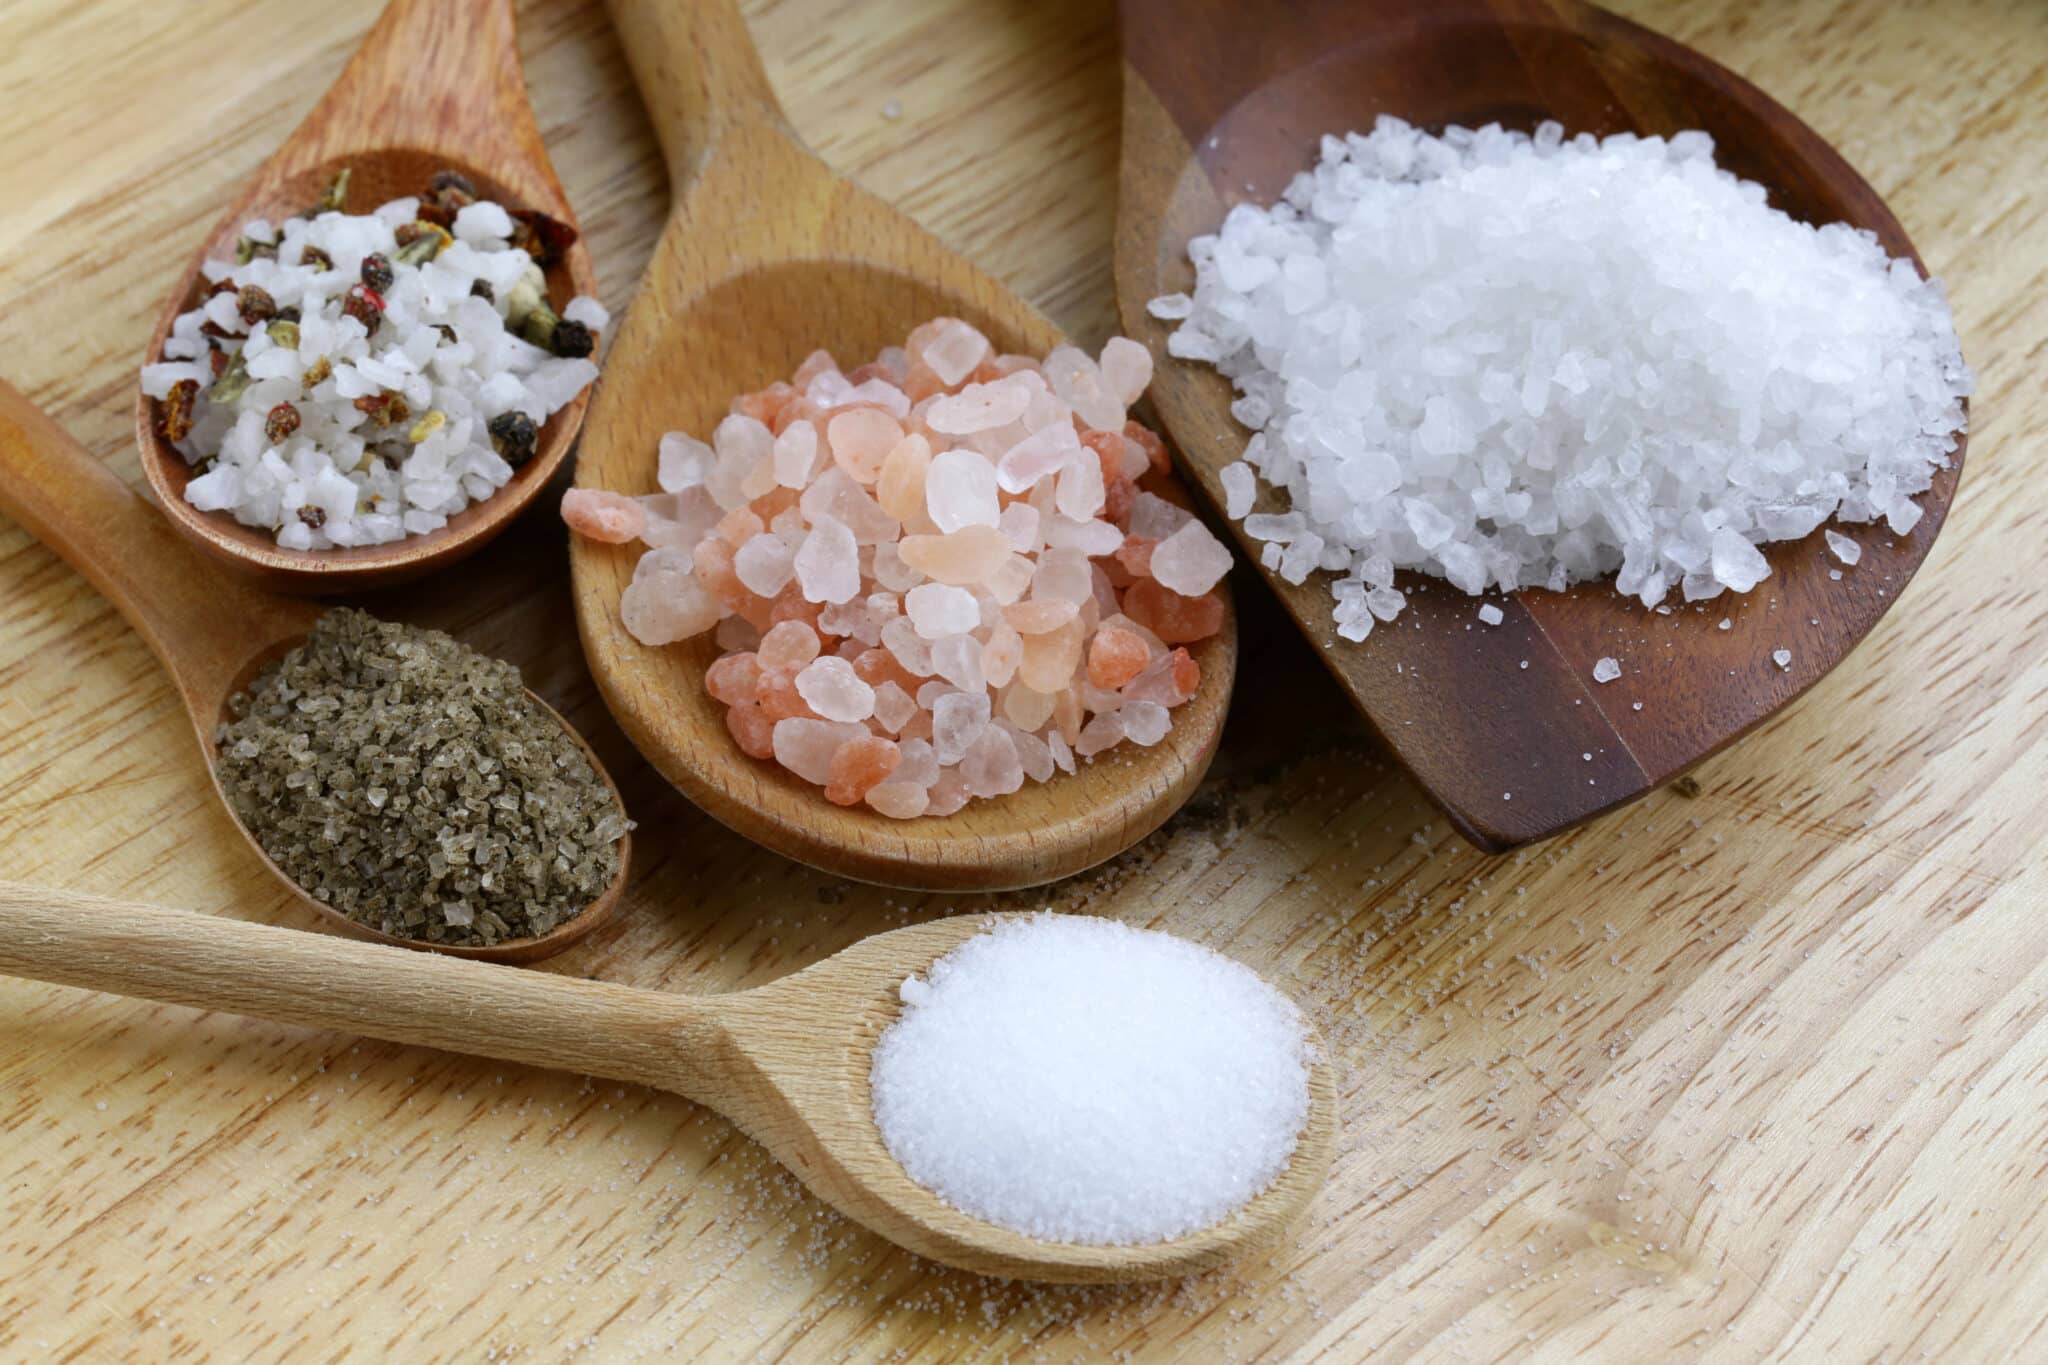
Salt comes in all colors, shapes and sizes; as well as pure white, salt may be pink, grey, black or green. Salt truly is a rainbow-hued rock. Here's a guide to many of the salt varieties available. You might also enjoy exploring more of our Himalayan salt recipes and tips.

Assortment of salt varieties on wooden spoons

[Read more...]

Candied Pumpkin Seeds

September 20, 2011 by Nicole @ VegKitchen Leave a Comment

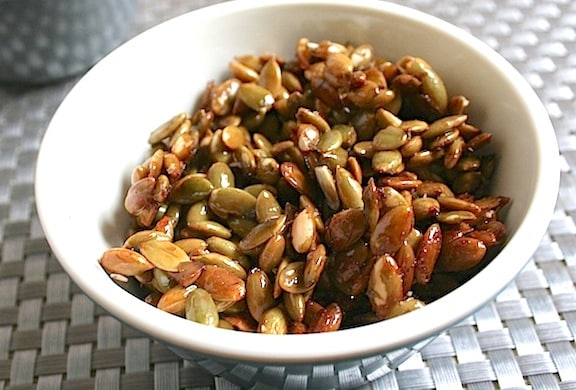
Candied Pumpkin Seeds

These candied pumpkin seeds (or pepitas) are sweet, salty, and perfectly crunchy! It's the ultimate Fall treat.

Candied Pumpkin Seeds recipe

Sweet, salty, and ridiculously snackable - these candied pumpkin seeds are the fall treat you didn't know you needed. They're crunchy, caramelized, and just the right amount of sticky (in the best way).

These homemade candied pumpkin seeds (sometimes called pepitas) are so delicious, and couldn't be any easier to make! I dare you not to eat half of it straight off the baking sheet.

They take just three ingredients (I don't count the salt) and less than 30 minutes. And most of that time if just letting them roast in the oven. Easy peasy.

These candied pumpkin seeds also make an awesome vegan-friendly gift idea. Just tie them up in a pretty cellophane bag with ribbon. Because who doesn't like to be gifted delicious food?

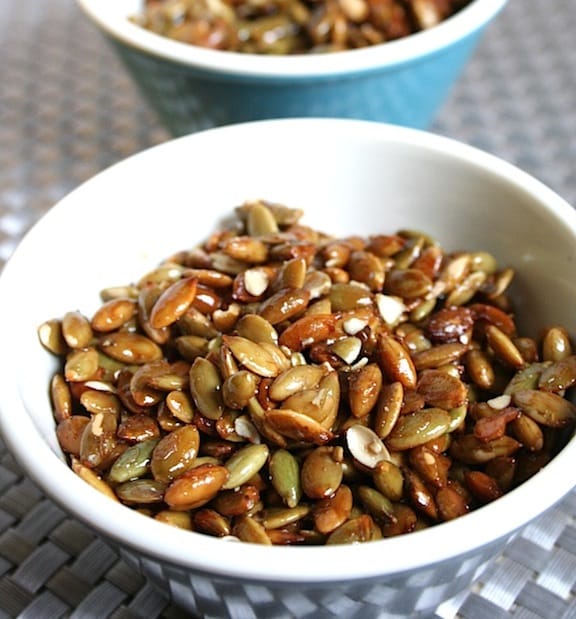
Candied Pumpkin Seeds being served

Fun Variations to Try

  • Spiced: Add ½ teaspoon cinnamon, or go full fall with pumpkin pie spice.
  • Savory-sweet: Add flaky sea salt after baking, or a tiny pinch of cayenne for heat.
  • Different sweeteners: Try coconut sugar or agave for a twist.
  • Mix-ins: Add toasted coconut flakes or chopped nuts for texture.

Serving Ideas

These candied pumpkin seeds can be enjoyed so many different ways, all year long. Here are a few of my favorites!

  • Sprinkle on smoothie bowls, yogurt, or salads.
  • Pack in lunch boxes or use for road trip snacks.
  • Gift in jars tied with twine for instant Fall magic!
  • Or just snack shamelessly - no judgment here.

This recipe was contributed by Kim Lutz, author of Welcoming Kitchen: 200 Delicious Allergen- & Gluten-Free Vegan Recipes* (Sterling, ©2011). Photos by Rachael Braun. Published with permission.

More Recipes

If you love these candied pepitas, be sure to check out these other delicious vegan ideas:

  • 7 Ways to Roast Pistachio Seeds
  • 30 Homemade Vegan Snacks
  • Vegan Pumpkin Pie

Recipe

Candied Pumpkin Seeds recipe

Candied Pumpkin Seeds

4.95 from 22 votes
These candied pumpkin seeds (or pepitas) are sweet, salty, and perfectly crunchy! It's the ultimate Fall treat.
Print Pin Save Saved!
Prep Time: 5 minutes minutes
Cook Time: 20 minutes minutes
Total Time: 25 minutes minutes
Servings: 6
Prevent your screen from going dark

Ingredients

  • 2 tablespoons maple syrup
  • 2 tablespoons packed brown sugar
  • ¼ teaspoon salt
  • 1 cup shelled pumpkin seeds pepitas

Instructions

  • Preheat oven to 375° F.
  • In a small saucepan, combine maple syrup, brown sugar, and salt. Heat over medium heat. Stir constantly until brown sugar is melted and mixture is foamy.
  • Add pumpkin seeds and stir until coated.
  • Spread pumpkin seeds on oiled cookie sheet. Bake for 10 minutes, stirring after 5 minutes. Remove from oven and cool completely; stir occasionally while cooling to prevent pumpkin seeds from sticking to pan.

Notes

Makes 1 cup (4 to 6 servings)

Nutrition (Estimate per Serving)

Calories: 93kcalCarbohydrates: 10gProtein: 3gFat: 5gSaturated Fat: 1gPolyunsaturated Fat: 2gMonounsaturated Fat: 2gTrans Fat: 0.01gSodium: 99mgPotassium: 107mgFiber: 1gSugar: 8gVitamin A: 2IUVitamin C: 0.2mgCalcium: 16mgIron: 1mg
Vegan-ize any recipe!Grab our free vegan cheat sheet, packed with my favorite easy substitutions to make any recipe vegan.
Miso: What It Is and How to Use It

June 21, 2011 by Nicole @ VegKitchen 11 Comments

types of miso

A ubiquitous staple in Japanese and Chinese cuisine, miso, or fermented soybean paste, is a powerhouse of concentrated flavor and nutrition. But what exactly is it, and what can you make with it? I've pulled together this quick guide to cover all things miso.

miso, soy sauce, and soy beans

Three types of miso are commonly available in the West: soybean miso, rice miso, and barley miso. Rice and barley misos actually combine soybeans with the grain. Within each category of miso exists a range of earthy hues and subtle flavor variations, all more or less in the realm of a pungent saltiness. The texture resembles that of peanut butter. Miso is best known as the base for simple, broth-type soups, although it is equally useful as a basis for sauces, dressings, and dips.

How to Store Miso

Miso is commonly sold in either plastic packages or tubs. Once the tubs are opened, it's best to reseal them tightly and refrigerate. Once the plastic packages are opened, they should be additionally protected by placing them inside another container, such as a tightly lidded glass jar or plastic container.

Refrigerated miso keeps very well for several months. After some time, a white mold may develop around the edges. Although this may be scraped off and the rest of the miso used, it's your warning signal that the freshness is waning.

Recipes Using Miso

Here are a few of my favorite vegan recipes that feature miso.

  • Miso-Butternut Squash Soup with Soba or Udon Noodles
  • Miso Soup with Winter Vegetables
  • Udon Noodles with Spinach-Miso Pesto
  • Dilled Miso-Tahini Dip

How Miso Is Made

Miso has been produced throughout Asia for several centuries, and the methods used today are just a little different from the ancient ones. The important first step in making miso is to prepare the mold culture, called koji, which will ferment the soybeans or the soy and grain combination, depending on what type of miso is being made.

For soybean-only miso, cooked soybeans rest for 2 to 3 days in a special room, called the koji-room, during which a mold called Aspergillus hatcho develops on them. For soybean and rice miso or soybean and barley miso, cooked grain is similarly put in a koji-room, and a mold called Aspergillus orizae grows on the grain.

To make soybean miso, or, as it's commonly called, hatcho miso, the soy koji is combined with cooked soybeans, salt, and water. To make rice or barley miso, the grain koji is combined with cooked soybeans, cooked rice or barley, salt, and water. These ingredients are then stored in large cedar kegs.

The mold cultures release beneficial enzymes that stimulate the fermentation process. These enzymes assist in breaking down the starches in the soybeans and grains into simple sugars and cause the protein to break down into separate amino acids. Miso is aged for periods of 1 to 3 years, depending on the type being made. The length of time, the temperature at which the fermentation process takes place, and the proportions of the ingredients used all contribute to the final result and are responsible for the differences between the various types of miso. Miso packaged for exportation is required to be pasteurized as an extra safety measure.

"Quick" misos are also common, and are a modern innovation for convenience. Through temperature control, the fermentation process can be sped up to happen within just a few weeks. Often, flavorings, additives, and preservatives are added to quick misos, and they don't taste as complex as traditionally aged misos. There's no real advantage to buying quick miso, except sometimes the price. If in doubt as to what you're getting, read the ingredients. Natural, aged miso contains only soybeans (and grain, in the case of rice or barley miso), salt, and water.

Miso's Nutrition and Flavor

The protein content of miso ranges from about 13 percent in rice miso and about 18 percent in barley miso to about 20 percent in soybean miso. One tablespoon of miso provides an average of 2.5 grams of protein and contains only 27 calories. All misos are excellent sources of iron, calcium, phosphorus, and the B vitamin range, including vitamin B12, which is rarely found in vegetable sources. Fermentation makes miso very easily digestible, and the live lactic-acid bacteria and enzymes it contains aid in general digestion.

Miso serves as a substitute for both salt and soy sauce, in that you'd be unlikely to use them in tandem in any given dish. Even the sweetest rice misos are salty (miso contains an average of 12 percent salt, which acts as a preservative, preventing harmful bacterial growth).

The concentrated flavor of miso goes a long way. Rarely will you see more than 2 or 3 tablespoons called for in a recipe that serves 4 to 6 people. Miso is easier to use if it's diluted in a small amount of warm water and stirred until smooth. When cooking with miso, don't boil it, because boiling destroys the beneficial enzymes.

Types of Miso

The essential differences between soybean, barley, and rice misos are outlined below, along with some basic ways to use miso in general.

Soybean (Hatcho) Miso

Hatcho (or hacho) miso is named for the Chinese city of the same name, where it originated. The darkest, firmest, most intensely flavored of misos, hatcho resembles a thick chocolate fudge. Its fermentation process is a long one, optimally between 2 and 3 years. Because its flavor is exceptionally strong, soybean miso is often mixed with other misos.

Made with soybeans, soybean koji, salt, and water, hatcho miso has the highest protein content among misos at about 20 percent, as well as the highest fat content at about 10 percent. It's richest in calcium, phosphorus, and iron and is comparable to the other misos in its content of B-complex vitamins.

The robust flavor of hatcho makes it a favorite winter miso, most appropriate for use with cold-weather foods such as root vegetables and in hearty dishes such as stews. You can find hacho miso online here.

Barley (Mugi) Miso

Barley, or mugi, miso is made by mixing barley, soybeans, barley koji, salt, and water. The fermentation period is shorter than for soybean miso, the optimal time being between 18 months and 2 years.

Barley miso has become the most widely accepted by Westerners and is also very popular in Japan. Its not-too-sweet, not-too-overpowering flavor makes it appropriate for both summer and winter use.

It's an ideal base for almost all miso soups, sauces, and spreads. In Japan, mugi miso is considered a "country-style" food. It's available in smooth and chunky textures. You can find mugi miso online here.

Rice Miso

Rice miso is made from a combination of rice, soybeans, rice koji, salt, and water. This type of miso has the shortest fermentation period, since the starches in the rice are rapidly converted to sugars. Rice miso tends to have a somewhat sweet flavor, which mellows its salty taste. It's considered most appropriate for summer cooking since it's the lightest in flavor.

Several varieties of rice miso are marketed through natural-food outlets, with colors ranging from brown to red to creamy white.

The most common of these is kome miso (also known as sendai, or red miso), made from white rice. This miso is quite popular in Japan, where it has been made using a time-honored formula since the seventeenth century.

A more recent innovation is genmai miso, made from brown rice instead of white. Unpolished rice was once considered too resistant to fermentation, but a method was developed that resulted in genmai miso, which has proven to be very pleasing to the Western palate.

Shiro miso is a variety of the very mild, white sweet misos, which age relatively quickly. Shiro miso uses sweet rice and less salt. A related product made in North America is labeled "mellow white miso." These white misos are the lightest in flavor and so are ideal for using in nontraditional ways, such as blending into salad dressings, where they'll add zest but never overpower.

I am a fan of this reduced sodium rice miso when I need a lighter flavor without adding a lot of salt to a dish.

More Vegan Resources

Curious about other pantry staples and plant-based ingredients? Check out these guides and roundups:

  • Vegan Substitutions Guide
  • A Guide to Salt Varieties
  • 5 Simple Ways to Use Baked Tofu
  • 40+ Asian Inspired Vegan Recipes

Homemade Almond Milk

April 19, 2011 by Nicole @ VegKitchen 3 Comments

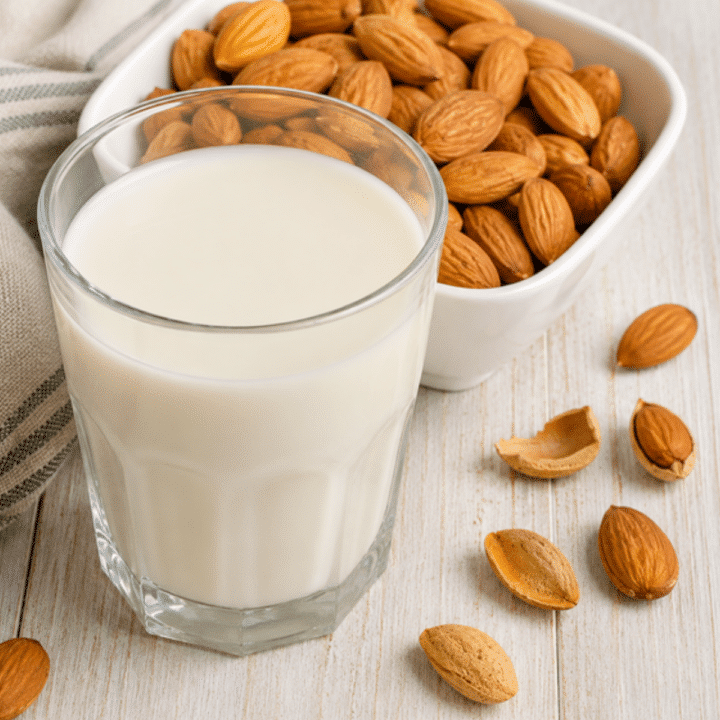
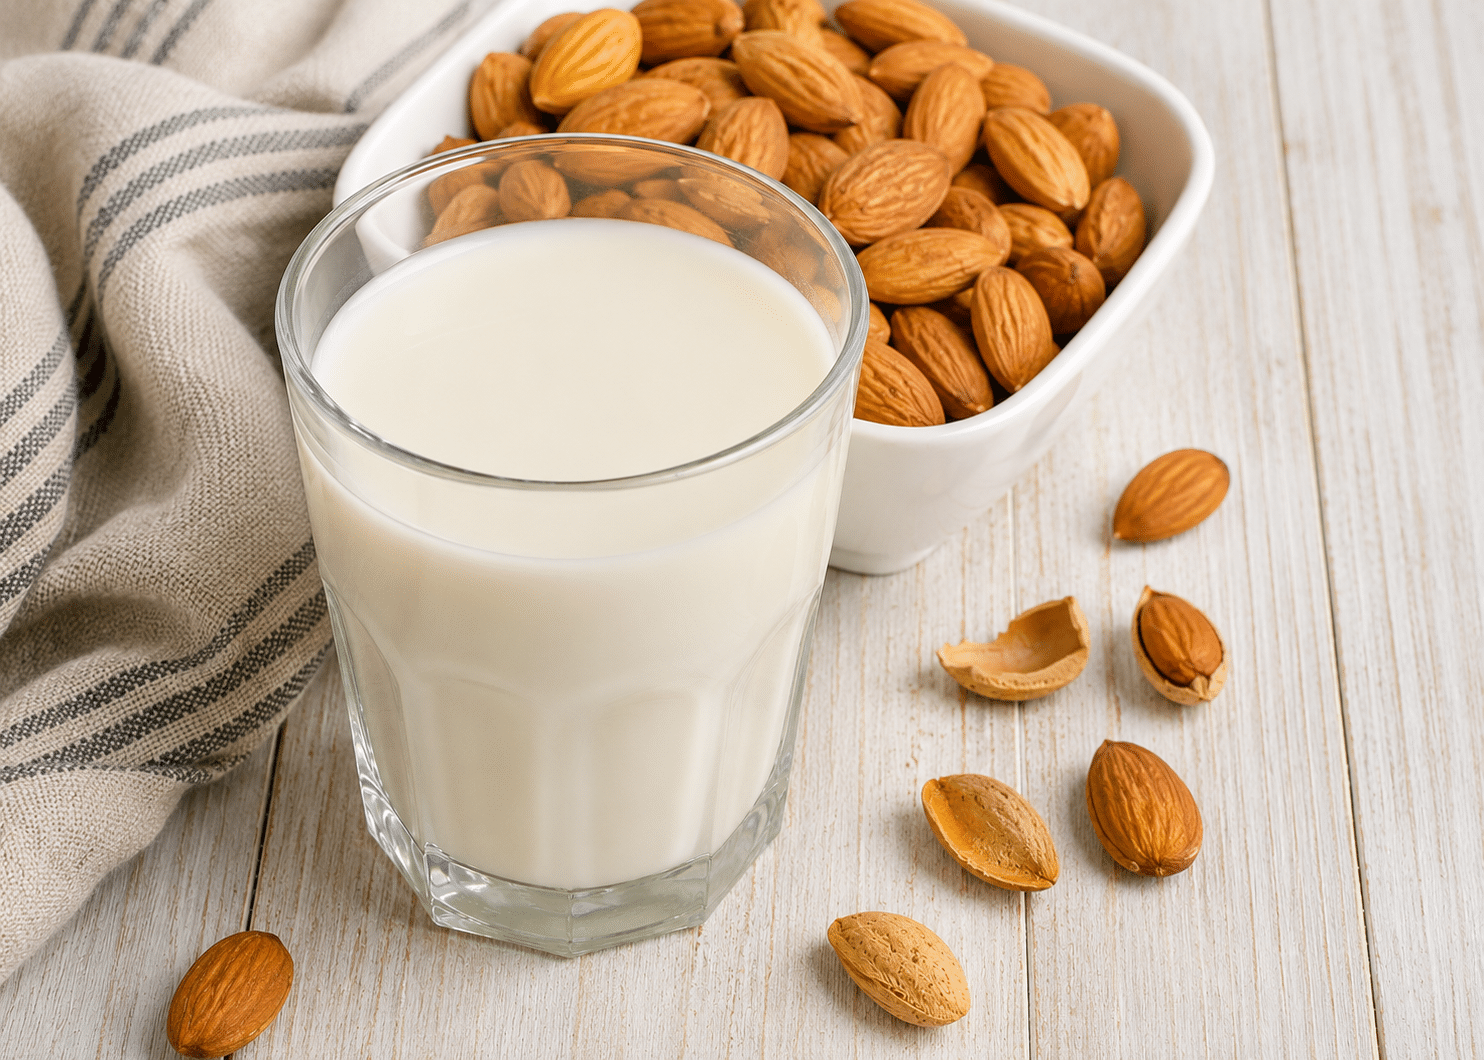
This homemade almond milk is richer and more nutritious than boxed nondairy milk, and it comes together in just minutes with a blender and a strainer. Once you taste the difference, it's hard to go back to the boxed stuff, and you control exactly what goes into it — no gums, stabilizers, or added oils, just almonds, water, and whatever sweetness you choose to add.

Glass of homemade almond milk

Recipe adapted from Raw Food Made Easy for 1 or 2 People by Jennifer Cornbleet, reprinted by permission of The Book Publishing Company.

Key Ingredients & Substitutions

  • Raw almonds. Look for raw, unsalted almonds — roasted or salted almonds will throw off both the flavor and the soaking process, and can leave the milk tasting oddly savory.
  • Soaked almonds. Soaking softens the almonds so they blend into a smooth, creamy milk instead of a gritty one — don't skip this step, even though it adds time upfront.
  • Medjool dates. These add natural sweetness and body. Regular dates work too, just soak them a little longer since they're firmer and won't blend as smoothly straight from the package.
  • Vanilla extract. Optional, but it rounds out the flavor nicely. Leave it out for a neutral milk to use in savory recipes like soups or sauces.
  • Filtered water. The ratio of water to almonds determines how rich or light the milk turns out — adjust to taste, using less water for a creamier, more concentrated milk.

Variations

  • Make it chocolate. Blend in a tablespoon of cocoa powder for chocolate almond milk, sweetened to taste.
  • Add spice. A pinch of cinnamon or a dash of salt brightens the flavor and makes it taste more finished.
  • Skip the dates. For an unsweetened version, simply omit the dates — useful for coffee or savory cooking.
  • Try other nuts. This same method works well with cashews or a mix of almonds and cashews, which blend even more smoothly since cashews don't need straining.
  • Add a banana. Half a ripe banana blended in makes the milk noticeably creamier without tasting overtly like banana.
  • Make it a smoothie base. Skip straining and blend the whole mixture with fruit for a fiber-rich smoothie instead of a strained milk.

Tips for the Best Almond Milk

  • Soak the almonds fully. A full 8 to 12 hours softens them enough for a smooth blend — don't rush this step, and plan ahead by soaking them the night before.
  • Remove the skins for extra creaminess. It takes a few extra minutes, but skinned almonds make a noticeably smoother milk with less grit — the skins slip off easily after soaking.
  • Strain thoroughly. Press the pulp well with a spatula, or use a nut milk bag, to extract as much milk as possible — a nut milk bag gives the cleanest, smoothest result.
  • Shake before using. Homemade almond milk separates in the fridge since it has no stabilizers — just give it a good shake before pouring.
  • Use the leftover pulp. Save it for baking, smoothies, or homemade granola instead of tossing it — it's still full of fiber and nutrients and can be dried in a low oven for almond flour.

Make Ahead & Storage

This almond milk keeps in the refrigerator for about 5 days in a sealed container. It will separate as it sits since it has no stabilizers or emulsifiers, so a good shake before each use brings it back together. It doesn't freeze particularly well, since the texture changes once thawed, so plan to make only what you'll use within the week.

How to Serve

Enjoy this almond milk cold over cereal, stirred into coffee or tea, or blended into smoothies.

Recipe

Glass of homemade almond milk

Homemade Almond Milk

5 from 4 votes
Rich, naturally sweet almond milk made from just soaked almonds, dates, and water - more nutritious than boxed nondairy milk and ready in minutes.
Print Pin Save Saved!
Prep Time: 15 minutes minutes
Total Time: 15 minutes minutes
Servings: 2
Prevent your screen from going dark

Ingredients

  • 1 ½ cups soaked almonds see note
  • 2 ½ cups water divided
  • 3 pitted medjool dates soaked
  • ½ teaspoon vanilla extract optional

Instructions

  • Place 1 ½ cups of the water and the almonds, dates, and optional vanilla in a blender. Blend on high speed until very smooth. Add the remaining 1 cup of water and blend until smooth.
  • Place a fine-mesh strainer over a medium bowl and pour the almond mixture through it. Using a rubber spatula, stir and press the pulp caught in the strainer to extract as much milk as possible. Alternatively, use a nut milk bag to strain.
  • Discard the pulp left in the strainer, or save it for another purpose.
  • Transfer the almond milk to a sealed container and refrigerate. It will keep for about 5 days and will separate as it sits, so shake well before using.

Notes

To arrive at 1 ½ cups soaked almonds: put 1 cup raw almonds in a jar, cover with cool water, and let soak for 8 to 12 hours at room temperature. Drain well before using.
Vegan-ize any recipe!Grab our free vegan cheat sheet, packed with my favorite easy substitutions to make any recipe vegan.
Maple Glazed Pineapple

February 6, 2011 by Nicole @ VegKitchen 4 Comments

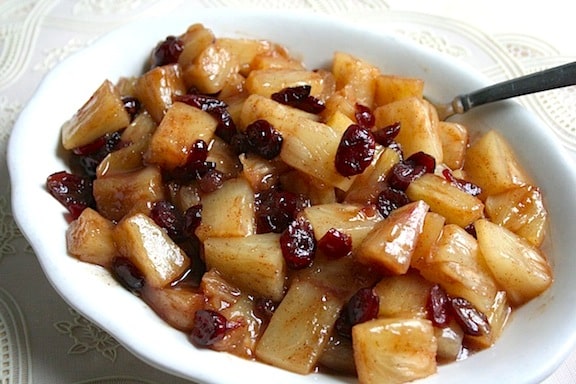
Maple Glazed Pineapple recipe

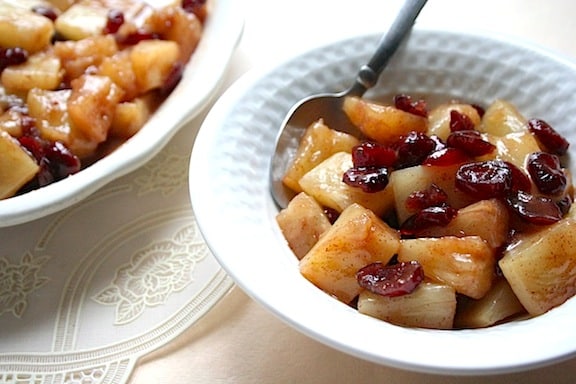
This Maple Glazed Pineapple will really sweeten up your summer. Serve it up for dessert or as a side for your next meal. The flavor of maple syrup marries well with pineapple, especially glazed right into the surface. If you like pineapple, you're sure to enjoy this nearly instant dessert! It's particularly appealing when made with canned organic pineapple mini-rings, and it comes together in under 10 minutes with just a handful of ingredients.

Maple glazed pineapple in a skillet

Key Ingredients & Substitutions

  • Fresh pineapple. Canned pineapple chunks or slices (drained) work just as well and make this even quicker to throw together.
  • Maple syrup. The glaze's backbone — agave syrup works well as a substitute, or melt some sugar in the pan for a slightly different caramelized flavor.
  • Vegan buttery spread. Earth Balance or a similar plant-based butter carries the glaze and helps it coat the pineapple evenly.
  • Cinnamon. A warm background note that plays beautifully against the sweet, caramelized pineapple.
  • Dried fruit. Cranberries, cherries, blueberries, or raisins all add little bursts of chewy sweetness stirred in at the end.

Variations

  • Add a splash of rum. A tablespoon of dark rum added along with the maple syrup gives this a grown-up, tropical twist.
  • Add nuts. Toasted chopped pecans or macadamia nuts sprinkled on top add crunch and a nice contrast to the soft, glazed fruit.
  • Make it spicier. A pinch of ground ginger or a small pinch of cayenne alongside the cinnamon adds unexpected warmth.
  • Grill it instead. Brush pineapple rings with the maple mixture and grill for a few minutes per side for a smoky variation.

Tips for the Best Maple Glazed Pineapple

  • Drain the pineapple well. Excess liquid will thin out the glaze and keep it from properly coating the fruit — save the drained juice for smoothies or popsicles.
  • Don't rush the glazing. Letting the pineapple cook undisturbed for a minute or two at a time helps it caramelize rather than just steam in the glaze.
  • Use any shape or size of pineapple you like. Just make sure to get all the sides coated with maple syrup before it goes into the pan — pineapple rings and cubes both work beautifully.
  • Let it cool slightly before serving. The glaze thickens a bit as it cools, giving it a stickier, more caramel-like coating.

Make Ahead & Storage

This keeps well in a sealed container in the refrigerator for up to 3 days. Reheat gently in a skillet over low heat, or serve straight from the fridge for a cool, refreshing treat.

How to Serve

Pair this tasty treat with some vanilla ice cream or a warm and gooey chocolate chip cookie. If you're serving it as a side dish, these pineapples pair really well with green beans and salads. Top each serving with vanilla coconut yogurt, granola, and/or toasted chopped nuts if you like.

Maple Glazed Pineapple FAQs

Can I use a sweetener other than maple syrup?

You can use any kind of sweetener that you prefer! Agave syrup works well, and you can also melt some sugar in the pan and use that.

Does it matter what shape the pineapple is in?

You can use any shape and size of pineapple that you would like! Just make sure to get all the sides coated with maple syrup before you put the pineapple in the pan to glaze. I love using pineapple rings, but cubes are also nice.

Recipe

Maple Glazed Pineapple recipe

Maple Glazed Pineapple

4.67 from 3 votes
This Maple Glazed Pineapple will really sweeten up your summer. Serve it up for dessert or as a side for your next meal.
Print Pin Save Saved!
Servings: 4
Prevent your screen from going dark

Ingredients

  • 1 tablespoon Earth Balance or other vegan buttery spread
  • ¼ cup maple syrup
  • ¼ teaspoon cinnamon or to taste
  • 3–3 ½ cups diced fresh pineapple or two 15oz cans pineapple chunks or slices, drained
  • ¼ cup dried fruit cranberries, cherries, blueberries, raisins, etc.
  • optional toppings vanilla coconut yogurt, granola, and/or toasted chopped nuts

Instructions

  • Heat the Earth Balance in a medium skillet until melted, then stir in the maple syrup and cinnamon.
  • Drain the pineapple well (save the juice for another recipe—smoothies, popsicles, etc.) and add to the skillet.
  • Cook over medium-high heat, stirring often, until the pineapple is nicely glazed and golden, 6 to 8 minutes.
  • Stir in the dried fruit of your choice and remove from the heat. Transfer the mixture to a serving dish. Allow to cool.
  • Serve fruit mixture warm or at room temperature. Top each serving with any or all of the optional toppings as desired.

Nutrition (Estimate per Serving)

Calories: 1281kcalCarbohydrates: 324gProtein: 10gFat: 6gSaturated Fat: 1gPolyunsaturated Fat: 1gMonounsaturated Fat: 3gSodium: 22mgPotassium: 2520mgFiber: 26gSugar: 296gVitamin A: 991IUVitamin C: 186mgCalcium: 344mgIron: 6mg
Vegan-ize any recipe!Grab our free vegan cheat sheet, packed with my favorite easy substitutions to make any recipe vegan.
Photos by Rachael Braun.

Vegan Orange Bundt Cake

January 5, 2011 by Nicole @ VegKitchen 3 Comments

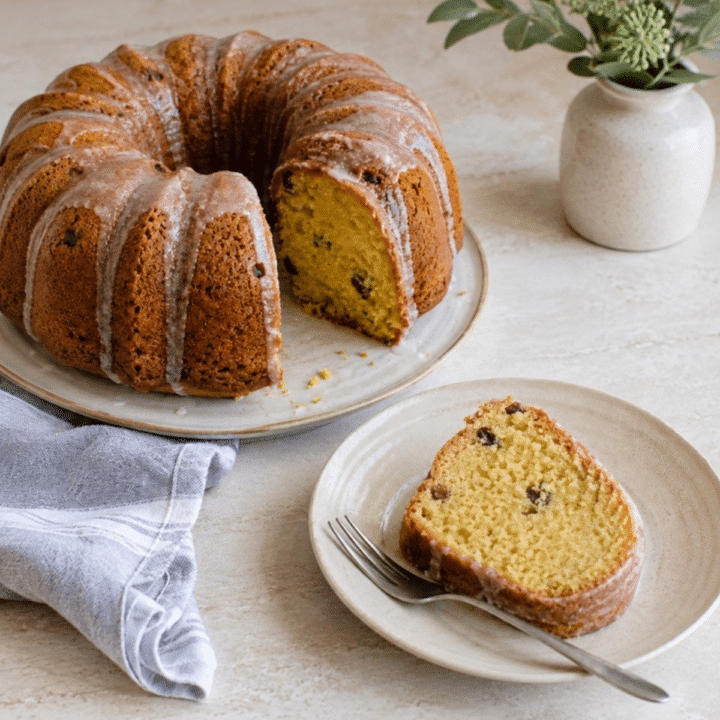
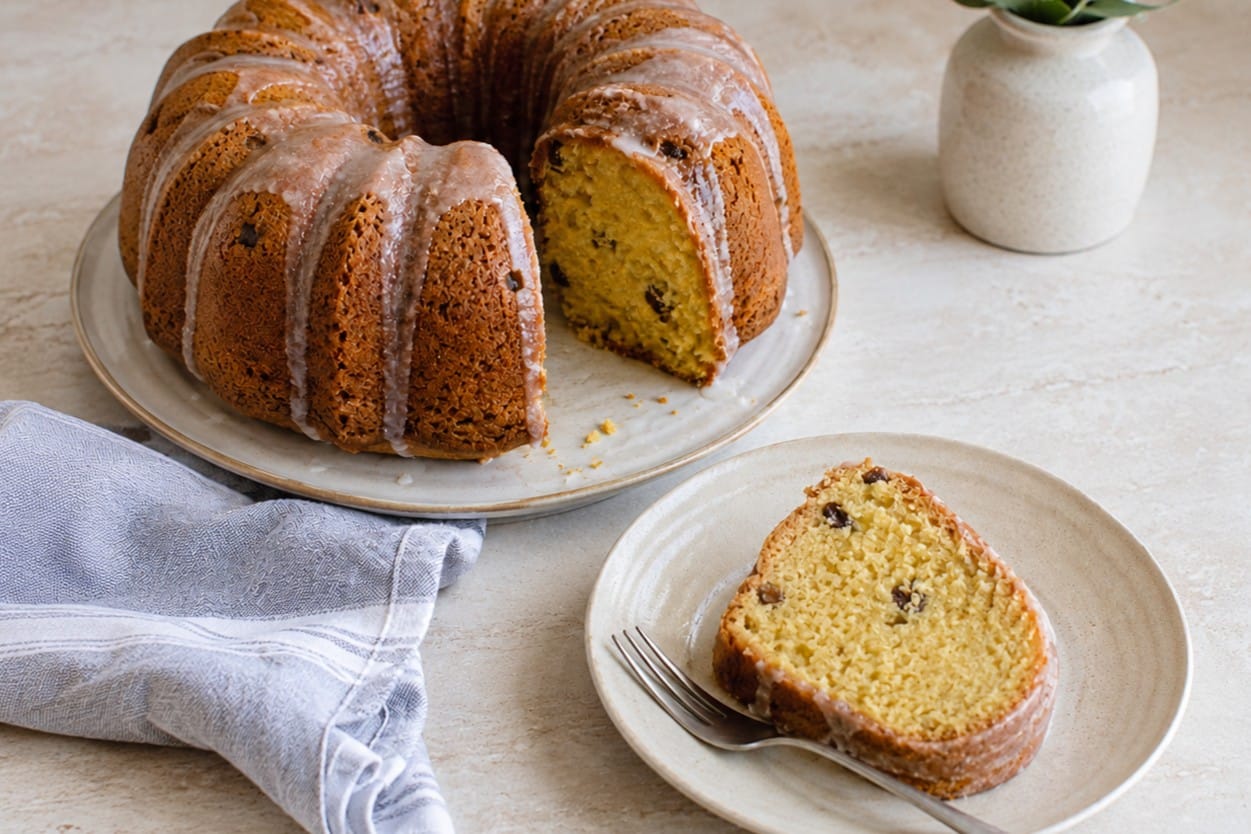
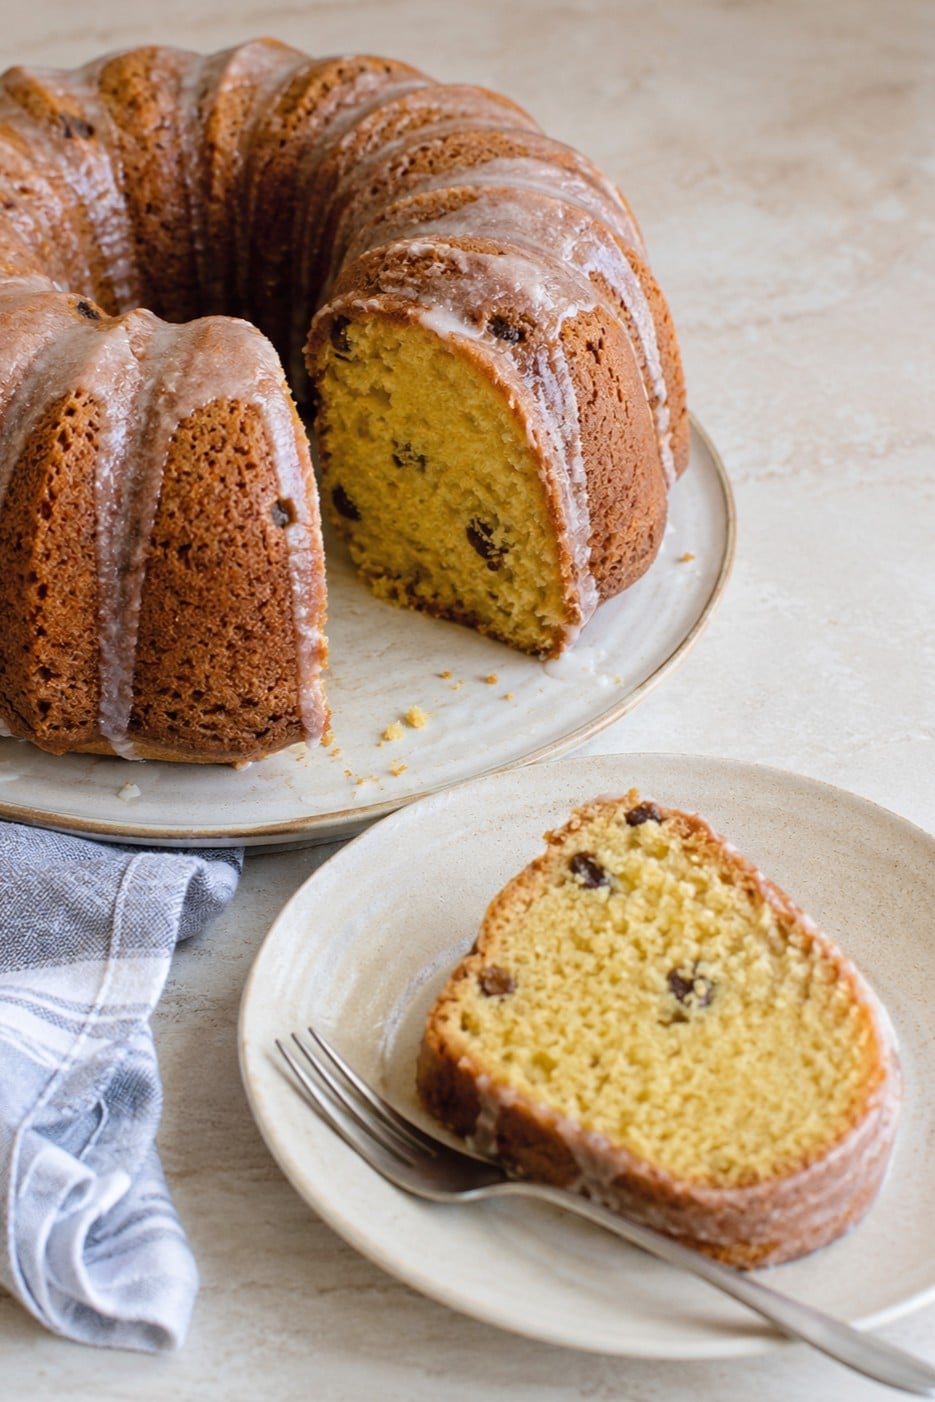
What's big, orange, and full of delicious citrus flavor? This Vegan Orange Bundt Cake, studded with raisins and finished with a sweet Orange Cream Glaze! This colossal cake elicits oohs and ahs when set out for serving, but the proof is in the tasting — and this cake goes to the head of its class. It tastes fabulous on its own, but you can also serve it with dairy-free ice cream or a fresh fruit salad.

Vegan orange bundt cake with a slice cut, showing raisins throughout

Key Ingredients & Substitutions

  • Orange zest and juice. Both go into the batter for maximum citrus flavor — seek out organic, unwaxed oranges since you're using the peel, and be sure to zest only the bright orange layer, not the bitter white pith underneath.
  • Raisins. Folded into the batter right before it goes into the pan, they add little pockets of sweetness throughout the cake and a bit of chew against the tender crumb.
  • Whole wheat pastry flour and unbleached white flour. The combination keeps the cake tender while adding a little more substance than an all-white-flour cake.
  • Dark whole cane sugar. Sucanat or Rapadura both work well here, and add a subtle molasses note alongside the organic sugar.
  • Silken tofu. The base of the Orange Cream Glaze — it blends completely smooth and gives the glaze a rich, creamy texture without any dairy.

Variations

  • Extra orange. To make your cake extra orange, both in color and flavor, simply eliminate the soymilk and use 2 cups of orange juice instead. This is also a great option for those with nut or soy allergies, or who prefer not to use plant-based milks.
  • Extra sweet. If you want to make your cake extra sweet, or you just prefer organic, swap the dark whole cane sugar for organic sugar. This will give you a total of 1 ¼ cups organic sugar in your cake, making it slightly sweeter.
  • Extra sauce. After pouring the Orange Cream Glaze over your cake, make a yummy sauce with the leftovers. Stir some dried cranberries into the remaining glaze and serve alongside the cake.
  • Extra chocolate. Instead of the Orange Cream Glaze, use a chocolate ganache. Simply pour the ganache over the cooled cake in place of the glaze. The flavor combination of orange and chocolate is one of our favorites, and you can really emphasize it by using orange-flavored chocolate.
  • Swap the mix-ins. Dried cranberries or chopped dried apricots both work well in place of raisins. Toasted chopped walnuts or pecans folded in alongside the raisins add a nice crunch.
  • Add spice. A pinch of cinnamon or cardamom in the dry ingredients adds a warm background note that pairs nicely with the orange.

Tips for the Best Orange Bundt Cake

  • Don't overfill the pan. To ensure the finest crumb and texture, vegan cake batter shouldn't fill the baking pan more than a scant half full. Measure carefully using the proper measuring tools for dry and liquid ingredients, and use an oven thermometer if you have one.
  • Toss the raisins in a little flour first. A light coating of flour before folding them into the batter helps keep the raisins suspended throughout the cake instead of all sinking to the bottom.
  • Let the cake cool completely before glazing. You'll need to allow at least 40 minutes for this big cake to cool — glazing it too early will just melt the glaze right off.
  • Having trouble de-panning your cake? If the cake sticks to the pan even when inverted, wet a kitchen towel in hot water, wring it out, and place it over the inverted pan for a few minutes. Then shake the pan gently to release the cake.

Make Ahead & Storage

This cake keeps well at room temperature, covered, for up to 3 days, or in the refrigerator for up to a week once glazed. It also freezes beautifully unglazed — wrap it tightly and freeze for up to 2 months, then thaw and glaze just before serving. The Orange Cream Glaze itself keeps in a sealed container in the refrigerator for up to 2 days.

How to Serve

Serve on its own with a cup of tea or coffee, or dress it up with dairy-free ice cream or a fresh fruit salad for dessert. Leftover glaze is delicious spooned over fruit salads, other cakes, or baked desserts like cobblers and pies.

Recipe

Vegan Orange Bundt Cake

4.75 from 4 votes
A big, beautifully glazed orange bundt cake studded with raisins — bright with citrus and finished with a sweet Orange Cream Glaze.
Print Pin Save Saved!
Servings: 12
Prevent your screen from going dark

Ingredients

  • 1 ½ cups whole wheat pastry flour
  • 1 ½ cups unbleached white flour
  • 2 teaspoon baking soda
  • 1 teaspoon fine sea salt
  • ½ teaspoon aluminum-free baking powder
  • 1 cup organic sugar
  • ¼ cup organic dark whole cane sugar such as Sucanat or Rapadura, finely ground
  • ⅔ cup organic canola oil or a mild extra virgin olive oil such as arbequina
  • 1 cup orange juice
  • 1 cup soymilk or another non dairy milk
  • 2 tablespoon apple cider vinegar
  • 2 teaspoon pure vanilla extract
  • 2 organic oranges zested and finely grated
  • ¾ cup raisins

Orange Cream Glaze

  • 1 box firm organic silken tofu 12.3 oz, drained
  • 5 tablespoon organic cane sugar or to taste
  • 5 tablespoon organic orange juice concentrate thawed
  • 1 tablespoon organic canola oil or another neutral oil
  • 2 teaspoon pure vanilla extract
  • ¼ teaspoon orange extract or ⅛ teaspoon pure orange oil
  • 1 tablespoon Grand Marnier or another orange flavored liquor; optional

Instructions

  • Position a rack in the middle of the oven and preheat to 350°F. Oil a 10- to 12-cup bundt pan thoroughly.
  • Place a wire mesh strainer over a medium bowl.
  • Add the pastry flour, white flour, baking soda, salt, baking powder, and both of the sugars to the strainer and sift the ingredients into the bowl.
  • Stir with a wire whisk to distribute and aerate the ingredients.
  • In a separate bowl, combine oil, orange juice, soymilk, vinegar, vanilla extract, and orange zest. Whisk until thoroughly emulsified.
  • Pour wet mixture into the dry mixture and whisk until the batter is smooth.
  • Gently fold the raisins into the batter.
  • Pour the batter into the prepared bundt pan. Rotate the pan to level the batter, and tap it lightly on the counter to eliminate some of the air bubbles.
  • Bake for 45 to 55 minutes or until the cake is golden and firm at the center when very lightly touched. A toothpick inserted in a few spots near the center of the cake should come out clean or with only a few moist crumbs.
  • Remove the bundt from the oven and cool on a rack for 10 minutes.
  • Place another wire rack on top of the cake and turn the pan upside down. Tap the pan gently and the cake should release. Make sure cake is completely cool before glazing or serving. You’ll need to allow at least 40 minutes for this big cake to cool.

Orange Cream Glaze

  • Combine all the ingredients for the cream in a blender or food processor, and process 2 to 3 minutes or until thoroughly mixed and creamy.
  • Taste the cream and add more sugar if you want a sweeter whip.
  • Pour orange cream over your cake. The cream will soak into the cake a bit, so only pour enough cream to flavor, not drench, your cake.
  • Spoon the leftover cream into a container. Refrigerate for up to two days.

Nutrition (Estimate per Serving)

Calories: 370kcalCarbohydrates: 57gProtein: 5gFat: 15gSaturated Fat: 1gPolyunsaturated Fat: 4gMonounsaturated Fat: 9gTrans Fat: 1gSodium: 401mgPotassium: 229mgFiber: 3gSugar: 33gVitamin A: 192IUVitamin C: 32mgCalcium: 61mgIron: 1mg
Vegan-ize any recipe!Grab our free vegan cheat sheet, packed with my favorite easy substitutions to make any recipe vegan.
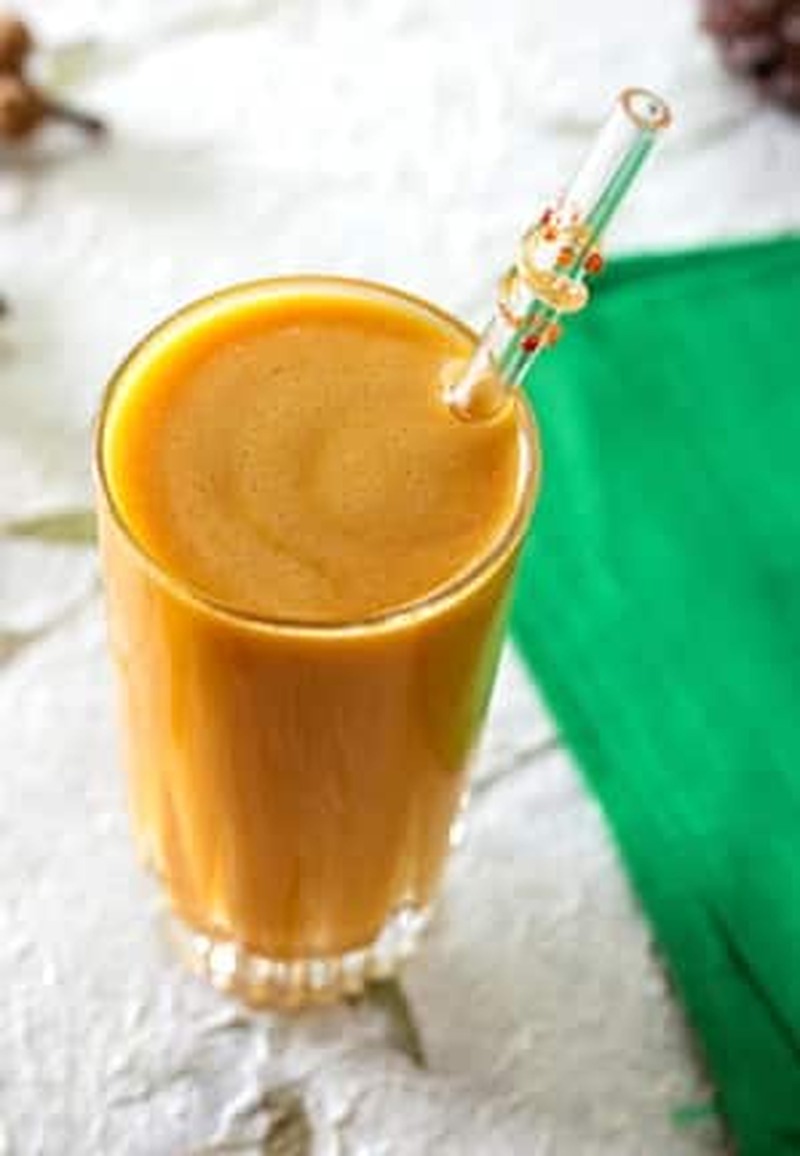
Slice of vegan orange bundt cake with raisins and orange cream glaze

Vegan Orange Bundt Cake FAQs

Can I make this as a layer or sheet cake instead?

You can easily make this orange cake into a layer or sheet cake instead of a bundt cake. For a layer cake, you'll need two 9x3-inch round pans, and for a sheet cake, one 9x13-inch pan. Reduce the baking time to 25–35 minutes, checking regularly for doneness.

How can I use my leftover Orange Cream Glaze?

Use your leftover glaze to transform simple fruit salads into special treats, dress up plain cakes, or complement other baked desserts like cobblers and pies. Simply serve your favorite treats with a dollop of glaze.

Sweet tooth still craving? Here are more Vegan Baking and Sweets. Also worth trying: our vegan chocolate orange cake.

From More Great Good Dairy Free Desserts Naturally* by Fran Costigan. For more about Fran's amazing pastries, visit FranCostigan.com.
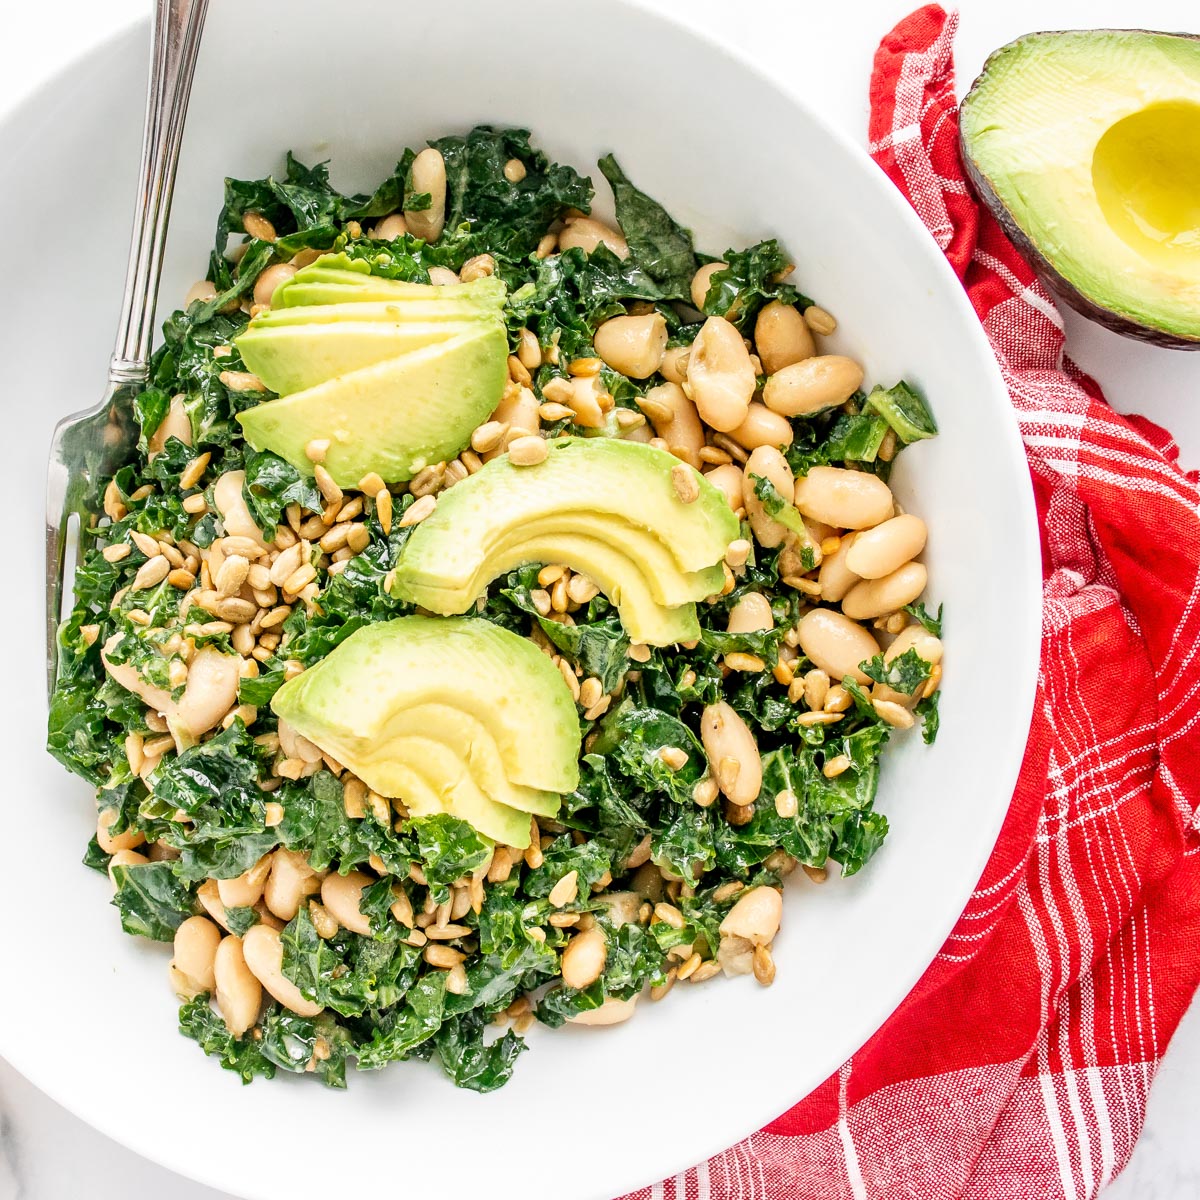
*This post contains affiliate links. If the product is purchased by linking through this review, VegKitchen receives a modest commission, which helps maintain our site and helps it to continue growing!
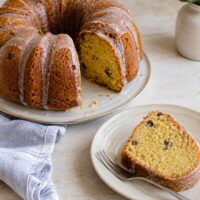
  • « Previous Page
  • 1
  • 2
  • 3
  • 4

Welcome!

Hi, I'm Nicole. I'm the creator behind VegKitchen, and the author of the popular cookbook, Weeknight One Pot Vegan Cooking.

About Me
vegan substitution chart

Featured Recipes

  • vegan lentil soup
    Sweet Potato Lentil Soup (Vegan & Vegetarian)
  • vegan hummingbird cake
    Vegan Hummingbird Cake
  • vegan jalapeno poppers
    Vegan Jalapeno Poppers
  • Sticky Sesame Cauliflower
  • vegan irish stew
    Old-Fashioned Vegan Stew
  • vegan birthday cake
    Vegan Funfetti Cake

Footer

  • Shop Cookbooks
  • Free Vegan Cheat Sheet
  • About Us
  • Work with Me
  • Contact
  • Privacy Policy
  • Terms of Use

As an Amazon Associate I earn from qualifying purchases.

Copyright © 2026 VegKitchen.com

Rate This Recipe

Your vote:


A rating is required
A name is required
An email is required