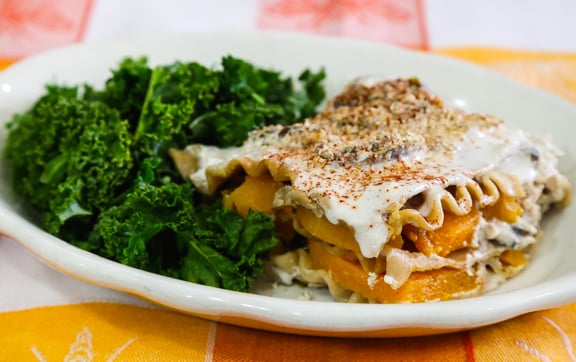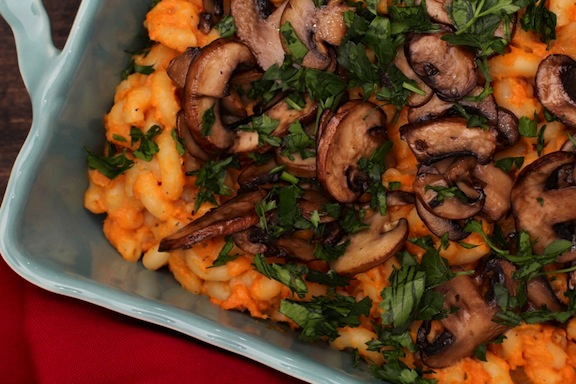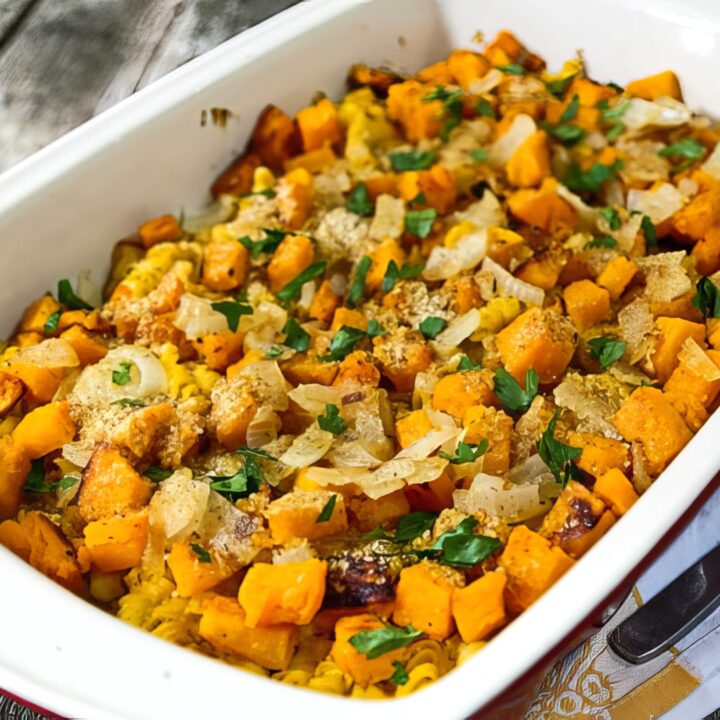
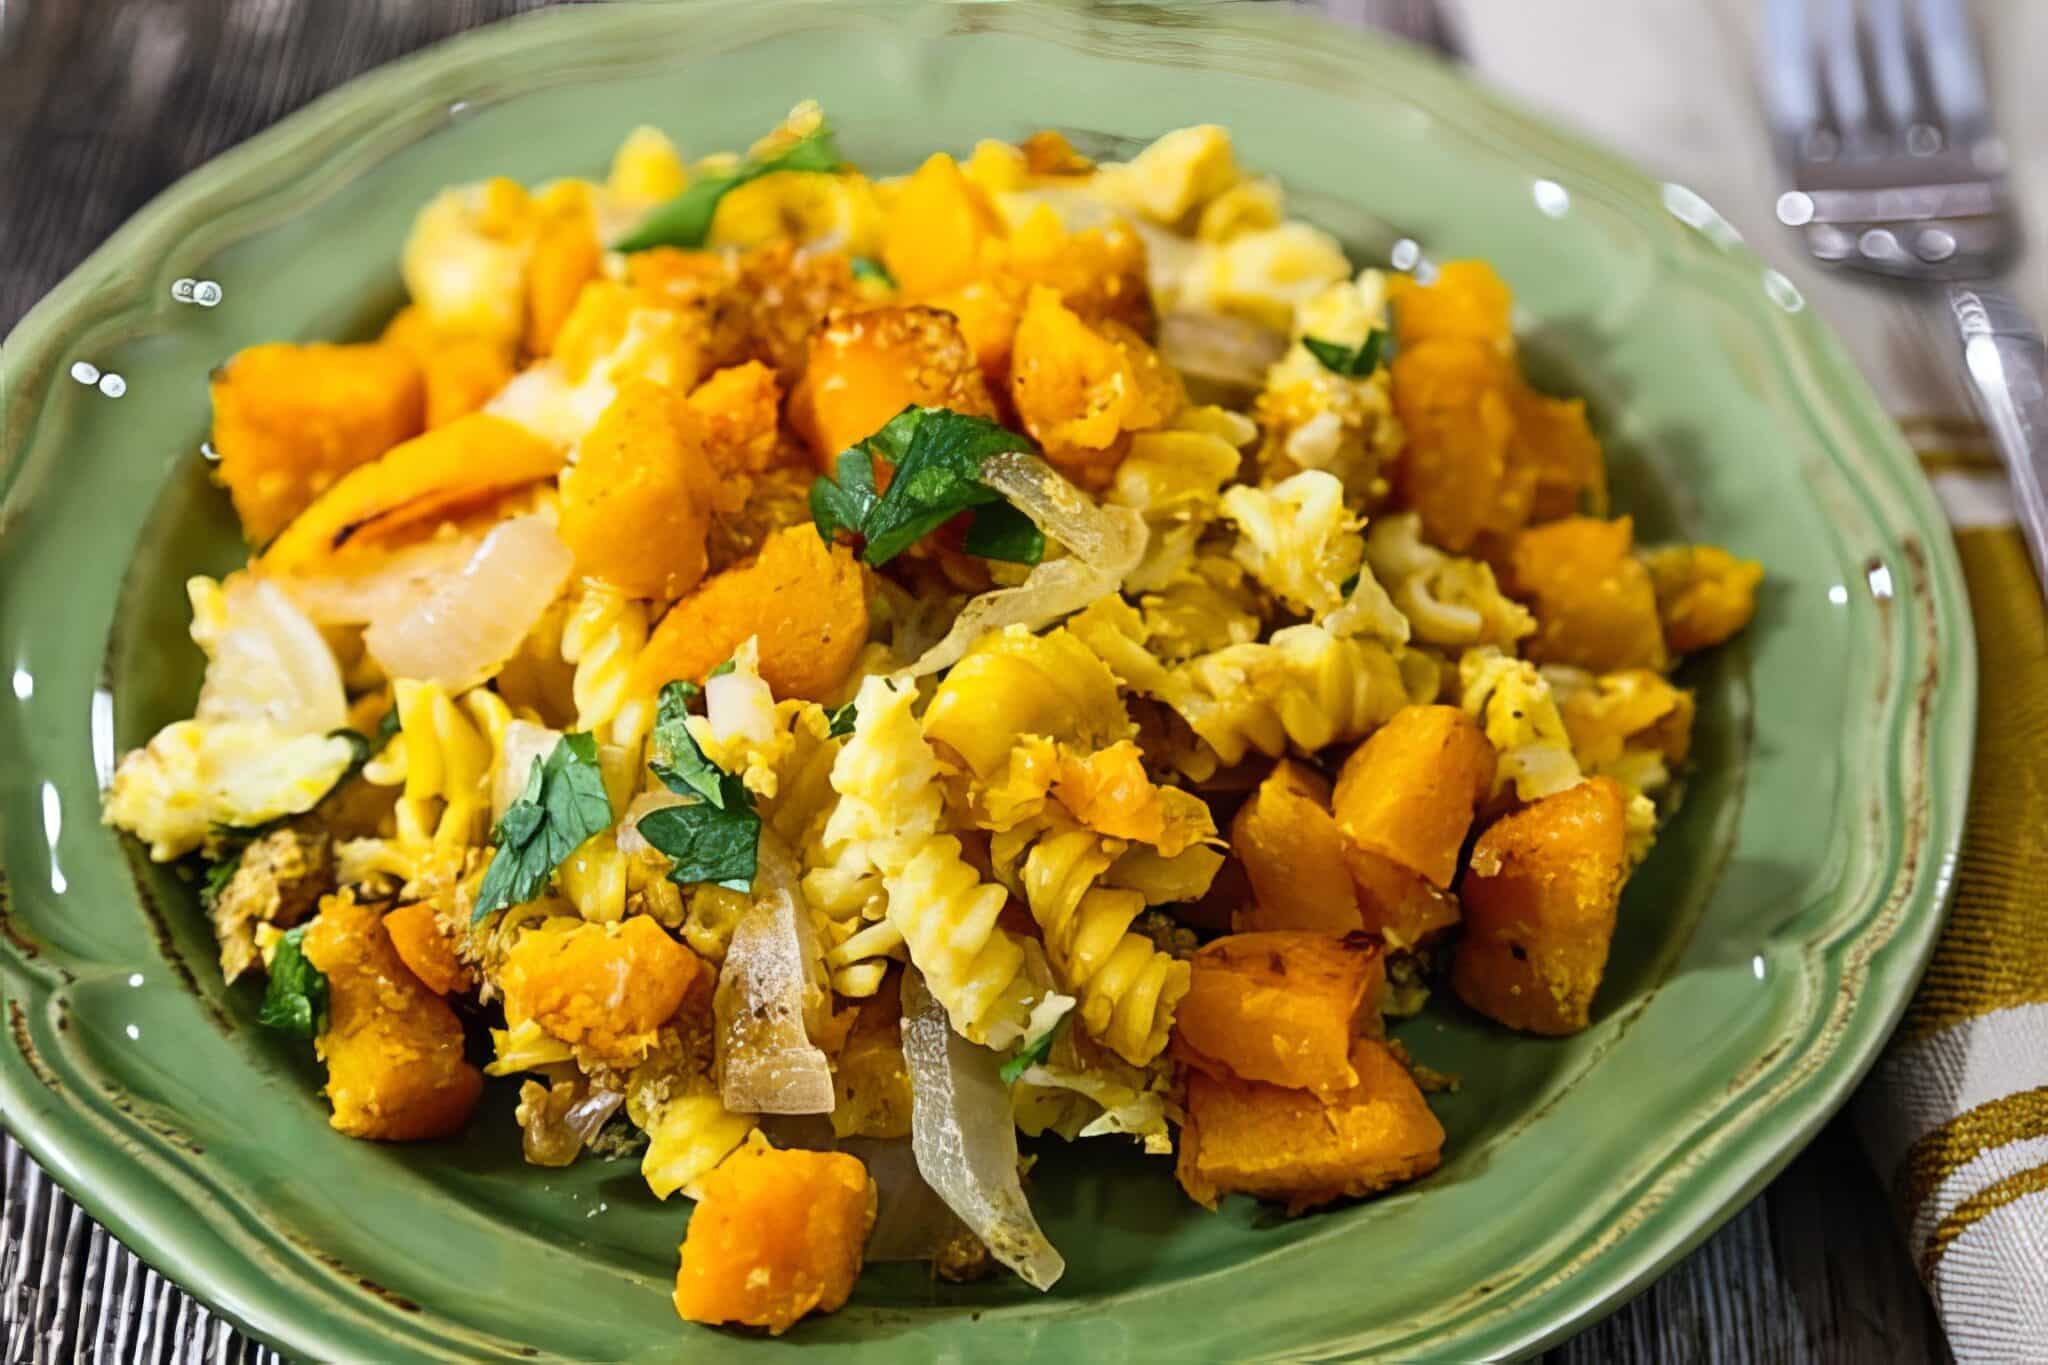
This hearty pasta casserole is loaded with flavor from roasted butternut squash and a velvety, dairy-free sauce, all finished with a golden, crunchy breadcrumb topping. It's comforting, easy to make, and guaranteed to have everyone coming back for seconds.

This is the kind of casserole you make when you're craving comfort food but still want to feel like a responsible adult. It's rich, creamy, baked to golden perfection. And, plot twist: there's no dairy, no cream, and no cheese.
I first made this on one of those in-between fall days - too warm for soup, too cool for salad, and just right for something slowly baked. It turned out to be one of those meals you don't expect to fall in love with, but then you go back for thirds and start texting people about it.
Key Ingredients & Substitutions
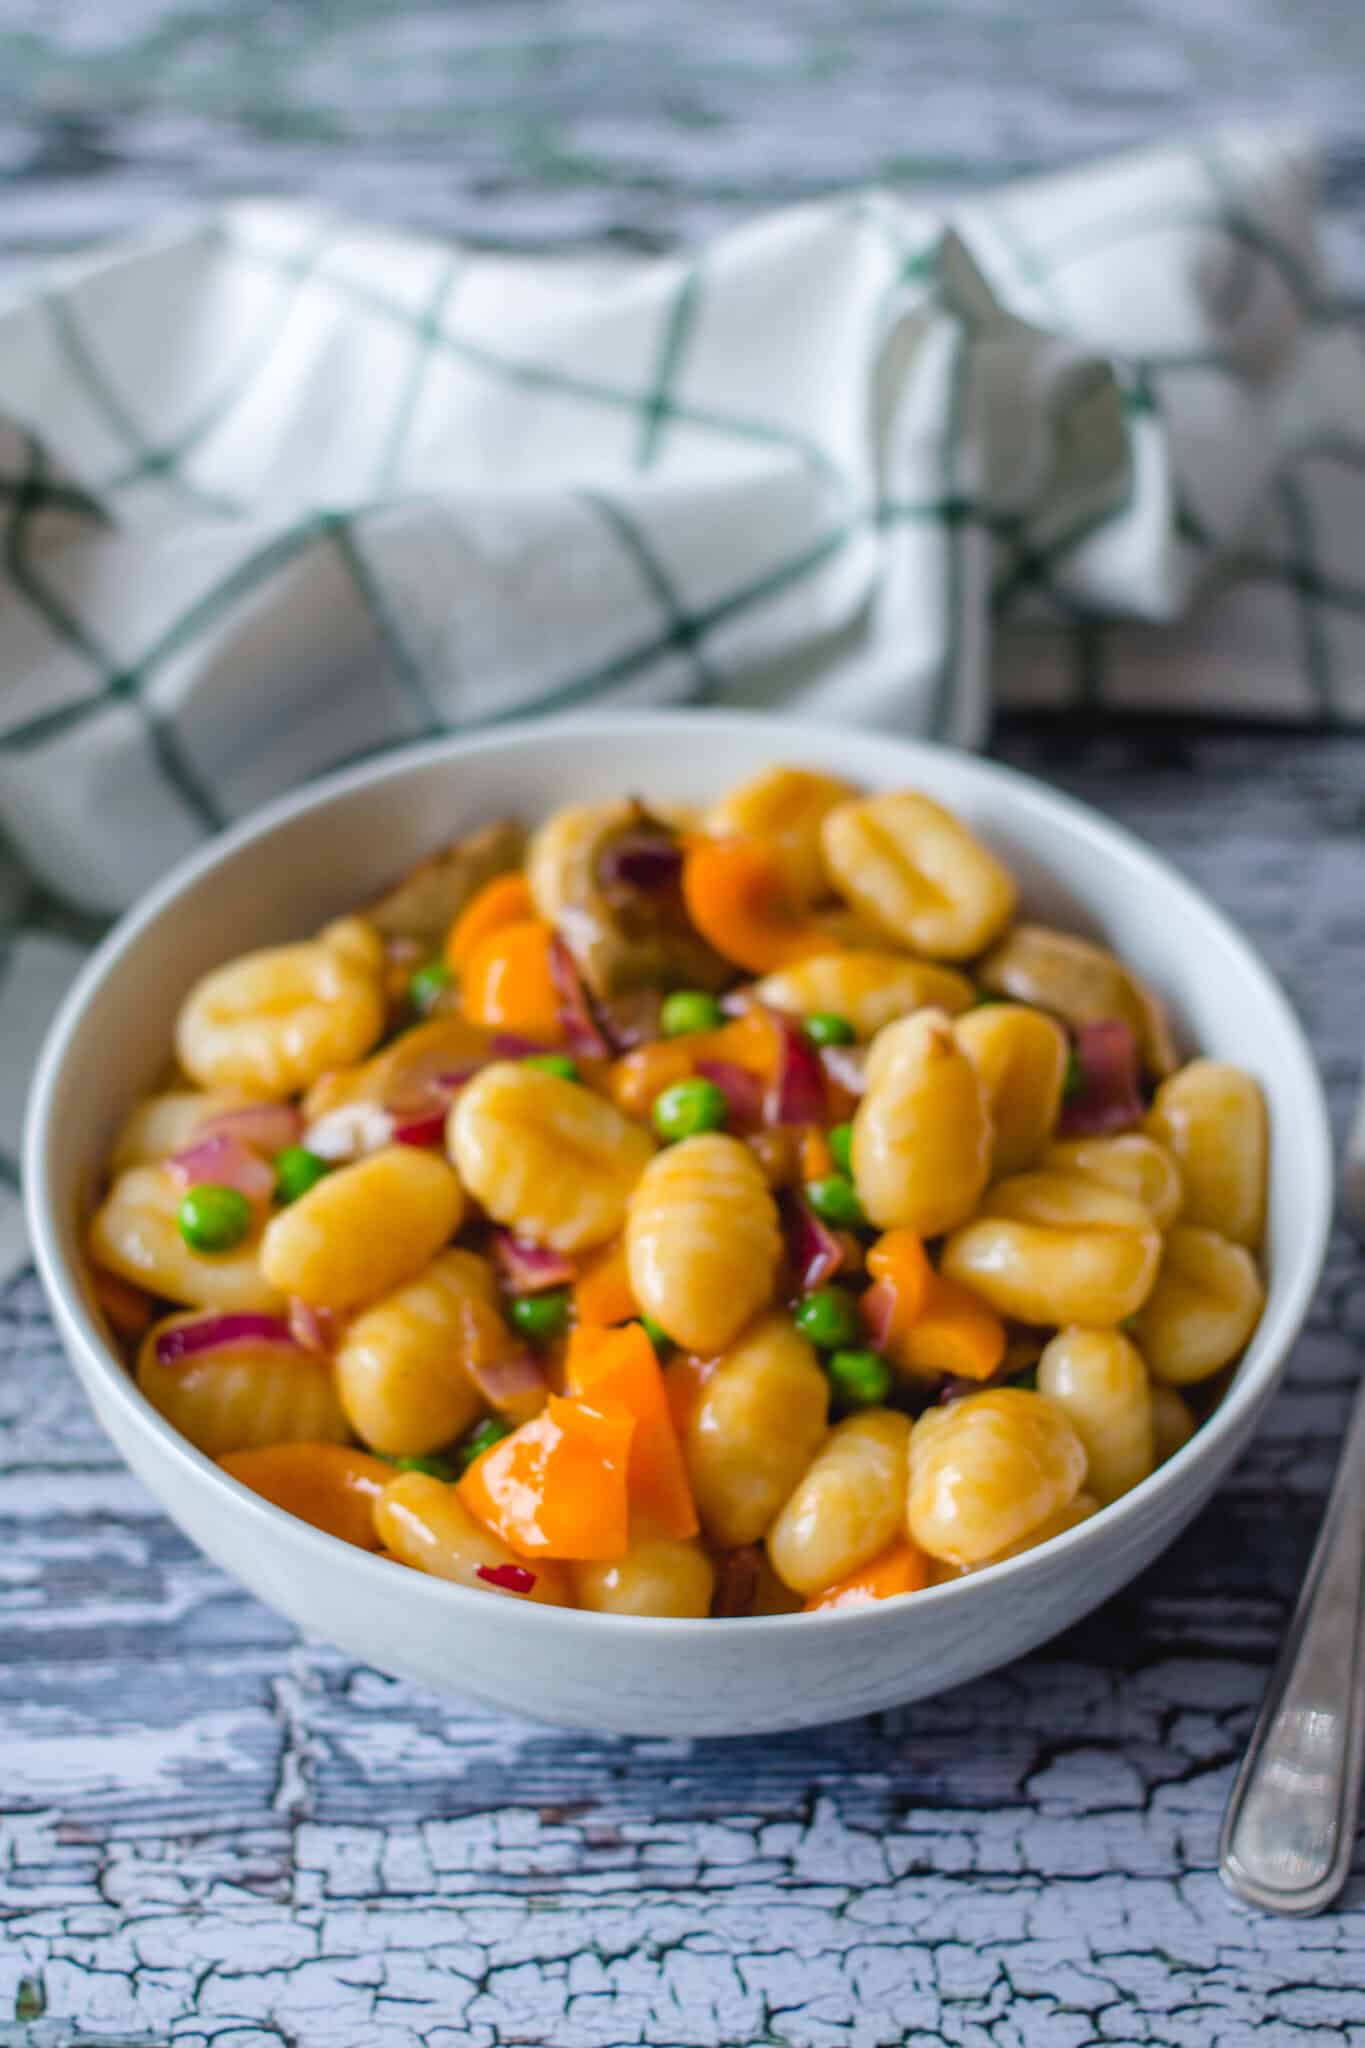
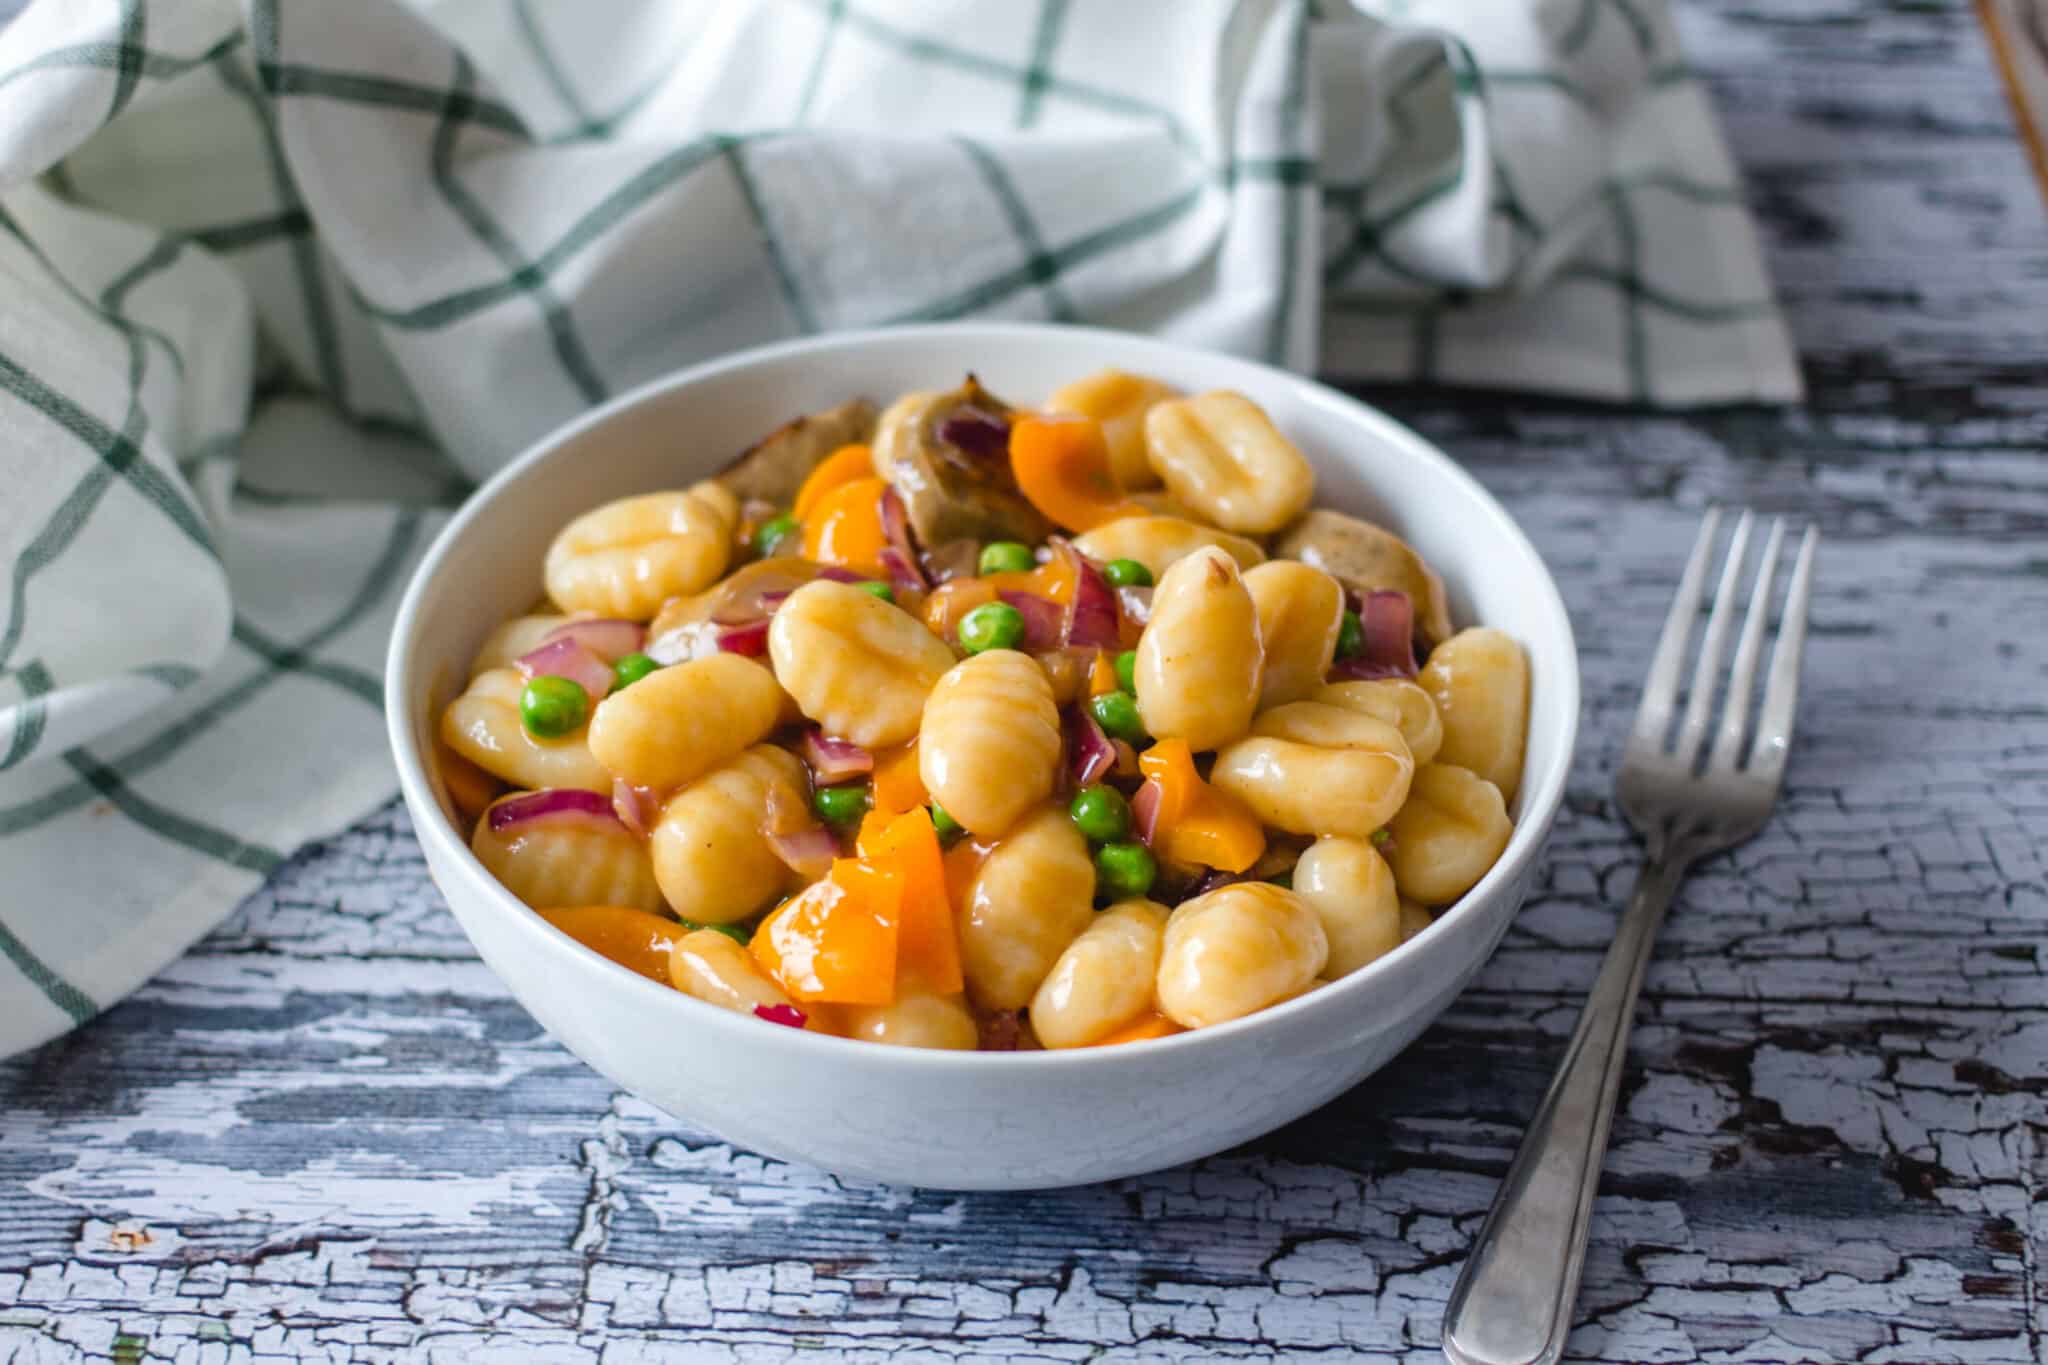
- Pasta - Short shapes like rotini or shells hold onto all that dreamy sauce best. You can use whole grain, gluten-free, or just classic white pasta.
- Butternut Squash - Roasted until tender, then blended into the base of the sauce.
- Onion - Sautéed until golden and sweet!
- Silken Tofu - Don't fear the tofu! It makes the sauce ultra-creamy and keeps things nice and light. If you do not want to use tofu, you can substitute cooked (or canned) white beans for a similar consistency.
- Nutritional Yeast - That umami-rich, cheesy flavor - without any dairy.
- Nondairy Milk - Unsweetened, please. Just enough to help everything blend smoothly. You can use almond milk, cashew milk, or your own favorite.
- Paprika - A dash for warmth and color, plus a little extra for sprinkling on top. Smoked paprika works well here also.
- Breadcrumbs - For that golden, crunchy finish.
Helpful Tips
Make ahead tip! You can roast the butternut squash a day ahead and store it in the fridge. This makes prep time a breeze when you're ready to assemble the casserole.
Use the neck for cubes, the base for sauce. - The thicker neck of the squash stays firmer after roasting and is perfect for dicing into cubes for texture in the casserole. The softer base (the bulb) gets softer and blends best into a super creamy sauce.
Blend until smooth and silky. - Take your time when blending the butternut squash sauce. A high-speed blender will give you that ultra-velvety finish, but any blender or food processor will work with a little patience. If the mixture seems too dry, add a bit more almond milk.
Don't overcook the pasta. - Cook the pasta just to al dente. It'll soften more as it bakes, so this helps keep the texture just right.
Customize the topping. - No breadcrumbs? No problem. Use crushed crackers, panko, or even a sprinkle of chopped nuts for a crunchy finish.
Also worth trying: our creamy asparagus and pea pasta.
Easy Variations
Add greens. - Stir in a handful of sautéed spinach or kale before baking for an extra boost of color and nutrients.
Make it smoky. - Add a pinch of smoked paprika or chipotle powder to the sauce for a subtle smoky flavor that plays well with the sweetness of the squash.
Gluten-free option. - Use your favorite gluten-free pasta and swap the breadcrumbs for gluten-free panko or crushed rice crackers.
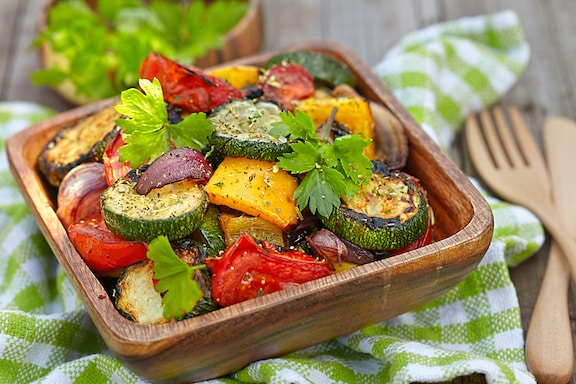
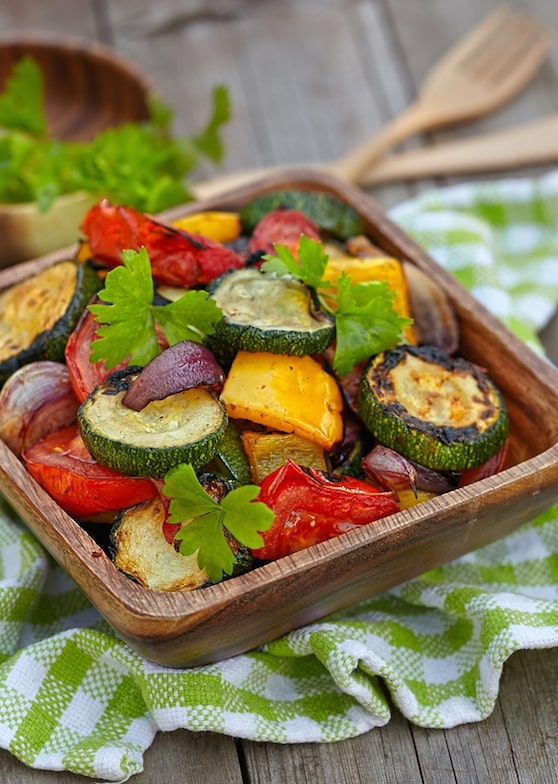
Use zucchini instead of pasta. - Swap the pasta for thin zucchini strips to make a lighter, gluten-free version. For a fully developed take on that idea, check out our vegan zucchini lasagna.
Go herbaceous! - Mix in chopped fresh sage or thyme. A little goes a long way and pairs beautifully with the squash.
Protein boost. - Add cooked lentils, chickpeas, or vegan sausage slices to the mix before baking for a heartier, more filling dish.
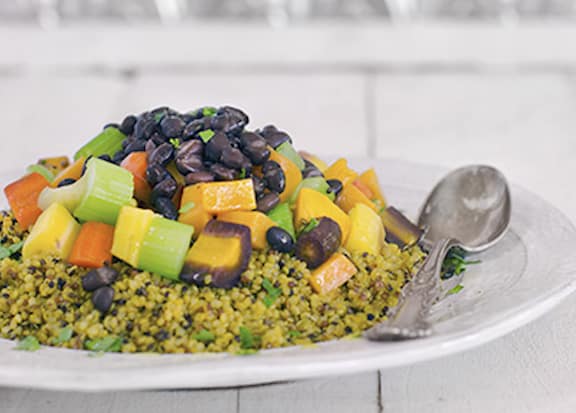
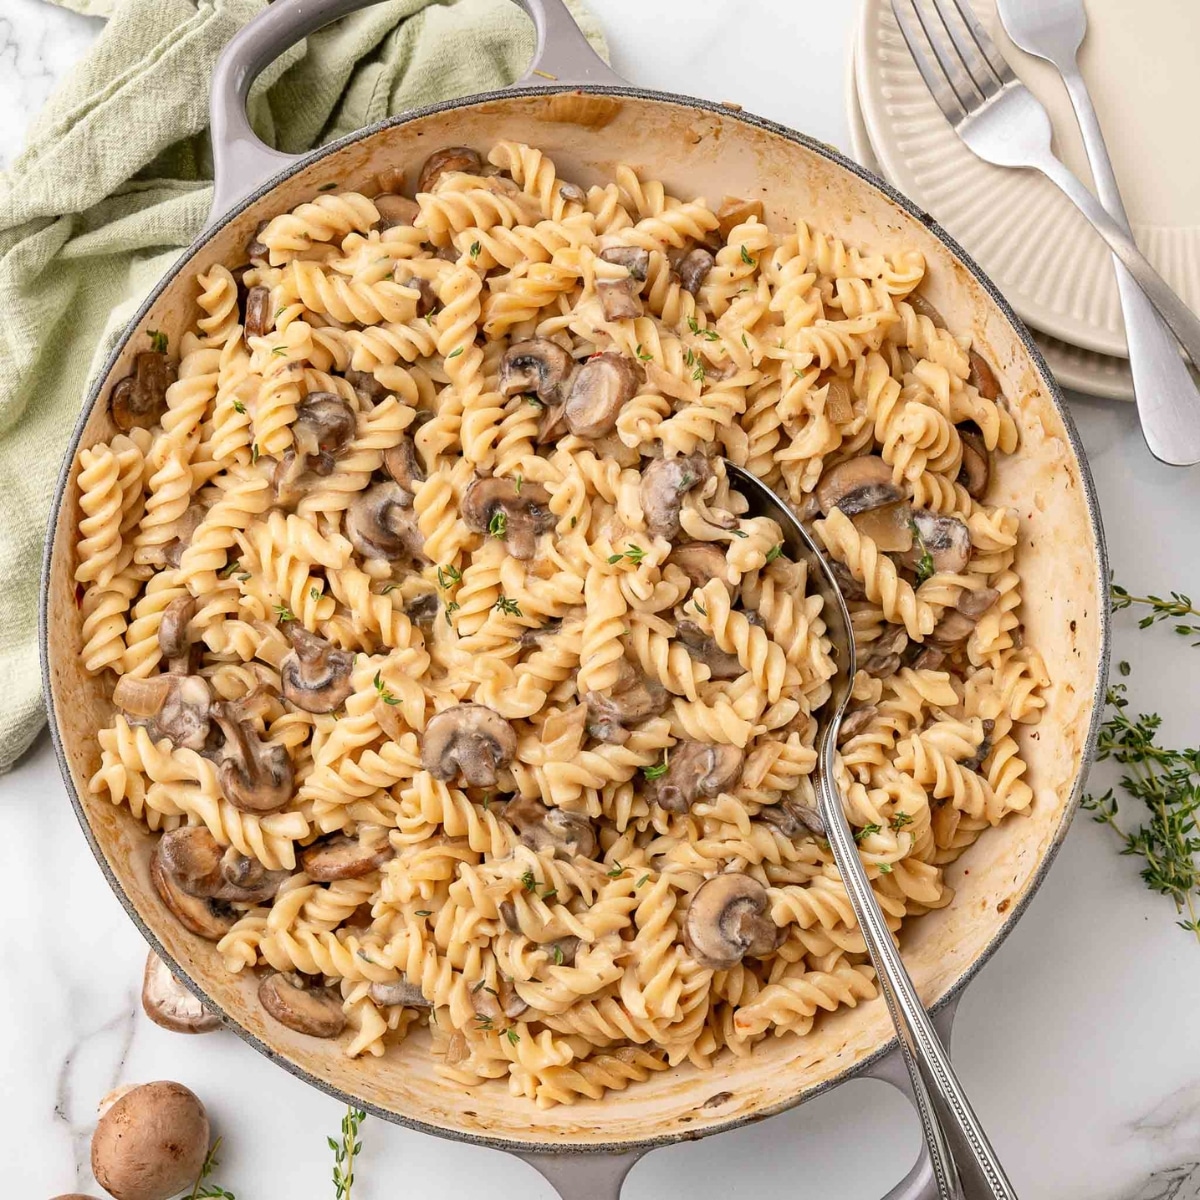
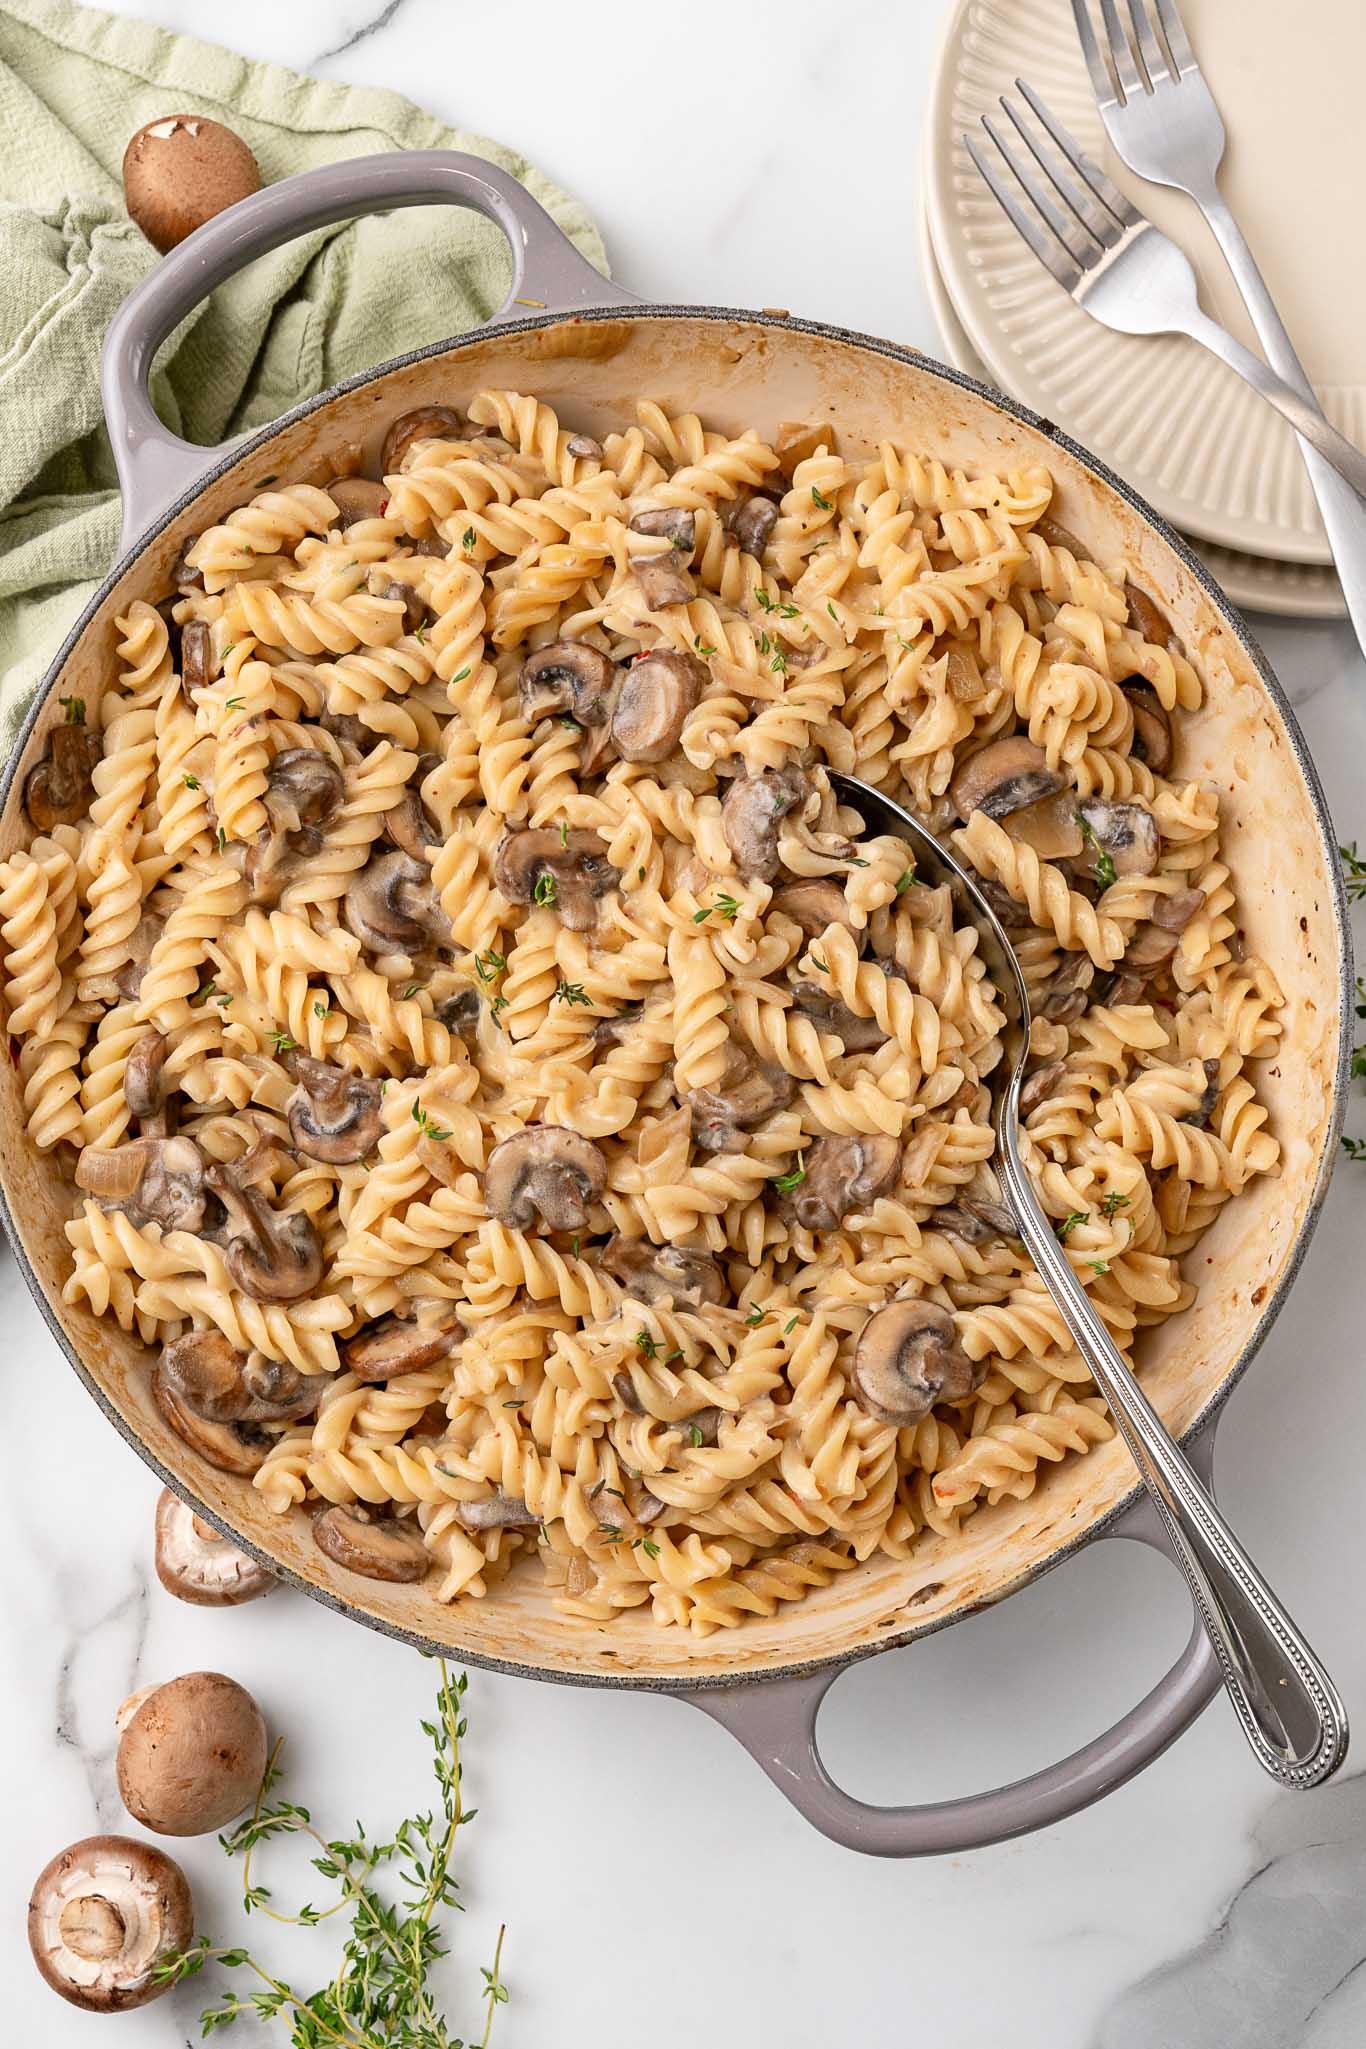
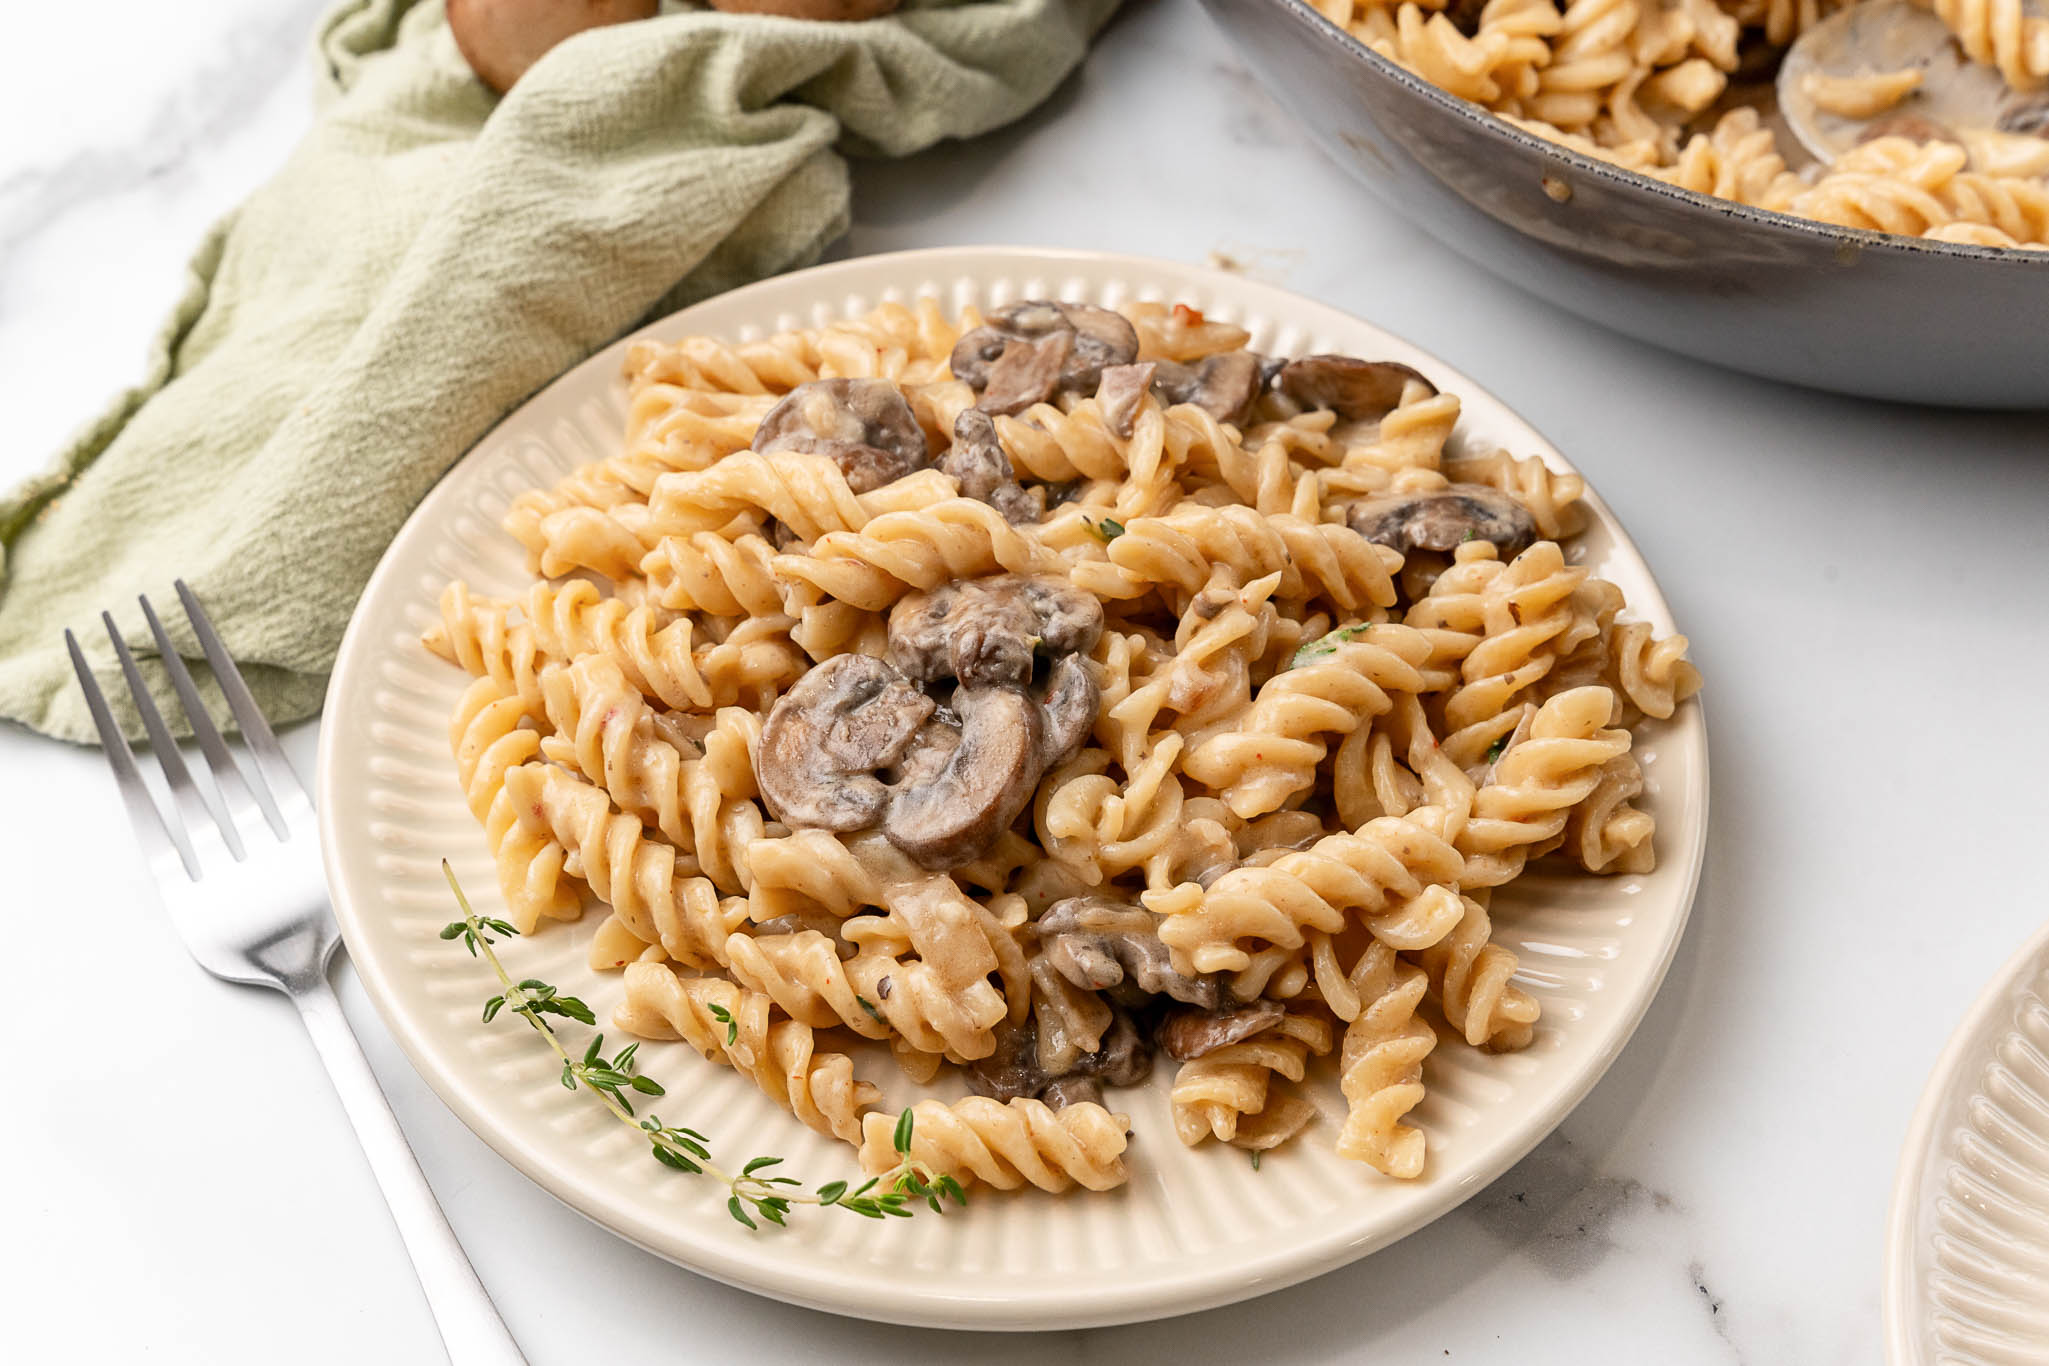
Single-serve style - Divide the mixture into ramekins for mini casseroles. Perfect for dinner parties or easy meal prep! For another hearty baked casserole dinner, our vegan pot pie casserole is a crowd-pleasing comfort food classic. For a fresh summer side, also try our zucchini with mint. For a creamy weeknight pasta option, our vegan creamy mushroom pasta is a favorite.
More Tasty Recipes
If you love this casserole, be sure to check out these other delicious recipes:
- Vegan Sweet Potato Casserole
- Black Bean and Zucchini Tortilla Casserole
- 15 Best Vegan Casserole Recipes
- 10 Make Ahead Vegan Breakfast Casseroles
Recipe

Roasted Butternut Squash and Pasta Bake
Equipment
Ingredients
- 12 ounces pasta such as rigatoni or rotini
- 2 tablespoons olive oil plus extra for topping
- 1 large onion finely chopped
- 1 medium butternut squash
- ¼ cup nutritional yeast
- 12.3 ounces firm or extra-firm silken tofu
- ½ cup almond milk or other nondairy milk, unsweetened
- ½ teaspoon paprika plus extra more for topping
- salt and pepper to taste
- ½ cup breadcrumbs
- 2 tablespoons fresh parsley optional, chopped, for topping
Instructions
- Preheat the oven to 400°F (200°C).
- Cut a medium butternut squash in half lengthwise. Scoop out the seeds and place both halves, cut side down, on a parchment-lined or lightly oiled baking sheet. Roast for 35-45 minutes, or until the wide (bulb) end is completely tender and can be easily pierced with a fork, but is not mushy. The narrow (neck) end should be tender but still hold its shape.
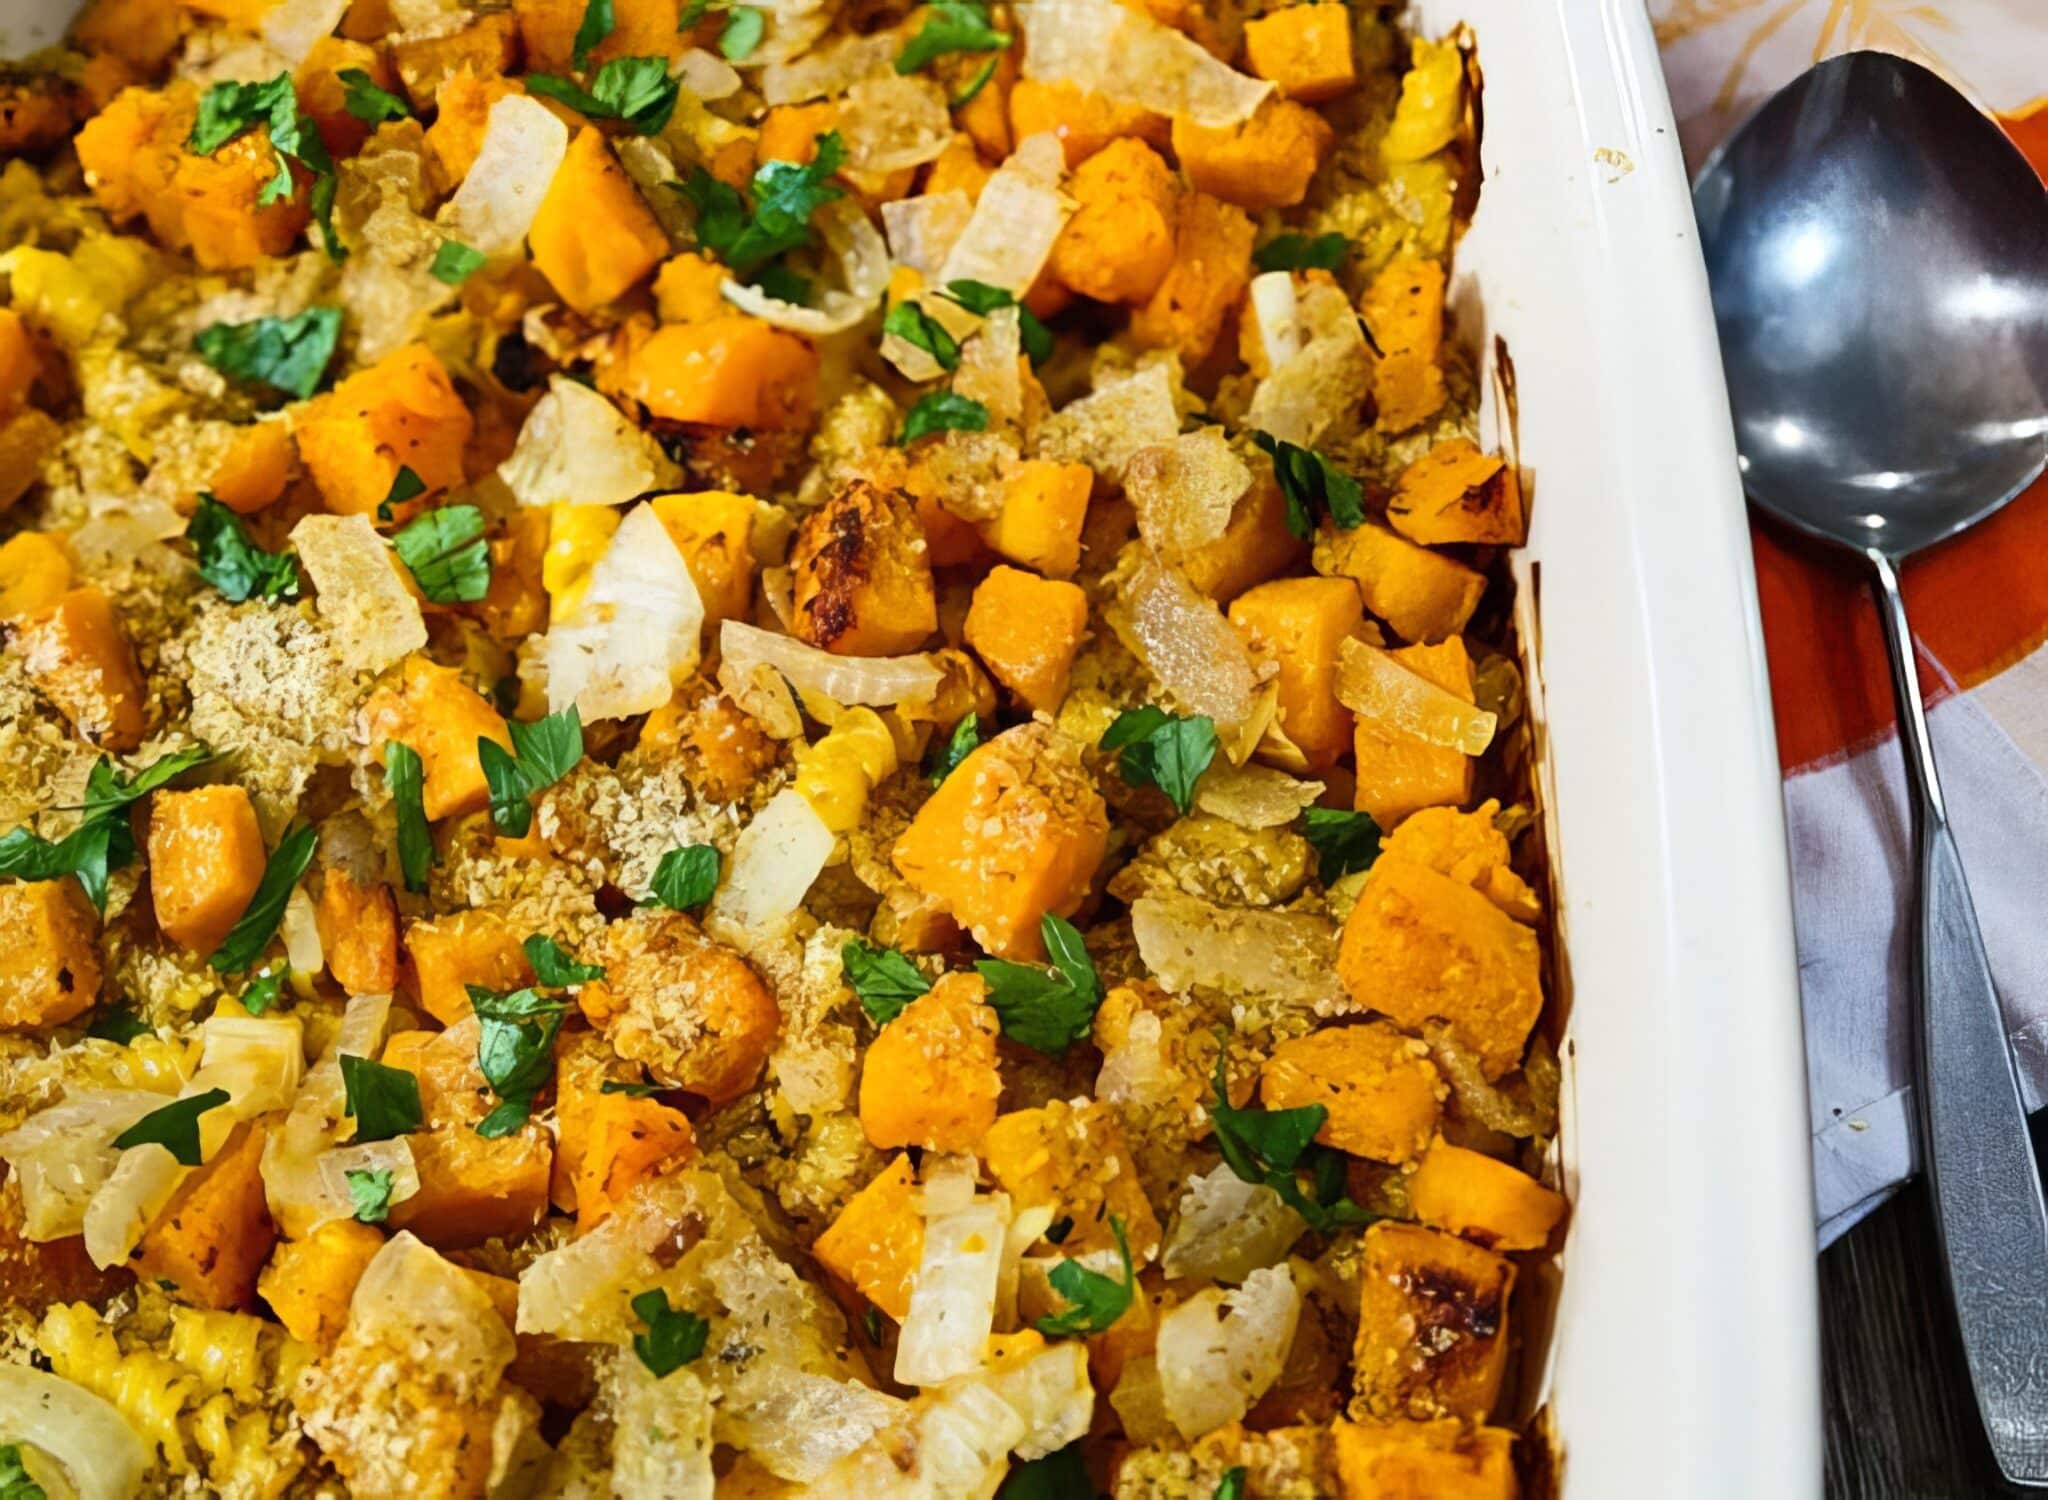
- Let the squash cool until safe to handle. Gently remove the tough skin, so only the tender squash remains. Chop into cubes and set aside. You should get about 3 - 4 cups total.
- While the squash is roasting, cook the pasta according to package directions, then drain and transfer to a large mixing bowl. Set aside.
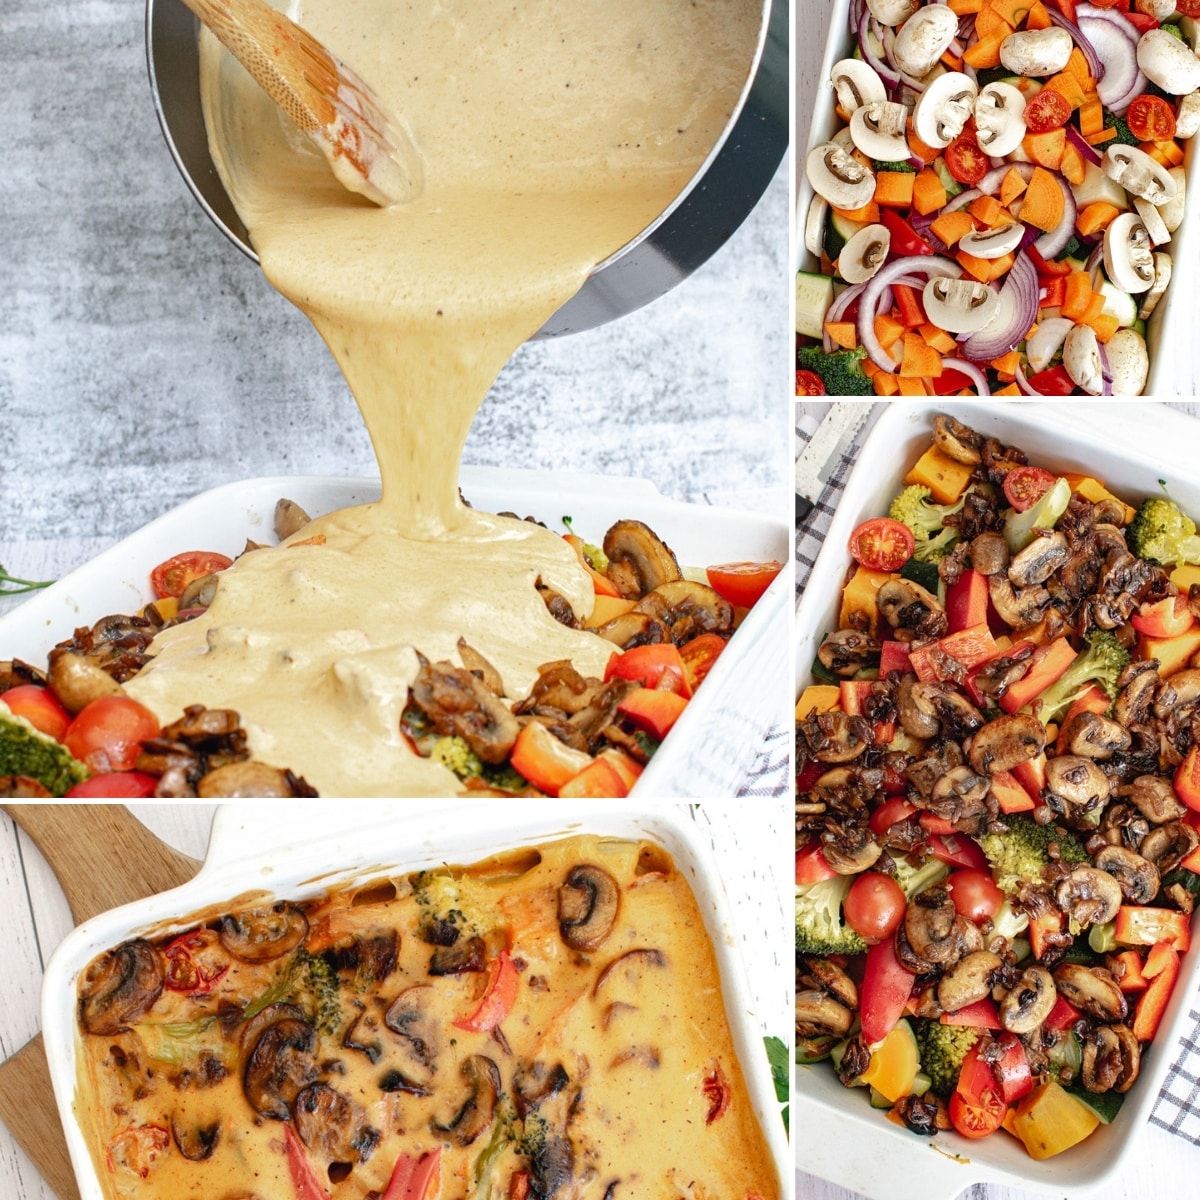
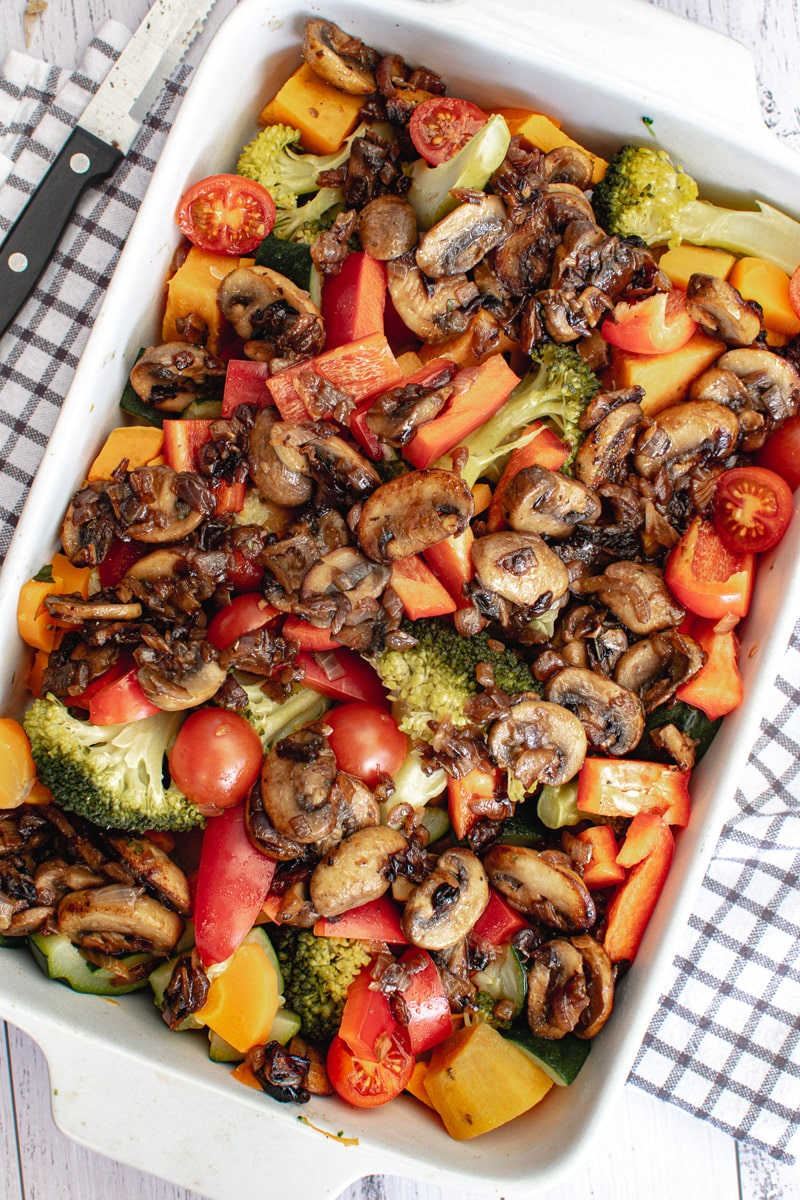
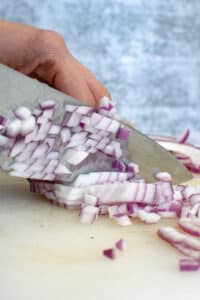
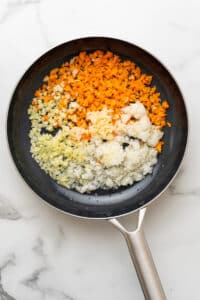
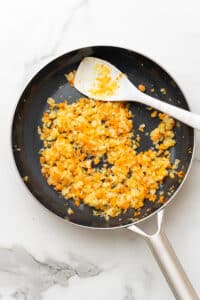
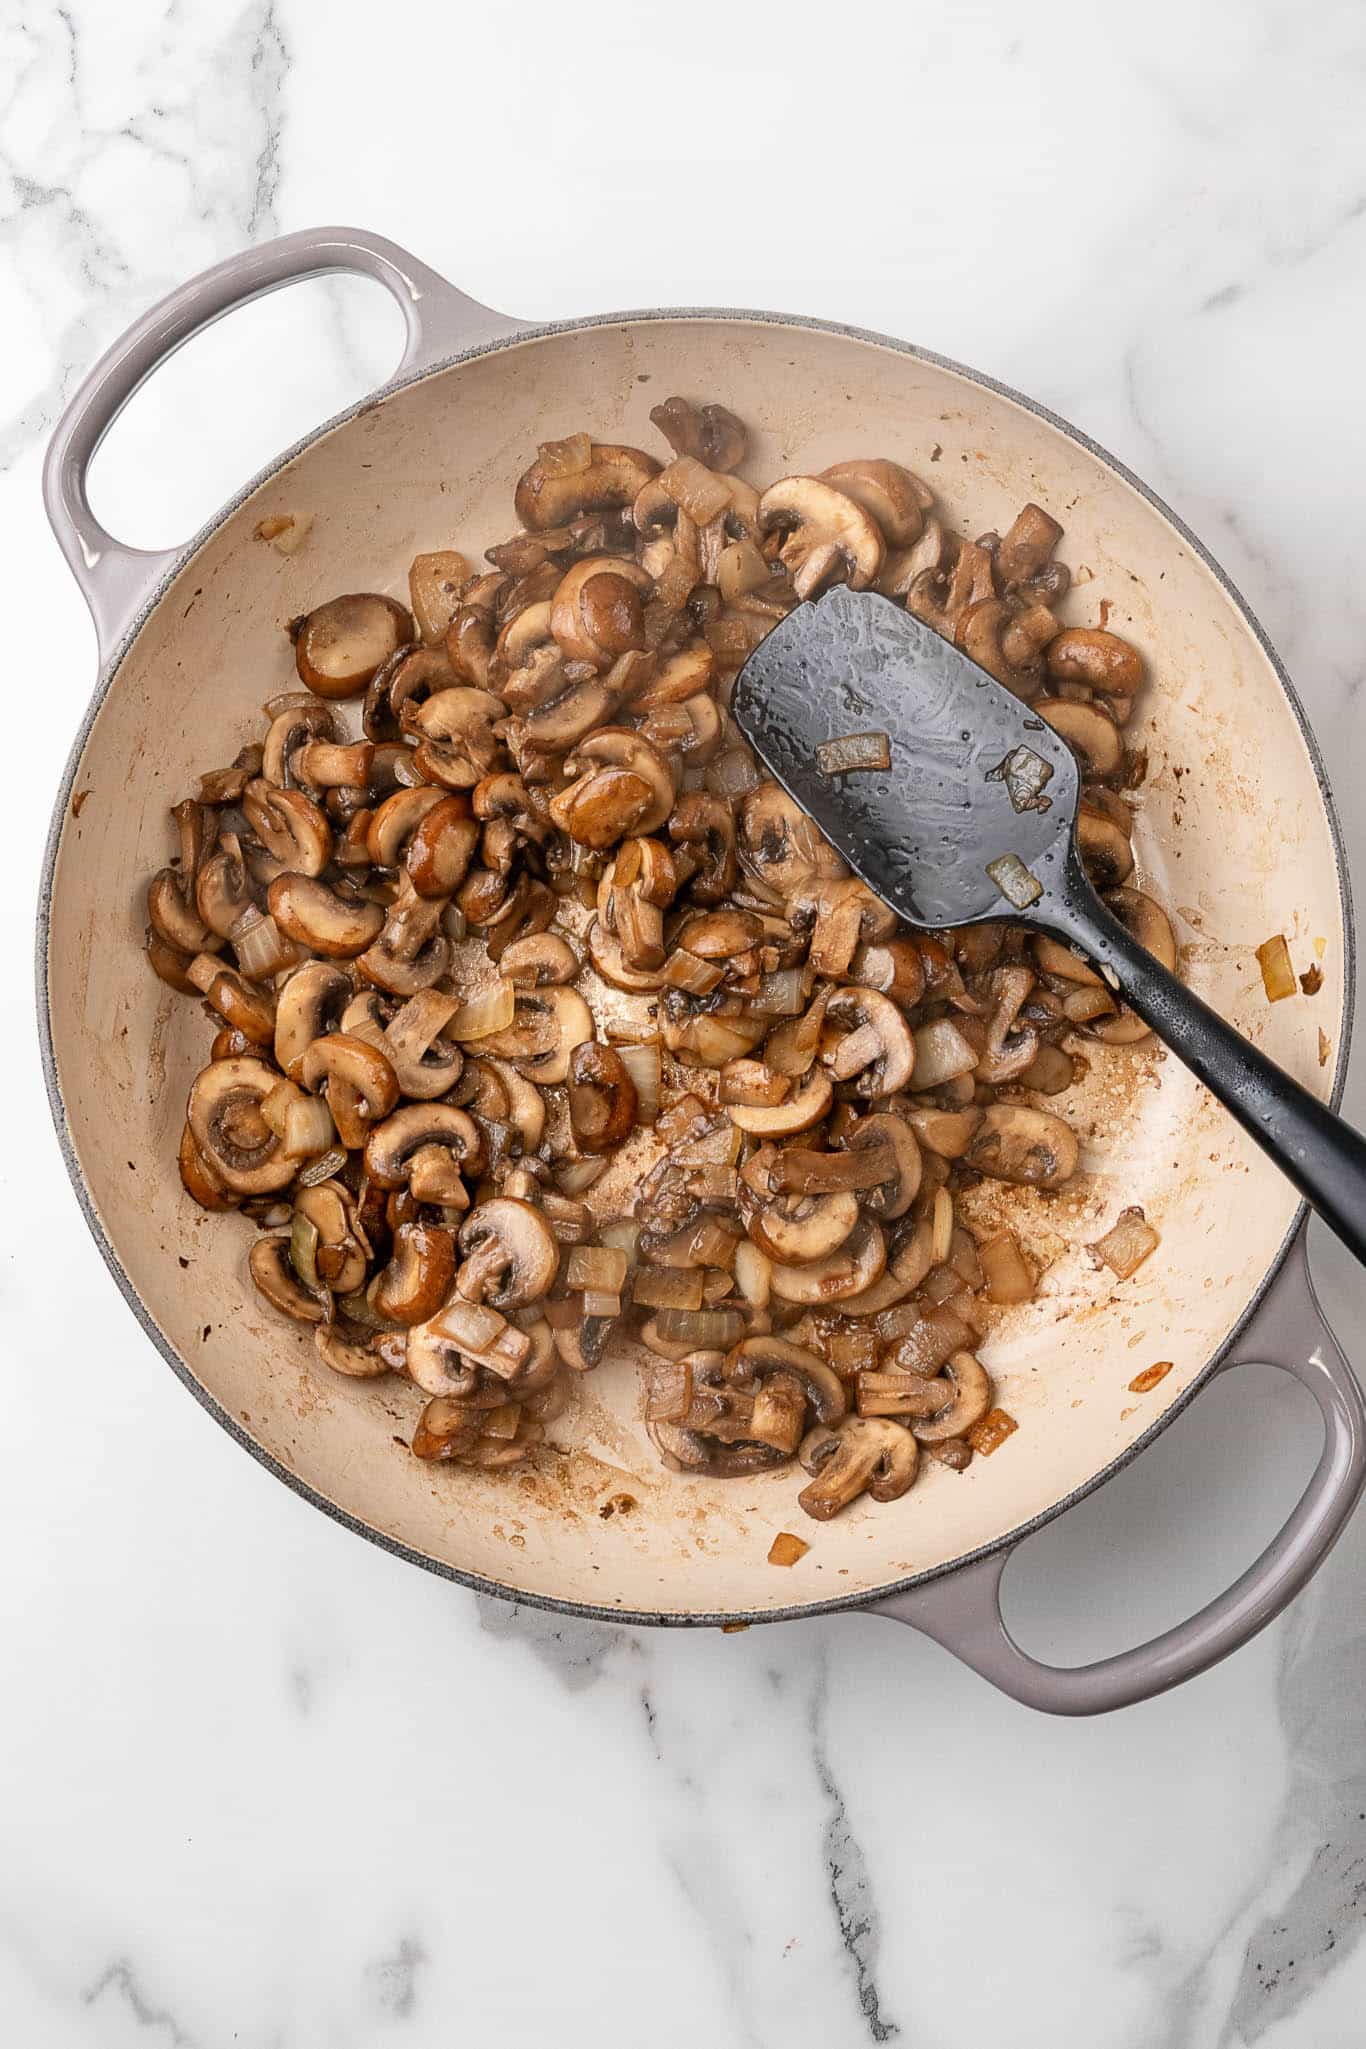
- Heat 1 tablespoon olive oil in a large skillet over medium heat. Add 1 large finely chopped onion and sauté until golden and soft, about 8-10 minutes. Scoop out about ¼ cup of the cooked onion and set it aside to mix into the casserole later. The rest will go into the sauce.
- Heat half of the oil in a medium skillet. Add the onion cook until golden. Transfer to a food processor or blender, leaving about ½ cup's worth aside for topping.
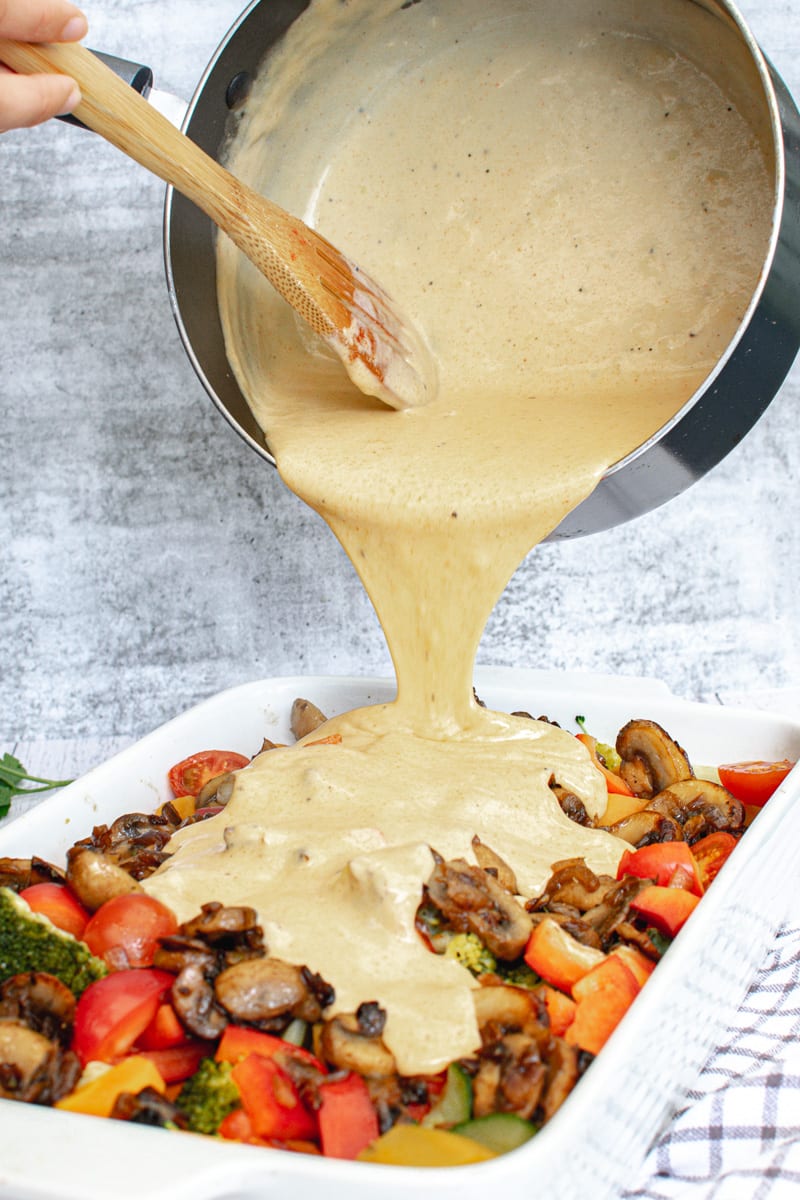
- Blend the Sauce. In a blender or food processor, approximately ⅔ of the cubed squash, the remaining sauteed onion, silken tofu, nondairy milk, nutritional yeast, paprika, salt and pepper. Blend until completely smooth. The sauce should be velvety and pourable; add a splash more milk if needed.
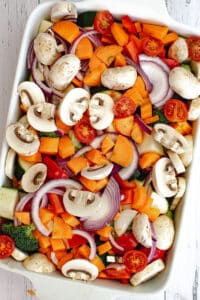
- In a large mixing bowl, combine the cooked pasta, remaining squash cubes, and the reserved ¼ cup of sautéed onion. Pour the creamy squash sauce over everything and stir gently to coat.
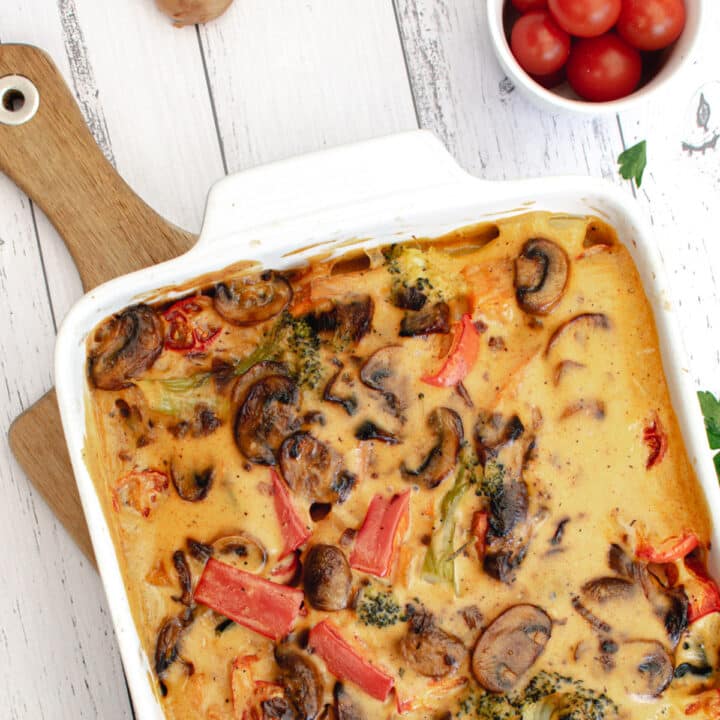
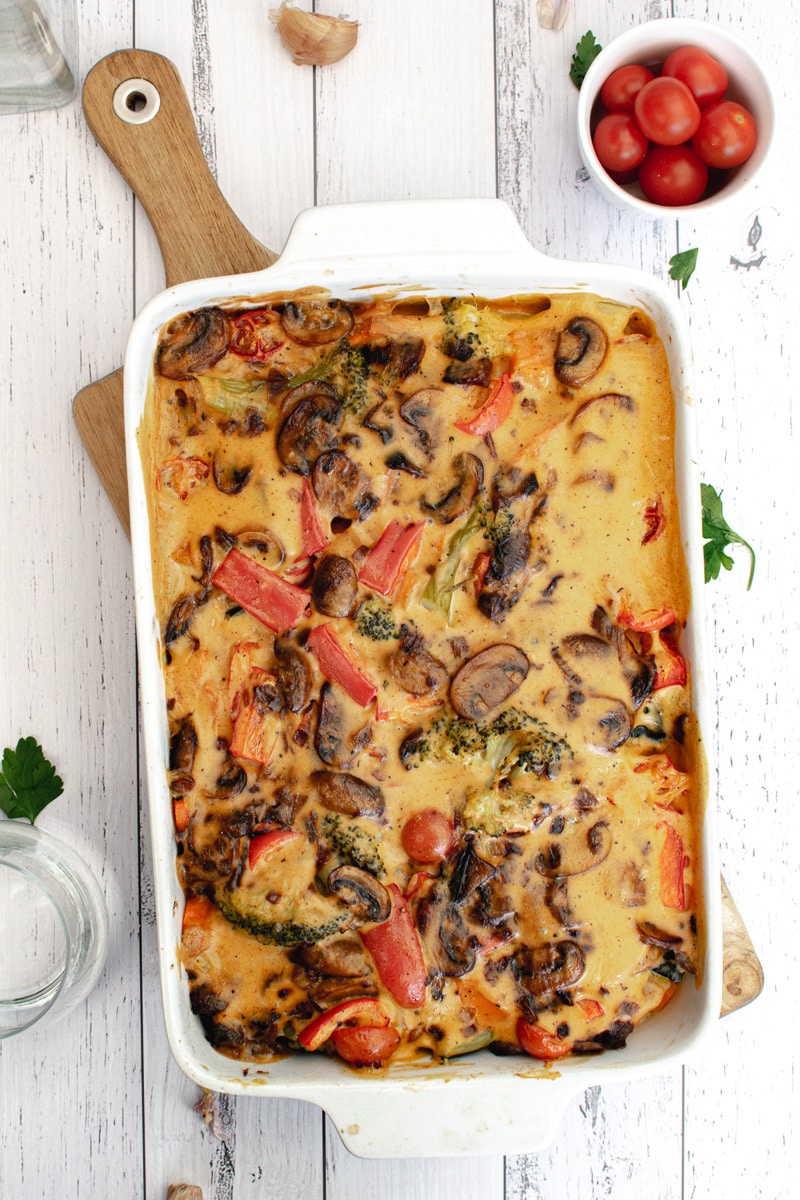
- Transfer the mixture to a lightly oiled 2-quart casserole dish. Sprinkle the breadcrumbs over the top. Add a sprinkle of paprika and a drizzle of olive oil, if desired.
- Bake uncovered at 400°F for 20-25 minutes, or until the top is golden and the edges are bubbling. For extra crispiness, broil for the last 2-3 minutes, watching closely.
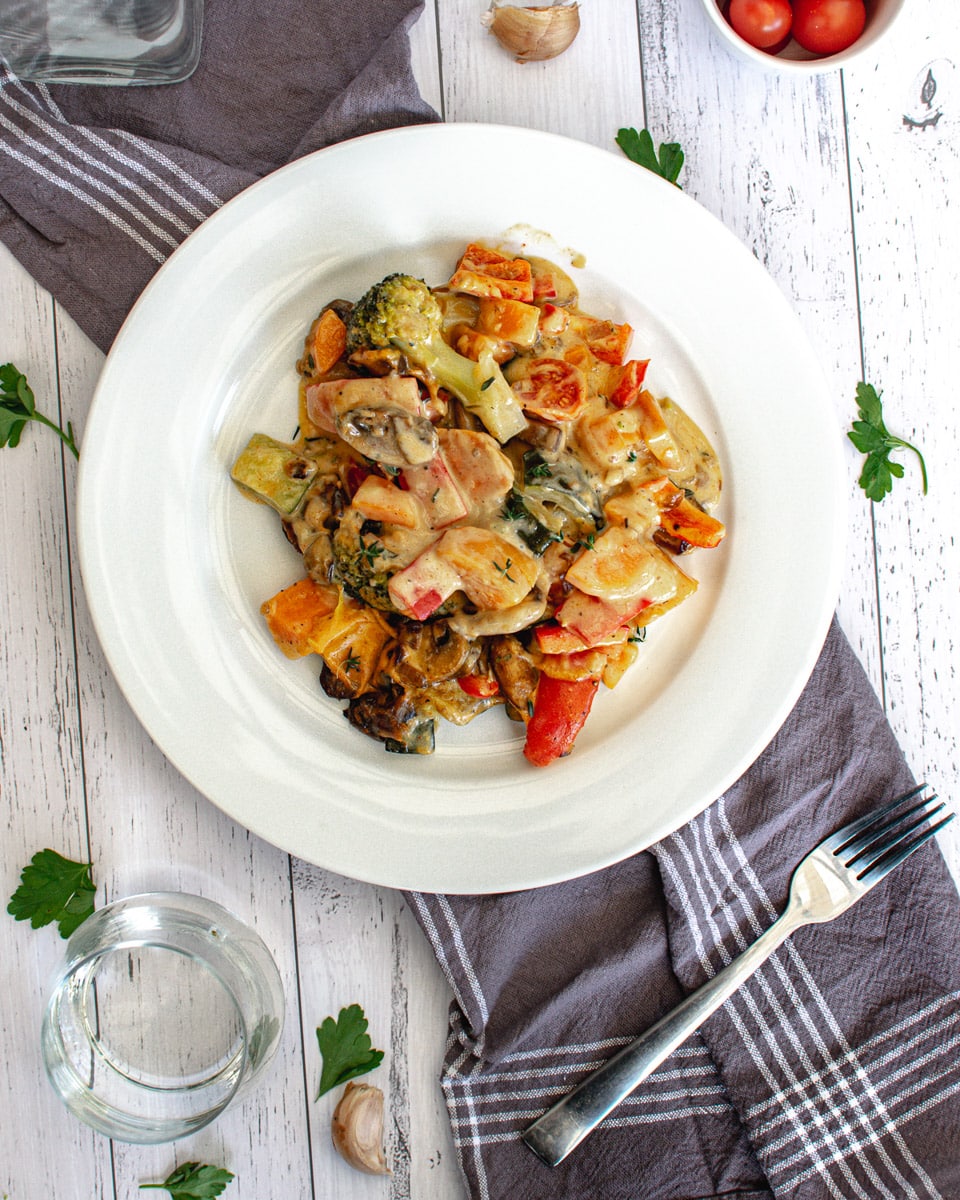
- Let the casserole sit for 5-10 minutes after baking. Garnish with parsley, if desired. This helps it set up and makes it easier to serve. Slice, scoop, and enjoy warm!
Nutrition (Estimate per Serving)