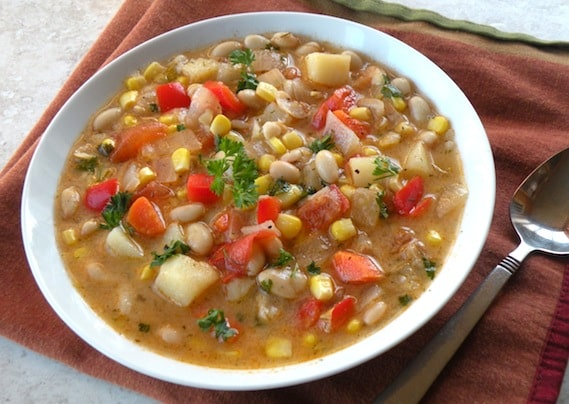
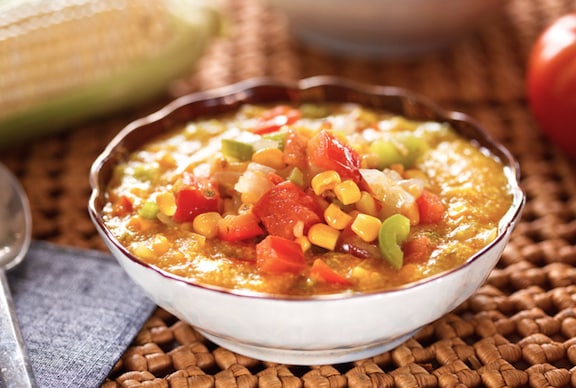
This hearty soup of navy or cannellini beans, corn kernels, and red bell peppers is easy and family-friendly. It can be the be the centerpiece of a meal or an introduction, depending on what else is being served. If you're inclined to bake, Quick Three-Grain Brown Bread goes well with this, and you can pop it into the oven before starting the soup.
Search Results for: corn
Creole Corn Maque Choux
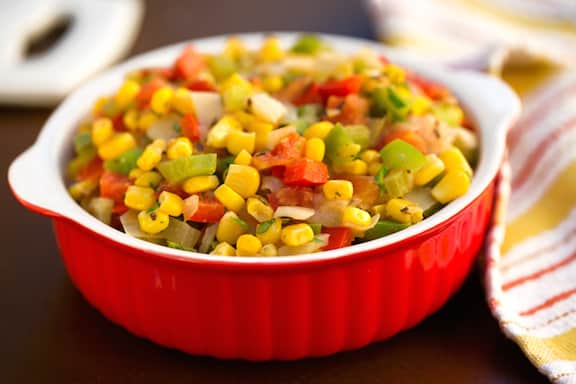
Here's a classic combo of corn, bell peppers, and tomatoes, Creole style. This veggie side dish was adapted by Creole cooks from a dish made by the Native Americans who populated southwest Louisiana. Make it when there's a bumper crop of fresh corn; and also it's a great choice for a Thanksgiving side dish. Adapted from Great American Vegetarian by Nava Atlas. Photos by Hannah Kaminsky.
Scalloped Corn
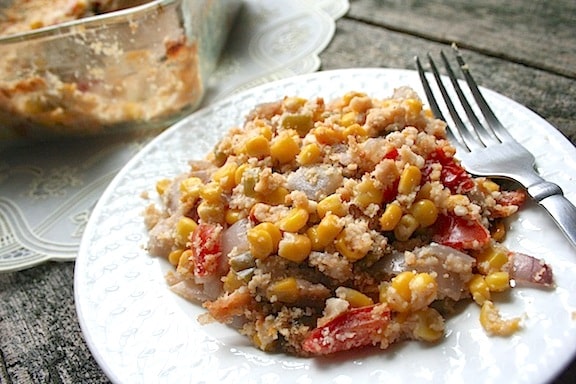
Scalloped corn is a comforting casserole that features this all-American veggie topped with tasty bread crumbs. It's good in cool-weather months using frozen corn, though it's absolutely fantastic in late summer using fresh corn. Though kind of a simple and humble dish, it's also welcome at the Thanksgiving table. Photos by Rachael Braun. [Read more...]
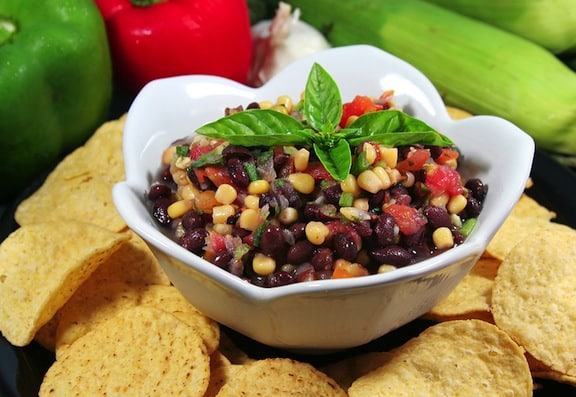
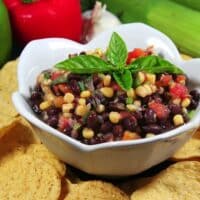
Black Bean and Corn Salsa
For hearty appetites, here's a salsa made more substantial with beans and fresh corn! Serve this tasty Black Bean and Corn Salsa with stone ground tortilla chips.
Salsa has always been one of my favorite foods, but this corn salsa is one of my absolute favorites! It's sweet, spicy, and goes great with all my favorite Southwestern dishes: quesadillas, enchiladas, burritos, tacos-and, of course, corn chips!
How to Make Black Bean and Corn Salsa
- Combine all ingredients.
- Mix well.
- Cover and refrigerate at least 1 hour.
- Serve and enjoy.
Full directions for how to make Black Bean and Corn Salsa are in the printable recipe card below.
Black Bean and Corn Salsa FAQs
How long does this salsa last?
You can keep this salsa for up to 1 week-that is, if you don't eat it all right away! Simply store your leftover salsa in an airtight container-like a glass jar-in the refrigerator.
Can I can this salsa?
Of course you can can this salsa! (See what I did there?) Simply follow your usual canning instructions, and if you don't know how, there are plenty of tutorials online. IF you can this salsa, you can keep it around for a year or longer unopened!
Here are lots more recipes for salsas, chutneys, and relishes.
Recipe
Black Bean and Corn Salsa
Here's a salsa made more substantial with beans and fresh corn! Serve this tasty Black Bean and Corn Salsa with stone ground tortilla chips.
Print
Pin
Save
Servings:
Ingredients
- 1 cup black beans from a can, drained and rinsed
- 1 cup lightly cooked fresh organic corn kernels use organic frozen corn kernels when fresh are unavailable
- 1 cup ripe tomatoes finely diced
- ¼ cup red onion or yellow onion; minced
- ½ cup red bell pepper or green bell pepper, or a combination; finely chopped
- 1 lime juiced; to taste
- 1 small hot fresh chili pepper seeded and minced; to taste
- ¼ cup fresh cilantro or basil for a summery flavor; finely chopped
- ¼ teaspoon ground cumin
- ¼ teaspoon dried oregano
Instructions
- Combine all the ingredients in a serving container and mix well.
- Cover and refrigerate for at least an hour to allow the flavors to blend.
- Serve and enjoy!
Nutrition (Estimate per Serving)
Serving: 0.25cupCalories: 60kcalCarbohydrates: 12gProtein: 3gFat: 1gSaturated Fat: 1gPolyunsaturated Fat: 1gMonounsaturated Fat: 1gSodium: 3mgPotassium: 221mgFiber: 3gSugar: 2gVitamin A: 592IUVitamin C: 27mgCalcium: 16mgIron: 1mg
Vegan-ize any recipe!Grab our free vegan cheat sheet, packed with my favorite easy substitutions to make any recipe vegan.
Corn Pudding
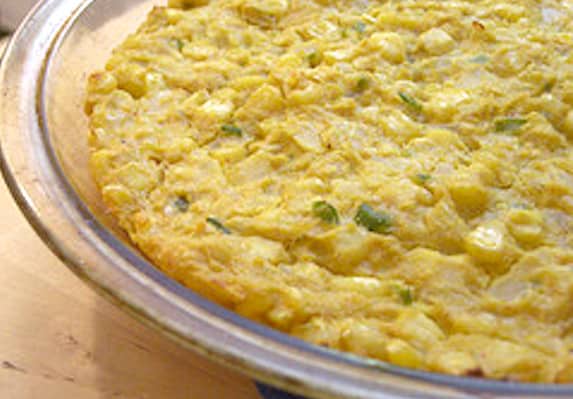
The texture of this Southern-style dish is more like creamed corn meets quiche than that of dessert pudding. The outer layer is just firm enough so that you can cut into it like a quiche, but it becomes smooth and velvety once you take a bite. It's so rich and decadent you'll deny it's healthy. Contributed by Lindsay S. Nixon, from The Happy Herbivore Cookbook* Note-for holiday meals, like Thanksgiving, this recipe doubles easily. Use two 9-inch pie dishes rather than one large casserole dish. [Read more...]
Grits with Fresh Corn and Tomatoes
This combination of grits with fresh corn, tomatoes, and chili peppers is an inviting summer dish — good for a weekend brunch or for dinner. Stoneground grits are more flavorful than those available in supermarkets; they're available in natural food stores and well-stocked supermarkets with natural foods sections. Photos by Hannah Kaminisky. [Read more...]
Black Bean and Corn Quesadillas
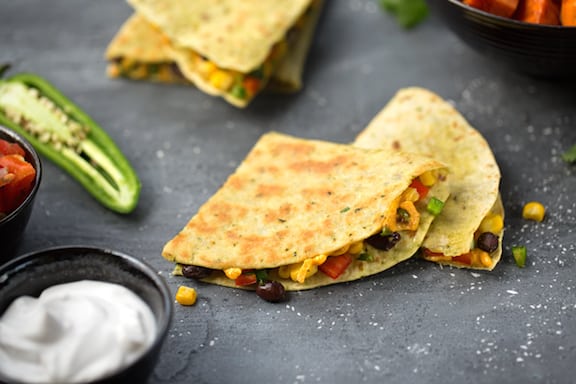
Quesadillas made with vegan cheese are a great choice for an easy dinner. Serve with a big salad and a simple grain or potatoes (better yet, sweet potatoes). You can make these on the stovetop or in the oven. Photos by Hannah Kaminsky. [Read more...]
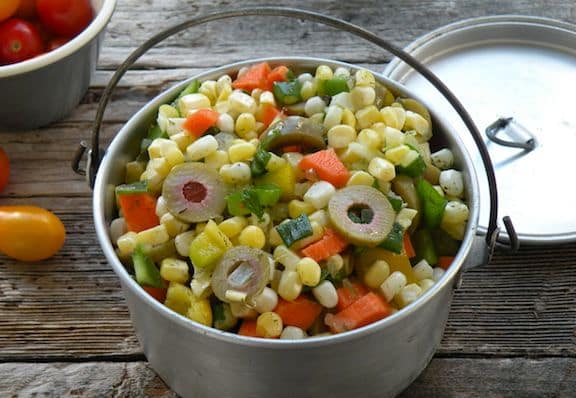
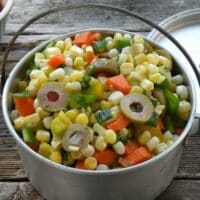
Corn Relish Salad
This corn relish salad is loaded with fresh veggies, pimiento olives, and flavorful herbs. It's the perfect summer side for burgers, wraps, and more!
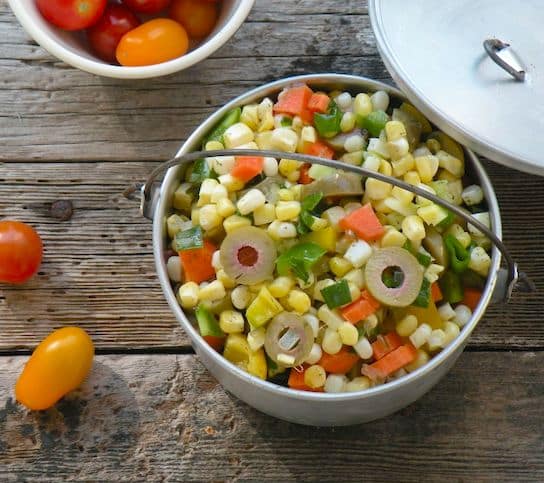
If you're looking for the perfect summery side dish, you've come to the right place. This simple corn relish salad is perfect paired with veggie burgers, grilled veggie kebabs, or your favorite vegan sandwiches and wraps.
It's loaded with fresh flavors and nutritious veggies. And best of all - it's easy to make in just 10 minutes!
Tips & Tricks
For the corn, you can use fresh or frozen corn kernels. Fresh always tastes best of course, but frozen kernels work just fine to save time. I suggest defrosting the corn and then letting it dry out well before mixing it in, so you don't get a soggy salad.
Feel free to use any type of olives that you prefer. I think these pimiento olives work really well, but something fancy like garlic-stuffed olives would also be a fun twist.
For more spice, add a second jalapeno pepper or swap it for a spicier red chili pepper instead.
More Vegan Recipes
If you love this corn relish salad, be sure to check out these other delicious vegan ideas:
Recipe
Corn Relish Salad
This corn relish salad is loaded with fresh veggies, pimiento olives, and flavorful herbs. It's the perfect summer side for burgers, wraps, and more!
Print
Pin
Save
Servings:
Ingredients
- 3 cups corn kernels from about 4 medium ears, fresh or frozen
- ½ medium bell pepper finely diced, any color
- 1 stalk celery finely diced
- 1 carrot peeled and finely diced
- ½ cup pimiento olives halved or sliced
- 2 scallions thinly sliced
- ¼ cup fresh parsley minced
- 1 tablespoon fresh dill minced, or ½ teaspoon dried
- 1 hot chili pepper fresh, such as jalapeño, seeded and minced, optional
- 1 tablespoon olive oil
- 3 tablespoons sweet pickle relish or more, to taste
- 3 tablespoons apple cider vinegar or more, to taste
- Salt and pepper to taste
Instructions
- Combine the salad ingredients in a serving bowl and stir together.
- If time allows, cover and let stand for an hour or two before. Stir occasionally to distribute the dressing. Taste to adjust the various flavors - more pickle relish, cider vinegar, salt and pepper, then serve.
Vegan-ize any recipe!Grab our free vegan cheat sheet, packed with my favorite easy substitutions to make any recipe vegan.
Corn Salad with Snow Peas
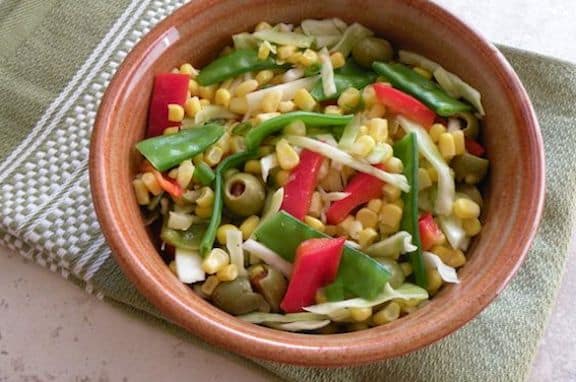
Here's a great way to highlight fresh corn in a summer salad. Crisp snow peas, cabbage, and bell peppers meld nicely with the sweetness of corn kernels. [Read more...]
Pueblo Corn Pie
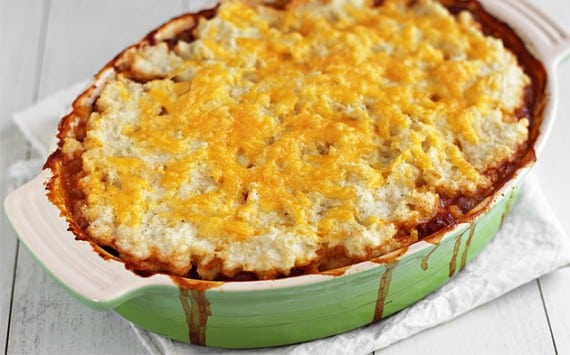
Here's a recipe I've made many times over the years as a Thanksgiving main dish. It's one of my family's favorites, so I made sure to include it in Vegan Holiday Kitchen. This layered casserole of cooked cornmeal topping a tasty bean chili is adapted from a Native American recipe. Photo by Rebbeca Crump of Ezra Poundcake. Go to her site to see her original post on this recipe. [Read more...]
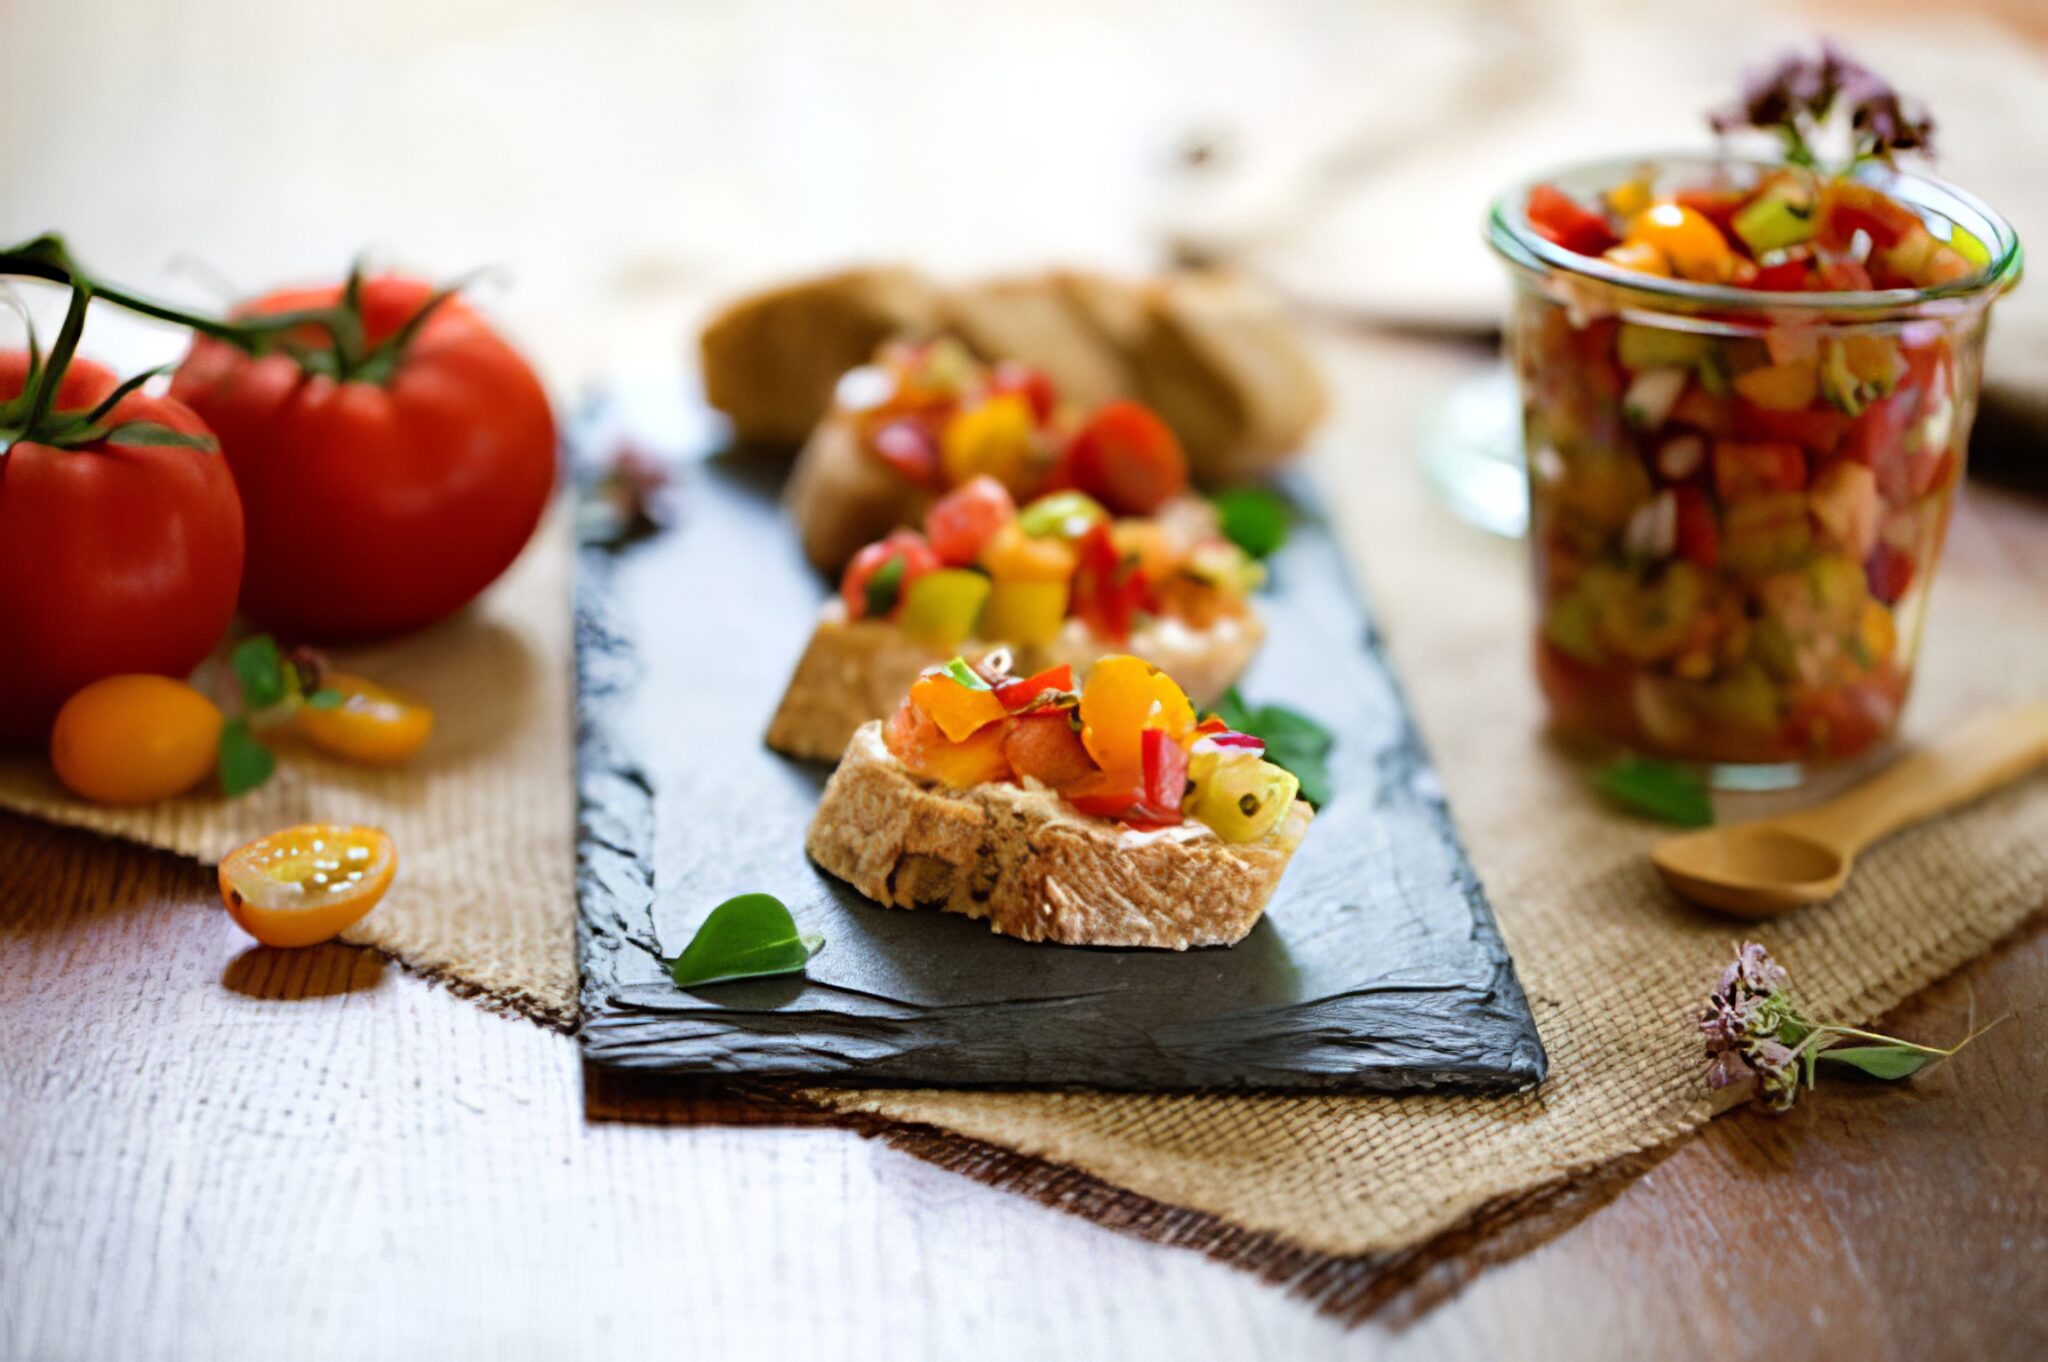
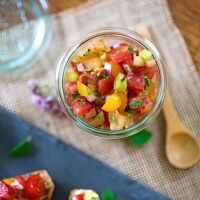
Fresh Tomato Relish

Fresh, juicy tomatoes tossed with oregano, thyme, and a simple dressing create a bright, herby salad that's bursting with flavor. It's quick, refreshing, and the perfect way to showcase ripe summer tomatoes.
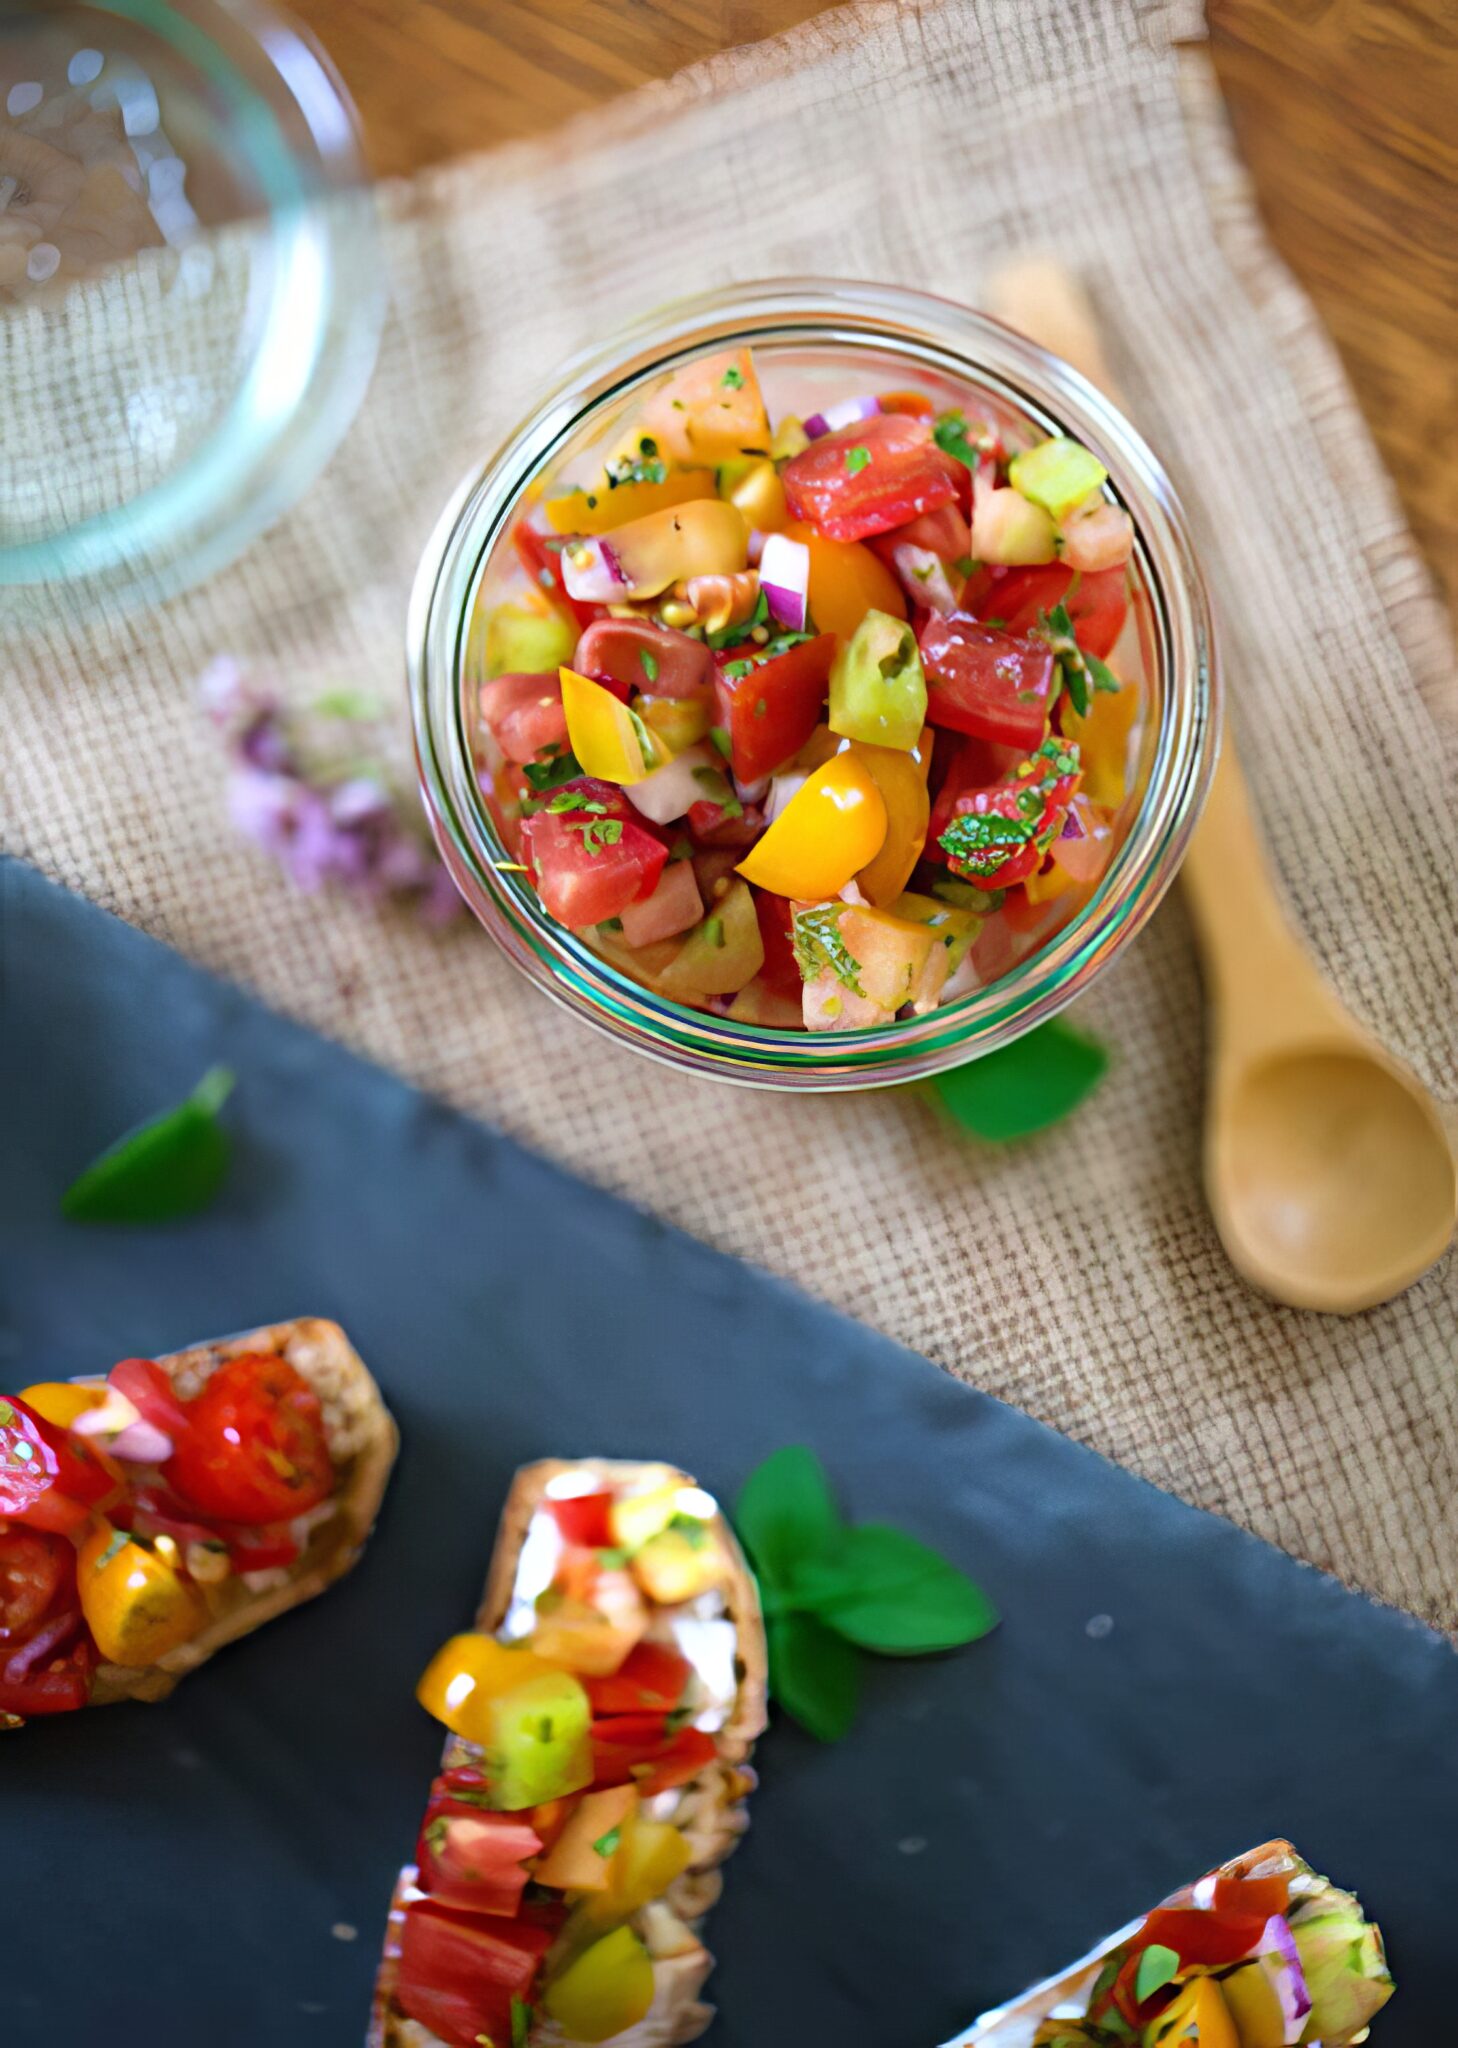
If you love simple recipes that let fresh ingredients shine, this tomato relish salad is about to become a favorite. Juicy tomatoes are tossed with fragrant oregano and thyme, creating a bright, herb-packed dish that tastes like summer in every bite. It's light, refreshing, and perfect alongside grilled dishes or served with crusty bread.
I'm a huge believer that the best recipes are often the simplest ones. When tomatoes are ripe and full of flavor, they really don't need much help. A handful of fresh herbs, a drizzle of olive oil, and a little seasoning can transform them into something that feels both effortless and special.
It's the kind of dish I like to make when tomatoes are overflowing at the farmer's market or when I want a quick vegan appetizer or light lunch that doesn't require turning on the stove. Just chop, toss, and enjoy.
Helpful Tips & Variations
- Use ripe tomatoes: The better the tomatoes, the better the salad.
- Let it rest briefly: Allowing the salad to sit for 10 minutes helps the flavors meld.
- Taste and adjust: Tomatoes vary in sweetness, so adjust salt and acidity as needed.
- Add texture: A sprinkle of toasted seeds or nuts can add a nice crunch.
- Add cucumber: For extra freshness and crunch. English cucumbers work best because of the lack of seeds!
- Make it Mediterranean: Toss in olives or capers for a briny twist.
Serving Ideas
This tomato relish salad is incredibly versatile and can brighten up all kinds of meals. I love serving it slightly chilled or at room temperature so the tomatoes stay juicy and the herbs really shine.
- Alongside grilled dishes: It pairs beautifully with grilled vegetables, tofu, or as a topping for plant-based burgers or sandwiches.
- Spoon over toast: Pile it onto crusty toasted bread for a quick bruschetta-style snack. Add some vegan cream cheese for a delicious combo.
- Top grain bowls: Add it to quinoa, rice, or farro bowls for a fresh, herby boost.
- Serve with pasta: Toss a spoonful over warm pasta or noodles for a light, summery finish.
- As a dip with chips: Serve it up with some crunchy tortilla chips, and scoop it up like salsa!
More Vegan Recipes
If you love this simple tomato relish, be sure to check out these other tasty ideas or browse the rest of our vegan salad recipes:
- Fresh Corn and Tomatillo Salsa
- Easy Corn and Tomato Salad
- Vegan Chickpea Salad
- Simple Corn Relish Salad
Recipe
Tomato Relish with Fresh Oregano and Thyme
Fresh, juicy tomatoes tossed with oregano, thyme, and a simple dressing create a bright, herby salad that's bursting with flavor. It's quick, refreshing, and the perfect way to showcase ripe summer tomatoes.
Print
Pin
Save
Servings: servings
Ingredients
- 2 pounds ripe tomatoes use a variety of red, yellow, and heirloom; mix in some cherry or grape tomatoes if you'd like
- ¼ cup minced red onion
- 3 tablespoons fresh oregano chopped
- 2 teaspoons fresh thyme leaves French or Lemon
- 1 tablespoon extra-virgin olive oil
- 2 tablespoons red wine vinegar
- 1 teaspoon lemon juice adjust to taste
- salt and pepper to taste
Instructions
- Cut the tomatoes into dice no larger than ½ inch - even smaller if they're firm, and you have the patience.
- Combine the tomatoes in a serving bowl with the remaining ingredients and let stand for a few minutes before serving.
Nutrition (Estimate per Serving)
Calories: 59kcalCarbohydrates: 8gProtein: 2gFat: 3gSaturated Fat: 0.4gPolyunsaturated Fat: 0.4gMonounsaturated Fat: 2gSodium: 9mgPotassium: 406mgFiber: 3gSugar: 4gVitamin A: 1334IUVitamin C: 23mgCalcium: 60mgIron: 1mg
Vegan-ize any recipe!Grab our free vegan cheat sheet, packed with my favorite easy substitutions to make any recipe vegan.
Basic Vegan Pizza Dough

There are a handful of recipes I make so often I don't even think about them anymore, and this Basic Vegan Pizza Dough is one of them. It's dependable, unfussy, and made with ingredients I almost always have in the pantry. No specialty flours, no obscure techniques-just a solid, hearty crust that works every single time.
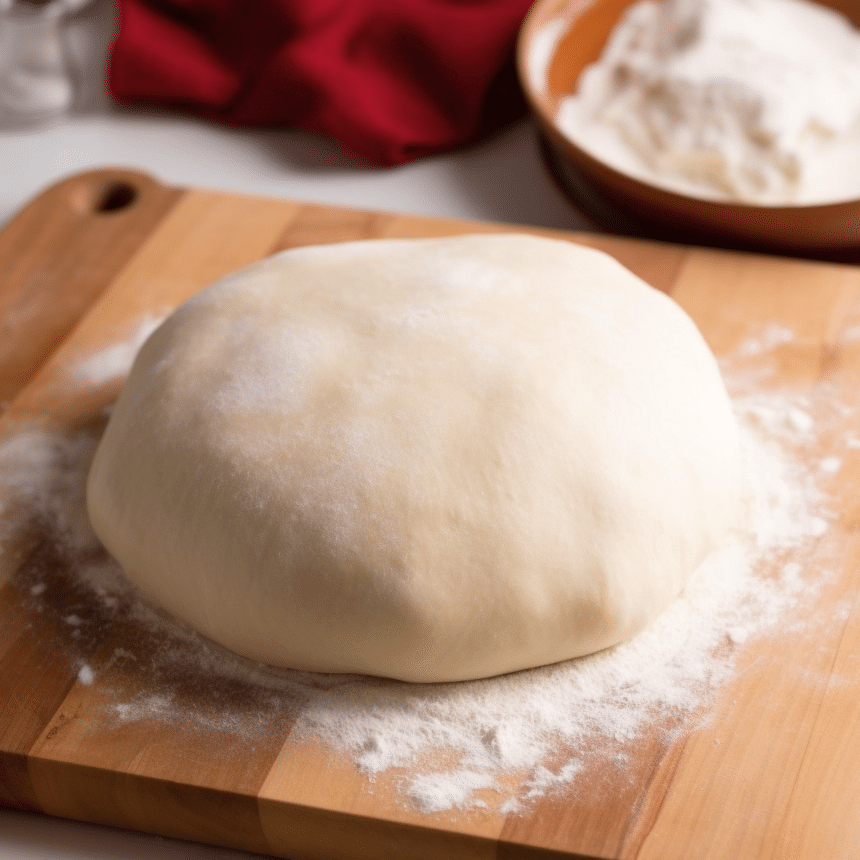
Sometimes I just want pizza. Tonight. Do you know the feeling? This super simple vegan pizza dough is my answer to that mood.
It's sturdy enough to hold generous toppings (because I refuse to skimp), but still tender with those chewy edges that make you want to eat the crust first. The mix of whole wheat and white flour gives it a bit of extra texture and flavor. And makes it feel perhaps a little healthier than it really is. 😉
And because pizza dough is naturally vegan, there's nothing to compromise on here. It just works.
Isn't all pizza dough vegan?
Not always - but most traditional pizza dough is naturally vegan.
Classic pizza dough is typically made with just flour, water, yeast, salt, and sometimes oil. That basic formula contains no dairy or eggs, which makes it accidentally vegan.
However, there are a few exceptions to watch for:
- Milk or milk powder: Some commercial or enriched doughs add dairy for softness.
- Butter: Occasionally used instead of oil, especially in thicker or "pan-style" crusts.
- Honey: Sometimes added as a sweetener instead of sugar (common in certain artisan or whole wheat recipes).
- Eggs: Rare, but sometimes used in specialty or enriched crusts.
If you're ordering out or buying store-bought dough, it's always worth checking the ingredient list. Most traditional Italian-style crusts are vegan, but some American-style or prepackaged versions sneak in dairy.
If you're making it at home with flour, water, yeast, salt, and oil? You're almost certainly in the clear.
Key Ingredients & Substitutions
Active Dry Yeast: This is what gives your dough life (literally). Dissolving it in warm water for about 10 minutes wakes it up and ensures a good rise. Alternatively, you can use instant yeast. Just mix it directly with the flour and skip the proofing step.
Olive Oil: Oil adds moisture and helps create that golden, slightly crisp crust. I usually reach for olive oil for the subtle flavor boost. Avocado oil works well also.
Granulated Sugar: Just a little sugar feeds the yeast, so you can get that wonderful fluffy rise. It won't make your dough sweet.
Whole Wheat Flour: I like using whole wheat flour because it adds structure and a mild nutty flavor. It's what makes this crust feel hearty without being dense. But you can also make this recipe with all white flour, if you prefer.
Unbleached White Flour: Adding some white flour helps keep the dough soft and stretchy, so it's still easy to roll and shape.
Salt: Essential for flavor. Fine sea salt or kosher salt both work.
Helpful Tips
If your kitchen runs cold, you can let the dough rise inside your oven with just the light on. It creates a cozy environment without overheating!
A sprinkle of cornmeal on the pan adds a subtle crunch to the crust and helps prevent the dough from sticking to the pan.
If the dough keeps shrinking back while rolling, let it rest for 5-10 minutes. It just needs to relax.
Variations
- Garlic Herb Crust: Add garlic powder and dried Italian herbs to the flour mixture.
- Thin & Crispy: Roll it extra thin and go lighter on toppings.
- Stuffed Crust: Roll vegan mozzarella-style shreds into the outer edge.
Storing and Freezing
One of the reasons I love this dough so much? It fits real life. You can make it ahead, stash it, forget about it for a bit-and it still shows up beautifully when you're ready for pizza.
Storing in the Refrigerator
If you're planning to use the dough within a couple of days, the fridge is your friend.
- After the first rise, lightly coat the dough with oil and place it in an airtight container or tightly wrapped bowl.
- It will keep well in the refrigerator for up to 3 days.
- The flavor actually deepens a bit as it rests, which is a nice little bonus.
When you're ready to use it, let the dough sit at room temperature for about 30-60 minutes before shaping. Cold dough fights back. Room temp dough cooperates.
Freezing for Later
Pizza emergencies are real. Having dough in the freezer feels like a small act of self-care.
- After the first rise, divide the dough into portions.
- Lightly coat each piece with oil.
- Wrap tightly in plastic wrap and place in a freezer-safe bag.
The dough freezes beautifully for up to 3 months.
To use, transfer it to the refrigerator overnight to thaw. Then let it sit at room temperature for about 30-60 minutes before shaping. It should feel soft, pliable, and ready to stretch-not stiff or icy.
If you're anything like me, future-you will be extremely grateful when pizza night requires exactly zero effort beyond choosing toppings.
Vegan Pizza Ideas
If you need some inspiration for your pizza creations, be sure to check out these tasty vegan pizzas recipes:
- Vegan Mexican Pizza
- Veggie Pesto Pizza
- Easy Vegan Pizza Recipes
- Broccoli, Mushroom, and Sun Dried Tomato Pizza
Recipe

Basic Vegan Pizza Dough
This Basic Vegan Pizza Dough is hearty, chewy, and made with simple pantry staples. A reliable, no-fuss crust that's perfect for homemade pizza night and freezer-friendly, too.
Print
Pin
Save
Servings: 12" pizzas
Ingredients
- 4 ½ teaspoon active dry yeast two packets
- ¼ cup olive oil
- 2 tablespoon sugar
- 2 ½ cups whole wheat flour
- 2 ½ cups unbleached white flour
- 1 teaspoon salt
Instructions
- Combine the yeast with 2 cups of warm water. Let stand for 10 minutes to dissolve. Stir in the oil and sugar.
- In a large mixing bowl, combine the flours and salt. Make a well in the center and stir in the yeast mixture. Work everything together. first with a wooden spoon and then your hands, to form a dough.
- Turn it out onto a well-floured board and knead it for 8 minutes, adding flour until the dough loses stickiness. Place the dough in a floured bowl, cover it with a tea towel, and put it in a warm place. Let rise until doubled in bulk, 1 to 1 ½ hours.
- Punch the dough down. divide it. and form into two rounds. Roll out each round on a well-floured board and stretch it to fit a 12- to 14-inch round pizza pan. Lightly oil the pans and sprinkle them with cornmeal.
- Lay the rounds on the pans and make a lip of dough around the edge. Arrange topping of choice on the dough. Bake in a preheated 450°F oven for 15 minutes, until crust is golden.
Vegan-ize any recipe!Grab our free vegan cheat sheet, packed with my favorite easy substitutions to make any recipe vegan.
Glazed Baked Onions

Soft, sweet, and bathed in a buttery brown sugar glaze - these baked onions are the ultimate side dish for any vegan feast.
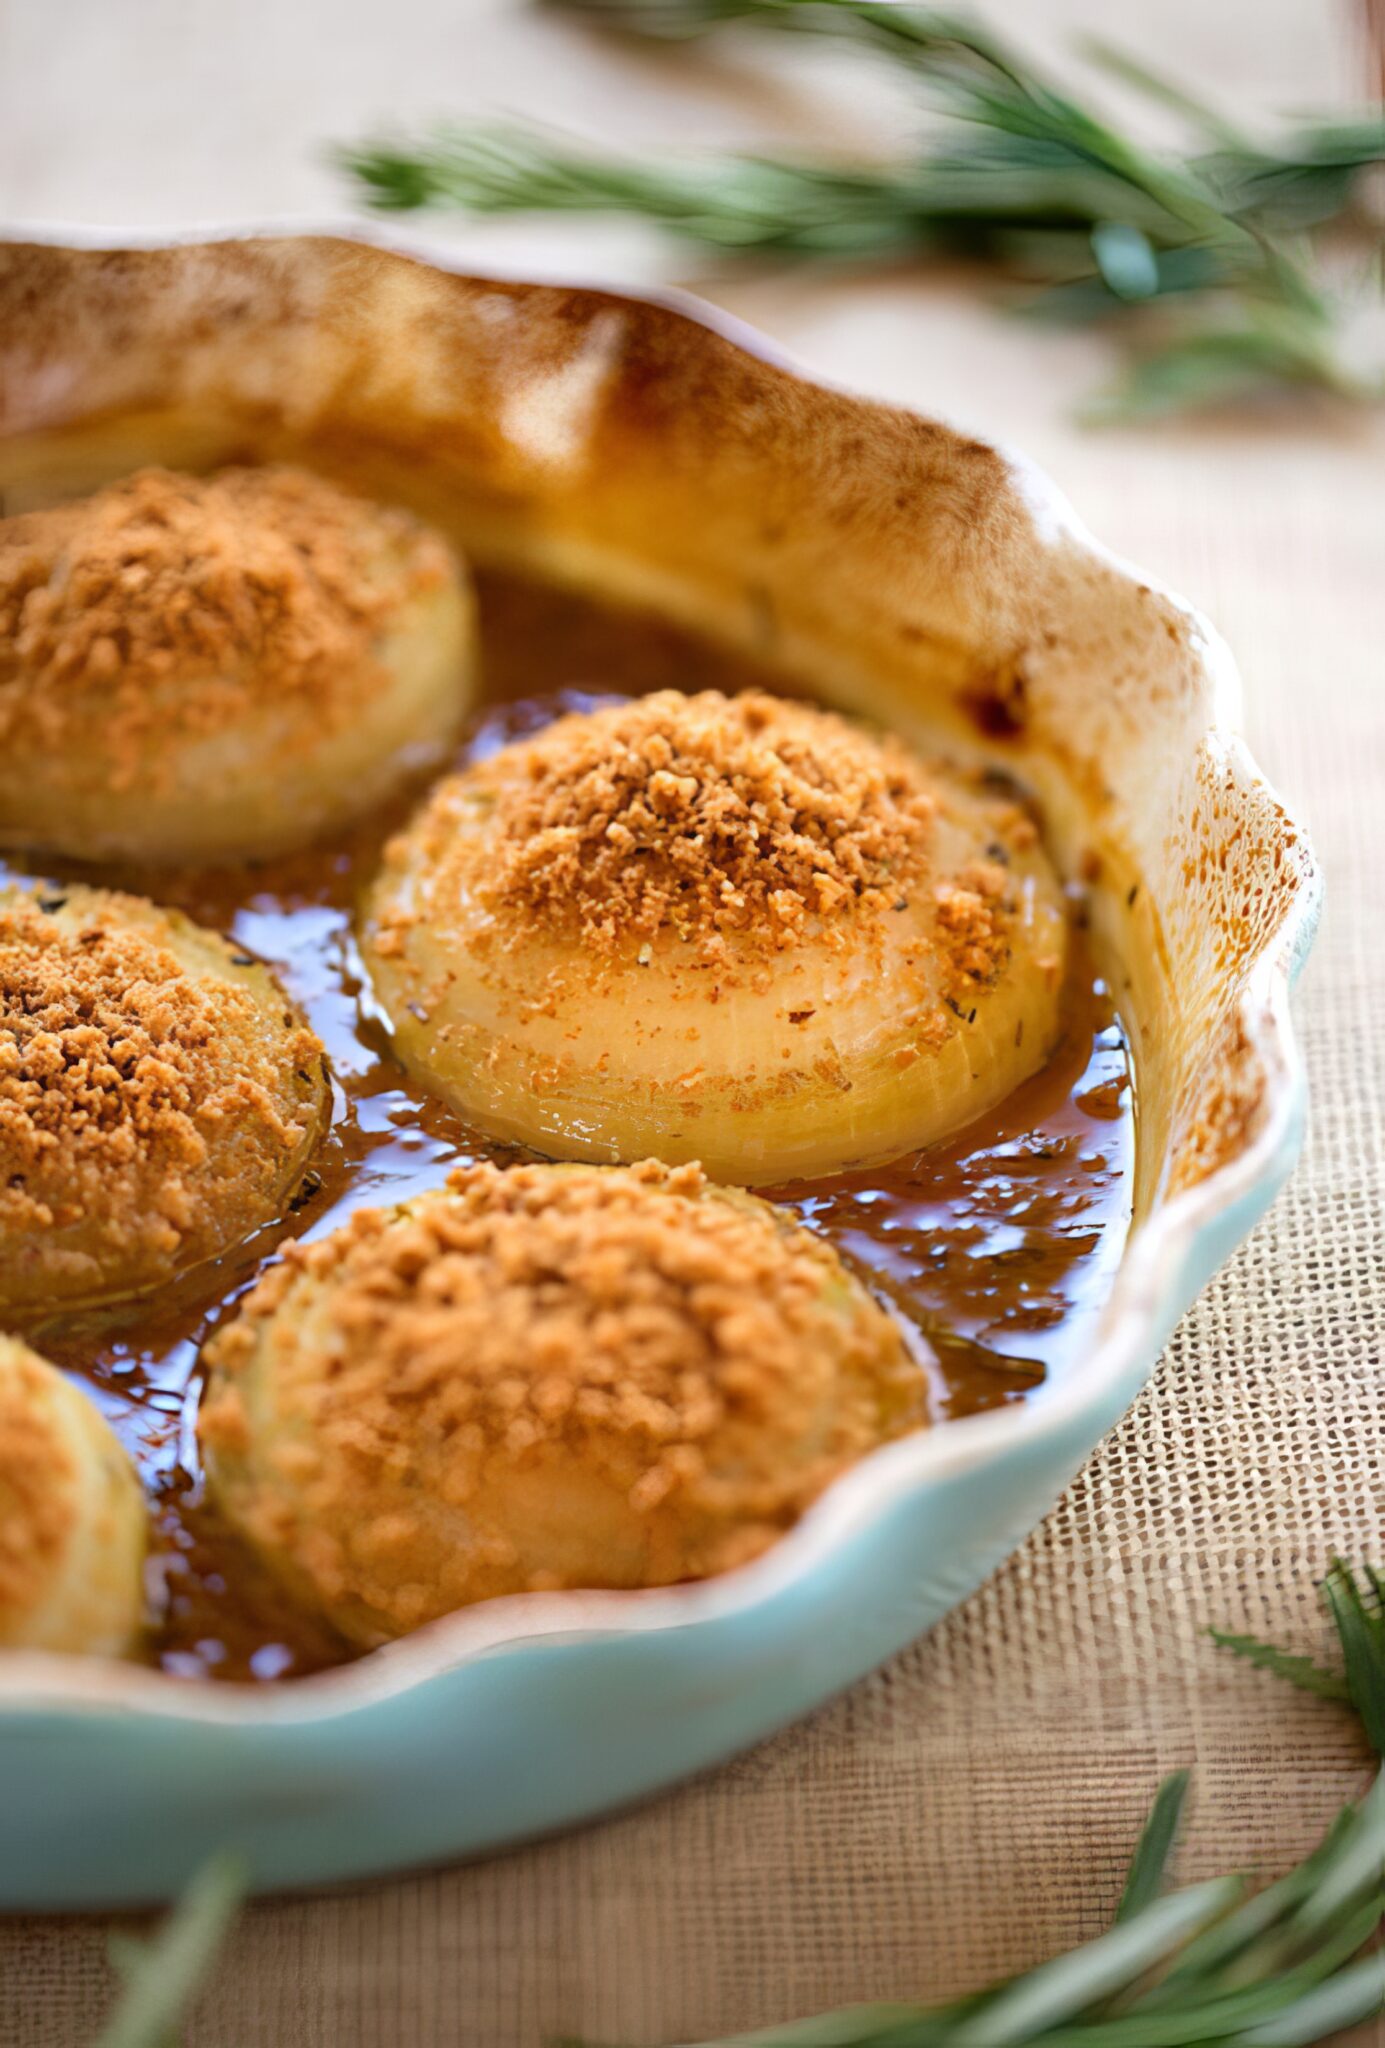
Let's talk about onions for a minute. Usually, they're the unsung heroes hiding out in the background - chopped, sautéed, and forgotten about. But not today. Today, onions take center stage, get all gussied up in a glossy glaze, and come strutting out of the oven like they own the dinner table.
These Glazed Baked Onions are pure comfort food, with just enough elegance to make them holiday-worthy. They are especially perfect for Thanksgiving!
These Glazed Baked Onions are:
- A total glow-up for the humble onion.
- Sweet, buttery, and gloriously simple.
- A perfect plant-based side dish for the holidays or any cozy meal.
- Oven-roasted to soft, caramelized perfection.
- Naturally vegan and easy to make gluten-free too.
And if you're here planning your holiday menu, don't forget to check out our new Vegan Thanksgiving and Vegan Christmas cookbooks!
Key Ingredients & Substitutions
- Onions: Large yellow onions work best here. You want them big and round, so they hold up in the oven and soak up all that glaze. My personal favorite are Vidalia Onions!
- Vegan Butter: Adds richness and helps create that luscious glaze. I am a fan of the Earth's Best Buttery Sticks for this type of dish. If you're not vegan, regular butter works here too.
- Brown Sugar: The star of the glaze - gives it that warm, molasses-y sweetness. Light or dark, either is fine.
- Salt & Pepper: Simple seasoning, balances the sweetness beautifully.
- Water: Just enough to help the glaze form while the onions roast.
Helpful Tips
Don't peel too much: Just remove the papery outer layers of the onions and trim the ends slightly - you want them to stay intact when baked.
Score the tops: A shallow cross-cut on top of each onion helps the glaze seep into the onions while they bake.
Roast covered, then uncovered: Start with foil covering the baking dish to steam and soften the onions, then uncover to let them caramelize.
Baste as you go: Spoon that buttery glaze over the onions occasionally as they bake, for maximum flavor and that pretty shine.

Easy Variations
- Add herbs: A sprig of thyme or rosemary tucked into the baking dish adds a savory, aromatic note.
- Spice it up: A pinch of cayenne or smoked paprika in the glaze gives a little extra kick.
- Maple twist: Swap brown sugar for maple syrup for a deeper, woodsy sweetness.
- Make it Bite Sized: Try this with small pearl onions or even shallots for a bite-sized take that's great for appetizers or tapas-style meals.
More Vegan Recipes
If you love these baked onions, be sure to check out these other delicious recipes:
Photos were taken by Hannah Kaminsky.
Recipe

Glazed Baked Onions
Soft, sweet, and bathed in a buttery brown sugar glaze - these baked onions are the ultimate side dish for any vegan feast.
Print
Pin
Save
Servings: onion halves
Equipment
Ingredients
- 1 cup vegetable broth homemade or store bought
- ¼ cup maple syrup or agave nectar
- 1 tablespoon vegan butter such as Earth Balance Buttery Sticks
- ⅛ teaspoon dried rosemary
- ⅛ teaspoon dried thyme
- ⅛ teaspoon ground nutmeg
- 6 large onions sweet variety, such as Vidalia
- 1 cup breadcrumbs
- fresh rosemary sprigs optional, for garnish
Instructions
- Preheat the oven to 375°F (190°C).
- Combine all the ingredients except the onions and breadcrumbs in a small saucepan. Heat gently, stirring, until all are smoothly blended. Remove from the heat.
- Peel the outer skin from the onions, and cut them in half crosswise. Cut a thin sliver from the bottom of each onion half, so that they'll stand steadily in a baking dish.
- Arrange the 12 onions halves in a shallow baking dish and pour the mixture from the saucepan evenly over them.
- Cover and bake for 45 minutes to 1 hour, or until the onions are tender when pierced with a fork. Once or twice during this time, spoon some of the liquid from the bottom of the baking dish over the onions.
- Sprinkle the onions with breadcrumbs and bake, uncovered, for an additional 10 to 15 minutes, or until most of the liquid has been absorbed. Serve at once or keep warm until needed.
Nutrition (Estimate per Serving)
Calories: 92kcalCarbohydrates: 18gProtein: 2gFat: 1gSaturated Fat: 0.3gPolyunsaturated Fat: 0.4gMonounsaturated Fat: 0.4gTrans Fat: 0.01gSodium: 155mgPotassium: 143mgFiber: 2gSugar: 8gVitamin A: 88IUVitamin C: 6mgCalcium: 41mgIron: 1mg
Vegan-ize any recipe!Grab our free vegan cheat sheet, packed with my favorite easy substitutions to make any recipe vegan.
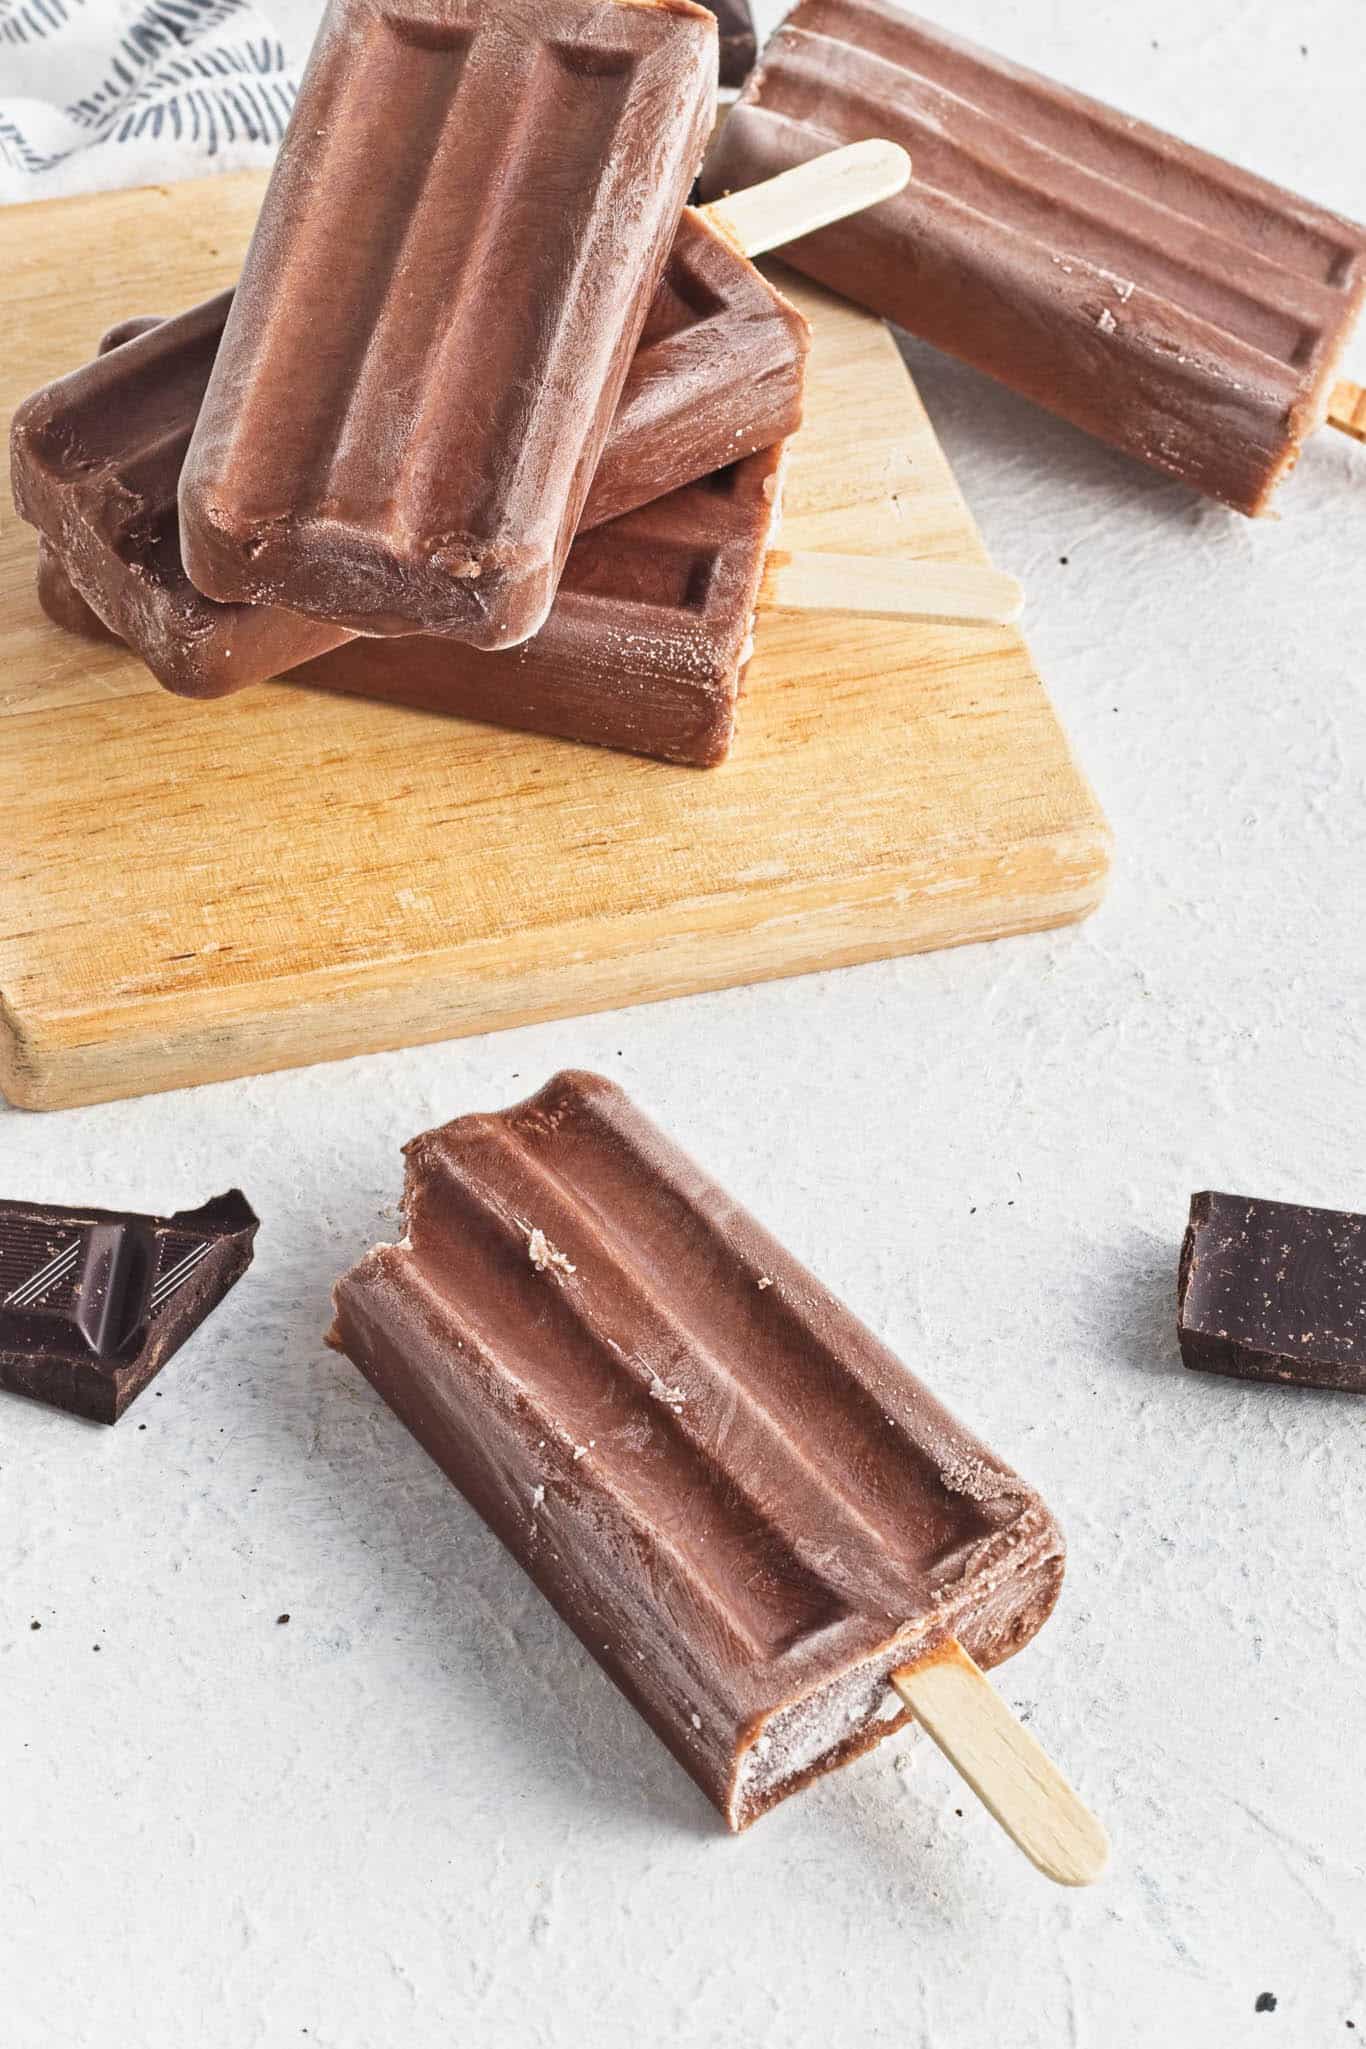
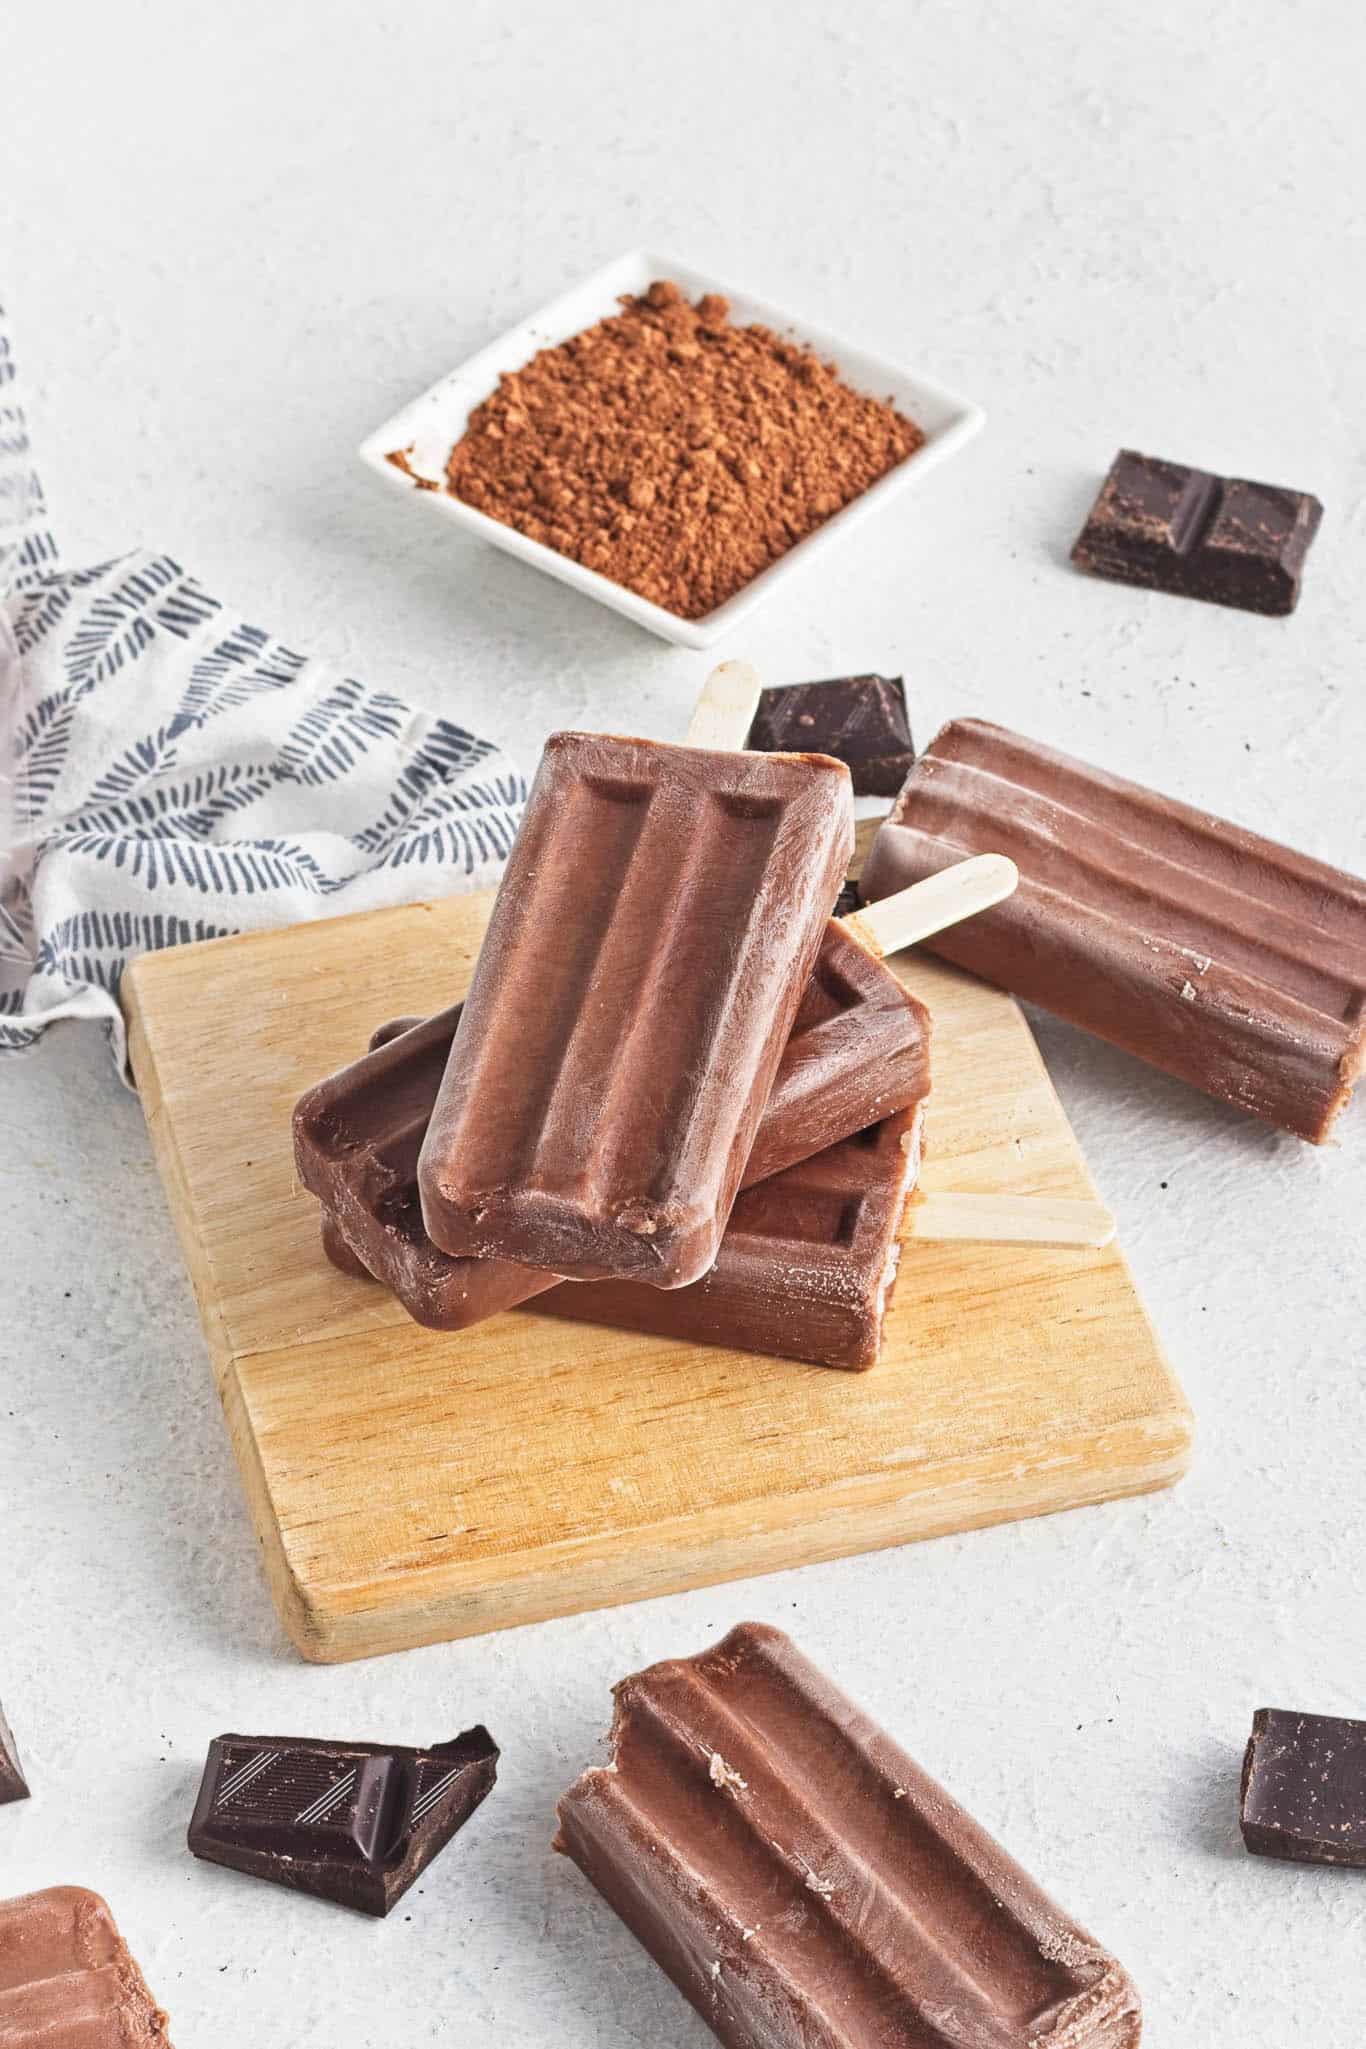
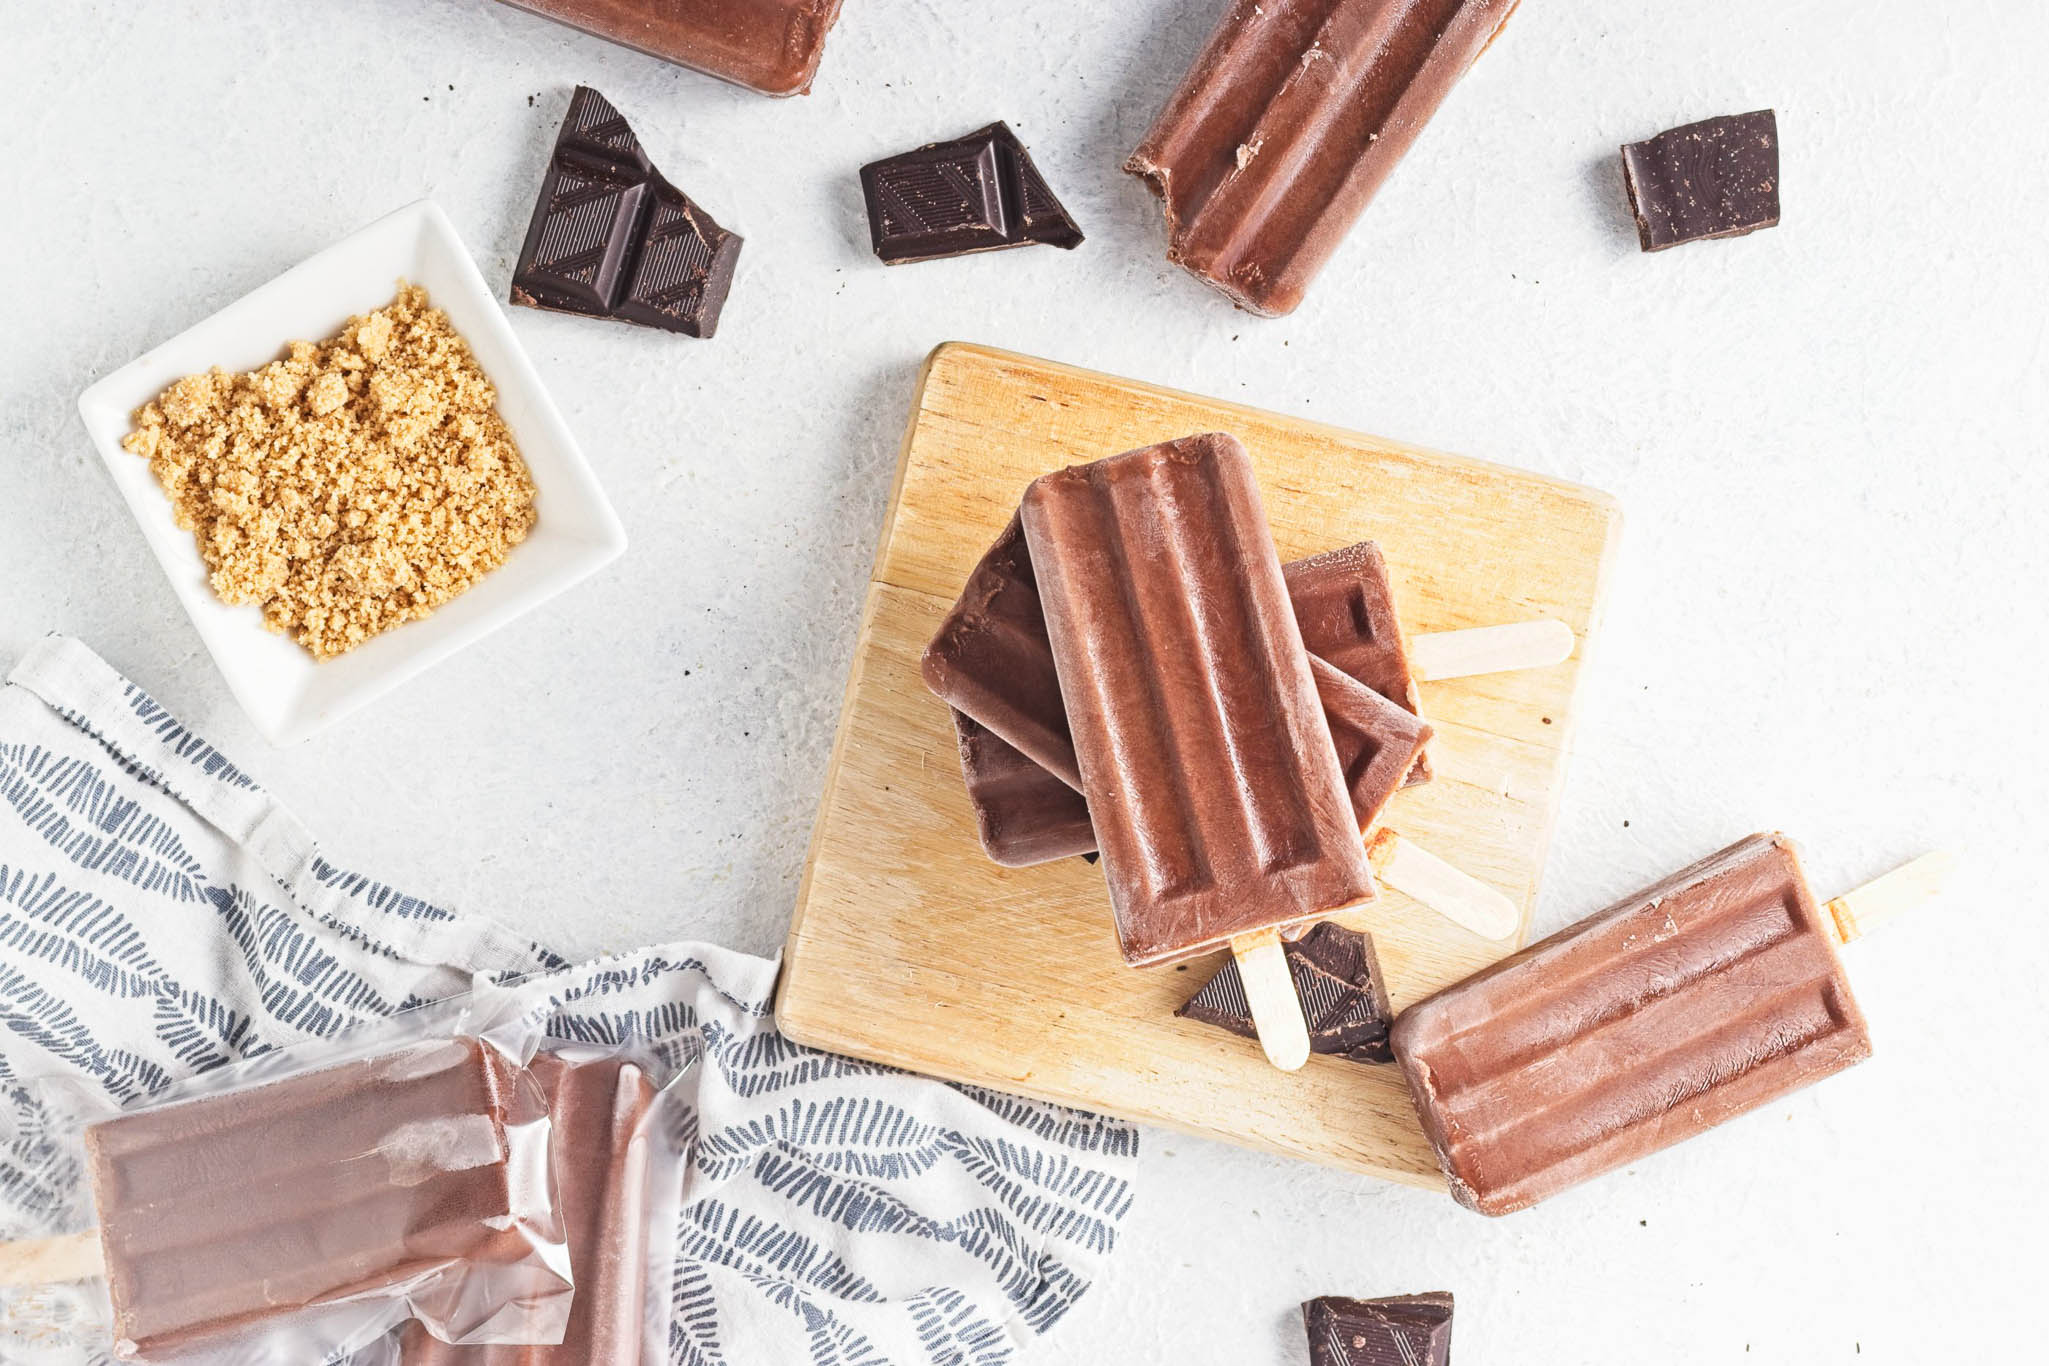
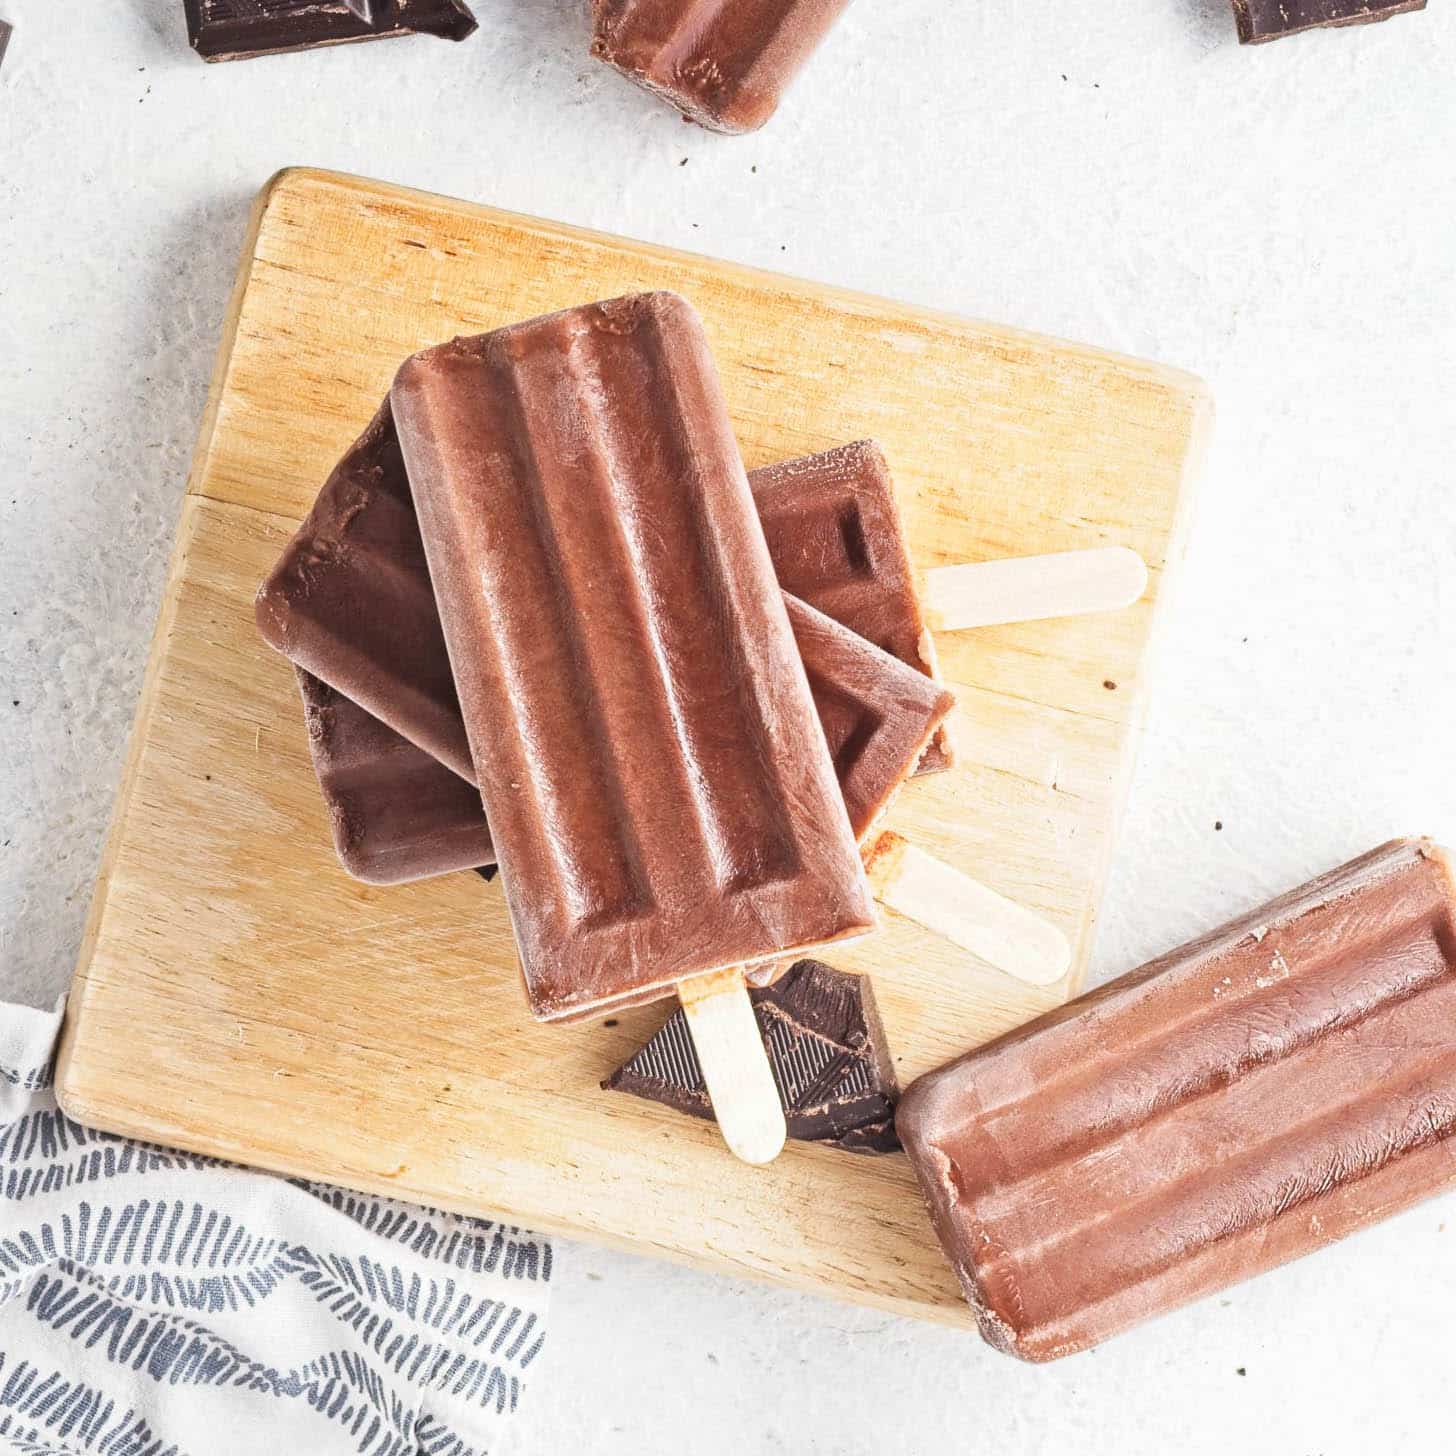
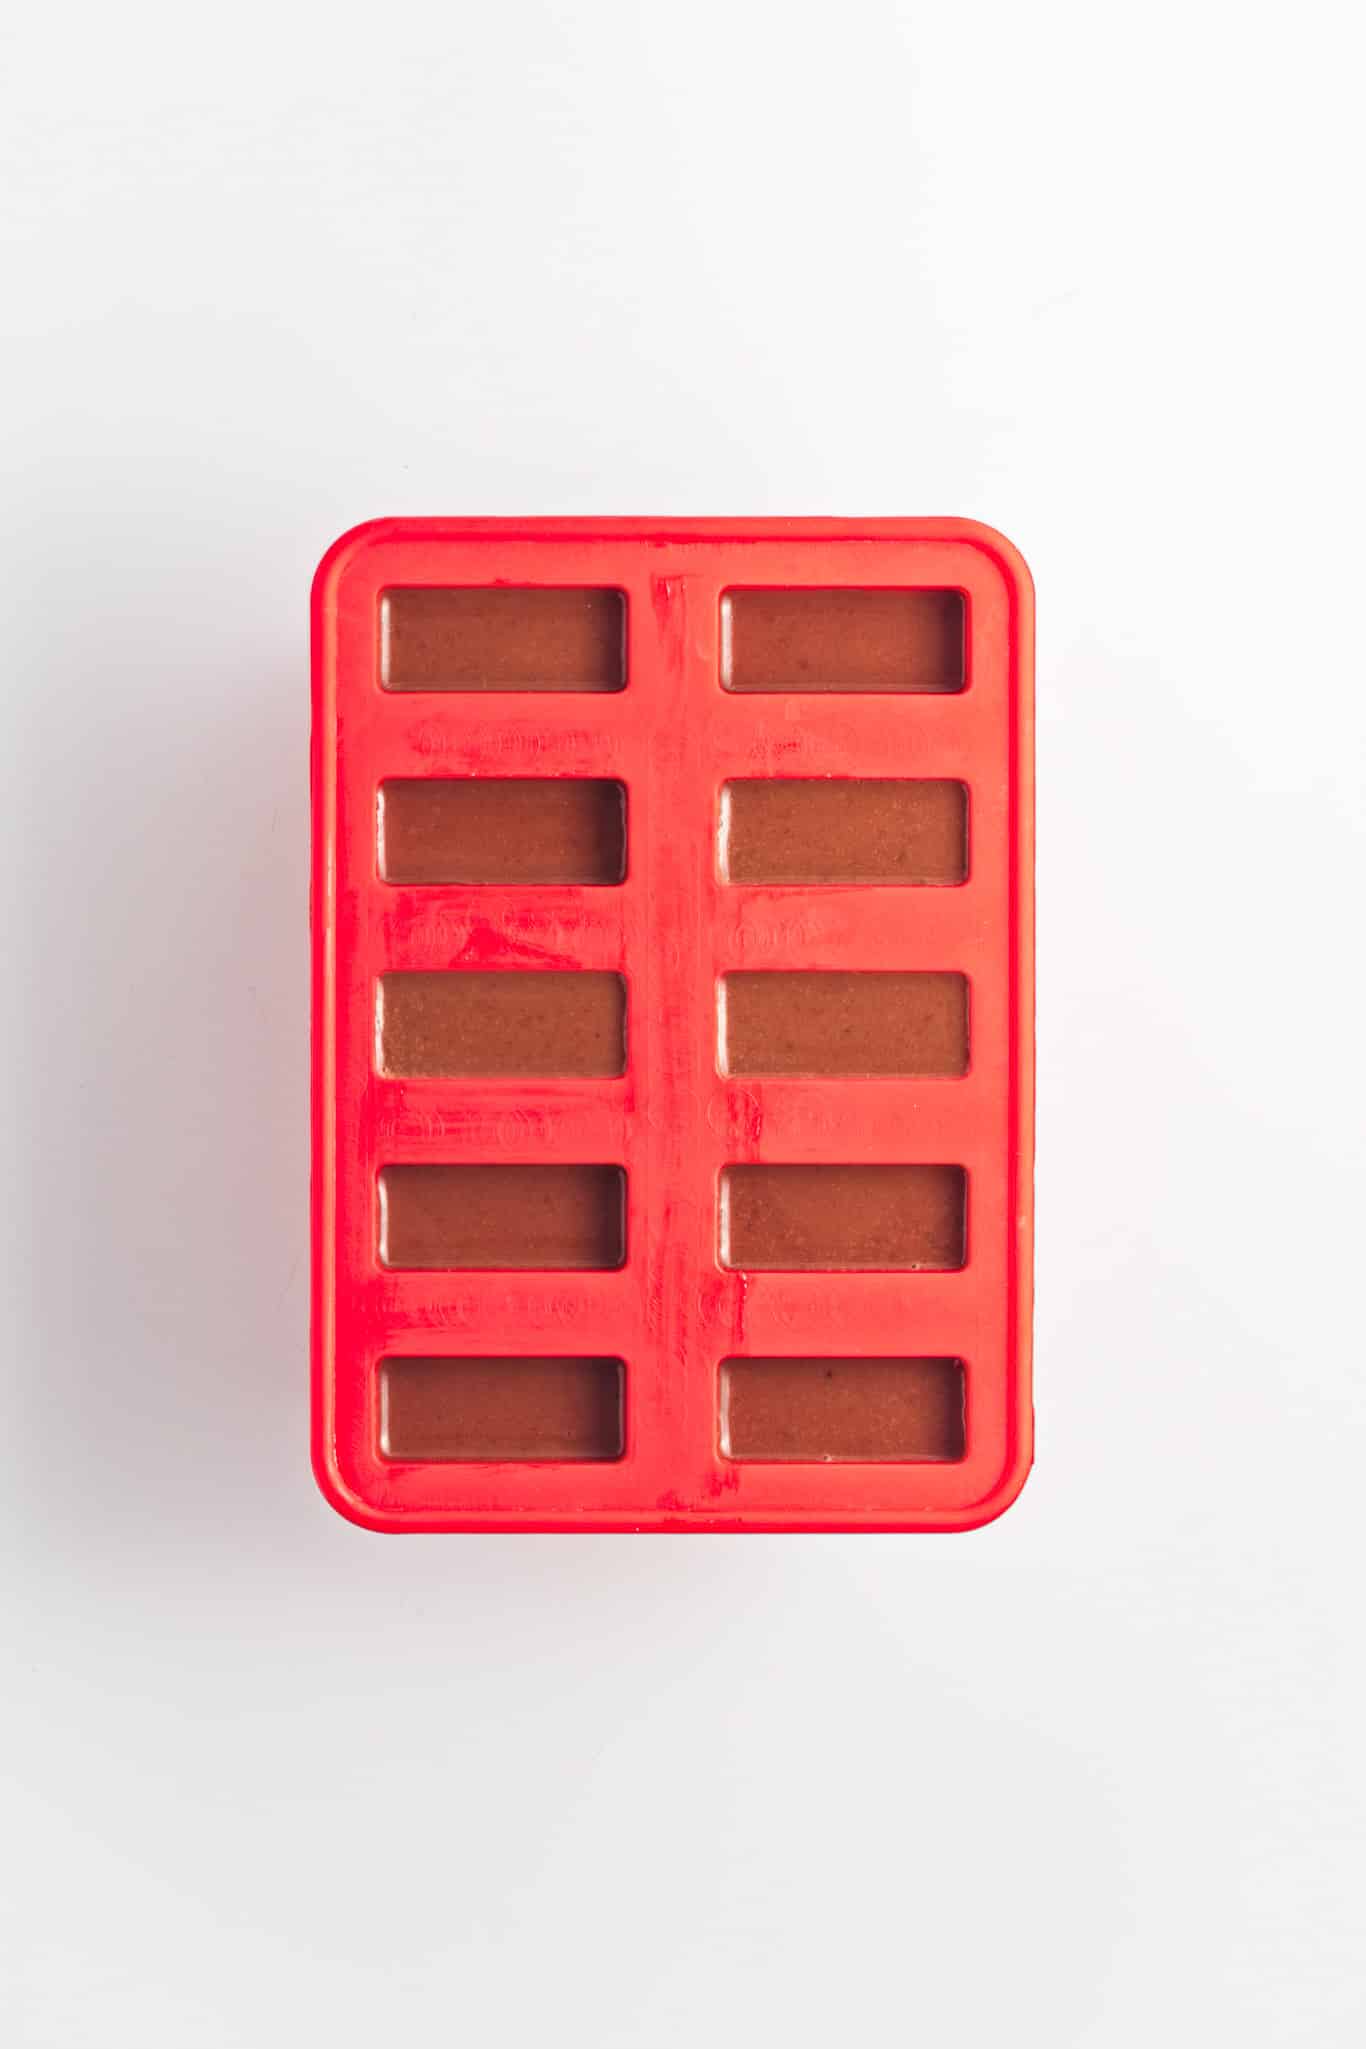
Vegan Fudgesicles
When it comes to frozen treats, few things beat a classic fudgesicle. These Vegan Fudgesicles are rich, creamy, and loaded with chocolate flavor-everything you love about the original, but completely vegan.
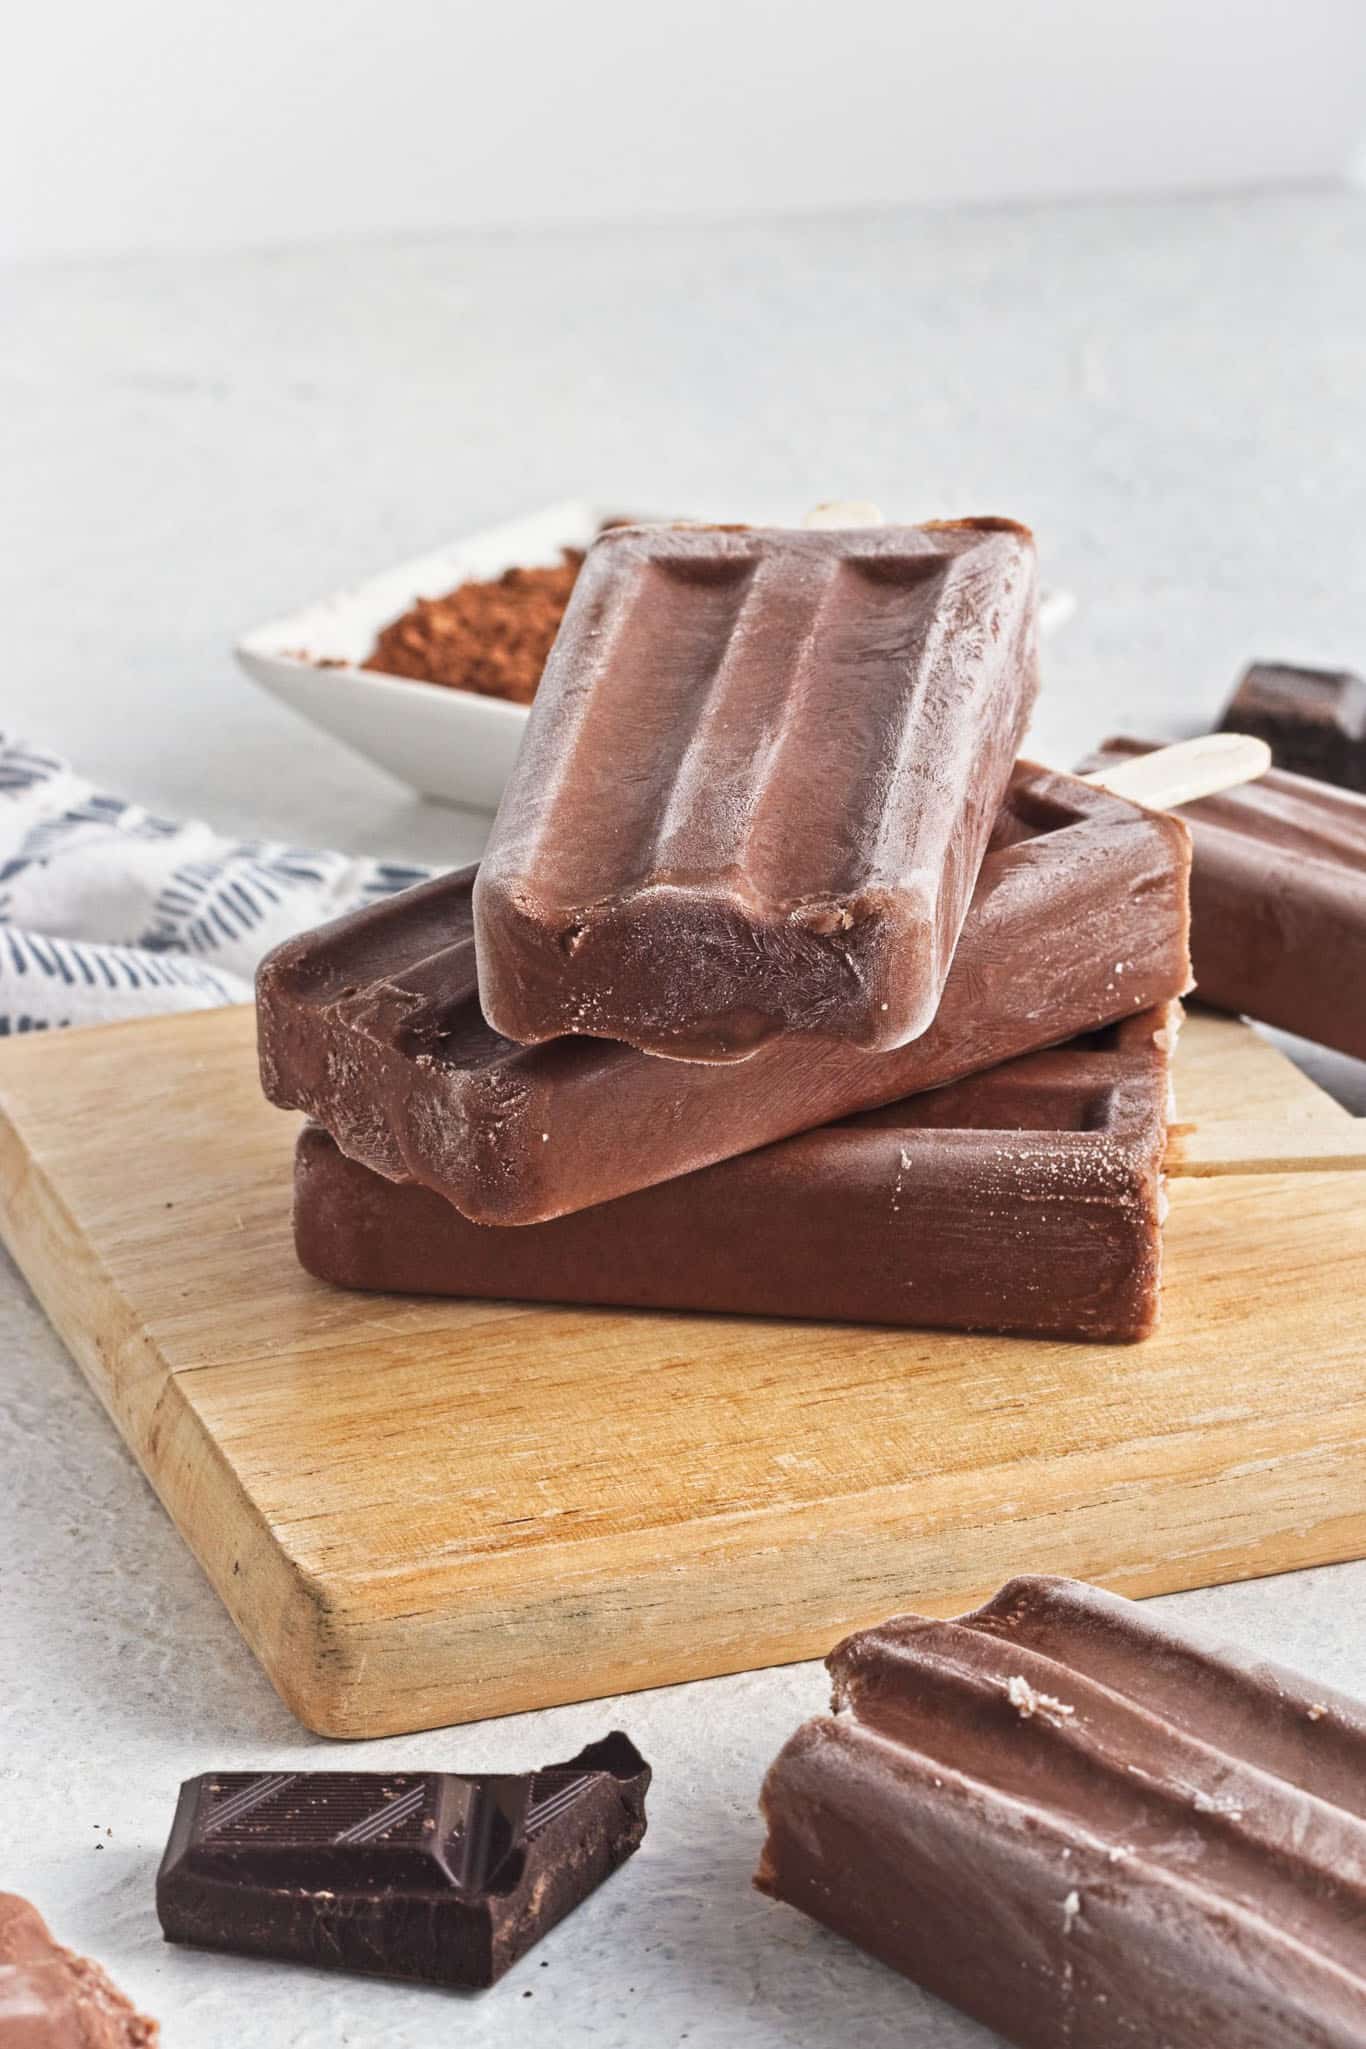
These fudgesicles aren't just good - they're ridiculously good. With simple ingredients like coconut milk, cocoa powder, and dark chocolate, they're easy to make and even easier to enjoy.
Whether you're a chocolate fanatic or just looking for a refreshing treat, these fudgesicles deliver in every way.

What Makes These Fudgesicles Special
Ultra-Creamy Texture: Thanks to full-fat coconut milk and a touch of cornstarch, these fudgesicles are smooth and luscious.
Deep Chocolate Flavor: Both cocoa powder and melted dark chocolate create an intense, rich chocolate taste.
Vegan and Allergy-Friendly: These are dairy-free, gluten-free, and soy-free, making them a great option for everyone.
Customizable: Add coffee liqueur for a boozy version or tweak the sweetness to suit your taste.
Perfect for Summer: These popsicles are an easy, no-bake treat that's perfect for warm weather.
Helpful Tips
Popsicle Molds: I have used every type of popsicle mold imaginable, and I am convinced that these cheap molds are all you need.
Use Full-Fat Coconut Milk: For the creamiest fudgesicles, stick with full-fat coconut milk. Lower-fat options or other non-dairy milks will result in a more icy texture.
Don't Skip the Cornstarch: A small amount of cornstarch ensures the mixture stays smooth and doesn't separate during freezing. Arrowroot powder works as a great alternative.
Enhance the Chocolate Flavor: Coffee, vanilla, and a pinch of salt are added to deepen the chocolate taste. You won't taste the coffee - it simply makes the chocolate shine.
Strain the Mixture: For the smoothest popsicles, strain the liquid before pouring it into molds to remove any lumps or bits of chocolate.
Freeze Completely: Let the fudgesicles freeze for at least 6 hours (or overnight) to ensure they're firm enough to enjoy.

Storing & Serving
Once frozen, these fudgesicles can be stored in their molds or individually wrapped in plastic for up to one month, in the freezer. To easily remove them from the molds, run the bottoms under warm water for a few seconds.
Serve them as-is, or dress them up with a drizzle of melted chocolate or a sprinkle of chopped nuts!
Variations to Try
Boozy Fudgesicles: Replace the coffee with coffee liqueur for a grown-up twist.
Add Some Crunch: Stir in chopped nuts, coconut flakes, or even chocolate chips before pouring the mixture into molds.
Extra Sweetness: If you prefer sweeter treats, increase the brown sugar slightly.
Mint Chocolate: Add a few drops of peppermint extract for a refreshing minty flavor.
Espresso Kick: Use espresso instead of brewed coffee for an even richer flavor.
More Vegan Treats
If you love these vegan fudgesicles, be sure to check out these other plant based recipes:
- Vegan Cookies & Cream Popsicles
- Vegan Strawberry Mango Popsicles
- 8 Incredible Vegan Frozen Treats
- 25+ Best Vegan Recipes for Summer
Recipe
Vegan Fudgesicles
These Vegan Fudgesicles are rich, creamy, and loaded with chocolate flavor-they're ridiculously good, and completely vegan!
Print
Pin
Save
Servings: popsicles
Ingredients
- 3 cups coconut milk full fat variety
- ¼ cup light brown sugar
- ¼ cup cocoa powder
- Salt just a pinch
- 1 tablespoon cornstarch
- ¼ cup strong brewed coffee or substitute additional coconut milk
- 1 tablespoon vanilla extract
- 4 oz dark chocolate chopped
Instructions
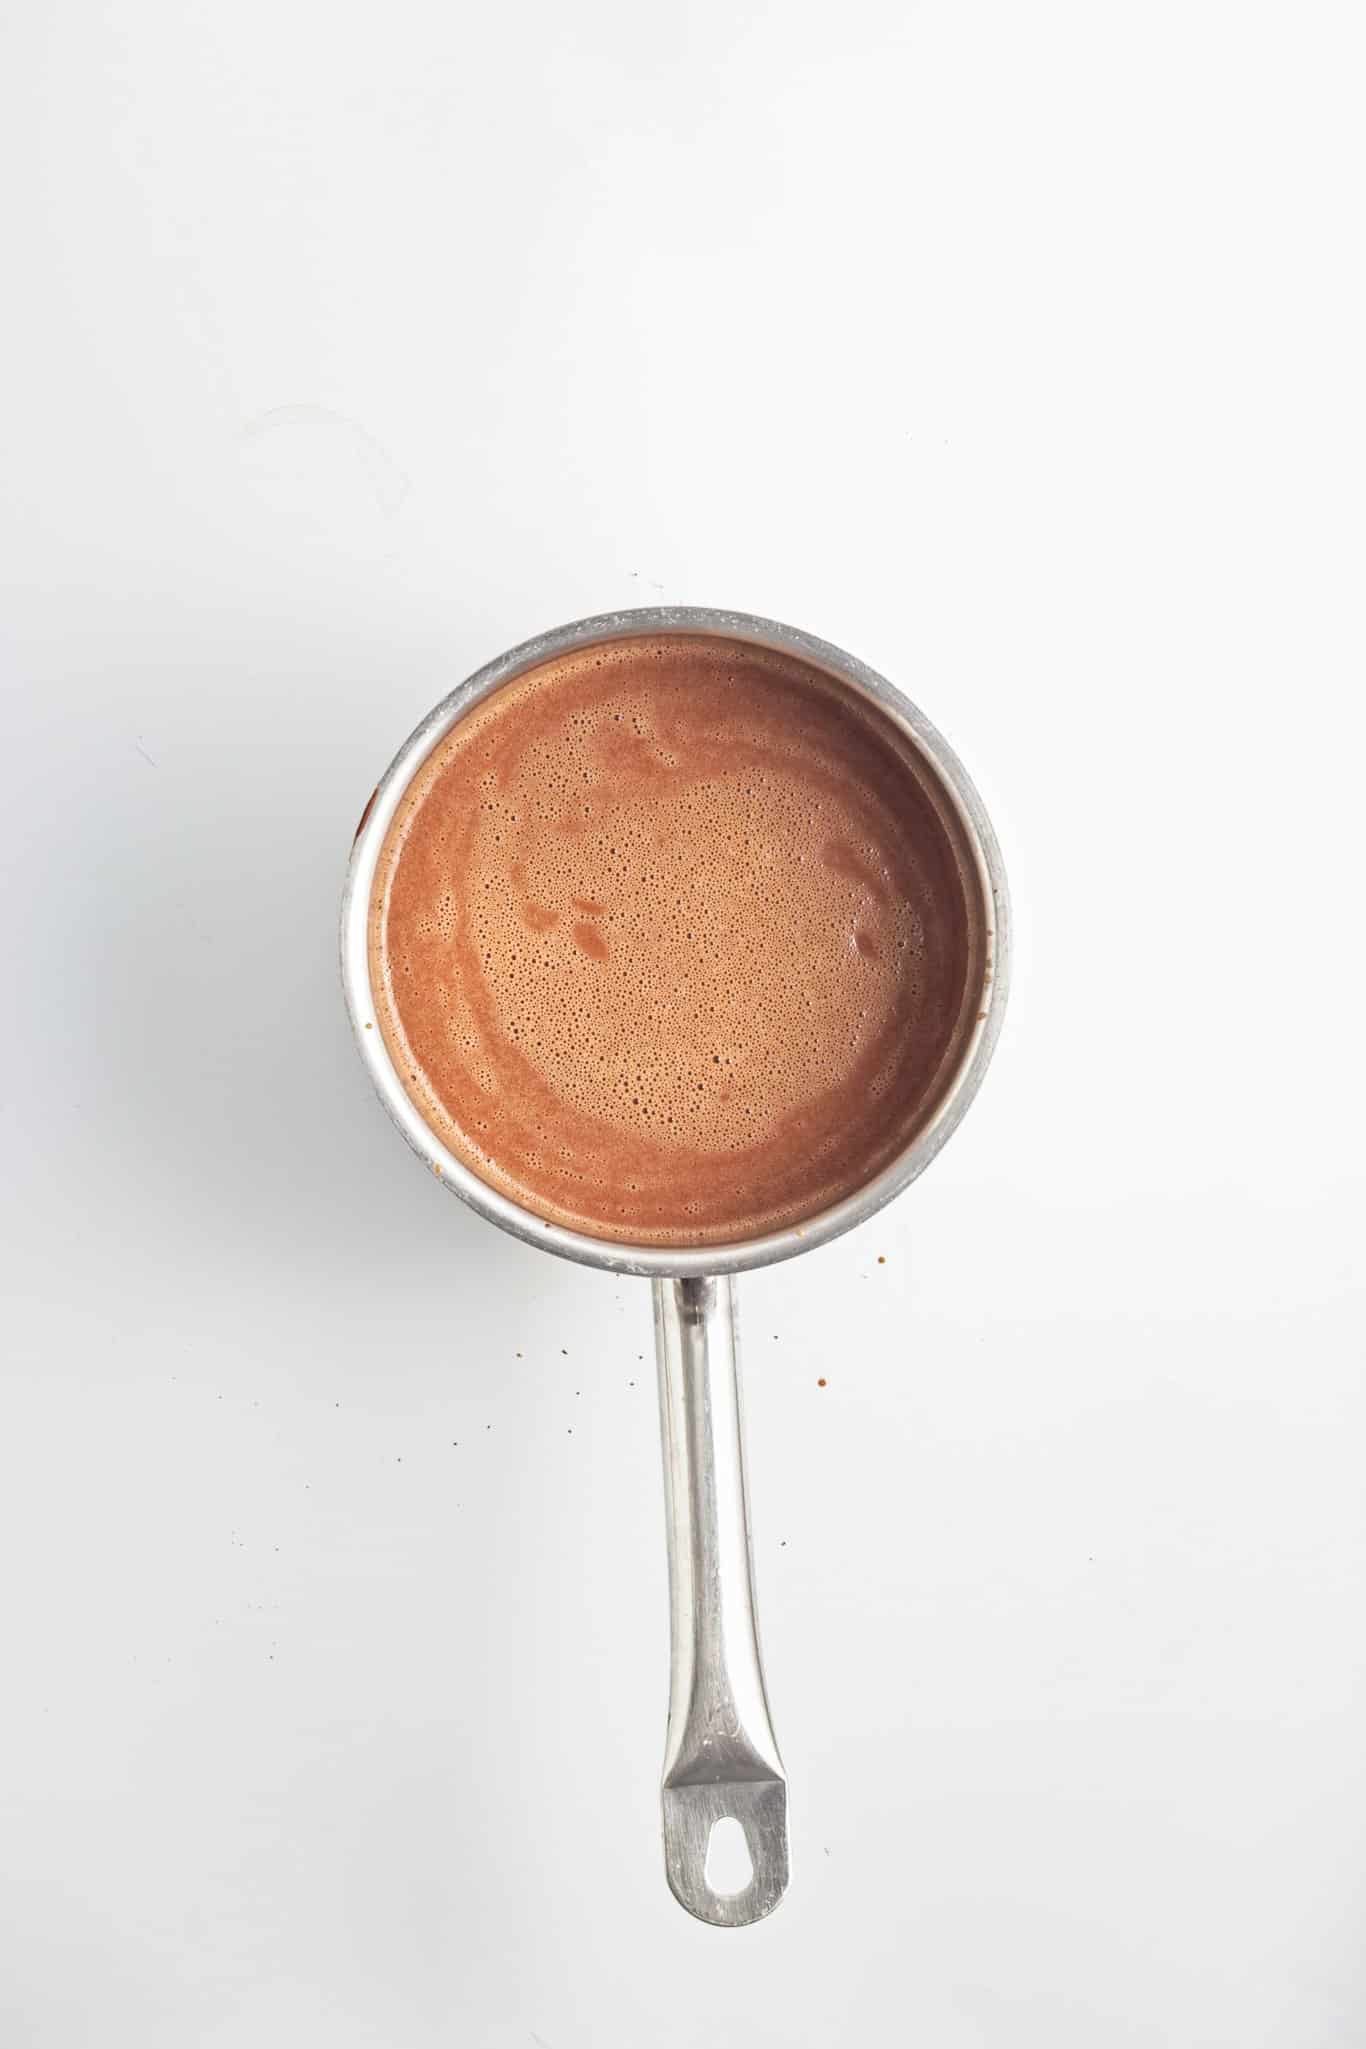
- Prepare the base: In a saucepan, heat the coconut milk and brown sugar over medium heat. Stir gently until the sugar dissolves and the mixture is just below a simmer. Avoid letting it boil.
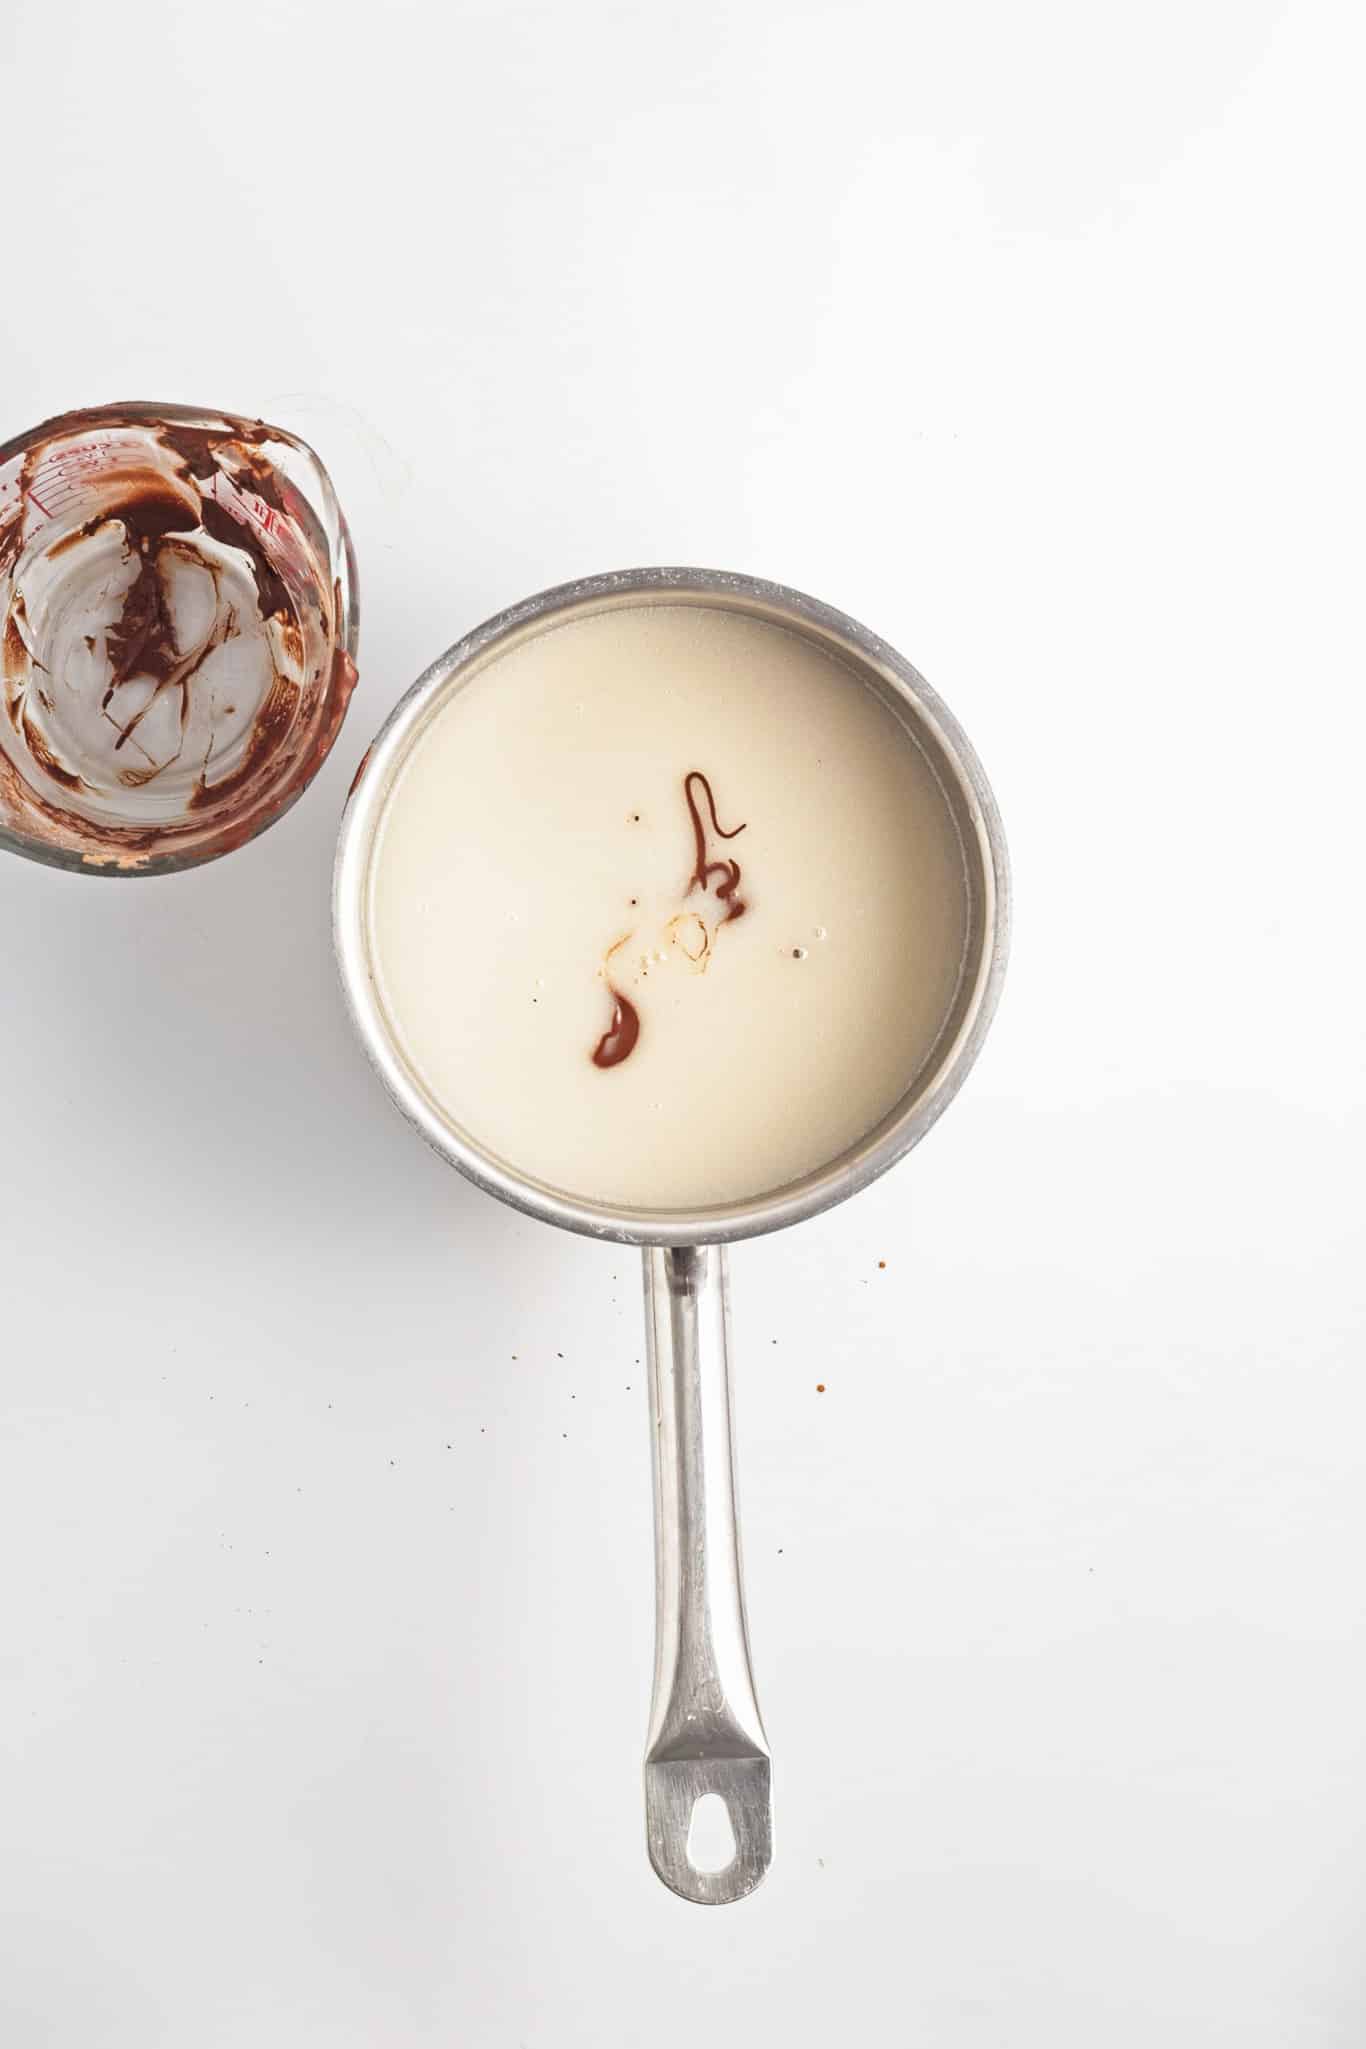
- Make the cocoa mixture: In a small bowl or spouted measuring cup, mix together the cocoa powder, cornstarch, and salt. Stir until evenly combined.
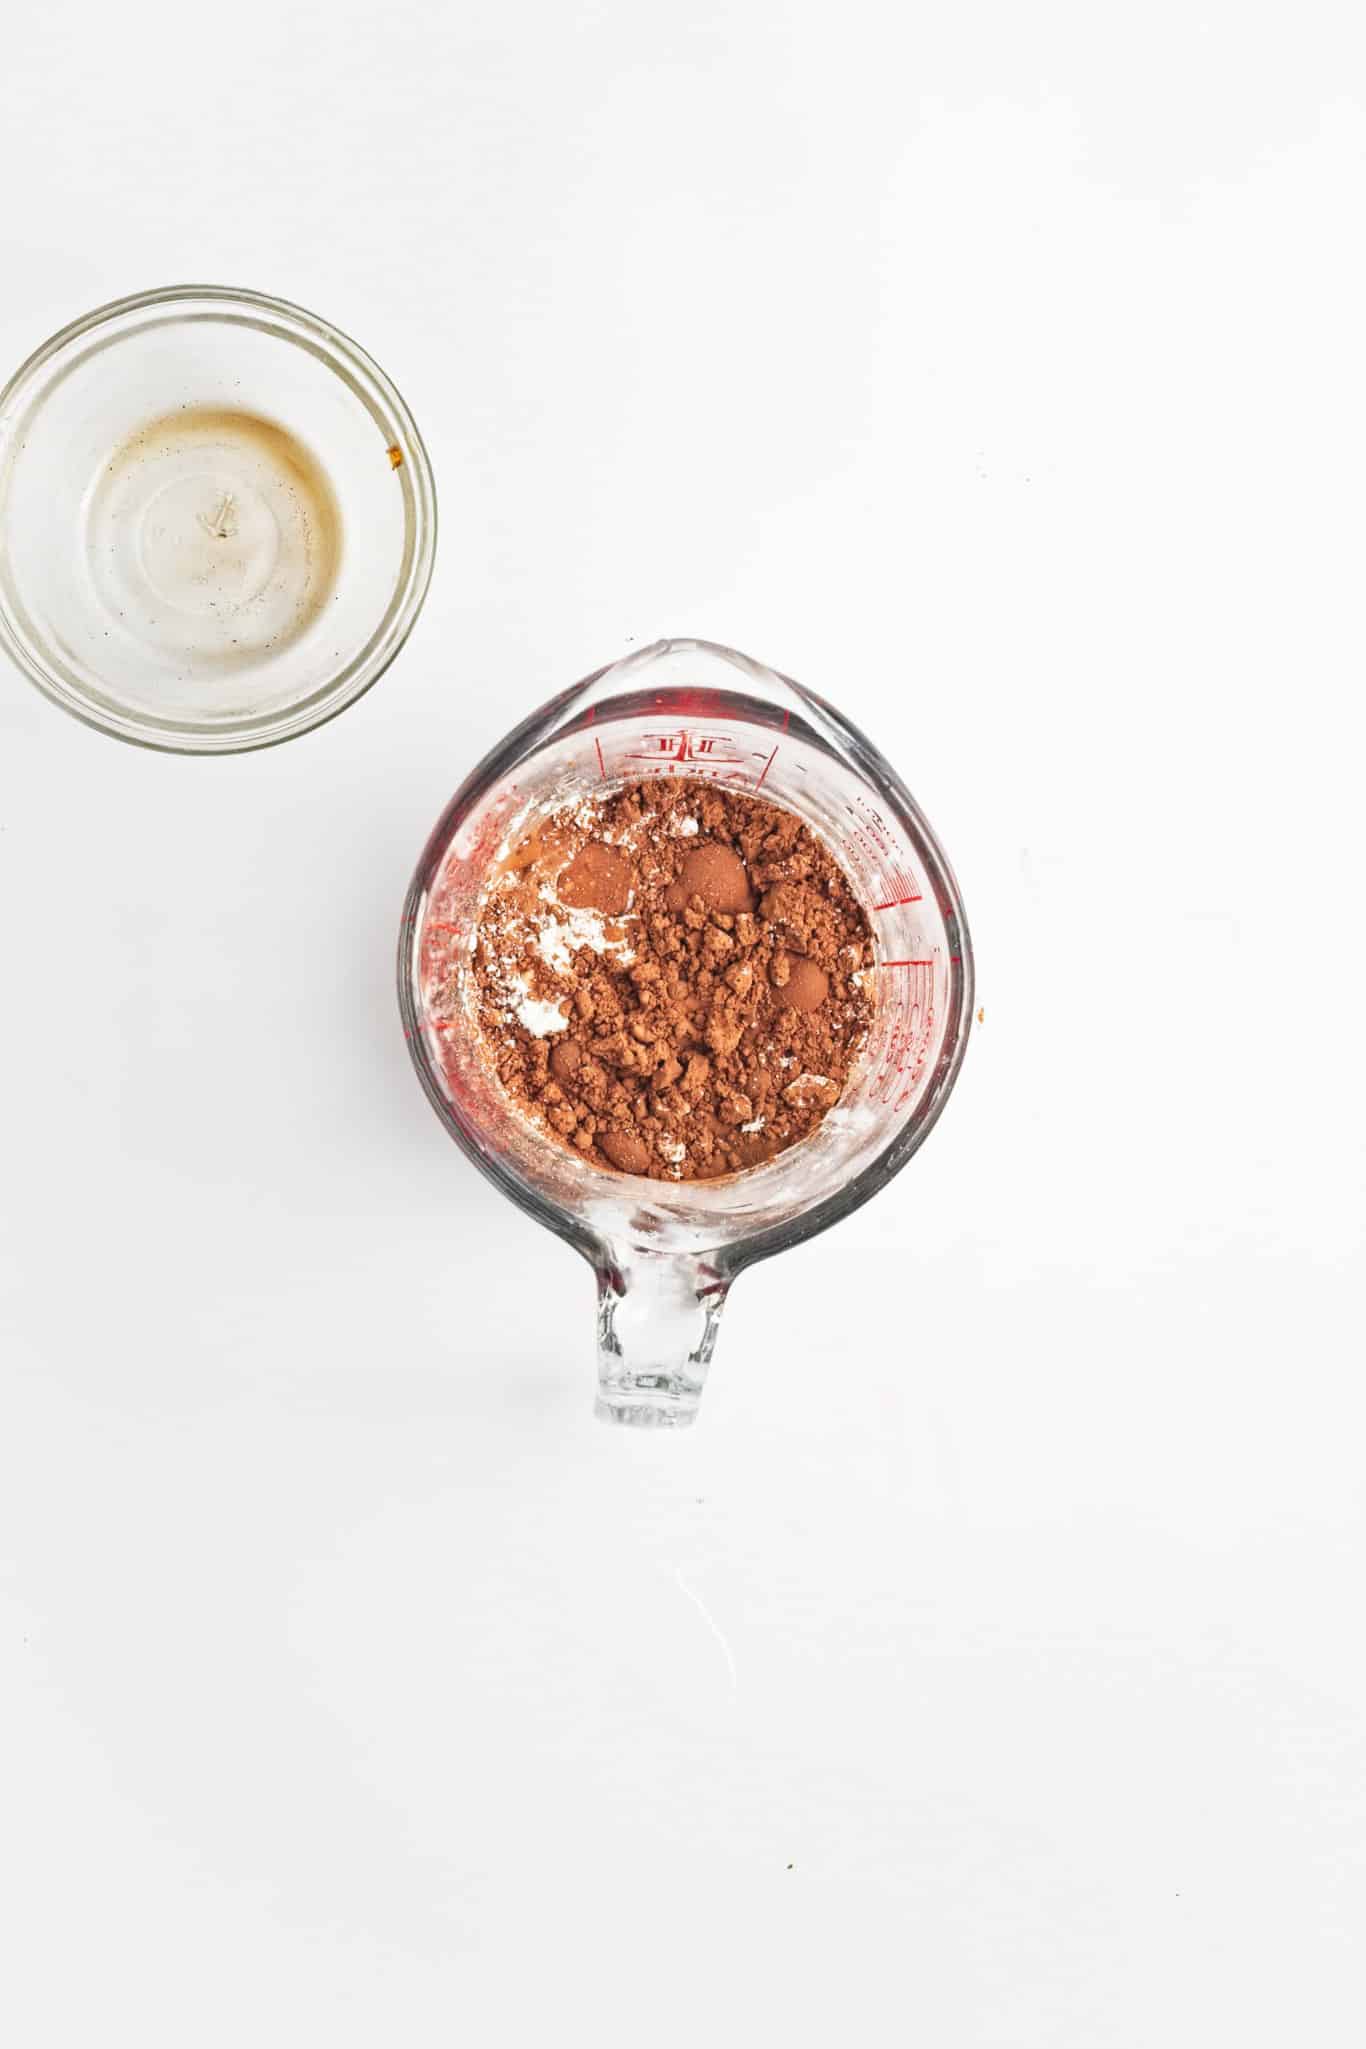
- Combine with coffee: Slowly stir in the coffee* to form a smooth paste.
- Gradually whisk this paste into the warm coconut milk mixture until fully blended. Lower the heat to maintain a gentle warmth.
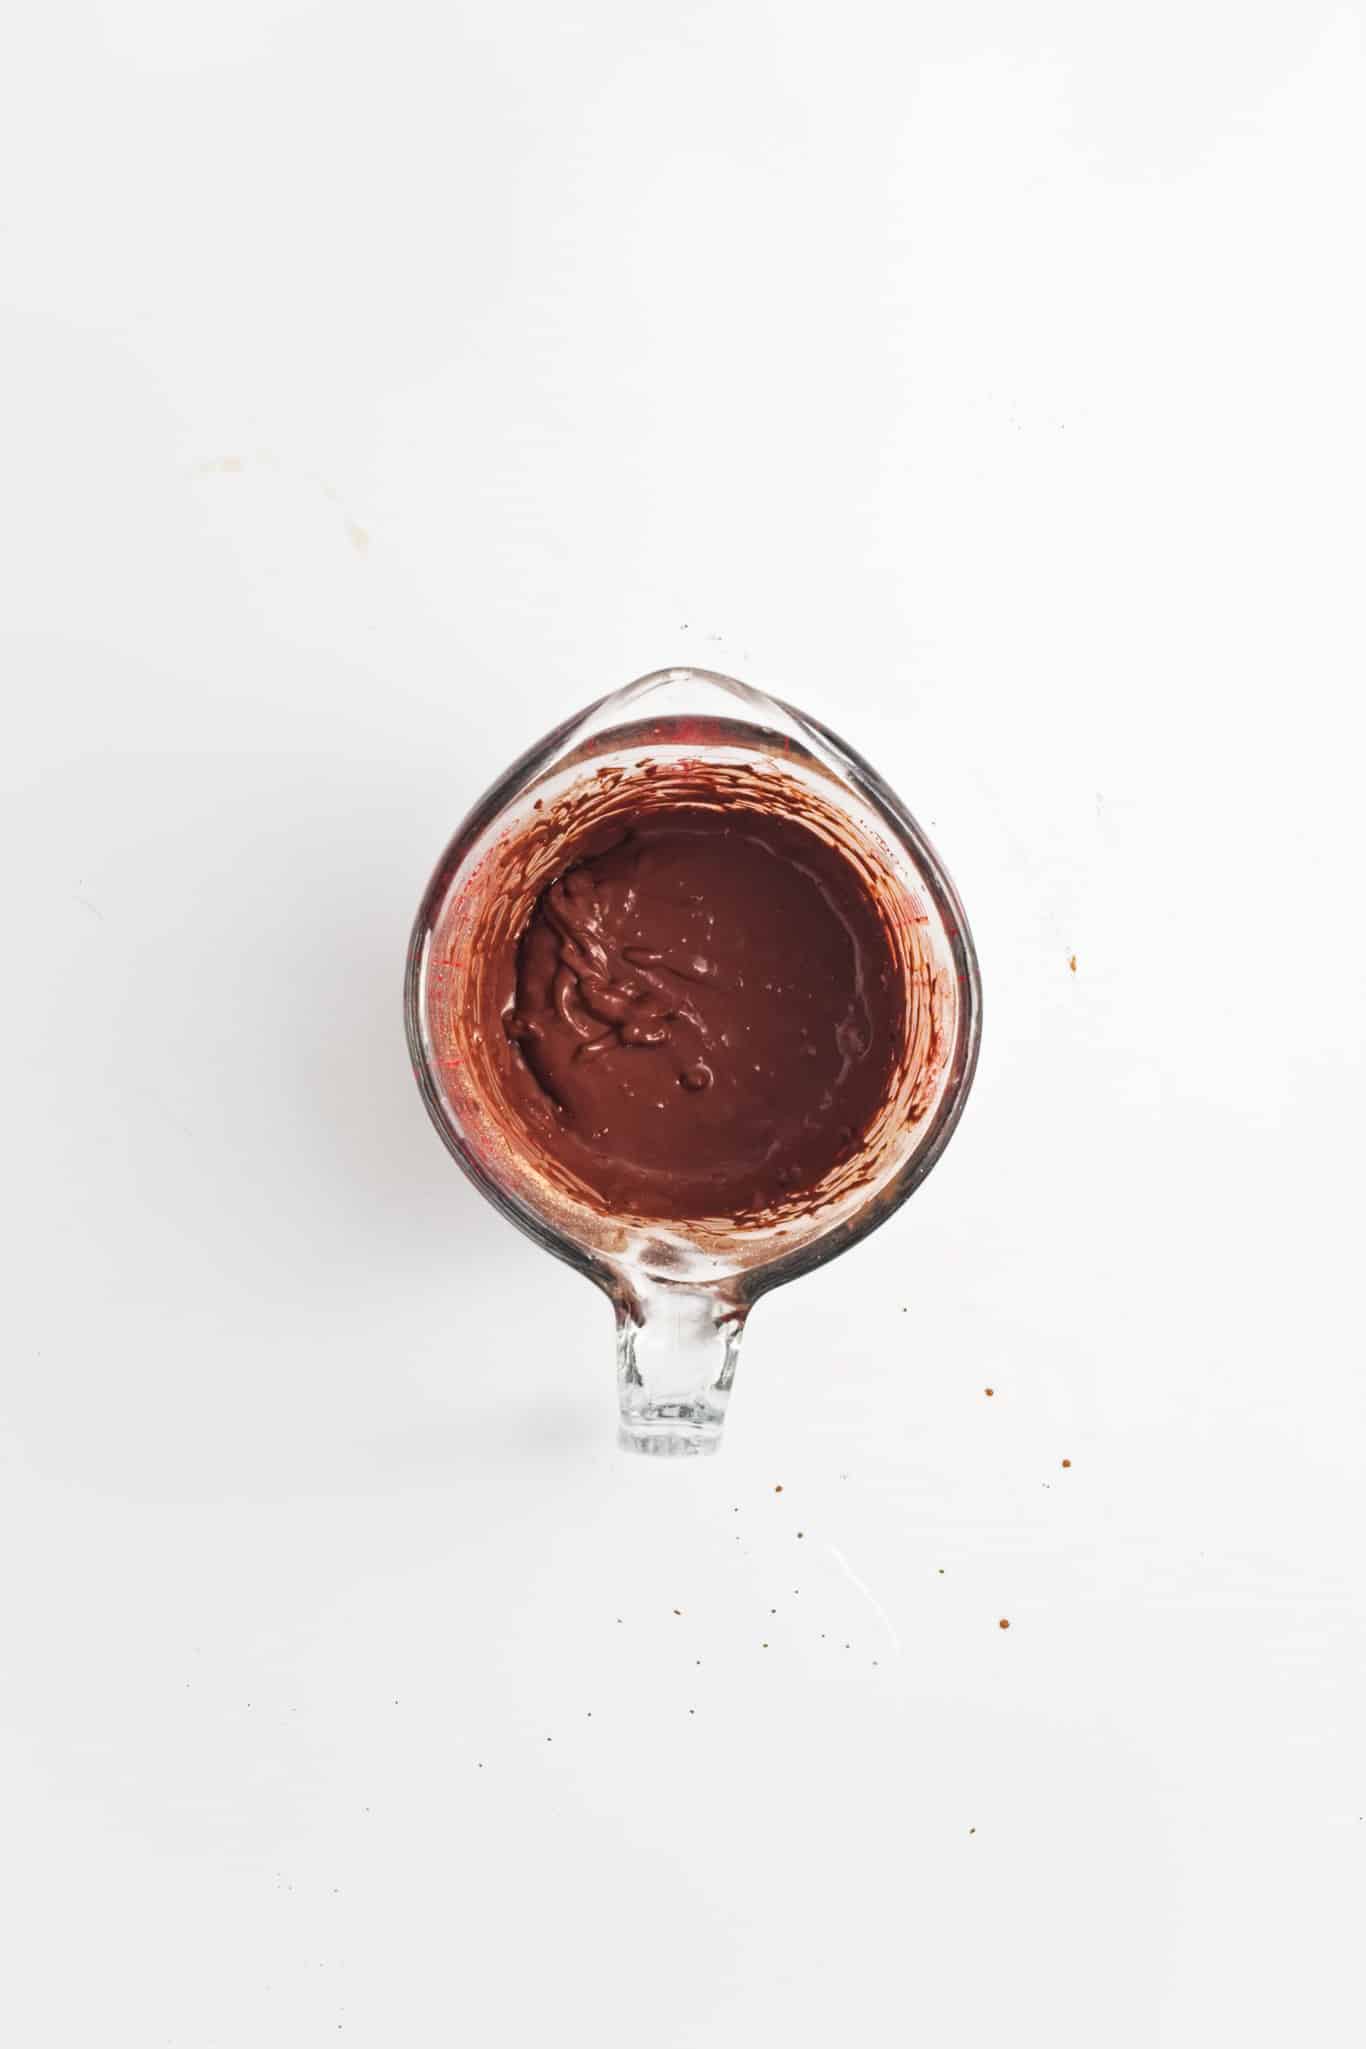
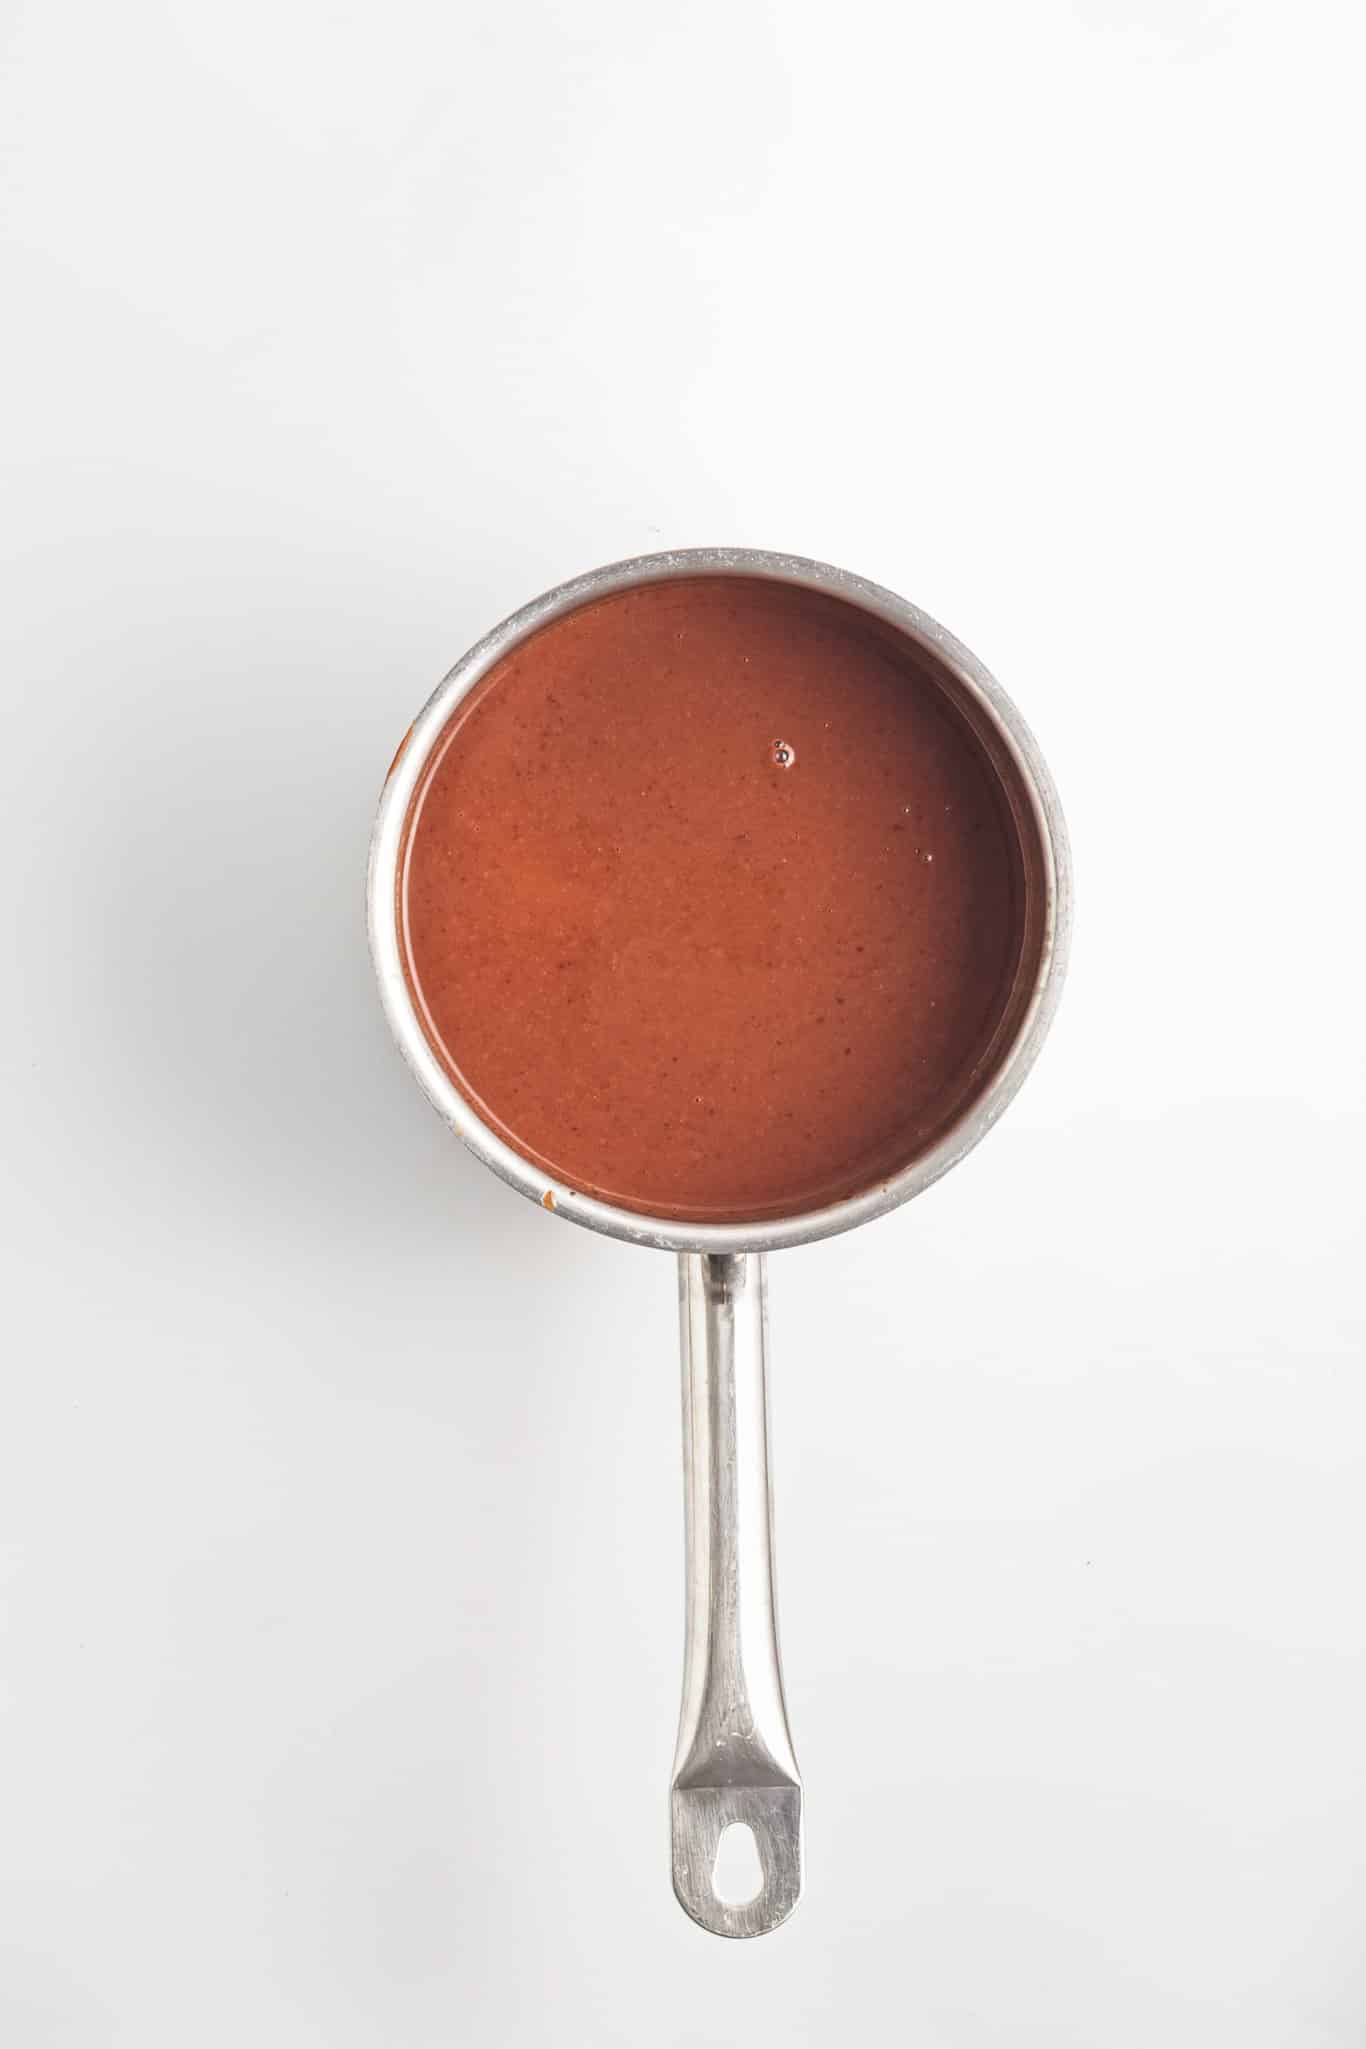
- Melt the chocolate: Add the finely chopped chocolate and vanilla extract to the saucepan. Whisk until the chocolate is completely melted and the mixture becomes smooth and glossy. Continue stirring constantly as it cooks, allowing it to thicken slightly. Remove from heat.
- Fill the molds: Pour the mixture into popsicle molds. For an ultra-smooth result, strain the liquid through a fine-mesh sieve before filling.
- Add the sticks: If your molds have a lid, secure it before inserting the popsicle sticks, leaving about 1 inch of the stick exposed. If there's no lid, cover the molds tightly with plastic wrap or aluminum foil to keep the sticks in place.

- Freeze: Place the molds in the freezer and let them set for at least 6 hours, or until fully frozen.
- Serve: Carefully remove the fudgesicles from the molds. If using a metal or plastic mold, it can help to dip the tips in hot water for 10 seconds and then remove.
- Store: Keep the popsicles frozen in plastic bags or tightly wrapped in plastic for up to 1 month.
Notes
*If using coffee liqueur (see extra notes), reserve 4 tbsp/60ml of coconut milk to create the paste and add the coffee liqueur just before molding.
Recipe Notes:
- Taste/Texture: These fudgesicles are intensely chocolatey with both cocoa powder and melted dark chocolate and you can't tell they are vegan. They are perfect for a cool dessert or snack with limited sugar but a big punch of flavour. The addition of vanilla and coffee help balance out the coconut milk for a treat that is smooth and creamy but not tropical. You can even add coffee liqueur for a slightly boozy version.
- Coffee: Coffee is a flavor enhancer for chocolate, creating a richness to it to balance out the flavor of coconut milk. This is also why vanilla and salt are added - they will help boost the chocolate flavor rather than detract from it. For a slightly boozy popsicle, add coffee liqueur in place of the coffee after the mixture has been removed from the heat.
- Full fat coconut milk: For the creamiest fudgesicles, use full fat coconut milk because it will help prevent forming ice crystals in the mixture. Low-fat coconut milk or other non-dairy milks will create icier popsicles.
- Cornstarch: Using a small amount of cornstarch helps suspend the fat evenly throughout the mixture so that the popsicle doesn't separate during freezing. For a corn free version, use arrowroot powder.
Nutrition (Estimate per Serving)
Calories: 234kcalCarbohydrates: 15gProtein: 3gFat: 20gSaturated Fat: 16gPolyunsaturated Fat: 0.3gMonounsaturated Fat: 2gTrans Fat: 0.003gCholesterol: 0.3mgSodium: 13mgPotassium: 275mgFiber: 2gSugar: 8gVitamin A: 4IUVitamin C: 1mgCalcium: 28mgIron: 4mg
Vegan-ize any recipe!Grab our free vegan cheat sheet, packed with my favorite easy substitutions to make any recipe vegan.
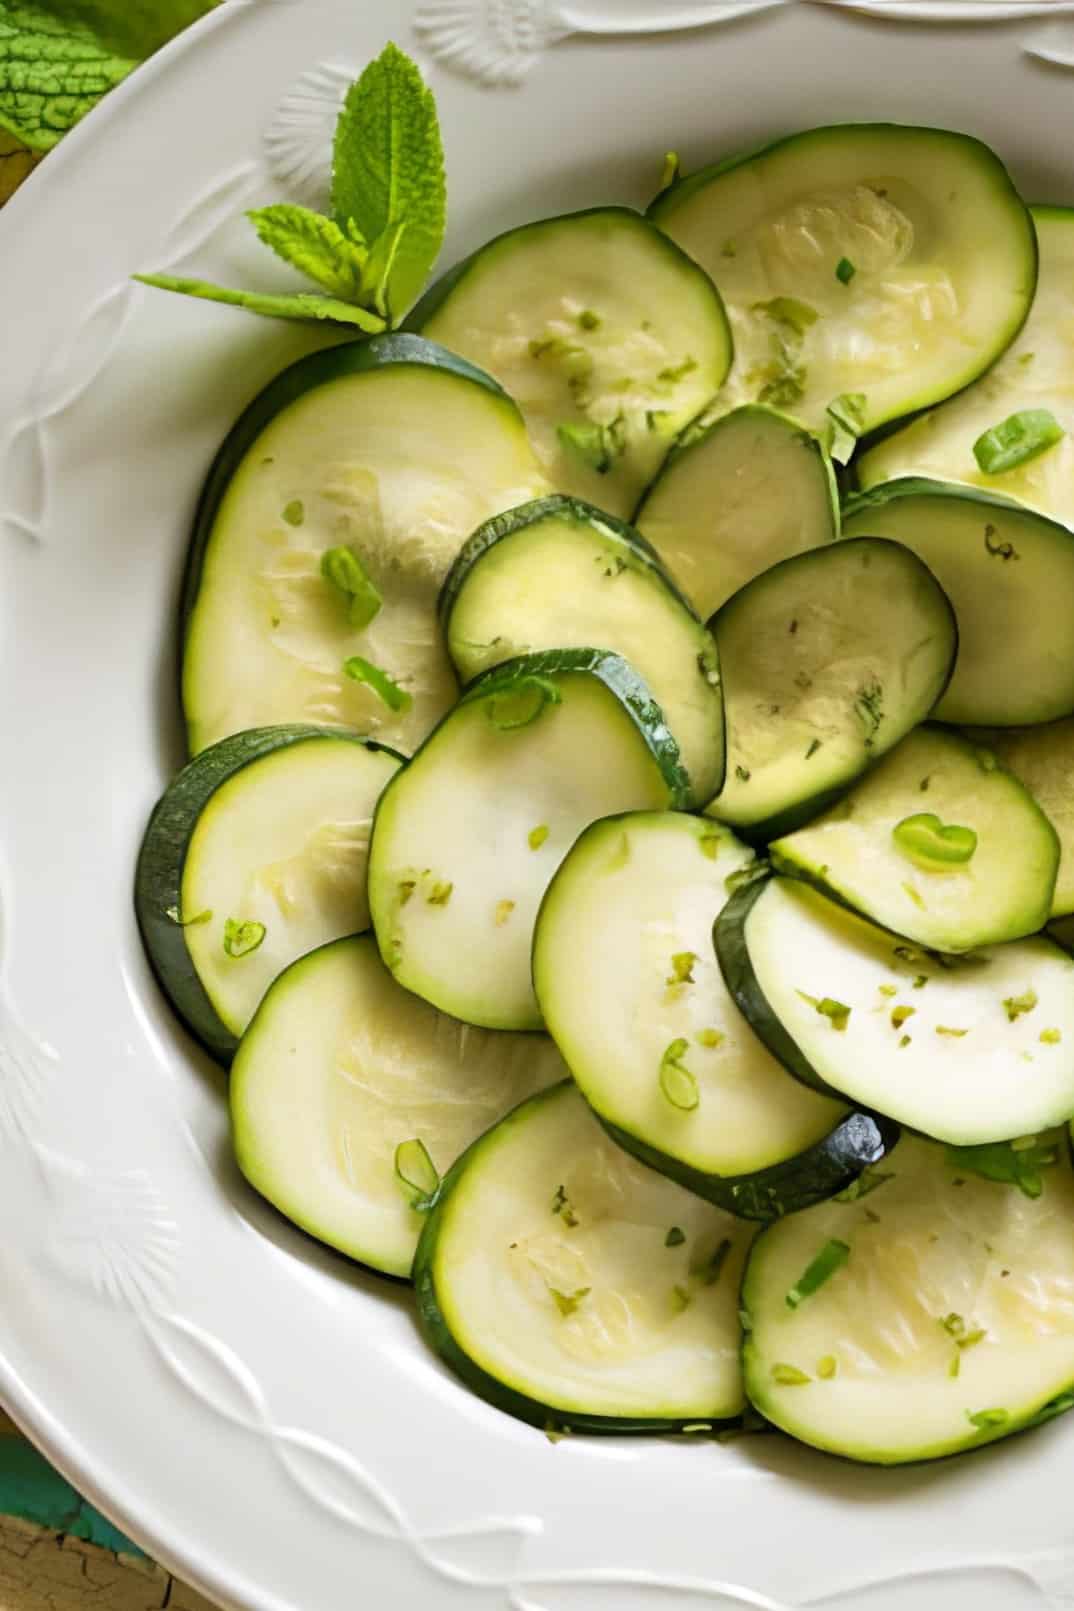
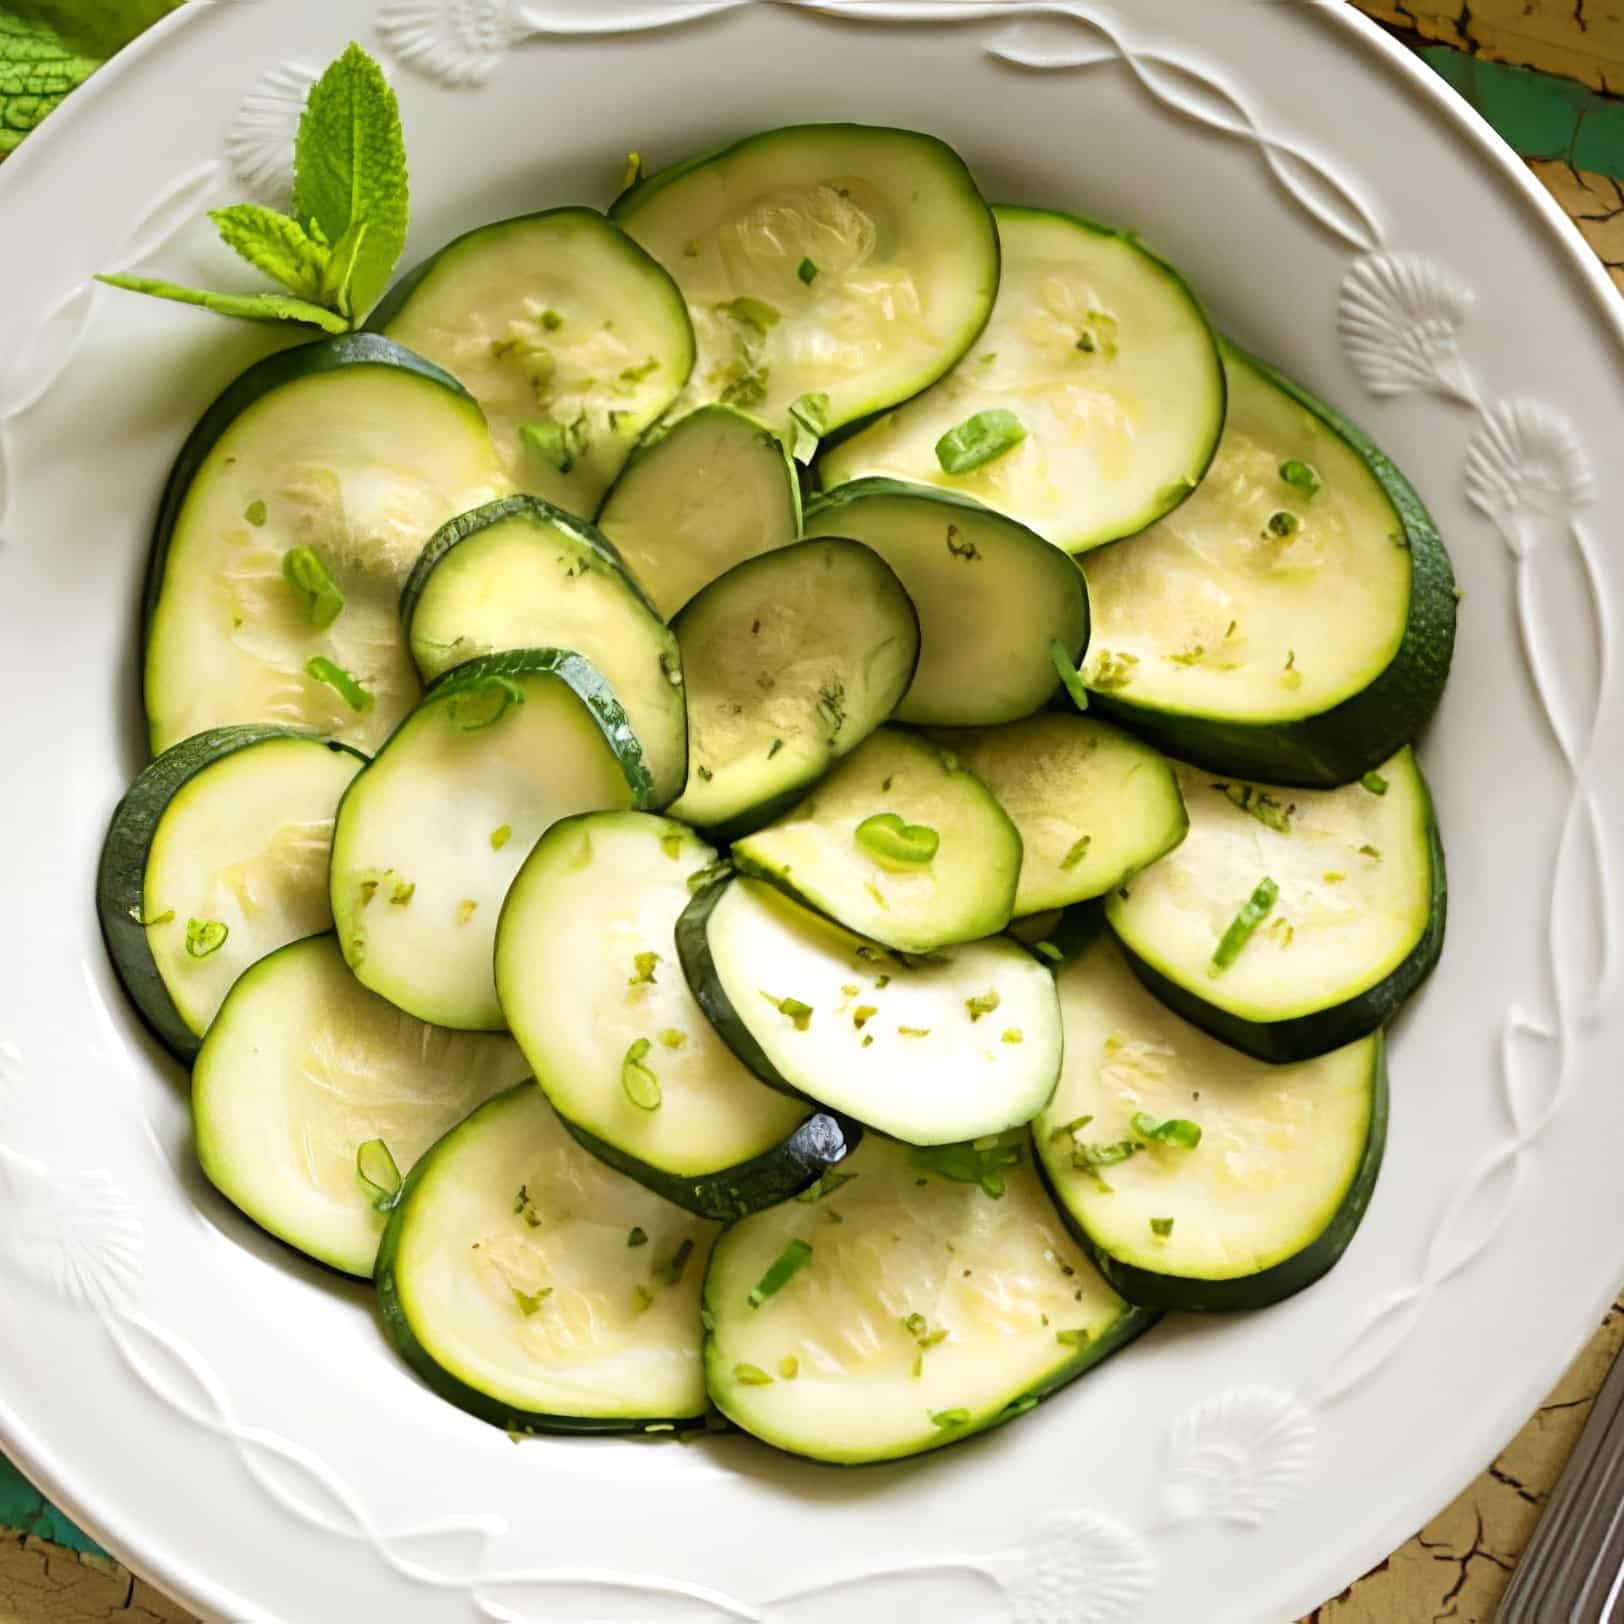
Zucchini with Mint
This simple yet flavorful dish combines tender zucchini with the bright freshness of mint, making it a perfect side for warm-weather meals. Inspired by a Sicilian classic, it's an ideal way to enjoy the abundance of late summer produce.
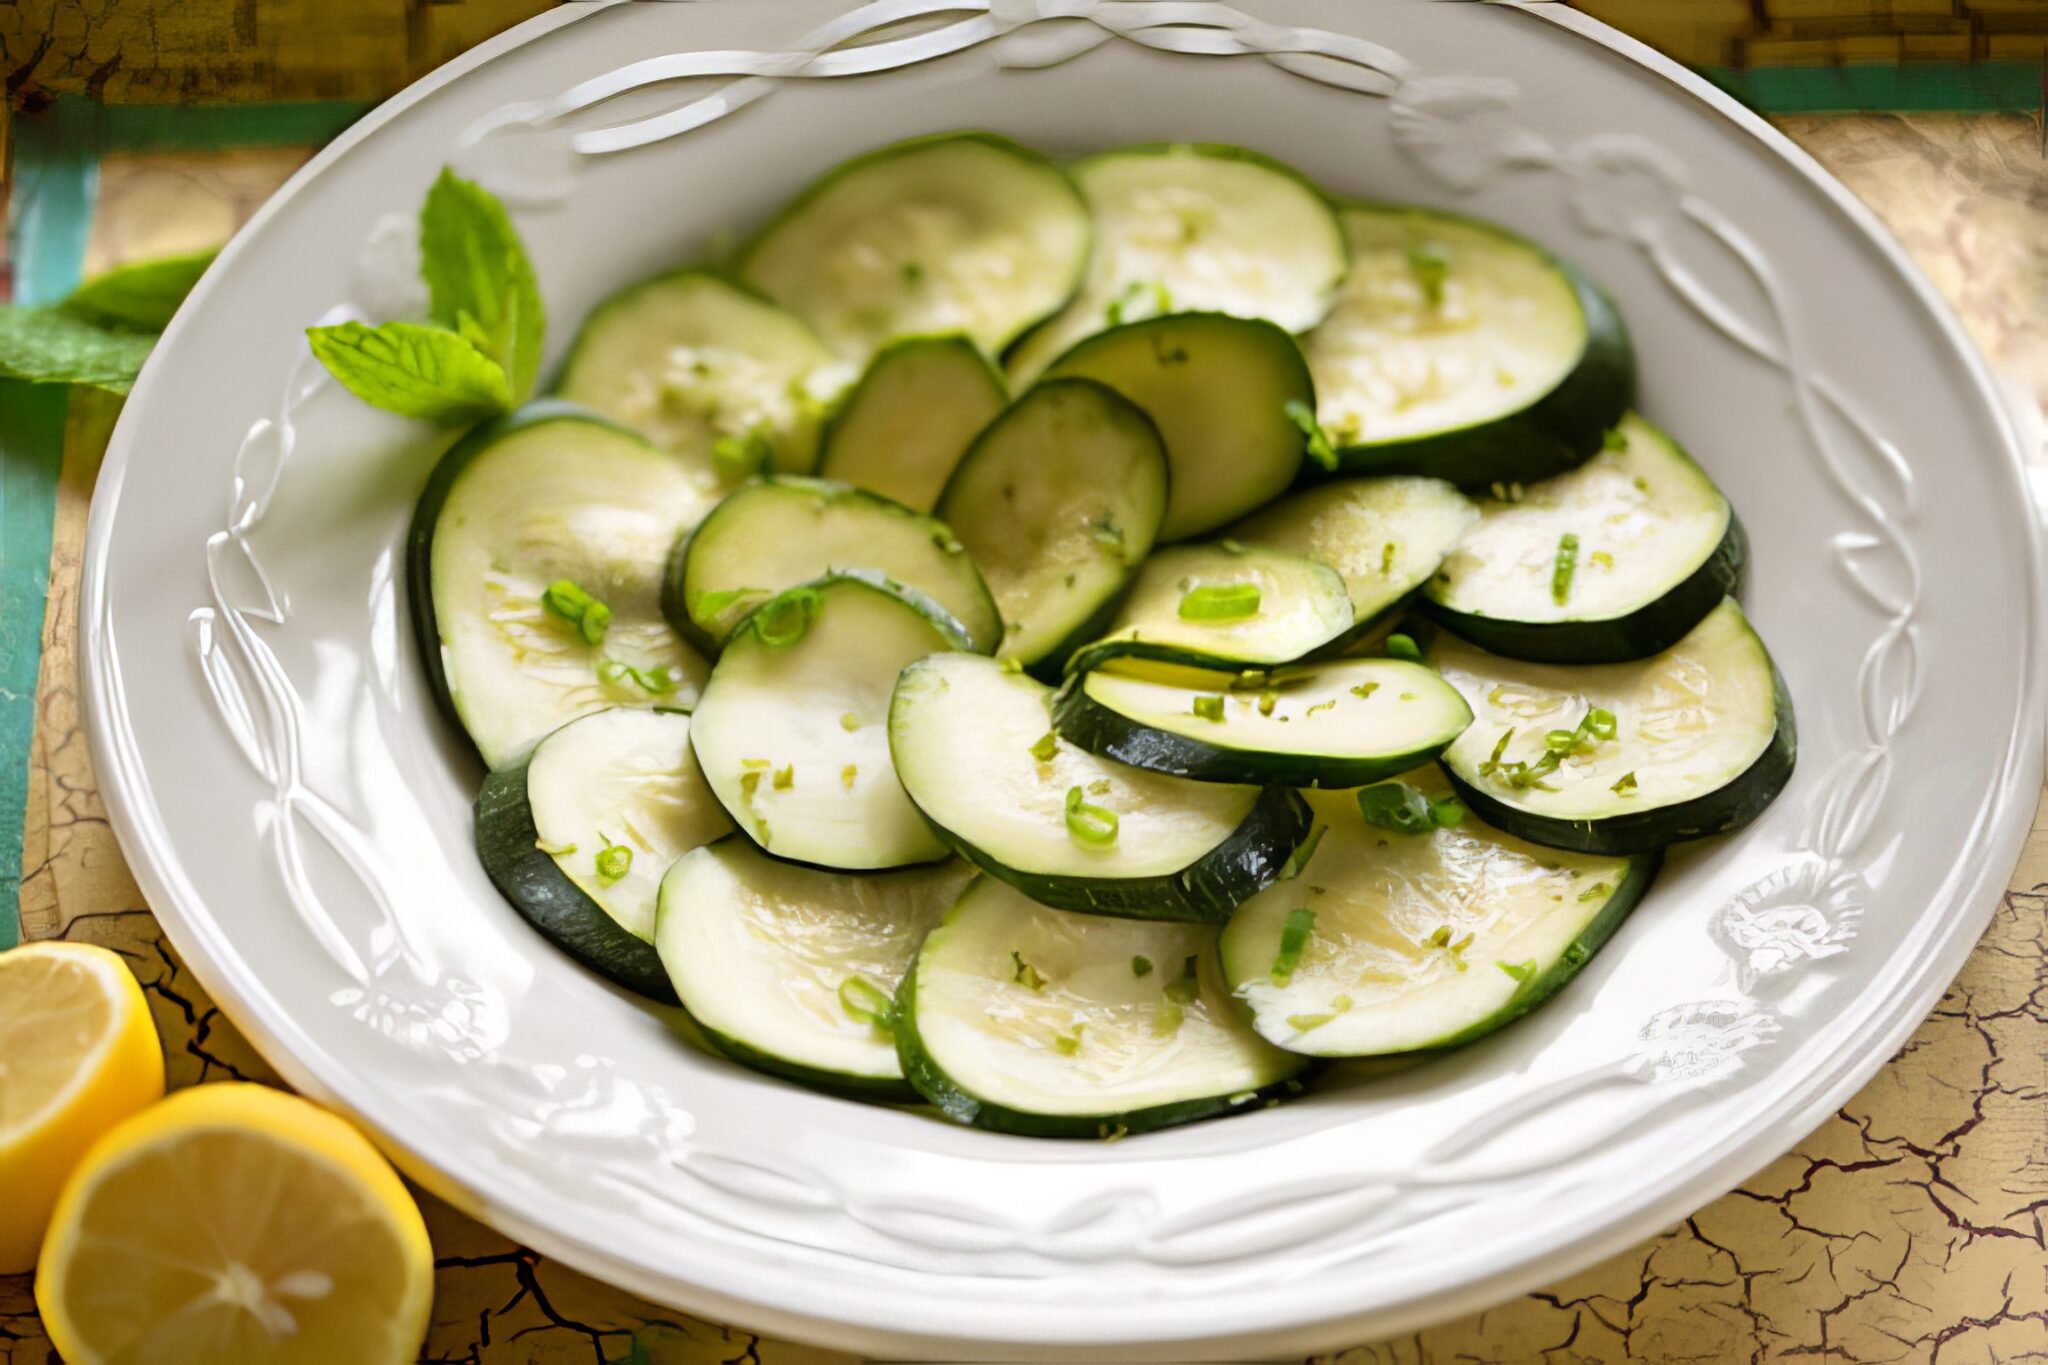
You know those summer days when zucchini seems to multiply overnight, and you're running out of ideas for what to do with it? Enter this easy recipe - a dish so simple and refreshing, it feels like a little culinary magic.
With crisp zucchini ribbons, a zing of lemon, and the cooling burst of fresh mint, this recipe is proof that less is more. It's the perfect sidekick for lazy summer dinners, impromptu picnics, or anytime you're craving something light and bright.
This Zucchini with Mint Is...
- Quick and Easy: Prepped and ready in just a few minutes, with an hour of chilling time to let the flavors meld.
- Healthy and Light: Low in calories and packed with fresh ingredients.
- Vegan and Gluten-Free: Suitable for various dietary preferences.
- Versatile: Works as a side dish, a salad, or even a light appetizer.
- Flavorful: The combination of lemon, mint, and a touch of sweetness brings out the best in zucchini.
Variations to Explore
Zucchini Ribbons: Use a vegetable peeler or mandoline slicer to create thin ribbons for a different texture and appearance.
Grilled Zucchini: Lightly grill the zucchini slices before tossing with the dressing for a nice smoky flavor.
Additional Herbs: Incorporate fresh dill or cilantro for extra flavor.
Nutty Crunch: Sprinkle toasted pine nuts or slivered almonds on top for extra texture and richness.
Cheesy Touch: Add crumbled vegan feta for a tangy twist.
More Vegan Recipes
If you love this simple zucchini recipe, be sure to check out these other delicious ideas:
Recipe
Fresh Zucchini with Mint
This simple Sicilian dish combines tender zucchini with the bright freshness of mint.
Print
Pin
Save
Servings:
Ingredients
- 2 medium zucchinis 1 to 1½ pounds total, thinly sliced (about ⅛-inch thick)
- 2 scallions thinly sliced
- juice of 1 lemon
- 1 tablespoon agave nectar adjust to taste, can substitute maple syrup
- salt and freshly ground black pepper to taste
- ¼ cup fresh mint leaves chopped, can add more to taste
Instructions
- Combine Ingredients: Place zucchini slices in a mixing bowl. Add scallions, lemon juice, agave nectar (or sugar), salt, and pepper. Toss to combine.
- Chill: Cover and refrigerate for 1 hour to allow flavors to meld.
- Add Mint: Just before serving, stir in the chopped fresh mint.
- Serve: Arrange zucchini in overlapping circles for a decorative presentation, or simply serve as is. Enjoy!
Nutrition (Estimate per Serving)
Calories: 25kcalCarbohydrates: 5gProtein: 1gFat: 0.3gSaturated Fat: 0.1gPolyunsaturated Fat: 0.1gMonounsaturated Fat: 0.01gSodium: 7mgPotassium: 192mgFiber: 1gSugar: 4gVitamin A: 250IUVitamin C: 14mgCalcium: 18mgIron: 0.4mg
Vegan-ize any recipe!Grab our free vegan cheat sheet, packed with my favorite easy substitutions to make any recipe vegan.
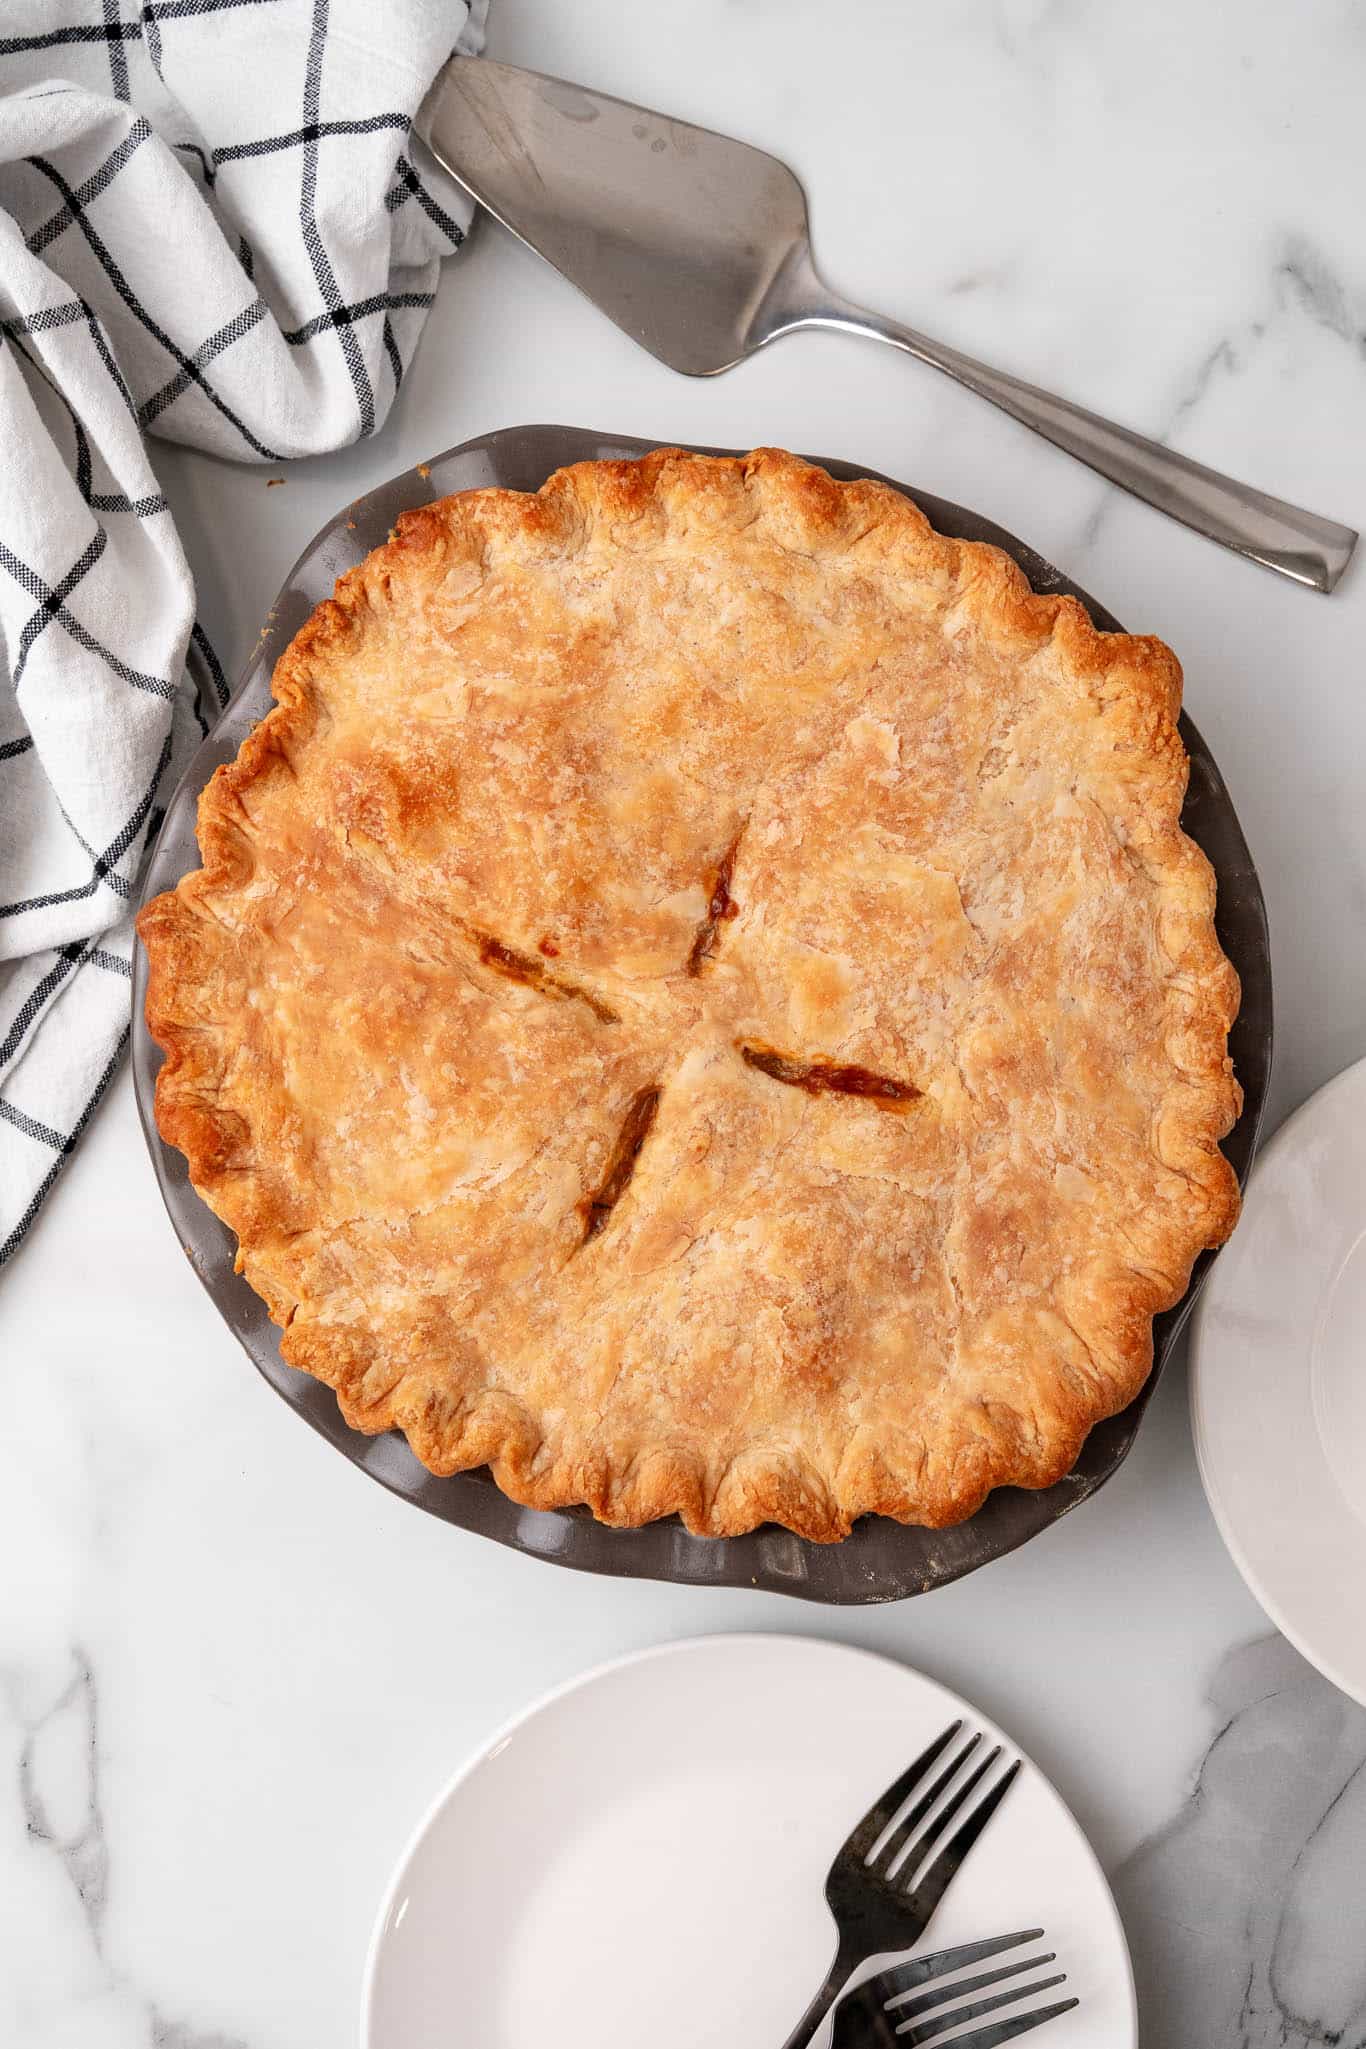
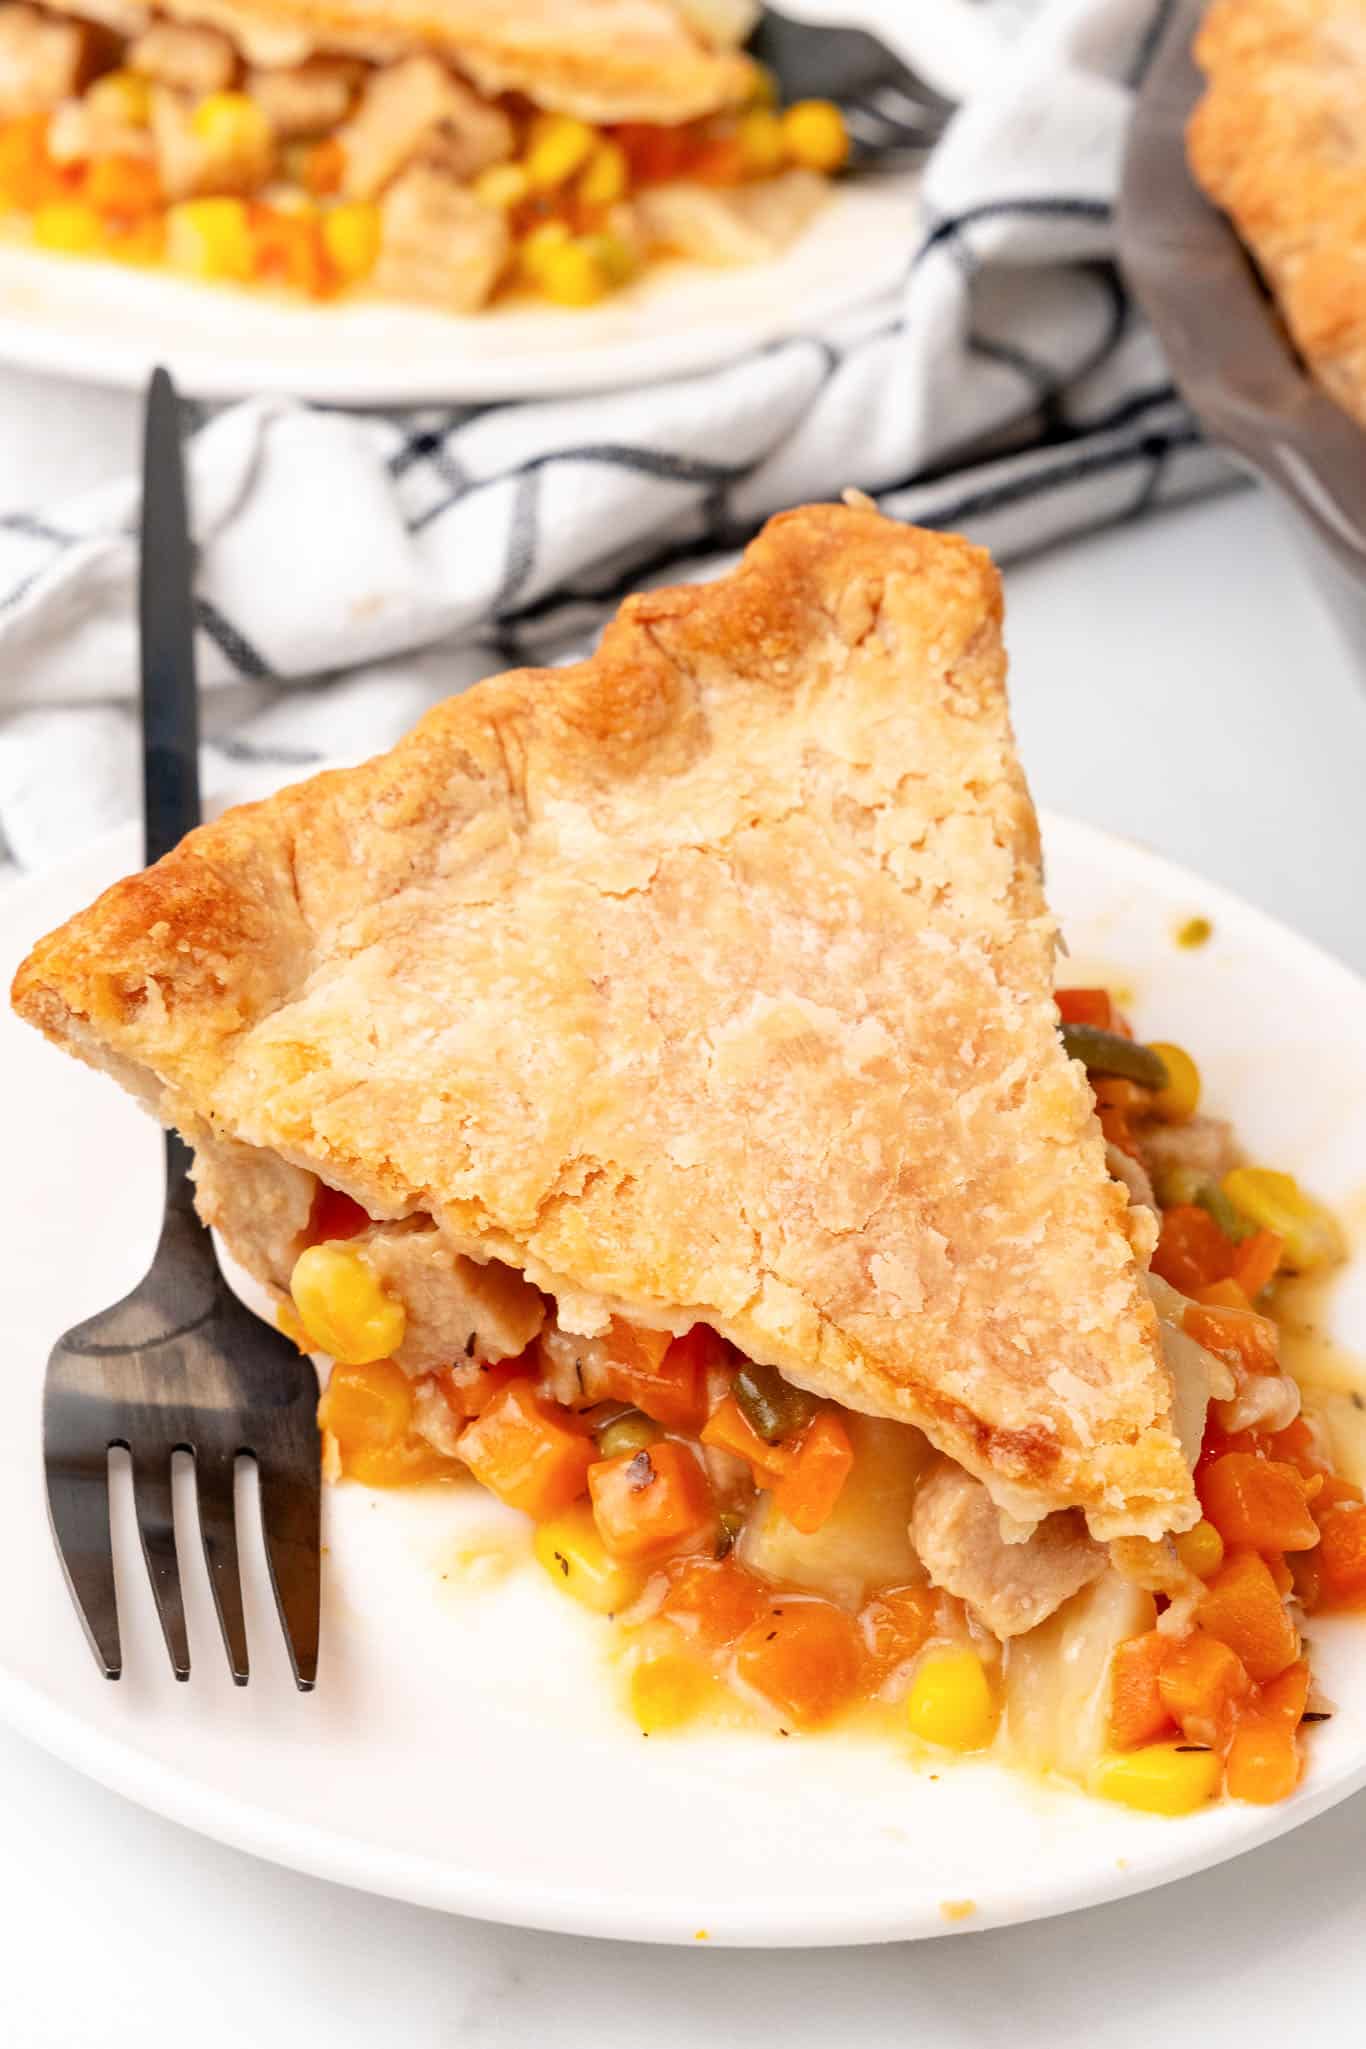
Vegan Pot Pie Casserole
Is there anything better than a homemade pot pie? A vegan one, of course! There's something about that flaky crust, savory filling, and rich aroma that makes everything feel right in the world.
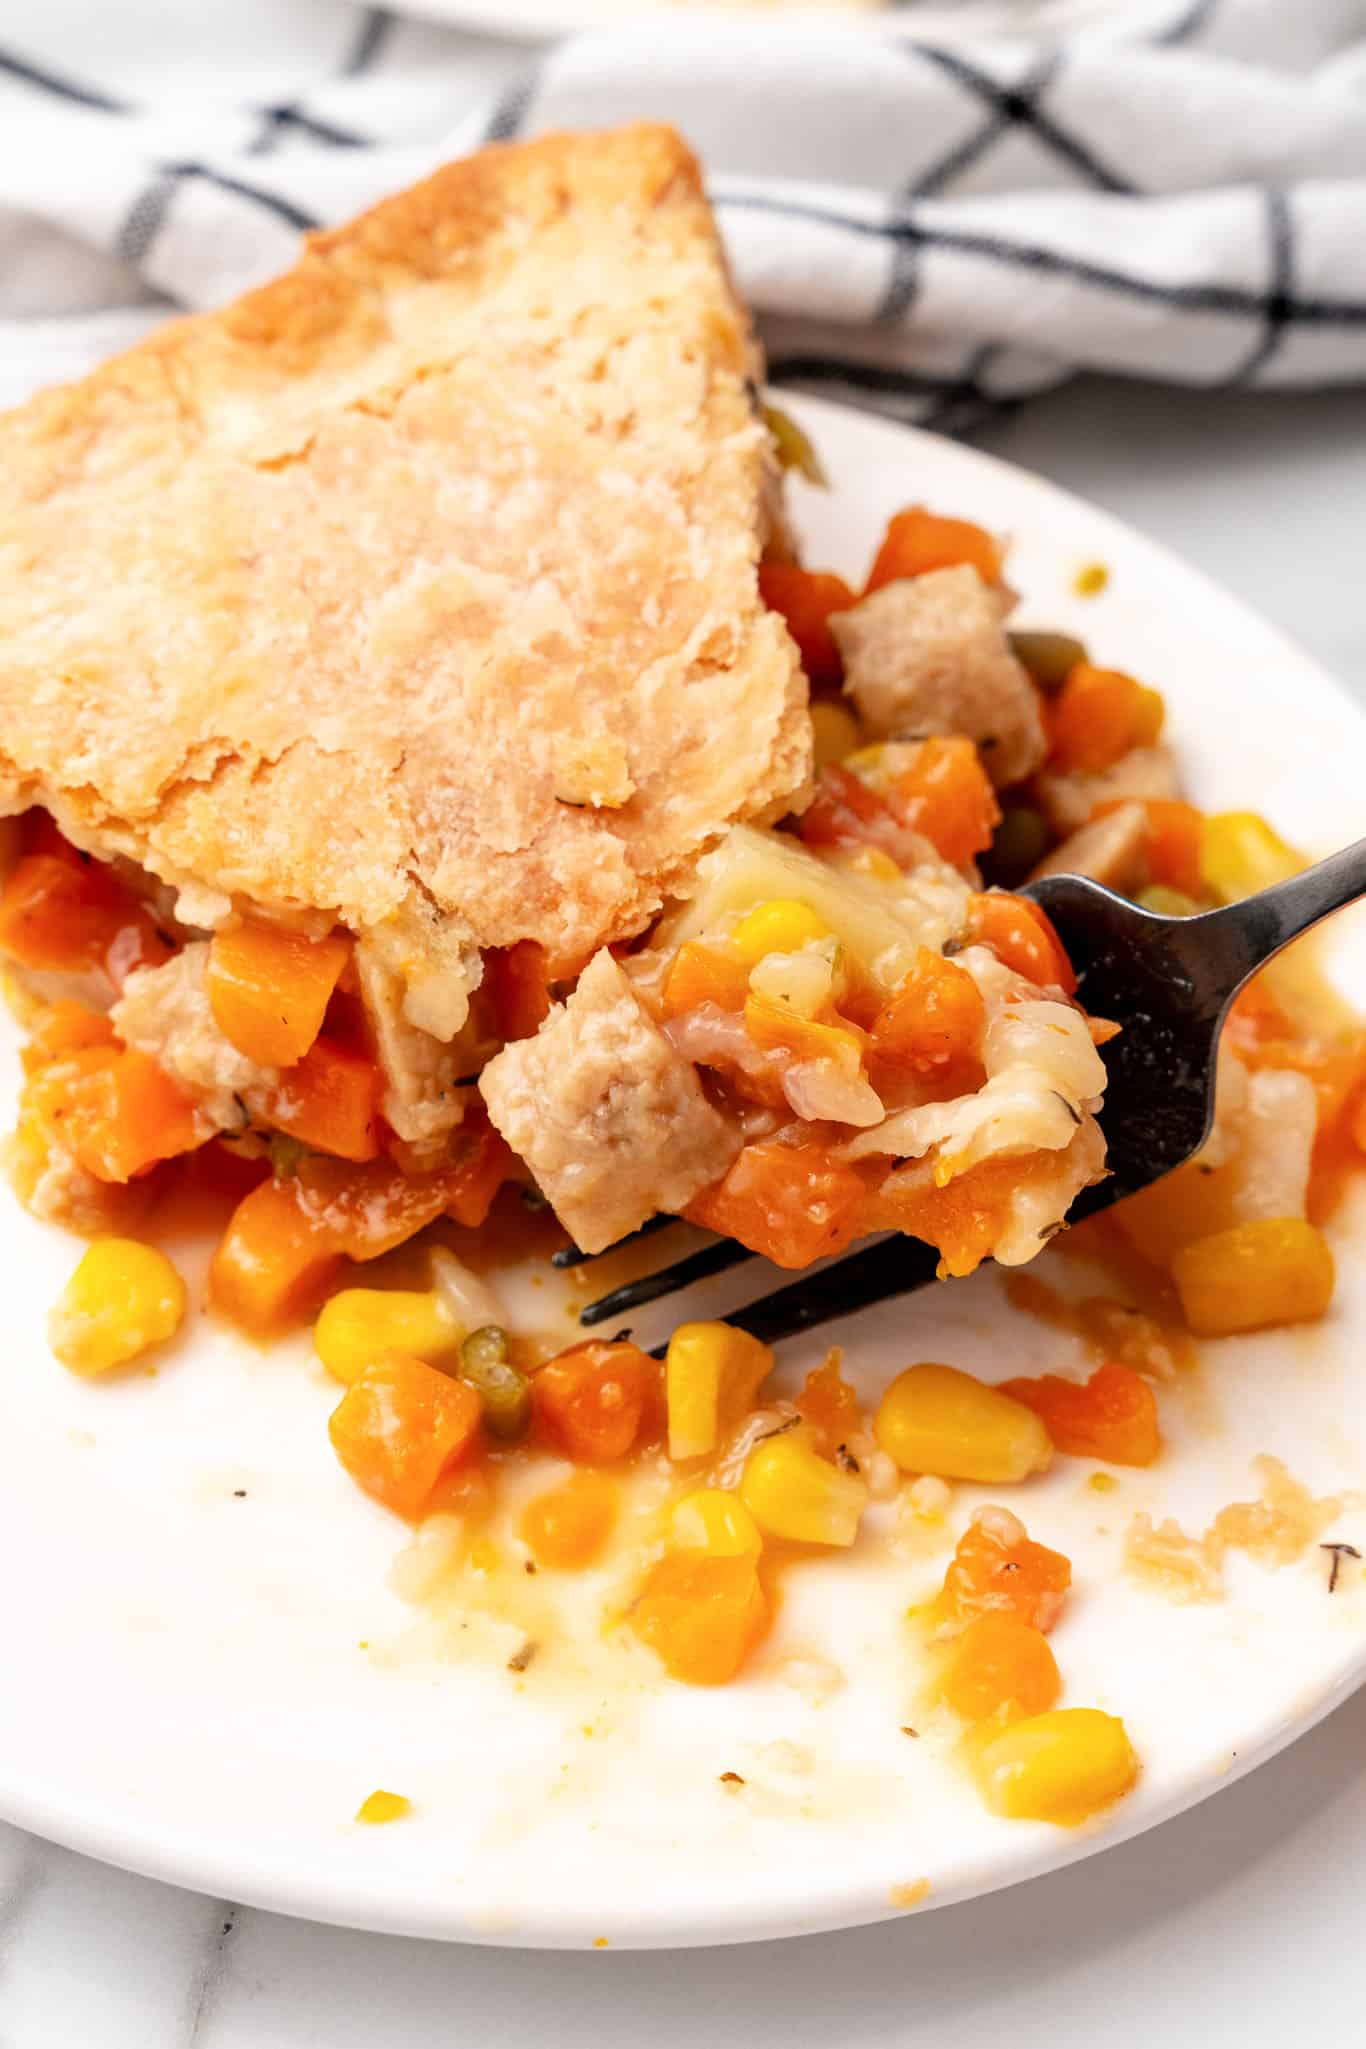
If you thought pot pie couldn't get any better, let me introduce you to this Vegan Pot Pie Casserole - a plant-based version of the classic dish that's every bit as satisfying, hearty, and delicious. It's perfect for cozy family dinners, meal prepping, or just indulging in a comforting, home-cooked meal. It's also one of my family's favorite holiday main dishes!
Plus, this comfort food is entirely plant-based, making it a feel-good dish in more ways than one. Whether you're a committed vegan or just looking to try something new, this pot pie will have you digging in for seconds.
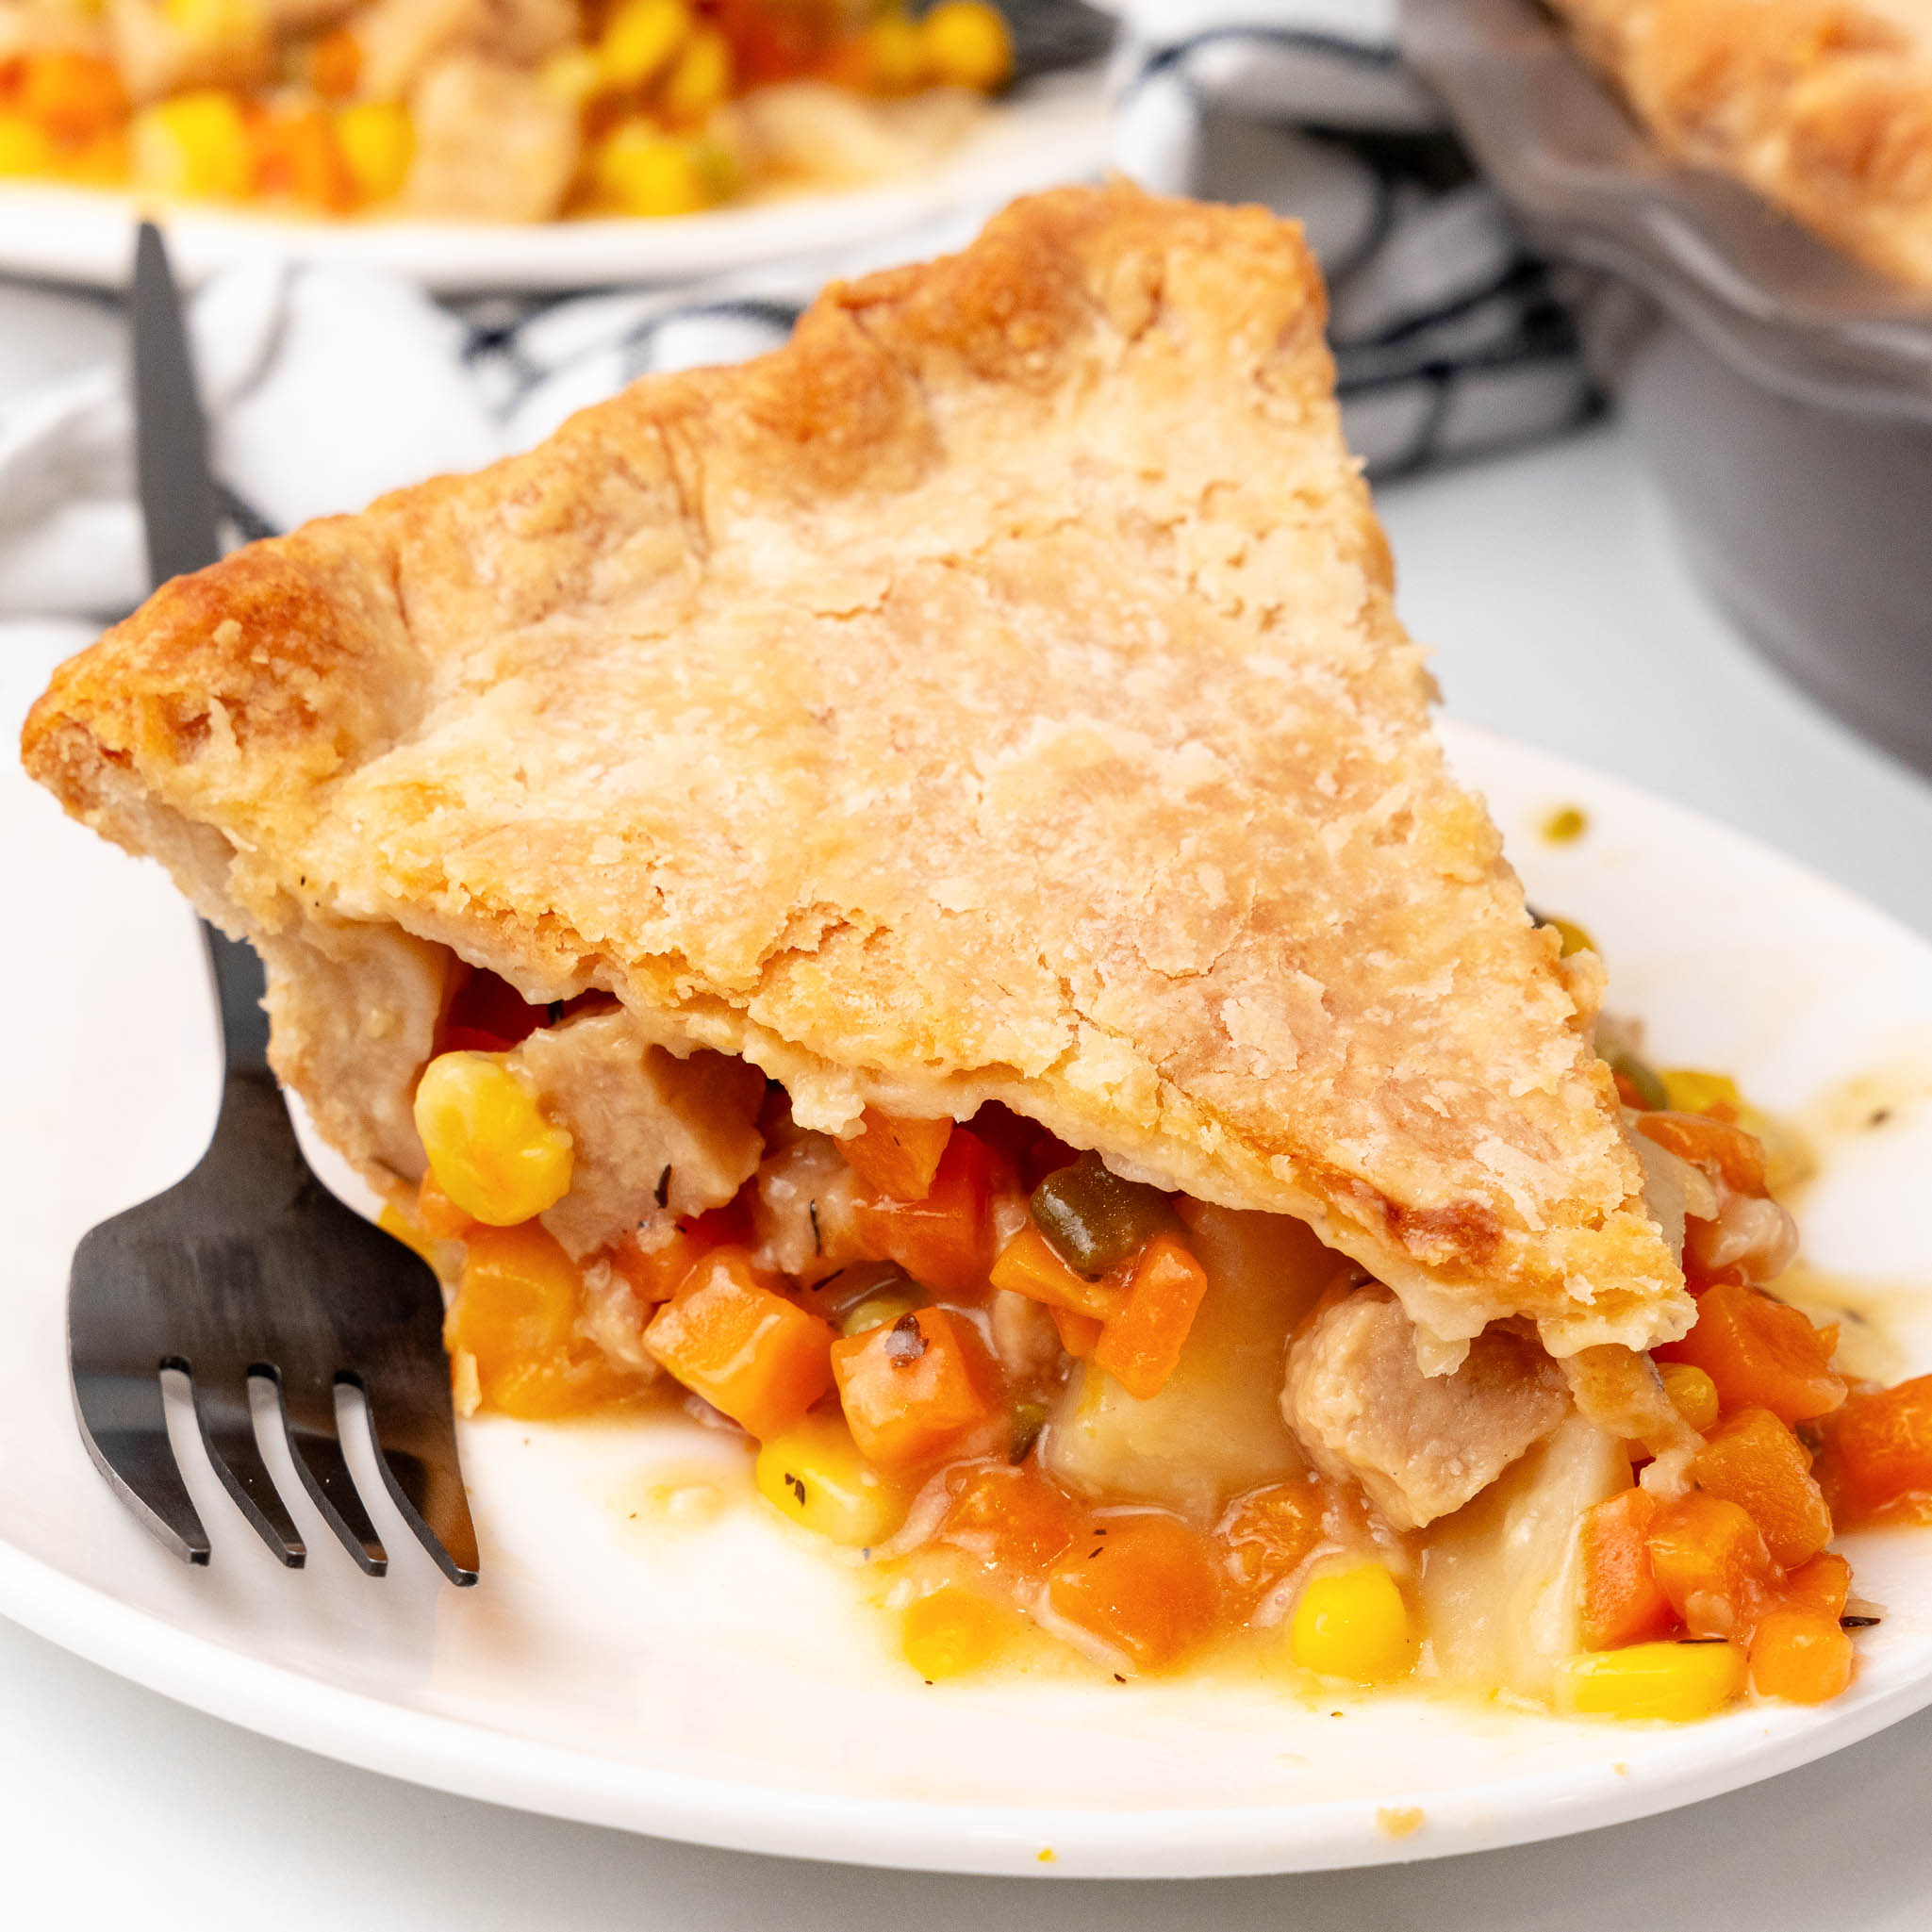
This Vegan Pot Pie Is...
- Hearty and Satisfying: Packed with vegetables and potatoes, it's a meal that fills you up and leaves you feeling content.
- Easy to Make: With simple ingredients and straightforward steps, this pot pie comes together without a fuss.
- Flaky and Golden: Thanks to the combination of vegan butter and shortening, the crust is perfectly flaky and delicious.
- Versatile: You can add or swap out veggies based on what you have or prefer.
- Perfect for Leftovers: This pie tastes even better the next day, making it ideal for meal prepping or enjoying throughout the week.
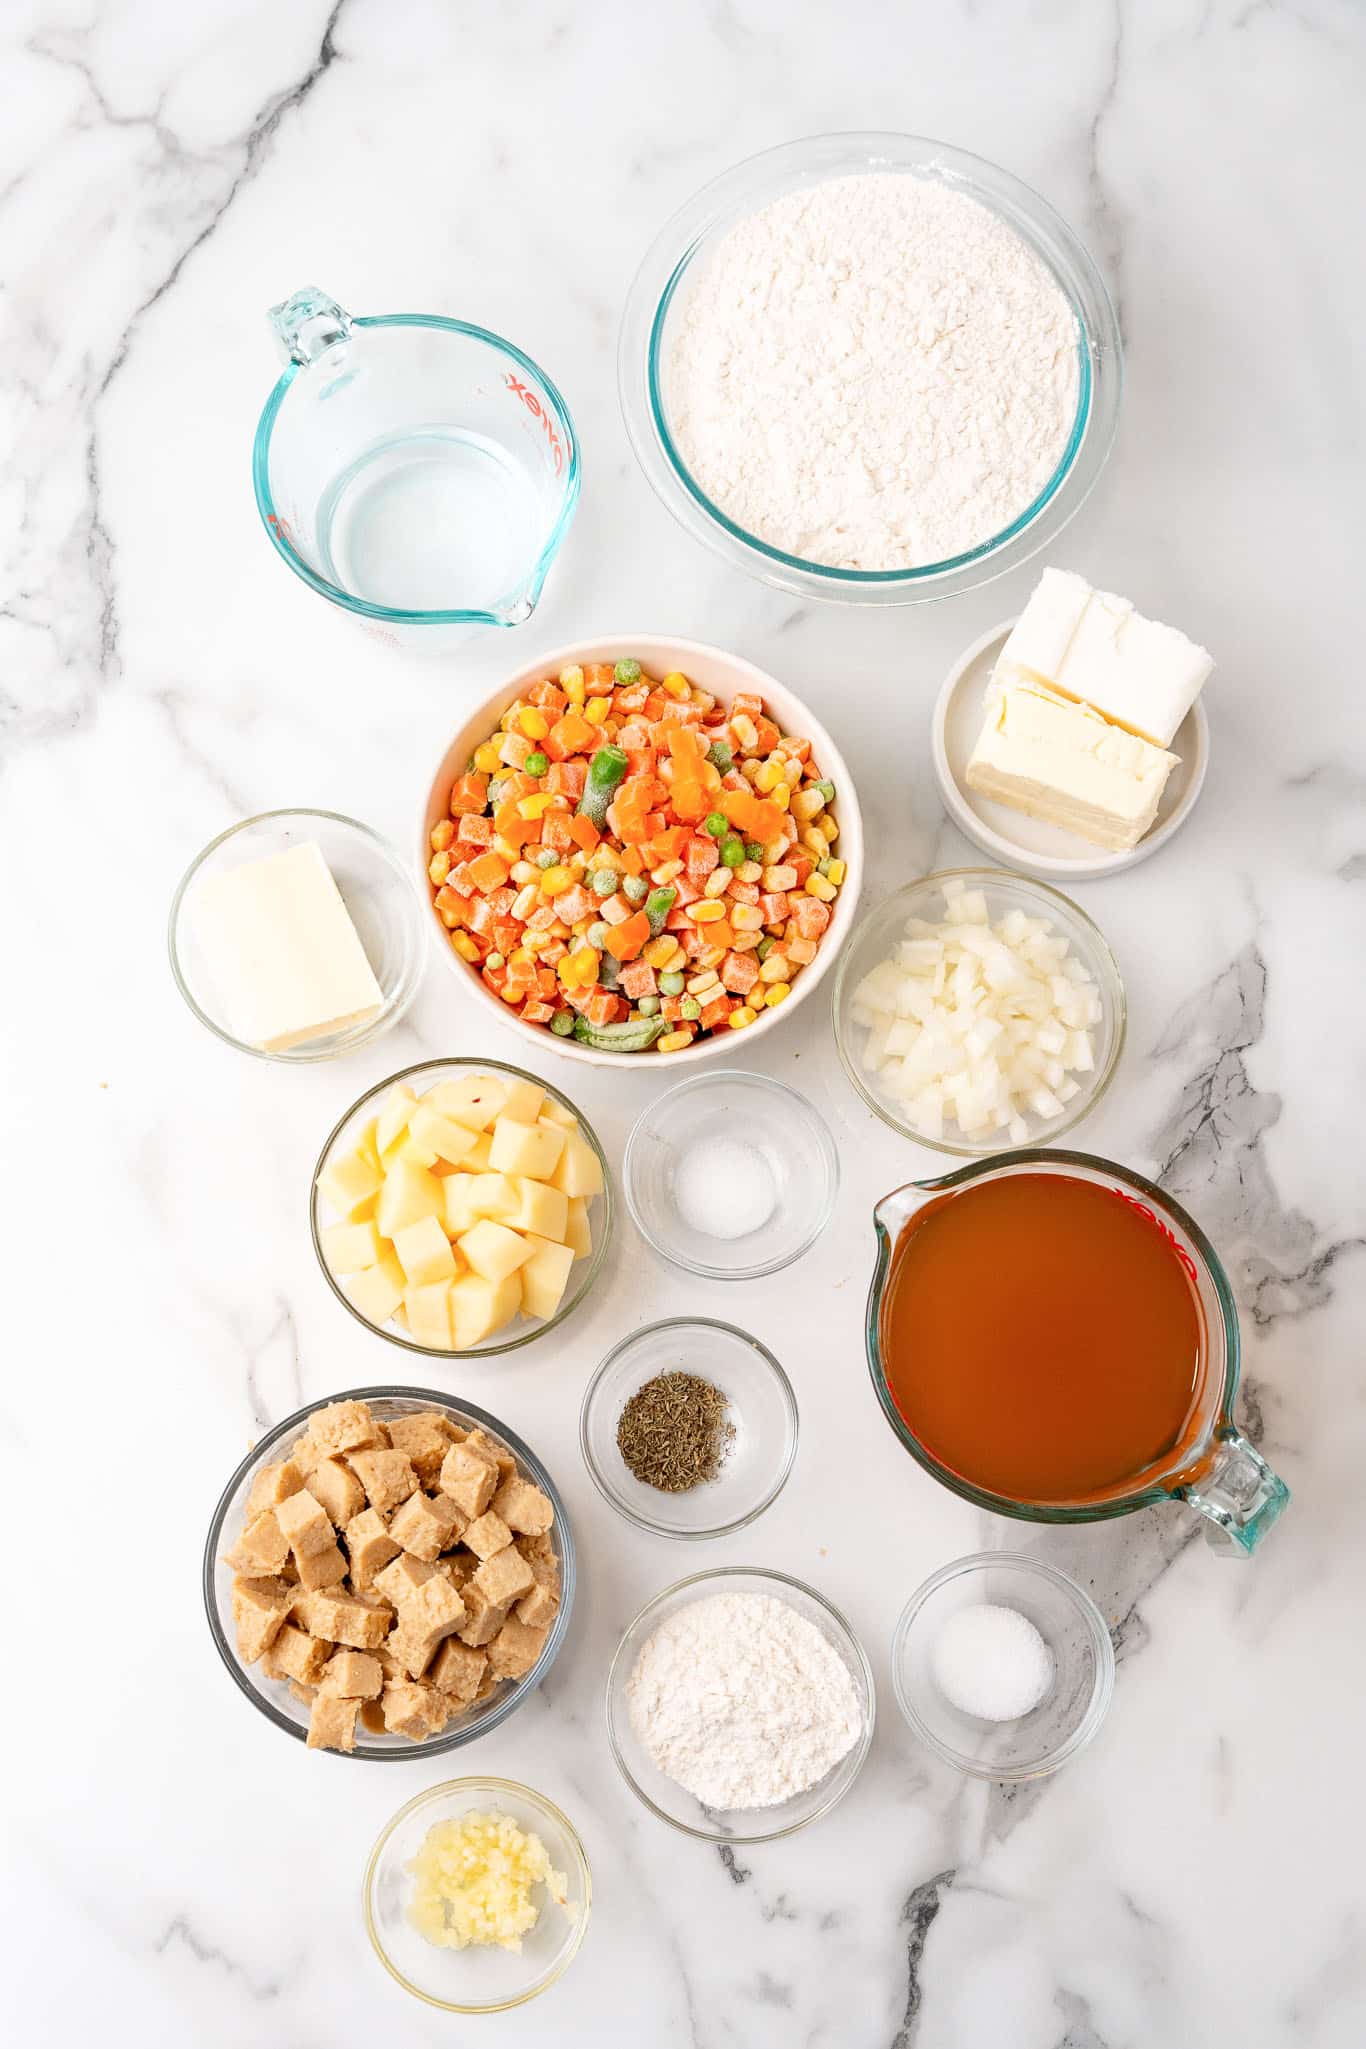
Key Ingredients & Substitutions
Flour: All-purpose flour is used for both the crust and thickening the filling. If you're looking for a gluten-free option, try using a 1:1 gluten-free flour blend.
Vegan Butter and Vegetable Shortening: These ingredients are the secret to a flaky, tender crust. Even though vegan butter and shortening are made with largely the same ingredients, the butter has more moisture, making them a bit different to work with. I'm a big fan of the Earth's Balance Buttery Sticks for a vegan butter. If you don't have shortening, you can use all vegan butter, but the combination of both gives the best texture.
Ice Water: Helps bring the dough together without making it too sticky. Make sure it's really cold to keep the fat from melting before the crust bakes.
Onion and Garlic: These aromatics add depth and flavor to the veggie filling. You can substitute shallots for a slightly sweeter taste.
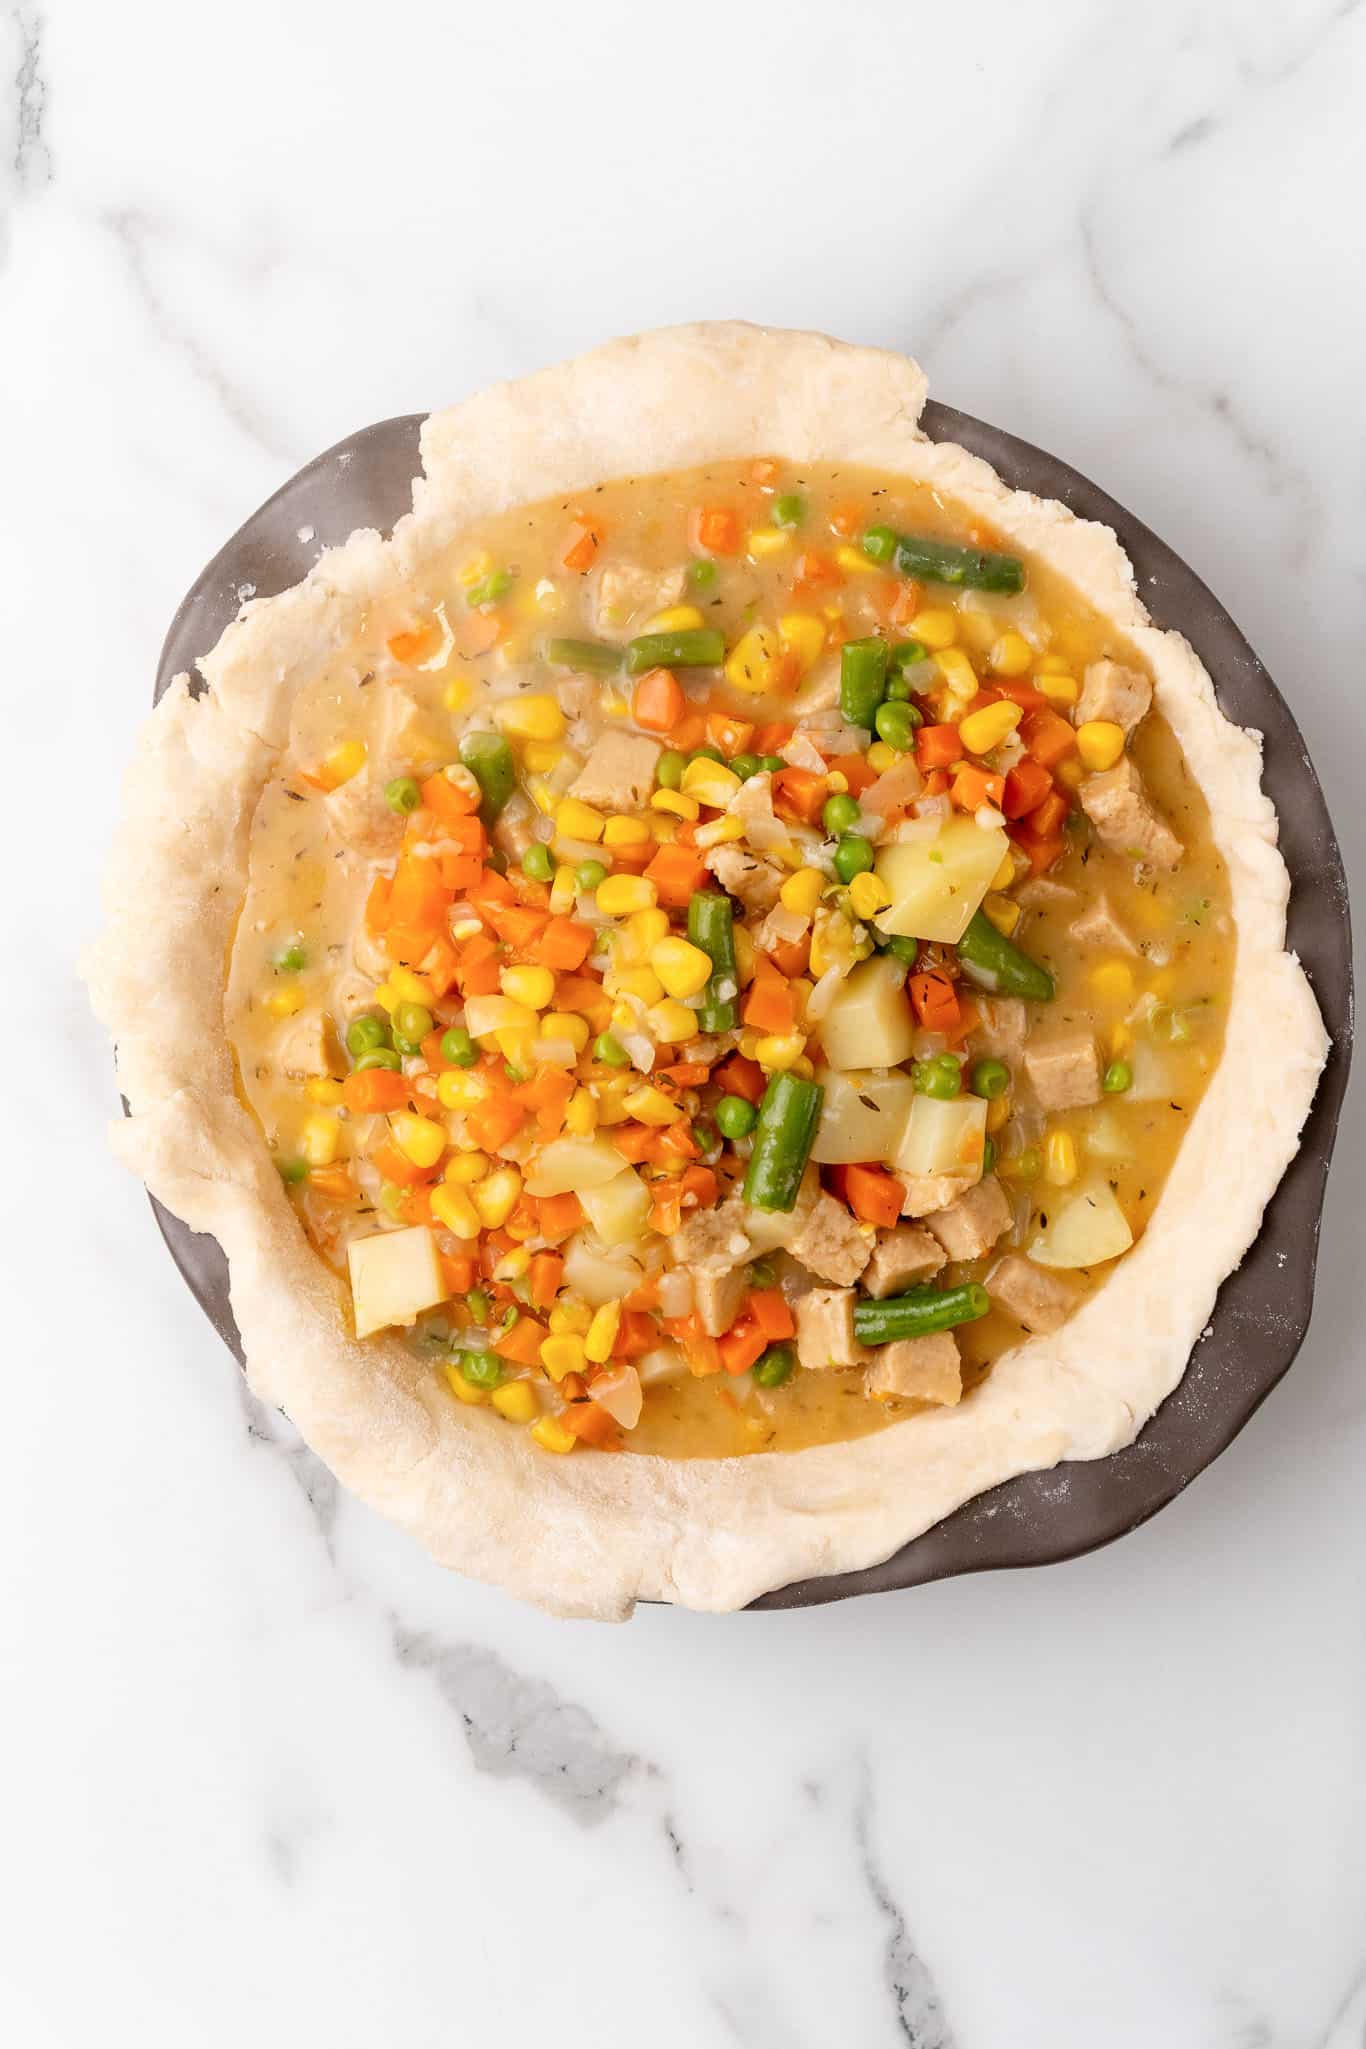
Frozen Mixed Veggies: A convenient and colorful mix of peas, carrots, green beans, and corn. The downside of frozen veggies tends to the texture, but it works just fine in a gravy-esque filling like this one. Feel free to use fresh veggies if you prefer or add your own favorites like mushrooms or zucchini.
Potato: Adds heartiness and texture to the filling. A medium white or Yukon gold potato works especially well, but you can use sweet potatoes for a bit of a spin on the traditional recipe.
Vegetable Broth: The base of the sauce, giving it a rich and savory flavor. Use a low-sodium broth to control the salt level, or make your own broth for even more flavor.
Dried Thyme: A classic herb for pot pies, adding a warm, earthy note. You can also use fresh thyme or experiment with other herbs like rosemary or sage.
Vegan "Chicken": I don't used processed ingredients like this too often, and it is totally optional. But in this case, some vegan "chicken" adds a great texture and makes the pot pie even more filling. You can find options in most grocery stores these days, or substitute with chickpeas or tofu for a protein boost.
Helpful Tips for Making Vegan Pot Pie Casserole
Keep the Dough Cold: Cold ingredients are key to a flaky crust. If your kitchen is very warm, chill the flour and the mixing bowl in the fridge before you start cooking.
Don't Overwork the Dough: Mix just until the dough comes together to keep it tender. Overmixing can make it tough and chewy.
Season to Taste (and taste often!): Don't be afraid to taste the filling before it goes into the pie. Adjust the salt, pepper, and herbs to your liking.
Cover the Edges: If you notice the edges of the crust browning too quickly, cover them with foil to prevent burning.
Let It Rest: Allow the pie to cool for at least 20 minutes before slicing. This helps the filling set and makes it easier to cut clean slices.
Storing & Freezing
Store leftover pot pie in an airtight container in the refrigerator for 3-5 days. You can also freeze leftovers for up to two months. I recommend slicing into portions and freezing in individual containers for easy reheating. To reheat, simply defrost, transfer to an oven safe dish, and warm in the oven.
Variations
Mushroom Pot Pie
Add a mix of your favorite mushrooms to the filling for a rich, umami flavor that pairs perfectly with the creamy sauce. Sliced portobellos work well, or shiitakes for a fun twist.
Southwestern Pot Pie
Spice things up by adding a can of green chilies, a teaspoon of cumin, and a handful of chopped cilantro. Top with sliced avocado before serving.
Root Vegetable Pot Pie
Swap out the frozen veggies for a mix of roasted root vegetables like parsnips, turnips, and sweet potatoes for a wintery twist.
Herbed Crust
Add fresh herbs like parsley, thyme, or rosemary right into the crust dough for an extra layer of flavor.
Make Mini Pot Pies
Instead of one large pot pie, try making several personal sized ones instead. Just divide the filling amongst four mini pie dishes (like these), and top each with its own crust. Bake time will be less, more like 20-25 minutes, depending on the size of your baking dishes.
More Tasty Vegan Recipes
If you love this vegan pot pie, be sure to check out these other delicious ideas:
Recipe

Vegan Pot Pie Casserole
This Vegan Pot Pie Casserole is a plant-based version of the classic dish that's every bit as satisfying, hearty, and delicious. A feel-good family favorite main dish!
Print
Pin
Save
Servings: servings
Ingredients
For the crust:
- 1 ½ cups all purpose flour
- ¼ teaspoon salt
- ¼ cup vegan butter
- ¼ cup vegetable shortening
- ¼ cup ice water
For the filling:
- 3 tablespoons vegan butter
- 1 small onion diced
- 3 cloves garlic minced
- ¼ cup flour
- 2 ½ cups vegetable broth
- 3 cups frozen mixed veggies
- 1 cup chopped potato about one medium potato
- ½ teaspoon salt
- ½ teaspoon dried thyme leaves
- 2 cups chopped vegan "chicken" optional
Instructions
- Instructions:
For the crust:
- In a large bowl, whisk together the flour and salt. Cut in the shortening and butter until only pea sized lumps remain.
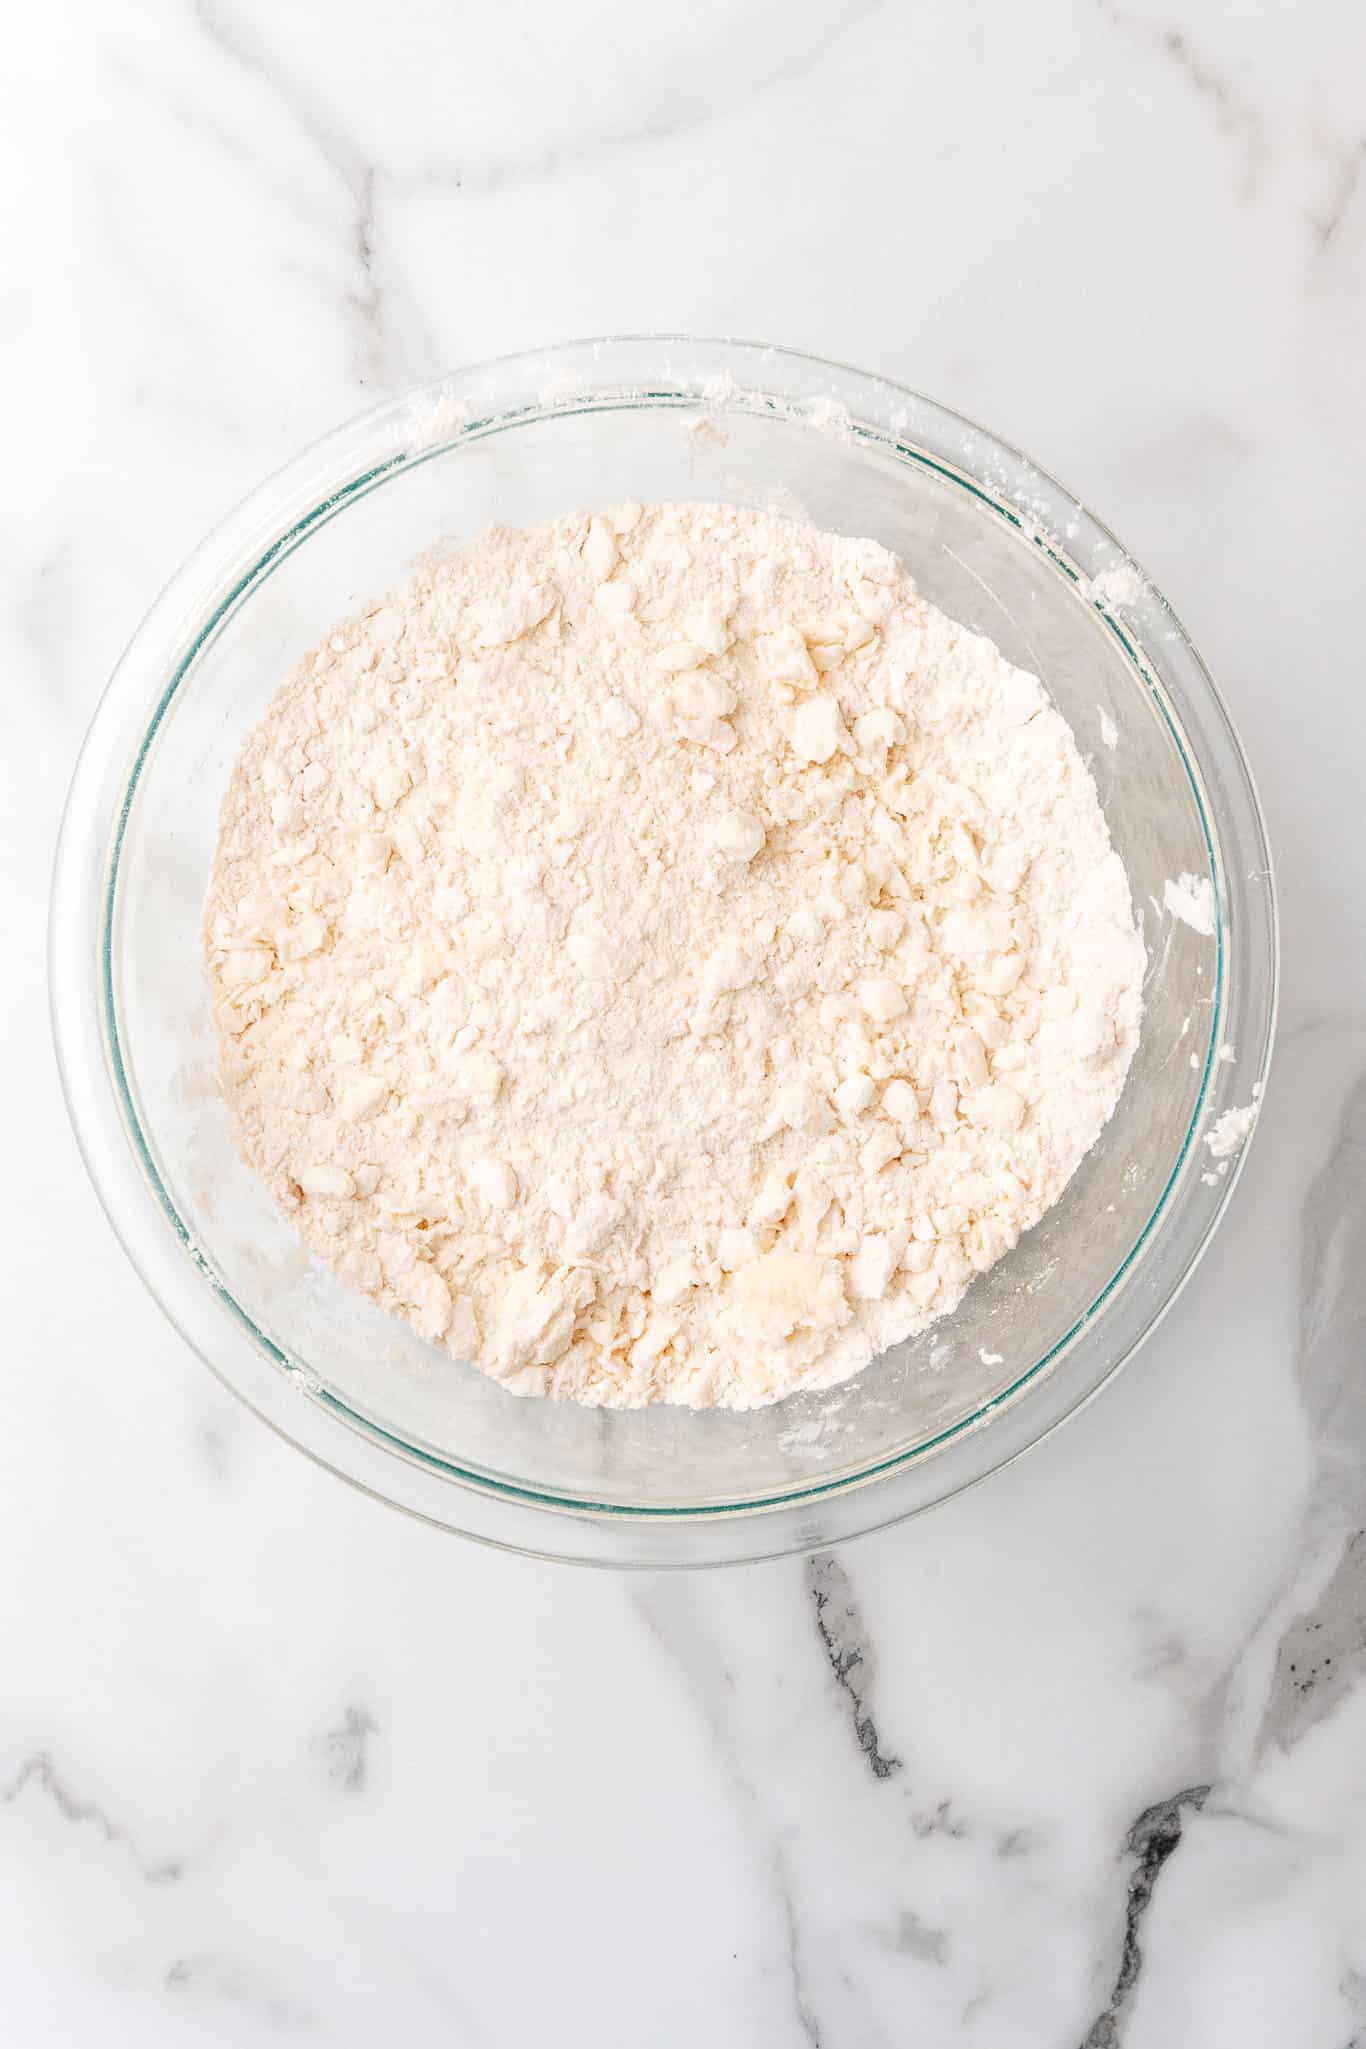
- Stir in the ice water, 1 tablespoon at a time until the dough comes together.divide the dough evenly into two small discs.

- Roll half the dough out into a 12" circle and place into the bottom and up the sides of a deep dish pie plate. Place the pie plate in the fridge
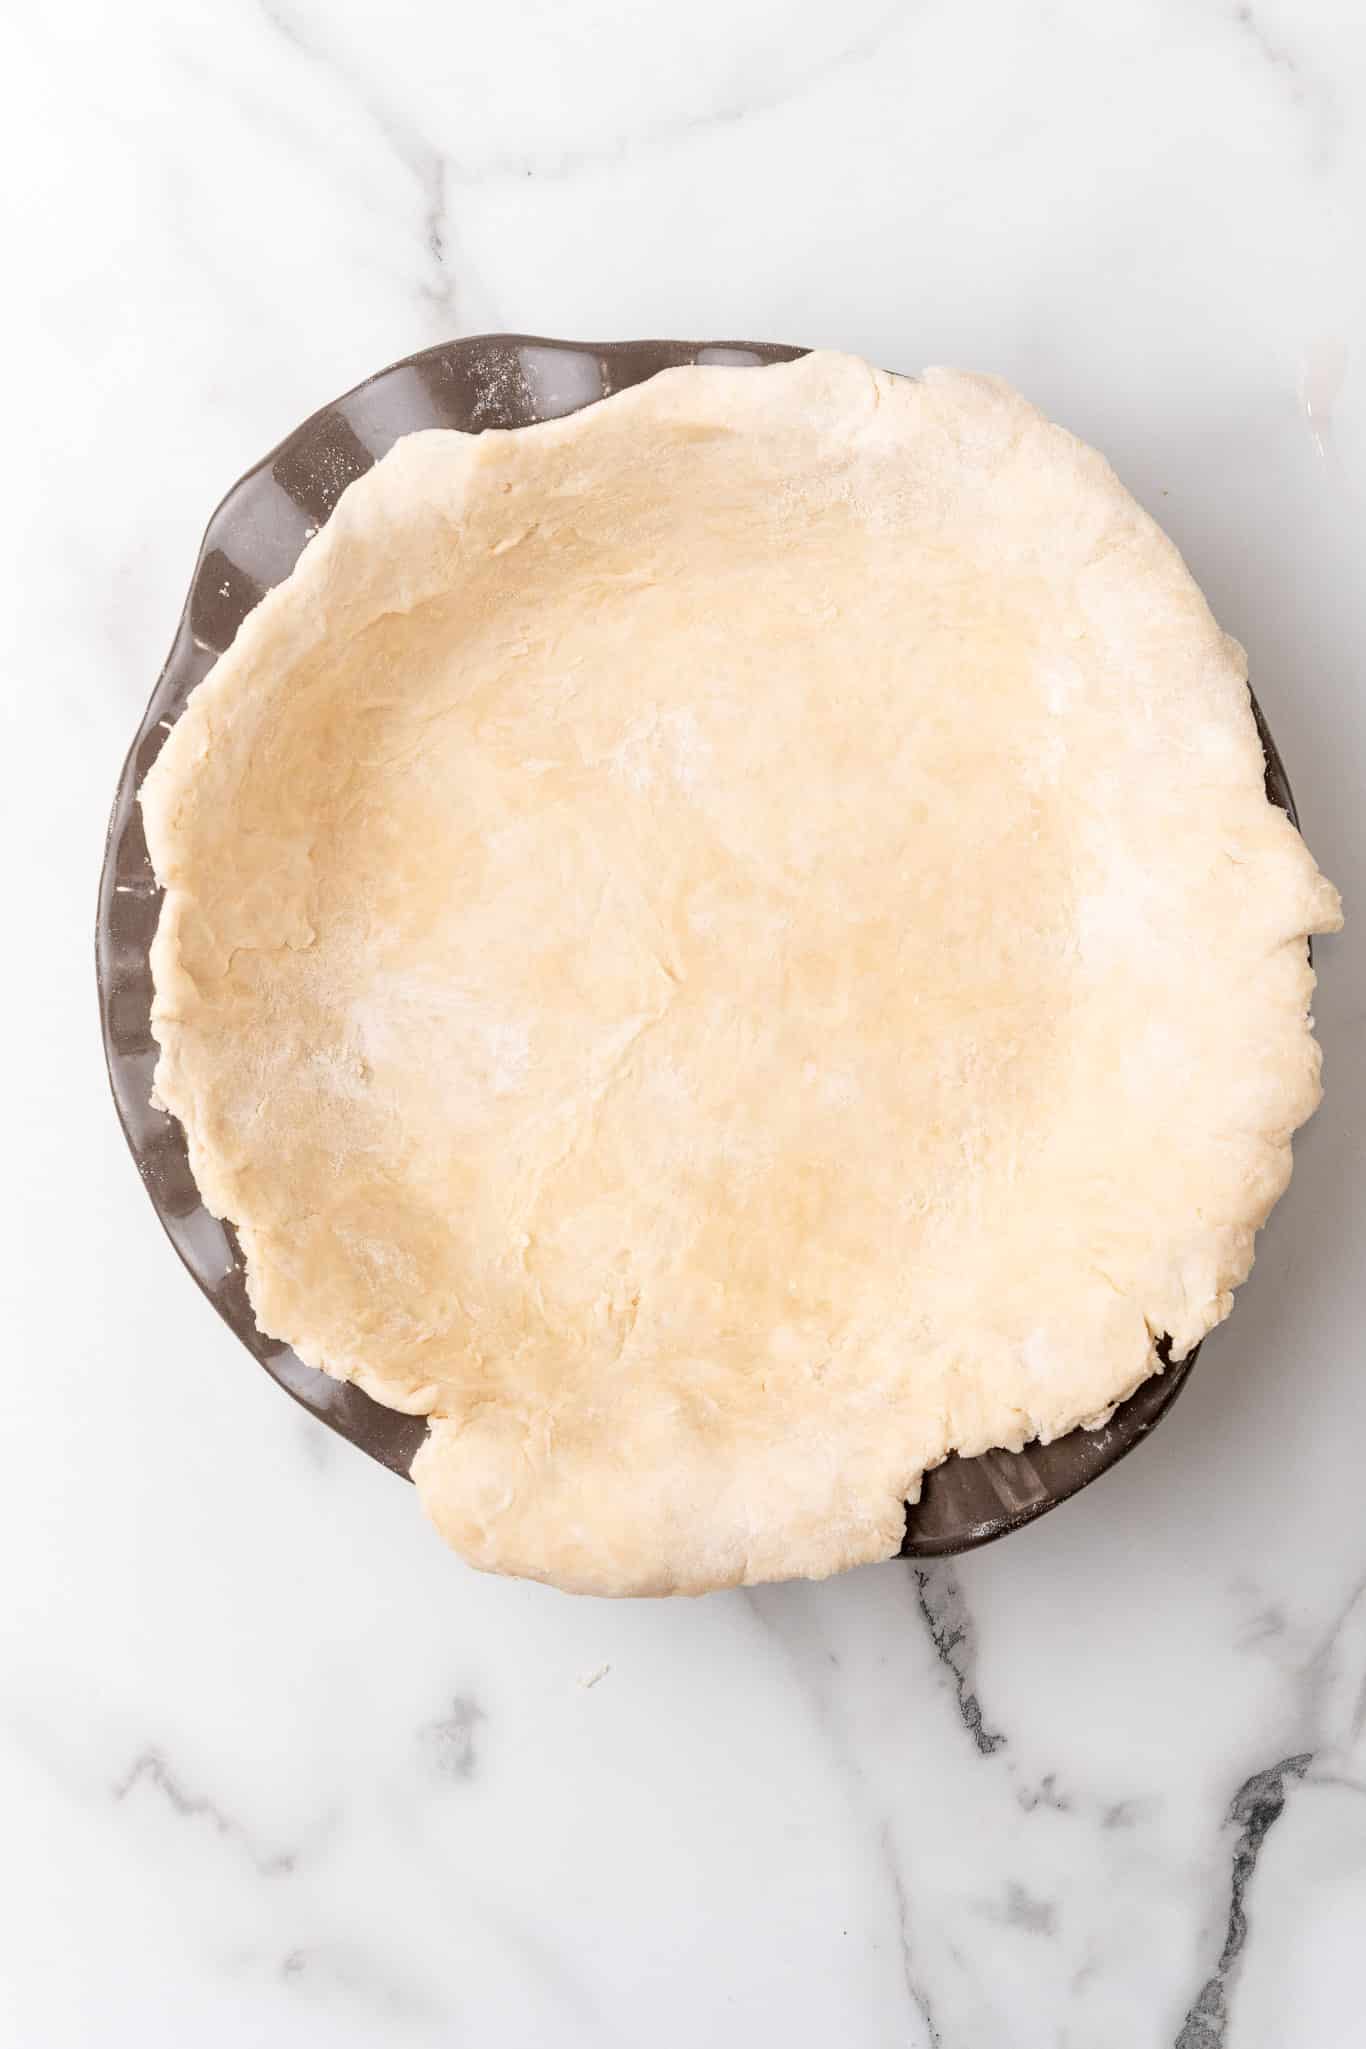
- Roll the second dough disc into a 10" circle and place in the fridge to chill while you make the filling.
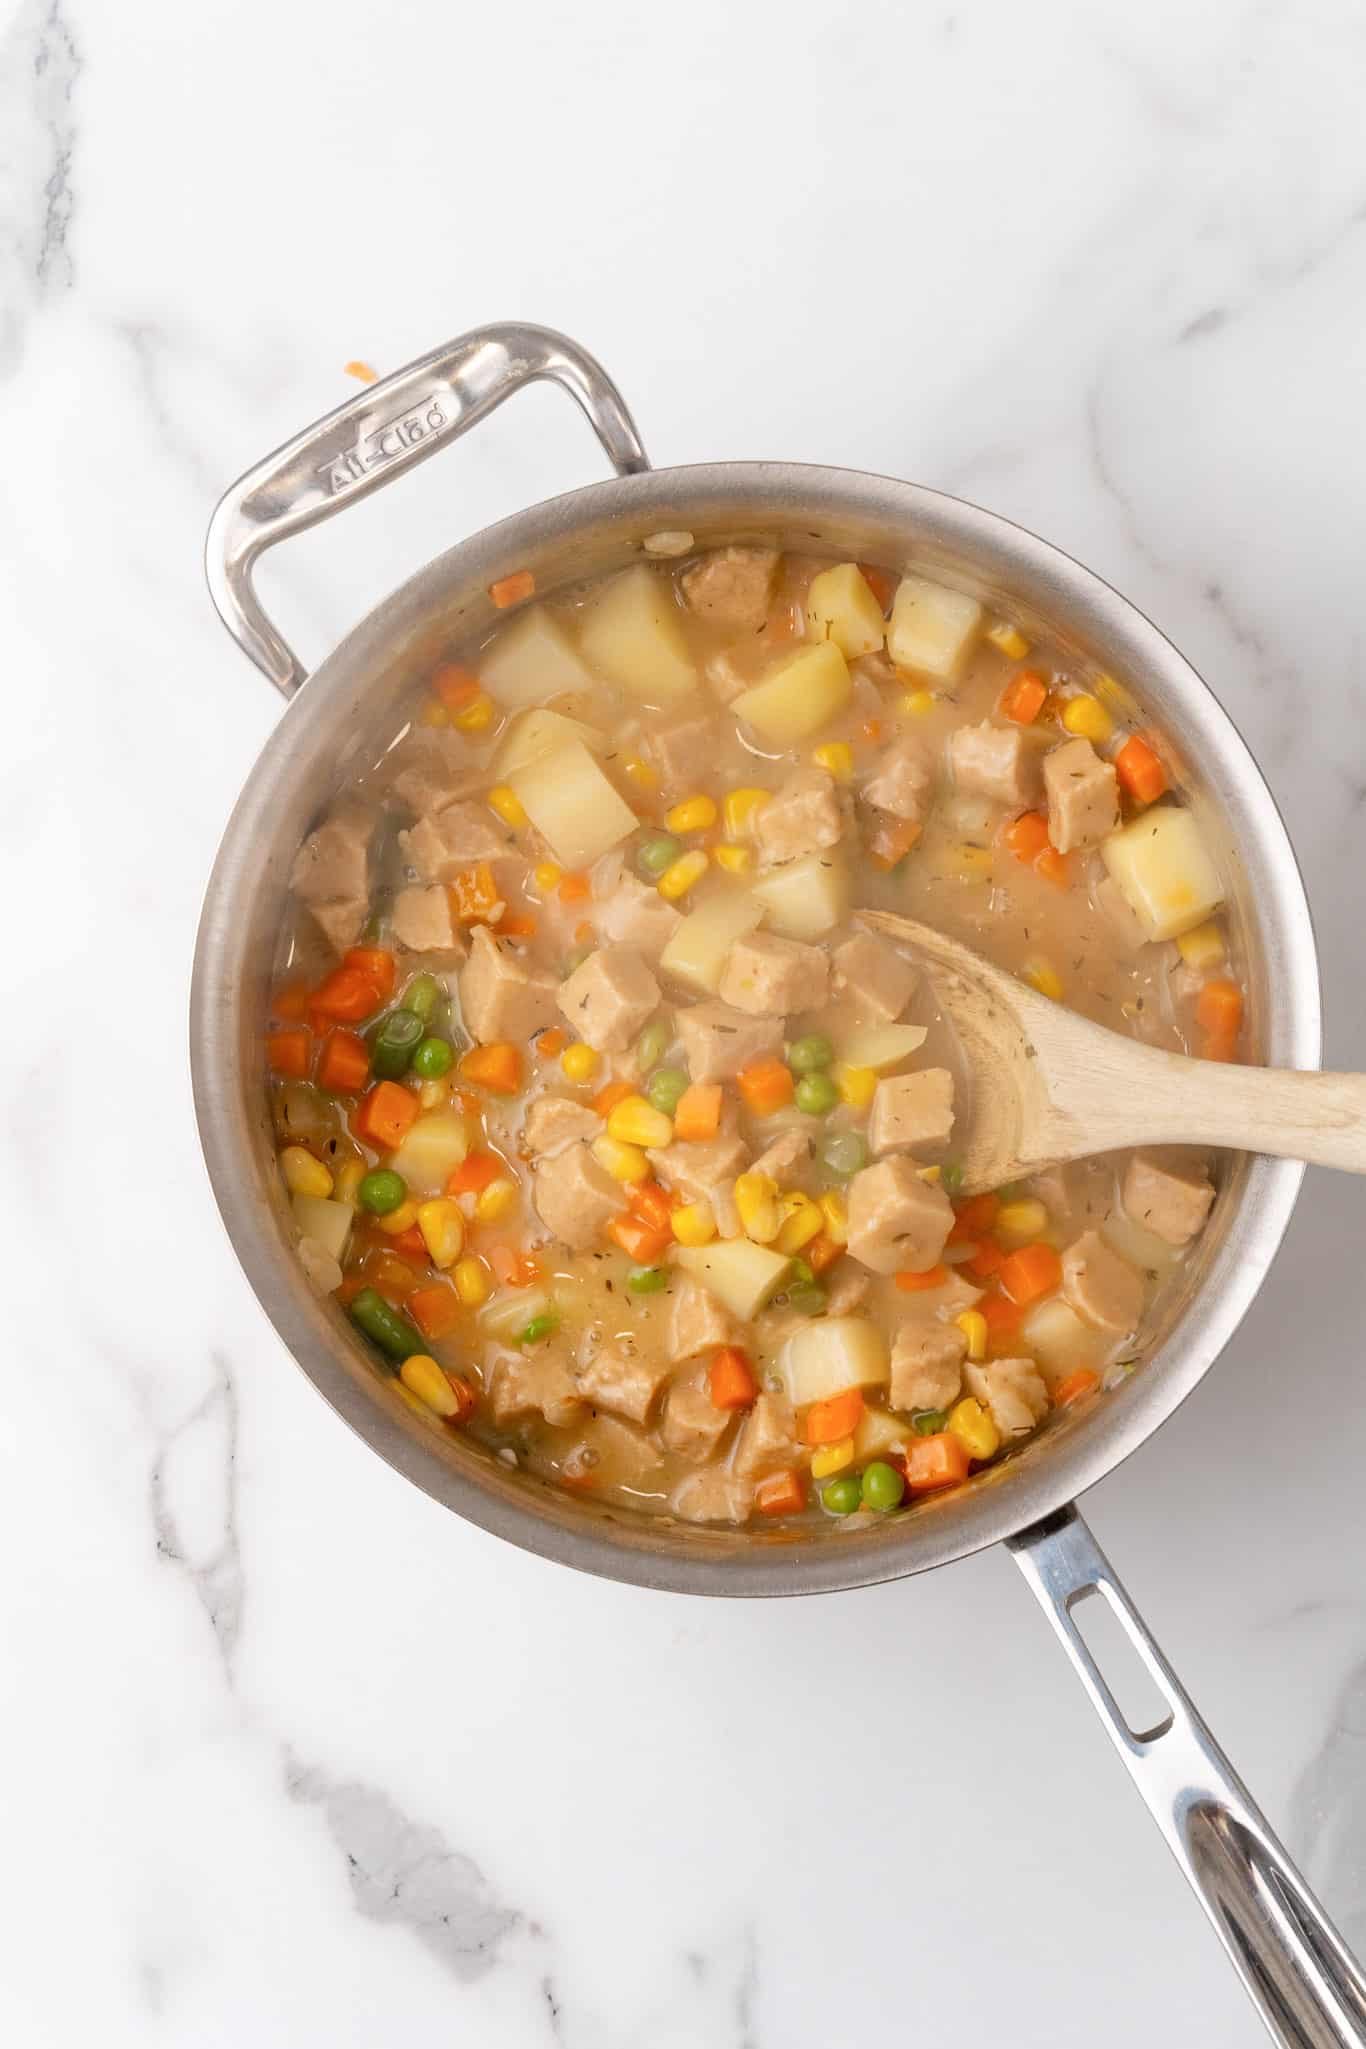
For the filling:
- Preheat the oven to 400F.
- In a large pot over medium heat, melt the vegan butter. Add the onion and garlic and cook, stirring frequently, until the onion turns translucent.
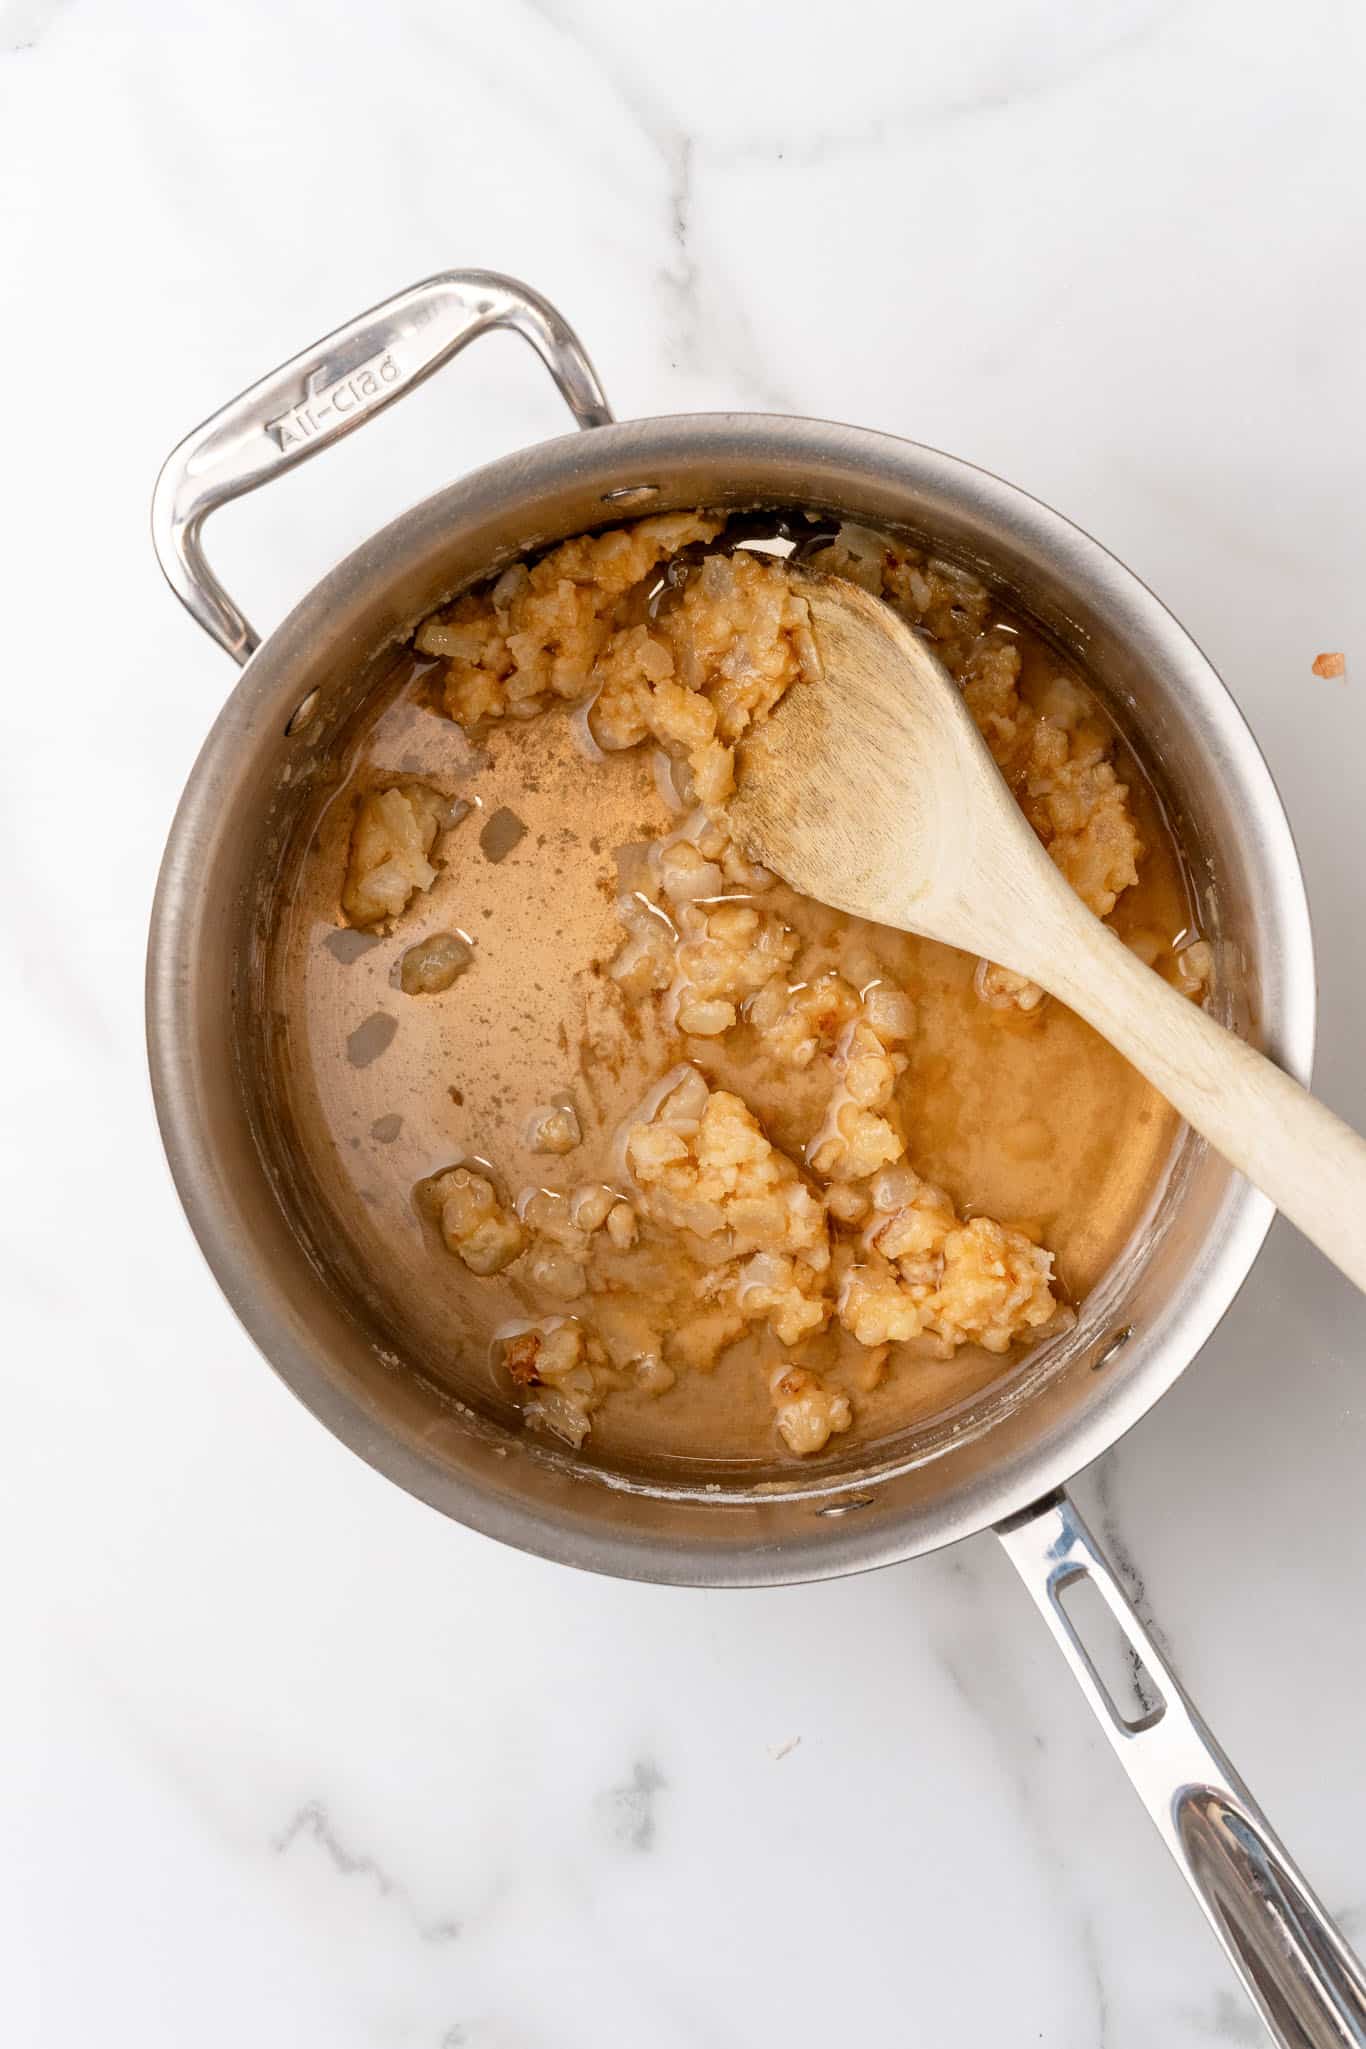
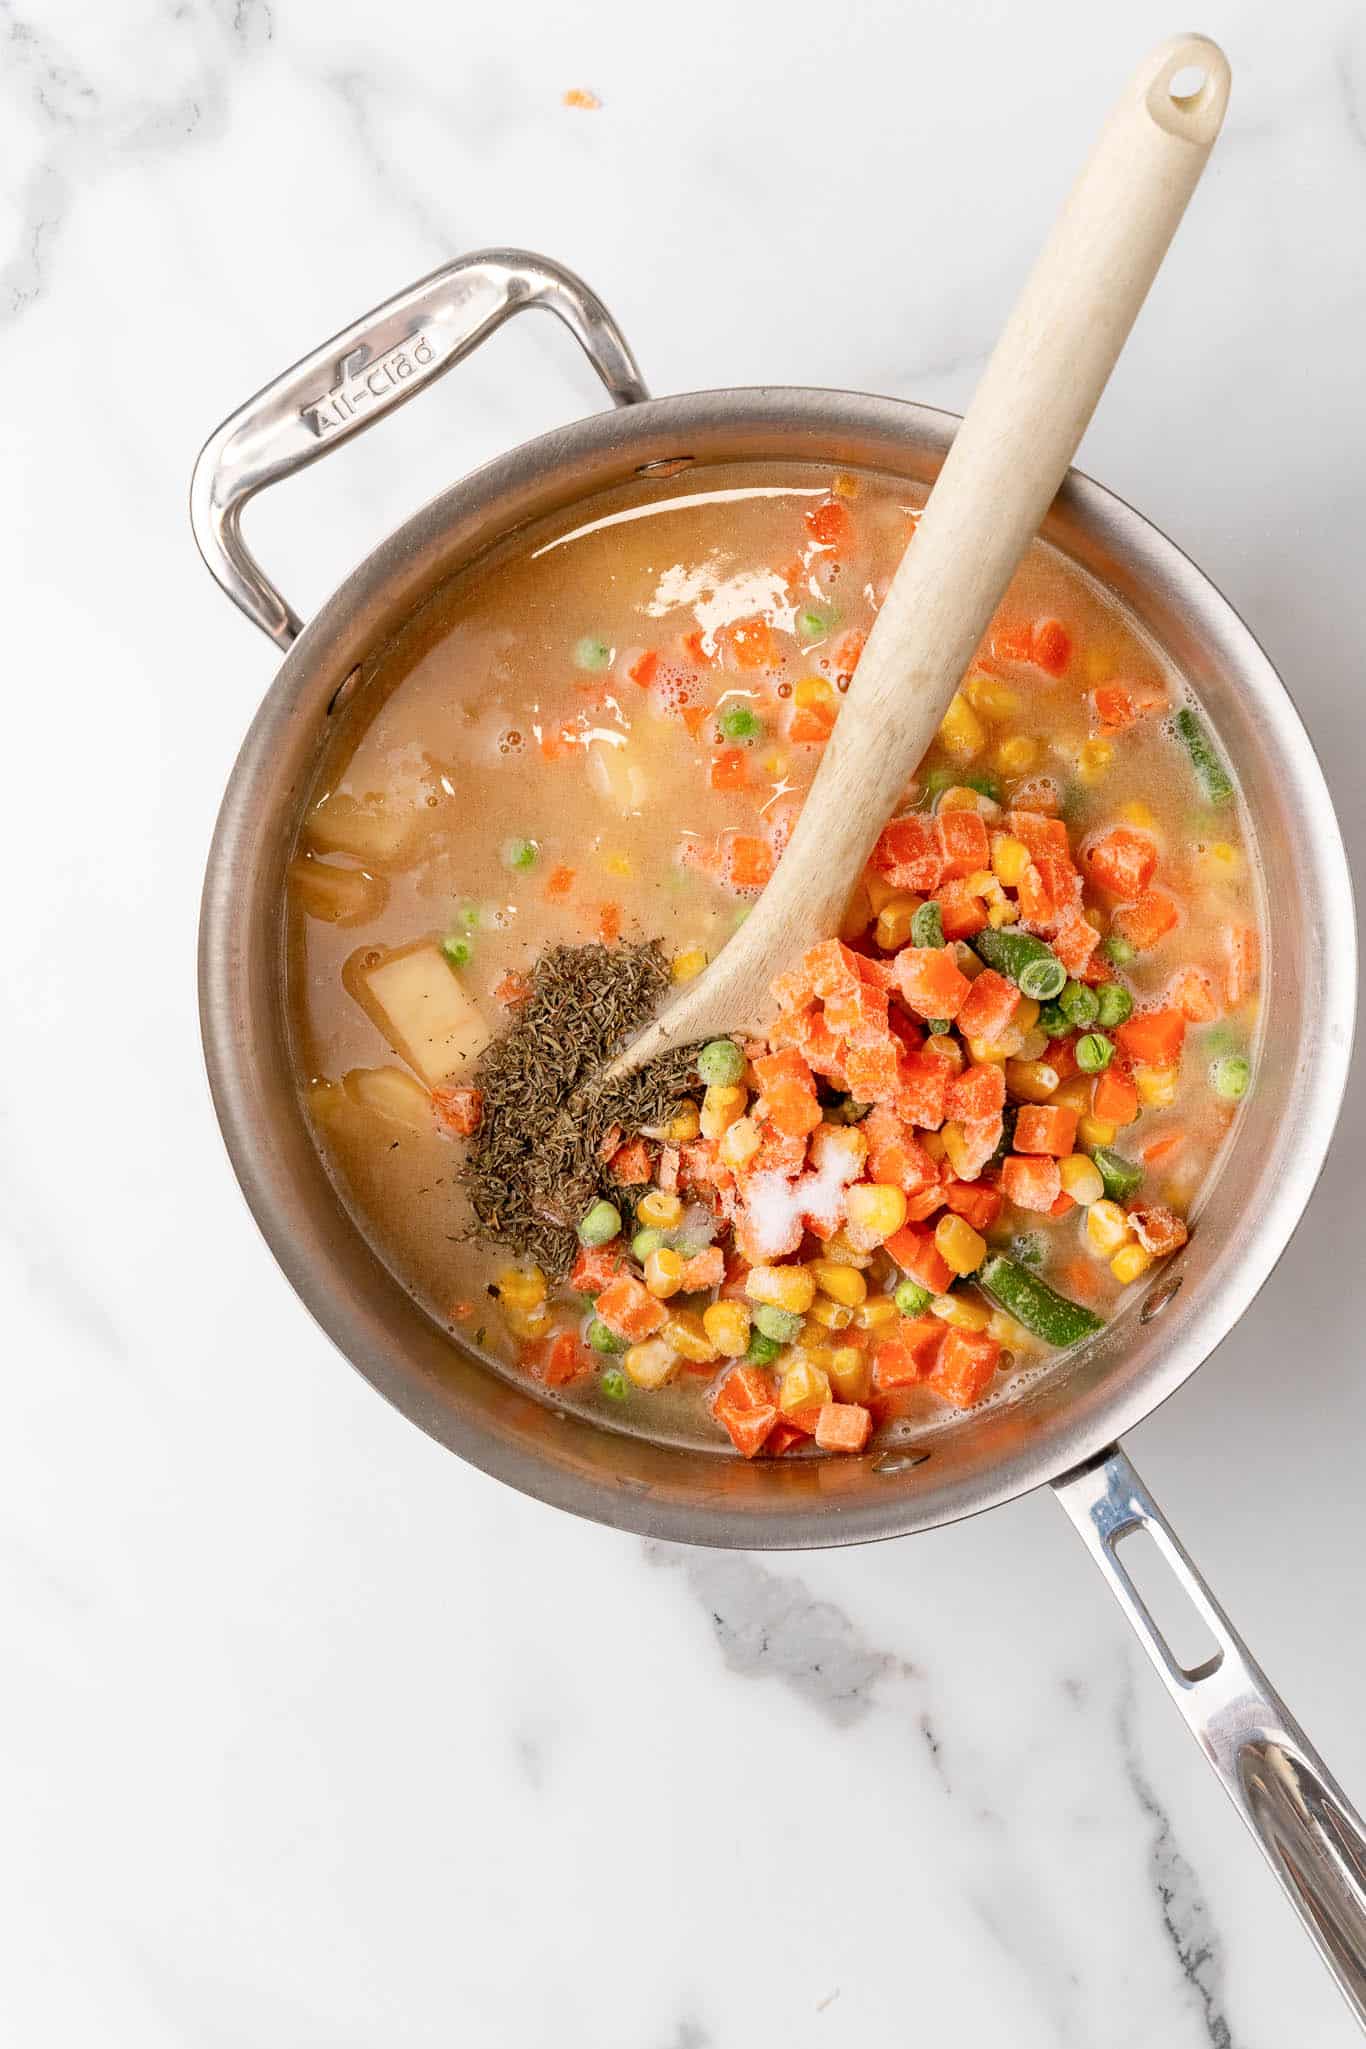
- Sprinkle the flour overtop and stir, then cook for an additional 1-2 minutes. Slowly pour in the vegetable broth, whisking constantly to avoid lumps.
- Add the frozen veggies, chopped potato, salt and thyme and mix to a simmer. Allow to cook, stirring frequently, about 10 minutes, or until the potato is starting to feel tender.
- Stir in the vegan chicken.
- Transfer the hot filling to the pie crust.
- Then add the top crust and cut away the excess.

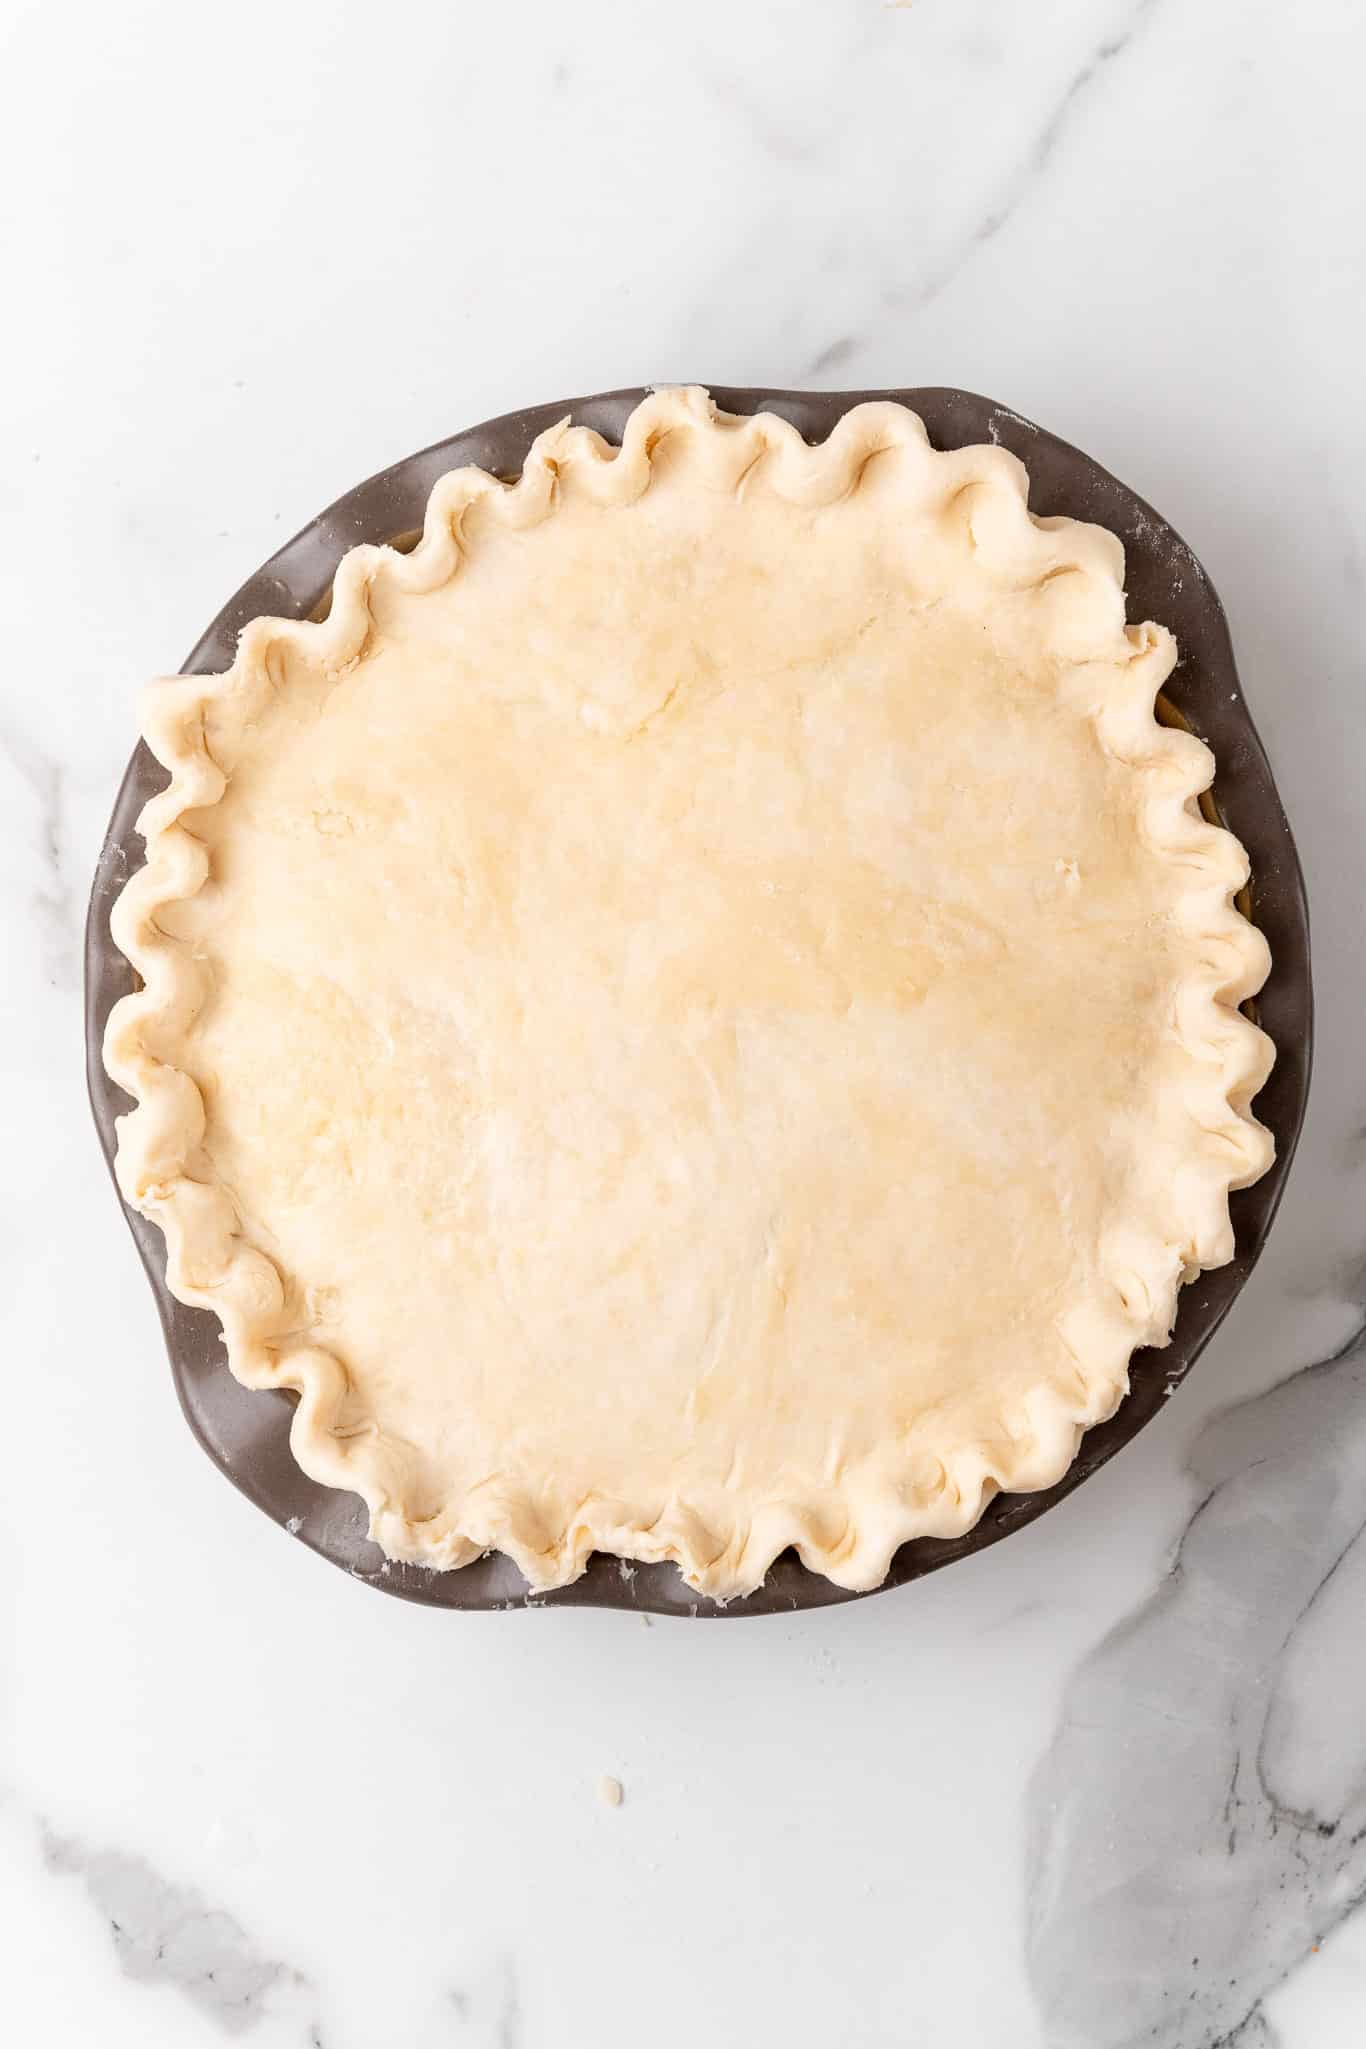
- Crimp the edges.
- Slice venting holes in the top crust.
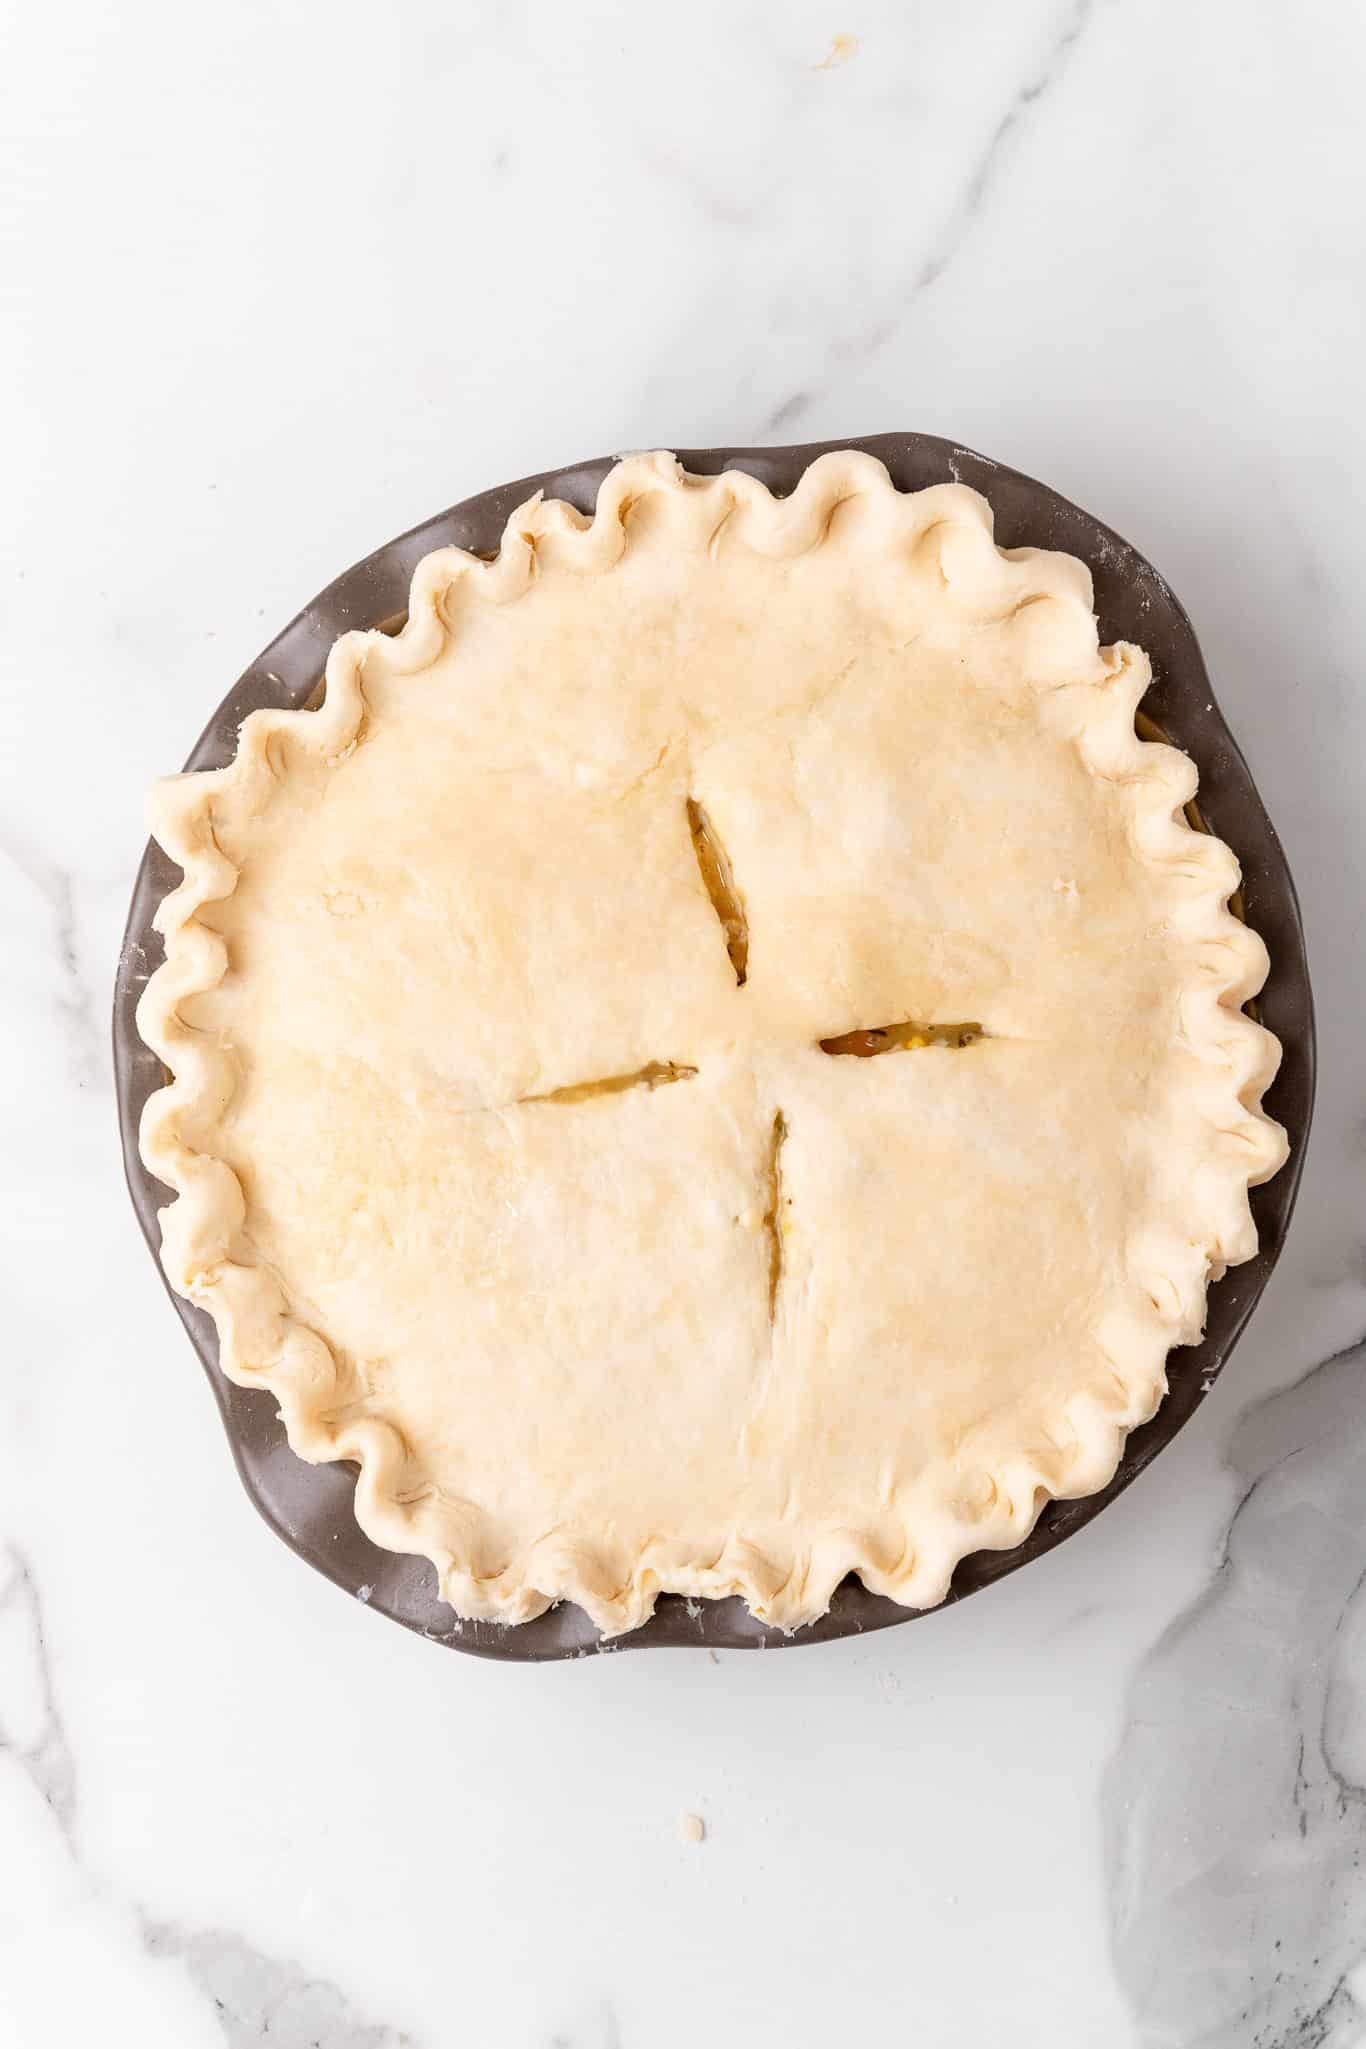
- Then bake in the oven for 60 minutes, or until the filling is bubbly and the crust is golden (if the edges of the crust gets too brown cover with foil for the last 20 minutes of baking)
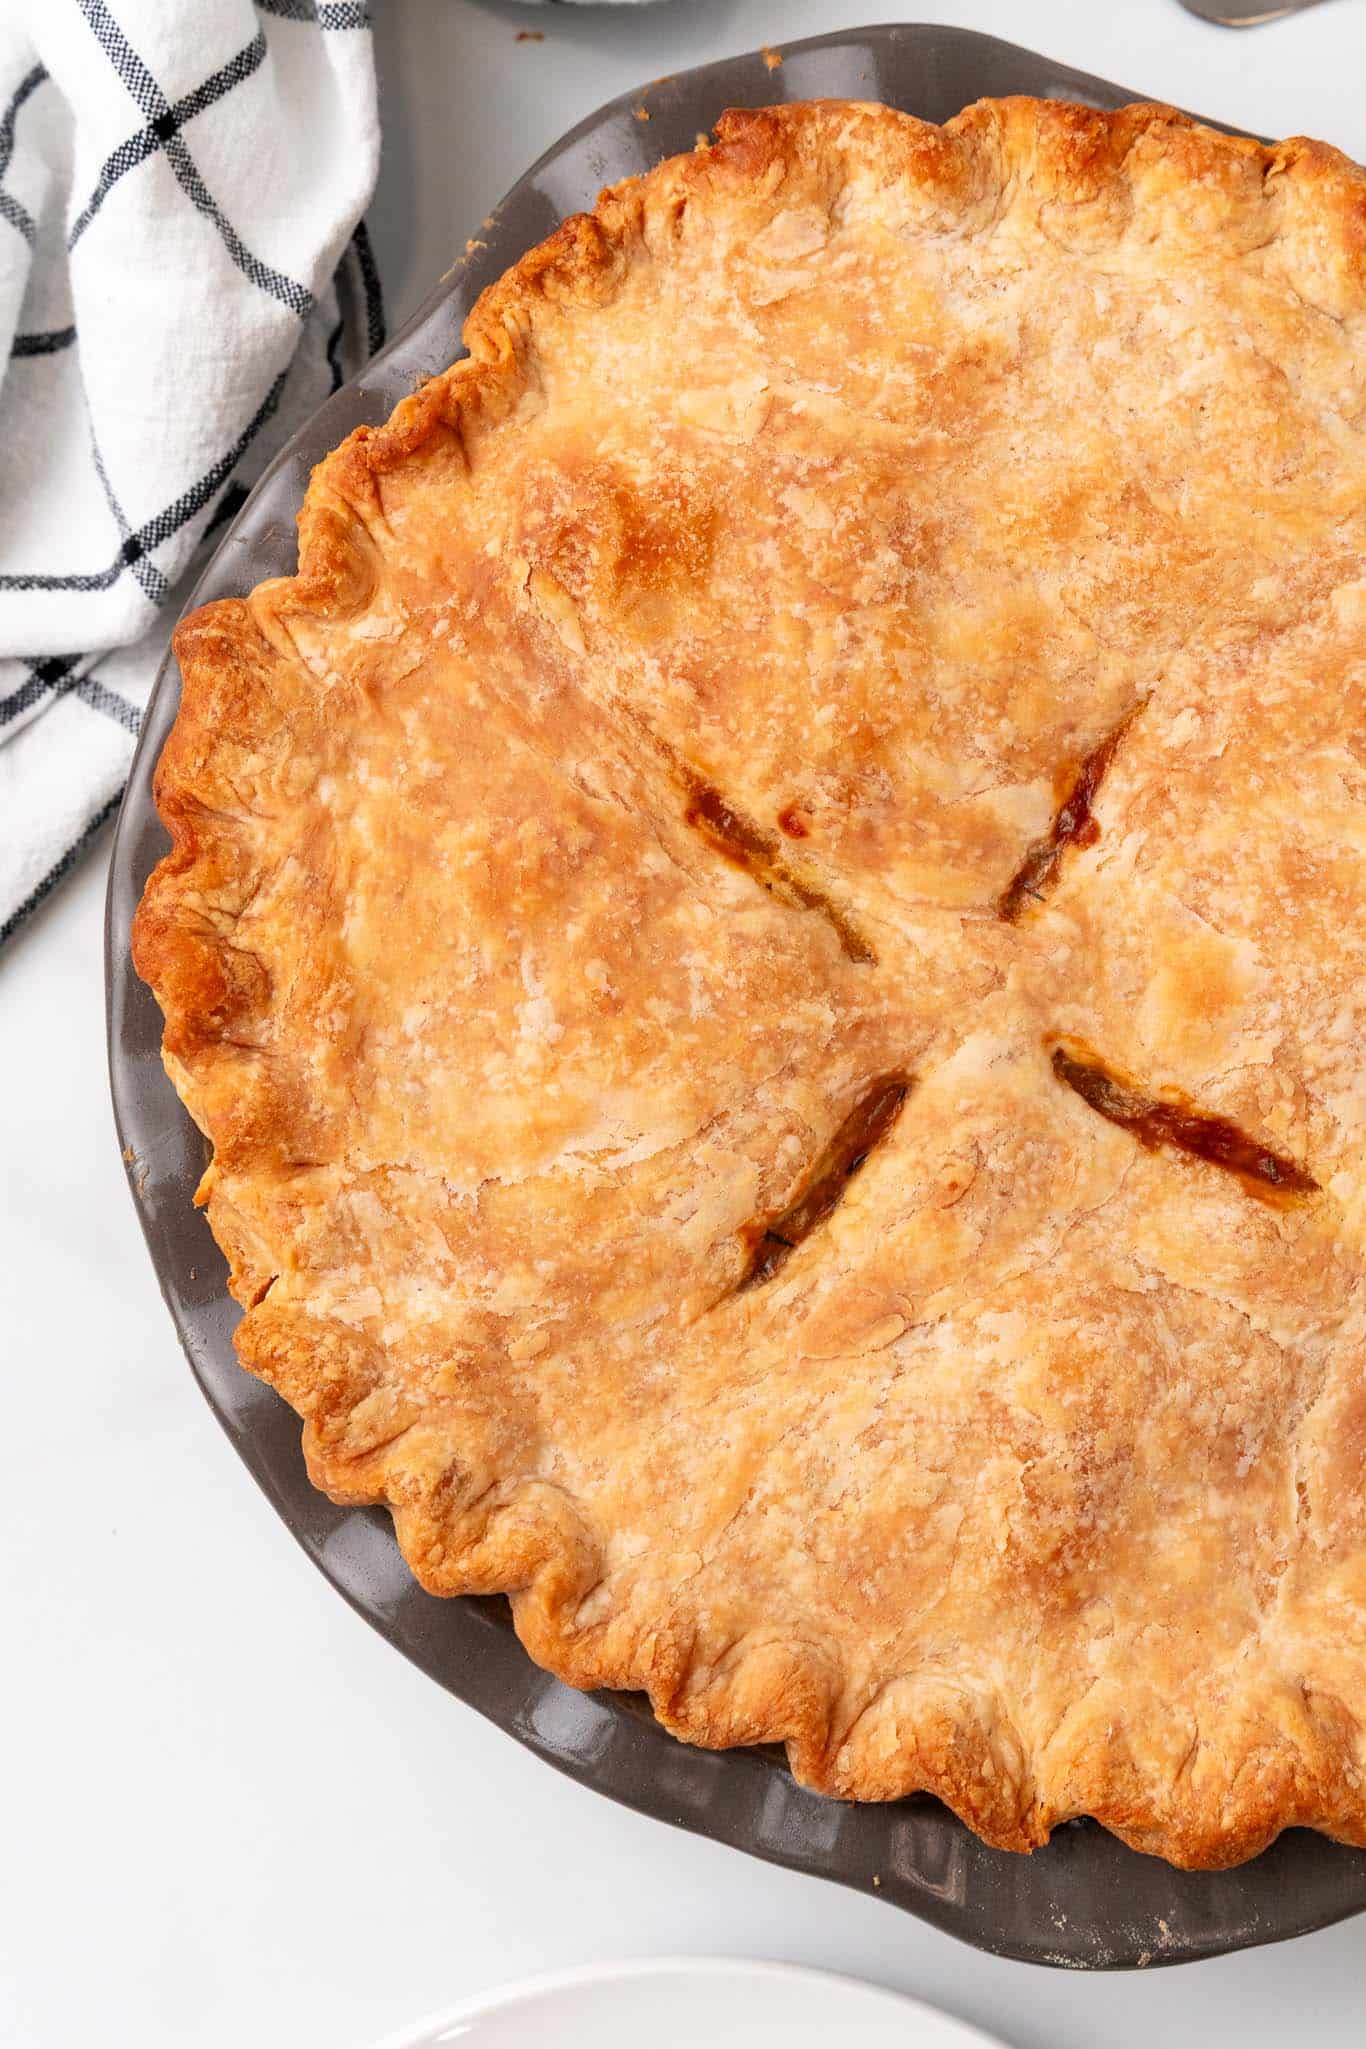
- Allow to cool for 20 minutes before slicing.
Nutrition (Estimate per Serving)
Calories: 508kcalCarbohydrates: 46gProtein: 13gFat: 31gSaturated Fat: 6gPolyunsaturated Fat: 14gMonounsaturated Fat: 10gTrans Fat: 1gCholesterol: 1mgSodium: 1492mgPotassium: 370mgFiber: 7gSugar: 2gVitamin A: 4096IUVitamin C: 14mgCalcium: 56mgIron: 4mg
Vegan-ize any recipe!Grab our free vegan cheat sheet, packed with my favorite easy substitutions to make any recipe vegan.
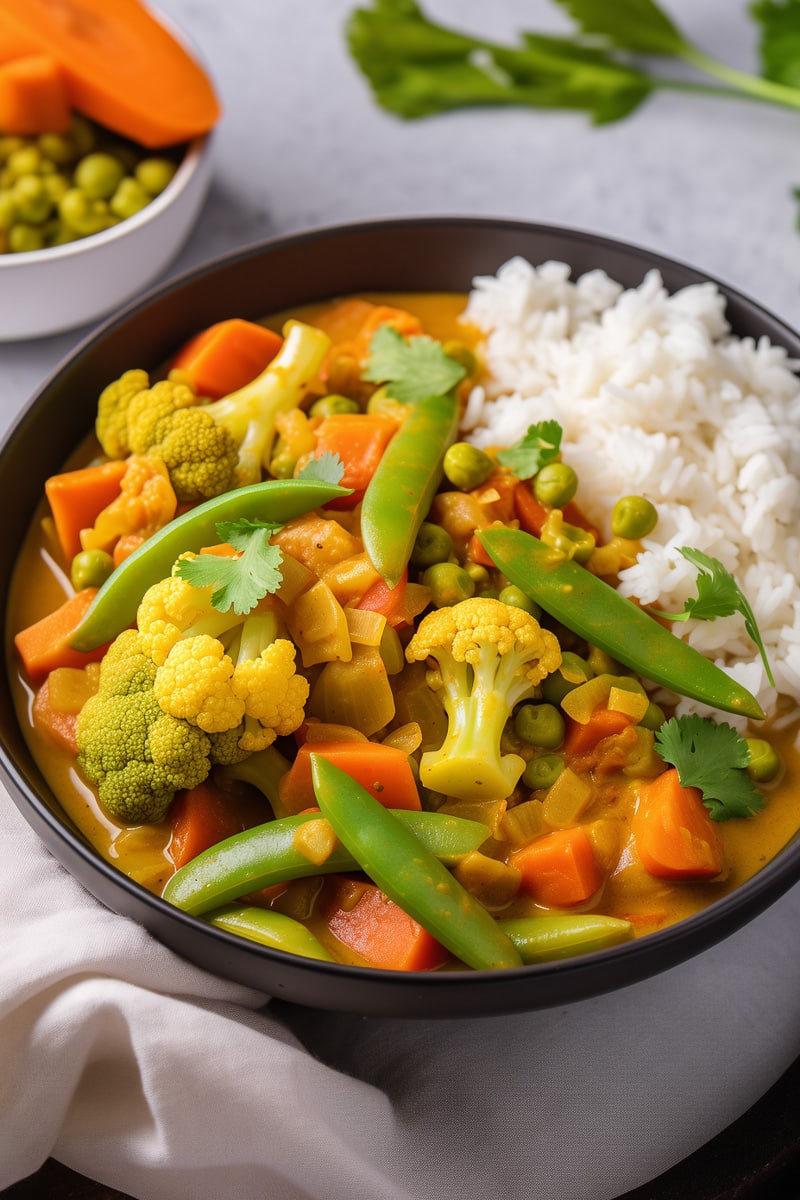
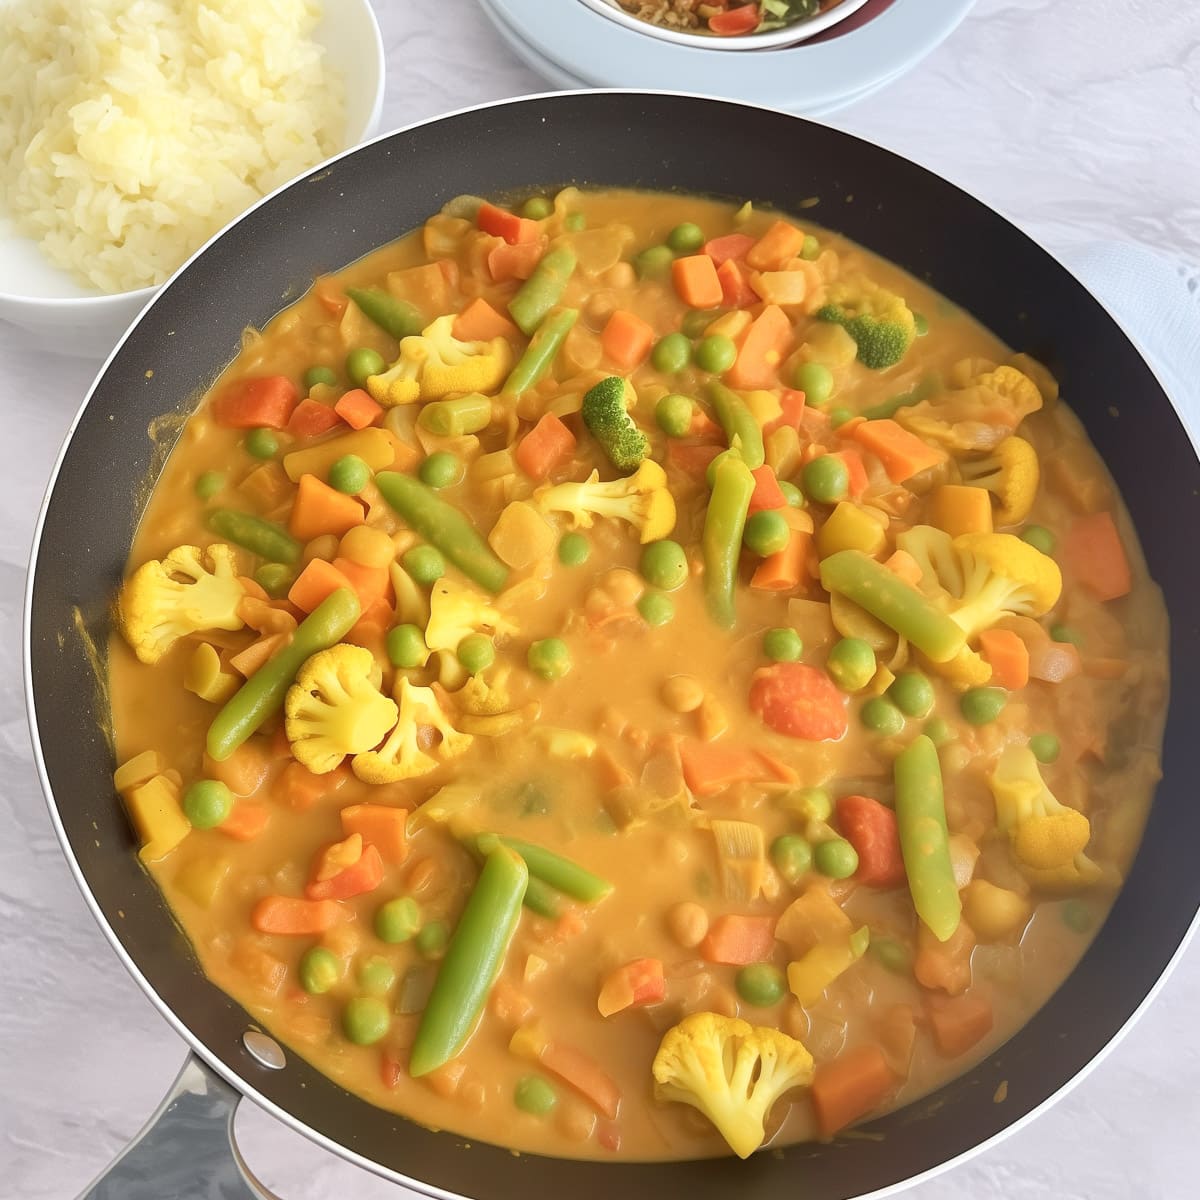
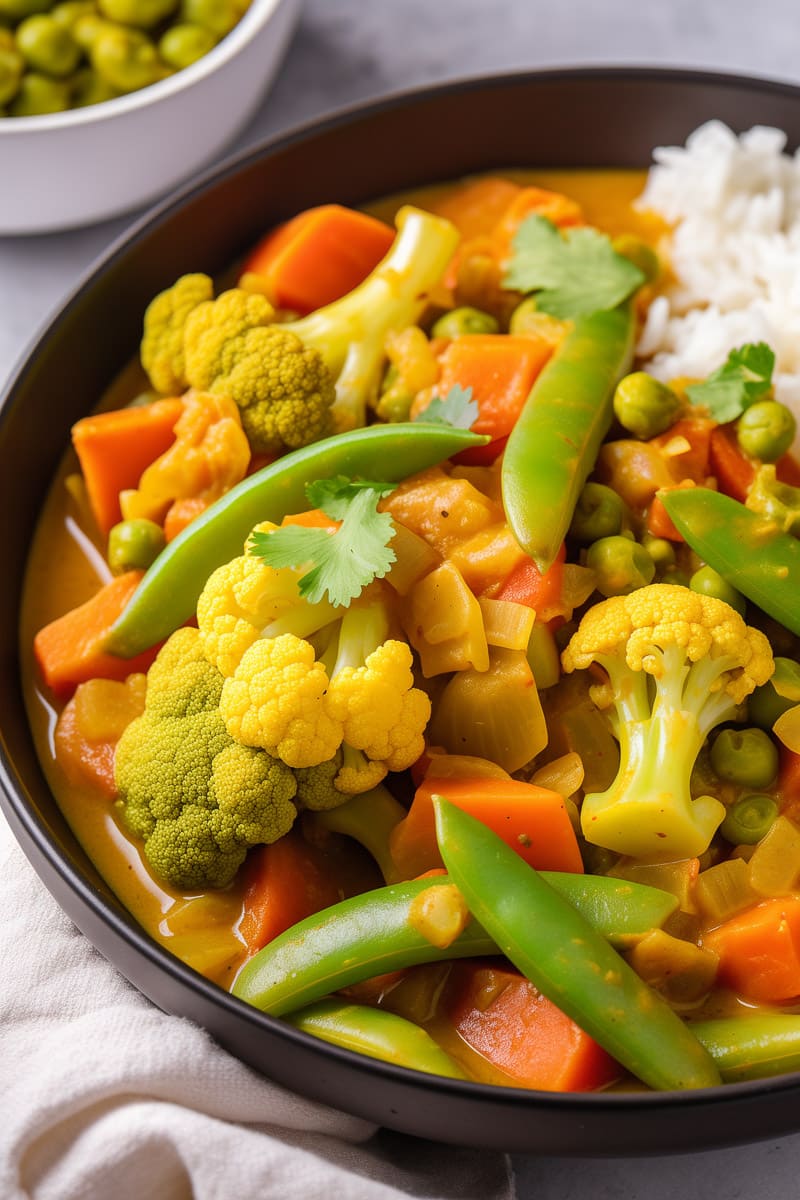
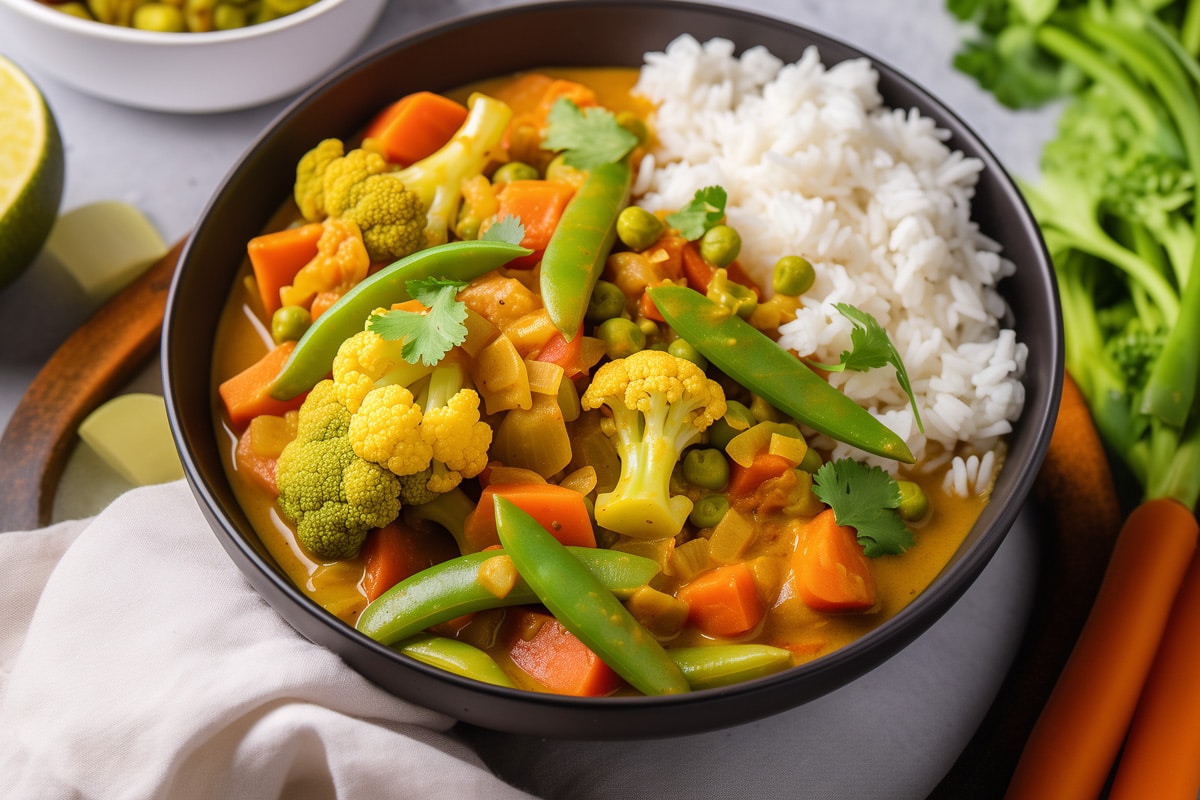
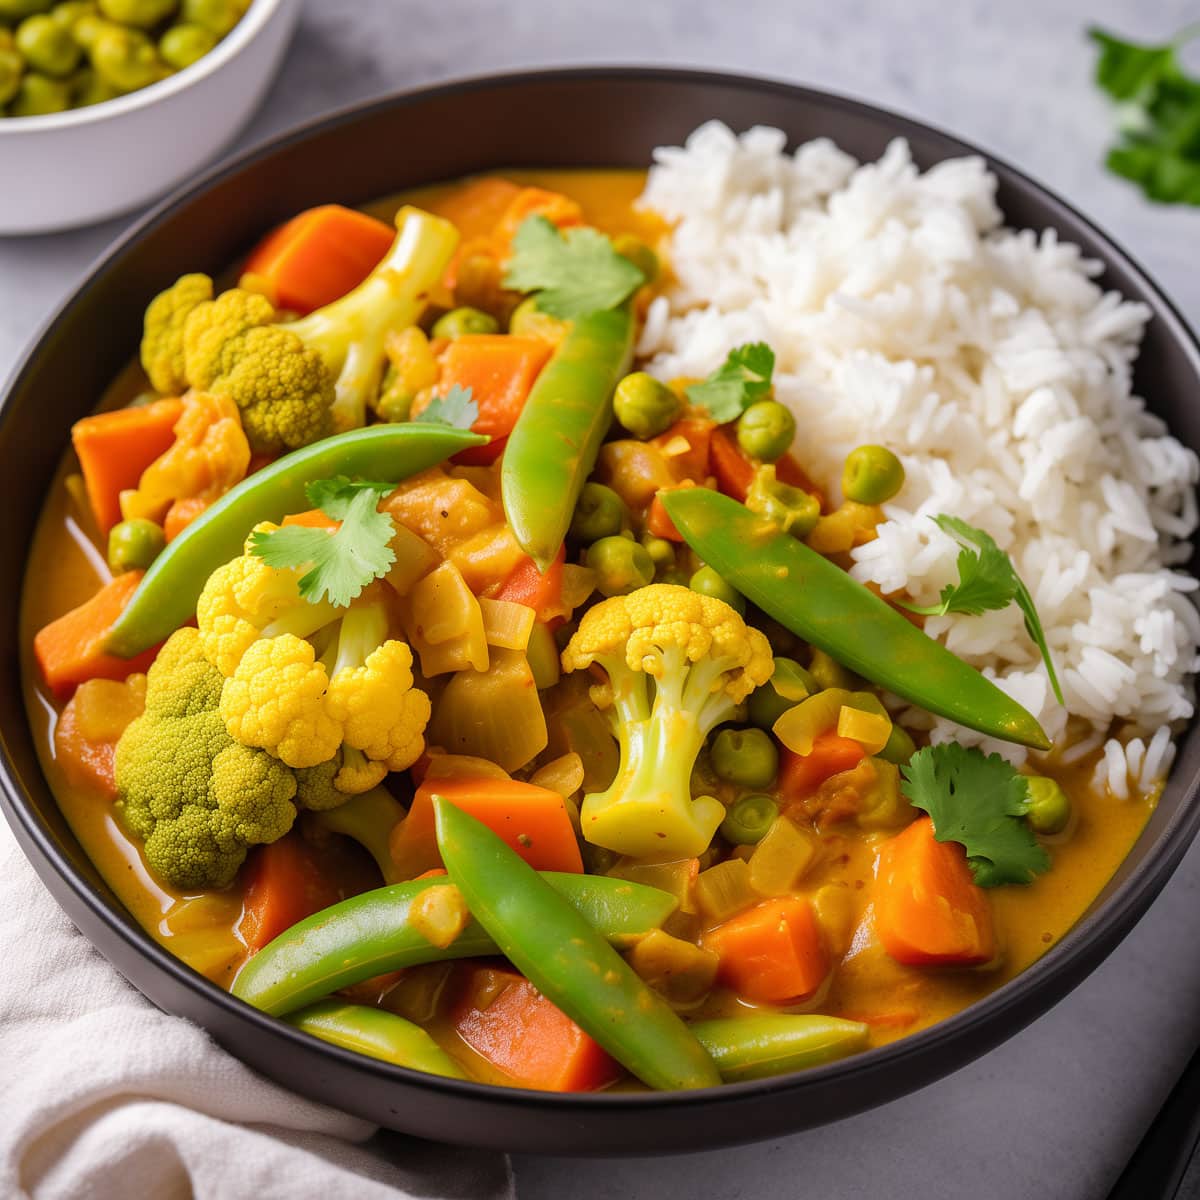
15-Minute Vegetable Curry (with frozen veggies!)
Whoever said that a hearty, flavorsome curry needs hours of simmering and a pantry full of exotic spices clearly hasn't tried my Quick & Easy Vegetable Curry!
This curry is the dish you turn to on those frantic weeknights when the fridge is half-empty, the family is hungry, and time is of the essence. Ready in just 15 minutes, thanks to the help of some frozen veggies, it's like a little weeknight magic trick. Now you see an empty kitchen, now you don't!
This Quick & Easy Vegetable Curry is...
- Unbelievably Fast. Ready, set, curry in just 15 minutes!
- Surprisingly Simple. Using ingredients you likely have on hand already.
- Comfort Food. Each spoonful is like a warm, spice-infused embrace.
- Versatile:. Have some extra veggies or tofu? Toss them in! This recipe is easy to customize.
Key Ingredients & Substitutions
Frozen Vegetables
I love the classic mix of carrots, peas, corn, and green beans. But literally any frozen veggie blend will do. So pick your own favorite mix of veggies! Of course, you can also make the curry with fresh veggies, but then it will take longer than the promised 15 minutes.
Curry Powder
This is the most important of the spices in this recipe, so I recommend choosing a high quality curry powder for the best flavor.
Coconut Milk
This brings creaminess and lots of flavor. But if you need a substitute, heavy cream is your best bet.
Vegetable Broth
Note that vegetable broth brands can vary pretty wildly in terms of saltiness. So be sure to taste your curry at the end, and adjust the salt accordingly. You may find that no extra salt is needed at all, or you may want to add quite a bit!
Helpful Tips & Variations
Don't be shy with the curry powder. If your curry powder is on the mild side, don't be shy to add a bit more than called for. You measure that stuff with your heart.
Add more spice. If this recipe isn't spicy enough for your heat-loving taste buds, try adding a dash of chili powder or some slivered red chili peppers.
Make it sweeter. For a sweeter curry, try adding a dash of maple syrup or agave syrup.
Protein Power-Up. Toss in some pan-fried tofu or tempeh for an extra protein punch.
Add Fresh Greens. Add some baby spinach or shredded kale for extra nutrients. And it looks gorgeous too!
Serving & Storage Suggestions
Serve this curry hot with a side of fluffy basmati rice. Or try serving over quinoa or couscous for a tasty twist. You can also use cauliflower rice for a lower carb option. It's also delicious with fresh flatbreads like roti or vegan naan bread.
I like to garnish my curry with some chopped fresh cilantro and some lime wedges - a classic combo. But this would also be great topped with chopped peanuts or cashews, slice red onions, or lemons instead of limes.
Store this vegetable curry in the refrigerator for 3-4 days, in an airtight container. To serve again, simply reheat over medium heat on the stovetop. In my opinion, curry does not freeze well.
More Tasty Vegan Ideas
If you love this quick and easy vegetable curry, be sure to check out these other delicious vegan recipes:
Recipe
15-Minute Vegetable Curry (with frozen veggies!)
This easy Vegetable Curry is hearty, flavorsome and ready in just 15 minutes! The perfect dish for those frantic weeknights when time is of the essence.
Print
Pin
Save
Servings: servings
Ingredients
- 2 tablespoons coconut oil
- 1 small red onion finely chopped
- 2 cloves garlic minced
- 1- inch piece of ginger grated
- 1½ tablespoons curry powder adjust according to taste
- 1 teaspoon ground cumin
- ½ teaspoon turmeric powder
- 1 can 14 oz coconut milk
- 1 cup vegetable broth
- 3 cups mixed frozen vegetables such as carrots, peas, corn, and green beans
- 1 can 15 oz chickpeas, drained and rinsed
- Salt and pepper to taste
- Fresh cilantro and lime wedges for serving
Instructions
- Heat 2 tablespoons of coconut oil in a large skillet over medium heat. Sauté 1 small chopped red onion for about 3 minutes until soft. Then, add 2 minced garlic cloves and 1-inch grated ginger, cooking for another minute until fragrant.
- Stir in 1½ tablespoons of curry powder, 1 teaspoon of ground cumin, and ½ teaspoon of turmeric. Cook for 1 minute to release the flavors.
- Pour in a 14-ounce can of coconut milk and 1 cup of vegetable broth, mixing well.
- Add 3 cups of mixed frozen vegetables and a 15-ounce can of drained and rinsed chickpeas. Bring to a simmer, then reduce the heat to maintain a gentle simmer.
- Let the curry cook for about 8-10 minutes, or until the vegetables are tender.
- Season with salt and pepper to taste.
- Serve hot, garnished with fresh cilantro and a squeeze of lime juice. This curry goes well with rice or flatbread.
Nutrition (Estimate per Serving)
Calories: 178kcalCarbohydrates: 24gProtein: 5gFat: 9gSaturated Fat: 6gPolyunsaturated Fat: 1gMonounsaturated Fat: 1gSodium: 303mgPotassium: 393mgFiber: 7gSugar: 2gVitamin A: 7086IUVitamin C: 17mgCalcium: 59mgIron: 2mg
Vegan-ize any recipe!Grab our free vegan cheat sheet, packed with my favorite easy substitutions to make any recipe vegan.
Vegan Christmas Cookies

These Vegan Christmas Cookies are packed full of holiday cheer. Simple vegan sugar cookies are topped with a homemade dairy-free icing. And they're fun and easy to make as a family!

I have created so many vegan cookie recipes for the blog over the years. There's everything from chocolate crinkle cookies to vegan thumbprint cookies to chickpea chocolate chip cookies.
But it wasn't until this holiday season, that I realized I was seriously lacking a simple vegan Christmas cookie recipe!
So here it is - the easiest and most delicious Vegan Christmas Cookies you'll ever make. These simple vegan sugar cookies are perfect for making with kids over the holidays, and are easy to pull together in just 30 minutes (plus time for the dough to chill).
So let's get baking!
And if you're here planning your holiday menu, don't forget to check out our new Vegan Thanksgiving and Vegan Christmas cookbooks!
The Ingredients
These vegan Christmas cookies are simple to pull together. In fact, you probably have most of these ingredients in your pantry already.
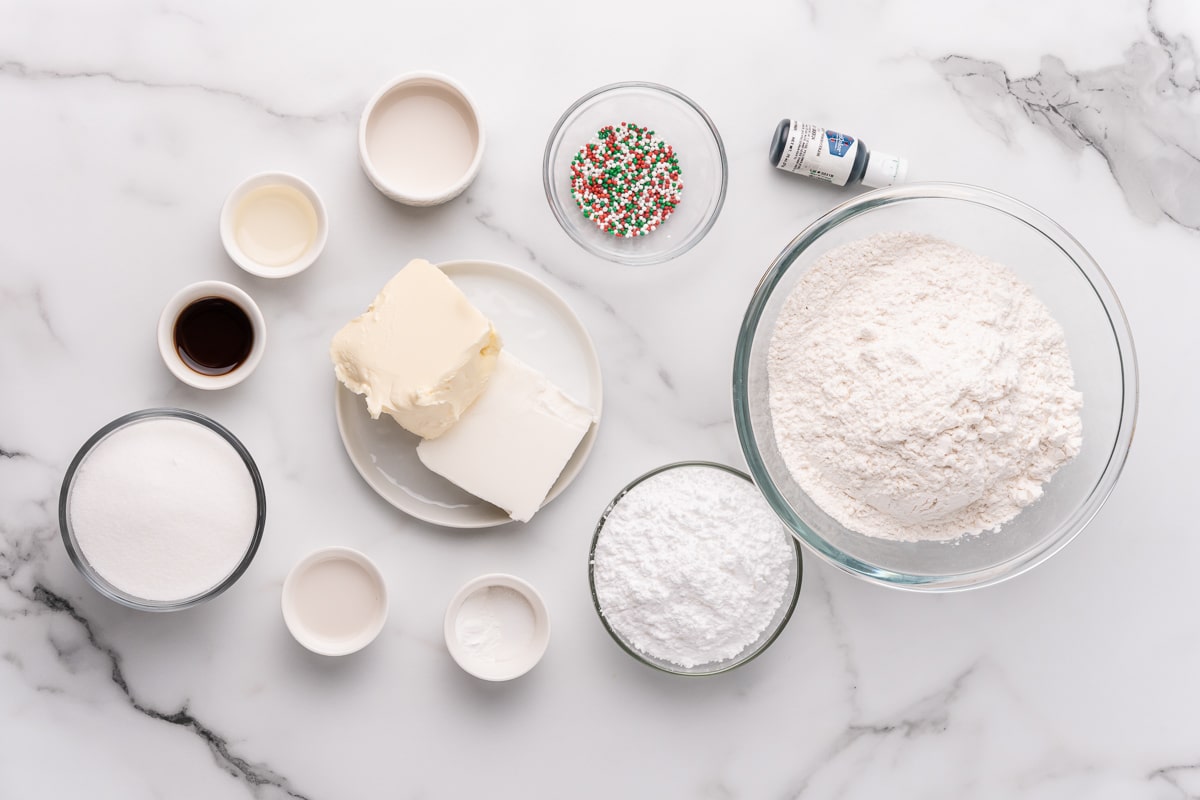
For the vegan sugar cookie dough, you'll need:
All Purpose Flour. Or you can use a gluten free baking flour.
Vegan Butter. I use Earth Balance.
Vegetable Shortening. Crisco Vegetable Shortening is accidentally vegan!
Sugar. Choose organic to ensure it is vegan.
Almond Milk. Or other plant based milk of your choice.
Vanilla Extract.
Baking Powder.
Salt.
For the vegan icing, you'll need:
Powdered Sugar.
Almond Milk. Or other plant based milk.
Corn Syrup.
Food Coloring. I used these gel food colorings.
Sprinkles! Any kind you like. These holiday sprinkles are vegan friendly.
See recipe card for detailed measurements and instructions.
Other Equipment You'll Need
These Christmas cookies are pretty simple, but there are a few key items that will make your life a lot easier:
Cookie Cutters. I used Christmas tree shaped cookie cutters!
Parchment Paper. For lining the baking sheets, so your cookies don't burn on the bottom or stick to the pan.
Rolling Pin. Obviously essential.
Cooling Rack. Nice to have, but optional. I have these inexpensive ones.

Making the Vegan Cookies
Start off by preparing the cookies themselves. We will use a simple vegan sugar cookies recipes as the base for our Vegan Christmas Cookies.
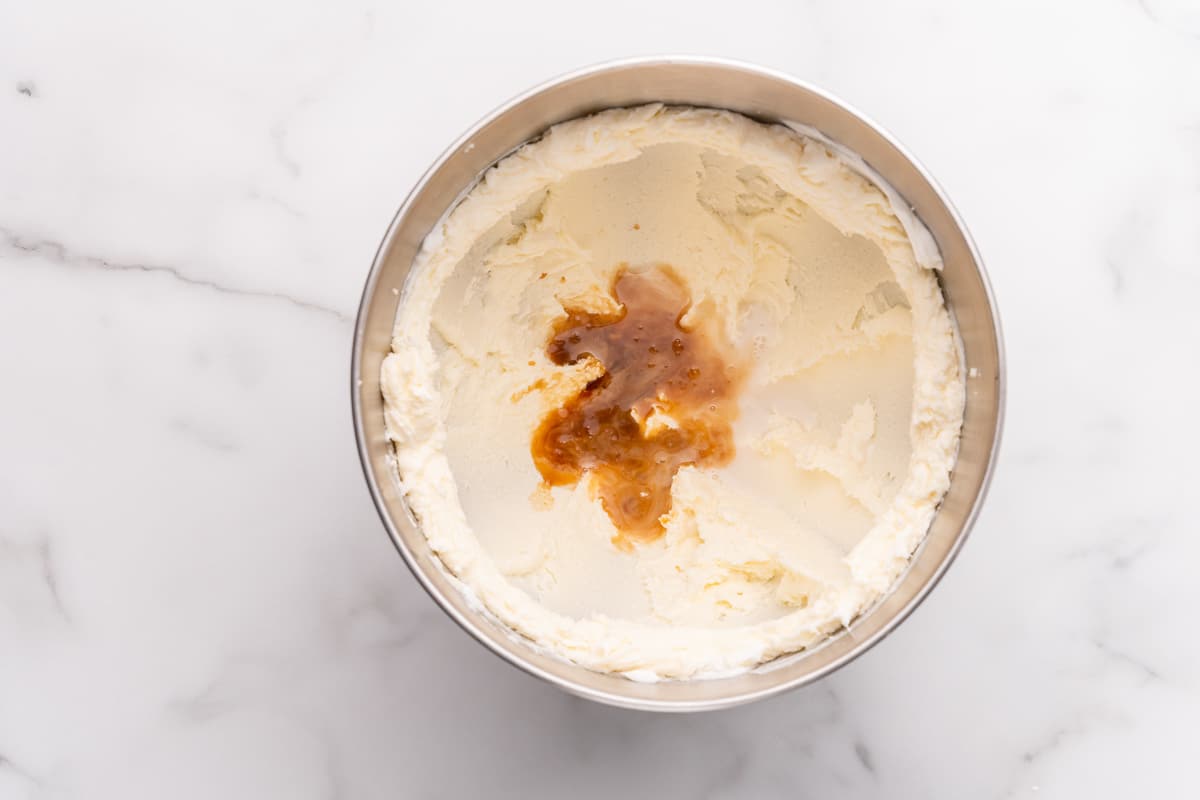
Cream together the vegan butter, shortening, and sugar. Add the almond milk and vanilla and mix. The mixture should be light and fluffy!

Add the dry ingredients - baking powder, salt, and flour. Mix until dough forms. Pause here and refrigerate the dough for at least one hour.
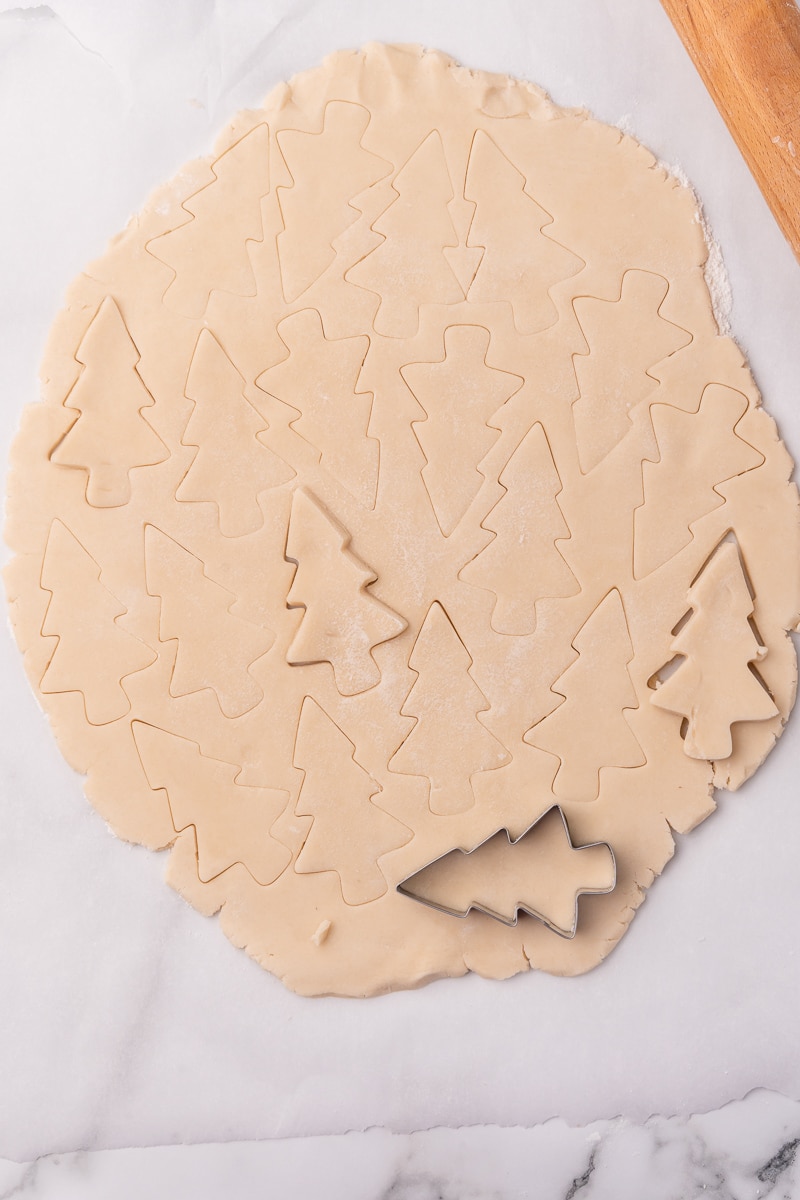
Roll out dough into a ¼" thick sheet. Use cookie cutters to cut out your Christmas trees - or any holiday shapes you like!

Arrange on a parchment lined baking sheet. Bake the cookies at 350 degrees Fahrenheit for 8-10 minutes.

Important Tip!
Let the baked cookies cool completely on a cooling rack before topping them with icing. Trust me - don't get impatient. If you ice the cookies while they are warm, the frosting will melt!
Making the Vegan Icing
While the cookies are cooling, you can get started preparing the simple vegan icing, which we will use to frost the Christmas cookies!
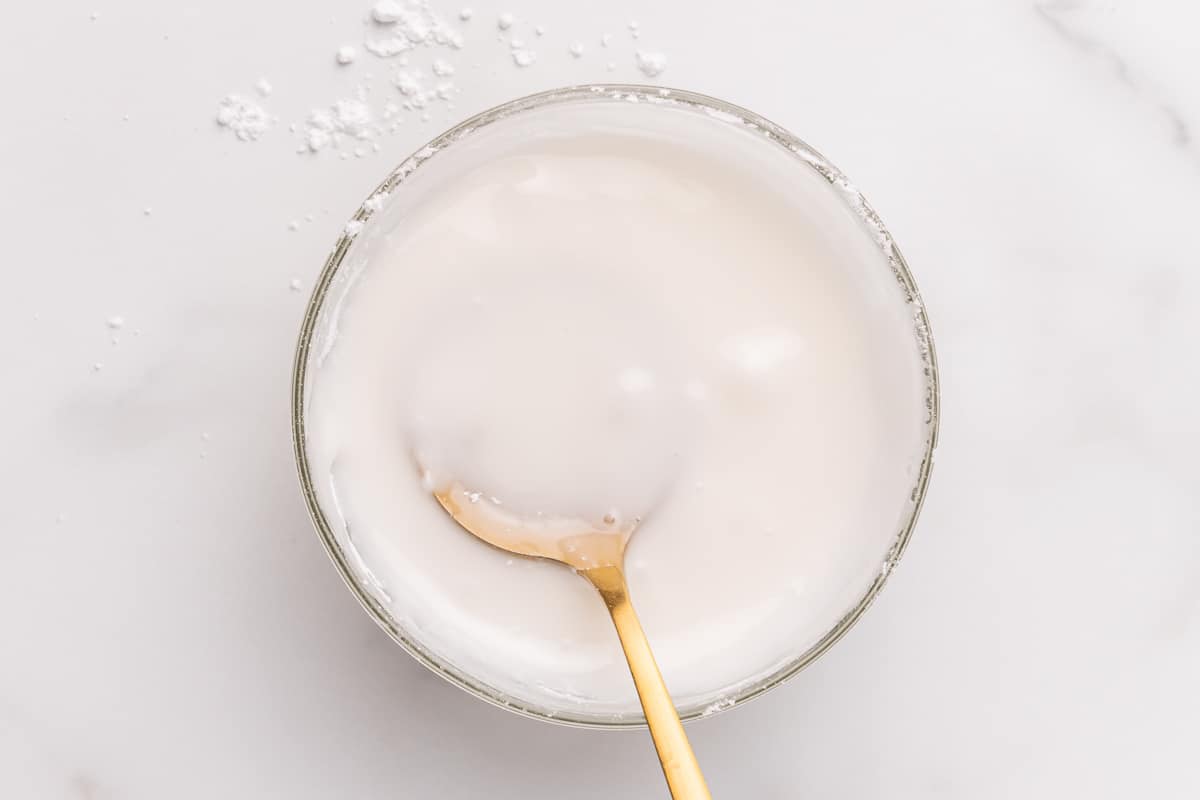
Mix together the powdered sugar, almond milk, and corn syrup to make the vegan icing.
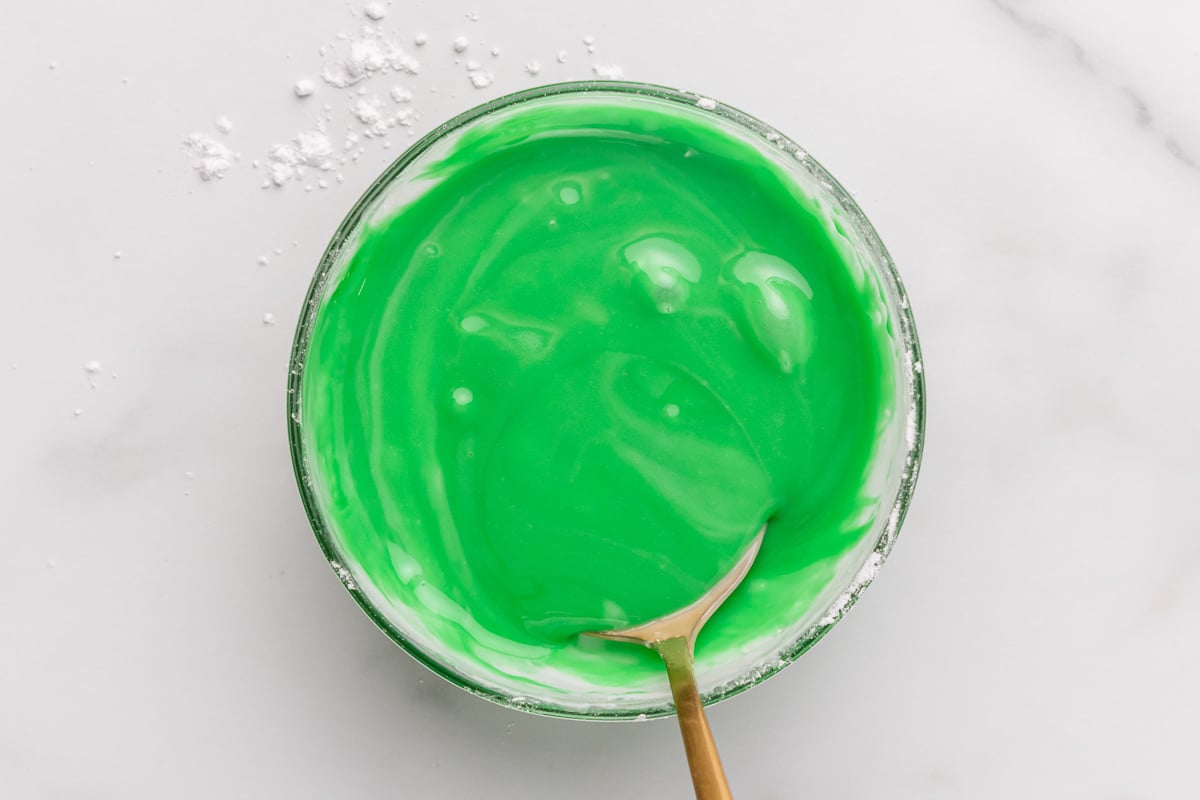
Add a few drops of food coloring. If you want to make several colors - simply divide the icing into smaller bowls and color each one!
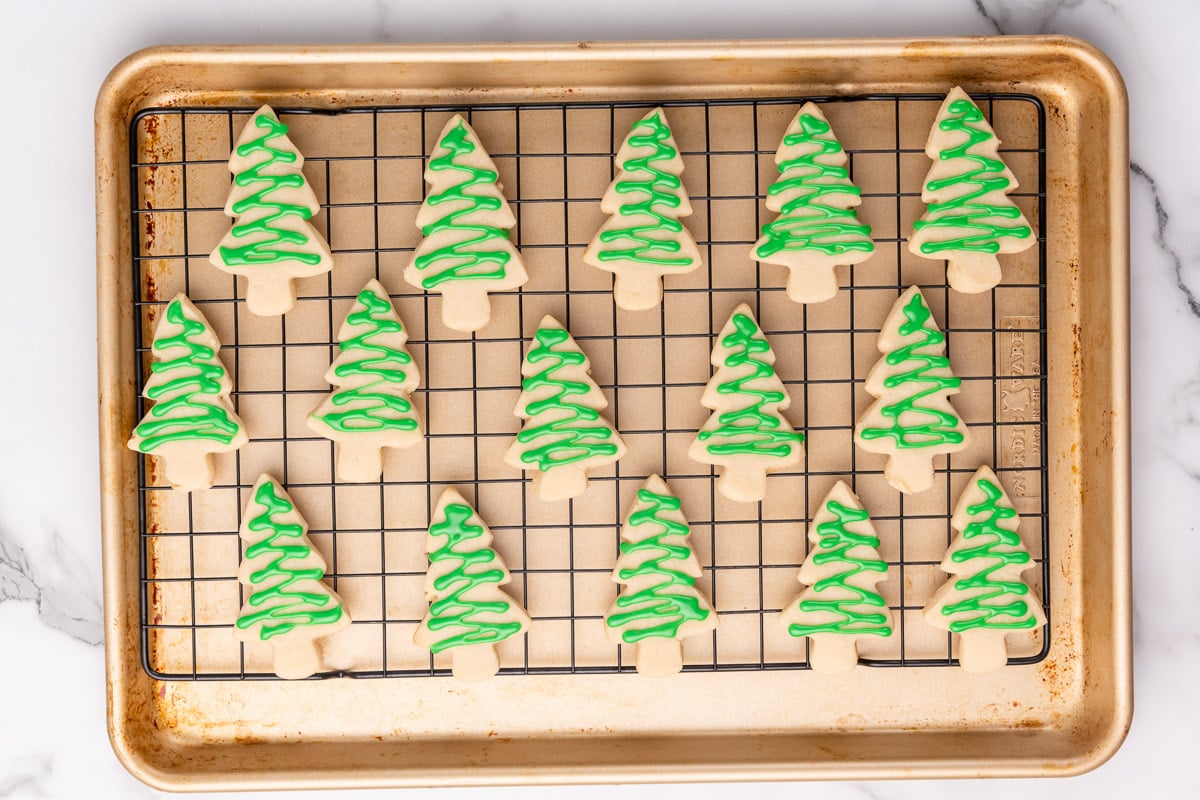
Add icing to the vegan cookies! I used green icing to decorate my Christmas tree shaped cookies.

Add additional decorations like colorful sprinkles to finish off the Vegan Christmas Cookies!
And there you have it - beautiful and festive vegan Christmas Cookies that are so easy the kids could make them!

Fun Variations
Make it gluten free. To make gluten free vegan Christmas cookies, just substitute a gluten free baking flour.
Sandwich cookies. Simply sandwich two cookies together, with a layer of jam or chocolate in between. Try it with this vegan strawberry jam!
Chocolate dipped cookies. Melt some vegan chocolate chips in the microwave in a small microwave-safe bowl. Dip half of the cookie into the chocolate, decorate with sprinkles, and set it aside to cool.
Mix up the shapes and colors! Make multiple icing colors and a variety of holiday themed shapes. Thing candy canes, stockings, and gingerbread men. You can even decorate with crushed candy canes - yum.

More Vegan Treats
If you love these Vegan Christmas Cookies, be sure to check out these other holiday ideas:
And for the easiest holiday yet, don't forget to check out my complete Vegan Christmas cookbook!
Recipe

Vegan Christmas Cookies
These Vegan Christmas Cookies are packed full of holiday cheer. Simple vegan sugar cookies are topped with a homemade dairy-free icing. And they're fun and easy to make as a family!
Print
Pin
Save
Servings: cookies
Equipment
- cooling rack optional
Ingredients
Cookie Dough:
- ½ cup vegan butter
- ¼ cup vegetable shortening
- ¾ cup sugar organic
- 3 tablespoons almond milk
- 1 teaspoon vanilla extract
- 1 teaspoon baking powder
- ½ teaspoon salt
- 2 ¼ cups all purpose flour
Icing:
- 3 cups powdered sugar
- 2-3 tablespoons almond milk
- 1 tablespoon corn syrup
- Food coloring colors of your choice
- Christmas Sprinkles of your choice!
Instructions
- In a large bowl, cream together the butter, vegetable shortening, and sugar until light and fluffy
- Add the almond milk and vanilla extract and beat again
- Add in the baking powder, salt an half the flour and mix well; then add the remaining flour and mix until smooth
- Flatten dough into a disk, wrap with plastic, and allow to chill in fridge for at least 1 hour
- Preheat oven to 350 F, remove dough from fridge and roll out until ¼" thick, use cookie cutters to make various shaped cookies, then transfer to a parchment lined baking sheet
- Bake for 8-10 minutes, then remove from oven and allow to cool for 5 minutes before transferring to a wire rack to completely cool
- Meanwhile, prepare the frosting but mixing together the powdered sugar, almond milk and corn syrup until smooth; divide into smaller bowls and tint with the food coloring if desired
- Decorate cooled cookies with the frosting and sprinkles, allow for 8 hours for the frosting to harden
Nutrition (Estimate per Serving)
Calories: 280kcalCarbohydrates: 49gProtein: 2gFat: 9gSaturated Fat: 2gPolyunsaturated Fat: 2gMonounsaturated Fat: 3gTrans Fat: 0.5gSodium: 163mgPotassium: 23mgFiber: 1gSugar: 35gVitamin A: 288IUCalcium: 25mgIron: 1mg
Vegan-ize any recipe!Grab our free vegan cheat sheet, packed with my favorite easy substitutions to make any recipe vegan.
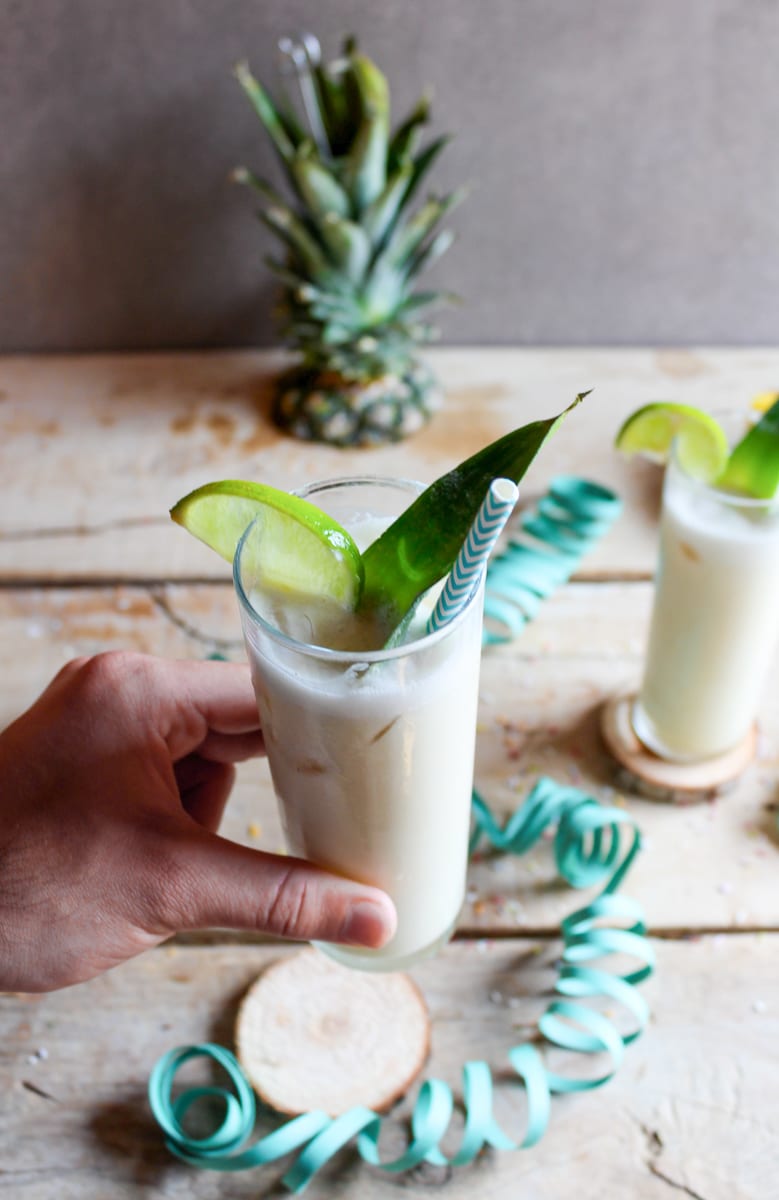
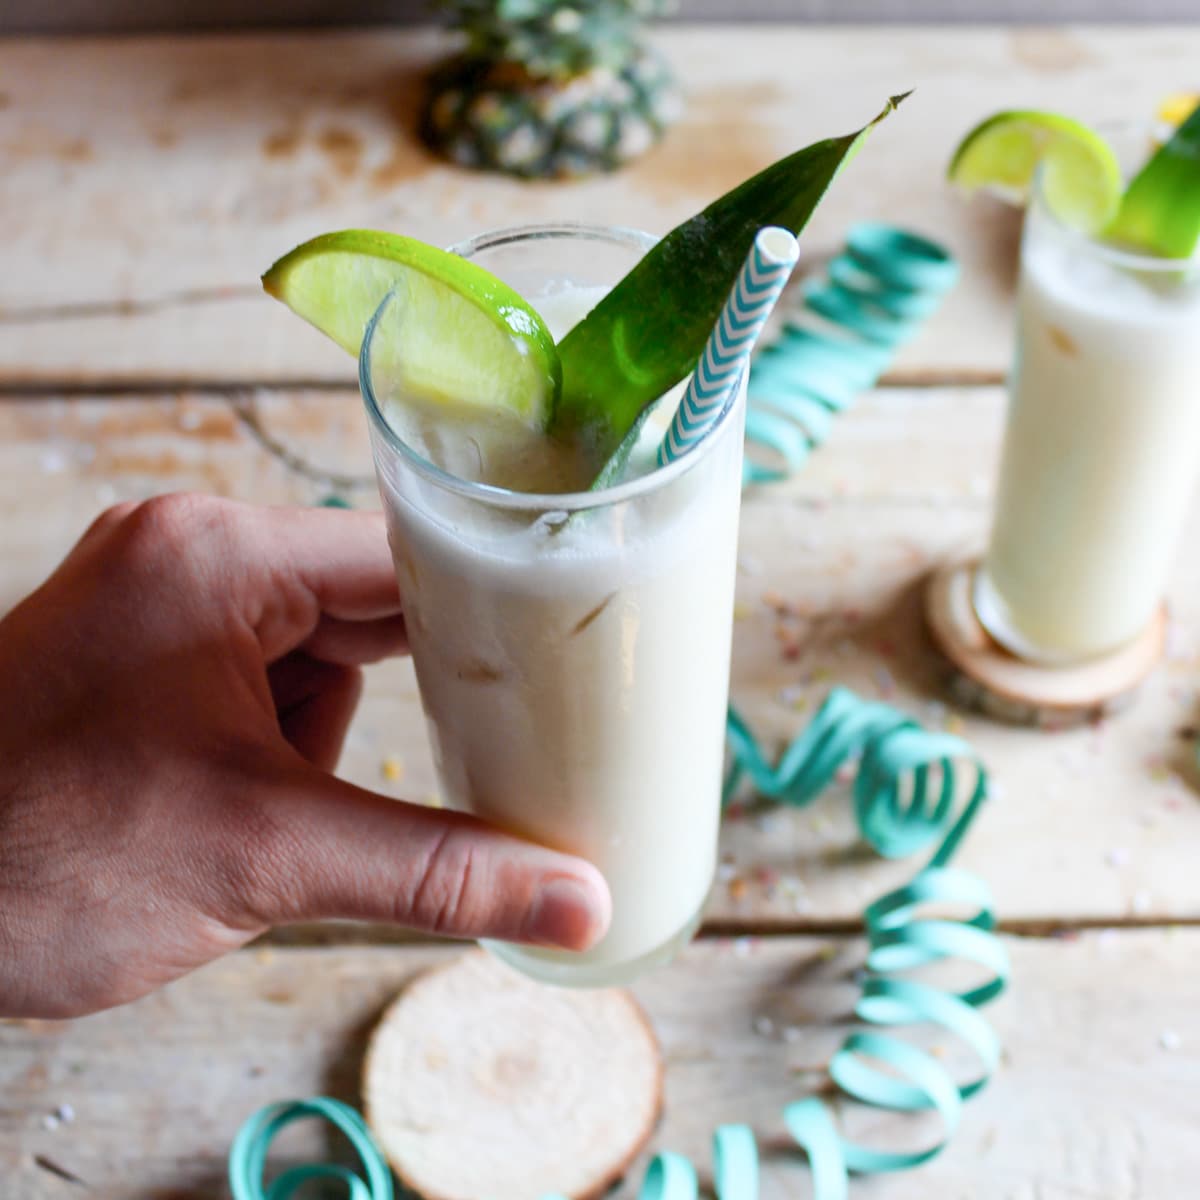
Vegan Pina Colada

Vegan Pina Colada takes literally minutes to whip up. This creamy pineapple and coconut drink is ready to be sipped on in no time. This tropical paradise cocktail is made with rum and is vegan, gluten free, and dairy free.
Try out this pina colada green smoothie for a breakfast idea for those busy mornings. Another pina colada recipe are these pina colada squares, a sliceable dessert the whole crew will enjoy.
This Vegan Pina Colada Recipe Is...
- Vegan
- Gluten Free
- Dairy Free
- 5 Minute Drink
- Alcoholic
- Can Be Made As Mocktail
How to Make A Pina Colada
Full steps on how to make a pina colada are in the printable recipe card at the bottom of the post. This is a quick walk through on how it is made.
- Add all the ingredients into the blender.
- Blend until smooth and creamy.
- Pour into a glass and serve over ice.
Helpful Tips For Making Pina Colada
High Speed Blender
Make sure that you are using a high speed blender. This is going to ensure the mixture really blends well together. Plus the higher speed will break down the frozen pineapple chunks in the recipe.
Frozen Pineapple
Make sure your pineapple is frozen, or it will alter the texture of your cocktail. Just place pineapple on a lined baking sheet and freeze for 1-2 hours. Do a single row of pineapple to ensure it evenly freezes. Or buy pre-frozen pineapple to cut a corner of prep.
Variations to Pina Colada Recipe
Rum
I used a dark rum for this recipe. But you are welcome to swap it out with a lighter rum if you want. Or even try out vodka for another twist.
Coconut Shavings
Consider adding on some coconut shavings to the top of your drink to showcase the coconut in the drink. You could even blend some coconut up with the pineapple mixture. It will be a bit chewy when you sip.
Coconut Ice Cream
If you want to give this a sweeter flavor, swap the coconut cream with coconut ice cream that is dairy free. This is going to enhance the flavors even more and it offers a creamier texture.
Pina Colada FAQs
Are pina coladas healthy?
You will find that depending on the ingredients used it depends. Some recipes will use a lot of pineapple, coconut cream, and such, which does add in sugar, calories, etc. So use your judgement on brands of each item you need.
Can I make this cocktail ahead of time?
I find it is best to serve this up right before you are going to enjoy it. That way it doesn't melt and break down too much and dilute the flavor of the drink.
Does this recipe double well?
Go right ahead and make as many of these cocktails as you want. Just make as much that fits in your blender. If you want more then just batch mix up the pina colada mixture then pour in glasses and serve.
What can I use instead of a simple syrup?
If you would like you can swap the simple syrup out with a maple syrup. You use the simple syrup to help sweeten up the drink. So just reach for a maple syrup to swap in, if you prefer. The sweeten to your preference.
How to adjust the thickness of the cocktail?
Add more liquid to thin up the pina colada. Or to thicken it toss in extra frozen pineapple. Then mix and adjust the ingredients as needed.
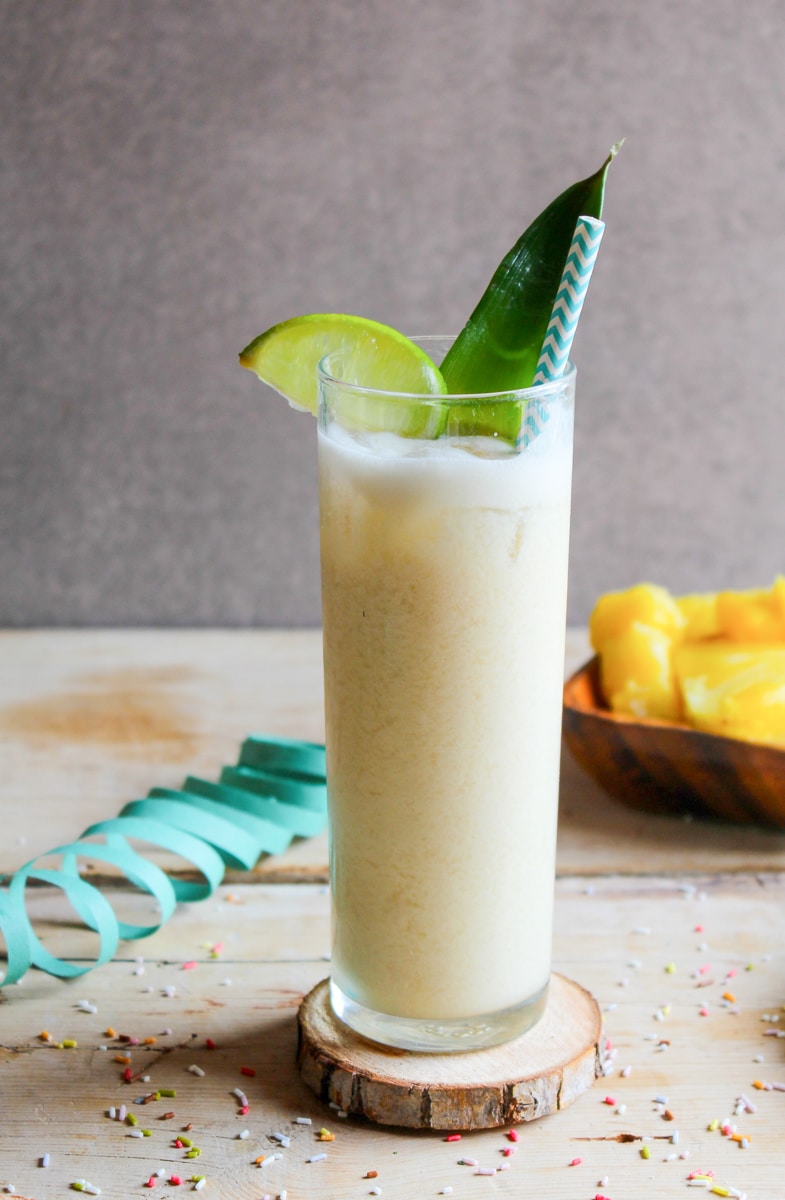
Recipe

Vegan Pina Colada
This Vegan Pina Colada is the perfect summer cocktail. Packed with flavor from tangy pineapple and creamy coconut - and ready in just 5 minutes!
Print
Pin
Save
Servings: servings
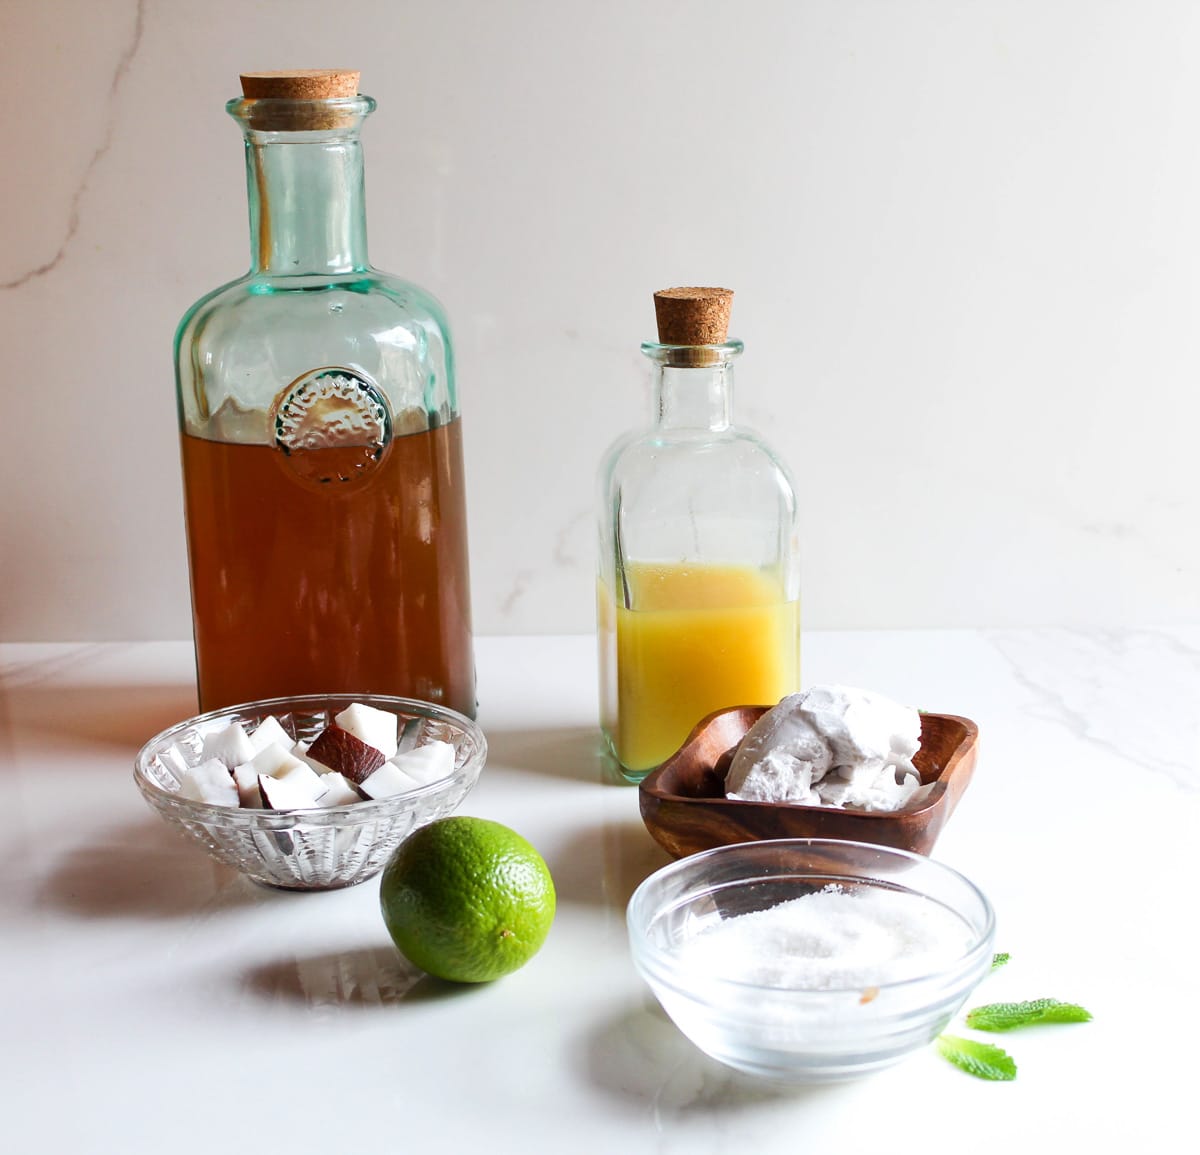
Ingredients
- 1 cup dark rum
- 1 cup pineapple juice
- 1 ½ cups coconut cream canned
- ¼ cup lime juice
- ⅓ cup simple syrup
- 3 cups frozen pineapple chunks
- 2 ½ cups ice
Instructions
- Combine all ingredients in a high speed blender.

- Blend until the mixture is smooth and creamy. If you have trouble getting it to blend, add a bit more liquid to the mix.
- Taste and adjust as desired. If it's not sweet enough for your liking, add additional simple syrup.
- Serve over ice.

Notes
- You can use coconut flavored rum or light rum in place of the dark rum if you prefer. The dark rum gives a richer flavor.
- If you prefer, you can substitute agave syrup or maple syrup in place of the simple syrup.
- You may use coconut milk instead of coconut cream, but will find it has a thinner consistency.
- Try garnishing your vegan pina colada with fresh coconut shavings, pineapple slices, or lime wedges.
Nutrition (Estimate per Serving)
Calories: 653kcalCarbohydrates: 63gProtein: 4gFat: 31gSaturated Fat: 28gPolyunsaturated Fat: 0.4gMonounsaturated Fat: 1gSodium: 31mgPotassium: 626mgFiber: 4gSugar: 52gVitamin A: 99IUVitamin C: 30mgCalcium: 56mgIron: 4mg
Vegan-ize any recipe!Grab our free vegan cheat sheet, packed with my favorite easy substitutions to make any recipe vegan.
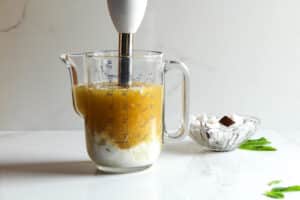
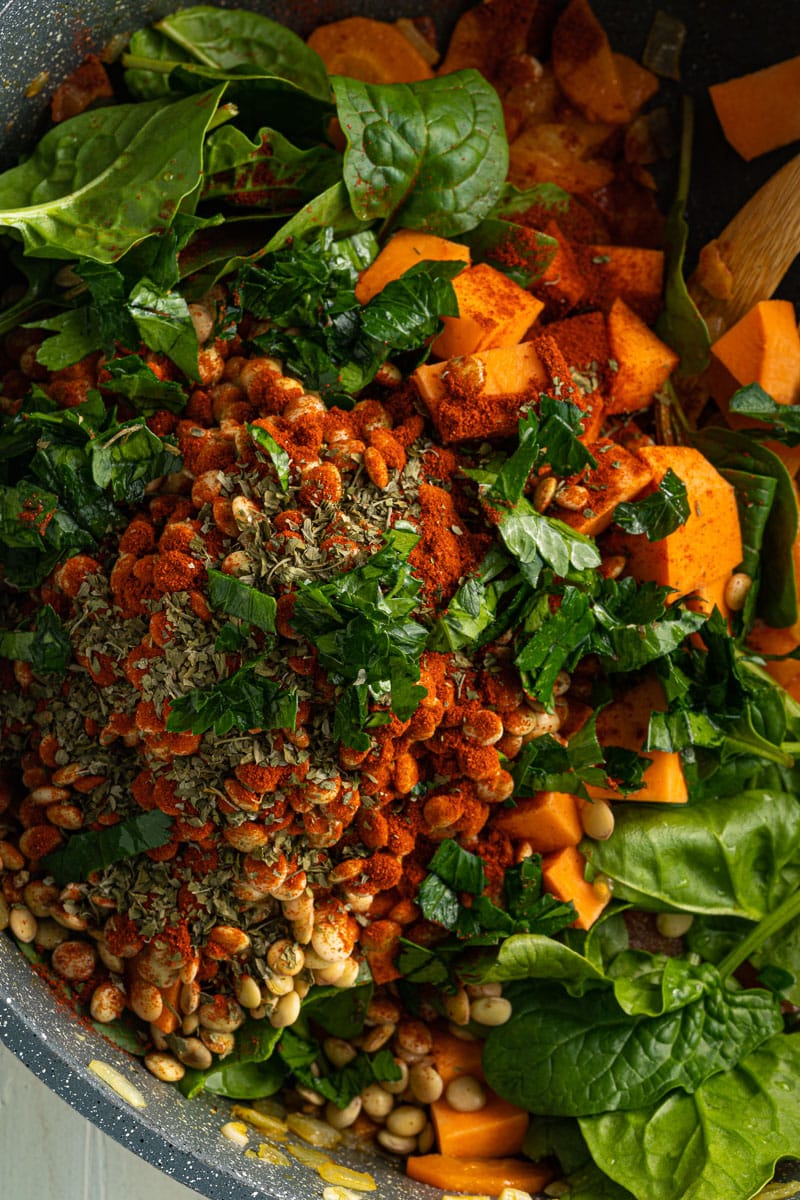
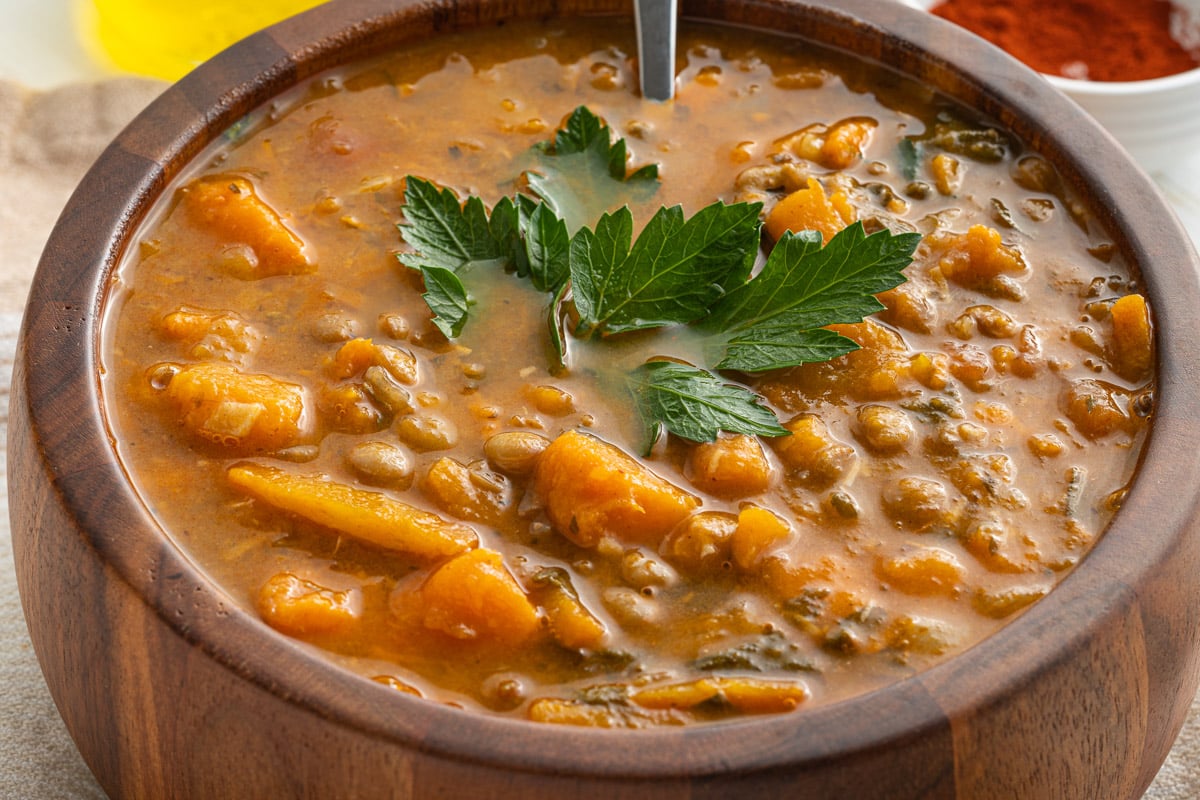
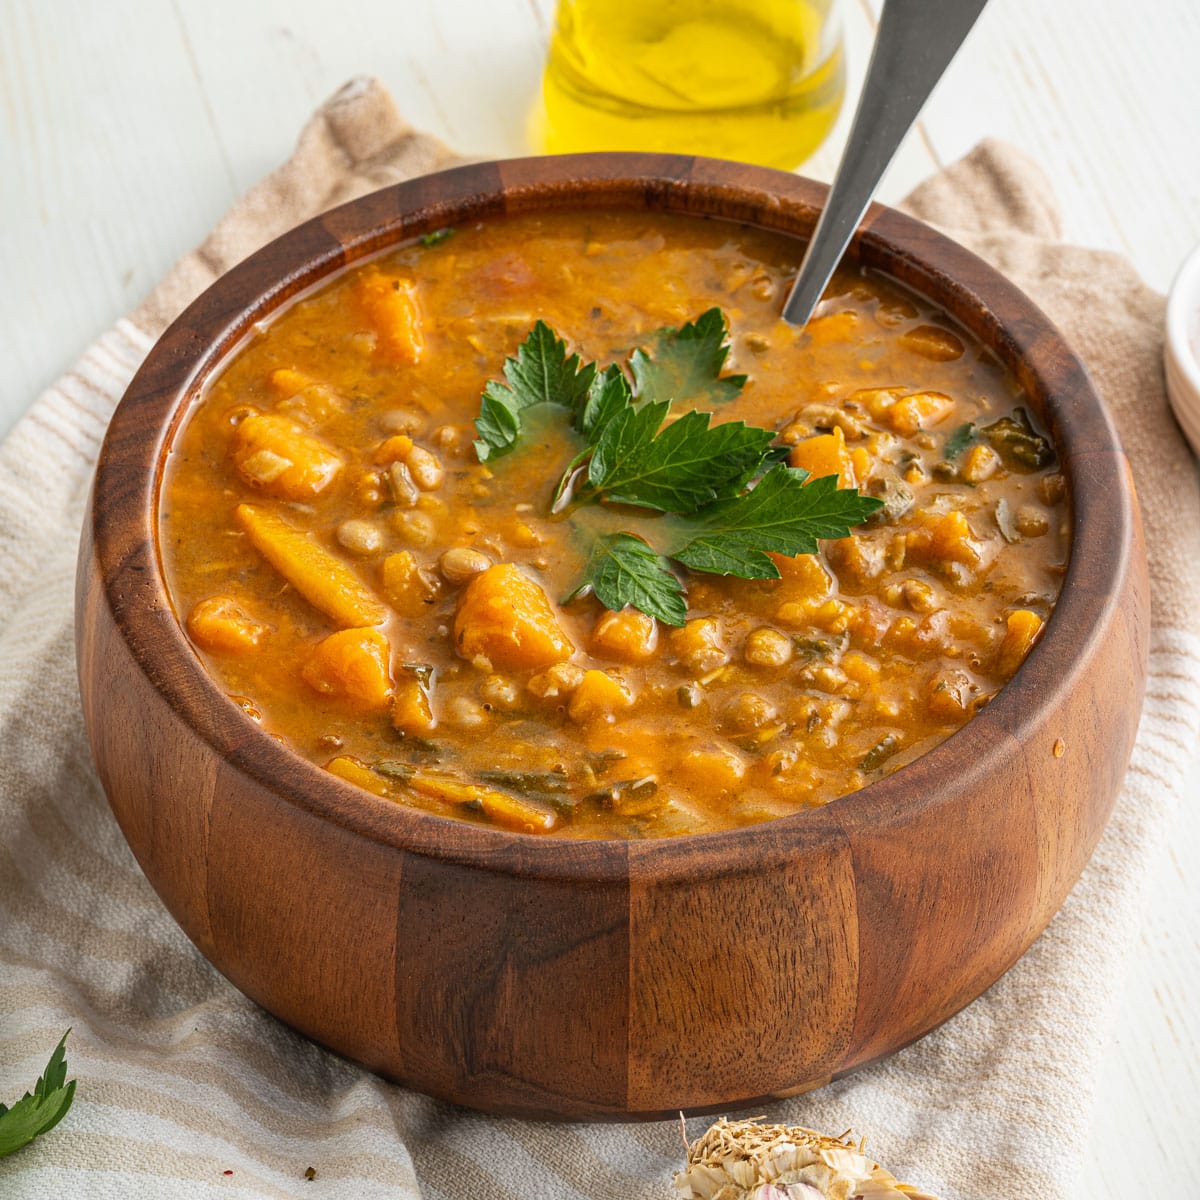
Sweet Potato Lentil Soup (Vegan & Vegetarian)

This Sweet Potato Lentil Soup is loaded with healthy flavor from hearty sweet potatoes, protein-packed lentils, and fresh tomatoes. Plus it's vegetarian, vegan, and ready in under an hour!
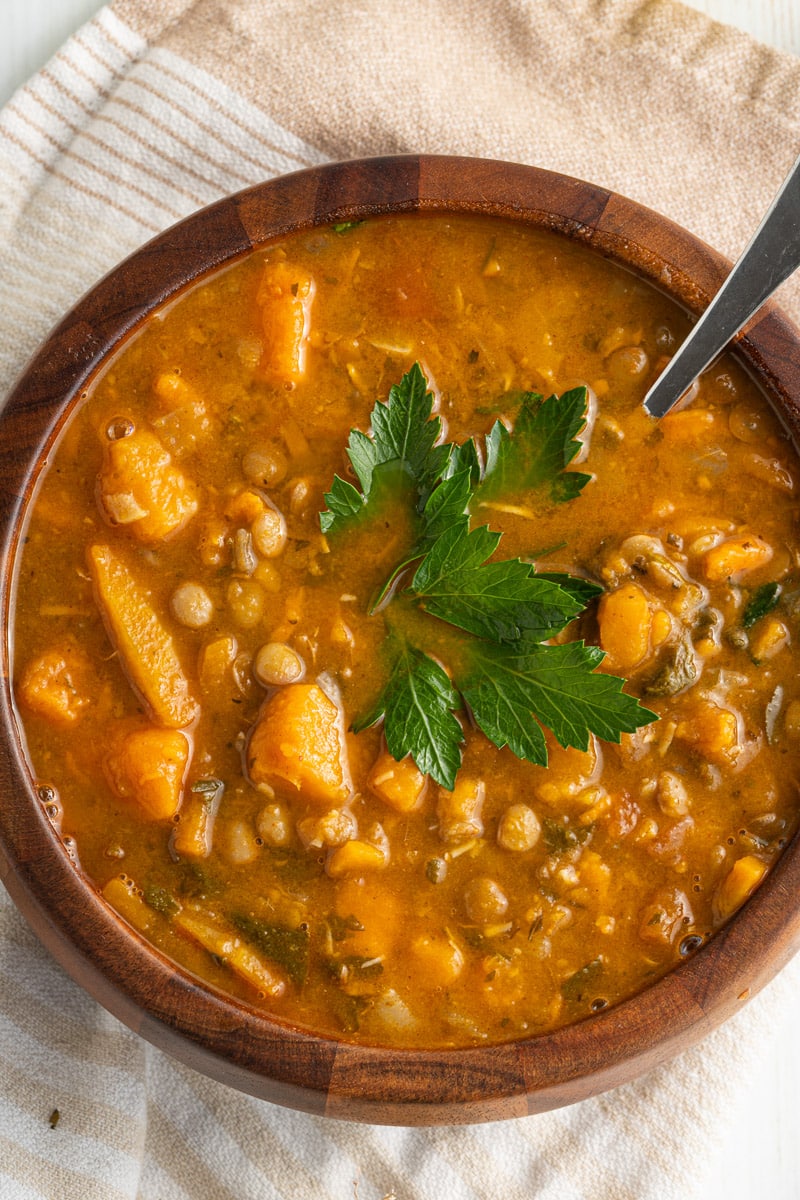
This vegan soup is one you can make and use to meal prep for lunches and dinners. Learn how easy it is to make this sweet potato soup.
Another delicious soup is this sweet potato chili, it is loaded with flavor. You might also want to try out my vegan stew. For a tasty side to pair with your soup try my quinoa bread rolls.
This Sweet Potato Lentil Soup Recipe Is...
- Vegan
- Vegetarian
- Dairy Free
- Nutrient Rich
- Meal Prep Friendly Recipe
How to Make Lentil and Sweet Potato Soup
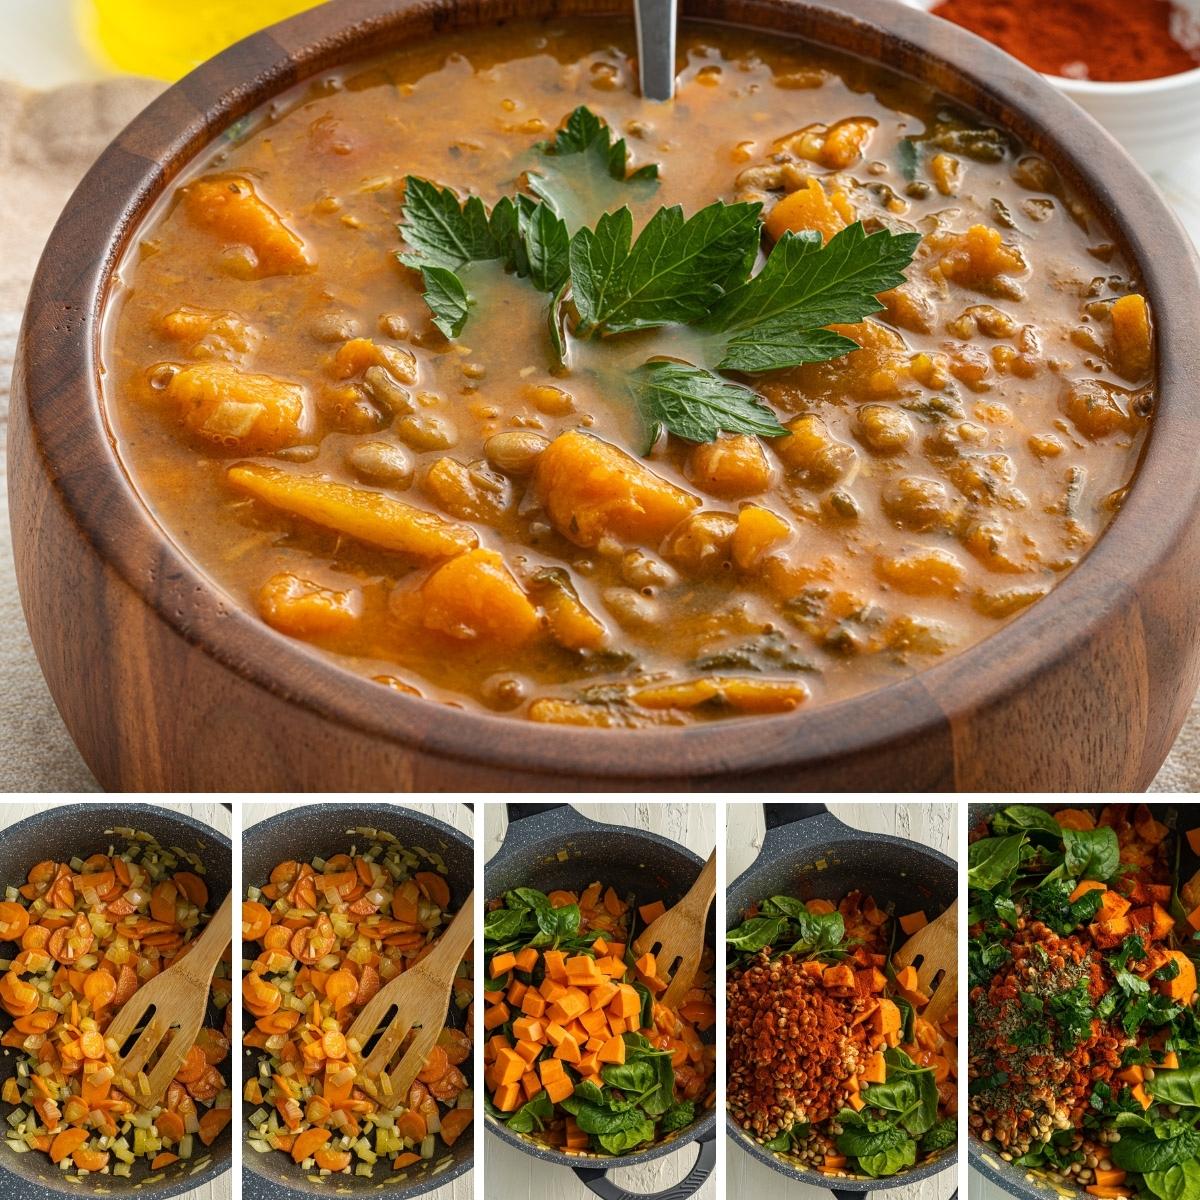
Full directions for this vegan lentil soup are in the printable recipe card at the bottom of the post. This is a quick walk through.
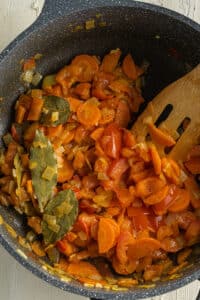
- Start by heating oil in a pot on the stove. Add in the carrots and saute till they are softened.
- Then add in the onion and garlic cooking until the onions are transluscent.
- Next add in the tomatoes and bay leaves and cook for a few minutes.
- Add in remaining ingredients, and bring the soup to a boil. Then reduce and simmer for 30 minutes or until the potatoes are fork tender.
- Serve and enjoy.
Helpful Tips for Sweet Potato Lentil Soup
Heavy Duty Pot
I recommend using a heavy duty pot like a Dutch oven as it will create an even heating on the soup. If you use a lighter pot you will find that hot spots can be created and the overall doneness of the soup can vary.
Cutting Up Vegetables
Aim to cut up your vegetables into bite-size pieces. It is also important to cut your vegetables into evenly cut pieces. That way all the potatoes and carrots are cooked evenly.
Variations To Sweet Potato Lentil Soup
Add More Spices and Herbs
As you can see I used just a handful of spices and herbs for this recipe. Feel free to adjust the spices to fit your flavor preference if you would like. This would also be delicious with some garam masala or curry powder, or some chili powder for extra spice.
Mix up the Vegetables
You are welcome to use any vegetables of your choosing to flavor your soup. You could peel and dice up a Russet or Yukon Gold potato. Or add in some corn or other vegetables to add more flavor. Use whatever is in season!
Try Kale
Instead of using spinach you could swap with kale. I prefer the flavor of spinach, but kale is a wonderful substitute and also super nutritious.
Sweet Potato Lentil Soup FAQs
How to make the soup creamier?
You can take out some of the soup and blend it up to puree it. This will then be poured back into the pot and stir to thicken. Or you can add in some coconut milk to add a creamy texture to the soup if you want.
How to store the sweet potato lentil soup?
This soup can be stored in the fridge in an airtight container for up to a week. This soup is wonderful for meal prepping for lunches or dinners.
Best way to warm up lentil and sweet potato soup?
You can warm it up in the microwave or even on the stovetop in a pan. Just heat on low heat and stir often or it will burn.
More Tasty Recipes
If you love this Lentil Sweet Potato Soup, be sure to check out these other delicious recipes:
Recipe

Sweet Potato Lentil Soup (Vegan & Vegetarian)
This Sweet Potato Lentil Soup is loaded with healthy flavor from hearty sweet potatoes, protein-packed lentils, and fresh tomatoes. Plus it's vegetarian, vegan, and ready in under an hour!
Print
Pin
Save
Servings: servings
Ingredients
- 1 cup dry lentils rinsed and drained
- 1 yellow onion peeled and finely chopped
- 1 sweet potato large, peeled and chopped into small cubes
- 2 carrots peeled and sliced
- 6 cups vegetable broth
- 2 tablespoon olive oil
- 3 garlic cloves minced
- 1 cup fresh spinach roughly chopped
- 2 to matoes chopped
- ½ teaspoon smoked paprika
- 4 bay leaves
- 1 teaspoon salt
- ½ teaspoon ground black pepper
- 1 teaspoon dried oregano
- ¼ cup fresh parsley chopped
Instructions
- Heat the olive oil in a large pot and add the sliced carrots. Sauté until slightly golden and softened, about 4-5 minutes.
- Add the onion and garlic and continue cooking for another 4-5 minutes. Until onion begins to soften and turn translucent.

- Add the chopped tomatoes and bay leaves. Cook for another 3-5 minutes.
- Add the sweet potato, fresh spinach leaves, lentils, smoked paprika, dried oregano, fresh parsley and vegetable broth.
- Bring the soup to a boil, then reduce heat and simmer for 30 minutes, or until the potatoes are tender.

Nutrition (Estimate per Serving)
Calories: 342kcalCarbohydrates: 55gProtein: 15gFat: 8gSaturated Fat: 1gPolyunsaturated Fat: 1gMonounsaturated Fat: 5gSodium: 2059mgPotassium: 1020mgFiber: 19gSugar: 11gVitamin A: 15552IUVitamin C: 24mgCalcium: 94mgIron: 5mg
Vegan-ize any recipe!Grab our free vegan cheat sheet, packed with my favorite easy substitutions to make any recipe vegan.
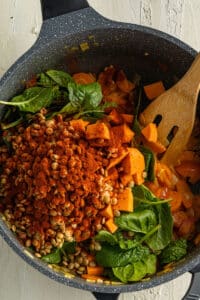
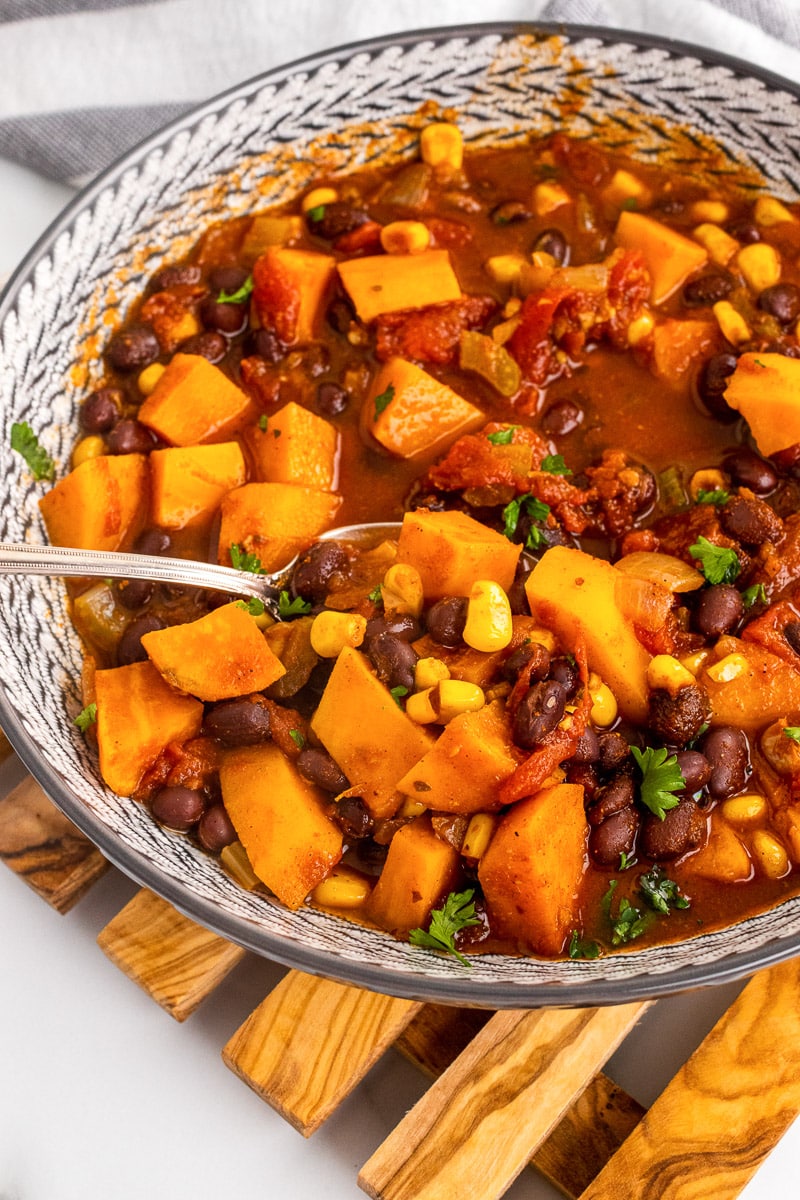
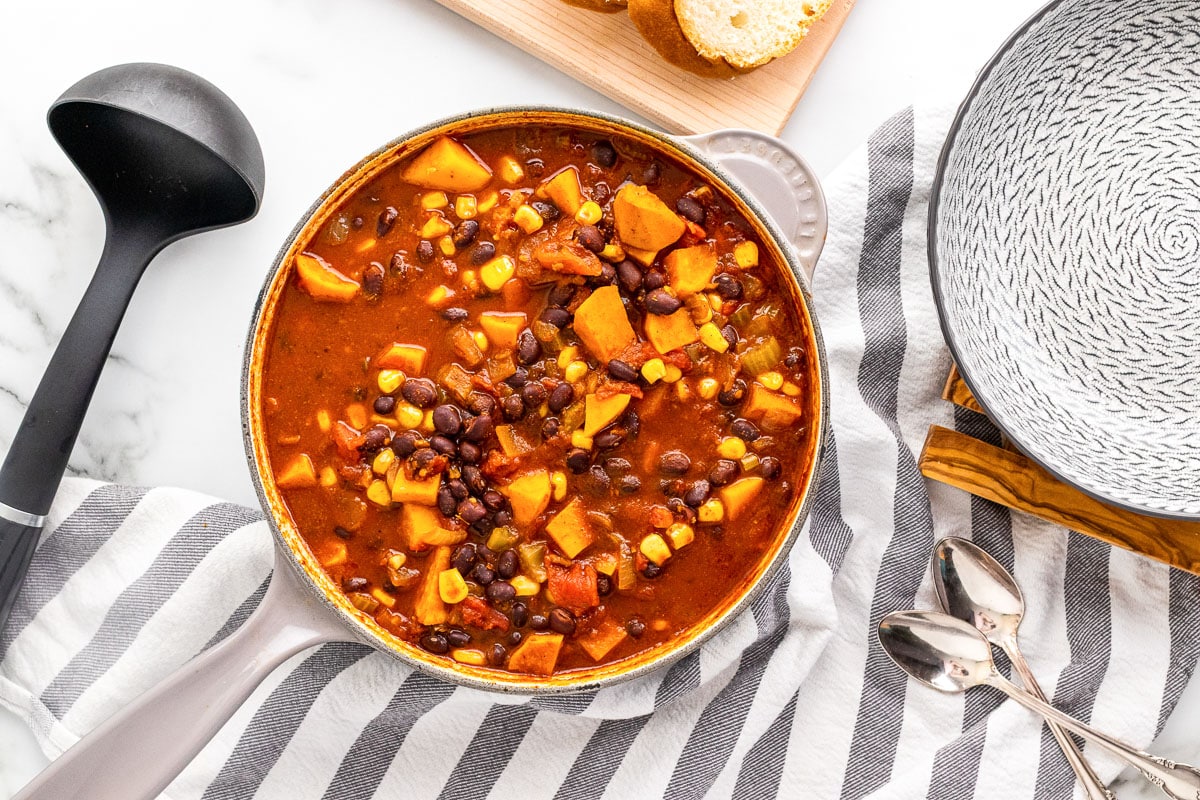
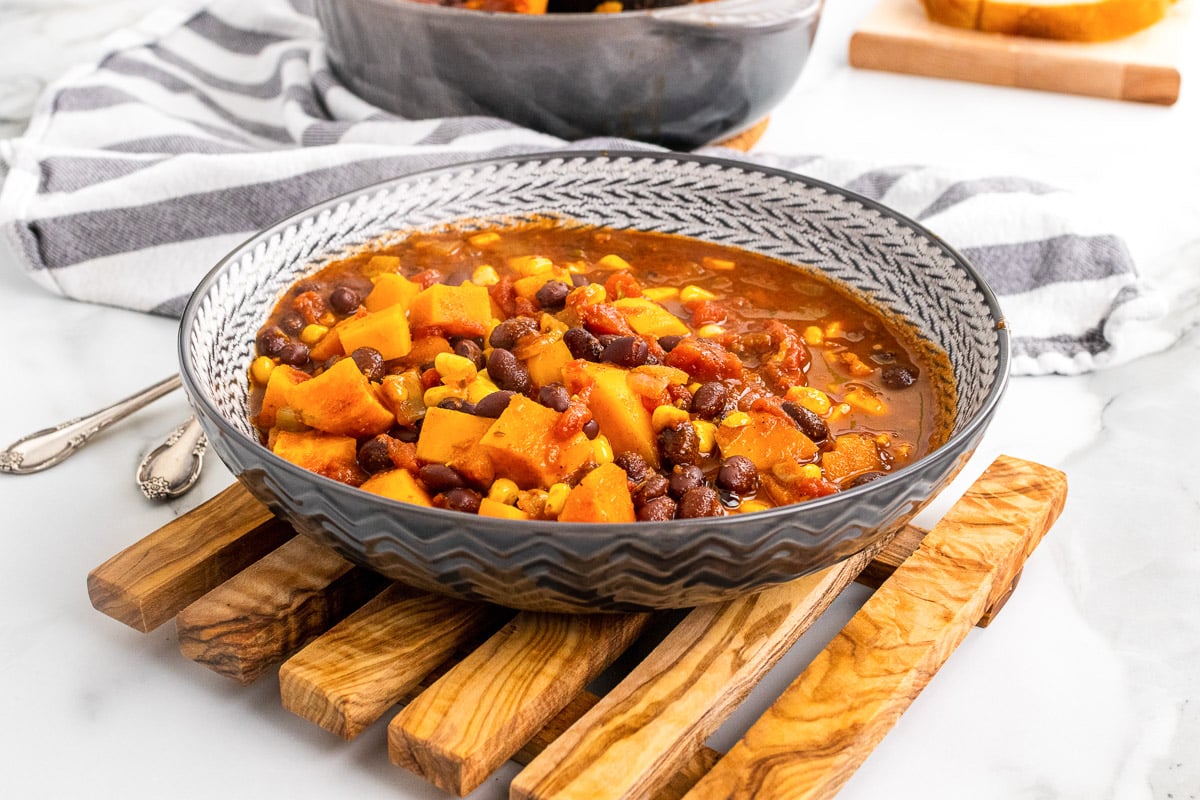
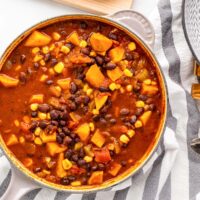
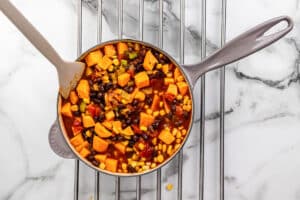
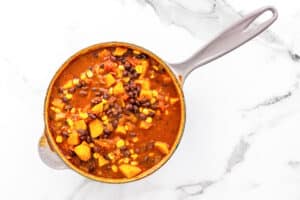
Sweet Potato Black Bean Chili
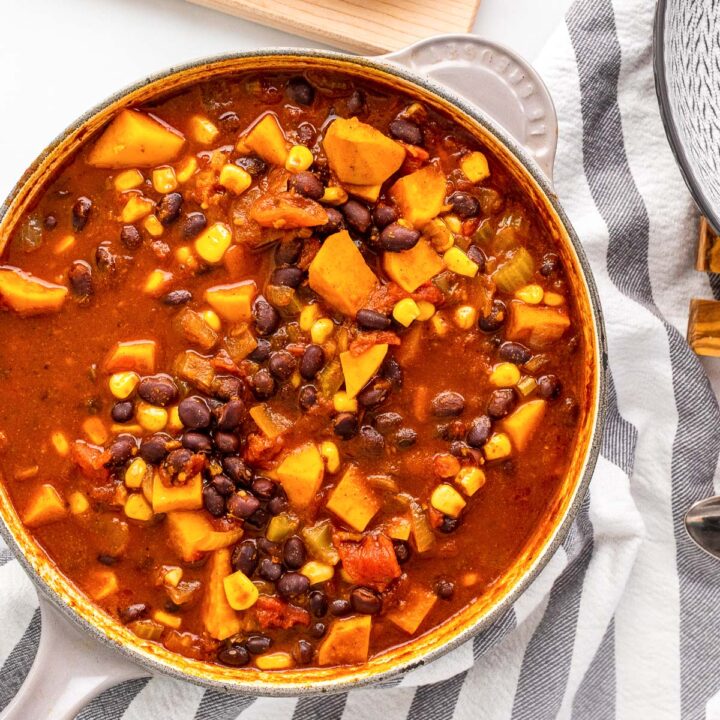
This Sweet Potato Black Bean Chili is loaded with healthy flavors from tender sweet potatoes, hearty black beans, and smoky spices. Plus, it's 100% vegan and easy to make in under an hour.
If there's one thing I always crave as soon as the weather starts cooling down, it's a big pot of chili. There's just something about a piping hot one-bowl dinner that makes me want to cozy up in front of the fireplace.
And this Sweet Potato Black Bean Chili is one of my all time favorites. It's so easy to throw together, packed with delicious flavors, and it's great for meal prep too!
This Sweet Potato Black Bean Chili recipe is...
- Full of flavor
- Packed with smoky heat
- Healthy
- Plant-based
- Vegetarian
- Good enough to impress a crowd
Helpful Tips
Dice your sweet potatoes evenly. This ensures they cook at the same rate and don't turn to mush. Aim for bite-sized pieces - not too chunky, not too small.
Don't skip the sauté. Cooking the onions, garlic, celery, and spices at the start builds a flavorful base. Give the spices a minute or two to bloom in the oil before adding liquids - it makes a difference.
Add broth gradually. Depending on how thick or soupy you like your chili, you can start with less broth and add more as it simmers. It's easier to thin it out than to fix a watery chili.
Let it simmer. Even though the chili comes together quickly, giving it at least 20-30 minutes to simmer helps the flavors meld together and the sweet potatoes fully soften.
Taste and adjust. Chili is one of those recipes that begs for a final taste test. Add more salt, a splash of lime juice, or a dash of hot sauce to finish - whatever makes it pop for you.
Meal Prep, Storing & Freezing Leftovers
This chili holds up like a champ, which makes it perfect for meal prep or cooking once and eating all week.
In the fridge: Store cooled chili in an airtight container for up to 5 days. The flavors actually get better over time, so leftovers are a win. Reheat on the stovetop over medium heat or in the microwave until warmed through.
In the freezer: Let the chili cool completely before transferring it to freezer-safe containers or resealable bags (lay them flat for easy stacking). It'll keep for up to 3 months. Thaw overnight in the fridge, then reheat as usual.
Pro tip: If you're freezing the chili in portions, label with the date and serving size so you're not guessing later. And leave a little space at the top of the containers - liquids expand as they freeze.
Serving Suggestions
This chili is hearty enough to stand on its own, but a few simple add-ons can take it from a basic bowl to something a little more fun (or dinner party-worthy, if that's your thing).
- Add Toppings: Classic chili toppings work great here - think avocado slices, a dollop of vegan sour cream or plain dairy-free yogurt, dairy-free cheese shreds, chopped cilantro, green onions, jalapeño slices, or a squeeze of lime juice for brightness.
- Cornbread on the side: You can't go wrong with a warm piece of vegan cornbread (or corn chips if you're keeping it casual). It's the perfect contrast to the smoky-sweet chili.
- Over rice or quinoa: Stretch your servings by spooning the chili over cooked grains. It makes for a super satisfying, protein-packed meal.
- Stuffed in a baked potato: For a comfort food twist, load it into a baked russet or sweet potato and pile on your favorite toppings.
- Taco night twist: Use the chili as a filling for tacos or burritos, especially with some shredded lettuce, diced tomatoes, and a little hot sauce.
Fun Variations to Try
Add greens: Stir in a few handfuls of chopped kale, spinach, or Swiss chard during the last 5 minutes of cooking. It's an easy way to add color and a boost of healthy greens.
Make it spicier: If you like heat, add a chopped chipotle pepper in adobo sauce, a pinch of cayenne, or extra jalapeño. You can also finish each bowl with your favorite hot sauce.
Use different beans: No black beans? No problem. Pinto beans, kidney beans, or even chickpeas all work well here - or mix a few together for a little variety.
Bulk it up with grains: Stir in cooked quinoa, brown rice, or bulgur for an even heartier chili. Lentils would also be a great addition. It's especially great if you're serving a crowd or stretching leftovers.
Try roasted sweet potatoes: For extra flavor, roast the sweet potatoes in the oven before adding them to the chili. It adds a slightly caramelized edge and changes the texture in a good way.
Make it smoky: Adding a dash of smoked paprika or a splash of liquid smoke can deepen the flavor if you want a more pronounced smoky note without adding spice.
More Vegan Recipes
If you're on the lookout for some other hearty, vegetarian dinner ideas, consider trying a few of our favorites:
- Old-Fashioned Vegan Stew
- Portobello Mushroom Steak
- Marinated Mushrooms with Wild Rice
- Smoky Lentil and Sweet Potato Chili
Recipe
Sweet Potato Black Bean Chili
This Sweet Potato Black Bean Chili is loaded with healthy flavors from tender sweet potatoes, hearty black beans, and smoky spices. Plus, it's vegan and vegetarian friendly!
Print
Pin
Save
Servings: servings
Ingredients
- 2 tablespoon olive oil
- 1 onion peeled and diced
- 3 cloves garlic peeled and minced
- 1 stalk celery minced
- 2 tablespoon tomato paste
- 2 tablespoon chili powder
- 2 teaspoon dried oregano
- 1 teaspoon ground cumin
- 1 teaspoon paprika
- 1 teaspoon salt
- 15 oz black beans canned, rinsed and drained
- 14.5 oz diced tomatoes with chilies
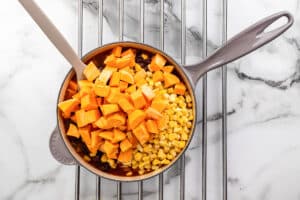
- 1 ½ cups sweet potato peeled and diced,
- 1 cup corn kernels fresh or frozen
- 1 cup vegetable broth homemade or store bought
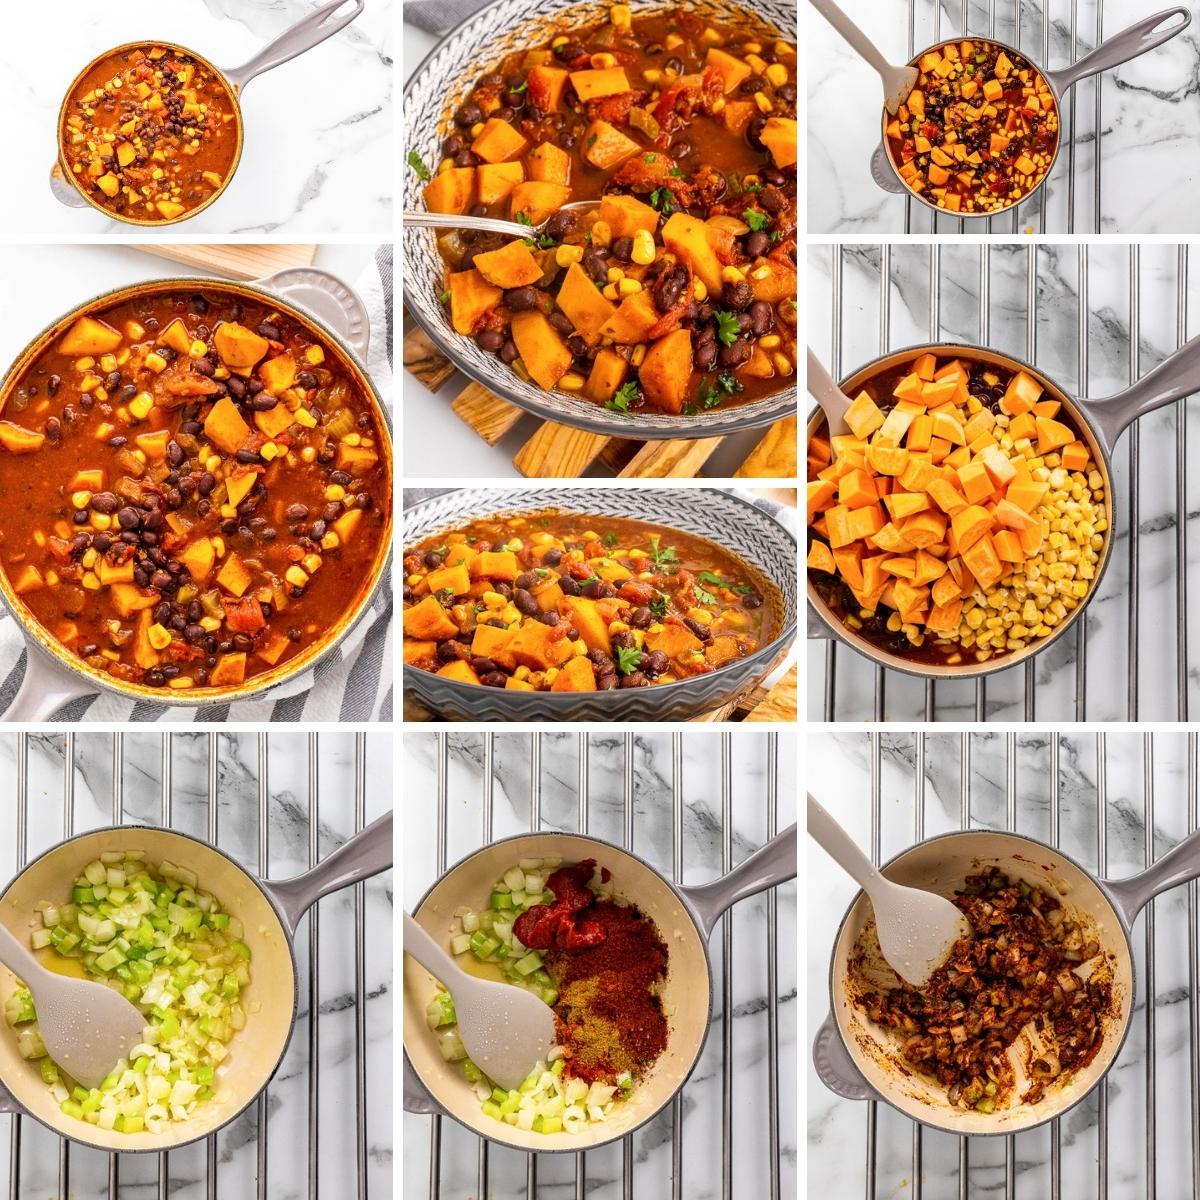
Instructions
- In a large pot, heat olive oil over medium heat. Add onion, garlic, and celery. Cook until veggies start to soften, about 4-5 minutes.

- Add in tomato paste, chili powder, oregano, cumin, paprika, and salt and cook an additional 1-2 minutes.

- Stir in the black beans, diced tomatoes, sweet potato, corn, and vegetable broth.
- Bring to a boil. When it reaches a boil, reduce heat to a simmer.
- Simmer for 45 minutes, or until the sweet potatoes are softened.
Nutrition (Estimate per Serving)
Calories: 221kcalCarbohydrates: 36gProtein: 9gFat: 6gSaturated Fat: 1gPolyunsaturated Fat: 1gMonounsaturated Fat: 4gSodium: 719mgPotassium: 701mgFiber: 10gSugar: 6gVitamin A: 5841IUVitamin C: 12mgCalcium: 86mgIron: 4mg
Vegan-ize any recipe!Grab our free vegan cheat sheet, packed with my favorite easy substitutions to make any recipe vegan.
Vegan Sugar Cookies
Soft, sweet, and delectably chewy, these Vegan Sugar Cookies are a show-stopper dessert! They are made with simple ingredients like unsweetened apple sauce, vanilla extract, and flour.

These vegan sugar cookies are sprinkled with coarse sugar giving them a satisfying taste. This recipe is simple to make and is even suitable for cookie cutters!
Sugar cookies are a staple cookie for all your cookie needs! In addition, they can accompany any other cookie type to make a lovely gift basket. Pair these sugar cookies with an assortment of your other favorite cookies:
These vegan sugar cookies don't lack flavor, that's for sure. They are packed with sweetness and have a wonderful soft crumbly texture.
This Vegan Sugar Cookies recipe is...
- Egg-less
- Easily cut with cookie cutters
- Ready in under 30 minutes
- Sweet and tasty
- A great cookie for any occasion
How to Make Vegan Sugar Cookies
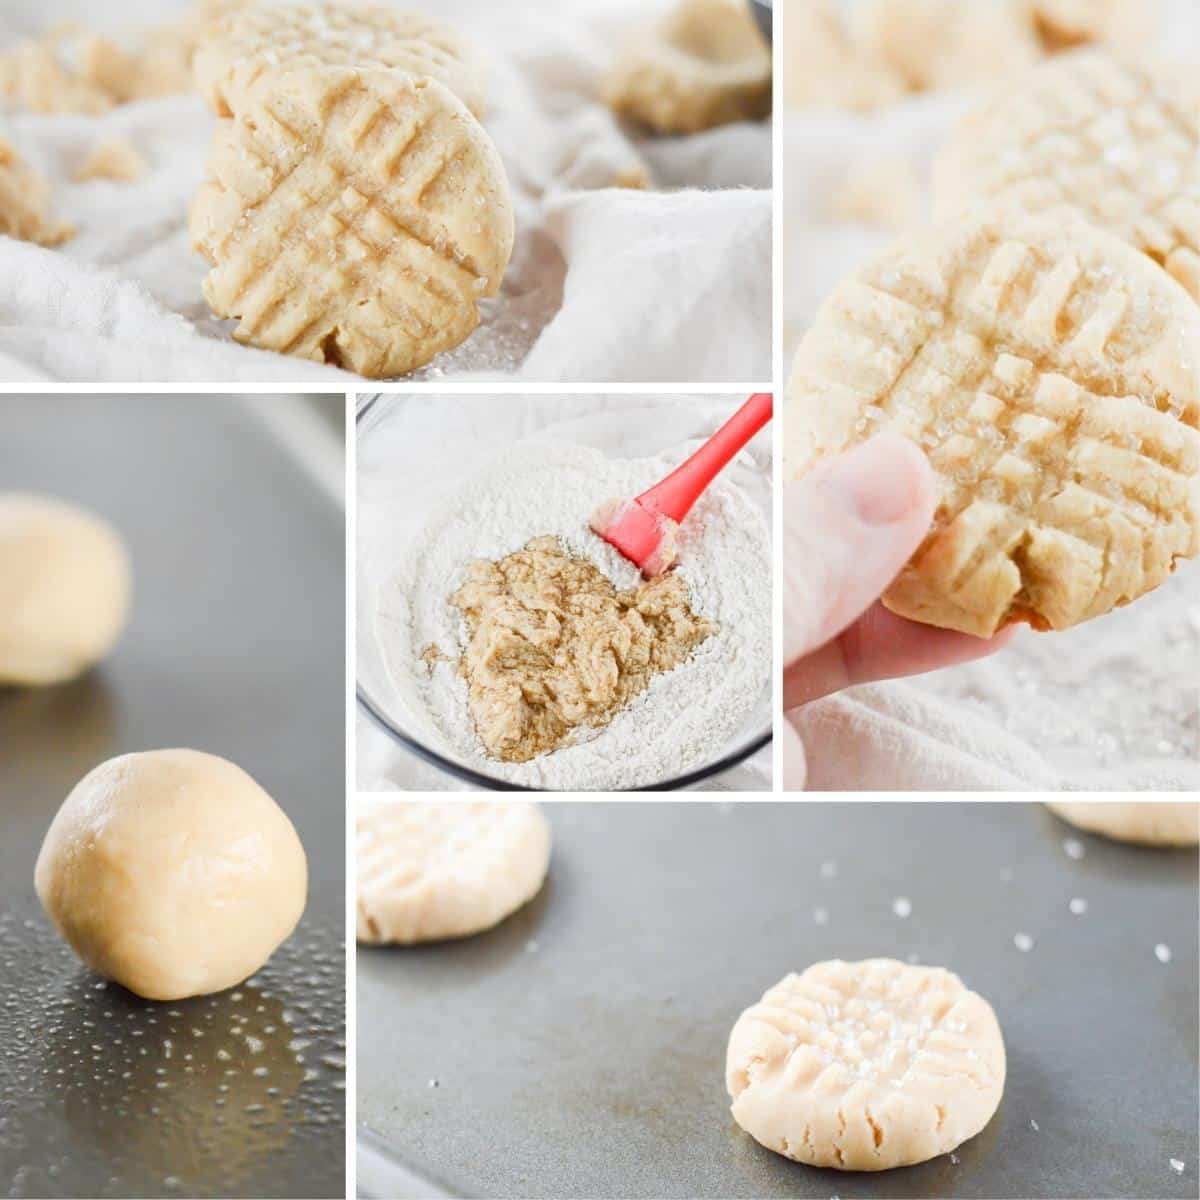
- Preheat the oven and spray your cookie sheet with cooking spray.
- Combine the dry ingredients (except the coarse sugar) in a bowl and set aside.
- In a separate bowl combine the butter and sugars.
- Add the vanilla extract and apple sauce to the mixture and stir well.
- Combine both the mixtures and stir until it's a thick cookie batter.
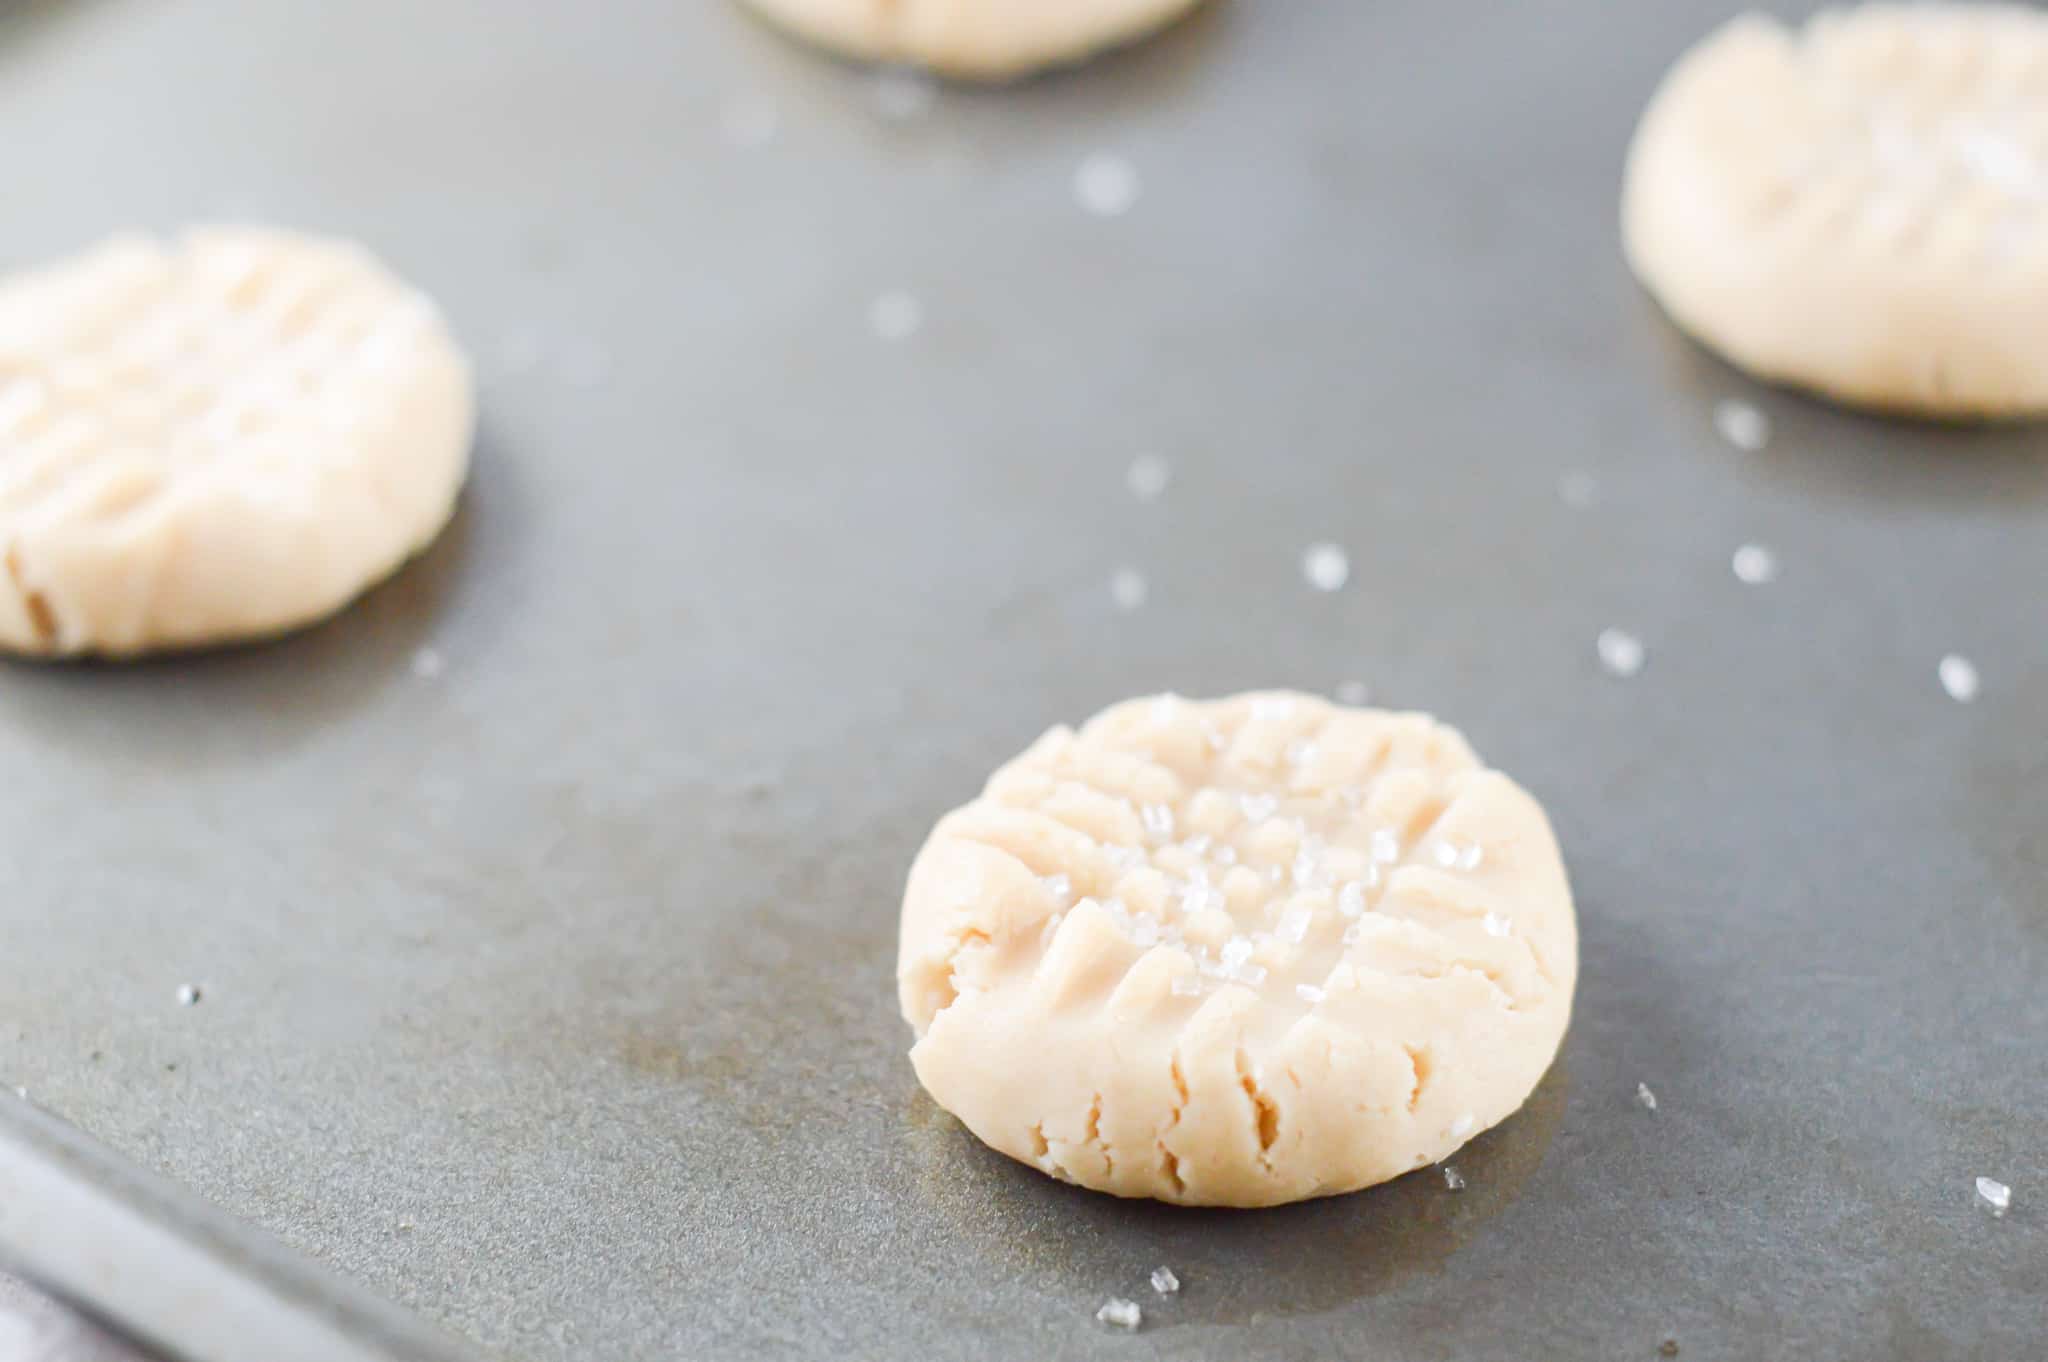
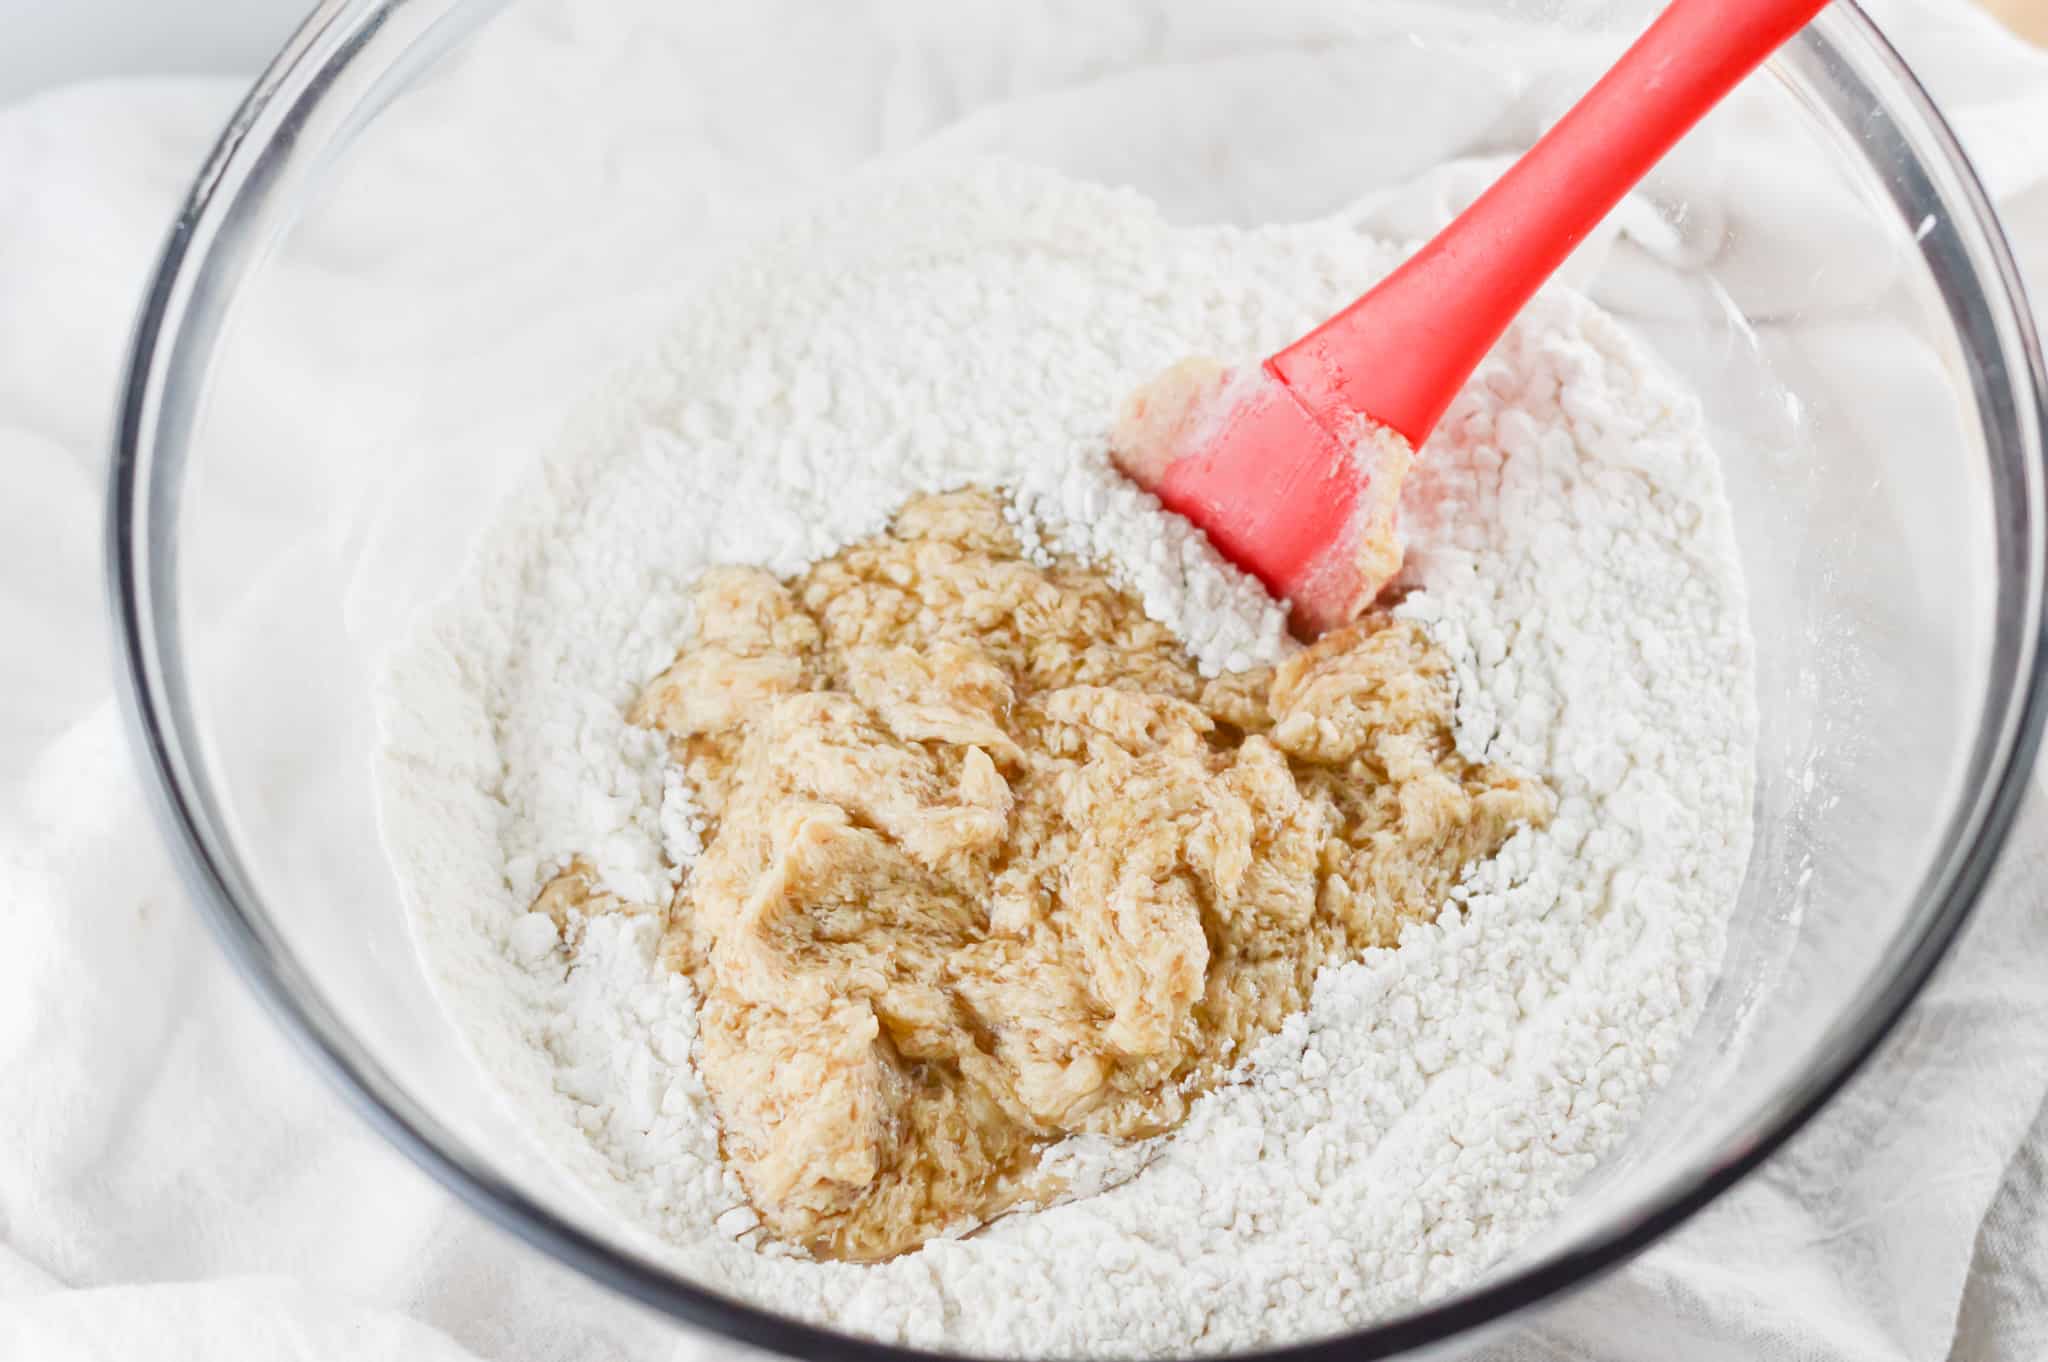
- Roll the dough into small 1-inch cookie dough balls and place on a baking sheet.
- Use a fork to create a criss-cross pattern and sprinkle cookies with coarse sugar.
- Bake, let cool, and enjoy!
Full directions for how to make Vegan Sugar Cookies are in the printable recipe card at the bottom of the post.
Tips & Tricks for Vegan Sugar Cookies
Choose an excellent vegan butter.
When choosing a vegan butter, look for one with a low level of refined oil that is free of artificial additives. We have a few favorites in particular that we shared in our post about the Best Vegan Butter brands.
Our list includes Earth Balance, Miyoko's Vegan Butter, and I Can't Believe It's Not Butter: Vegan. It's helpful to read reviews about vegan butter if you're new to that particular brand.
Using cookie cutters?
Don't worry! You can easily use cookie cutters with this cookie dough in a few simple steps. If you don't already own cookie cutters-or you want some new ones-here are a few of our favorites:
In order to use cookie cutters with this cookie dough, simply make the dough, cover, and chill it for two hours. Afterward, sandwich the dough between wax paper and roll the dough out using a rolling pin. Make sure to use a generous amount of flour to prevent sticking. Proceed to use the cookie cutters, bake, cool, and enjoy.
Preventing a dry cookie.
The key to a moist cookie is ensuring the right amount of fat. Fat is what makes the cookie soft and moist instead of crumbly and hard. This vegan sugar cookie recipe uses vegan butter to produce a cookie that is soft and heavenly.
The significance of fork-pressing.
Though it might seem minor, the crisscross pattern on the cookies is quite significant. The fork-pressing flattens the dough and allows for even cooking. It also gives the cookie a neat design and allows the coarse sugar to sink into the grooves, giving a delicious taste bite after bite.
Vegan Sugar Cookies FAQs

What makes these vegan sugar cookies so great?
Everything about these sugar cookies is great! These cookies come together with little effort and are ready to eat in only half an hour. These vegan sugar cookies are a healthier alternative, but you wouldn't even know it by tasting them-they aren't lacking in flavor, that's for sure!
This recipe makes approximately twenty-four cookies, the perfect amount for sharing. They have a beautiful golden color and are sprinkled with coarse sugar. These vegan sugar cookies sure are heavenly!
How do I stop my vegan sugar cookies from cracking?
There are a few things to do to ensure your vegan sugar cookies don't crack. Be cautious to not overspray the baking sheet as it might cause the cookie dough to become too runny and lead to cracking. Baking your cookies on a silicone mat is beneficial to keep the cookie together as well. It helps the cookie dough to stay gripped together.
A Guide to Vegan Baking is a great resource for understanding the craft of vegan baking. Certain ingredients hold a lot of significance in vegan baking, and proper measurements are necessary to create the correct cookie texture and consistency. These vegan sugar cookies shouldn't crack if you follow the steps.
What is coarse sugar? Is it different than refined sugar?
Coarse sugar is, in fact, different from refined sugar. It is a much larger-sized crystal, about the size of pretzel salt. It gives these vegan sugar cookies a dynamic texture and a satisfying taste. Also, because of the size, coarse sugar doesn't melt and adds a nice crunchy texture to the baked goods.
Recipe

Vegan Sugar Cookies
Soft, sweet, and delectably chewy, these Vegan Sugar Cookies are a show-stopper dessert made with simple ingredients.
Print
Pin
Save
Servings: cookies
Ingredients
- 1 ¾ cup flour
- ½ cup vegan butter room temp
- ½ cup sugar
- ¼ cup brown sugar
- ¼ cup unsweetened applesauce
- 1 tablespoon pure vanilla extract
- 1 tablespoon cornstarch
- 1 teaspoon baking soda
- 1 teaspoon baking powder
- ½ teaspoon salt
- cooking spray
- coarse sanding sugar optional
Instructions
- Preheat the oven to 350°F and lightly spray a cookie sheet with cooking spray.
- In a bowl, combine all the dry ingredients except the coarse sanding sugar and mix well.
- In a separate bowl, cream together the butter, both sugars, and the vanilla.
- Add the applesauce to the sugar and mix well again.
- Combine both the dry and wet ingredients and mix well into a thick cookie dough.
- Roll into 1-inch balls and place on the prepared baking sheet.
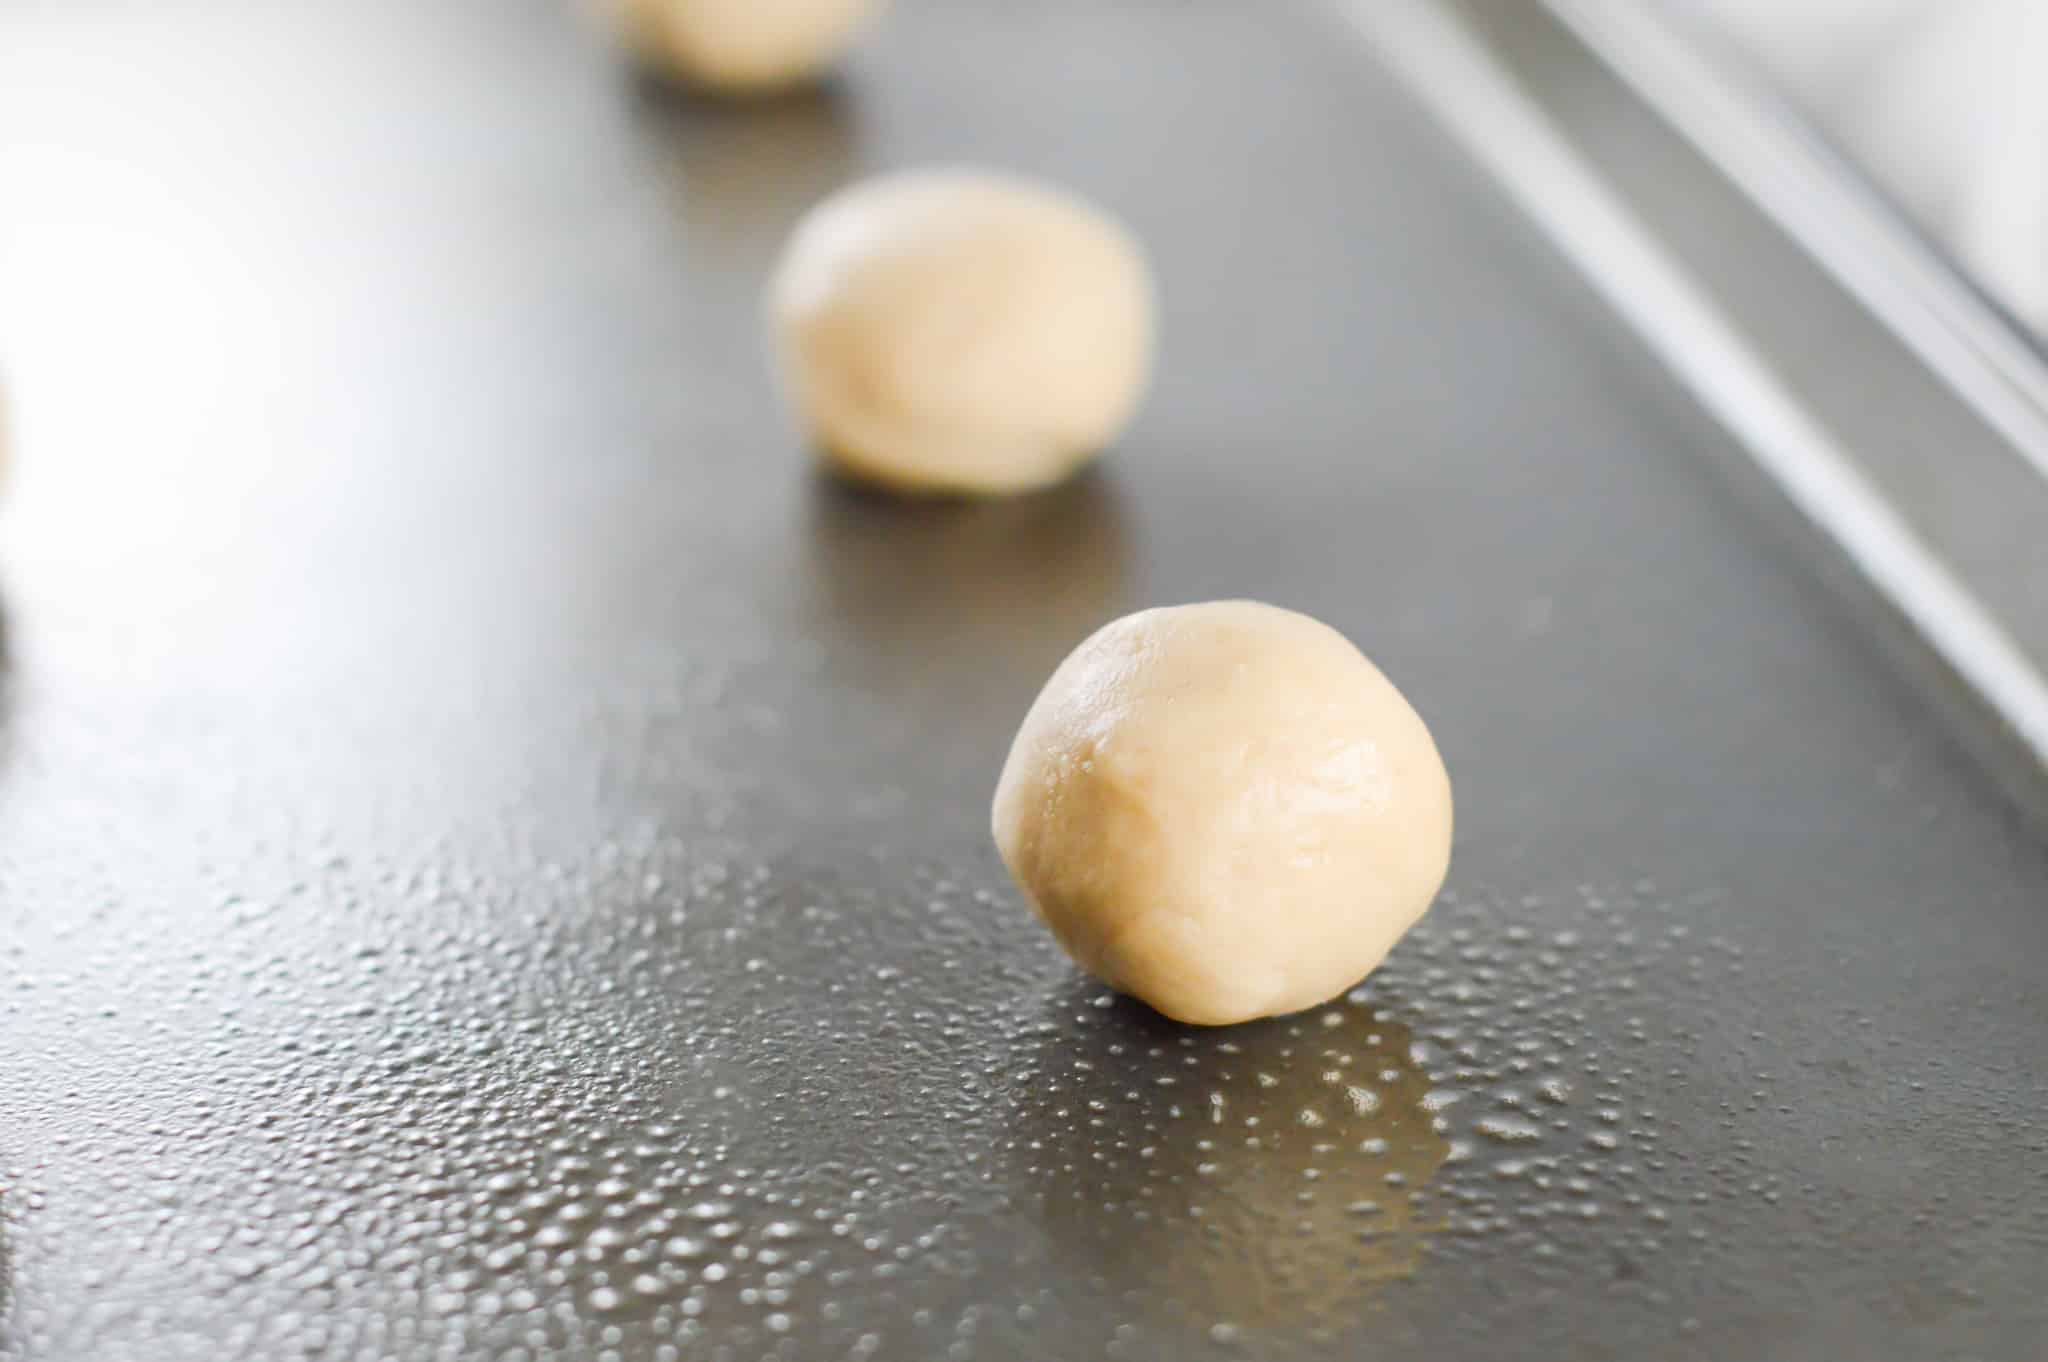
- Use a fork to press down the cookie dough balls, leaving a criss-cross pattern. Sprinkle with the coarse sugar and bake for about 8-10 minutes or until the edges start to turn a very light gold color.
- Remove from the oven and leave the cookies on the pan to cool for a few minutes.

Notes
- If you want to cut shapes out of the sugar cookies, prepare the dough, then cover it and chill for two hours. Next, sandwich the dough in between two sheets of wax paper and roll it out, making sure to use plenty of flour so it doesn't stick. Cut out your shapes and bake them following the same baking time and temps in the recipe.
Nutrition (Estimate per Serving)
Calories: 89kcalCarbohydrates: 14gProtein: 1gFat: 3gSaturated Fat: 1gPolyunsaturated Fat: 1gMonounsaturated Fat: 1gTrans Fat: 1gSodium: 143mgPotassium: 17mgFiber: 1gSugar: 7gVitamin A: 181IUVitamin C: 1mgCalcium: 13mgIron: 1mg
Vegan-ize any recipe!Grab our free vegan cheat sheet, packed with my favorite easy substitutions to make any recipe vegan.
Old-Fashioned Vegan Stew
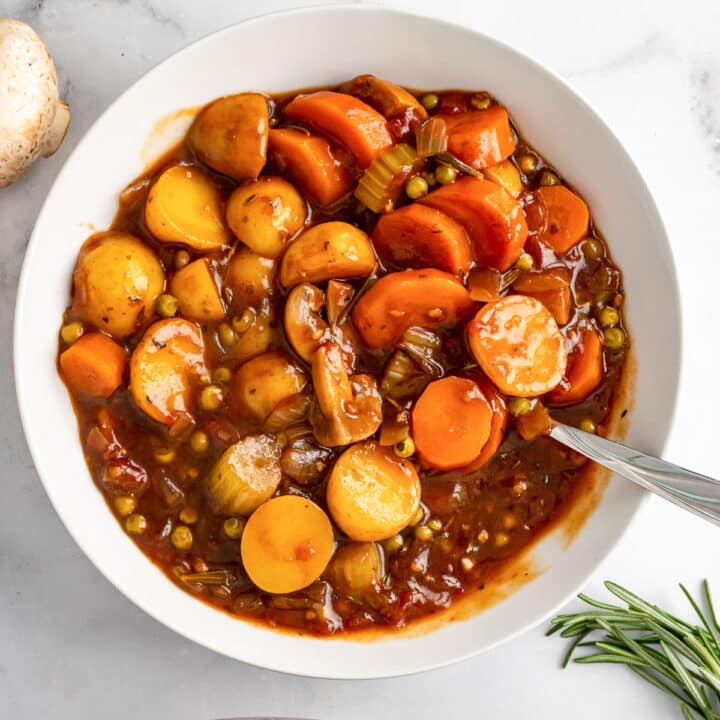
This Old-Fashioned Vegan Stew is thick, hearty, and comforting. It's loaded with tons of veggies and smothered in a thick, creamy, savory broth. This vegan stew is great for dinner and tastes delicious reheated the next day too.
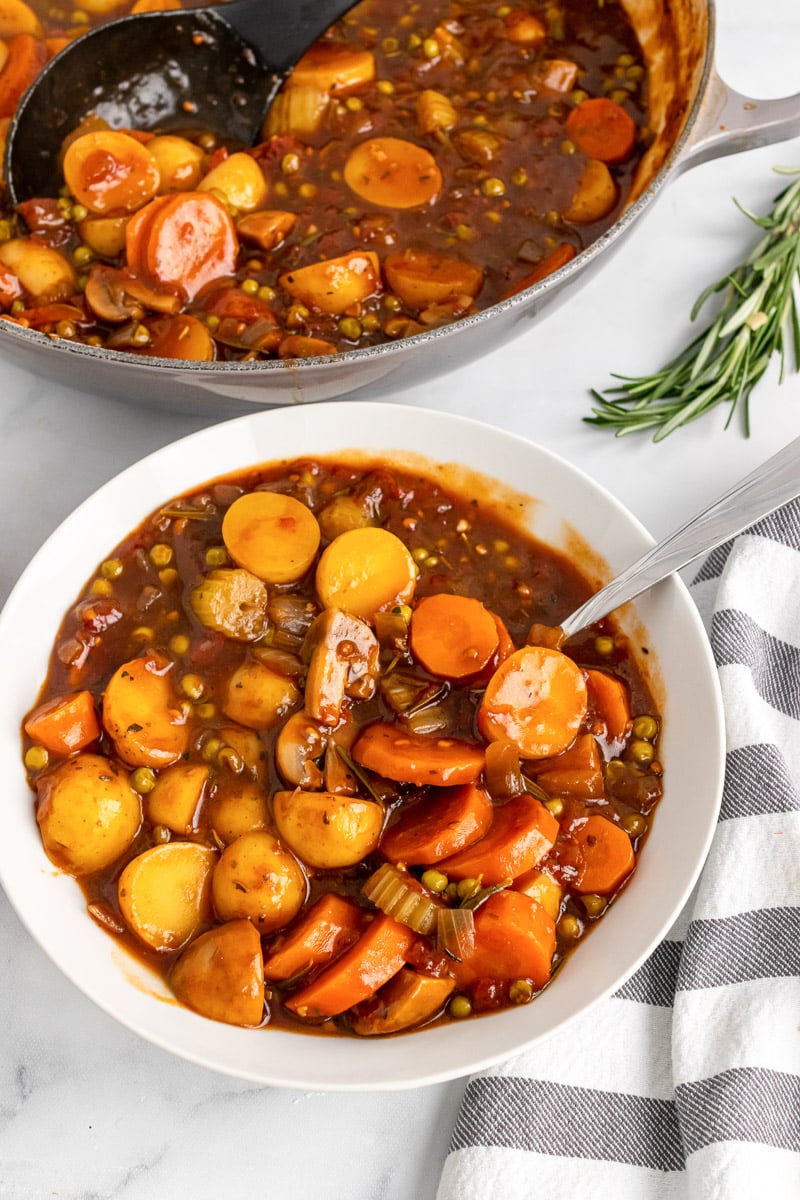
This vegan stew is loaded with carrots, celery, potatoes, mushrooms, peas, and more. This has quickly become one of my all time favorite vegan stews. Give it a try and let me know how you enjoy it!
This Old-Fashioned Vegan Stew recipe is...
- An old-fashioned classic stew
- Loaded with nutrient-rich veggies
- Thickened with a roux base
- Made with flavorful fresh herbs
- Great for meal prepping
How to Make Old-Fashioned Vegan Stew
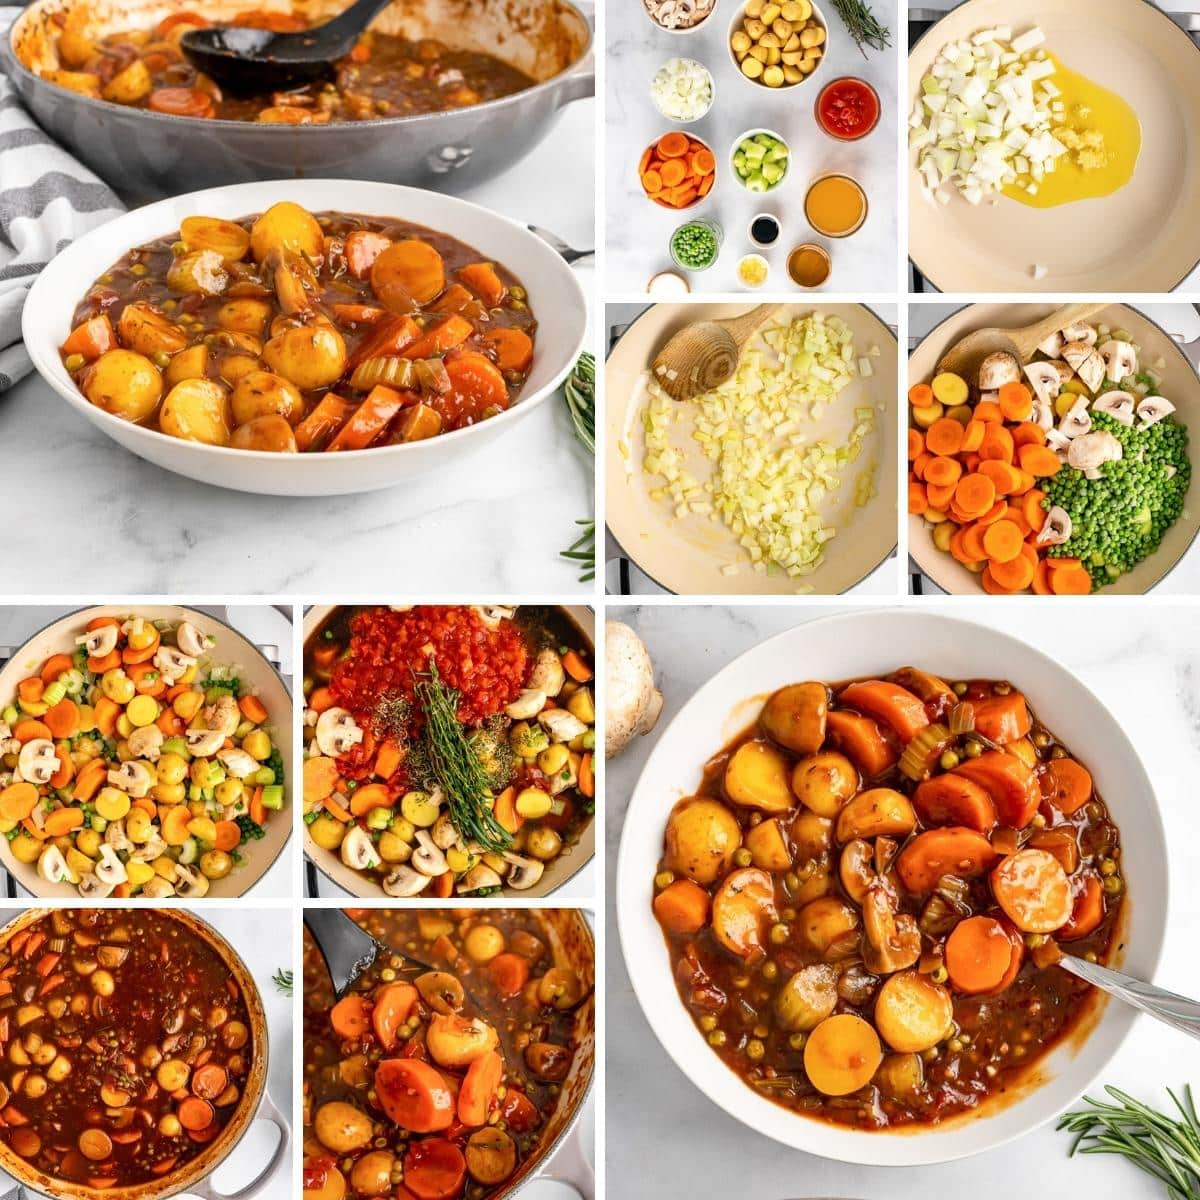
- Add oil to a pot. Cook onion and garlic on medium heat until translucent.
- Add potatoes, carrots, peas, and mushrooms, and cook.
- Add herbs, broth, tomatoes, soy sauce, and vinegar. Stir and bring to boil.
- Make cornstarch slurry and stir in to thicken soup.
- Turn down heat, cover, and let simmer.
Full directions for how to make Old-Fashioned Vegan Stew are in the printable recipe card at the bottom of the post.
Tips & Tricks for Old-Fashioned Vegan Stew

Cutting the Vegetables
Make sure that when you are chopping the vegetables for this stew, you cut everything into true bite-size pieces. You don't want super large chunks of vegetables, as they will be hard to eat.
Sauté the Garlic & Onions
When you sauté the onion and garlic, it helps to really enhance the deep flavor of this vegan stew. The sautéed vegetables will give your stew a rich and hearty flavor. If you don't sauté the onions and garlic, as some people do to save time, you will find that they have a sharper flavor.
Use a Heavy Duty Pot
Using a Dutch oven or other heavy duty pot is great as it will provide an even cooking surface for the stew. Cast iron is a good choice as well. If your pot isn't sturdy, it can create hot spots and your veggies will vary in doneness.
Variations to Old-Fashioned Vegan Stew
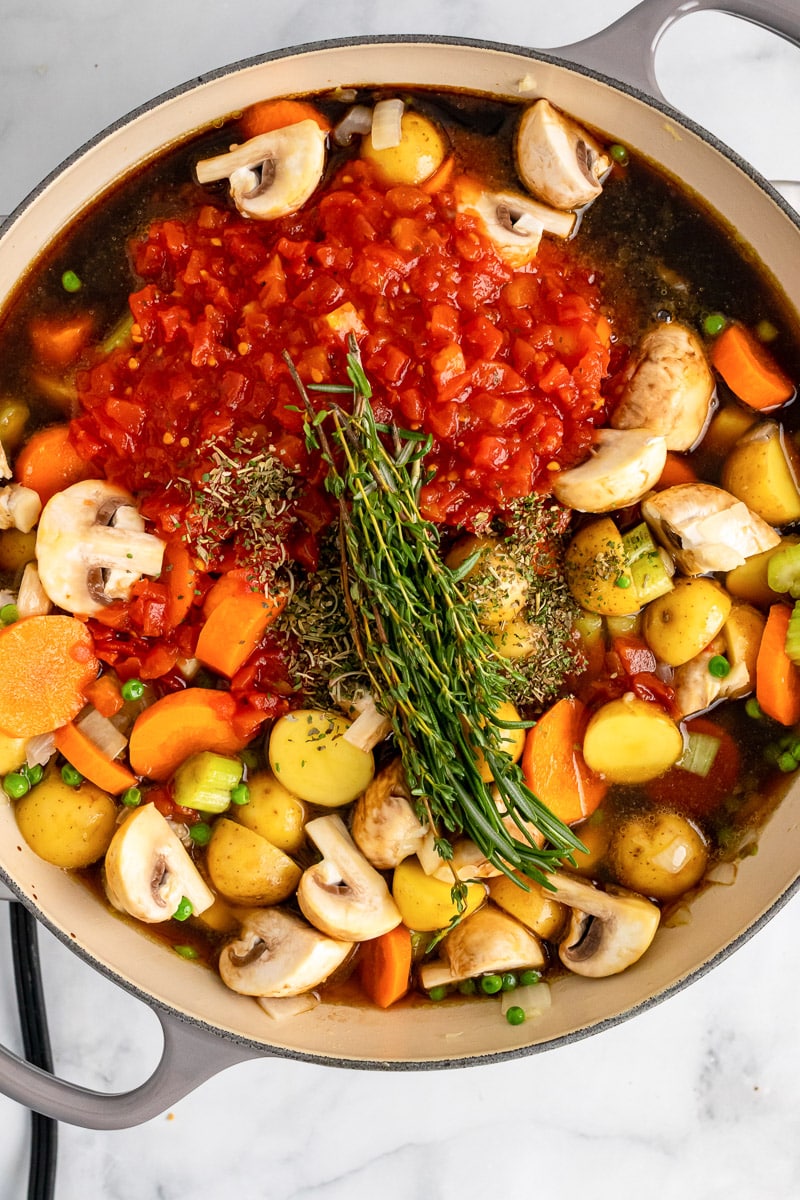
Add Rice or Quinoa
Barley, rice, and quinoa are all great additions to this veggie-packed stew. Adding any of these grains will make your stew a lot heartier. I would recommend tossing some in if you feel you want a bit more depth.
Mix in Pasta
You can also add some vegan-friendly pasta to your stew. Just add it in at the end of the cooking time. Adding pasta will add more carbs to your soup but also allow the stew to stretch a bit more and feed a larger crowd.
Different Vegetables
You can mix in other varieties of veggies to your stew, as well. I used what I had on hand, but you can swap out different vegetables depending on what you have in your fridge and what's in season. For example, you could toss in some squash, zucchini or cauliflower!
Old-Fashioned Vegan Stew FAQs
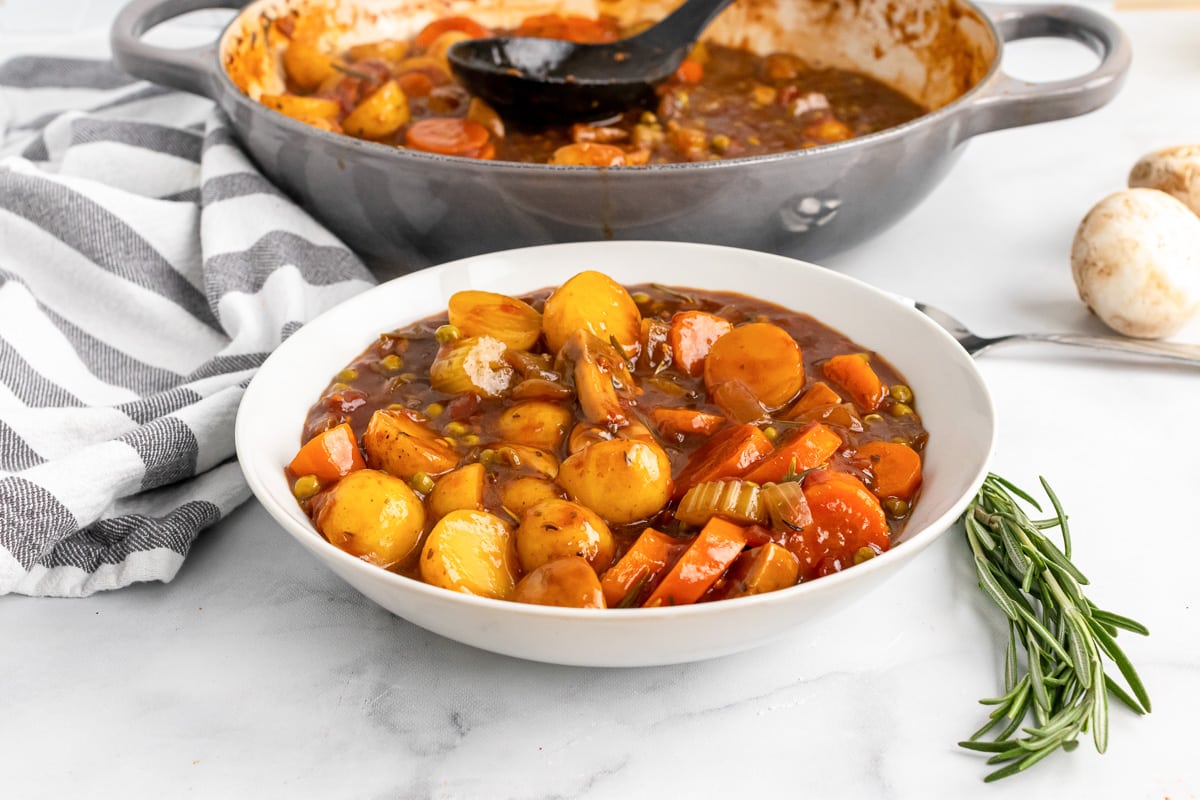
How do you know when the stew is done?
You will know your stew is done when the potatoes are fork tender. When the potatoes are done, you can take your stew off the heat. However, I like to cook mine a bit longer as it helps blend the flavors even more.
Why add in the cornstarch slurry?
Cornstarch and water combined - referred to as a slurry - is a thickening agent used for thickening soups, stews, and more. I find that a cornstarch slurry is great for thickening dishes without altering the flavor of the recipes you are cooking.
How do you store leftovers?
Store your leftover stew in the fridge for 3-5 days. When you want some, you can simply warm it up in the microwave or over low heat on the stove. Just make sure to stir your stew periodically as it reheats- it will burn if left to simmer too long.
More Tasty Vegan Recipes
If you love this vegan stew, be sure to check out these other delicious ideas:
And while you're here, don't forget to grab a copy of my free vegan cheat sheet. It's packed with all my favorite substitutions to vegan-ize any recipe!
Recipe

Old-Fashioned Vegan Stew
This Old-Fashioned Vegan Stew is thick, hearty, and comforting. It's loaded with tons of veggies and smothered in a thick, creamy broth base.
Print
Pin
Save
Servings: servings
Ingredients
- 2 tablespoon olive oil
- 1 onion minced
- 2 cloves garlic minced
- 3 large carrots sliced
- 2 stalks celery sliced
- 2 cups baby potatoes halved
- 1 cup white mushrooms sliced & quartered
- 1 cup frozen peas
- 1 teaspoon Italian seasoning
- 2 cups vegetable broth
- 19 oz diced tomatoes canned with garlic
- 3 tablespoon soy sauce
- 1 tablespoon balsamic vinegar
- 2 sprigs rosemary
- small bunch fresh thyme
- 2 tablespoon cornstarch
- 3 tablespoon water
Instructions
- In a large pot, heat olive oil, then add onion and garlic; sauté 3-4 minutes or until onion is translucent.
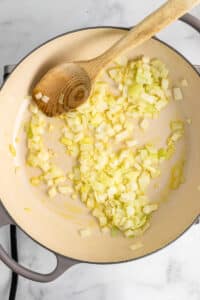
- Add the carrots, celery, baby potatoes, mushrooms, and peas into the pot.

- Cook for 2-3 minutes.
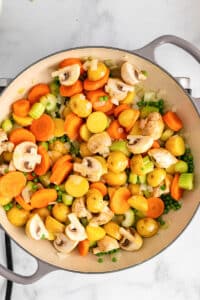
- Add the Italian seasoning, vegetable broth, diced tomatoes, soy sauce, balsamic vinegar, rosemary, and thyme. Stir and bring to a boil.
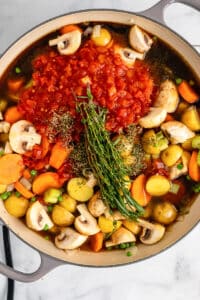
- In a small bowl, whisk together the cornstarch and water to form a slurry mix. Add to the stew and stir.

- Turn heat down, cover pot, and simmer for 45 minutes or until veggies are tender.

- Serve.

Nutrition (Estimate per Serving)
Calories: 244kcalCarbohydrates: 39gProtein: 8gFat: 8gSaturated Fat: 1gPolyunsaturated Fat: 1gMonounsaturated Fat: 5gSodium: 1282mgPotassium: 974mgFiber: 7gSugar: 12gVitamin A: 8362IUVitamin C: 48mgCalcium: 99mgIron: 3mg
Vegan-ize any recipe!Grab our free vegan cheat sheet, packed with my favorite easy substitutions to make any recipe vegan.
Vegan Biscuits Recipe

Vegan biscuits with dairy-free 'buttermilk' are a must-try! These American biscuits are soft, flaky and tall, with a distinctive buttery flavor. They make an exceptional side dish or snack, and no one will be able to tell that they are entirely plant based!

Are you on the lookout for your new favorite vegan biscuit recipe? If so, I've got you covered! These buttermilk biscuits that are entirely dairy-free are a must-try. I've made a good number of batches over the last few weeks, and each time they disappear within a few hours. I always think I'll end up having leftovers, but I'm yet to run into that situation!

These biscuits have the most exceptional texture. They're flaky and soft, and melt in your mouth. You'll also love their distinctive buttery flavor, and the fact that they have a beautiful rise! These's nothing quite like a tall, soft biscuit served with a cup of tea and some jam.

Plus, you need just 7 very simple ingredients that you probably have in your kitchen already. And they take just around 30 minutes from start to finish! Get them on the table in no time, and serve either as a snack or a side dish with any meal of your choice. I'd recommend you start by making vegan biscuits and gravy as a breakfast or brunch!
What are biscuits?

Southern-style American biscuits are essentially a type of bread that's very similar to a British scone. The main difference is that scones are much sweeter. Biscuits have more of a savory flavor profile, and are typically served as a side dish.
Ingredients you'll need
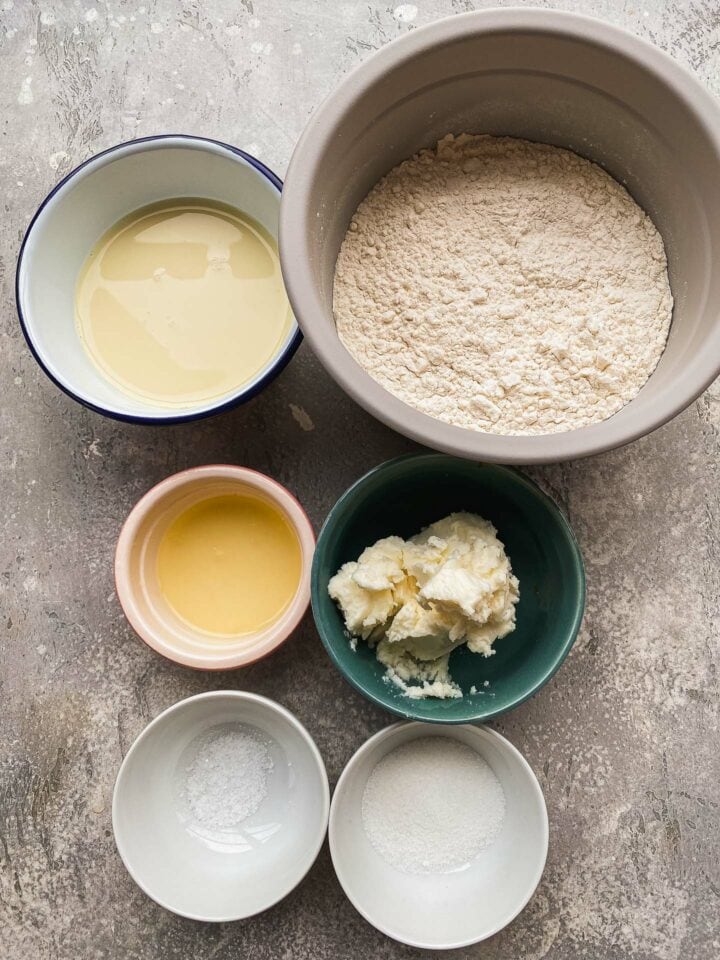
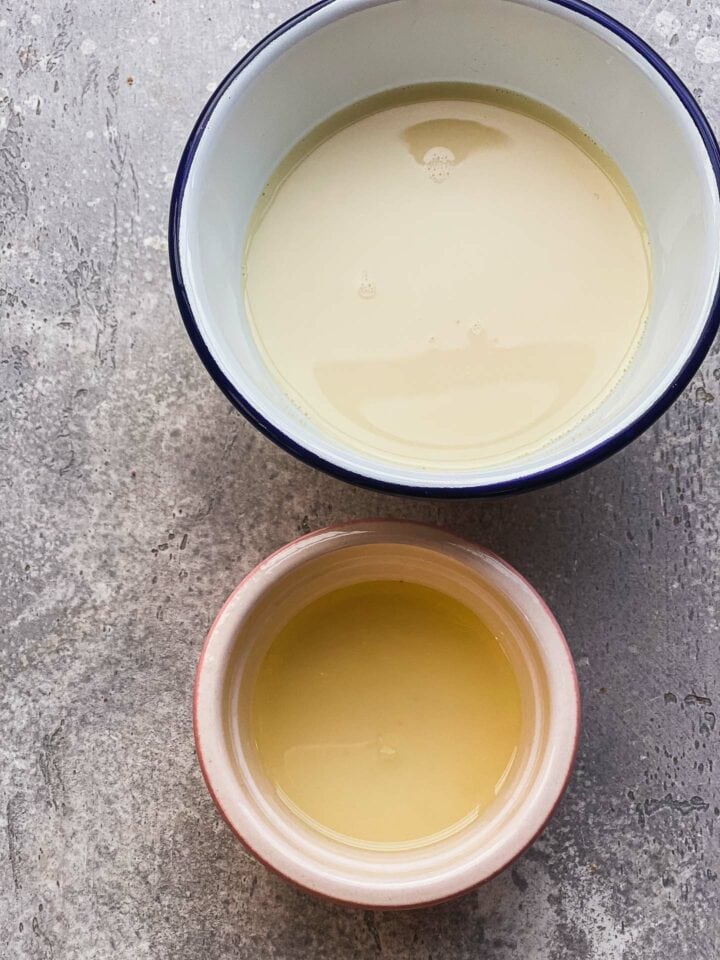
- Plant based milk and lemon juice to make the vegan buttermilk. The dairy-free buttermilk is a key ingredient for giving the biscuits a great rise, while the lemon juice gives the flavors a subtle tanginess. You can also use apple cider vinegar.
- All-purpose plain flour.
- Sugar. You can use either brown or white sugar for this recipe.
- A pinch of good quality sea salt.
- Baking powder. Together with the vegan buttermilk, this helps to make the biscuits taller and fluffier.
- Vegan butter or margarine. Make sure to use the form that comes in a stick rather than a tub, as the latter version has a too high water content. Also ensure that it's not warm or softened - it should be cold, straight out of the fridge
How to make vegan biscuits
Firstly, make the vegan buttermilk. Mix together the plant based milk and lemon juice, and set aside to curdle for one minute.
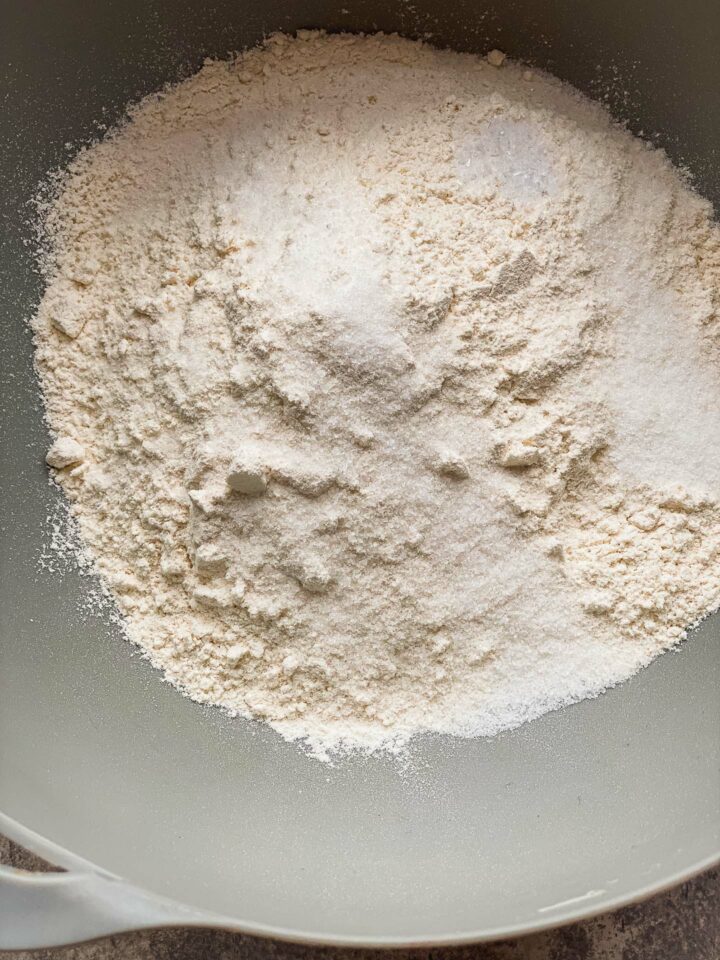
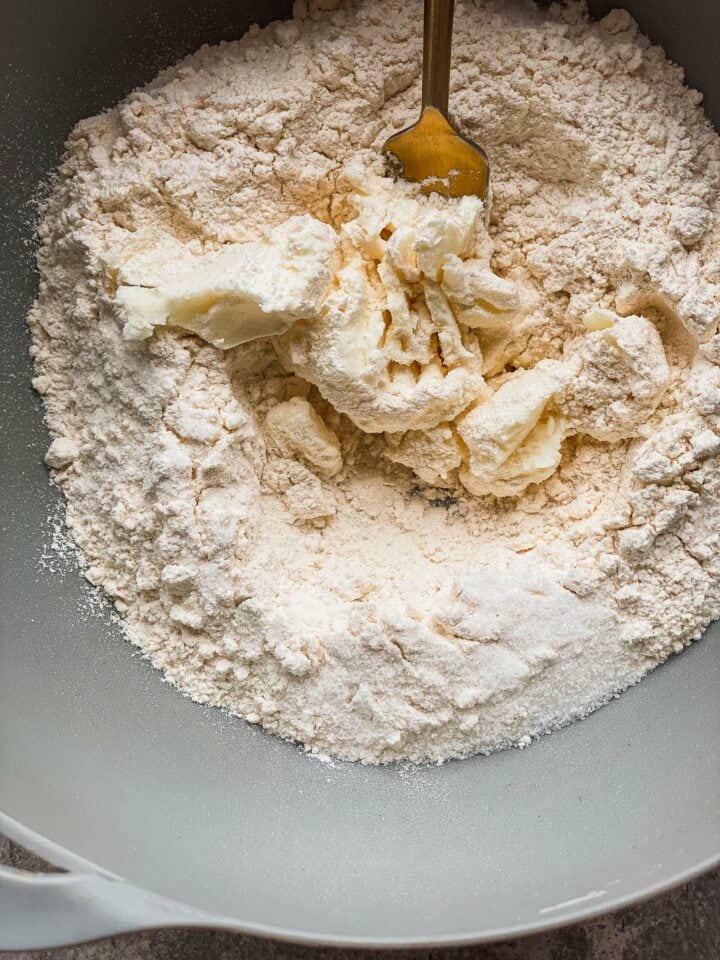
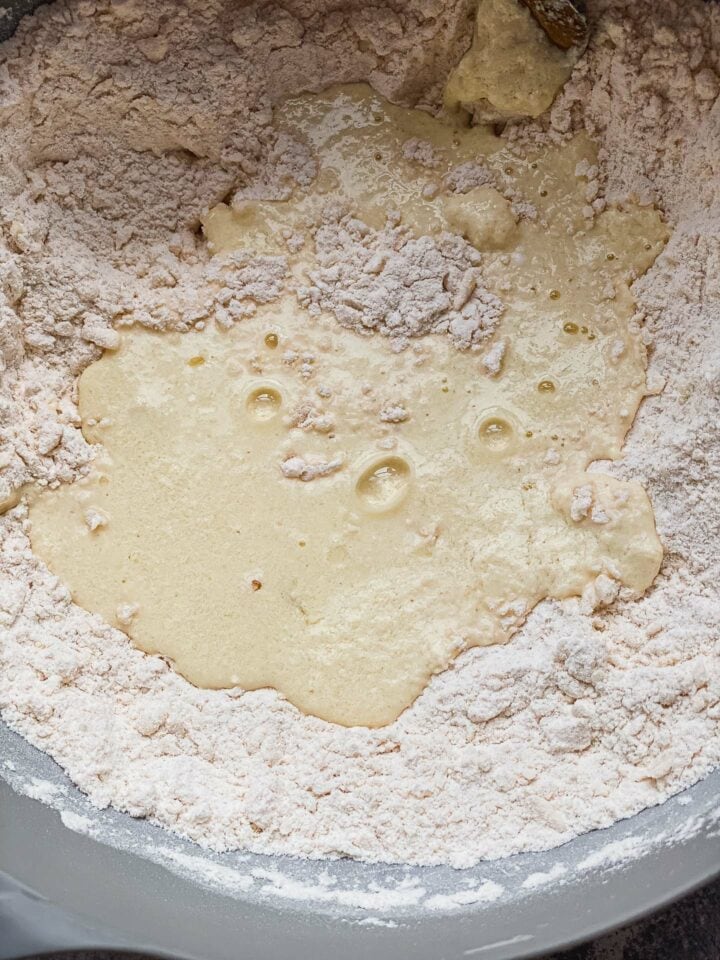
Meanwhile, mix together the flour, sugar, salt, and baking powder. Then, add the vegan butter/margarine, and mix together using a fork until a fine crumb forms.
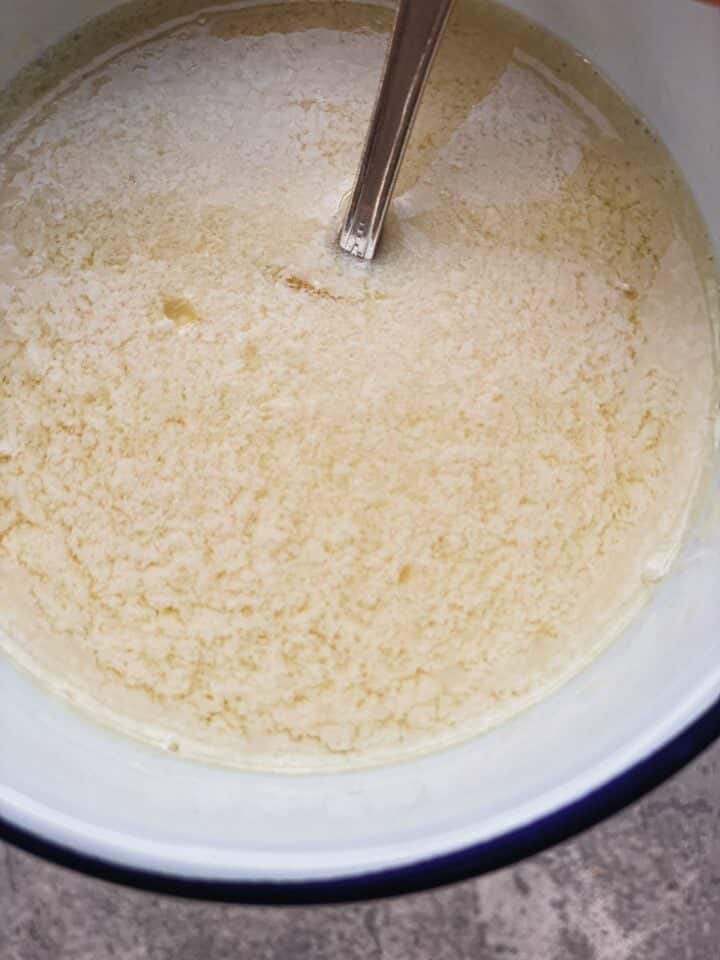


Now add the buttermilk, and continue mixing using either a fork or a wooden spoon until a shaggy dough forms.
Preheat the oven to 350 degrees F/180 degrees C. Transfer the dough to a lightly-floured surface and roll out into a rectangle around an inch in thickness. Then, fold in the upper and lower edge, and roll it out once again.


Use a cookie cutter to cut out circles around 3 inches in diameter and transfer them to the baking tray. Brush with some melted vegan butter if desired, then bake in the preheated oven for 18-20 minutes, until lightly golden brown on top.


Allow to cool down for 5 minutes before serving!
Recipe tips for success
- As for all baking recipes, I would recommend weighing the ingredients for the most accurate results.
- Make sure that all of the ingredients are as cold as possible before using them. The vegan butter/margarine in particular needs to be solid, because if it's softened the biscuits won't have a soft and light texture.
- Don't overwork the dough, because this will also cause the biscuits to acquire a tough texture.
- Don't leave them in the oven for too long, especially as they will continue cooking from the heat of the baking tray when you take them out.

Instructions on storage and freezing
Biscuits are at their most delicious when eaten shortly after baking. You can, however, keep them on the counter covered with a dish cloth for up to 2 days. Or, you can keep them in the fridge in an airtight container for up to 5 days.
To freeze the vegan biscuits, wrap them up individually in cling film and transfer to a freezer-friendly container. Keep them frozen for up to 2 months. Allow to thaw fully at room temperature for a couple of hours before reheating and serving. I would recommend reheating the biscuits either in the microwave or in the toaster.

How to serve vegan buttermilk biscuits
The great thing about vegan biscuits is that they're super versatile! You can:
- Eat them by themselves with butter, jam, or both.
- Serve them as a side dish for a classic vegan chili, or a white bean vegan chili.
- Pair them with a soup such as my vegan tomato soup or lentil butter bean soup.
- Serve them with a flavorful spinach artichoke dip.
- Use garlic confit as a spread.
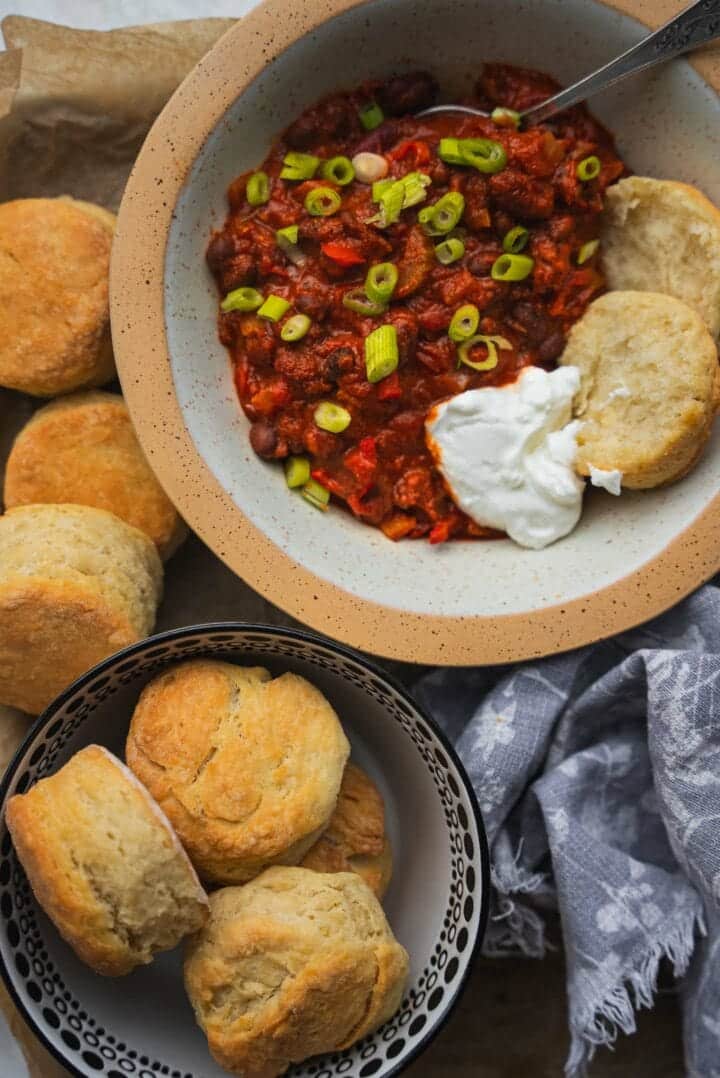
Other must-try vegan side dishes
- My vegan dinner rolls go well with any dish of your choice.
- Olive oil skillet bread is flavorful and exceptionally fluffy.
- Vegan cornbread pairs super well with a variety of dishes.
- Focaccia with tomatoes is a perfect beginner-friendly bread.

If you give this vegan biscuits recipe a go, be sure to tag me on Instagram (@earthofmariaa) and leave your feedback in the comments below together with a star rating!
Recipe

Vegan Biscuits Recipe
Vegan biscuits with dairy-free 'buttermilk' are a must-try! These American biscuits are soft, flaky and tall, with a distinctive buttery flavor. They make an exceptional side dish or snack, and no one will be able to tell that they are entirely plant based!
Print
Pin
Save
Servings: biscuits
Equipment
- Small mixing bowl
- Large mixing bowl
- Conventional oven
- Baking tray
Ingredients
- 1 cup plant based milk
- 1 tablespoon lemon juice
- 3 ¼ cups flour
- ½ tablespoon sugar
- 1 teaspoon salt
- 1 tablespoon baking powder
- 2.8 oz vegan butter or margarine
Instructions
- Make the vegan buttermilk. Mix together the plant based milk and lemon juice, and set aside to curdle for one minute.1 cup plant based milk, 1 tablespoon lemon juice
- Mix together the flour, sugar, salt, and baking powder. Then, add the vegan butter/margarine, and mix together using a fork until a fine crumb forms.½ tablespoon sugar, 1 teaspoon salt, 1 tablespoon baking powder, 2.8 oz vegan butter, 3 ¼ cups flour
- Add the buttermilk, and continue mixing using either a fork or a wooden spoon until a shaggy dough forms.
- Preheat the oven to 350 degrees F/180 degrees C.
- Transfer the dough to a lightly-floured surface and roll out into a rectangle around an inch in thickness. Then, fold in the upper and lower edge, and roll it out once again.
- Use a cookie cutter to cut out circles around 3 inches in diameter and transfer them to a baking tray lined with parchment paper.
- Brush with some melted vegan butter if desired, then bake in the preheated oven for 18-20 minutes, until lightly golden brown on top.
- Allow to cool down for 5 minutes before serving!
Video
Nutrition (Estimate per Serving)
Calories: 168kcalCarbohydrates: 27gProtein: 4gFat: 5gSaturated Fat: 1gPolyunsaturated Fat: 1gMonounsaturated Fat: 2gTrans Fat: 1gSodium: 265mgPotassium: 140mgFiber: 1gSugar: 1gVitamin A: 253IUVitamin C: 1mgCalcium: 74mgIron: 2mg
Vegan-ize any recipe!Grab our free vegan cheat sheet, packed with my favorite easy substitutions to make any recipe vegan.
Vegan Pumpkin Pie Recipe

The ultimate vegan pumpkin pie - made totally from scratch! This dreamy dairy-free dessert has a golden, flaky homemade crust and a silky-smooth, gently spiced pumpkin filling. It's the kind of pie that'll steal the show at your Thanksgiving table (and no one will miss the dairy, promise).
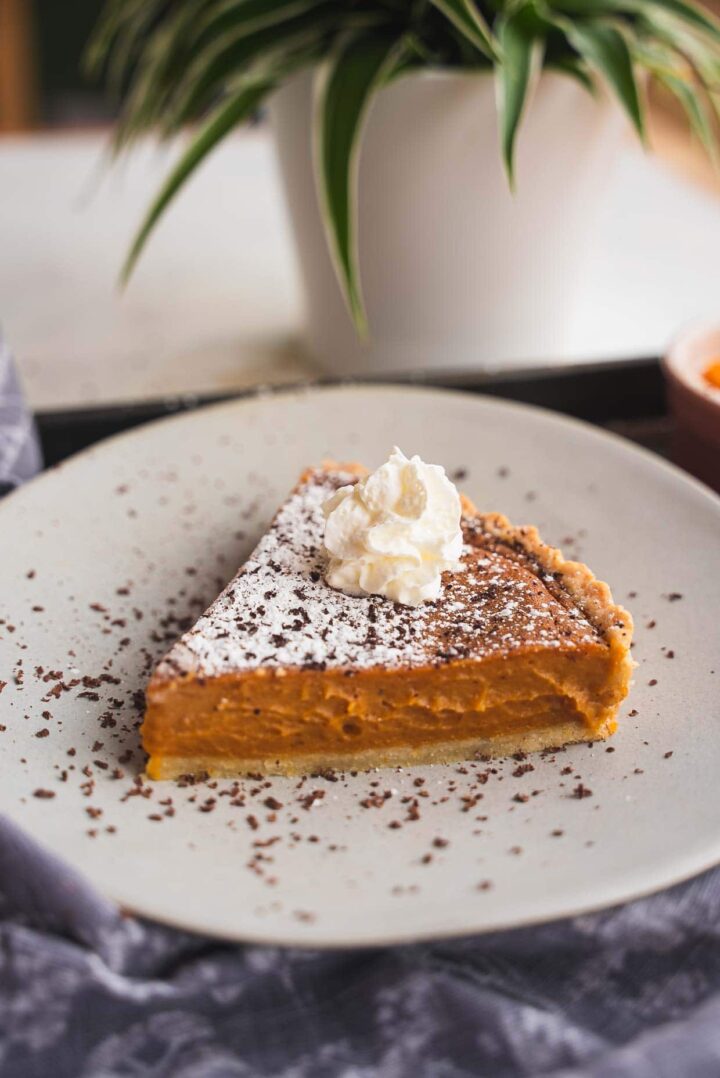
Who doesn't love pumpkin pie?! It's certainly one of my favorite Fall desserts. And the great news is that it's easier than you may think to make a homemade vegan pumpkin pie from scratch.
Even if you're not an expert baker, you can whip up an impressive dessert like this one for special occasions like Thanksgiving and Christmas. I can guarantee that everyone will be impressed!
(And if you are planning a meatless holiday feast, be sure to check out my complete Vegan Thanksgiving cookbook!)

My vegan pumpkin pie recipe features just simple ingredients and a very approachable methods, anyone can handle it!
I love making a homemade crust which is buttery and flaky. The pumpkin pie filling is smooth and custardy, and will make your whole kitchen smell amazing.
So if you're looking for a go-to vegan pumpkin pie recipe, look no further!
Key Ingredients & Substitutions
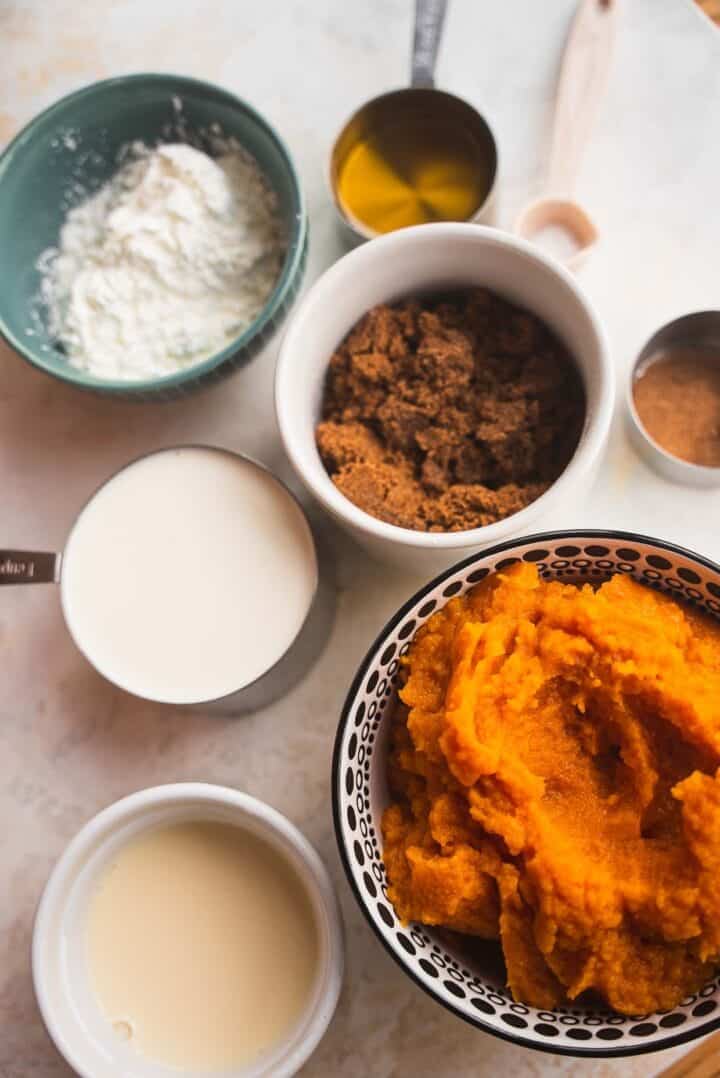
Pie crust. I used my homemade vegan pie crust recipe, but you can also use a store-bought one if you want to save time. They typically come in a ready-to-fill shell and disposable foil pan, which makes it very easy to use.
Pumpkin Purée. You can use either canned pumpkin purée (make sure it's plain and unsweetened), or make your own from scratch using my tutorial on how to make pumpkin purée.
Cornstarch. This will be used for thickening the pie filling, resulting in a custardy, smooth consistency.
Cinnamon. You can also use a store bought pumpkin spice blend instead, if you prefer.
Brown sugar. You can also use coconut sugar, if you prefer. But I do like the richer flavor from the brown sugar. Be sure to choose a vegan-friendly brown sugar brand.
Maple syrup. You can also substitute another liquid sweetener of your choice, such as agave nectar.
Plant based milk. Use any unsweetened variety of your choice, such as almond milk or soy milk.
A pinch of salt.
Dairy-Free Heavy Cream Substitute of your choice. I am currently a fan of this one from Califa Farms. You can also use coconut cream - be sure to use the coconut cream and not coconut milk in this case.
Vanilla extract.
How to Make Vegan Pumpkin Pie
Start by preheating the oven to 350 degrees F/180 C.
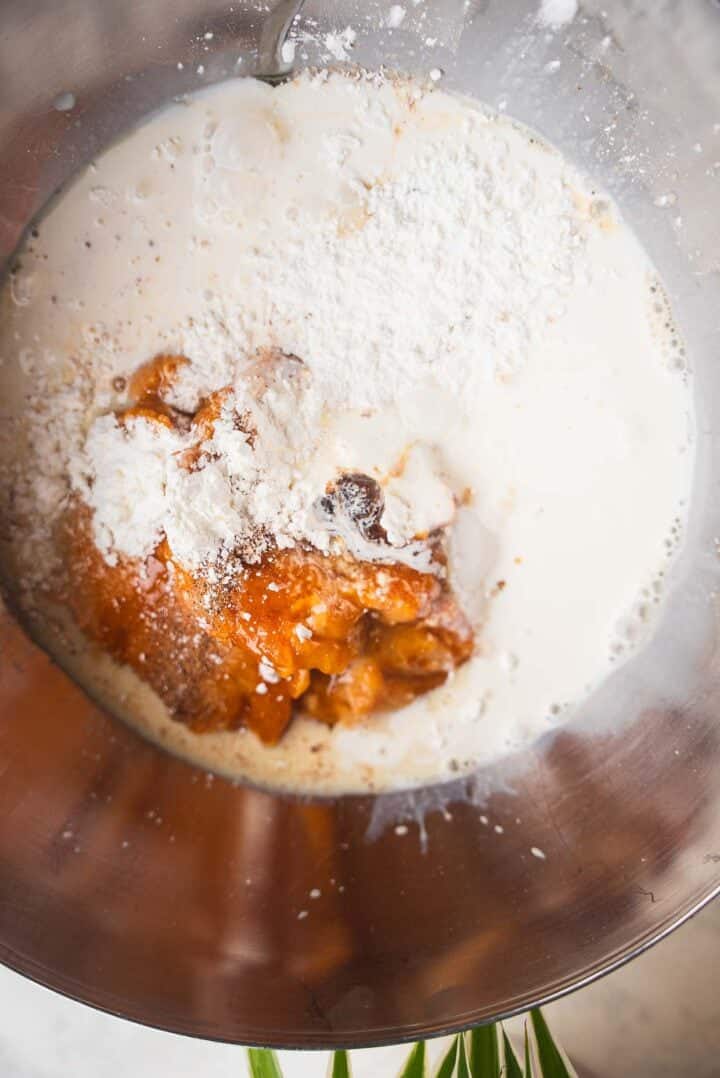
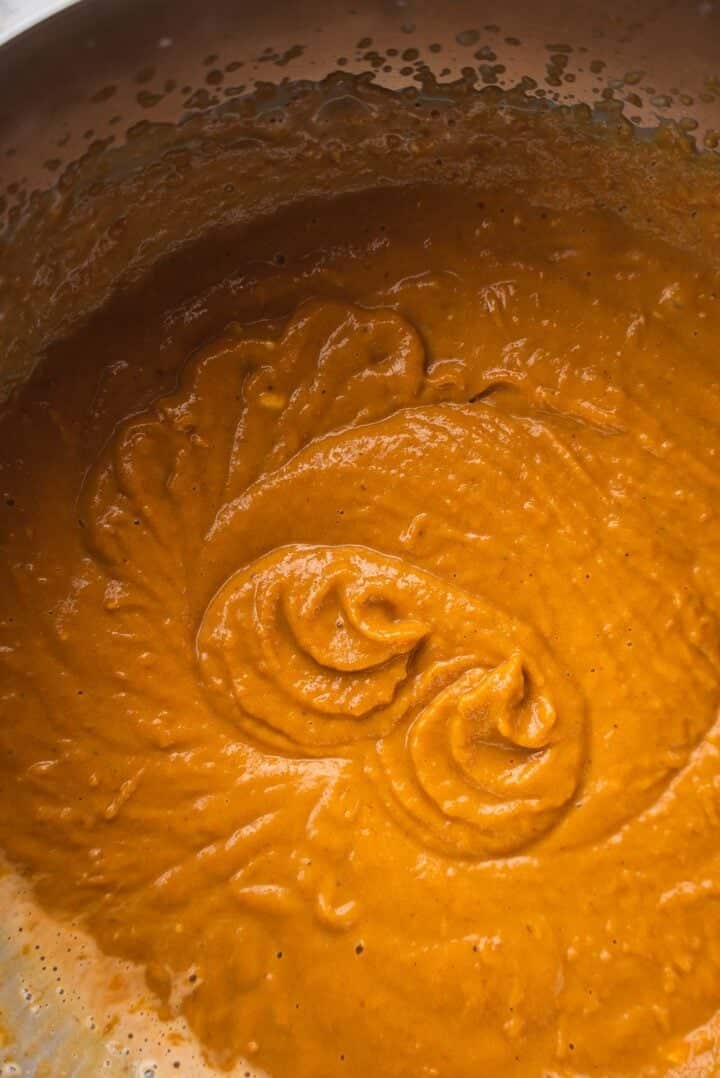
To a large mixing bowl, add the pumpkin purée, cornstarch, cinnamon, brown sugar, maple syrup, plant based milk, soy cream and vanilla extract. Use a handheld mixer to whisk until the mixture is smooth. You can also do this in a food processor or blender.
Pour the filling into a 9-inch tin lined with the vegan pie crust. Bake in the preheated oven for 50-55 minutes.
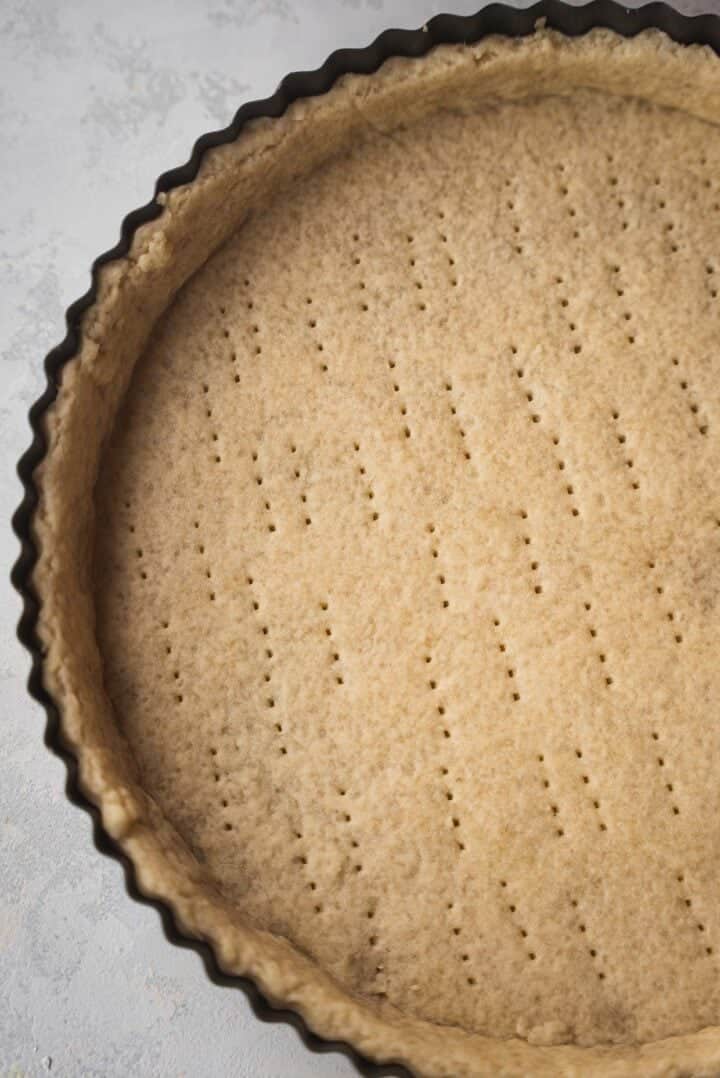
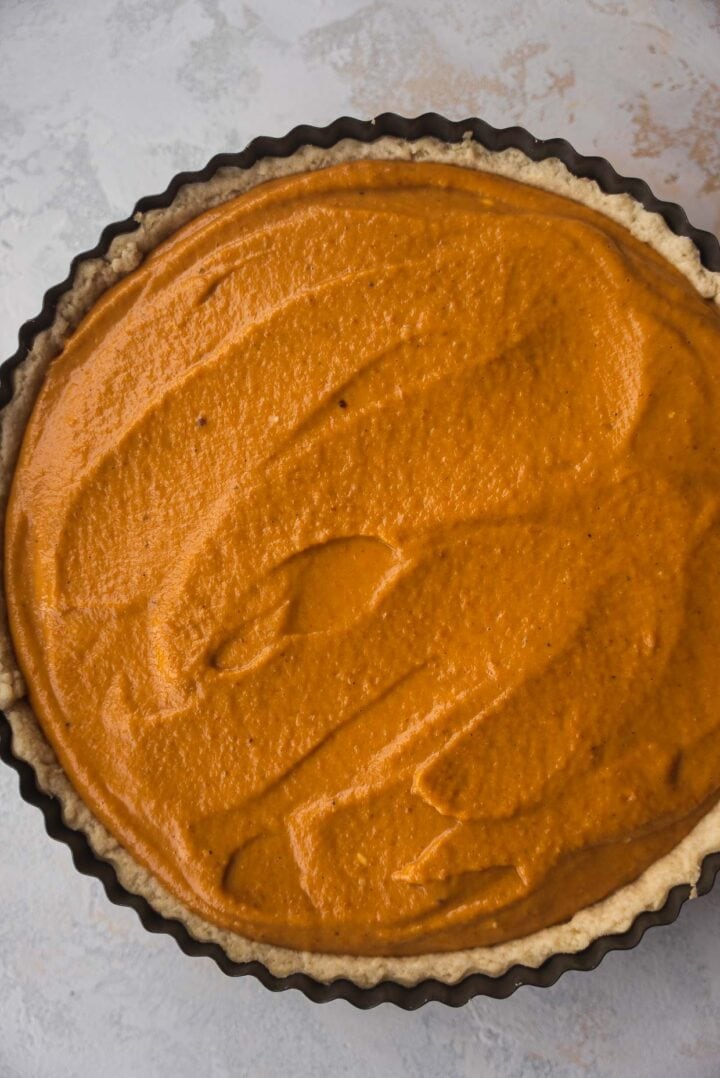
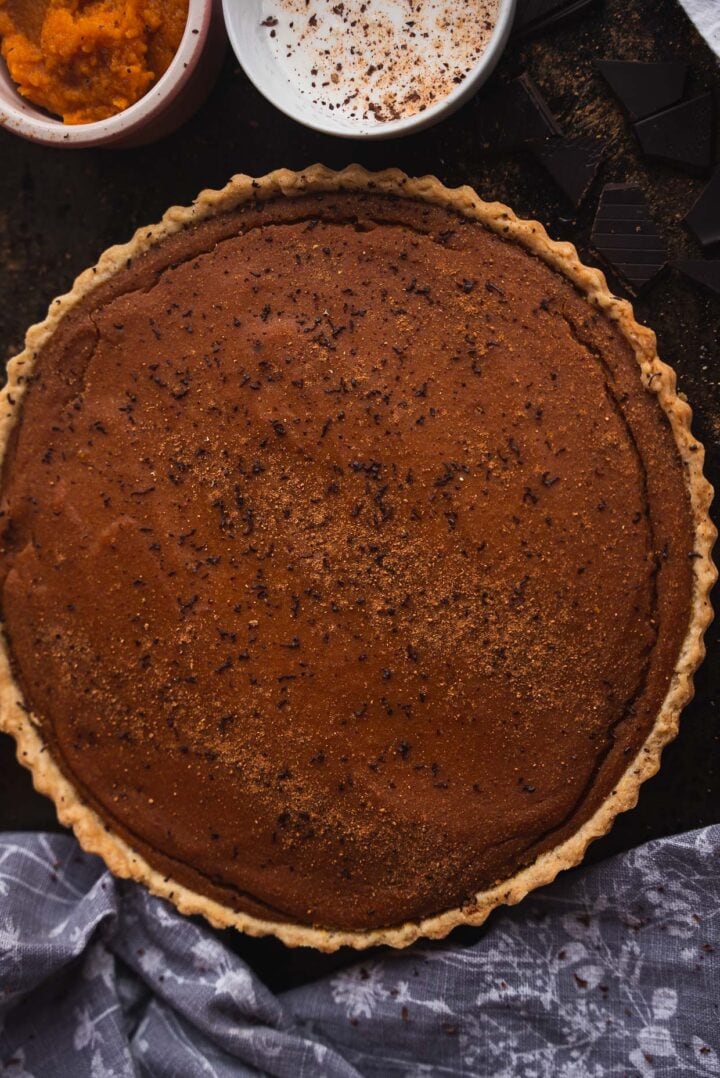
Transfer to the fridge and allow to cool for at least an hour before slicing and serving with vegan whipped cream.
How to Make Pumpkin Pie Ahead of Time
This is a perfect dessert for making ahead of time. You can prepare the pie crust and filling the day before you want to serve the vegan pumpkin pie. Then simply assemble the pie and bake as usual.
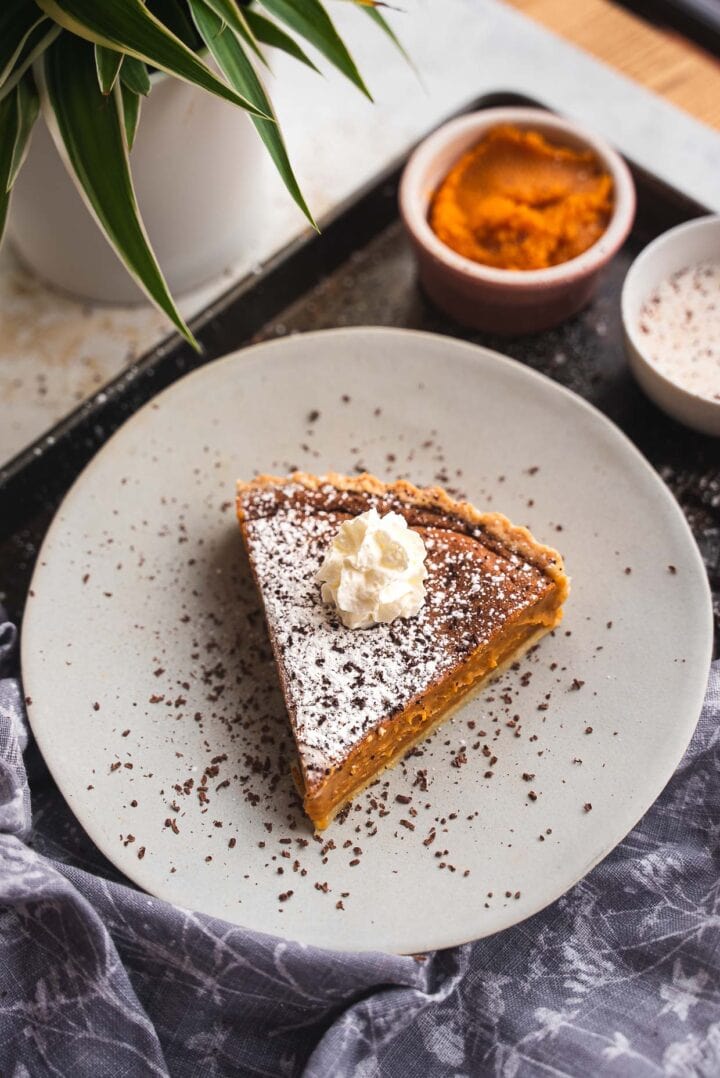
Storing & Freezing the Pie
The vegan pumpkin pie keeps well in the fridge, covered, for up to a week.
You can also freeze it as individual slices for up to 2 months in a freezer-friendly container. When ready to serve, allow to thaw fully in the fridge.

More Vegan Desserts
- If you love pumpkin, you'll love my vegan pumpkin bread.
- Vegan banana chocolate chip muffins are easy to make and super fluffy.
- These vegan pumpkin protein balls are the perfect pick-me-up.
- Vegan granola bars also make a fantastic snack or breakfast!
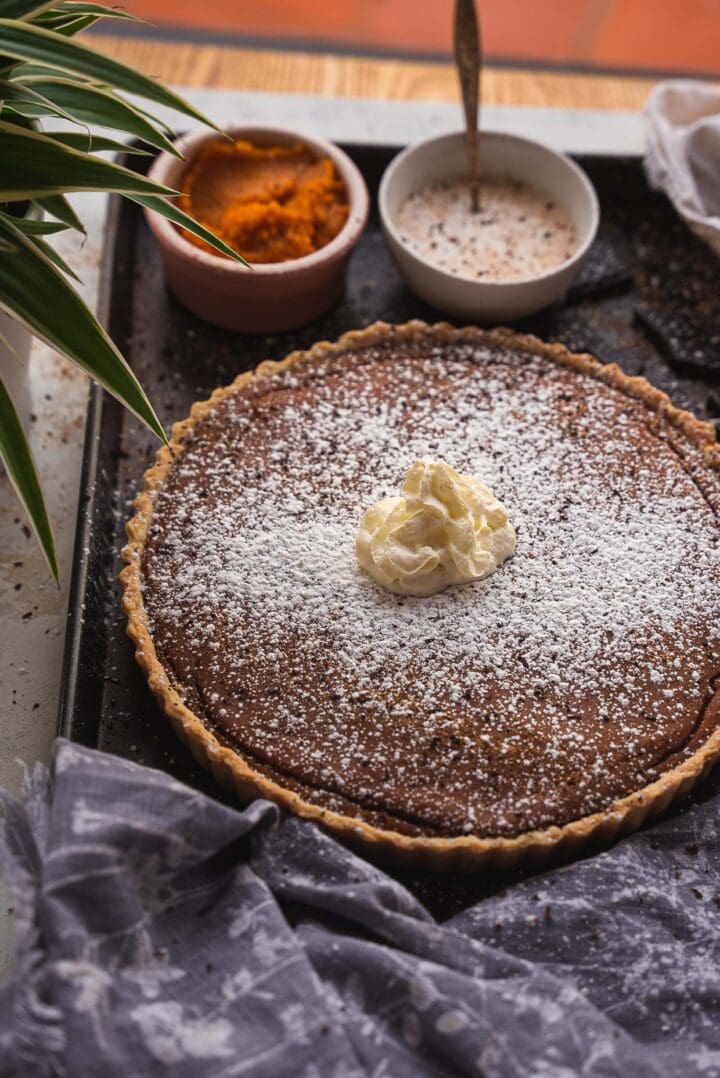
If you give this vegan pumpkin pie recipe a go, be sure to tag me on Instagram (@veg.kitchen) so I can see your creations, and leave your feedback in the comments below with a star rating.
Recipe

Vegan Pumpkin Pie
This homemade vegan pumpkin pie is made 100% from scratch - and it's way easier than you think! It's rich, creamy, totally delicious, and perfect for Thanksgiving dessert.
Print
Pin
Save
Servings: servings
Equipment
- stand mixer or handheld mixer
- 9" tart pan or pie plate
Ingredients
- 2 ½ cups pumpkin puree
- 2 tablespoon cornstarch
- ½ teaspoon ground cinnamon
- 1 cup brown sugar
- ⅓ cup maple syrup
- ½ cup plant based milk
- 1 cup dairy-free heavy cream substitute or substitute coconut cream
- ½ teaspoon vanilla extract
- 1 vegan pie crust homemade or store bought
Instructions
- Preheat the oven to 350 degrees Fahrenheit (180 Celsius).
- To a large mixing bowl, add the pumpkin purée, cornstarch, cinnamon, brown sugar, maple syrup, plant based milk, soy cream and vanilla extract. Use a handheld mixer to whisk until the mixture is smooth. You can also do this in a food processor or blender.2 ½ cups pumpkin puree, 2 tablespoon cornstarch, ½ teaspoon ground cinnamon, 1 cup brown sugar, ⅓ cup maple syrup, ½ cup plant based milk, 1 cup dairy-free heavy cream substitute, ½ teaspoon vanilla extract
- Pour the filling into a 9-inch pie tin lined with the vegan pie crust. Bake in the preheated oven for 50-55 minutes.1 vegan pie crust
- Transfer to the fridge and allow to cool for at least an hour before slicing and serving with vegan whipped cream.
Video
Notes
To make gluten-free: Use either a homemade or store bought gluten-free pie crust.
To store: Keep in the fridge, covered, for up to a week.
To freeze: Freeze the pumpkin pie as individual slices for up to 2 months in a freezer-friendly container. When ready to serve, allow to thaw fully in the fridge.
Nutrition (Estimate per Serving)
Calories: 218kcalCarbohydrates: 48gProtein: 1gFat: 3gSaturated Fat: 1gPolyunsaturated Fat: 0.1gMonounsaturated Fat: 2gSodium: 53mgPotassium: 283mgFiber: 2gSugar: 41gVitamin A: 11920IUVitamin C: 3mgCalcium: 80mgIron: 1mg
Vegan-ize any recipe!Grab our free vegan cheat sheet, packed with my favorite easy substitutions to make any recipe vegan.
Vegan Banana Pudding

With just a few simple ingredients you can serve up this creamy and delicious Vegan Banana Pudding! Full of sweet banana flavor, this pudding is sure to be a hit with the whole family. Add a dollop of creamy vegan whipped cream and dig in!
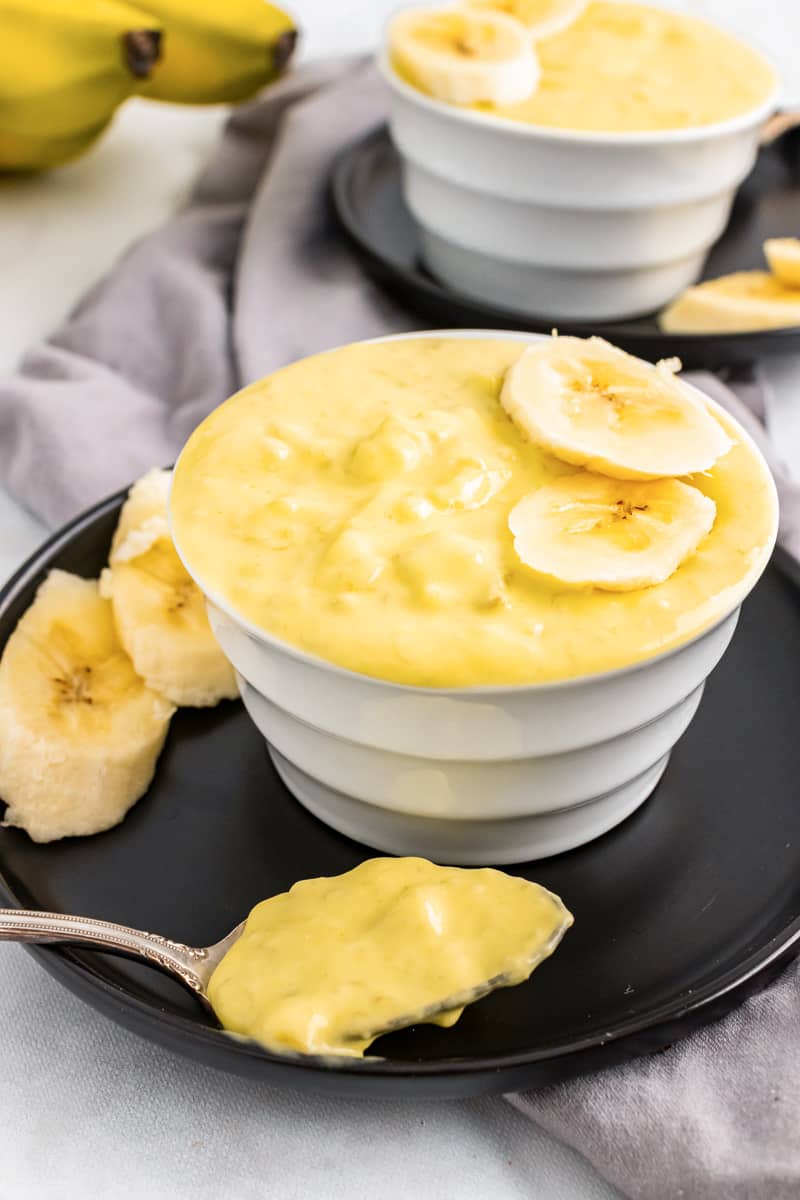
Craving a little something sweet? Whip up this simple vegan banana pudding in just 15 minutes, then pop it in the fridge to chill. This easy dessert is one of our family favorites!
This Vegan Banana Pudding recipe is...
- Vegan
- Vegetarian
- Dairy-free
- Gluten-free
- Made with real bananas
- Homemade
And while you're here, don't forget to grab a copy of my free vegan cheat sheet. It's packed with all my favorite substitutions to vegan-ize any recipe!
How to Make Vegan Banana Pudding
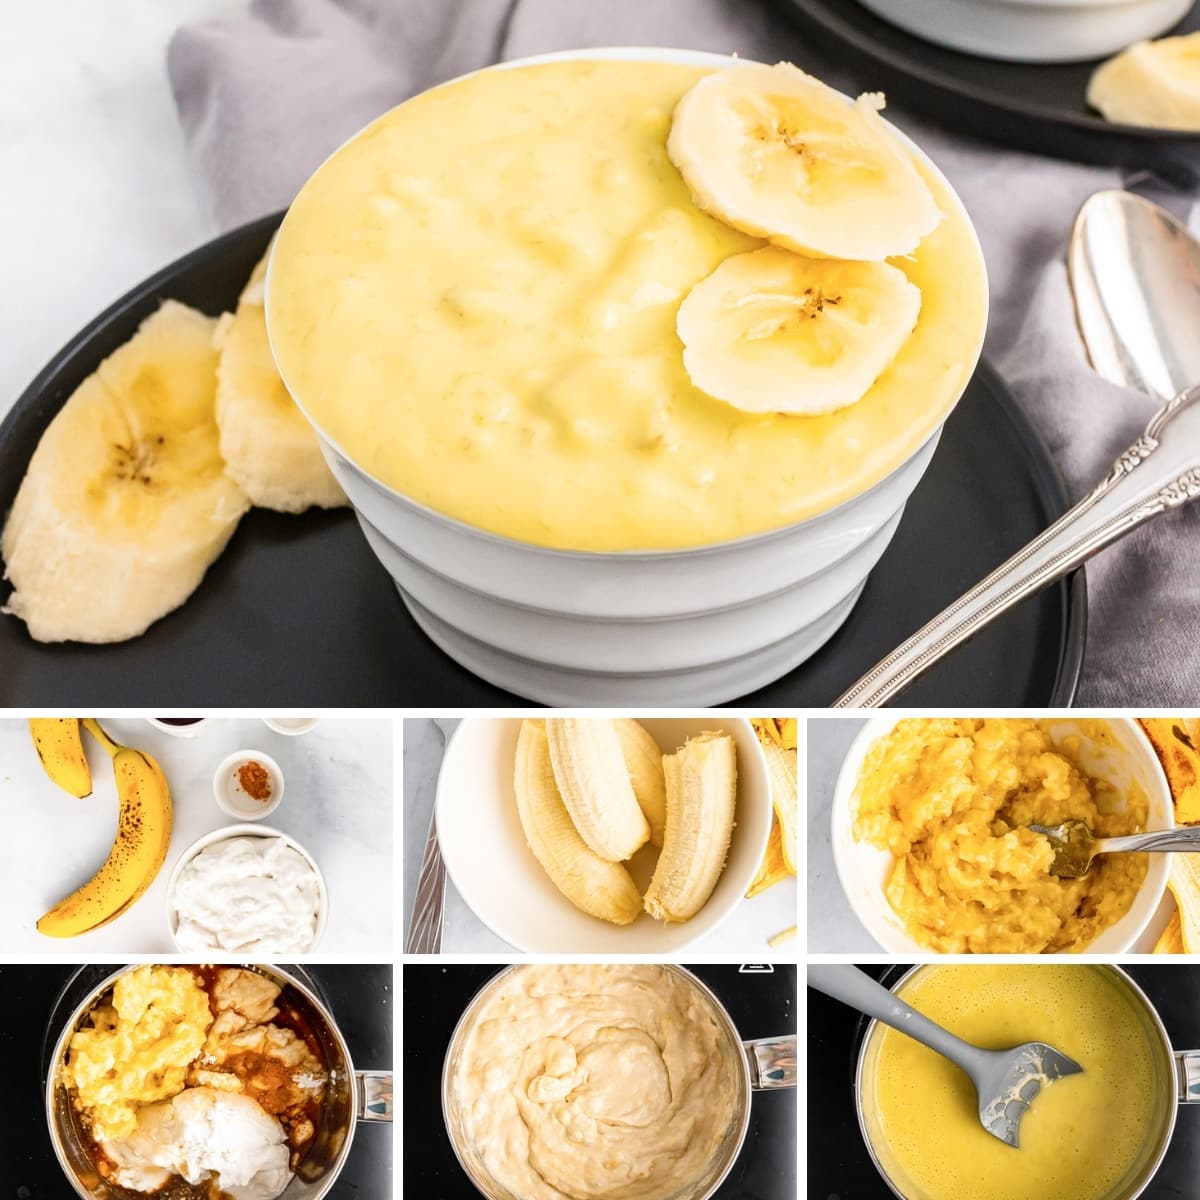
- In a bowl, mash bananas. Then add them to a saucepan on the stove.
- Add coconut cream, maple syrup, vanilla, salt, and turmeric.
- Mix well and heat over medium low until boiling. Stir often.
- Transfer mixture to heat-proof container, and chill in fridge at least 4 hours.
- Once the banana pudding is set, top with bananas and serve.
Detailed directions and measurements for this Vegan Banana Pudding are in the printable recipe card below.
Tips & Tricks for Perfect Vegan Banana Pudding!

Use Very Ripe Bananas
Make sure to use very ripe bananas for this recipe. In fact, it's best if they are a bit overripe. Then you'll want to mash them up with a fork, working out any large lumps so your pudding has a nice creamy texture.
Stir Frequently
You have to stir the pudding a lot while it is on the stove. If you don't keep stirring, the pudding may burn on the bottom of the pot and ruin your dessert.
Use a Food Processor
If you want a very creamy pudding with no banana chunks at all, you can use a food processor to pulse the banana mixture. The consistency will also be a bit thinner if you use this method.
Banana Pudding Variations
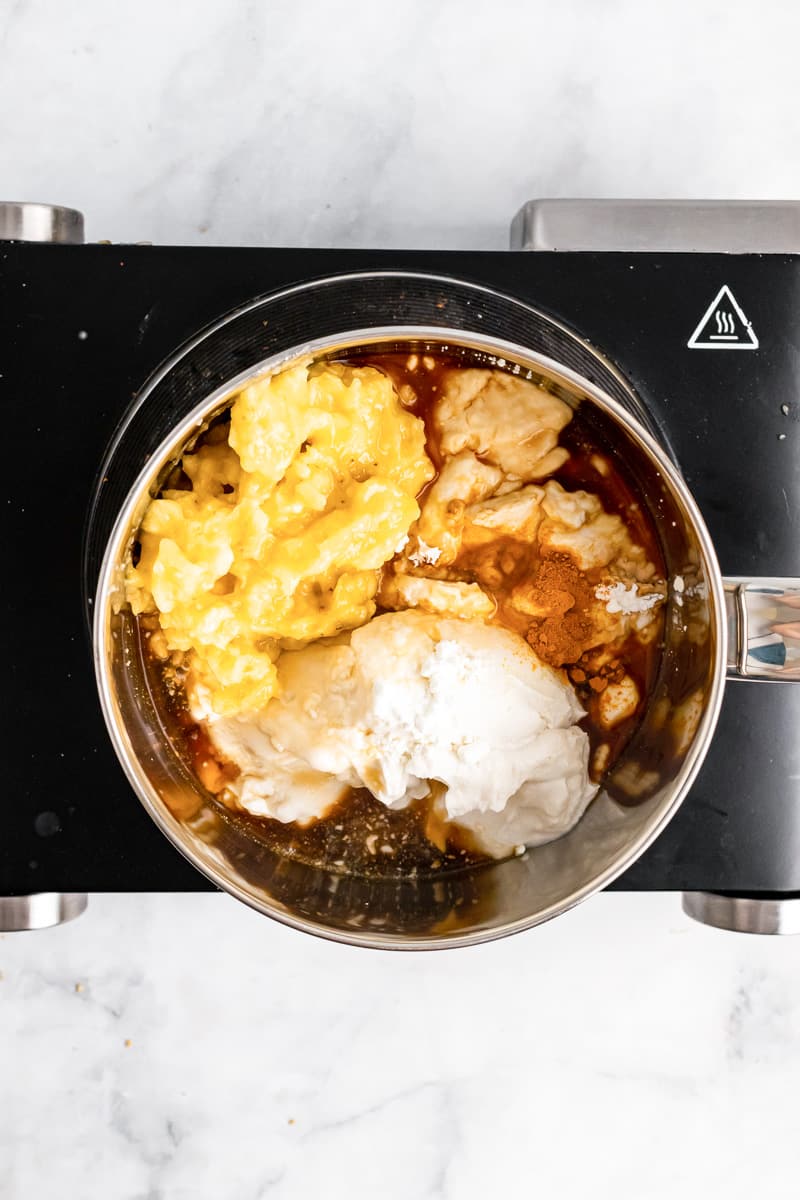
Alternative Sweeteners
I used maple syrup for this recipe. But if you want, you can swap the syrup with an artificial sweetener, like Stevia, to cut out some of the sugar content.
You can also substitute the maple syrup with agave syrup or honey (a non-vegan option) if you prefer.
Add a Dash of Turmeric
The turmeric is completely optional, but it will add a nice vibrant yellow color to your banana pudding.
Make a Parfait
You can use this Vegan Banana Pudding to make some tasty vegan parfaits. Use graham crackers or granola for the first layer of your parfait. Then add a layer of pudding and a layer of vegan whipped cream! This makes a delicious vegan breakfast or dessert.
Add Toppings
Serve the banana pudding cold and top with your favorite garnishes. Vegan whipped cream, cherries, or fresh sliced bananas are all great choices.
FAQs
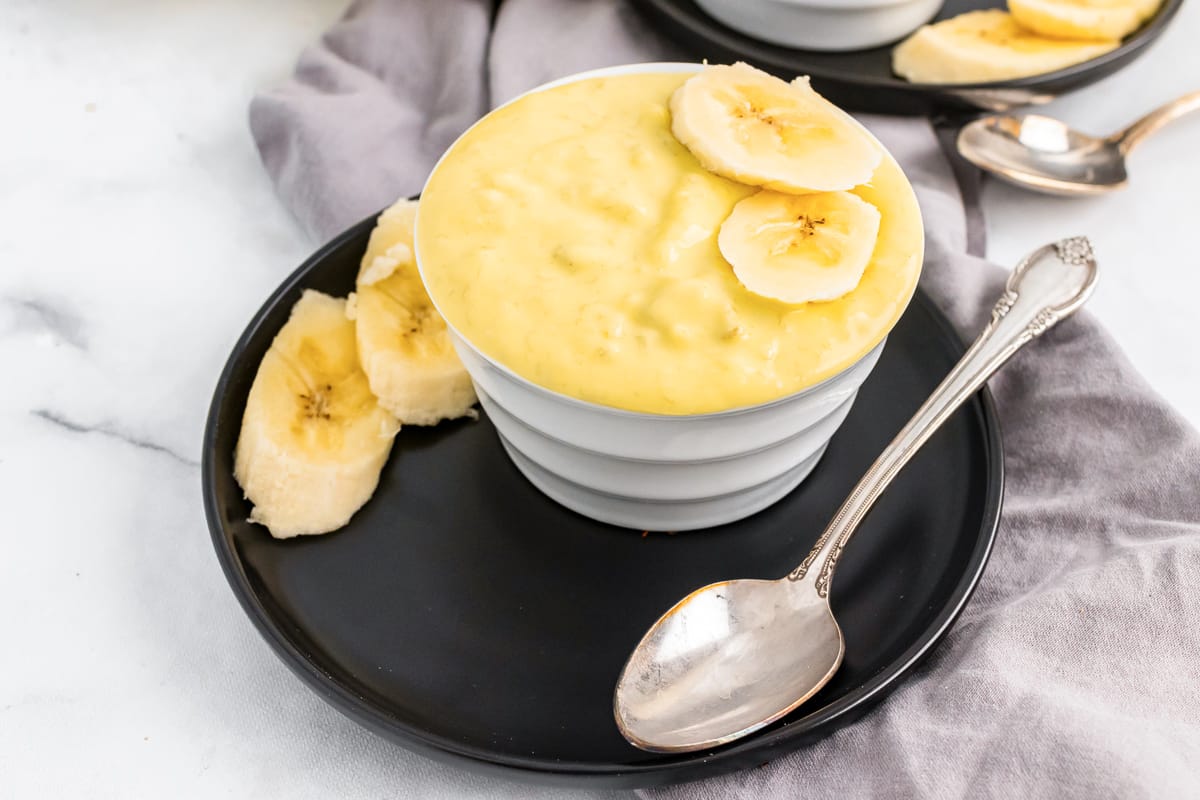
Is coconut cream the same thing as coconut milk?
Coconut cream and coconut milk are not the same, so make sure you buy canned coconut cream. Coconut cream is ultra thick and gives the banana pudding that rich flavor and creamy texture.
What does the cornstarch do in this recipe?
The cornstarch in this recipe helps to thicken the pudding while it cooks on the stove. Without cornstarch, your pudding would take a lot longer to reach the desired consistency, if it ever did at all.
How can I make this pudding less sweet?
If you want to tone down the sweetness of this pudding, simply use less maple syrup. If you prefer less sweet, start with ¼ cup and add more from there.
How should I store banana pudding?
Banana pudding needs to be stored in an airtight container in the fridge. It can last for up to 5 days in the fridge.
More Vegan Recipes
If you love this vegan banana pudding, be sure to check out these other delicious vegan desserts:
- Vegan Chia Seed Pudding Recipes
- Vegan Chocolate Bread Pudding
- Vegan Coconut Rice Pudding
- Vegan Oat Flour Banana Bread
Recipe

Vegan Banana Pudding
With just a few simple ingredients you can serve up this creamy and delicious Vegan Banana Pudding. This dessert is sure to be a hit with the whole family.
Print
Pin
Save
Servings: servings
Ingredients
- 2 bananas very ripe, medium
- 1 ½ cups coconut cream
- ½ cup maple syrup
- 1 tablespoon cornstarch
- 1 teaspoon vanilla
- ¼ teaspoon salt
- pinch turmeric optional for color
- sliced bananas optional for garnish
Instructions
- In a small bowl, mash the bananas.
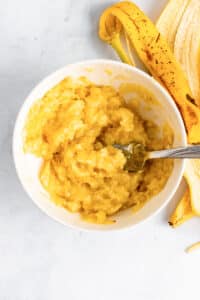
- Add the mashed bananas, coconut cream, maple syrup, cornstarch, vanilla, salt, and turmeric (if using) to a medium saucepan.

- Heat ingredients on medium low until just beginning to boil, stirring frequently.
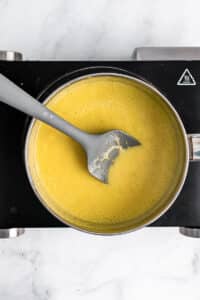
- Transfer pudding to a heat-proof container and place in refrigerator until chilled and thickened, at least 4 hours.
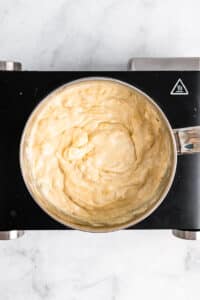
- Serve pudding with sliced bananas if desired.

Notes
- If you want your pudding to be less sweet, only use half of the maple syrup in the recipe.
- To make the pudding extra thick, double the amount of cornstarch.
- Mashing the bananas with a fork won't get them perfectly smooth, so the pudding will have some minor lumps. For a completely smooth pudding, use a food processor to mash your bananas.
- This recipe calls for coconut cream-not coconut milk. They are not the same thing!
Nutrition (Estimate per Serving)
Calories: 937kcalCarbohydrates: 97gProtein: 8gFat: 63gSaturated Fat: 55gPolyunsaturated Fat: 1gMonounsaturated Fat: 3gSodium: 307mgPotassium: 1192mgFiber: 7gSugar: 63gVitamin A: 76IUVitamin C: 15mgCalcium: 114mgIron: 5mg
Vegan-ize any recipe!Grab our free vegan cheat sheet, packed with my favorite easy substitutions to make any recipe vegan.
Vegan Wonton Soup Recipe

Delicious vegan wonton soup with mushrooms and Pak Cho, inspired by the traditional Chinese comfort food. Learn how to make homemade wontons from scratch, and enjoy in a flavorful umami broth for a cozy dinner. Also freezer-friendly!
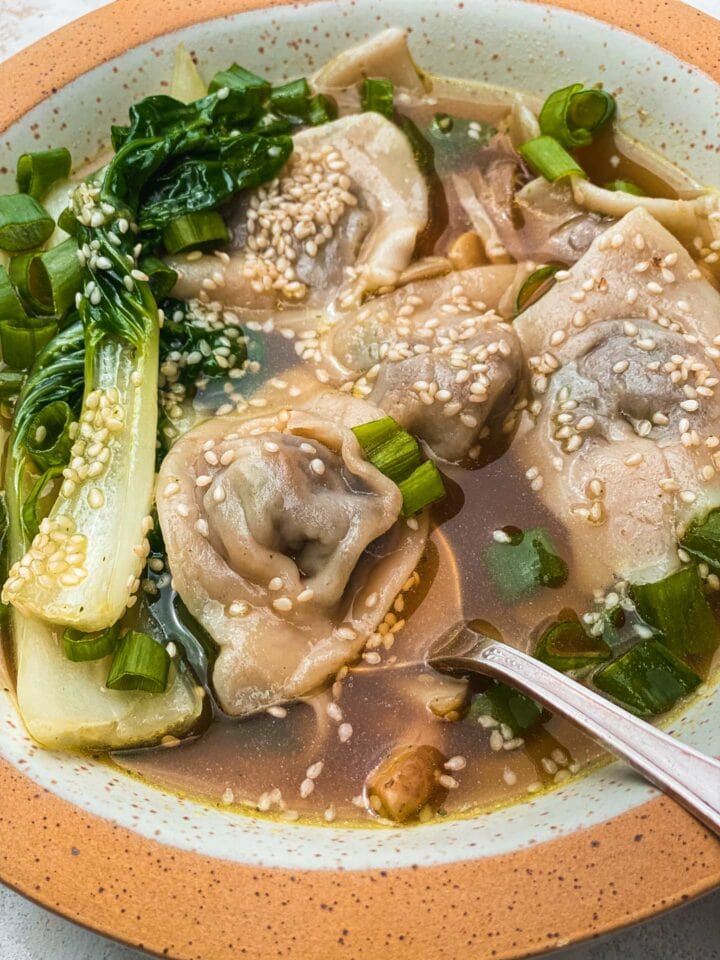
Wontons have a special place in my heart. Not only are they fun to make, but also very versatile and great for those nights when you're craving comfort food. And there's no better way to eat them than in a vegan wonton soup! I make this meal for my family and friendds all the time, and couldn't recommend it more.
Vegan wonton soup from scratch
This meatless wonton soup is incredible for so many reasons. Firstly, the wontons are entirely homemade. Of course, you can use store-bought wonton wrappers, but they're easier than you think to make from scratch. And it makes for a fun weekend project to occupy the whole family in the kitchen!

We're also making a simple mushroom and scallion filling that's incredibly juicy and packed full of flavor. And it requires just simple ingredients. But you can switch this recipe up by using another wonton filling of your choice.
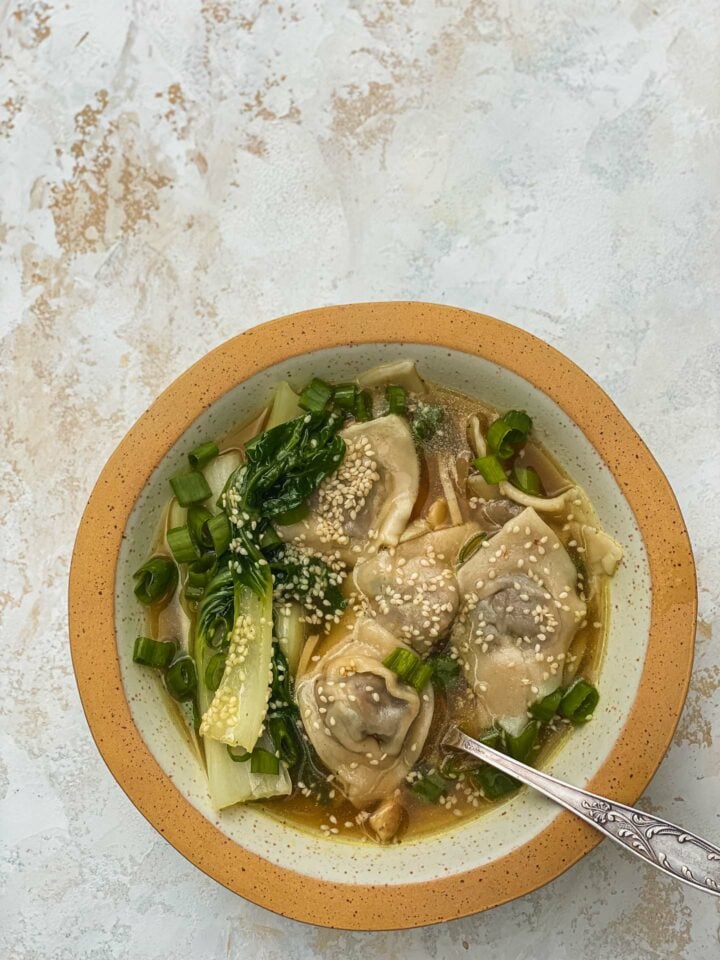
Then, there's the quick vegetable broth in which the wontons are cooked. I added mushrooms, more scallions and Pak Choi to create the most amazing flavor that the wontons soak up perfectly. Trust me, it's even better than it looks or sounds!
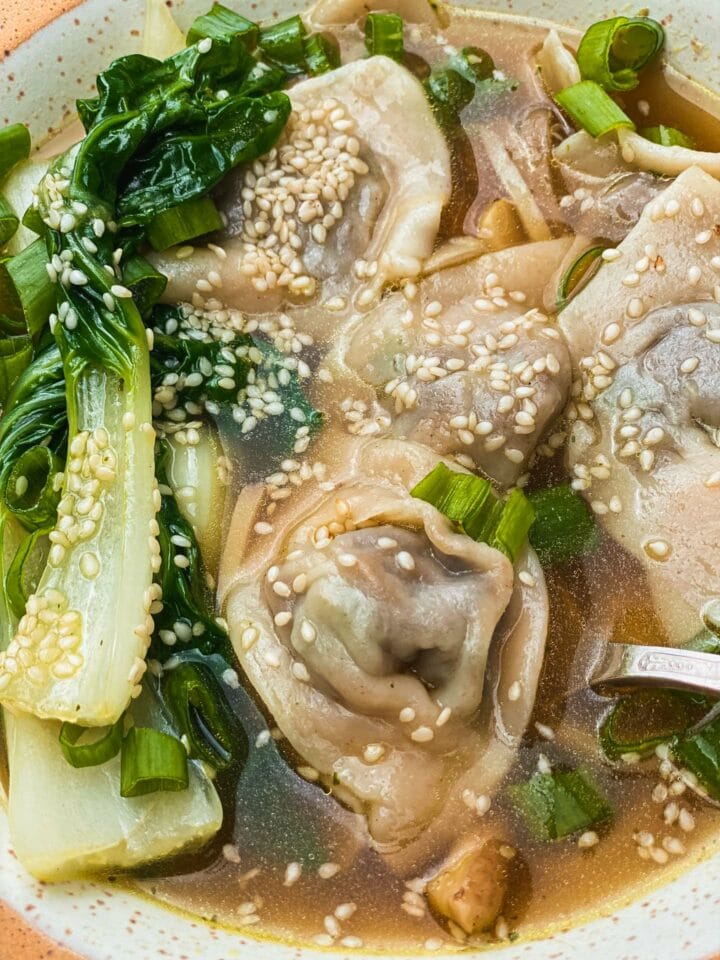
How to make vegan wonton soup
Make the wonton wrappers
Of course, you can use store-bought wonton wrappers to make vegan wonton soup, which are available in the frozen section of most Asian food stores. But unfortunately, there are none in my small village, and therefore I like to make my own wonton wrappers from scratch to save a lengthy trip.

Start by adding salt to lukewarm water and mixing together. Then, gradually add plain flour, and continue mixing until a dough forms. Add olive oil, and knead on a lightly-floured surface for 5 minutes. Cover with a kitchen towel and set aside for 10 minutes
Make the porcini mushroom filling
You want to prepare the dry porcini mushrooms by firstly rehydrating them in water overnight. There's no need to drain them before making the filling.
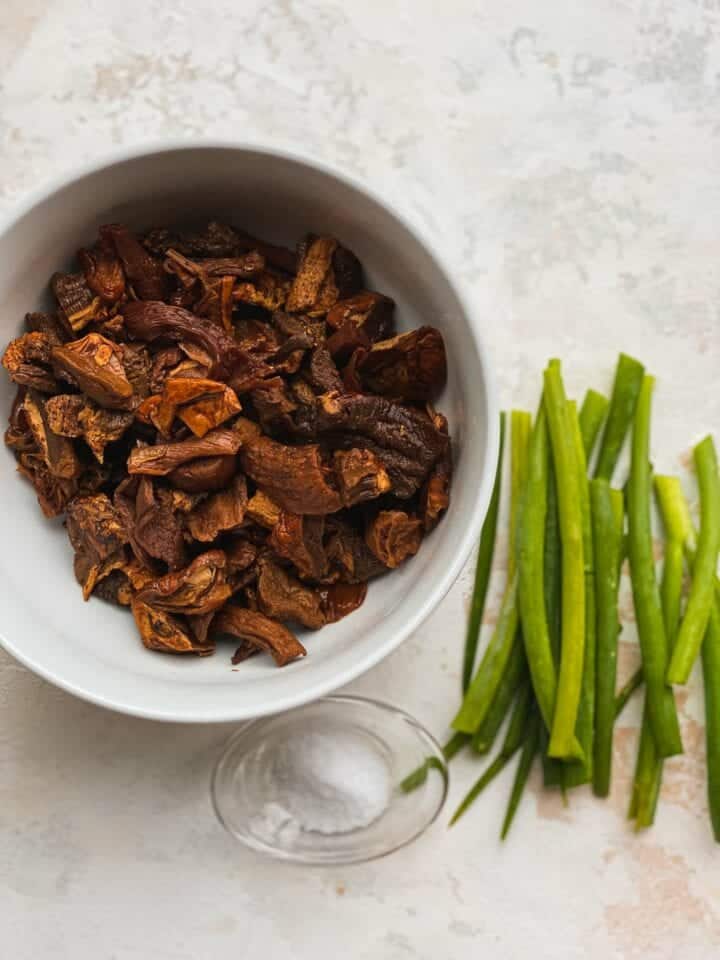
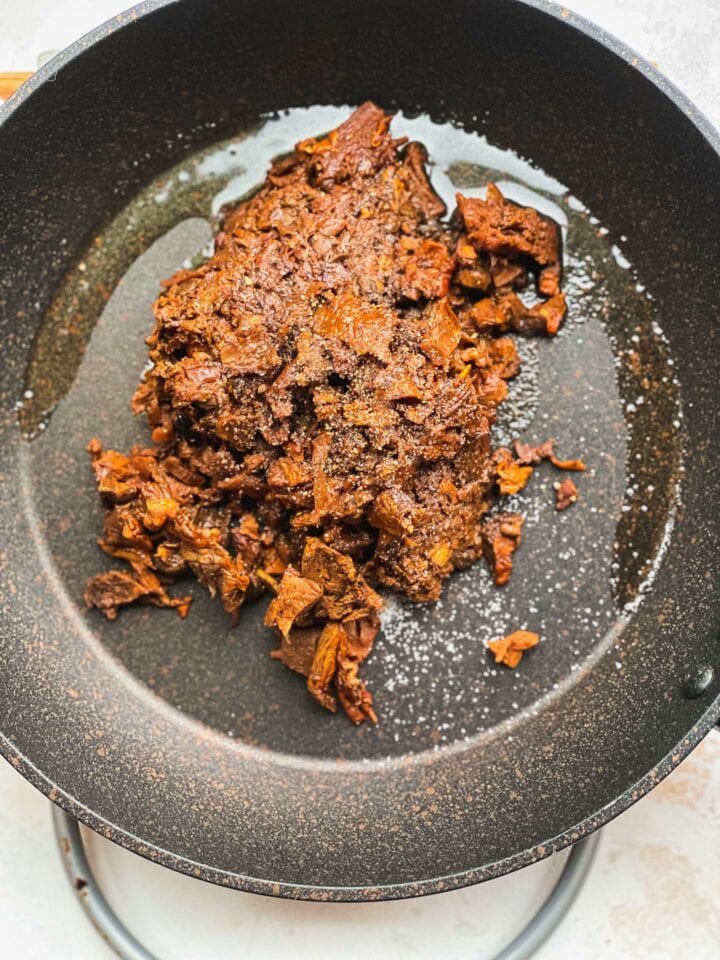
Now heat some sesame oil in a frying pan or work over a medium-high heat. Add the dried porcini mushrooms, salt, black pepper and finely-chopped scallions. Allow to cook, stirring frequently, for around 7-8 minutes, until lightly crispy, but not dried out.
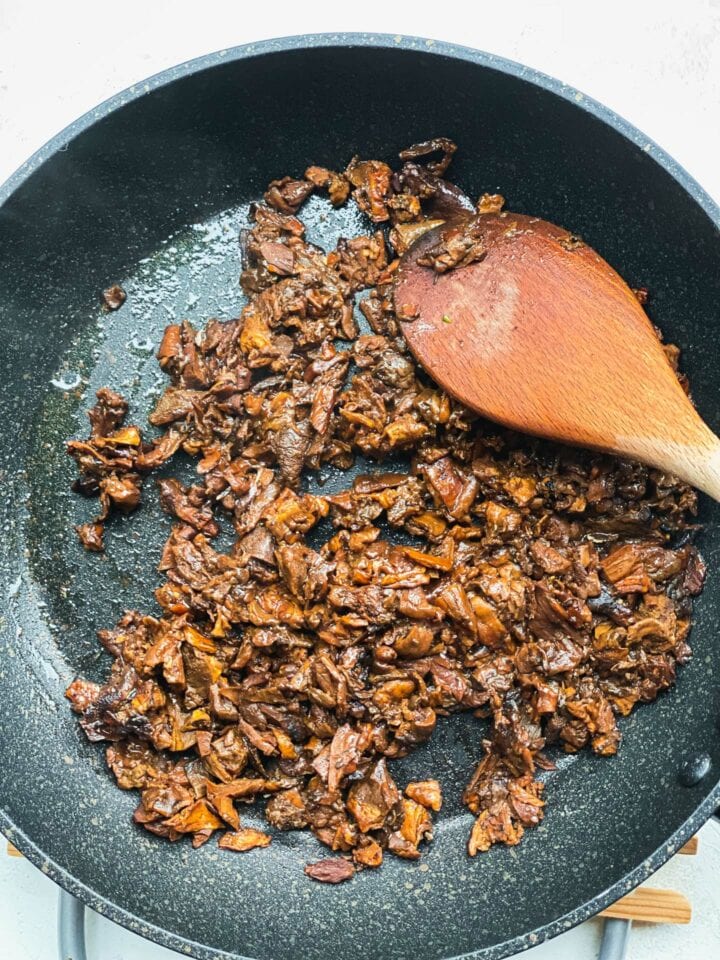
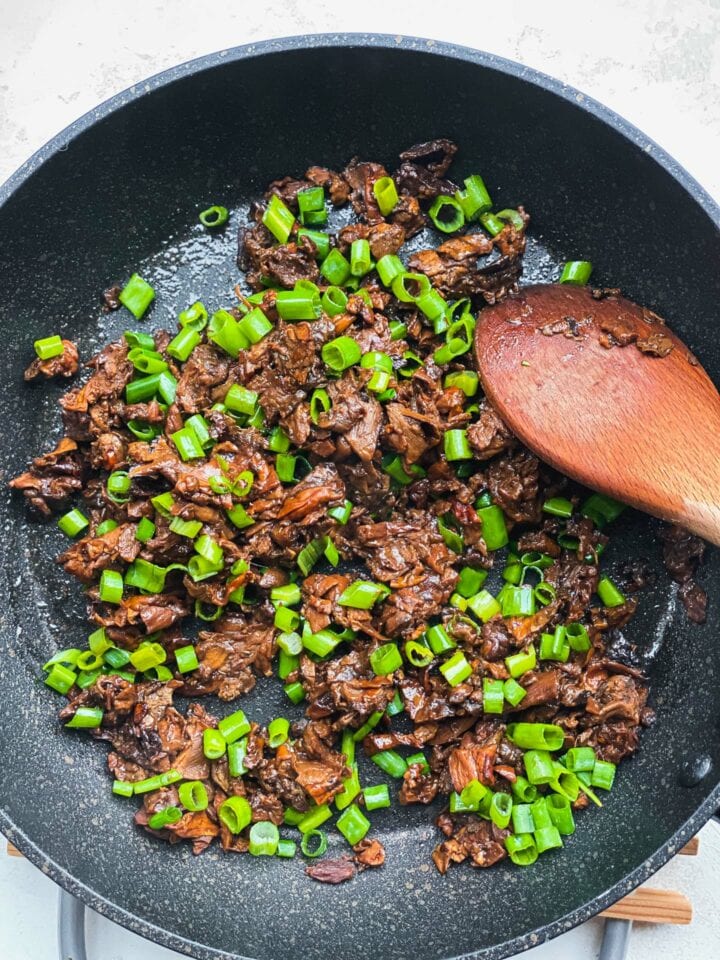
Form the vega wontons
The recipe below makes quite a lot of dough, so I like to divide it into 4 sections to make the rolling process easier.
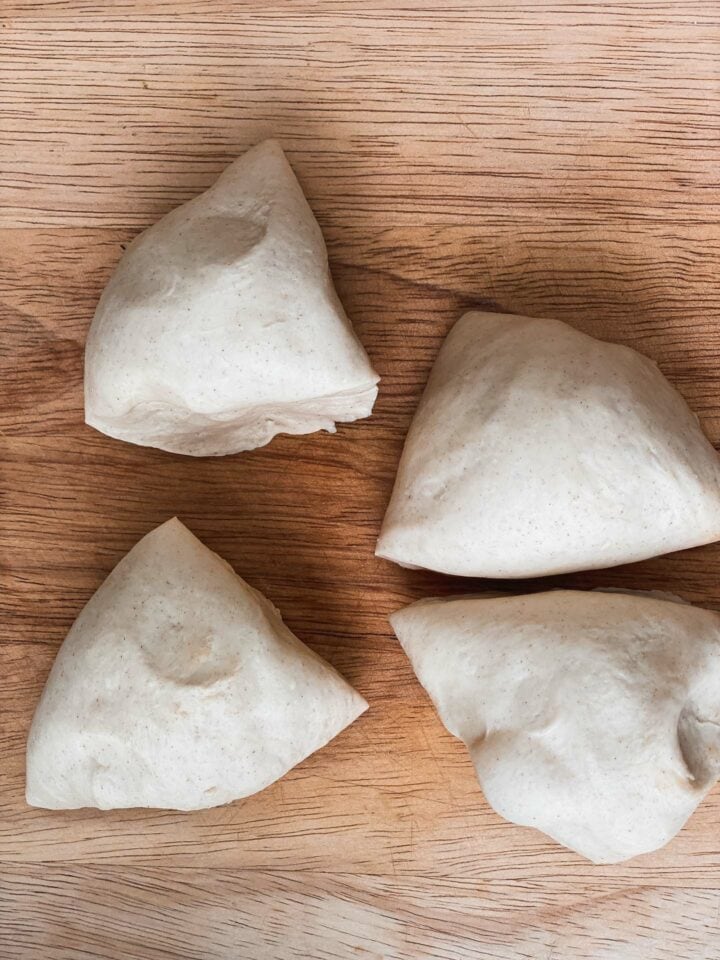
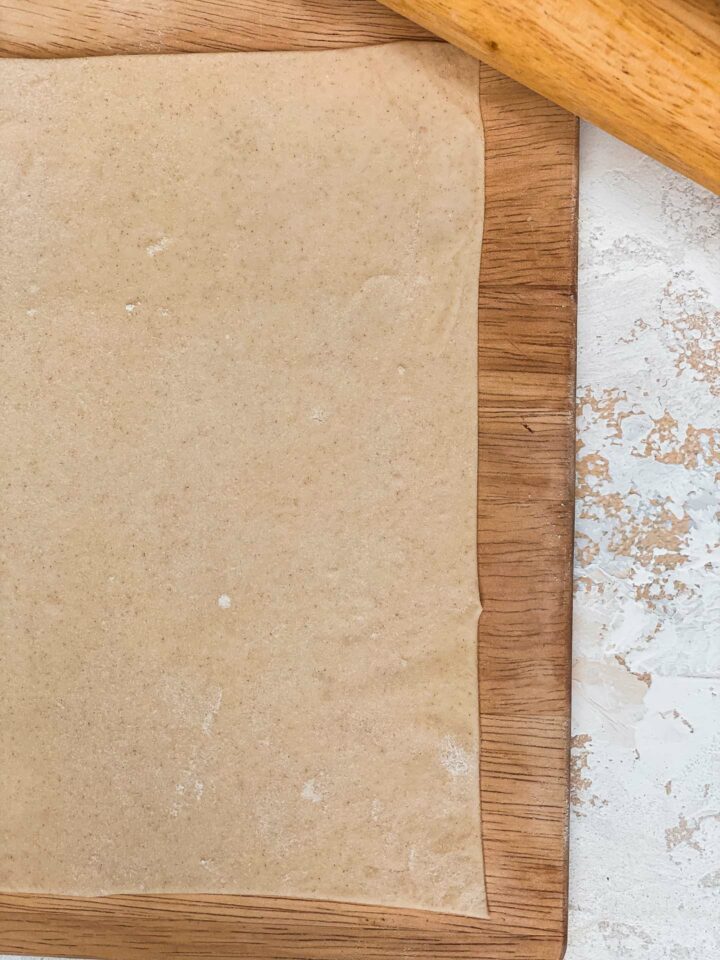
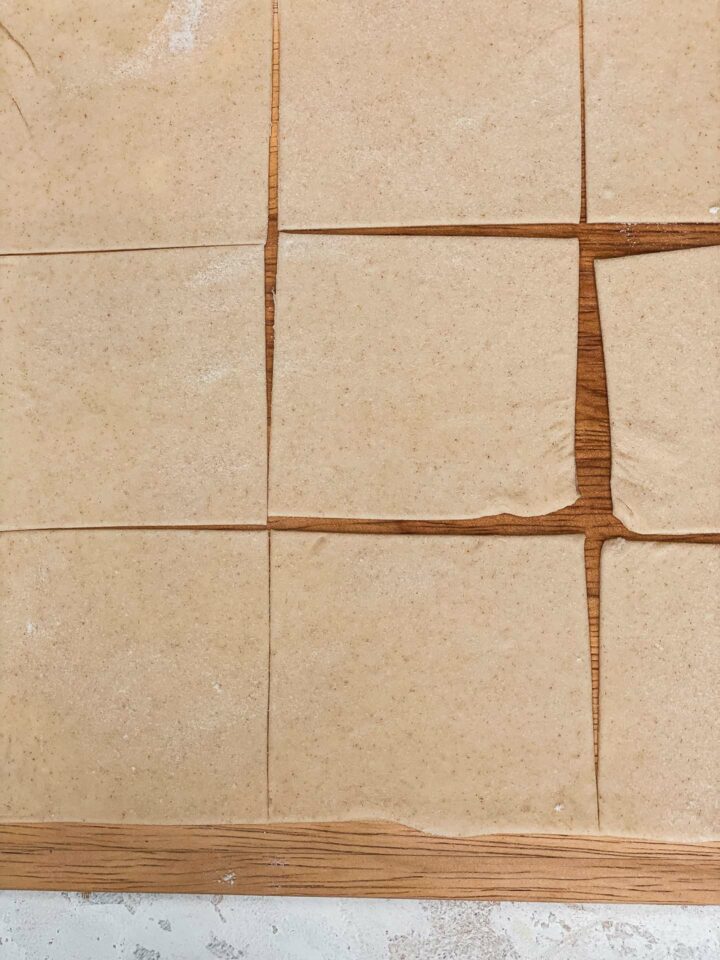
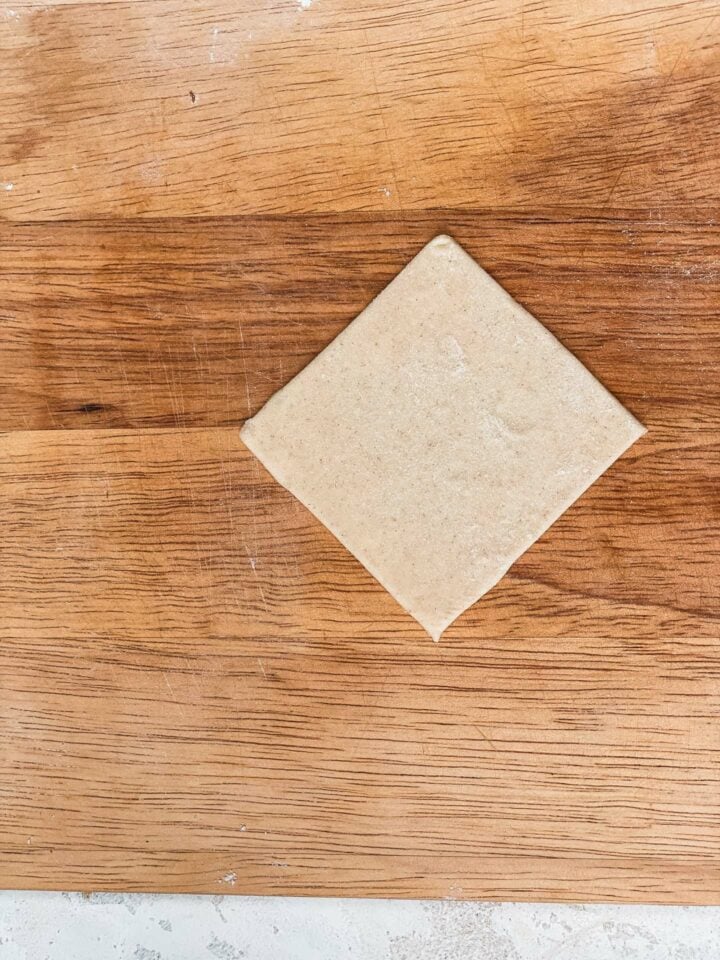
Transfer the dough onto a surface dusted with cornstarch, and roll it out into a very thin sheet. Flip it around 4-5 times to get the perfect result, and continue dusting with cornstarch to prevent sticking. Be patient with this is order to get the perfect consistency and thickness.
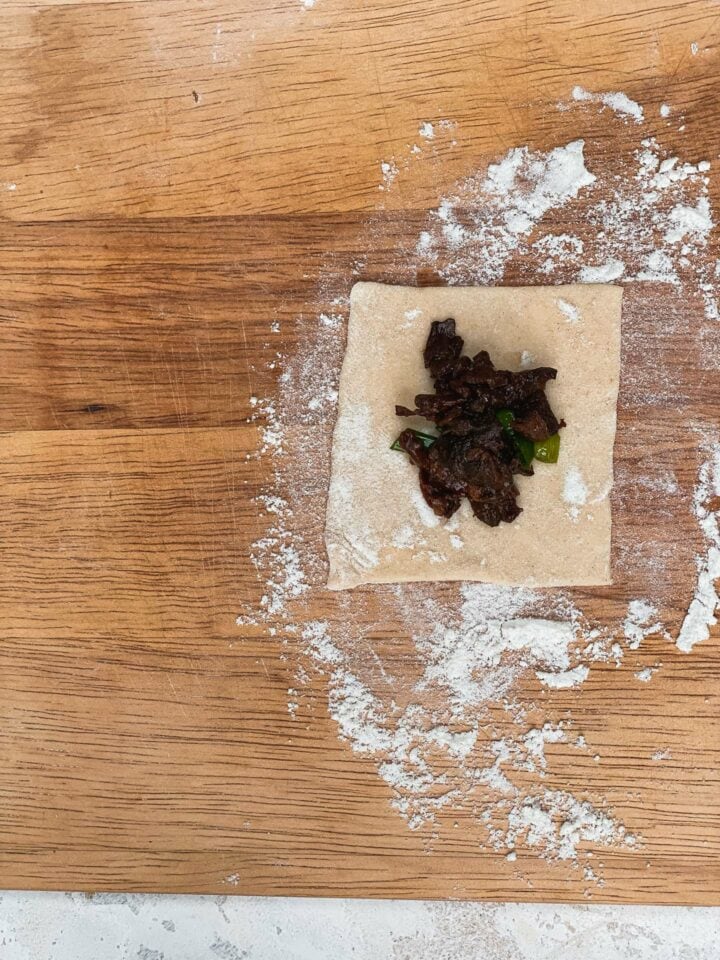


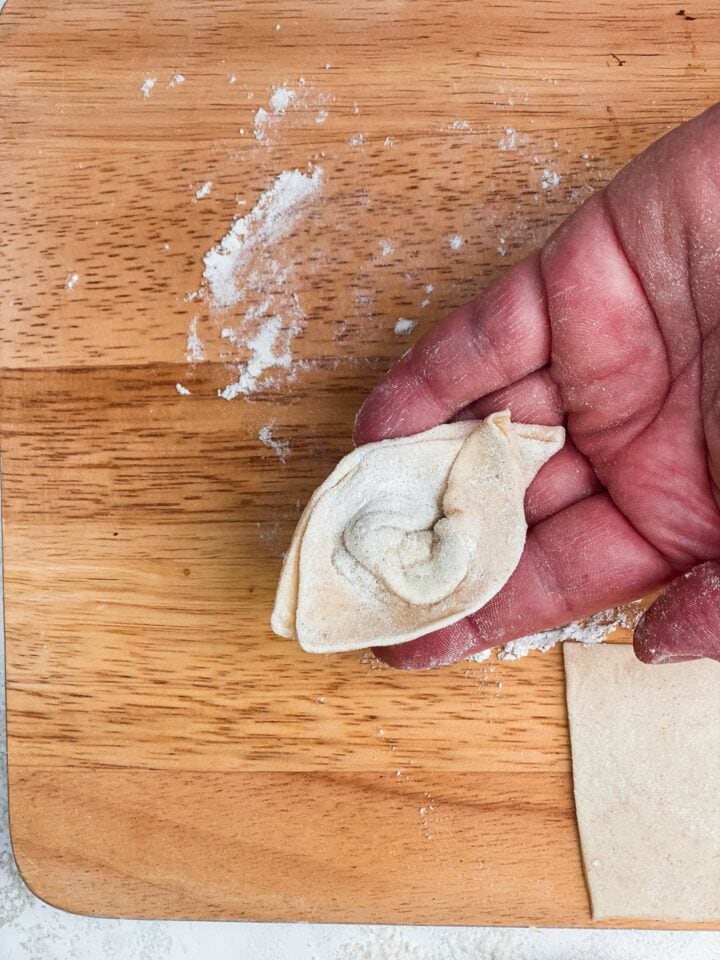
Remove the outer edges of the dough to form a square shape, then divide the square into nine smaller squares. These will be your wonton wrappers!
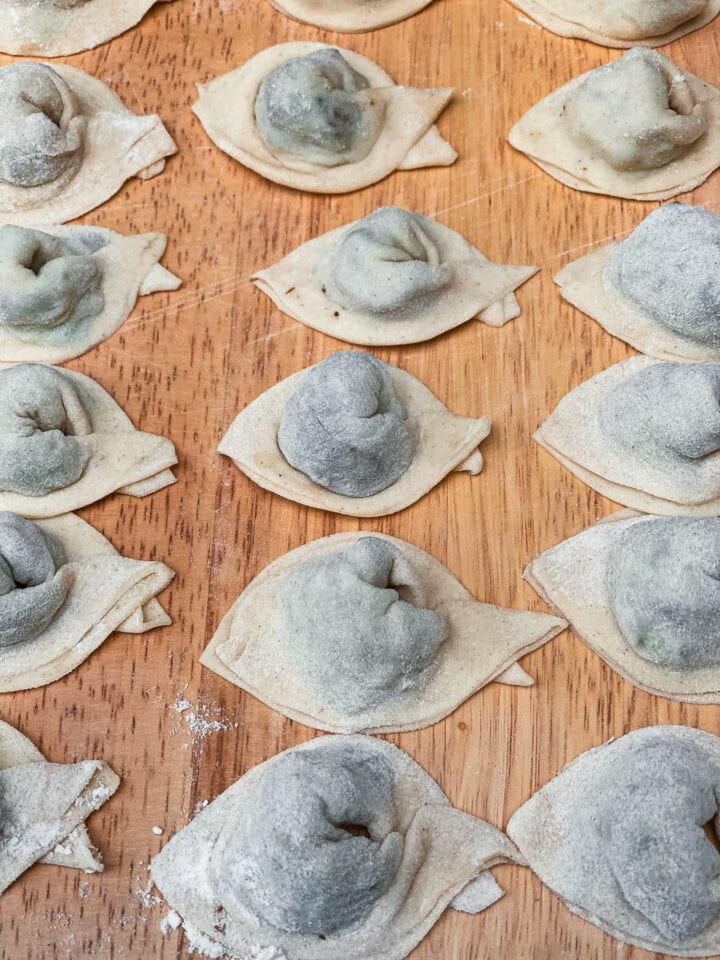
Place around 1 tablespoon of the filling in the centre of a wonton wrappers, then dip your fingers in water and wet the edges. Fold over the square to form a triangle, and press down to seal. Then, bring together the corners of the triangle to make the wonton shape. Repeat with the rest of the wrappers.
Make the broth

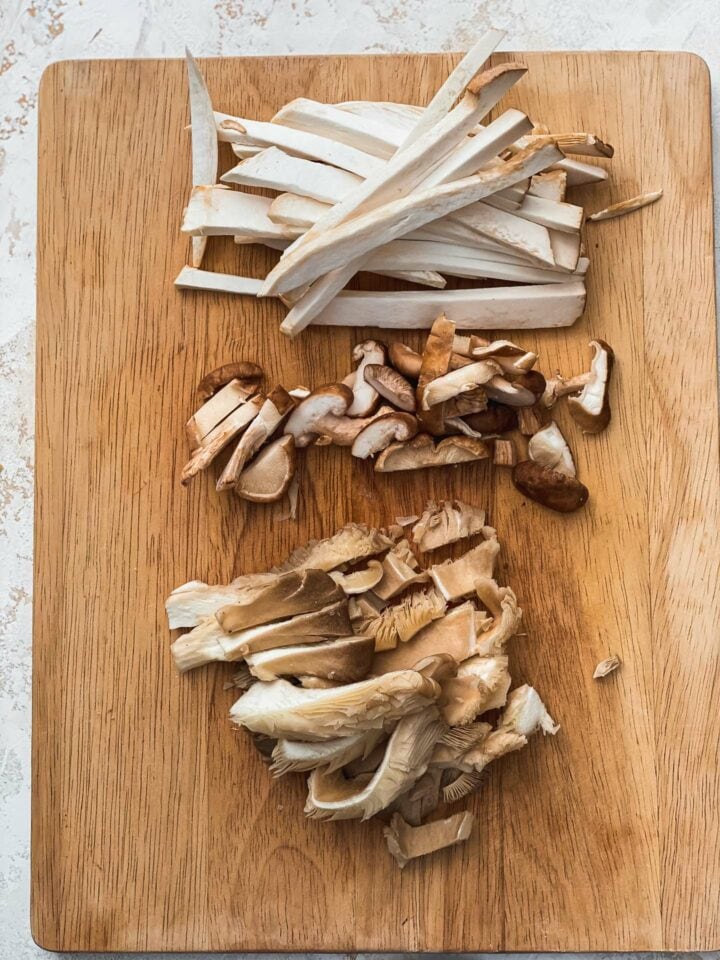
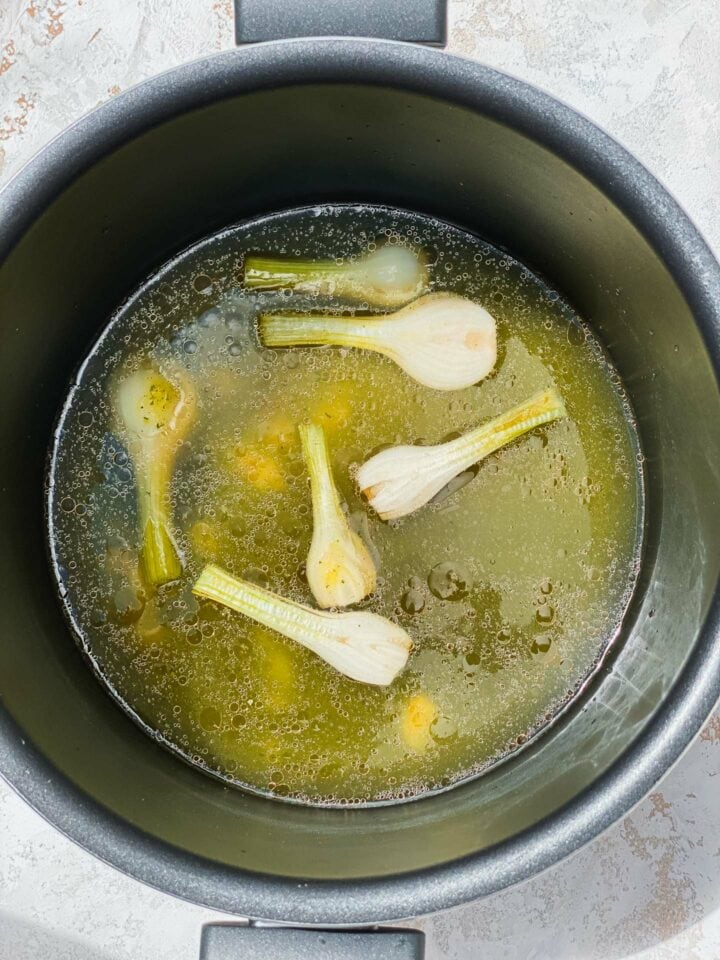
Now, it's time to make the broth for the vegan wonton soup and cook the wontons. Start by heating some sesame oil in a large saucepan over a medium heat and cooking scallions and garlic for 5 minutes, until fragrant. Then, add vegetable stock, shiitake mushrooms and oyster mushrooms. Cook for 10 minutes more.
Now add soy sauce and Pak Choi. Stir together, and continue simmering for around 5 minutes more, until the Pak Choi wilts.
Add the wontons and serve the vegan wonton soup
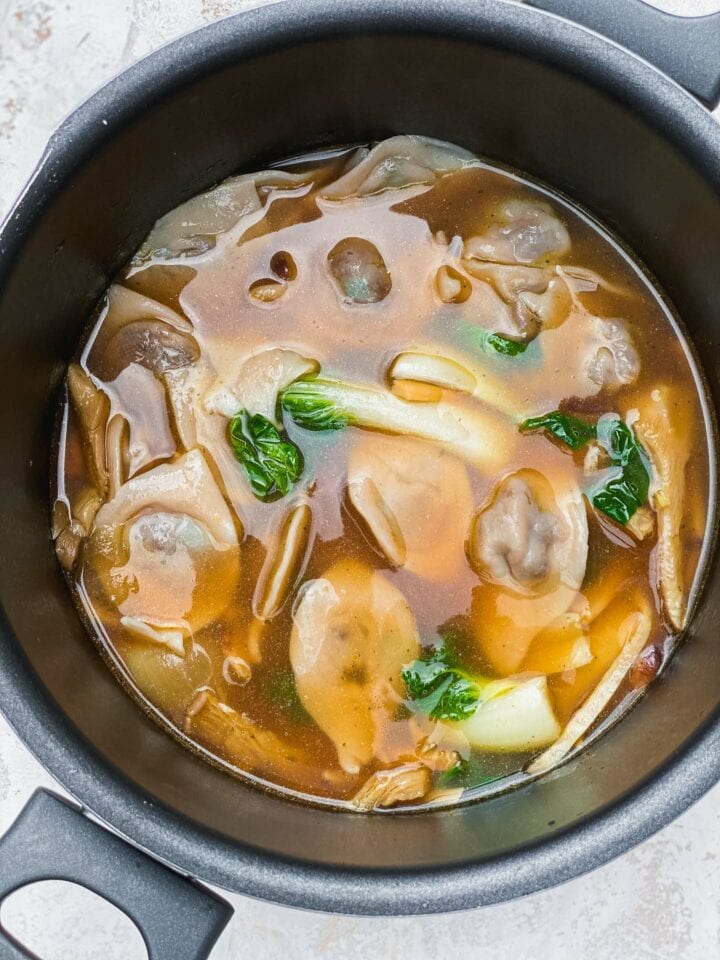
Finally, add the wontons to the broth, and simmer for around 5 minutes, until the dough is cooked through and they rise to the surface. Make sure not to overcook as to allow the wontons to retain their structure. Serve immediately with sesame seeds and extra scallions.

Recipe tips and ingredient substitutions for vegan wontons
- Don't skip kneading the dough. Just 5 minutes will make a huge difference in terms of improving the texture.
- You can replace the rehydrated porcini mushrooms with chestnut, shiitake or oyster mushrooms. Simply dice them finely, and cook as normal until softened.
- Feel free to add any other vegetables or leafy greens to the broth. This is great for using up any veggie scraps you have in the fridge.
- Vegetarian wonton soup is delicious served with chilli oil!
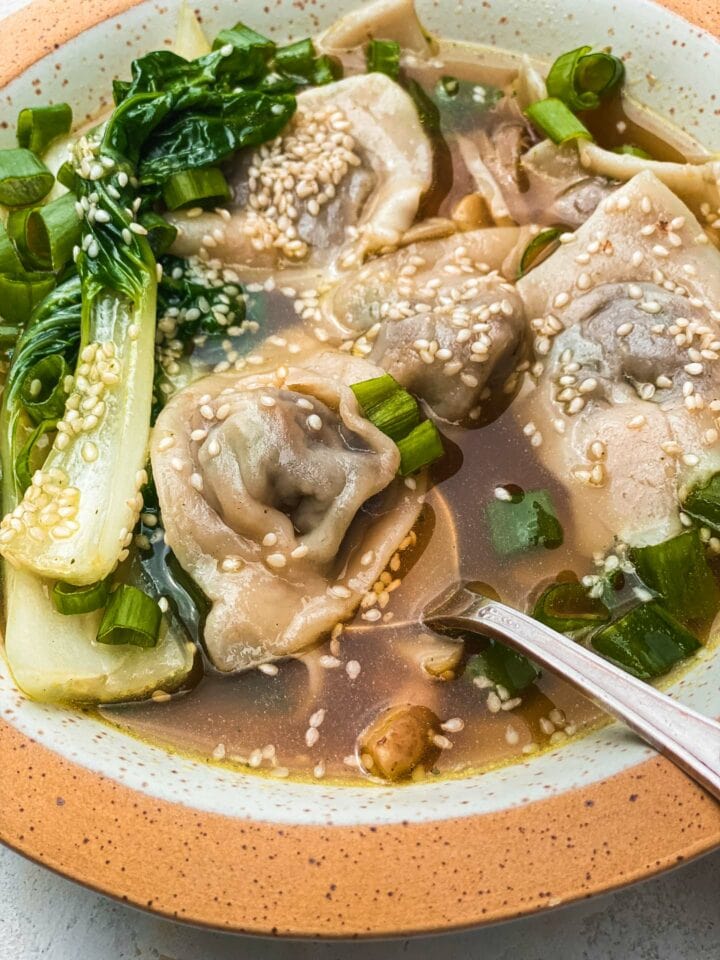
How to freeze wontons
One of my go-to tricks for always having a go-to quick, comforting dinner is freezing dumplings. And just like any dumpling variety, wontons are very easy to freeze:
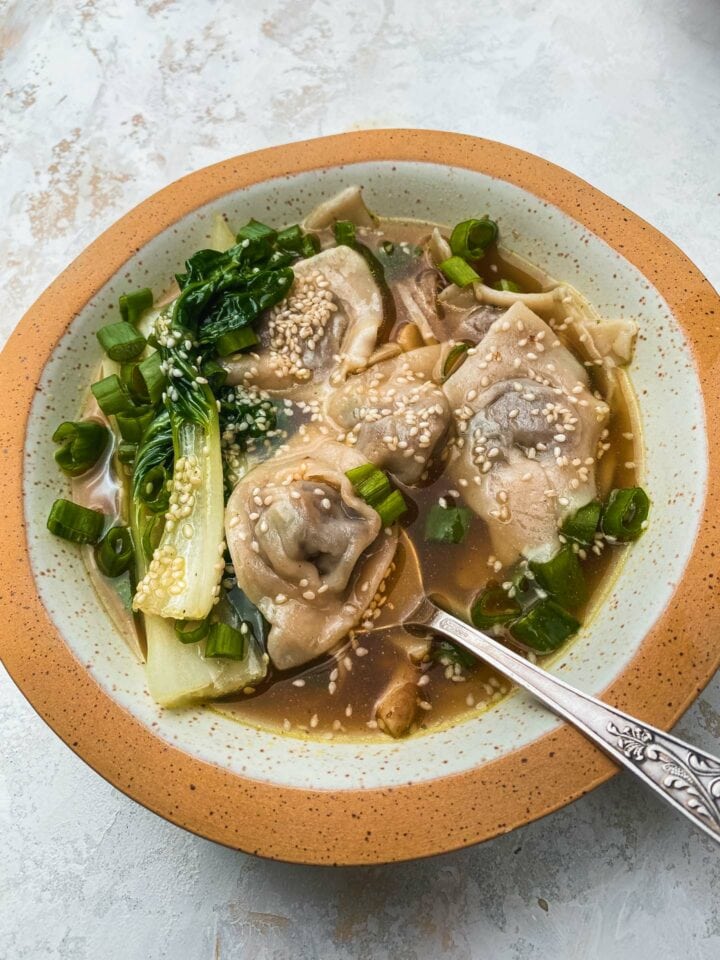
- Line a baking tray with parchment paper.
- Arrange the wontons on the baking tray so that they are not touching each other.
- Place the baking tray in the freezer and leave it until the wontons are completely frozen, which should take around 1-2 hours.
- Transfer the wontons to freezer-friendly bags, label, and leave in the freezer for up to 2 months.
- When ready to serve, cook them from frozen, but add an extra couple of minutes to the cooking time.
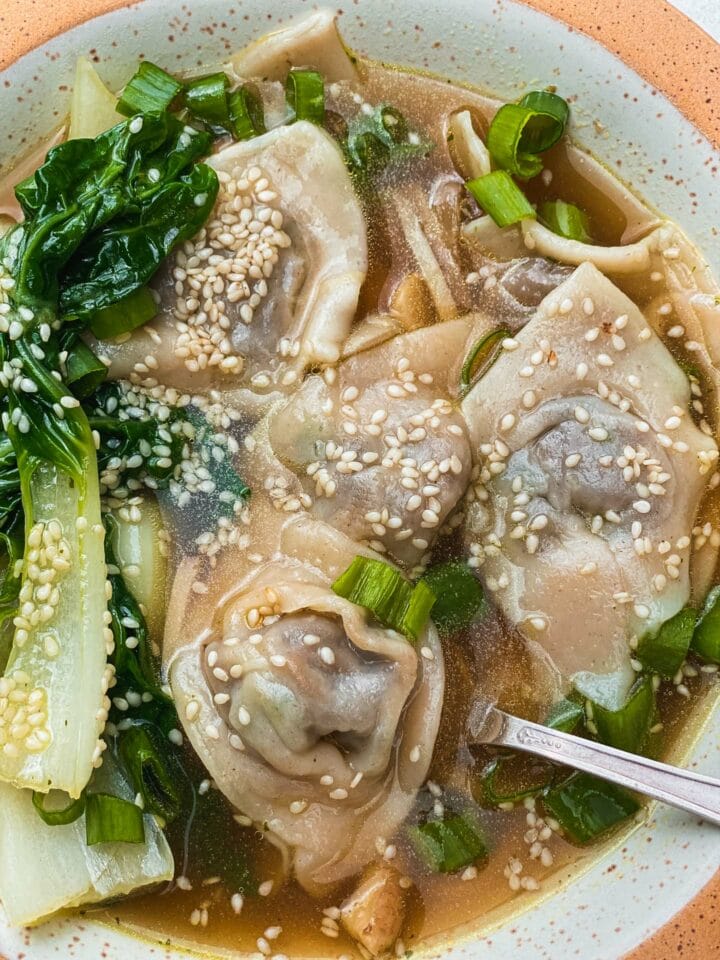
Other delicious vegan dinners you'll love!
- You can't go wrong with a comforting vegan gnocchi bake.
- Vegan peanut noodles are the way to go!
- I love vegan carbonara with crispy mushroom bacon.
- My air fryer tofu is crispy and wholesome.
- Butter bean pasta is super easy to make.
If you give this vegan wonton soup a go, tag me on Instagram and leave your feedback in the comments below together with a star rating - I would love to hear from you!

Recipe

Vegan Wonton Soup Recipe
Vegan wonton soup from scratch! Make homemade dumpling wrappers, a delicious mushroom filling and flavorful umami broth for a comforting dinner, that's also freezer-friendly!
Print
Pin
Save
Servings: servings
Equipment
- Mixing bowl
- Wok or frying pan
- Saucepan
Ingredients
For the filling
- 1 cup dried porcini mushrooms
- 1 tablespoon sesame oil
- ½ teaspoon salt
- ½ teaspoon black pepper
- 1 cup scallions
For the broth
- 1 tablespoon sesame oil
- 3 cloves garlic minced
- 4 scallions halved
- 4 cups vegetable stock
- 2 cups oyster mushrooms
- 2 cups shiitake mushrooms
- 2 heads Pak Choi
- ¼ cup soy sauce
- ¼ cup sesame seeds
Instructions
Make the wonton wrappers
- Add salt to lukewarm water and mix together. Then, gradually add plain flour, and continue mixing until a dough forms.½ teaspoon salt, 1 ¾ cups flour
- Add olive oil, and knead on a lightly-floured surface for 5 minutes. Cover with a kitchen towel and set aside for 10 minutes1 tablespoon olive oil
Make the mushroom filling
- Rehydrate the porcini mushrooms by soaking them in water overnight. There's no need to drain them before making the filling.1 cup dried porcini mushrooms
- Heat sesame oil in a frying pan or work over a medium-high heat. Add the porcini mushrooms, salt, black pepper and scallions. Allow to cook, stirring frequently, for around 7-8 minutes, until lightly crispy, but not dried out.1 tablespoon sesame oil, ½ teaspoon salt, ½ teaspoon black pepper, 1 cup scallions
Make the wontons
- Divide it into 4 sections to make the rolling process easier, then transfer a section onto a surface dusted with cornstarch, and roll it out into a very thin sheet. Flip it around 4-5 times to get the perfect result, and continue dusting with cornstarch to prevent sticking.
- Remove the outer edges of the dough to form a square shape, then divide the square into nine smaller squares.
- Place around 1 tablespoon of the filling in the centre of a wonton wrappers, then dip your fingers in water and wet the edges. Fold over the square to form a triangle, and press down to seal. Then, bring together the corners of the triangle to make the wonton shape. Repeat with the rest of the wrappers.
Make the broth and cook wontons
- Heat sesame oil in a large saucepan over a medium heat and cooking scallions and garlic for 5 minutes, until fragrant.1 tablespoon sesame oil, 4 scallions, 3 cloves garlic
- Add vegetable stock, shiitake mushrooms and oyster mushrooms. Cook for 10 minutes more.4 cups vegetable stock, 2 cups oyster mushrooms, 2 cups shiitake mushrooms
- Add soy sauce and Pak Choi. Stir together, and continue simmering for around 5 minutes more, until the Pak Choi wilts.¼ cup soy sauce, 2 heads Pak Choi
- Add the wontons to the broth, and simmer for around 5 minutes, until the dough is cooked through and they rise to the surface. Make sure not to overcook as to allow the wontons to retain their structure.
- Serve immediately with sesame seeds and extra scallions.¼ cup sesame seeds
Notes
How to freeze wontons
- Line a baking tray with parchment paper.
- Arrange the wontons on the baking tray so that they are not touching each other.
- Place the baking tray in the freezer and leave it until the wontons are completely frozen, which should take around 1-2 hours.
- Transfer the wontons to freezer-friendly bags, label, and leave in the freezer for up to 2 months.
- When ready to serve, cook them from frozen, but add an extra couple of minutes to the cooking time.
Nutrition (Estimate per Serving)
Calories: 255kcalCarbohydrates: 38gProtein: 10gFat: 9gSaturated Fat: 1gPolyunsaturated Fat: 3gMonounsaturated Fat: 4gSodium: 1317mgPotassium: 969mgFiber: 6gSugar: 6gVitamin A: 9829IUVitamin C: 98mgCalcium: 291mgIron: 5mg
Vegan-ize any recipe!Grab our free vegan cheat sheet, packed with my favorite easy substitutions to make any recipe vegan.
Vegan Cheese Sauce (No Nuts!)

Looking for a nut-free Vegan Cheese Sauce? This creamy cheese sauce is delicious poured over roasted veggies, tofu, and more!

This simple Vegan Cheese Sauce is super versatile. If you are looking for a vegan cheese sauce with no nuts, this sauce is for you.
Pour this sauce over pasta, pizza, tacos, and more!
This Vegan Cheese Sauce Is...
- Nut-free
- Gluten-free
- Made with 5 ingredients
- Vegan
- Vegetarian
- Simple to make
- Versatile
How to Make Vegan Cheese Sauce
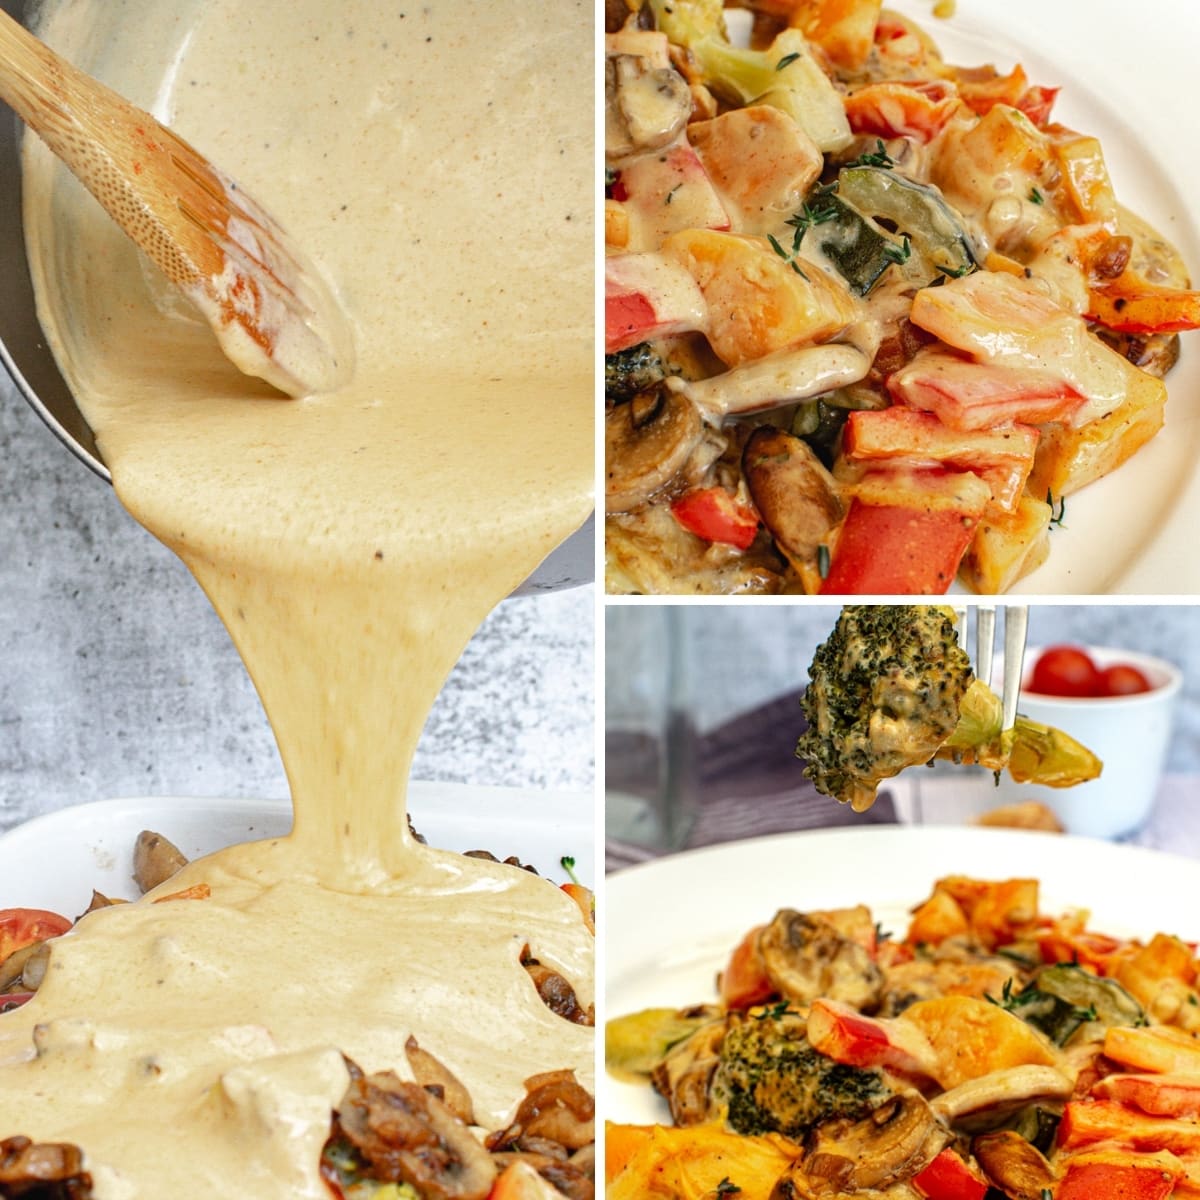
- Start by heating a small pan on the stove. Add in the non-dairy milk and heat for a few minutes.
- Then add in the vegan cheese, nutritional yeast, and spices.
- Stir until the sauce thickens. Then season with salt and pepper, to taste, if you would like.
Tips & Tricks For Vegan Cheese Sauce
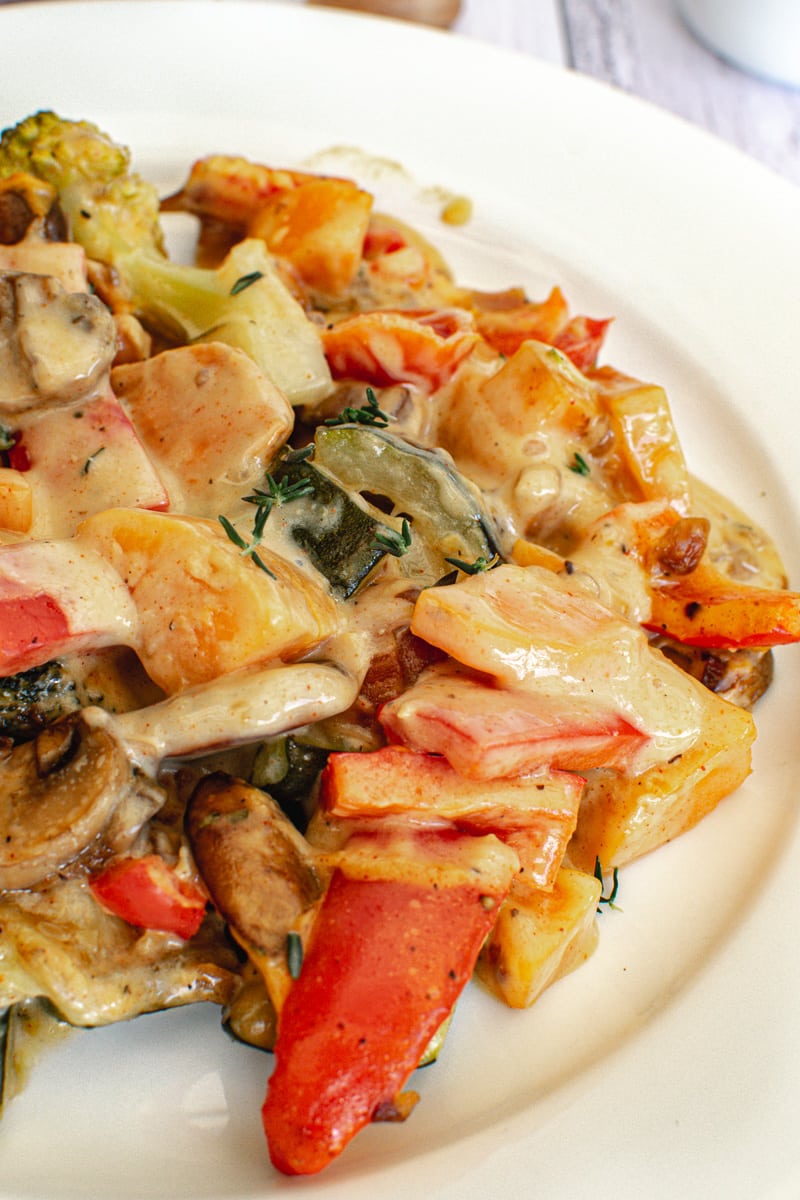
Thickening The Sauce
You have to allow time for the cheese sauce to thicken. You do this by giving it some time to simmer on the stove. Make sure to stir your sauce constantly, or it will burn on the bottom.
Using Nutritional Yeast
If you don't have nutritional yeast on hand, you can use debittered brewer's yeast instead. Just use the same amount of brewer's yeast for the recipe as you would nutritional yeast.
Variations To Vegan Cheese Sauce
Spice Up The Flavor
Add in some cayenne or a splash of hot sauce to ramp up the heat of your cheese sauce. You control the spice factor when you make cheese sauce yourself!
Vegan Cheese Sauce FAQs
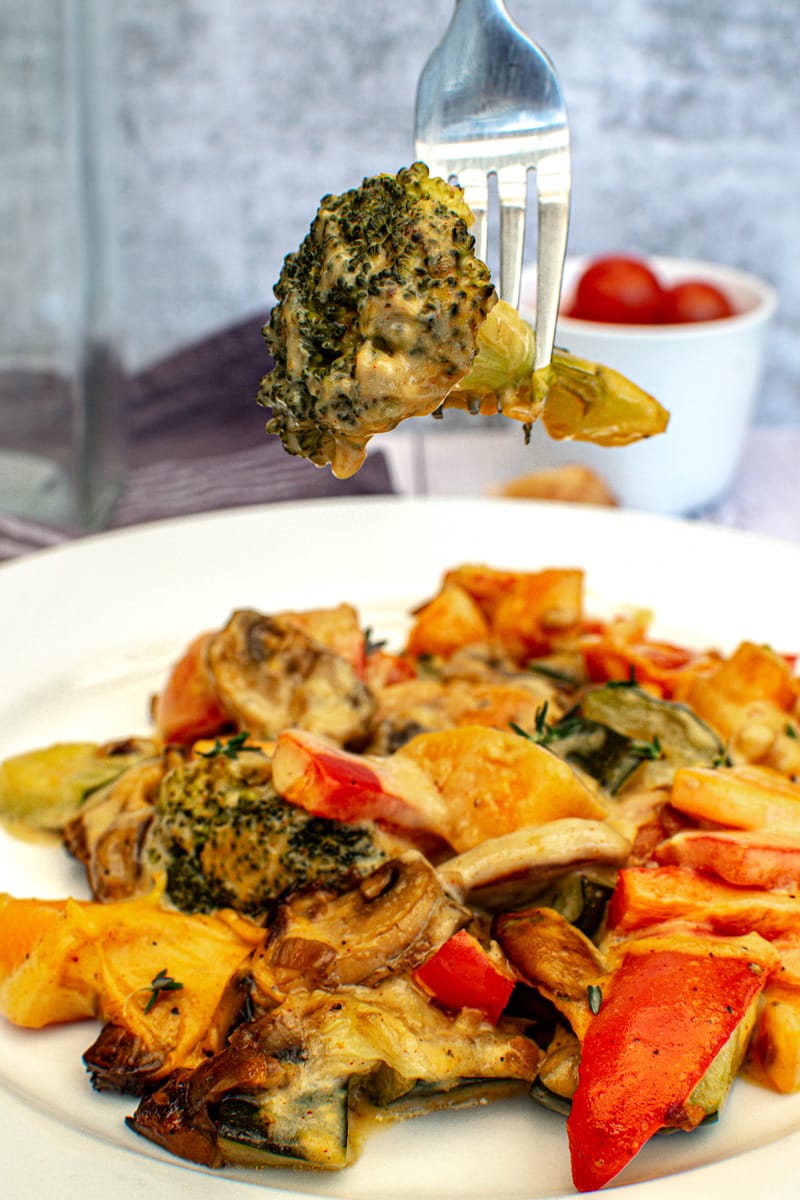
How do you store leftover cheese sauce?
Place any cheese sauce you don't use in an airtight container, and store in the fridge for up to a week. The cheese sauce will get a lot thicker as it cools down.
How do you reheat cheese sauce?
If you want to reheat the cheese sauce, simply warm it up in the microwave or on the stove. Add a splash of water and stir well to thin out the sauce.
Can you freeze Vegan Cheese Sauce?
You can freeze any leftover cheese sauce in an airtight container for 2-3 months. Thaw your sauce in the fridge overnight before serving it up.
Do you eat Vegan Cheese Sauce cold or hot?
Either way! You can eat this cheese sauce cold or warm it up-the choice is yours. If you eat the sauce cold, it will be a lot thicker. If you eat it heated up, it will be creamier and thinner.
Recipe

Vegan Cheese Sauce (No Nuts!)
Looking for a nut-free Vegan Cheese Sauce? This creamy cheese sauce is delicious poured over roasted veggies, tofu, and more!
Print
Pin
Save
Servings: servings
Ingredients
- ½ cup vegan cheese cheddar variety
- 1 cup non-dairy milk such as soy milk
- 2 tablespoon nutritional yeast
- 1 teaspoon smoked paprika
- 1 teaspoon oregano
- salt and pepper, to taste
Instructions
- Heat a small saucepan over medium heat.
- Add the non-dairy milk and heat for a few minutes, until warm.
- Add the vegan cheese, nutritional yeast, smoked paprika, and oregano. Stir continuously until you get a thick sauce.

- Season with salt and pepper, to taste.

Nutrition (Estimate per Serving)
Calories: 177kcalCarbohydrates: 15gProtein: 8gFat: 9gSaturated Fat: 2gSodium: 340mgPotassium: 352mgFiber: 4gSugar: 3gVitamin A: 973IUVitamin C: 9mgCalcium: 203mgIron: 2mg
Vegan-ize any recipe!Grab our free vegan cheat sheet, packed with my favorite easy substitutions to make any recipe vegan.
Vegan Charcuterie Board

This beautiful and delicious Vegan Charcuterie Board is perfect for holiday celebrations, casual entertaining, or just a fun weeknight in. This vegan snack board is loaded with fresh veggies, fruits, nuts, and plenty of yummy dips.
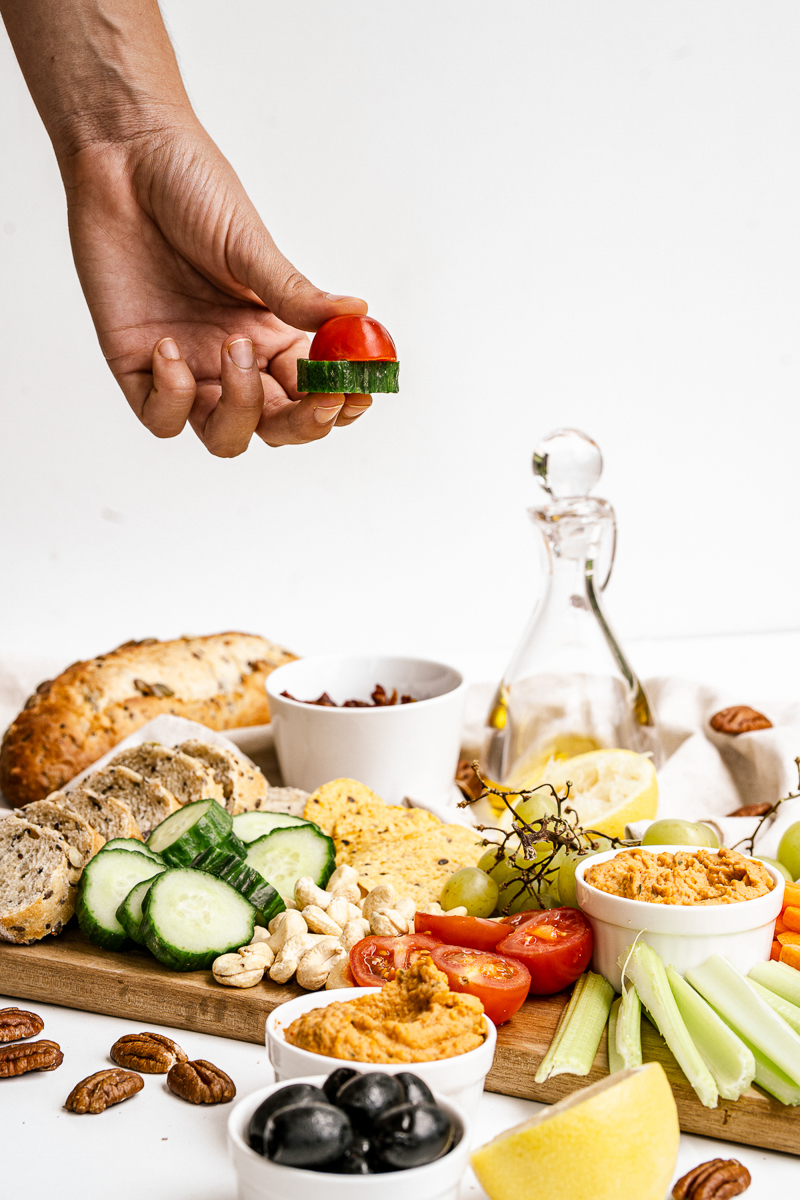
This vegan snack board is loaded with healthy and satisfying snacking options. Crunchy nuts, creamy hummus, fresh veggies, and more.
Want to get a bit fancier than just basic hummus? Try adding this Vegan Jackfruit Crab Dip or this Garlic Cashew Cheese spread to your board.
Or simply spice up your hummus game (literally) with this Grilled Red Pepper Hummus.
Why You Will Love This Vegan Charcuterie Board...
- Simple assembly.
- Homemade hummus,
- Crisp veggies and crunchy nuts!
- Nice variety of snacks,
- Vegan friendly.
- Vegetarian friendly.
- Stunning presentation,
And while you're here, don't forget to grab a copy of my free vegan cheat sheet. It's packed with all my favorite substitutions to vegan-ize any recipe!
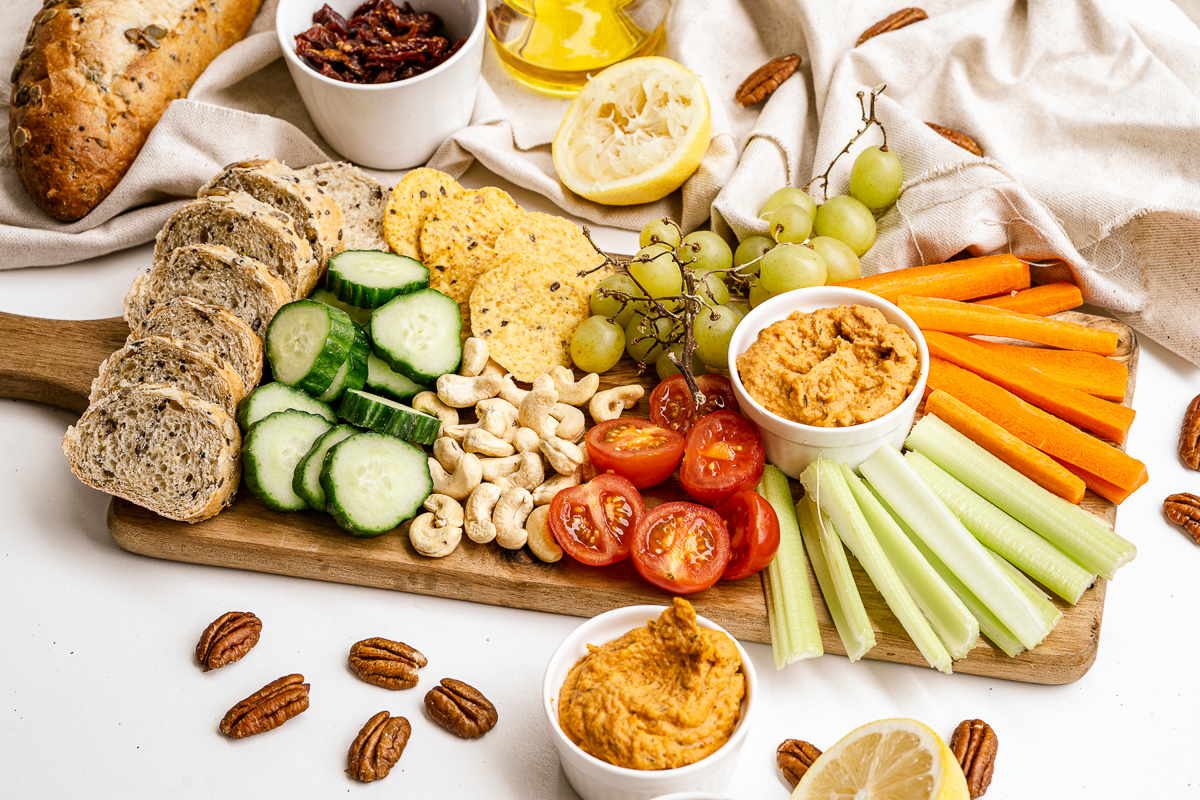
How to Make Vegan Charcuterie Board
- Start by adding all the ingredients for your hummus in the blender or food processor. Mix until creamy in texture.
- Pour the hummus into serving bowls, and place on a charcuterie board.
- Assemble all your snacks around it, and get to snacking!
Tips and Tricks for the Perfect Vegan Charcuterie Board
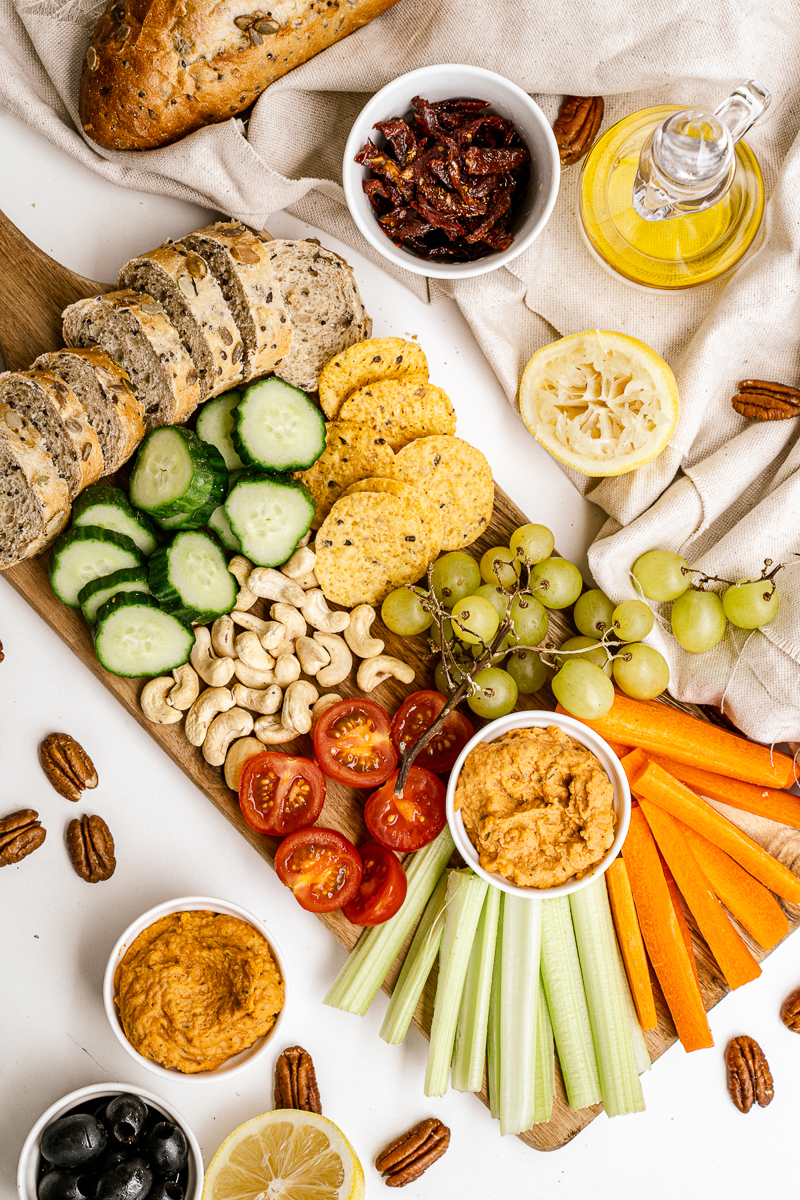
Choosing A Board
Making a charcuterie doesn't mean you have to go out and buy a super expensive board. Just reach for any wooden cutting board or tray that is large enough to hold all you plan to serve.
Even a cookie sheet can be a base for your board in a pinch! Make sure to pick a tray that has enough room for all your snacks to fit, but doesn't leave a lot of empty space. The board needs to look full for the best presentation.
Prepare in Advance
You can prepare your board in advance if you prefer, which is great for entertaining. Just assemble your snack board as you would like, cover it tightly with plastic wrap, and store in the fridge until you are ready to serve.

Add More Dips
I served my vegan charcuterie board with homemade hummus - the recipe is in the recipe card below!
Consider placing several small bowls of hummus around the snack board, rather than one large bowl. The placement can help create balance!
Plus, it's easier for everyone grab a bite when there are several dip bowls strategically placed.
However, serving a few different vegan dips will help balance out your board flavor-wise as well as visually. If you want to add more dips, here are a few of my favorite options:
- Vegan Blue Cheese Dressing, such as this one from Daiya
- Vegan Artichoke Dip (This 5-minute version is a great choice!)
- Vegan Jackfruit "Crab" Dip
- Baba Ghanouj (an eggplant and tahini dip)
- Sun Dried Tomato Dip
- Avocado Edamame Dip
- Olive Oil & Balsamic Vinegar - perfect for dipping bread.
More Snack Board Ingredients
You can change up this grazing board to fit your own tastes and use whatever you have on hand. Some delicious choices for your vegan charcuterie board are:
- Carrot Sticks
- Cucumbers
- Tomatoes
- Artichoke Hearts
- Sun Dried Tomatoes
- Olives - all different varieties!
- Nuts - Cashews and Pecans are a great coice.
- Pita Chips
- Tortilla Chips
- Sliced Whole Grain Bread
- Grapes
- Berries - Strawberries, Raspberries, Blueberries
Include Something Sweet!
I tend to lean towards savory ingredients when it comes to snacking. But it can be nice to include a little something sweet on your board as well.
Grapes and fresh berries are a great option, and they pair well with many of the savory ingredients too.
Or you could get really fancy and serve a chocolate hummus paired with strawberries and melon on one end of the tray. Yum!
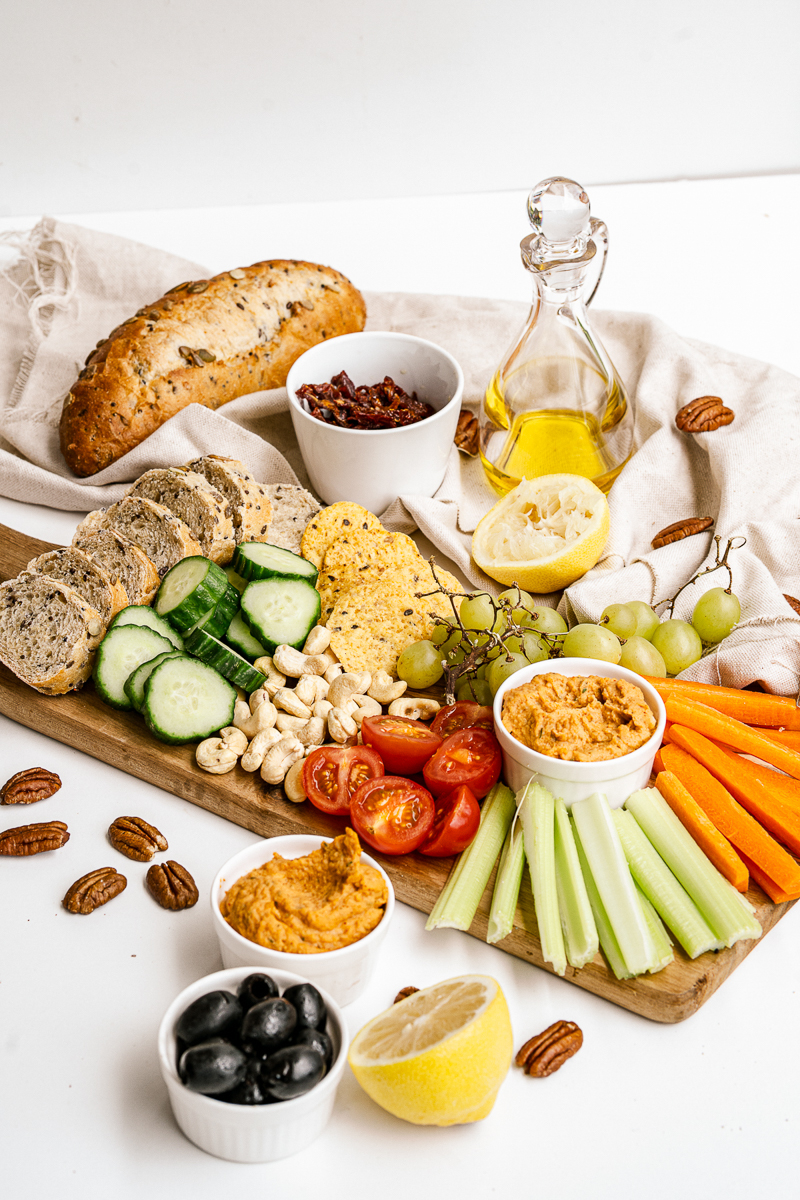
Vegan Charcuterie FAQs
How do you say "charcuterie board?"
Not quite sure how to say "charcuterie?" Here is how to pronounce it: "shahr-ku-tuh-ree." Now you know. 😉
How do you build a charcuterie board?
Start by placing dip on both ends of the board. Then begin to add vegetables, nuts, and such on the board. I began by laying items around the bowls, and then worked my way out to the edge of the board, filling in all the empty spaces.
Are a grazing board and a charcuterie the same thing?
Essentially, yes, the two names mean the same thing. Traditionally "charcuterie" includes meat, but today most people use the term "charcuterie board" to refer to any assortment of snacks laid out on a tray.
You will find that - no matter the name - an arrangement of your favorite tasty snacks on a board is a surefire crowd pleaser!
What are items to put on a vegan charcuterie tray?
Vegetables, veggie "meat," vegan cheese, dips, crackers, bread, etc. You might even enjoy adding in some nuts, fresh fruit, and more.
More Recipes to Try
I love serving up one of these snack boards as the start to a delicious Sunday Brunch. And if brunching sounds amazing to you - go check out my Vegan Brunch Book!
If you love this vegan charcuterie board, don't miss these other delicious vegan ideas:
- Vegan Thanksgiving and Vegan Christmas Cookbooks (new!)
- Easy & Inexpensive Vegan Party Snacks
- 25 Best Vegan Dip Recipes
- The Best Vegan Tailgate Foods
Recipe

Vegan Charcuterie Board
This beautiful and delicious Vegan Charcuterie Board is perfect for holiday celebrations, casual entertaining, or just a fun weeknight in. This vegan snack board is loaded with fresh veggies, fruits, nuts, and plenty of yummy dips.
Print
Pin
Save
Servings: servings
Ingredients
Board
- 2 carrots peeled and sliced into matchsticks
- 1 cucumber sliced
- 3 celery stalks trimmed and cut in half lengthwise
- ½ cup pecans
- 1 cup grapes
- 1 cup cherry tomatoes halved
- ½ cup cashews
- ½ cup sundried tomatoes
- 1 cup corn chips
- ½ cup olives
- baguette sliced
Homemade Hummus
- 15 oz chickpeas canned, drained, and rinsed
- 1 garlic clove
- ¼ cup fresh parsley
- ½ teaspoon salt
- 1 tablespoon olive oil plus extra for drizzling
- 1 tablespoon tahini paste
- ½ teaspoon smoked paprika plus extra for garnish
- juice of ½ lemon
Instructions
- Add all hummus ingredients to the bowl of a food processor. Blend on high speed until it forms a smooth paste.
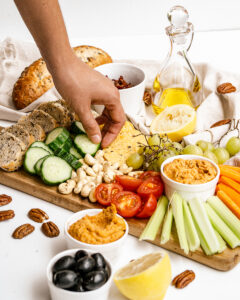
- Garnish hummus with additional smoked paprika and a drizzle of olive oil.
- Arrange hummus and all remaining ingredients onto a large serving platter to form your charcuterie board.
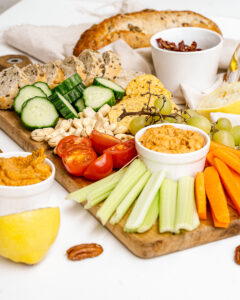
Nutrition (Estimate per Serving)
Calories: 254kcalCarbohydrates: 29gProtein: 8gFat: 14gSaturated Fat: 2gTrans Fat: 1gSodium: 300mgPotassium: 553mgFiber: 6gSugar: 9gVitamin A: 2413IUVitamin C: 11mgCalcium: 68mgIron: 3mg
Vegan-ize any recipe!Grab our free vegan cheat sheet, packed with my favorite easy substitutions to make any recipe vegan.
Vegan Blueberry Muffins (Gluten-free)
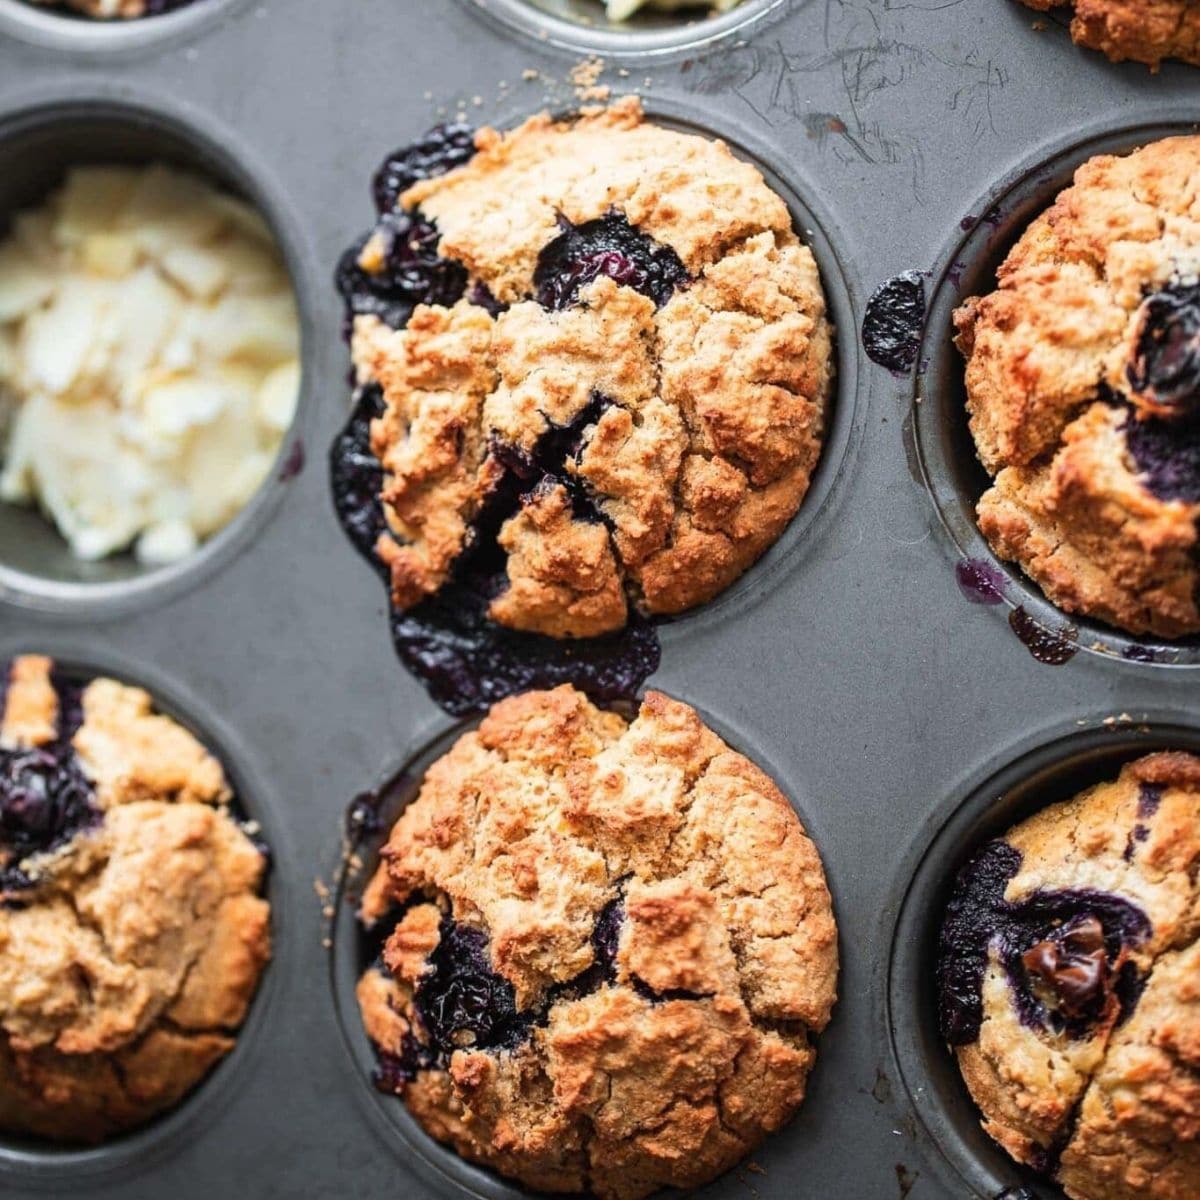
These vegan blueberry muffins are soft, fluffy, and bursting with fresh blueberry flavor. They're easy to make in one bowl, in under 30 minutes. Perfect for breakfast or dessert!
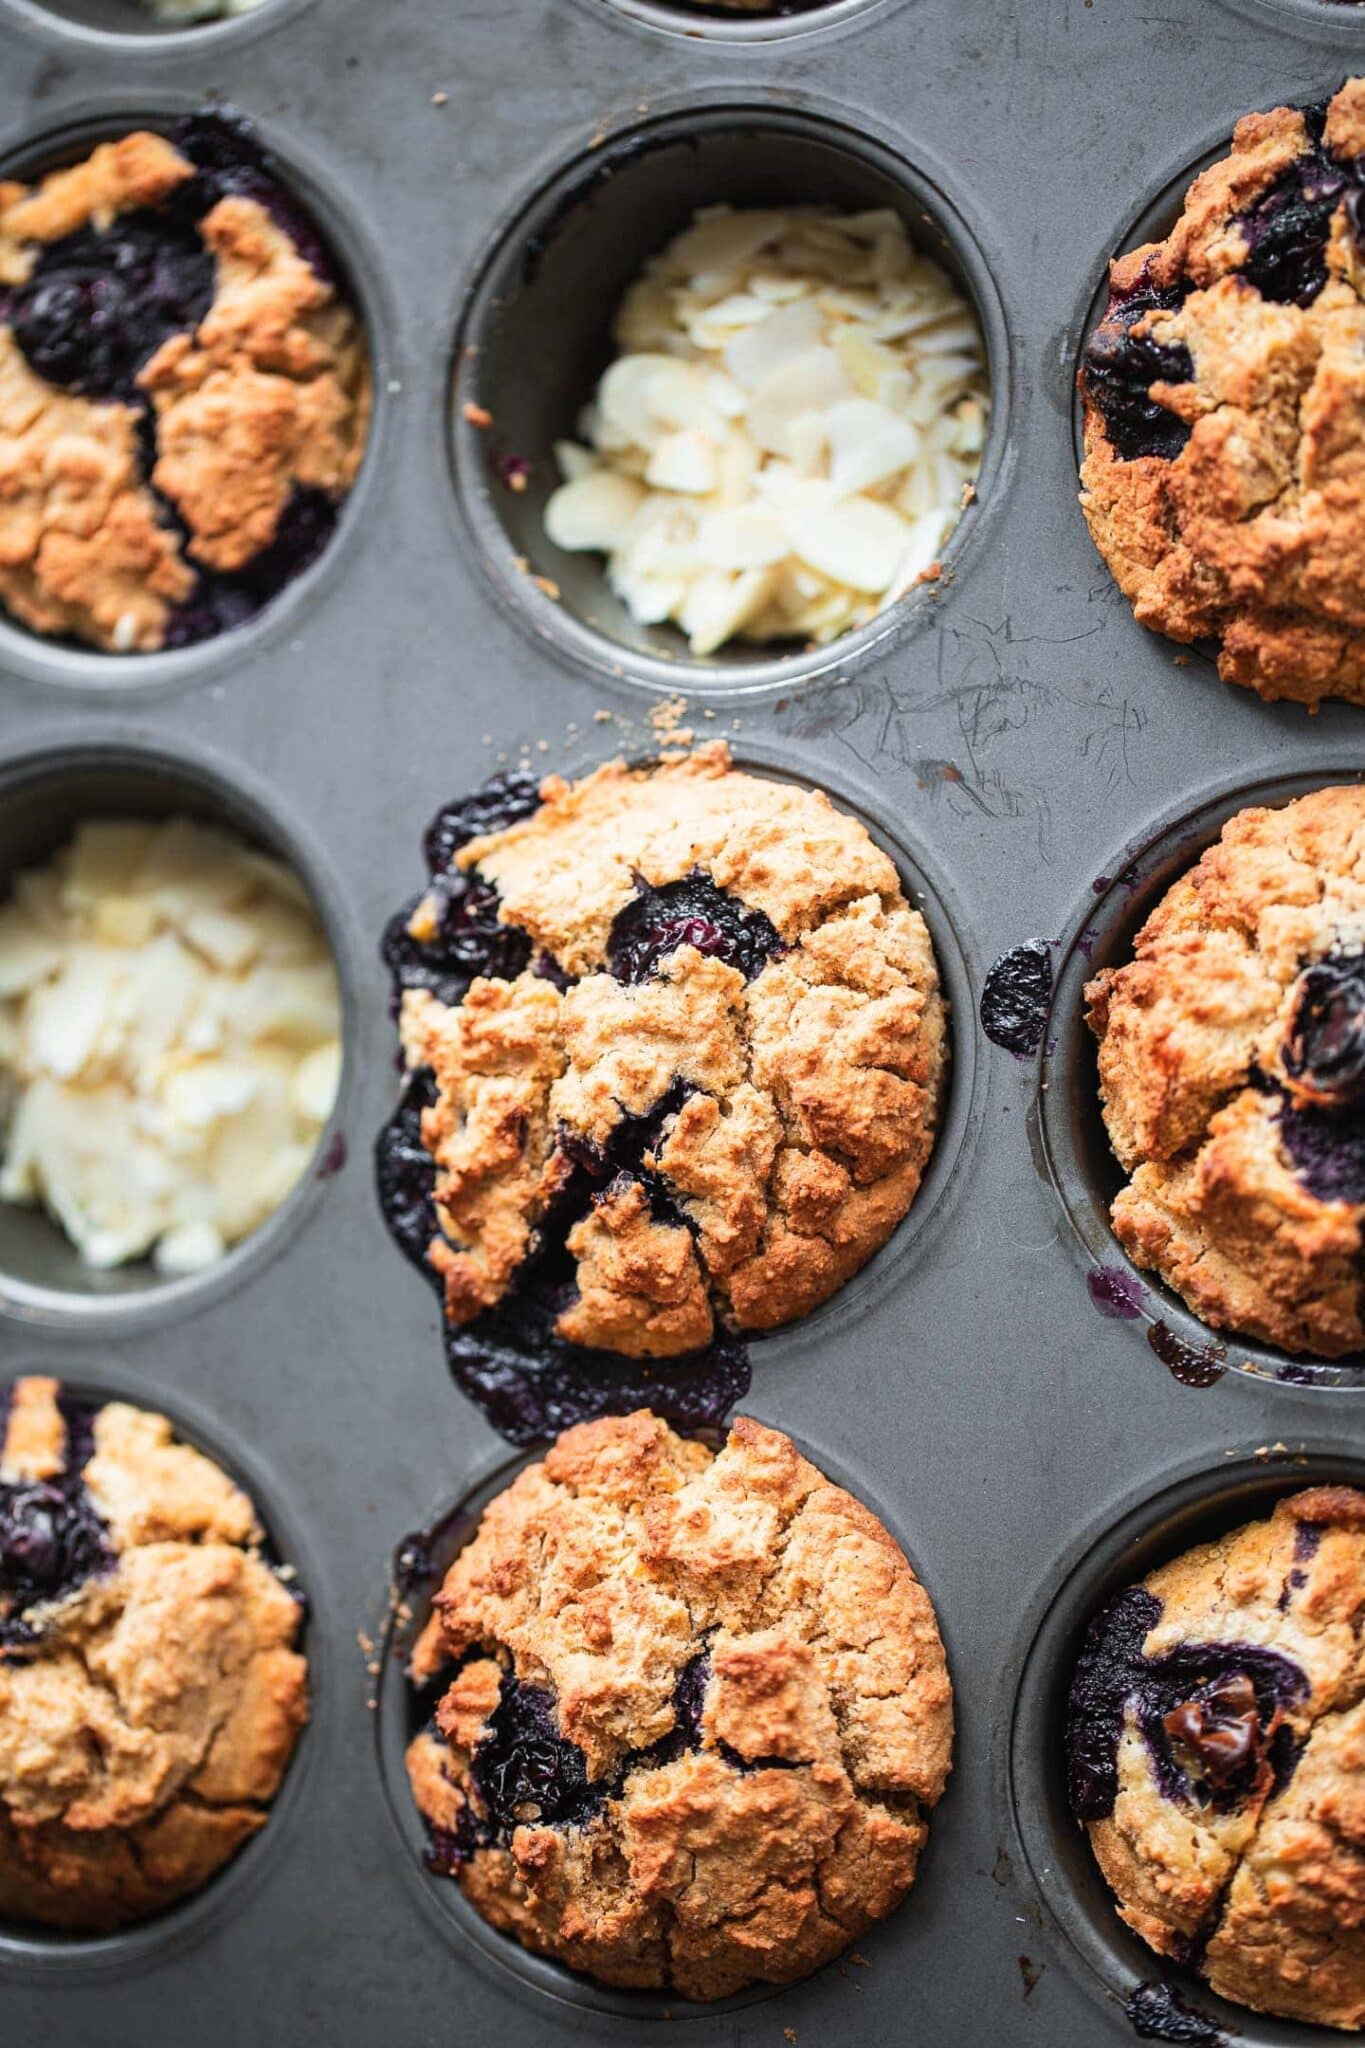
Blueberry muffins are a classic and beloved treat for a reason. They're totally delicious! You can enjoy them for breakfast, as a snack, or as a dessert. I personally love starting the morning with them, along with a hot cup of coffee.
These muffins have everything you could want from a sweet treat like this. They are soft and fluffy and filled with juicy blueberry bites.
You only need one bowl and less than 30 minutes to make these blueberry muffins from scratch!
These vegan blueberry muffins are:
- 100% vegan, egg-free, and dairy-free.
- Gluten-free.
- Filled with fresh blueberries.
- Perfect for breakfast or dessert!
Let's get baking!
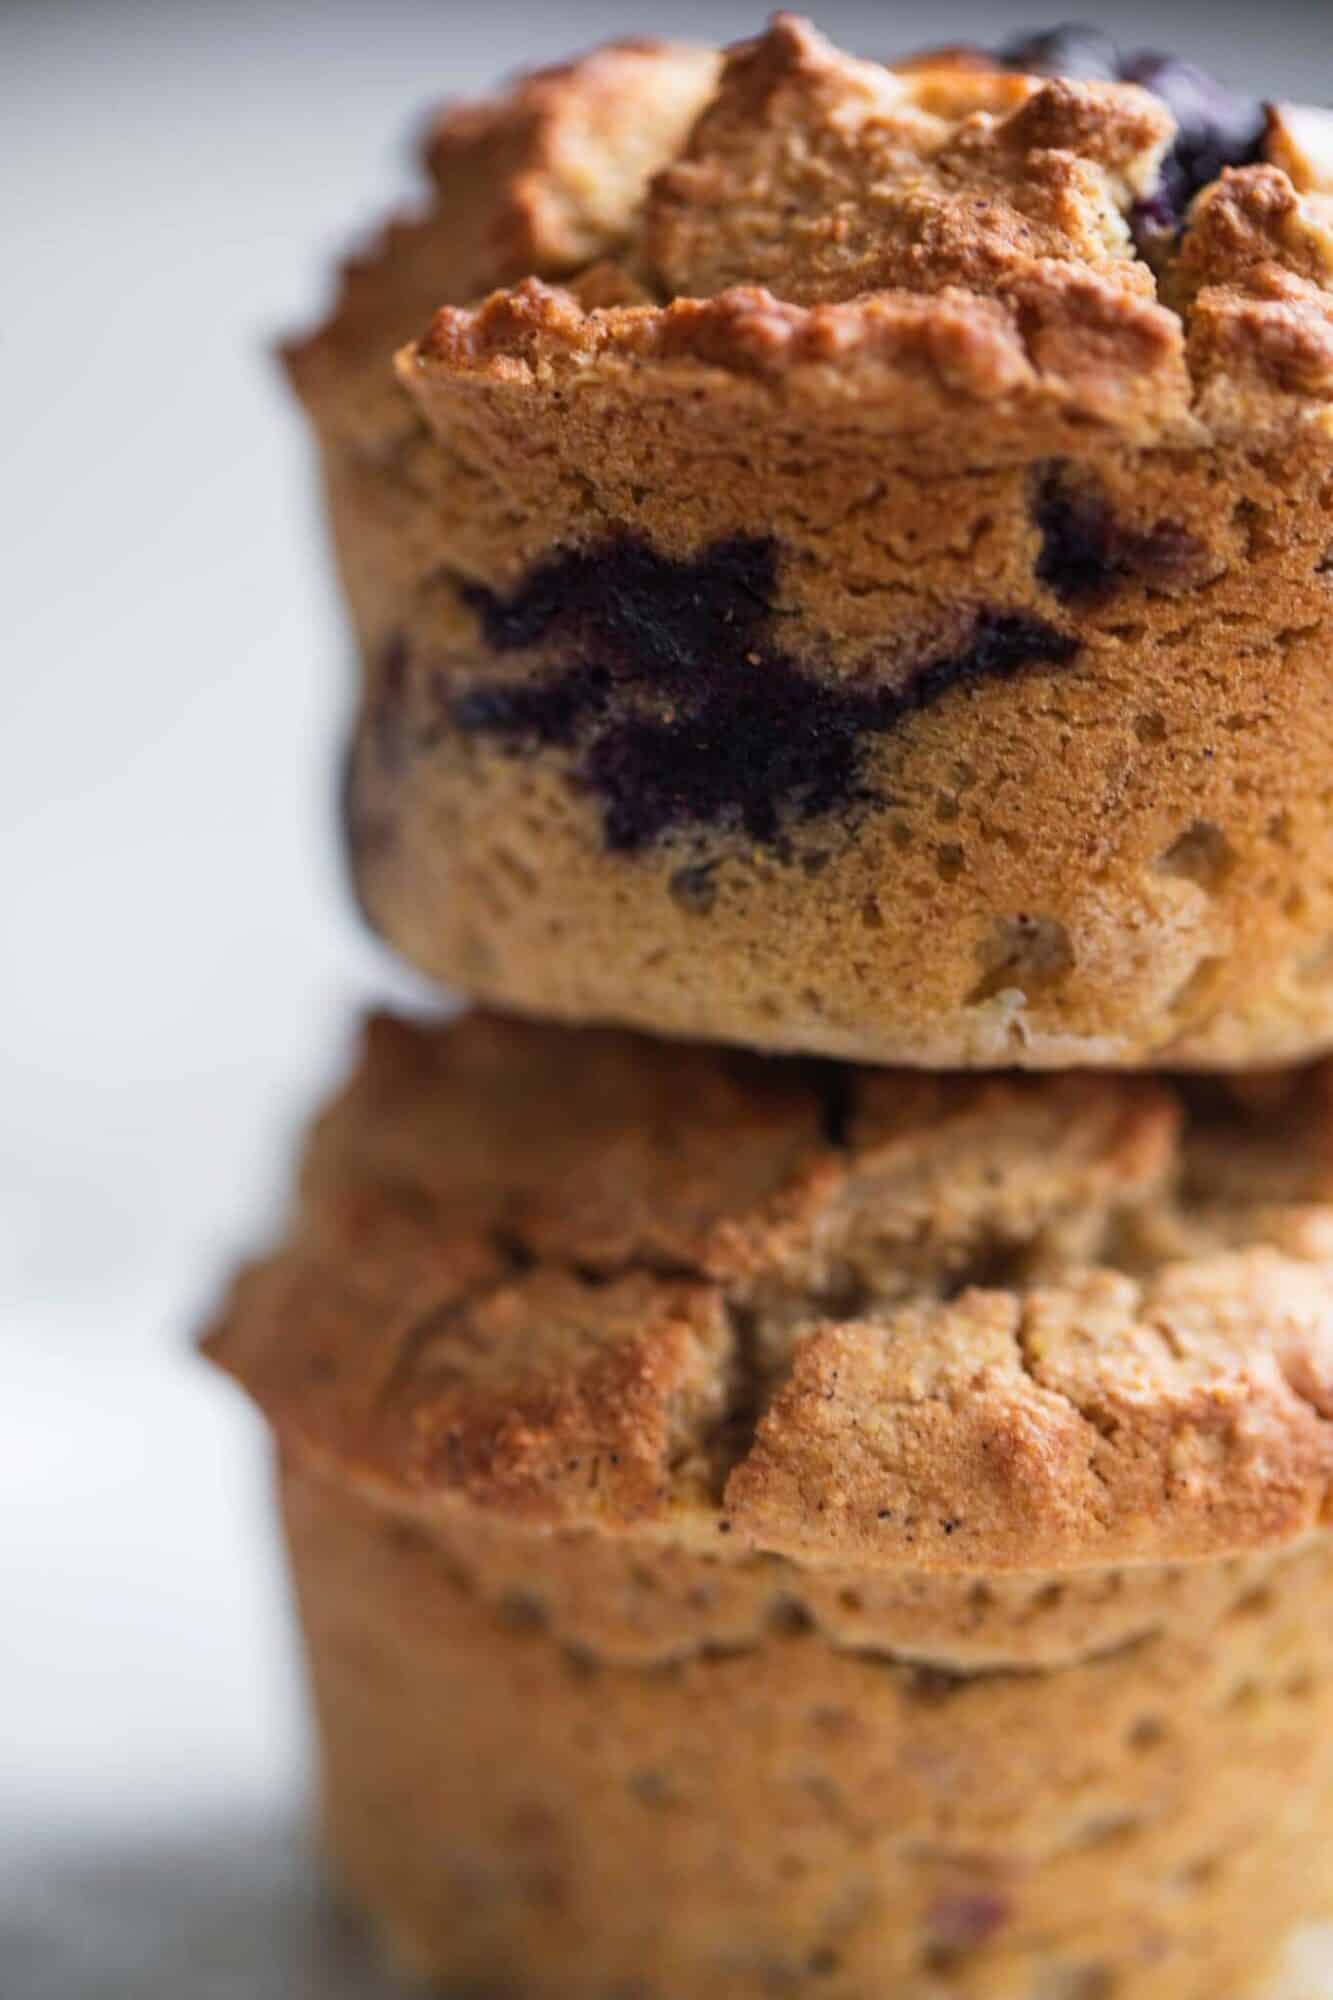
Ingredients & Substitutions
- Gluten-free oats. These are ideal for creating a crumbly, slightly chewy texture.
- Cornmeal. This works really well with the other flavors and gives a slightly nutty flavor.
- Cinnamon. Guaranteed to make your kitchen smell amazing!
- Rice flour.
- Baking powder.
- Coconut flour. Just a little bit will help make the perfect texture!
- Plant based milk. Soy and almond milk both work great.
- Flax eggs. These are made by stirring together ground flaxseed with twice the amount of water, and setting aside for 10 minutes.
- Maple syrup. You an also substitute agave syrup.
- Coconut oil. Don't worry, this won't make the muffins taste like coconut.
- Fresh blueberries. A key ingredient for making these muffins really stand out!
How to make vegan blueberry muffins
It's super easy! Firstly, preheat the oven to 180 degrees C (350 F) and lightly grease a muffin tin with vegan butter or olive oil.
Now, add the oats, cornmeal, cinnamon, rice flour, baking powder and coconut flour in a mixing bowl. In a different bowl, stir together the plant based milk, flax eggs, maple syrup and coconut oil.
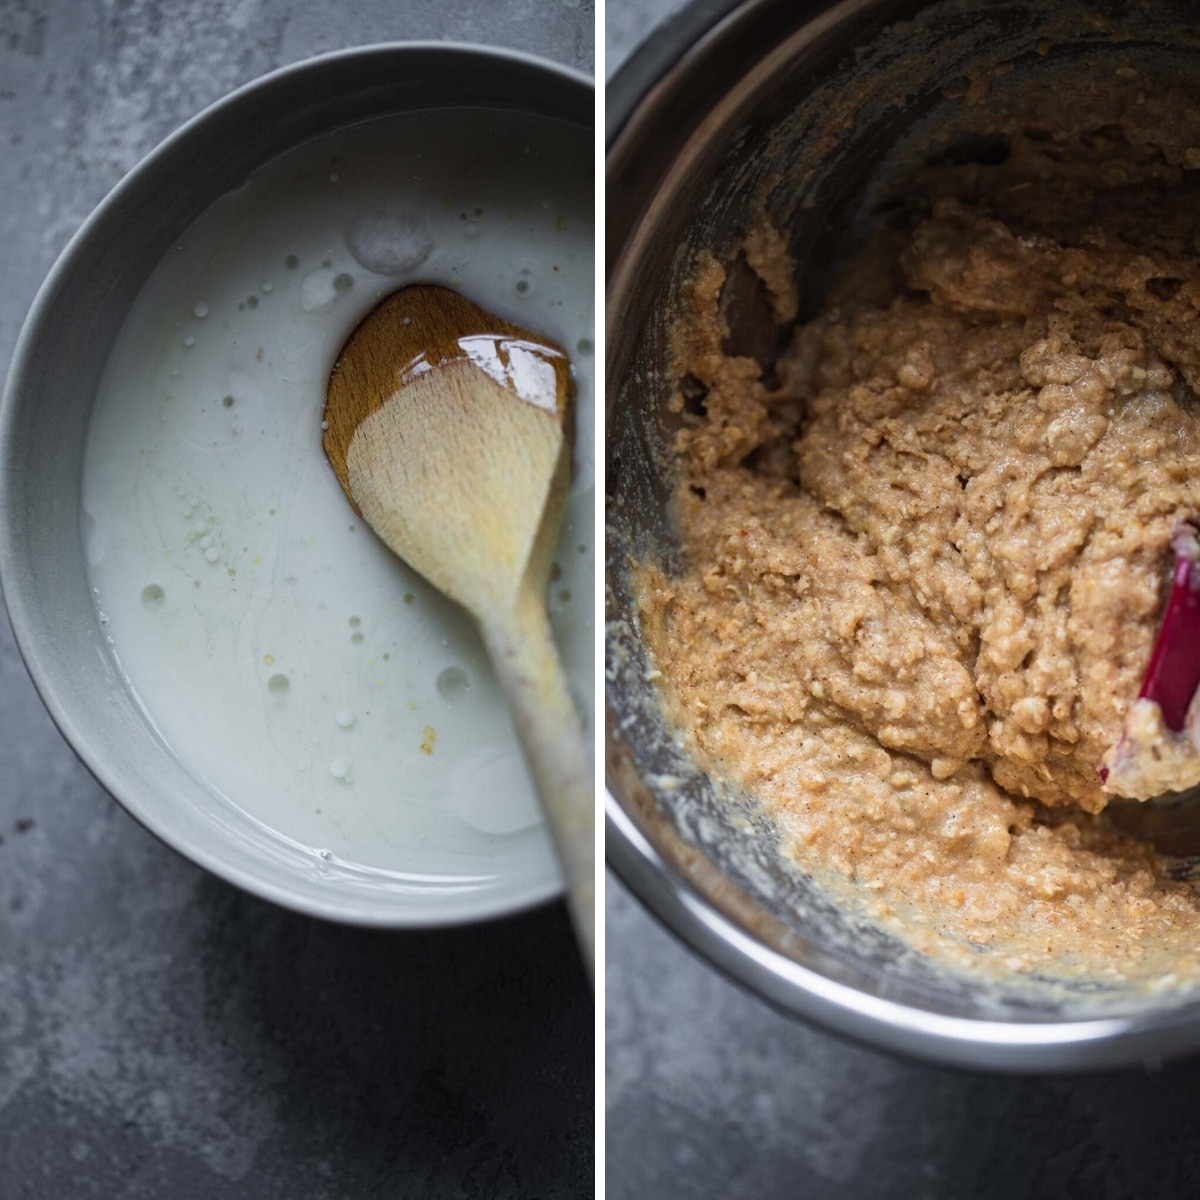
Add the wet ingredients to the dry and stir in the blueberries.
Next, evenly distribute the batter throughout the muffin tin, adding a few extra blueberries on top of each muffin. Bake in the preheated oven for 20 minutes, until golden brown and a toothpick comes out clean.
Next, evenly distribute the batter throughout the muffin tin, adding a few extra blueberries on top of each muffin. Bake in the preheated oven for 20 minutes, until golden brown and a toothpick comes out clean.
Allow to cool down for around 10 minutes before serving.
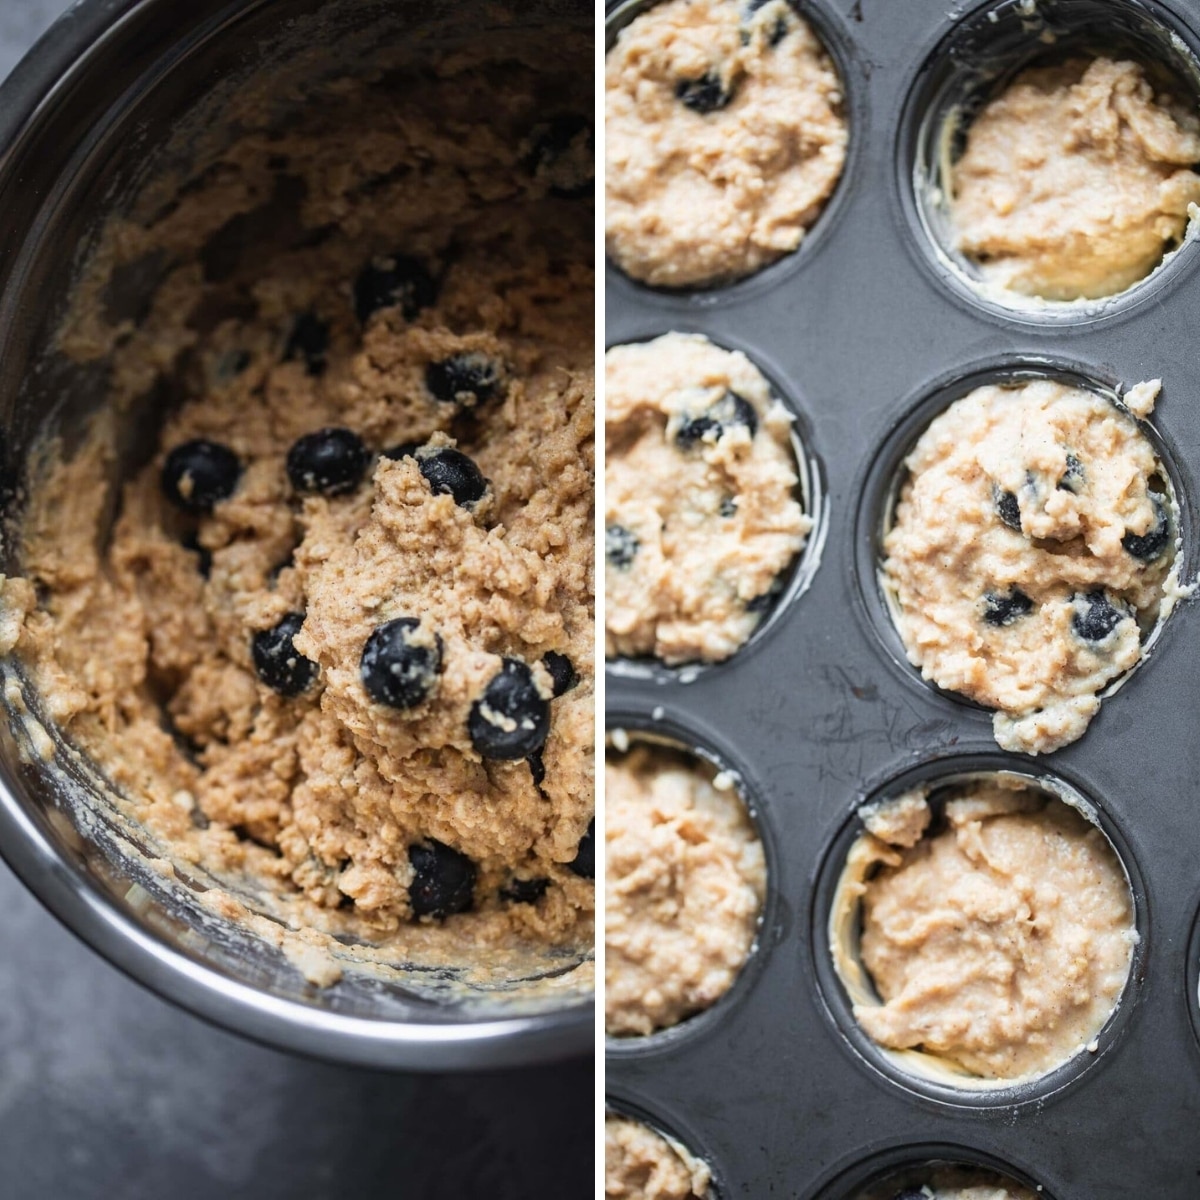
Tips & Tricks
If using measuring cups to weigh out the ingredients, use a spoon to add the flour to the measuring cup, and then use a butter knife to swipe off the excess. I would recommend using a scale to weigh out the ingredients. You can convert to metric in the recipe card below.
Don't overmix the batter, as this will make the blueberry muffins less fluffy.
If you don't like blueberries, you can replace them with any other berries of your choice. Raspberries, for instance, work really well.
If using frozen blueberries, add them to the batter while they are still frozen. It sometimes help to toss them in a little bit of flour first, so they don't sink to the bottom.
Store the muffins on the counter for around 3 days (covered), or for up to 6 days in the fridge. You can also freeze them for up to 2 months. Simply allow to thaw in the fridge overnight before serving.
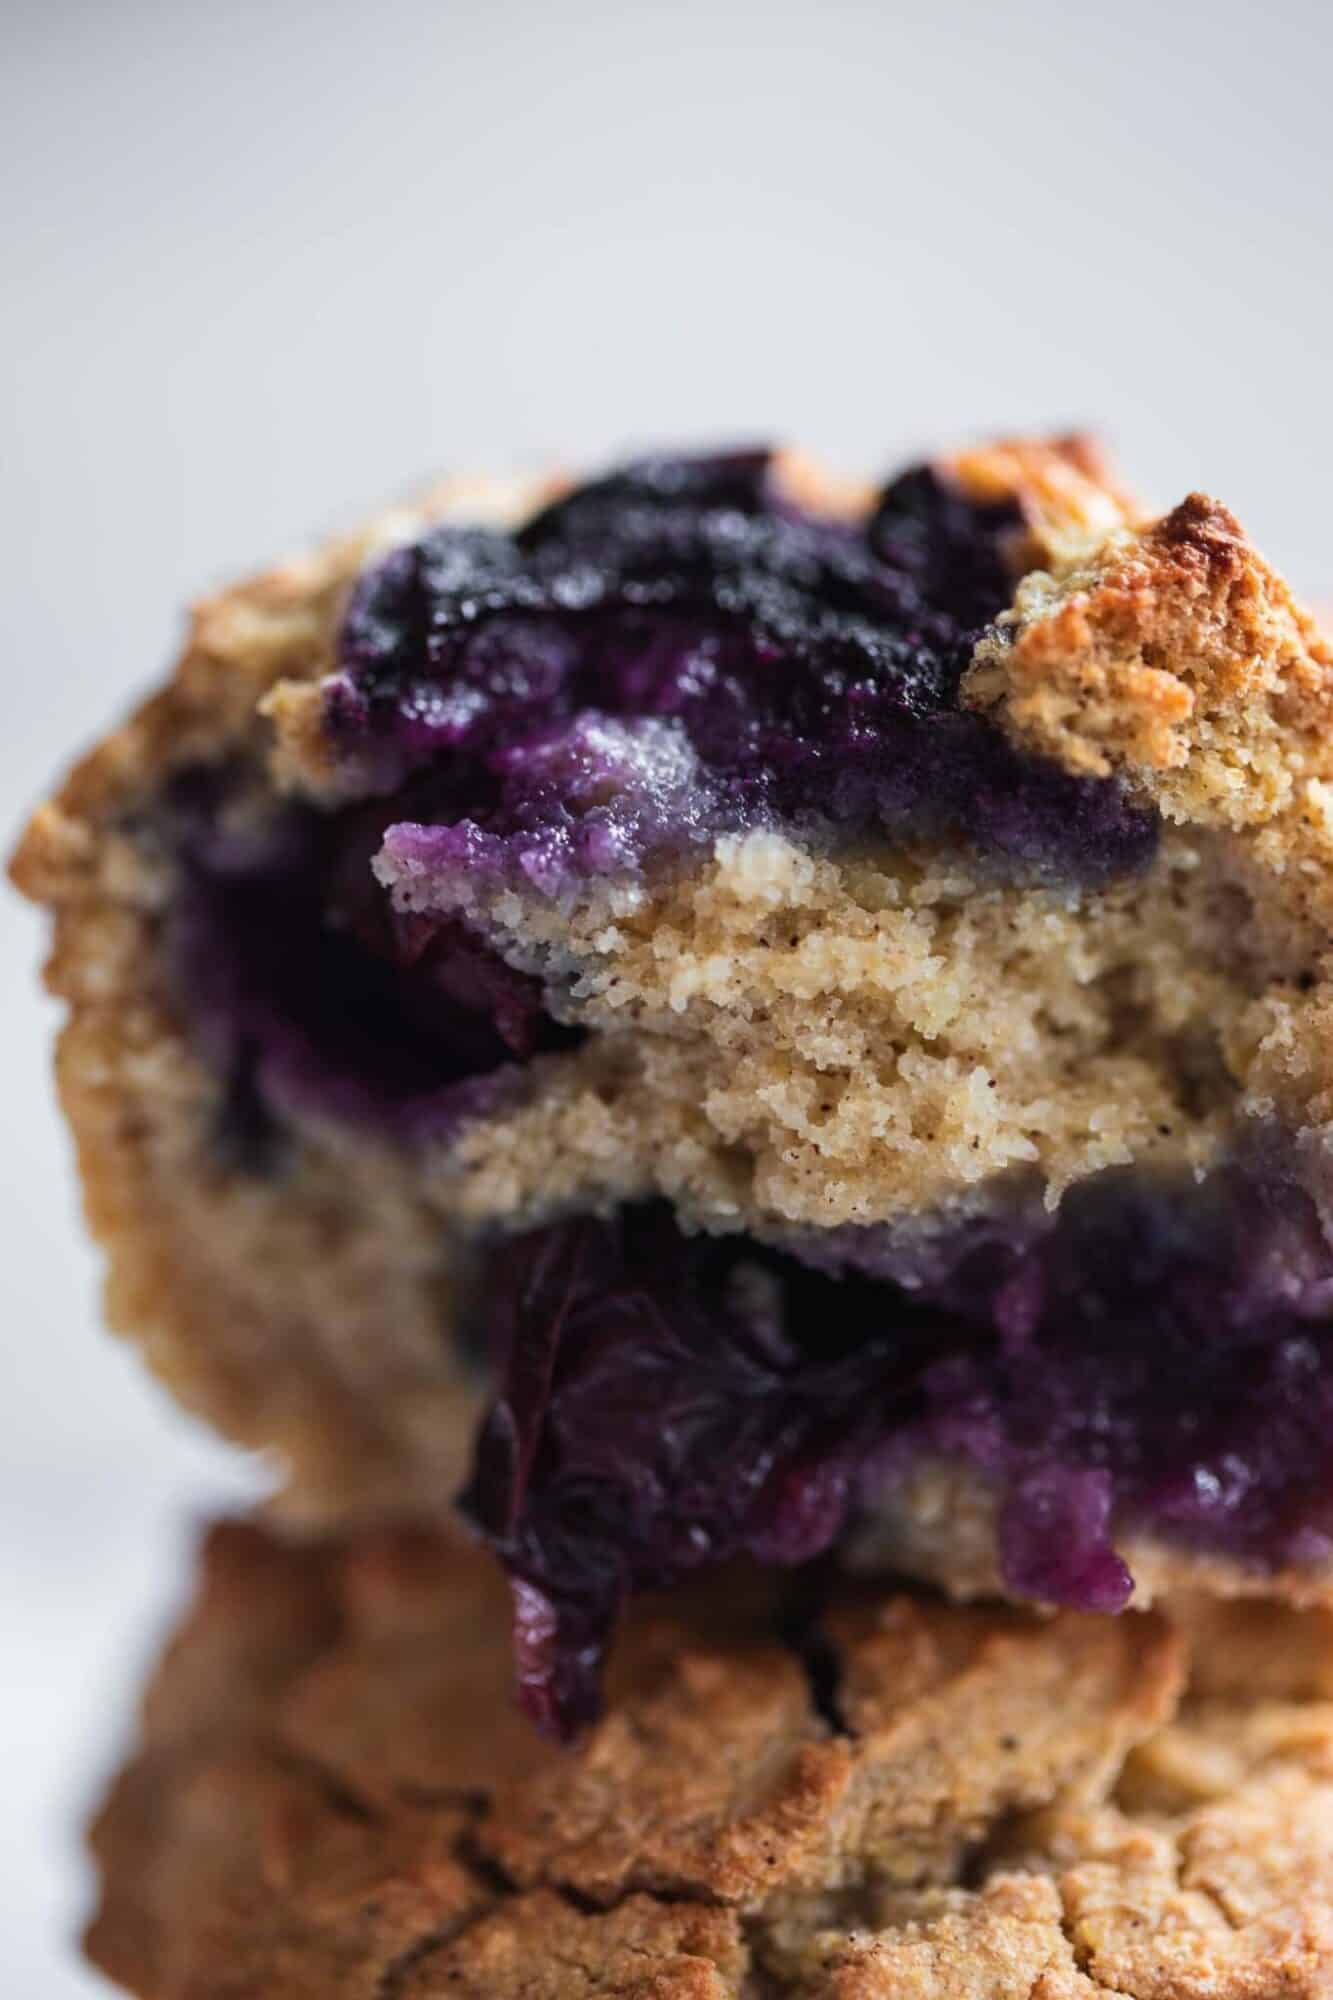
More Delicious Recipes
If you love these vegan blueberry muffins, be sure to check out these other delicious recipes:
- Cranberry Orange Muffins
- Lemon Blueberry Bundt Cake
- Healthy Carrot Muffins
- Banana Chocolate Chip Muffins
- Healthy Pumpkin Muffins
Recipe
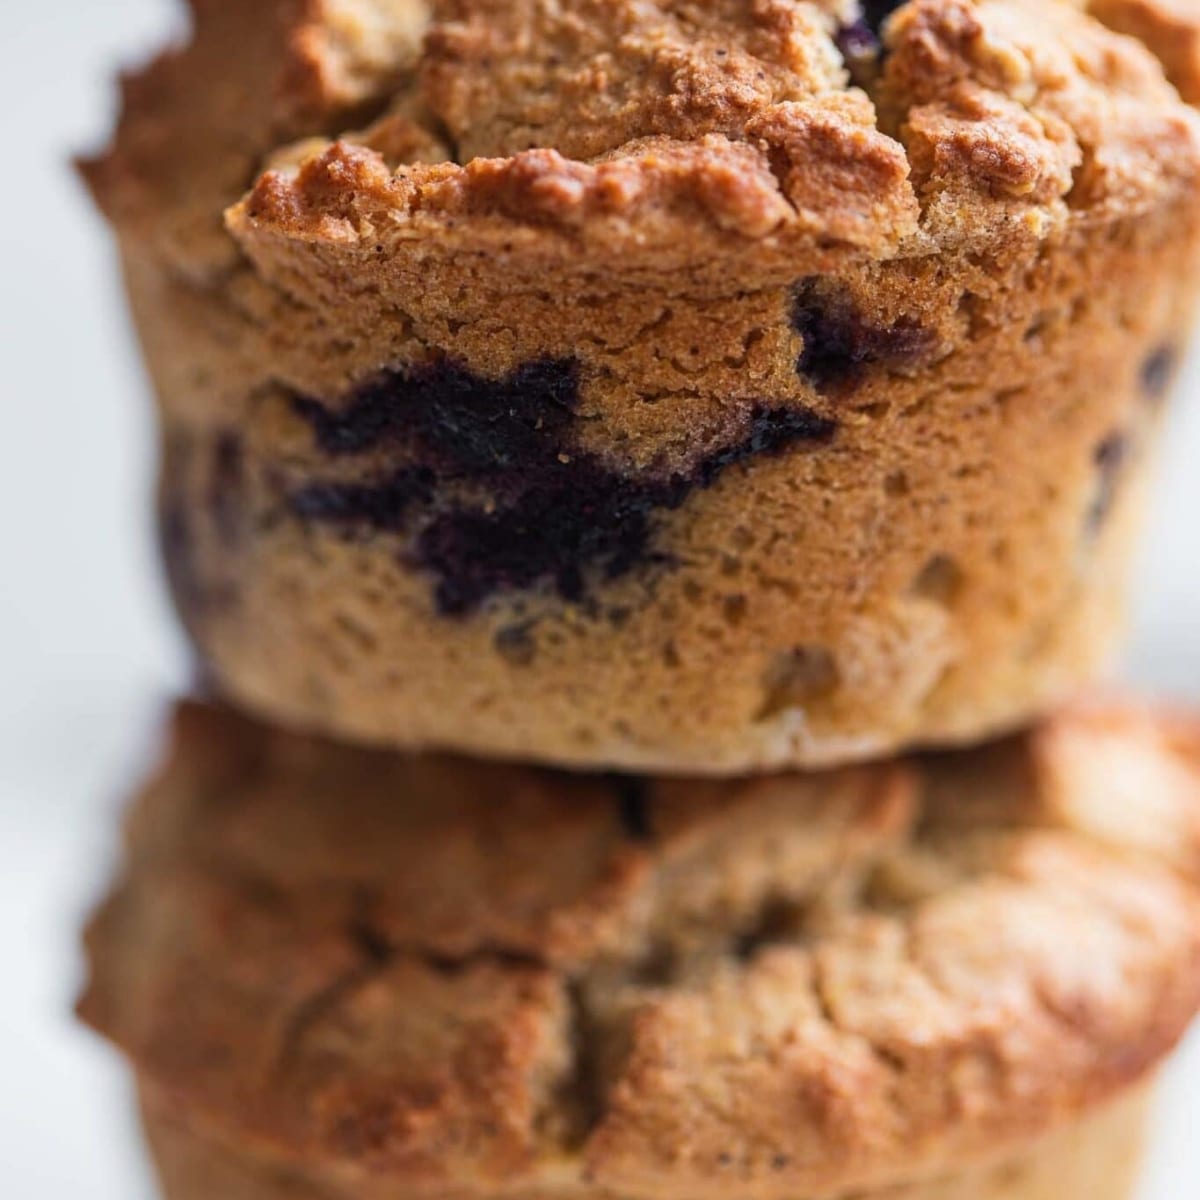
Vegan Blueberry Muffins (Gluten-free)
These vegan blueberry muffins are perfect for breakfast, dessert, or a quick snack! They are fluffy and soft, and bursting with tangy blueberries. Gluten-free and easy to make in under 30 minutes.
Print
Pin
Save
Servings: muffins
Equipment
- Conventional oven
- Muffin tin
- Mixing bowl x 2
Ingredients
- ¾ cup gluten-free oats
- ⅓ cup cornmeal
- ½ tablespoon cinnamon
- 1 cup rice flour
- 1 tablespoon baking powder
- ½ teaspoon salt
- ½ cup coconut flour
- ½ cup plant based milk
- 3 flax eggs 3 tablespoon ground flaxseed + 6 tablespoon water, set aside for 10 minutes
- ½ cup maple syrup
- ¼ cup coconut oil melted
- 1 cup blueberries
Instructions
- Preheat the oven to 180 degrees C (350 F) and lightly grease a muffin tin with vegan butter or olive oil.
- Add the oats, cornmeal, cinnamon, rice flour, baking powder and coconut flour in a mixing bowl.
- In a different bowl, stir together the plant based milk, flax eggs, maple syrup and coconut oil.
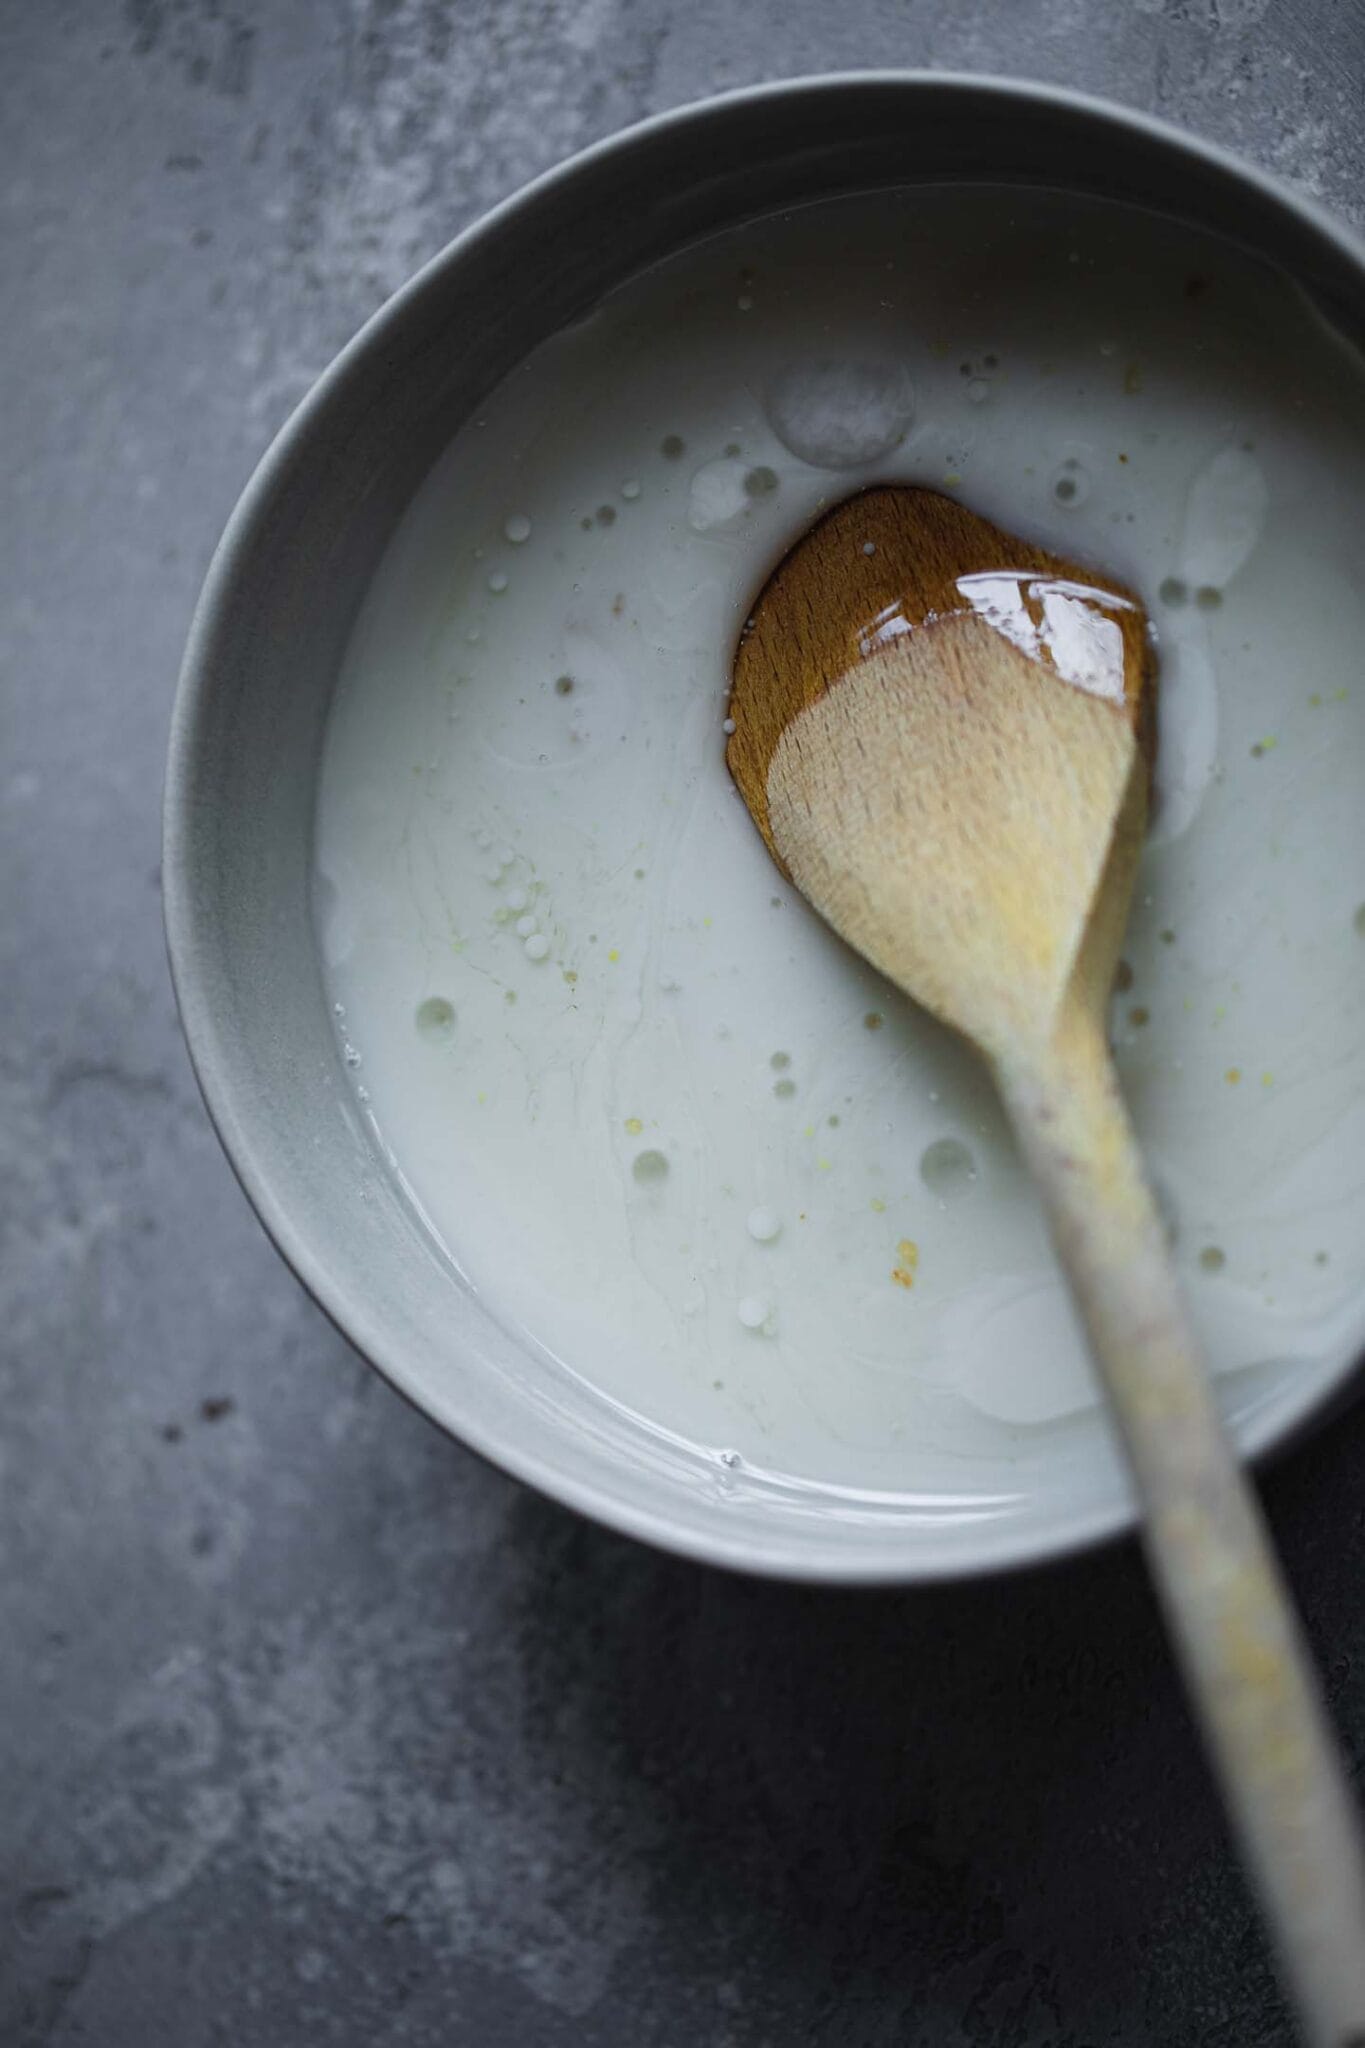
- Add the wet ingredients to the dry and mix until well combined.
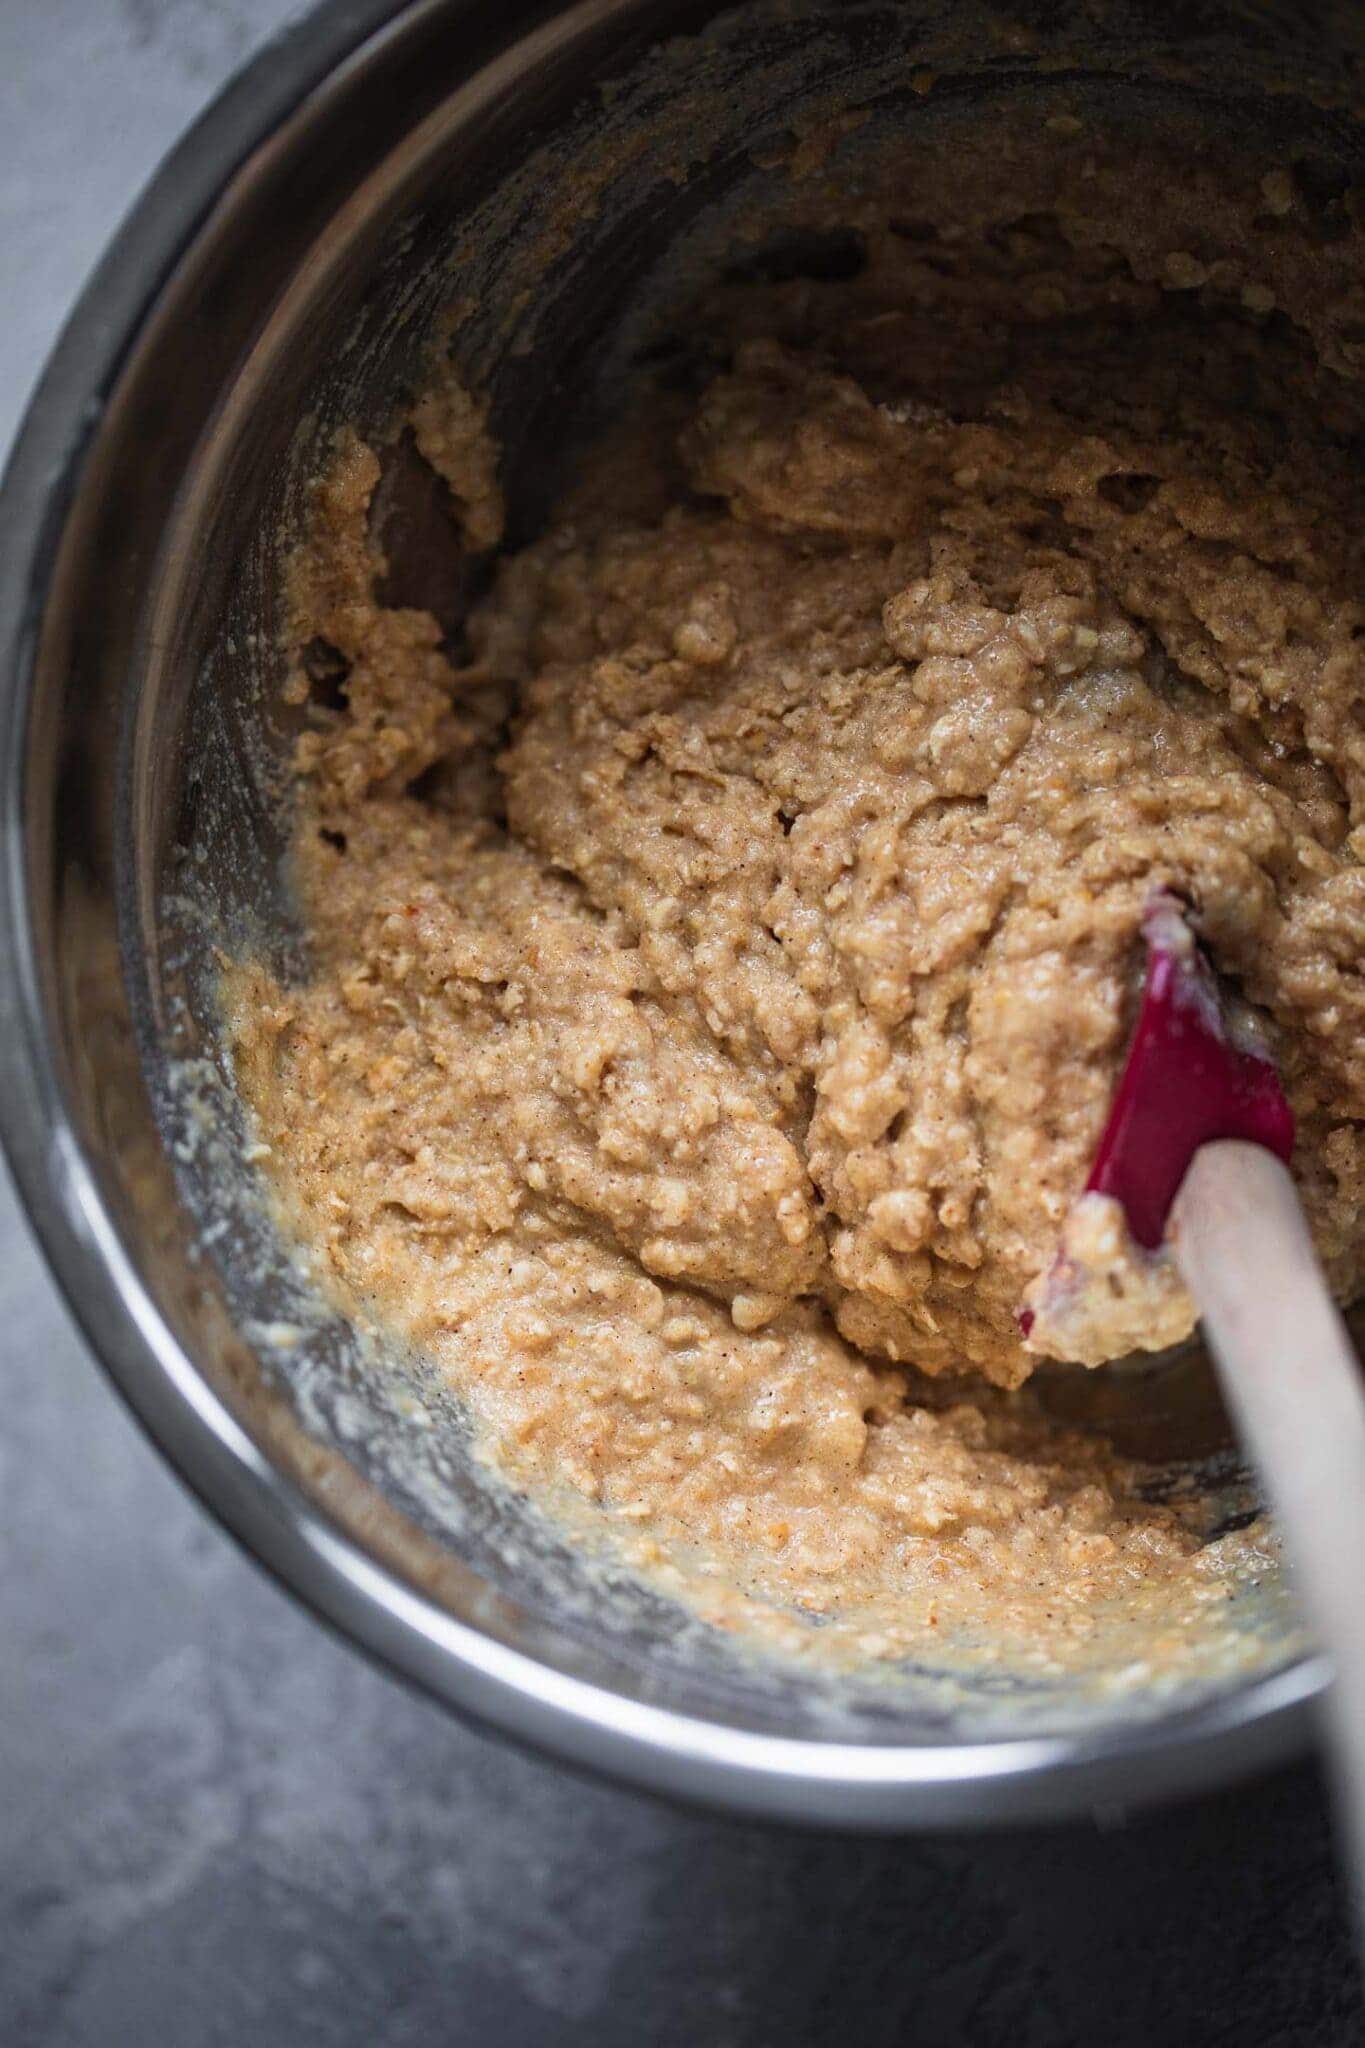
- Stir in the blueberries.
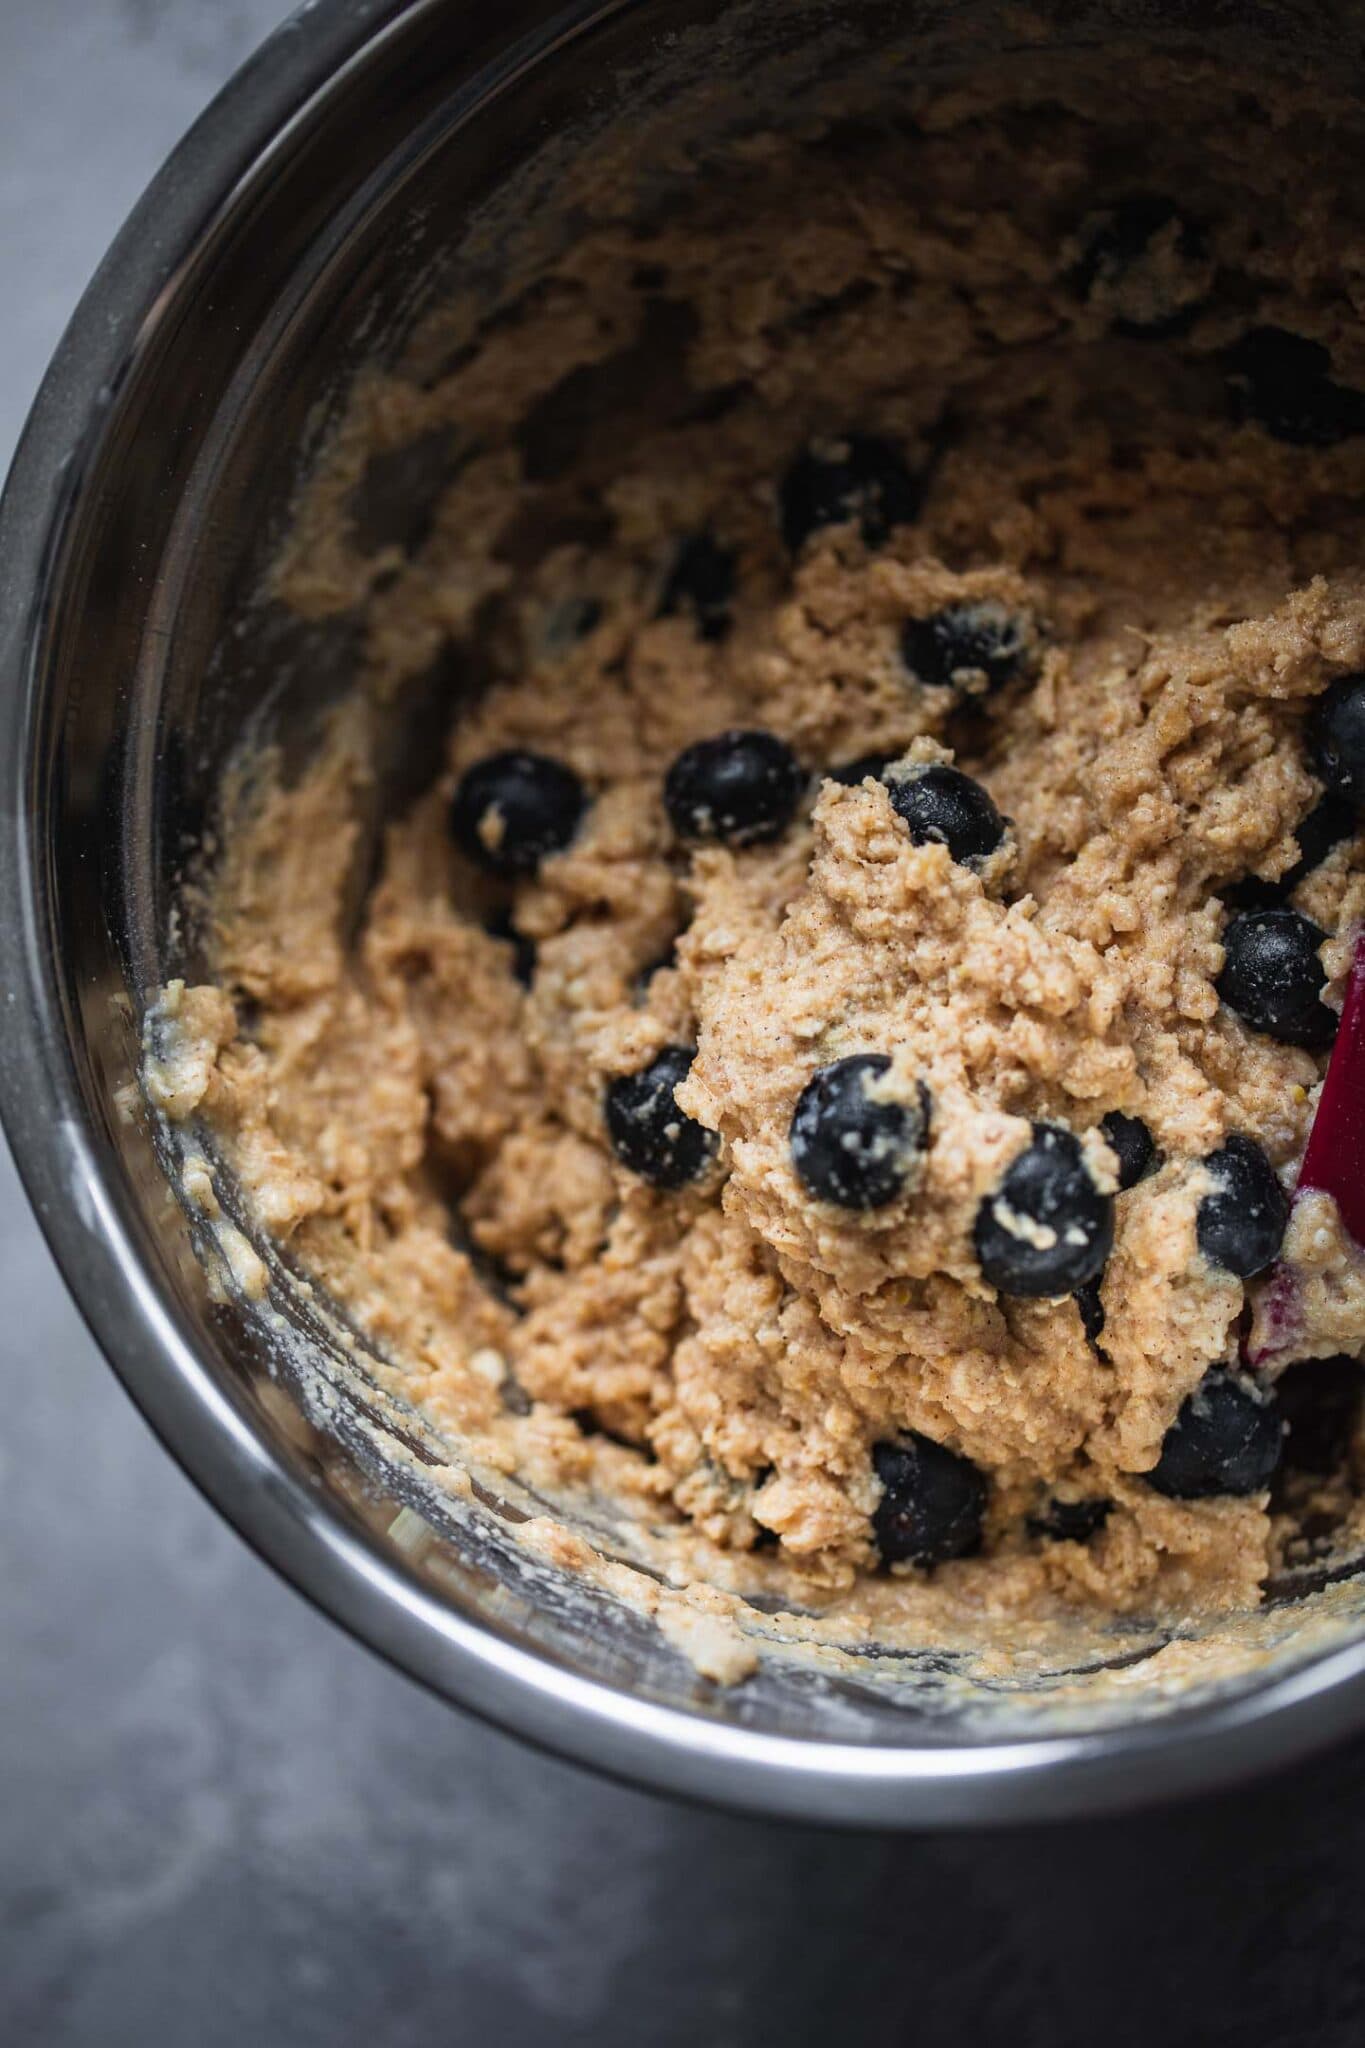
- Evenly distribute the batter throughout the muffin tin, adding a few extra blueberries on top of each muffin. Bake in the preheated oven for 20 minutes, until golden brown and a toothpick comes out clean.
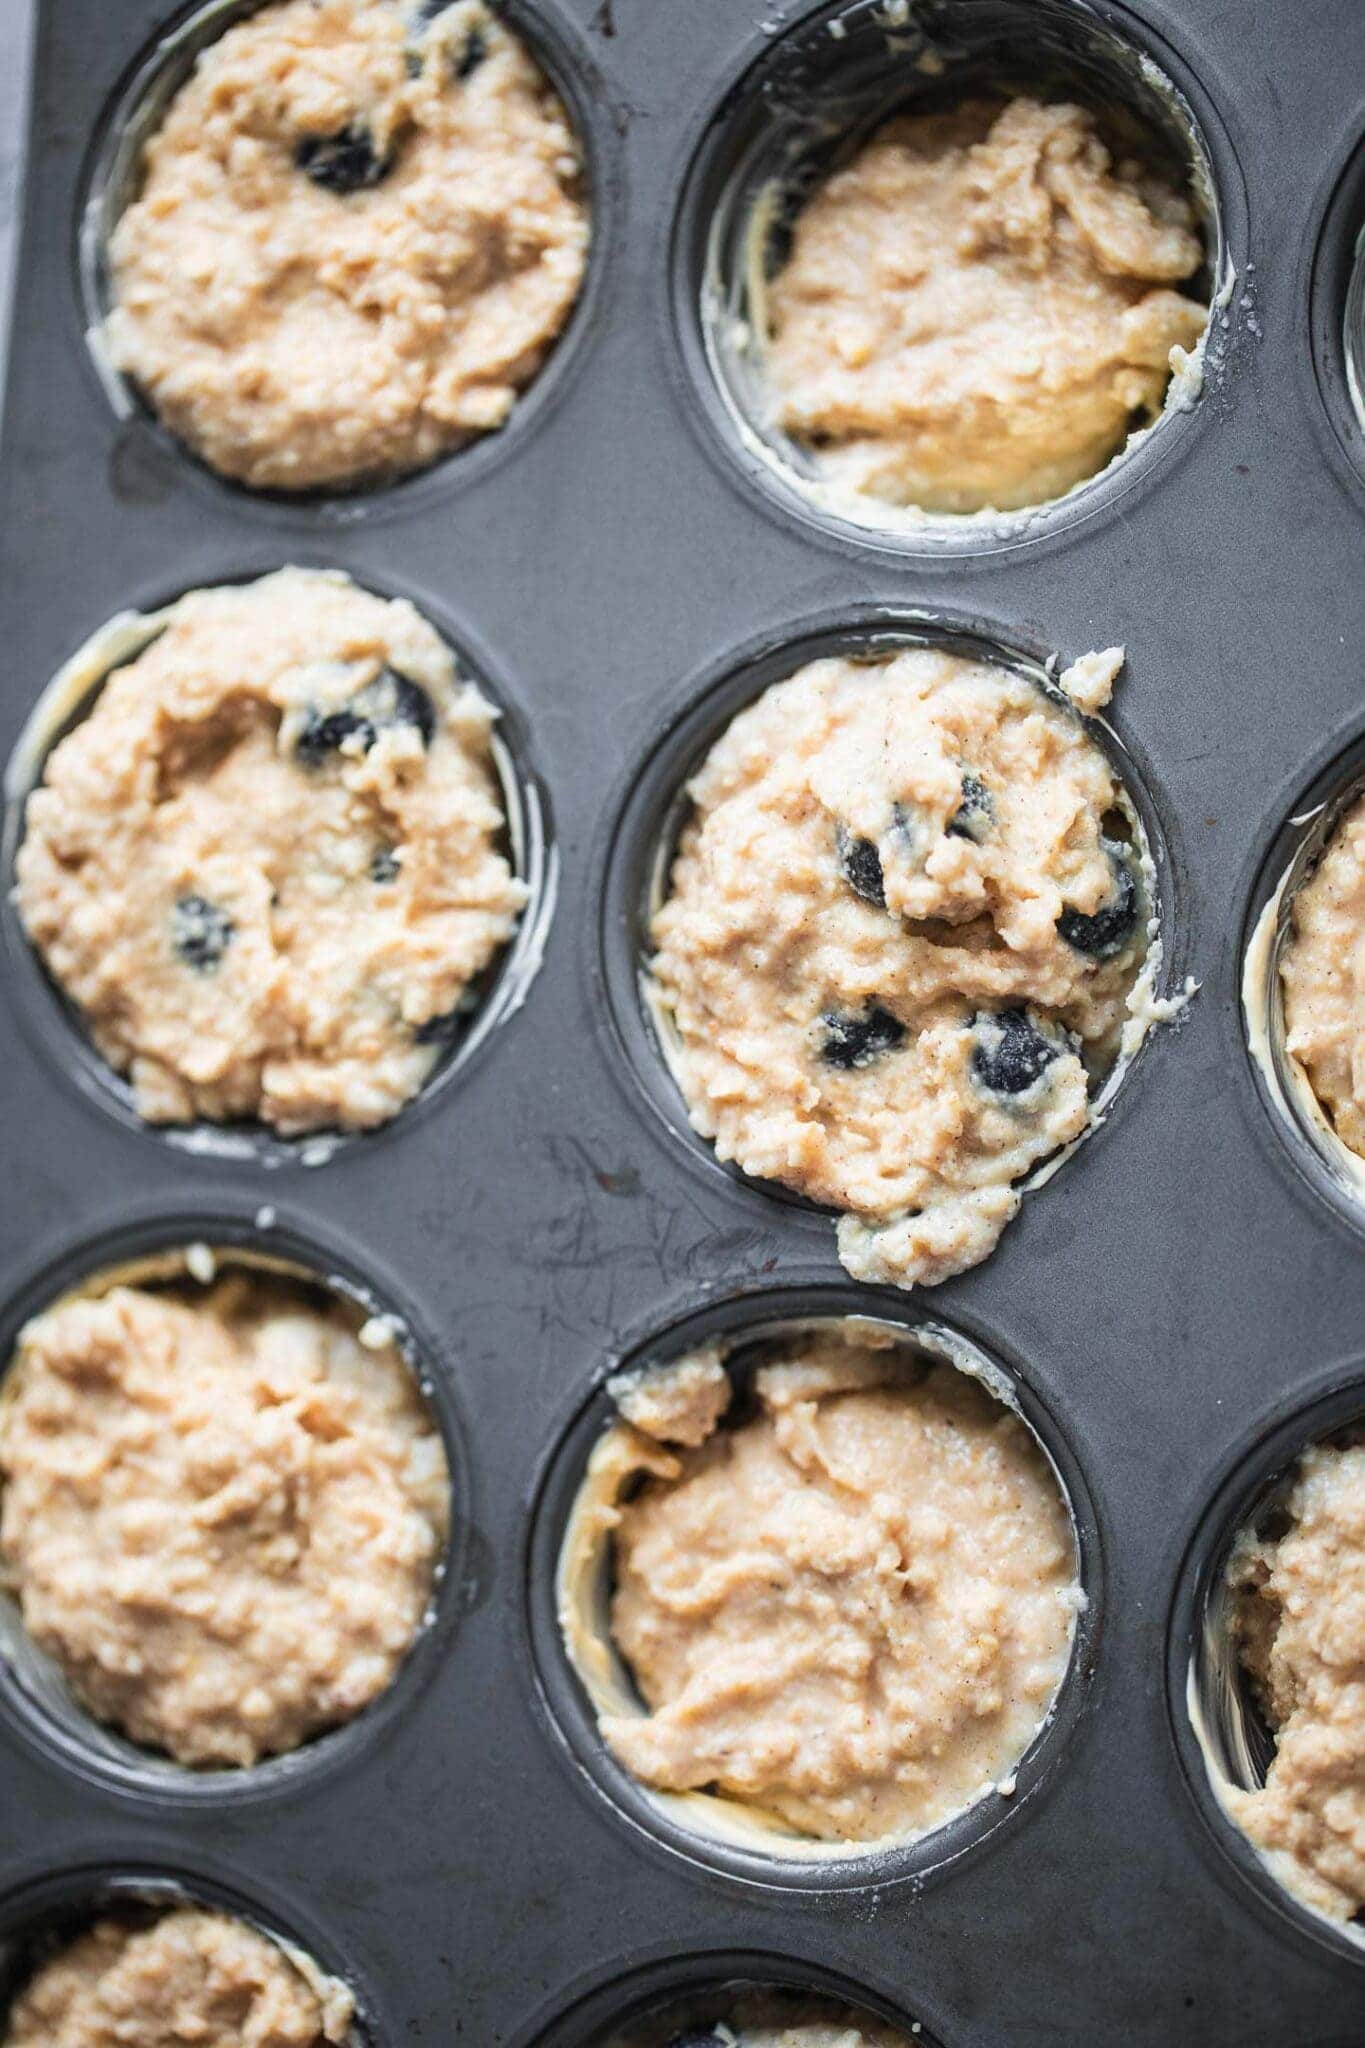
- Allow to cool down for around 10 minutes before serving.
Nutrition (Estimate per Serving)
Calories: 250kcalCarbohydrates: 39gProtein: 4gFat: 9gSaturated Fat: 6gSodium: 139mgPotassium: 263mgFiber: 5gSugar: 12gVitamin A: 56IUVitamin C: 2mgCalcium: 104mgIron: 1mg
Vegan-ize any recipe!Grab our free vegan cheat sheet, packed with my favorite easy substitutions to make any recipe vegan.
Vegan Jackfruit Crab Dip

This vegan crab dip, made with jackfruit, is so creamy and mild in flavor, perfect for spreading on crackers or for dipping with your favorite veggies.
Our vegan version of traditional crab dip is every bit as good as the conventional recipe. Shredded young jackfruit is surprisingly similar in texture to crab, and the flavors of the Dijon, Old Bay seasoning and the other spices are spot on.
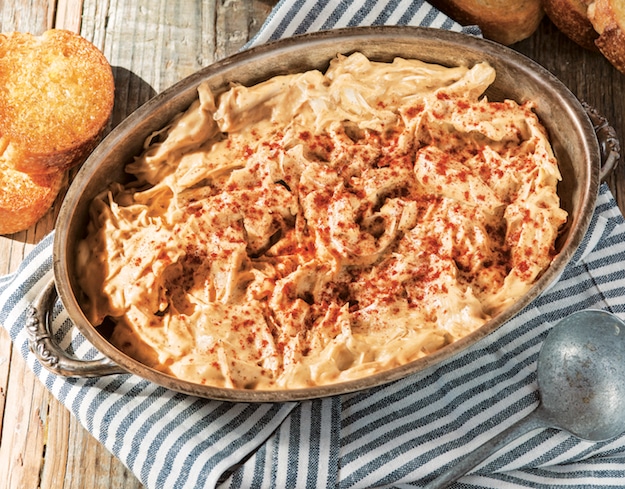
Recipe and photos from Great Vegan BBQ Without a Grill by Linda and Alex Meyer, the mother-daughter team behind Veganosity. © 2018, Page Street Publishing, reprinted by permission.
In case you're not familiar with Old Bay seasoning, let us acquaint you. Old Bay is a fragrant mix of spices, such as celery salt, mace, cloves, ginger, cardamom, and more.
It's what gives most crab cakes their flavor, and it's what brings this vegan crab dip to life. (You can grab yourself some right here!)
To get the texture and mouth feel of crab without the meat, we used shredded jackfruit, and the creaminess of mayonnaise comes from cashews.
It's the ultimate party food. Bring this, and your appetite, to your next get together. You and your friends are going to love it! Serve with crackers, toasted sliced bread or corn chips.
And if you enjoy vegan-izing your favorite recipes, be sure to check out our free vegan substitution cheat sheet. It's packed with all my favorite plant based substitutions to make vegan cooking easy!
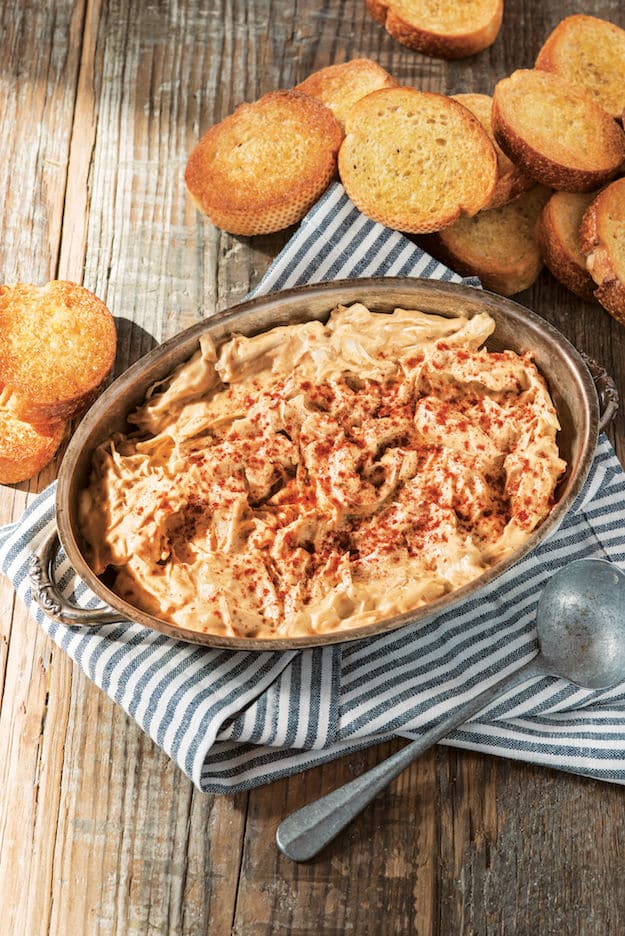
If you love this recipe, be sure to check out these other easy vegan appetizers:
Recipe

Vegan Crab Dip - Made with Jackfruit!
This vegan crab dip, made with jackfruit, is so creamy and delicious. It's perfect for spreading on crackers or for dipping with your favorite veggies.
Print
Pin
Save
Servings: servings
Ingredients
- 2 cups raw cashews soaked in 2 cups water overnight
- 1 large clove garlic
- ¼ cup cashew milk unsweetened, or other dairy free milk
- 2 tablespoon lemon juice
- 2 tablespoon Dijon mustard
- ½ teaspoon Old Bay seasoning
- ½ teaspoon ground sea salt
- ¼ teaspoon ground paprika
- ⅛ teaspoon onion powder
- 14- ounce can young jackfruit packed in water or 1½ cups fresh jackfruit
Instructions
- Drain and rinse the cashews and put into a high-powered blender or food processor. Add the garlic, cashew milk, lemon juice, mustard, Old Bay seasoning, salt, paprika and onion powder and blend for approximately 2 minutes (scrape the sides frequently), or until it's smooth and velvety. You shouldn't see or taste pieces of solid nuts.
- Scrape the cashew mixture into a medium bowl.
- Drain and rinse the jackfruit well. Shred the jackfruit with a fork or in a food processor and put in the bowl with the cashew mixture. Gently fold until fully combined. Serve with crackers, toast or sliced vegetables.
Nutrition (Estimate per Serving)
Calories: 308kcalCarbohydrates: 29gProtein: 9gFat: 20gSaturated Fat: 3gSodium: 70mgPotassium: 598mgFiber: 3gSugar: 15gVitamin A: 122IUVitamin C: 11mgCalcium: 38mgIron: 3mg
Vegan-ize any recipe!Grab our free vegan cheat sheet, packed with my favorite easy substitutions to make any recipe vegan.
Sticky Sesame Cauliflower

This sticky sesame cauliflower is bursting with delicious flavor and easy to make in just 30 minutes! Baked cauliflower is crispy on the outside, but soft and tender on the inside. Serve this vegan cauliflower with a sweet, tangy sesame sauce for a weeknight dinner, or a simple side dish. Vegetarian and vegan friendly too!
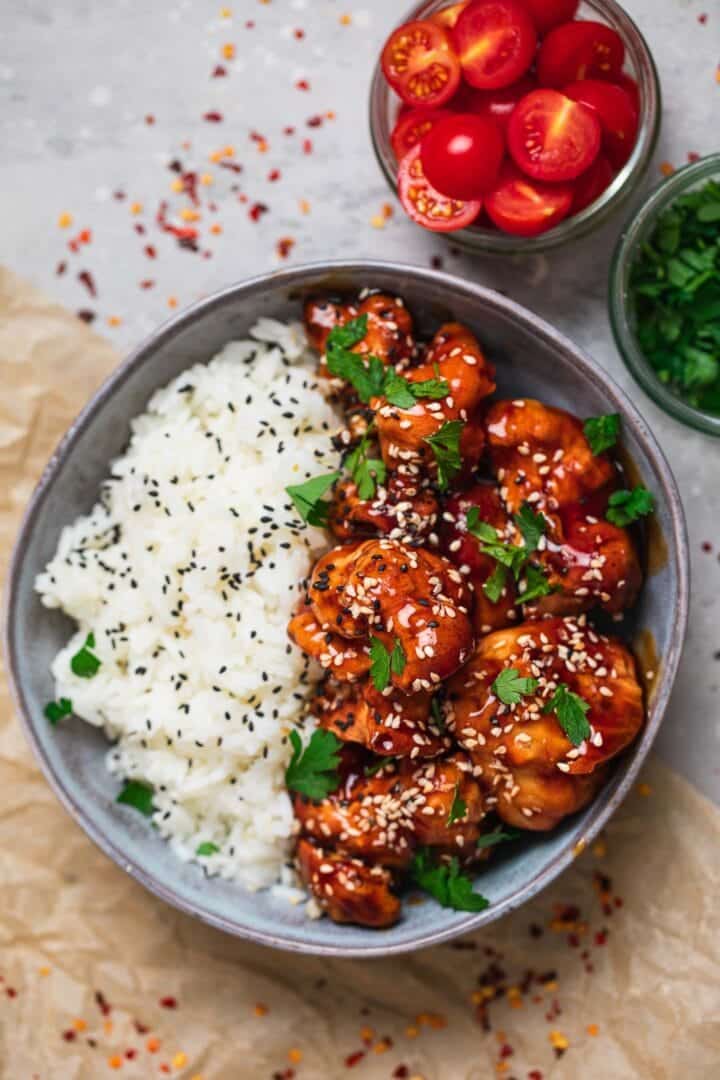
I have to say that my love for cauliflower has no end in sight. You can make so many different types of dishes with it - from cauliflower crust pizza to a flavorful cauliflower Alfredo sauce. The possibilities really are endless!
And nope, cauliflower-centric recipes don't have to be bland. Far from it!
Cauliflower by itself has a neutral flavour, and can take on many different flavor profiles depending on how you cook it. (Here are some more vegan cauliflower recipes if you need ideas!) One of the tricks is adding a fantastic sauce.
And that's exactly what we're doing today. I suggest you run to the kitchen to make this Sticky Sesame Cauliflower asap because it is calling your name!
In fact, this might be my favorite vegan cauliflower recipe yet.

Sticky Sesame Cauliflower 'Wings'
When I say I am obsessed with this recipe, I really mean it. I have a habit of eating this cauliflower straight from the pan, and watching it disappear in around 5 minutes. It really is that phenomenal.
If you're skeptical about cauliflower this may be the recipe that will change your mind when you make it for your next weeknight dinner. (And if this doesn't do it for you - this buffalo cauliflower surely will.)
The cauliflower 'wings' are incredibly realistic and can impress vegans and non-vegans alike. They are super crispy on the outside, coated in a garlicky batter with a hint of cheesiness. The inside of the 'wings' are very tender and soft. They make a great meatless alternative to chicken wings!

My favorite part of this cauliflower recipe is the sticky sesame sauce. It's absolutely incredible!
The flavor is tangy, sweet, and with a hint of spice due to the addition of sriracha sauce. I love sesame seeds, having used them for a lot of recipes, such as my sesame peanut tofu, and they go incredibly well with the cauliflower.
Trust me, this is a phenomenal example of how to make vegetables taste good - to the point where you won't be able to tell that the main ingredient is a veggie!
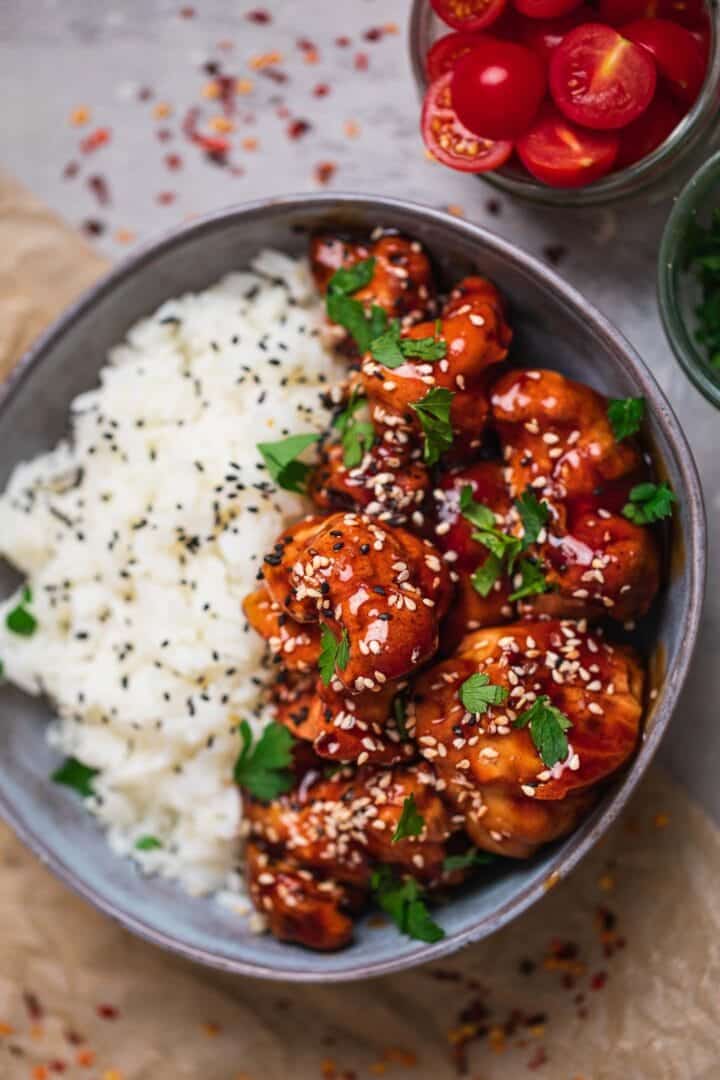
You can serve these vegan sesame cauliflower wings as a main course with a side of your choice such as rice or noodles for a homemade takeout night.
They also make a great side dish, and you can even serve the sauce as a dip, rather than mixing it with the cauliflower bites in a frying pan.
How to Make Cauliflower Crispy
Ever wondered why your cauliflower 'wings' may turn out soggy? Worry no further, because here are my top tips for making sure that these cauliflower wings turn out perfect, with just the right amount of crunch:
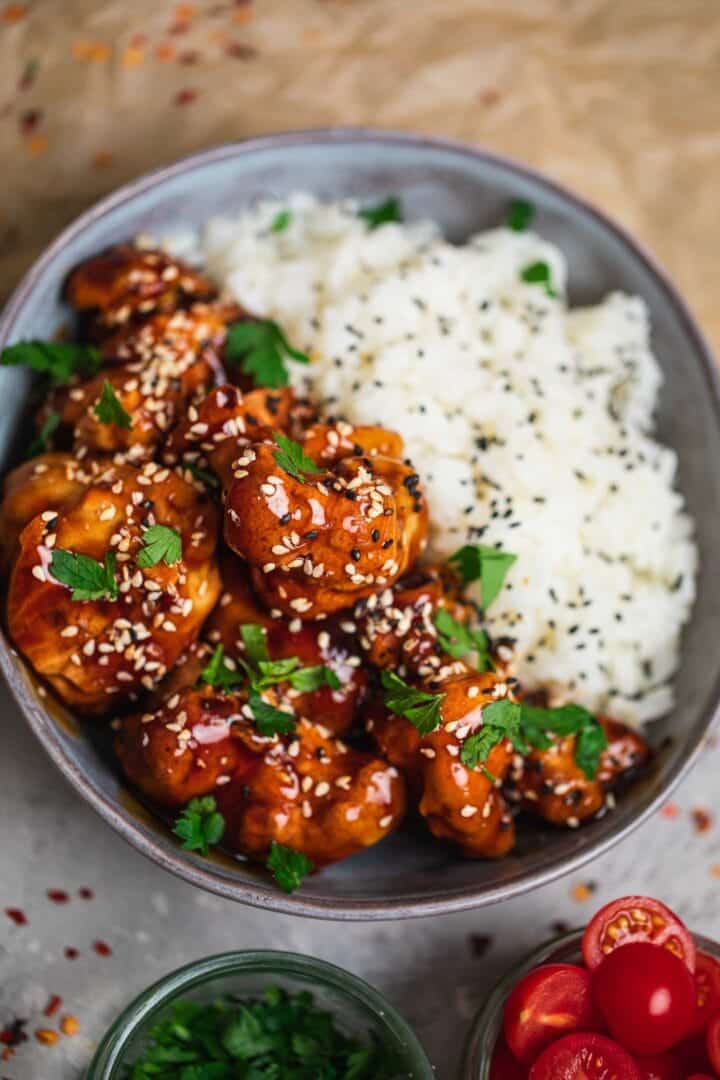
Do not drench the cauliflower in the batter. This is a key step. The cauliflower will then take much longer to bake, also turning out chewy and soggy. When dipping, ensure to shake off any excess batter.
At the same time, make sure that the batter is not too runny. It should stick very easily to the cauliflower florets.
Use a large baking tray (I like these) or use two trays as to avoid overcrowding because this will trap in moisture and make the cauliflower soggy.
Bake for enough time. I know that it may be tempting to take the cauliflower out of the oven after 10-15 minutes when the kitchen starts to smell amazing, but 25-30 minutes is the optimal time to achieve a perfect crunch.
Keep in mind that after you add the sauce to the cauliflower wings, they won't be as crispy. So it's best to serve them immediately. You can also serve the sesame sauce as a dip instead for the most crispiness. The dip option also works great for serving these at parties where they may sit out for a long time.
Ingredients you will need
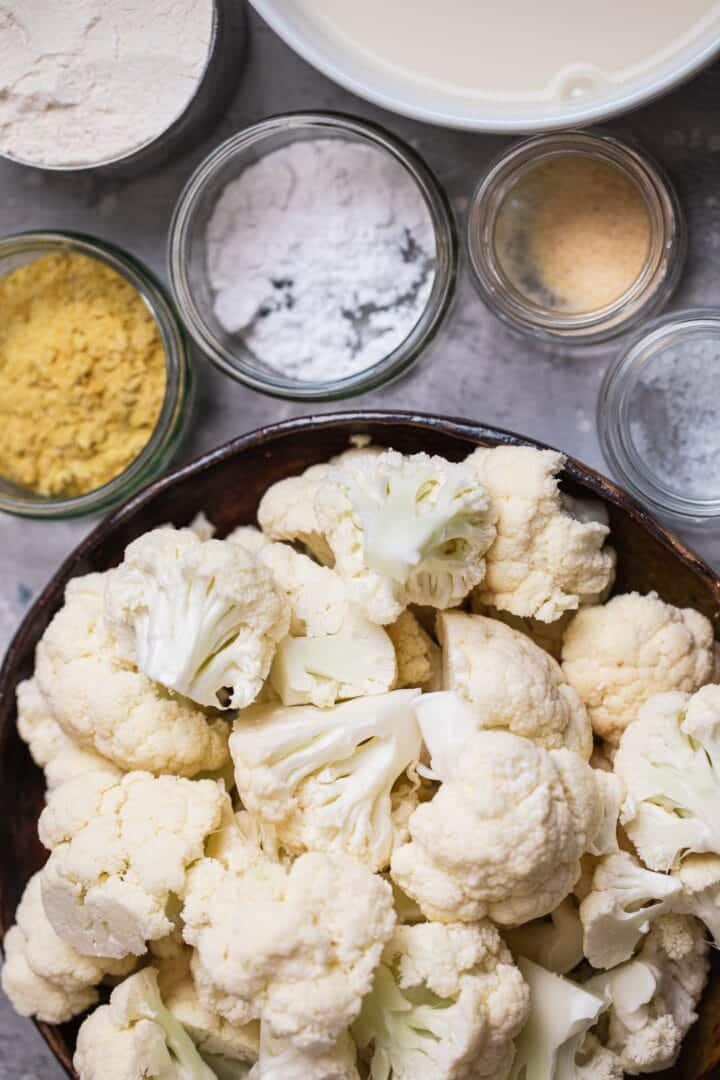
Flour. To make this recipe gluten-free, use gluten-free all-purpose flour. I've made this with gluten-free flour multiple times and it works almost as well as ordinary flour. If this is not a concern, any all-purpose flour will do just fine.
Baking powder to add a bit of fluffiness and thickness to the batter.
Nutritional yeast. This is a great ingredient for adding a 'cheesy' flavor to vegan recipes. This Bragg's Nutritional Yeast is the most well known brand.
Garlic powder and salt for flavoring the batter. You can also add other spices of your choice, such as cumin, paprika and turmeric.
Plant based milk of your choice. Use an unsweetened variety. I used almond milk for mine!
Cauliflower florets. Use fresh cauliflower, rather than thawed from frozen - the latter option will not turn out crispy.
Tomato paste and rice vinegar to add tanginess. You can also use lemon juice instead of rice vinegar.
Tamari or soy sauce, depending on whether you want to make this dish gluten-free. I like this gluten-free tamari.
Maple syrup. You can use any liquid sweetener of your choice, or coconut sugar. I prefer to use maple syrup.
Sriracha. Adjust how much you use depending on how spicy you want the sesame sauce to be. I use this all the time, so I buy these big bottles!
Cornstarch and water to make a cornstarch slurry, which is used to thicken the sauce.
Sesame oil for adding even more crispiness to the cauliflower wings. This is my preferred brand.
Onion, garlic and ginger - the aromatics which are super simple, but level up any dinner.
Sesame seeds. One of the key ingredients here, that will give this dish its signature flare! You can use either black or white sesame seeds, or a mixture of both. These tri-color seeds are a fun choice.
How to make sticky sesame cauliflower
Firstly, preheat the oven to 180 degrees C (400 F) and line a baking tray with parchment paper.
Now, make the batter. Add the flour, baking powder, nutritional yeast, garlic power, salt and plant based milk to a large mixing bowl. Whisk together thoroughly, until no lumps remain.
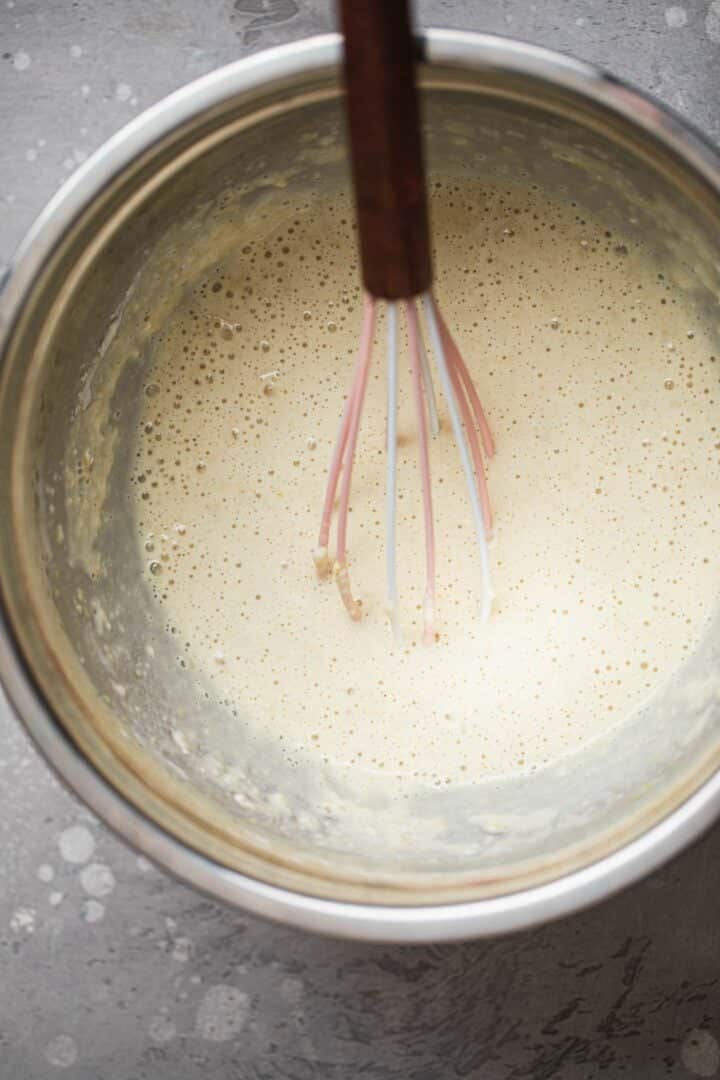

Next, prepare the cauliflower florets. Trim the leaves from the cauliflower and then remove the stem, before chopping it into bite-sized florets.
Dip the cauliflower florets in the batter and shake off any excess batter before laying them out on the baking tray.
Make sure to leave enough space between the florets. Now bake in the preheated oven for 25 minutes, until crispy and golden brown.
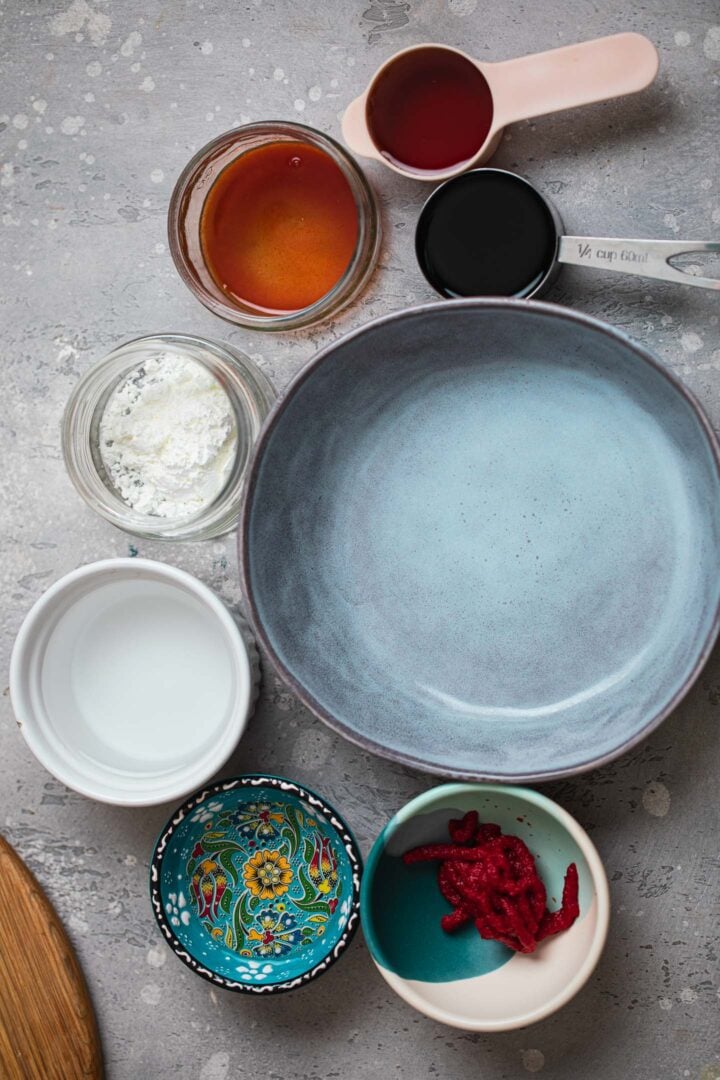
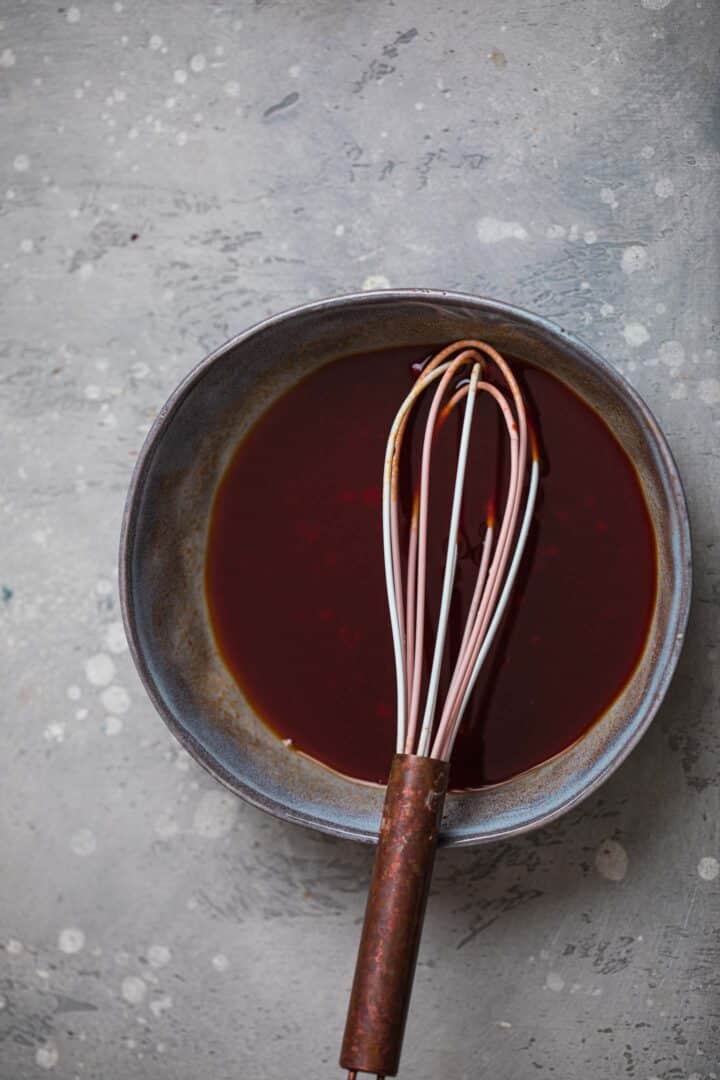
Meanwhile, prepare the sauce by whisking together the tomato paste, rice vinegar, tamari, maple syrup and sriracha.
In a separate mixing bowl, make the cornstarch slurry by mixing together cornstarch and water.
When the cauliflower is almost done, heat the sesame oil in a pan over a medium-high heat.
Add the onion, garlic and ginger, cooking for 3-4 minutes, until fragrant and starting to soften.

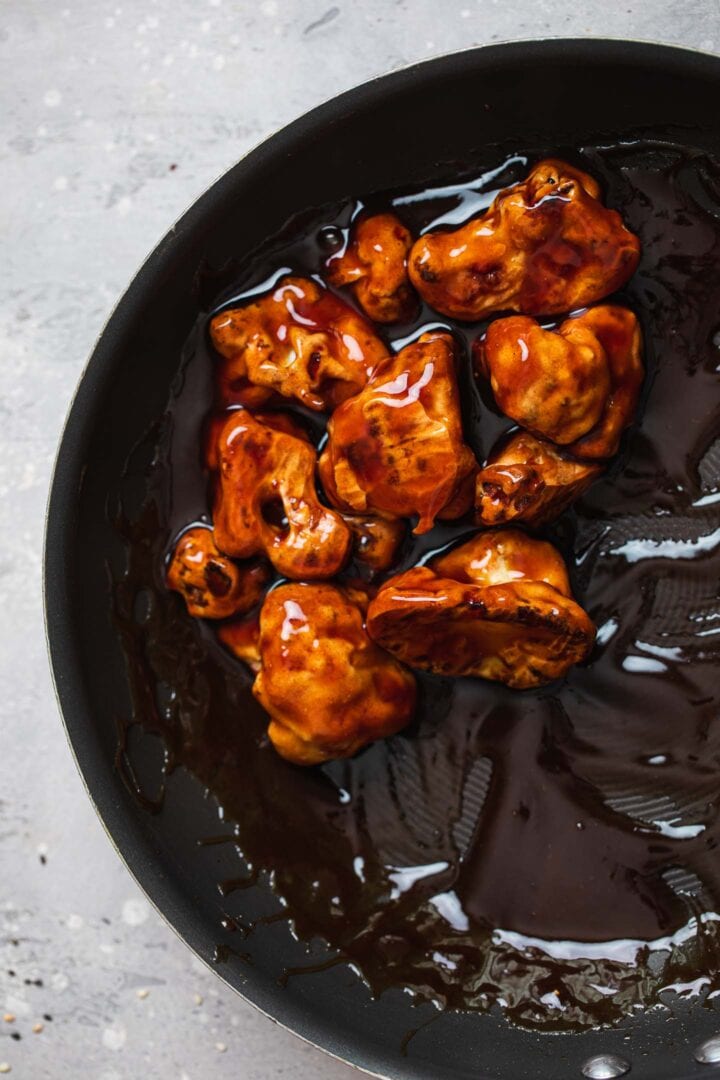
Now add the sauce and cornstarch slurry, lowering the heat. Whisk continuously for around 5 minutes, until the sauce thickens. Remove from the heat and add the cauliflower wings, stirring together thoroughly.
At the last minute, stir in the sesame seeds. This sticky sesame cauliflower is now ready to serve!
Frequently-asked questions
Can I make these cauliflower wings ahead of time?
Cauliflower wings, if kept in the fridge, will lose their crispiness. It's best to serve them immediately, or a few hours after cooking at the latest.
Can I make this recipe gluten-free?
Yes, this recipe can be made gluten-free easily by using gluten-free flour (like this one) for the batter, and tamari or coconut aminos instead of soy sauce.
What can I serve sesame cauliflower with?
You can serve it with any side of your choice, such as rice, noodles, pasta, or vegetables. It's also great as a starter or side dish.
Can the cauliflower wings be frozen?
For sure! To start, place the baked cauliflower wings on a large baking tray and place in the freezer for 3-4 hours. You can then transfer them to a freezer-friendly container or bag for up to 3 months. To reheat, transfer them to a baking tray lined with parchment paper, and bake for 30 minutes at 180 degrees C/350 F. Prepare the sauce when you are ready to serve it!
More amazing cauliflower recipes!
- Check out all of my favorite vegan cauliflower recipes here.
- For an amazing side dish, try out my vegan cauliflower cheese! It's a guaranteed crowd pleaser.
- Red lentil cauliflower Dahl is fantastic for a wholesome and comforting dinner.
- If you love crispy cauliflower with a flavorful sauce, try out my baked orange cauliflower.

Let me know in the comments: what's your favourite way to cook with cauliflower? If you give this sticky sesame cauliflower a go, be sure to tag me on Instagram (@veg.kitchen) so I can see your creations, and leave your feedback in the comments below together with a star rating!
Recipe

Sticky Sesame Cauliflower (Vegan Recipe)
This sticky sesame cauliflower is totally delicious and ready in just 30 minutes! The crispy cauliflower wings are coated in a sweet, tangy sauce that's a surefire crowd pleaser. And it's vegetarian and vegan friendly too.
Print
Pin
Save
Servings: servings
Equipment
- Baking tray
- Mixing bowl
- Frying pan
Ingredients
For the cauliflower 'wings'
- 1 cup all-purpose flour or gluten-free baking flour
- 1 tbsp baking powder
- 2 tbsp nutritional yeast
- ½ tsp garlic powder
- ½ teaspoon salt
- 1 cup plant based milk such as almond milk
- 1 medium head cauliflower around 6 cups
For the sauce
- 2 tablespoon tomato paste
- 2 tablespoon rice vinegar
- ¼ cup tamari or soy sauce
- 2 tablespoon maple syrup
- ½ tablespoon Sriracha
- 2 tablespoon cornstarch
- ½ cup water
- 1 tablespoon sesame oil
- 1 large onion diced
- 2 cloves garlic minced
- 2 tablespoon ginger freshly grated
- ¼ cup sesame seeds
Instructions
- Preheat the oven to 180 degrees C (400 F) and line a baking tray with parchment paper.
- Add the flour, baking powder, nutritional yeast, garlic power, salt and plant based milk to a large mixing bowl. Whisk together thoroughly, until no lumps remain.1 cup all-purpose flour, 1 tablespoon baking powder, 2 tablespoon nutritional yeast, ½ teaspoon garlic powder, ½ teaspoon salt, 1 cup plant based milk
- Prepare the cauliflower florets. Trim the leaves from the cauliflower and then remove the stem, before chopping it into bite-sized florets.1 medium head cauliflower
- Dip the cauliflower florets in the batter and shake off any excess batter before laying them out on the baking tray. Make sure to leave enough space between the florets. Now bake in the preheated oven for 25 minutes, until crispy and golden brown.
- Meanwhile, prepare the sauce by whisking together the tomato paste, rice vinegar, tamari, maple syrup and sriracha. In a separate mixing bowl, make the cornstarch slurry by mixing together cornstarch and water.2 tablespoon tomato paste, 2 tablespoon rice vinegar, ¼ cup tamari, 2 tablespoon maple syrup, ½ tablespoon Sriracha, 2 tablespoon cornstarch, ½ cup water
- When the cauliflower is almost done, heat the sesame oil in a pan over a medium-high heat. Add the onion, garlic and ginger, cooking for 3-4 minutes, until fragrant.1 tablespoon sesame oil, 1 large onion, 2 cloves garlic, 2 tablespoon ginger
- Add the sauce and cornstarch slurry, lowering the heat. Whisk continuously for around 5 minutes, until the sauce thickens. Remove from the heat and add the cauliflower wings, stirring together thoroughly.
- At the last minute, stir in the sesame seeds and serve.¼ cup sesame seeds
Video
Notes
Gluten-free: To make this recipe gluten-free, use gluten-free flour and tamari instead of soy sauce.
To freeze: Arrange the baked cauliflower on a baking tray and place in the freezer for 3-4 hours. Then, transfer to a freezer-friendly container or bag and freeze for up to 2 months.
To reheat: When reheating from frozen, place the cauliflower on a baking tray and bake at 180 degrees C/350 F for 30 minutes.
Nutrition (Estimate per Serving)
Calories: 338kcalCarbohydrates: 53gProtein: 12gFat: 10gSaturated Fat: 1gSodium: 1340mgPotassium: 1087mgFiber: 7gSugar: 12gVitamin A: 126IUVitamin C: 76mgCalcium: 363mgIron: 5mg
Vegan-ize any recipe!Grab our free vegan cheat sheet, packed with my favorite easy substitutions to make any recipe vegan.

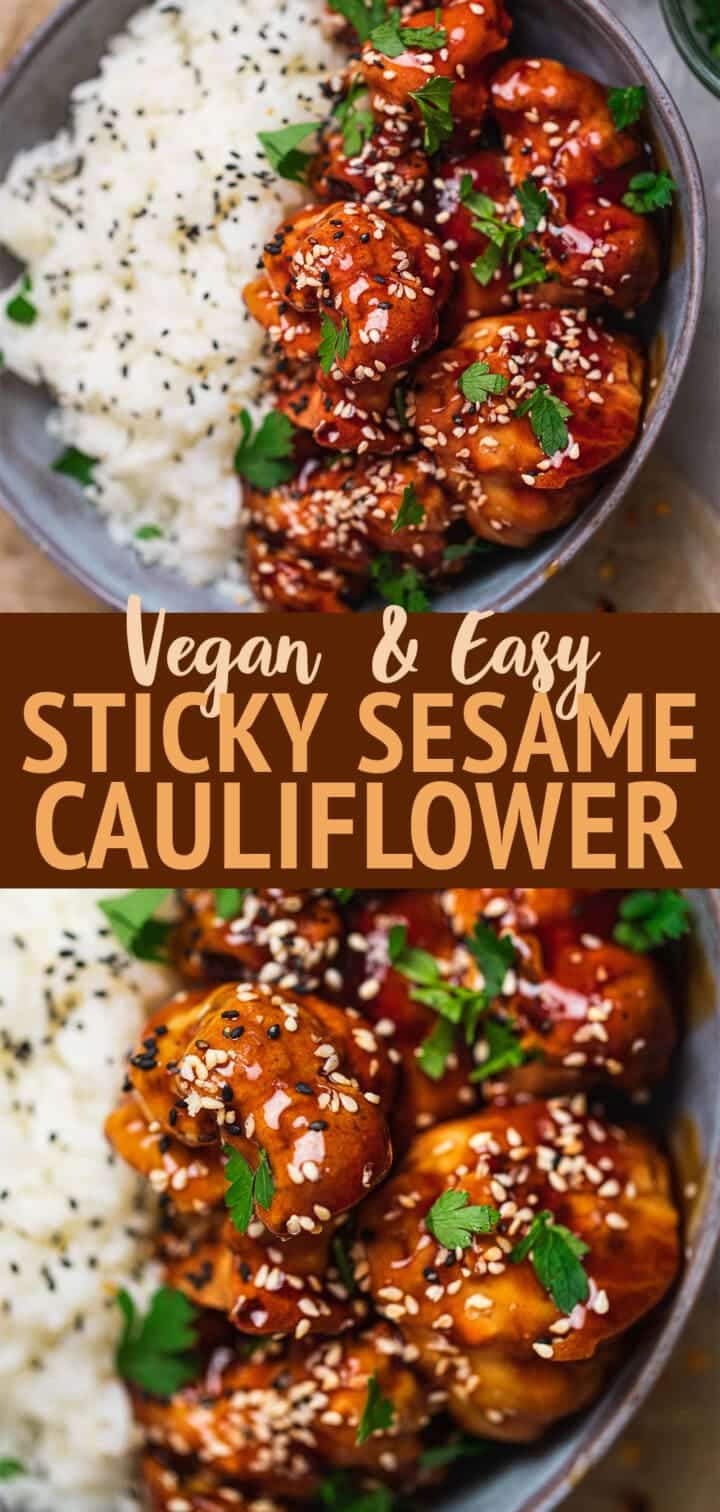
Vegan Crunchwrap Supreme

This vegan Crunchwrap Supreme is made with a smoky tempeh filling, homemade dairy-free nacho 'cheese', and guacamole. It's bursting with flavour, and is perfect for an indulgent lunch. Easy to make gluten-free.

You know those recipes that you just want to make over and over again? Yep, this tempeh Crunchwrap is one of those for me. I am seriously obsessed. I've seen Crunchwraps all over social media for a while, and knew I needed to make my own vegan version.
The original Crunchwrap Supreme is from Taco Bell, made with beef and nacho cheese. But, a homemade, plant based version is incredibly easy to put together. Just follow the steps below and you will see for yourself! Chances are, if you're like me and love wholesome comfort food, you will love this as well.

About this vegan Crunchwrap Supreme
The thing that I love about Crunchwraps is that you can really load them up with different ingredients and they won't fall apart. Well, you have to try very hard in order for that to happen (I've had a few such accidents myself during recipe testing lol). Regardless, every bite is packed full of deliciousness, and the wonderful crispy texture of the wrap really brings everything together.

Here, I used tempeh for the filling. I love tempeh, because it's such a versatile ingredient with a great texture and a neutral flavour. With just a few ingredients, it's so easy to transform it. In this Crunchwrap recipe, it takes the place of the ground beef.

I also made a homemade nacho 'cheese' sauce. The great thing about this one is just how simple it is. You don't need a blender, and there are no cashews. You simply put all the ingredients to a saucepan, whisk, and you're good to go! In fact, I love using this 'cheese' as a sauce for many recipes, such as salads and nourish bowls.
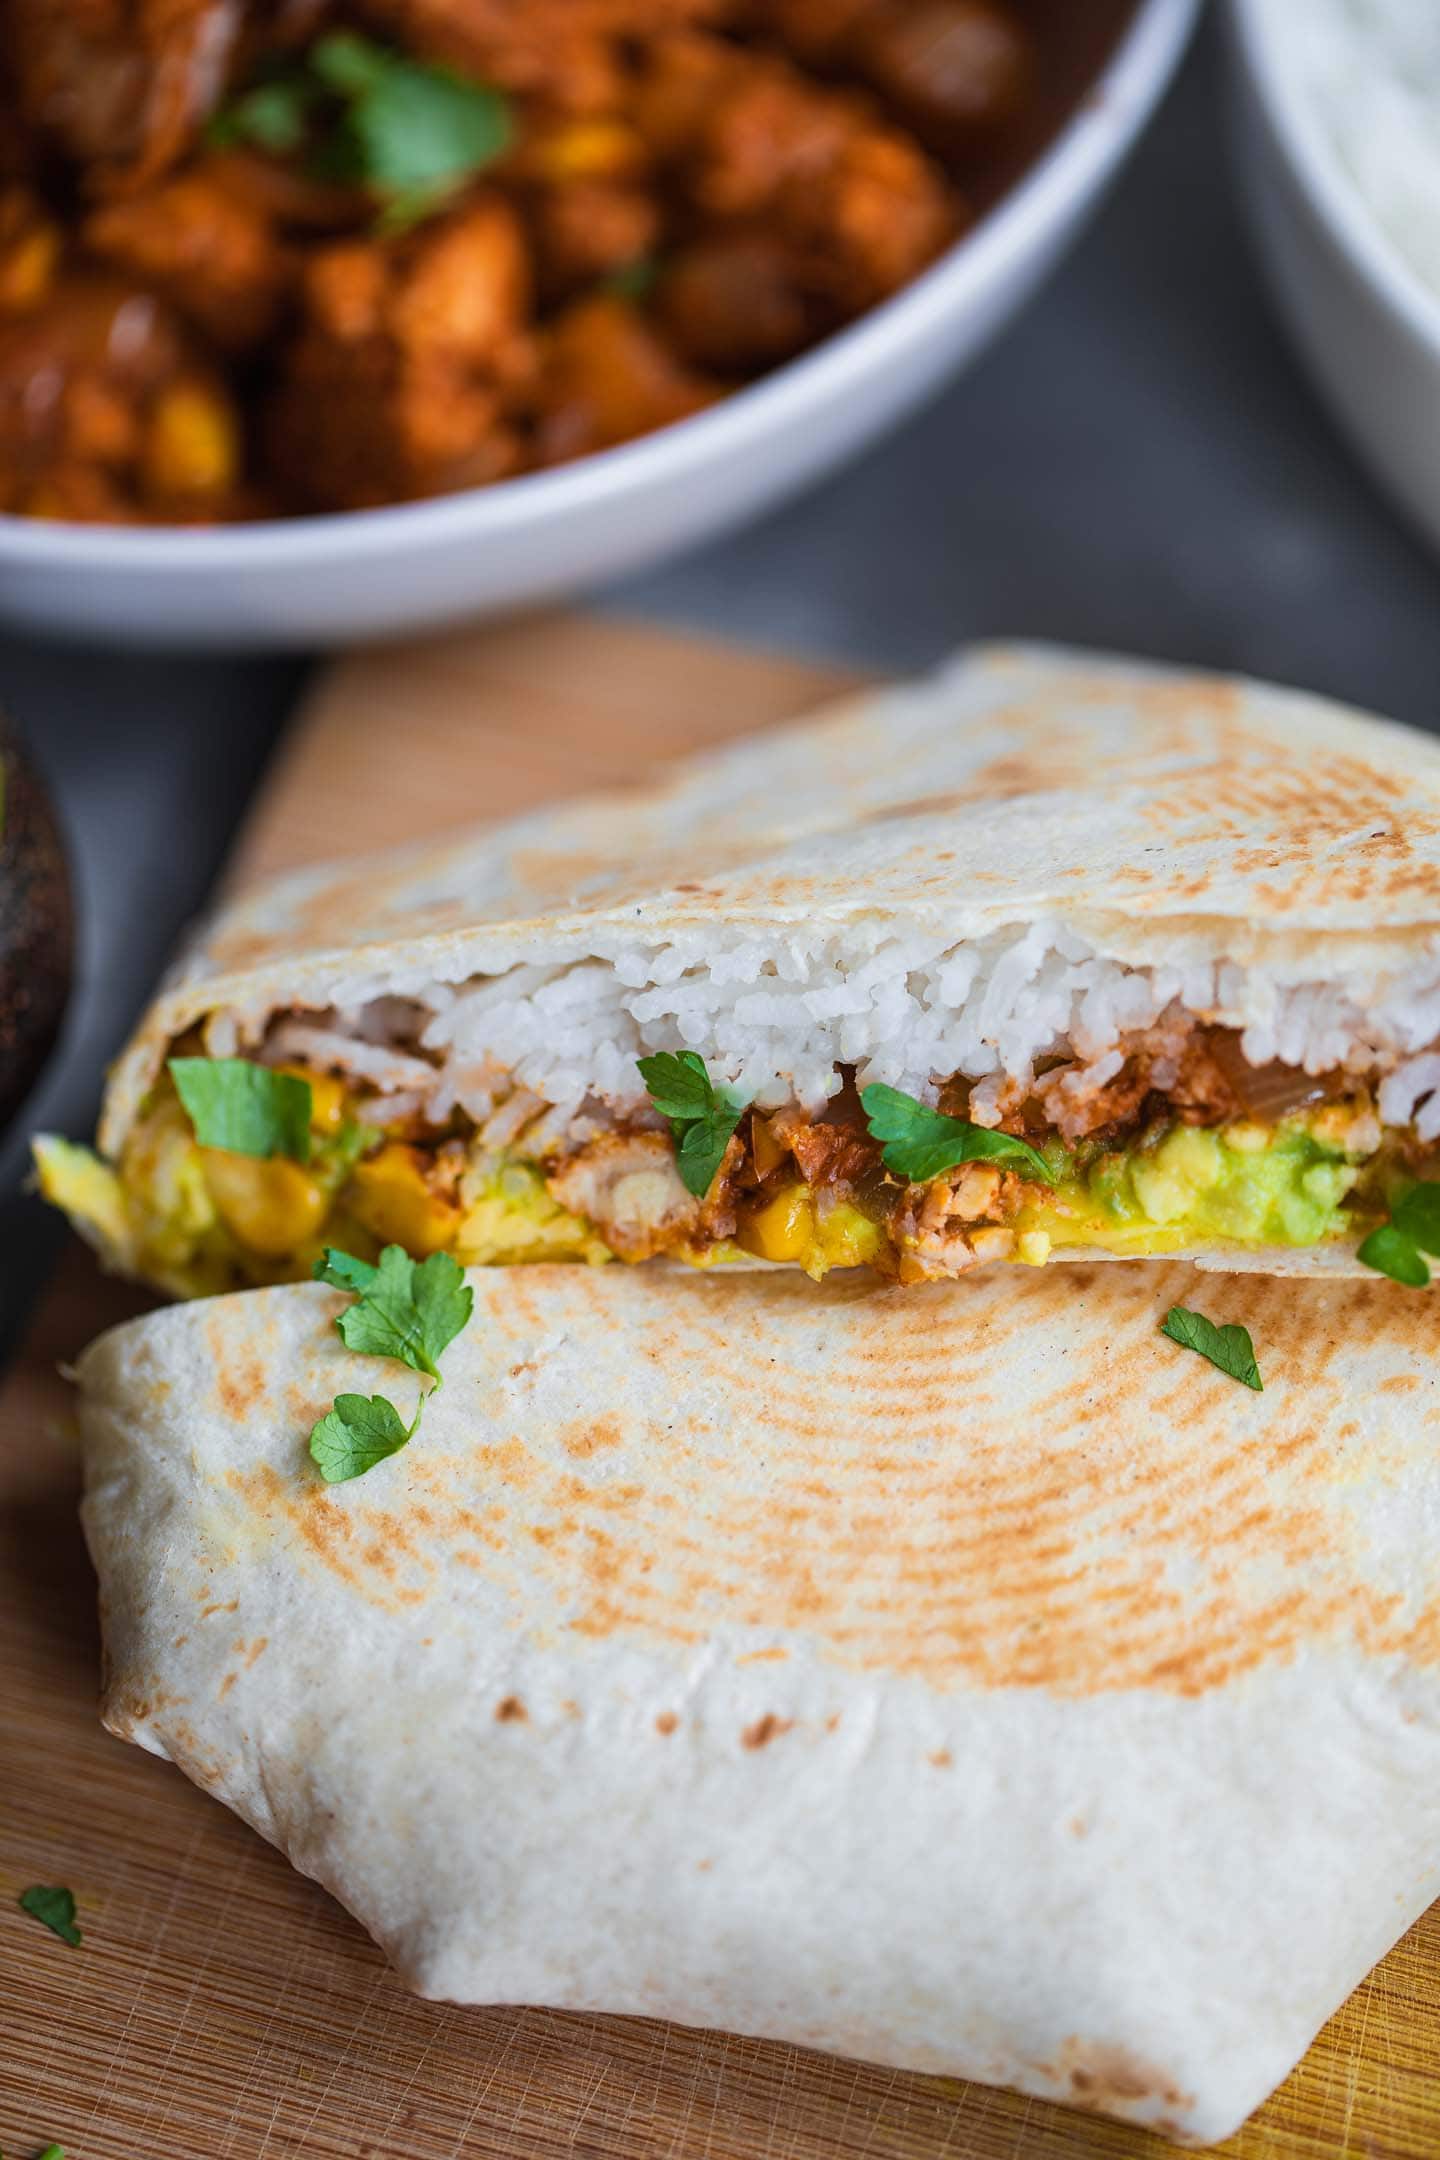
I also added avocado, rice and a little bit of grated vegan cheese. Simple, but incredibly yummy!
Smoky tempeh filling
You only need a few simple ingredients to make the smoky tempeh filling. Those are:
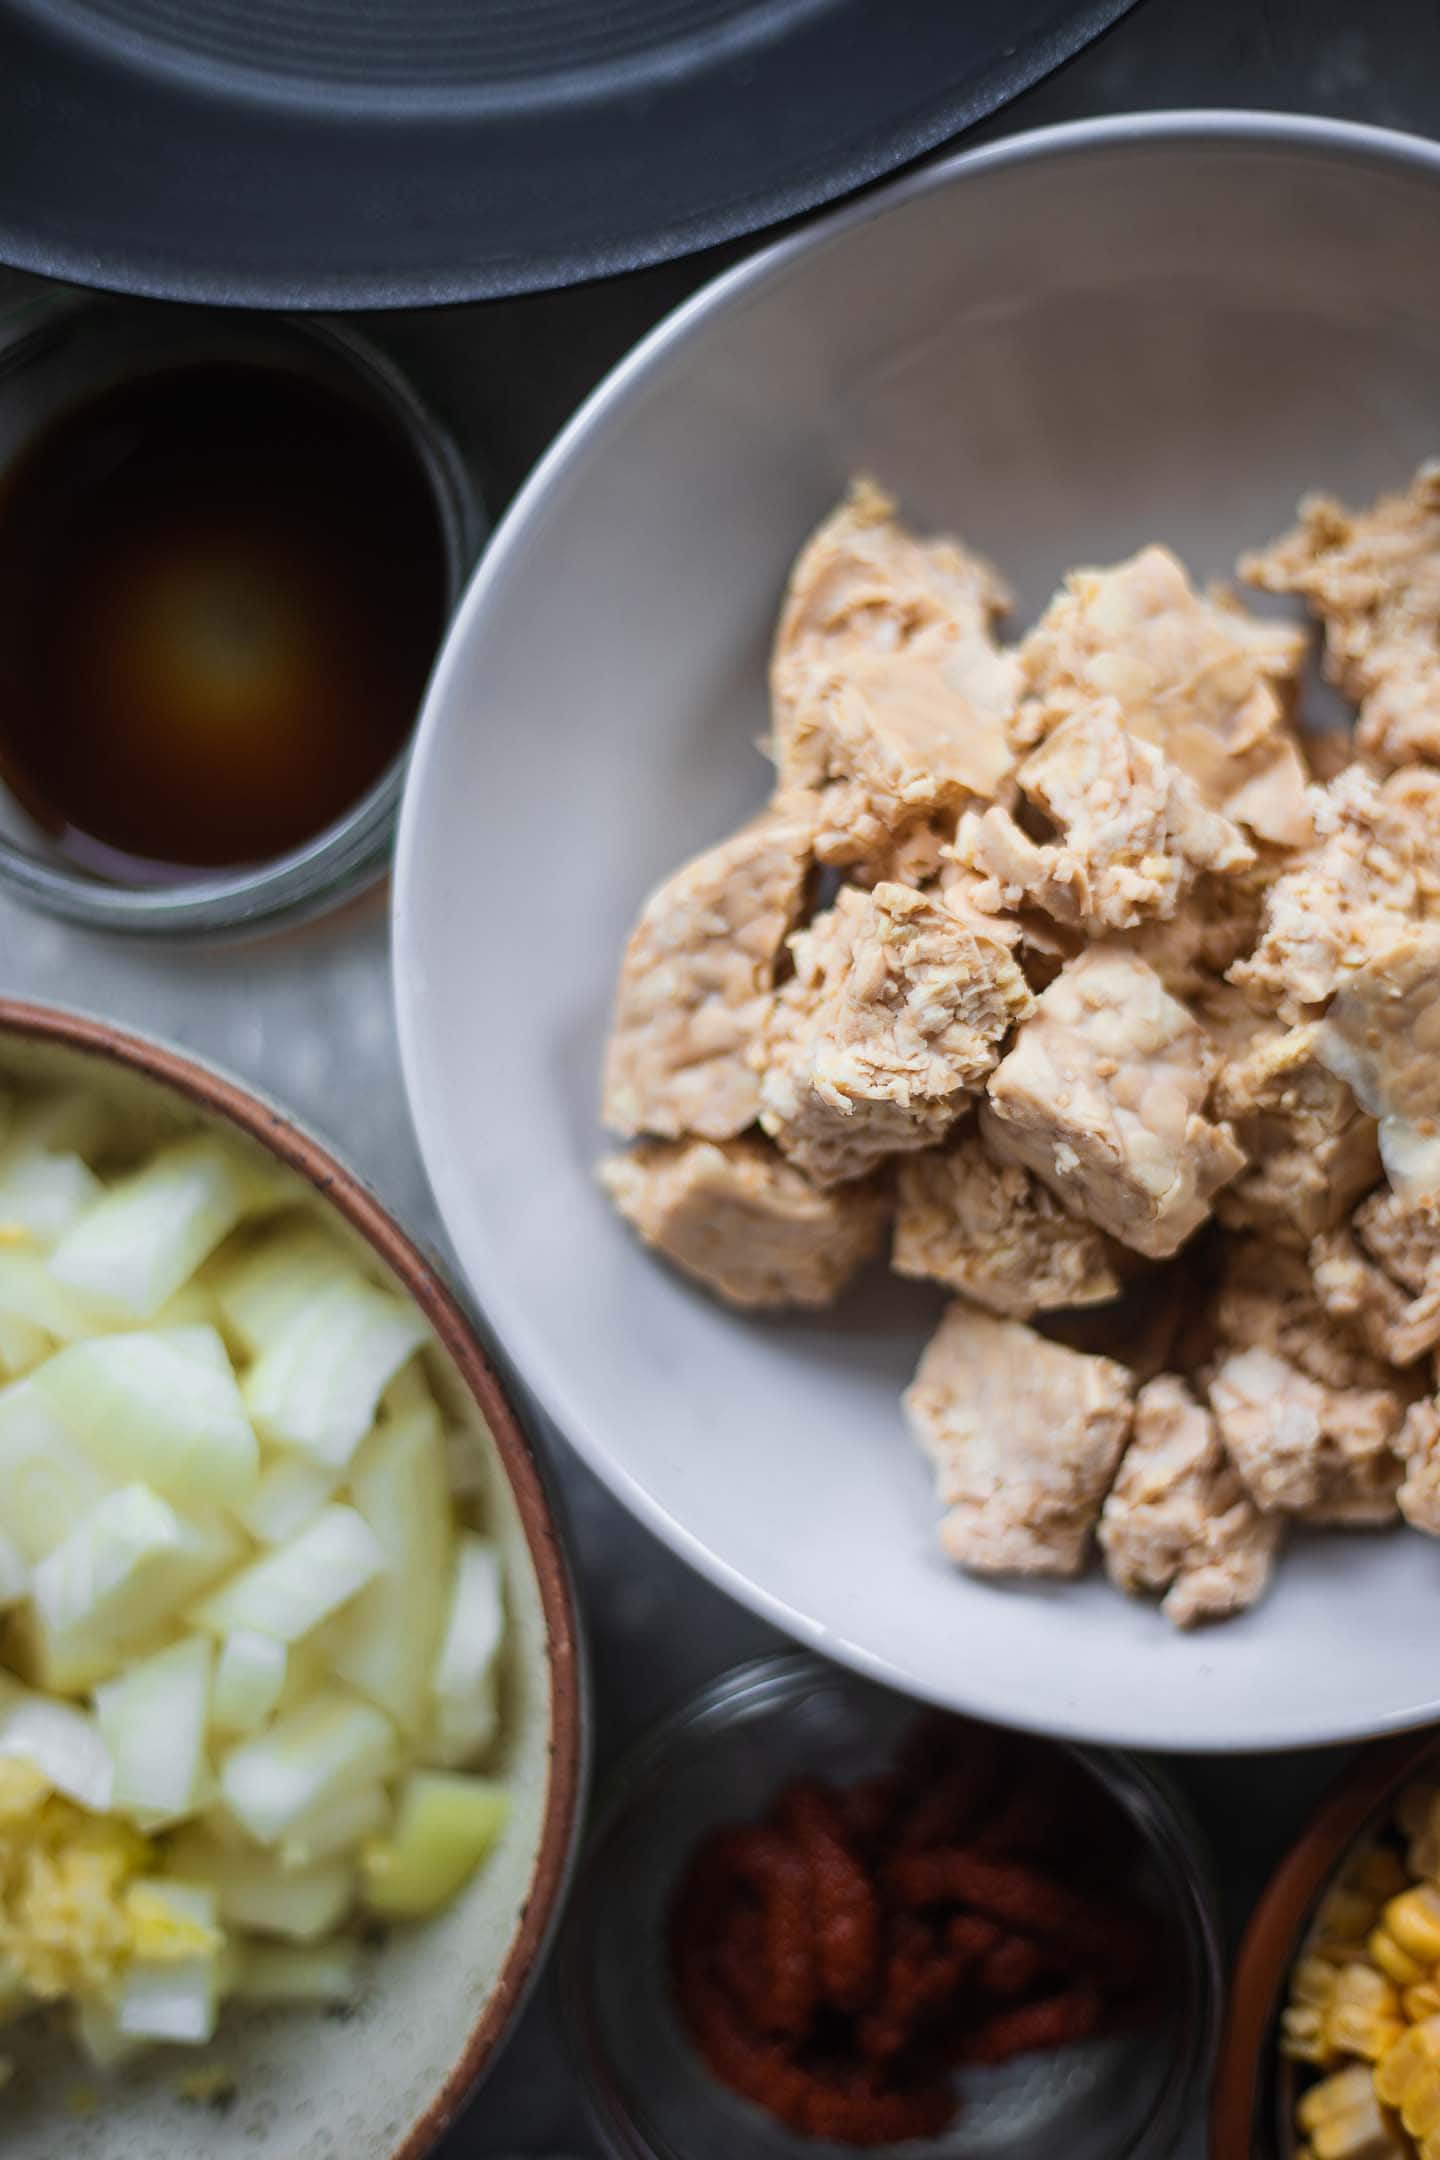
- Onion and garlic.
- Tempeh. I would recommend steaming this beforehand to get rid of any bitter flavour. You can also use crumbled extra firm tofu.
- Sweetcorn.
- Tomato paste.
- Tamari. You can also use soy sauce if not avoiding gluten, or coconut aminos for a soy-free version.
- Cumin and smoked paprika.
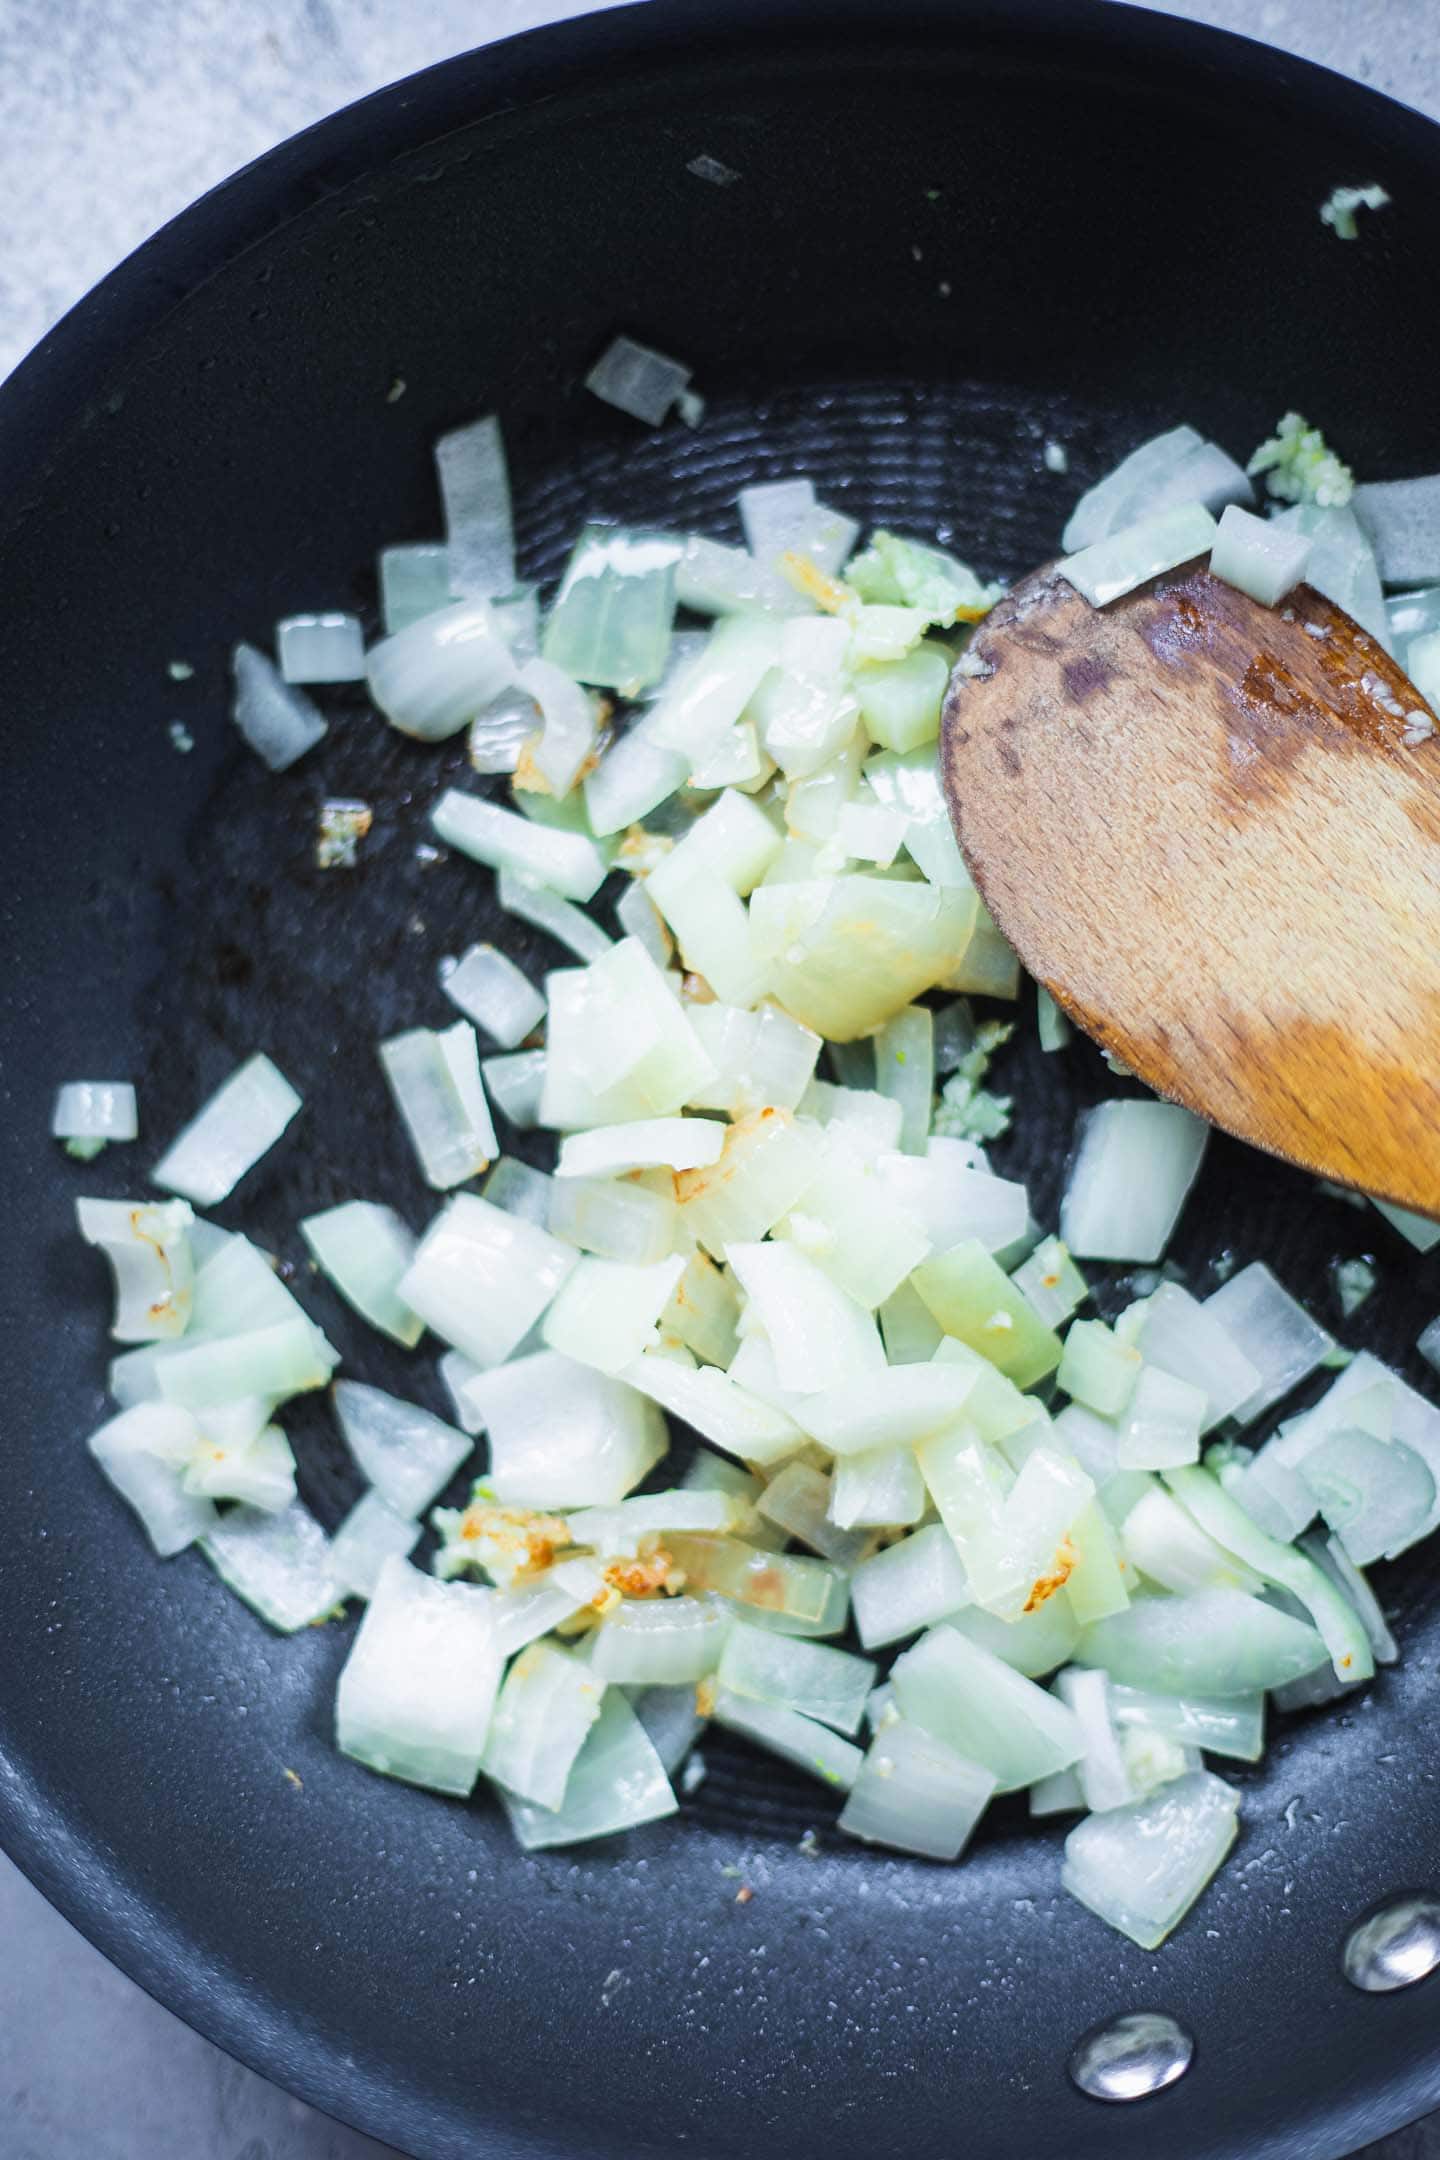
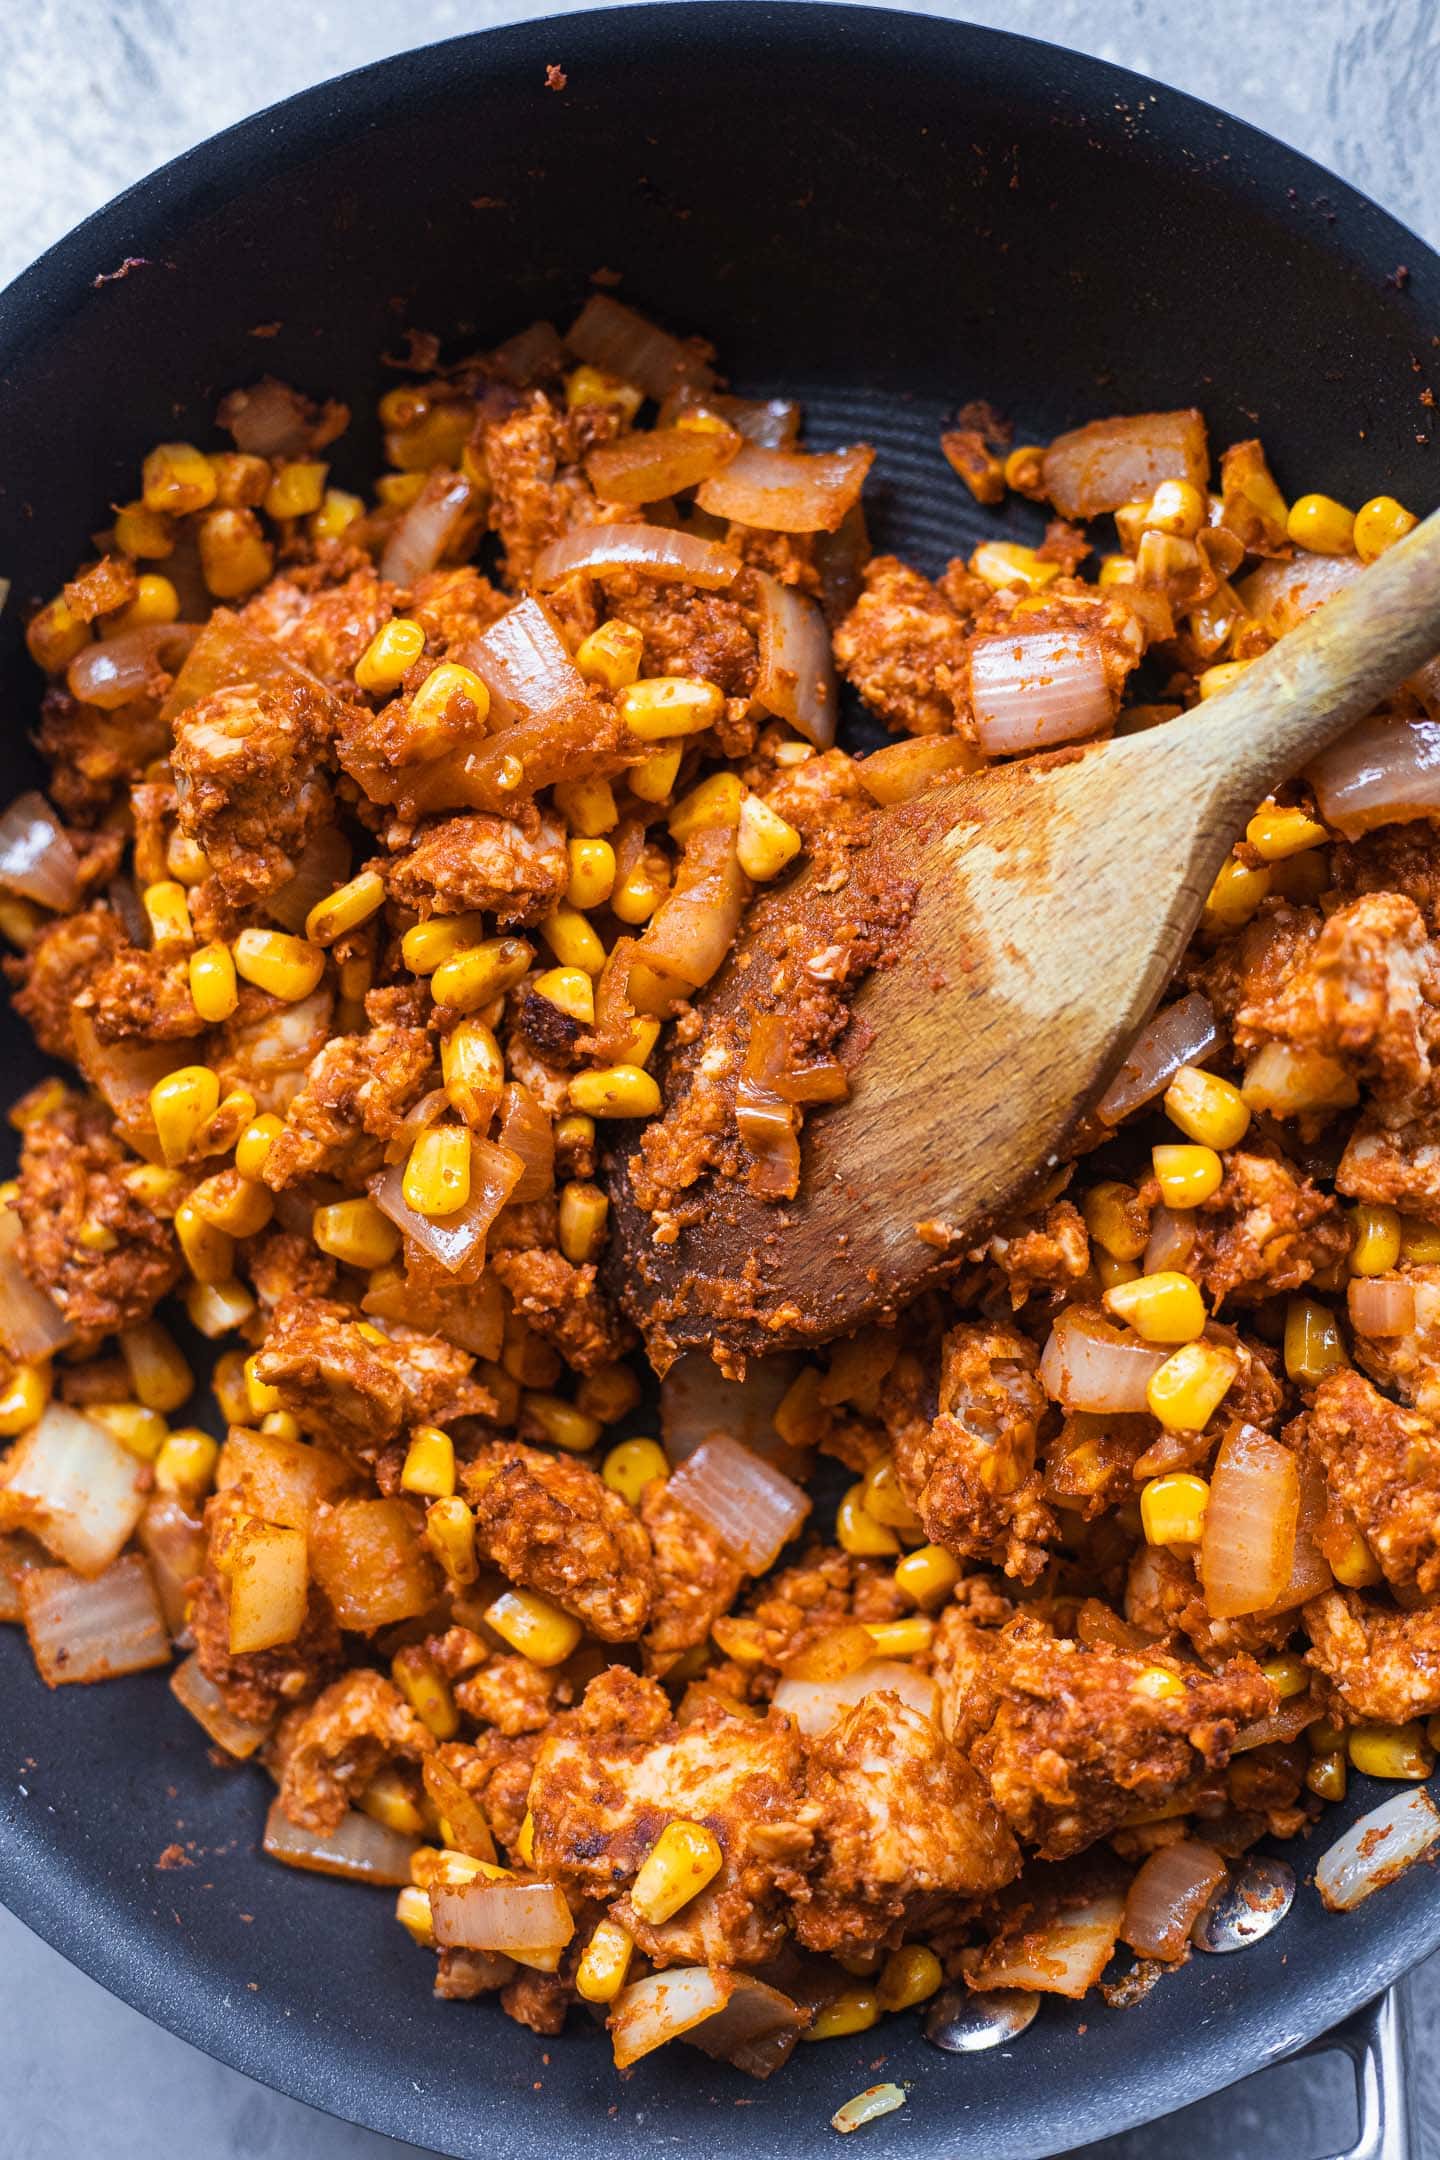
Simply cook the onion and garlic. Then, when they soften, add the rest of the ingredients and cook over a medium-high heat for around 5 minutes. That's it!
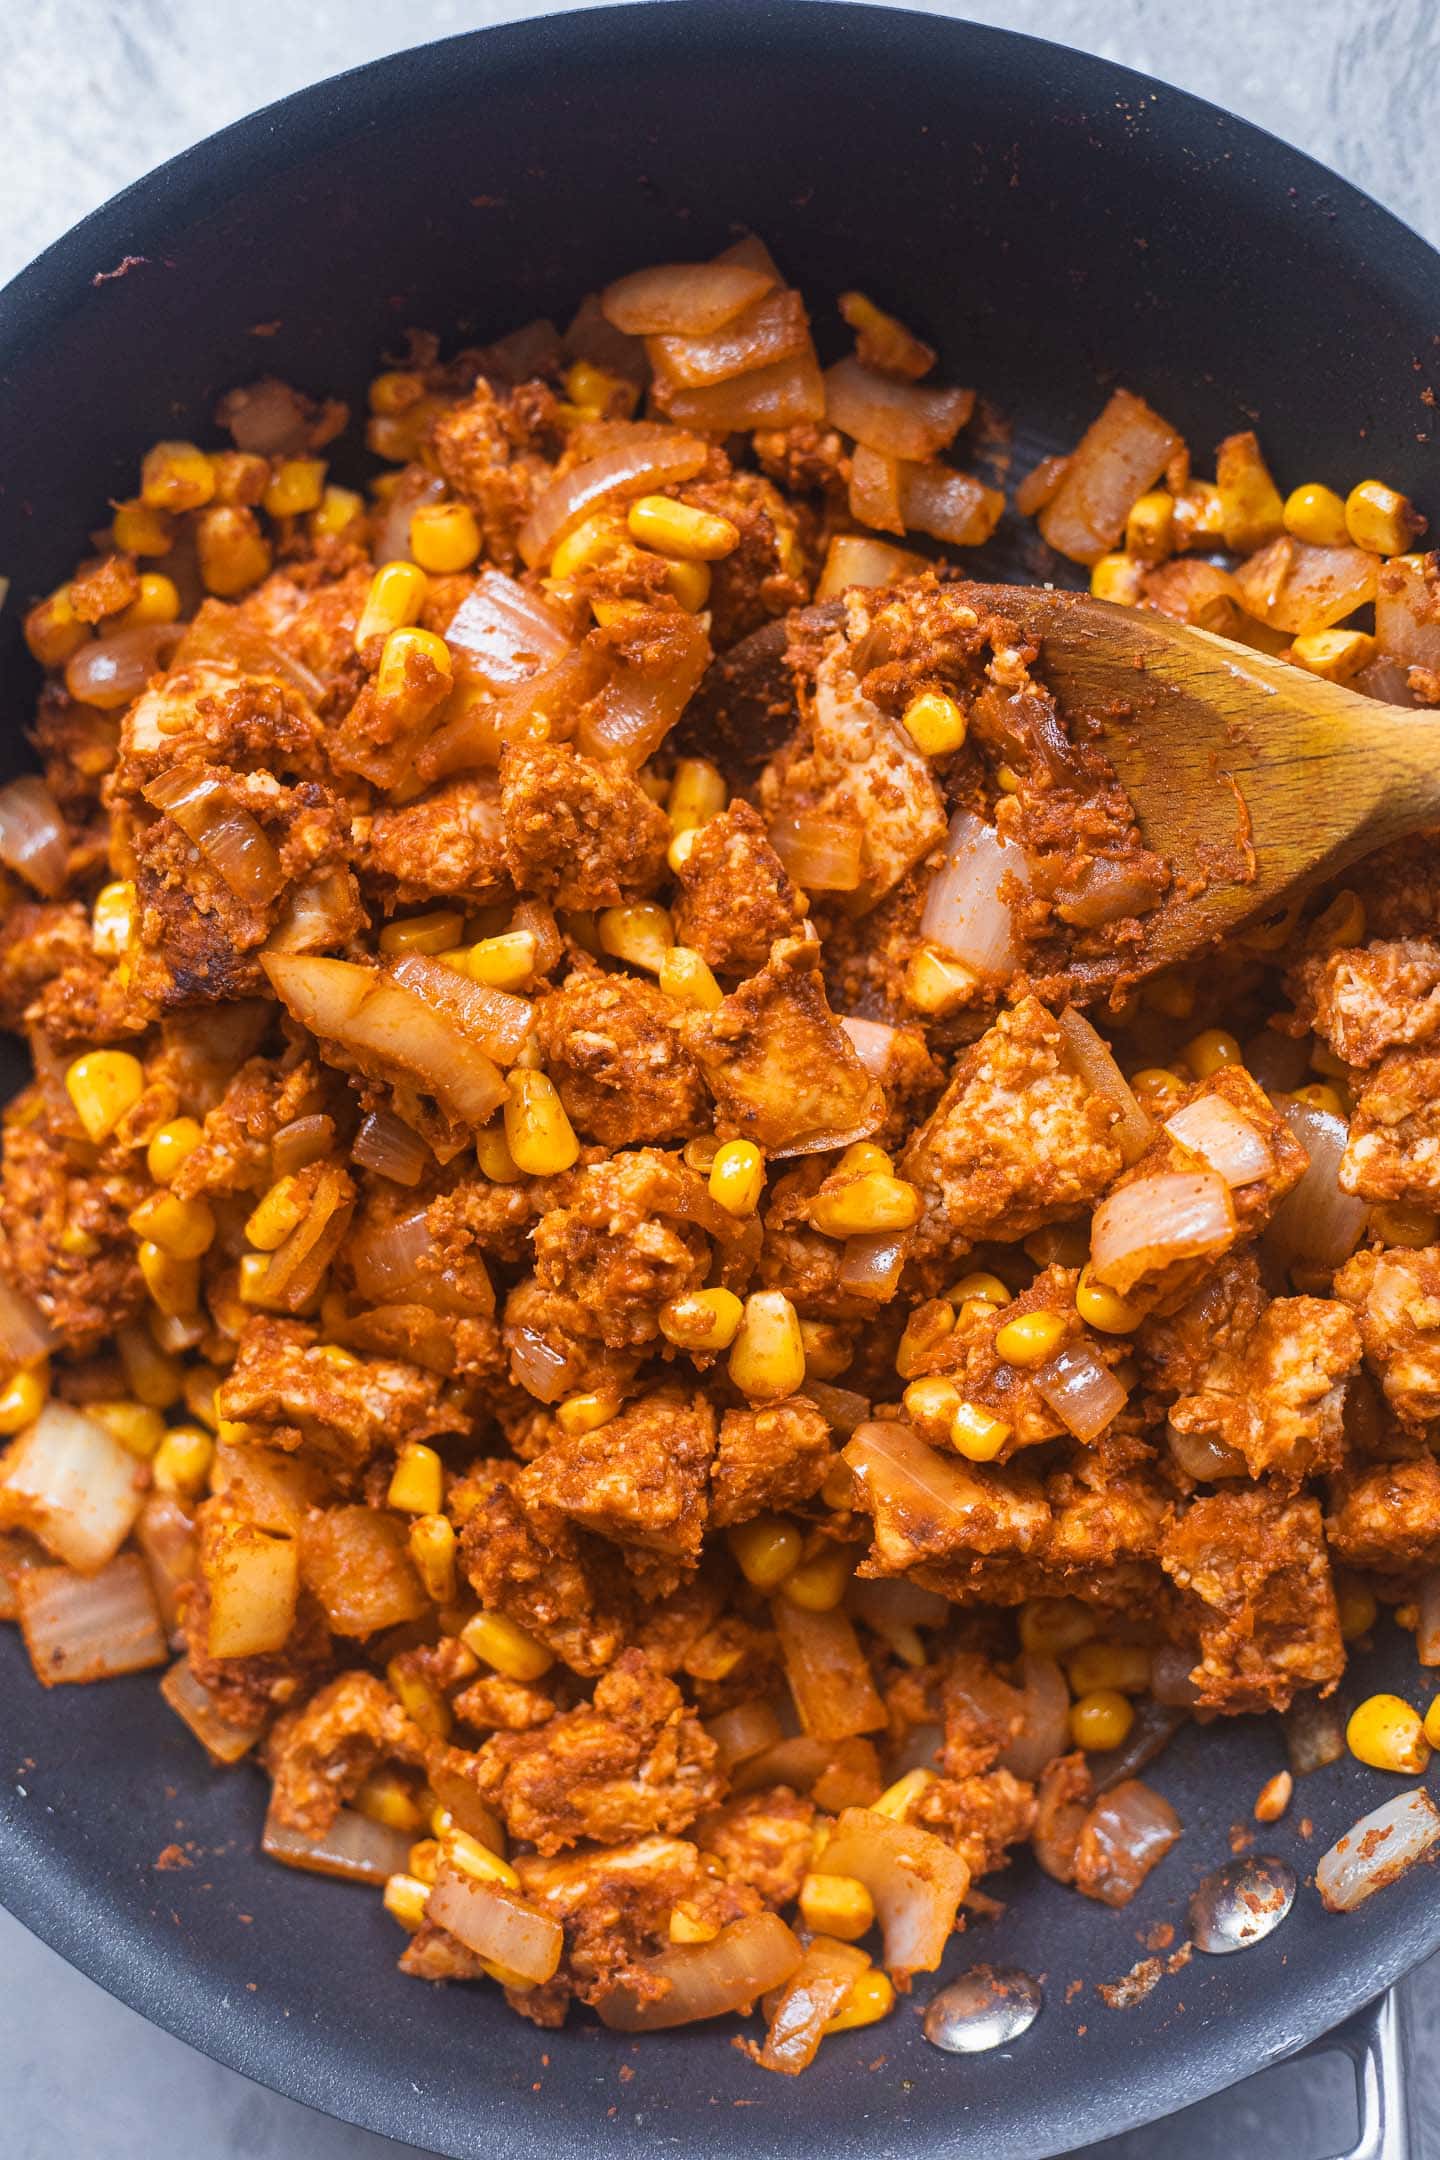
Vegan nacho cheese
As I mentioned, this nacho 'cheese' is cashew-free and doesn't require a blender. The ingredients you will need are:
- Coconut milk. Full fat coconut milk from a tin works best.
- Turmeric.
- Salt.
- Nutritional yeast. This is great for adding a 'cheesy' flavour.
- Apple cider vinegar.
- Cornstarch.
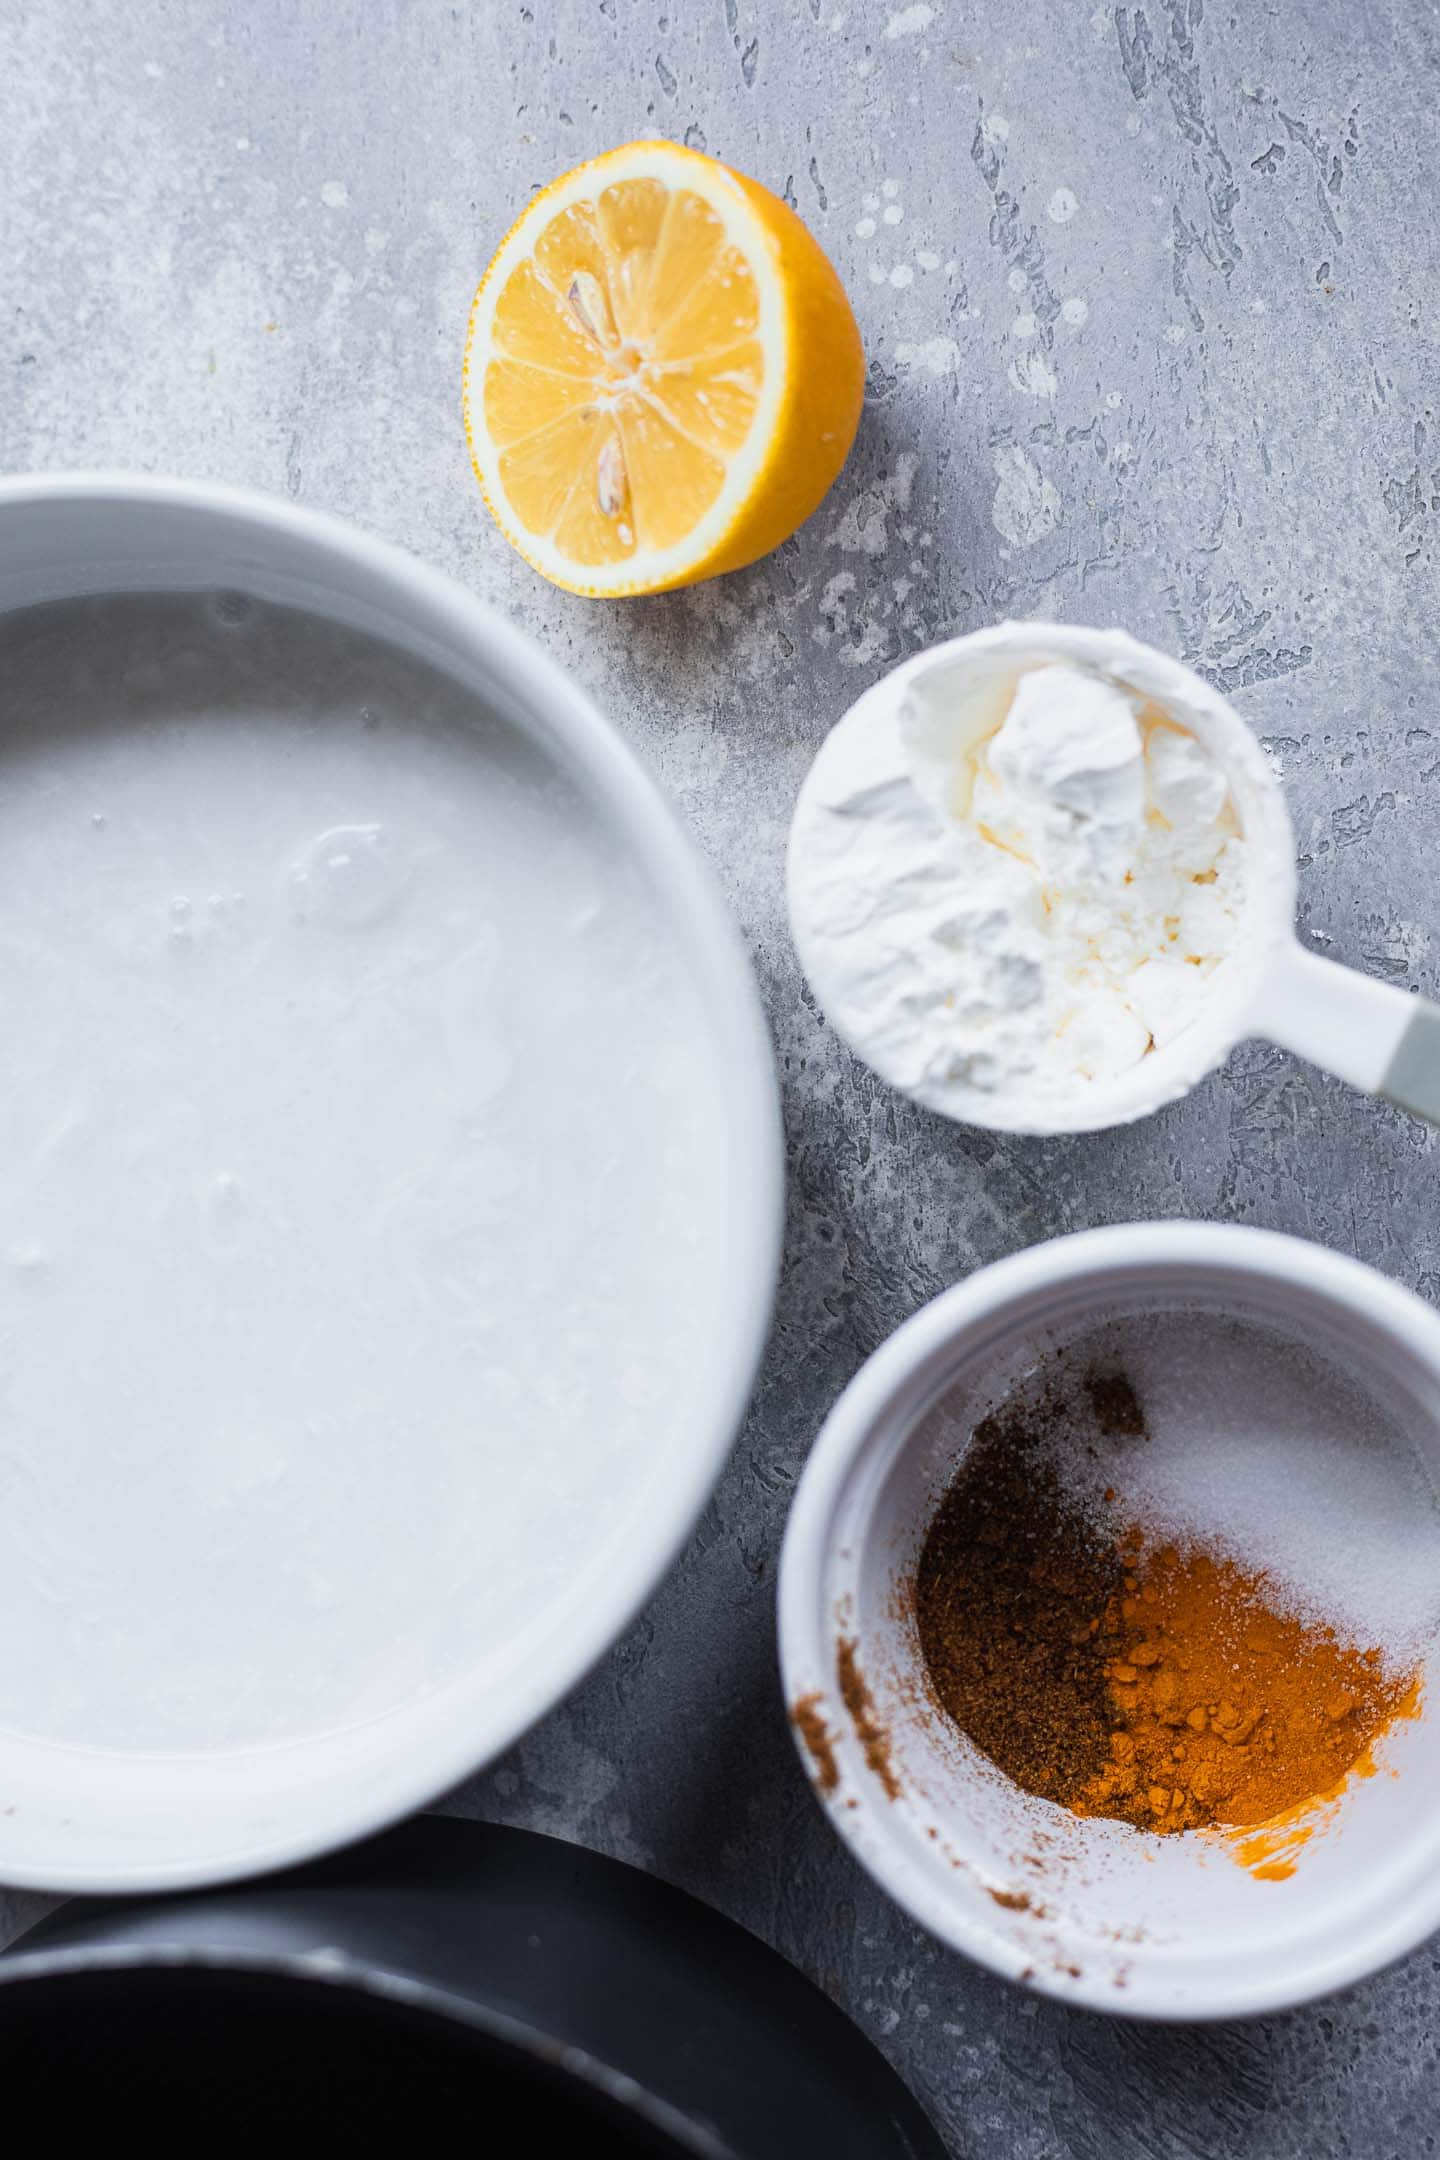
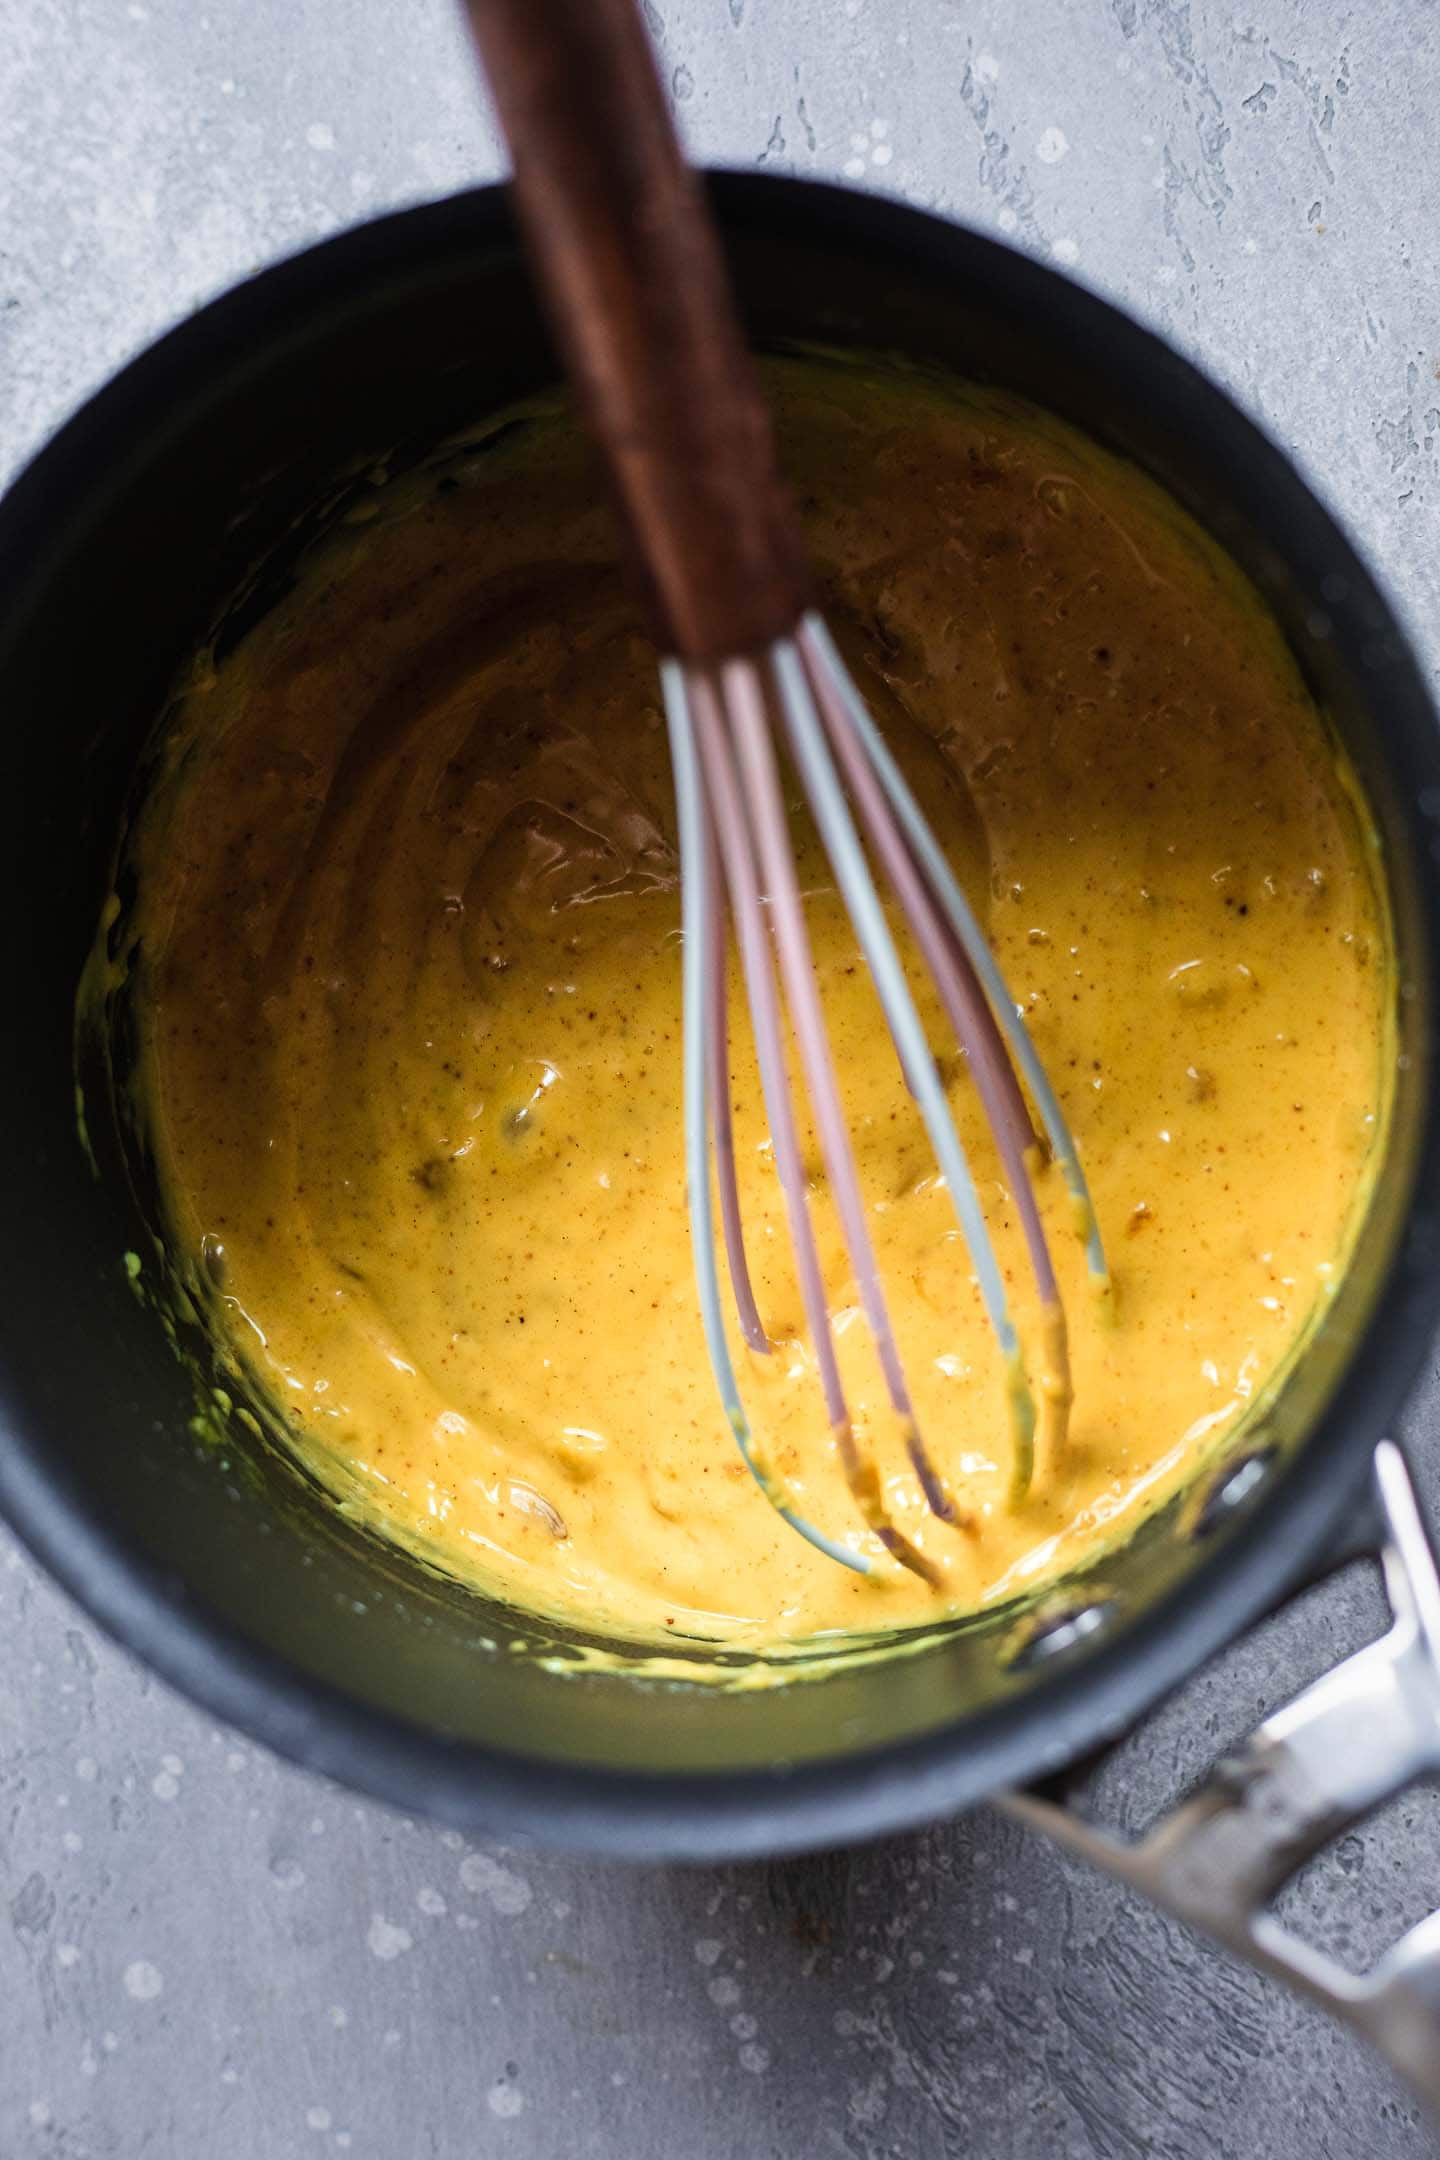
Simply add all the ingredients to a saucepan and whisk over a medium heat until the 'cheese' thickens.
What else should I add to a vegan Crunchwrap?
Crunchwraps are super versatile - you can switch up the ingredients and try out different fillings to see which ones you prefer. As you can see, I added rice, mashed avocado and grated vegan cheese. However, the following filling ideas also work really well:
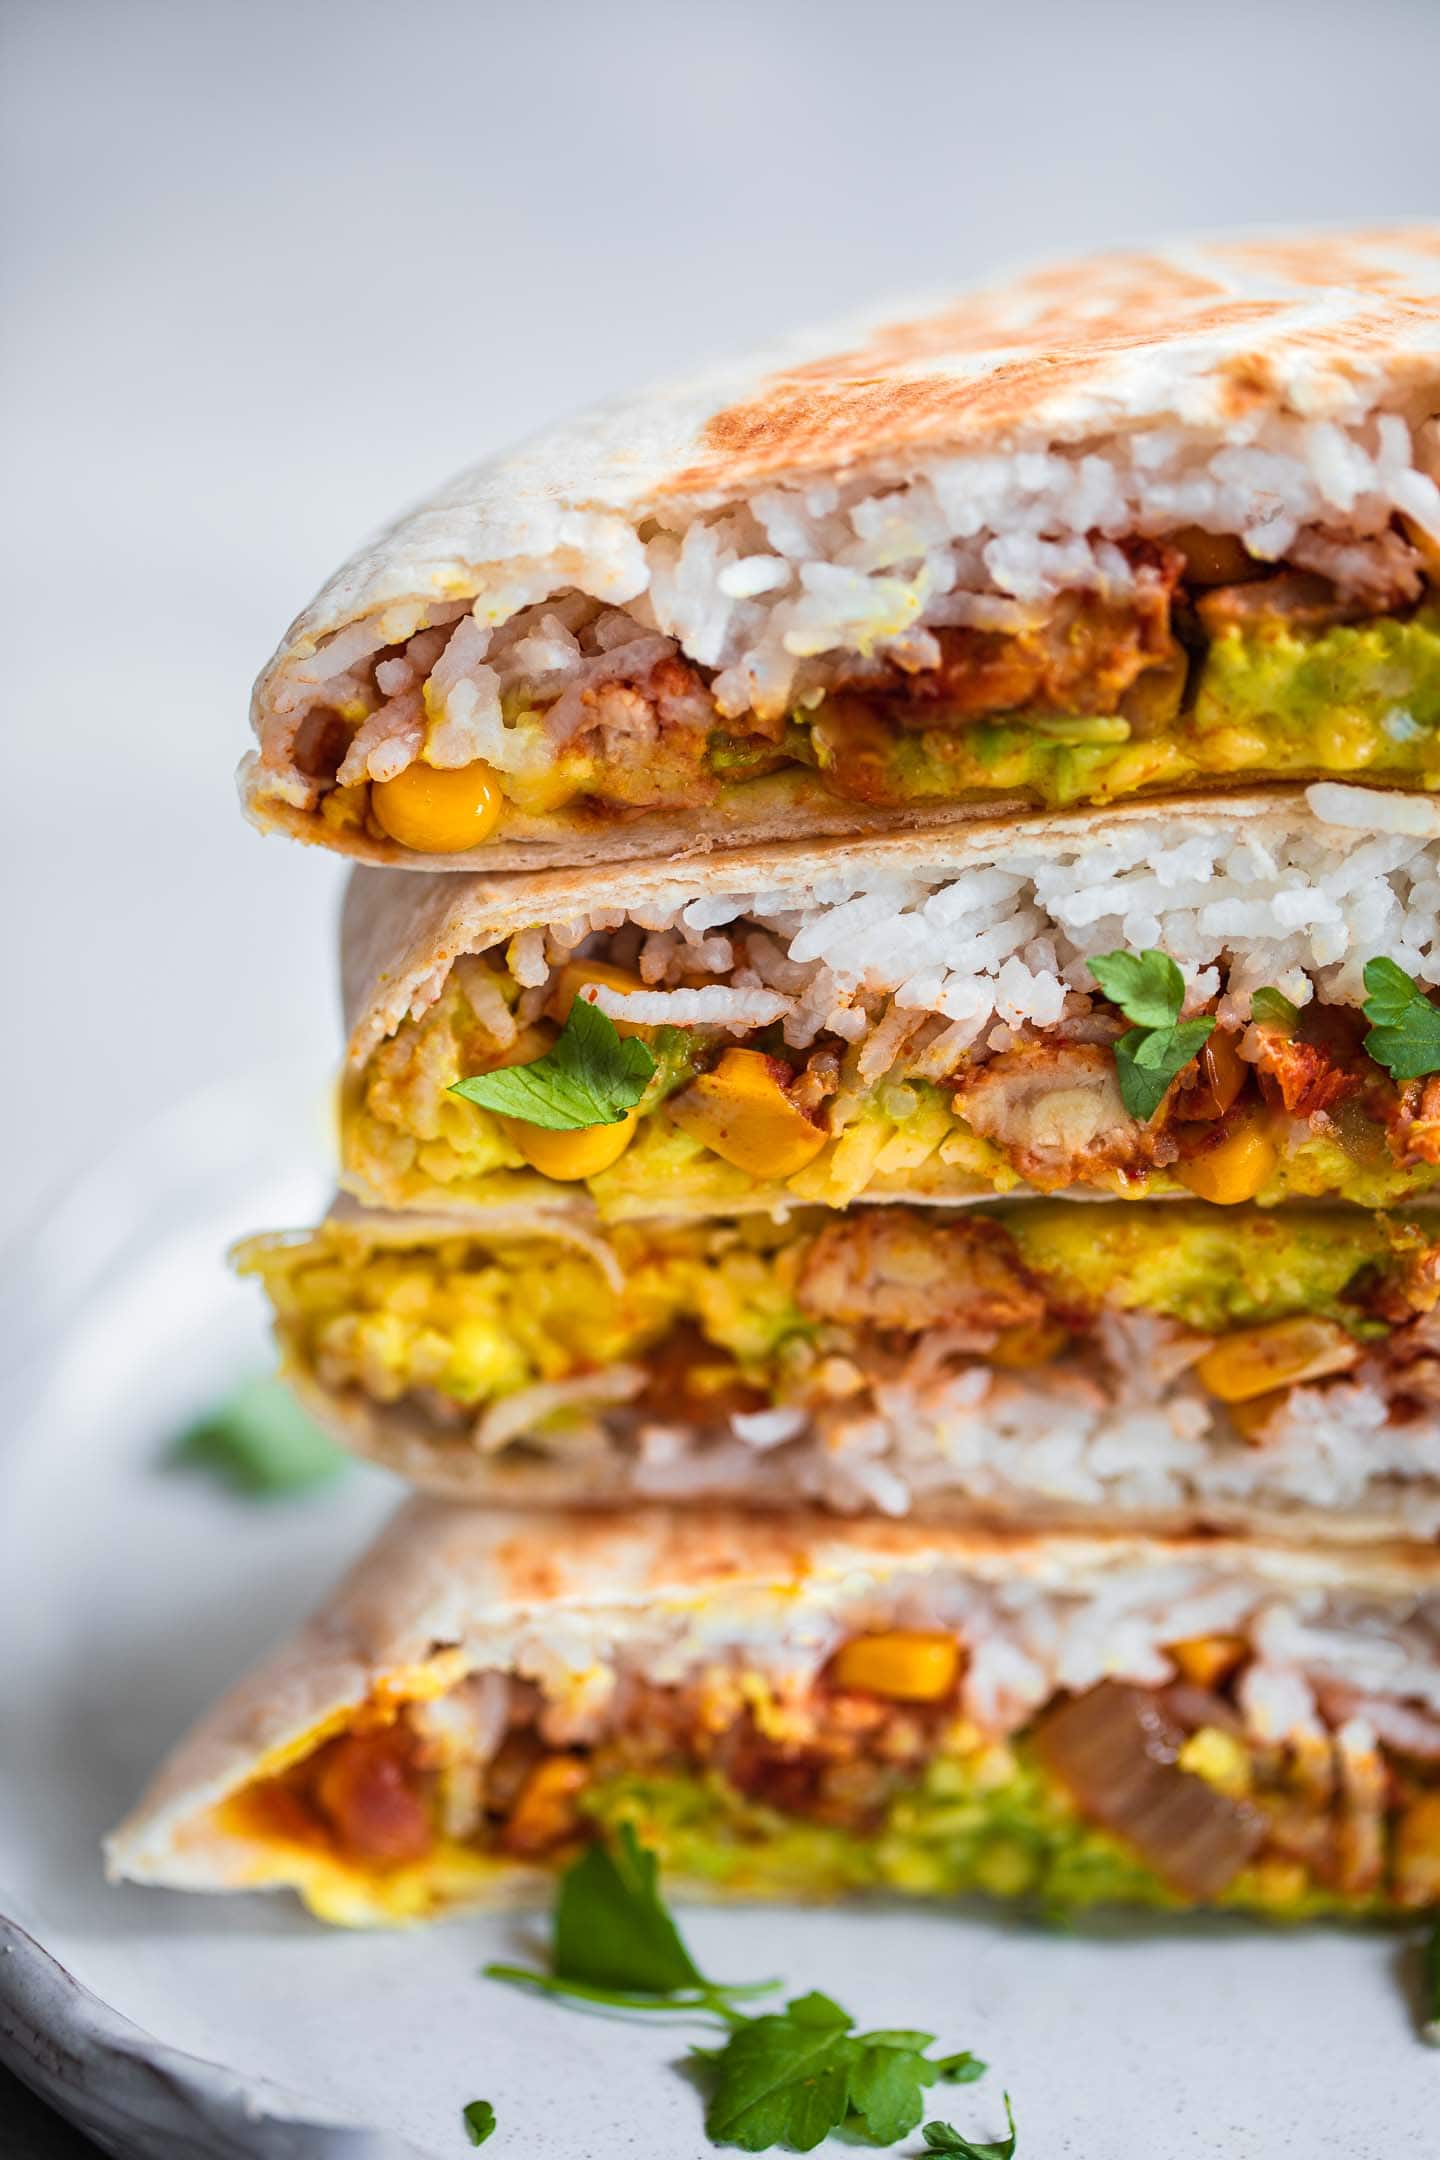
- Quinoa.
- Wholegrain rice.
- Vegetables of your choice, such as tomatoes, carrots and zucchini.
- Vegan sour cream.
- Spicy cashew cream.
- Chunky guacamole.
- Black beans.
- Sweet potato.
- Tostada shells or corn chips for some extra crunch.
Try out different ones and see which ones you like best! The great thing is that there are so many options, so you will never get bored of this recipe.

Vegan Crunchwrap Supreme step-by-step
I would recommend starting by cooking the rice. While that's cooking, make the tempeh filling and the cheese sauce. By preparing them simultaneously, you will save a lot of time.
Place a large tortilla on a flat surface and add 3-4 tablespoon rice in the middle, spreading it out into a circle.
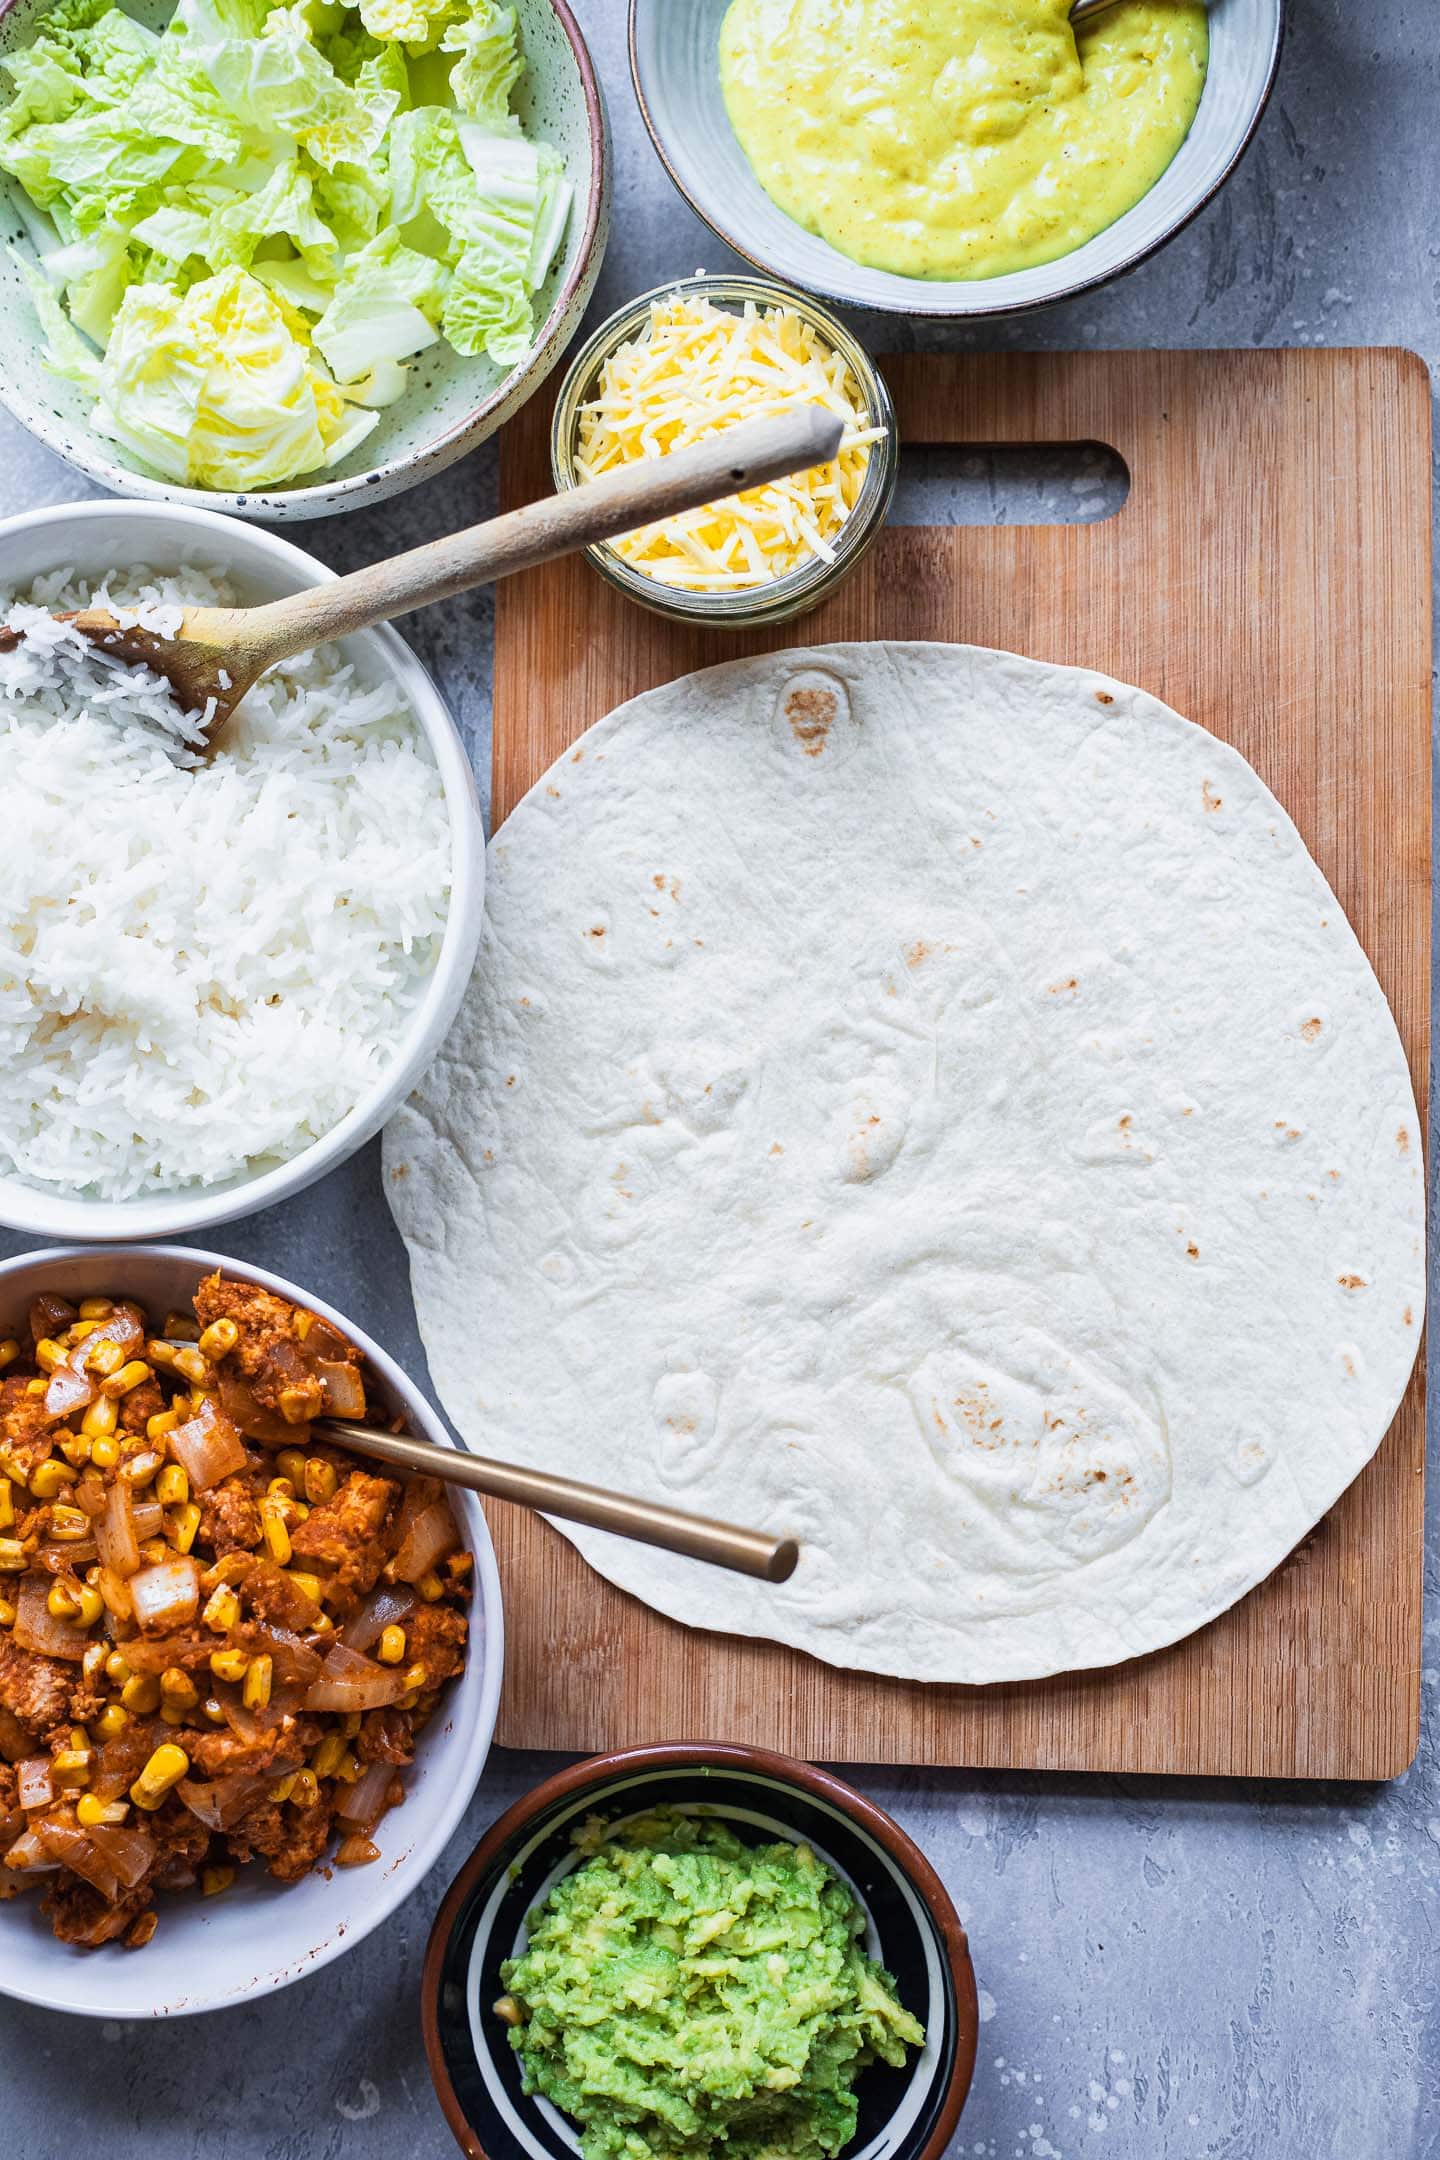
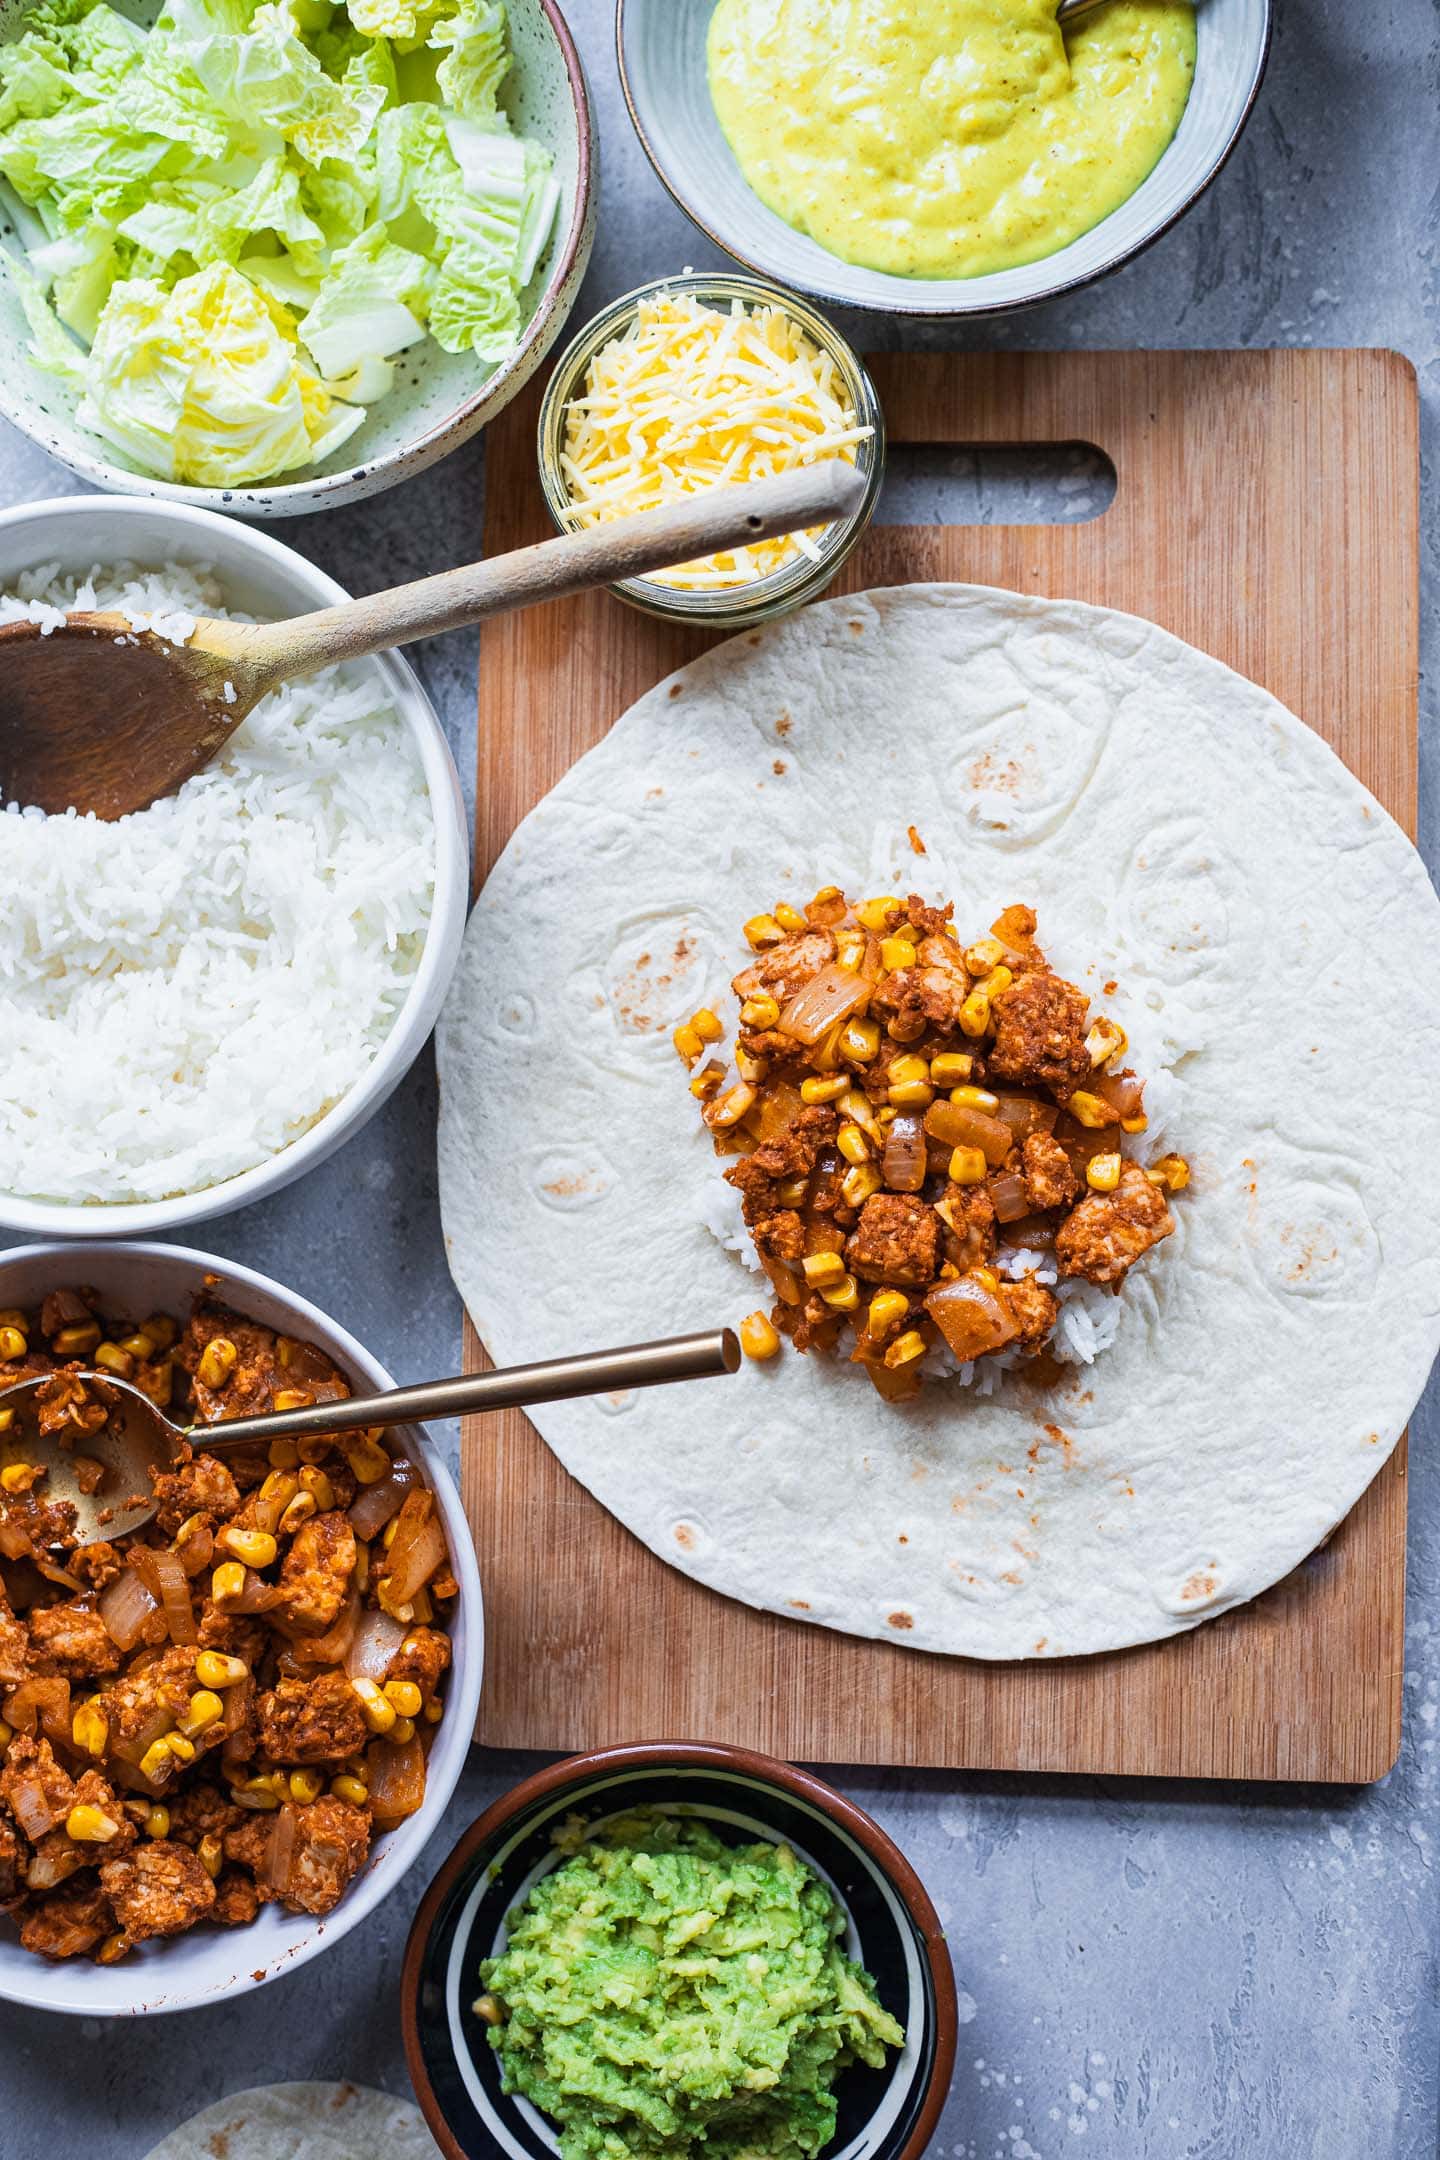
Next, add smoked tempeh on top, followed by a layer of mashed avocado. Finish with the homemade nacho 'cheese', and a sprinkle of grated vegan cheese.
Place a smaller tortilla on top and press down lightly. You can either buy a small tortilla at the store, or make your own by placing a round cup or cookie cutter in the centre of a large tortilla and cutting around the edges. Do not discard the rest of the tortilla - you can use it for homemade chips to dip in any leftover nacho 'cheese' sauce.
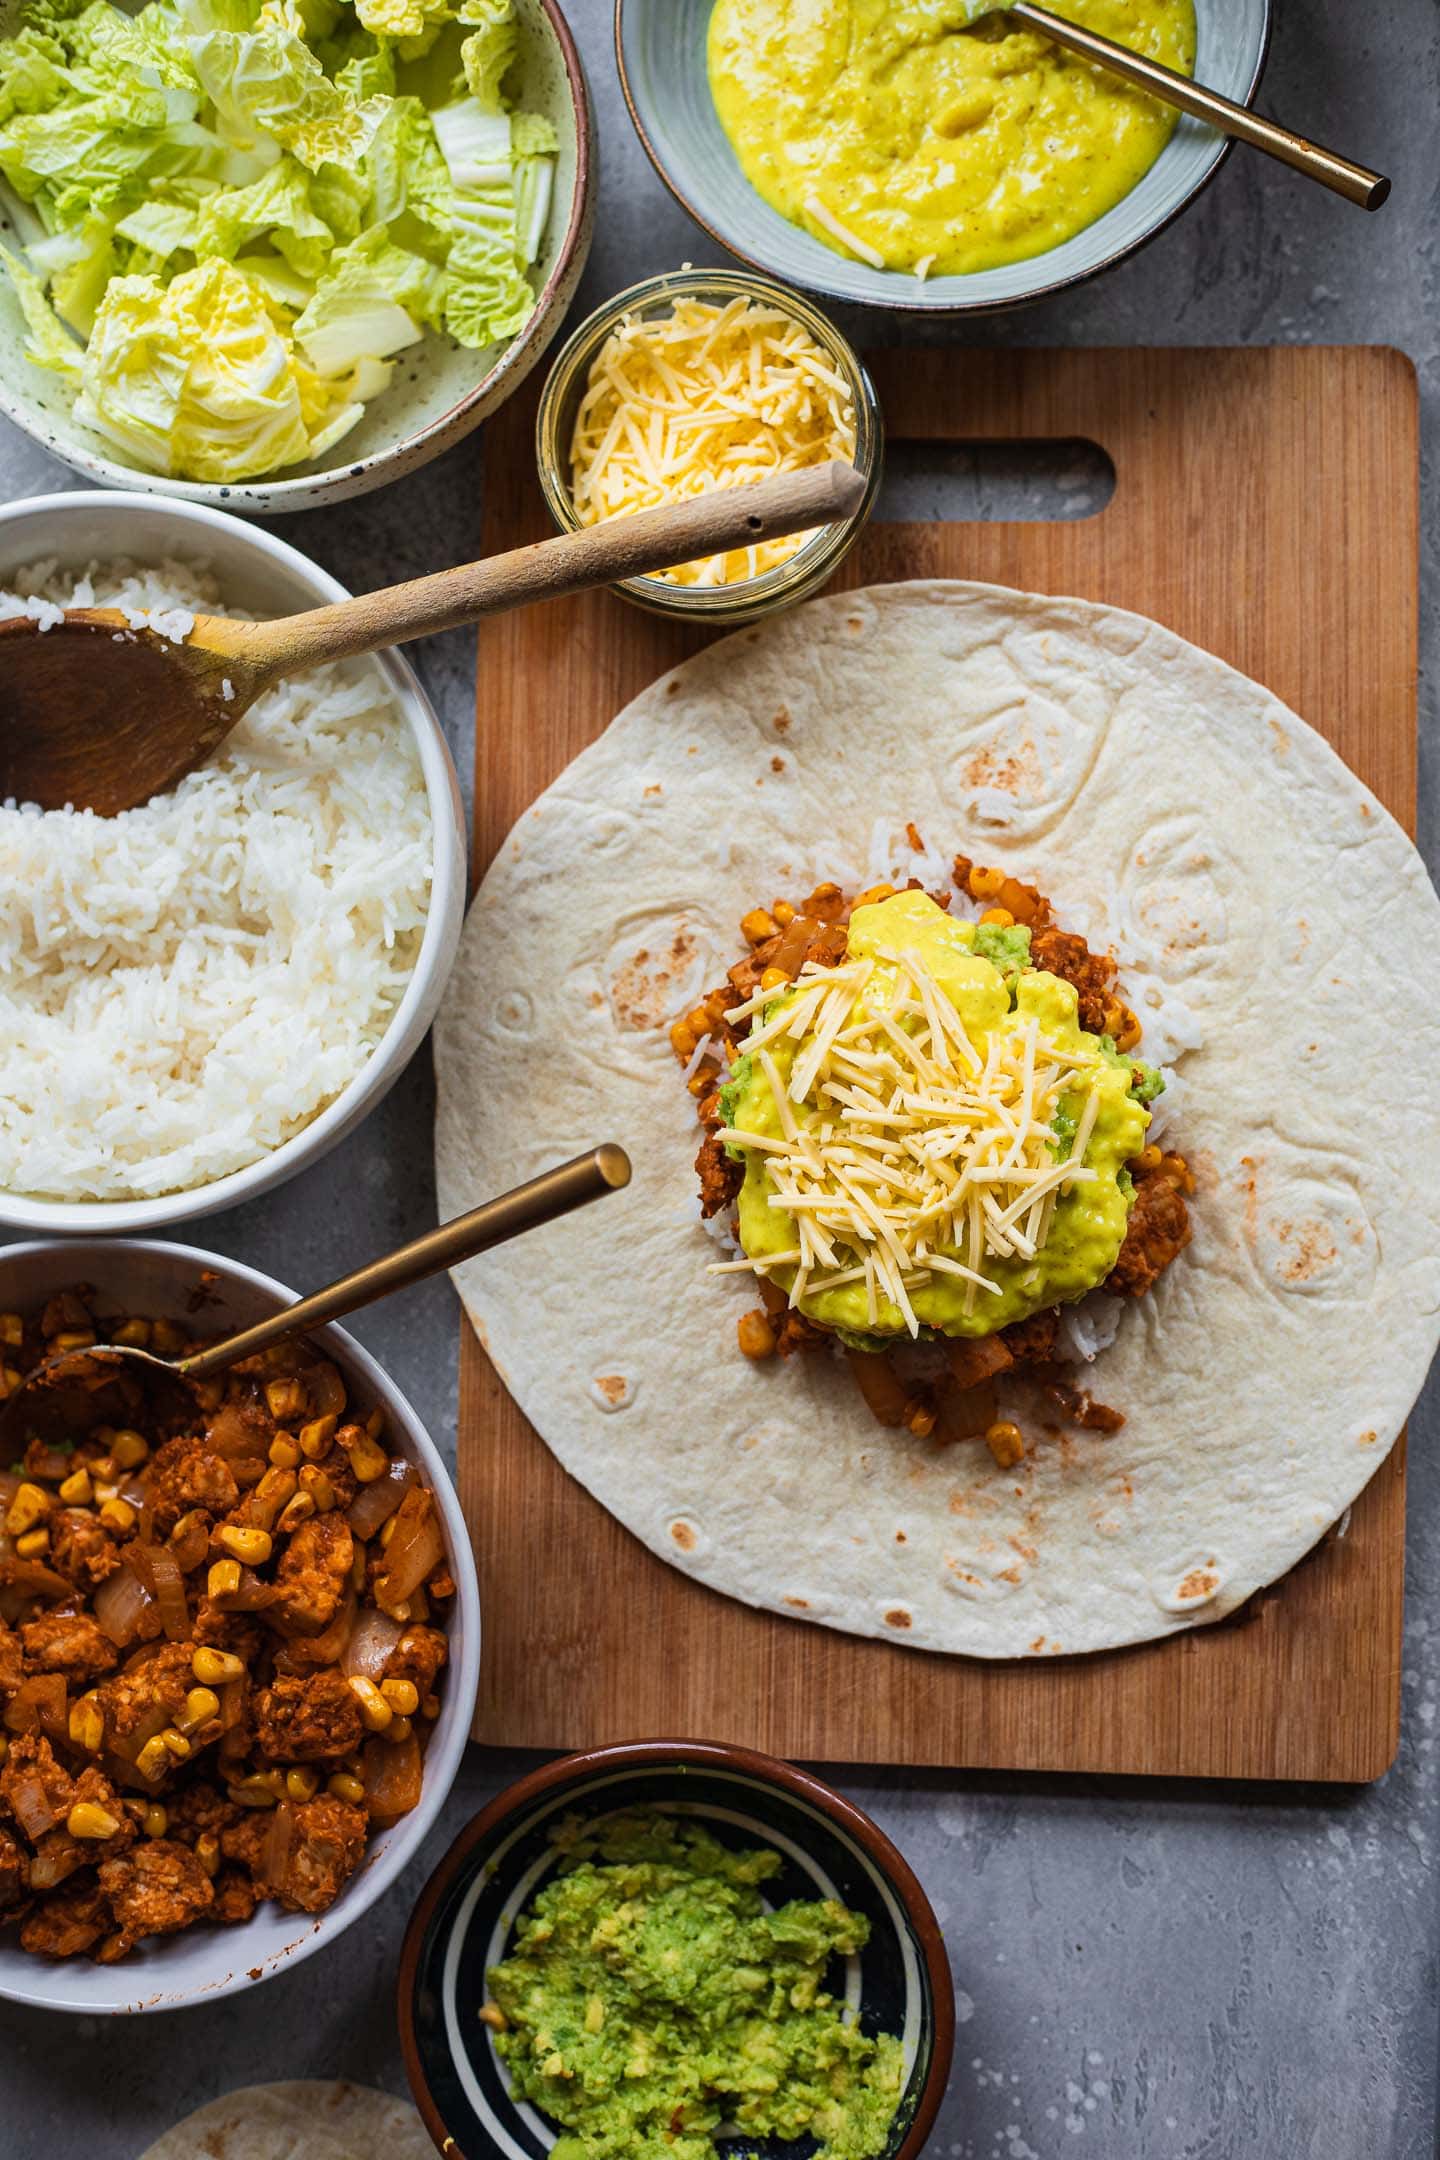
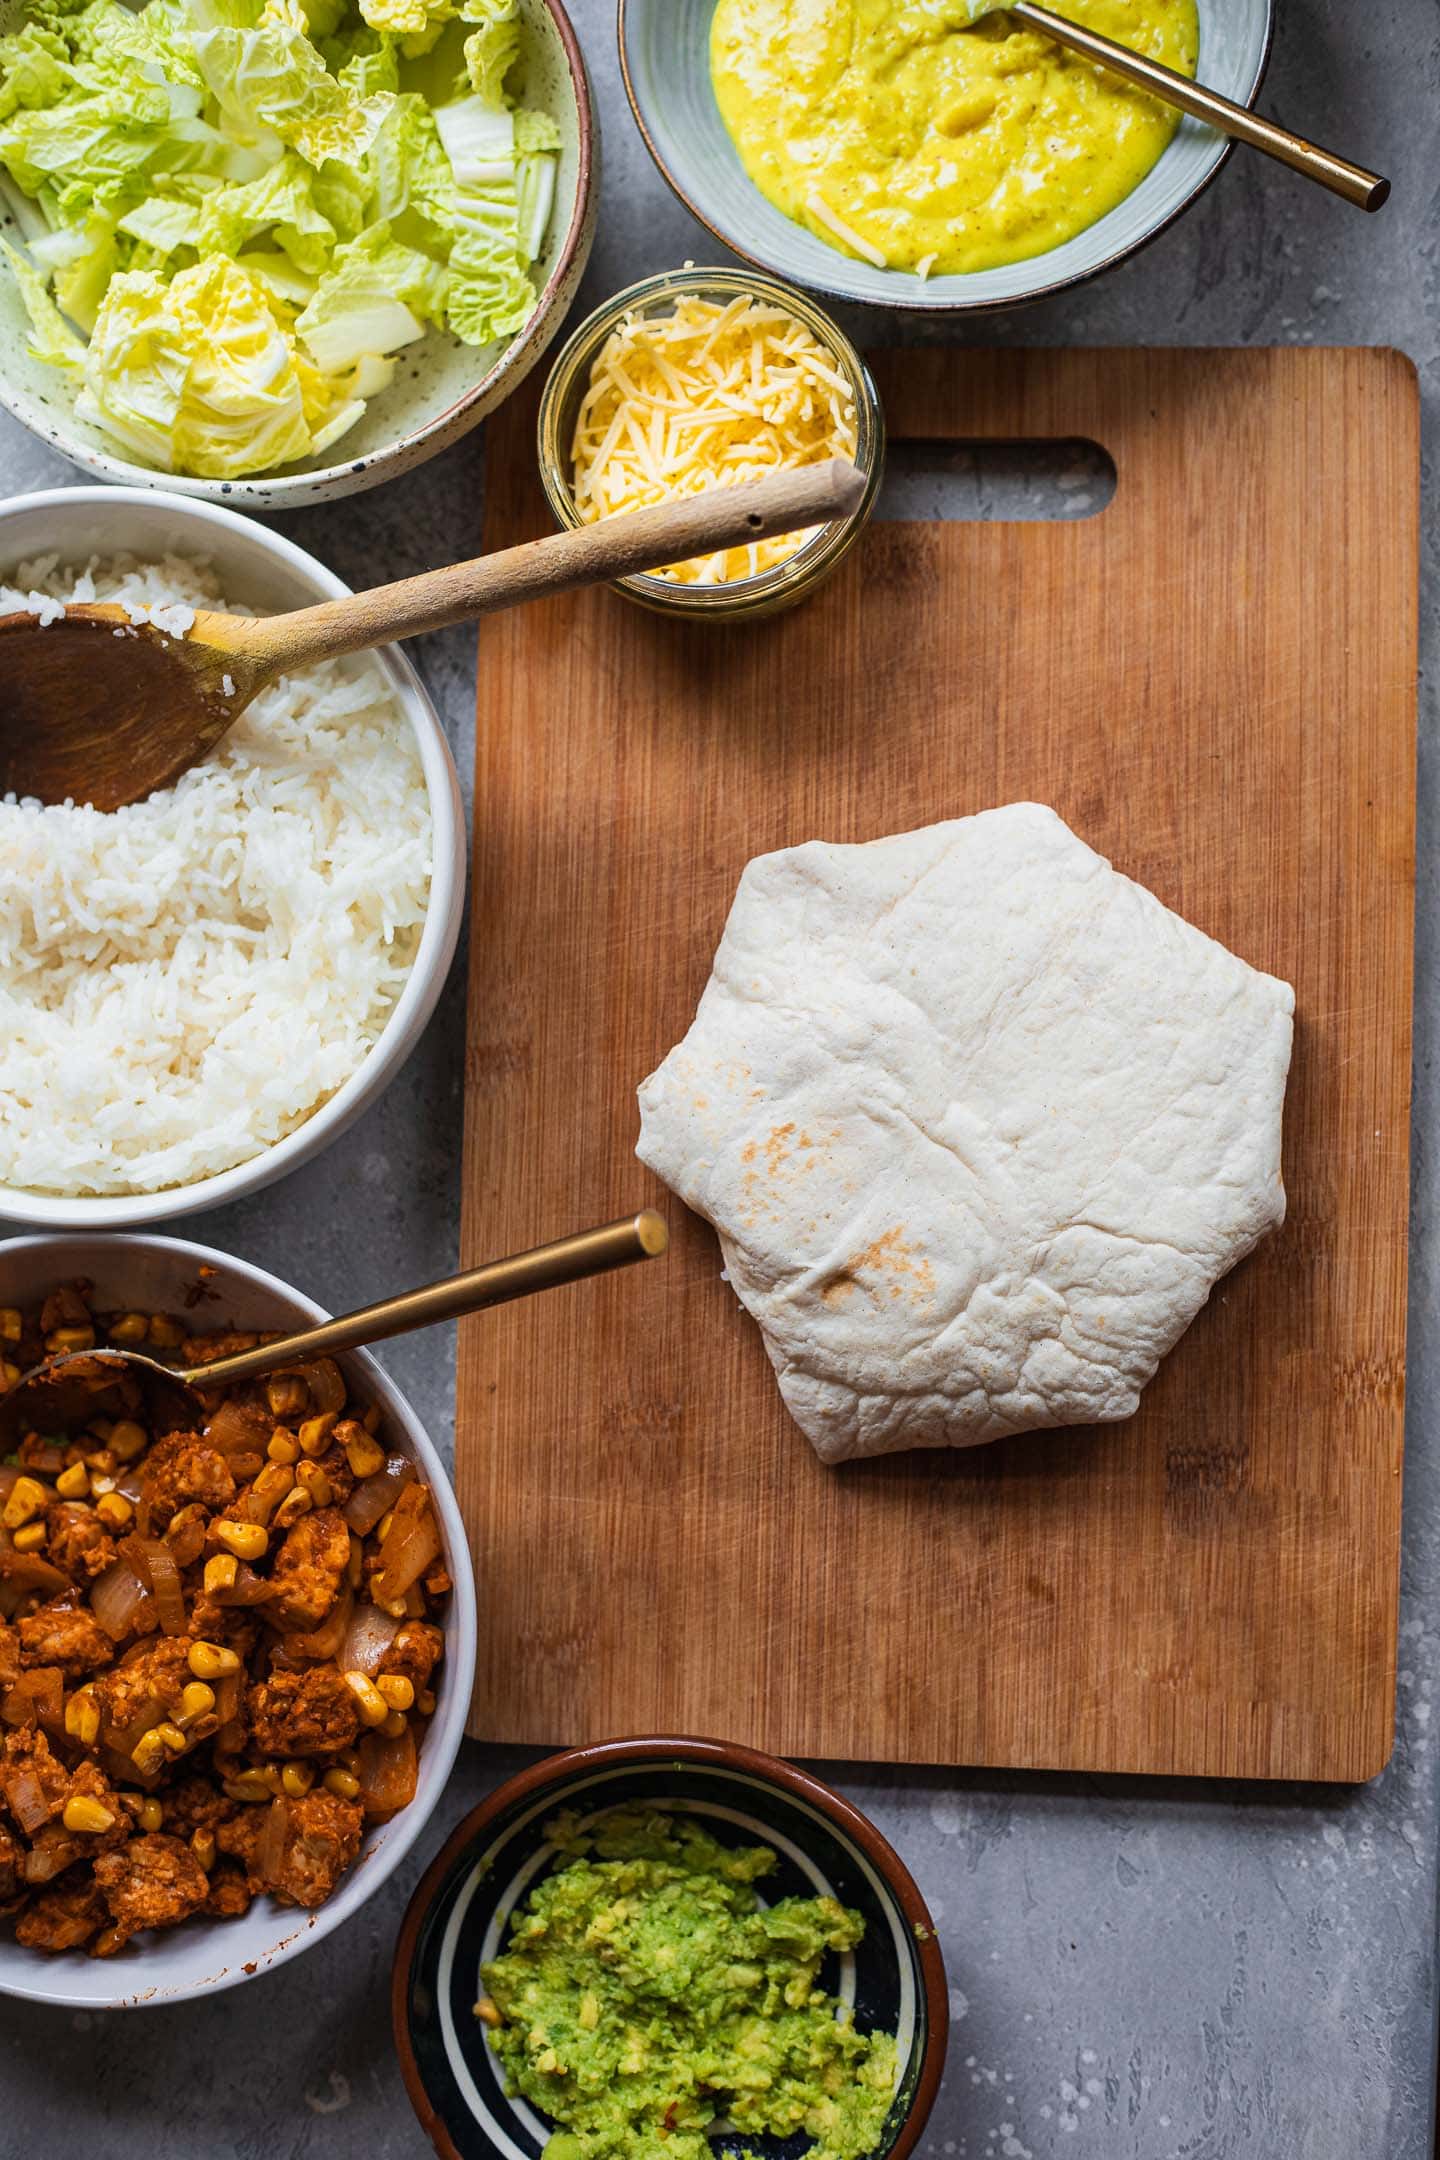
Fold the edges of the tortilla towards the centre until completely sealed. Press it down once again and flip.
Now use a spatula to transfer the Crunchwrap to a lightly greased frying pan. Cook for 3-4 minutes on each side over a medium-high heat, until crispy.
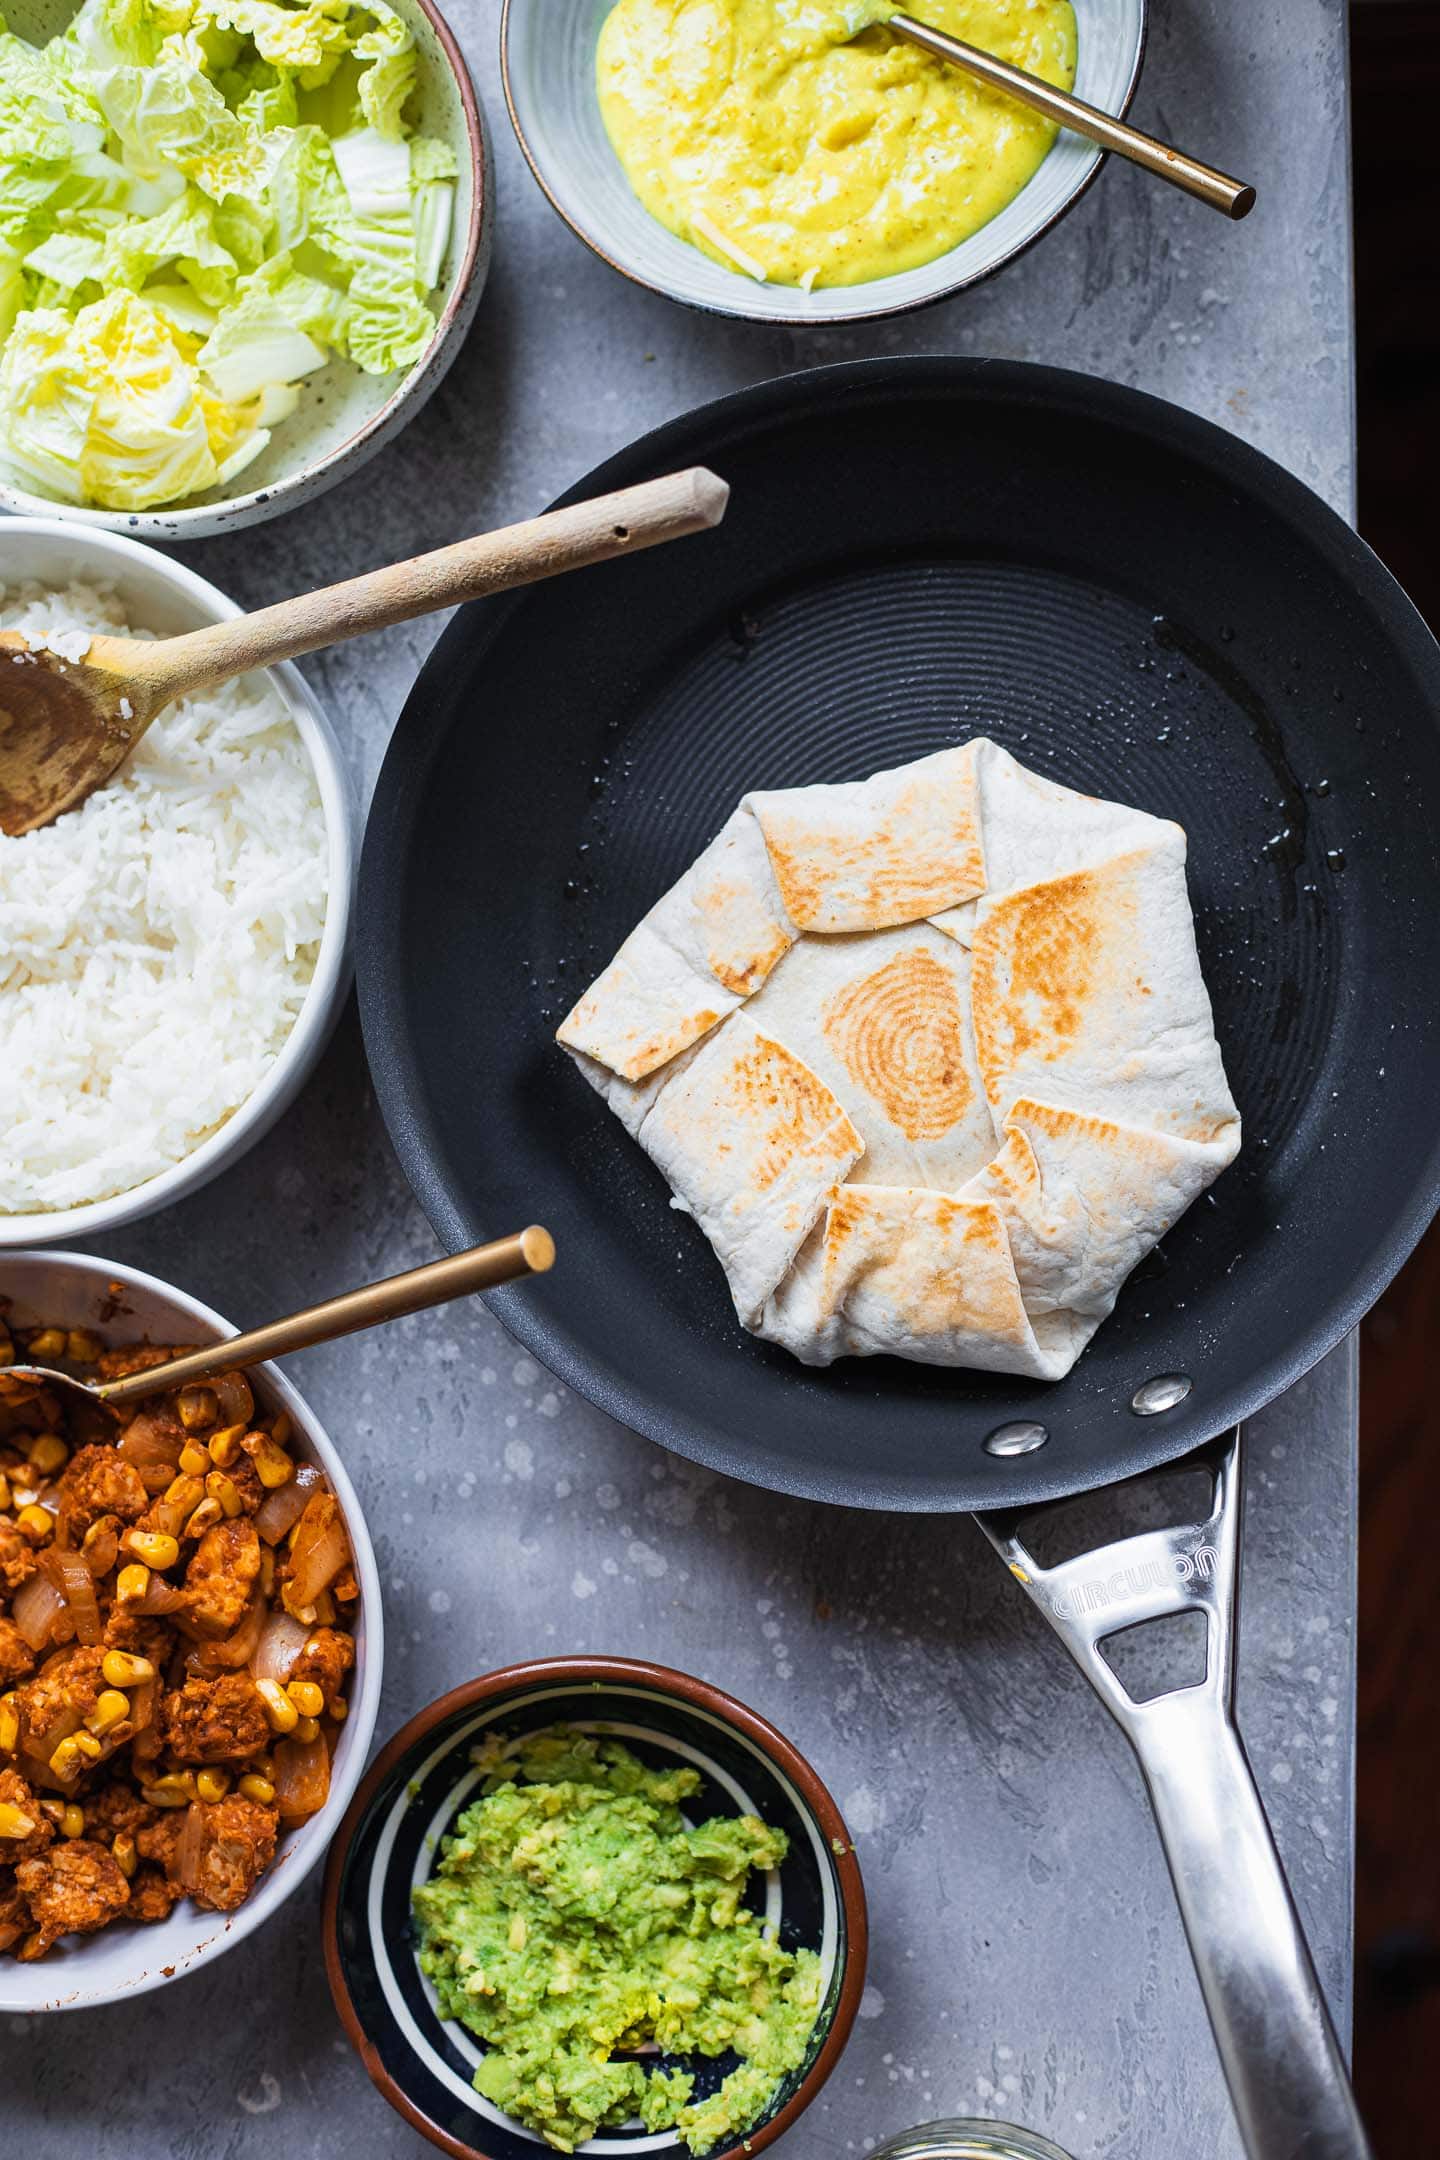
Can I make a Crunchwrap ahead of time?
You can make this vegan Crunchwrap Supreme ahead of time and leave in the fridge for 2-3 days, but keep in mind this may cause the wrap to go soggy.
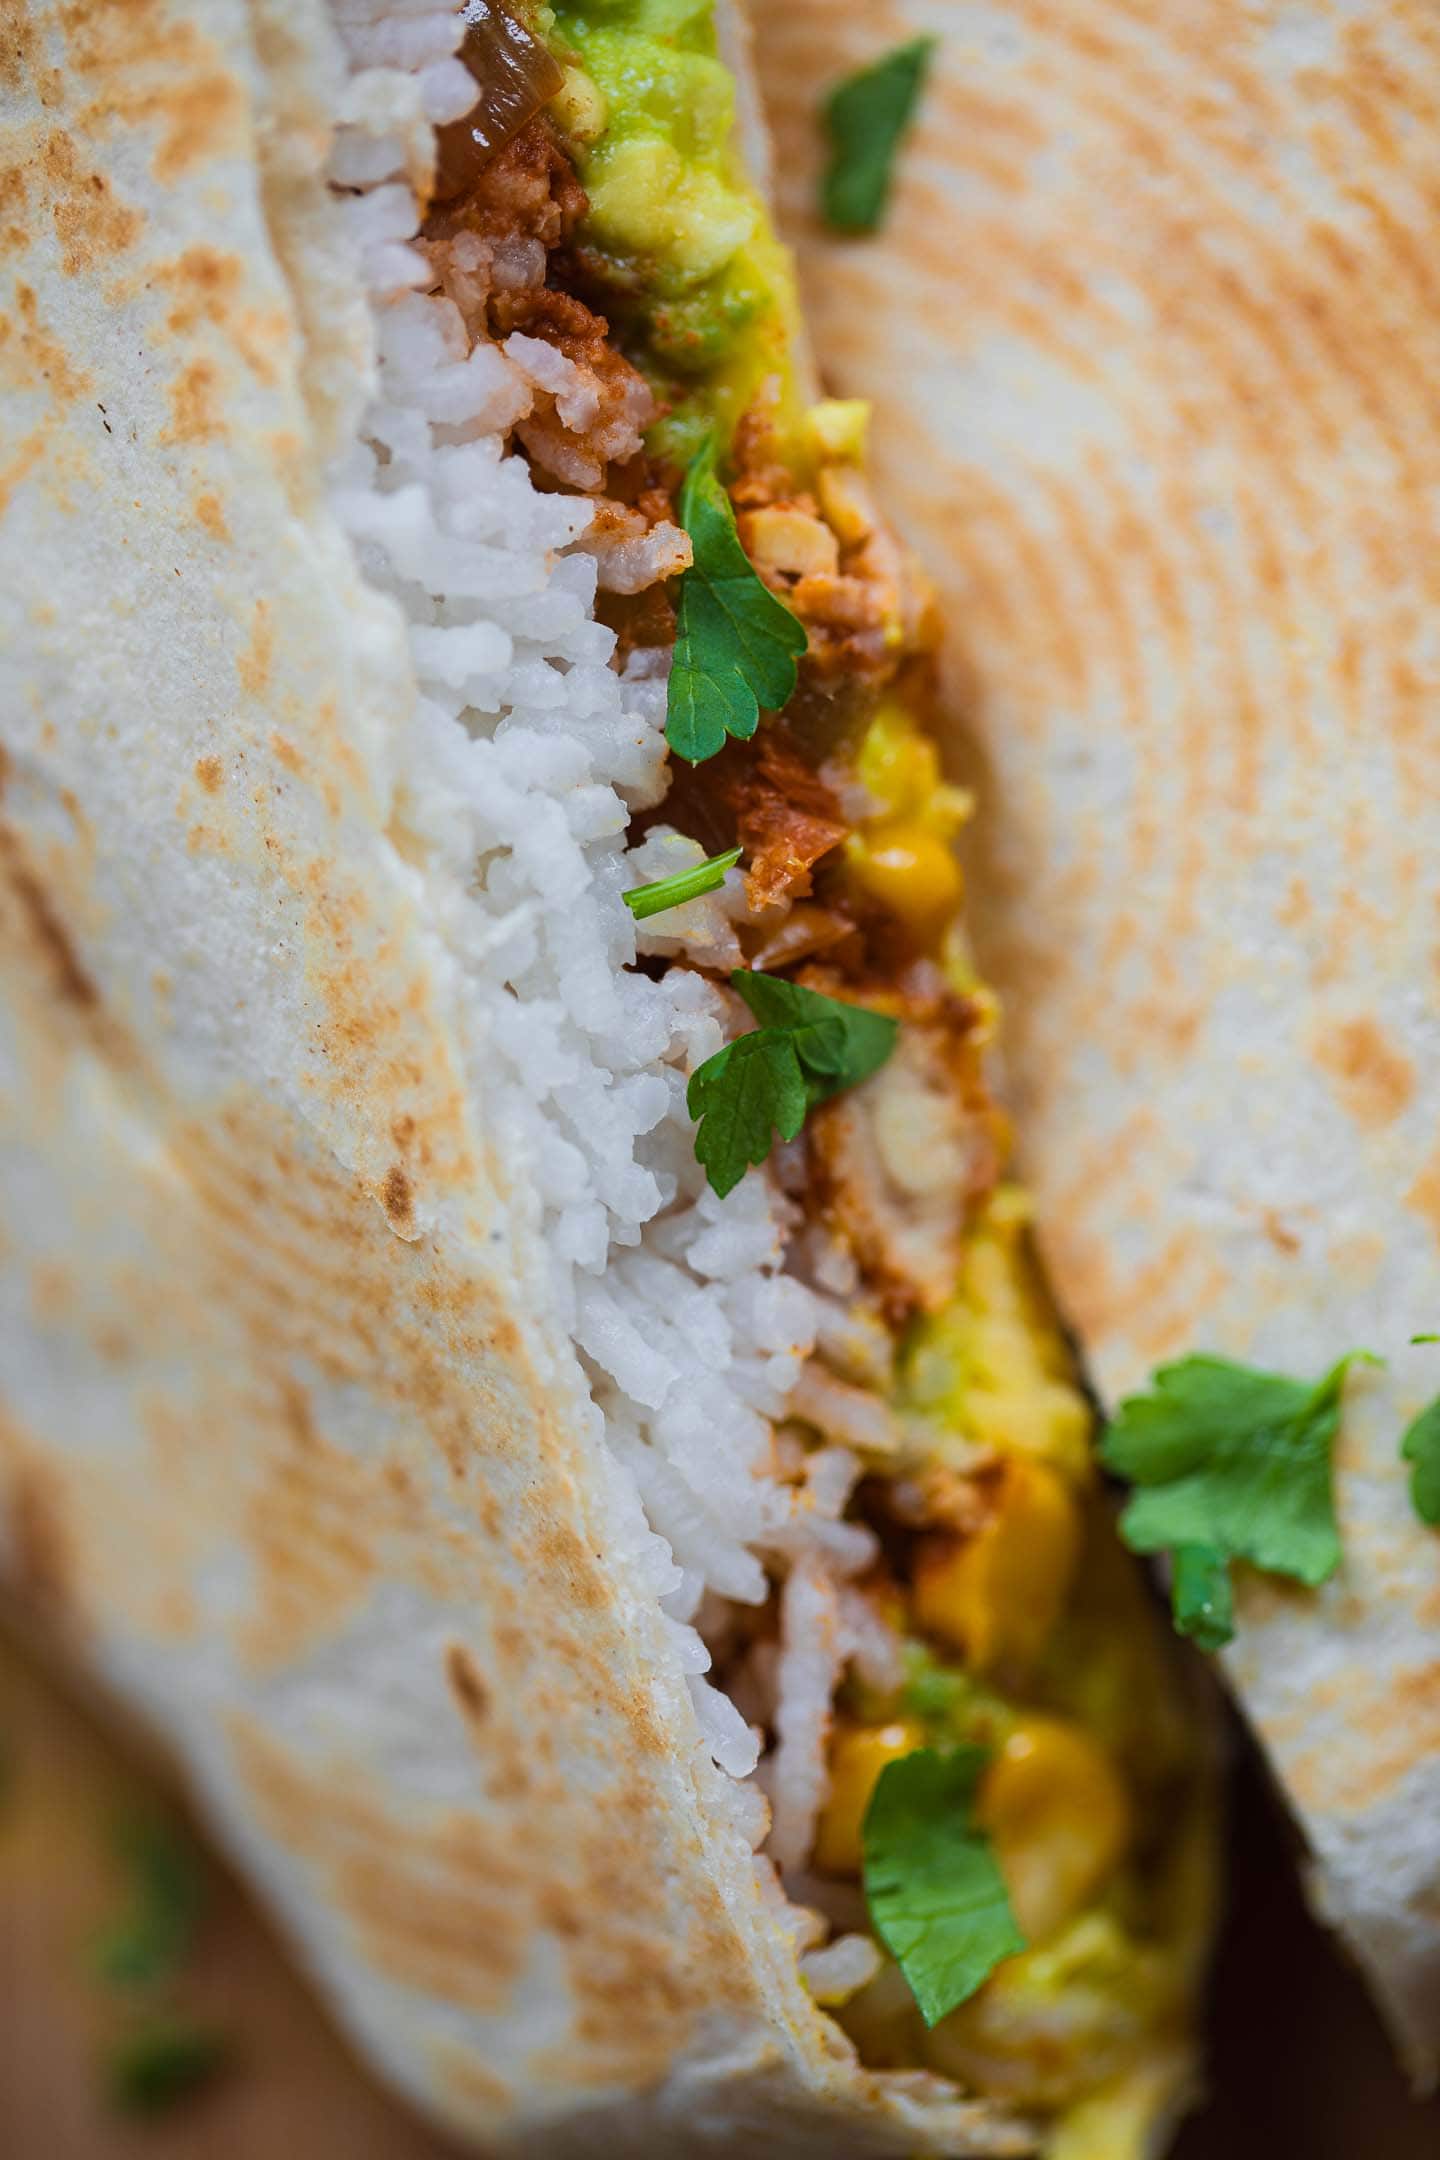
Instead, I would recommend making the smoky tempeh, the rice and the nacho 'cheese' sauce ahead of time and storing them in separate containers for up to around 3 days, and assemble the wraps when ready.
Other delicious vegan lunch recipes
- Sweet potato soup, if you're after something cosy!
- Falafel - these make an amazing addition to pitta bread, wraps and sandwiches.
- Butter bean sweet potato stew - this is a great comforting meal that's ready in no time!
- My vegan lentil burgers are easy to make and super flavourful.
- So are avocado wraps with chickpeas!

Let me know in the comments: what's your favourite plant based lunch? If you give this vegan Crunchwrap Supreme recipe a go, be sure to tag me on Instagram (@earthofmariaa), and leave your feedback in the comments below
Recipe

Vegan Cruchwrap Supreme
This vegan Crunchwrap Supreme is made with tempeh, dairy-free nacho 'cheese', rice and avocado. It's easy to make and perfect for a plant based lunch that's ready in 30 minutes!
Print
Pin
Save
Servings: crunchwraps
Equipment
- Frying pan
- Saucepan
- Whisk
Ingredients
For the smoky tempeh filling
- 1 tablespoon olive oil
- 1 medium onion diced
- 2 cloves garlic minced
- 5 oz tempeh crumbled
- ½ cup fresh sweetcorn
- 2 tablespoon tomato paste
- 2 tablespoon tamari
- 1 teaspoon cumin
- 1 teaspoon smoked paprika
For the dairy-free nacho 'cheese' sauce
- ½ cup coconut milk full-fat, from a tin
- ½ teaspoon turmeric
- ½ teaspoon salt
- 3 tablespoon nutritional yeast
- 1 tablespoon apple cider vinegar
- 2 tablespoon cornstarch
Other ingredients to serve
- ½ cup cooked rice
- 1 large avocado mashed
- ¼ cup vegan cheese grated
Instructions
Make the tempeh filling
- Heat the olive oil in a non-stick frying pan over a medium-high heat. Add the onion and garlic, cooking for 2-3 minutes, until softened.
- Add the tempeh, sweetcorn, tomato paste, tamari, cumin and smoked paprika. Cook for 5 minutes, until the tempeh is lightly crispy.
Make the 'cheese' sauce
- Add the coconut milk, turmeric, salt, nutritional yeast, apple cider vinegar and cornstarch to a saucepan. Whisk until the 'cheese' thickens.
Assemble the Crunchwraps
- Place a large tortilla on a flat surface and add 3-4 tablespoon rice in the middle, spreading it out into a circle.
- Add smoked tempeh on top, followed by a layer of mashed avocado. Finish with the homemade nacho 'cheese', and a sprinkle of grated vegan cheese.
- Place a smaller tortilla on top and press down lightly. You can either buy a small tortilla at the store, or make your own by placing a round cup or cookie cutter in the centre of a large tortilla and cutting around the edges.
- Fold the edges of the tortilla towards the centre until completely sealed. Press it down once again and flip.
- Now use a spatula to transfer the Crunchwrap to a lightly greased frying pan. Cook for 3-4 minutes on each side over a medium-high heat, until crispy.
Video
Notes
Do not discard the rest of the tortilla when making the smaller circle - you can use it for homemade chips to dip in any leftover nacho 'cheese' sauce.
Nutrition (Estimate per Serving)
Calories: 737kcalCarbohydrates: 63gProtein: 29gFat: 46gSaturated Fat: 17gSodium: 1881mgPotassium: 1578mgFiber: 14gSugar: 7gVitamin A: 999IUVitamin C: 21mgCalcium: 157mgIron: 8mg
Vegan-ize any recipe!Grab our free vegan cheat sheet, packed with my favorite easy substitutions to make any recipe vegan.

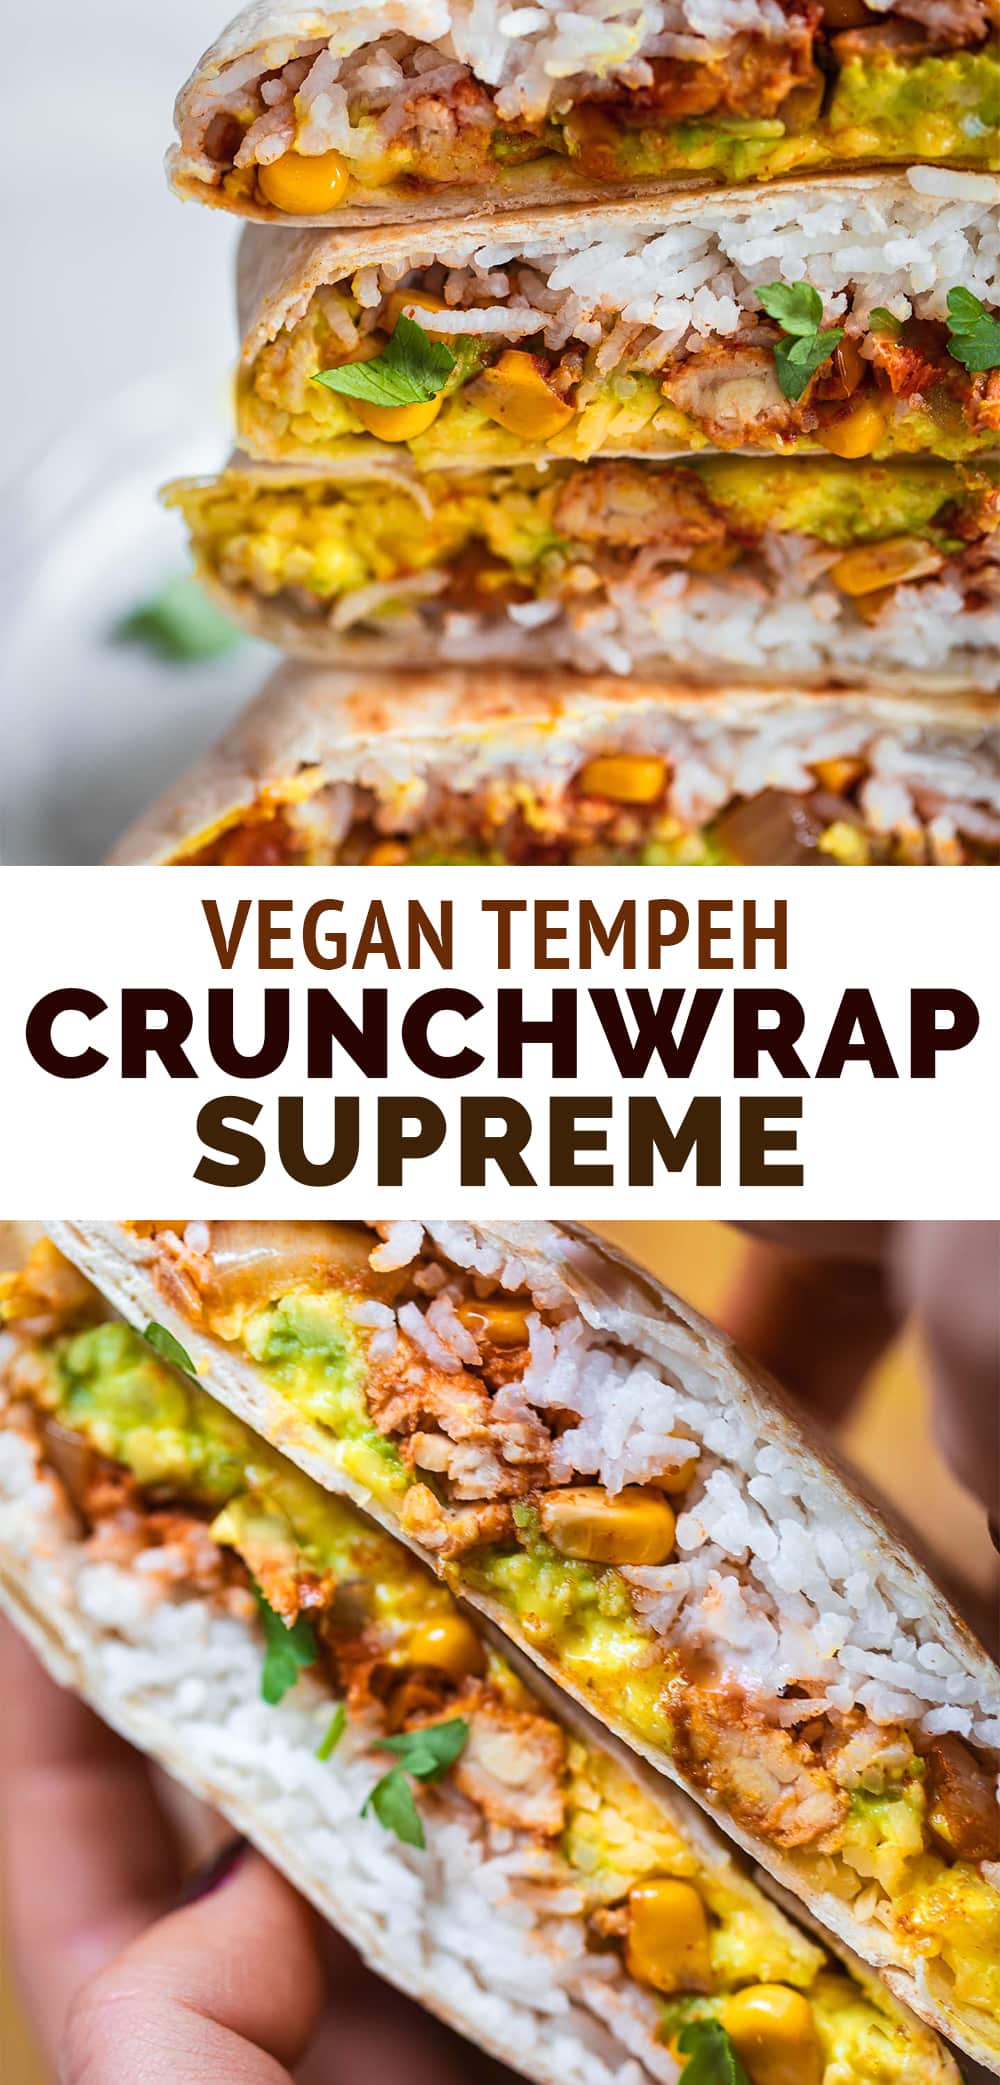
Lentil Fritters with Garlic Sauce
Whip up a batch of these flavorful Lentil Fritters with Garlic Sauce. Mushrooms, garlic, lentils, quinoa, walnuts, and more come together in this lentil cake recipe.
These lentil patties are great for a tasty vegan lunch or dinner. They're also great for meal prepping! Here is a plant-based recipe that kids and adults can enjoy.
This lentil fritters recipe is...
- Vegan
- Vegetarian
- Gluten-free
- Dairy-free
- Flavorful
- Great for meal prepping
How to Make Lentil Fritters with Garlic Sauce
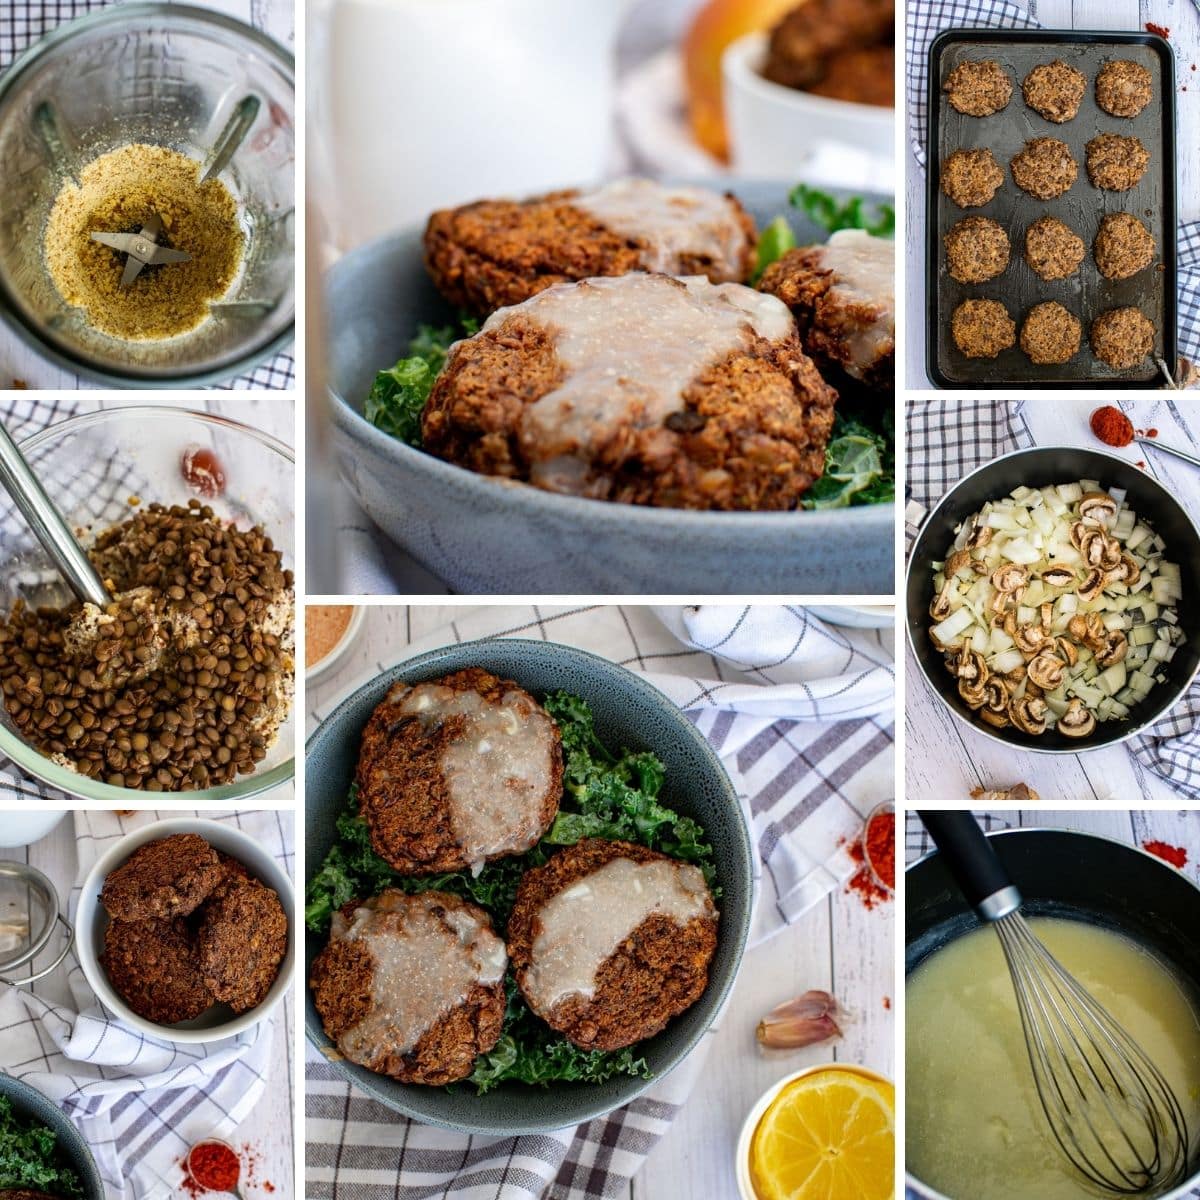
- Start by cooking your lentils as directed on the package.
- In a saucepan, add oil, onion, garlic, and mushrooms. Stir occasionally.
- Add in your nuts and pulse the mixture in a food processor until the walnuts form a powder.
- Add the mushroom mixture and half the lentils to a bowl. Add in walnut powder and mix.
- Add your remaining lentils to the dough. Mix well.
- Create 12-15 patties, and pan sear.
Full measurements and directions can be found in the printable recipe card below.
Lentil Fritters Variations
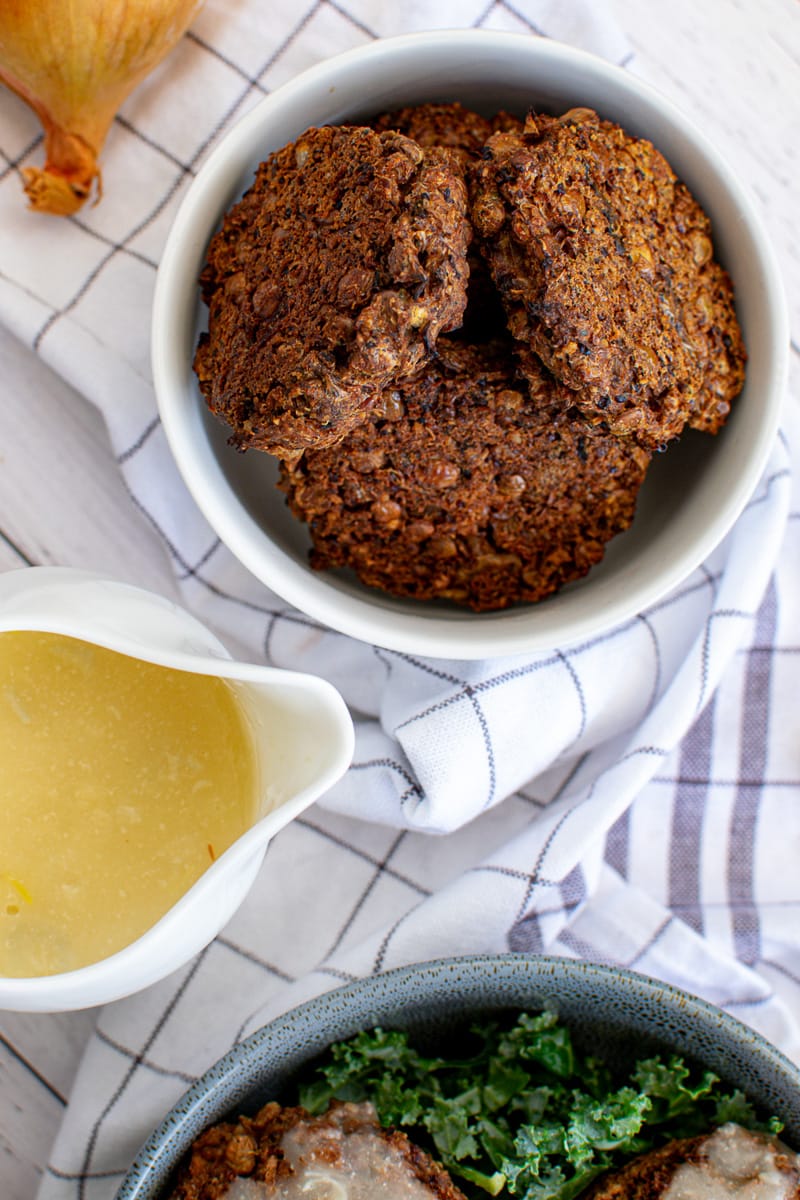
Change Up The Vegetables
Feel free to add extra veggies to these lentil fritters. Any finely chopped vegetables can work well in this dish - carrots, bell peppers, and zucchini are all great additions.
Cook in the Air Fryer
Consider air-frying your lentil fritters instead of baking in the oven. Add a small bit of oil to the air fryer, and cook a few lentil patties at a time, making sure to leave space between them for the hot air to circulate.
Swap the Sauce
If you want to skip the garlic sauce, these fritters are perfectly tasty on their own. Try serving them with a simple squeeze of fresh lemon juice, salt, and pepper for a lighter preparation. Or experiment with other dipping sauces like a vegan cheese sauce, vegan alfredo sauce, or even this vegan Big Mac sauce.
FAQs
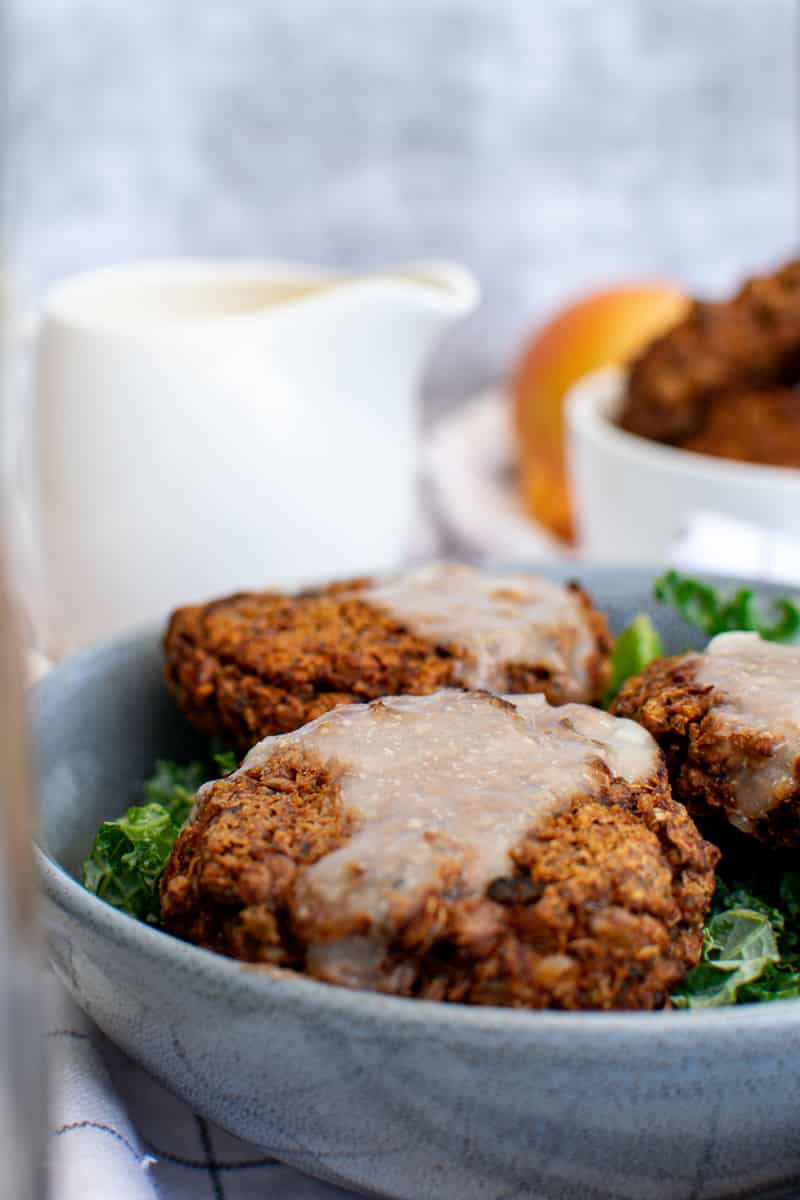
What can I do with leftover cooked lentils?
This lentil cake recipe has become my go-to way to use up leftover cooked lentils from other recipes like these masala lentils, lentil meatloaf, or this pasta salad with lentils.
What do you serve with lentil fritters?
These vegan-friendly lentil fritters are perfect served with a creamy vegan pasta salad, a fresh vegan salad, or this summery tomato and peach salad.
Why are my fritters soggy?
Most of the time, there are two potential reasons for soggy fritters: not enough dry ingredients or too many liquid ingredients. Eyeballing your measurements can make the fritters off-texture. Make sure to measure all your ingredients carefully!
What's the best way to reheat the lentil fritters?
I have found reheating your lentil cakes in a pan on the stove provides the best texture. When you microwave the lentils, it can make them a bit soggy and rubbery. Slowly heating the lentil cakes on the stove allows the outside to crisp back up!
Interested in More Lentil Recipes?
Here are a few more of my favorite vegan lentil recipes:
Recipe

Lentil Fritters with Garlic Sauce
Whip up a batch of these flavorful Lentil Fritters with Garlic Sauce. Vegan friendly fritters are filled with lentils, garlic, and walnuts!
Print
Pin
Save
Servings: patties
Ingredients
Lentil cakes
- 2 cups lentils cooked according to package directions
- 1 tablespoon olive oil
- ½ onion diced
- 4 garlic cloves roughly chopped
- 8 ounces mushrooms sliced
- ½ cup quinoa cooked according to package directions
- ½ cup walnuts or cashews
- 1 teaspoon cumin
- 1 teaspoon smoked paprika
- 1 teaspoon parsley dry or fresh
- ¾ teaspoon salt
- 1 tablespoon ground flax +2 tablespoon of water
- 3 tablespoons water
- 2 teaspoons soy sauce or tamari for gluten free
Garlic sauce
- 1 cup soy milk or other plant based milk
- 2 tablespoon nutritional yeast
- 2 garlic cloves chopped, or 1 tablespoon garlic powder
- 1 tablespoon cornstarch or another thickener
- salt to taste
- lemon juice to taste
Instructions
Instructions for Lentil Cakes
- Cook dry lentils in simmering water until tender. Drain. You will need 2 cups cooked.
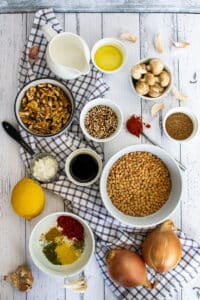
- Sauté the onion, garlic, and mushrooms in olive oil over medium heat for 5 minutes. Add a little water if it gets too dry. Turn heat down to low and cook until very tender and cooked through. Set aside.
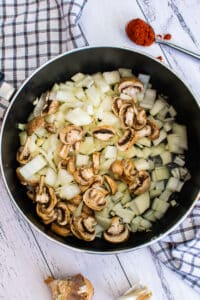
- Blend the walnuts into a coarse flour. Pour that flour into a medium bowl.

- Add half of the lentils and the mushroom mixture, salt, spices, flax egg.
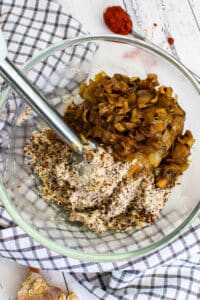
- Mix everything until it's well combined and forms a thick dough using a hand blender. Stir in the remaining whole lentils and quinoa.
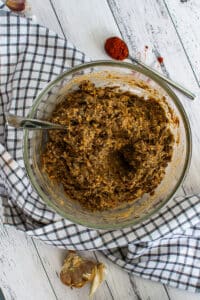
- Using wet hands form into 12-15 little cakes.
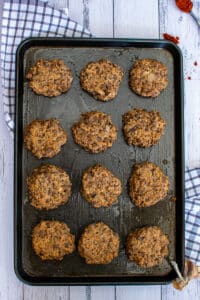
- Sear in a skillet, in a little oil, over medium heat-taking care to let them brown and form a crust before flipping.
- Serve with garlic sauce.
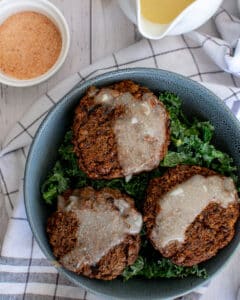
Instructions for Garlic Sauce
- Pour all the ingredients into a heated pan, whisking constantly until thickened-about 3-5 minutes. Then remove from heat.

Nutrition (Estimate per Serving)
Calories: 119kcalCarbohydrates: 13gProtein: 6gFat: 5gSaturated Fat: 1gSodium: 215mgPotassium: 296mgFiber: 4gSugar: 2gVitamin A: 166IUVitamin C: 3mgCalcium: 48mgIron: 2mg
Vegan-ize any recipe!Grab our free vegan cheat sheet, packed with my favorite easy substitutions to make any recipe vegan.
Vegan Mushroom Risotto
Make a delightful and cruelty-free meal with this easy Vegan Mushroom Risotto-a tasty comfort dish that's both easy and takes few ingredients. Lightly seasoned and brimming with simmered mushrooms, enjoy your perfectly cooked risotto.
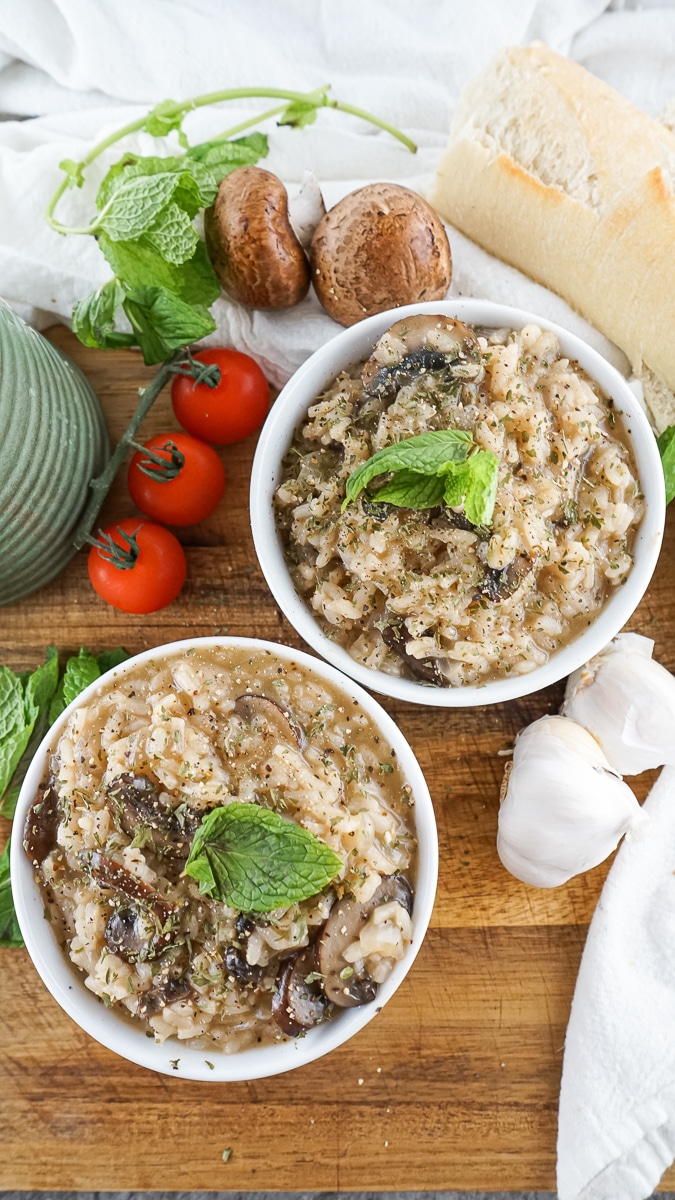
When it comes to rice dishes like this vegan mushroom risotto, Vegan Fried Rice with Tofu, Rice Stuffed Tomatoes, and Spanish Vegan Paella, they're true comfort food. They always leave you extremely satisfied and they truly don't take a ton of effort.
I always feel like it's time for a nap or a good book in front of the fire after a meal like this. I might just include a glass of Vegan Eggnog or a Vegan Chocolate Chip Cookie while I'm at it.
Dishes like this are great for a vegan meal because they can be customized as desired. If you're not a fan of mushrooms, you can always swap it out for another vegetable or add more vegetables to the mixture. You can also adjust the seasonings and thickness of the meal to your preferences. This risotto recipe is pure gold and the perfect go-to dinner dish.
How to Make Vegan Mushroom Risotto from Scratch
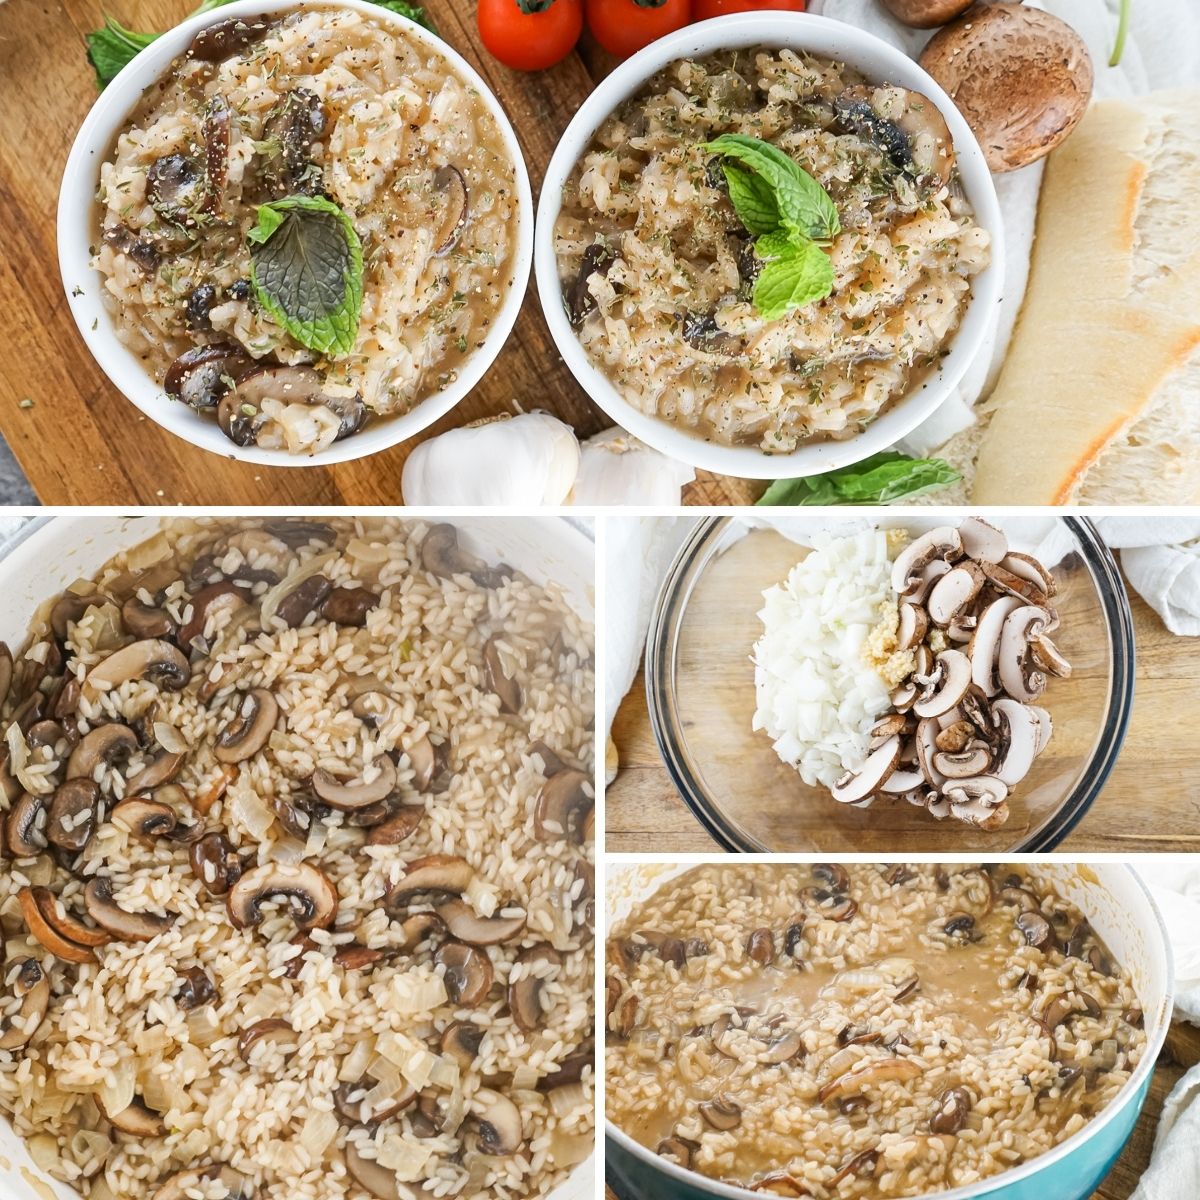
- Saute - Heat some oil in a pot and saute the onion, garlic, and mushrooms until the onions are translucent. Cover pot until mushrooms release water. Add the rice and saute for a couple of minutes.
- Simmer - Add half the stock and let simmer for 15-20 minutes. Add half of the remaining stock and let simmer for another 10 minutes. Add the last of the stock and simmer for another 5-10 minutes.
- Season - Season with salt and pepper, to taste. Serve with some fresh herbs on top and enjoy!
Tips and Variations
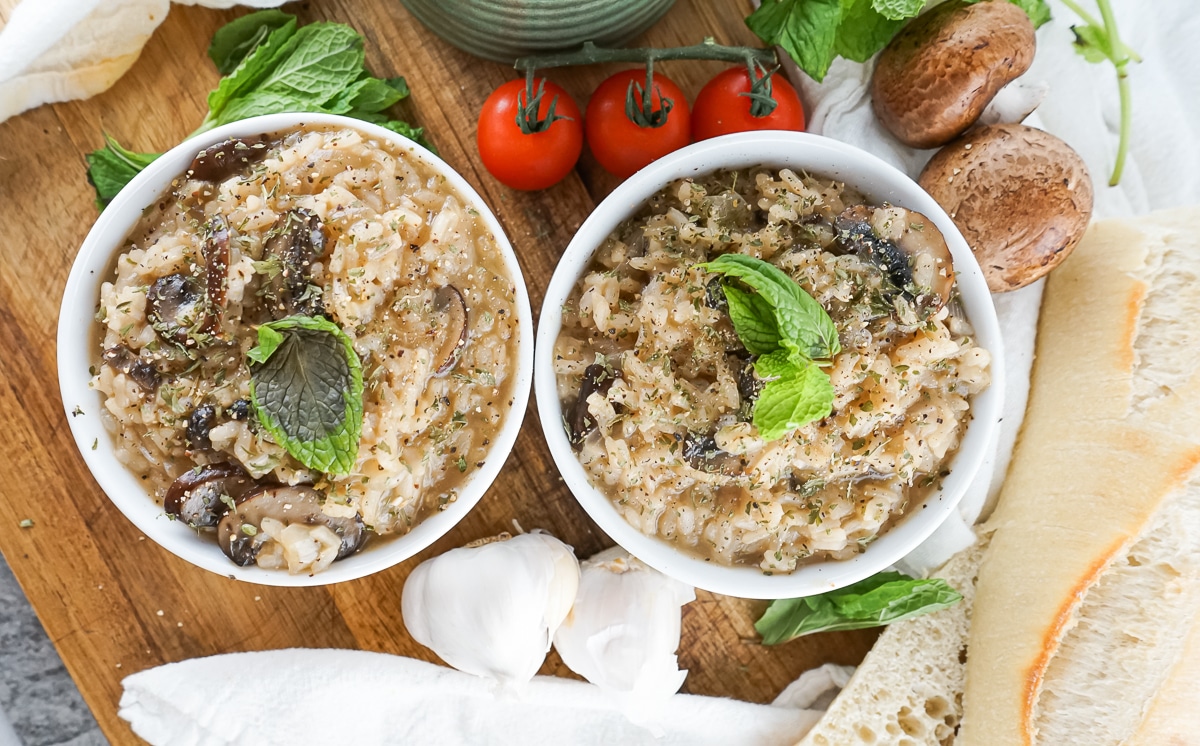
- Storage - Store in a sealed container, in the fridge, for up to 5 days. Store in an airtight container, in the freezer, for up to 2 months.
- Reheating - Reheat in the microwave or over the stove. Be sure to add a bit of broth or water so the rice won't be dried out upon reheating.
- Add more vegetables - This recipe is easy when it comes to adding ingredients. I love adding in some spinach, cabbage, zucchini, etc. Whatever you like! Just remember to ensure those veggies are cooked appropriately as you don't want to be biting into crunchy, uncooked veggies.
- Use other rice options - If you can find risotto, you can always use arborio rice, sushi rice, jasmine rice, or similar types of rice.
- Make it thinner - Add more vegetable stock and simmer a little less for a thinner risotto.
- Make it thicker - You can mash the rice a bit or lighten up on the stock in order to make it thicker.
- Make it creamy - Swap out some of the stock for full fat coconut milk. This will make the rice and sauce creamier and add another bit of flavor to the mix.
- Make it with leftover rice - If you have leftover rice you can skip the long simmering period and just toss in the rice. Be sure to reduce the stock by about half or more.
Vegan Mushroom Risotto FAQs
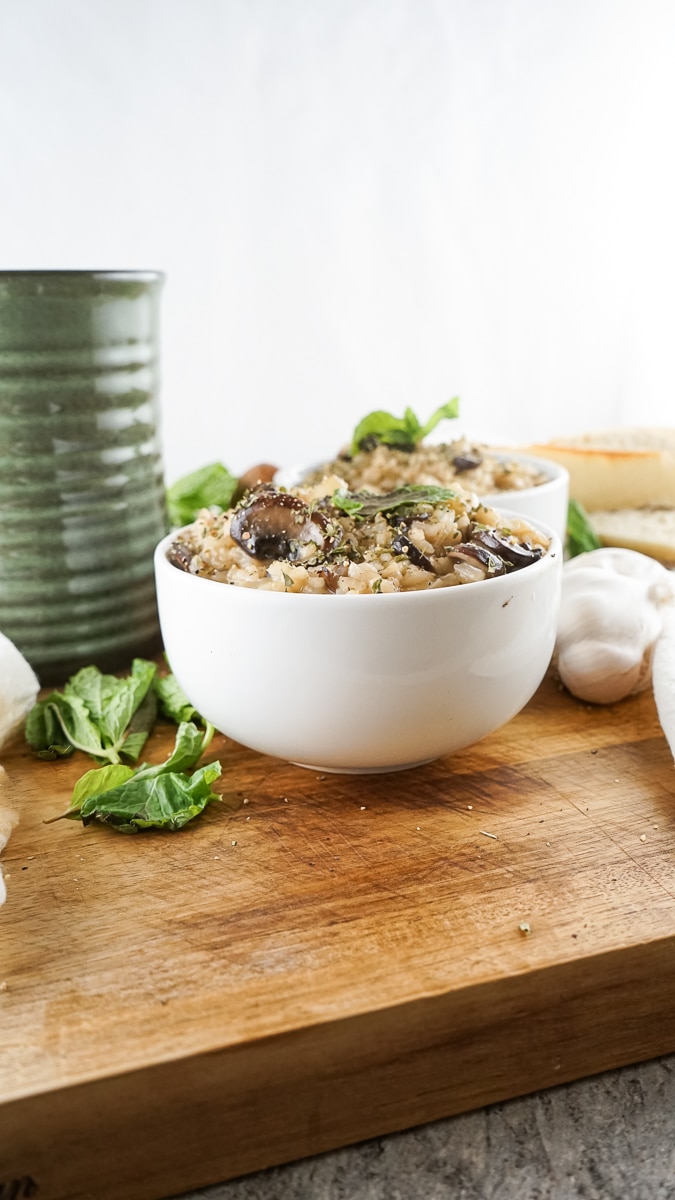
What Goes with Mushroom Risotto?
Since rice is such a widely encompassing ingredient, there are tons of side dishes that go well with this mushroom risotto recipe. A light soup is always one of my go-tos such as Vegan Broccoli Cheddar Cheese Soup, Vegan Potato Leek Soup, or Vegan Asparagus Soup. I always love to add in Vegan Stuffed Mushrooms, Vegan Cornbread, or even a Cucumber Tomato Salad. Get creative because the sky's the limit with side dishes on this one.
Is Risotto a Main Dish?
Risotto is a type of rice (sometimes mistaken as a type of pasta as well). So, in and of itself, it's commonly served as a side dish. However, like this risotto recipe, it can be turned into a main dish by adding a few simple ingredients. For a vegan dish, this is often various vegetables and the risotto is cooked in vegetable broth.
If you decided to give this Vegan Mushroom Risotto a try, please let me know in the comments below or on social media!
Other Dinner Recipes You Might Like:
- Vegan Pesto Pasta
- Vegan Ramen Noodles
- Vegan Carrot Soup
- Stuffed Acorn Squash
- Thai Noodles in Red Curry Sauce
Recipe
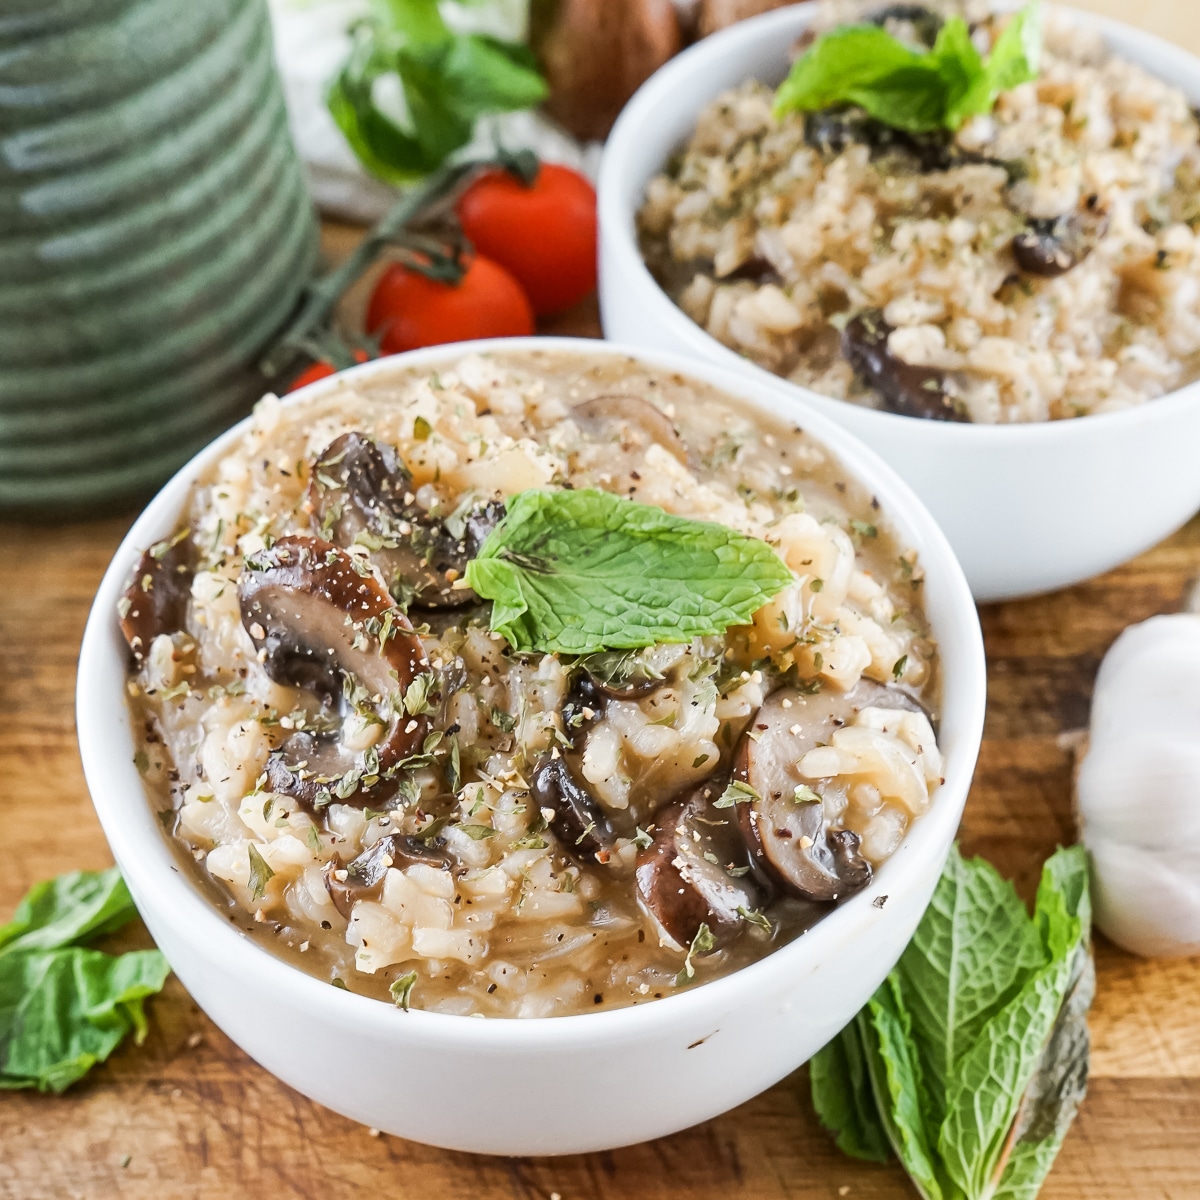
Vegan Mushroom Risotto
Make a delightful and cruelty-free meal with this easy Vegan Mushroom Risotto. A tasty comfort dish that's both easy and takes few ingredients. Lightly seasoned and brimming with simmered mushrooms and perfectly cooked risotto.
Print
Pin
Save
Ingredients
- 6 cups vegetable stock
- 16 ounces mushrooms sliced
- 1 ½ cups risotto
- 1 onion diced
- 2 tablespoons olive oil
- 1 tablespoon garlic minced
- salt and pepper to taste
Instructions
- Heat up olive oil in a pot. Saute onion, mushrooms, and garlic until the onions are tender (about 3-5 minutes).
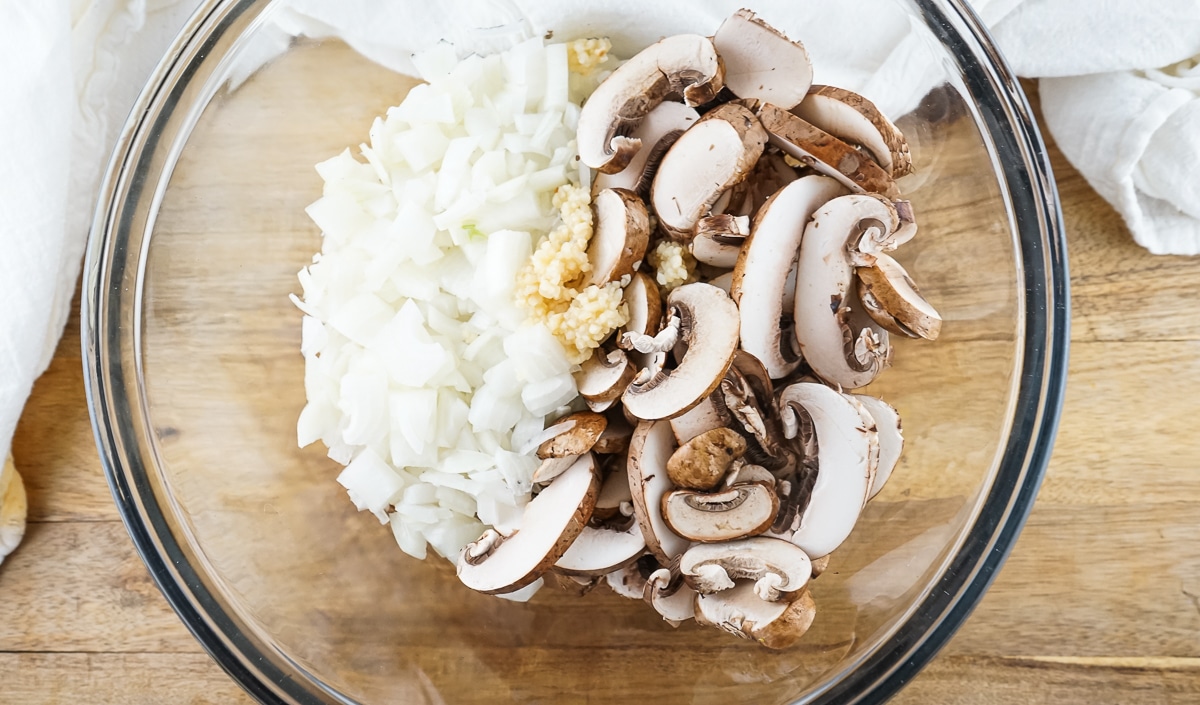
- Cover the pot until the mushrooms have released water (5-7 minutes).
- Add the rice to saute with the vegetables for 2-3 minutes.
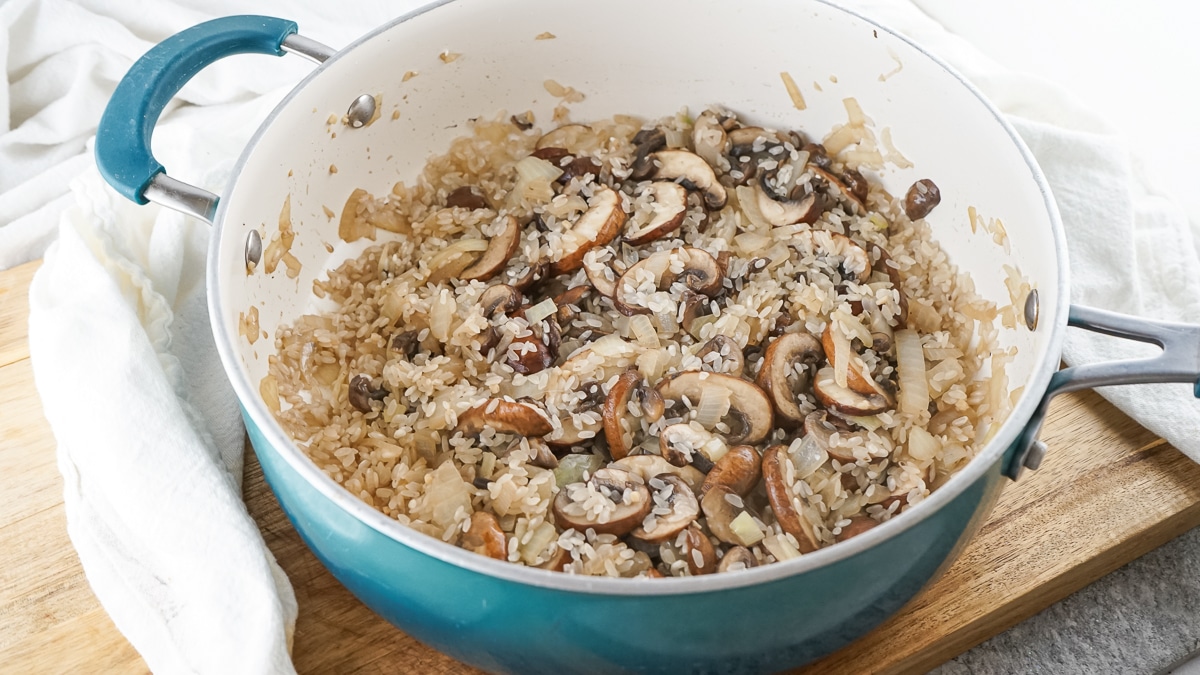
- Stir in 3 cups of vegetable stock and cover. Let simmer for 15-20 minutes or until the stock has been absorbed.
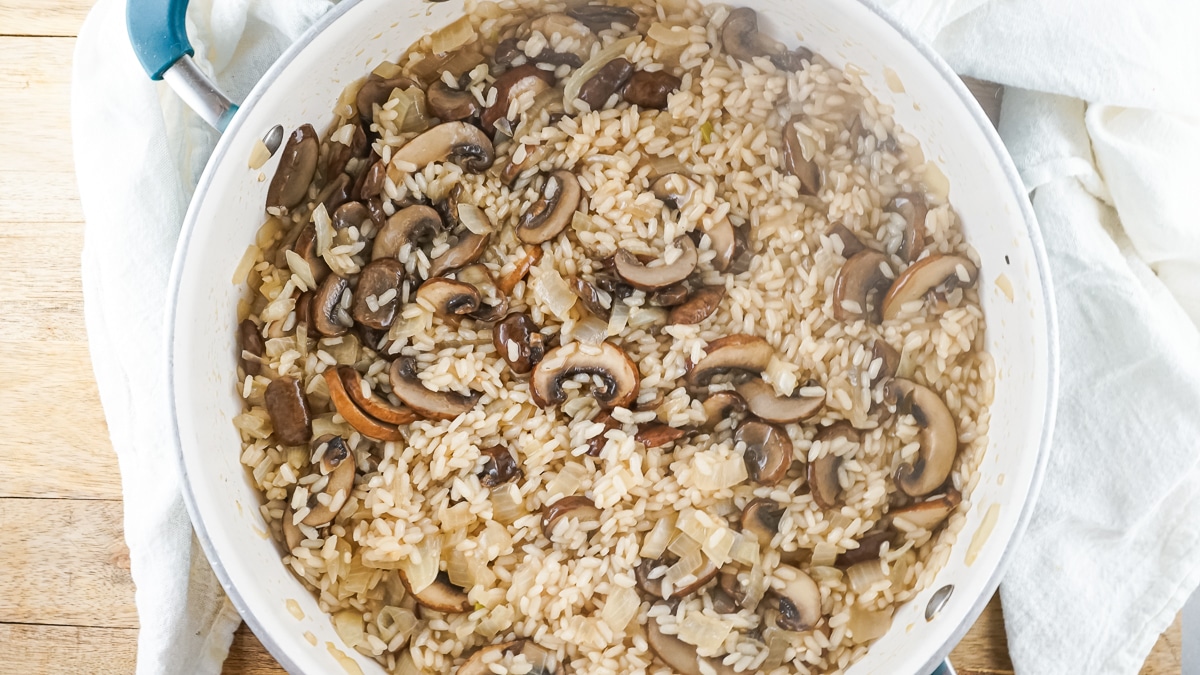
- Add another 1 ½ cups of stock and let simmer for another 10 minutes or until the stock has been absorbed.
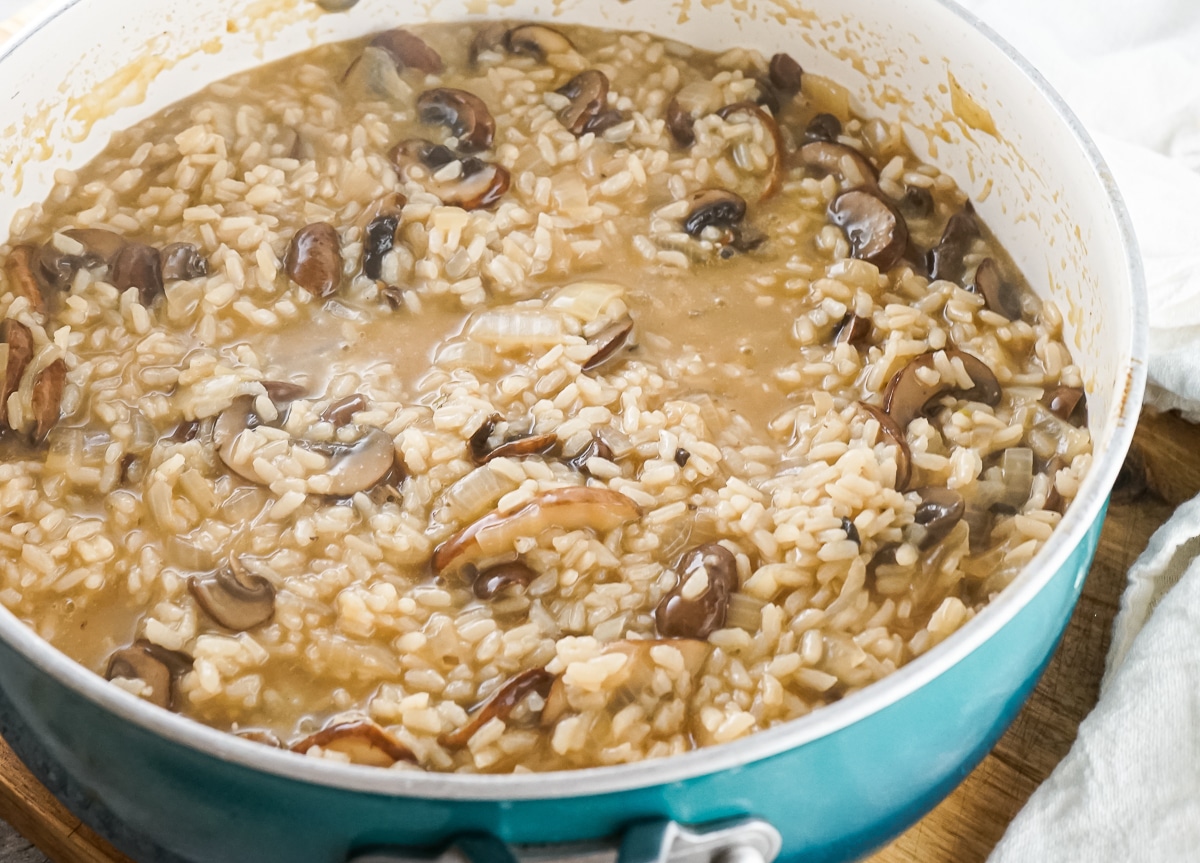
- Add the last cup and a half of stock and let simmer for 5-10 minutes or until it is absorbed.
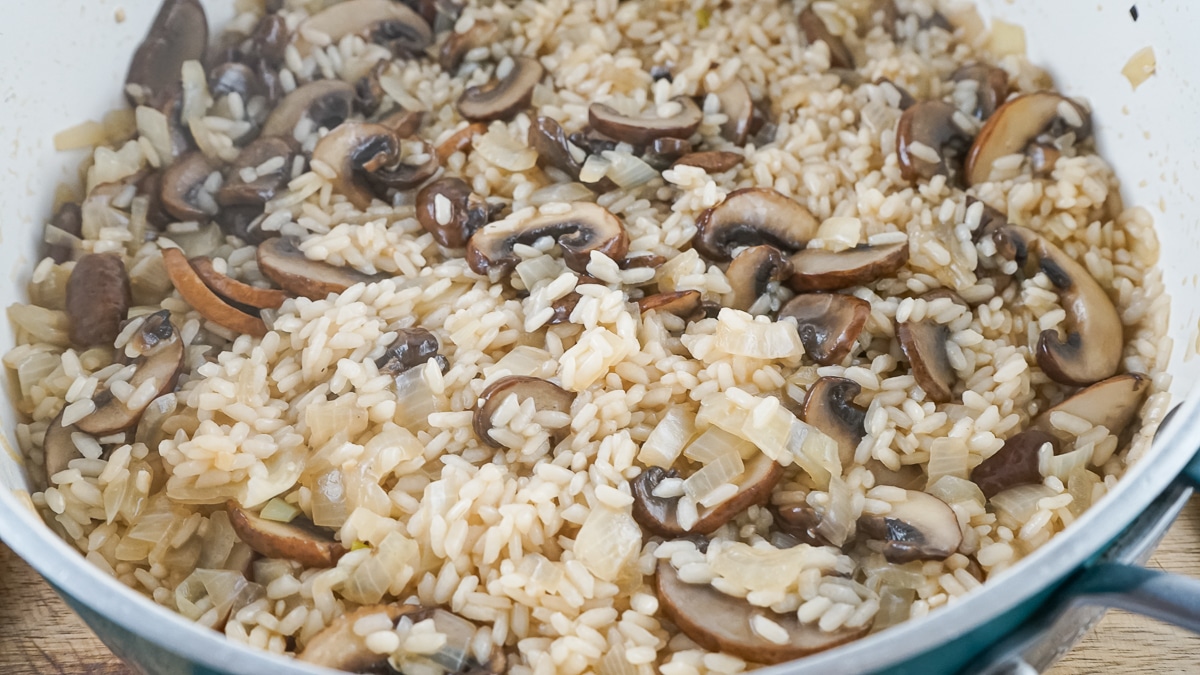
- Season with salt and pepper to taste.
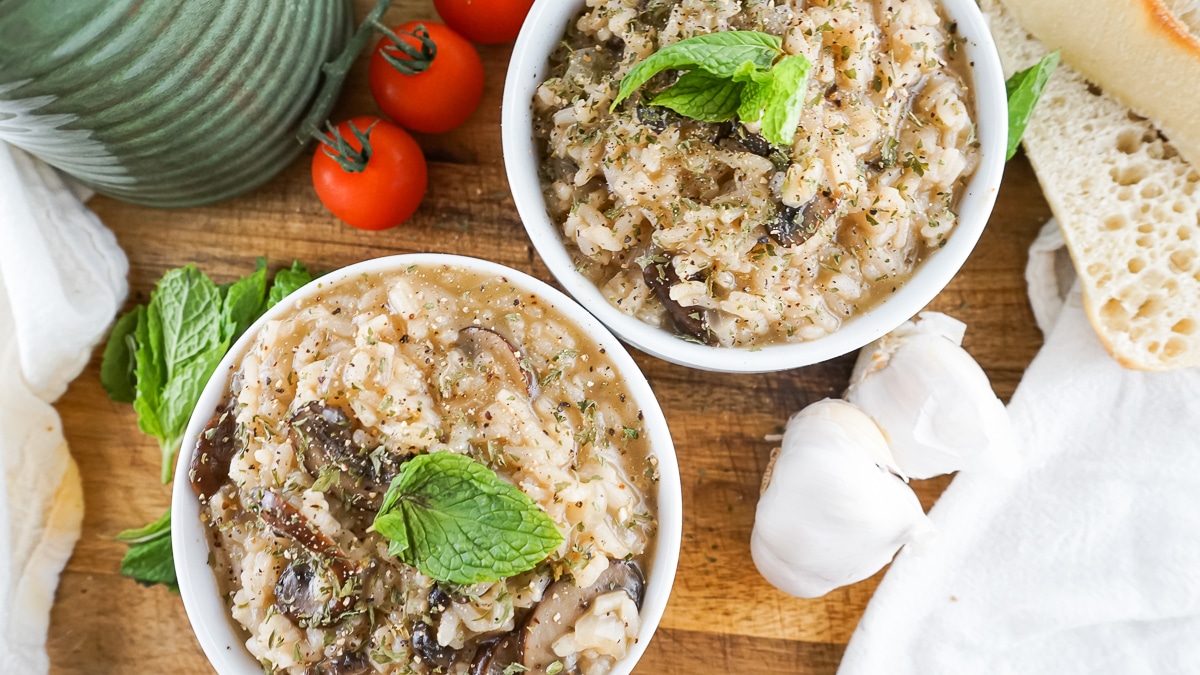
Nutrition (Estimate per Serving)
Calories: 1548kcalCarbohydrates: 283gProtein: 35gFat: 31gSaturated Fat: 5gSodium: 5672mgPotassium: 1831mgFiber: 15gSugar: 26gVitamin A: 3003IUVitamin C: 20mgCalcium: 53mgIron: 15mg
Vegan-ize any recipe!Grab our free vegan cheat sheet, packed with my favorite easy substitutions to make any recipe vegan.
Vegan White Beans and Kale Skillet
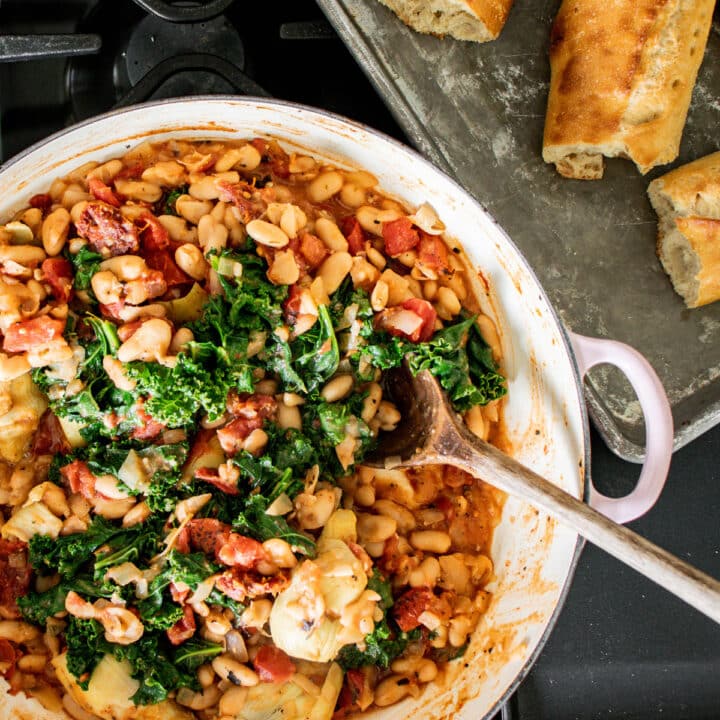
This white bean and kale recipe makes for the perfect hearty, healthy meal. Complemented by fire-roasted tomatoes, sweet onions, and artichoke hearts, these Italian white beans are both delicious and 100% vegan.

This one skillet meal is ready in less than 20 minutes and requires minimal clean up! Just throw everything in the skillet to cook and serve it along with some warm bread.
If you're craving an Italian-style recipe without leaving the house, this is the perfect recipe for you! Feel free to add extra spices, such as fresh parsley, basil, rosemary, oregano, and thyme. You may even add a couple bay leaves to the mix once you've added in the liquid.
This Italian white beans recipe is...
- vegan
- vegetarian
- plant-based
- Italian-inspired
- ready in 20 minutes
- an easy weeknight meal
And while you're here, don't forget to grab a copy of my free vegan cheat sheet. It's packed with all my favorite substitutions to vegan-ize any recipe!
How to Make White Beans and Kale
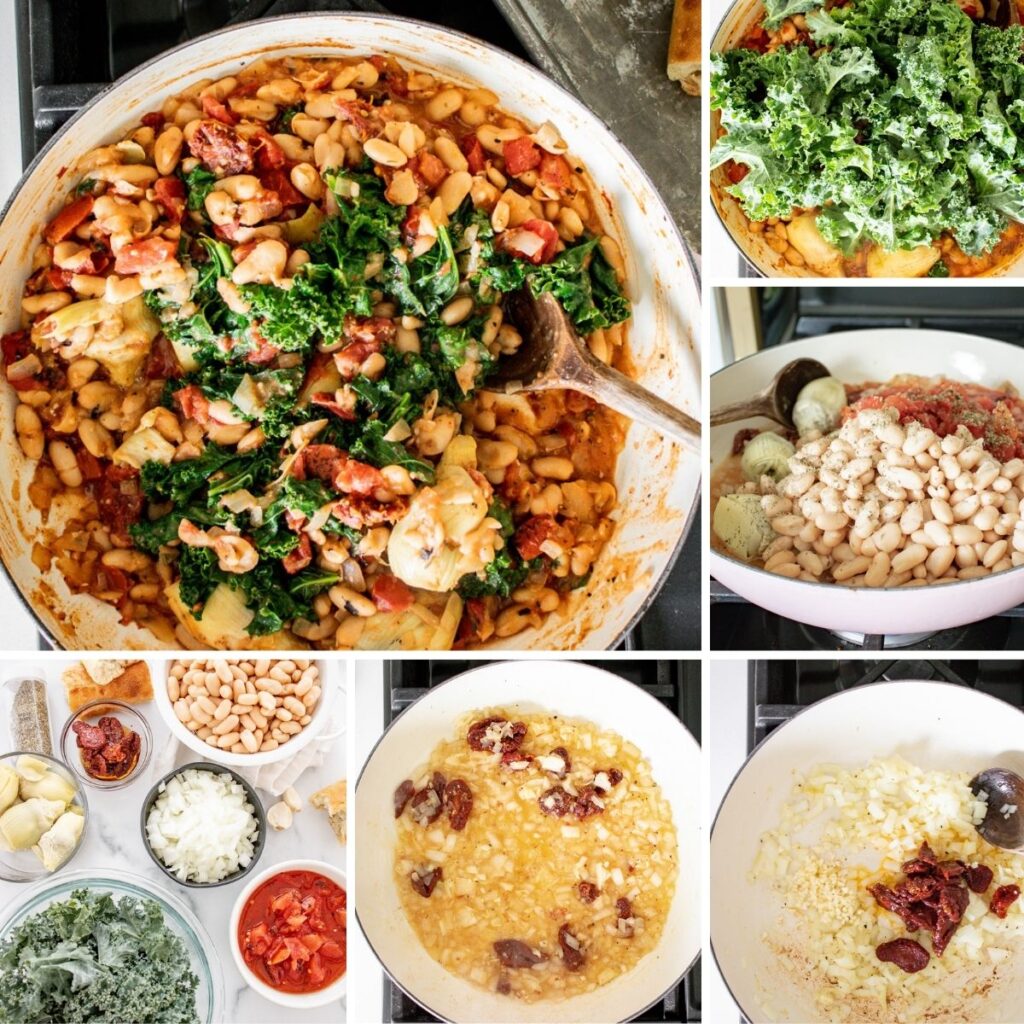
- Heat up the olive (or avocado) oil in a large skillet on the stove.
- Add onions to the skilled and cook until they are softened.
- Add the garlic and sun-dried tomatoes to the skillet and cook.
- Deglaze the skillet with either white wine or vegetable broth.
- Throw the beans, fire-roasted tomatoes, artichoke hearts, and Italian spices to the skillet.
- Stir to combine and cover the pan to cook.
- While the beans are cooking, turn on the oven and warm the bread.
- Uncover the skillet and add the kale. Stir until it wilts.
- Season the beans with salt and pepper.
- Serve the white beans and kale with the warm bread and vegan butter.
Scroll down for the full recipe with measurements and detailed instructions.
Tips & Tricks
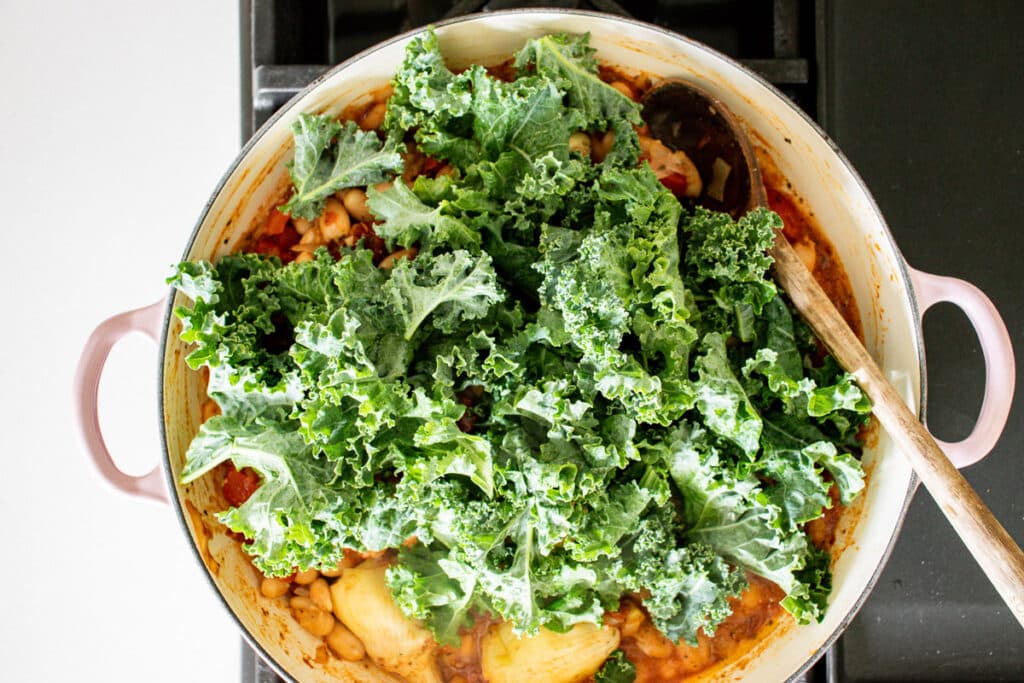
Avocado Oil & Olive Oil
Both avocado oil and olive oil are pretty similar in their nutritional content, except that olive oil has less fat than avocado oil. But they are both rich with antioxidants and unsaturated fats.
They also have a slightly different flavor. Avocado oil, for instance tastes a lot like avocados and has a slightly grassy (though mild) flavor. Olive oil, and the other hand can be herby, nutty, or have a vegetable flavor depending on the brand you buy.
When heating up the oil, it's important to keep in mind that avocado oil has a higher smoke point than olive oil does. So, if you're using olive oil, keep the temperature of the stove lower.
Variations
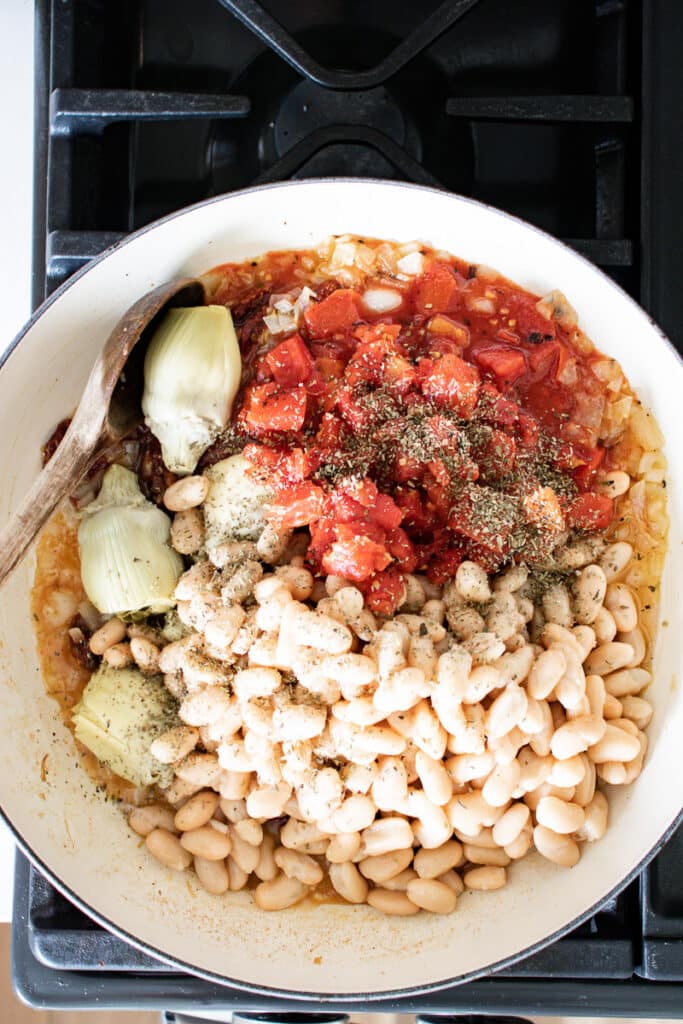
White Wine
If you use white wine instead of vegetable broth, or a mix of both, you'll get a nice extra hint of flavor. Try different types of white wine to get a flavor you'll love! A dry chardonnay would go perfectly with this dish.
Make it a Southwest Skillet
If you'd rather take a trip southwest than to Italy, switch up the vegetables and spices you add to these white beans and kale.
Instead of using a yellow onion, switch it out for a purple onion for a sharper flavor. Then, trade the artichoke hearts for corn and red bell peppers. And finally, instead of Italian seasoning, add some fresh-squeezed lime, chili powder, and fresh cilantro.
FAQs About Italian White Beans
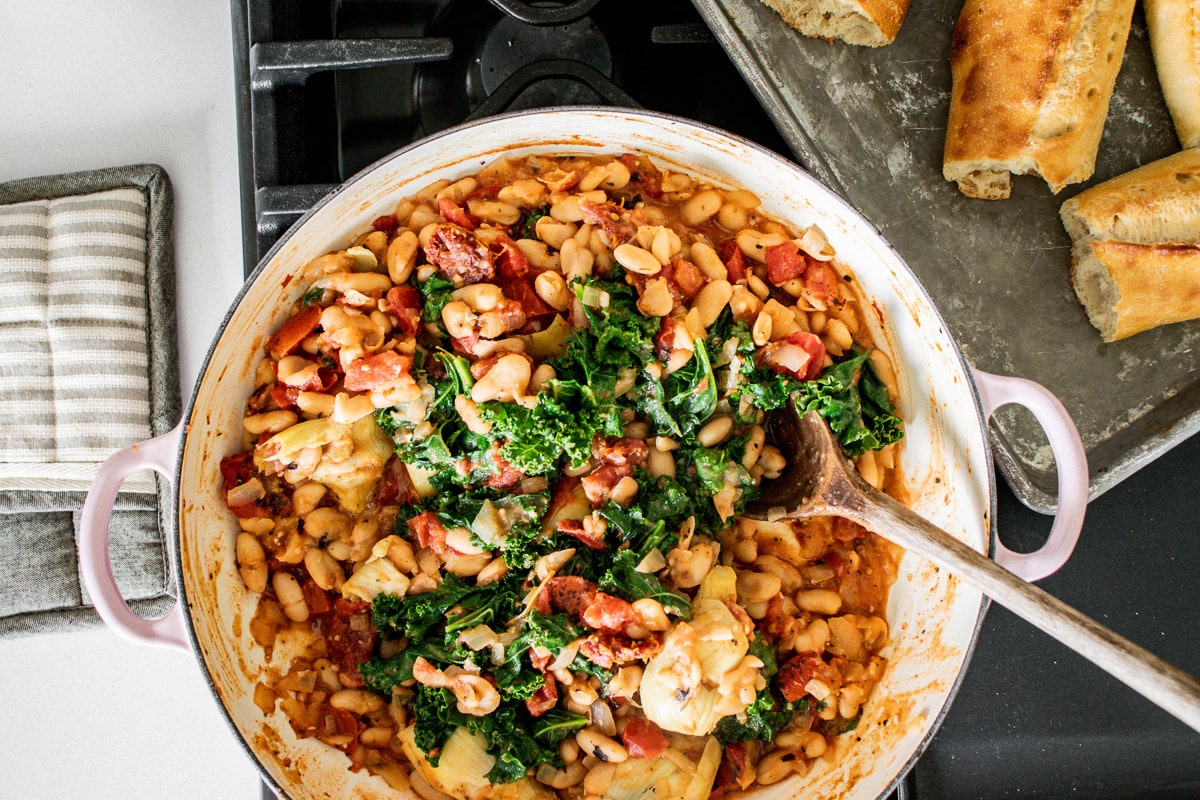
What are Italian white beans called?
Italian white beans are called cannellini beans. They are heartier than navy or great northern beans and have a nutty, earthy flavor.
Cannellini beans are tender but retain their shape and texture well. These beans are great for chili, soups, and stews.
What beans are similar to white beans?
If you don't have cannellini beans, you have a couple options that are similar. You can use butter beans, great northern, or navy beans.
More Tasty Recipes
If you love this White Beans and Kale Skillet, be sure to check out these other delicious recipes:
- Vegan Spinach Artichoke Dip (with creamy white beans!)
- 14+ Creative Kale Salad Recipes
- 50+ Healthy Vegan Dinner Ideas
Recipe

Vegan White Beans and Kale Skillet
This white beans and kale recipe makes for the perfect hearty, healthy meal. Complemented by fire-roasted tomatoes, sweet onions, and artichoke hearts, these Italian white beans are both delicious and 100% vegan.
Print
Pin
Save
Servings: servings
Ingredients
- 1 tablespoon extra virgin olive oil or avocado oil
- 1 yellow onion diced
- ½ cup sun-dried tomatoes oil-packed, drained and chopped
- 2 cloves garlic minced
- ½ cup white wine or use vegetable broth
- 30 oz Cannellini beans drained and rinsed
- 14 oz fire roasted diced tomatoes canned
- 14 oz artichoke hearts drained and chopped, or you can leave them whole for presentation
- 1 tablespoon Italian Spice Blend
- 2 cups kale chopped
- salt and pepper to taste
- Crusty bread optional, for serving
Instructions
- Warm olive or avocado oil in a large skillet over medium heat. Add your onions and cook until softened, about 3 minutes. Add garlic and sun-dried tomatoes and cook for an additional minute.
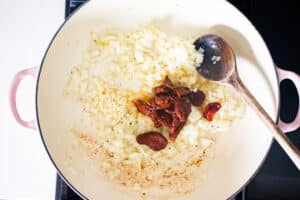
- Deglaze the pan with your choice of white wine or vegetable broth. I love the flavor the white wine adds to this dish.
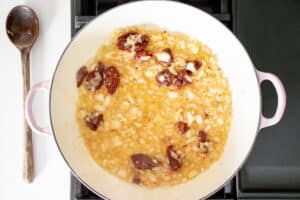
- Add beans, fire-roasted tomatoes, artichoke hearts, Italian spices to the skillet. Stir until combined.
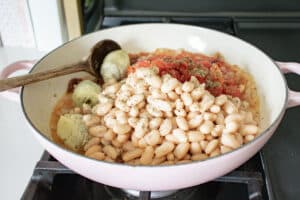
- Cover the pan and cook for 7-8 more minutes.
- While this is cooking, turn on your oven and start warming the crusty bread.
- Uncover the skillet and add the kale, stirring until it wilts. Season with salt and pepper to your liking.
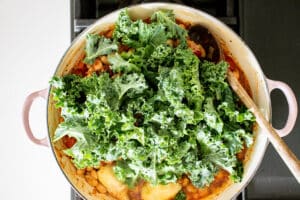
- I serve with warm crusty bread and vegan butter!

Nutrition (Estimate per Serving)
Calories: 323kcalCarbohydrates: 56gProtein: 17gFat: 4gSaturated Fat: 1gSodium: 1026mgPotassium: 713mgFiber: 15gSugar: 10gVitamin A: 3885IUVitamin C: 50mgCalcium: 254mgIron: 7mg
Vegan-ize any recipe!Grab our free vegan cheat sheet, packed with my favorite easy substitutions to make any recipe vegan.
Vegan Biscuits And Gravy

These gluten-free vegan biscuits and gravy are perfect for a comforting breakfast, brunch or dinner. Serve flaky biscuits that are entirely dairy-free served with a creamy and rich mushroom and vegetable gravy for a meal that's ideal for a cold day, as well as super easy to make from scratch.

Oftentimes, all I want is a big plateful of comfort food that's savoury, rich and bursting with flavour. Even better if it goes from kitchen to plate in little time, with minimal effort. A dinner like that is ideal after a long day of studying.

Or, sometimes I need a wholesome, indulgent breakfast after staying up late to churn out an essay. That's when biscuits and gravy come in. They are such a versatile dish, that's ideal for pretty much any meal. You can serve them up for brunch, but they also make a fantastic evening meal.

This version is entirely vegan, as well as gluten-free! But it absolutely does not miss any flavour, or comfort factor.
Gluten-free vegan biscuits
These vegan biscuits are the star of the show here! It took a few attempts to get the texture of gluten-free biscuits just right, but the result is absolutely phenomenal. They are light, flaky, and with a perfect buttery flavour. They practically melt in your mouth!

I actually like to make a bigger batch and just snack on them throughout the week, either on their own or with a spread. They really are that deliciuous!
Ingredients and substitutions for gluten-free biscuits
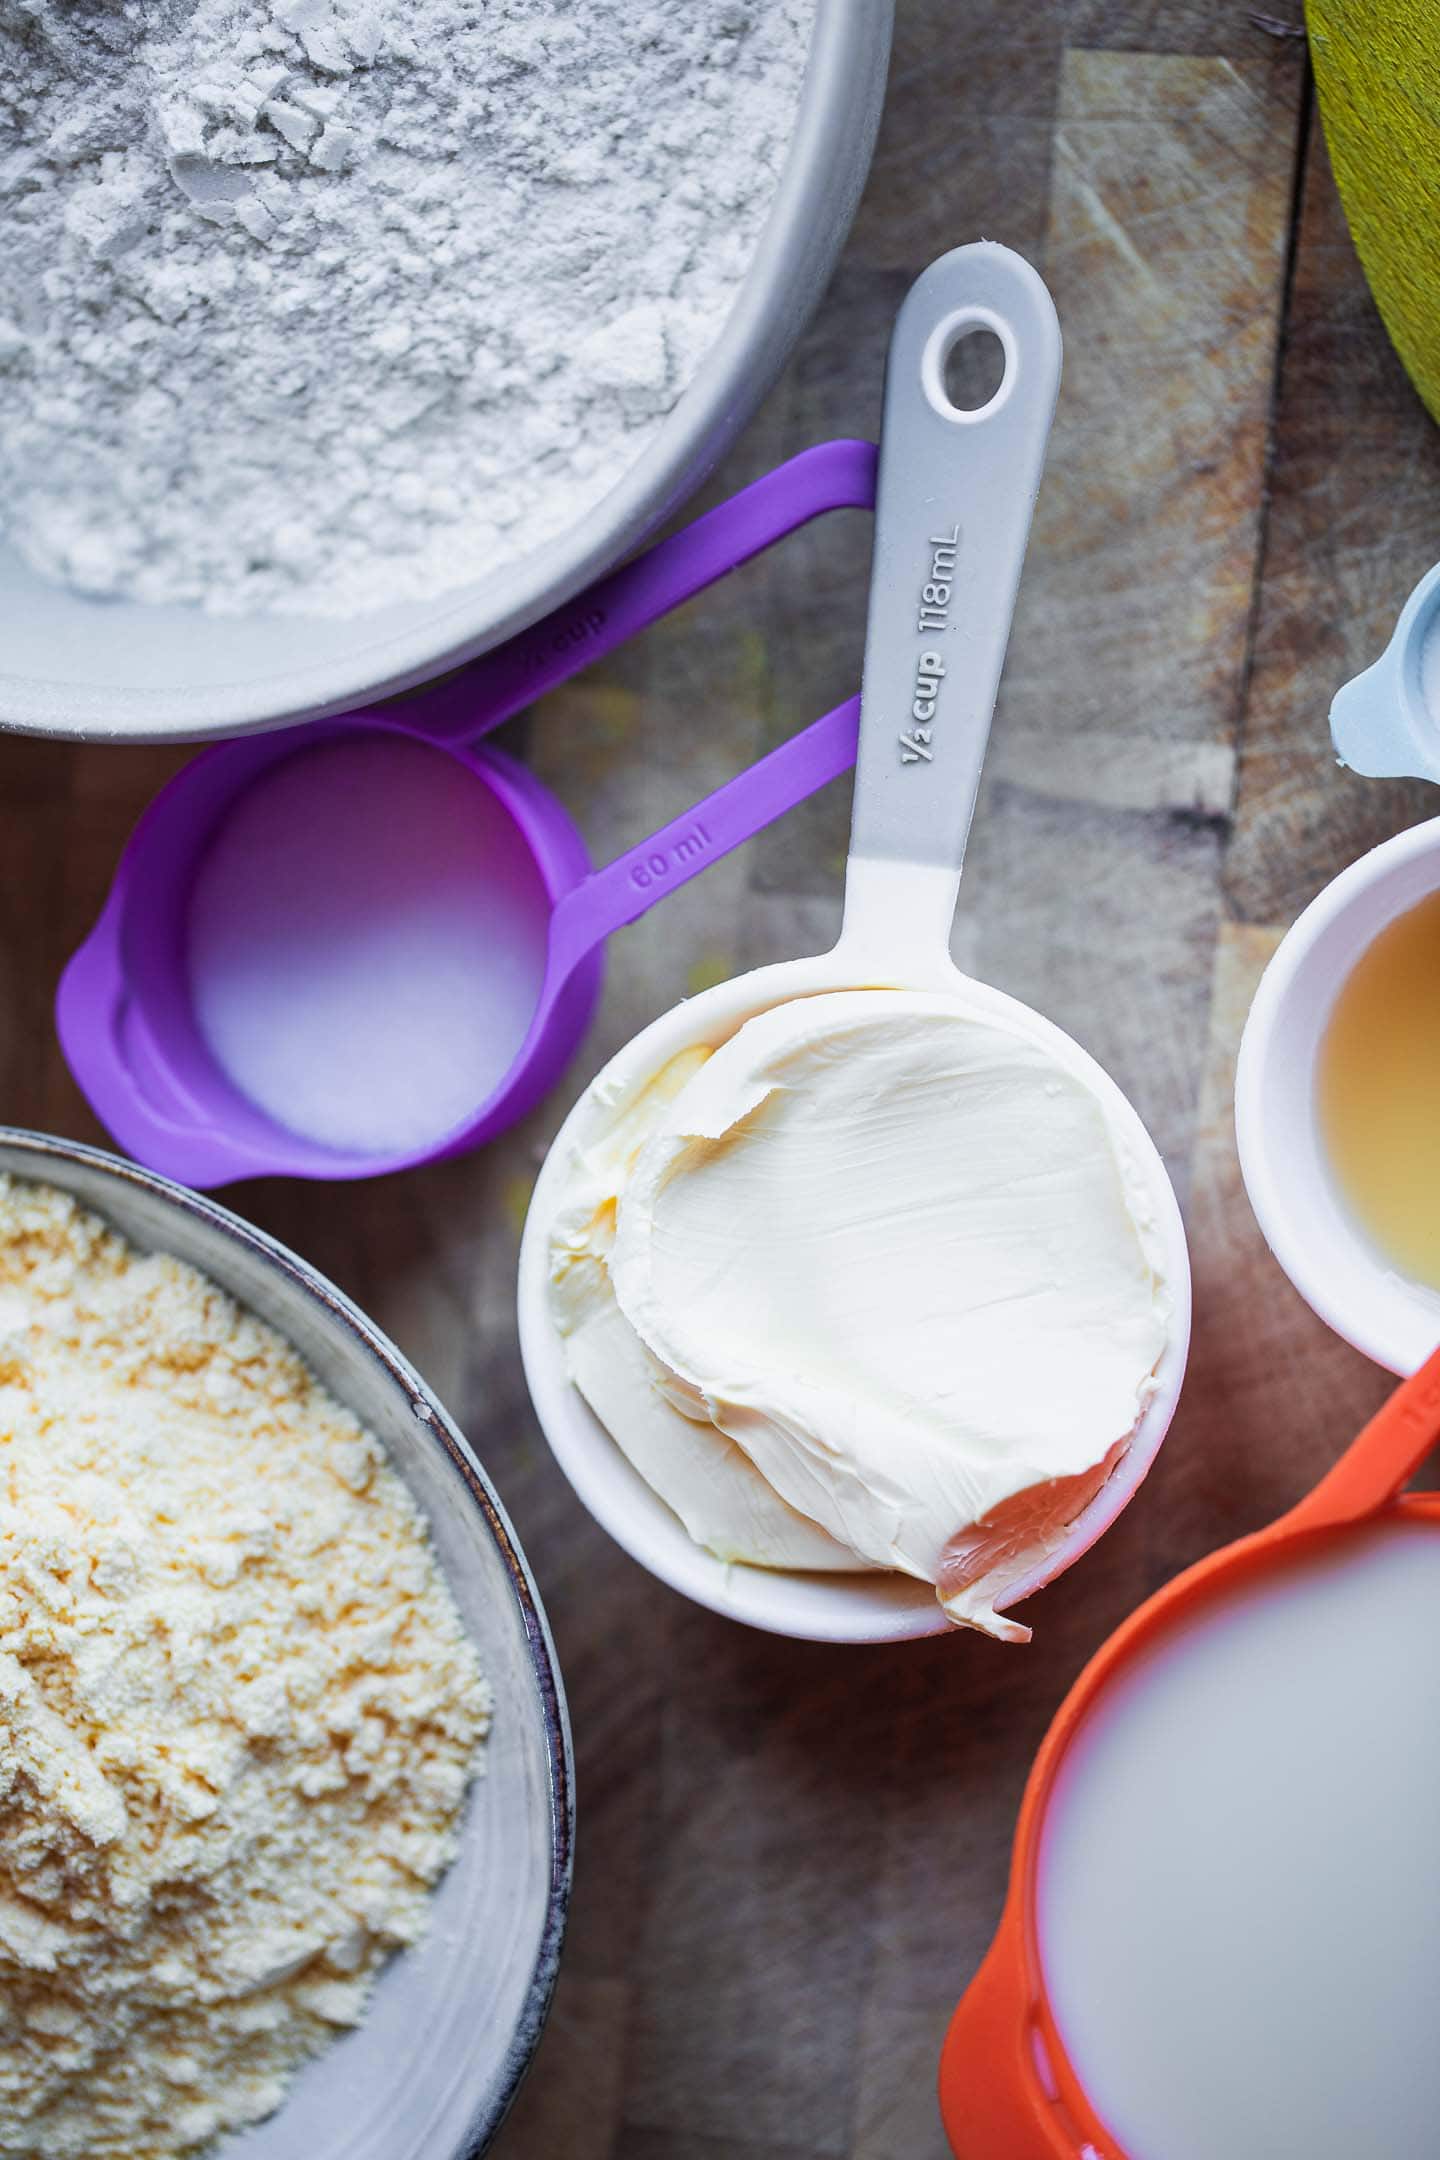
- Plant based milk. Use any unsweetened variety of your choice.
- Apple cider vinegar. This will be used to make the 'buttermilk' mixture.
- Brown rice flour.
- Cornmeal. Also known as maize flour, this is perfect for creating a buttery and slightly crumbly texture.
- Baking powder.
- Sugar.
- Xanthan gum.
- Vegan butter. Preferably, use the variety that comes in a stick, and make sure it is as cold as possible before starting to cook.
How to make vegan biscuits
Firstly, stir together the plant based milk and apple cider vinegar and set aside for around 10 minutes to curdle. When it is almost done, preheat the oven to 180 degrees C/350 F.
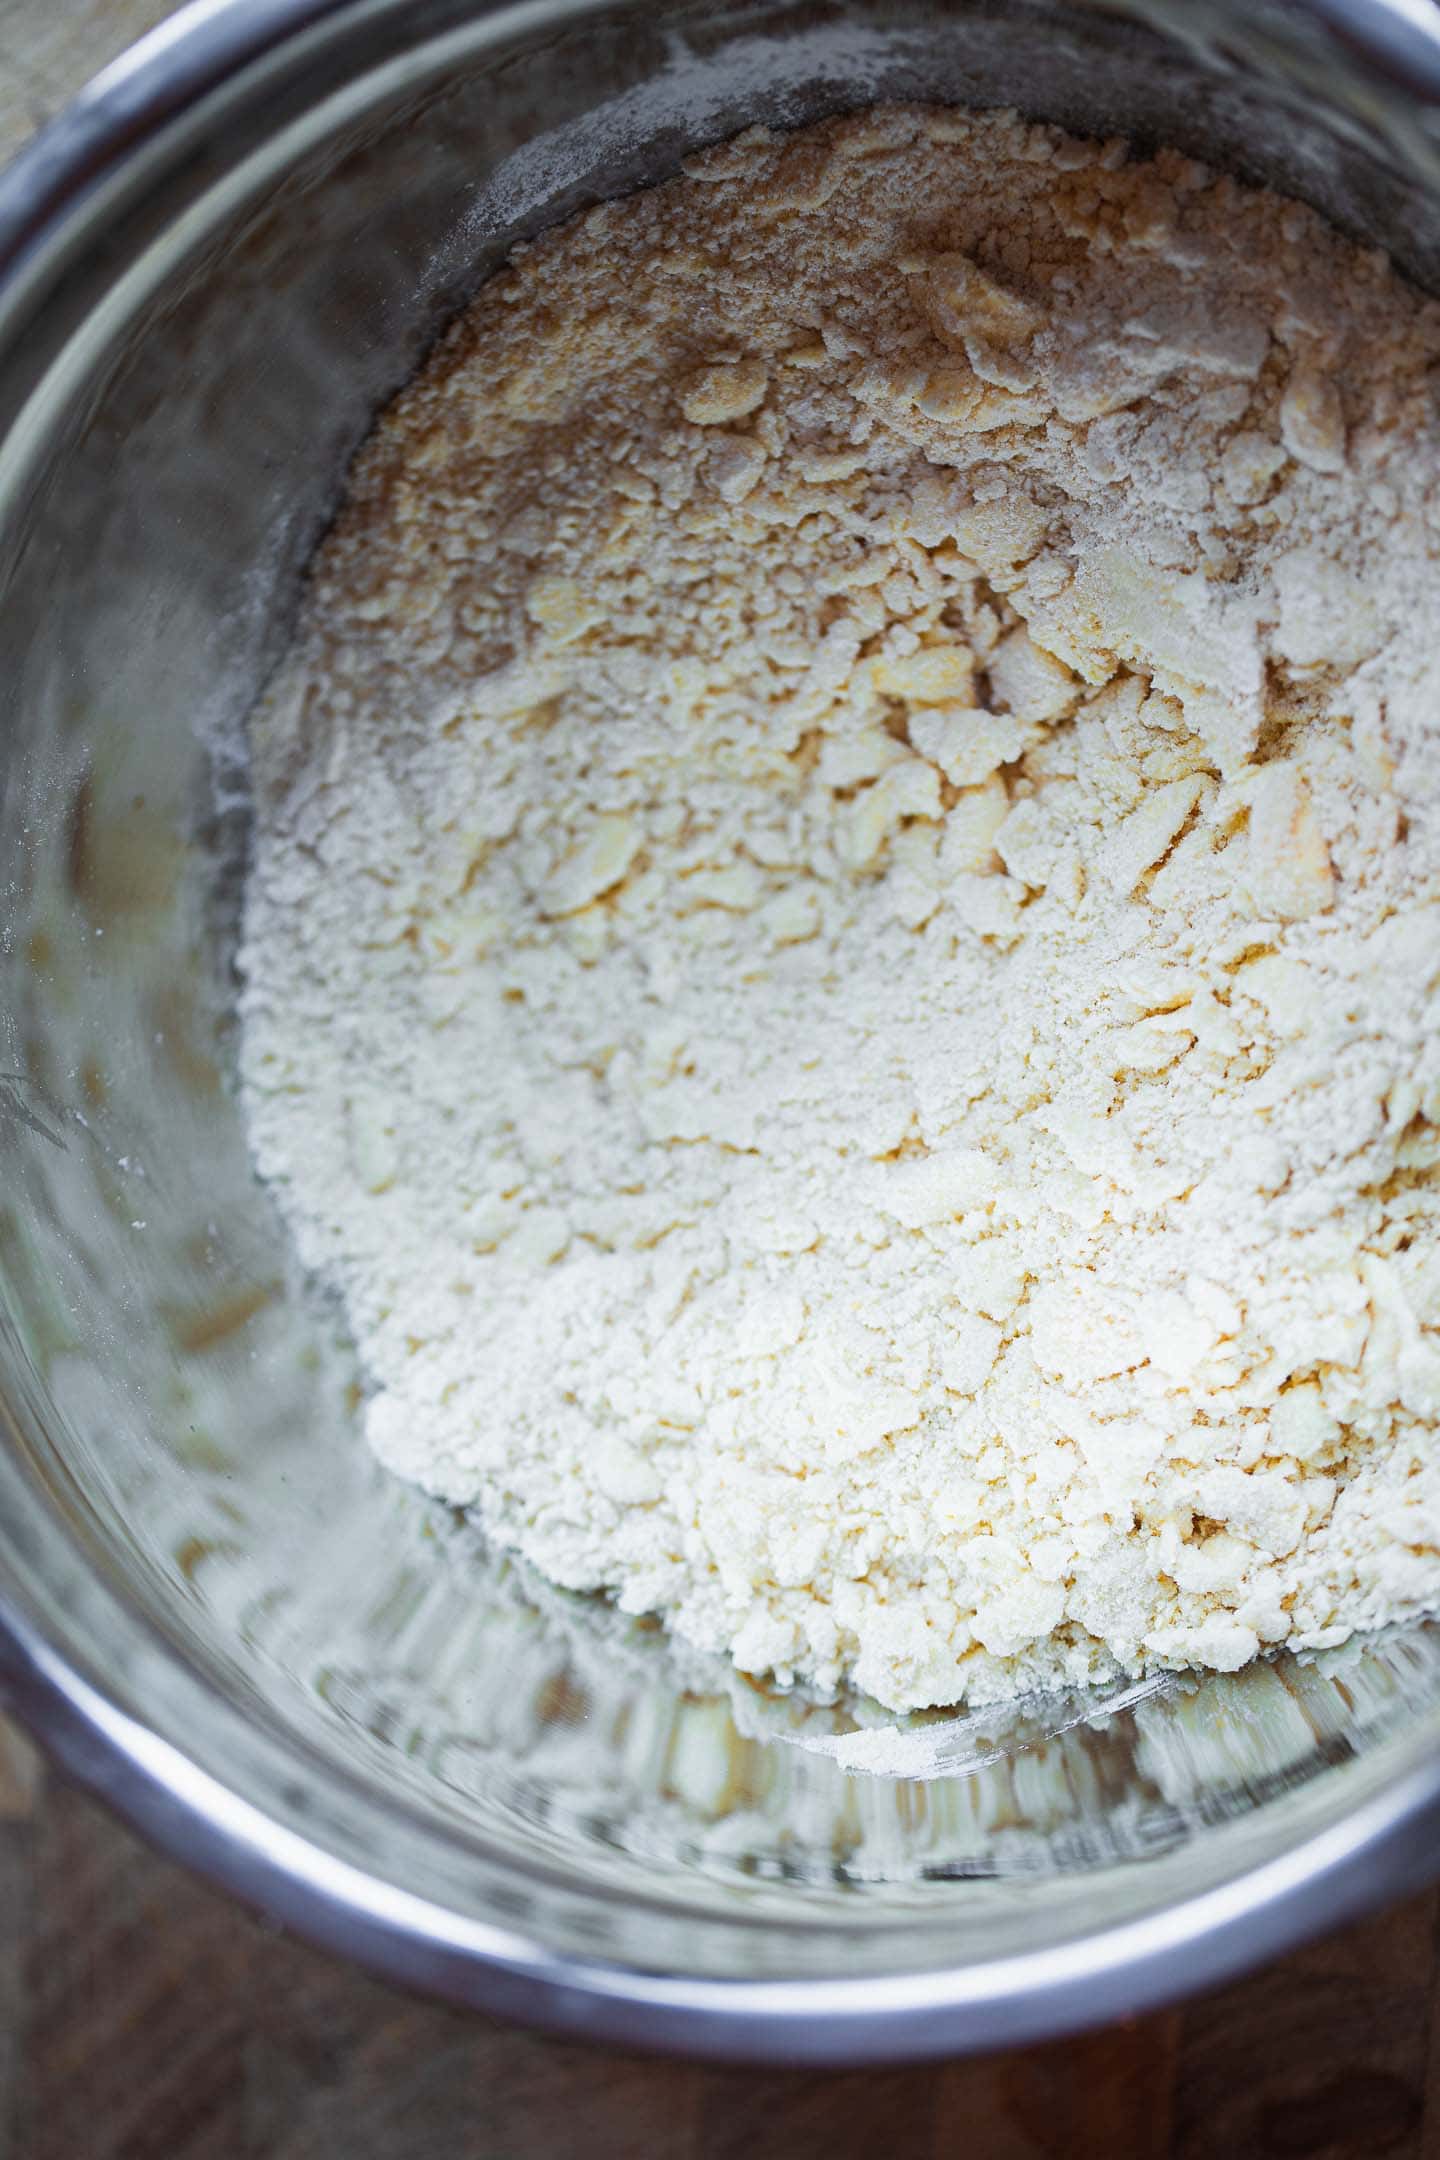
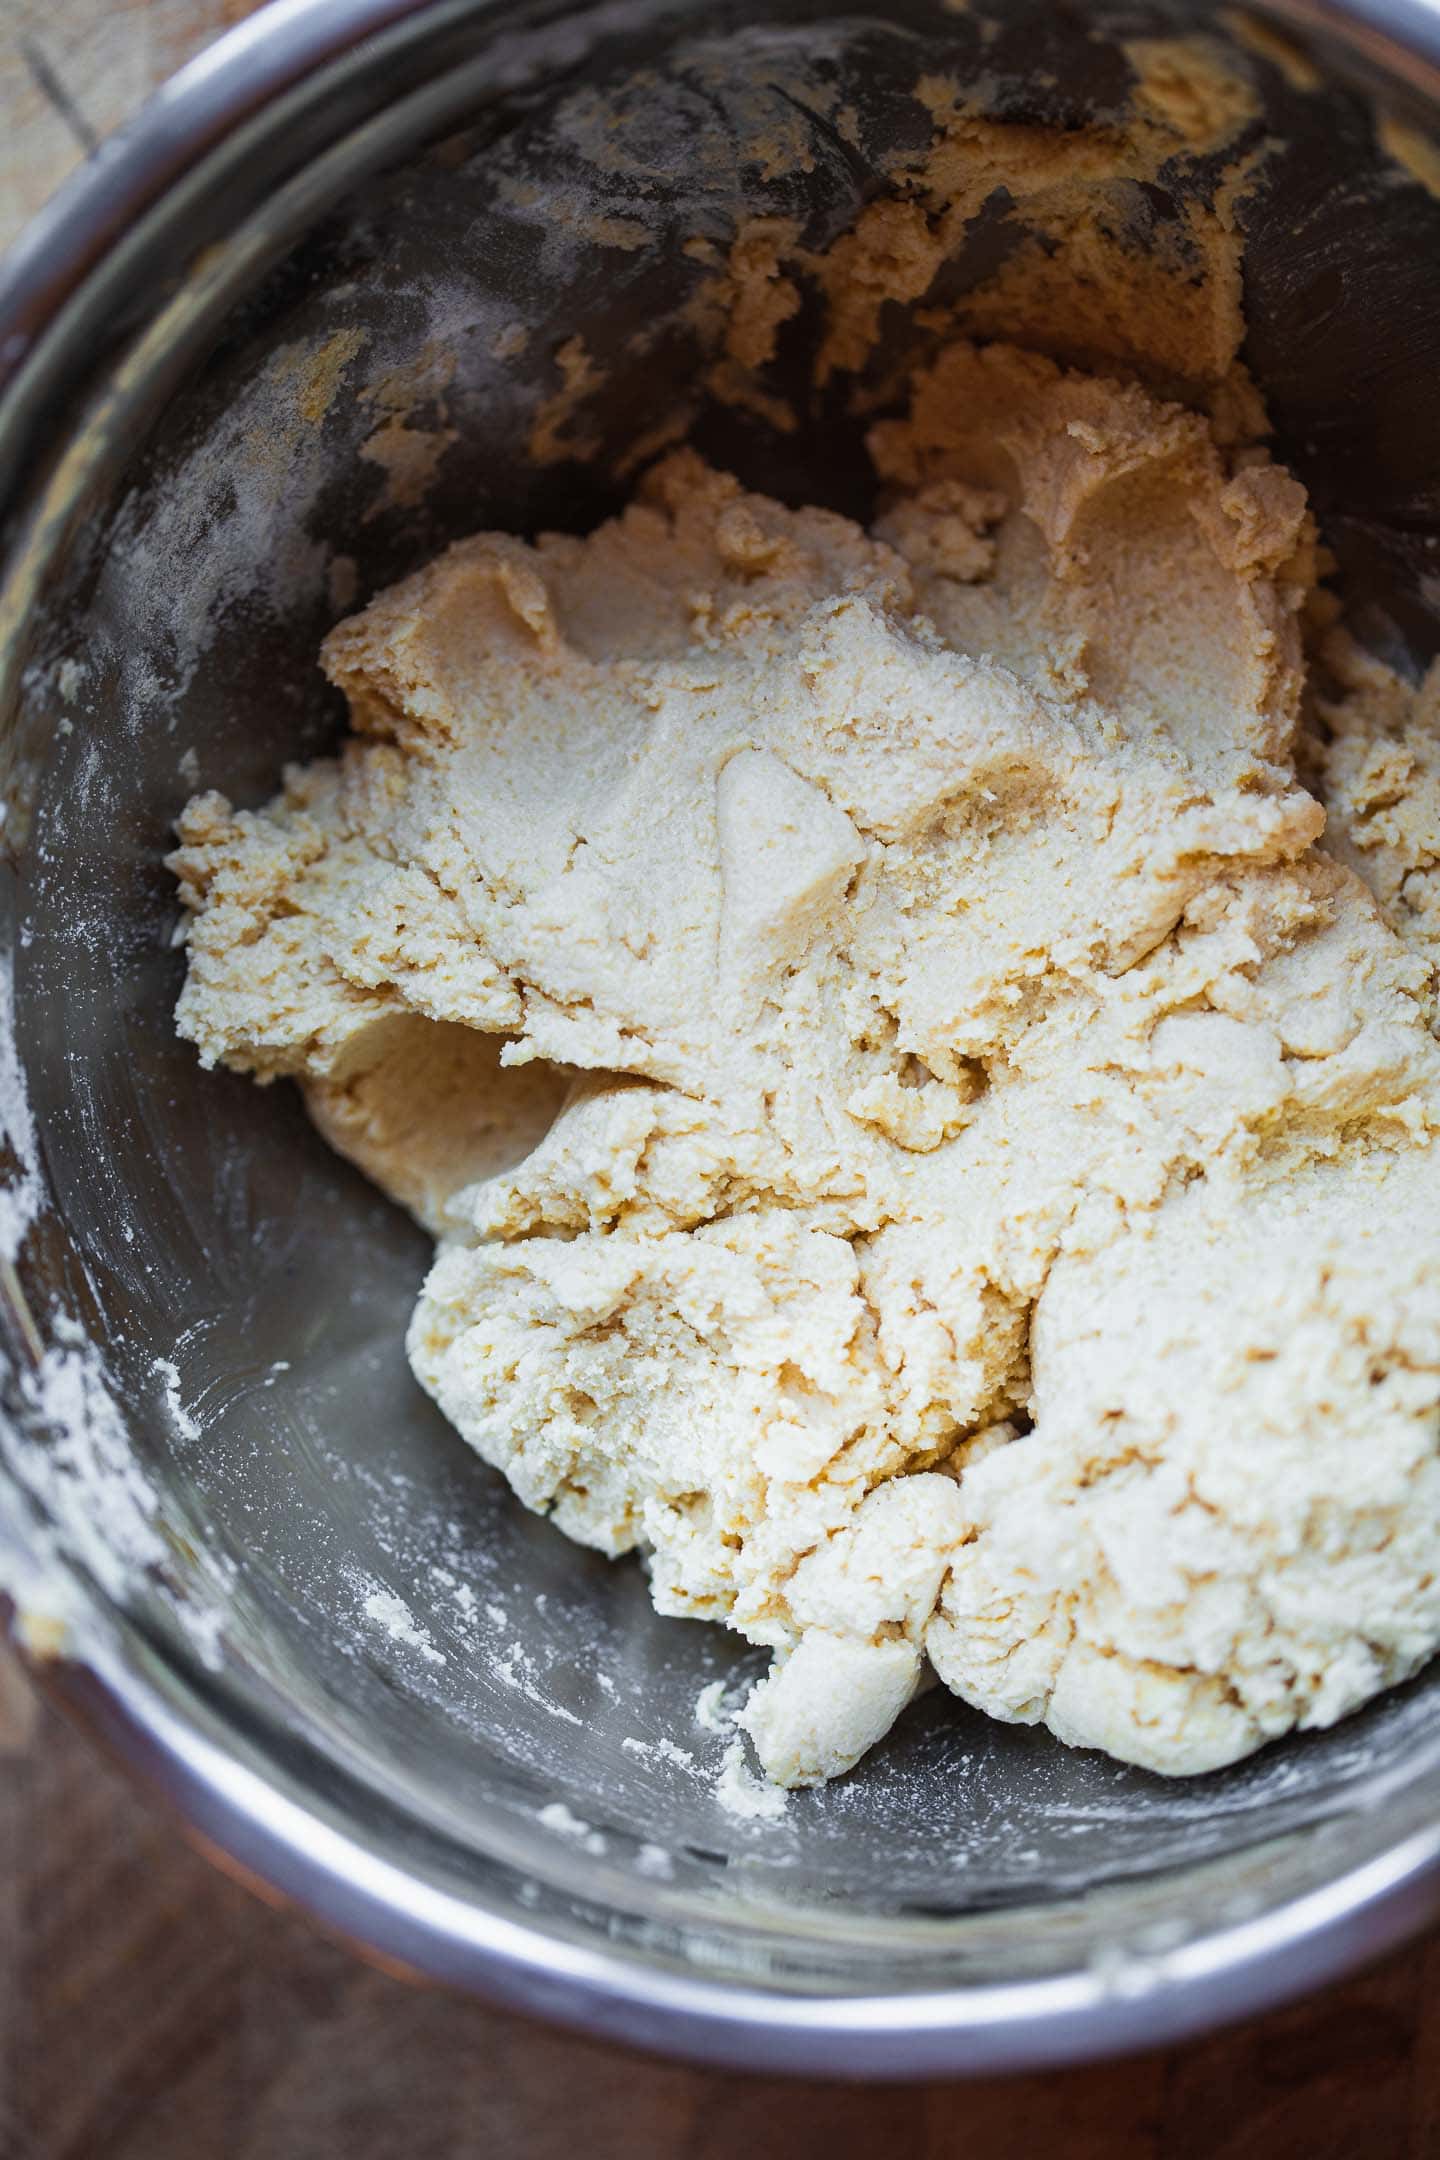
Meanwhile, in a large mixing bowl combine the brown rice flour, cornmeal, baking powder, sugar and xanthan gum. Now add the vegan butter and use a palette knife to make a crumbly texture. Do not use your hands to mix, as this will melt the butter.
Now pour in the 'buttermilk' mixture and mix together using a rubber spatula until a dough forms.
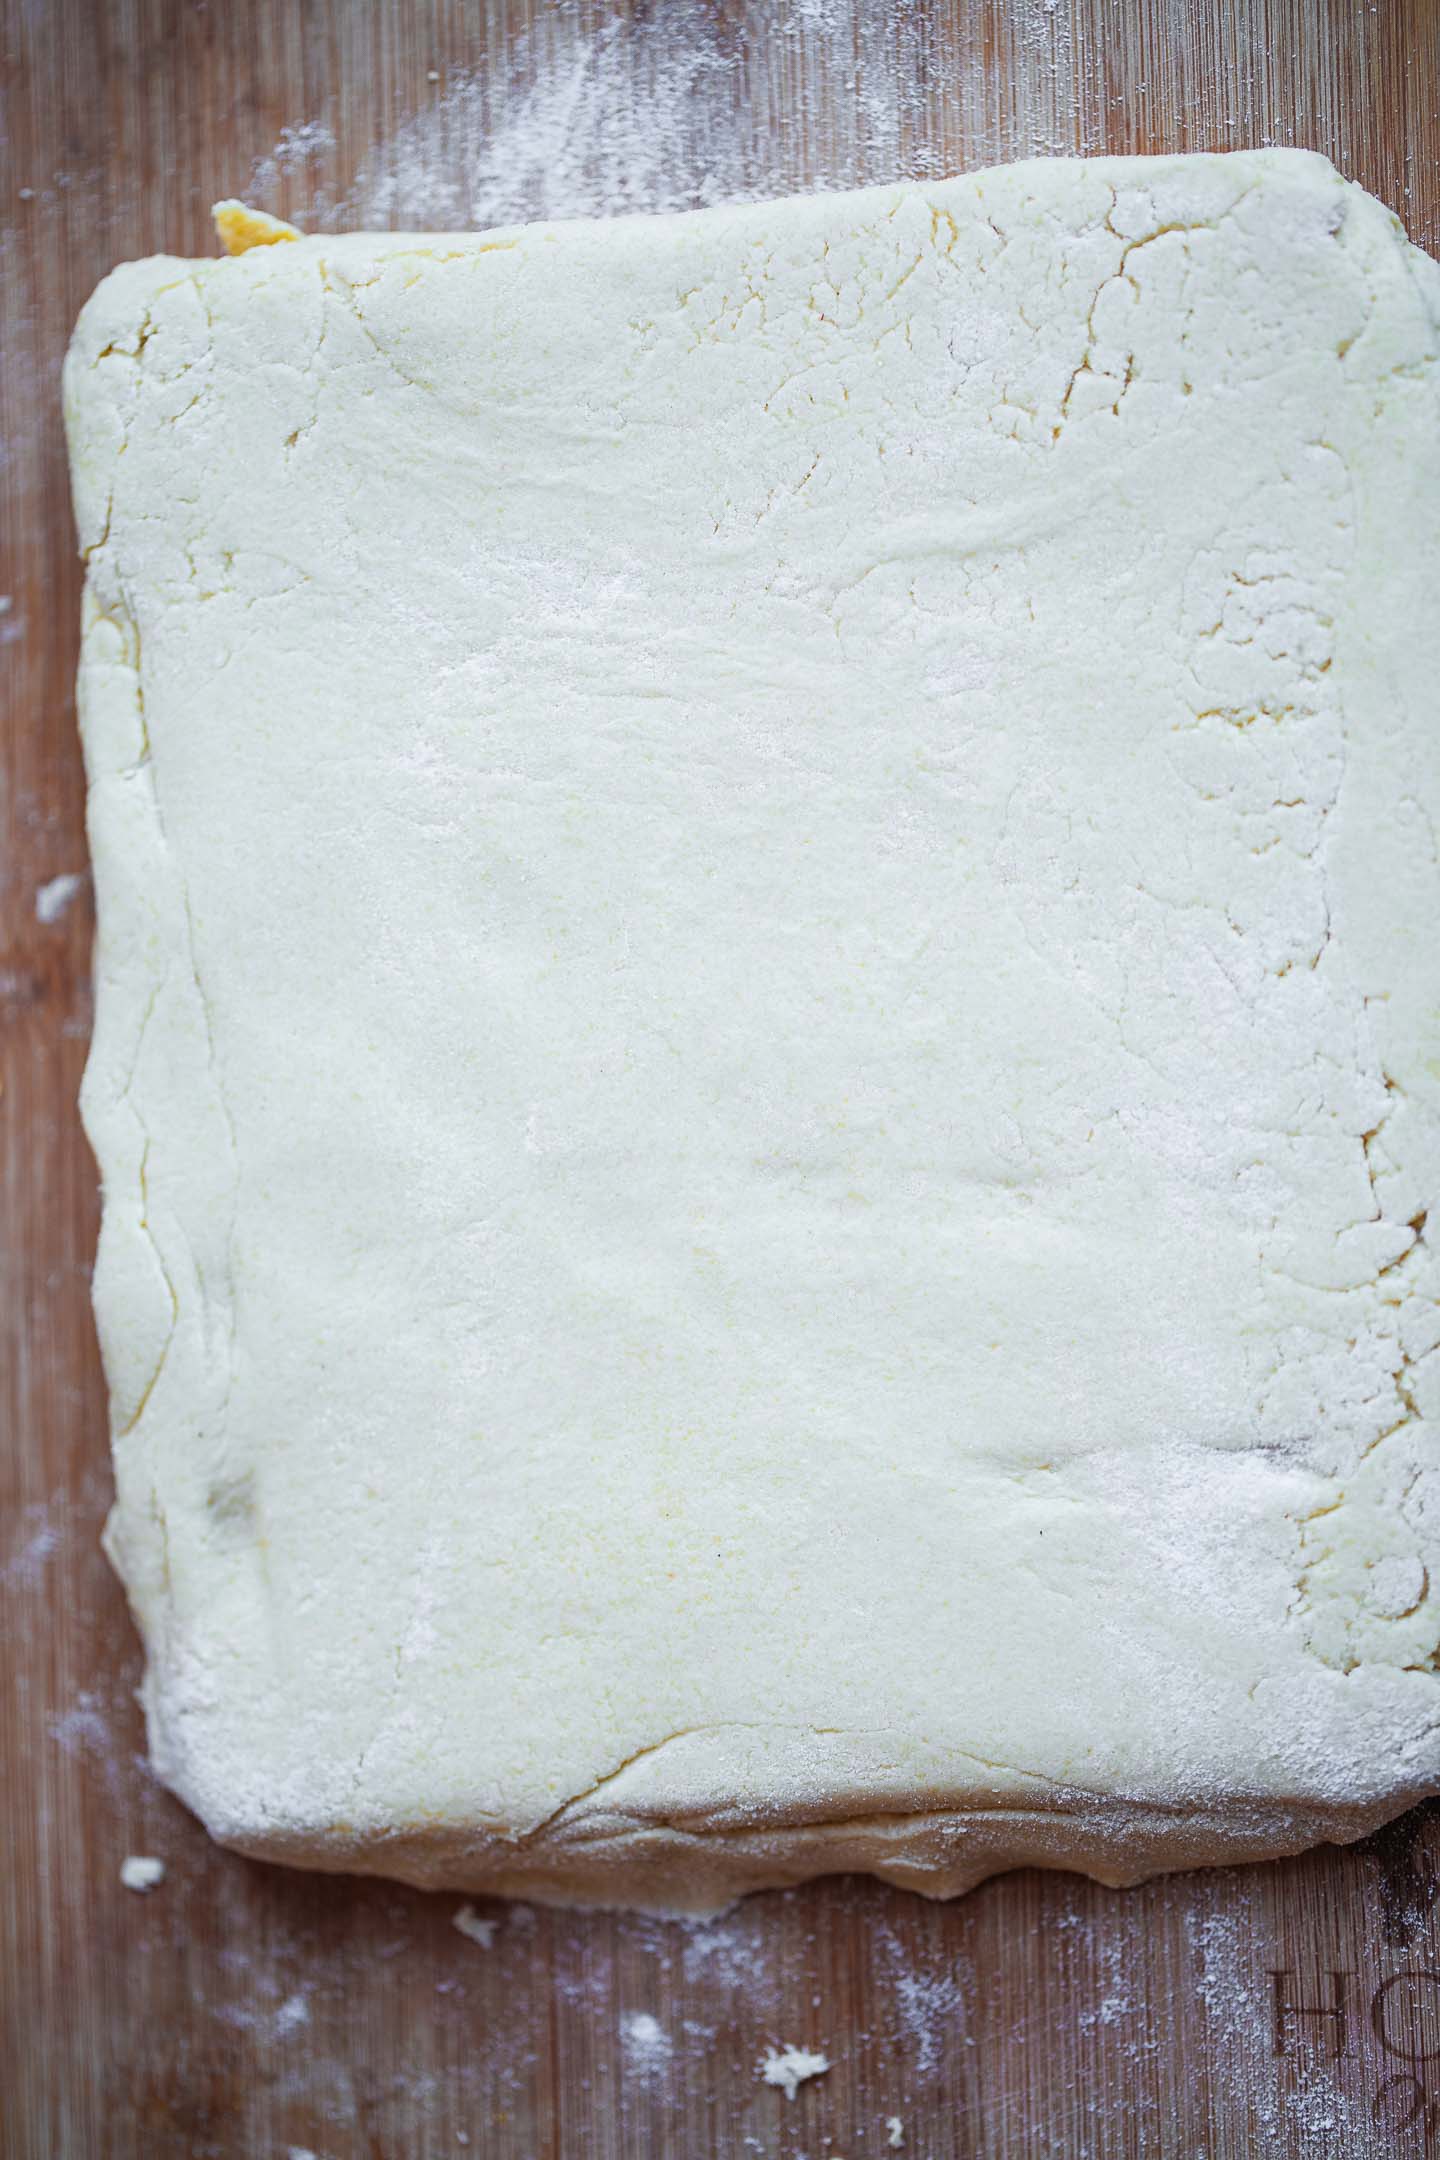
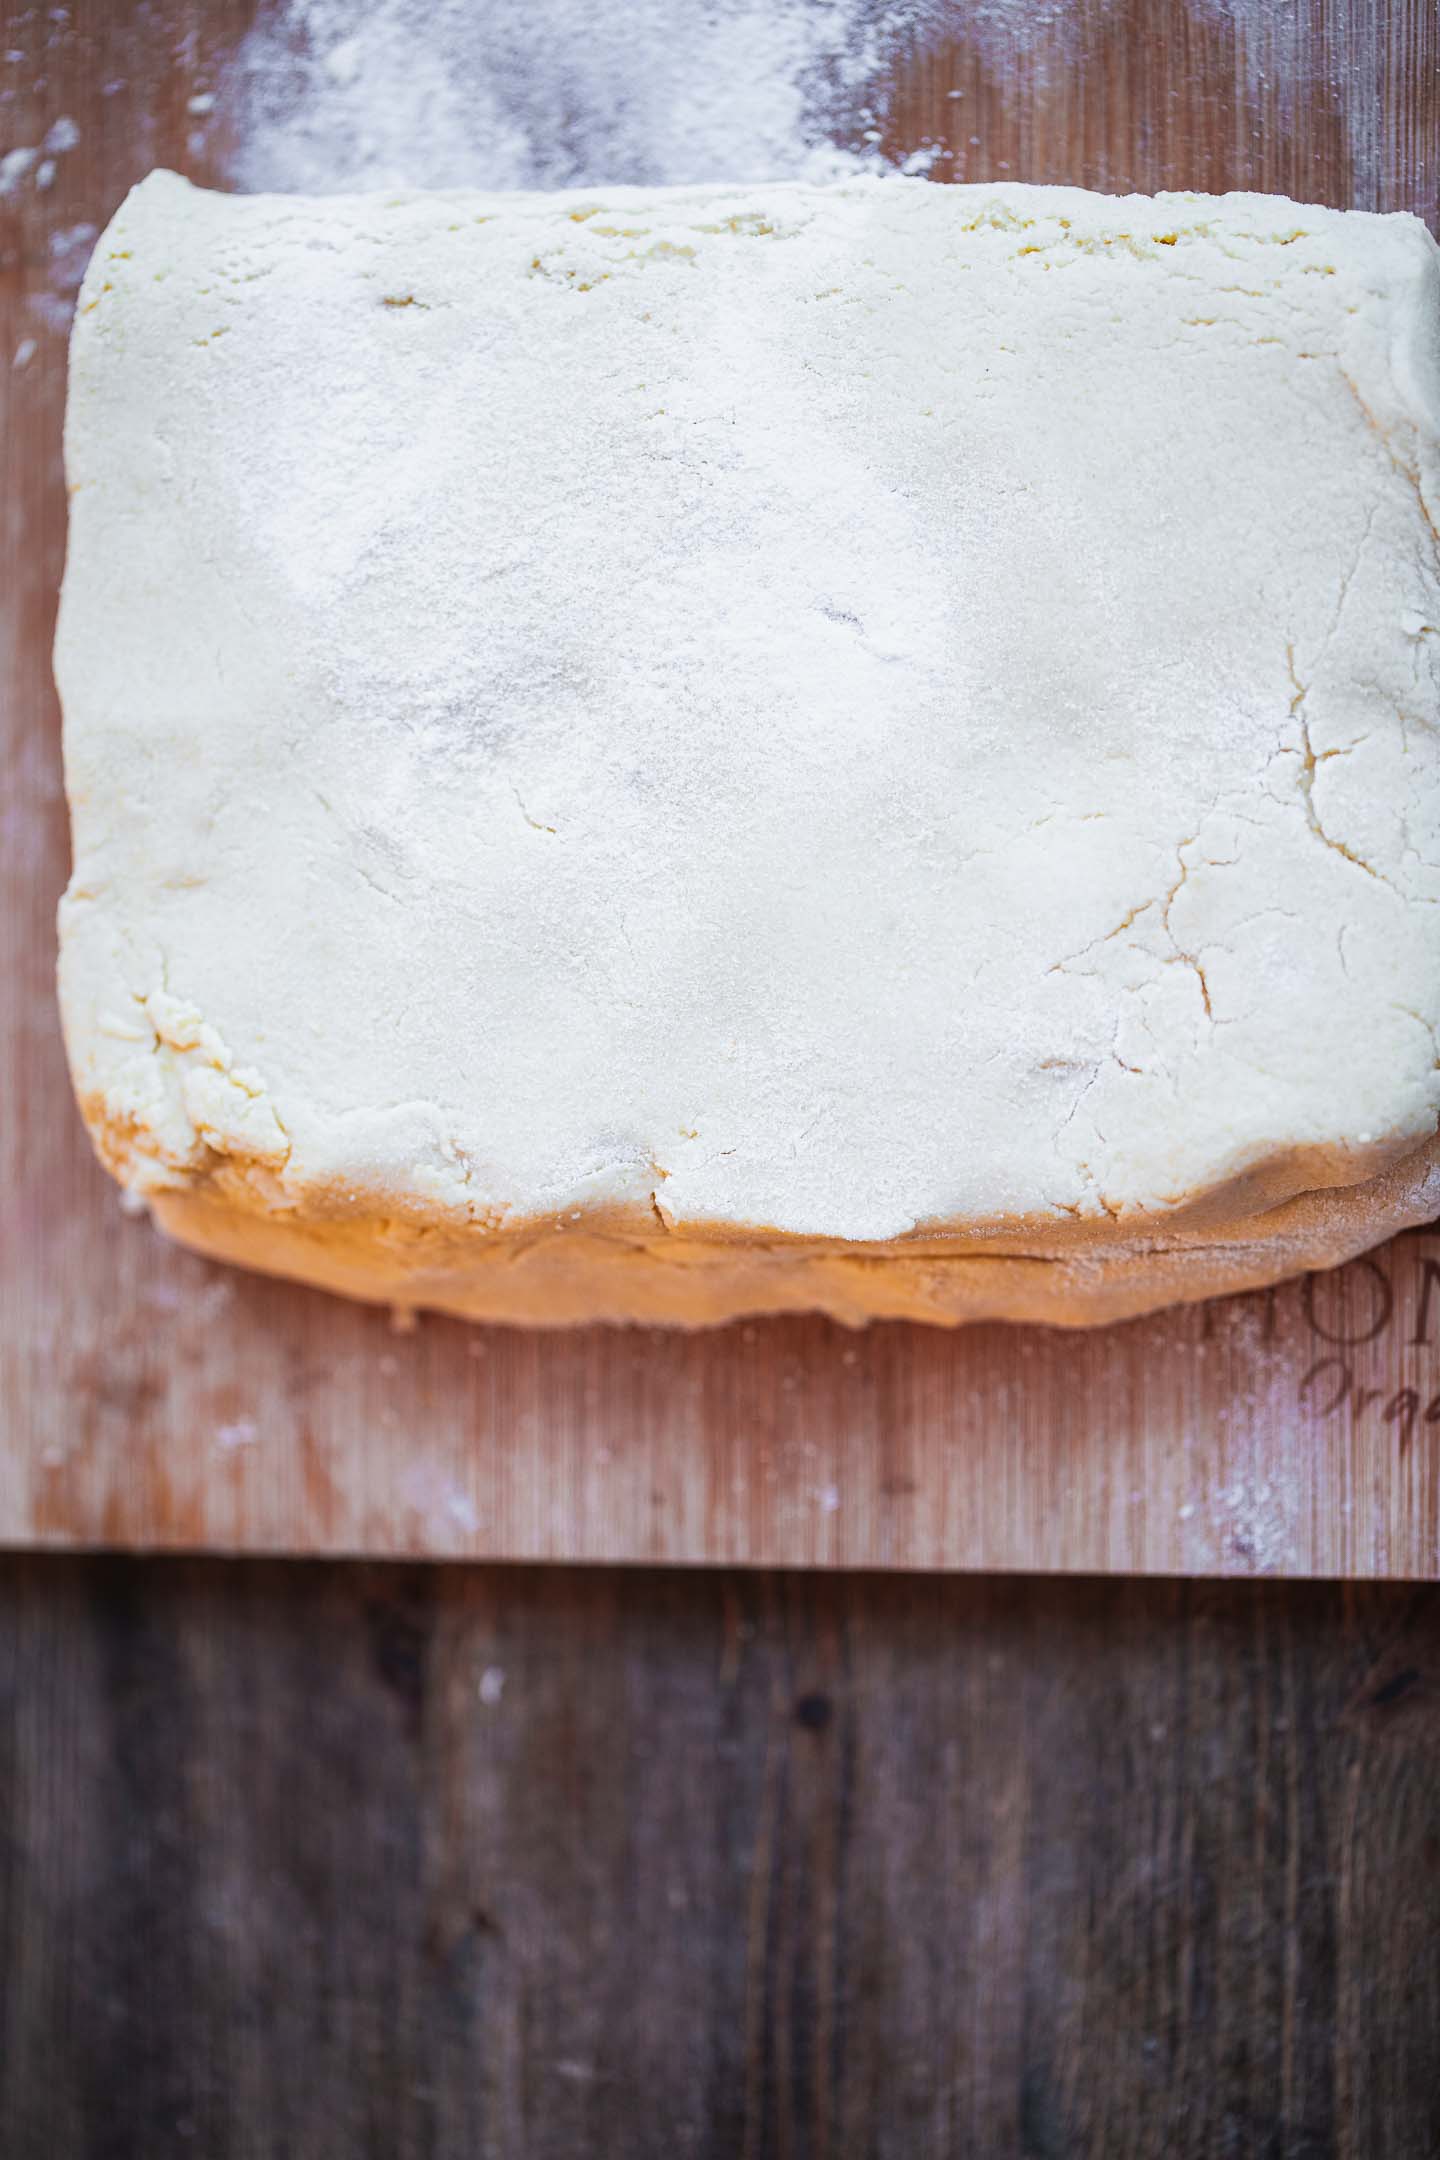
Transfer the dough to a lightly floured surface and roll out into a flat rectangle. Fold the rectangle in half, and then roll out once more into a sheet around ¾ inch in thickness.
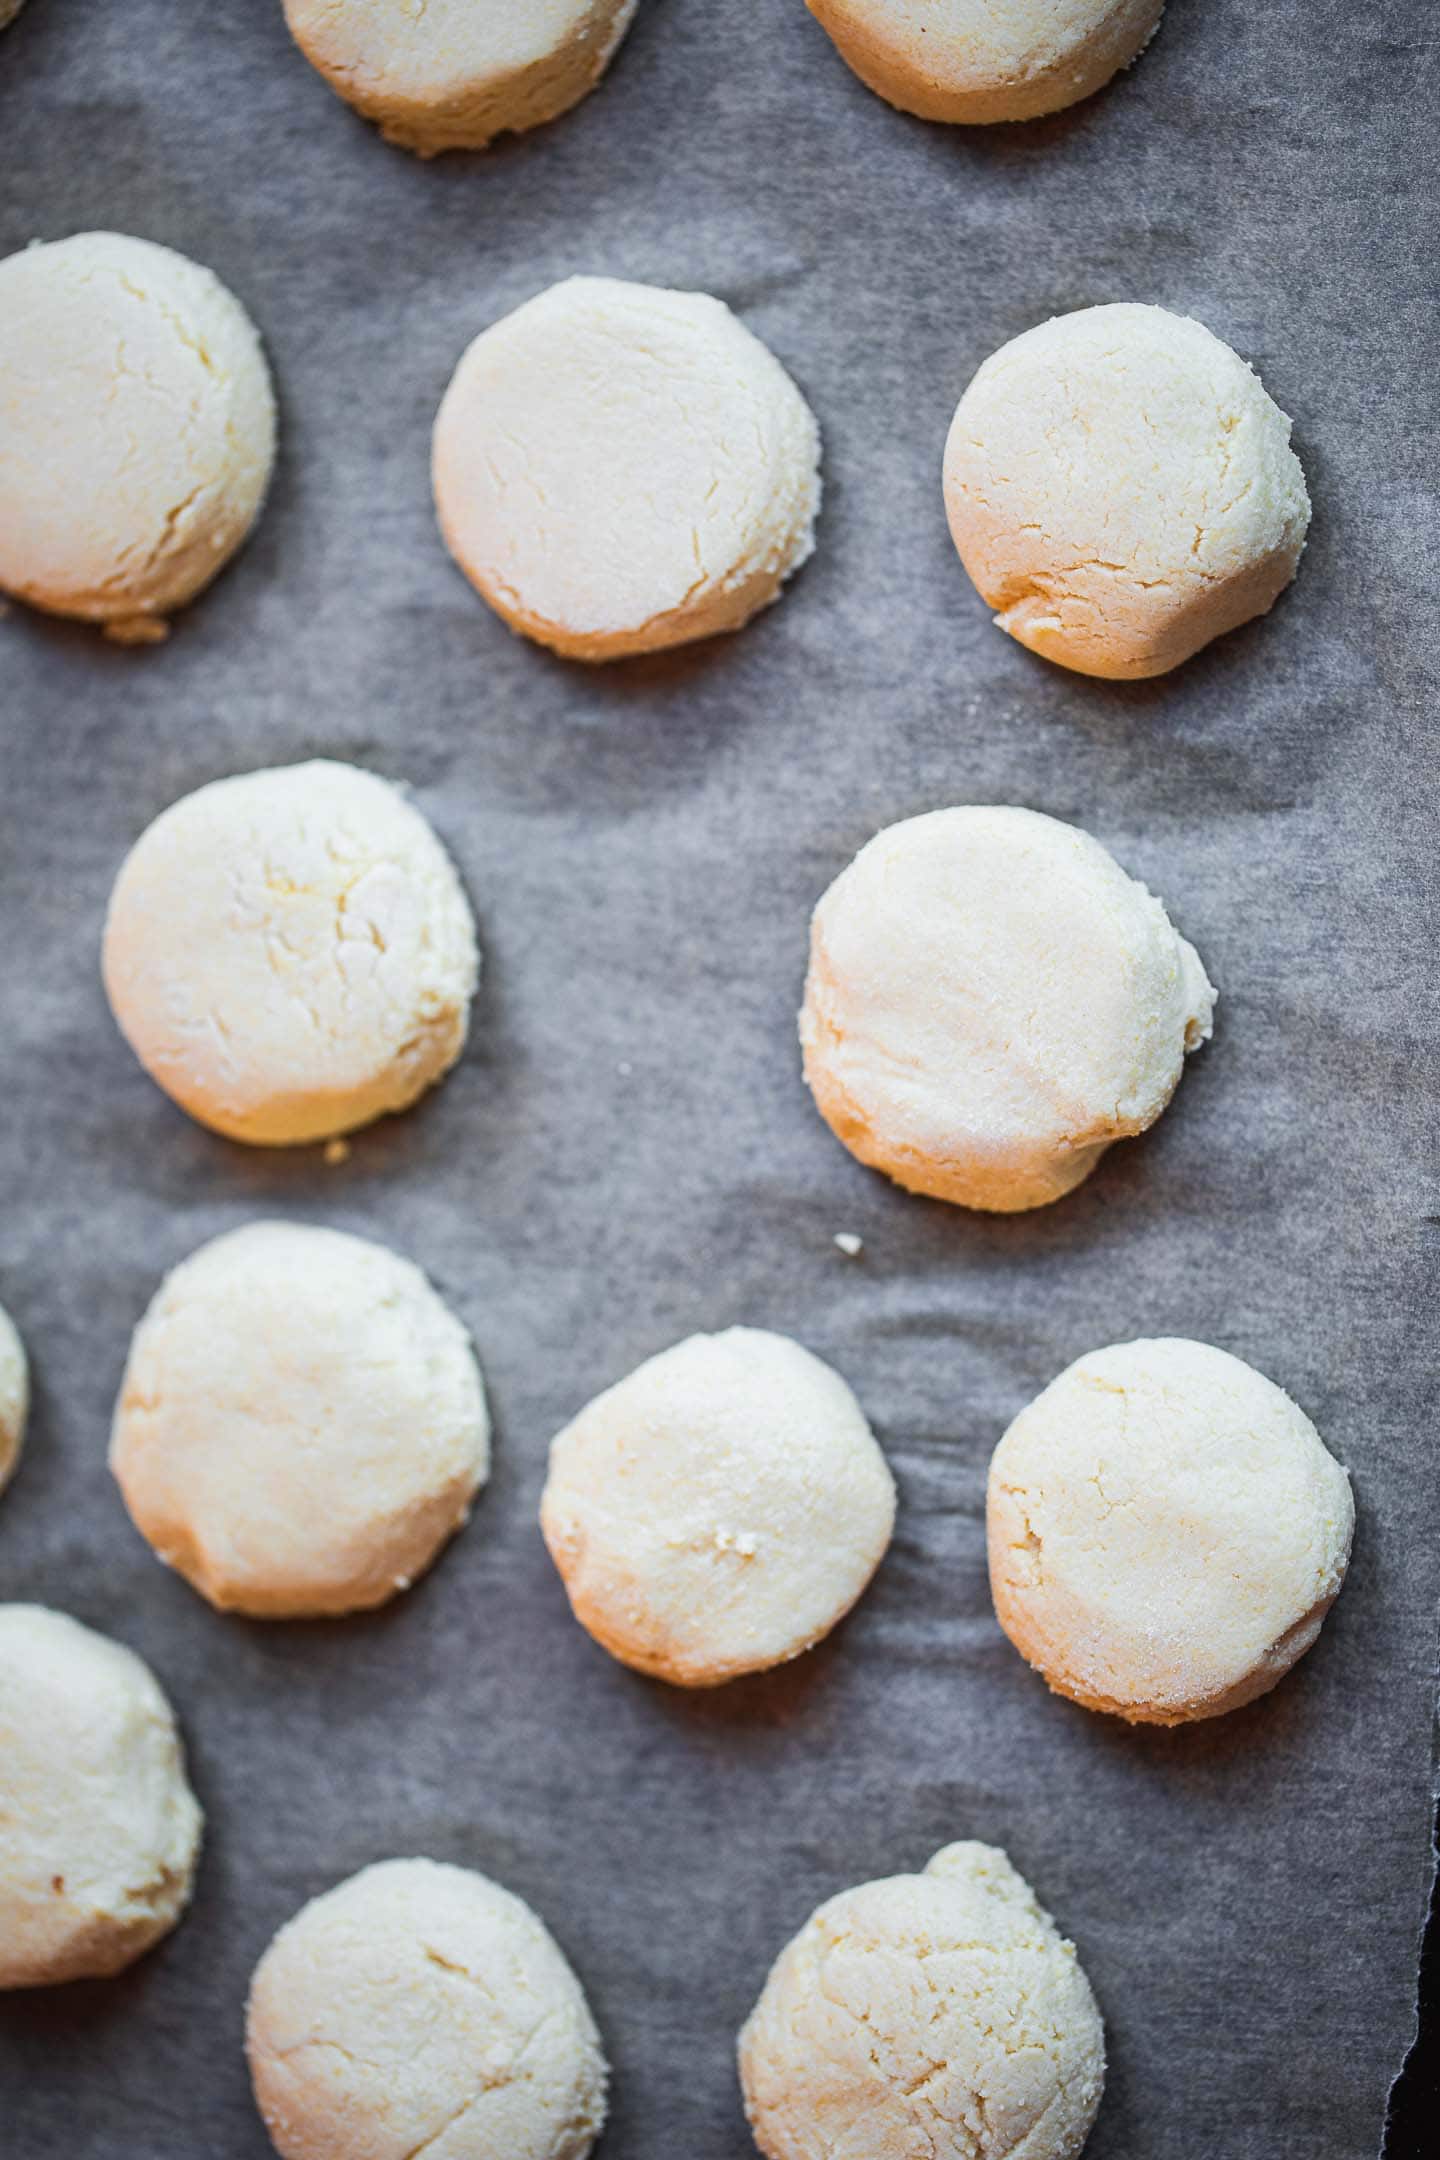

Use a cookie cutter to cut out the biscuit shapes and transfer them to a baking tray lined with parchment paper. Bake in the preheat oven for 20-25 minutes, until lightly golden brown.
Vegan mushroom gravy
Honestly, this gravy with mushrooms and carrots is delicious enough to eat by itself with a spoon! It goes so well in vegan biscuits and gravy, but it can also be served with other vegan meals, such as a nut roast or mashed potatoes.

It is rich and savoury, with a nutty and cheesy undertone. You only need simple ingredients to make it and practically no time. Simply start making it when the biscuits are almost ready and serve straight away for comfort food deliciousness!
Ingredients for this vegan gravy
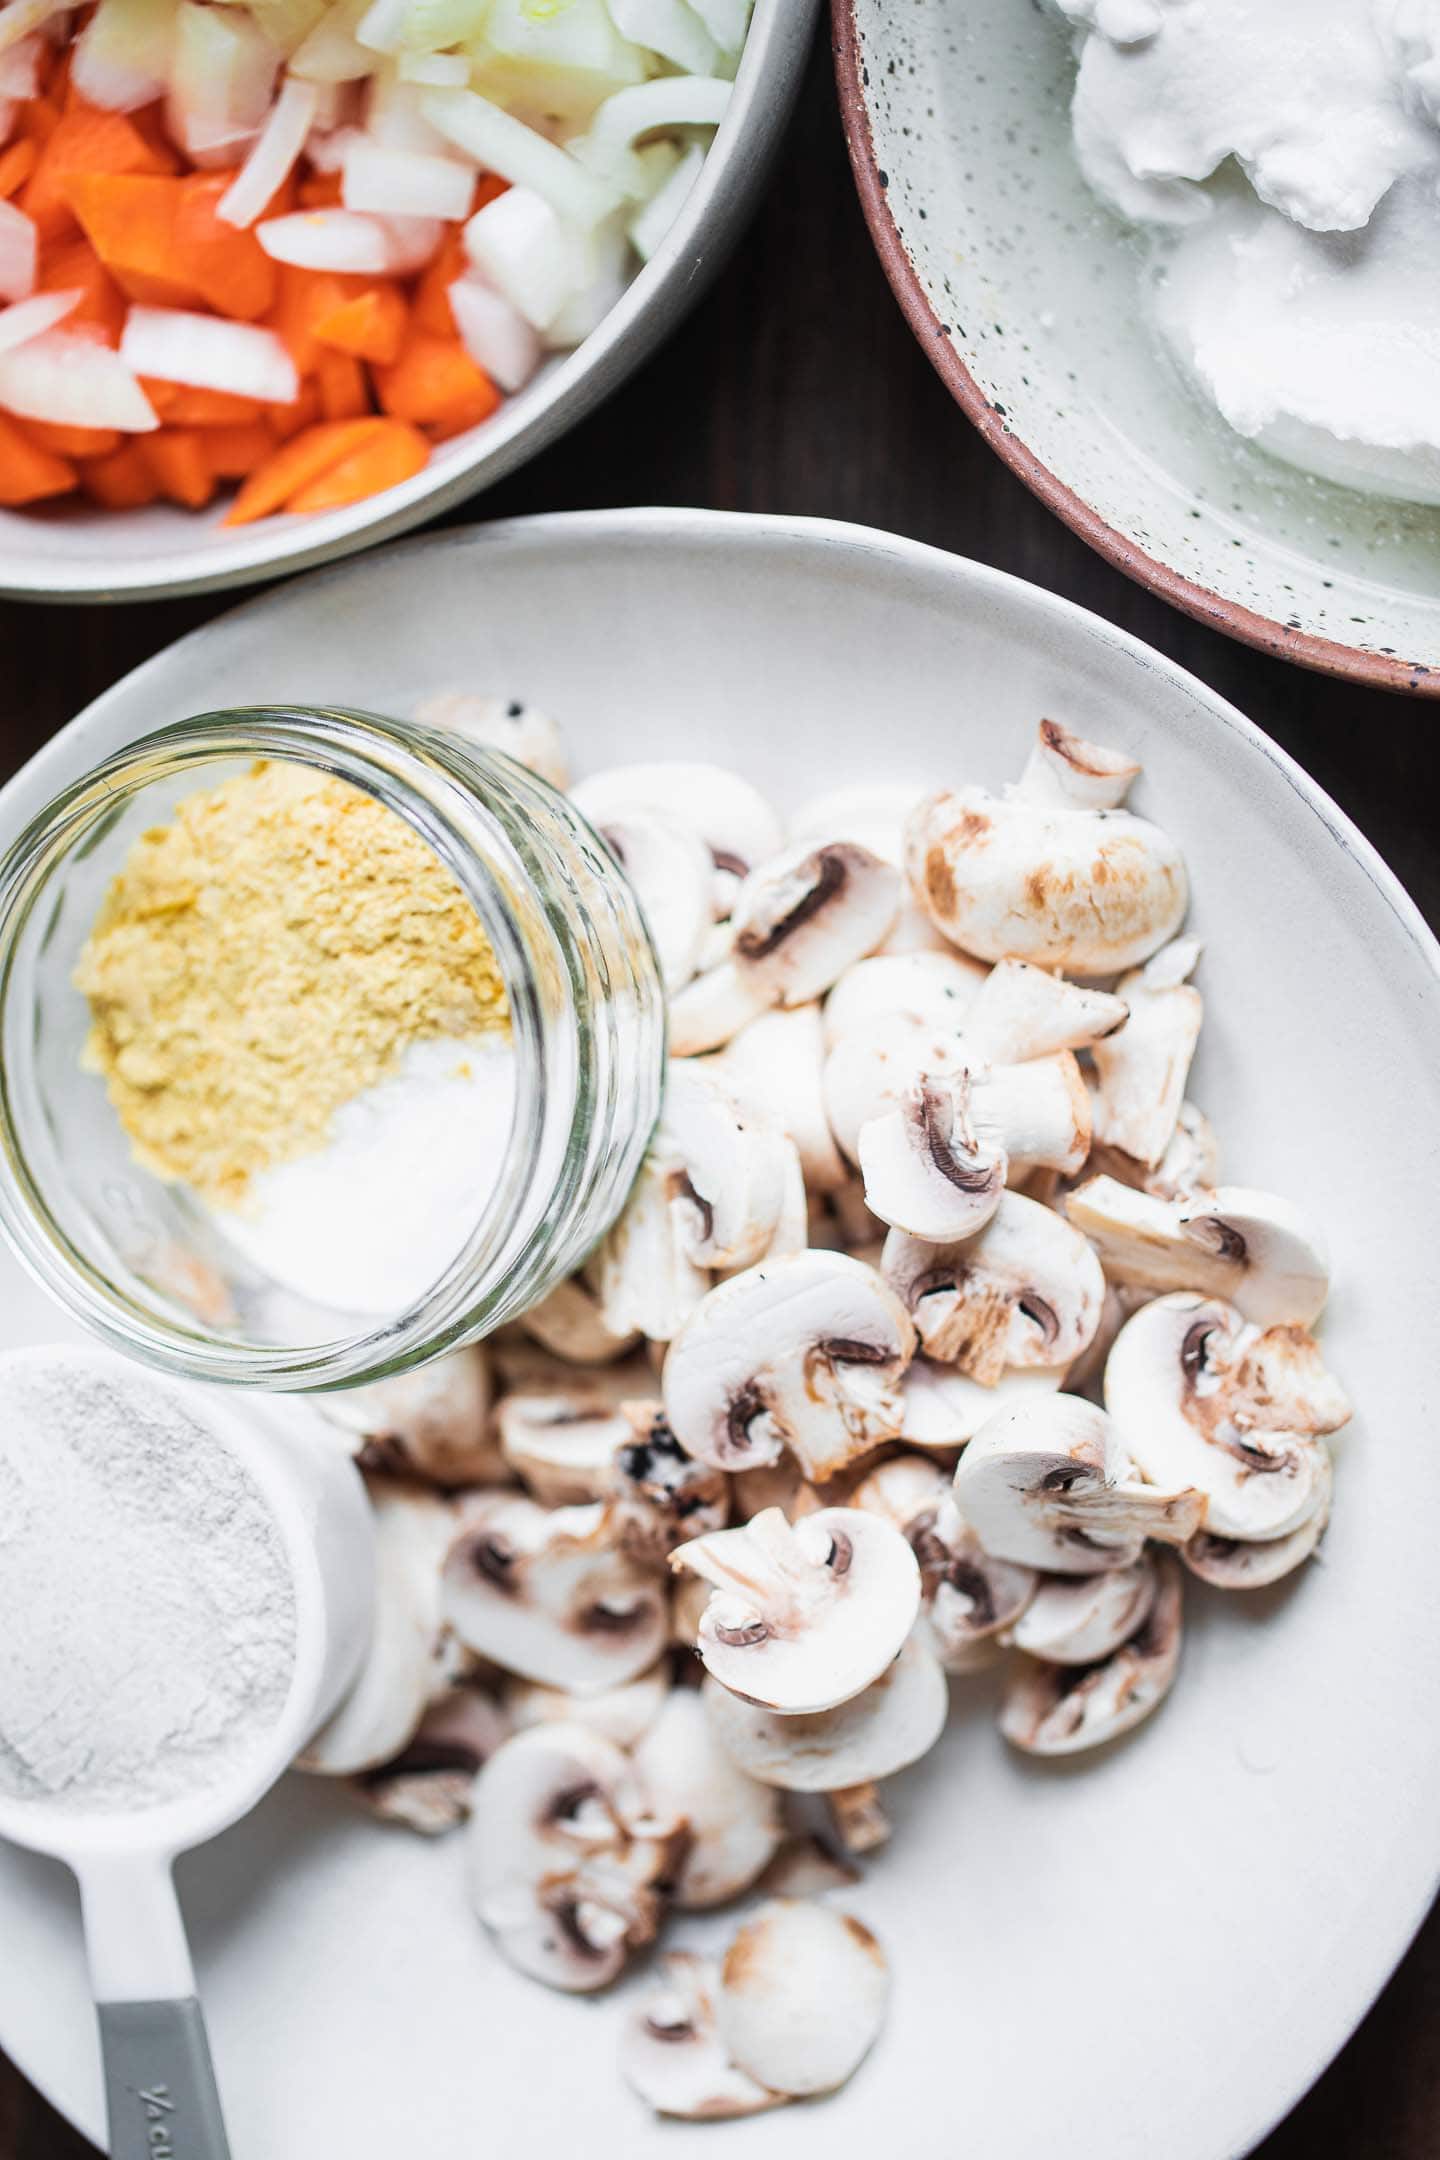
- Vegan butter. This will be used for cooking the vegetables. You can use it with any oil of your choice.
- Onion.
- Carrots. Finely diced carrots are great for adding texture.
- Mushrooms. Button mushrooms or chestnut mushrooms work well here.
- Coconut milk from a can. You can use full fat or reduced fat coconut milk depending on your preference.
- Nutritional yeast. A perfect ingredient for adding a cheesy and nutty undertone.
- Salt.
- Buckwheat flour. This will be used for thickening the sauce. You can replace with all-purpose gluten-free flour, cornstarch, or arrowroot.
- Plant based milk from a carton.
How to make dairy-free gravy
It's so easy to make this essential component of vegan biscuits and gravy. Melt the butter in a saucepan. Next, add the onion and carrots, and cook for 3-4 minutes, until they start to soften.
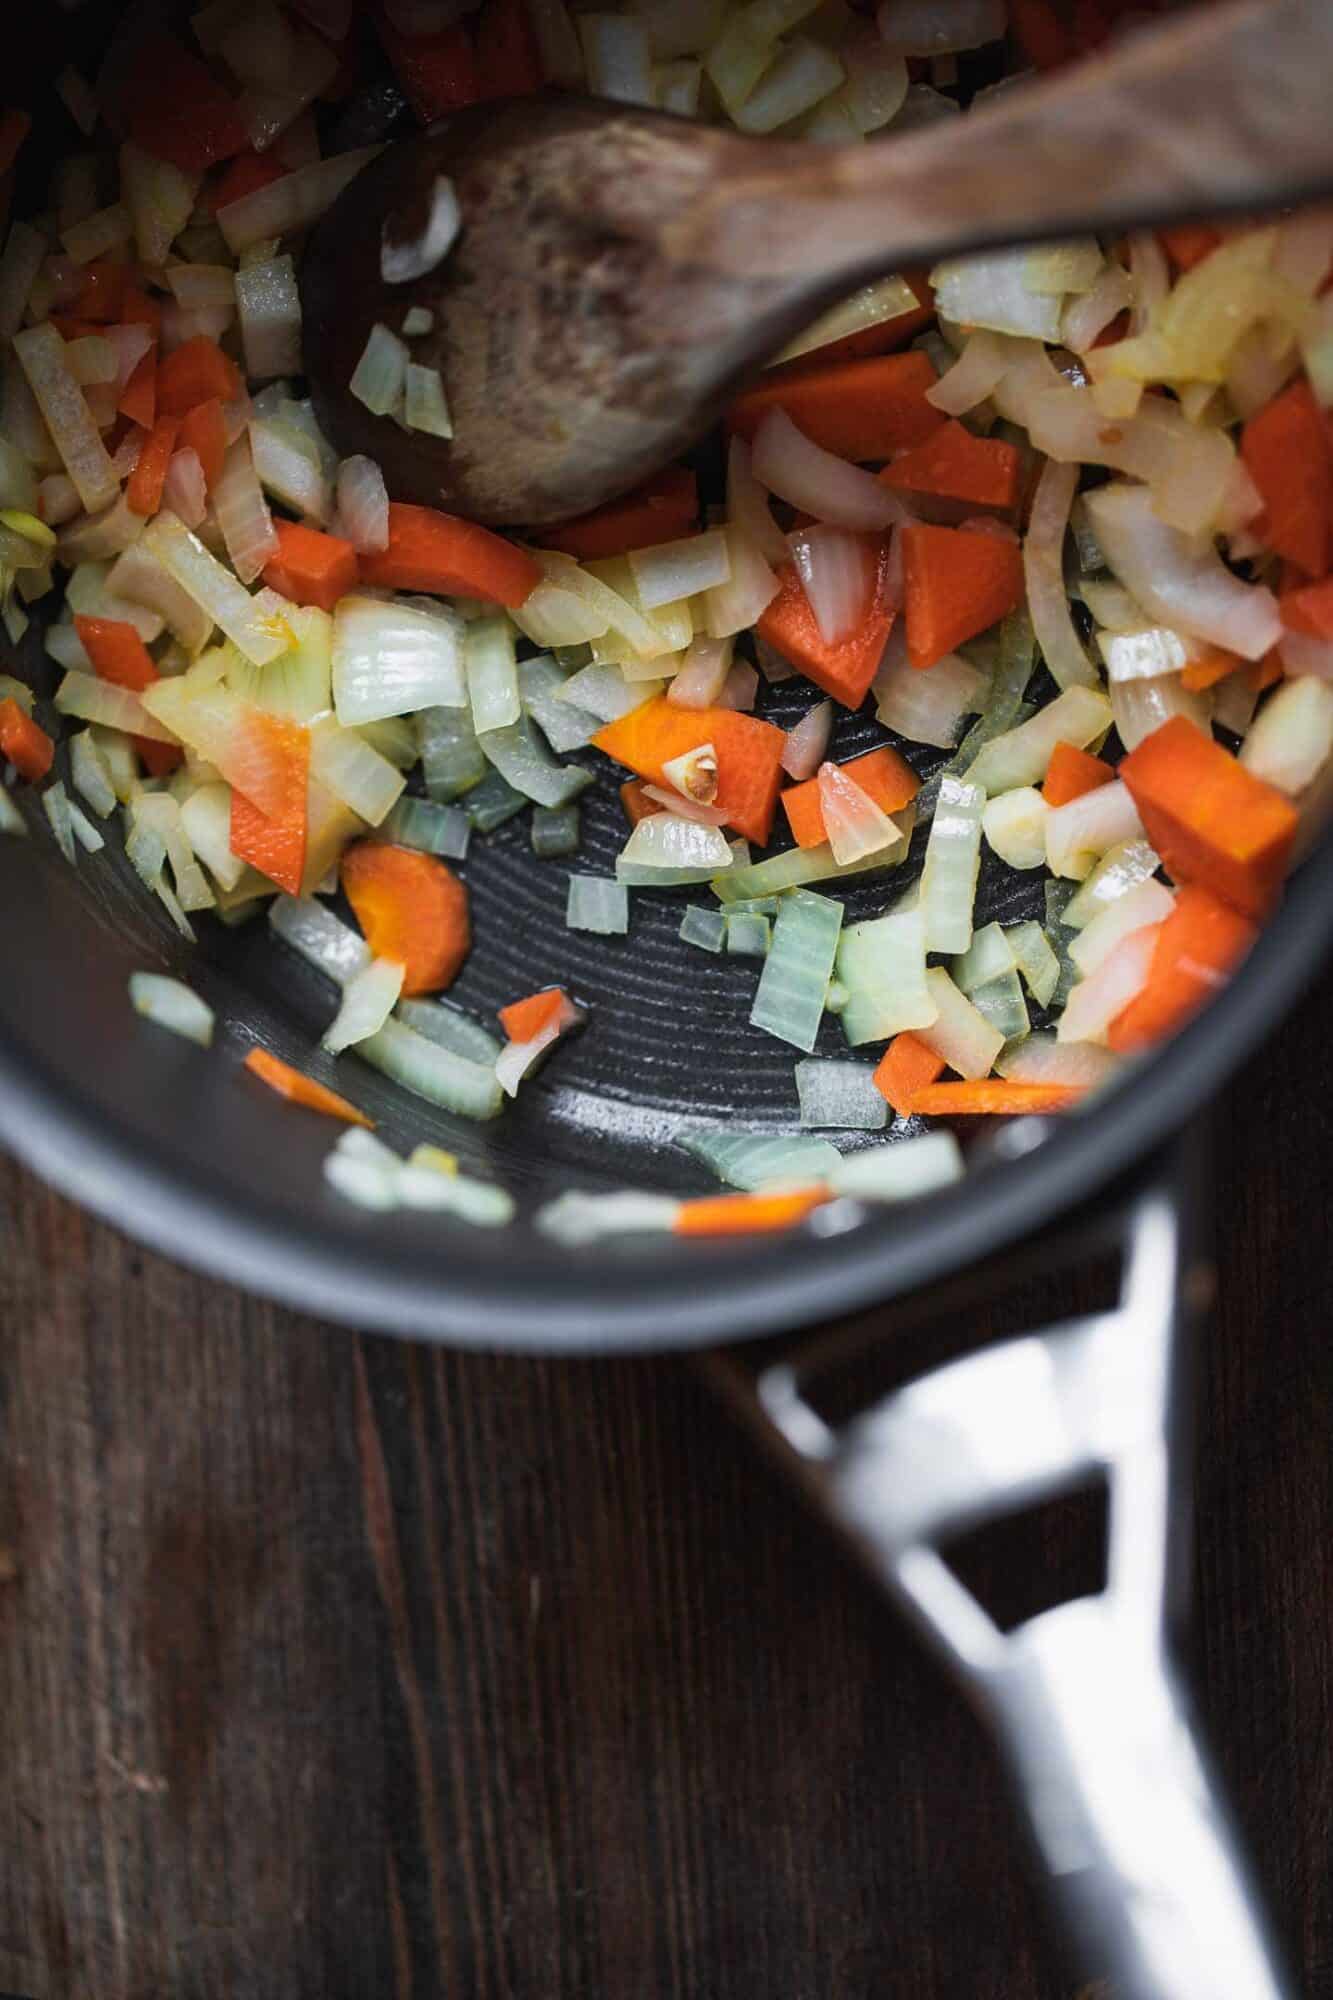
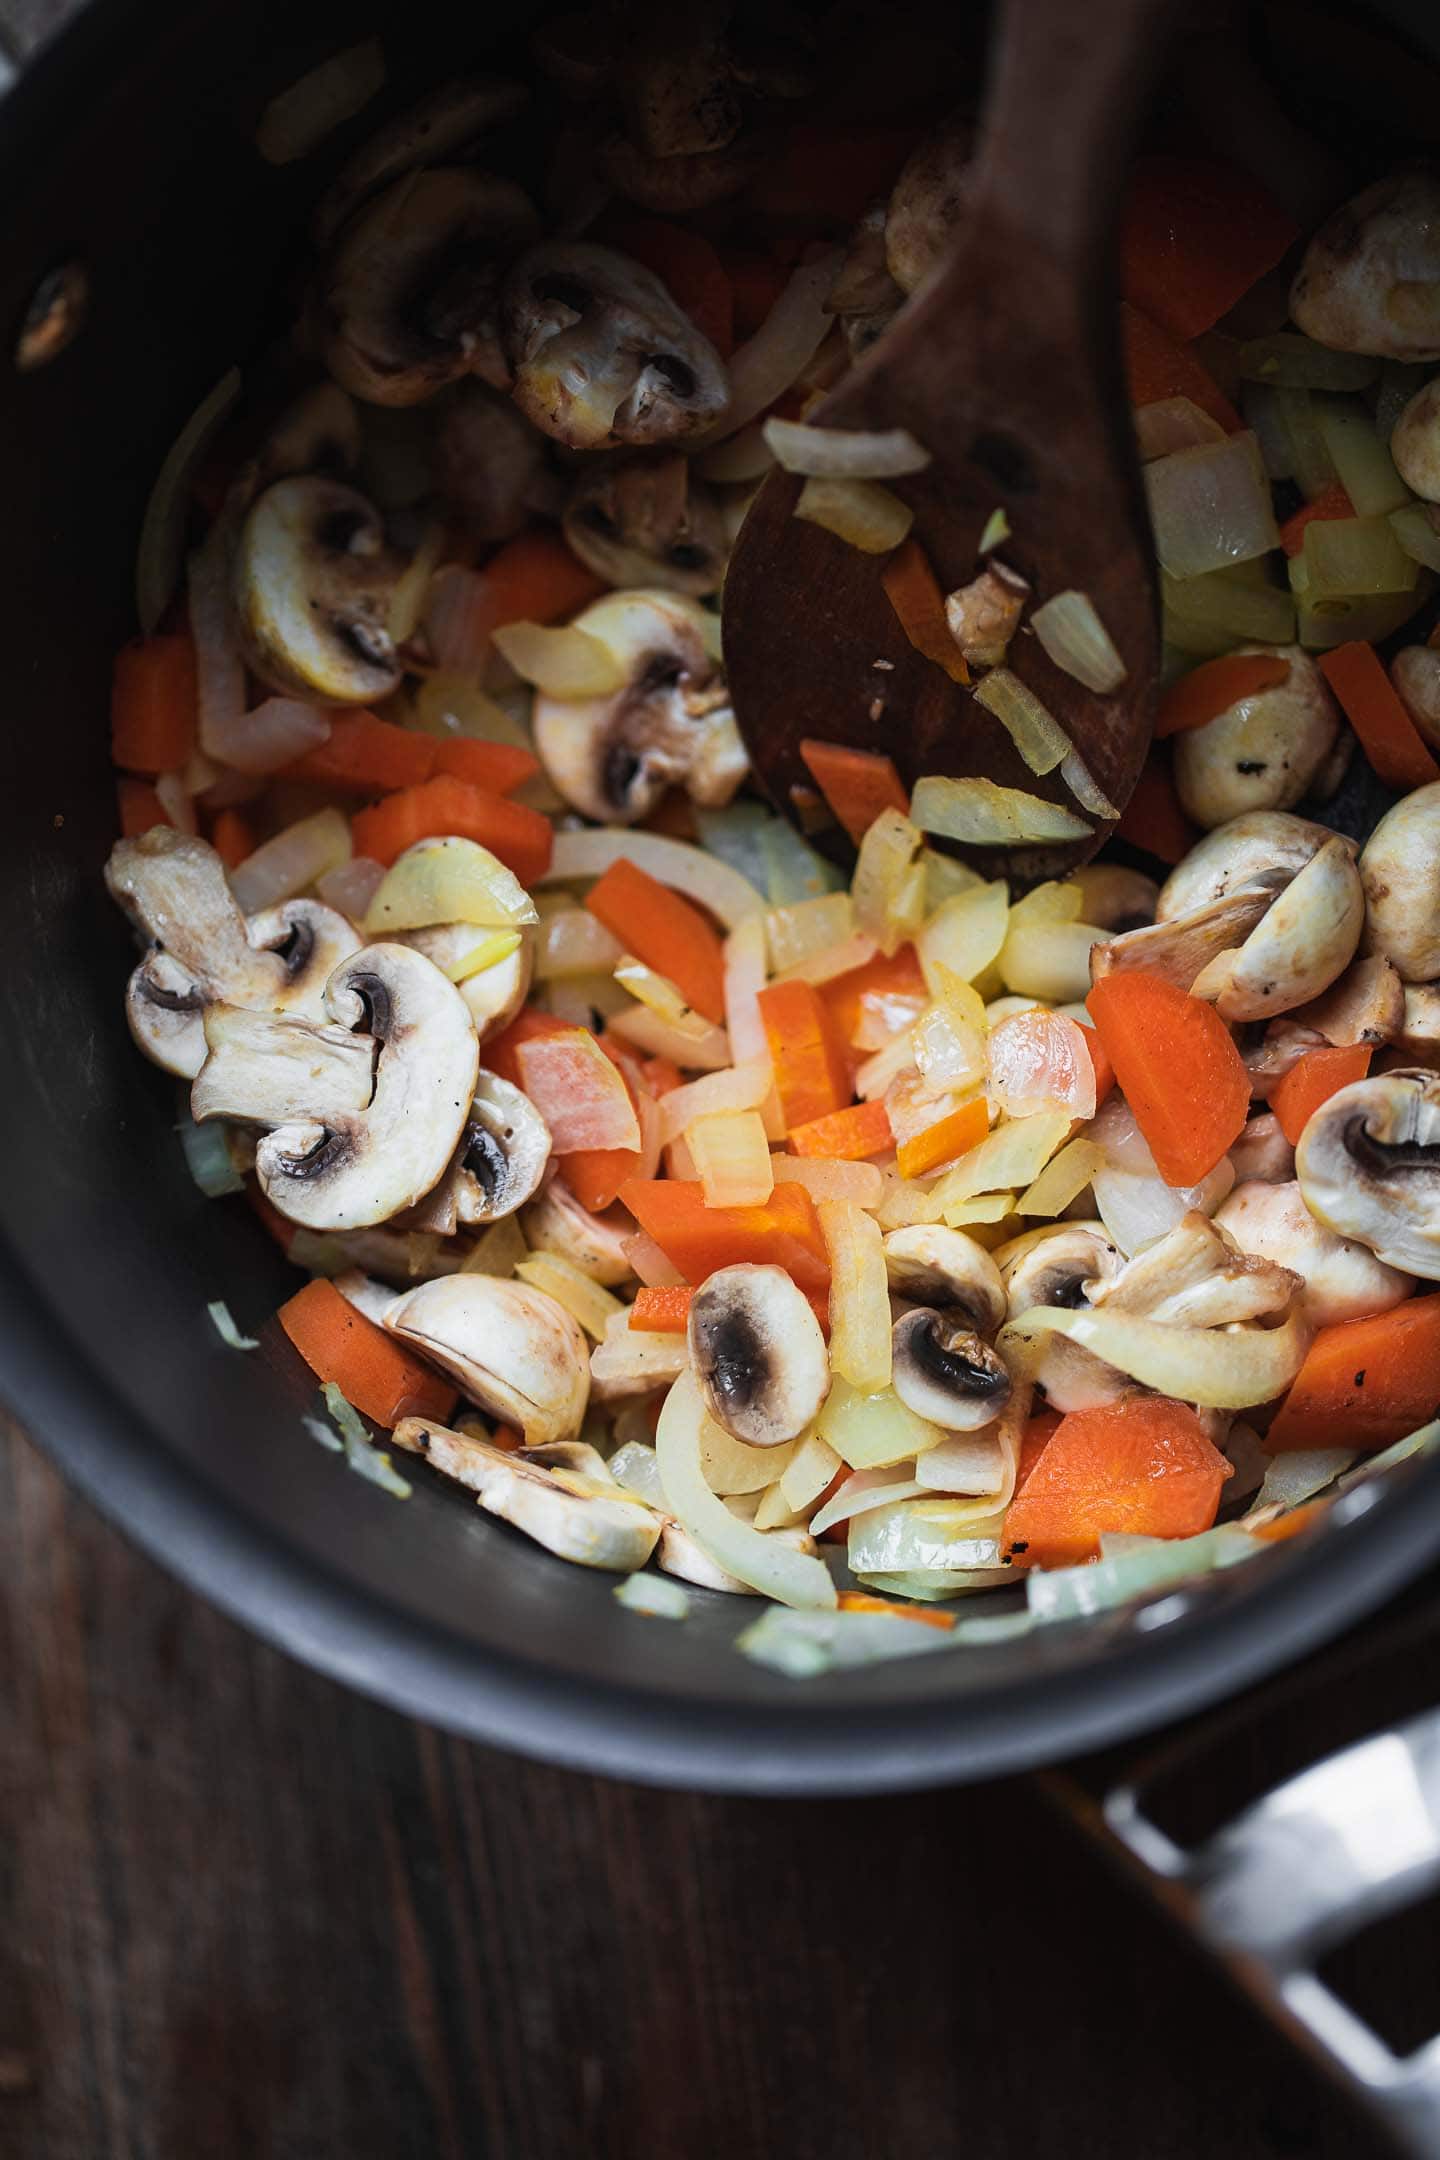
Now add the mushrooms and cook for 3-4 minutes more, until they start to soften.
Pour in the coconut milk, also adding the nutritional yeast, salt, buckwheat flour and plant based milk. Stir until the sauce thickens.
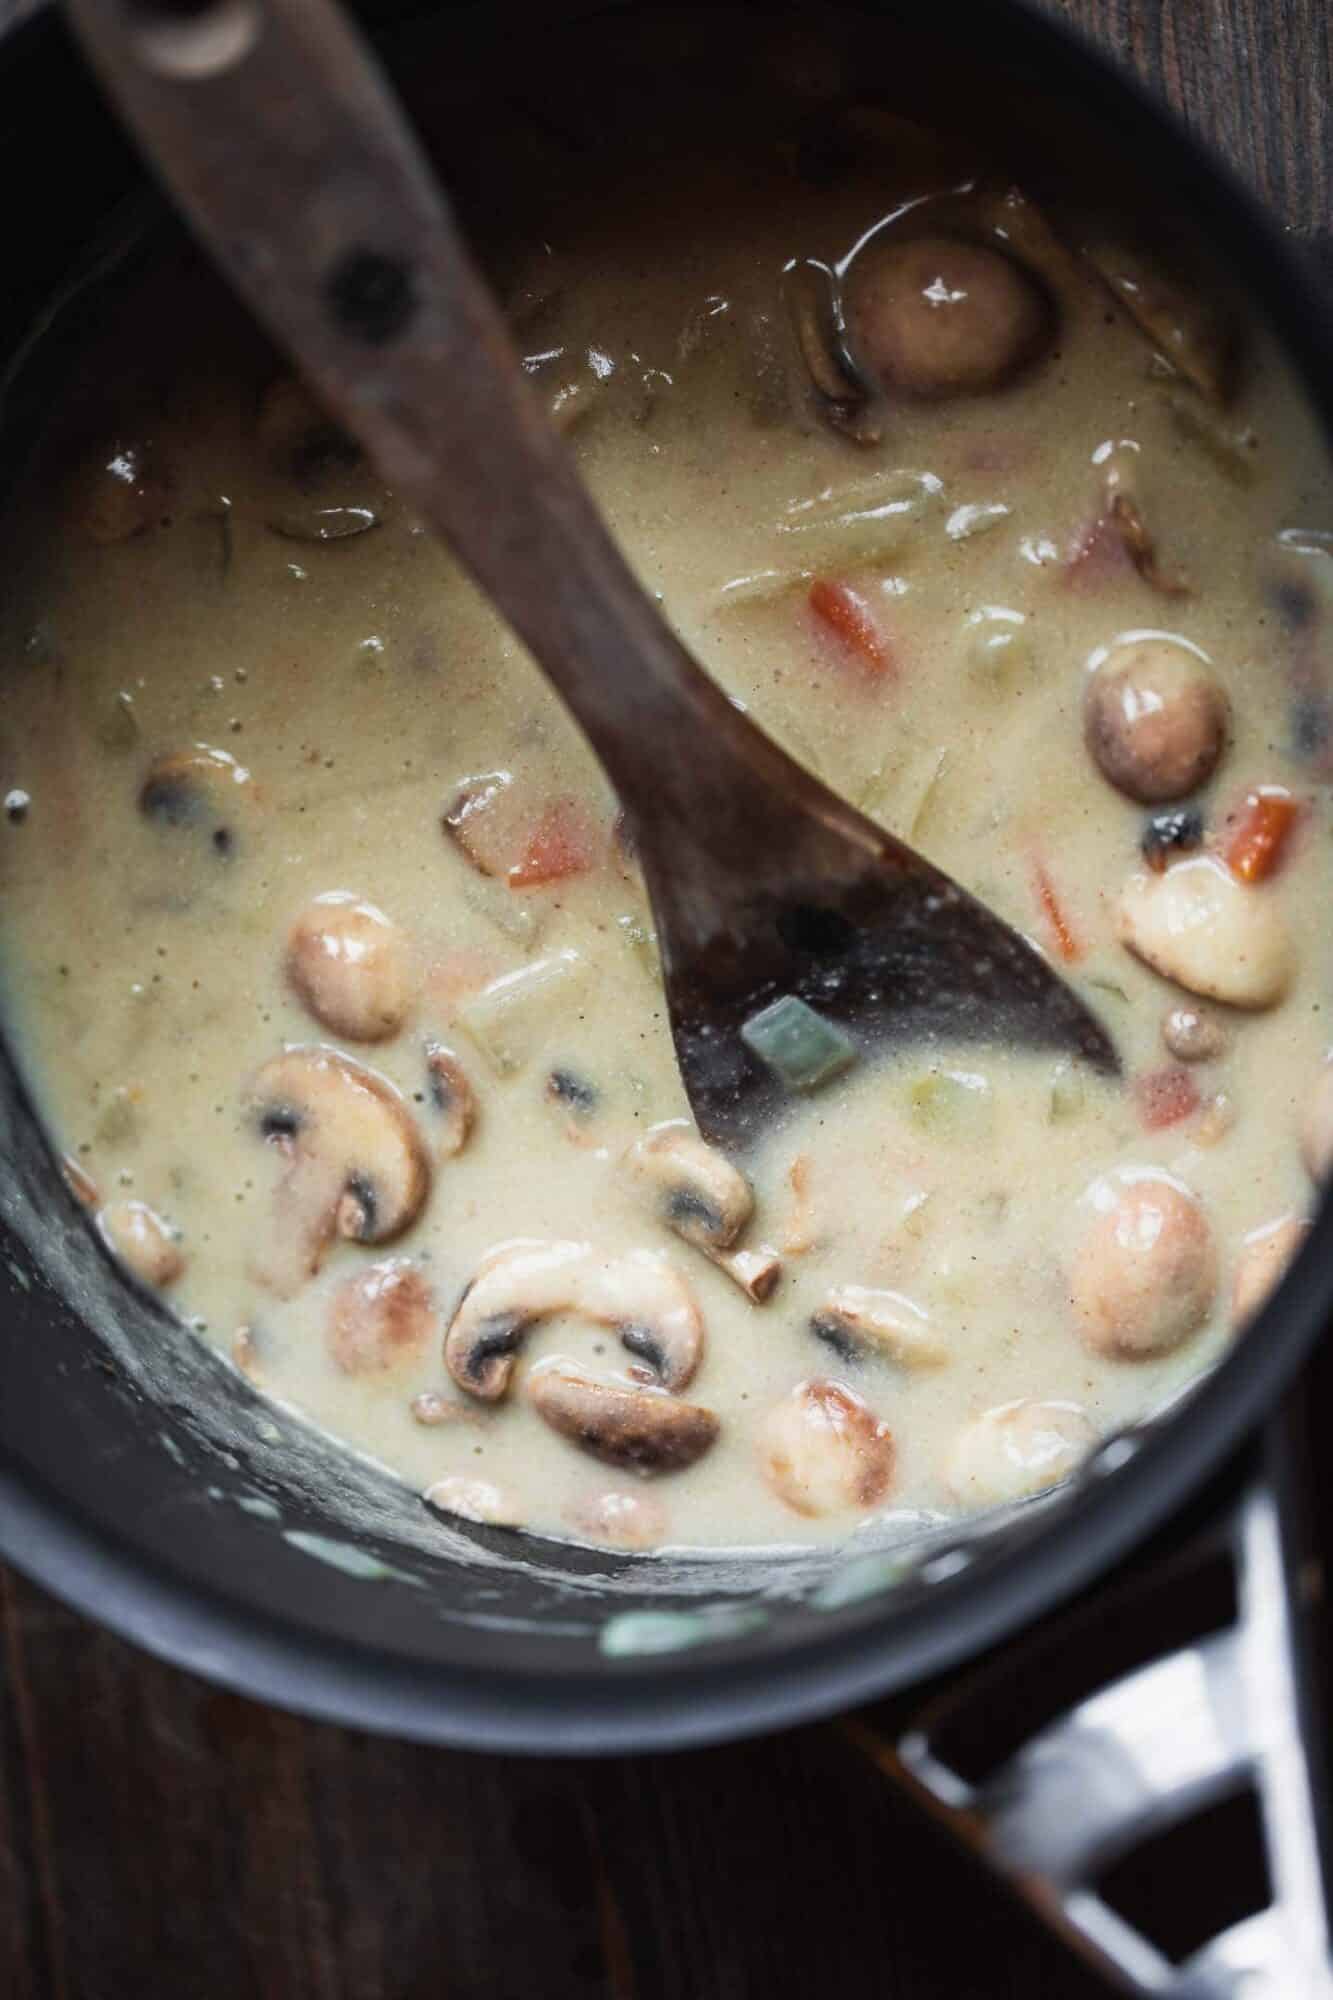
Storing and freezing biscuits and gravy
Both the biscuits and the gravy can be kept in the fridge for up to 4 days in airtight containers. Keep them in the freezer in freezer-friendly containers for up to 2 months. Be sure to thaw fully before reheating.

You can reheat the biscuits in the microwave by placing them on a plate and microwaving at 80% power for 3 minutes. To reheat the gravy, simply add to a saucepan and stir until warm, adding more plant based milk if necessary.
More vegan comfort food you might love
- Vegan scalloped potatoes
- Cauliflower Alfredo sauce
- Tomato bisque
- Spicy butternut squash soup
- Cauliflower cheese
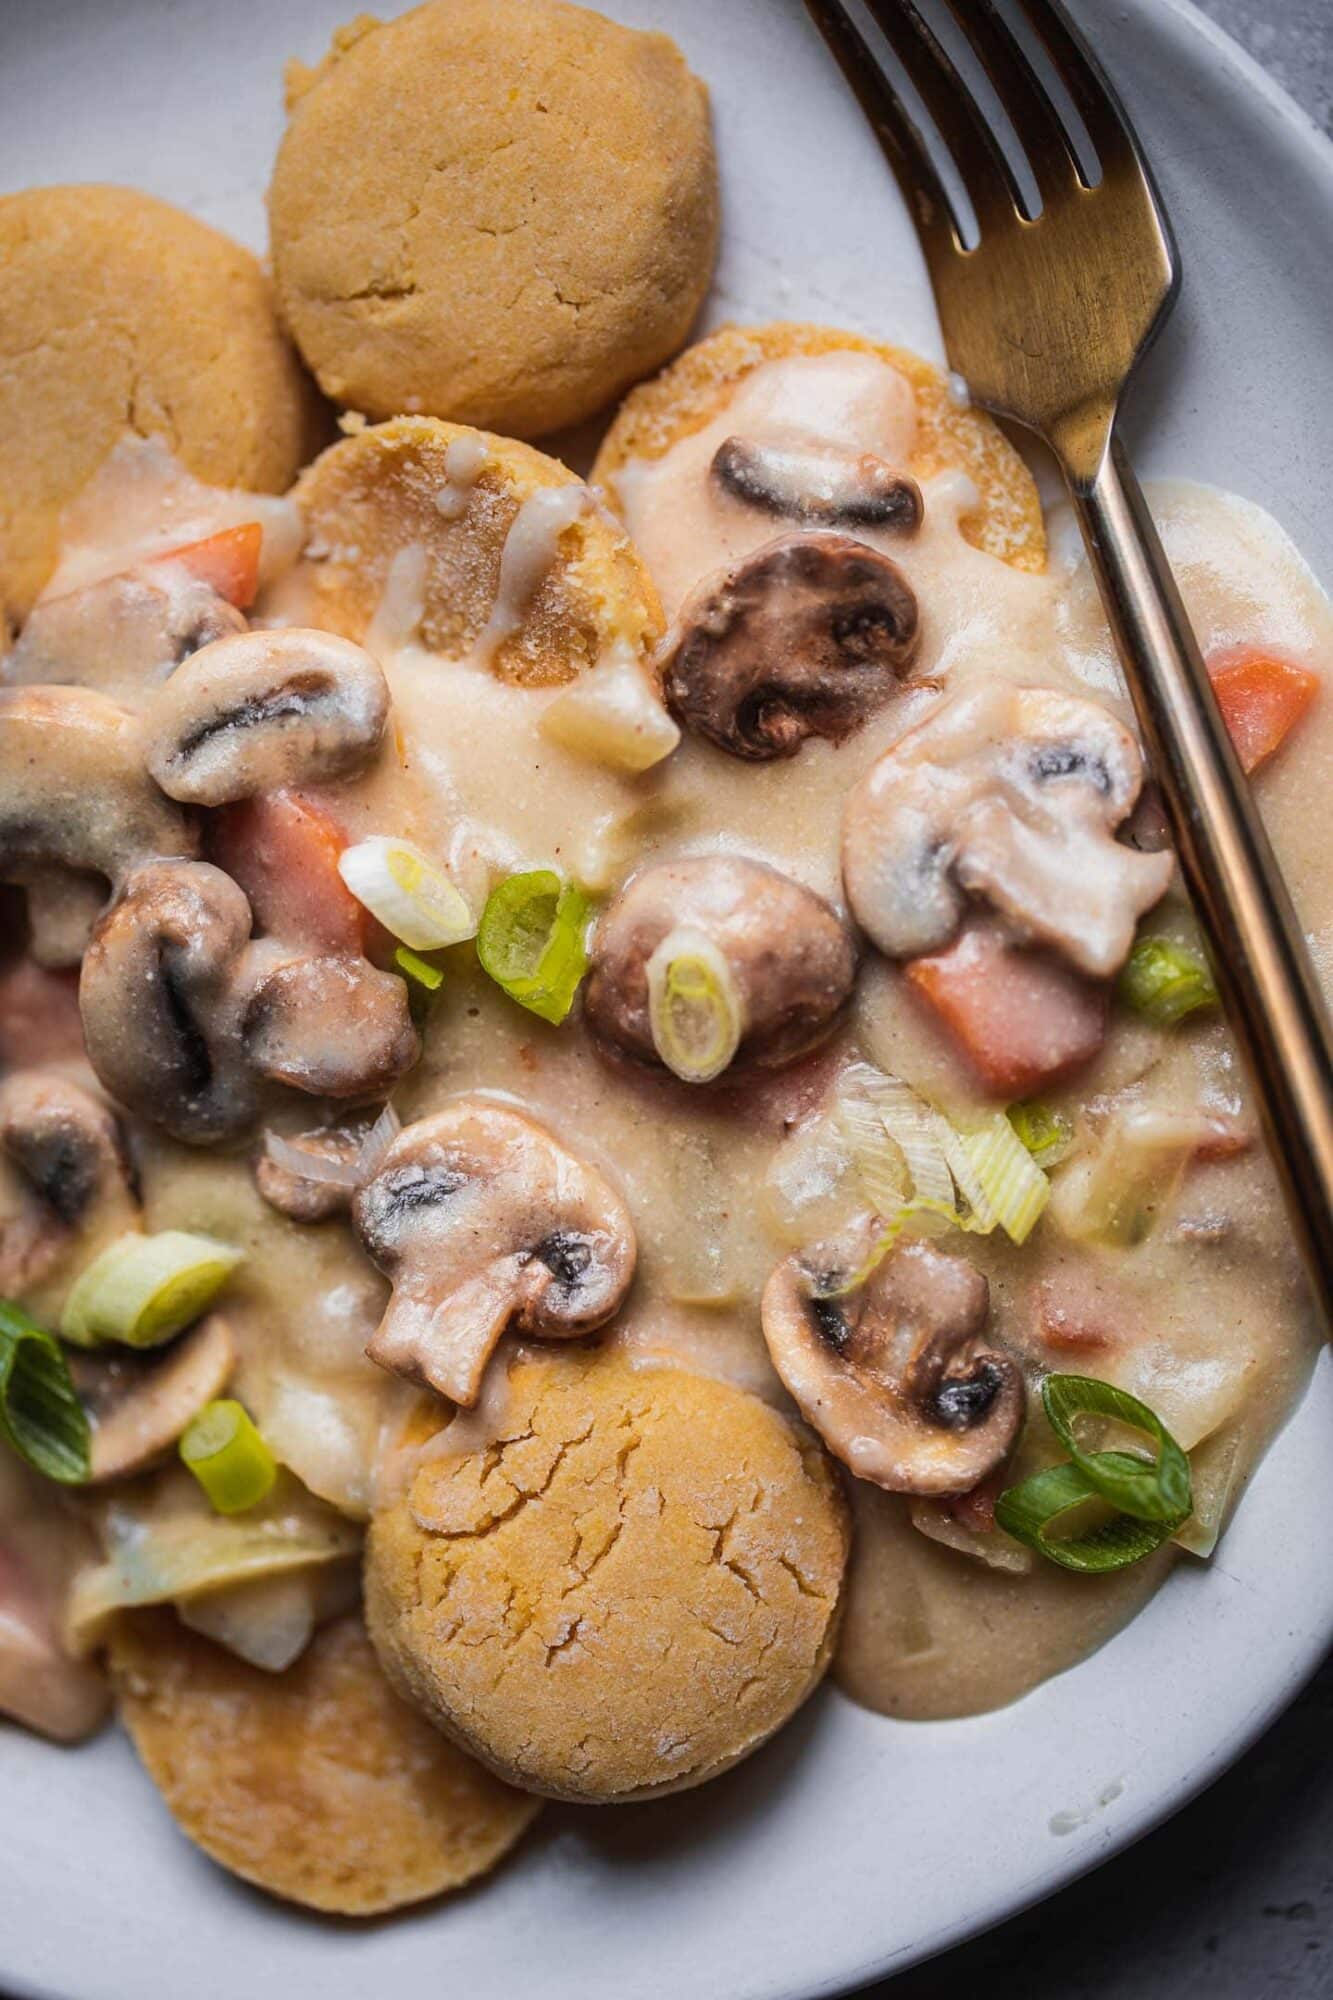
Let me know in the comments: what's your favourite cosy and savoury breakfast or brunch? If you give these vegan biscuits and gravy a go, be sure to tag me on Instagram (@earthofmariaa) so I can see your creations, and leave your feedback in the comments below together with a star rating.
Recipe

Vegan Biscuits and Gravy (Gluten-free)
These vegan biscuits and gravy are perfect for a comforting breakfast, brunch or dinner that's easy to make. The biscuits are flaky and soft, and the gravy is rich, savoury and made with just a handful of ingredients. Gluten-free and ready in around 35 minutes.
Print
Pin
Save
Servings:
Equipment
- Mixing bowl
- Conventional oven
- Cookie cutter
- Baking tray
- Saucepan
Ingredients
For the biscuits
- 1 cup plant based milk
- 2 tablespoon apple cider vinegar
- 2 ½ cup brown rice flour
- 1 cup cornmeal
- 2 teaspoon baking powder
- 2 teaspoon sugar
- 1 teaspoon xanthan gum
- ½ cup vegan butter
For the gravy
- 1 tablespoon vegan butter
- 1 medium onion diced
- 1 large carrot peeled and diced
- 2 cups mushrooms chopped
- 1 can coconut milk
- 2 tablespoon nutritional yeast
- ½ teaspoon salt
- ¼ cup buckwheat flour
- ½ cup plant based milk from a carton
Instructions
Make the biscuits
- Stir together the plant based milk and apple cider vinegar and set aside for around 10 minutes to curdle. When it is almost done, preheat the oven to 180 degrees C/350 F.
- Meanwhile, in a large mixing bowl combine the brown rice flour, cornmeal, baking powder, sugar and xanthan gum. Now add the vegan butter and use a palette knife to make a crumbly texture. Do not use your hands to mix, as this will melt the butter.
- Pour in the 'buttermilk' mixture and mix together using a rubber spatula until a dough forms.
- Transfer the dough to a lightly floured surface and roll out into a flat rectangle. Fold the rectangle in half, and then roll out once more into a sheet around ¾ inch in thickness.
- Use a cookie cutter to cut out the biscuit shapes and transfer them to a baking tray lined with parchment paper. Bake in the preheat oven for 20-25 minutes, until lightly golden brown.
Make the gravy
- Melt the butter in a saucepan. Next, add the onion and carrots, and cook for 3-4 minutes, until they start to soften.
- Add the mushrooms and cook for 3-4 minutes more, until they start to soften.
- Pour in the coconut milk, also adding the nutritional yeast, salt, buckwheat flour and plant based milk. Stir until the sauce thickens.
Nutrition (Estimate per Serving)
Calories: 653kcalCarbohydrates: 83gProtein: 12gFat: 32gSaturated Fat: 16gSodium: 454mgPotassium: 830mgFiber: 8gSugar: 5gVitamin A: 2813IUVitamin C: 3mgCalcium: 176mgIron: 5mg
Vegan-ize any recipe!Grab our free vegan cheat sheet, packed with my favorite easy substitutions to make any recipe vegan.


Homemade Vegan Eggnog (Dairy-free, Eggless)
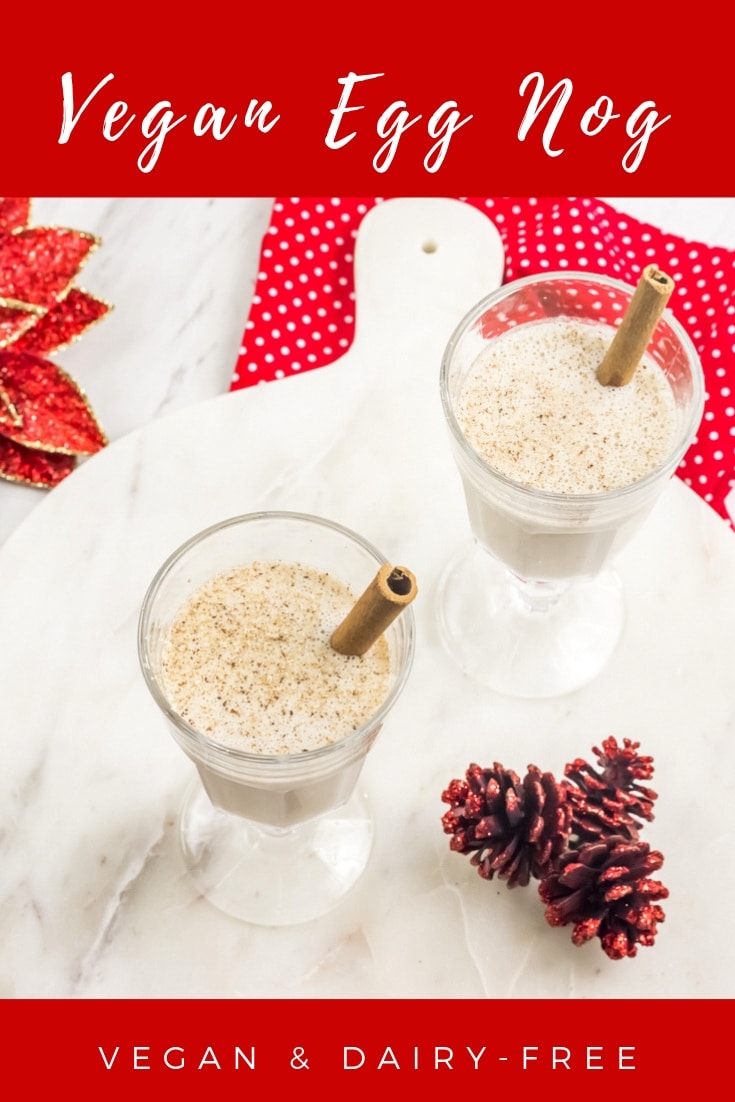
This ultra creamy homemade Vegan Eggnog is made with raw cashews, coconut milk, nutmeg, cinnamon, and allspice. This egg-less delight is light and healthy, but still rich and creamy, and filled with festive spice!

Let's admit it, most traditional eggnog recipes are trying to kill us.
Well, okay. That's a bit dramatic.
But traditional eggnog is a dairy-rich beverage laden with milk, heavy cream, sugar, and egg yolks. This is probably why we drink eggnog only at Christmas time. 😉
Healthy-ish Vegan Eggnog Recipe
I've reinvented this classic holiday drink, and skipped all the eggs and dairy called for in traditional recipes.
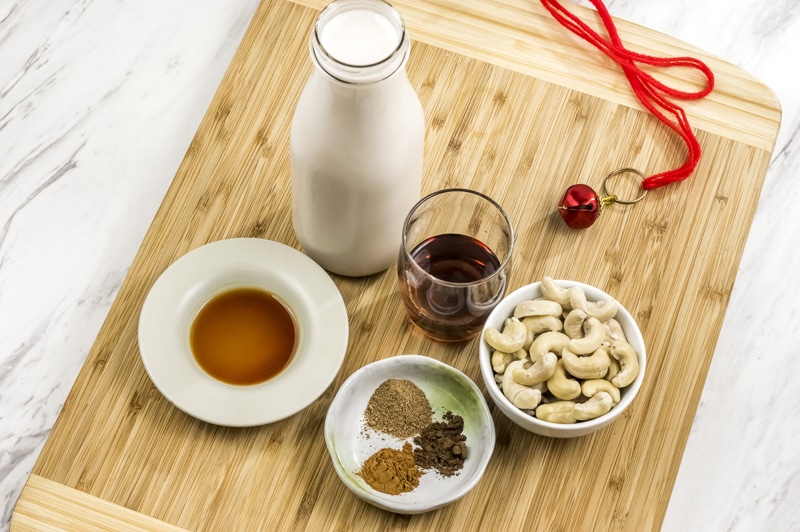
This vegan eggnog is naturally sweetened with pure maple syrup! (If you want to get really fancy, try it with this bourbon-barrel aged maple syrup.)
Raw cashews take the place of eggs in this vegan recipe. And it's so quick and easy, you can make it in a blender in just minutes!

You can drink this non-alcoholic eggnog as it is, or you can make a boozy version. It is the holidays, after all.
Just add some bourbon, brandy, rum, or whiskey to spike your eggnog. I prefer brandy in mine, for the nice depth of flavor.
How to Make Vegan Eggnog
You won't believe how simple this is!
Start off by soaking your cashews overnight. A little trick - you can also cheat by soaking them in boiling water for 30 minutes instead.
Then drain the cashews and combine them with maple syrup, vanilla, cinnamon, allspice nutmeg, and coconut milk - and blend!
That's it. Just let the vegan eggnog chill in the fridge until it's nice and cold.
Tips for Perfect Eggless Eggnog
Tip #1: I love coconut milk in this vegan eggnog, because it adds a great creamy texture and extra flavor. (This is the brand I use.) But you can use other plant milks like almond milk, rice milk, soy milk or oat milk if you prefer.
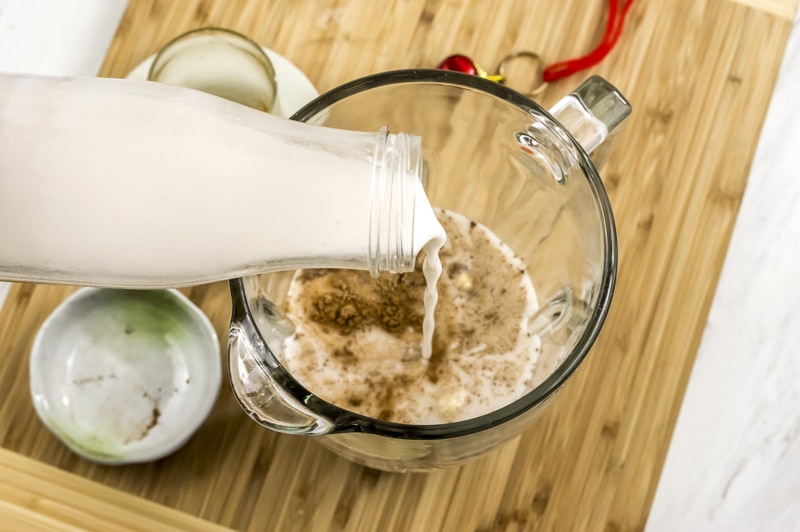
Tip #2: You can experiment with other nuts as well. Cashews are my go-to for making creamy vegan sauces (like this alfredo), because they get so nice and creamy in the blender.
But a friend of mine makes her vegan eggnog with hazelnuts - soaked overnight first - and that is totally delicious too.
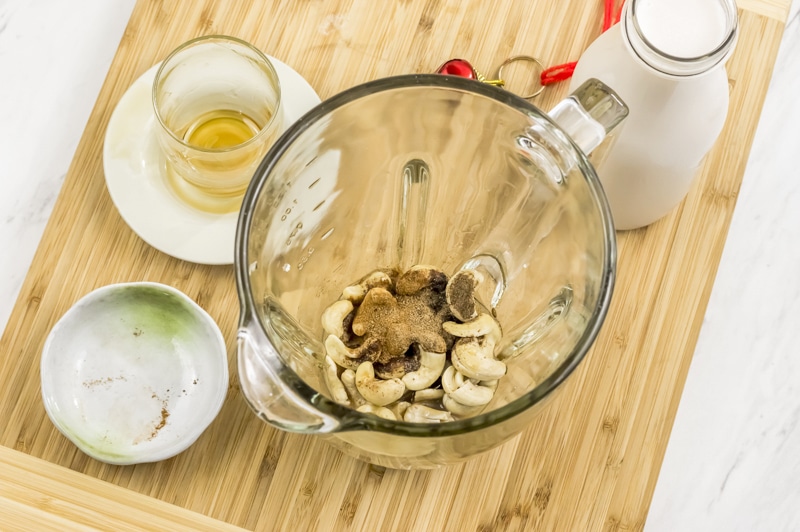
Tip #3: Maple syrup is my go-to sweetener for this recipe. In like to use a fancy, flavored syrup to give it a little oomph. This one is my current fave!
But if you're not into syrup, you can try other vegan-friendly sweeteners like agave nectar, brown rice syrup or barley malt syrup. (Grab my free vegan substitution cheat sheet for ideas.)
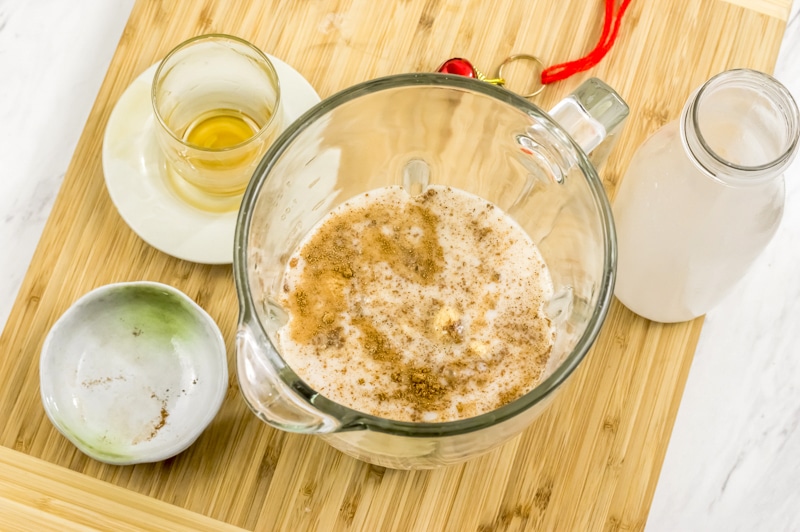
How to Thicken Vegan Eggnog
One thing that makes traditional eggnog so appealing is its rich and creamy texture.
The traditional recipes are thickened with eggs and while this vegan version is creamy enough, you can adjust the consistency to your liking.
Add more coconut milk (or any plant milk) if you want it a bit lighter. To thicken it more, you can add a thickening mixture of 3 tablespoons cornstarch or arrowroot powder (or any thickening agent) and ¼ cup almond milk or just plain water.
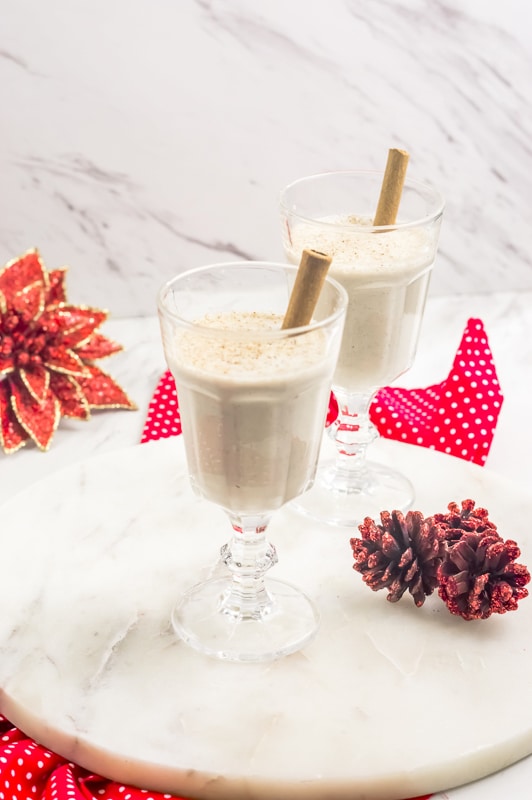
Mix this slurry with the other ingredients in a large saucepan set over medium-high heat. Mix until smooth for about 4-5 minutes or until the mixture begins to thicken. Remove from heat and allow to cool.
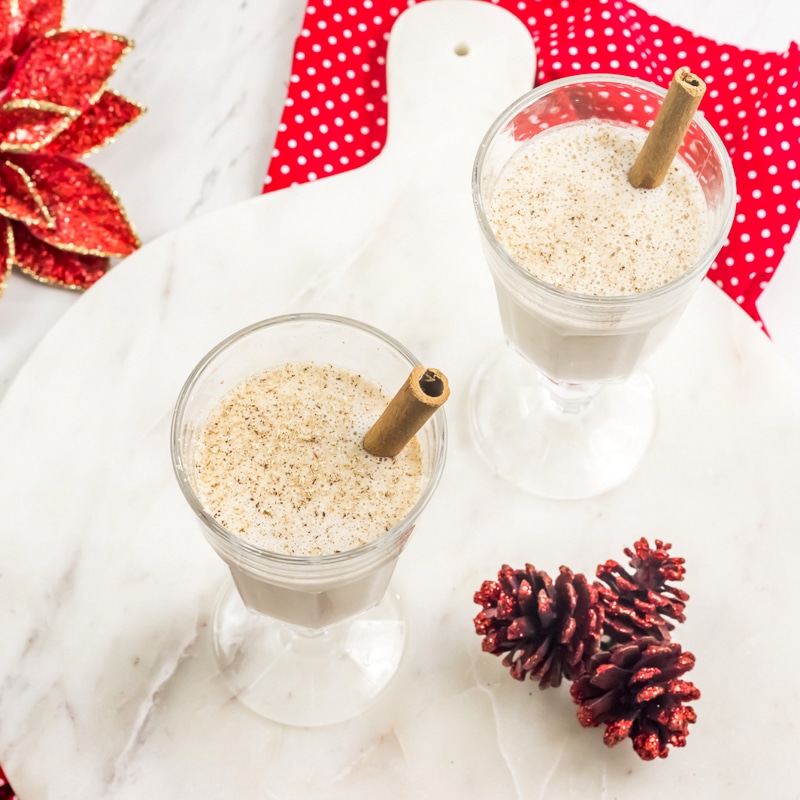
This homemade vegan eggnog is awesomely delicious and healthier, it's gonna be your favorite holiday drink!
More Holiday Recipes
If you love this vegan eggnog, be sure to check out these other delicious ideas:
- 56 Christmas Cocktails
- Easy Christmas Cupcakes
- The BEST Vegan Christmas Recipes
- 12+ Vegan Christmas Cookies
Recipe
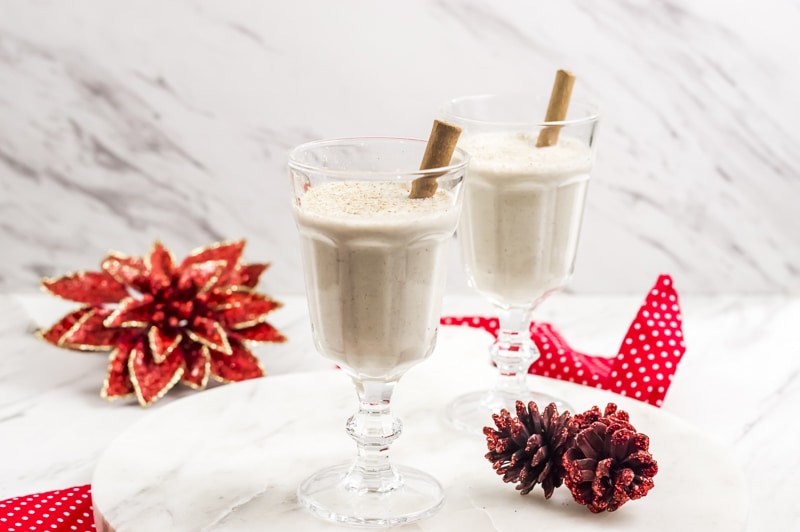
Vegan Eggnog Homemade Dairy-free, Egg-free
This ultra-creamy vegan eggnog is made with raw cashews, coconut milk, nutmeg, cinnamon, allspice and everything nice! This eggless delight is light and healthy but still rich and creamy. You're not gonna miss that little festive taste!
Print
Pin
Save
Servings: glasses
Ingredients
- ½ cup Raw Cashews
- 2 cups full fat Coconut Milk
- ¼ cup Maple Syrup
- ½ teaspoon ground Nutmeg
- ¼ teaspoon ground Cinnamon
- ¼ teaspoon ground Allspice
- 1 teaspoon Vanilla Extract
Instructions
- Soak the cashews in water, overnight. Or soak them in boiling water for 1 hour.
- Drain the cashews.
- Combine the cashews, maple syrup, vanilla extract, cinnamon, all spice, nutmeg and the coconut milk in a blender. Blend until smooth.
- Let it chill in the fridge for 2 hours.
- Serve with a sprinkle of freshly grated nutmeg (ground nutmeg works too) and a cinnamon stick.
Nutrition (Estimate per Serving)
Calories: 371kcalCarbohydrates: 22gProtein: 5gFat: 31gSaturated Fat: 22gSodium: 18mgPotassium: 400mgSugar: 13gVitamin C: 1.2mgCalcium: 48mgIron: 4.8mg
Vegan-ize any recipe!Grab our free vegan cheat sheet, packed with my favorite easy substitutions to make any recipe vegan.
Black Bean and Zucchini Tortilla Casserole
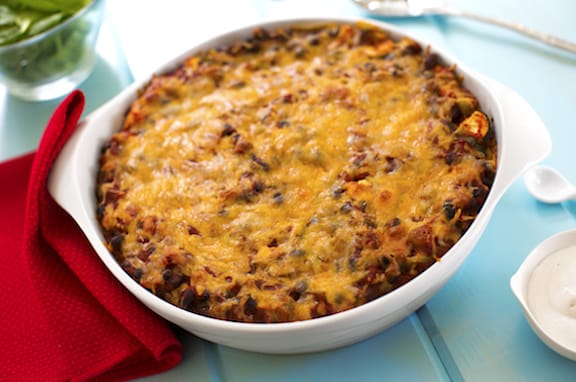
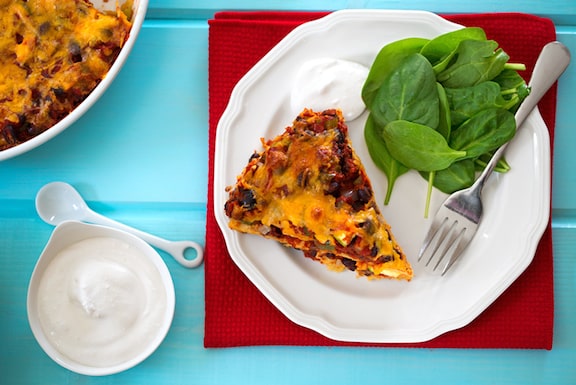
Chilaquiles is a classic Southwestern casserole that layers soft corn tortillas with beans and cheese (vegan in this case).
Adding zucchini and chiles adds to the lively flavors. This recipe makes a nice change-of-pace holiday main dish but is also easy enough to make for weeknight meals.
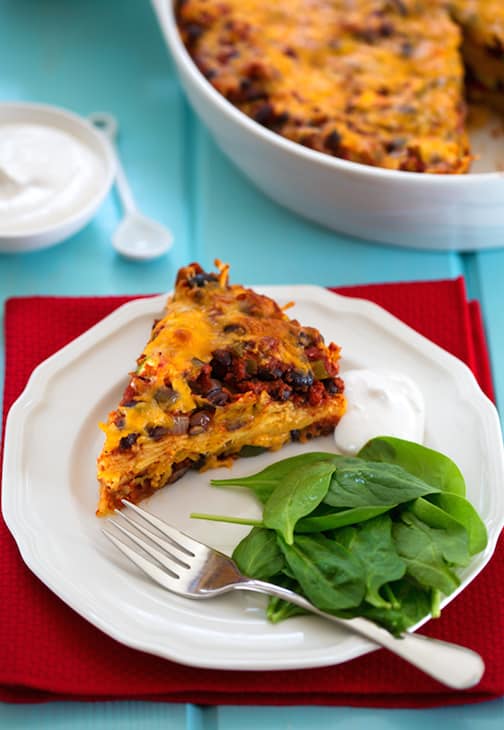
More Recipes
- Here are more easy bean main dishes.
- Find lots more tortilla recipes in A Southwestern Supper.
- Here are more recipes for a Vegetarian and Vegan Friendly Thanksgiving.
- Find more ways to make Special Occasions and Entertaining easier and healthier.
- Browse more of VegKitchen's vegan casserole recipes.
Photos by Hannah Kaminsky.
Adapted from The Vegetarian Family Cookbook.
Recipe

Black Bean and Zucchini Tortilla Casserole
This southwestern-style casserole makes for a nice change-of-pace holiday main dish, but this is also easy enough to make for weeknight meals.
Print
Pin
Save
Servings:
Ingredients
- 1 ½ tablespoon extra-virgin olive oil
- 1 cup chopped onion
- 1 medium green bell pepper diced
- 1 28 oz can crushed or pureed tomatoes
- 1 -2 small fresh hot chile peppers seeded and minced, or 1 (4 oz) can chopped mild green chiles
- 2 teaspoon chili powder or more, to taste
- 1 teaspoon dried oregano
- 1 teaspoon ground cumin
- 1 16-20 oz can black beans, drained and rinsed
- 1 medium zucchini quartered lengthwise and thinly sliced
- 12 corn tortillas torn or cut into several pieces
- 8 oz cheddar-style nondairy cheese Daiya is great with this!
- vegan sour cream homemade or purchased or Cashew Cream for garnish, optional
Instructions
- Preheat the oven to 400°F.
- Heat the oil in a large saucepan. Sauté the onion until translucent. Add the green pepper and continue to sauté until it has softened and the onions are golden.
- Stir in the crushed tomatoes and seasonings, black beans, and zucchini. Bring to a simmer, then simmer gently for 5 minutes.
- Layer as follows in a lightly oiled 9 x 13 inch or 2-quart round casserole dish: half of the tortillas, half of the tomato-black bean mixture, and half of the cheese. Repeat.
- Bake for 15 to 20 minutes, or until the cheese is bubbly. Let stand for 5 to 10 minutes, then cut into squares or wedges to serve.
Nutrition (Estimate per Serving)
Calories: 221kcalCarbohydrates: 29gProtein: 4gFat: 10gSaturated Fat: 3gSodium: 314mgPotassium: 235mgFiber: 5gSugar: 3gVitamin A: 319IUVitamin C: 26mgCalcium: 74mgIron: 2mg
Vegan-ize any recipe!Grab our free vegan cheat sheet, packed with my favorite easy substitutions to make any recipe vegan.
This post was originally published on 21 September 2014.
Vegan Tomato Soup
This vegan tomato soup is fresh and flavorful. It's packed with fresh tomatoes, garlic, onion, and Italian spices. It makes a delicious and simple plant based meal, and you won't believe how easy it is to put together.
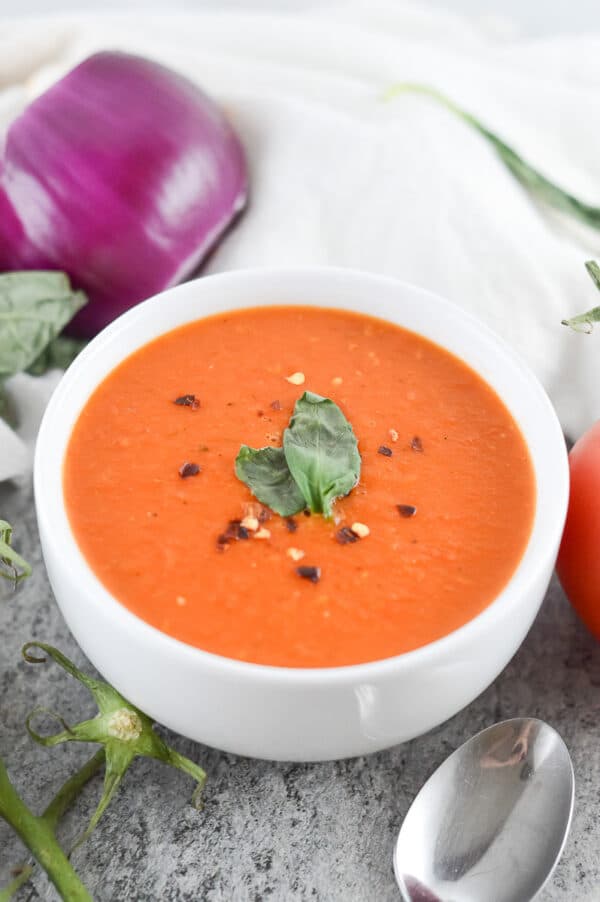
Tomato soup is perhaps my all time favorite soup! Okay, I admit it's a toss up between this and my Vegan French Onion Soup.
Tomato soup is one of the most versatile recipes I know. It can be served hot, cold, spicy, mild, and pairs really well with countless other dishes. (Like grilled cheese!)
Not to mention, it's the absolute best soup for pairing with sandwiches, at least in my opinion.
This vegan tomato soup is perfect for making in large batches and freezing for later, making it a great choice for vegan meal prep.
This vegan tomato soup is:
- Warm and comforting!
- 100% plant based
- Perfect for a make-ahead meal.
- Totally delicious.
- Easy to make with just a few simple ingredients.
If you love tomato soup, be sure to also check out this vegan-friendly Chickpea Tomato Soup and this Smoky Spanish Tomato Soup.

How to Make Vegan Tomato Soup
- Make the base - Dice the onions. Saute them with the garlic until softened. Add the butter and flour. Stir in the milk and half the broth.
- Add the rest of the ingredients - Once the mixture starts to thicken, add the tomatoes, tomato paste, seasonings. and remaining broth.
- Simmer - Let the mixture simmer until the tomatoes soften, about 30 minutes.
- Blend and serve - Transfer the soup to a blender and pulse until smooth. Serve immediately and enjoy!

Tips and Variations
Make it milder - If you don't want any spice in your tomato soup, nix the crushed red peppers, and you're good to go.
Make it thicker - If you like your tomato soup a little thicker, reduce the stock by about half a cup. You can also make a cornstarch slurry, and stir in into the soup to help with thickening.
Make it thinner - If your soup has turned out too thick, simply add a bit more vegetable stock, a little at a time, until the desired consistency is reached. Water or more milk will work as well.
Use fresh herbs - If you don't want to use dried Italian seasoning, you can always use some fresh herbs instead. Basil is a perfect match for tomato soup.
Top it with a dash of cream - I love garnishing the top of my tomato soup with a drizzle of warmed coconut cream. It makes a pretty white swirl, for a gorgeous presentation. It also helps cool the soup down quicker, so it's ready to eat right away. Coconut cream (like this one), works better for this purpose than regular coconut milk.
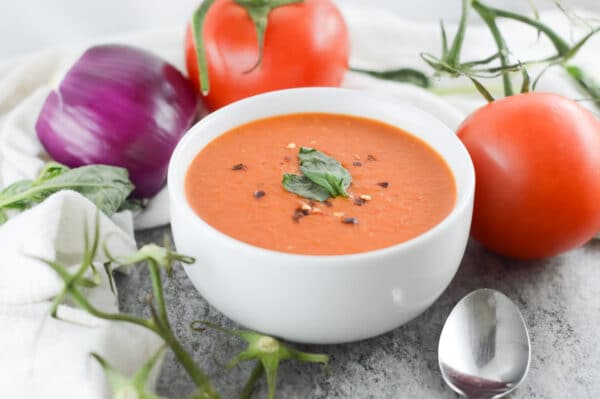
FAQs
How do you store tomato soup?
Keep the soup in an airtight container in the fridge for up to a week, or freeze for up to 3 months.
How do you reheat the soup?
Reheat in the microwave or over the stove in a small pot. If reheating from frozen, the soup can be left out to thaw a couple hours before dinner, for quicker heating times.
Do You Need to Peel Tomatoes for Soup?
I have never had to peel my tomatoes for any soup I've ever made. This homemade tomato soup recipe is very easy, which means you won't be stuck peeling just shy of four pounds of tomatoes.
Although I love cooking, I would never make a recipe that involved something so tedious and time consuming!
Is Homemade Tomato Soup Good for You?
Well, it depends on the recipe! But more often than not, tomato soup recipes are pretty healthy when homemade. As far as canned or store bought soups go, the sodium can get pretty crazy along with a lot of processed ingredients. So homemade is best - and it's very simple to make.
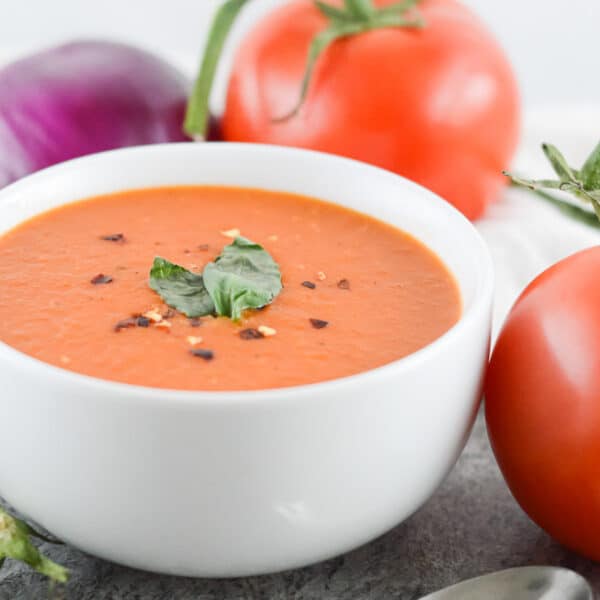
Other Soup Recipes You Might Like:
- Thai Pumpkin Soup
- One-Pot Vegan Potato Soup
- Vegan Mushroom Soup
- Creamy Vegan Pumpkin Soup with Cauliflower Rice
Recipe
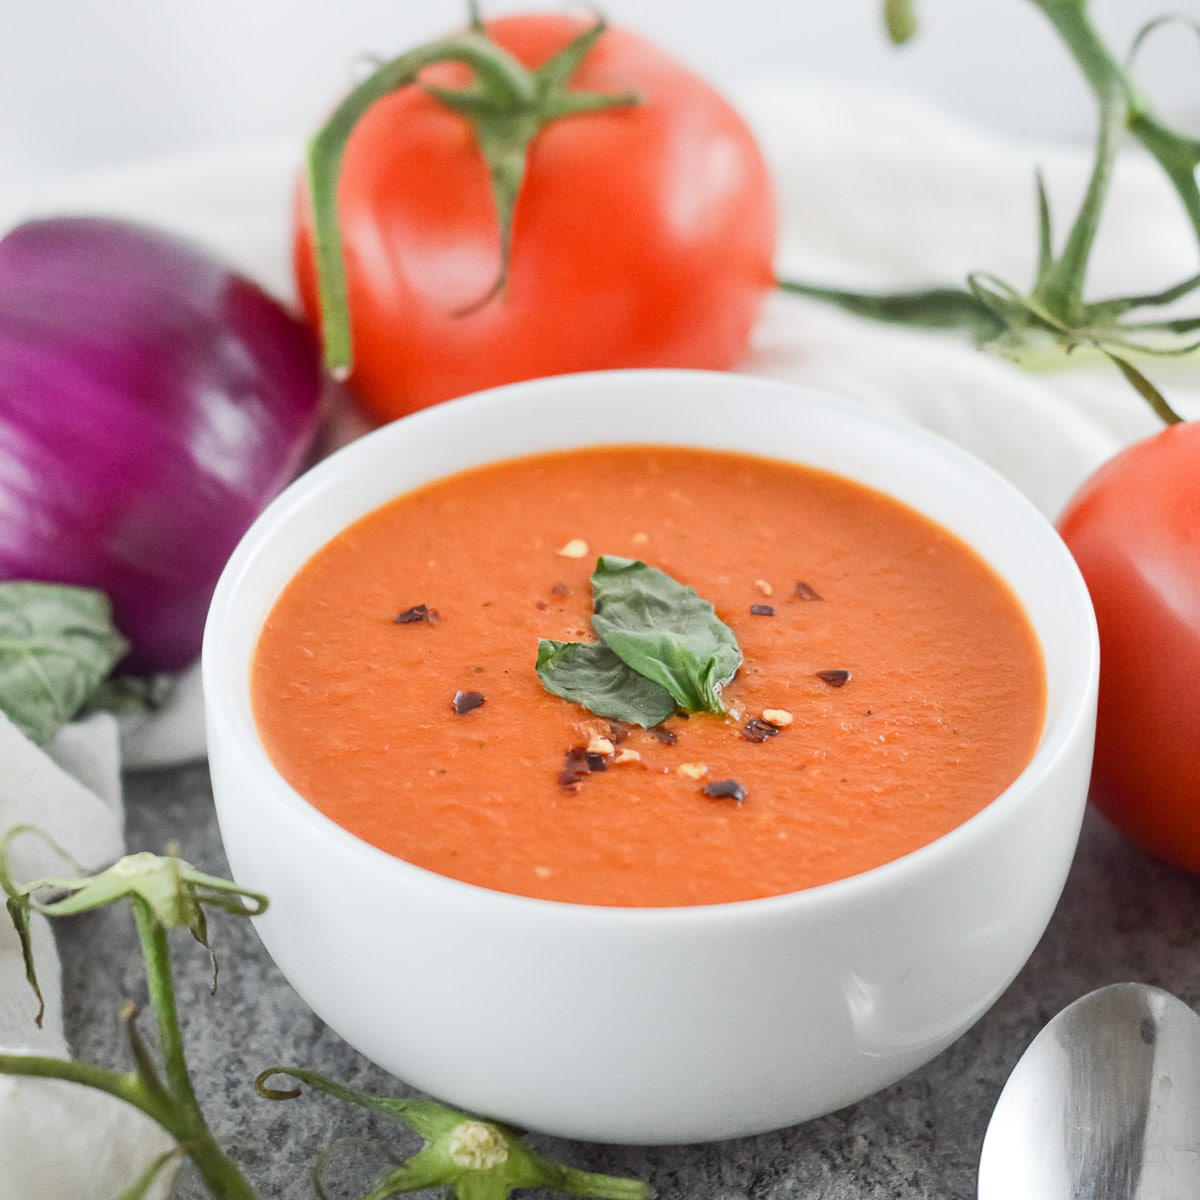
Vegan Tomato Soup
This vegan tomato soup is fresh and flavorful. It's packed with fresh tomatoes, garlic, onion, and Italian spices. It makes a delicious and simple plant based meal, and you won't believe how easy it is to put together.
Print
Pin
Save
Servings: servings
Equipment
- Blender - Traditional or Immersion
Ingredients
- ½ Red Onion large, diced
- 5 Cloves Garlic minced
- 2 tablespoon Vegan Butter or olive oil
- ⅓ Cup Flour all purpose
- 3.5 Pounds Vine Ripened Tomatoes chopped
- 2 Cups Vegetable Stock
- 1 Cup Almond Milk or coconut milk
- ¾ Cup Tomato Paste 6 oz
- 1 tablespoon Crushed Red Pepper
- 2 tablespoon Italian Seasoning
- Salt and Pepper to taste
- olive oil
- fresh basil optional, for garnish
Instructions
- In a large pot, cook the onion and garlic in oil for about 5 minutes, or until the onion has softened.
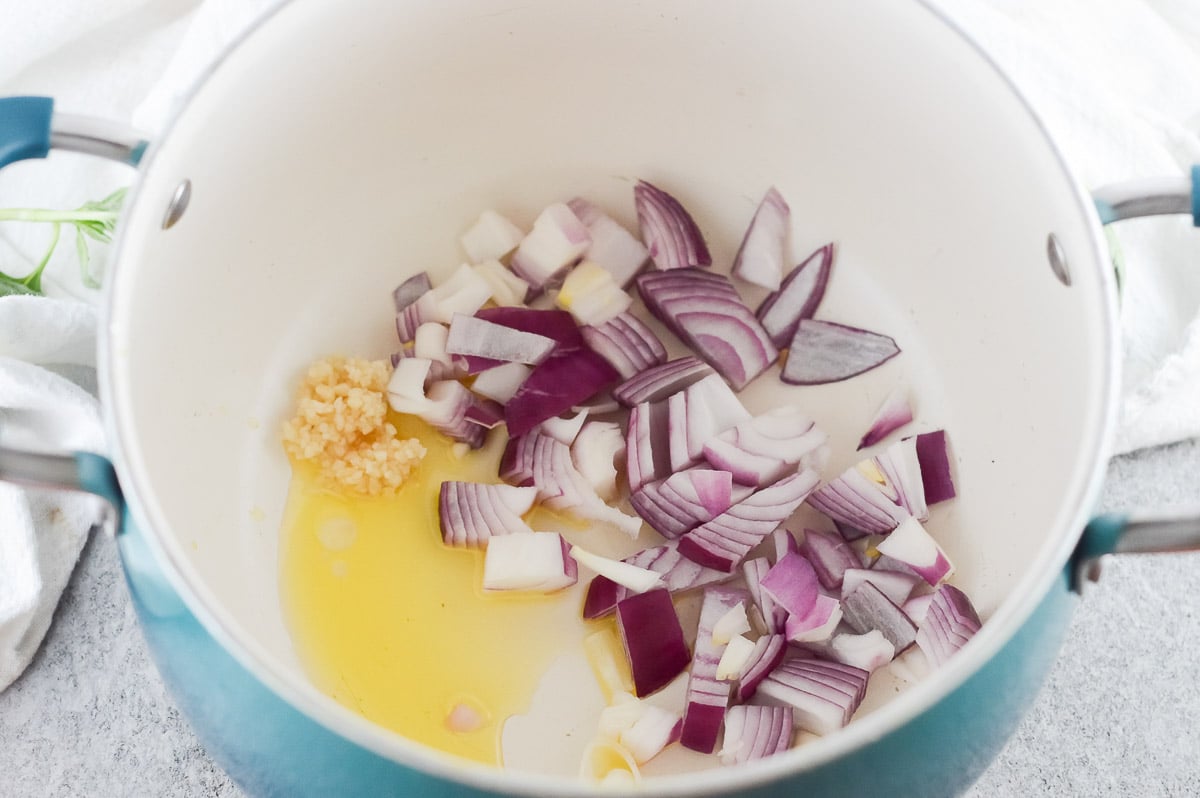
- Add the vegan butter and let it melt before sprinkling the flour over the top, then stir until the flour has soaked up all the liquid.
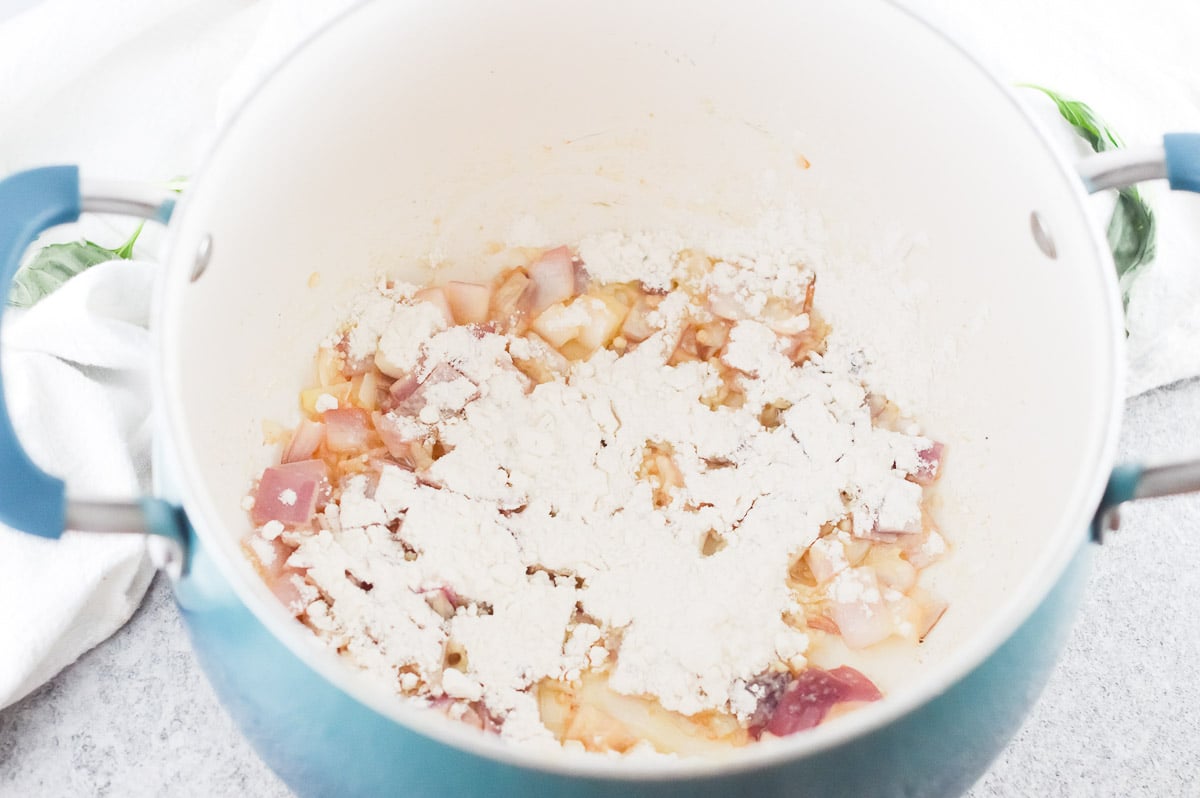
- Add half of the vegetable stock and all of the almond milk. Stir, and let simmer on low/medium for about 5 minutes. Add in the tomato paste and stir well.
- Add the remaining stock, tomatoes, crushed pepper, and italian seasoning. Add salt and pepper to taste. Stir, and simmer for about 30 minutes, or until tomatoes have softened.
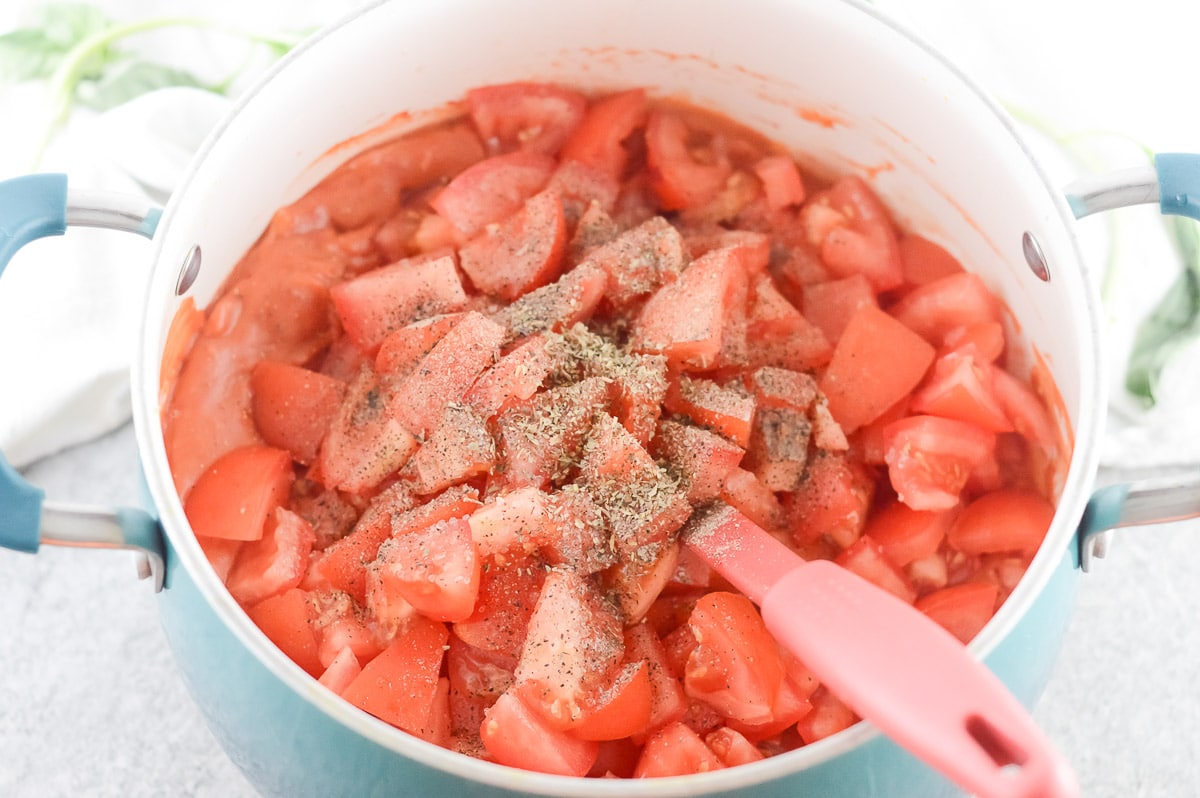
- Place in a blender and pulse until smooth. (Or use an immersion blender to blend it right in the pot.) Tpo with fresh basil, if desired. Enjoy!
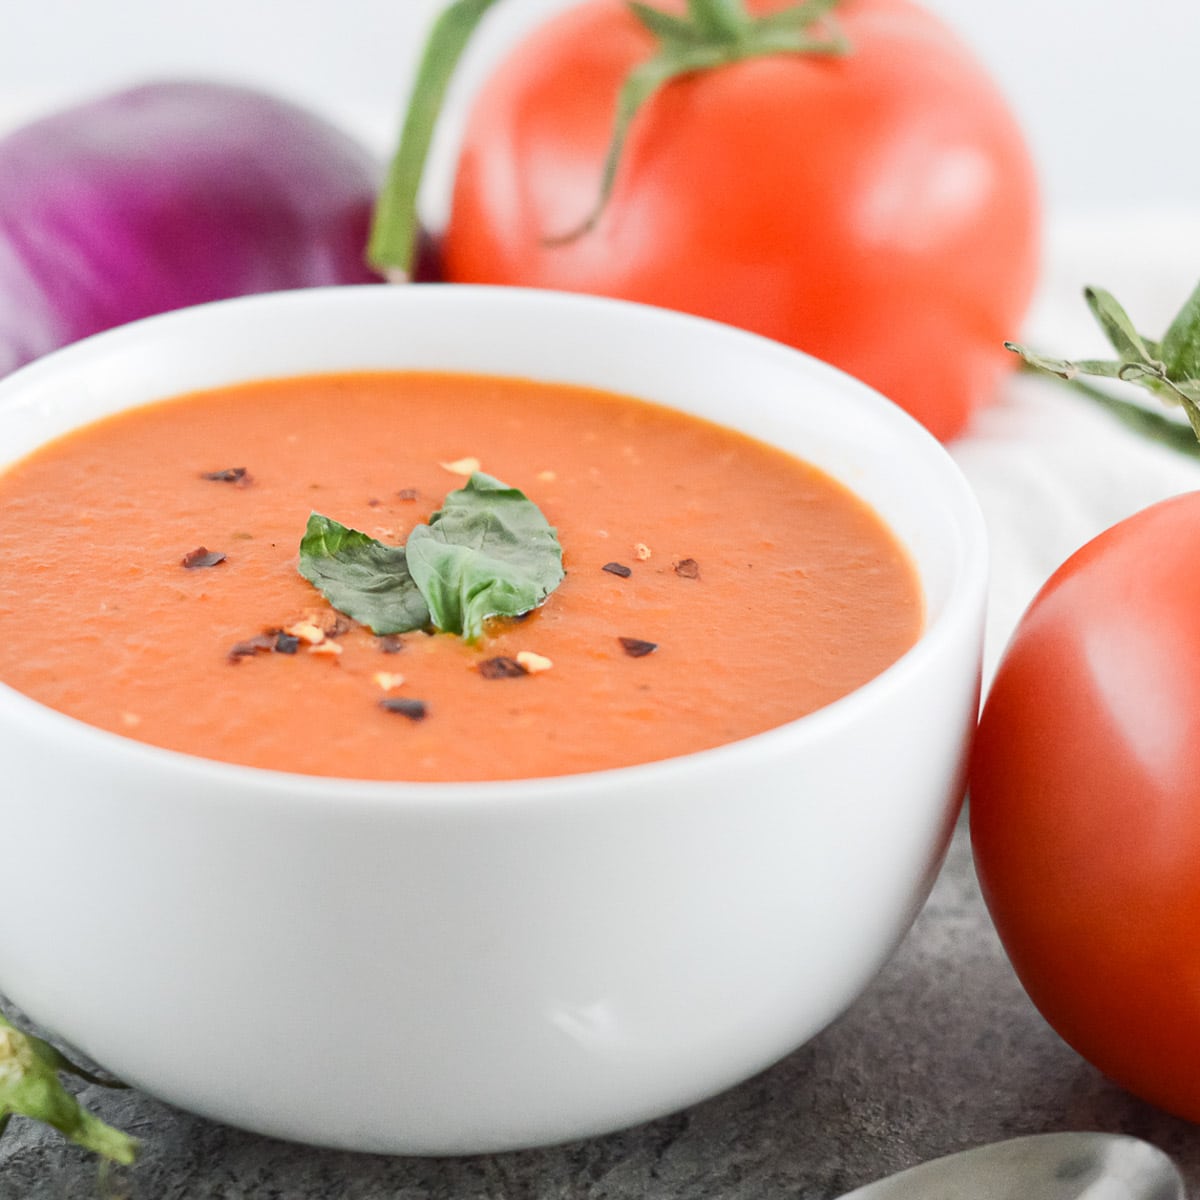
Video
Notes
See article above for tips, tricks, and variations!
Nutrition (Estimate per Serving)
Calories: 119kcalCarbohydrates: 20gProtein: 4gFat: 4gSaturated Fat: 1gSodium: 520mgPotassium: 778mgFiber: 5gSugar: 9gVitamin A: 2471IUVitamin C: 34mgCalcium: 94mgIron: 2mg
Vegan-ize any recipe!Grab our free vegan cheat sheet, packed with my favorite easy substitutions to make any recipe vegan.
Stacked Vegan Cheese Enchiladas
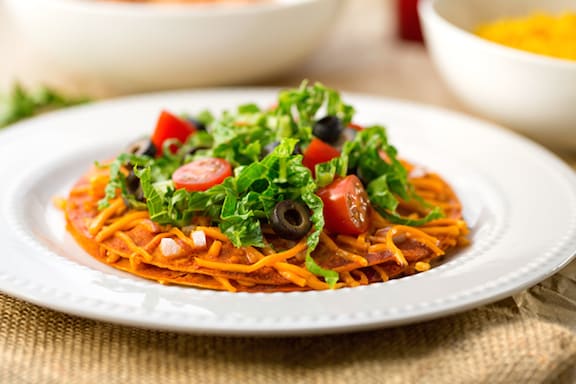
Want to switch up your routine Mexican cuisine? Try this unique Stacked Vegan Cheese Enchilada recipe for a twist on the typical rolled type. The word enchilada literally means "filled with chile," and so it is supposed to be drenched in pure, red chile. I've modified the recipe to use the tomato-based enchilada sauce, since cooking with pure, red chiles is not something that cooks outside the Southwest are likely to attempt. This simple and hearty dish is traditionally enhanced by a helping of refried beans and/or Mexican Rice on the side. Photos by Hannah Kaminsky. [Read more...]
Baked BBQ Tofu
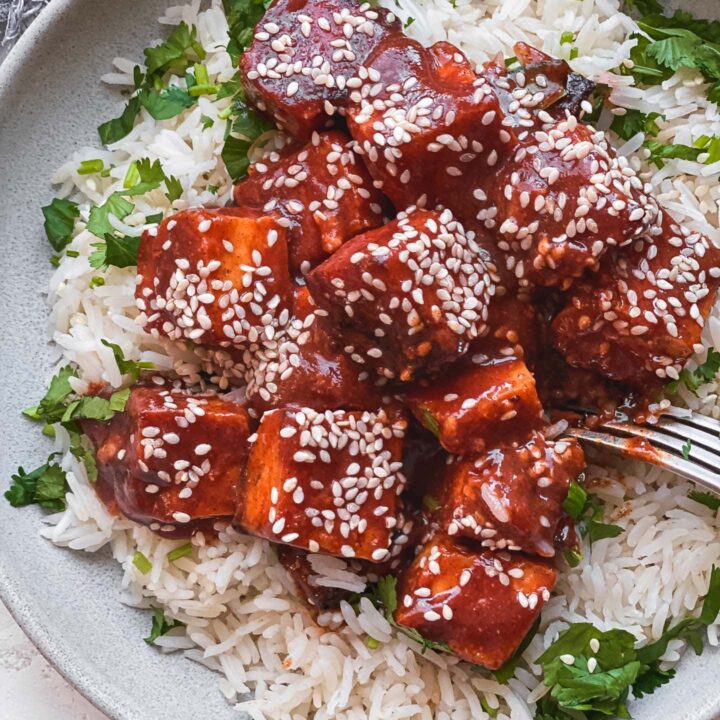
This baked BBQ tofu with a smoky, rich saucecan make anyone fall in love with tofu! Crispy on the outside, chewy, and flavorful, it's the ideal add-in to salads, sandwiches and meal prep boxes. Also super easy to make, even as a complete beginner!
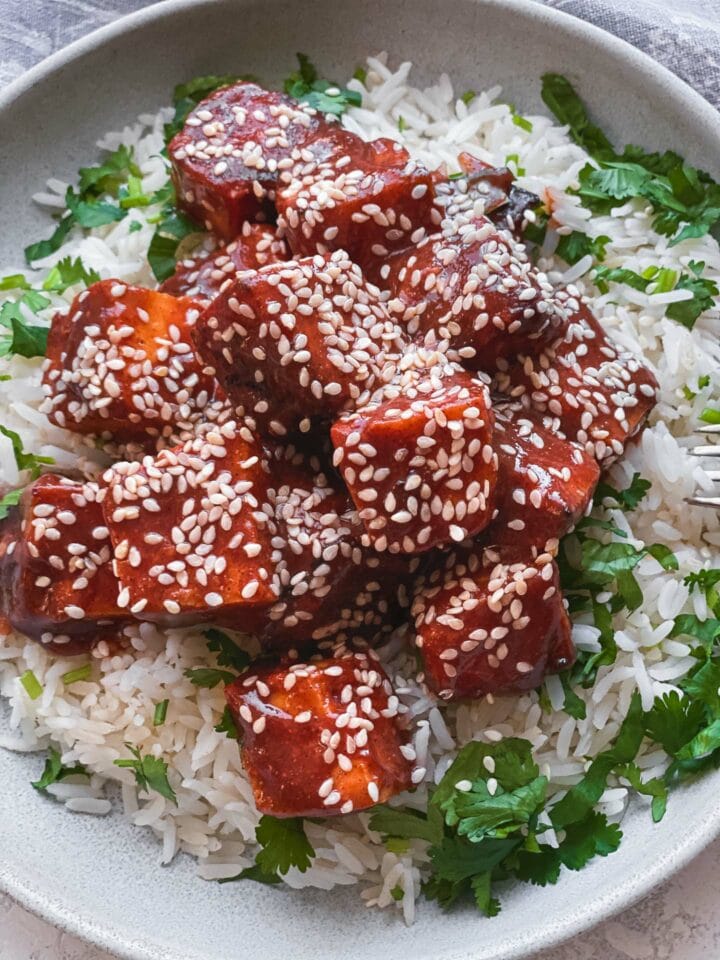
How's everyone doing?! I'm happy that it finally stays sunny for longer than around two hours here in the UK. It never feels like spring until the end of April, but when it does - that's the moment everyone loves.
I've been cooking up a storm and finding new ways to cook familiar ingredients. Or even perfecting old techniques. Cooking is a constant learning experience, even if you do it every day for hours, and that's what I love about it. No learning = stagnation and boredom in any area of life.
Baked BBQ tofu
But I won't ramble for much longer, because I'm pretty sure we're all here to talk about tofu. Or maybe not, if you're currently a tofu hater. I'm sure, however, that by the end of this post, I'll convince you to try the recipe!
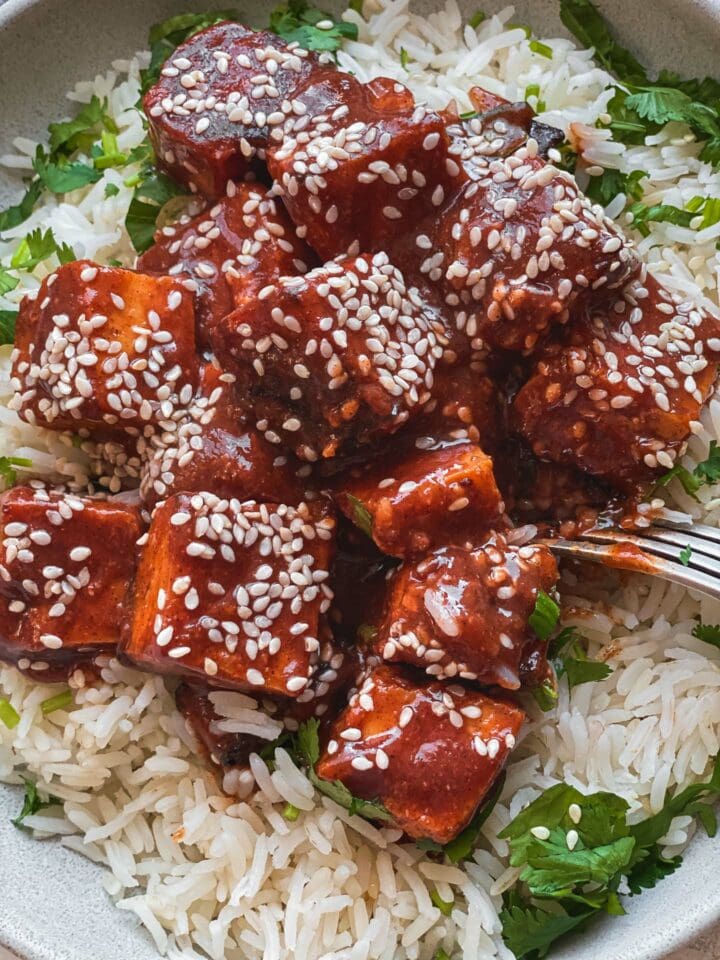
You've probably gone to restaurants before, ate tofu, and couldn't believe that it's possible to make tofu taste that good. It is possible and very easy too, and I'm here to talk you through the process. We're making crispy, chewy, flavourful and moreish BBQ tofu with a hint of spice, the right amount of saltiness, and just all-round YUM.
I love BBQ flavours, and you'll be glad to know that this marinade requires NO store-brought BBQ sauce which is full of needless sugar, salt and strange ingredients. Baking tofu is my favourite preparation method because it absorbs flavours really well, and it's also healthier than frying.
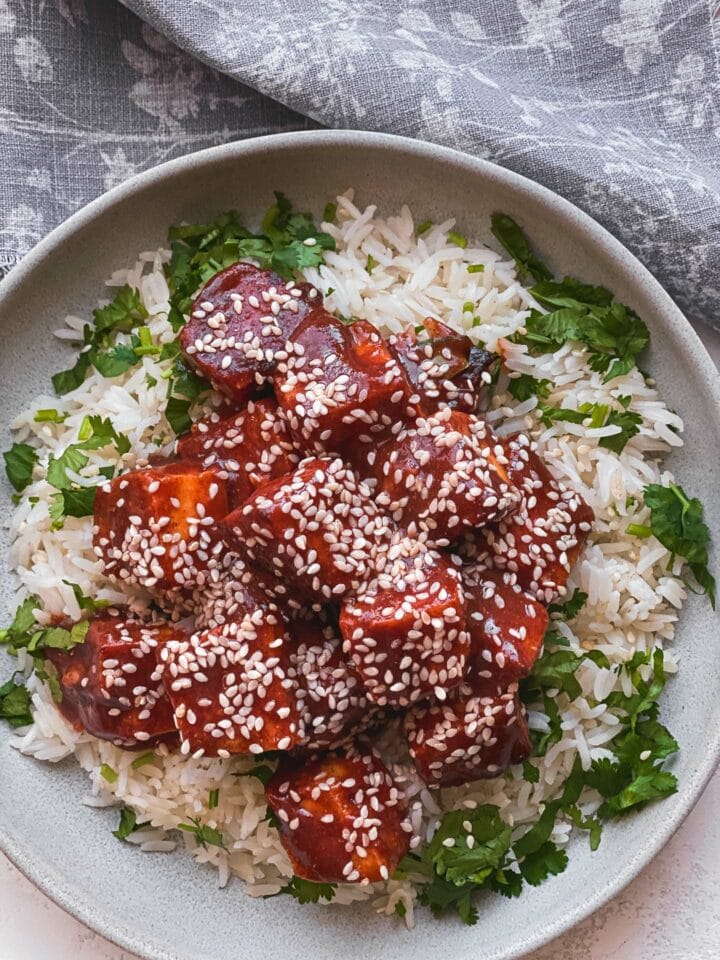
Tips to make baked tofu taste good
It's not a mystery that tofu by itself is pretty bland. The texture is also off-putting to many people - but I would never recommend eating plain tofu to anyone! There are certain tips you need to keep in mind to make incredible tofu every time:
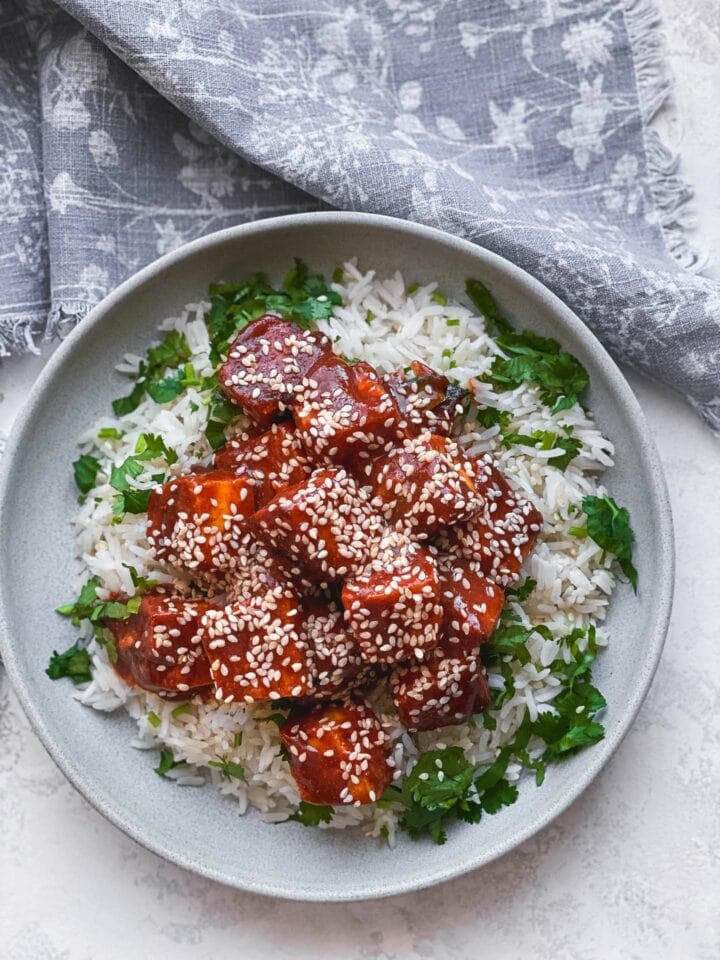
- Press the tofu if necessary! You may not need to do this if using extra firm tofu, which is my usual go-to variety. But if using normal firm tofu, cover it with a paper towel and put something heavy on top of it for around 30 minutes to get rid of the liquid.
- Sauces/marinades are your BFFLs. This is a pretty straight-forward point, but a good sauce or marinade is THE thing that will take your tofu to the next level. Experiment with different flavours and ingredients to discover your personal favourite.
- The longer you marinade it, the better. At least 30 minutes, but overnight is even better.
- Don't use too much marinade. This will cause soggy tofu - a big no-no. A thin layer on each piece is ideal. But, if you have any leftovers, you can store them and use at a different time.
- Make the pieces around ⅓-1/2 inch in thickness. This will allow them to absorb enough flavour all the way through without burning.
How to make BBQ tofu
Firstly, you want to start by pressing the tofu if necessary, then add it to a bowl with cornstarch and stir together thoroughly. After that, add apple cider vinegar, maple syrup, salt, pepper, garlic powder, smoked paprika and cumin. Allow to marinade for at least 30 minutes, preferably overnight.
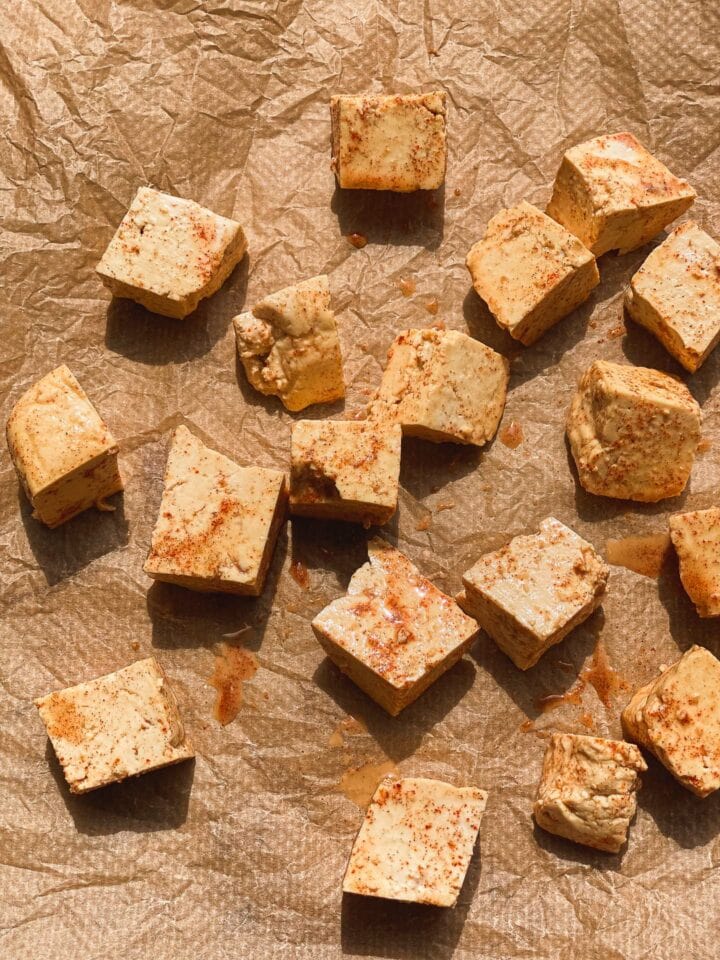
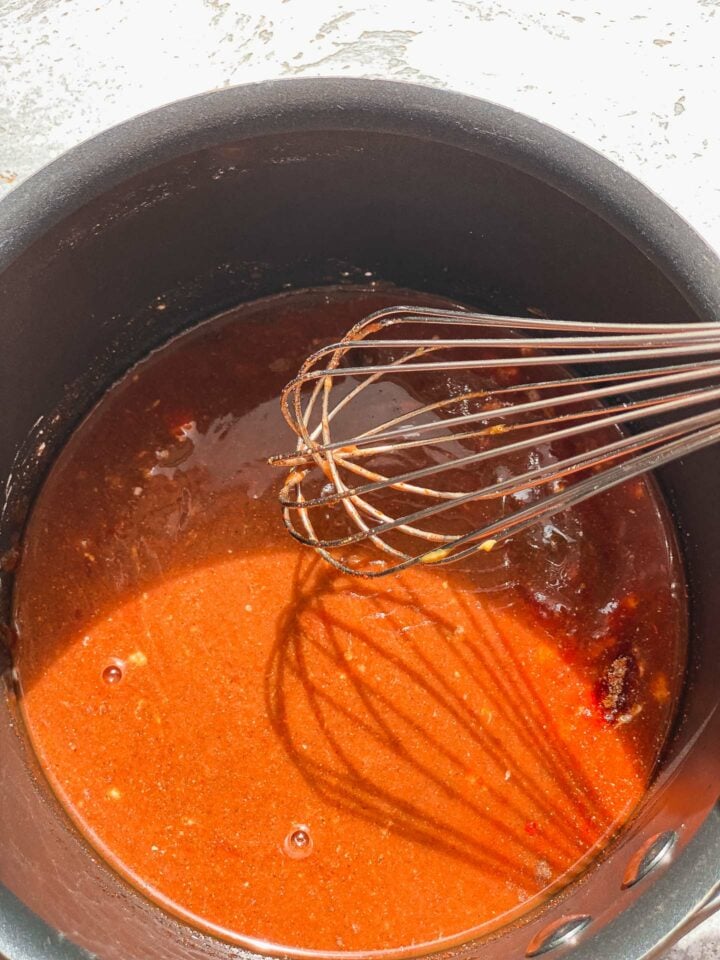
Next, preheat the oven to 180 degrees C/350 F and line a baking tray with parchment paper. Arrange the tofu in a single layer on the baking tray and bake for 15-20 minutes, rotating the pieces half way through.
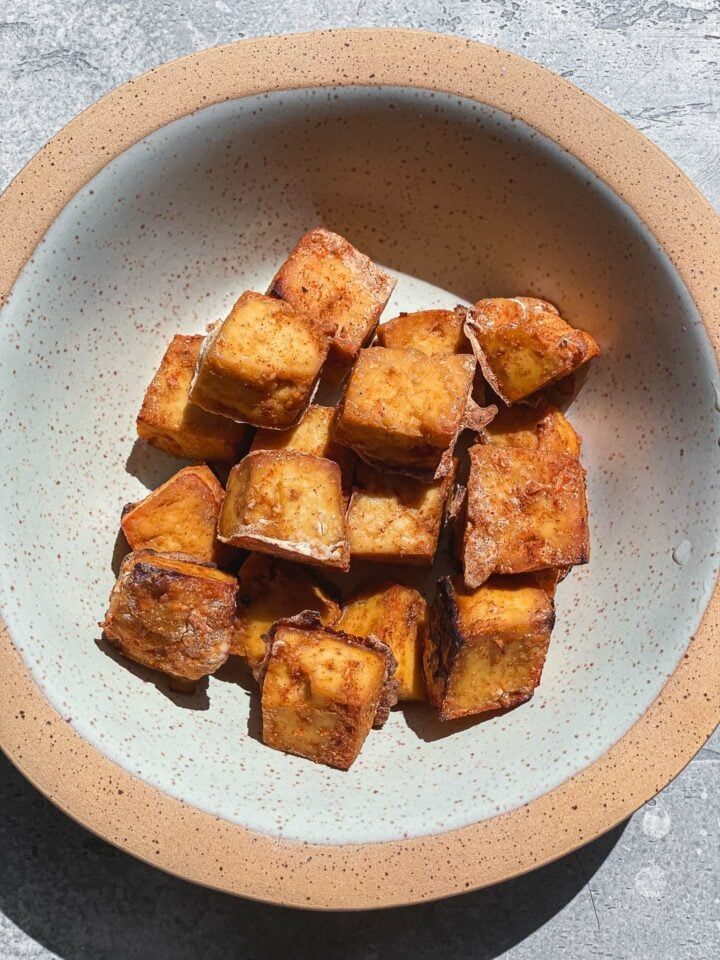
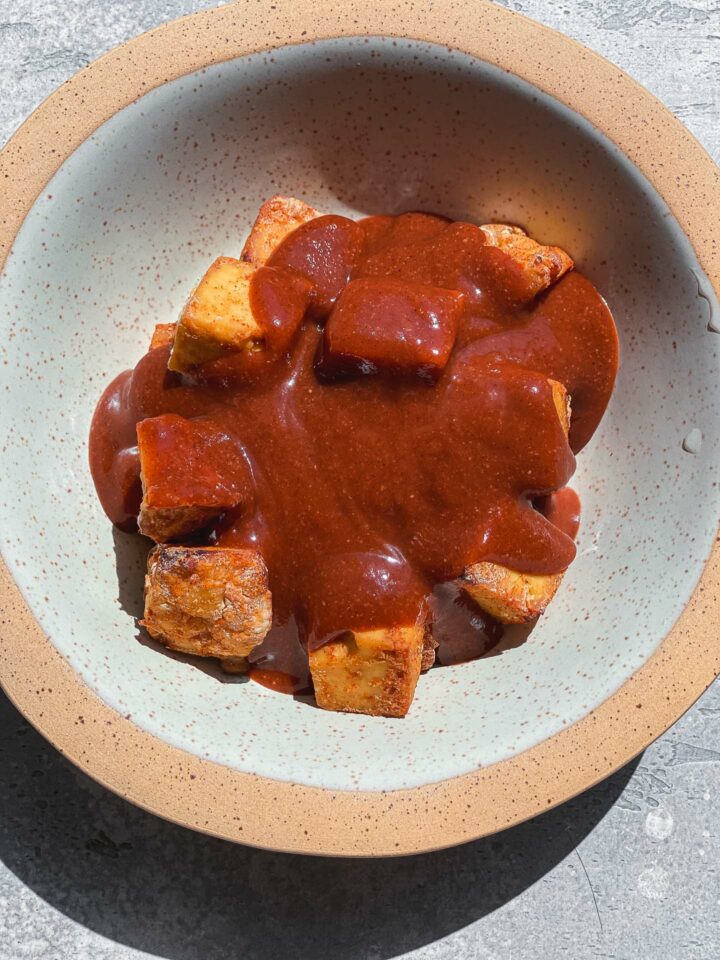
When the tofu is almost done, prepare the BBQ sauce. Add ketchup, apple cider vinegar, lemon juice, coconut sugar, mustard, pepper, smoked paprika, garlic powder, water and cornstarch to a saucepan over a low-medium heat. Whisk continuously until the sauce thickens.
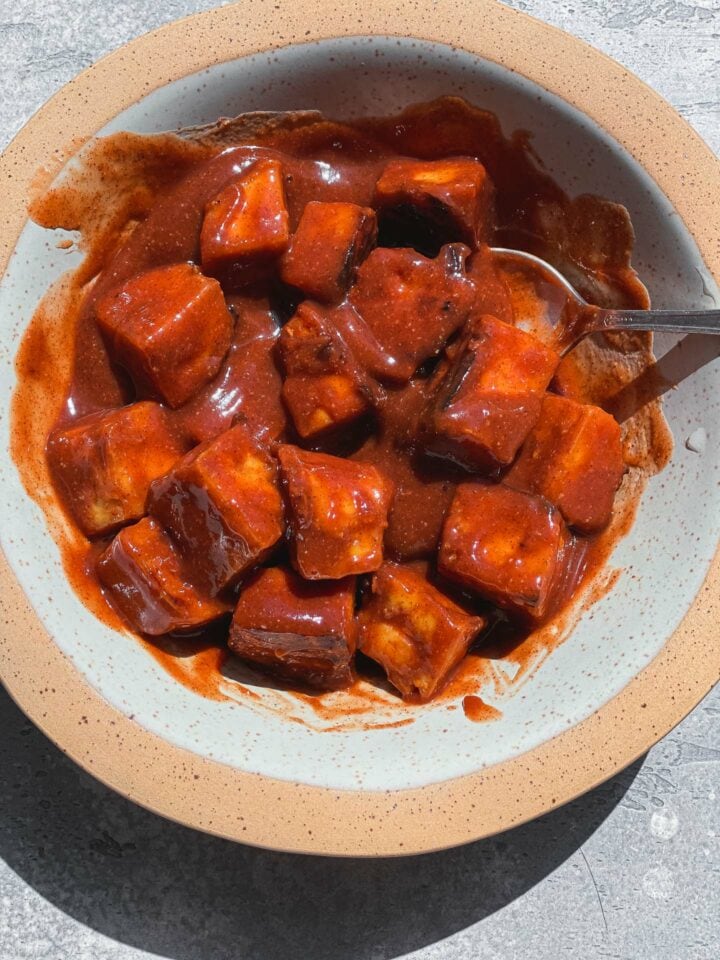
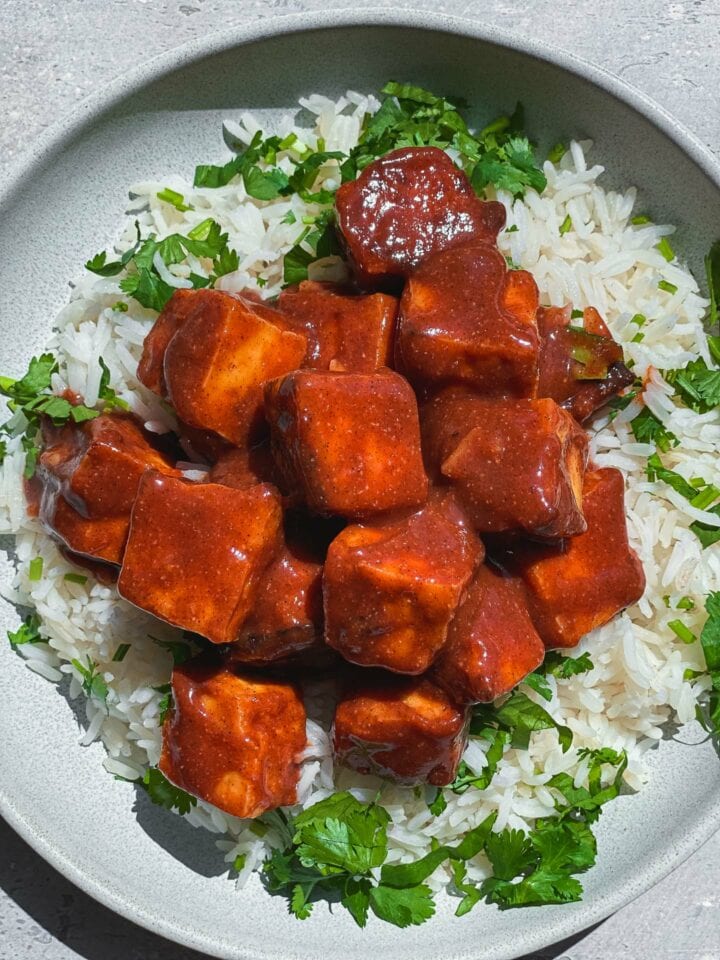
Stir together the tofu and the sauce, then it's ready to serve.
Baked tofu serving suggestions
- Add it as a filling protein to any salad of your choice.
- Serve it as a delicious filling for wraps and sandwiches.
- Eat it by itself as a snack!
- Dice it into finer pieces and stir into pasta dishes.
- Use it as a topping for pizza.
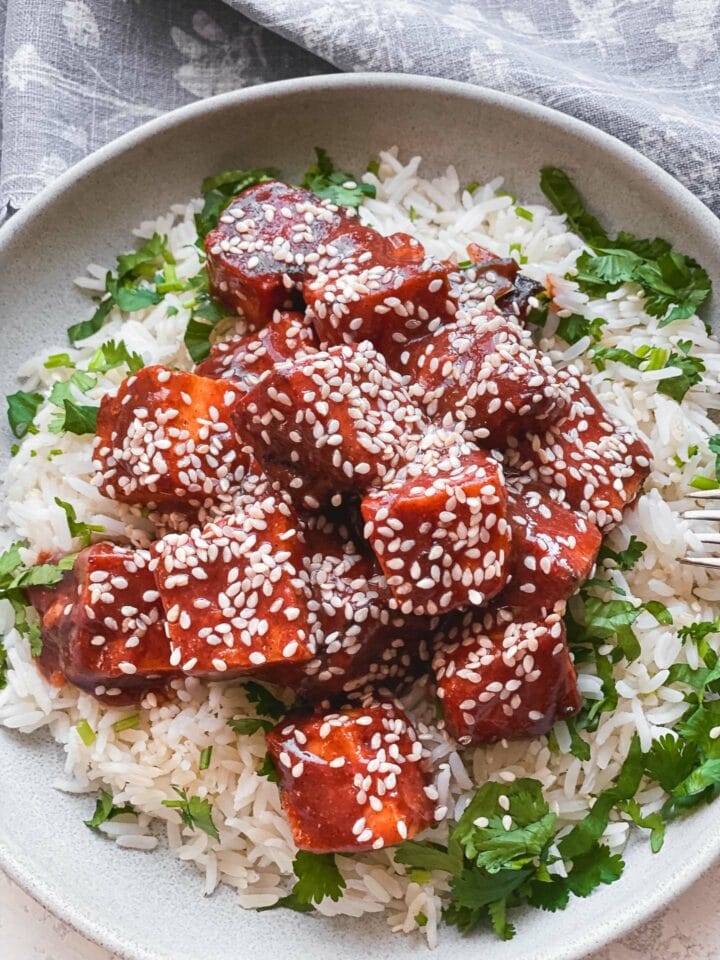
Instructions for storage
This tofu keeps well in the fridge for 3-4 days in an airtight container. Store it separately from the sauce, then combine and stir together in a saucepan when ready to serve.
Looking for more tofu recipes? Here are some of my favourites!
- Lasagna with tofu is a delicious idea.
- You can't go wrong with a simple tofu curry.
- Sheet pan potatoes and tofu is a great weeknight dinner.
- Cold spaghetti salad with balsamic tofu makes another wonderful meal.
- Sweet and sour tofu is one of my go-tos.
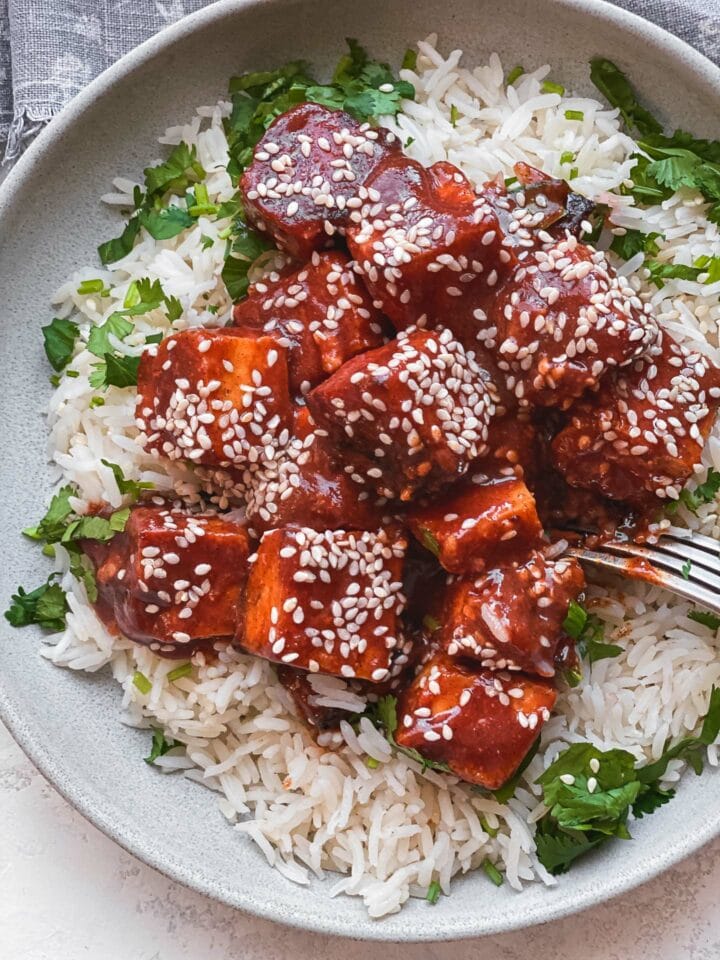

Let me know in the comments: what's your favourite way to cook tofu? If you give this flavourful baked BBQ tofu a go, be sure to tag me on Instagram (@earthofmariaa) so I can see your creations, and leave your feedback in the comments below.
Recipe

Baked BBQ Tofu (Vegan, Gluten-free & Oil-free)
Make the perfect baked BBQ tofu! This is the ultimate way to make tofu taste good - crispy on the outside, chewy, spicy, and full of flavour. Perfect for adding to salads and meal prep, or served over rice with sesame seeds.
Print
Pin
Save
Servings:
Equipment
- Mixing bowl
- Baking tray
- Baking paper
- Conventional oven
- Saucepan
Ingredients
For the marinaded tofu
- 10 oz extra firm tofu
- ¼ cup apple cider vinegar
- ¼ cup maple syrup
- ½ teaspoon salt
- ½ teaspoon pepper
- ½ tablespoon garlic powder
- ½ teaspoon cumin
- ½ teaspoon smoked paprika
For the BBQ sauce
- ½ cup ketchup
- 1 tablespoon apple cider vinegar
- 1 tablespoon lemon juice
- 1 tablespoon coconut sugar
- 1 teaspoon mustard
- ¼ tsp pepper
- ¼ teaspoon smoked paprika
- ¼ teaspoon garlic powder
- ⅓ cup water
- ½ tablespoon cornstarch
Instructions
- Add the tofu to a bowl with cornstarch and stir together thoroughly. After that, add apple cider vinegar, maple syrup, salt, pepper, garlic powder, smoked paprika and cumin. Allow to marinade for at least 30 minutes, preferably overnight.
- Preheat the oven to 180 degrees C/350 F and line a baking tray with parchment paper. Arrange the tofu in a single layer on the baking tray and bake for 15-20 minutes, rotating the pieces half way through.
- Add ketchup, apple cider vinegar, lemon juice, coconut sugar, mustard, pepper, smoked paprika, garlic powder, water and cornstarch to a saucepan over a low-medium heat. Whisk continuously until the BBQ sauce thickens.
- Stir together the tofu and the sauce, then it's ready to serve.
Notes
This tofu keeps well in the fridge for 3-4 days in an airtight container. Store it separately from the sauce, then combine and stir together in a saucepan when ready to serve.
Nutrition (Estimate per Serving)
Calories: 153kcalCarbohydrates: 28gProtein: 6gFat: 2gSaturated Fat: 1gPolyunsaturated Fat: 1gMonounsaturated Fat: 1gSodium: 633mgPotassium: 300mgFiber: 1gSugar: 22gVitamin A: 345IUVitamin C: 3mgCalcium: 58mgIron: 1mg
Vegan-ize any recipe!Grab our free vegan cheat sheet, packed with my favorite easy substitutions to make any recipe vegan.
- « Previous Page
- 1
- 2
- 3
- 4
- …
- 7
- Next Page »