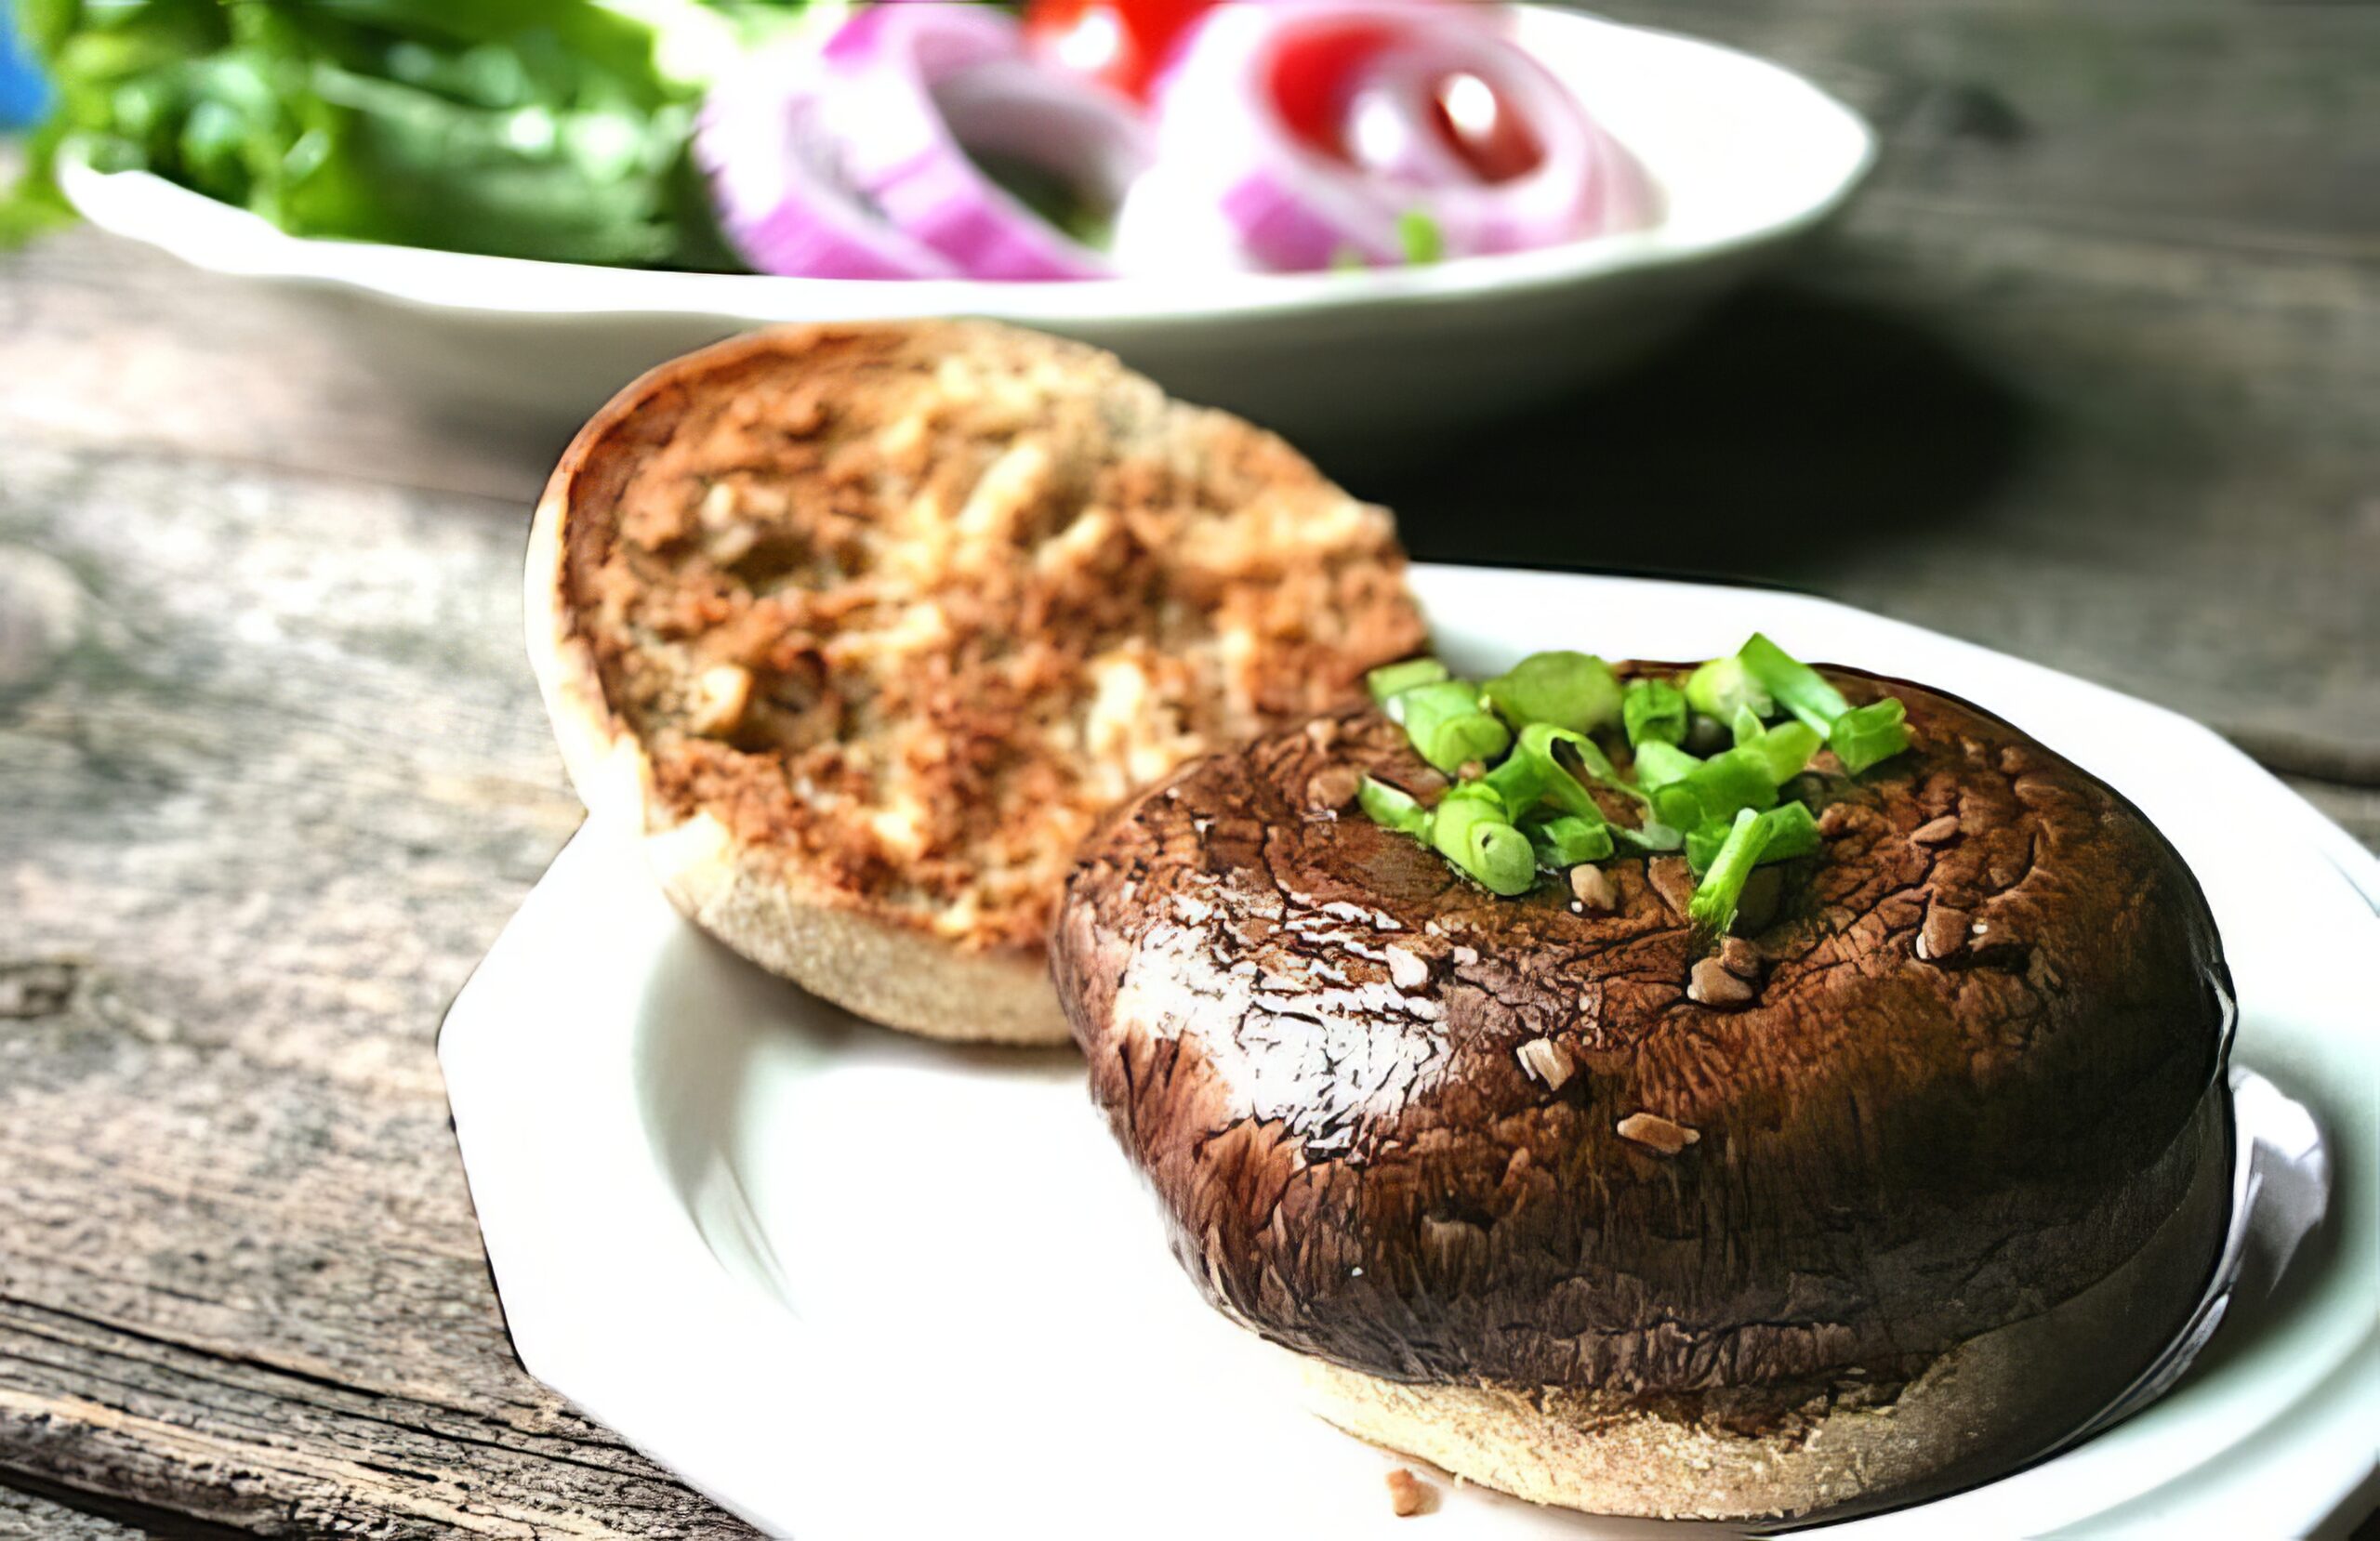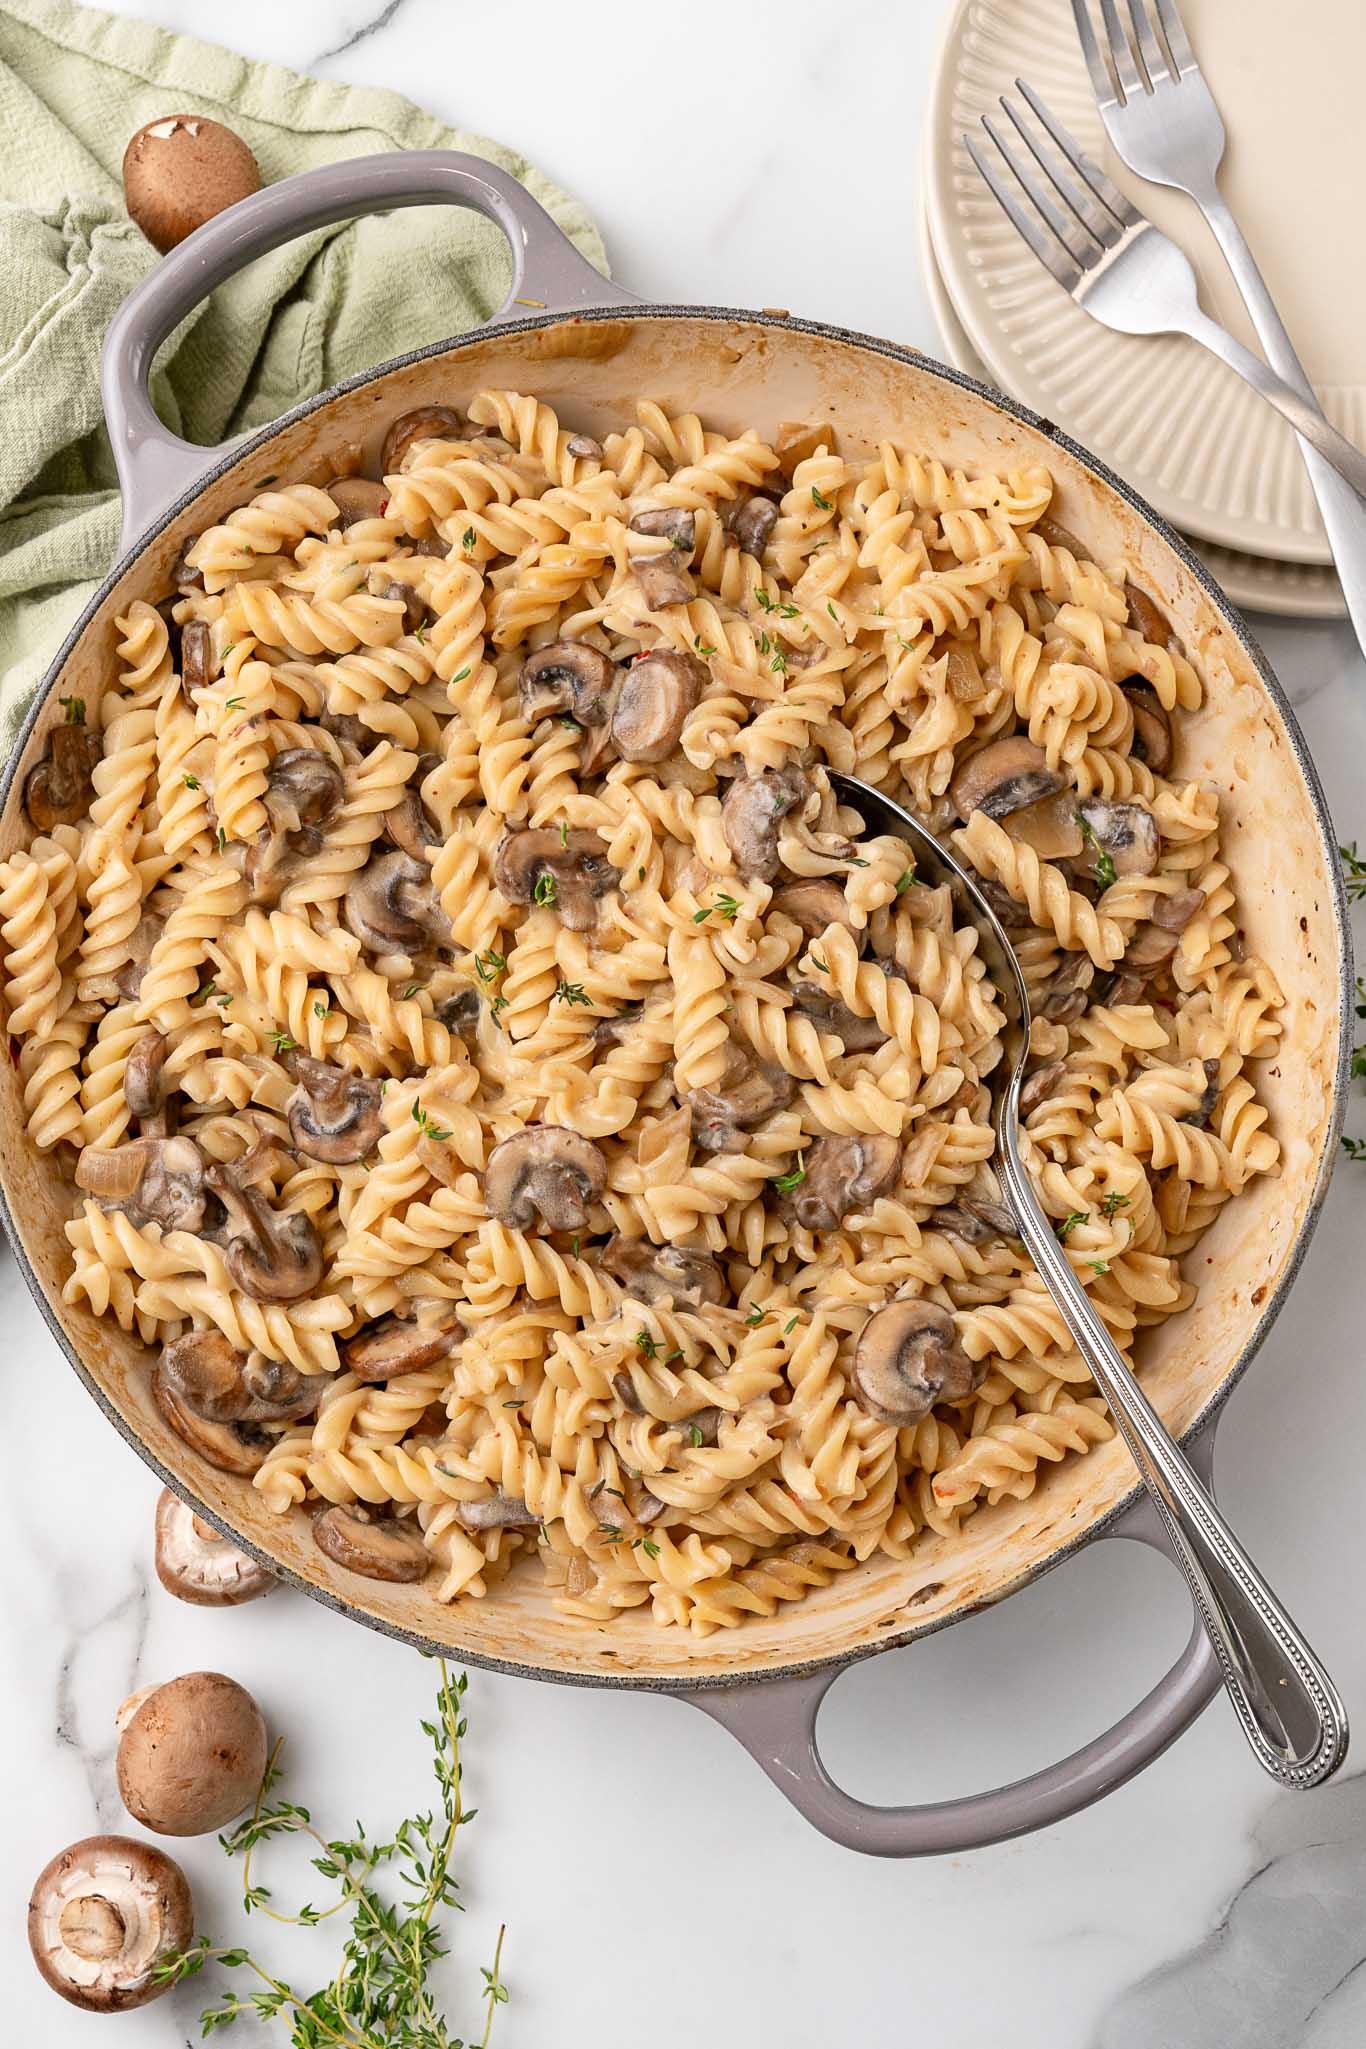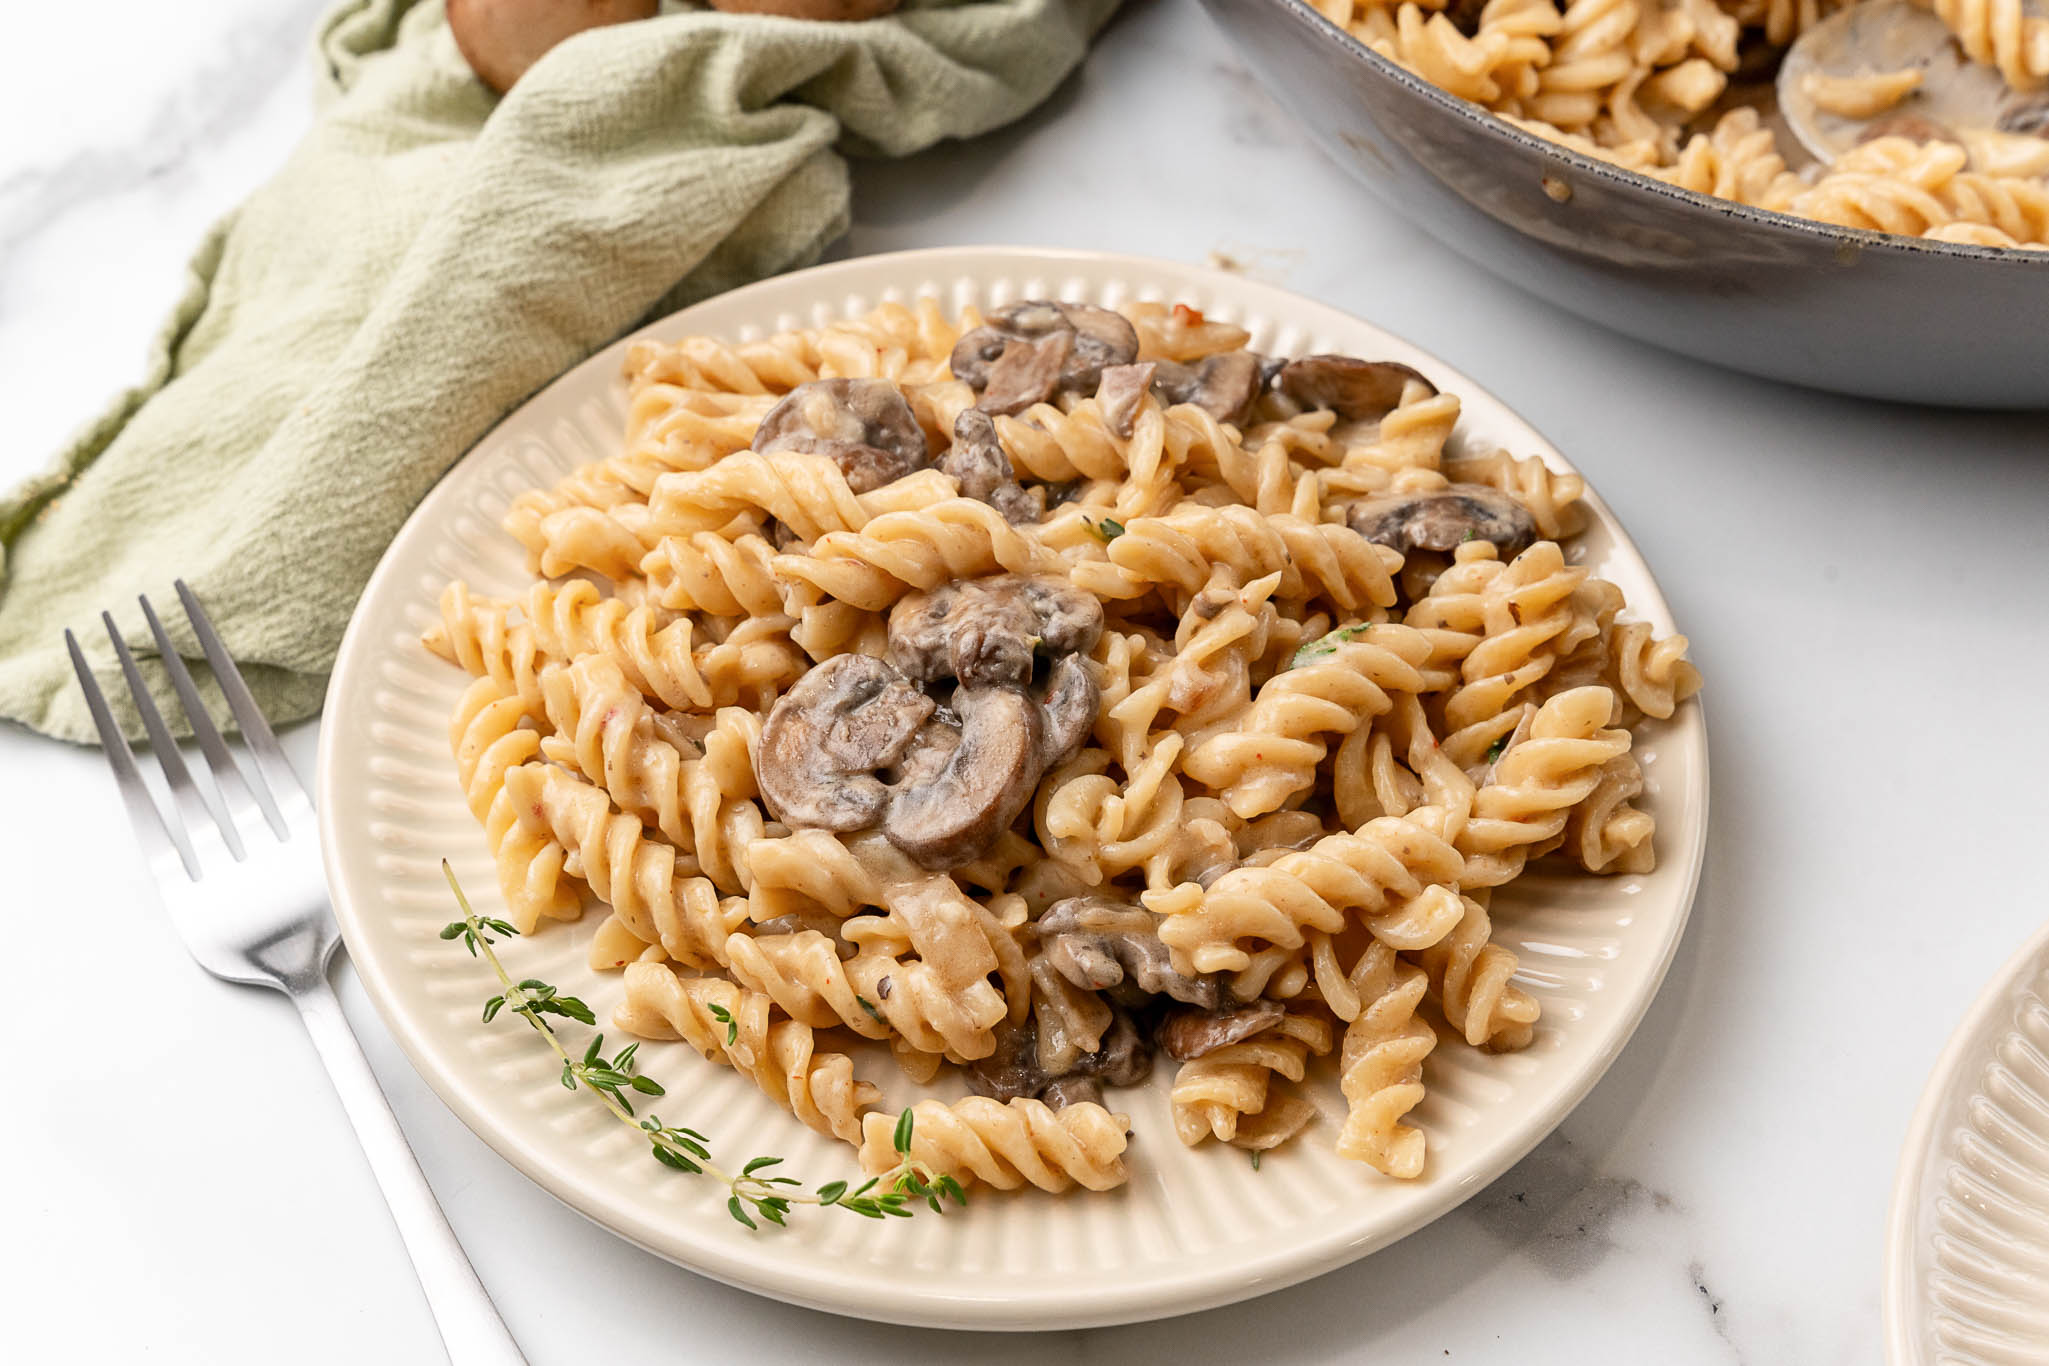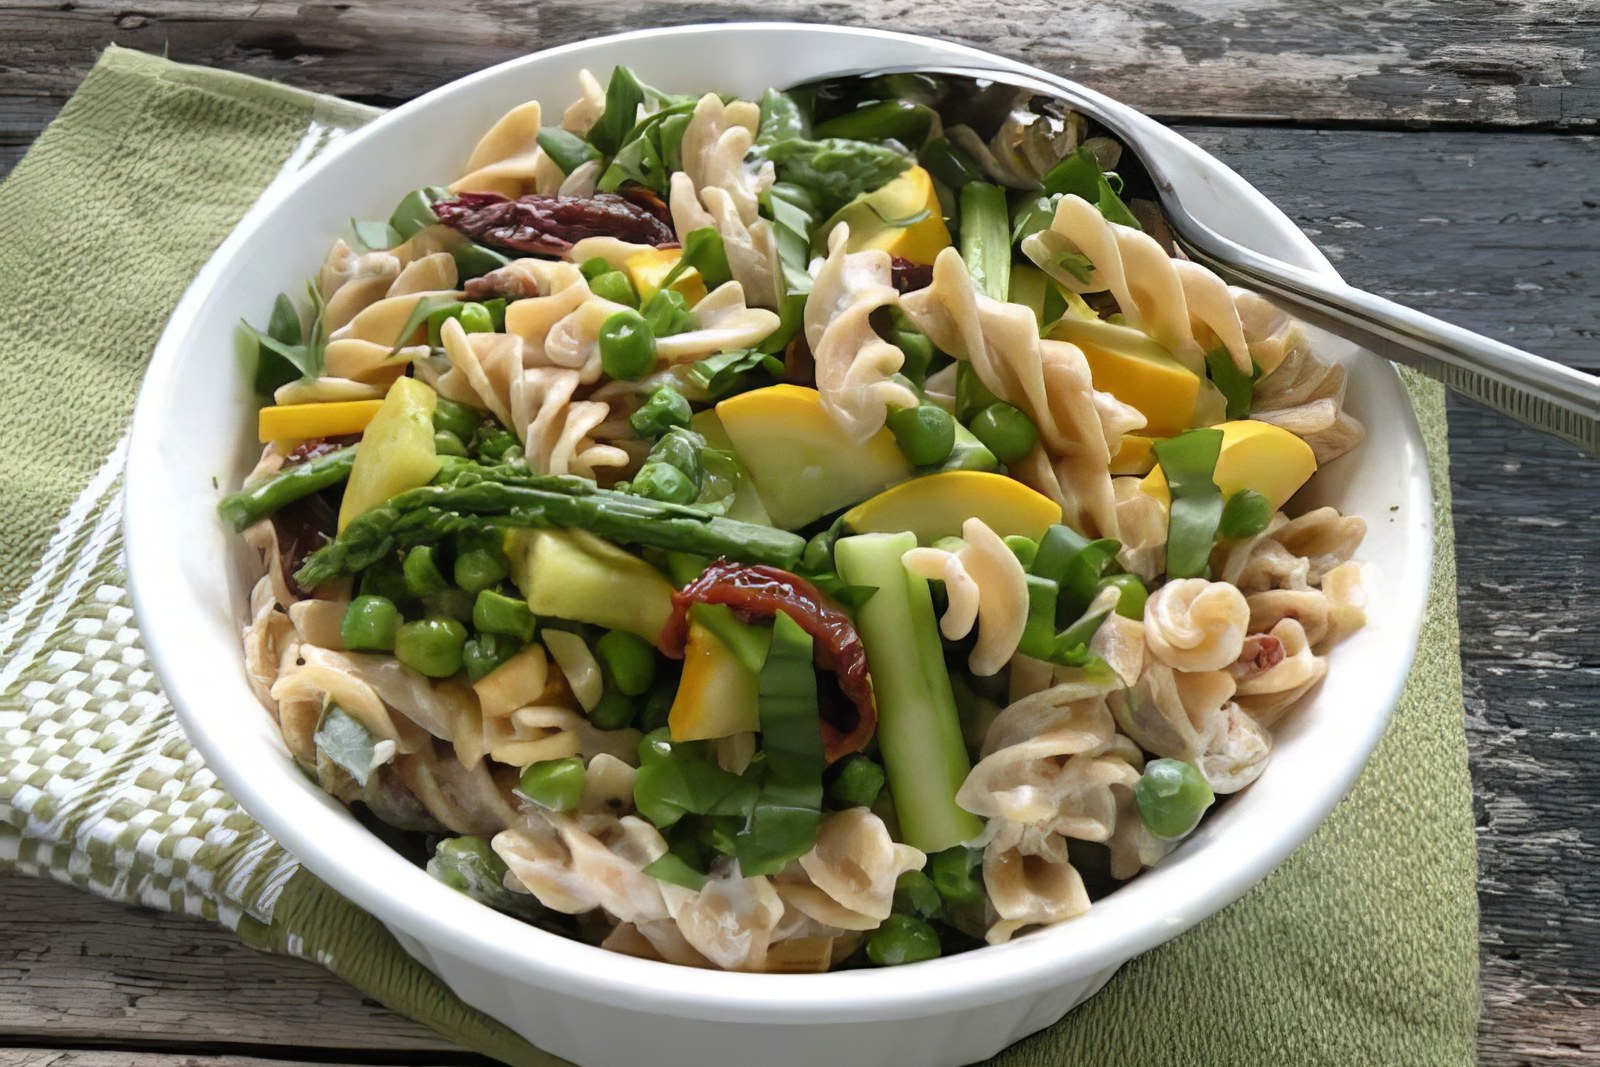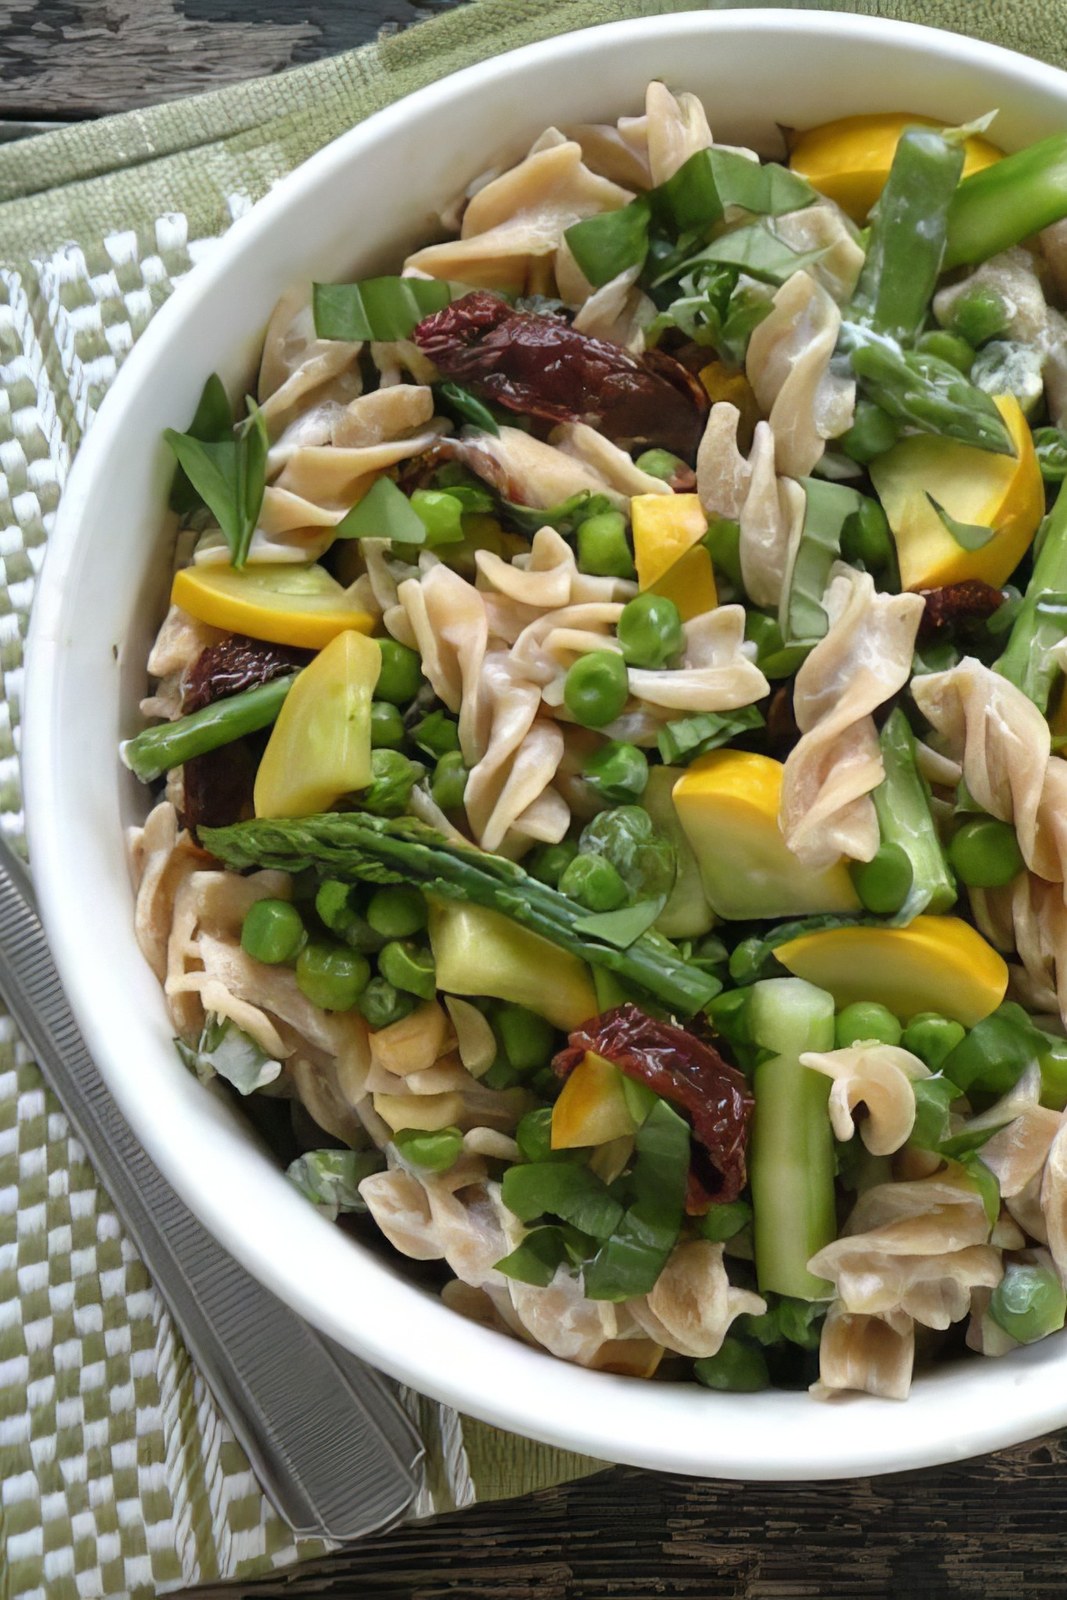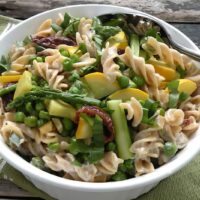


See all vegan recipes →
Explore Vegan Recipes


See all vegan recipes →

About Veg Kitchen
Hi! I'm Nicole - the creator behind Veg Kitchen. I've been cooking vegetarian and vegan recipes for over 25 years, and recently published the popular cookbook, Weeknight One Pot Vegan Cooking!