

Here's an easy way to enjoy roasted carrots with no cutting or peeling involved: simply use a bag of baby carrots! This recipe for Sweet Cinnamon-Roasted Baby Carrots provides a veggie dish that stands a good chance of winning over young eaters, and a good side dish to make while another kid-friendly dish (like Tofu Nuggets) is in the oven. [Read more...]
Search Results for: carrots
Mixed Greens Salad with Apples, Carrots, and Pickled Beets
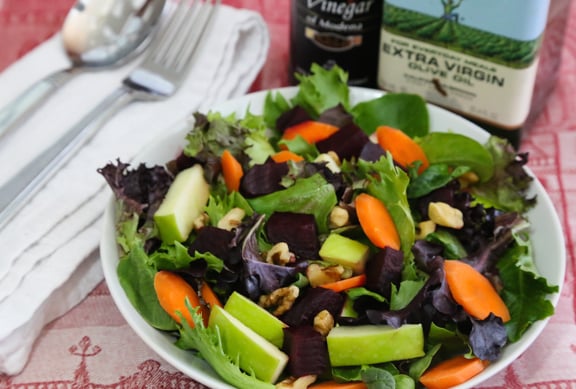
This recipe is for a simple, colorful salad of mixed greens, crunchy carrots, tart apples, and pickled beets that harmonizes well with everyday or holiday meals and adds little hands-on prep time. Photos by Evan Atlas. [Read more...]
Vegan "Honey" Glazed Carrots

These vegan "honey" glazed carrots use agave nectar in place of traditional honey - with delicious results!

These vegan honey glazed carrots are one my most favorite carrot recipes, and one of my all time favorite vegan side dishes. Of course, we won't actually use honey since it's not a vegan ingredient.
We will use agave syrup instead of honey, but you won't be able to tell the difference! I make these vegan carrots frequently for my non-vegan family and they are always a huge hit. Even the kids like these!
These vegan honey-glazed carrots are super simple to make. I can get them from fridge to the oven in about five minutes, so I can cook the rest of the meal while these roast.
Preparing Vegan Honey Glazed Carrots
Start off with a big bunch of carrots. I love the multi-colored ones from the farmers market - they just feel extra fancy. Chop off the tops and slice the carrots lengthwise.
If they are super chunky carrots, you can give them an extra slice. Rinse them, pat dry, and spread on a baking sheet.

Now, you might be realizing at this point that I didn't peel the carrots. That's right! I almost never peel my carrots. The skins contain a ton of healthy nutrients, and they get a tasty little crunch when they're cooked. I enjoy the taste and their healthier this way.
Plus, peeling carrots is a royal pain in the behind. Why put ourselves through that hassle when it's not necessary?
Then, you just toss the carrots in some olive oil, agave syrup, and balsamic vinegar. The agave syrup is our secret vegan substitute for the honey in these honey-glazed carrots! Sprinkle with salt and pepper, and roast the carrots for 30-45 minutes. So easy and so delicious.

More Vegan Recipes
If you love these carrots, be sure to check out these other delicious vegan recipe ideas:
Also worth trying: our glazed baked onions.
Recipe

Vegan Honey Glazed Carrots
These vegan "honey" glazed carrots use agave nectar in place of traditional honey - with delicious results!
Print
Pin
Save
Servings:
Ingredients
- 1 lb carrots fresh
- ½ cup agave nectar
- 2 tablespoon balsamic vinegar
- olive oil
- salt
- black pepper
Instructions
- Preheat oven to 400°F. Chop the tops off carrots, and slice lengthwise. Rinse and pat dry. Spread carrots on a large baking sheet, in a single layer.
- Drizzle carrots with olive oil and toss until lightly coated.
- Drizzle with the agave syrup and balsamic finger. Toss again until all the carrots are coated in the mixture. Sprinkle with salt and pepper.
- Bake at 400°F for 30-45 minutes, until carrots are tender and browned.
Nutrition (Estimate per Serving)
Calories: 139kcalCarbohydrates: 33gProtein: 1gFat: 1gSaturated Fat: 1gPolyunsaturated Fat: 1gMonounsaturated Fat: 1gSodium: 81mgPotassium: 373mgFiber: 3gSugar: 25gVitamin A: 18944IUVitamin C: 11mgCalcium: 40mgIron: 1mg
Vegan-ize any recipe!Grab our free vegan cheat sheet, packed with my favorite easy substitutions to make any recipe vegan.
Tender Kale with Carrots, Onion, and Mild Spices

Ye'zelbo gomen be'karot, as it's called in Ethiopian, is a mild kale dish with lots of flavor. It can round out heavier stews and sauces if you're cookin' up a feast. If you're not big into greens, give this one a try anyway; it might pleasantly surprise you. It's perfect to serve with inejra or Quick Teff Crêpes. Recipe and photo from Teff Love: Adventures in Vegan Ethiopian Cooking* by Kittee Berns © 2015, Book Publishing Company, reprinted by permission. For complete how-to on making authentic Ethiopian injera (the spongy moist flatbread shown in the photo, refer to the aforementioned book!
Cold Japanese Noodles with Daikon and Carrots

Spaghetti-shaped somen noodles are traditionally eaten cold in Japan during summer months, but you can substitute any kind of soba noodles or whole grain linguine. Peppery daikon radish and mellow carrots work beautifully with the noodles in this simple dish. Photos by Hannah Kaminsky. [Read more...]
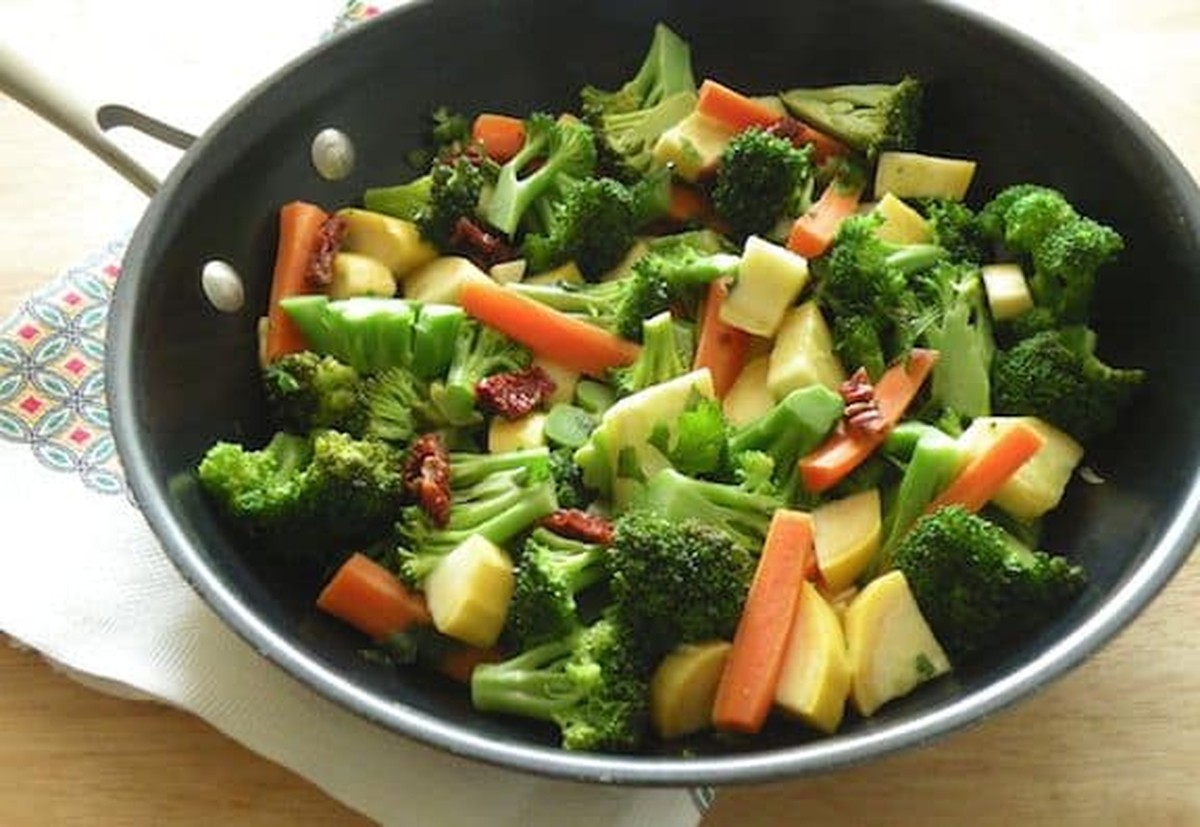
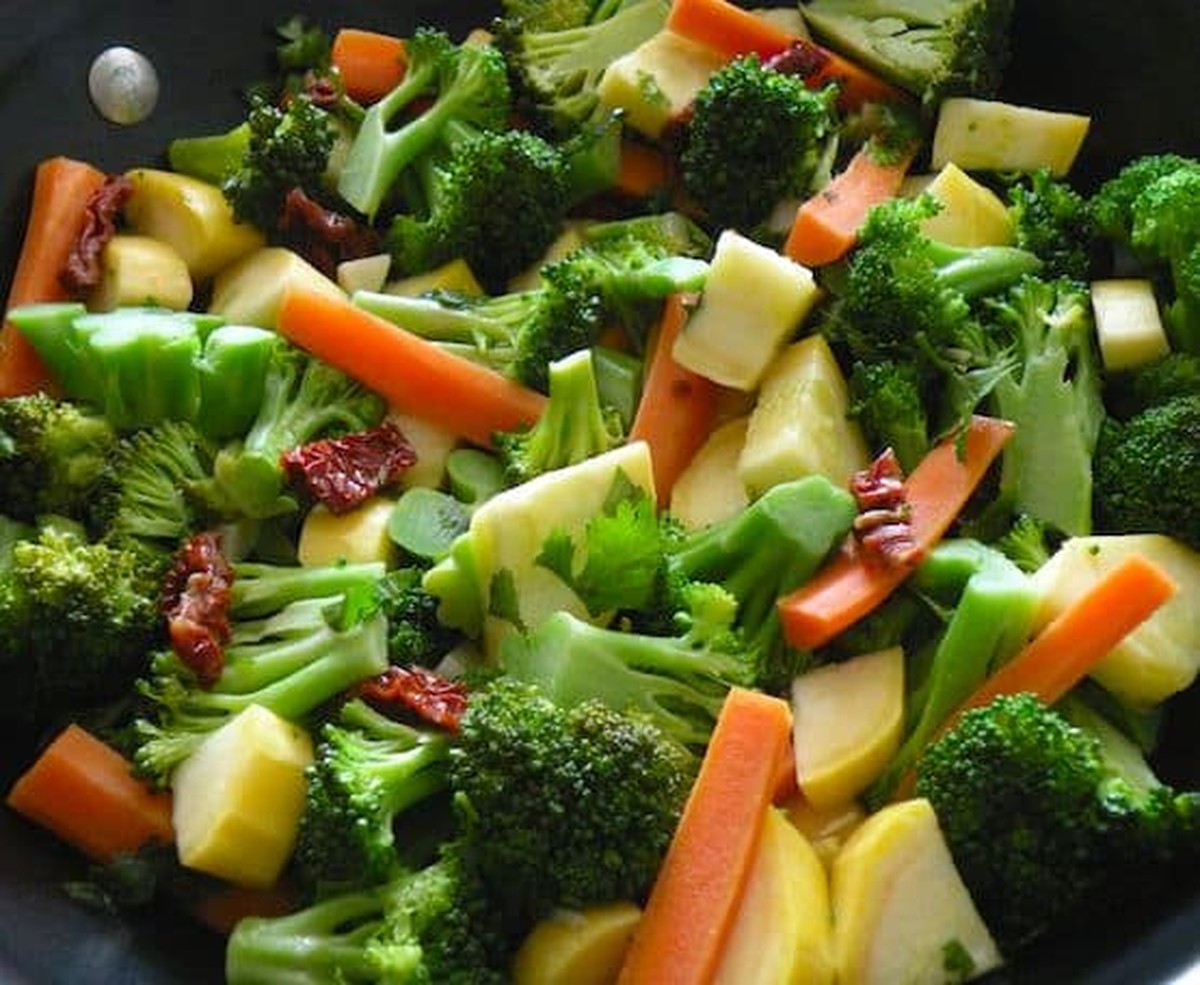
Sautéed Broccoli or Broccoli Rabe, Baby Carrots, and Yellow Squash
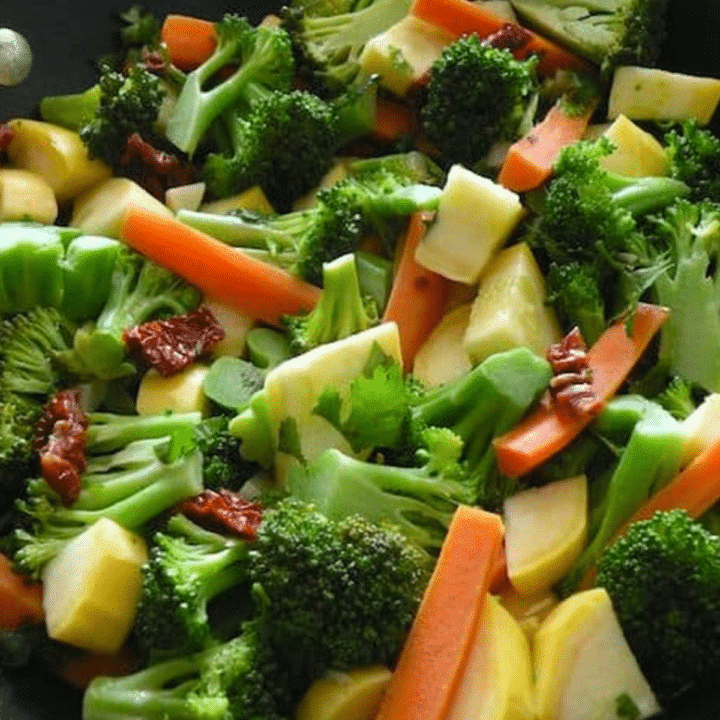
This colorful sauté brings together broccoli (or peppery broccoli rabe, if you'd rather), baby carrots, and yellow summer squash in one skillet, brightened with garlic, sun-dried tomatoes, and a handful of fresh herbs. It comes together in under 30 minutes and pairs with almost anything on your dinner table, from a bowl of pasta to a scoop of rice pilaf.
Key Ingredients & Substitutions
- Broccoli or broccoli rabe. Regular broccoli crowns give you a mellow, familiar flavor, while broccoli rabe (also called rapini) brings a pleasantly bitter, mustardy edge. Either works here - just cut broccoli into bite-sized florets, or chop broccoli rabe into similar-sized pieces so everything cooks evenly.
- Baby carrots. Baby carrots quartered lengthwise cook quickly and add natural sweetness and color. Regular carrots, peeled and sliced on the diagonal, work just as well if that's what you have on hand.
- Yellow summer squash. Look for squash that's firm with smooth, glossy skin. Zucchini is an easy one-for-one swap if yellow squash isn't available.
- Garlic. Fresh cloves, minced, build the aromatic base. Don't let it brown too far past golden or it turns bitter.
- Sun-dried tomatoes or sliced black olives. Either adds a concentrated, salty-savory punch that balances the sweetness of the carrots and squash. Oil-packed sun-dried tomatoes are easiest to work with - just pat off the excess oil before slicing.
- Fresh parsley or cilantro. Stirred in at the end, either herb adds brightness. Use whichever you prefer, or a mix of both.
- Extra-virgin olive oil. Just a tablespoon is enough to sauté the aromatics and start the vegetables cooking.
Helpful Tips
Cut everything roughly the same size. Broccoli florets, carrot sticks, and squash pieces that are all similar in size cook at the same rate, so you don't end up with mushy squash sitting next to still-crunchy broccoli. Aim for bite-sized pieces across the board.
Use a wide, heavy skillet. A wide nonstick skillet gives the vegetables enough surface area to cook in a single layer instead of steaming in a crowded pile, which is what keeps this dish tasting like a sauté instead of a boil.
Don't skip the splash of water. Adding a little water and covering the pan briefly steams the broccoli and carrots just enough to take the raw edge off before the lid comes off and everything finishes sautéing. Watch the clock here - a minute or two too long and the broccoli loses its bright green color.
Add the squash last. Yellow squash cooks much faster than broccoli or carrots and turns watery and soft if it's in the pan too long. Adding it partway through, once the sturdier vegetables have had a head start, keeps it tender-crisp instead of mushy.
Season at the very end. Salt draws moisture out of vegetables, so holding off until the pan comes off the heat helps everything stay crisp-tender rather than watery.
Variations
- Add protein. Toss in cubed baked tofu or a can of drained, rinsed chickpeas along with the squash to turn this side into more of a main dish.
- Make it spicy. A pinch of red pepper flakes added with the garlic gives the whole dish a gentle heat.
- Swap the aromatics. A tablespoon of grated fresh ginger alongside the garlic gives the sauté a different, brighter direction.
- Add a nutty crunch. Toasted slivered almonds or pine nuts scattered on top just before serving add texture and richness.
- Brighten it with citrus. A squeeze of lemon juice over the finished dish wakes up all the other flavors, especially if you've used broccoli rabe.
- Make it cheesy. A sprinkle of vegan parmesan just before serving adds a savory, salty finish.
Serving Ideas
This sauté is easygoing enough to serve alongside just about any main dish. Spoon it over a bowl of wild rice pilaf for a simple, satisfying dinner, or toss it right into pasta the way we do in penne and broccoli with tomatoes, walnuts, and raisins for a heartier meal.
It's also a great partner for roasted or mashed potatoes, a veggie burger, or a simple grain bowl with quinoa or farro. Leftovers make a fast lunch on their own, or stirred into a wrap with hummus.
Storing & Freezing
Leftovers keep well in an airtight container in the refrigerator for up to 4 days. Reheat gently in a skillet over medium heat, or in the microwave, just until warmed through - the vegetables can turn soft if they're overheated.
This dish isn't a great candidate for the freezer. Broccoli, carrots, and squash all hold a lot of water, and freezing and thawing breaks down their texture, leaving the sauté noticeably mushy once reheated. It's best enjoyed fresh or refrigerated for the week ahead.
More Vegan Side Dishes
If you loved this recipe, here are a few more vegetable-forward dishes worth trying:
- Sesame-Ginger Tofu and Broccoli Stir-Fry
- Vegan Cheddar and Broccoli Rice Casserole
- Sesame Kale and Broccoli Sauté
- Yellow Squash Soup
Recipe
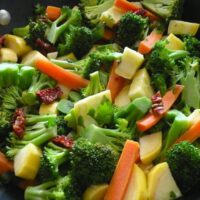
Sautéed Broccoli or Broccoli Rabe, Baby Carrots, and Yellow Squash
A quick, colorful skillet sauté of broccoli (or peppery broccoli rabe), baby carrots, and yellow summer squash, brightened with garlic and sun-dried tomatoes.
Print
Pin
Save
Servings: servings
Ingredients
- 1 tablespoon extra-virgin olive oil
- 2 to 3 cloves garlic, minced
- 1 large or 2 medium broccoli crowns, cut into bite-sized florets or 1 good-sized bunch broccoli rabe, chopped into bite-sized pieces
- 1 cup baby carrots, quartered lengthwise or peeled and sliced regular carrots
- 1 medium yellow summer squash, sliced into half-moons
- ¼ cup thinly sliced sun-dried tomatoes or sliced black olives
- ¼ cup minced fresh parsley or cilantro
- Salt and freshly ground black pepper to taste
Instructions
- Heat the olive oil in a wide skillet over medium heat. Add the garlic and sauté for 1 to 2 minutes, until fragrant and just turning golden.
- Add the broccoli (or broccoli rabe), carrots, and ¼ cup water. Cover and cook over medium-high heat for 3 to 4 minutes, until the broccoli turns bright green, lifting the lid to stir occasionally.
- Uncover and add the squash. Continue sautéing over medium heat, stirring frequently, for 4 to 5 minutes, until all the vegetables are tender-crisp.
- Remove the pan from the heat and stir in the parsley or cilantro and the sun-dried tomatoes or olives. Season with salt and pepper, and serve warm.
Nutrition (Estimate per Serving)
Calories: 55kcalCarbohydrates: 7gProtein: 2gFat: 3gMonounsaturated Fat: 2gSodium: 40mgPotassium: 220mgFiber: 2gVitamin C: 15mgCalcium: 30mg
Vegan-ize any recipe!Grab our free vegan cheat sheet, packed with my favorite easy substitutions to make any recipe vegan.
Sauteed Carrots with Cranberries
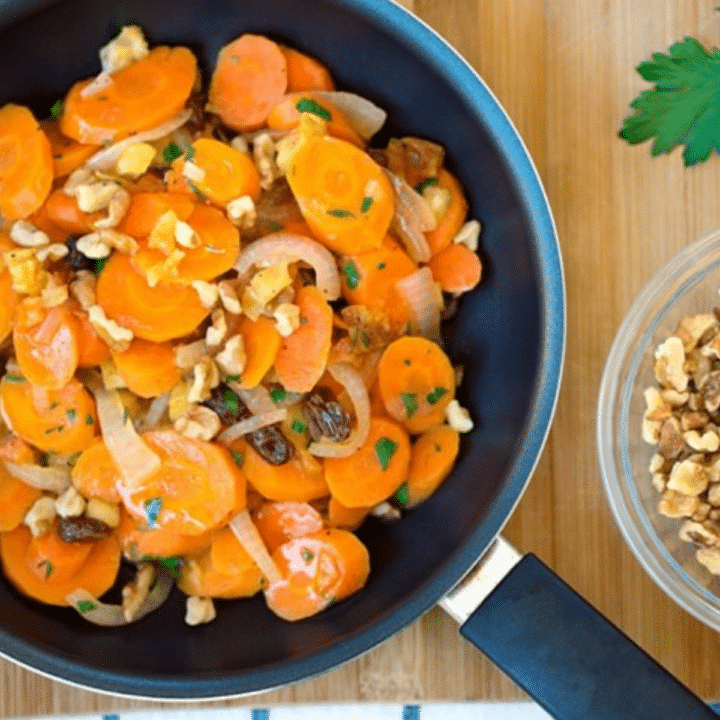
Here's a tasty way to highlight carrots in a lightly cooked side dish. Their natural sweetness is enhanced with dried cranberries and balanced with a bit of lemon. It's a nice everyday side dish and a welcome addition to fall and winter holiday meals, and it comes together quickly enough for a weeknight without feeling like an afterthought — from raw carrots to table in about 20 minutes.

Photos by Hannah Kaminsky.
Key Ingredients & Substitutions
- Carrots. Sliced into coins or on the diagonal, thinly, so they cook quickly and pick up the glaze evenly.
- Dried cranberries. Add sweet-tart bursts of flavor and a festive pop of color that makes this feel like a holiday side even on a Tuesday.
- Red onion. Adds a mild, slightly sweet allium base to the dish without overpowering the carrots.
- Cinnamon and nutmeg. Warm spices that complement the natural sweetness of the carrots and cranberries — use a light hand so the spices support rather than dominate.
- Lemon juice. Cuts through the sweetness and keeps the dish from tasting one-note.
Variations
- Swap the dried fruit. Sliced dried apricots, dates, or raisins all work well in place of cranberries.
- Add crunch. Toasted walnuts or slivered almonds scattered on top add texture and make the dish feel more substantial.
- Add fresh herbs. A little fresh thyme along with the parsley adds another layer of flavor.
- Make it a glaze. A touch of maple syrup added near the end intensifies the sweet side of the dish for a more dessert-adjacent holiday side.
- Add ginger. A little freshly grated ginger stirred in with the spices adds a warm, slightly peppery note.
Tips for the Best Sauteed Carrots with Cranberries
- Slice the carrots thinly and evenly. This helps them cook through quickly and at the same rate, avoiding a mix of crisp and mushy pieces.
- Keep the skillet from drying out. Add a few drops of water as needed while the carrots cook, especially if your pan runs hot.
- Add lemon juice to taste. Start with less and add more gradually to balance the sweetness rather than dumping it all in at once.
- Toast the nuts if using. A few minutes in a dry skillet brings out their flavor before scattering them over the finished dish.
- Don't skip the onion. Even a small amount adds a savory backbone that keeps the dish from tasting purely sweet.
Make Ahead & Storage
This dish keeps well in a sealed container in the refrigerator for up to 4 days, and the flavor actually improves after a day as the spices and cranberries meld with the carrots. Reheat gently on the stovetop or in the microwave, adding a splash of water if it's dried out.
How to Serve
Serve warm as an everyday side dish, or bring it to the table for fall and winter holiday meals, including Jewish New Year (Rosh Hashanah) menus.
Recipe
Sauteed Carrots with Cranberries
A tasty way to highlight carrots in a lightly cooked side dish. Their natural sweetness is enhanced with dried cranberries and balanced with a bit of lemon.
Print
Pin
Save
Servings:
Ingredients
- 1 ½ tablespoons olive oil
- 1 medium red onion quartered and sliced
- 1 pound carrots peeled and thinly sliced into coins or on the diagonal
- ⅔ cup dried cranberries
- 1 teaspoon agave nectar
- juice of ½ to 1 lemon to taste
- ¼ cup minced fresh parsley
- ¼ teaspoon cinnamon
- nutmeg a pinch
- salt and freshly ground pepper to taste
- toasted walnuts or slivered almonds for topping, optional
Instructions
- Heat the oil in a large skillet. Add the onion and sauté over medium heat until translucent.
- Add the carrots and sauté for 5 minutes. Add the cranberries, agave, lemon juice, parsley, cinnamon, nutmeg, salt, and pepper, and sauté just until the carrots are tender-crisp. Add drops of water if the skillet gets dry as the carrots cook.
- Transfer to a serving container or serve straight from the skillet, scattering toasted walnuts or almonds over the top if desired.
Notes
A nice everyday side dish and a welcome addition to fall and winter holiday meals.
Vegan-ize any recipe!Grab our free vegan cheat sheet, packed with my favorite easy substitutions to make any recipe vegan.

Here are more recipes for making the most of carrots. Return to Jewish New Year (Rosh Hashanah) recipes and menus.
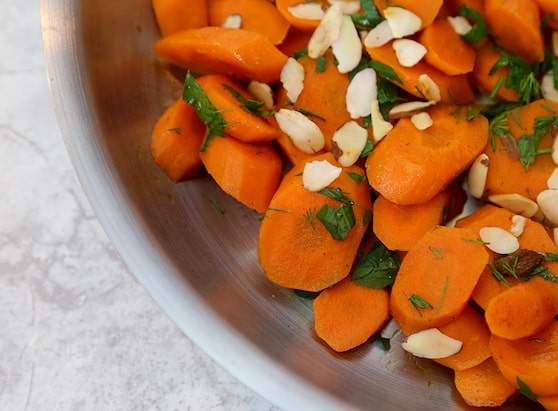
Sautéed Carrots with Almonds
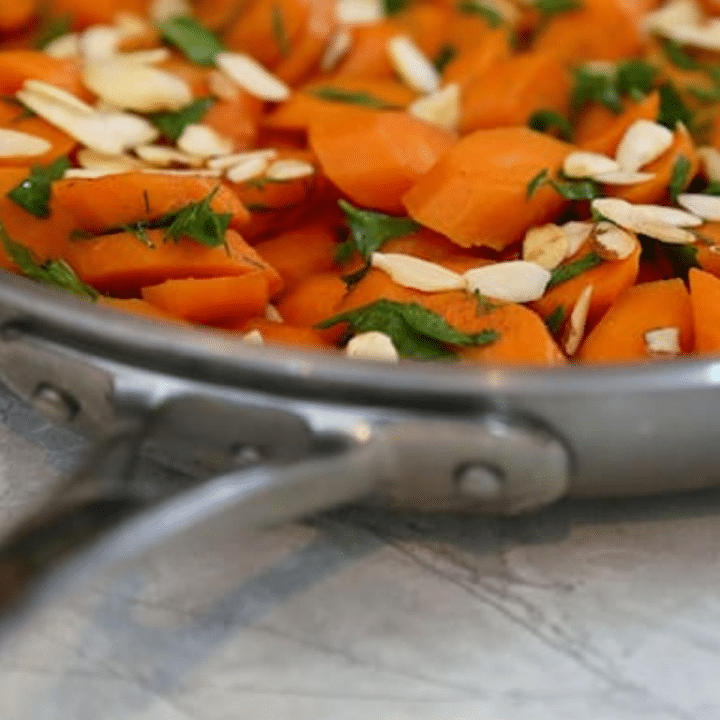
This simple side dish of carrots embellished with almonds and herbs brings color and natural sweetness to the dinner plate. It's a favorite vegetable dish to serve with a Passover or Jewish New Year dinner, but simple enough to make any night of the week when you want something quick, colorful, and a little bit special.
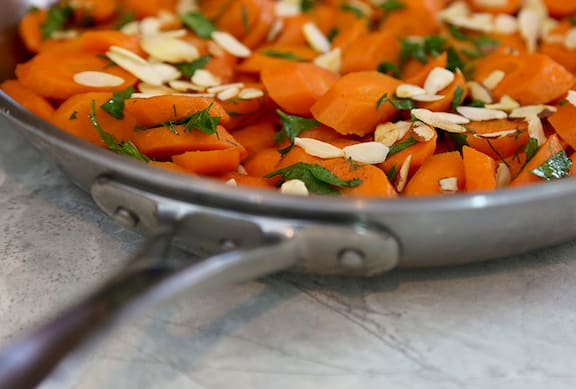
Photos by Evan Atlas.
Key Ingredients & Substitutions
- Carrots. Sliced thinly, on the diagonal or into coins, so they cook quickly and evenly without needing to be blanched first.
- Almonds. Toasting them first brings out a deeper, nuttier flavor than raw almonds would give — a few minutes in a dry skillet is all it takes.
- Apple juice. Adds natural sweetness and moisture as the carrots cook — any fruit juice works well, including orange juice for a brighter citrus note.
- Agave nectar or maple syrup. Balances the lemon juice for a sweet-tart finish that keeps the dish from tasting one-note.
- Fresh dill or chives. A finishing herb that adds a fresh, slightly grassy contrast to the sweet glaze.
Variations
- Swap the nuts. Toasted pecans or pistachios work well in place of almonds, or use pepitas for a nut-free option.
- Add warm spice. A pinch of cinnamon or ginger pairs nicely with the sweet glaze, especially for a holiday table.
- Change the herbs. Fresh mint is a nice substitute for dill or chives, and pairs particularly well with the orange juice variation.
- Add dried fruit. A handful of raisins or chopped dried apricots stirred in near the end adds extra sweetness and chew.
- Roast instead of sauté. For a deeper caramelized flavor, roast the carrot coins at 425°F until tender, then toss with the same glaze ingredients.
Tips for the Best Sauteed Carrots with Almonds
- Toast the almonds first. A few minutes in a dry skillet, stirring frequently so they don't scorch, makes a big difference in flavor compared to raw almonds.
- Slice the carrots thinly and evenly. Uniform pieces cook through at the same rate, so you don't end up with a mix of crisp and mushy carrots.
- Add juice as needed. If the skillet starts to dry out while the carrots cook, sprinkle in a little more juice rather than letting them scorch.
- Taste and adjust before serving. Balance the lemon juice and agave to your preference — the right ratio depends a lot on how sweet your carrots and juice are.
- Add the almonds last. Stirring them in just before serving keeps them crunchy instead of softening in the sauce.
Make Ahead & Storage
These carrots keep well in a sealed container in the refrigerator for up to 3 days — the flavor actually deepens overnight, though the almonds soften somewhat. Reheat gently in a skillet, and add a fresh sprinkle of toasted almonds just before serving to bring back the crunch.
How to Serve
Serve warm as a colorful side dish, especially welcome at a Passover or Jewish New Year dinner, or alongside any weeknight meal that could use a pop of color.
Recipe
Sautéed Carrots with Almonds
A simple side dish of carrots embellished with toasted almonds and fresh herbs, bringing color and natural sweetness to the dinner plate.
Print
Pin
Save
Servings:
Ingredients
- ⅓ cup sliced or slivered almonds
- 1 tablespoon olive oil or fragrant nut oil
- ⅓ cup apple juice or other fruit juice or as needed
- 2 pounds carrots peeled and thinly sliced
- 1 tablespoon lemon juice or more, to taste
- 2 tablespoons agave nectar or maple syrup
- ¼ cup minced fresh parsley
- 2 tablespoons minced fresh dill or chives
- salt and freshly ground pepper to taste
Instructions
- Heat a large skillet. Toast the almonds over medium-low heat until fragrant and just starting to turn golden. Remove from the skillet to a plate or bowl and set aside.
- Heat the oil and juice in the same skillet. Add the carrots and cook over medium heat, stirring frequently, until tender-crisp and beginning to turn golden, about 10 to 15 minutes. If the skillet begins to turn dry, sprinkle in additional juice while cooking.
- Continue to cook, stirring frequently, until the carrots are just tender. Stir in the remaining ingredients, and continue to cook, stirring, for just another minute or so.
- Taste to adjust the lemon/agave balance, then sprinkle with the almonds. Transfer to a serving container or serve straight from the skillet.
Notes
A favorite vegetable dish to serve with a Passover or Jewish New Year dinner.
Vegan-ize any recipe!Grab our free vegan cheat sheet, packed with my favorite easy substitutions to make any recipe vegan.
Here are more recipes for making the most of carrots. Find more ways to make Special Occasions and Entertaining easier and healthier.
20+ Vegan Desserts with Hidden Veggies
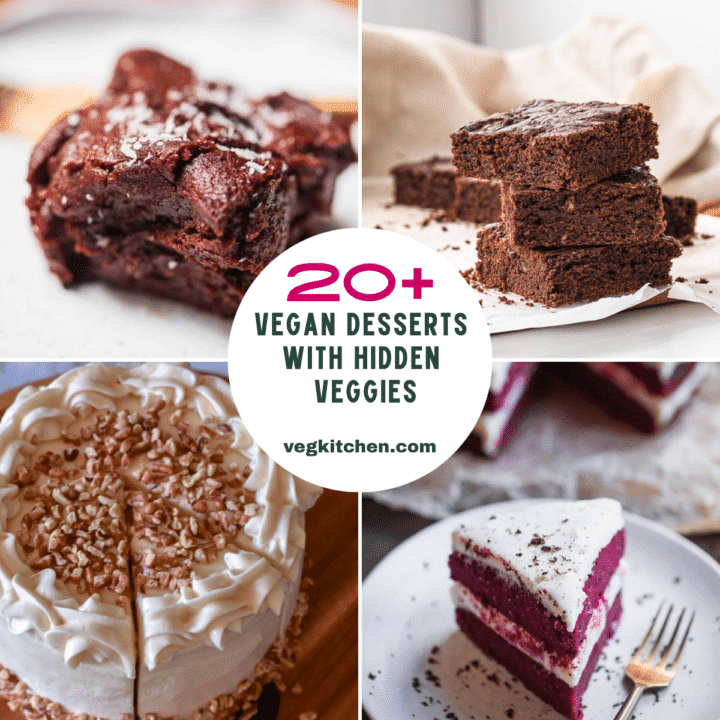
Getting kids to eat their vegetables can feel like a daily battle, and plenty of grown-ups aren't much better. So why not take the fight to dessert? These vegan desserts with hidden veggies tuck sweet potatoes, zucchini, carrots, beets, pumpkin, avocado, and even beans and chickpeas into brownies, cakes, cookies and muffins, and nobody at the table has to know.
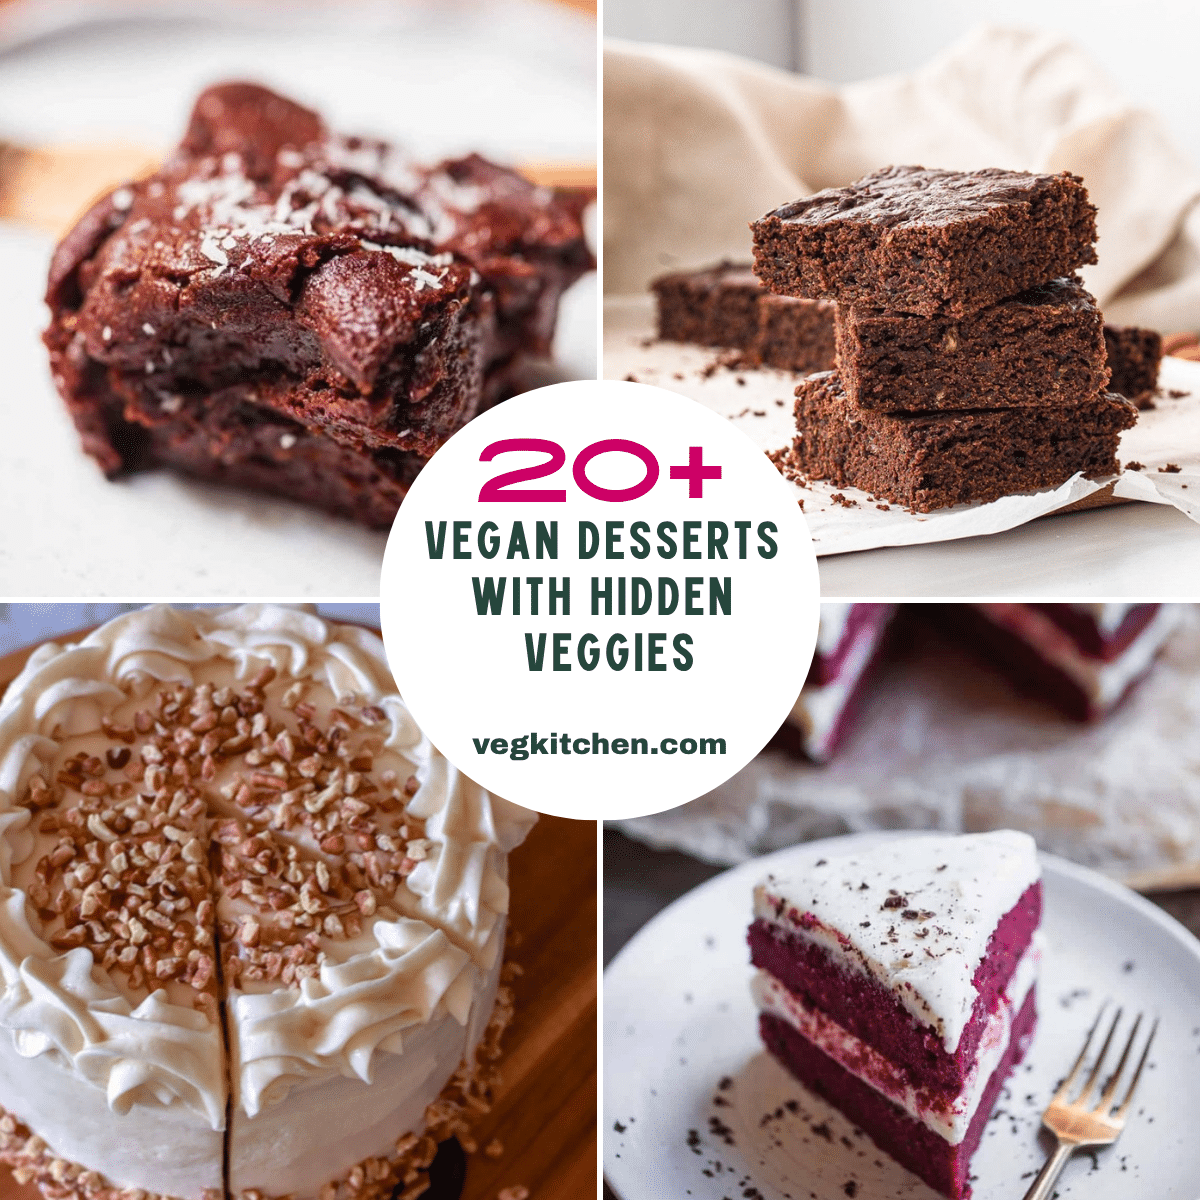
A Fun Way to Get Everyone Eating Their Veggies
Hiding vegetables in sweets isn't a trick to feel guilty about. It's a fun, low-pressure way to get a little more fiber, vitamins and color into the day for kids and adults. Vegetables also happen to be great bakers. Mashed sweet potato and pumpkin keep brownies and muffins fudgy and moist, grated zucchini and carrots add tenderness, avocado brings a rich creaminess that can stand in for butter, and beets give red velvet cake its gorgeous color without a drop of food coloring.
Beans and chickpeas are here too. They're technically legumes, but they're counted in the vegetable group on the plate, and they blend so smoothly into cookie dough and brownie batter that even the pickiest eaters won't notice.
Tips for Sneaking in the Veggies
- Go chocolate first. Cocoa and chocolate chips are the best disguise there is. Brownies and chocolate cookies are the easiest place to start with veggie skeptics.
- Grate finely. Use the small holes of a box grater for zucchini, carrots and beets so the shreds melt into the batter instead of showing up as flecks.
- Blend it smooth. Beans, chickpeas and avocado should be completely smooth before they meet the other ingredients. A food processor or blender makes quick work of it.
- Get the kids baking. Children are much more likely to try something they helped make, and measuring out pumpkin puree or rolling bliss balls is a great way to show them that vegetables can be fun.
- Save the big reveal. Let everyone take a bite first, then tell them what's inside. The surprise is half the fun!
From fudgy sweet potato brownies and zucchini brownies to carrot cake, beet red velvet cake, chickpea cookies and avocado chocolate mousse, here are more than 20 of our favorite vegan desserts with hidden veggies. They're grouped loosely by type, starting with brownies, then cakes, cookies, muffins, and finally mousse and no-fuss snack balls.
20 Vegan Desserts with Hidden Veggies
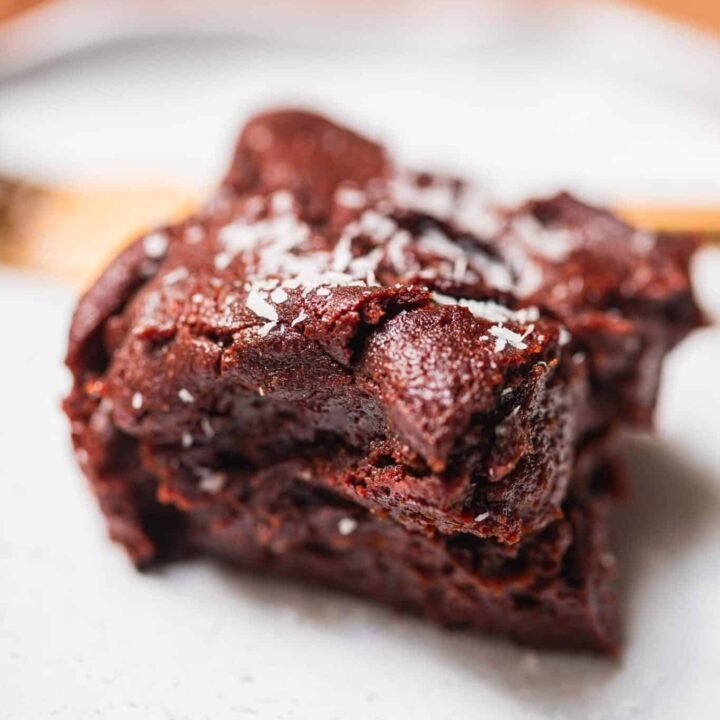
Mashed sweet potato is the secret behind these fudgy, deeply chocolatey brownies. With just six ingredients and no oil, eggs or dairy, they taste indulgent enough that nobody will guess there's a vegetable inside.
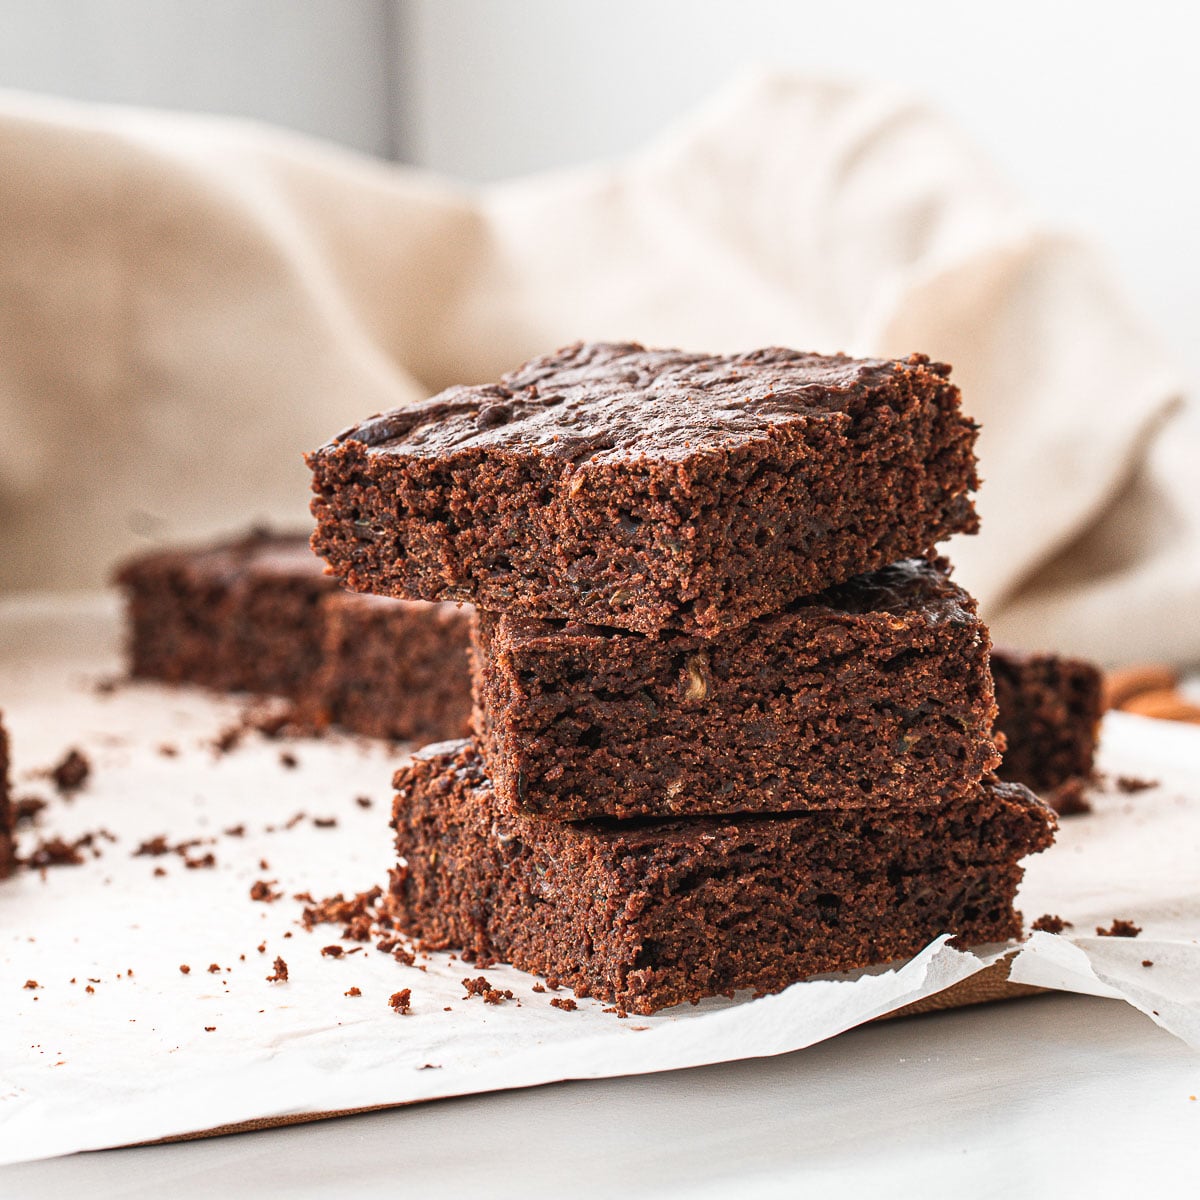
Shredded zucchini and melted chocolate chips go right into the batter of these rich, moist brownies. They're freezer friendly and the kind of chocolate treat the whole family will jump on board with.

Creamy mashed avocado makes these chocolate chip brownies rich and fudgy, with no butter or oil needed. They come together in about 30 minutes, and the avocado hides behind all that cocoa.
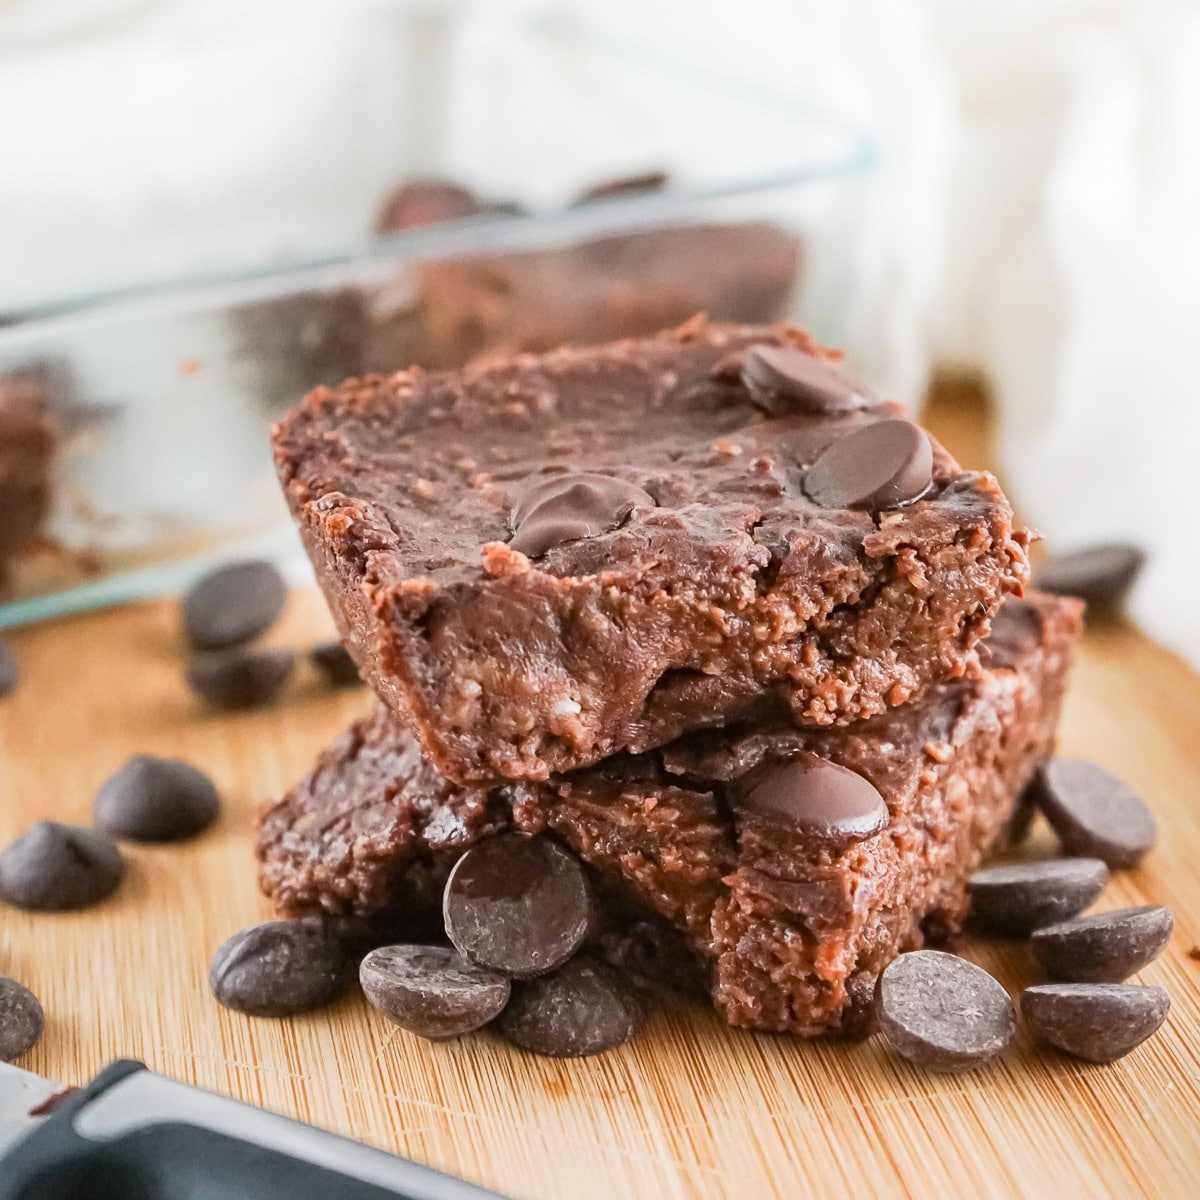
A can of black beans blends into the batter for rich, decadent brownies with a boost of nutrients. Quick oats, cocoa and vegan chocolate chips round out the simple ingredient list; just chill them in the fridge before slicing.
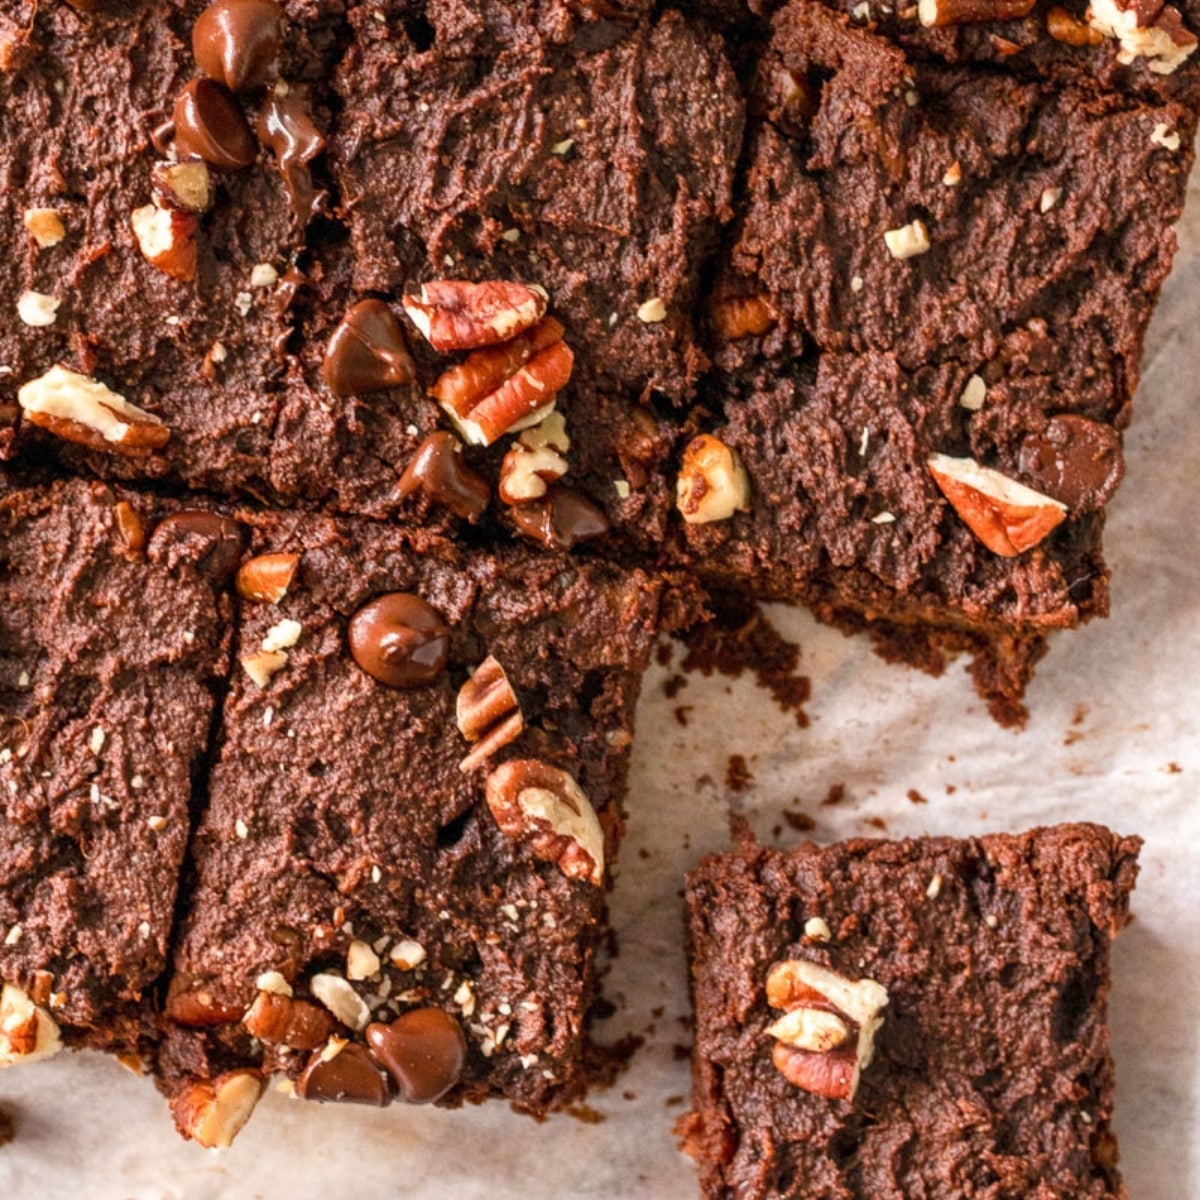
Sweet potato, peanut butter and almond flour make these gluten-free brownies extra fudgy, while maple syrup sweetens them. A sprinkle of chopped pecans (and chocolate chips, if you like) on top makes them look as good as they taste.
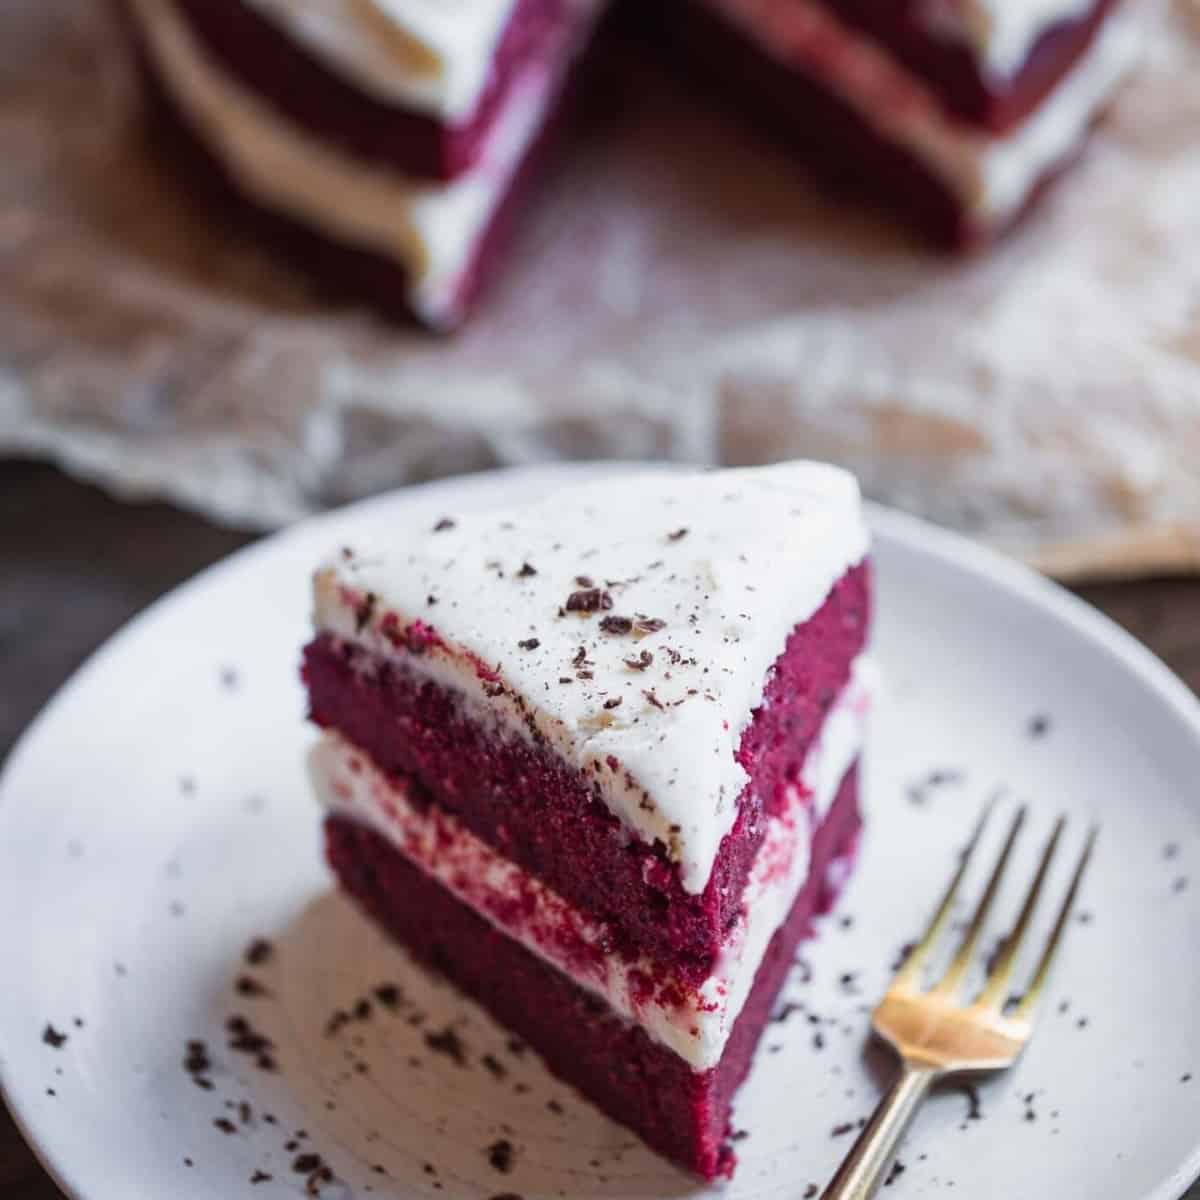
Finely grated beetroot gives this showstopping layer cake its deep red color, no food coloring required. It's gluten-free, layered with a rich vegan cream cheese frosting, and perfect for the holidays or Valentine's Day.

This one-bowl carrot cake is moist, warmly spiced and packed with grated carrots. A silky maple cream cheese frosting and a sprinkle of chopped nuts make it a crowd-pleaser for any celebration.
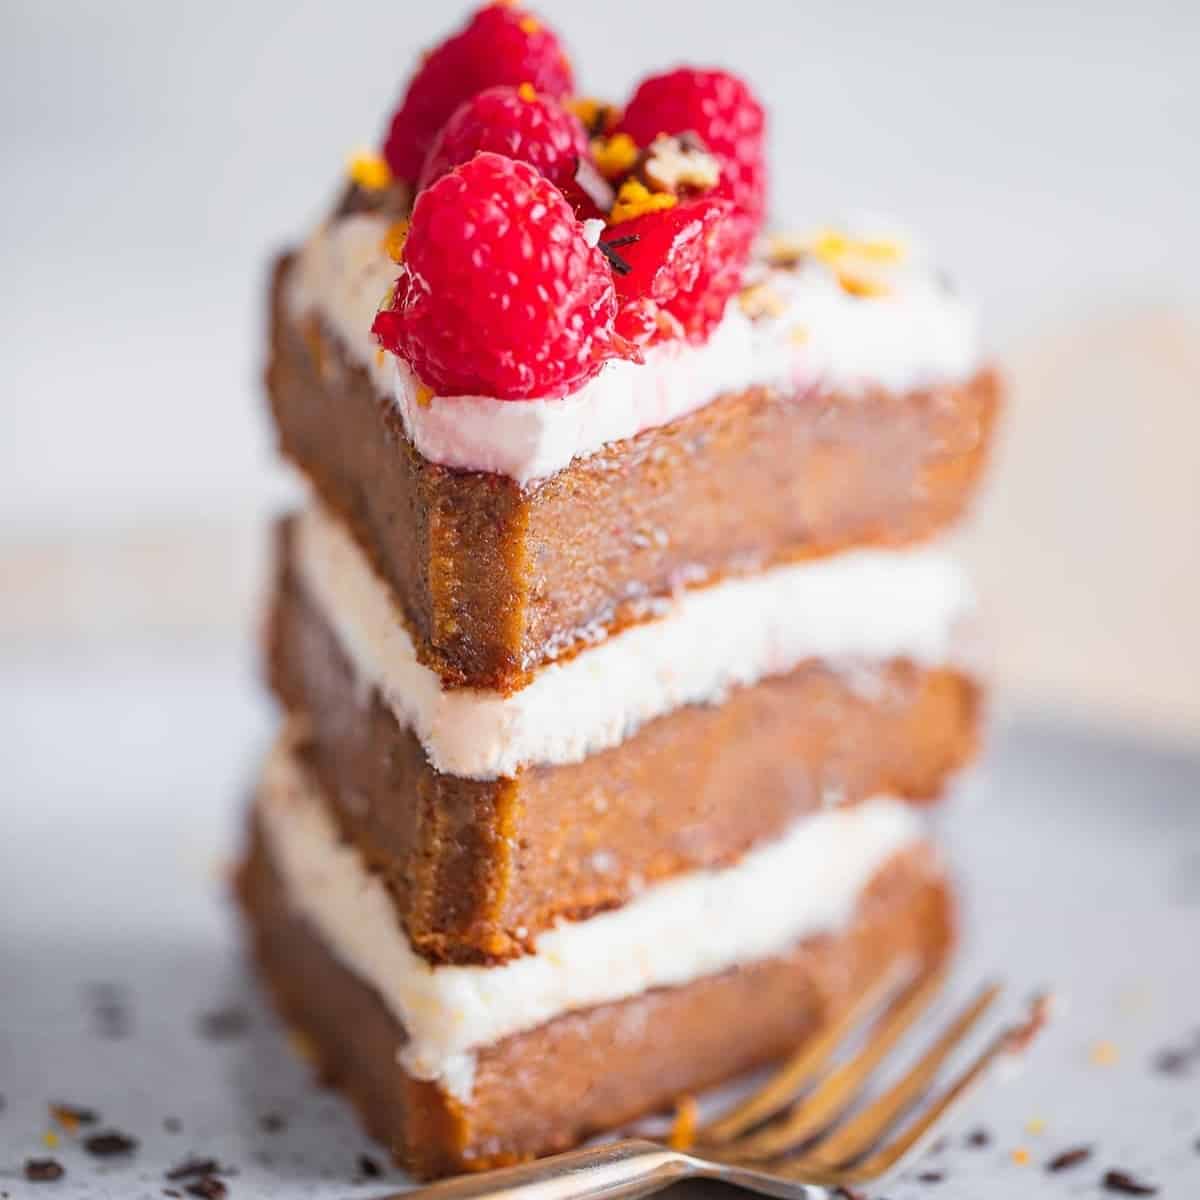
Fresh carrots, cinnamon and ginger flavor this tender gluten-free layer cake, finished with a zesty orange buttercream. It's a perfect springtime dessert or a year-round sweet treat.

Chickpeas are the surprise ingredient in this fudgy, high-protein cake flavored with cinnamon, cacao and sliced apples. It's gluten-free and dairy-free, and makes a lovely afternoon treat with a cup of tea.
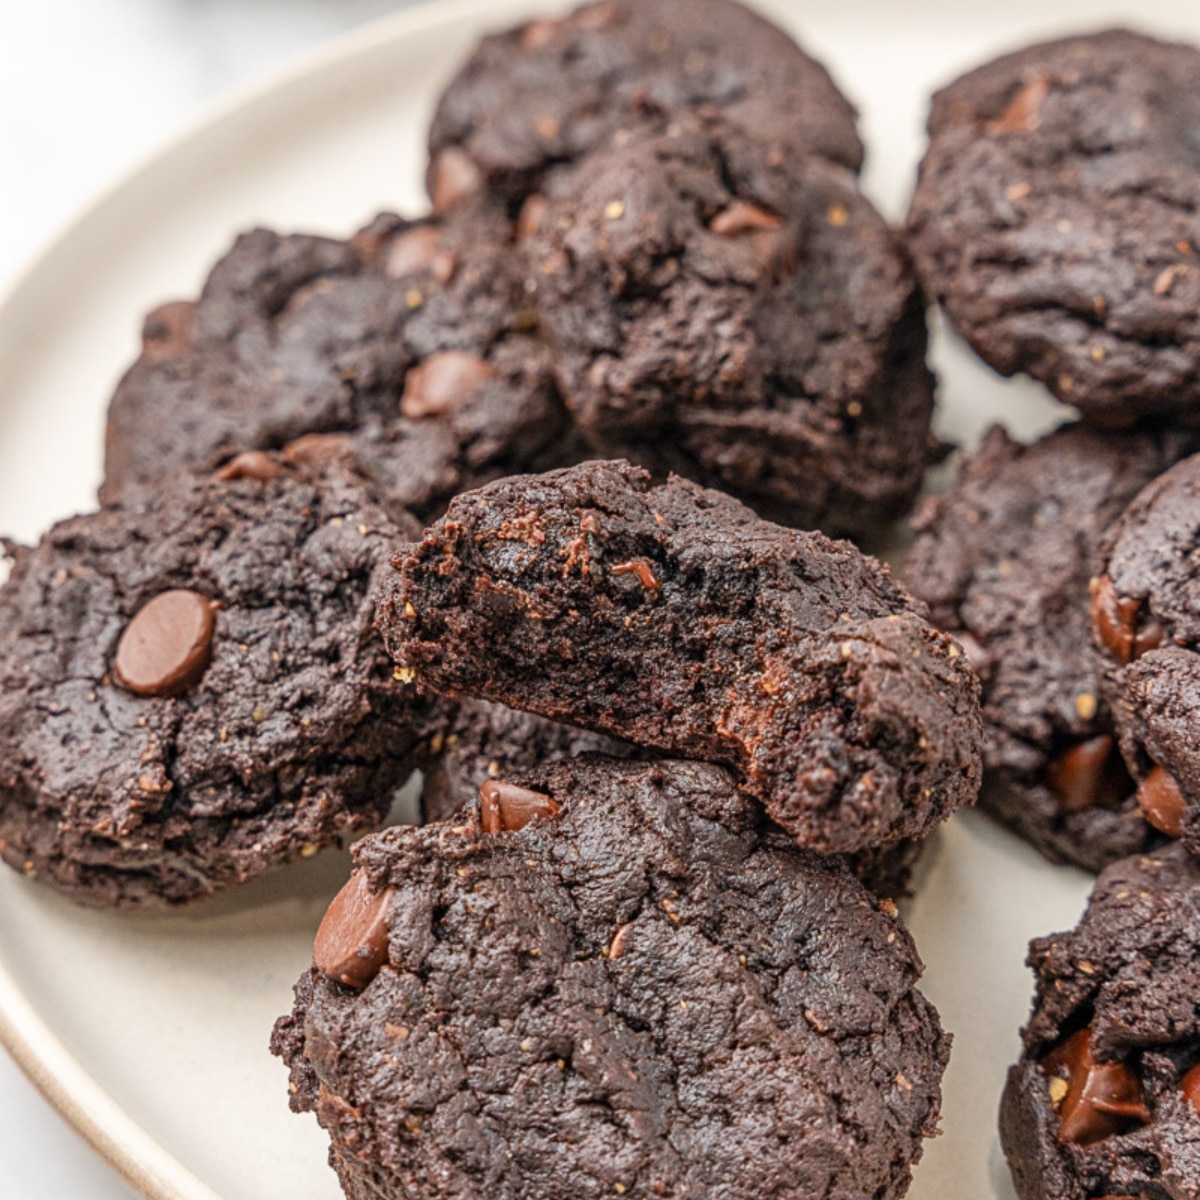
A ripe avocado replaces the butter or oil in these double chocolate cookies and keeps them incredibly soft and moist. Made with cocoa and vegan chocolate chips, they're a sneaky way to add healthy fats to the cookie jar.

One can of chickpeas and some peanut butter make the base for these soft, chewy chocolate chip cookies. The dough comes together in a food processor with no chilling, oil or egg replacer needed.
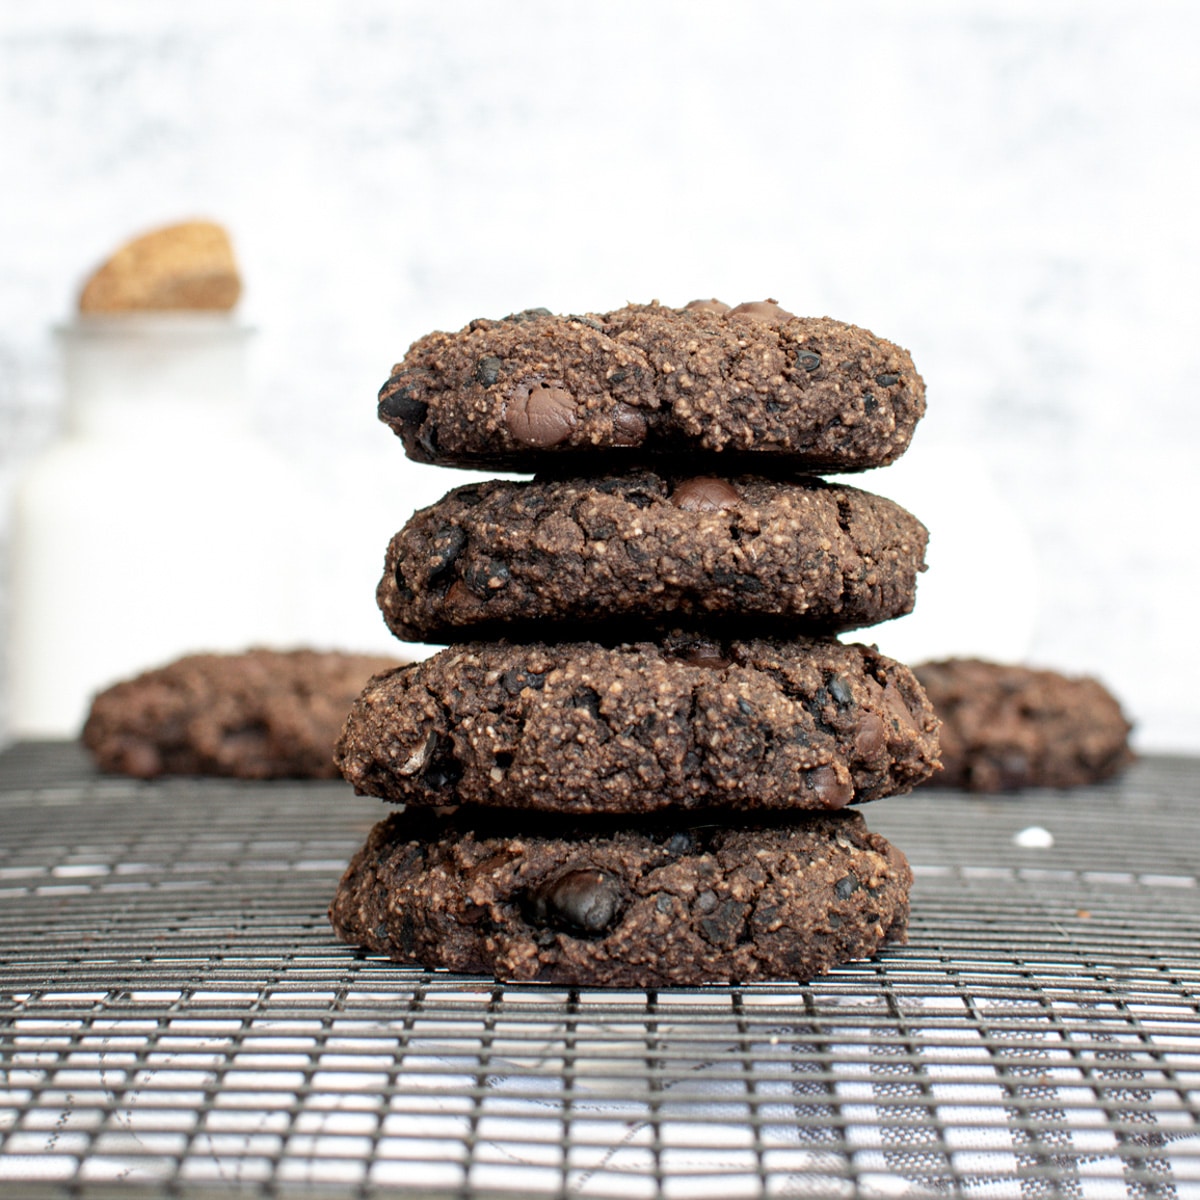
Yes, black beans in cookies! Cocoa powder and dark chocolate chips completely disguise the beans in these soft, chocolatey treats, which are sweetened with agave and made with almond meal.

Pumpkin puree does double duty in these soft, cakey cookies, adding moisture and binding the dough so no eggs are needed. Warm fall spices and plenty of dairy-free chocolate chips make them hard to stop at one.
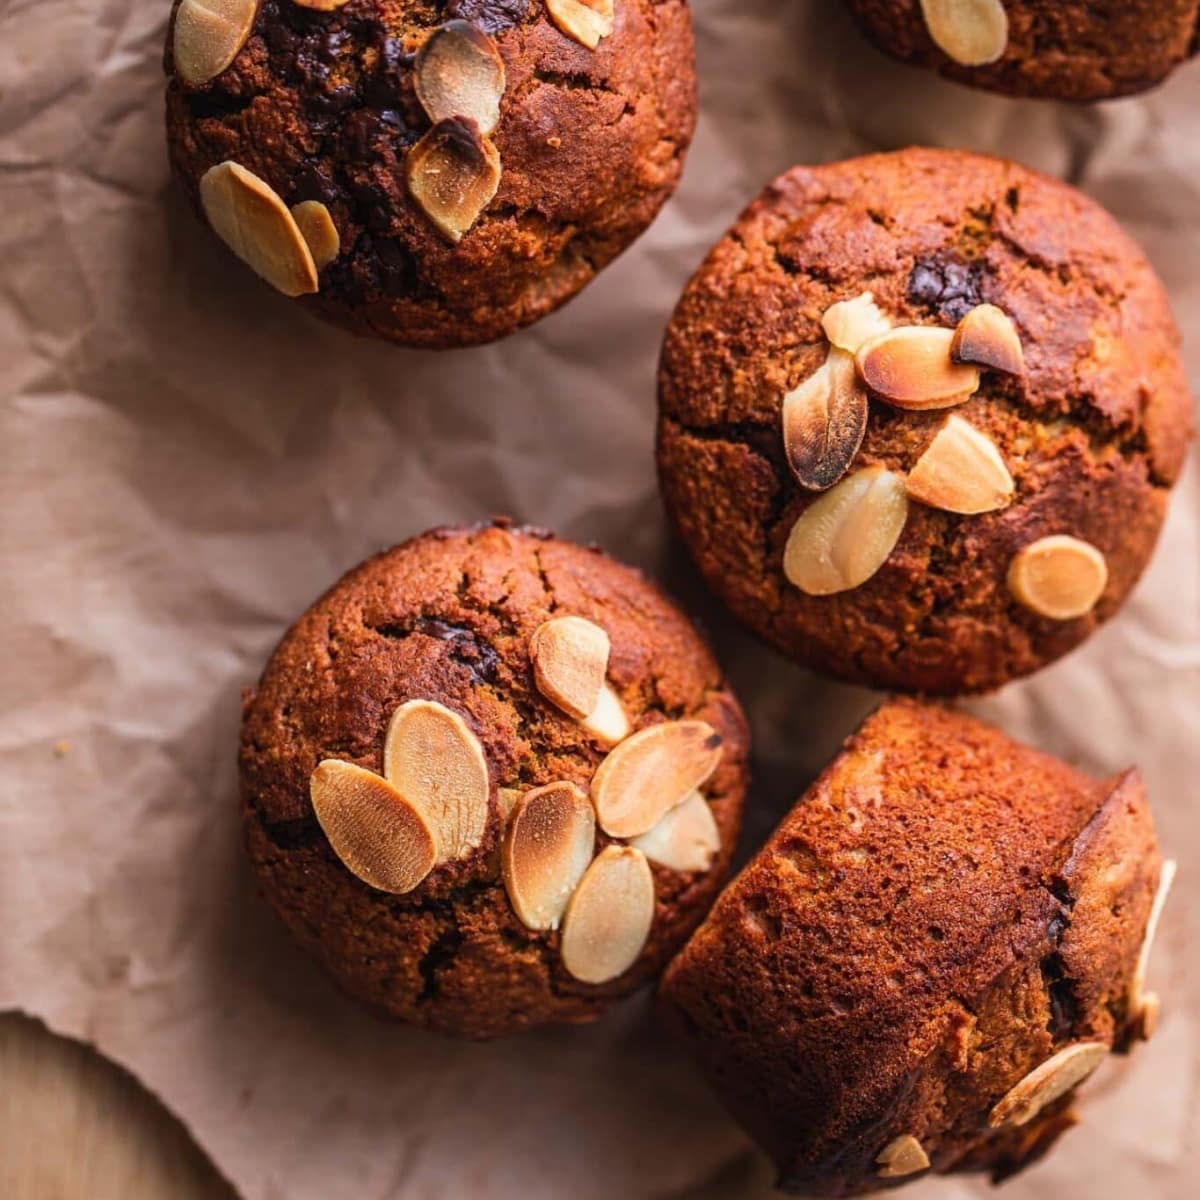
These one-bowl muffins hide pumpkin puree in a batter studded with vegan chocolate chips and crunchy sliced almonds. They're ready in about 30 minutes and work just as well for dessert as for breakfast.

Soft, tender pumpkin muffins made with applesauce and maple syrup instead of oil, eggs or refined sugar. They're gluten-free, warmly spiced and just as good for breakfast as for an afternoon snack.

Grated carrots, coconut, walnuts and golden raisins pack these gluten-free muffins with flavor, and quick oats give them plenty of texture while keeping them light and fluffy. They're ready in under 30 minutes.
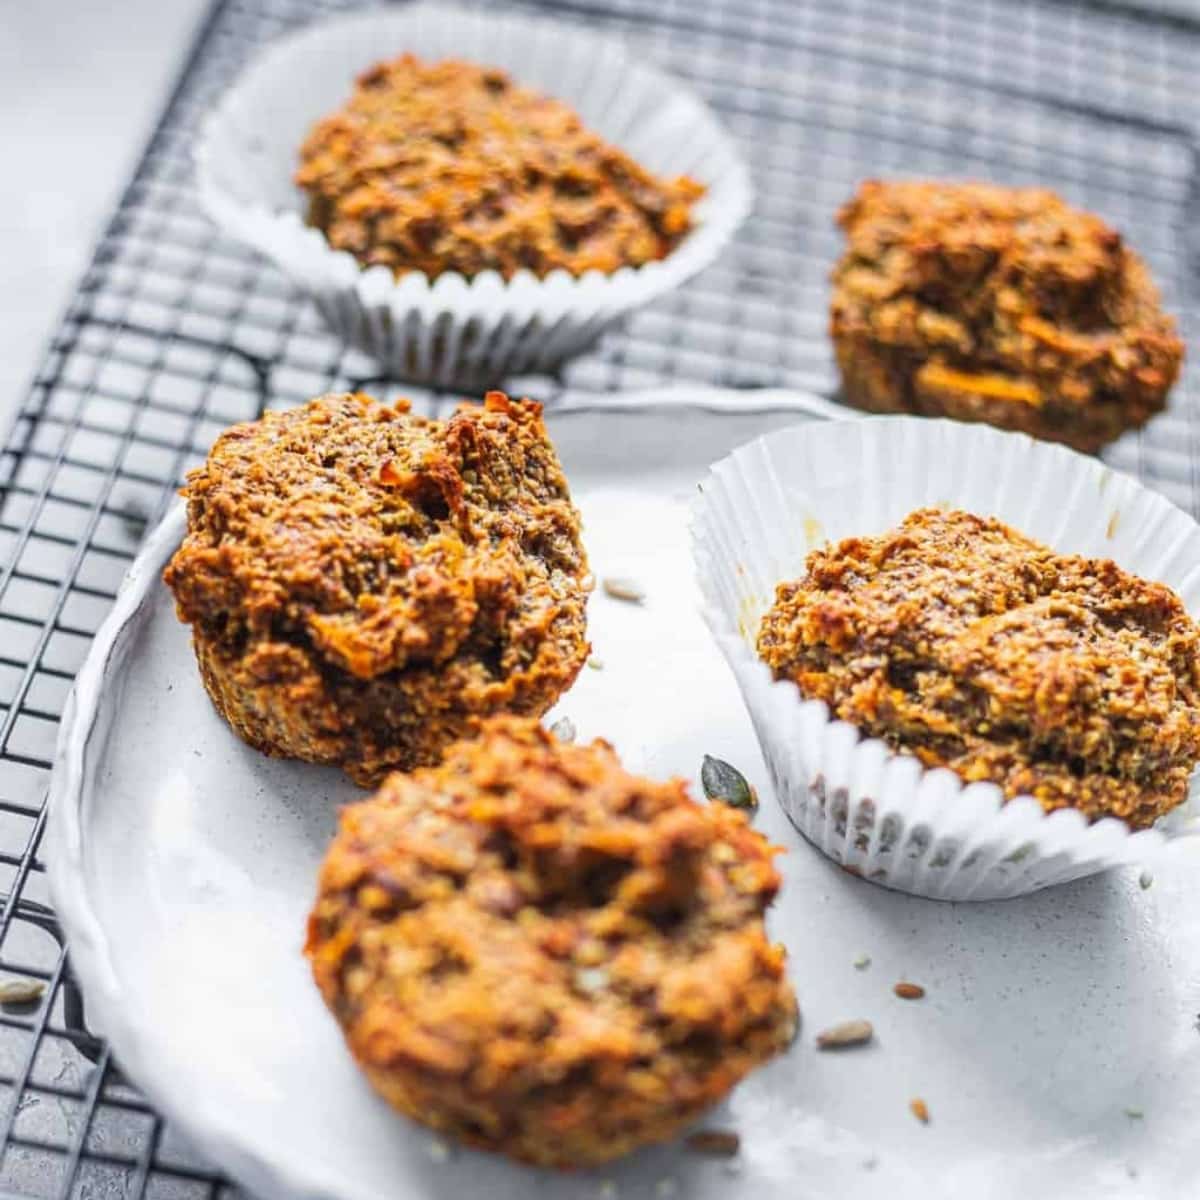
Ripe banana and maple syrup sweeten these simple carrot muffins made with oat flour. They're gluten-free, quick to bake, and just as good in a lunch box as they are for breakfast or dessert.
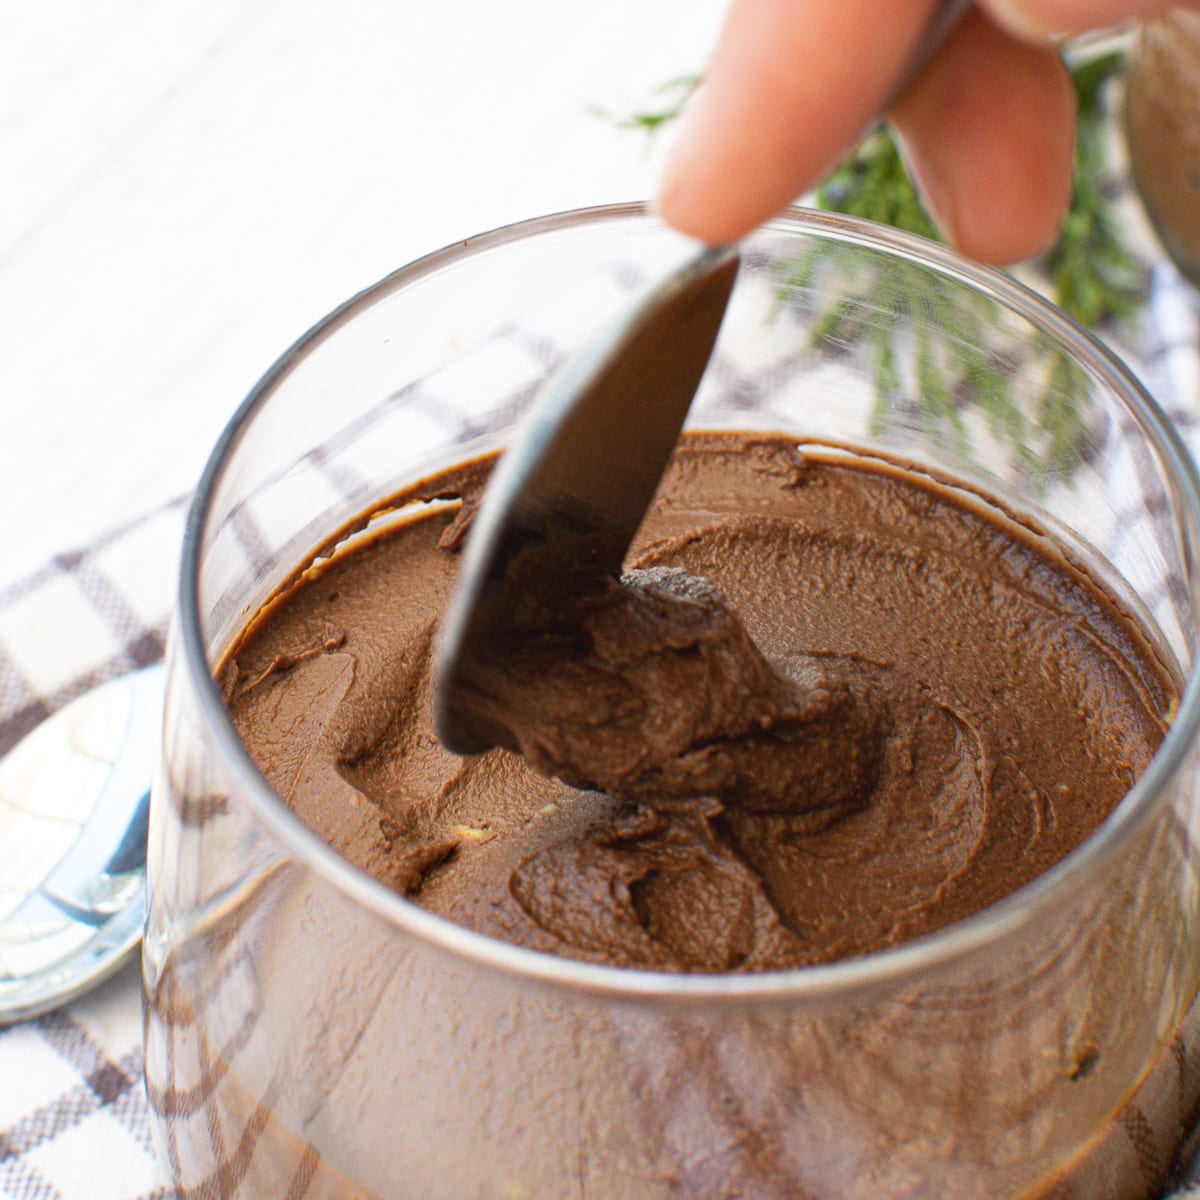
Ripe avocados blend with dark chocolate and cocoa into a rich, velvety mousse that's dairy-free and gluten-free. It comes together fast and just needs a little time in the fridge to set.
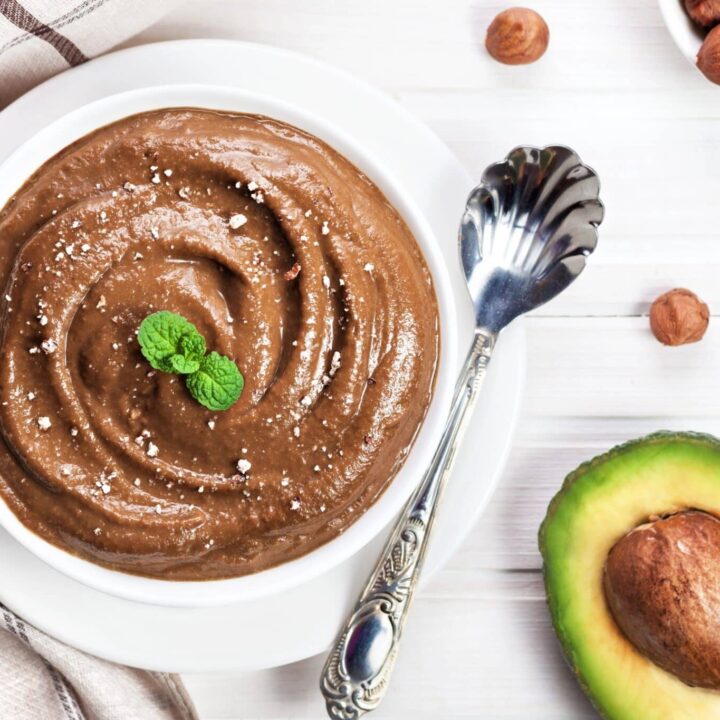
Ripe avocados, cocoa powder and a spoonful of maca root powder blend into this silky, dairy-free chocolate mousse with a malty, earthy note. It's sweetened with maple syrup and ready in about 10 minutes, with no baking required.

All the flavor of carrot cake rolled into soft, chewy no-bake bites made with dates, pecans and grated carrot. Coat them in melted dark chocolate or desiccated coconut for a treat that's naturally sweetened with dates.

Lightly spiced pumpkin bites made with oat flour, chia seeds and raisins, rolled in oats and baked until golden. They're a simple make-ahead snack or a bite-sized dessert.
Whether you're packing a lunchbox, baking for a birthday or just want a sweet treat that does a little extra, these recipes prove that vegetables belong in dessert. And if you love these vegan desserts with hidden veggies, be sure to check out these other delicious ideas:
Vegan Fried Rice with Tofu {gluten-free}
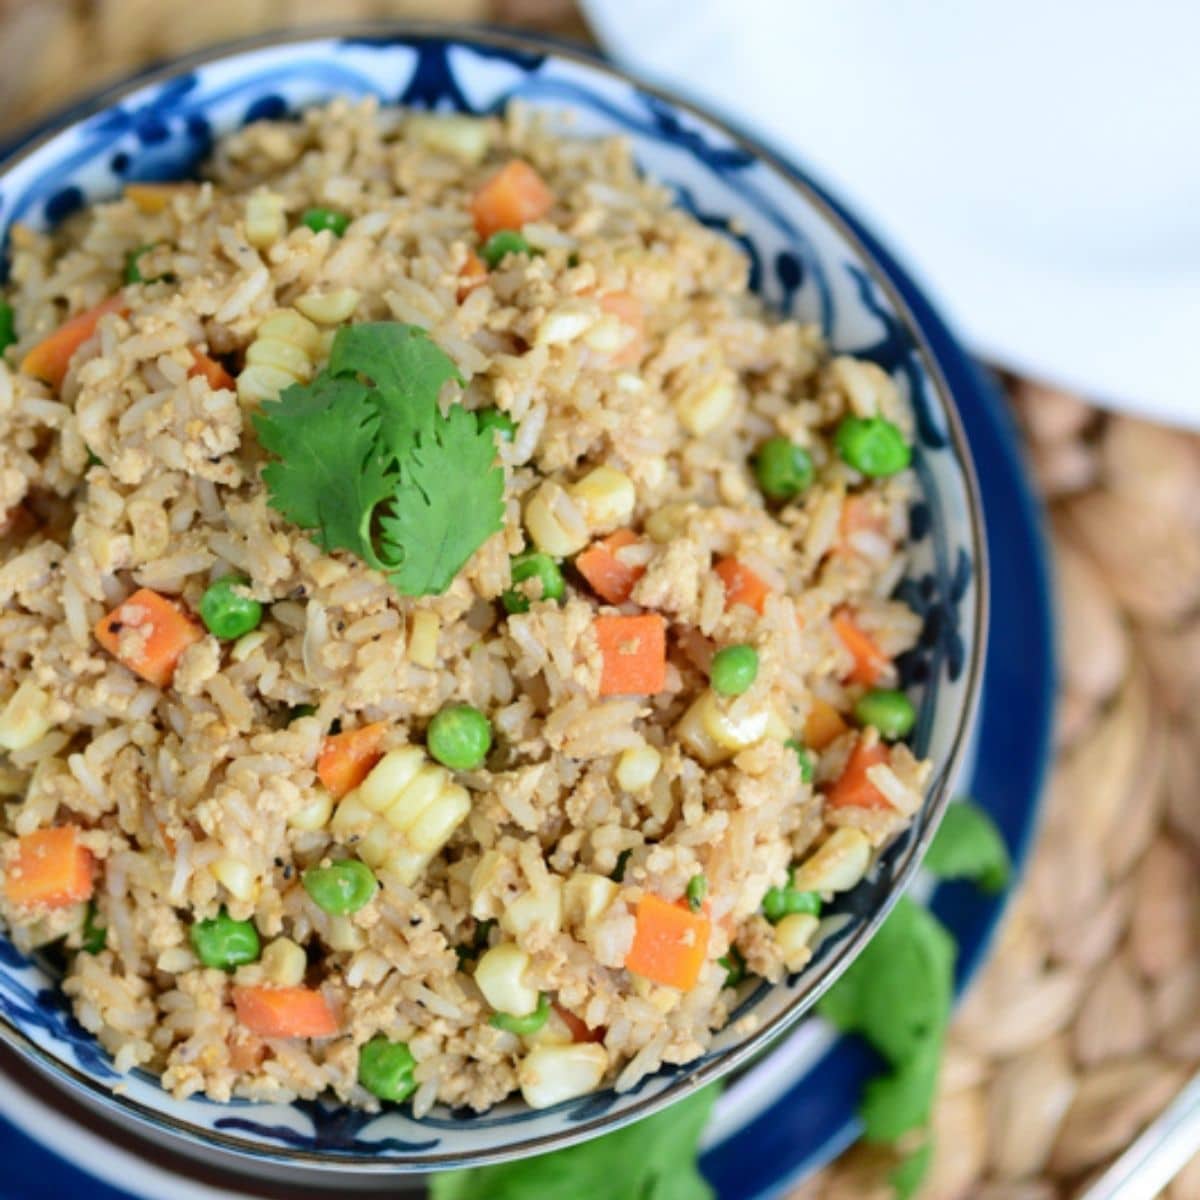
This vegan fried rice is a quick, satisfying weeknight dinner: fluffy basmati rice stir-fried with garlic, peas, carrots and sweet corn, plus a savory tofu "egg" scramble, all tossed in a spicy sriracha-tamari sauce. It's naturally gluten-free, and it tastes better than most takeout versions.

Restaurant fried rice is usually made with scrambled egg, and many places cook it with oyster sauce or in the same wok as meat dishes, so a truly vegan order can be hard to find. This homemade veggie fried rice solves that. Crumbled firm tofu seasoned with nutritional yeast and black pepper stands in for the egg, giving you the same soft, savory bites plus a good boost of plant protein.
Key Ingredients & Substitutions
- Basmati rice. Any medium- or long-grain rice works, but basmati cooks up fluffy and separate, which is exactly what you want for frying. White basmati is quickest; brown basmati adds a nuttier flavor and more fiber but takes about twice as long to cook. If you have about 6 cups of leftover cooked rice in the fridge, use that and skip cooking the rice altogether.
- Firm tofu. Firm or extra-firm tofu crumbles into egg-like pieces. Silken tofu is too soft and will turn mushy. If you're not a tofu fan, leave it out (the rice is still delicious) or stir in a cup of shelled edamame instead.
- Nutritional yeast. This gives the tofu its savory, slightly cheesy, eggy flavor and its golden color. We like Bragg nutritional yeast. A pinch of turmeric can stand in for the color if you run out.
- Peas, carrots and corn. The classic fried rice trio. Fresh corn cut from the cob is especially sweet and crisp, but frozen corn, peas and diced carrots work perfectly well, so a bag of frozen mixed vegetables is a handy shortcut.
- Tamari. Tamari is a Japanese-style soy sauce that is usually brewed without wheat, which keeps this dish gluten-free. San-J tamari is labeled gluten-free. Regular soy sauce works if gluten isn't a concern, and a reduced-sodium version is a good idea if you're watching salt.
- Sriracha. Just enough heat to wake up the sauce. Huy Fong sriracha is the classic; use less for a mild version, or swap in chili garlic sauce.
- Olive oil and garlic. Olive oil is what we use, but any neutral oil, peanut oil, or a mix with a little toasted sesame oil for flavor is great here.

How to Make Vegan Fried Rice
Start by cooking the rice, since everything else comes together while it simmers. Rinse it well, cook it, then spread it out on a baking sheet so the steam escapes and the grains dry a little. While the rice cooks, pat the tofu dry and crumble or mash it with the nutritional yeast and black pepper until it looks like scrambled egg. Stir the tamari and sriracha together in a small bowl.

Heat the oil in a large wok or skillet, cook the garlic briefly, then add the vegetables and cook until they're just tender. Stir in the tofu and let it heat through and pick up a little color. Finally add the rice, toss everything together, pour in the sauce, and let it sit undisturbed for a few minutes so the bottom gets lightly crisp. The full measurements and steps are in the recipe card below.

Helpful Tips
Use cold or well-dried rice. Freshly cooked, steamy rice clumps and turns gummy in the pan. Day-old rice from the fridge is ideal. If you're cooking it fresh, spread it on a sheet pan for 10 to 15 minutes, or chill it for 20 minutes, so the surface dries out before frying.
Choose a big pan. Six cups of rice plus vegetables needs room to move, or it steams instead of fries. A wide wok is ideal; we like the T-fal 14-inch nonstick wok, which keeps the rice and tofu from sticking. A 12-inch nonstick skillet works too, or cook in two batches.
Dry the tofu well. Pat it firmly with paper towels, or press it for 10 minutes under a heavy pan. Drier tofu absorbs the nutritional yeast and browns slightly instead of releasing water into the rice.
Don't stir constantly. Once the sauce goes in, spread the rice out and leave it alone for a few minutes over medium-low heat. Those lightly crisp, toasty bits on the bottom are the best part of good fried rice.
Taste before adding more sauce. Tamari brands vary a lot in saltiness. Start with most of the sauce, toss, taste, then add the rest if you want it saltier or spicier.

Variations
- Pineapple fried rice. Add a cup of diced pineapple with the vegetables and finish with cashews, or try our Vegan Thai Pineapple Stir-Fried Rice.
- Extra veggies. Diced red bell pepper, chopped broccoli, shredded cabbage, sliced mushrooms or baby spinach all fit right in. Add firm vegetables with the carrots and tender greens at the very end.
- Lower-carb version. Swap half or all of the rice for riced cauliflower, as in our Cauliflower Fried Rice with Mushrooms & Chickpeas.
- Sesame-ginger. Cook a tablespoon of grated fresh ginger with the garlic, and finish with a drizzle of toasted sesame oil and sesame seeds.
- Green onion finish. Stir in a handful of sliced scallions and chopped cilantro right before serving for freshness and color.

Serving Ideas
With tofu and plenty of vegetables, this vegan fried rice is a full meal on its own. Serve it in bowls with extra sriracha and tamari on the table so everyone can season their own.
For a takeout-style spread, pair it with Tofu Spring Rolls and a little bowl of Easy Vegan Duck Sauce for dipping, or start the meal with a warm bowl of Vegan Wonton Soup. A smaller portion also makes a great side dish next to Vegan Teriyaki Eggplant or a simple vegetable stir-fry.
Storing & Freezing
Let leftovers cool, then refrigerate them in an airtight container for up to 4 days. Cooked rice shouldn't sit at room temperature for long, so get it into the fridge within an hour or two of cooking. Reheat in a hot skillet with a splash of water or oil until steaming, or in the microwave, covered, stirring halfway through. This makes it a handy meal-prep lunch.
Fried rice freezes well. Pack cooled portions into freezer bags, press out the air and freeze flat for up to 3 months. Reheat straight from frozen in a skillet over medium heat with a tablespoon of water, breaking it up as it thaws, or thaw overnight in the fridge first. The tofu gets slightly chewier after freezing, but the texture is still very good.

More Vegan Asian-Inspired Recipes
If you loved this recipe, here are a few more you might enjoy:
- Vegetable Chow Mein
- Vegan Orange Tofu & Broccoli
- Chinese Vegetable Stir Fry (Buddha's Delight)
- 125+ Vegan Stir Fry Recipes
Recipe
Vegan Fried Rice with Tofu
Easy vegan fried rice with fluffy basmati rice, peas, carrots, corn and a savory tofu scramble, tossed in a spicy sriracha-tamari sauce. Naturally gluten-free and full of plant protein.
Print
Pin
Save
Servings: servings
Ingredients
- 1 cup firm tofu about half of a 14-ounce block, patted dry
- 2 tablespoons nutritional yeast
- 1 teaspoon black pepper
- 2 cups basmati rice white or brown, uncooked (or 6 cups cooked, chilled rice)
- 3 cups water for cooking the rice (4 cups for brown basmati)
- 2 tablespoons olive oil
- 1 tablespoon garlic minced (about 3 cloves)
- 1 cup peas frozen
- 1 cup carrots peeled and diced
- 1 cup corn kernels fresh (cut from about 2 ears) or frozen
- ½ cup tamari gluten-free; or soy sauce if gluten isn't a concern
- 2 tablespoons Sriracha or to taste
Instructions
- Cook the rice: rinse the rice in a fine-mesh strainer until the water runs mostly clear. Add it to a medium saucepan with the water and bring to a boil over high heat. Cover, reduce the heat to low and simmer for 15 minutes (40 to 45 minutes for brown basmati), until the water is absorbed. Remove from the heat and let stand, covered, for 5 minutes. Fluff with a fork and spread the rice on a large baking sheet to cool and dry for at least 10 minutes. (Skip this step if you're using leftover cooked rice.)
- While the rice cooks, pat the tofu dry with paper towels. In a medium bowl, crumble the tofu and mash it with the nutritional yeast and black pepper, using a fork, until it looks like scrambled eggs. Set aside.
- In a small bowl, stir together the tamari and sriracha. Set aside.
- Heat the olive oil in a large wok or 12-inch skillet over medium heat. Add the garlic and cook, stirring, for 1 to 2 minutes, until fragrant but not browned. Add the peas, carrots and corn and cook, stirring often, for 5 to 7 minutes, until the carrots are just tender.
- Add the tofu mixture and cook, stirring, for 2 to 3 minutes, until heated through and lightly golden.
- Add the cooked rice and toss well, breaking up any clumps. Pour the sriracha-tamari sauce over the top and toss until the rice is evenly coated.
- Spread the rice out in the pan, reduce the heat to medium-low and cook undisturbed for 4 to 5 minutes, until the bottom is lightly crisp. Stir, taste and add more sriracha or tamari if you like, then serve hot.
Notes
Leftover rice: Day-old rice fries best. If you have about 6 cups of cooked, chilled rice, skip step 1 and leave out the water.
Brown basmati: Use 4 cups of water and simmer for 40 to 45 minutes, which adds about 25 minutes to the total time.
Gluten-free: Use tamari labeled gluten-free and check the labels on your sriracha and nutritional yeast.
Salt: Half a cup of tamari gives a bold, savory flavor. For a milder dish, use reduced-sodium tamari or start with ⅓ cup and add more to taste.
Storage: Refrigerate leftovers in an airtight container for up to 4 days, or freeze for up to 3 months. Reheat in a skillet with a splash of water.
Nutrition (Estimate per Serving)
Calories: 558kcalCarbohydrates: 94gProtein: 20gFat: 11gSaturated Fat: 2gPolyunsaturated Fat: 3gMonounsaturated Fat: 6gSodium: 1916mgPotassium: 512mgFiber: 7gSugar: 6gVitamin A: 5655IUVitamin C: 23mgCalcium: 142mgIron: 3mg
Vegan-ize any recipe!Grab our free vegan cheat sheet, packed with my favorite easy substitutions to make any recipe vegan.
Vegan White Bean Dip
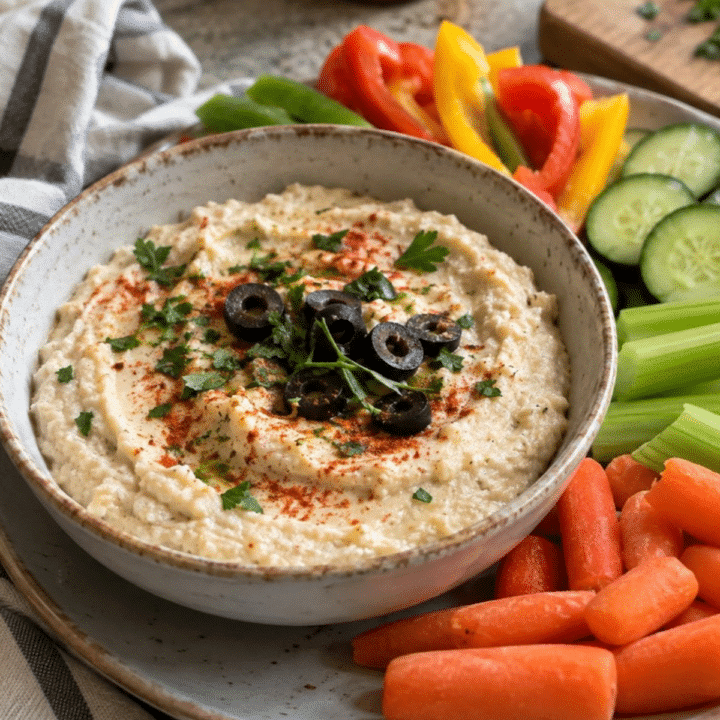
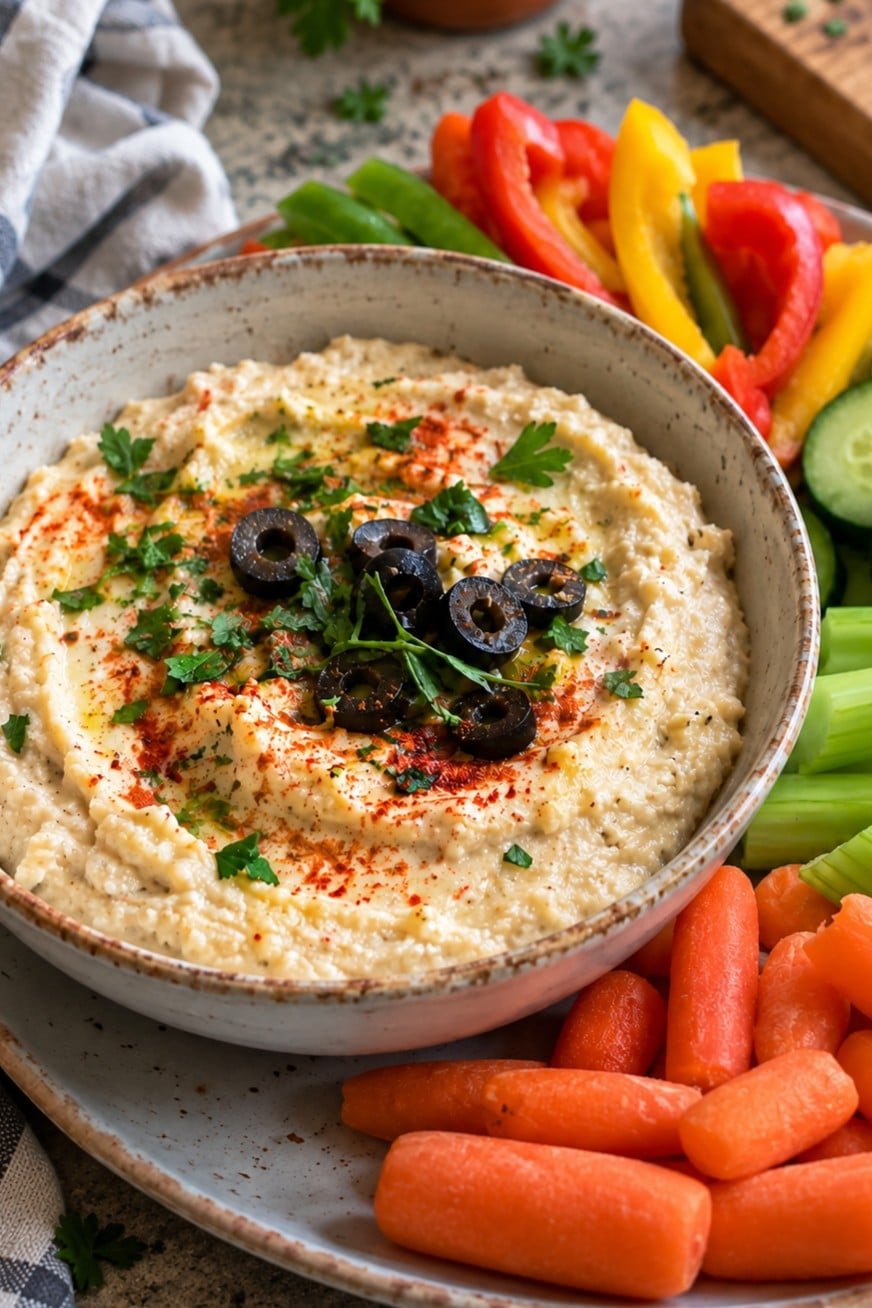
This creamy white bean dip blends cannellini beans, garlic, lemon and a little cumin into a smooth, savory spread in about 10 minutes, with no cooking at all. Finished with a drizzle of olive oil, a dusting of paprika and a handful of fresh herbs, it's an easy vegan bean dip that looks as good on the table as it tastes.
Norene Gilletz is a Canadian food writer and is the leading author of kosher cookbooks in Canada. Visit her extensive food site Gourmania.
Think of it as hummus's milder, silkier cousin. White beans have a softer flavor and a creamier texture than chickpeas, so the dip comes out light and smooth without any tahini. It's healthy, budget-friendly and made almost entirely from pantry staples, which makes it one of the easiest appetizers to pull together on short notice.
Key Ingredients & Substitutions
- Cannellini beans. One 15-ounce can of cannellini beans, drained and well rinsed, is all you need. Any large white bean works: great northern or navy beans are good substitutes, and 1 ½ cups of home-cooked beans can stand in for the can.
- Fresh lemon juice. Brightens the whole dip and keeps it from tasting flat. Bottled juice works in a pinch, but fresh makes a real difference here.
- Garlic. Two cloves give the dip a noticeable but not overpowering bite. Minced fine in the food processor before the beans go in, it distributes evenly rather than leaving pockets of raw garlic.
- Ground cumin. A half teaspoon of ground cumin adds a warm, earthy note that keeps the dip from tasting one-note. Ground coriander is a nice swap if you're out.
- Hot pepper sauce. A few drops add background warmth without making the dip spicy. Leave it out, or use a pinch of chili powder or cayenne instead.
- Extra-virgin olive oil. A tablespoon blended in adds richness and a silkier texture than beans alone would give, and a little more drizzled on top at the end makes the dip glossy and inviting. A fruity extra-virgin olive oil is worth using here since you'll taste it.
- Garnishes. Fresh herbs, an extra drizzle of olive oil and a dusting of paprika are what turn a plain bowl of dip into something special. Flat-leaf parsley is classic, but dill, cilantro or chives all work. Sliced black olives are an optional, briny extra.
Helpful Tips
Mince the garlic first. With the motor of your food processor running, drop the cloves through the feed tube and let them spin for a few seconds before anything else goes in. Processing the garlic alone keeps it from leaving large, sharp-tasting chunks in the finished dip.
Rinse the beans well. The liquid in canned beans can taste tinny and makes the dip gummy. A good rinse in a colander, followed by a shake to drain, gives you a cleaner flavor and a better texture.
Process longer than you think. Give the dip a full one to two minutes, stopping once or twice to scrape down the sides of the bowl. The extra time is what takes it from slightly grainy to truly smooth and creamy.
Adjust the texture with water. If the dip seems too thick, add water a tablespoon at a time. It loosens the dip without diluting the flavor the way extra lemon juice or oil would. Taste at the end and adjust the salt, lemon and hot sauce to your liking.
Chill, then garnish right before serving. An hour or two in the fridge lets the flavors meld and firms the dip up slightly. Add the oil, paprika and herbs just before it goes on the table so the herbs stay bright and the oil pools nicely in the swirls.
Variations
- Roasted red pepper. Blend in ½ cup of well-drained roasted red peppers for a smoky, slightly sweet twist.
- Herby and cool. Skip the hot sauce and blend in a tablespoon of minced fresh dill or a handful of parsley or basil for a fresh, green herbed white bean spread.
- Smoky. Swap the sweet paprika for smoked paprika, blended in or dusted on top, for real depth.
- Lemon and rosemary. Add the finely grated zest of half a lemon and a teaspoon of finely chopped fresh rosemary for a Tuscan-style dip.
- Roasted garlic. Replace the raw garlic with half a head of roasted garlic for a mellow, sweet flavor.
- Sandwich spread. Use a little less water so the dip stays thick, then spread it in place of mayonnaise or hummus on a veggie sandwich or wrap.
Serving Ideas
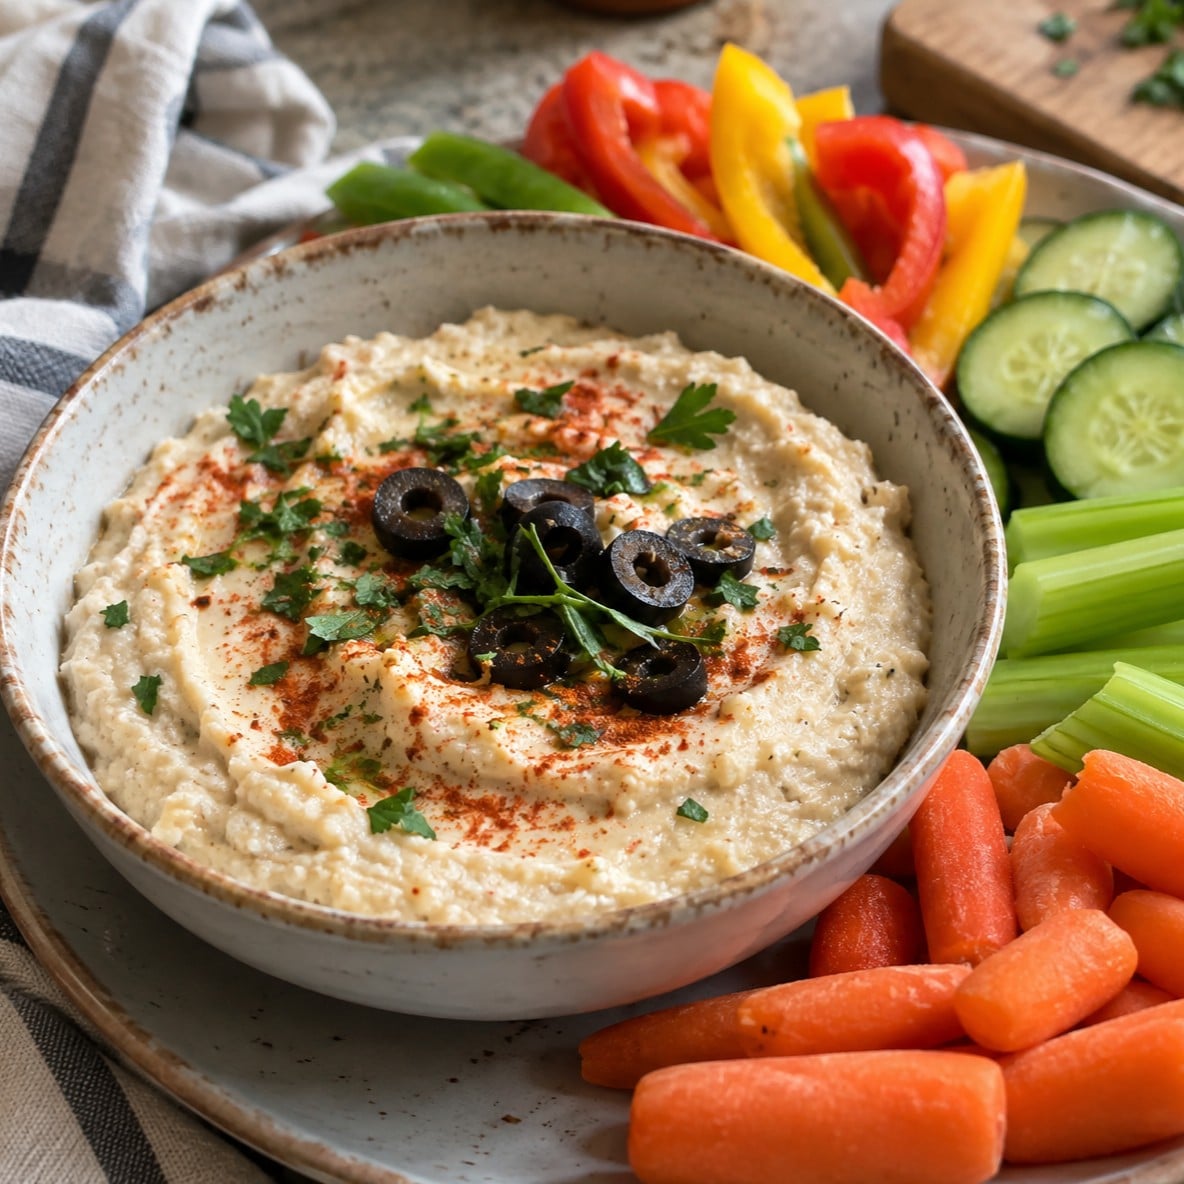
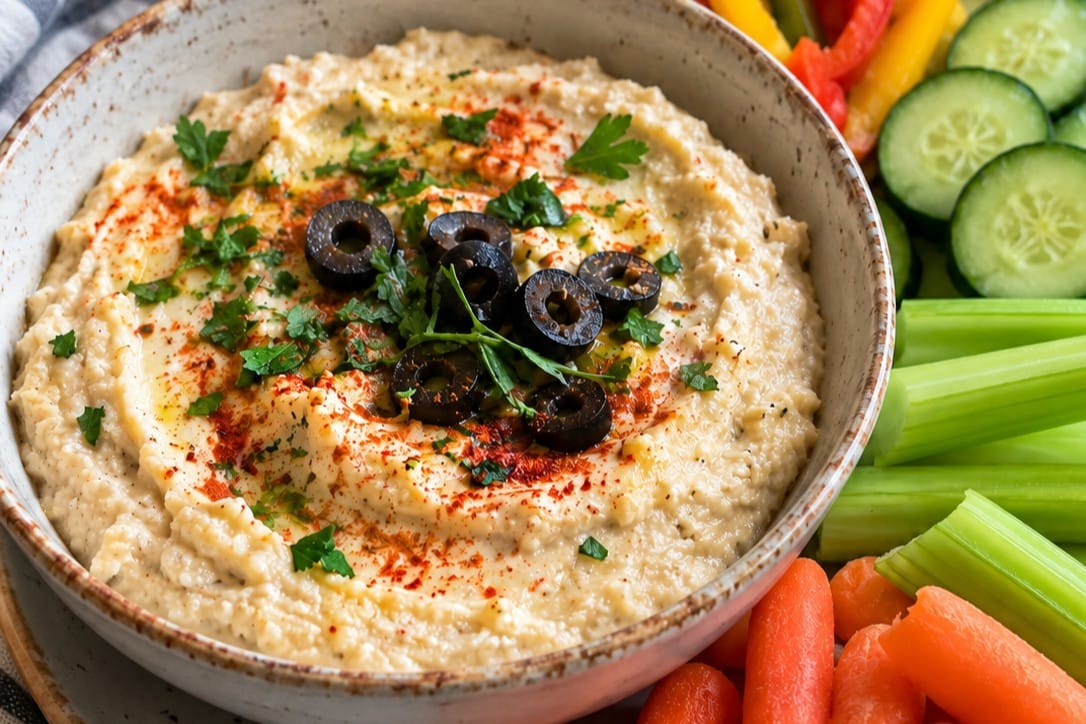
Serve the dip with red, yellow and green pepper strips, sliced cucumbers, baby carrots and celery sticks, as in the photos. It's just as good with pita wedges, crackers, tortilla chips or toasted slices of baguette, and it makes a lovely centerpiece for a vegan charcuterie board or a spread of vegan holiday appetizers.
Beyond the snack table, spread it on toasted whole-grain or pumpernickel bread, layer it inside your next veggie burger, or spoon it onto grain bowls and roasted vegetables. If you're looking for more ways to cook with beans, browse our collection of vegan bean recipes or these vegan Mediterranean diet recipes.
Storing & Freezing
Store the dip in a tightly sealed container in the refrigerator for up to 5 days, which makes it a great make-ahead option for entertaining. Press a piece of plastic wrap or a thin film of olive oil onto the surface to keep it from drying out. Stir it well before serving, add a splash of water if it has thickened, and add the garnishes fresh.
You can freeze white bean dip, without the garnishes, for up to 2 months. Thaw it overnight in the refrigerator, then stir vigorously or give it a quick whirl in the food processor with a little water or lemon juice to bring back its creamy texture. The texture is slightly less silky after freezing, so for parties it's best made fresh, but the recipe also halves easily if you'd rather make less.
More Vegan Dips and Spreads
If you loved this recipe, here are a few more dips you might enjoy, or explore all of our vegan snacks and dips:
- Grilled Red Pepper Hummus
- Vegan Spinach Artichoke Dip
- Very Green Avocado-Tahini Dip
- Olive and Sun-Dried Tomato Tapenade
Recipe
Vegan White Bean Dip
This creamy vegan white bean dip blends cannellini beans, garlic, lemon and cumin in a food processor in minutes. Finish it with a drizzle of olive oil, a dusting of paprika and fresh herbs, and serve it with crunchy vegetables, crackers or pita.
Print
Pin
Save
Servings: servings (about ¼ cup each)
Equipment
Ingredients
- 2 cloves garlic peeled (see note)
- 15 oz large white beans 1 can cannellini or great northern beans, drained and rinsed
- 2 tablespoon lemon juice preferably fresh
- 1 tablespoon extra virgin olive oil
- ½ teaspoon ground cumin
- ½ teaspoon salt or to taste
- ¼ teaspoon freshly ground black pepper
- 5 drops hot pepper sauce or ¼ teaspoon chili powder
- 1-2 tablespoon water as needed to thin
For garnish
- 1 teaspoon extra virgin olive oil for drizzling
- ¼ teaspoon paprika sweet or smoked
- 1 tablespoon fresh parsley chopped, or other fresh herbs such as dill or cilantro
- 5 Black olives sliced, optional
Instructions
- Fit a food processor with the steel blade. With the motor running, drop the garlic cloves through the feed tube and process until finely minced, about 10 seconds. Scrape down the sides of the bowl.
- Add the drained beans, lemon juice, 1 tablespoon olive oil, cumin, salt, pepper and hot pepper sauce to the food processor bowl.
- Process until smooth and creamy, 1 to 2 minutes, stopping to scrape down the sides of the bowl as needed. If the dip is too thick, add water 1 tablespoon at a time until it reaches the consistency you like. Taste and adjust the salt, lemon juice or hot sauce.
- Transfer the dip to a serving bowl, cover and refrigerate for 1 to 2 hours so the flavors can meld.
- Just before serving, swirl the top of the dip with the back of a spoon. Drizzle with olive oil, dust with paprika and scatter chopped fresh parsley (or other fresh herbs) and sliced black olives over the top. Serve with raw vegetables, crackers or pita.
Notes
Milder garlic: If you don't like the taste of raw garlic, chop the cloves and sauté them in a little olive oil until golden. This mellows the strong garlic flavor. Let them cool slightly, then combine them with the other ingredients in the food processor.
Make ahead and storage: The dip keeps in a tightly sealed container in the refrigerator for up to 5 days. Stir before serving and add the garnishes fresh. It can be frozen for up to 2 months; thaw overnight in the fridge and stir well (a splash of water or lemon juice brings back the texture).
Beans: A 15-ounce can yields about 1 ½ cups of drained beans. If you cook your own, use 1 ½ cups cooked cannellini, great northern or navy beans.
Nutrition (Estimate per Serving)
Calories: 66kcalCarbohydrates: 7gProtein: 3gFat: 4gMonounsaturated Fat: 3gSodium: 360mgPotassium: 20mgFiber: 2gVitamin A: 80IUVitamin C: 4mgCalcium: 32mgIron: 1mg
Vegan-ize any recipe!Grab our free vegan cheat sheet, packed with my favorite easy substitutions to make any recipe vegan.
Edamame Vegetable Soup
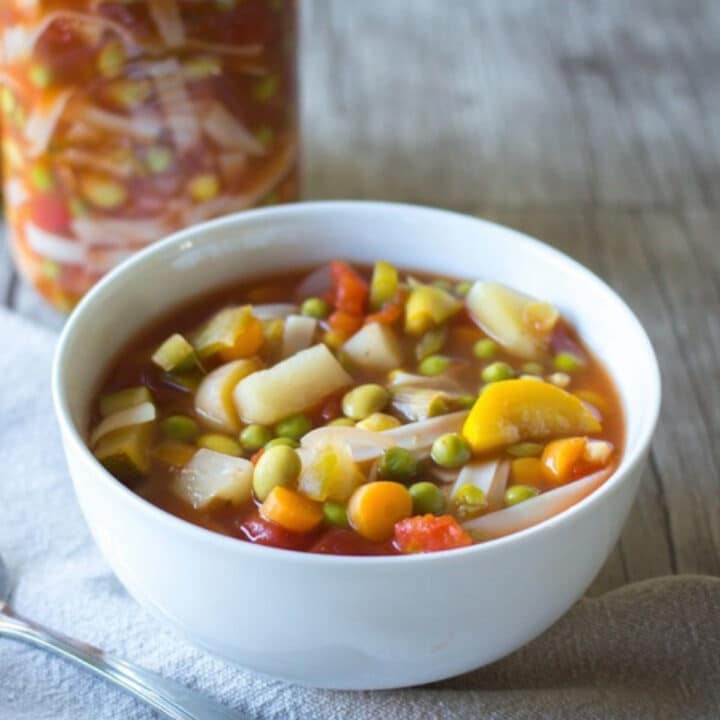
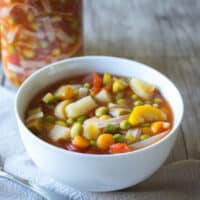
This Edamame Vegetable Soup is a hearty, one-pot bowl of zucchini, yellow squash, carrots, and potatoes simmered in a basil-scented tomato broth, with plenty of edamame for protein and a handful of small pasta to make it a full meal. It's colorful, filling, and completely vegan, and it's just as welcome on a cold winter night as it is at the end of summer when the garden is overflowing with squash.

I love making this soup with whatever seasonal vegetables are on hand, but the edamame is what sets it apart. Those bright green soybeans add a buttery bite and a real boost of plant protein, so a single bowl keeps you satisfied well past lunchtime.
Key Ingredients & Substitutions
- Edamame. Frozen shelled edamame is the easiest option, and it goes straight into the pot without thawing. It brings about 8 grams of protein per half cup. If you can't find it, frozen lima beans or a can of drained cannellini or chickpeas work in the same amount.
- Zucchini and yellow squash. These cook quickly and soak up the tomato broth. Cut them a little larger than the carrots and potatoes so they stay tender rather than mushy. Any summer squash will do, or use two zucchini if that's what you have.
- Carrots and potatoes. They give the soup body and a gentle sweetness. Yukon Gold potatoes hold their shape best; russets will break down more and thicken the broth, which some people prefer. Sweet potato is a nice swap in the fall.
- Diced tomatoes. One can of Del Monte diced tomatoes is all you need for a light tomato broth. Fire-roasted tomatoes add a subtle smoky note, and 2 cups of chopped fresh tomatoes are lovely in late summer.
- Vegetable broth. A low-sodium broth lets you control the salt. Homemade is great here, but any good boxed broth works.
- Small pasta. Tiny shapes like Barilla ditalini, small shells, or broken vermicelli fit on a spoon with the vegetables. For a gluten-free soup, use gluten-free pasta or swap in rice.
- Basil and bay leaf. Fresh basil goes in twice, once to flavor the broth and again at the end for brightness. A single dried bay leaf, such as McCormick Culinary whole bay leaves, adds a quiet savory depth. If you don't have fresh basil, use 1 teaspoon dried basil with the broth.
Helpful Tips
Cut the vegetables to match their cooking times. Carrots and potatoes take the longest, so dice them into ½-inch pieces. Zucchini and yellow squash soften fast, so cut them closer to ¾ inch. Everything then finishes at the same moment instead of the squash turning to mush while the potatoes are still firm.
Use a heavy pot. A large soup pot or a Lodge cast iron Dutch oven holds steady, even heat, so the onions soften without scorching and the soup simmers gently once covered. You'll need at least a 6-quart pot for the full batch.
Add the edamame and pasta at the end. Both go in only for the last 8 to 10 minutes. Edamame stays bright and slightly firm, and the pasta cooks right in the broth without getting bloated. Check your pasta package; thin vermicelli may need only 5 or 6 minutes.
Season in stages. Add a teaspoon of salt with the vegetables, then taste again at the very end. How much more you need depends on your broth, and potatoes and pasta both absorb salt as they cook.
Keep the peas for last. Frozen peas need only a couple of minutes to warm through. Stirring them in just before serving keeps them sweet and vividly green.
Variations
- Greens. Stir in 2 to 3 handfuls of baby spinach or chopped kale with the peas and let them wilt.
- Extra beans. Add a can of drained white beans or chickpeas along with the edamame for an even heartier bowl.
- Grain instead of pasta. Use ½ cup of rice, farro, or pearl barley. Add it with the broth, since grains need longer to cook than small pasta.
- Italian-style. Add a teaspoon of dried oregano and finish each bowl with a spoonful of vegan pesto. If you love that direction, try our Vegan Minestrone Soup too.
- A little heat. A pinch of crushed red pepper flakes with the garlic gives the broth a gentle warmth.
- Creamy squash twist. Blend a cup or two of the finished soup and stir it back in for a thicker texture, or see our velvety Yellow Squash Soup for a fully puréed option.
Serving Ideas
With vegetables, protein, and pasta all in one pot, this soup is a complete meal on its own. Still, a piece of good bread for dipping is hard to beat. Warm slices of homemade Focaccia Bread are perfect for soaking up the tomato broth, and a square of Easy Vegan Cornbread makes it feel extra cozy on a cold night.
For a lighter lunch, serve a smaller bowl alongside a crisp green salad tossed with our 5-Minute Vinaigrette Dressing. A sprinkle of fresh basil, a drizzle of good olive oil, or a spoonful of vegan parmesan on top of each bowl makes it feel a little special.
Storing & Freezing
Let the soup cool, then refrigerate it in an airtight container for up to 4 days. The pasta keeps drinking up broth as it sits, so the soup will be thicker the next day. Add a splash of vegetable broth or water when you reheat it on the stove over medium-low heat or in the microwave.
This soup freezes well for up to 3 months. For the best texture, freeze it before adding the pasta: make the soup through the edamame and peas, cool it completely, and freeze it in portions. When you're ready to eat, thaw it overnight in the fridge, bring it to a simmer, and cook the pasta right in the pot. Potatoes can turn slightly softer after freezing, but the flavor holds up nicely.
It's also a great make-ahead recipe for busy weeks. Chop all the vegetables a day ahead and keep them in the fridge, or cook a full batch on the weekend and portion it into containers for easy lunches.
More Hearty Vegan Soups
If you loved this recipe, here are a few more you might enjoy:
- Vegan Split Pea Soup
- Old-Fashioned Vegan Stew
- Roasted Vegetable Pumpkin Soup
- Cozy Vegan Soups for Fall and Winter
Recipe
Edamame Vegetable Soup
A hearty, protein-packed vegan soup loaded with edamame, zucchini, yellow squash, carrots, and potatoes in a basil-scented tomato broth, with a little pasta to make it a meal. It comes together in one pot in about an hour and freezes well.
Print
Pin
Save
Servings: servings
Ingredients
- 2 tablespoons olive oil
- 1 onion medium, chopped
- 2 cloves garlic minced
- 1 can diced tomatoes 14.5 ounces, with their juices
- 2 carrots peeled and diced
- 2 potatoes medium Yukon Gold, peeled and cut into ½-inch cubes
- 1 zucchini large, diced (about 2 cups)
- 1 yellow squash diced
- ¼ cup fresh basil leaves chopped, divided
- 1 bay leaf
- 7 cups vegetable broth low-sodium recommended
- ¾ cup pasta small soup pasta such as ditalini, or broken vermicelli (about 3 ½ ounces)
- 1 ½ cups edamame frozen shelled (no need to thaw)
- ½ cup frozen peas
- salt and pepper to taste
Instructions
- Prep the vegetables: chop the onion, mince the garlic, and peel and dice the carrots and potatoes into ½-inch pieces. Dice the zucchini and yellow squash into slightly larger pieces (about ¾ inch) so they hold their shape.
- Heat the olive oil in a large soup pot or Dutch oven over medium heat. Add the onion and cook, stirring often, until soft and translucent, about 5 minutes. Add the garlic and cook for 30 seconds more, until fragrant.
- Stir in the diced tomatoes with their juices and simmer for 5 minutes, until they start to break down.
- Add the carrots, potatoes, zucchini, and yellow squash, then half of the chopped basil, the bay leaf, 1 teaspoon salt, and ¼ teaspoon black pepper. Stir to coat the vegetables.
- Pour in the vegetable broth and bring the soup to a boil over high heat. Reduce the heat to low, cover, and simmer for 20 minutes, until the carrots and potatoes are just tender when pierced with a fork.
- Stir in the pasta and the frozen edamame. Simmer uncovered, stirring now and then, until the pasta is al dente, 8 to 10 minutes (check your package time).
- Stir in the frozen peas and the rest of the basil and cook for 2 minutes, just until the peas are bright green and warmed through.
- Remove the bay leaf. Taste and adjust the salt and pepper, then ladle into bowls and serve hot.
Notes
Make it gluten-free: use a gluten-free small pasta or swap the pasta for ½ cup rice (add the rice with the broth).
Storage: Refrigerate leftovers in an airtight container for up to 4 days. The pasta keeps absorbing broth, so add a splash of broth or water when reheating. To freeze, cool completely and freeze for up to 3 months; for the best texture, freeze the soup before adding the pasta and cook fresh pasta when you reheat.
Nutrition (Estimate per Serving)
Calories: 279kcalCarbohydrates: 45gProtein: 11gFat: 7gSaturated Fat: 1gPolyunsaturated Fat: 2gMonounsaturated Fat: 4gSodium: 1214mgPotassium: 1005mgFiber: 8gSugar: 11gVitamin A: 4407IUVitamin C: 42mgCalcium: 88mgIron: 3mg
Vegan-ize any recipe!Grab our free vegan cheat sheet, packed with my favorite easy substitutions to make any recipe vegan.
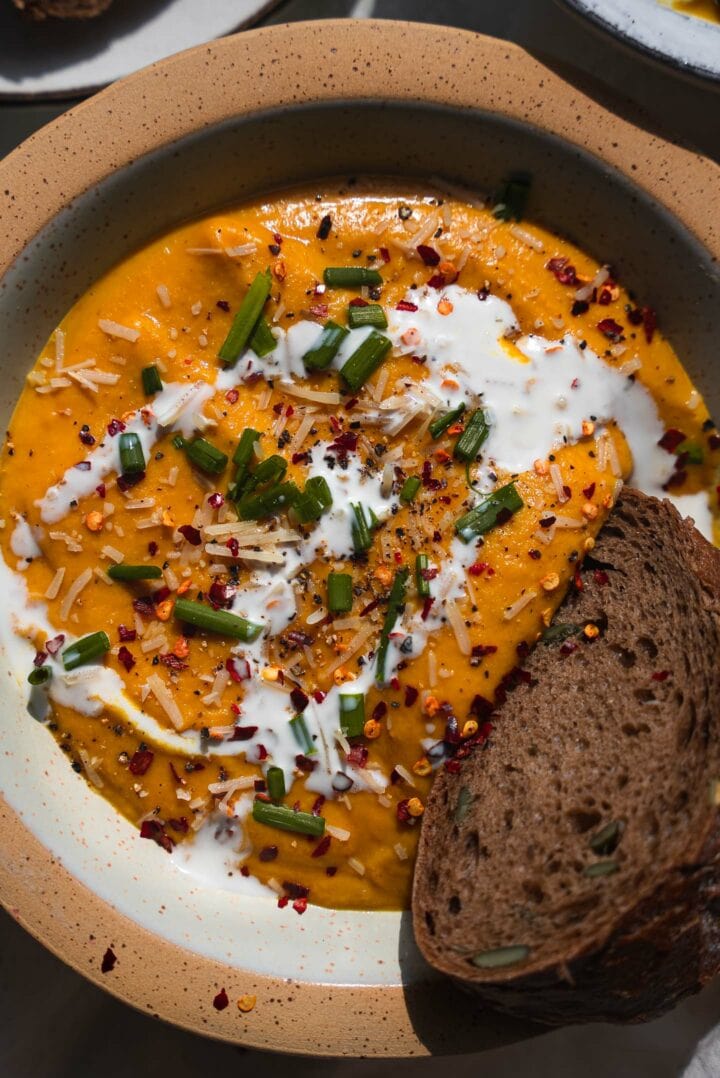
Roasted Vegetable Pumpkin Soup
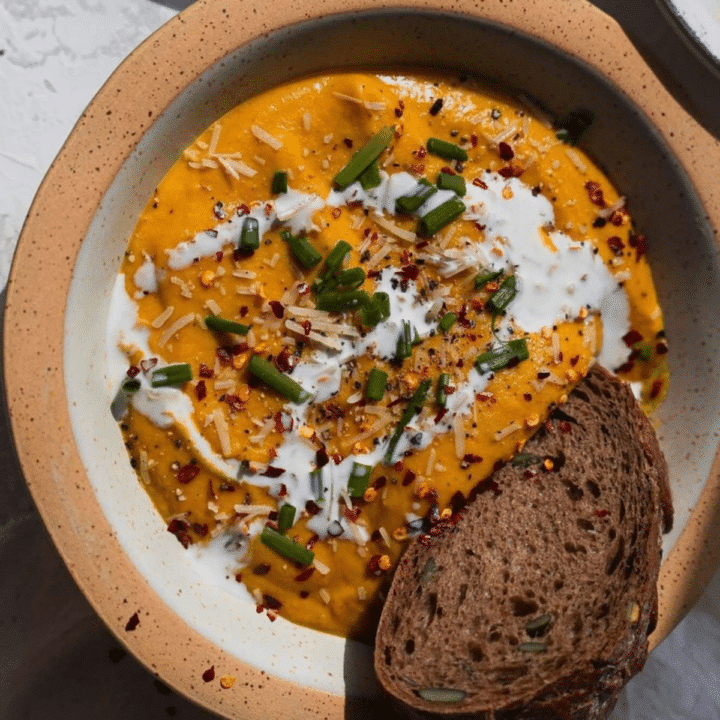
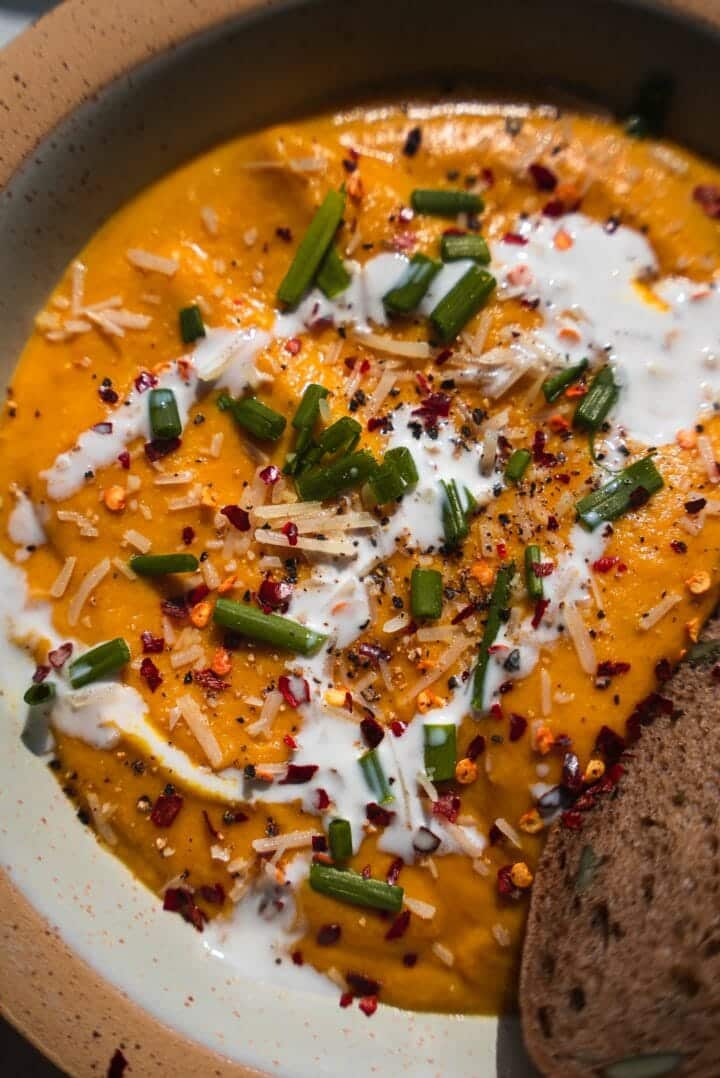
This roasted vegetable pumpkin soup is fall comfort in a bowl: pumpkin, carrots, red bell pepper, red onion and a whole bulb of garlic roast until caramelized, then get blended with coconut milk and warm spices into a silky, savory soup. It's easy to make, completely plant-based, and perfect with a thick slice of crusty bread.
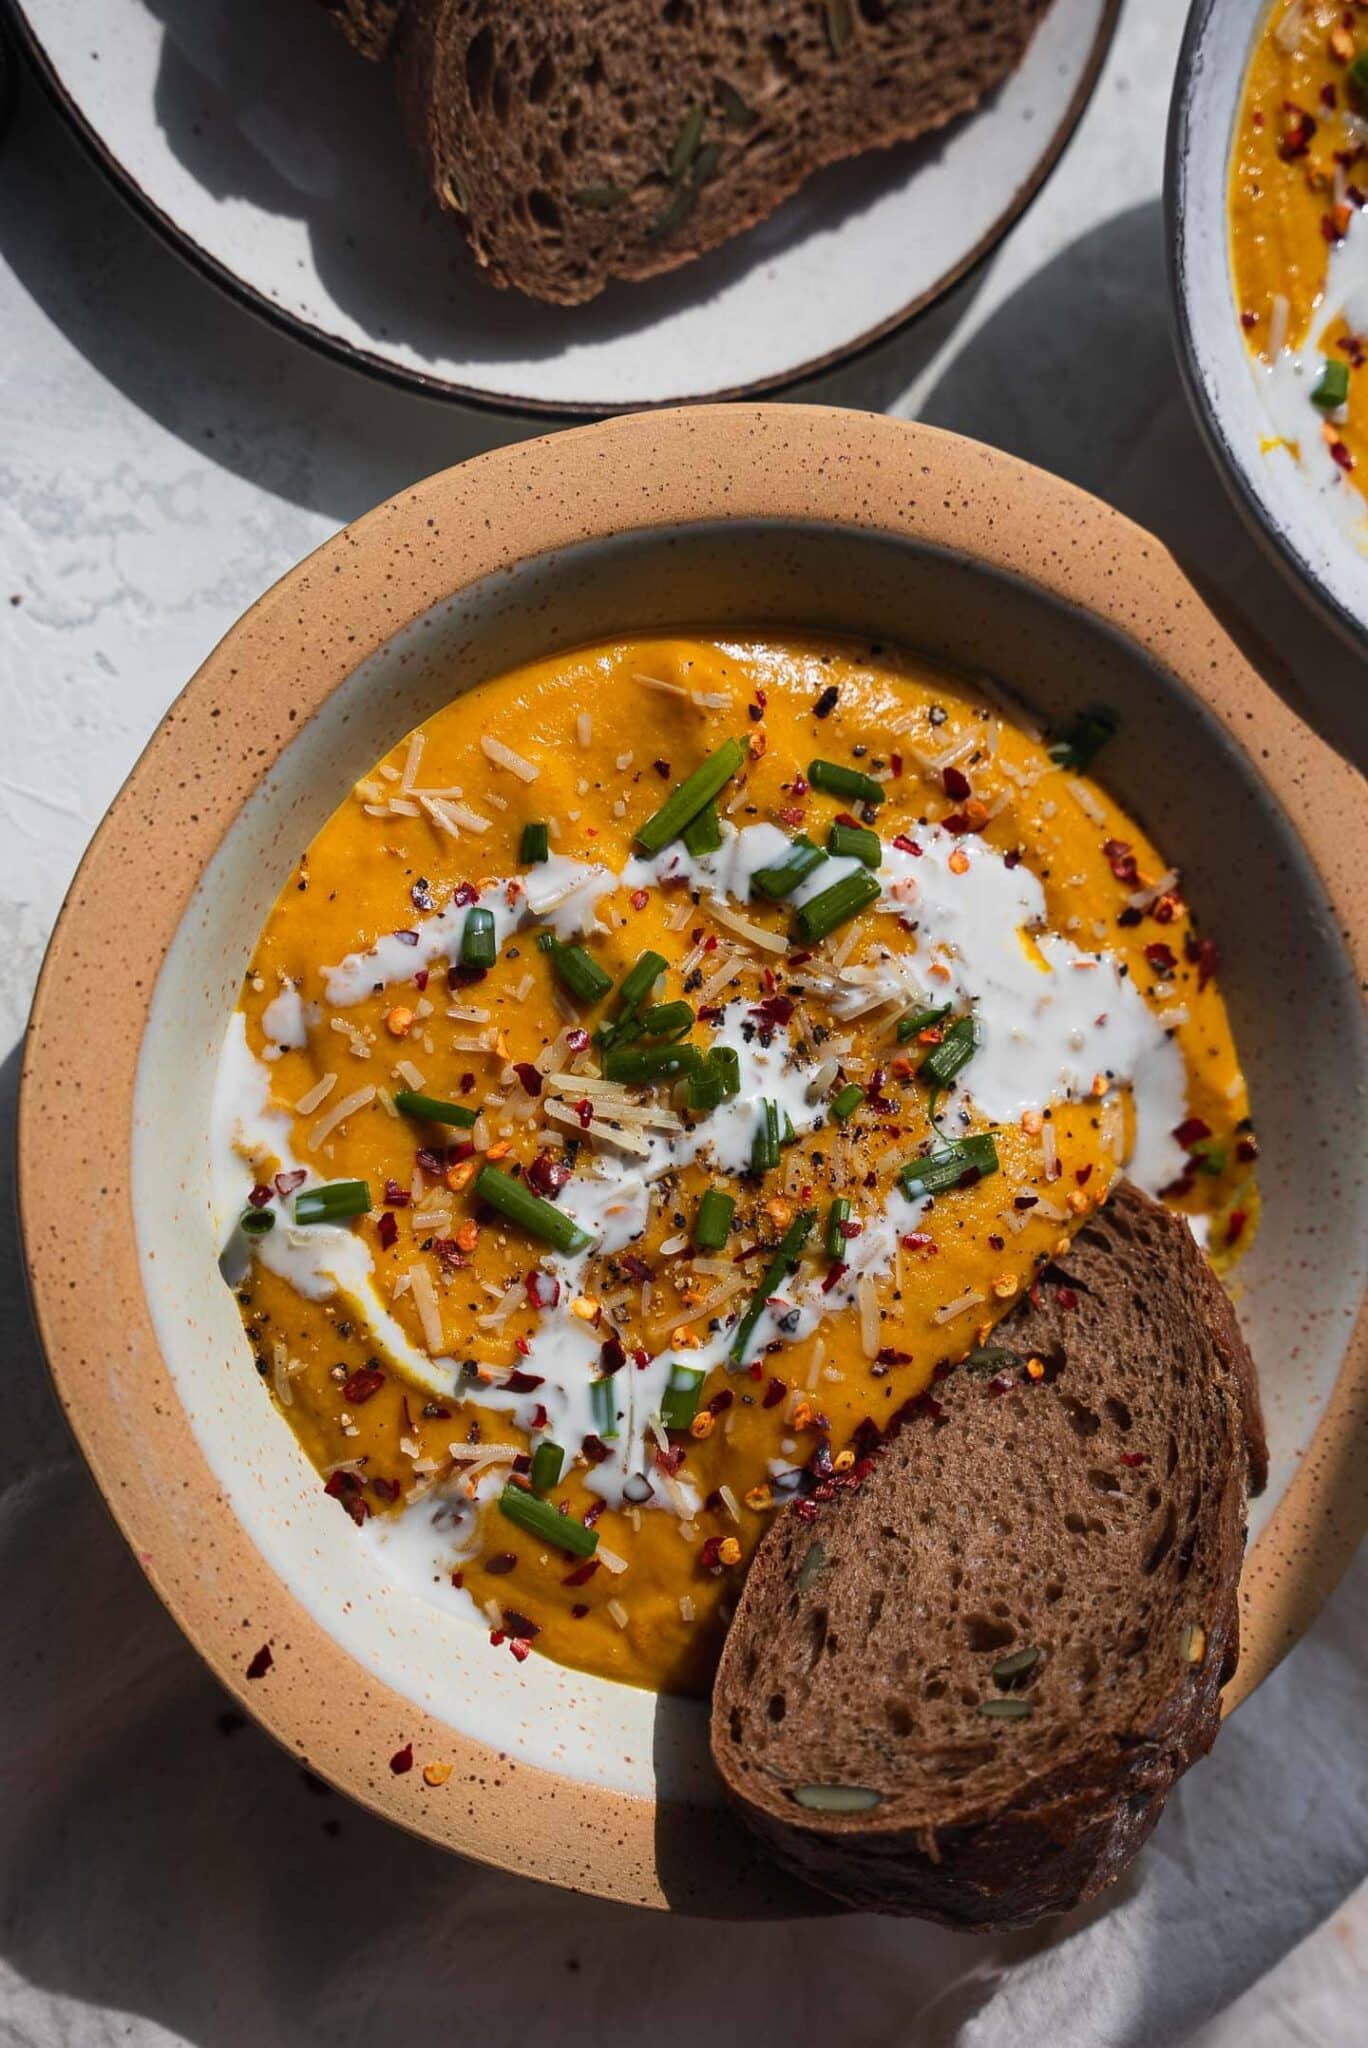
What makes this soup special is the roasting. Instead of simmering raw pumpkin in broth, everything goes into the oven first, where the edges caramelize and the garlic turns soft and sweet. That extra step gives the finished soup a depth of flavor that tastes like it took all day, even though most of the cooking time is completely hands-off.
Key Ingredients & Substitutions
- Pumpkin. A small sugar pumpkin (also called a pie pumpkin) has sweet, dense flesh that roasts beautifully. Avoid large carving pumpkins, which are watery and bland. Butternut, kabocha or red kuri squash all work as swaps with no other changes.
- Carrots. They add natural sweetness and help give the soup its deep orange color. Sweet potato is a good substitute if you're out.
- Red bell pepper. Roasted red pepper adds a sweet, slightly smoky flavor and deepens the soup's gorgeous orange color. An orange or yellow bell pepper works just as well.
- Red onion. Roasted red onion turns jammy and mellow. A yellow onion works too, or use two shallots for a slightly milder flavor.
- Whole garlic bulb. Roasting a full head of garlic tames its bite and makes it creamy and sweet. Don't worry, the soup won't taste overwhelmingly garlicky.
- Coconut milk. Full-fat canned coconut milk makes the soup rich and creamy without any dairy. Light coconut milk works if you want a lighter soup, or use unsweetened oat milk or cashew cream for a more neutral flavor.
- Turmeric, cumin and onion powder. This simple spice trio adds warmth and a gentle earthiness that pairs perfectly with the sweet roasted vegetables. Swap the cumin for smoked paprika for a smokier bowl.
- Lemon juice. A squeeze of lemon at the end brightens everything up and balances the richness of the coconut milk. Lime juice works too.
- Vegetable stock. Use your favorite low-sodium vegetable broth, and add a little extra if you like a thinner soup.
How to Make Roasted Vegetable Pumpkin Soup
Prepare the pumpkin
Start by cutting the pumpkin in half right next to the stem and scooping out the seeds. Cut each half into wedges, then peel each wedge with a sharp knife or sturdy vegetable peeler and cut the flesh into bite-sized cubes. (Save the seeds for roasting if you like, they make a great crunchy topping.)
Roast the vegetables
Preheat the oven to 350°F (180°C) and line a large baking tray with parchment paper. Spread the cubed pumpkin, carrots, red bell pepper strips and red onion quarters on the tray, drizzle with olive oil and season with salt and pepper.
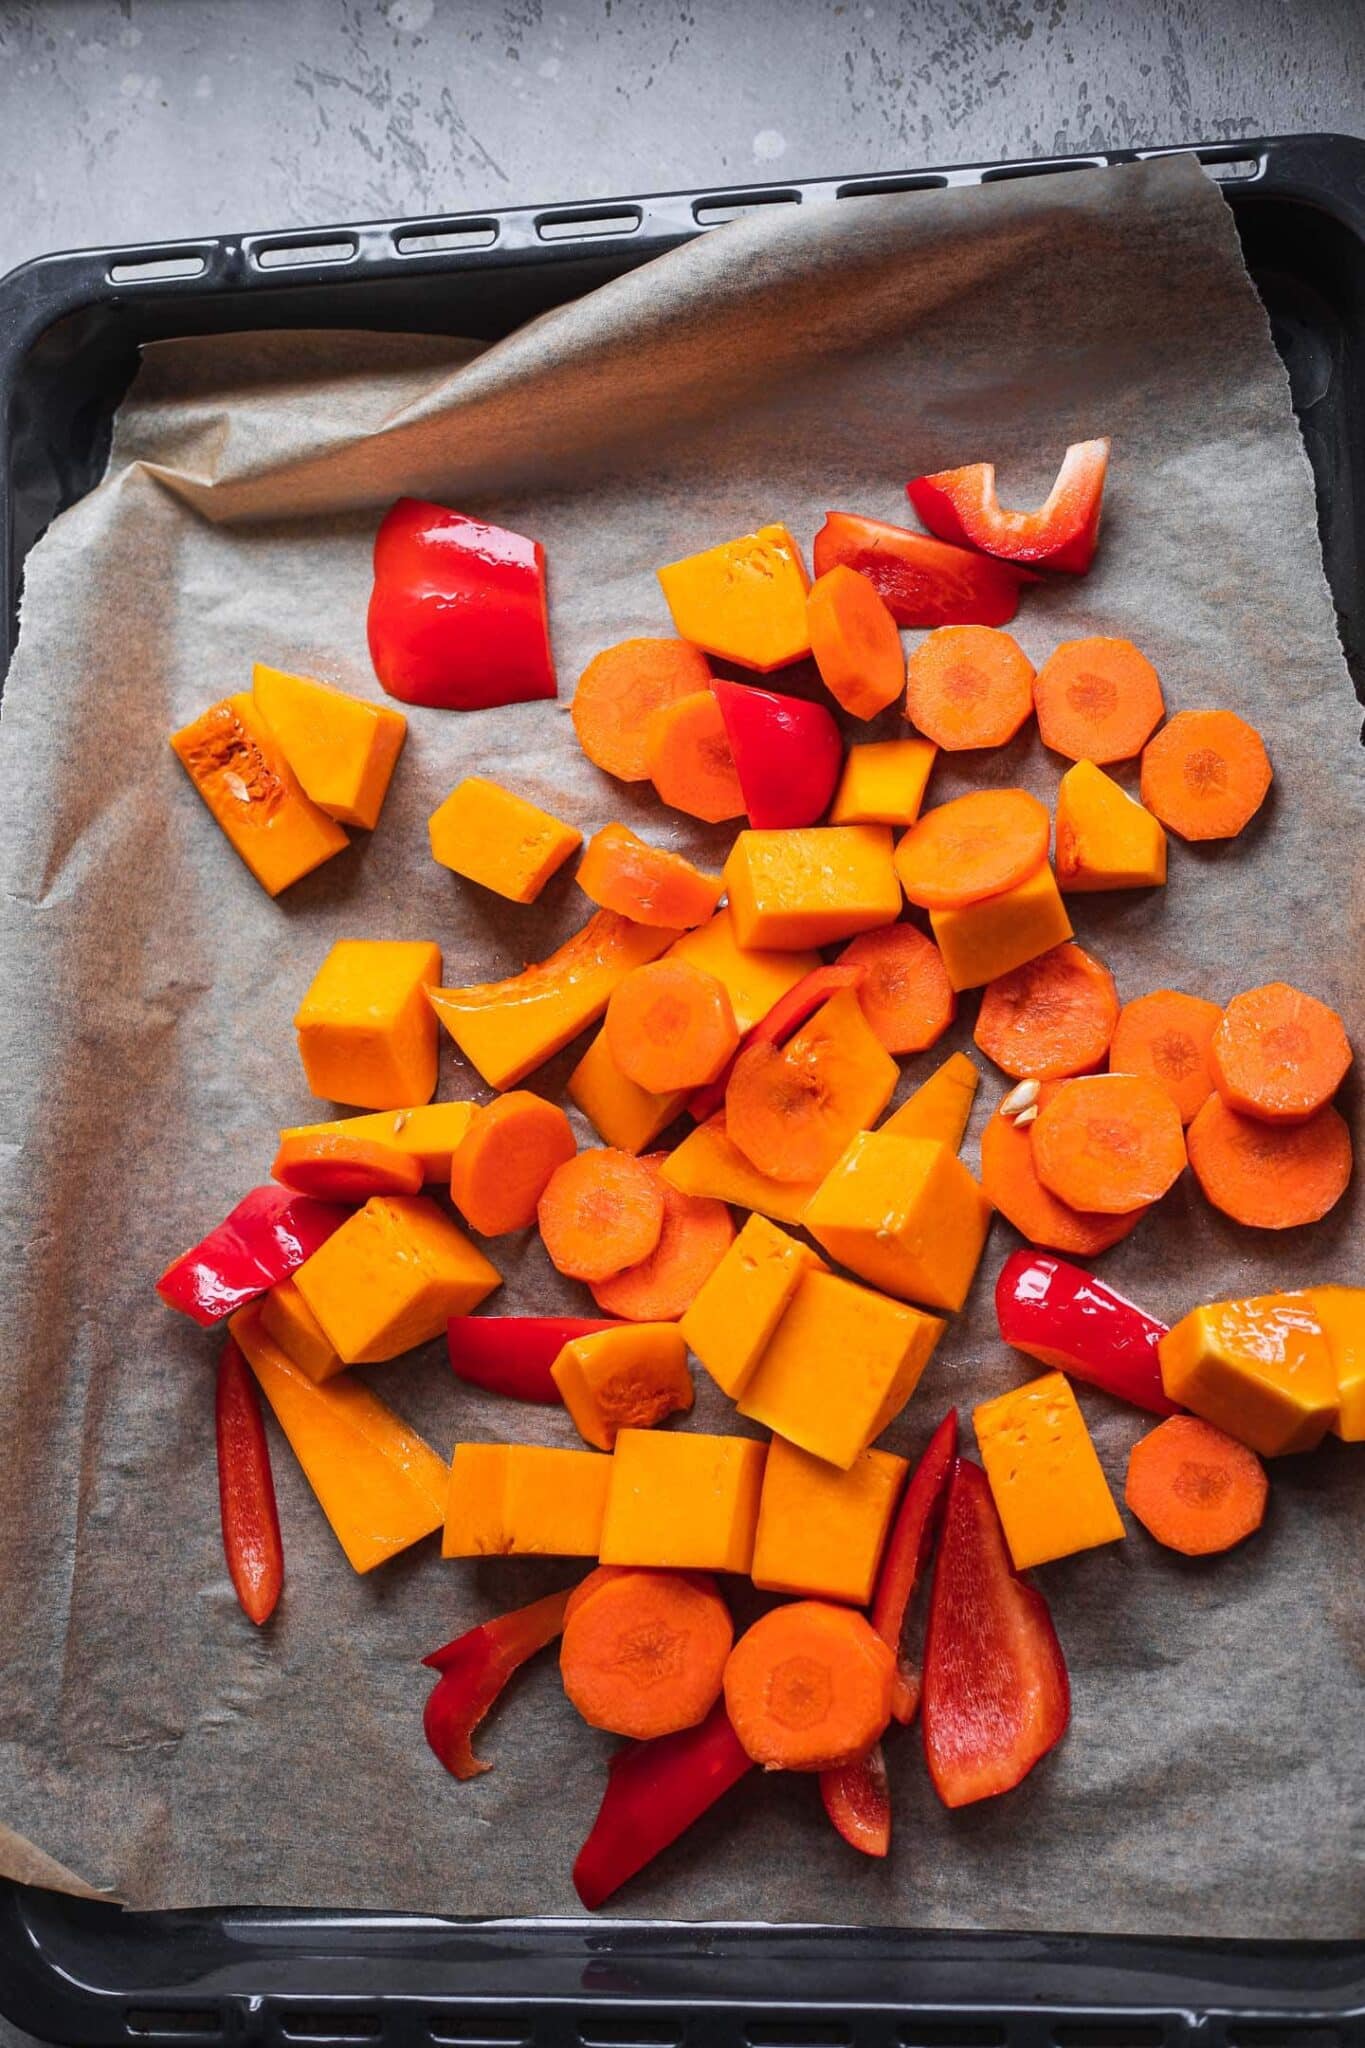
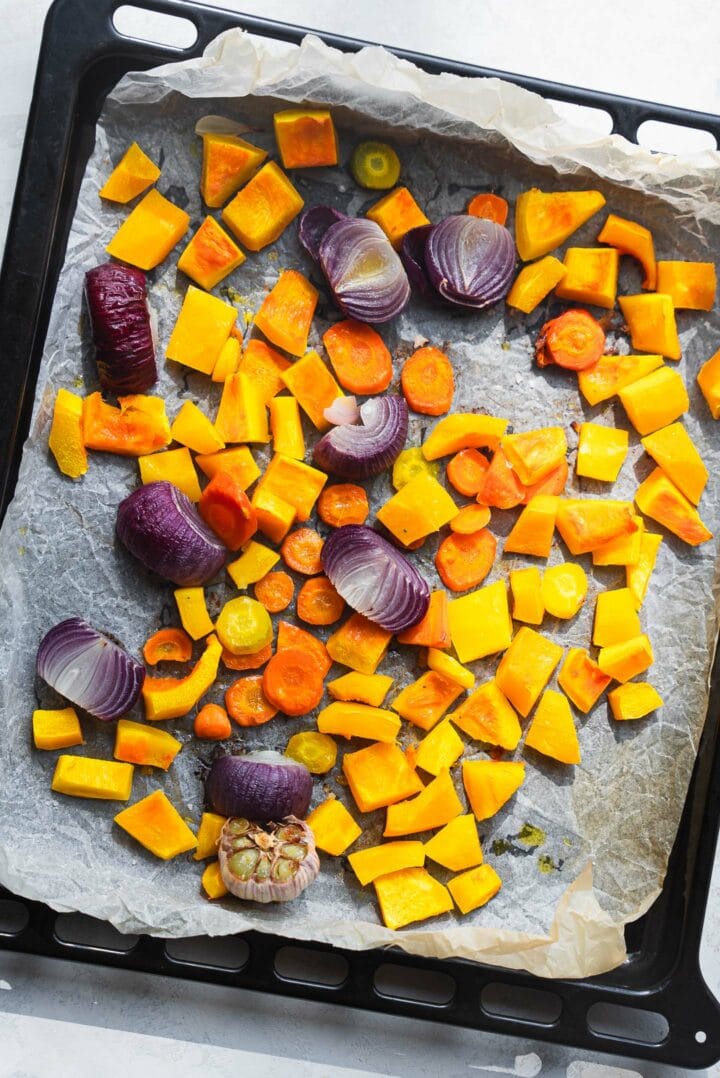
Slice the very top off the garlic bulb to expose the cloves, drizzle or spray it with a little oil, wrap it in foil and set it on the tray next to the vegetables. Roast for about an hour, until everything is soft and caramelized at the edges.
Blend and serve
Once the vegetables are cool enough to handle, transfer them to a blender or food processor. Squeeze the soft garlic cloves out of their skins and add them too, along with the coconut milk, turmeric, cumin, onion powder, lemon juice, the rest of the salt and pepper, and the vegetable stock. Blend until completely smooth.
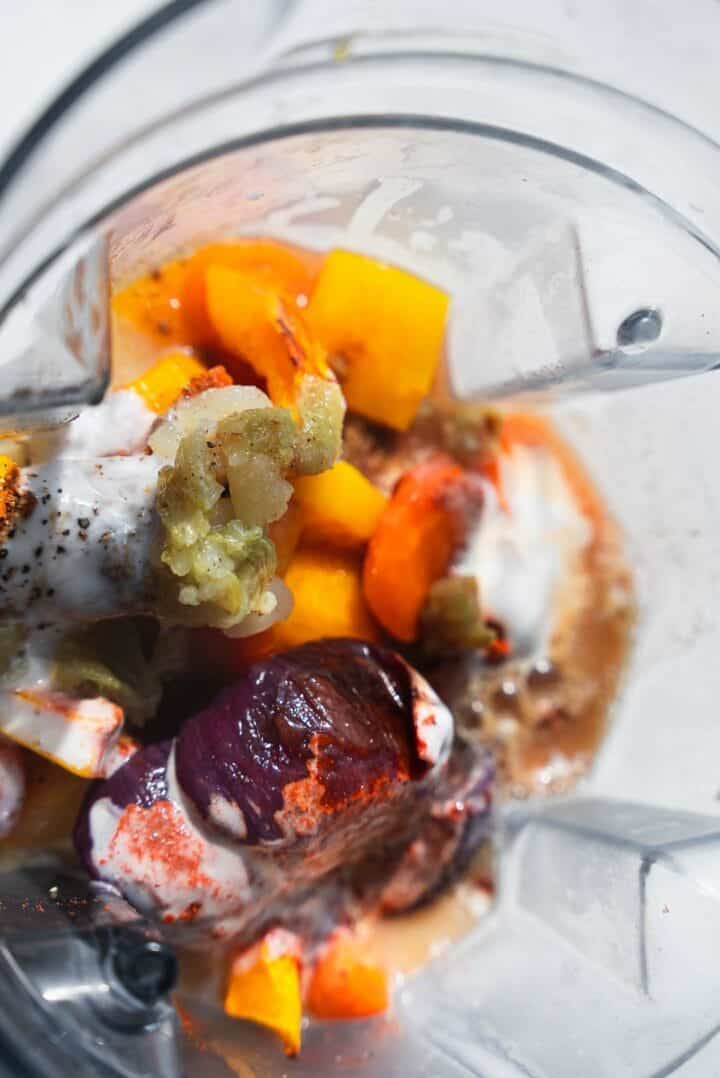
Pour the soup into a saucepan and warm it over medium heat for a few minutes, stirring often. Taste, adjust the seasoning, and it's ready to serve.
Helpful Tips
Cut everything to a similar size. Pumpkin cubes and carrot pieces that are roughly the same size roast evenly, so you won't end up with some pieces charred and others still firm. Carrots take a little longer than pumpkin, so cut them slightly smaller.
Don't crowd the tray. Vegetables that are piled on top of each other steam instead of roasting, and you lose the caramelized flavor that makes this soup so good. If your tray is full, split everything between two trays.
Let the vegetables cool before blending. Hot liquids expand in a blender and can push the lid off. Let everything cool for 10 minutes, blend in batches if needed, and hold the lid down with a folded towel. If you'd rather skip the transfer, an immersion blender lets you blend right in the saucepan.
Adjust the texture at the end. This soup is naturally thick and velvety. For a silkier, restaurant-style result, a high-speed blender does the best job. Add more vegetable stock a splash at a time until it's as thick or thin as you like.
Season after blending. Roasted vegetables vary in sweetness, so always taste the finished soup before serving. A pinch more salt or an extra squeeze of lemon usually makes all the flavors pop.
Variations
- Add sweet potato. Swap one of the carrots for a small sweet potato for an even creamier, naturally sweeter soup.
- Make it spicy. Add a pinch of cayenne or a teaspoon of red curry paste when blending, and finish with chili flakes.
- Thai-inspired. Blend in a little fresh ginger and a spoonful of red curry paste, and swap the lemon juice for lime.
- Extra protein. Stir a can of drained white beans or chickpeas into the finished soup, or blend them in for an even creamier texture.
- Different squash. Butternut, kabocha or acorn squash all work in place of pumpkin, so you can make this soup well past pumpkin season.
- Herby version. Roast a few sprigs of fresh thyme or sage with the vegetables, then remove the stems before blending.
Serving Ideas
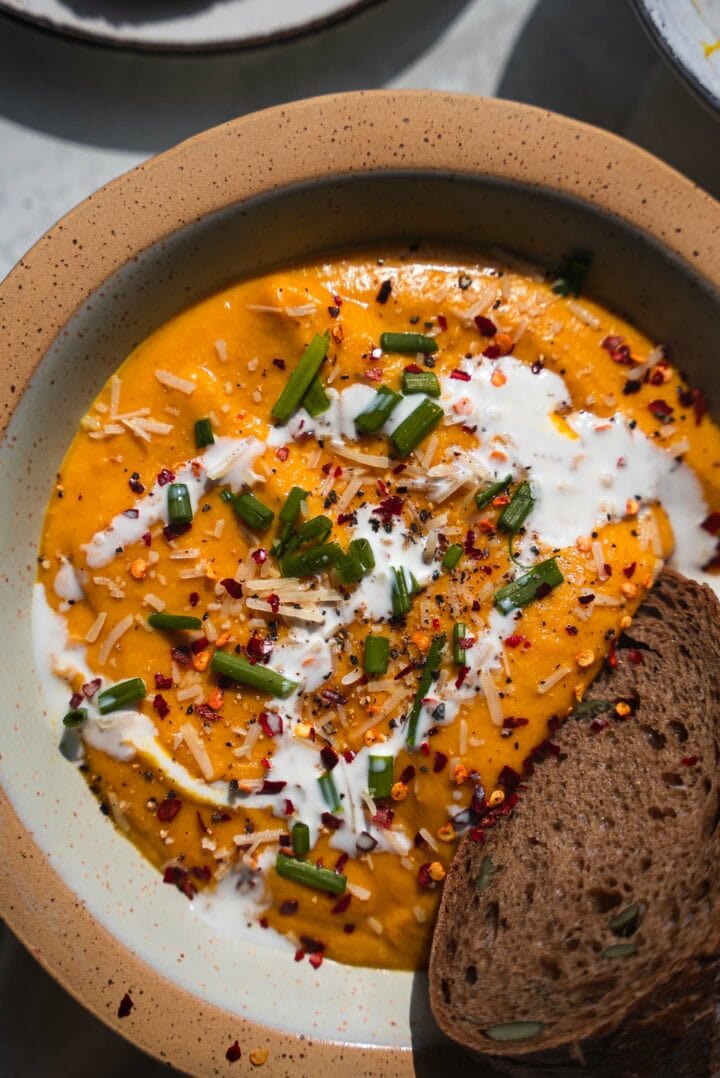
This soup is made for dunking, so serve it with plenty of good bread. Crusty whole-grain or rye bread is a classic, and homemade focaccia bread, vegan cornbread or warm vegan biscuits all make it a meal.
For toppings, drizzle each bowl with a swirl of coconut cream and finish with chopped chives, chili flakes, black pepper and a sprinkle of vegan parmesan or toasted pumpkin seeds. Crispy roasted chickpeas or baked tofu cubes make great crunchy "croutons" too.
To turn it into a heartier dinner, spoon the soup over cooked rice, quinoa or small pasta shapes, or serve it alongside a big green salad. It also makes a lovely starter for a fall or holiday meal.
Storing & Freezing
This soup is perfect for batch cooking. Let it cool, then transfer it to an airtight container and keep it in the refrigerator for up to 4 days. It will thicken as it sits, so stir in a splash of vegetable stock or water when you reheat it on the stove or in the microwave.
To freeze, portion the cooled soup into freezer-safe containers or bags, leaving a little room for it to expand, and freeze for up to 3 months. Thaw overnight in the fridge, then reheat gently on the stove over medium heat, stirring often, until warmed through. Give it a quick whisk if it looks slightly separated.
More Cozy Vegan Soups
If you loved this recipe, here are a few more you might enjoy:
- Vegan Butternut Squash Soup
- Vegan Spicy Pumpkin and Peanut Soup
- Sweet Potato Lentil Soup
- Cozy Vegan Soups for Fall and Winter
Recipe

Roasted Vegetable Pumpkin Soup
A cozy, creamy vegan pumpkin soup made with roasted pumpkin, carrots, red bell pepper, red onion and a whole bulb of garlic, blended with coconut milk and warm spices.
Print
Pin
Save
Servings: servings
Equipment
- Baking tray
- Saucepan
Ingredients
- 1 small sugar pumpkin about 3 lbs, or 5 cups peeled and cubed
- 2 medium carrots peeled and chopped
- 1 large red bell pepper seeded and cut into strips
- 2 large red onions quartered
- 1 bulb garlic
- 2 tablespoon olive oil
- 1 teaspoon salt divided
- 1 teaspoon black pepper divided
- 1 cup coconut milk full-fat, canned
- 1 teaspoon ground turmeric
- 1 teaspoon ground cumin
- 1 teaspoon onion powder
- 1 large lemon juiced
- ½ cup vegetable stock plus more to thin
Instructions
- Preheat the oven to 350°F (180°C) and line a large baking tray with parchment paper.
- Cut the pumpkin in half next to the stem and scoop out the seeds. Cut each half into wedges, peel them with a sharp knife or sturdy vegetable peeler, and cut the flesh into bite-sized cubes.
- Spread the pumpkin, carrots, red bell pepper and red onion on the baking tray. Drizzle with the olive oil and season with ½ teaspoon salt and ½ teaspoon pepper, tossing to coat.
- Slice the top off the garlic bulb to expose the cloves, drizzle or spray it with a little oil, wrap it in foil and place it on the tray with the vegetables.
- Roast for about 1 hour, until the vegetables are soft and caramelized at the edges. Let cool for 10 minutes.
- Transfer the roasted vegetables to a blender or food processor. Squeeze the garlic cloves out of their skins and add them, along with the coconut milk, turmeric, cumin, onion powder, lemon juice, vegetable stock and the remaining ½ teaspoon salt and ½ teaspoon pepper. Blend until completely smooth, working in batches if needed.
- Pour the soup into a saucepan and warm over medium heat for 3 to 5 minutes, stirring often. Thin with more stock if you like, taste and adjust the seasoning, then serve topped with a swirl of coconut cream, chives and chili flakes.
Notes
Butternut, kabocha or red kuri squash can replace the pumpkin with no other changes. The soup thickens as it sits; thin leftovers with a splash of stock when reheating.
Nutrition (Estimate per Serving)
Serving: 1bowlCalories: 320kcalCarbohydrates: 38gProtein: 6gFat: 20gSaturated Fat: 12gPolyunsaturated Fat: 1gMonounsaturated Fat: 6gSodium: 735mgPotassium: 1530mgFiber: 6gSugar: 16gVitamin A: 34118IUVitamin C: 100mgCalcium: 122mgIron: 6mg
Vegan-ize any recipe!Grab our free vegan cheat sheet, packed with my favorite easy substitutions to make any recipe vegan.
Simple Sesame Soba Noodles
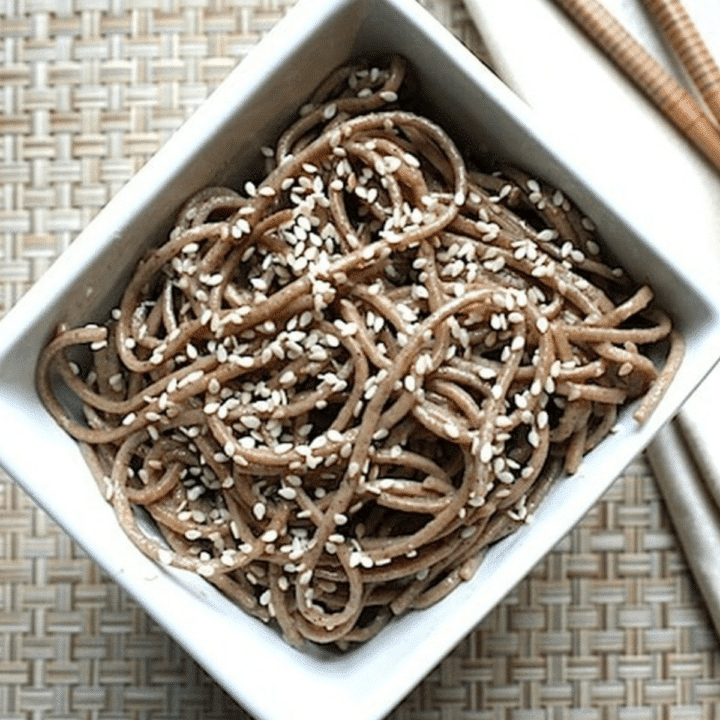
Nutty buckwheat noodles tossed in a quick dressing of toasted sesame oil, soy sauce, fresh ginger, and rice vinegar, these simple sesame soba noodles come together in about 15 minutes. They're just as good warm from the pot as they are cold from the fridge, which makes them an easy vegan side dish, a bed for stir-fries, or a packed lunch.
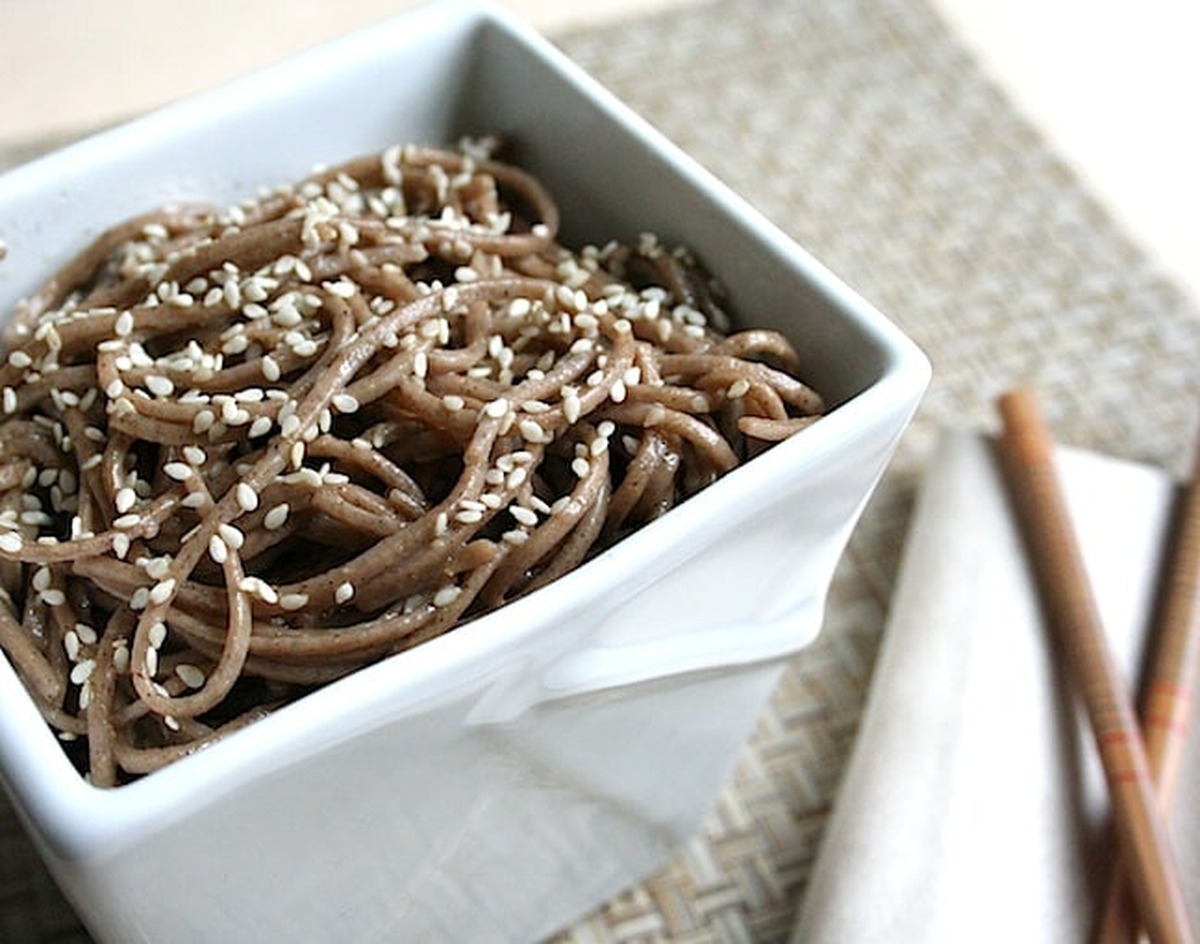
Photos by Rachael Braun.
Key Ingredients & Substitutions
- Soba noodles. These Japanese noodles are made from buckwheat flour, which gives them their earthy, nutty flavor and slightly chewy bite. Look for soba noodles in the international aisle or with the dried pasta. Any variety works, but note that many brands blend in wheat flour, so check the label if you need a gluten-free dish. Udon, somen, or even whole wheat spaghetti can stand in if that's what you have.
- Dark sesame oil. Toasted dark sesame oil is the backbone of the dressing, and its deep, roasted flavor is hard to replace. A little goes a long way. If you're out, use a neutral oil and add an extra tablespoon of sesame seeds to keep some of that toasty taste.
- Soy sauce or tamari. This supplies the salty, savory punch. Choose tamari to keep the dish wheat-free, and start with the smaller amount so you can adjust after tasting.
- Tahini. Optional, but a spoonful of sesame tahini makes the dressing a little creamier and rounder. Smooth peanut butter or almond butter can replace it, though the flavor will shift.
- Agave nectar. Just a touch of agave nectar balances the salt and acid. Maple syrup or a pinch of sugar works equally well.
- Fresh ginger. Grated fresh ginger adds warmth and zing. A microplane makes quick work of it, and jarred grated ginger is a fine shortcut in a pinch.
- Rice vinegar. A splash brightens the whole bowl. White wine vinegar or a squeeze of lime juice are good substitutes.
- Sesame seeds. They go into the dressing and onto the finished noodles for crunch. Black or tri-color sesame seeds look especially pretty against the brown noodles.
Helpful Tips
Don't overcook the noodles. Soba goes from tender to mushy quickly, so start tasting a minute before the package time is up. You want them al dente, with a little chew left, since they'll soften slightly more as they absorb the dressing.
Rinse them for cold or room-temperature serving. Buckwheat noodles release a lot of surface starch, which can make them sticky and gummy as they cool. A quick rinse under cold running water washes it away and stops the cooking. If you're serving the noodles warm, skip the rinse and toss them with the dressing right away.
Make the dressing while the water heats. Whisk everything together in a small bowl before the noodles are done so the flavors have a few minutes to mingle. Taste it on its own and adjust: more soy sauce for salt, a little more vinegar for brightness, or an extra drizzle of agave if it tastes sharp.
Toast the sesame seeds. If your seeds are raw, stir them in a dry skillet over medium heat for two to three minutes, until they're golden and fragrant. Move them to a plate right away so they don't scorch. Toasting makes the sesame flavor in the whole dish noticeably deeper.
Toss while the noodles are still slightly damp. A bit of clinging moisture helps the dressing spread evenly and keeps the noodles from clumping. Use tongs or two forks and lift and turn until every strand is coated.
Variations
- Swap the noodles. This dressing works just as well with udon or somen noodles, or even whole wheat spaghetti.
- Add mushrooms or greens. If you're not using these noodles as a base for a stir-fry, toss in some sautéed mushrooms or a handful of wilted spinach, kale, or bok choy to make it a fuller meal.
- Load up the veggies. Shredded carrots, thin cucumber matchsticks, sliced scallions, steamed broccoli, or edamame add color and crunch. For a heartier version, see our soba noodles with green beans and almonds.
- Make it spicy. Stir in a pinch of red pepper flakes, a spoonful of chili-garlic sauce, or a drizzle of chili oil.
- Go peanutty. Replace the tahini with creamy peanut butter and add a squeeze of lime for a quick Thai-inspired twist.
- Add protein. Top with cubes of baked or pan-seared tofu, or a scoop of shelled edamame.
Serving Ideas
These vegan soba noodles are a natural bed for saucy, Asian-style stir-fries and tofu dishes. Spoon ginger grilled tofu or a simple vegetable stir-fry right over the top, and the noodles will soak up every drop of sauce. They're also lovely alongside a green vegetable side such as sesame kale and broccoli sauté for a quick weeknight dinner.
The leftovers are good served cold, which makes them great for school or brown-bag lunches. Pack a portion in a lidded container with sliced cucumber and a sprinkle of extra sesame seeds, and lunch is done. A handful of chopped scallions on top always brightens things up, too.
Storing & Freezing
Store leftover sesame soba noodles in an airtight container in the refrigerator for up to four days. The noodles will firm up and absorb some of the dressing as they sit, so let them come to room temperature before serving, and toss in a splash of soy sauce, a few drops of sesame oil, or a teaspoon of water to loosen them if they seem dry.
This dish doesn't freeze well. Cooked soba turns soft and crumbly once it's thawed, and the texture of the noodles is a big part of the appeal. It's best to make it fresh, or make it up to a day or two ahead and keep it in the fridge.
More Vegan Soba and Noodle Ideas
If you loved this recipe, here are a few more noodle dishes you might enjoy:
- Sesame Soba Noodles with Collard Greens and Tempeh Croutons
- Cold Soba (Buckwheat Noodles) and Cucumber Salad
- Sweet-and-Sour Soba Noodles with Asparagus
- Cold Peanut Butter-Sesame Noodles
Recipe
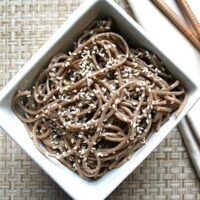
Simple Sesame Soba Noodles
Nutty buckwheat soba noodles tossed with a quick sesame-ginger-soy dressing. These vegan sesame soba noodles are ready in about 15 minutes and taste great warm, at room temperature, or cold.
Print
Pin
Save
Servings: servings
Ingredients
- 8 ounces soba (buckwheat) noodles any variety
- 2 tablespoons dark sesame oil
- 2 to 3 tablespoons soy sauce or tamari to taste
- 1 tablespoon tahini optional
- 1 tablespoon agave nectar
- 1 to 2 teaspoons grated fresh ginger to taste
- 1 tablespoon rice vinegar or white wine vinegar
- 1 tablespoon sesame seeds plus more for topping
Instructions
- Bring a large pot of water to a rapid boil. Add the soba noodles and cook according to the package directions, usually 4 to 6 minutes, stirring once or twice so they don't clump. Start testing a minute early: the noodles are done when they are tender with a slight chew (al dente).
- While the noodles cook, make the sauce. In a small bowl, whisk together the dark sesame oil, 2 tablespoons of the soy sauce or tamari, tahini (if using), agave nectar, ginger, rice vinegar, and sesame seeds until smooth.
- Drain the noodles in a colander. If you plan to serve them cold or at room temperature, rinse them under cold running water and drain well, which removes the surface starch and keeps the noodles from sticking. For a warm dish, simply drain and shake off the excess water. Transfer the noodles to a large serving bowl.
- Drizzle the sauce over the noodles and toss with tongs or two forks until every strand is evenly coated. Taste, and add the remaining tablespoon of soy sauce if you'd like it saltier.
- Serve warm or at room temperature, passing extra sesame seeds at the table for topping individual servings.
Nutrition (Estimate per Serving)
Calories: 310kcalCarbohydrates: 48gProtein: 10gFat: 10gSaturated Fat: 1gPolyunsaturated Fat: 4gMonounsaturated Fat: 4gSodium: 620mgPotassium: 175mgFiber: 3gSugar: 4gCalcium: 55mgIron: 2mg
Vegan-ize any recipe!Grab our free vegan cheat sheet, packed with my favorite easy substitutions to make any recipe vegan.
Vegan Ranch Dressing (or Dip!)
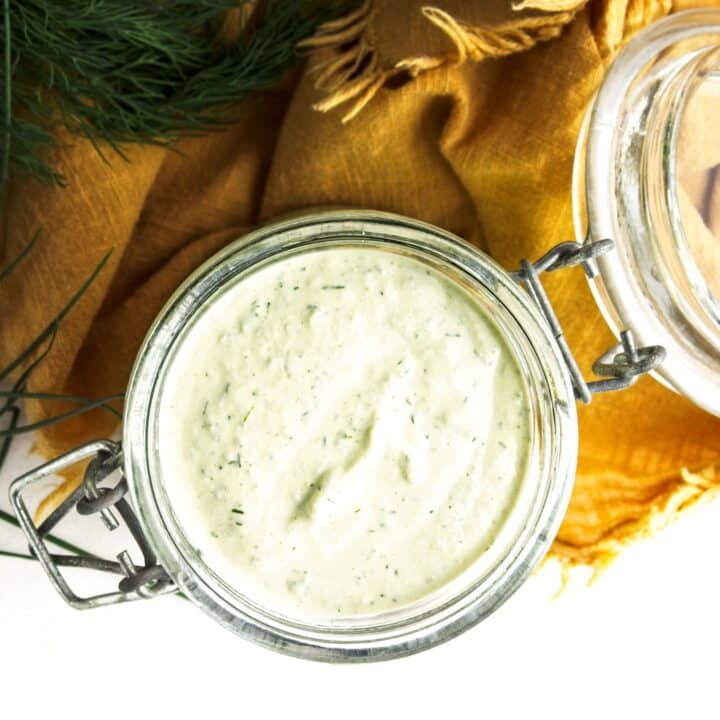
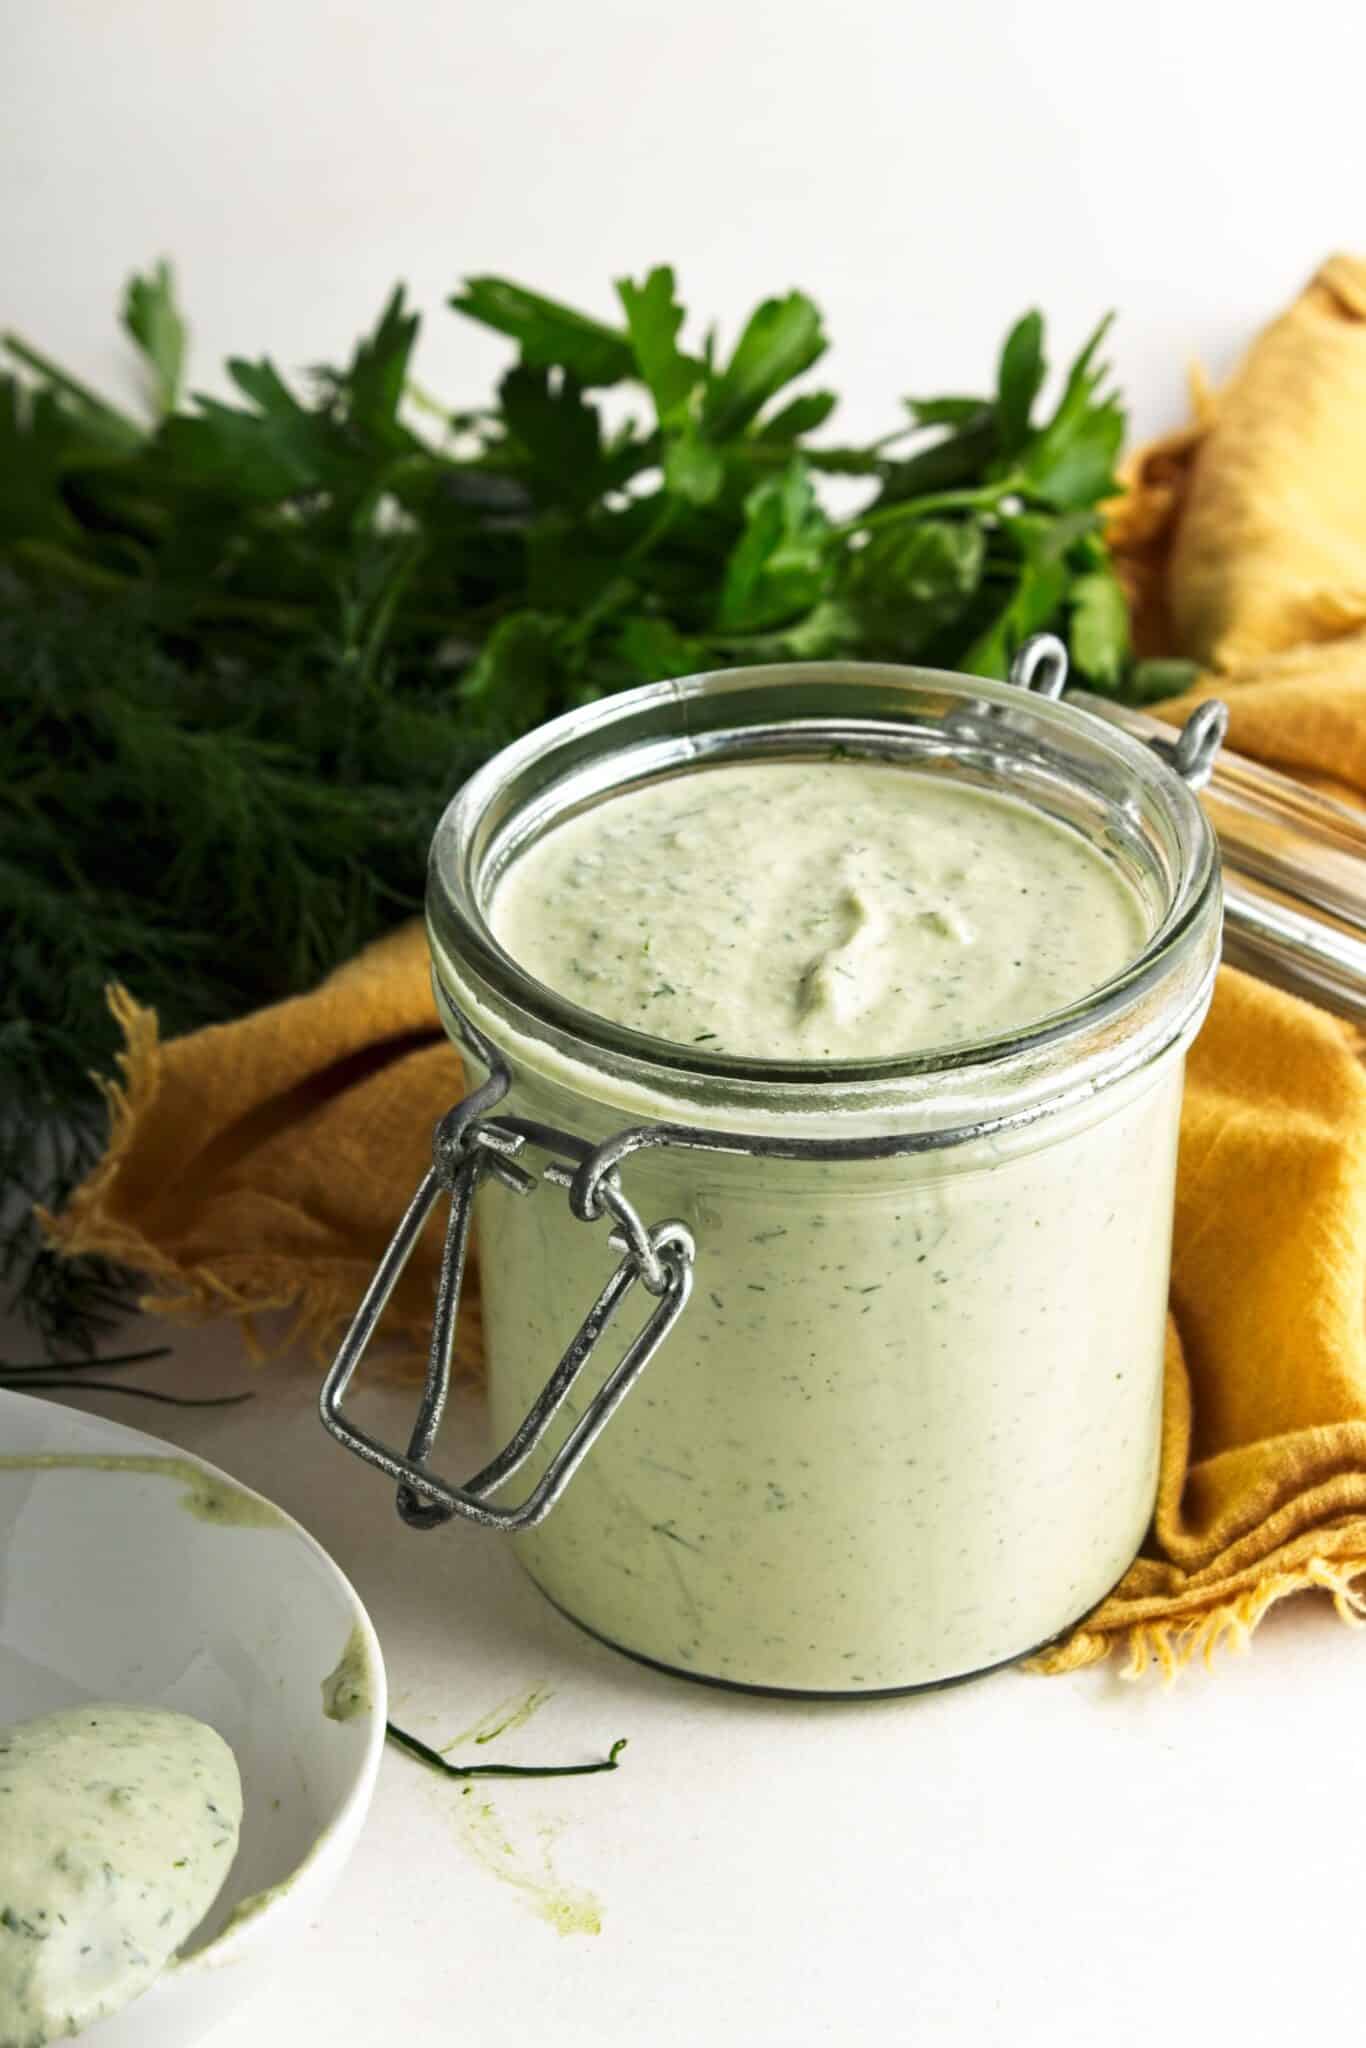
Nothing beats a really good ranch, and this vegan version gets there with a base of soaked cashews and a generous handful of fresh dill, parsley, and chives. It works equally well as a dip for raw veggies or spooned over a big green salad.
Key Ingredients & Substitutions
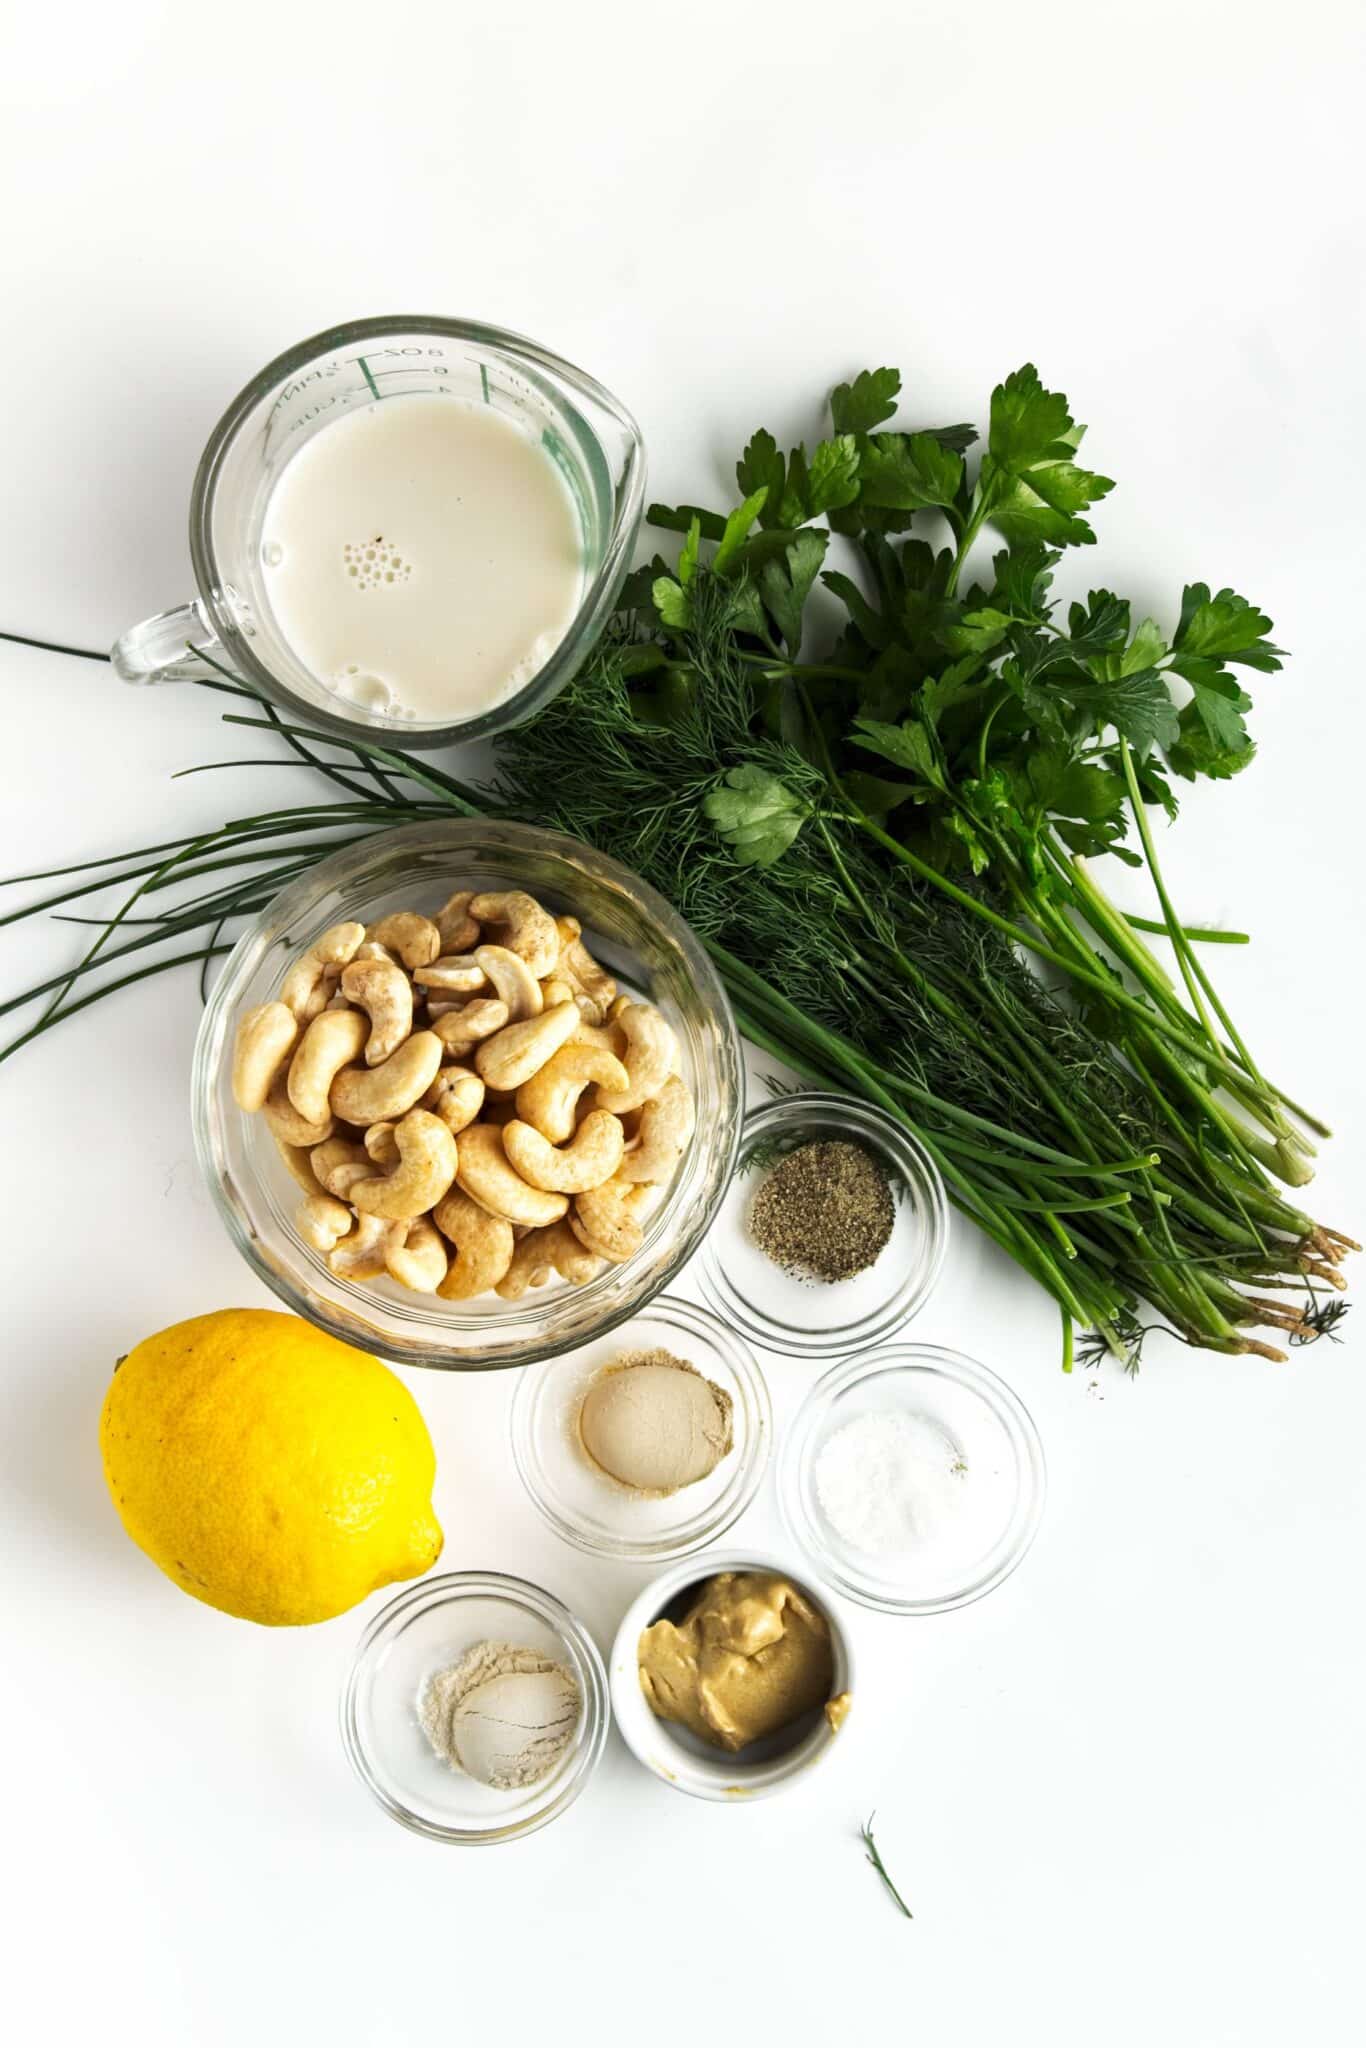
- Raw cashews. Soaked and blended, cashews are what give this dressing its rich, creamy body without a drop of dairy. If you're nut-free, raw sunflower seeds soak and blend the same way, though the flavor will be slightly earthier. Cashews show up in a lot of our vegan sauces for exactly this reason—see our Cashew Cream (Vegan Sour Cream) for another example.
- Unsweetened almond milk. This thins the cashews into a pourable base. Any unsweetened plant milk works here—oat, soy, or cashew milk are all fine substitutes. Just avoid vanilla or sweetened versions, which will throw off the savory flavor.
- Fresh lemon juice. Brings the tang that a good ranch needs. White wine vinegar or apple cider vinegar can stand in if you're out of lemons.
- Dijon mustard. A small amount adds depth and a little extra tang without tasting overtly mustardy. In a pinch, yellow mustard works, though the flavor will be milder.
- Garlic powder and onion powder. This is the flavor backbone of classic ranch, and it's worth using the powdered versions rather than fresh garlic and onion—fresh aromatics will taste bright and oniony rather than like the ranch flavor you're going for.
- Fresh parsley, dill, and chives. The herby flecks that make ranch look and taste like ranch. Fresh is best here; if you only have dried on hand, use about a teaspoon of each, keeping in mind the flavor will be milder and less vibrant.
Helpful Tips
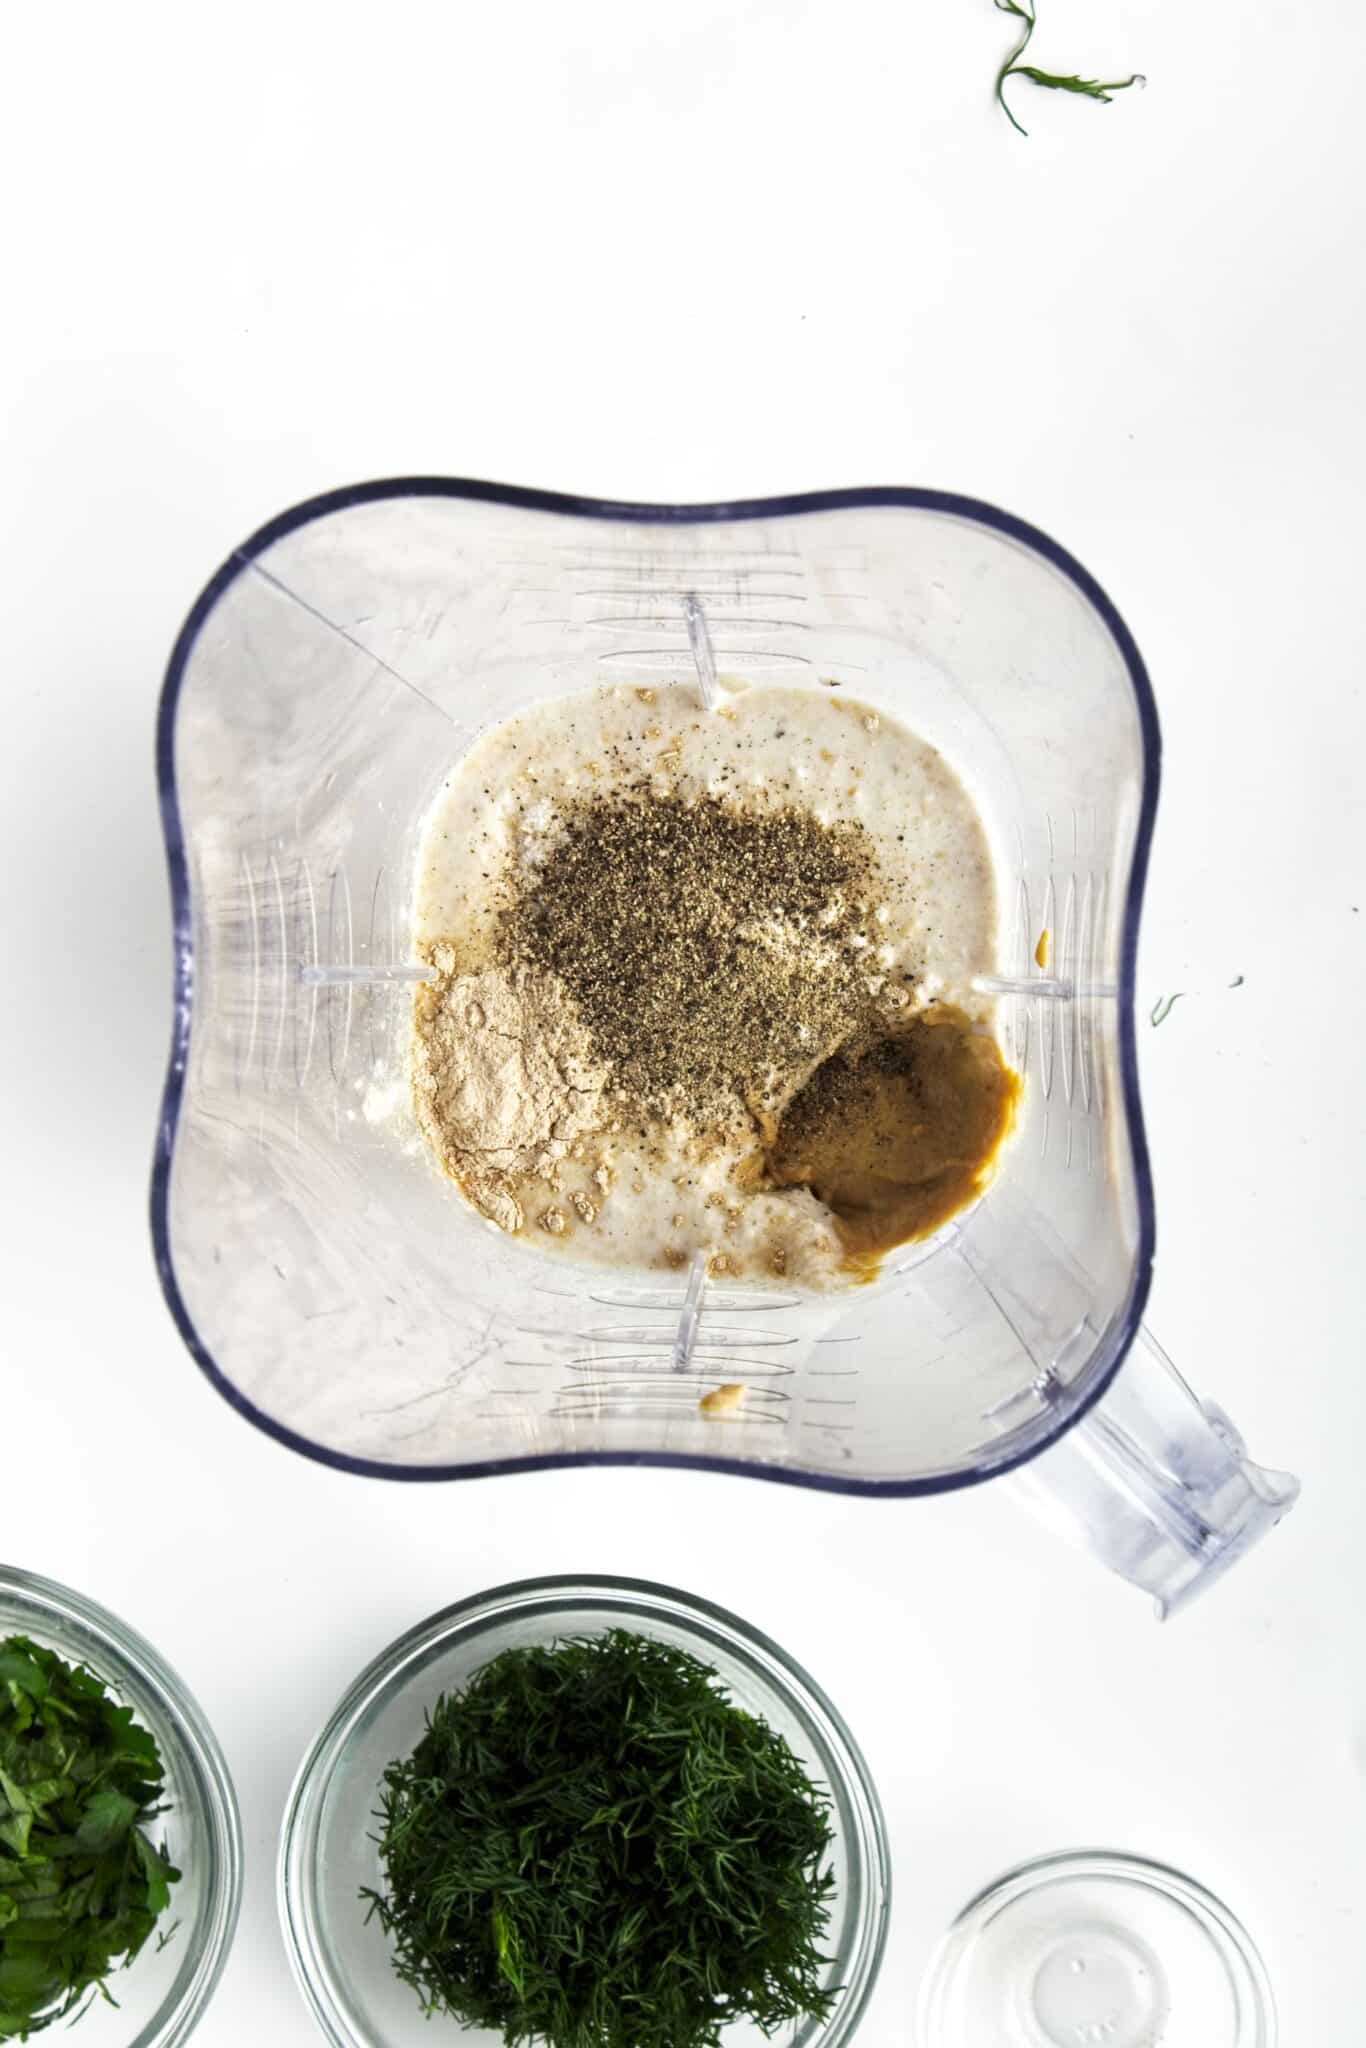
Use a high-speed blender if you have one. Cashews blend into a silky, completely smooth base much more easily in a high-powered blender. A standard blender will still work, but plan on blending a bit longer and scraping down the sides a few times to make sure no bits of cashew are left behind.
No time to soak overnight? Do a quick soak instead. Cover the cashews with boiling water and let them sit, uncovered, for 15 to 20 minutes. They won't be quite as soft as an overnight soak, but they'll blend smooth enough for this recipe.
Pulse the herbs in at the end, don't puree them. A few short pulses distributes the parsley, dill, and chives evenly while leaving visible flecks of green throughout. Over-blending turns the whole dressing a uniform pale green, which looks more like a green goddess dressing than a ranch.
Adjust the thickness to match how you're using it. For a pourable salad dressing, thin it with an extra tablespoon or two of almond milk or water. For a scoopable dip, leave it as is, or even cut back the liquid slightly for something thicker.
Short on time? Keep a good store-bought vegan ranch on hand as a cheat. Follow Your Heart Vegan Ranch Dressing and Hidden Valley Plant Powered Ranch are both dairy-free versions worth keeping in the fridge for nights when homemade isn't in the cards.
Variations
- Spicy ranch. Blend in a teaspoon of hot sauce or a pinch of cayenne for a dressing with some kick.
- Avocado ranch. Add half a ripe avocado to the blender for an even creamier, greener dip.
- Smoky chipotle ranch. Stir in a minced chipotle pepper in adobo sauce for a smoky, slightly spicy twist that's especially good on tacos or burrito bowls.
- Herb swap. Try tarragon or basil in place of one of the herbs for a different flavor angle.
- Extra tangy. Increase the lemon juice by a tablespoon, or add a small splash of vinegar, if you like your dressing on the sharper side.
- Garlicky ranch. Add a small fresh garlic clove along with the garlic powder for a punchier, more assertive garlic flavor. If you'd rather keep things milder, a Garlic Mustard Vinaigrette is a good lighter alternative to serve alongside this ranch on a mixed salad.
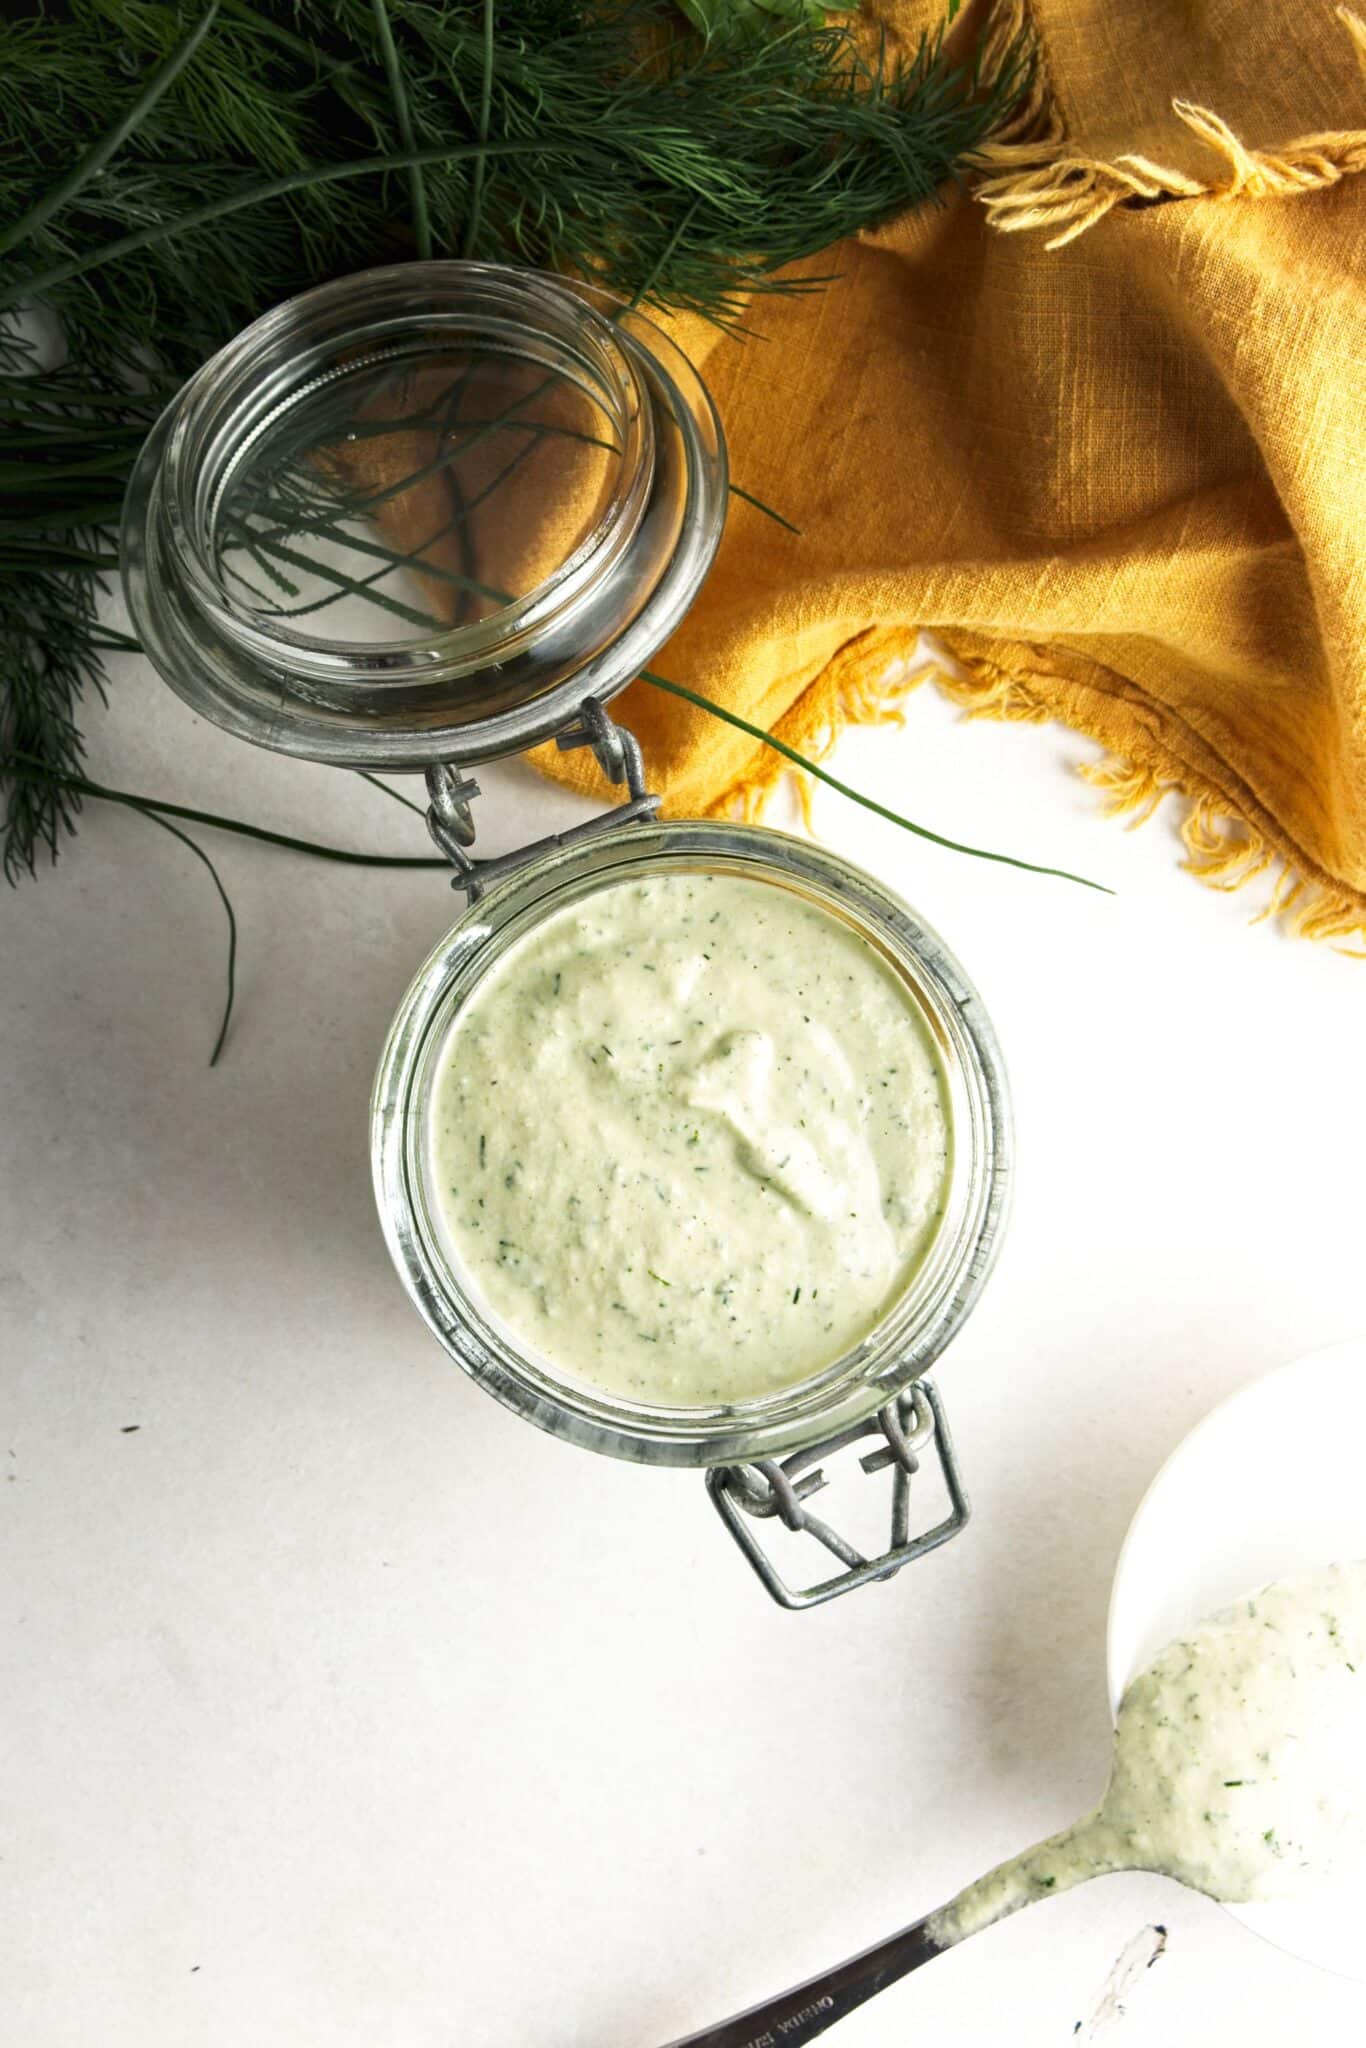
Serving Ideas
This is one of those dressings that earns a permanent spot in the fridge. Use it as a dip for a platter of raw veggies like carrots, celery, bell peppers, and broccoli. Or spoon it over a simple green salad in place of a bottled dressing. It's also the ideal finishing sauce for Vegan Buffalo Cauliflower, cooling down the heat from the buffalo sauce the same way ranch always does.
For a bigger spread, add a small bowl of this dressing to a Vegan Charcuterie Board alongside crackers, olives, and marinated veggies. It's also great drizzled over baked potatoes, tucked into a wrap with roasted vegetables, or served as a dipper for pizza crusts, which is a way underrated way to eat it.
Storing & Freezing
Store the dressing in an airtight container (a jar with a tight lid works great) in the refrigerator for up to 5 days. It will thicken slightly as it chills, so give it a good stir, or add a splash of almond milk, before serving if you'd like it thinner again.
This dressing doesn't freeze well. The cashew base tends to separate and turn grainy once thawed, so it's best to make only as much as you'll use within the week rather than trying to freeze leftovers.
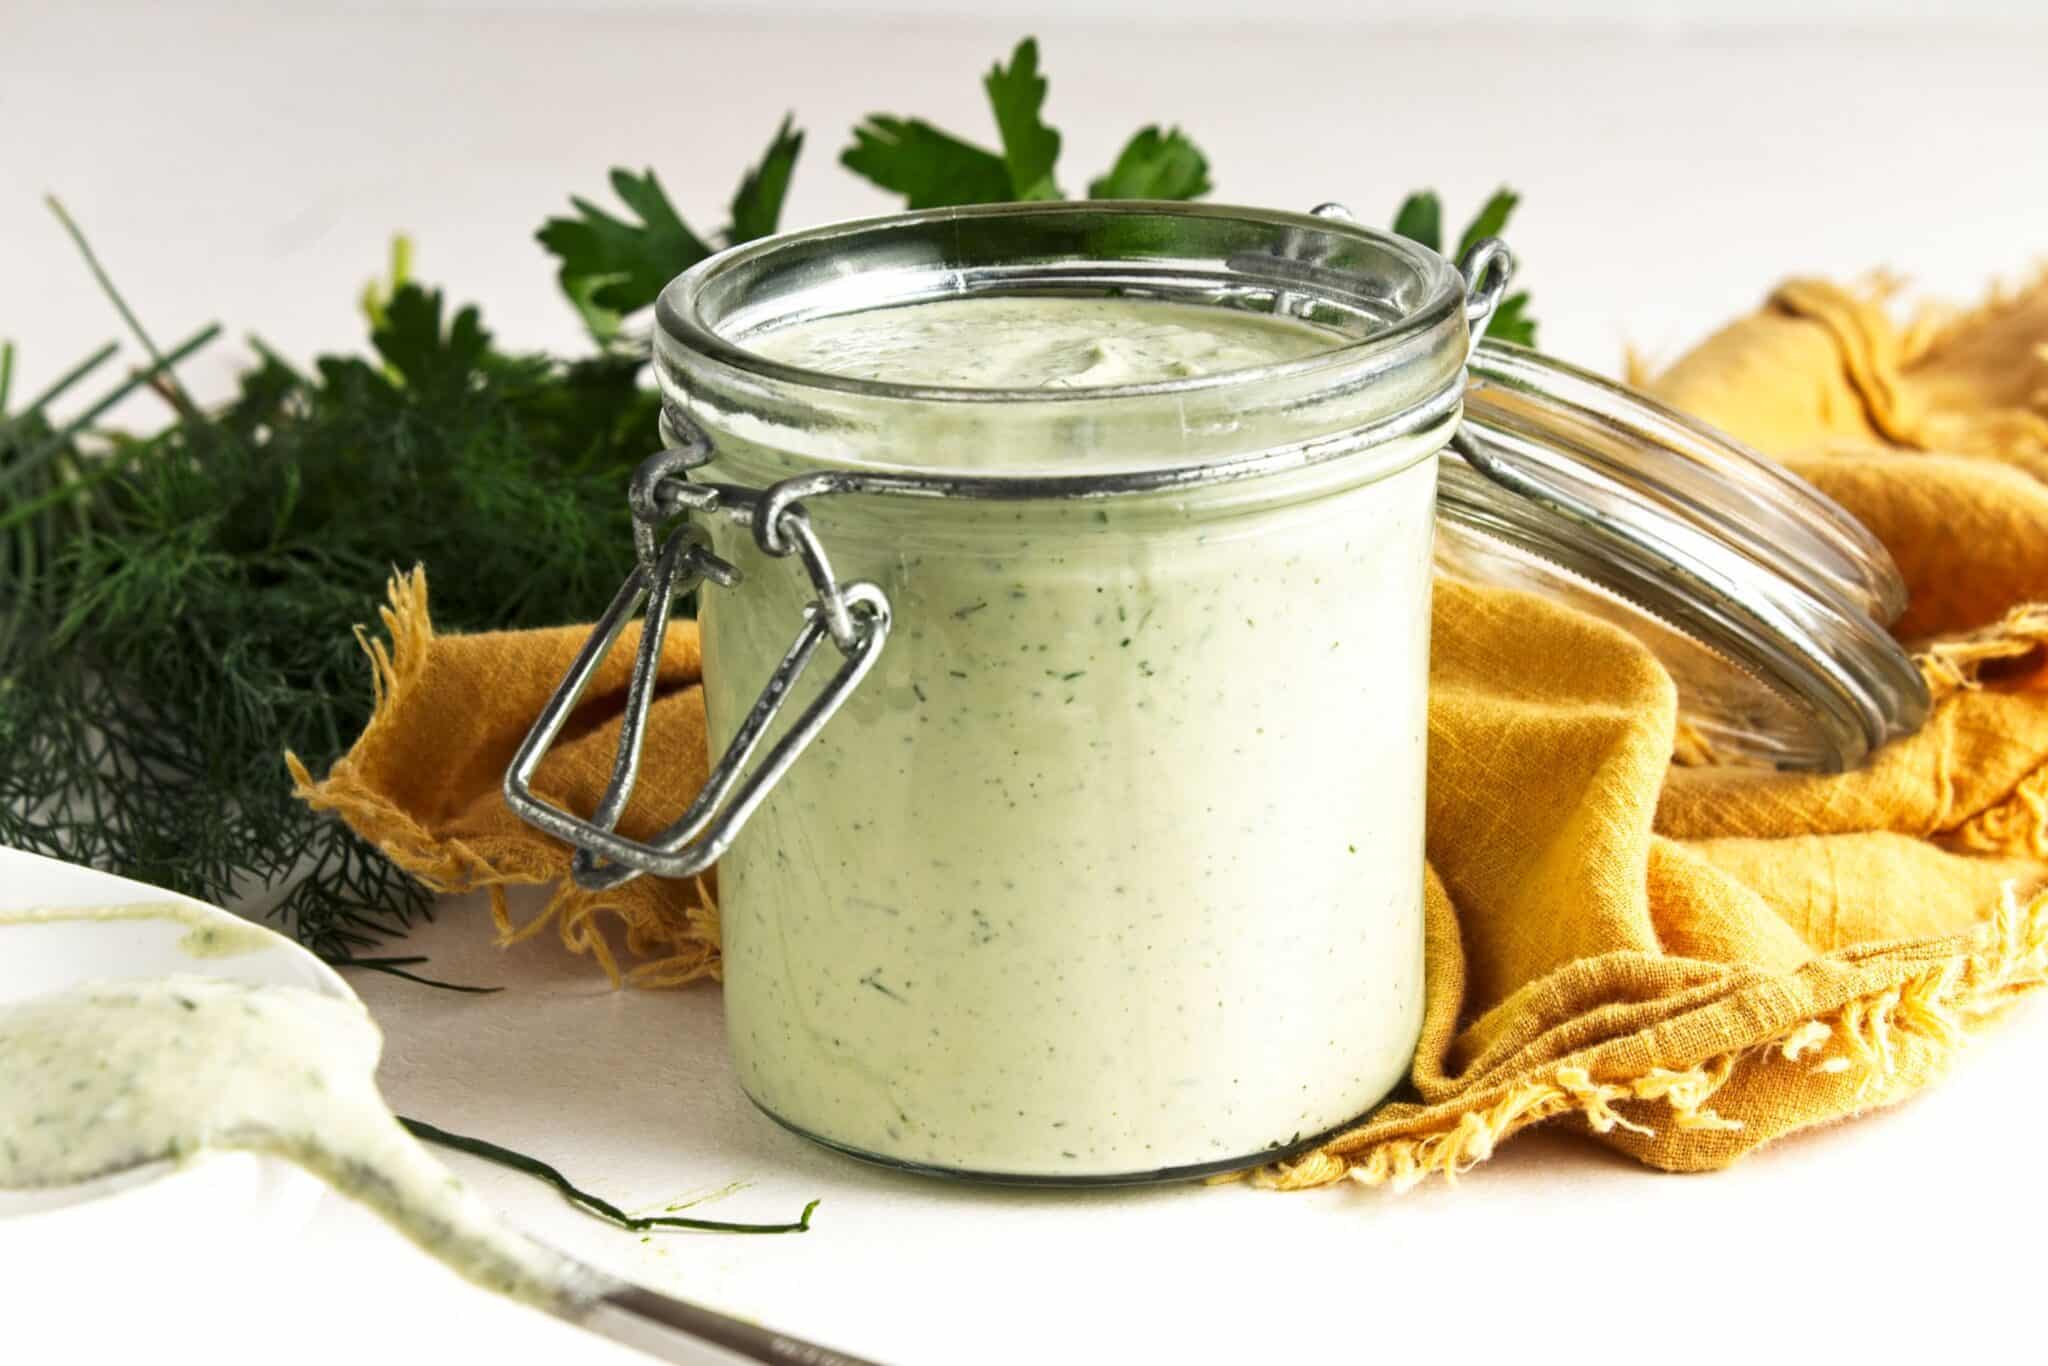
More Vegan Salad Dressings & Dips
If you loved this recipe, here are a few more you might enjoy:
Recipe
Vegan Ranch Dressing (or Dip!)
This vegan ranch dressing is rich and creamy thanks to a base of soaked cashews, with fresh dill, parsley, and chives for that classic herby ranch flavor. Use it as a dressing, a veggie dip, or a topping for just about anything.
Print
Pin
Save
Servings: servings
Ingredients
- 1 cup raw cashews soaked overnight
- ½ cup + 2 tbsp almond milk or other unflavored non-dairy milk
- 2 tablespoon fresh lemon juice
- 1 tablespoon Dijon mustard
- 1 ½ teaspoon garlic powder
- 1 teaspoon onion powder
- 1 teaspoon salt
- ½ teaspoon ground black pepper
- 2 tablespoon fresh parsley finely chopped
- 2 tablespoon fresh dill finely chopped
- 2 tablespoon fresh chives finely chopped
Instructions
- Place the cashews in a bowl, cover with a few inches of water, and soak in the refrigerator for at least 8 hours or overnight. (Short on time? Cover the cashews with boiling water instead and let them soak, uncovered, for 15 to 20 minutes, then drain.)
- Drain the cashews and add them to a blender along with the almond milk. Blend on high for 1 to 2 minutes, until completely smooth with no visible cashew bits (a high-speed blender will get there faster; a standard blender may need a bit longer and a scrape-down or two).
- Add the Dijon mustard, lemon juice, garlic powder, onion powder, salt, and pepper. Blend again on high for 30 to 60 seconds, until fully smooth and creamy.
- Taste and adjust the seasoning, adding more salt or lemon juice as needed. More lemon juice will make the dressing tangier.
- Add the parsley, dill, and chives. Pulse the blender 4 to 5 times, just until the herbs are evenly distributed. Don't over-blend, or the dressing will turn a uniform green instead of showing flecks of fresh herbs.
- Transfer the dressing to a covered container, such as a jar with a tight lid, and refrigerate for at least 1 hour before serving to let the flavors meld. Thin with a little extra almond milk or water for a pourable dressing, or leave as is for a thicker dip.
Notes
The dressing can be stored in an airtight container in the fridge for up to 5 days.
If you prefer a slightly sweeter dressing, try adding a small pinch of sugar.
Nutrition (Estimate per Serving)
Calories: 68kcalCarbohydrates: 4gProtein: 2gFat: 5gSaturated Fat: 1gPolyunsaturated Fat: 1gMonounsaturated Fat: 3gSodium: 230mgPotassium: 60mgSugar: 1gVitamin A: 34IUVitamin C: 1mgCalcium: 1mgIron: 3mg
Vegan-ize any recipe!Grab our free vegan cheat sheet, packed with my favorite easy substitutions to make any recipe vegan.
Vegan Split Pea Soup
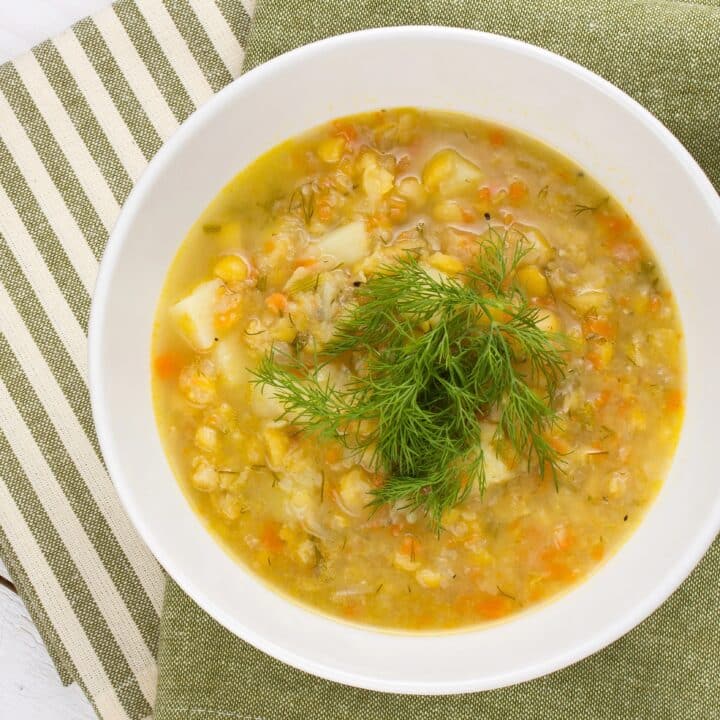
Split pea soup, an American classic, is high on the list of great comfort foods. You can make this one with green or yellow split peas; the vegetables and barley make it even more enticing. A meal in a bowl, you need just add salad and fresh bread and you're all set — the kind of soup that tastes even better the day after you make it.
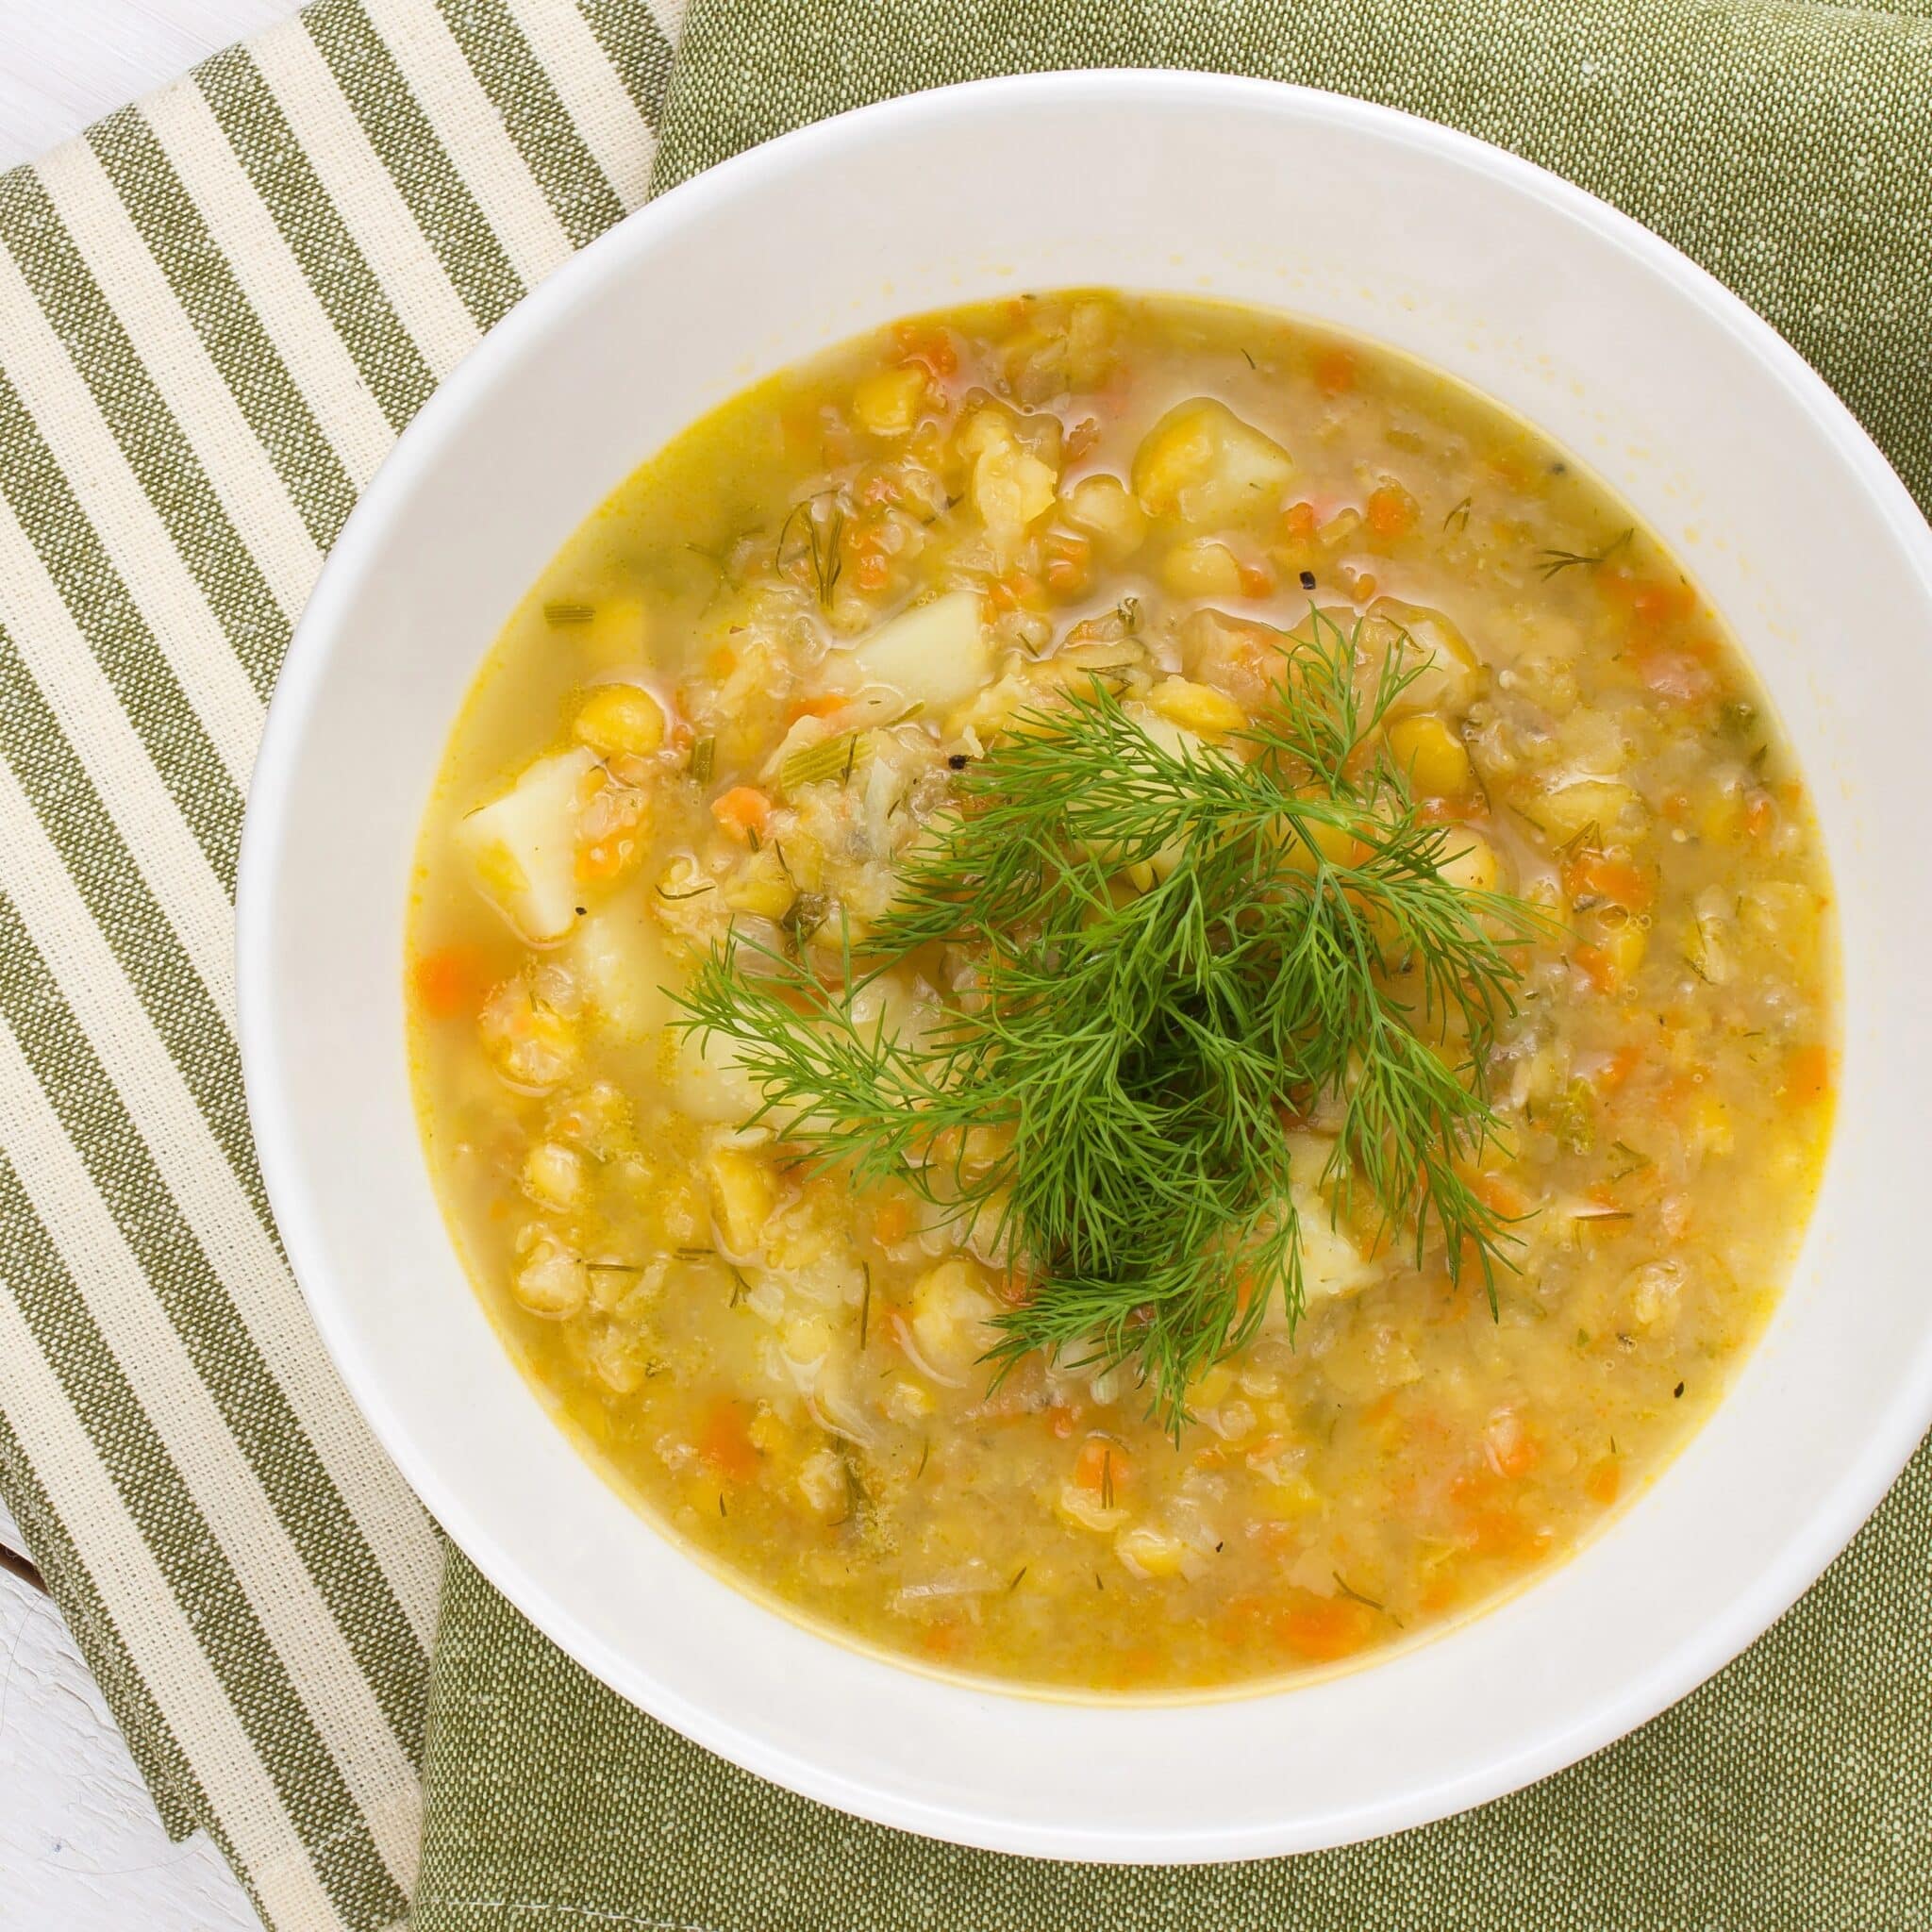
Key Ingredients & Substitutions
- Split peas. Green or yellow both work well — use whichever you have on hand; yellow split peas cook up slightly milder and sweeter.
- Pearl barley. Adds heartiness and a pleasant chew to the soup that keeps it from being just a puree.
- Potatoes or sweet potato. Either works well — sweet potato adds a touch of natural sweetness that plays nicely against the earthy split peas.
- Carrots and celery. The classic aromatic base that gives the soup its savory backbone.
- All-purpose seasoning blend. Something like Spike or Mrs. Dash rounds out the flavor — use your favorite blend, or a simple mix of dried herbs if you don't have one on hand.
Variations
- Add greens. Stir in a few handfuls of chopped kale or spinach near the end of cooking for extra nutrition and color.
- Make it smoky. A pinch of smoked paprika adds depth reminiscent of the ham hock some traditional versions use.
- Skip the barley. For a gluten-free version, simply omit it or substitute rice or an extra potato.
- Blend it smooth. For a creamier, more traditional split pea soup texture, blend part or all of the soup with an immersion blender.
- Add a splash of liquid smoke. A few drops deepen the savory flavor without changing the texture.
Tips for the Best Split Pea Soup
- Rinse and sort the split peas. This removes any debris and helps them cook evenly.
- Add water gradually. The soup thickens considerably as it stands, so add more water as needed and re-taste the seasonings, since diluting the broth also dilutes the flavor.
- Let it rest. The flavors deepen if you let the soup stand for an hour or two before serving, or even better, overnight.
- Garnish with fresh dill. A few sprigs on top add a bright, fresh finish that cuts through the heartiness of the soup.
- Stir occasionally as it simmers. Split peas can settle and stick to the bottom of the pot, especially once they start breaking down.
Make Ahead & Storage
Like most soups, this one is even better the next day once the flavors have had time to meld. It keeps in the refrigerator for up to 5 days, and freezes well for up to 3 months — just know it will thicken considerably once chilled, so plan to thin it with a little water or broth when reheating.
How to Serve
Serve hot, topped with chopped fresh dill if you'd like, alongside a simple salad and fresh bread for a complete meal.
Recipe

Vegan Split Pea Soup
An American classic comfort food, made hearty with barley and vegetables. A meal in a bowl — just add salad and fresh bread and you're all set.
Print
Pin
Save
Servings:
Ingredients
- 1 ½ tablespoons olive oil
- 1 medium onion finely chopped
- 2 to 3 cloves garlic minced
- 2 medium potatoes or 1 medium-large sweet potato scrubbed or peeled, and diced
- 1 large or 2 medium carrots diced
- 1 pound green or yellow split peas rinsed and sorted
- ½ cup pearl barley
- 2 bay leaves
- 1 tablespoon all-purpose seasoning blend such as Spike or Mrs. Dash
- 1 teaspoon ground cumin
- salt and freshly ground pepper to taste
- fresh dill for garnish, optional
Instructions
- Heat the oil in a large soup pot. Add the onion and garlic. Sauté over medium heat for 8 to 10 minutes, or until the onions are soft and golden.
- Add 8 cups of water and all the remaining ingredients except salt and pepper. Bring to a simmer, then simmer gently, covered, for 30 minutes.
- Stir, then add 2 additional cups of water. Simmer for another 40 to 45 minutes, or until the barley is tender and the peas are mushy.
- Serve at once, or let the soup stand for an hour or two, then heat through as needed. Top each serving with chopped fresh dill or a few sprigs, if you'd like.
Notes
The soup thickens considerably as it stands. Add more water as needed, then taste to correct the seasonings.
Vegan-ize any recipe!Grab our free vegan cheat sheet, packed with my favorite easy substitutions to make any recipe vegan.
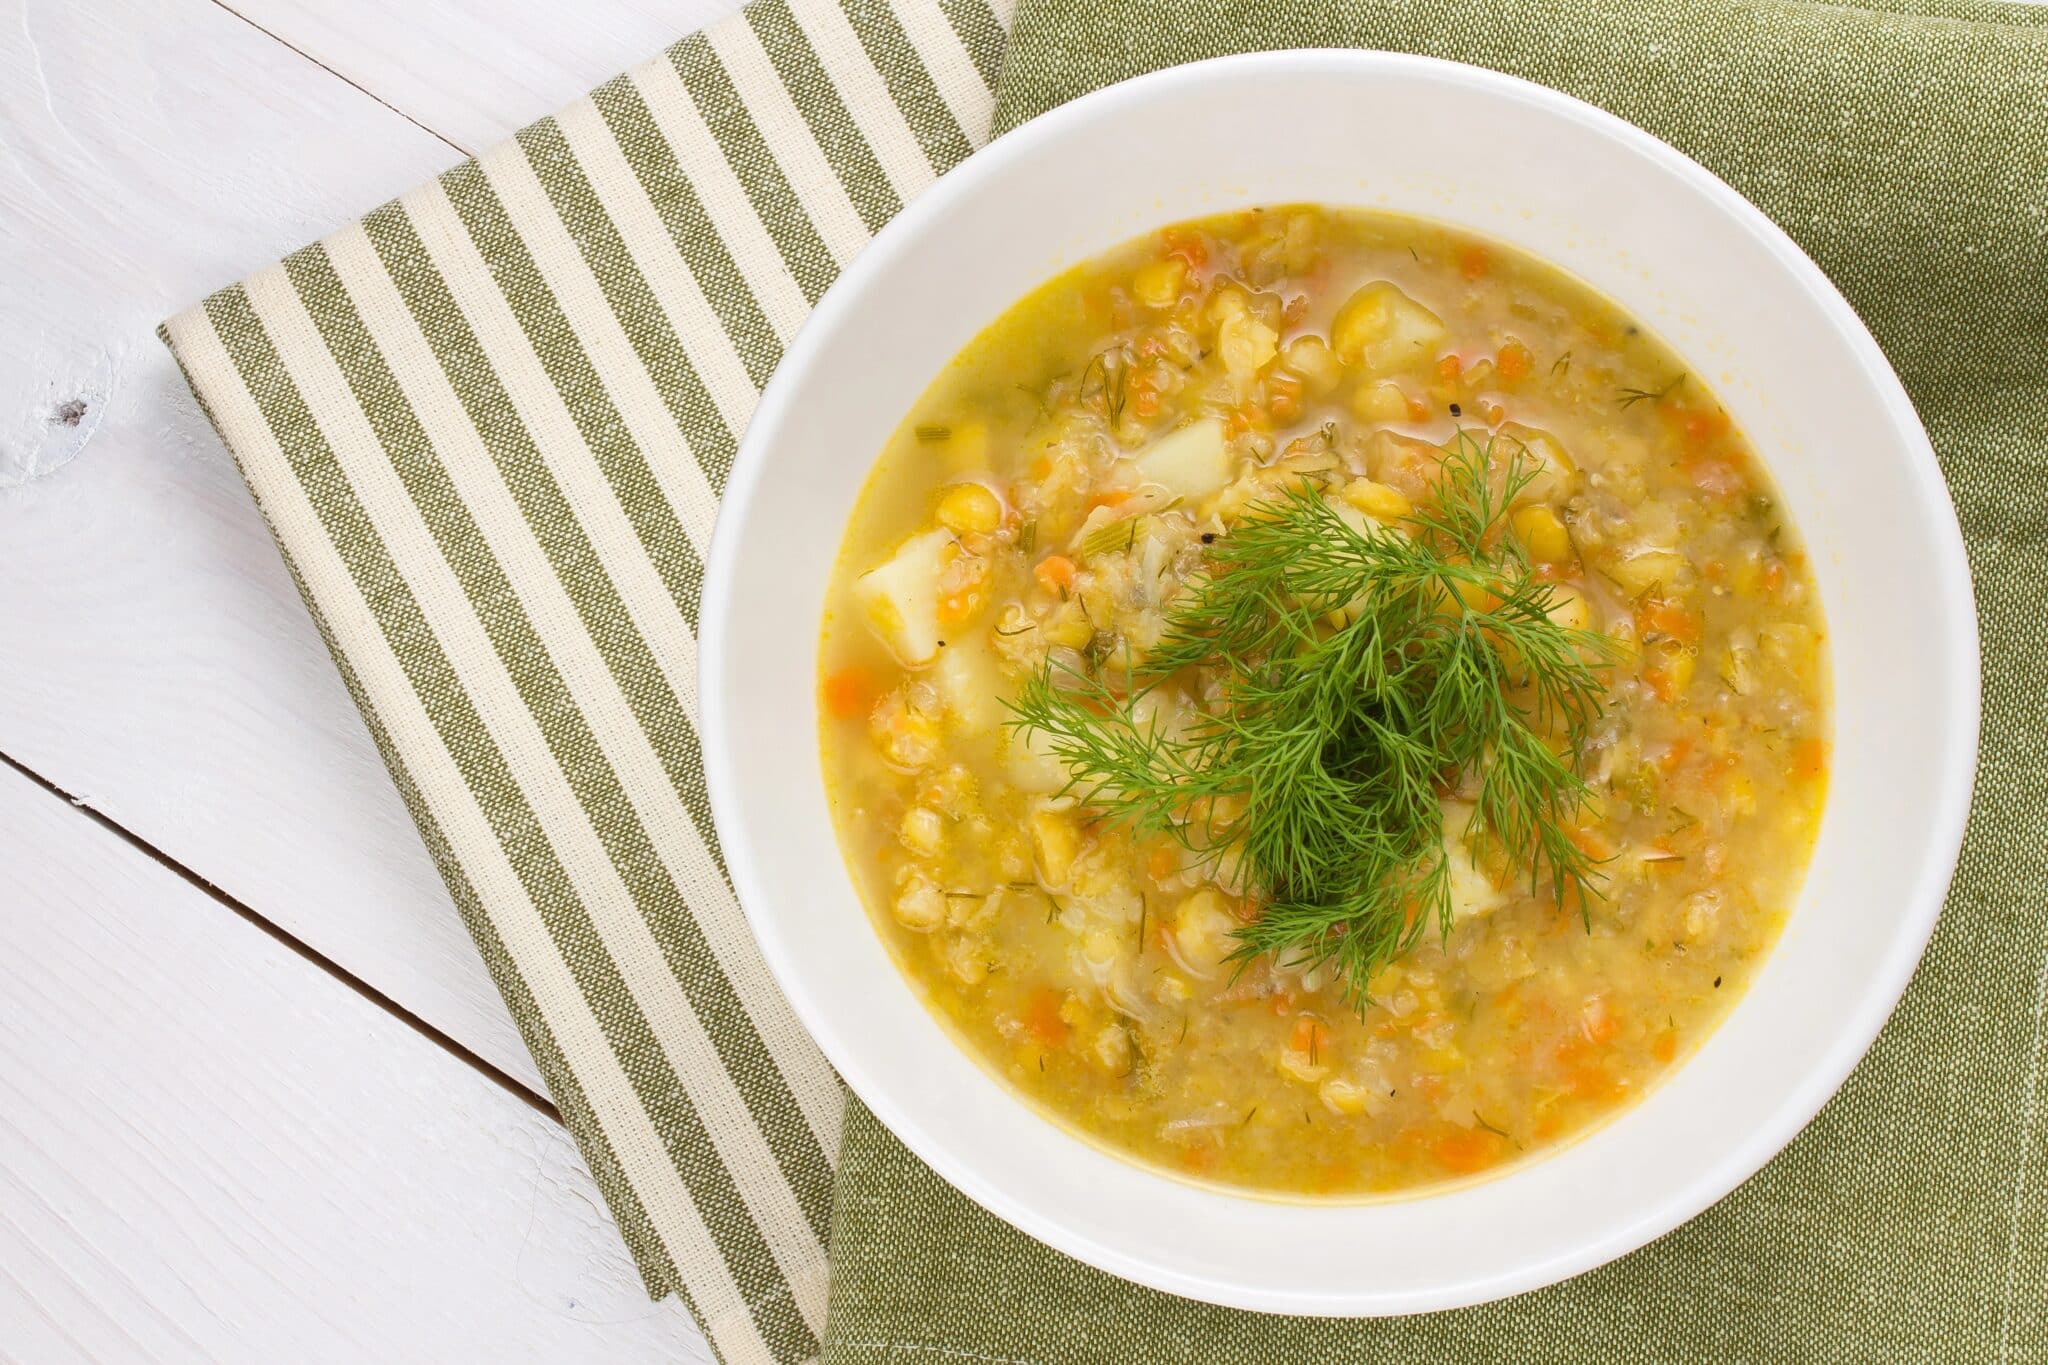
Explore other recipes for hearty winter soups.
Garlic Mustard Vinaigrette
This Garlic Mustard Vinaigrette proves that a simple dressing can pack a serious flavor punch. So, go ahead - shake things up and drizzle it on everything. Your taste buds will thank you!
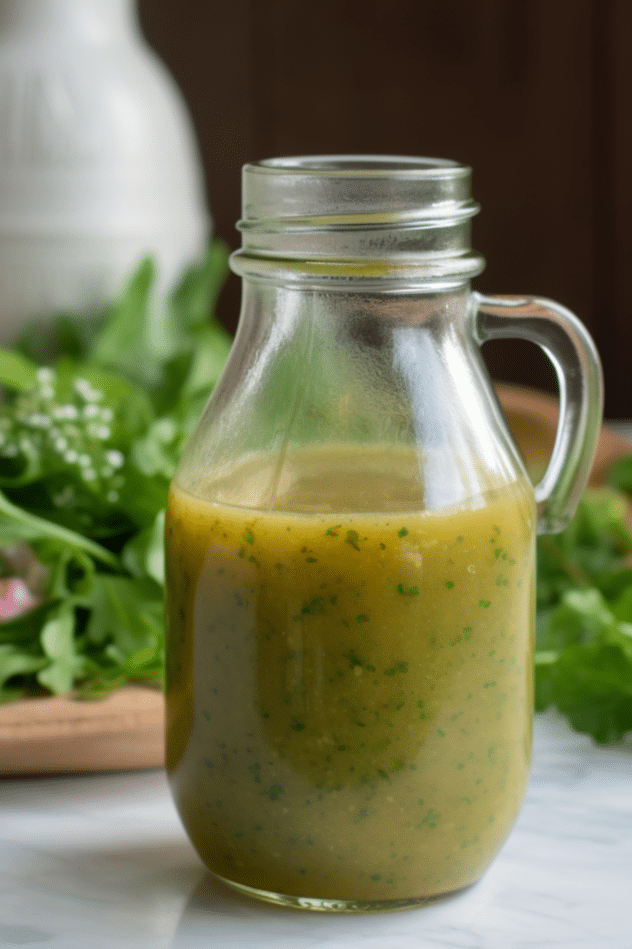
If you've ever wondered what separates a good salad from a great one, the answer is often in the dressing. Enter this Garlic Mustard Vinaigrette - a simple, shake-and-go blend that's packed with bold flavors.
It's bright, garlicky (if you want it to be), and full of herby goodness, making it perfect for everything from crisp greens to roasted veggies.
This vinaigrette isn't just for salads, though. Drizzle it over grilled asparagus, use it as a marinade for tempeh, or even toss it with warm roasted potatoes for a quick, flavorful side dish. Trust me, you'll want to keep a bottle of this in your fridge at all times.
Why You'll Love This Garlic Mustard Vinaigrette
- Quick and Easy: Made in minutes with just a cruet or jar.
- Flavor-Packed: A zesty combo of garlic, mustard, and herbs.
- Customizable: Adjust the mustard, garlic, or herbs to suit your taste.
- Versatile: Perfect for salads, marinades, and roasted veggies.
- Make-Ahead Friendly: Stores beautifully in the fridge for up to a week.
Ways to Use this Vinaigrette
This Garlic Mustard Vinaigrette isn't just a salad topper-it's a multitasking flavor hero! Here are some vegan-friendly ways to use it:
Salad Star: Toss with mixed greens, arugula, spinach, or kale for a bold, tangy kick. Add roasted chickpeas and avocado for a hearty vegan salad, or try it tossed with our vegan Greek pasta salad or our tabbouleh. Check out my fave vegan salad recipes here.
Grain Bowl Drizzle: Pour it over quinoa, farro, or couscous bowls loaded with roasted vegetables, nuts, and seeds.
Veggie Roasts: Use it as a marinade for veggies like zucchini, bell peppers, or mushrooms before roasting or grilling.
Potato Upgrade: Toss warm roasted or boiled potatoes with the vinaigrette for an instant potato salad that's light and zesty.
Quick Pickle: Marinate thinly sliced cucumbers, carrots, or radishes in the vinaigrette for a quick, tangy pickle.
Tofu Marinade: Soak tofu slabs in the vinaigrette before grilling, baking, or pan-frying for a savory burst of flavor.
Bread Dipper: Serve it as a dip for crusty bread alongside a plant-based charcuterie board.
Pasta Salad Hero: Mix it into a cold pasta salad with cherry tomatoes, olives, and fresh herbs for a Mediterranean-inspired dish.
Roasted Chickpeas: Toss cooked chickpeas with the dressing and roast until crispy for a protein-packed snack or salad topper.
More Tasty Recipes
If you love this simple vinaigrette dressing, be sure to check out all my vegan sauces and dressings, plus these other delicious recipes:
Recipe
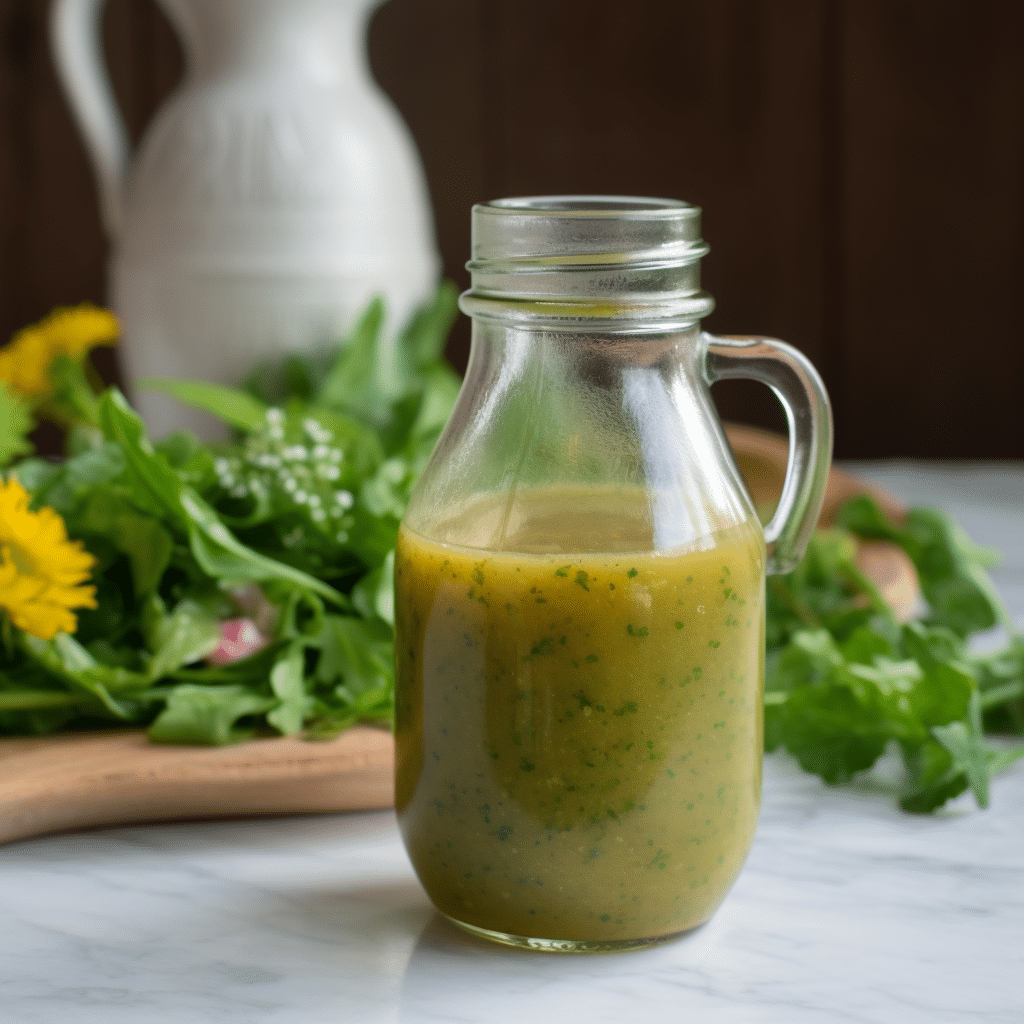
Garlic Mustard Vinaigrette
This simple Garlic Mustard Vinaigrette packs a serious flavor punch.
Print
Pin
Save
Servings: servings
Ingredients
- ½ cup extra-virgin olive oil
- Juice of ½ lemon
- ¼ cup balsamic vinegar
- 2 to 3 tablespoons Dijon mustard to taste
- 1 clove garlic crushed, optional
- ¼ teaspoon dried oregano
- ¼ teaspoon dried dill
- ¼ teaspoon dried basil
- salt and freshly ground black pepper to taste
Instructions
- ½ cup extra-virgin olive oil
- Juice of ½ lemon
- ¼ cup balsamic vinegar
- 2 to 3 tablespoons grainy mustard, to taste
- 1 clove garlic, crushed, optional
- ¼ teaspoon each: dried oregano, dill, and basil
- Freshly ground black pepper to taste
Notes
This recipe makes approximately one cup of dressing.
Nutrition (Estimate per Serving)
Calories: 130kcalCarbohydrates: 2gProtein: 0.2gFat: 14gSaturated Fat: 2gPolyunsaturated Fat: 1gMonounsaturated Fat: 10gSodium: 44mgPotassium: 19mgFiber: 0.2gSugar: 1gVitamin A: 6IUVitamin C: 0.2mgCalcium: 8mgIron: 0.3mg
Vegan-ize any recipe!Grab our free vegan cheat sheet, packed with my favorite easy substitutions to make any recipe vegan.
Vegan Pot Pie Casserole
Is there anything better than a homemade pot pie? A vegan one, of course! There's something about that flaky crust, savory filling, and rich aroma that makes everything feel right in the world.
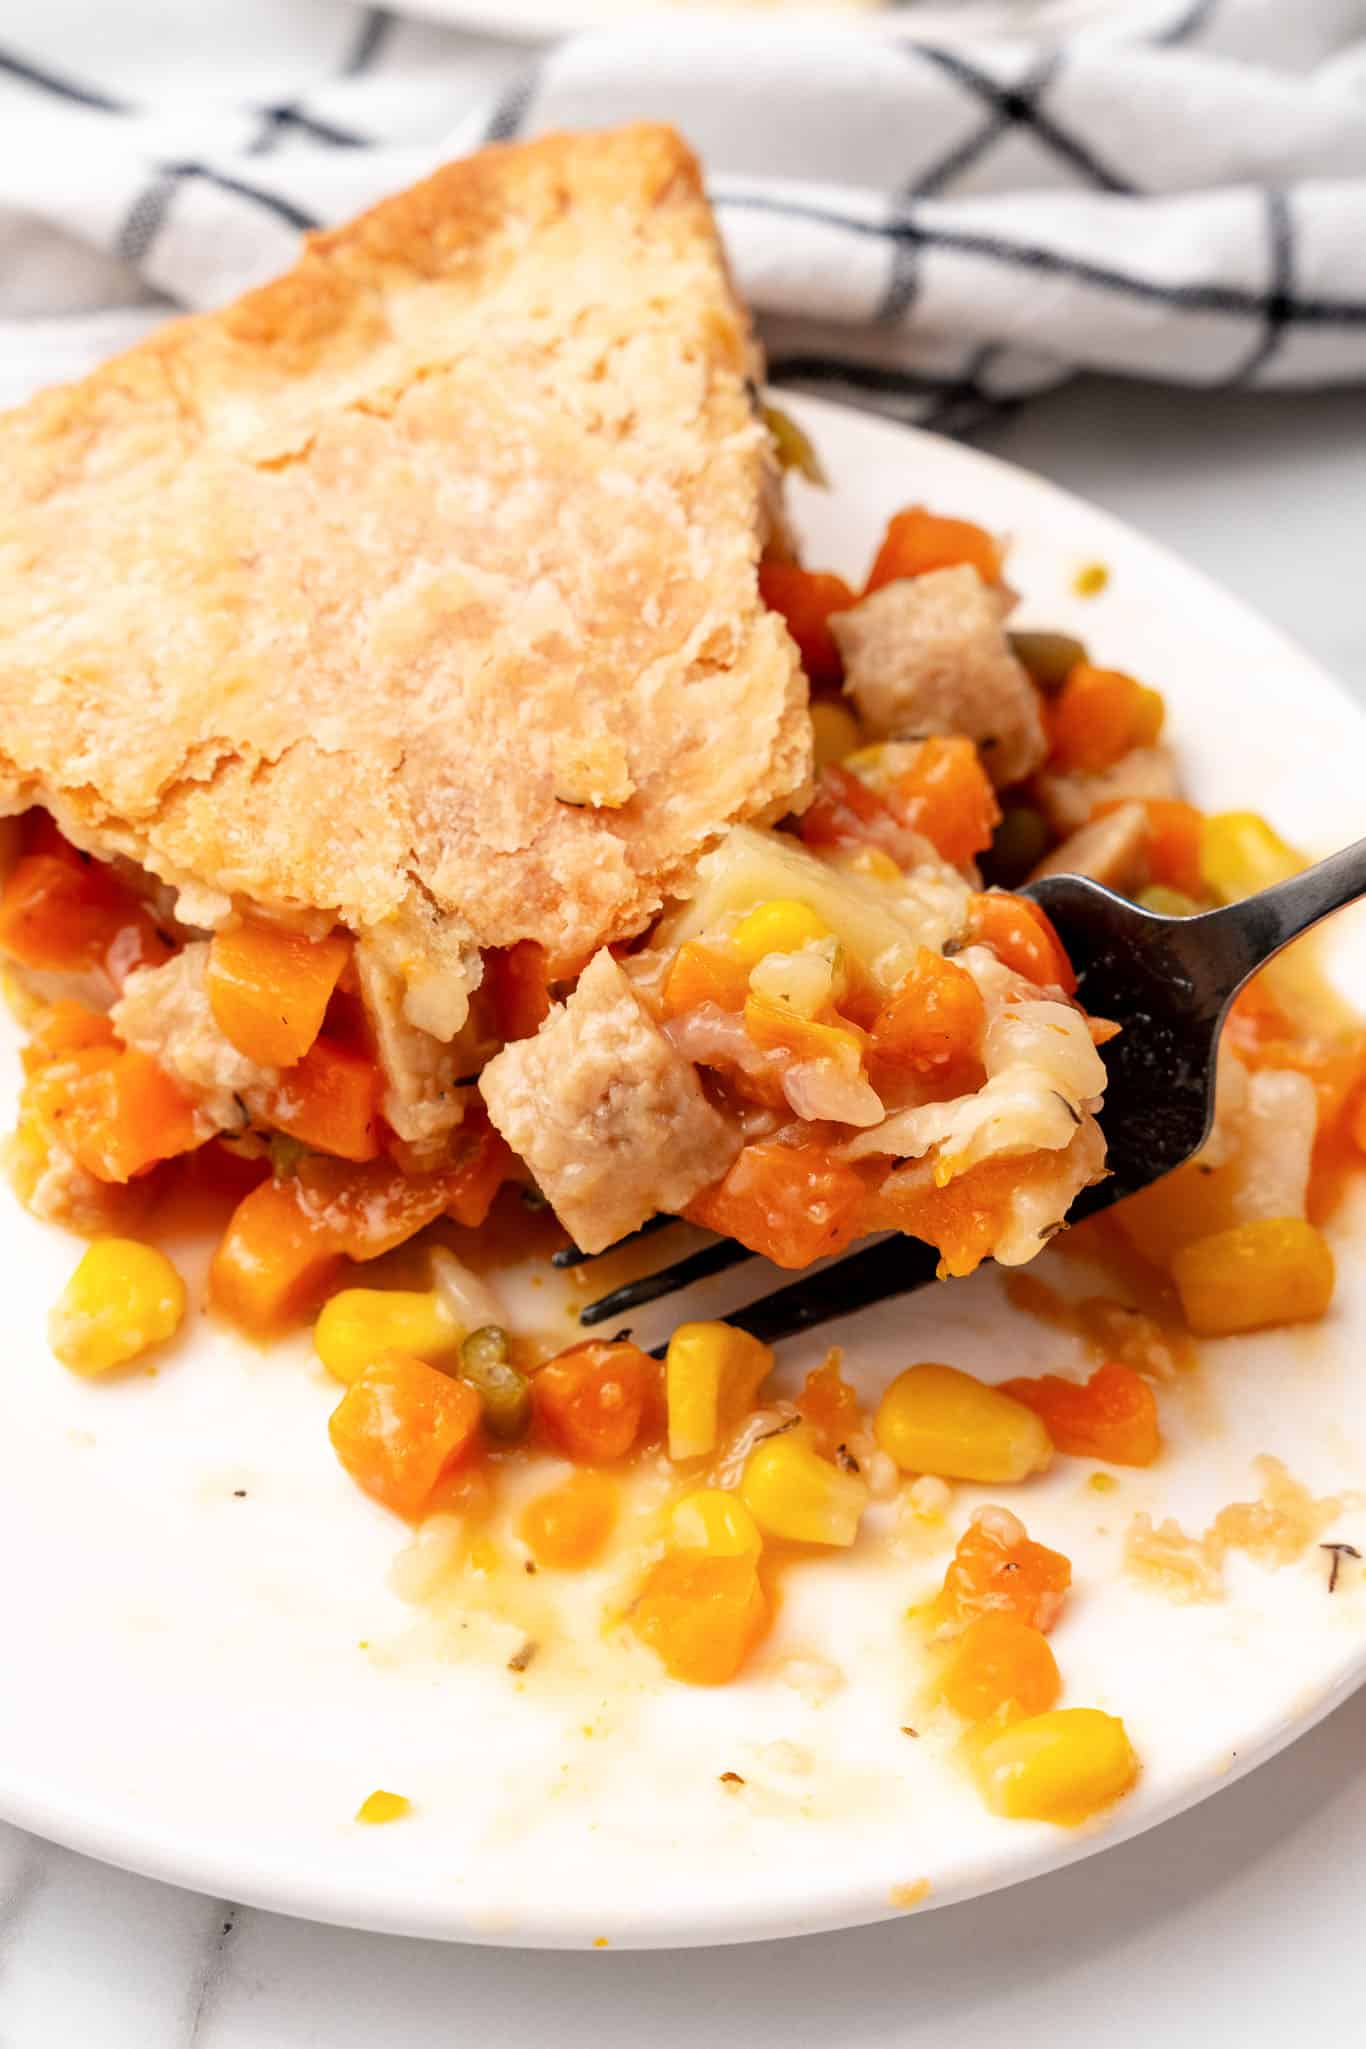
If you thought pot pie couldn't get any better, let me introduce you to this Vegan Pot Pie Casserole - a plant-based version of the classic dish that's every bit as satisfying, hearty, and delicious. It's perfect for cozy family dinners, meal prepping, or just indulging in a comforting, home-cooked meal. It's also one of my family's favorite holiday main dishes!
Plus, this comfort food is entirely plant-based, making it a feel-good dish in more ways than one. Whether you're a committed vegan or just looking to try something new, this pot pie will have you digging in for seconds.
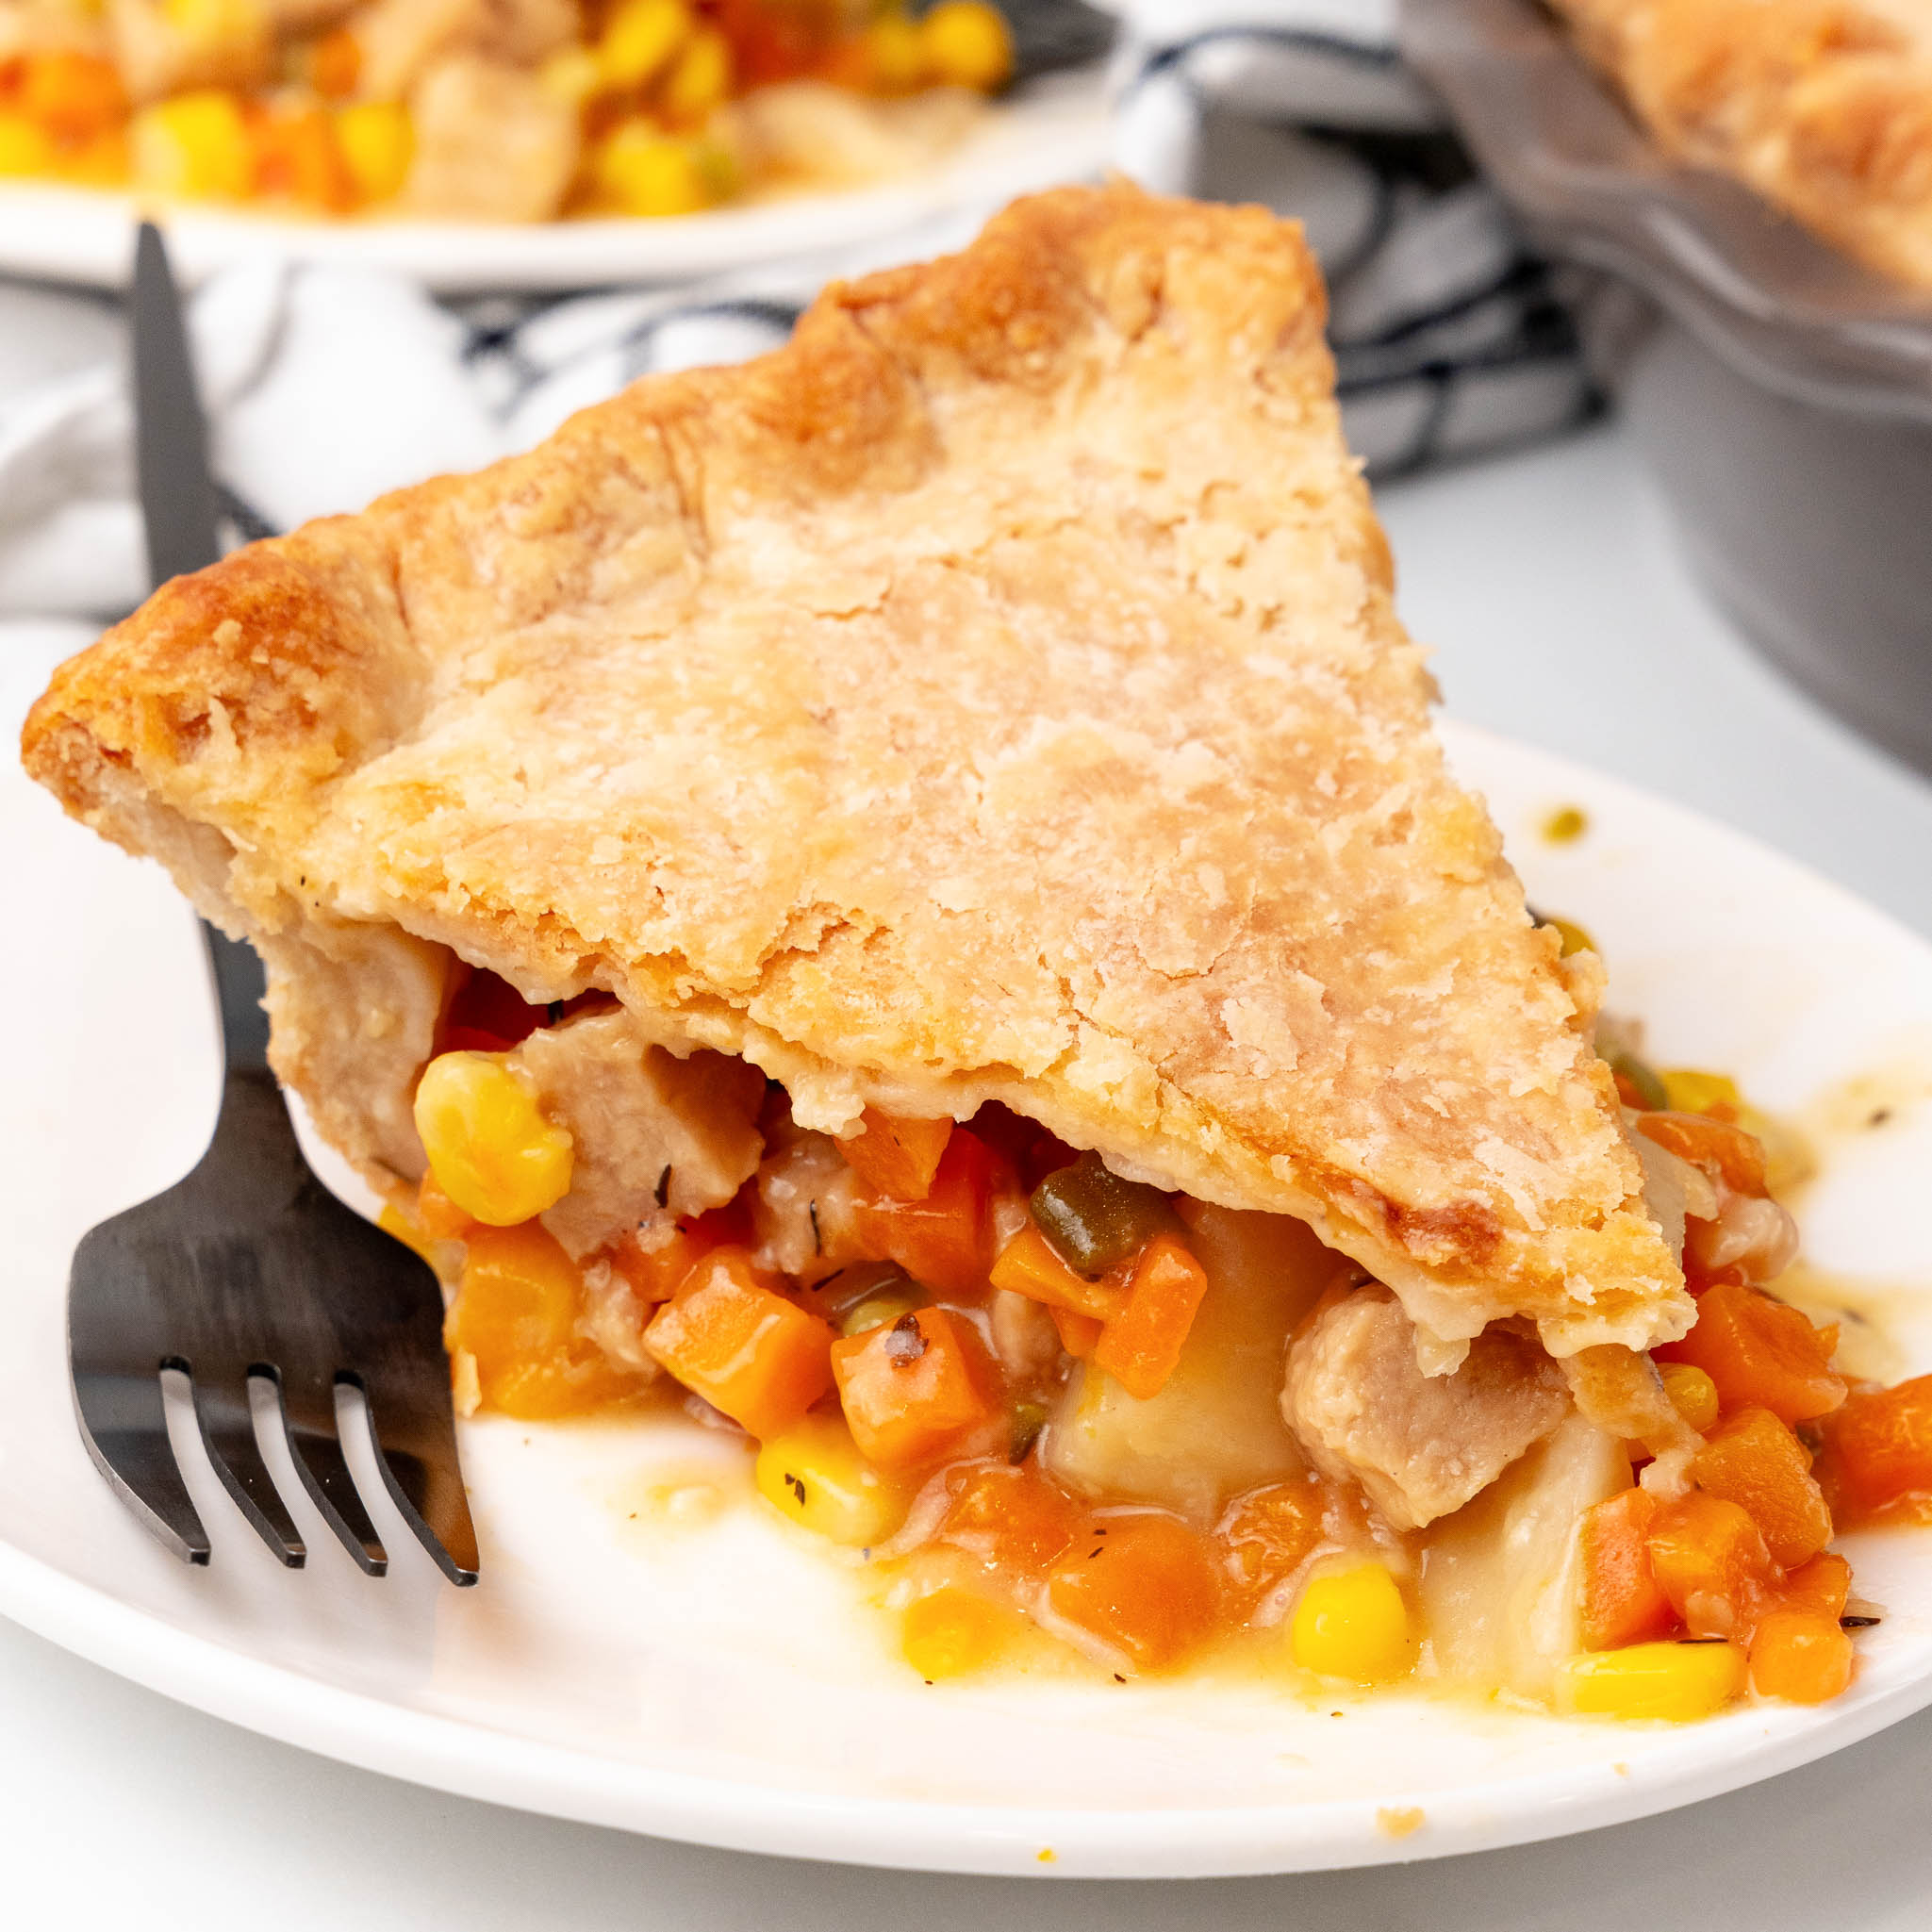
This Vegan Pot Pie Is...
- Hearty and Satisfying: Packed with vegetables and potatoes, it's a meal that fills you up and leaves you feeling content.
- Easy to Make: With simple ingredients and straightforward steps, this pot pie comes together without a fuss.
- Flaky and Golden: Thanks to the combination of vegan butter and shortening, the crust is perfectly flaky and delicious.
- Versatile: You can add or swap out veggies based on what you have or prefer.
- Perfect for Leftovers: This pie tastes even better the next day, making it ideal for meal prepping or enjoying throughout the week.
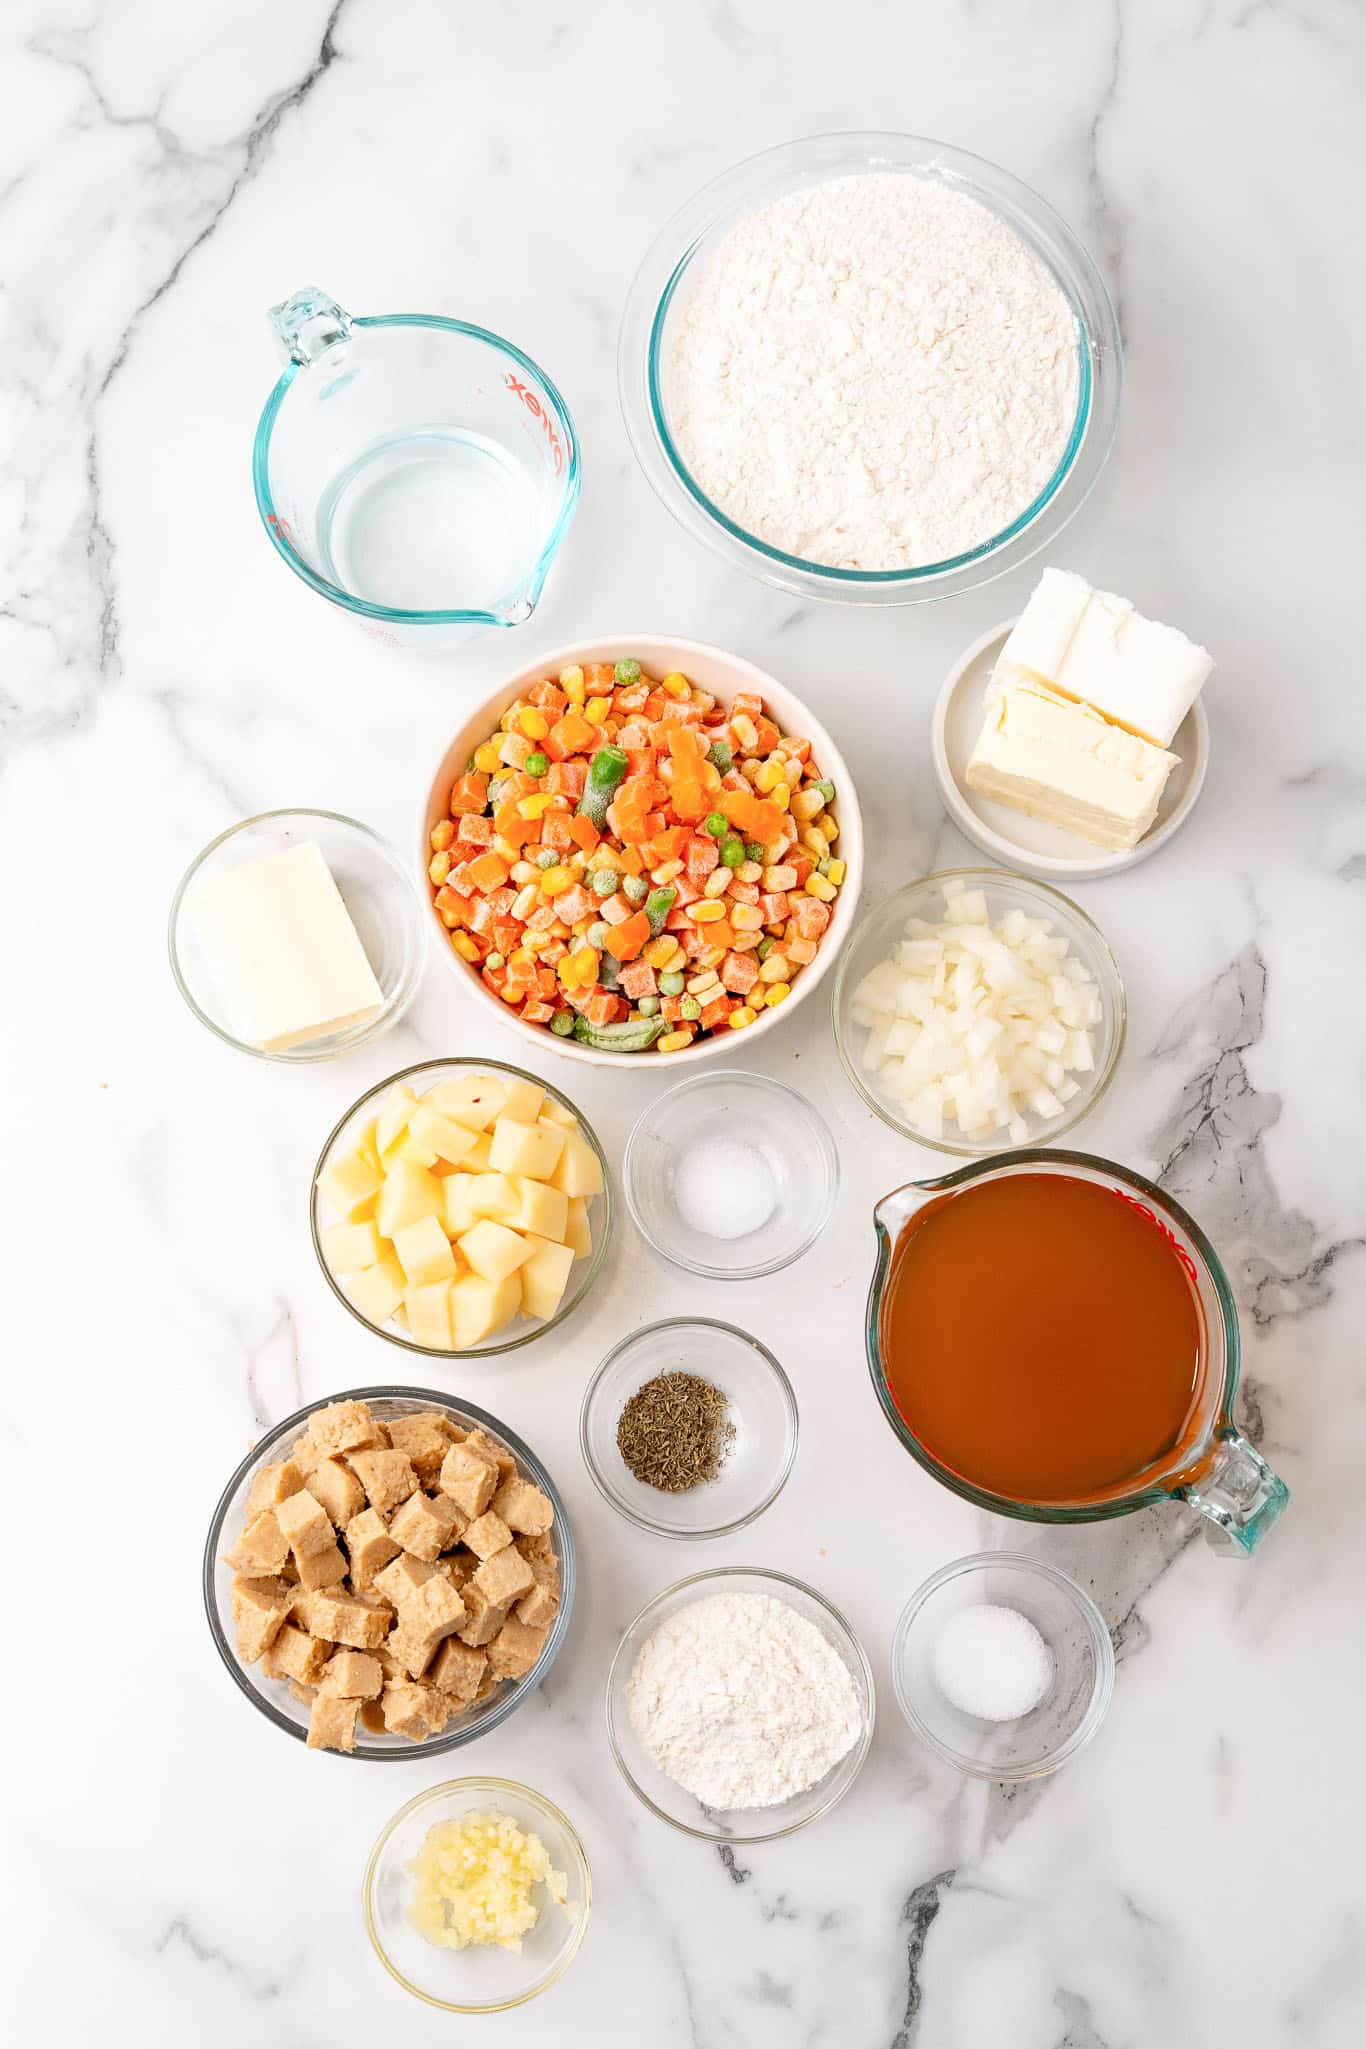
Key Ingredients & Substitutions
Flour: All-purpose flour is used for both the crust and thickening the filling. If you're looking for a gluten-free option, try using a 1:1 gluten-free flour blend.
Vegan Butter and Vegetable Shortening: These ingredients are the secret to a flaky, tender crust. Even though vegan butter and shortening are made with largely the same ingredients, the butter has more moisture, making them a bit different to work with. I'm a big fan of Earth Balance Buttery Sticks for a vegan butter. If you don't have shortening, you can use all vegan butter, but the combination of both gives the best texture.
Ice Water: Helps bring the dough together without making it too sticky. Make sure it's really cold to keep the fat from melting before the crust bakes.
Onion and Garlic: These aromatics add depth and flavor to the veggie filling. You can substitute shallots for a slightly sweeter taste.
Frozen Mixed Veggies: A convenient and colorful mix of peas, carrots, green beans, and corn. The downside of frozen veggies tends to the texture, but it works just fine in a gravy-esque filling like this one. Feel free to use fresh veggies if you prefer or add your own favorites like mushrooms or zucchini.
Potato: Adds heartiness and texture to the filling. A medium white or Yukon gold potato works especially well, but you can use sweet potatoes for a bit of a spin on the traditional recipe.
Vegetable Broth: The base of the sauce, giving it a rich and savory flavor. Use a low-sodium broth to control the salt level, or make your own broth for even more flavor.
Dried Thyme: A classic herb for pot pies, adding a warm, earthy note. Dried thyme leaves are what the recipe calls for, but you can also use fresh thyme or experiment with other herbs like rosemary or sage.
Vegan "Chicken": I don't use processed ingredients like this too often, and it is totally optional. But in this case, some vegan "chicken" adds a great texture and makes the pot pie even more filling. You can find options in most grocery stores these days, or substitute with chickpeas or tofu for a protein boost.
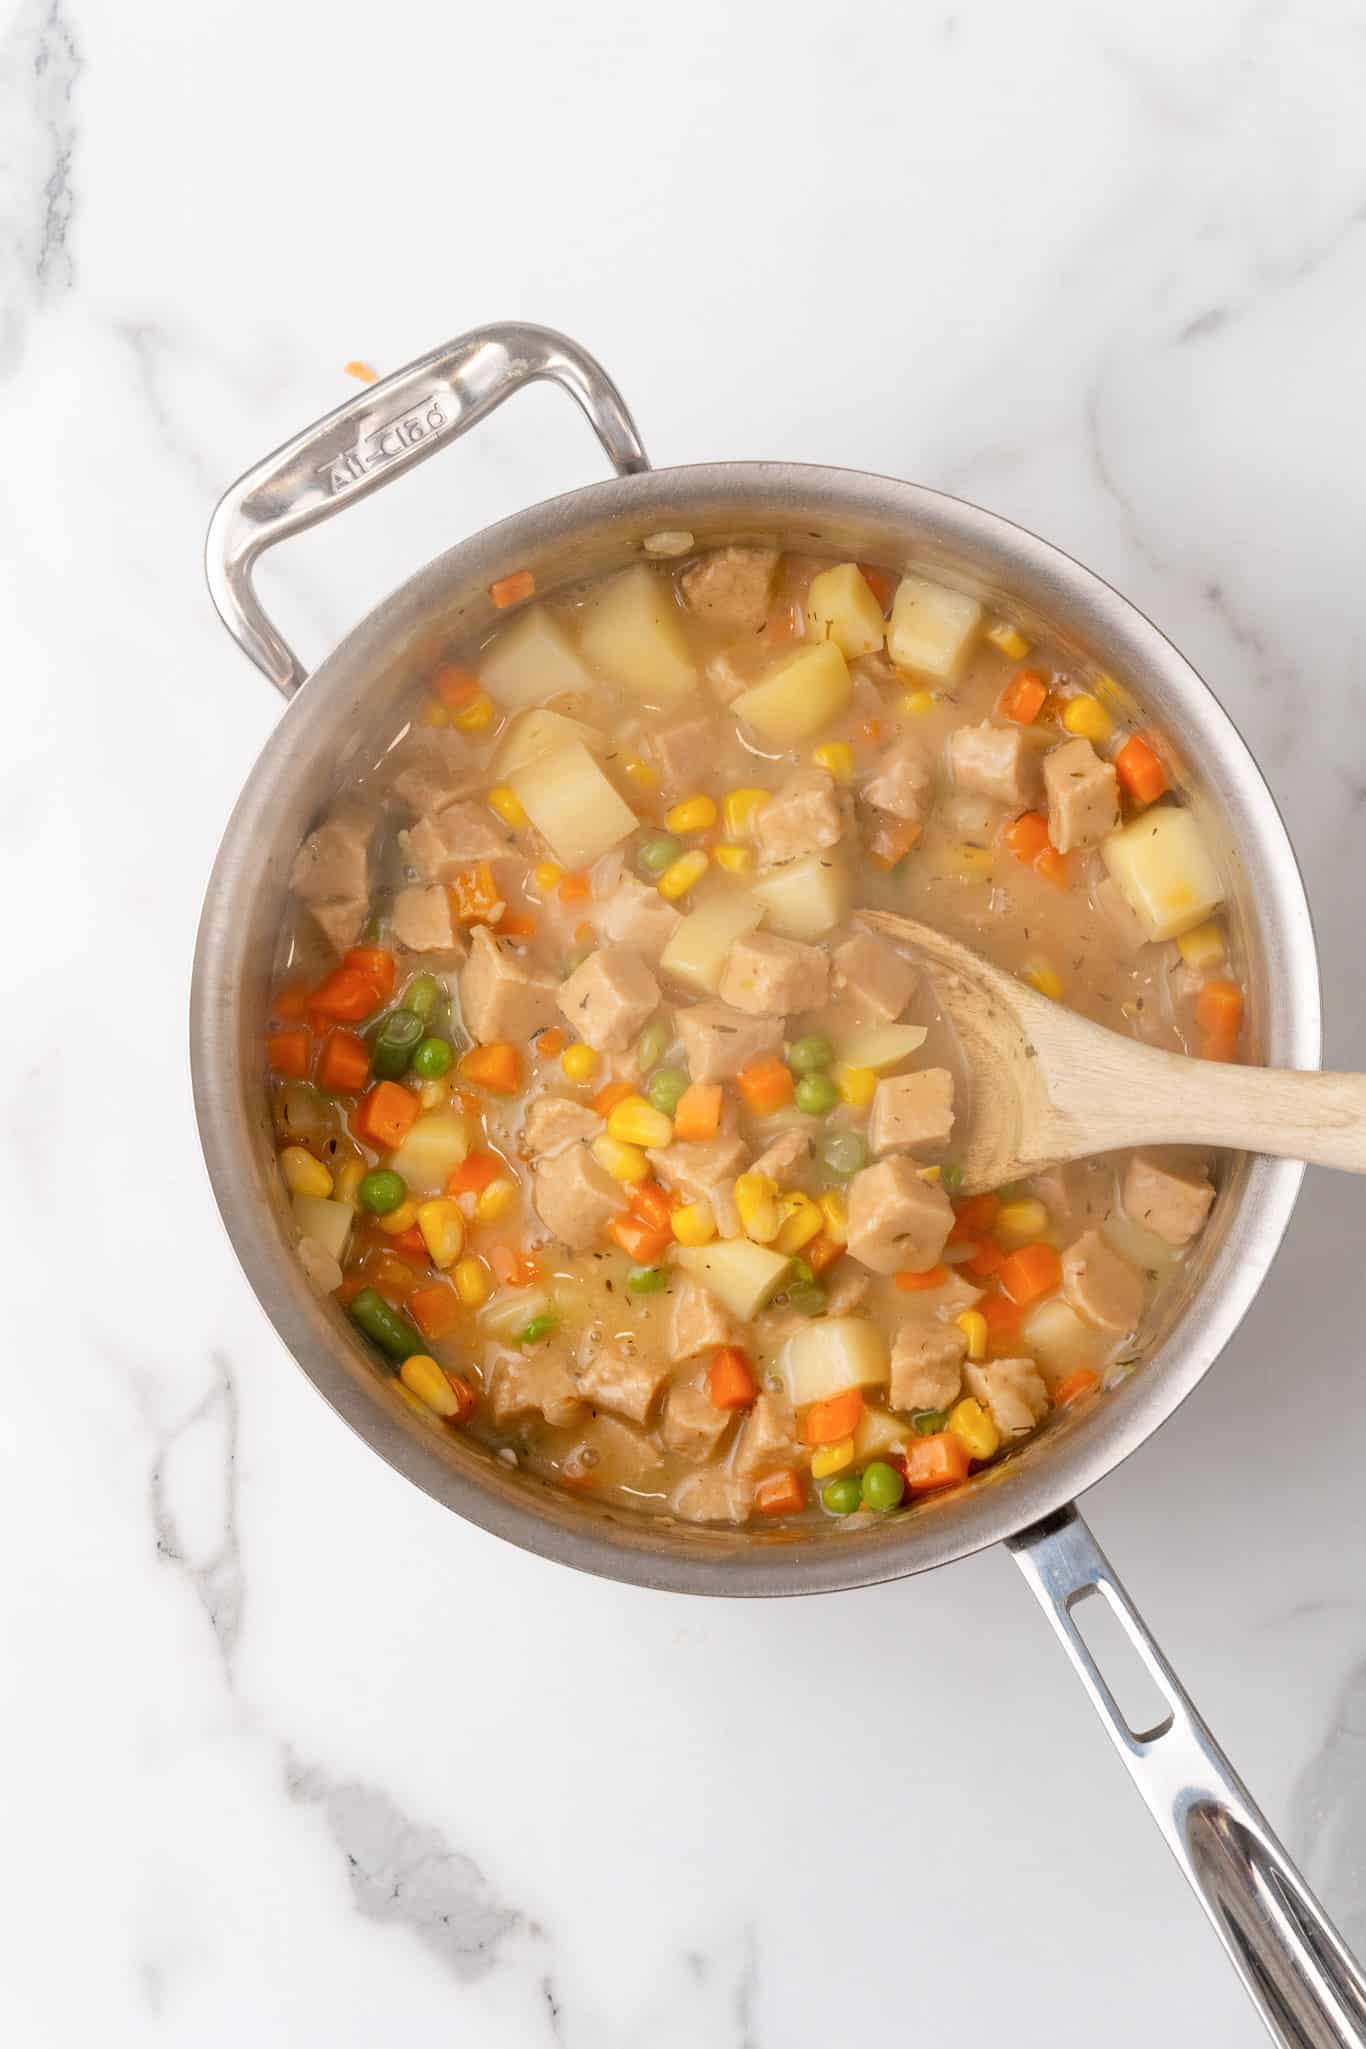
Helpful Tips for Making Vegan Pot Pie Casserole
Keep the Dough Cold: Cold ingredients are key to a flaky crust. If your kitchen is very warm, chill the flour and the mixing bowl in the fridge before you start cooking.
Don't Overwork the Dough: Mix just until the dough comes together to keep it tender. Overmixing can make it tough and chewy.
Season to Taste (and taste often!): Don't be afraid to taste the filling before it goes into the pie. Adjust the salt, pepper, and herbs to your liking.
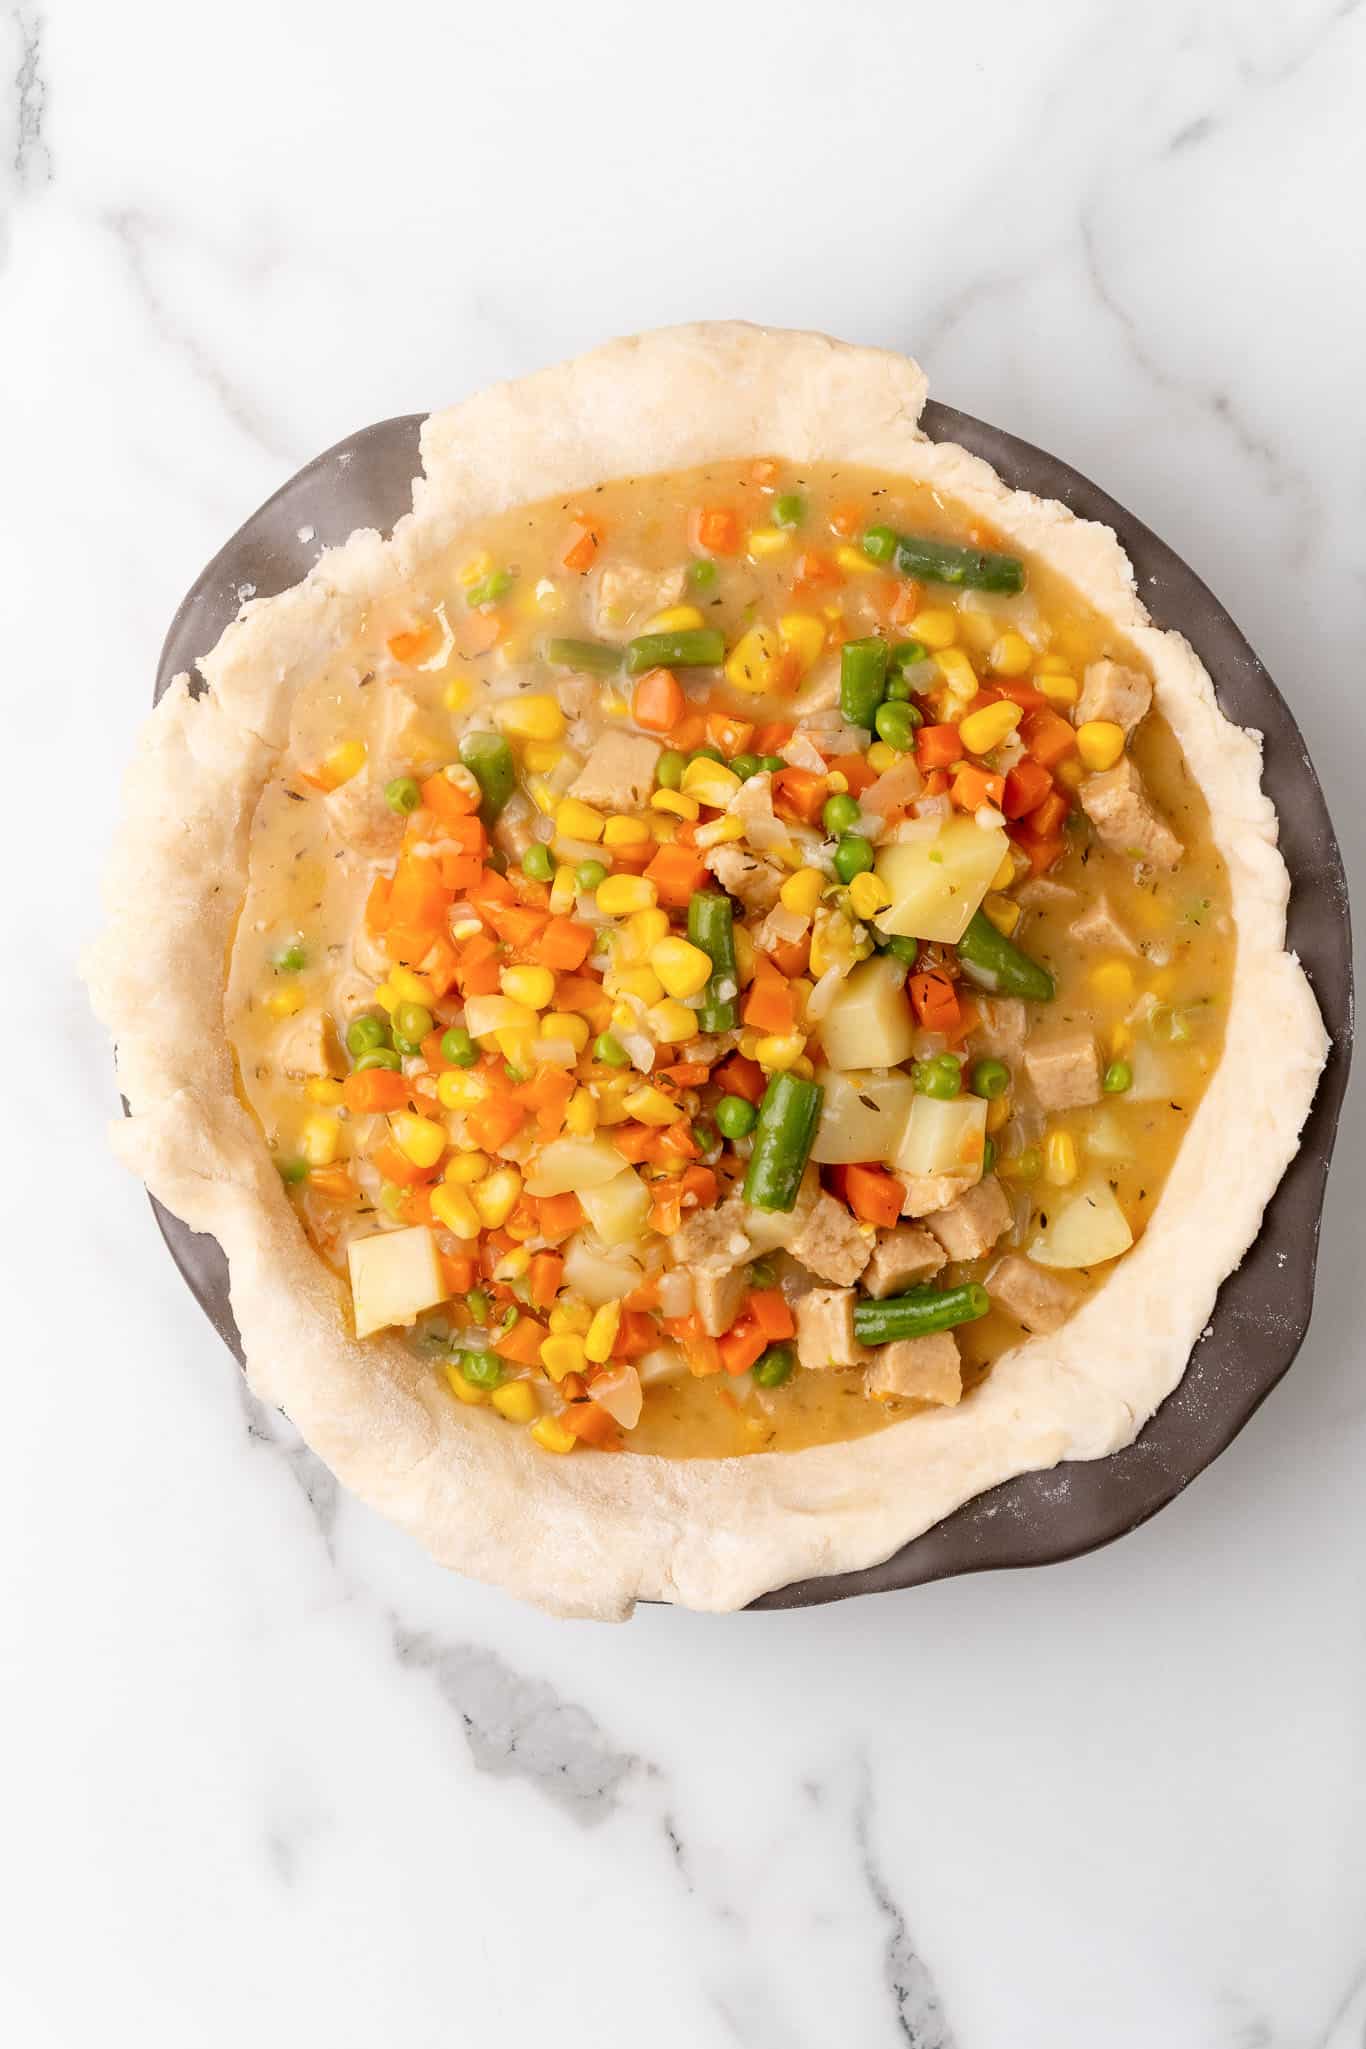
Cover the Edges: If you notice the edges of the crust browning too quickly, cover them with foil to prevent burning.
Let It Rest: Allow the pie to cool for at least 20 minutes before slicing. This helps the filling set and makes it easier to cut clean slices.
Also worth trying: our vegan creamy mushroom pasta.
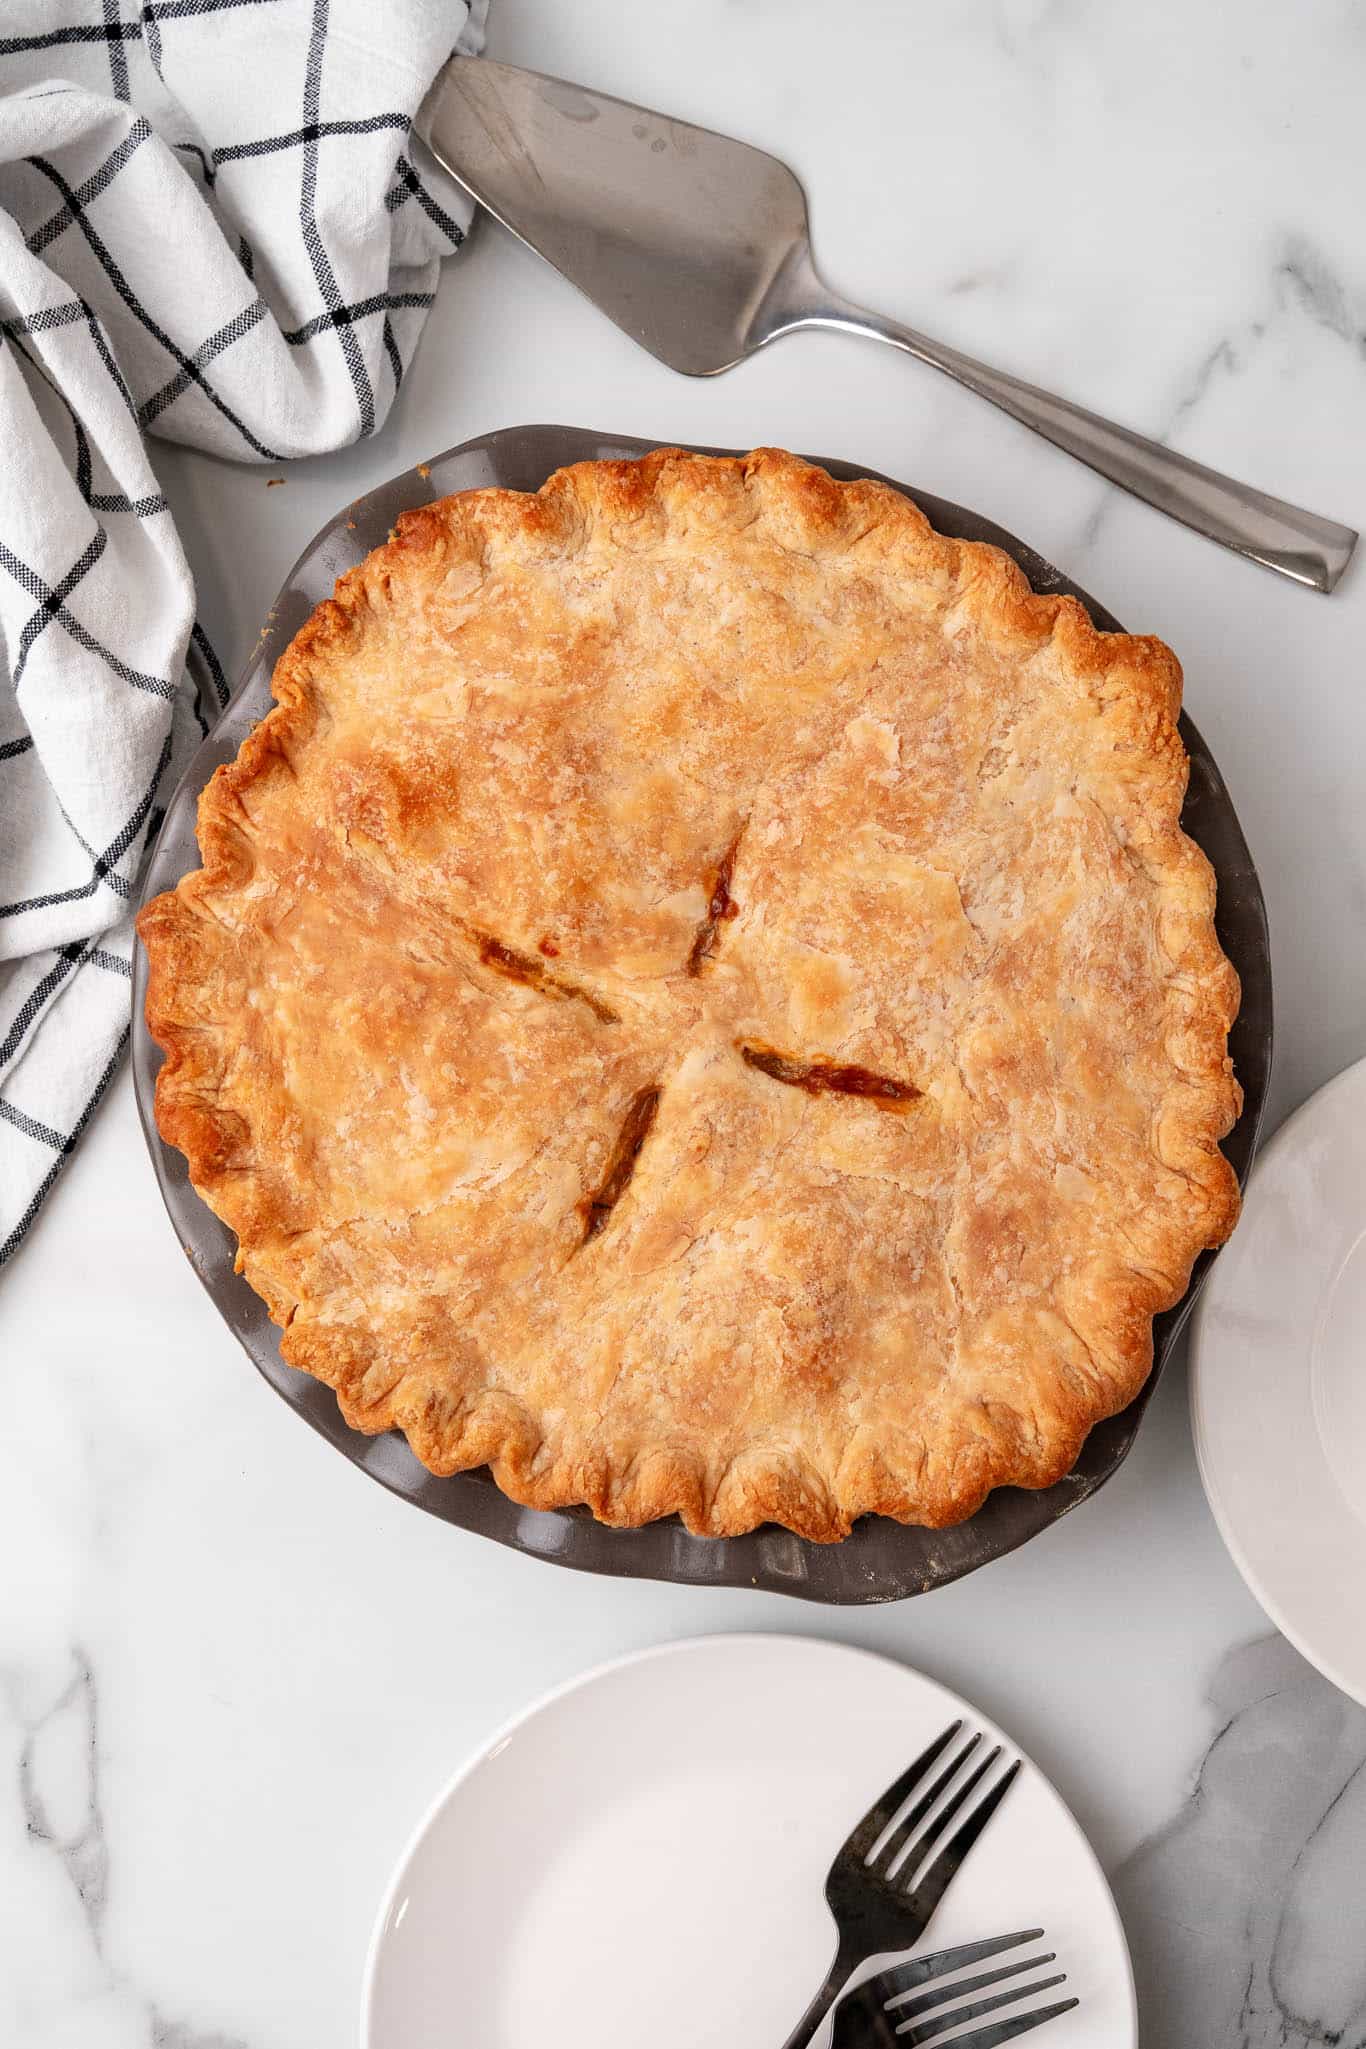
Variations
Mushroom Pot Pie
Add a mix of your favorite mushrooms to the filling for a rich, umami flavor that pairs perfectly with the creamy sauce. Sliced portobellos work well, or shiitakes for a fun twist.
Southwestern Pot Pie
Spice things up by adding a can of green chilies, a teaspoon of cumin, and a handful of chopped cilantro. Top with sliced avocado before serving.
Root Vegetable Pot Pie
Swap out the frozen veggies for a mix of roasted root vegetables like parsnips, turnips, and sweet potatoes for a wintery twist.
Herbed Crust
Add fresh herbs like parsley, thyme, or rosemary right into the crust dough for an extra layer of flavor.
Make Mini Pot Pies
Instead of one large pot pie, try making several personal sized ones instead. Just divide the filling amongst four mini pie dishes (like these), and top each with its own crust. Bake time will be less, more like 20-25 minutes, depending on the size of your baking dishes.
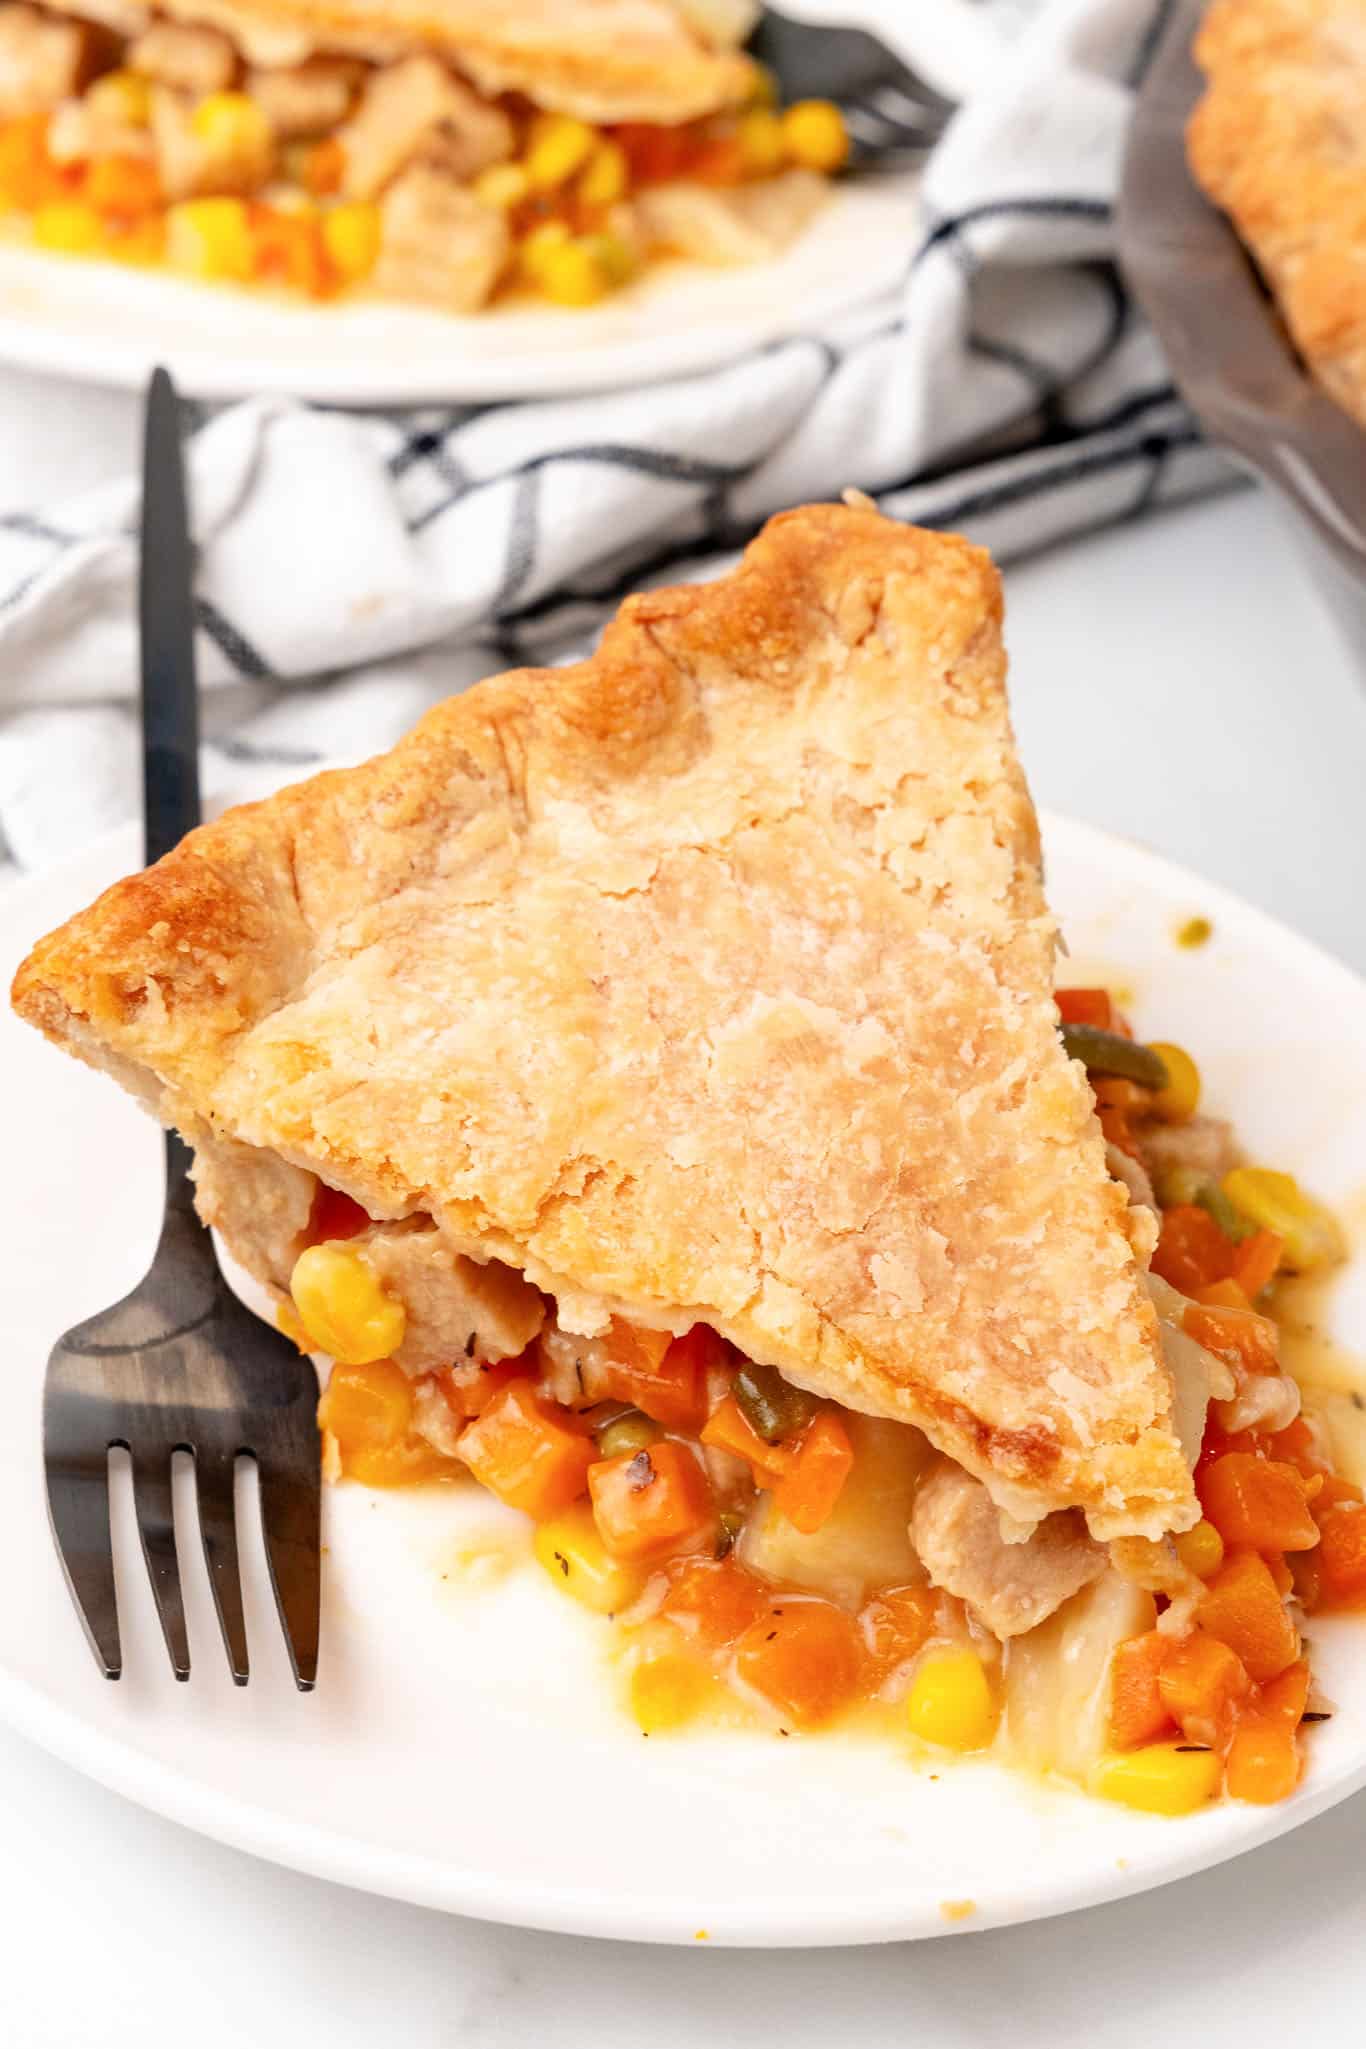
Serving Ideas
With a buttery crust, tender vegetables, potatoes, and a creamy gravy all in one slice, this pot pie is a complete meal on its own. The best sides are light and fresh ones that balance all that richness. A crisp green salad is the classic partner: our Massaged Kale Salad with Orange-Miso Dressing brings a bright, tangy contrast to the savory filling, and a simple mix of greens with a lemony vinaigrette works just as well on a busy weeknight. Steamed green beans or roasted broccoli with a squeeze of lemon are easy, no-fuss options too.
For a holiday table or a cozy Sunday dinner, set the pot pie out with a couple of seasonal sides. Maple-Glazed Butternut Squash and Glazed Baked Onions both fit right in, and a spoonful of tart Cranberry-Apple Relish on the side is a surprisingly good match for the herby gravy.
Since the main course is on the hearty side, finish with something lighter, like Poached Pears with Chocolate Drizzle.
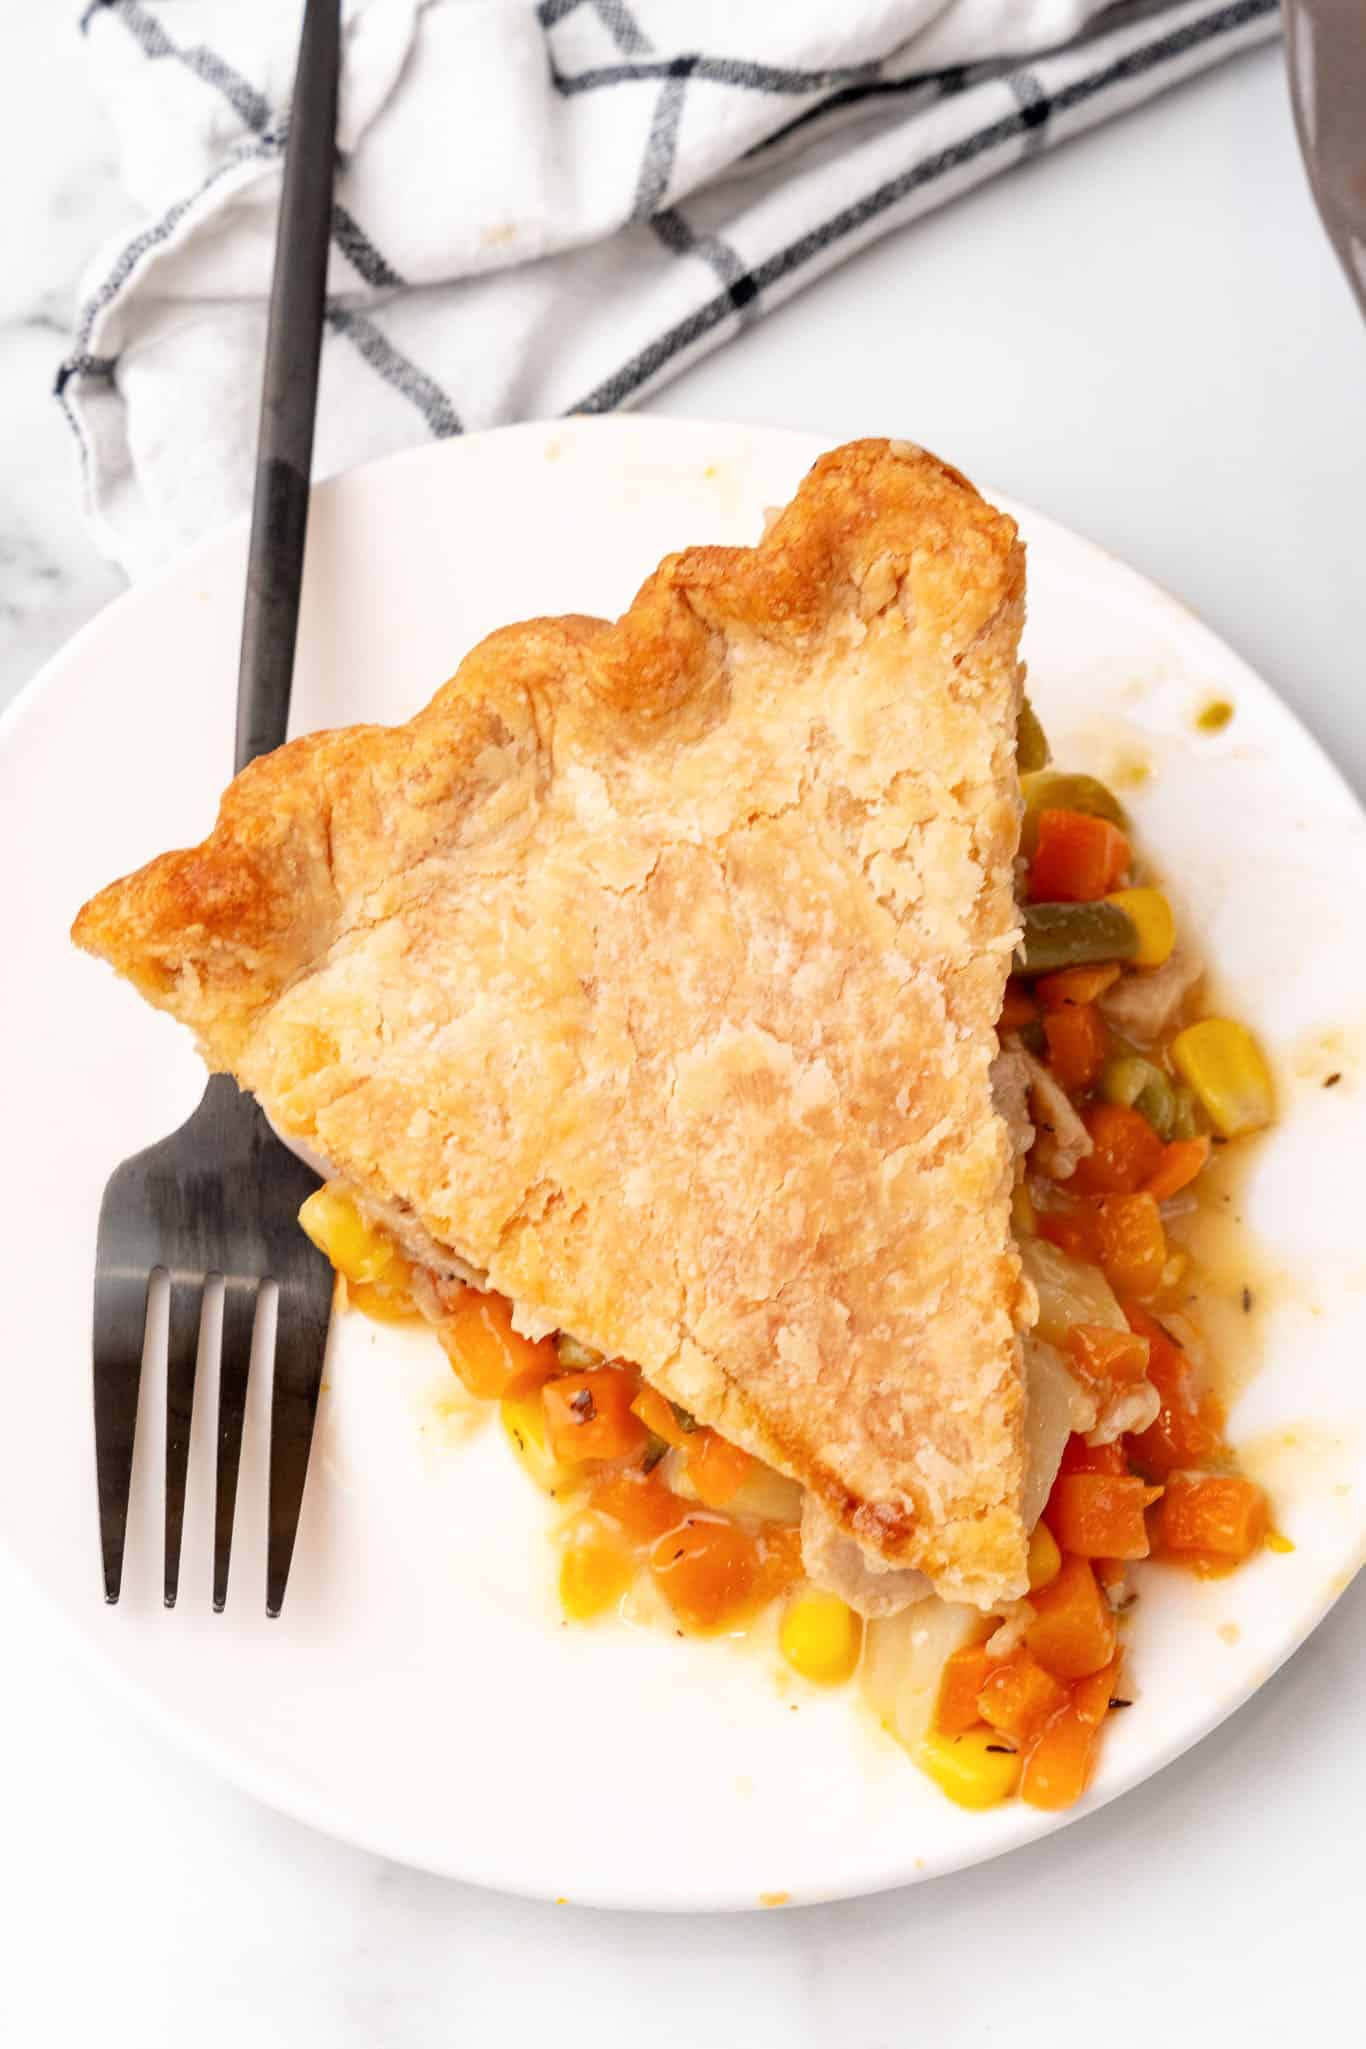
Storing & Freezing
Store leftover pot pie in an airtight container in the refrigerator for 3-5 days. To reheat, warm individual slices in a 350°F oven for 15-20 minutes so the crust crisps back up; the microwave works in a pinch, but the crust will soften.
You can also freeze leftovers for up to two months. I recommend slicing into portions and freezing in individual containers for easy reheating. To reheat, simply defrost, transfer to an oven safe dish, and warm in the oven.
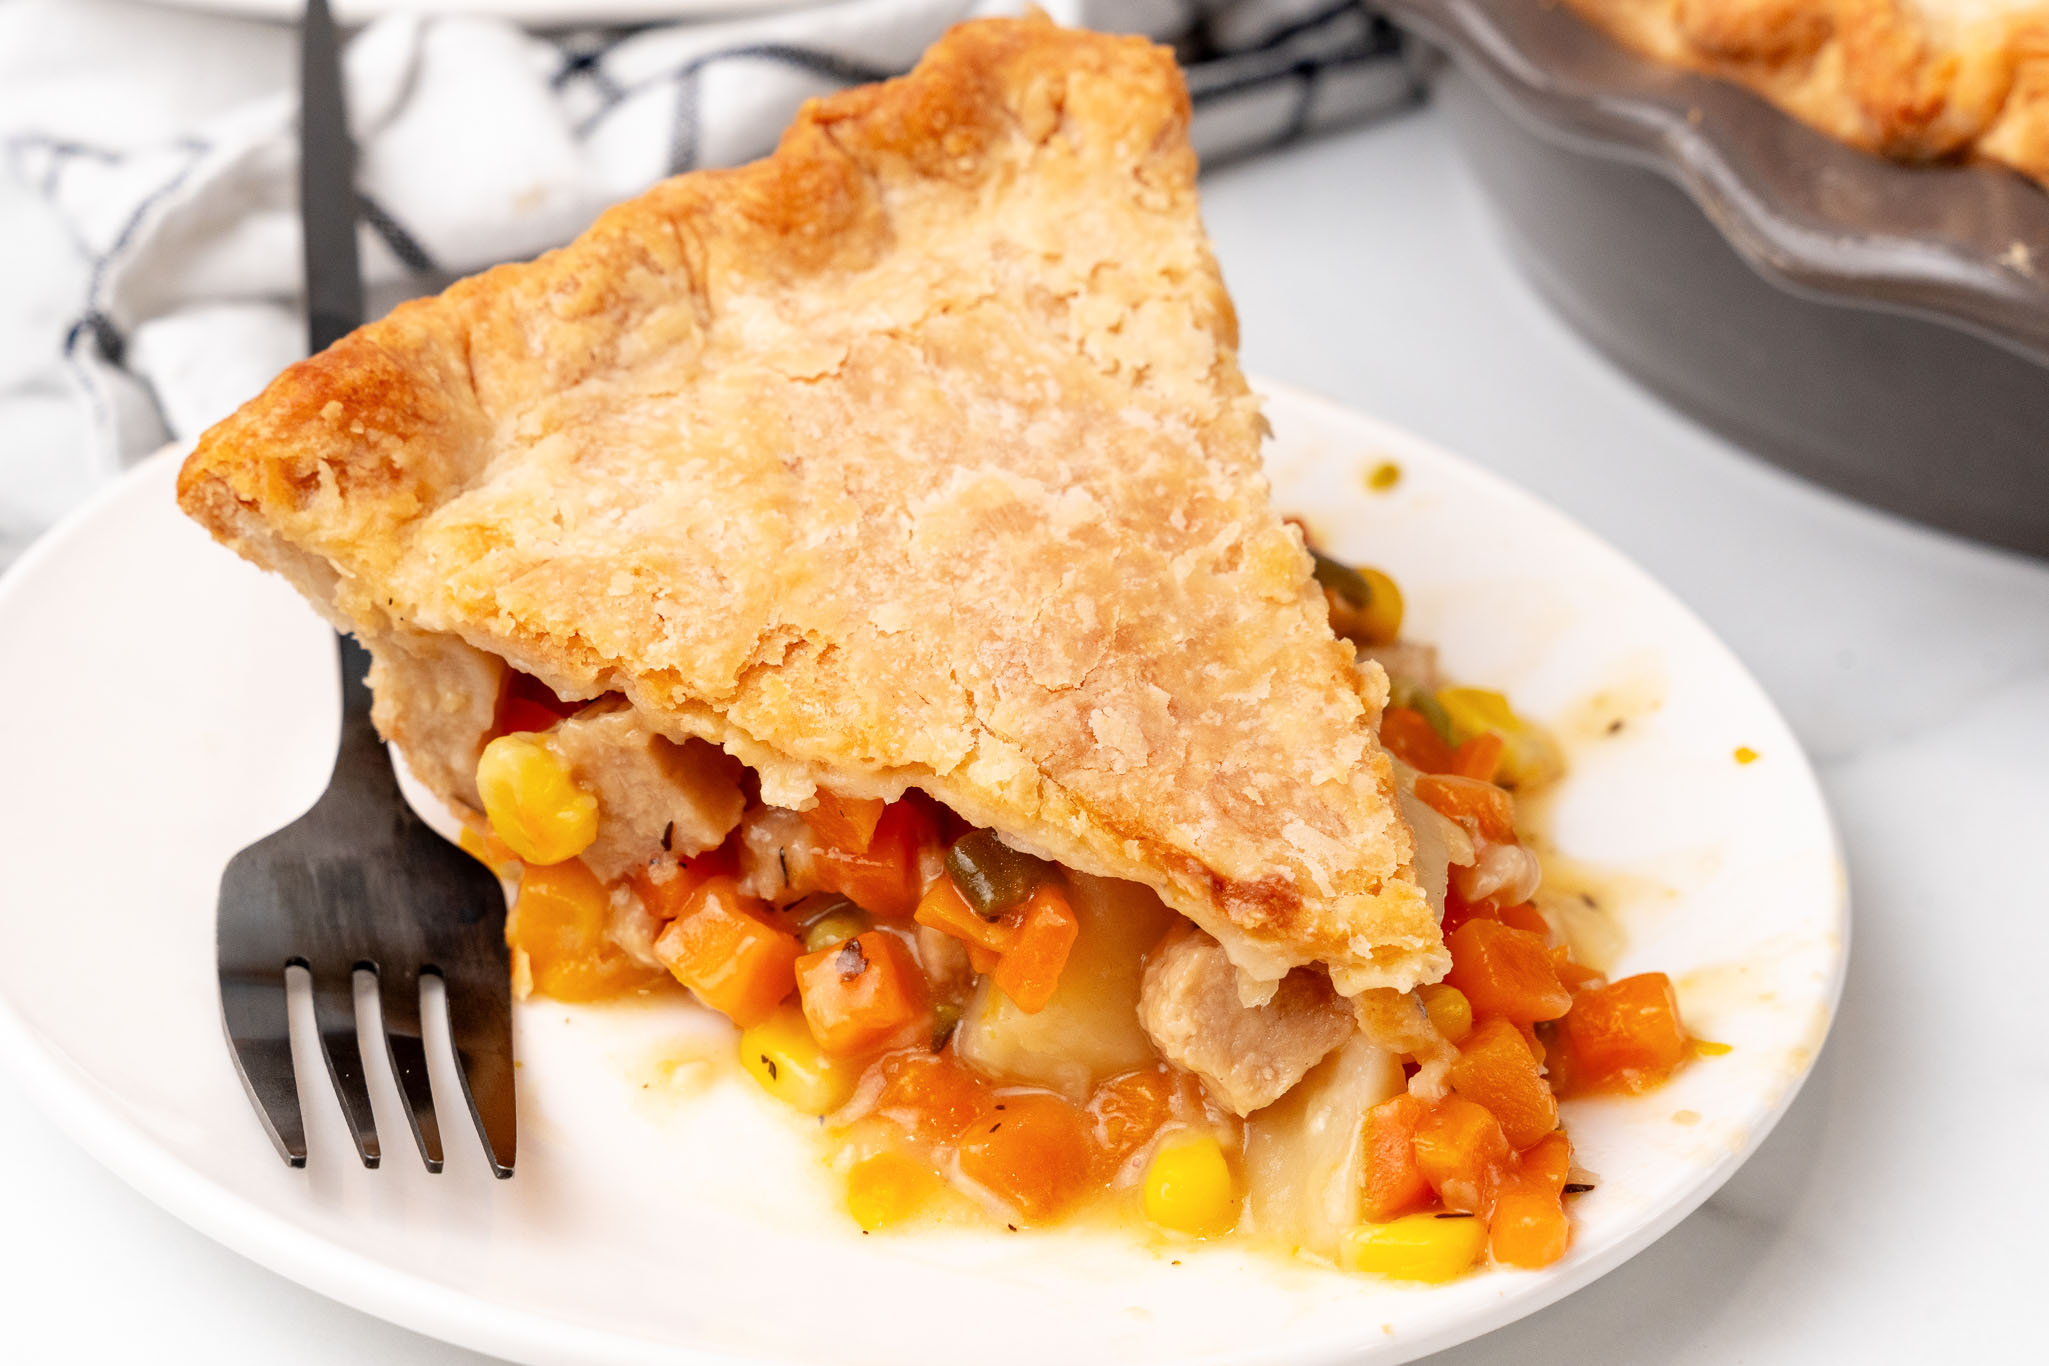
More Tasty Vegan Recipes
If you love this vegan pot pie, be sure to check out these other delicious ideas:
Recipe

Vegan Pot Pie Casserole
This Vegan Pot Pie Casserole is a plant-based version of the classic dish that's every bit as satisfying, hearty, and delicious. A feel-good family favorite main dish!
Print
Pin
Save
Servings: servings
Ingredients
For the crust:
- 1 ½ cups all purpose flour
- ¼ teaspoon salt
- ¼ cup vegan butter
- ¼ cup vegetable shortening
- ¼ cup ice water
For the filling:
- 3 tablespoons vegan butter
- 1 small onion diced
- 3 cloves garlic minced
- ¼ cup flour
- 2 ½ cups vegetable broth
- 3 cups frozen mixed veggies
- 1 cup chopped potato about one medium potato
- ½ teaspoon salt
- ½ teaspoon dried thyme leaves
- 2 cups chopped vegan "chicken" optional
Instructions
For the crust:
- In a large bowl, whisk together the flour and salt. Cut in the cold shortening and vegan butter with a pastry cutter or two forks until only pea-sized lumps remain.
- Stir in the ice water, 1 tablespoon at a time, until the dough comes together. Divide the dough evenly into two small discs.
- Roll half the dough out into a 12" circle and press it into the bottom and up the sides of a deep-dish pie plate. Place the pie plate in the fridge.
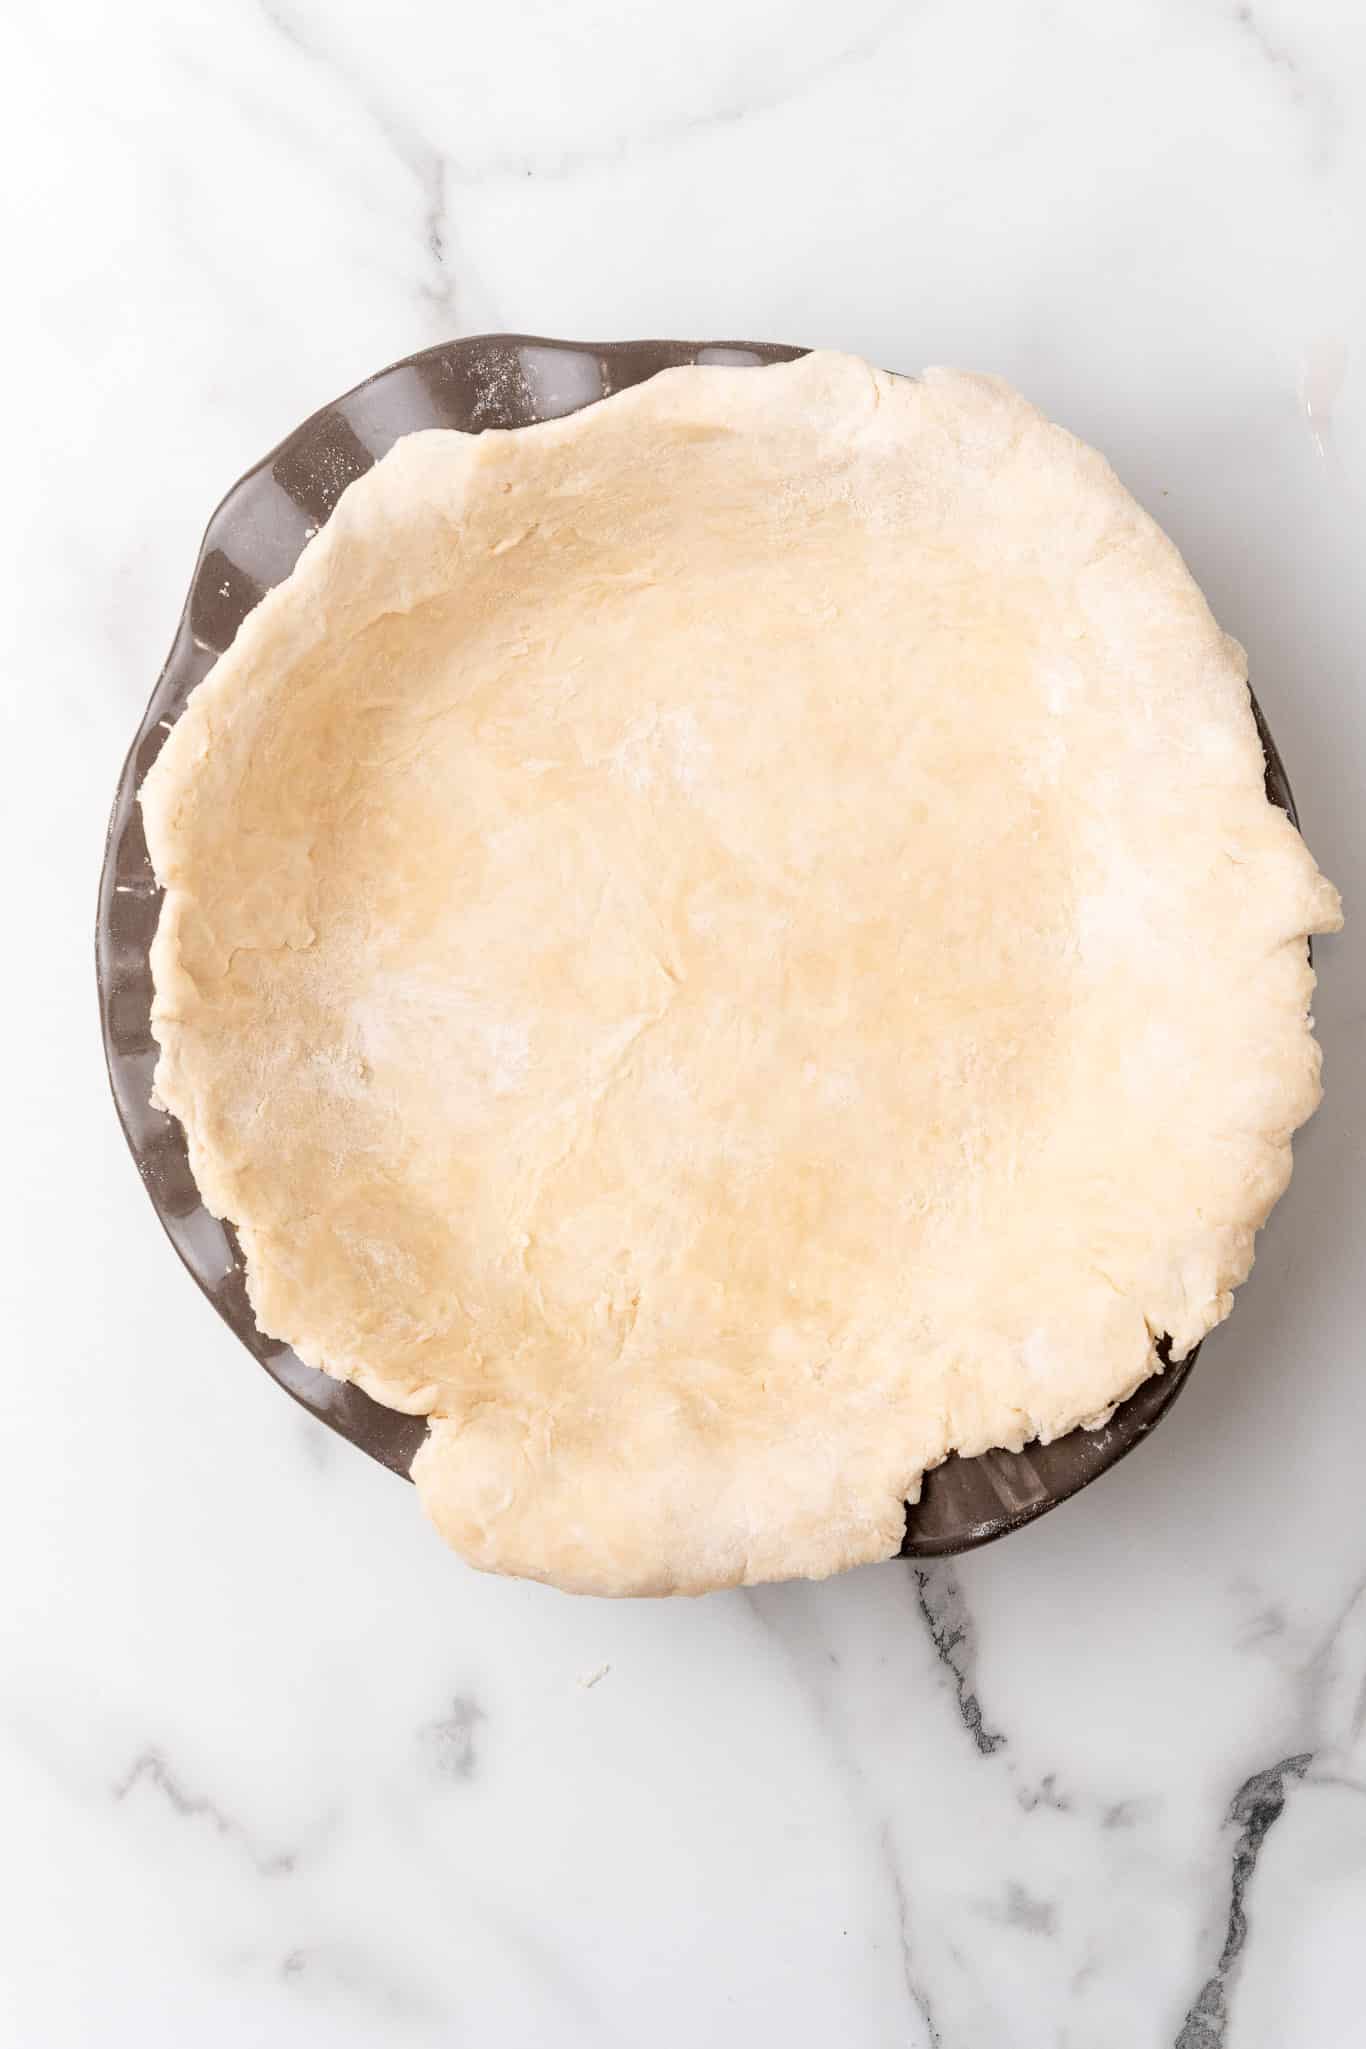
- Roll the second dough disc into a 10" circle and place in the fridge to chill while you make the filling.
For the filling:
- Preheat the oven to 400F.
- In a large pot over medium heat, melt the vegan butter. Add the onion and garlic and cook, stirring frequently, until the onion turns translucent, about 5 minutes.
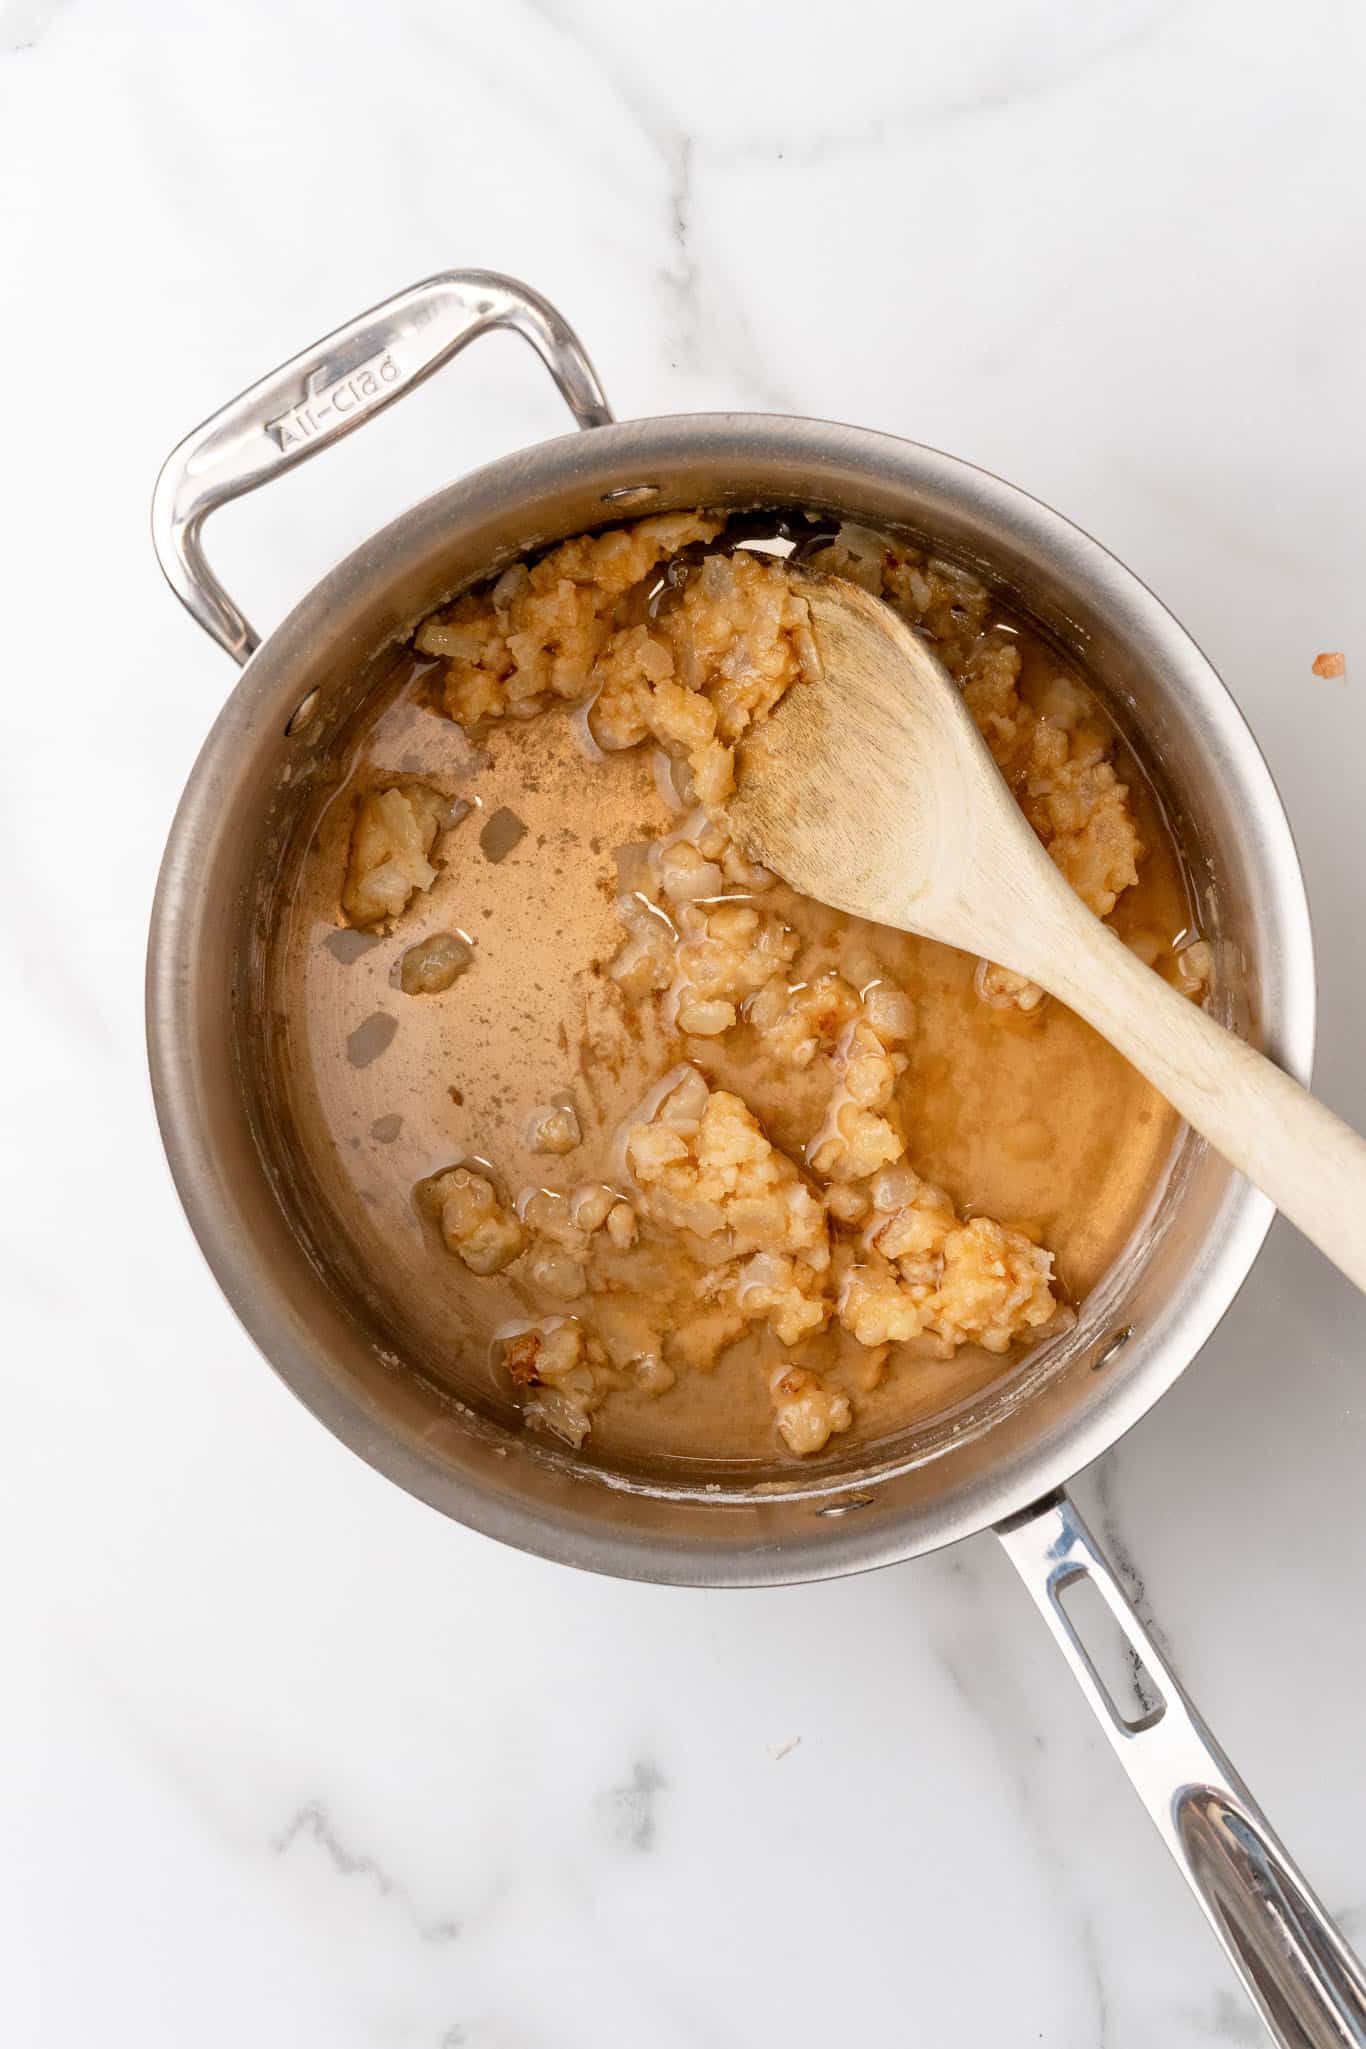
- Sprinkle the flour overtop and stir, then cook for an additional 1-2 minutes. Slowly pour in the vegetable broth, whisking constantly to avoid lumps.
- Add the frozen veggies, chopped potato, salt and thyme and bring to a simmer. Cook, stirring frequently, for about 10 minutes, or until the potato is starting to feel tender.
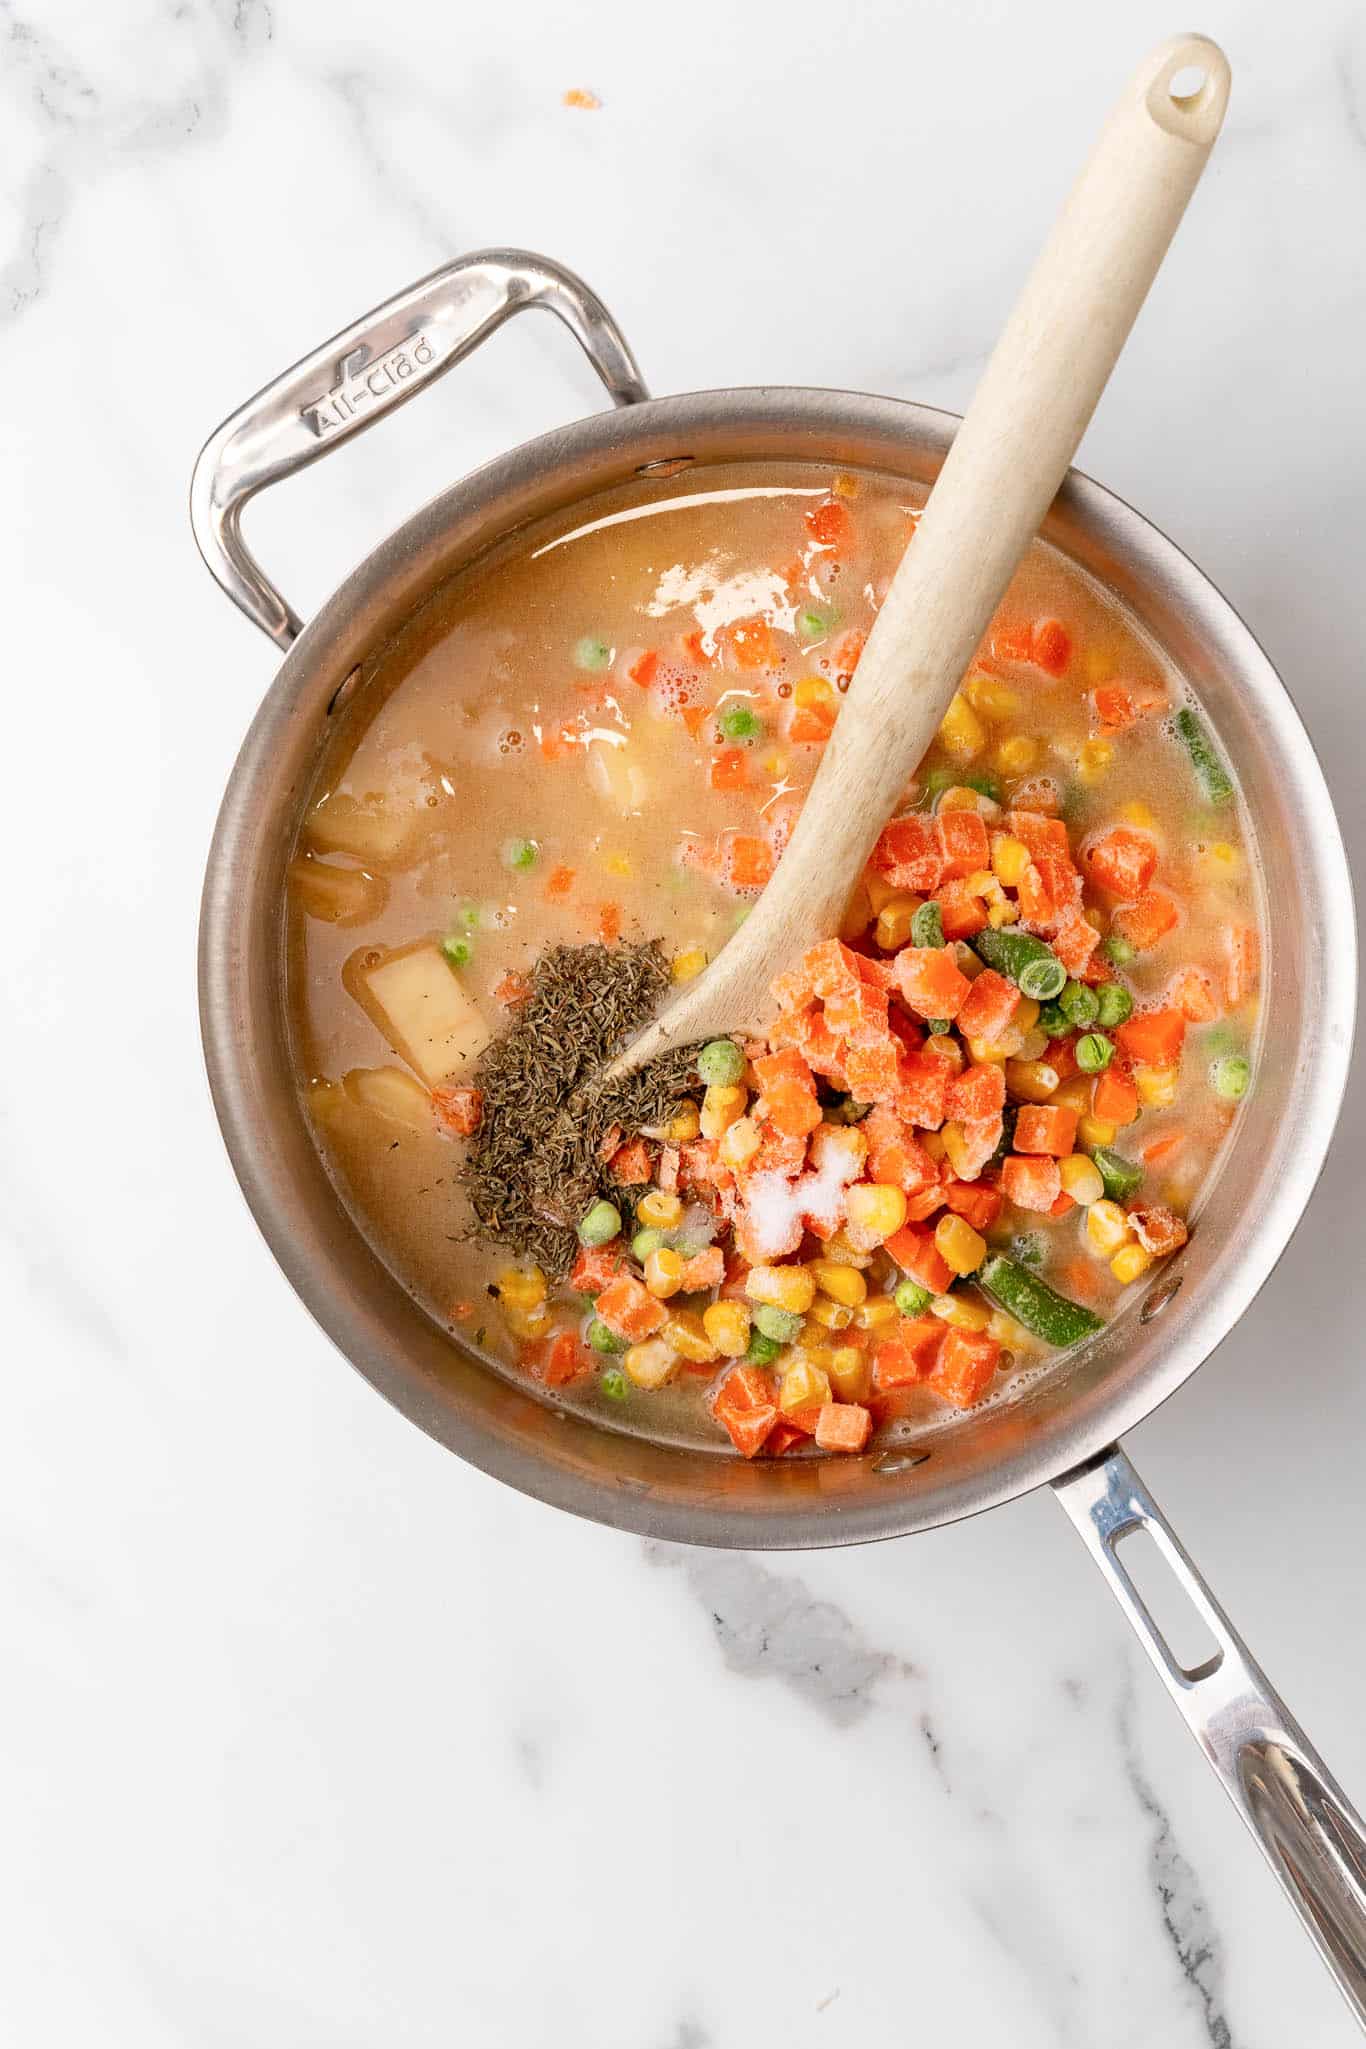
- Stir in the vegan chicken.
- Transfer the hot filling to the pie crust.
- Lay the chilled top crust over the filling and trim away the excess.
- Crimp the edges to seal.
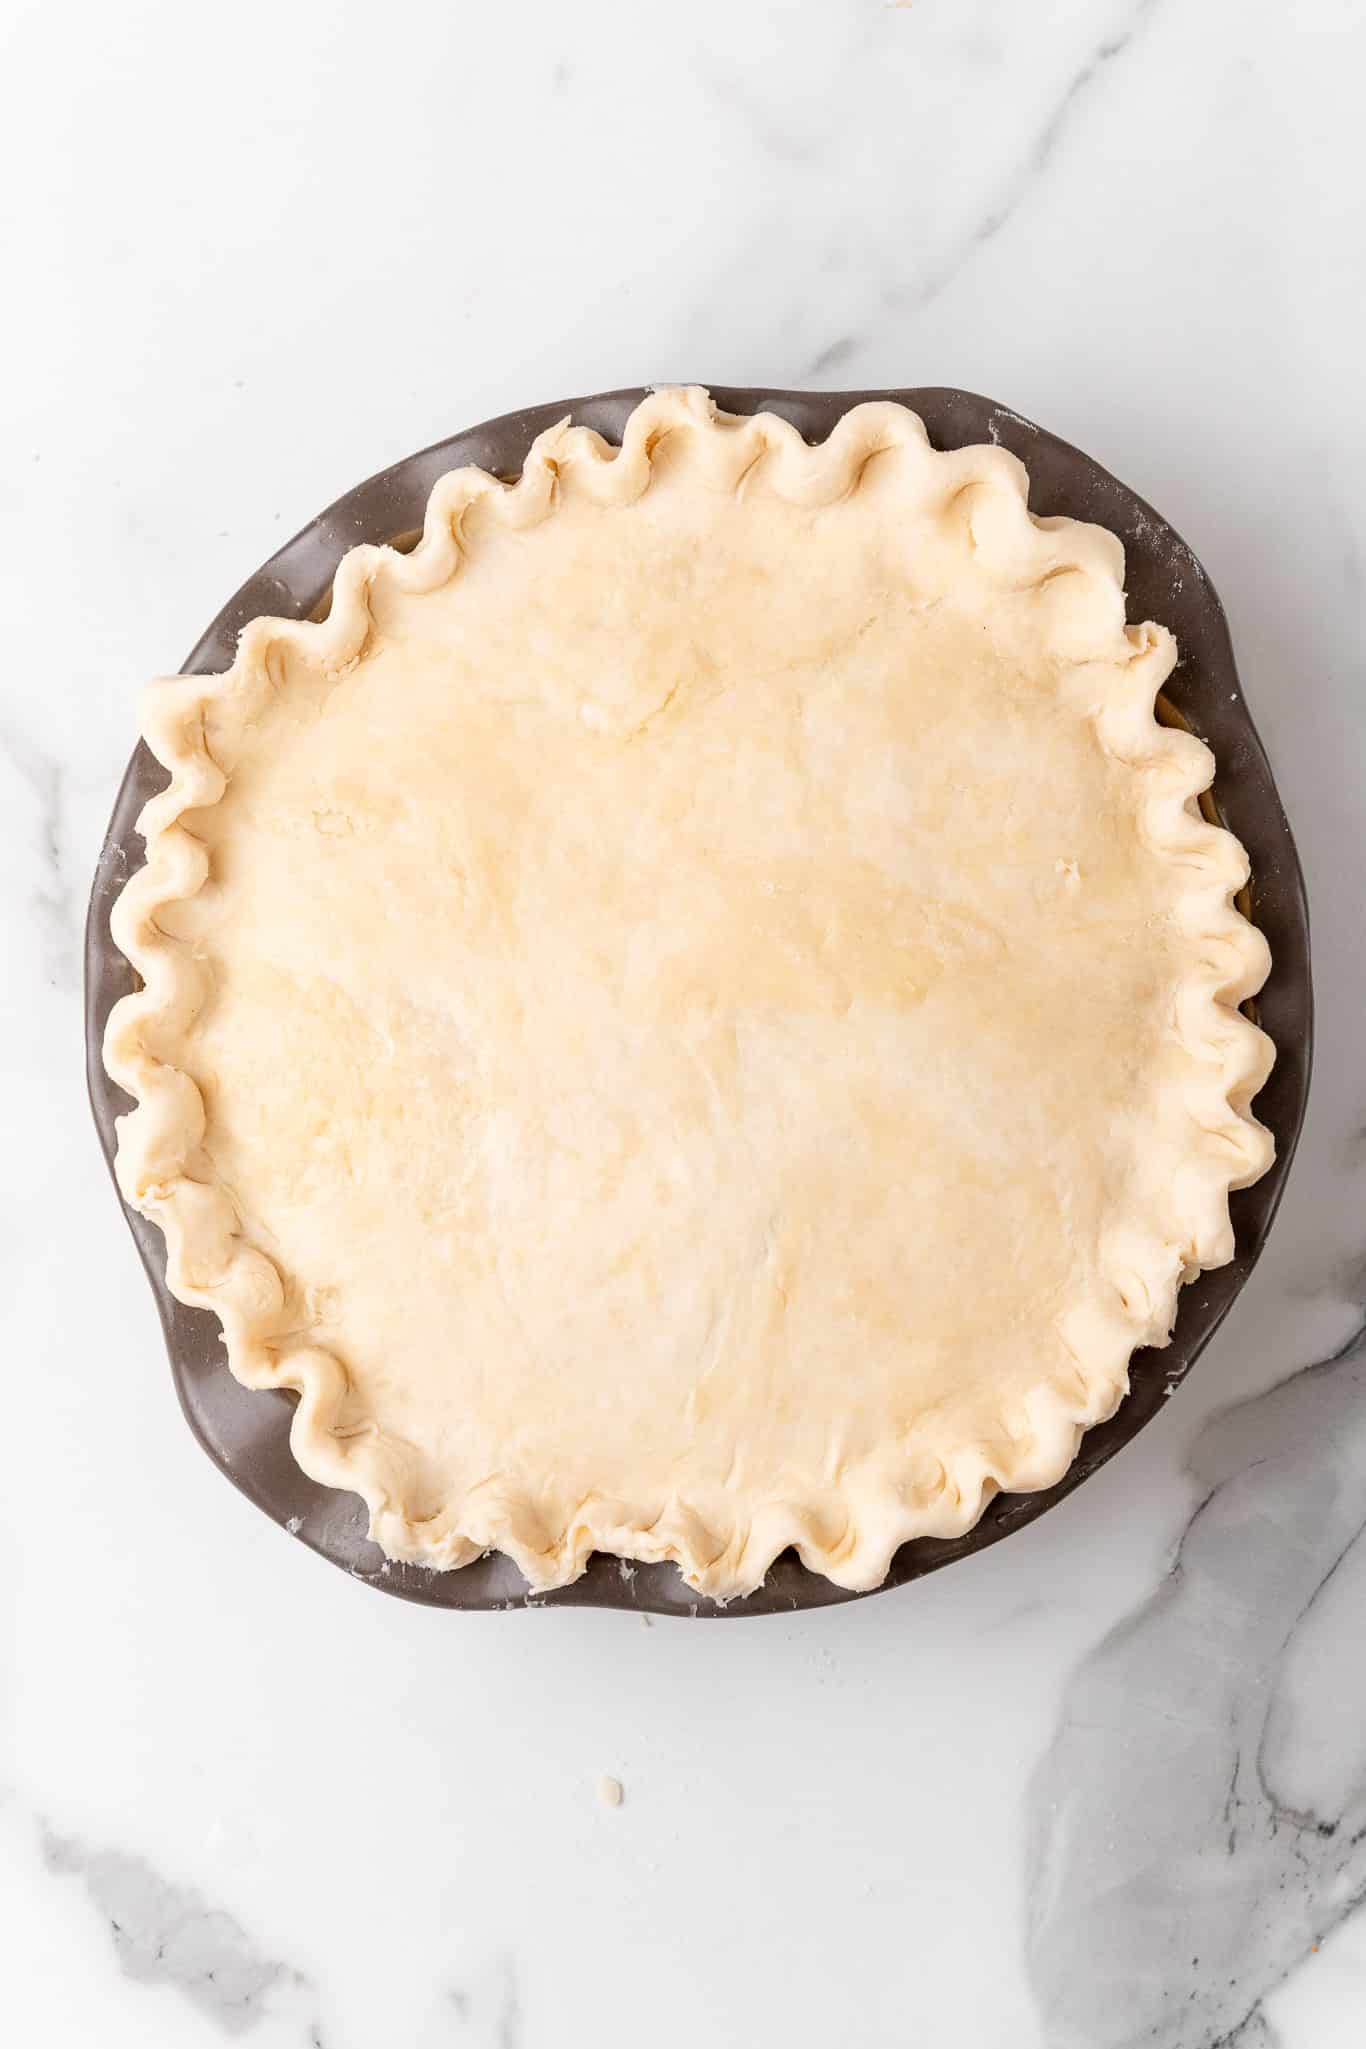
- Cut a few vent slits in the top crust.
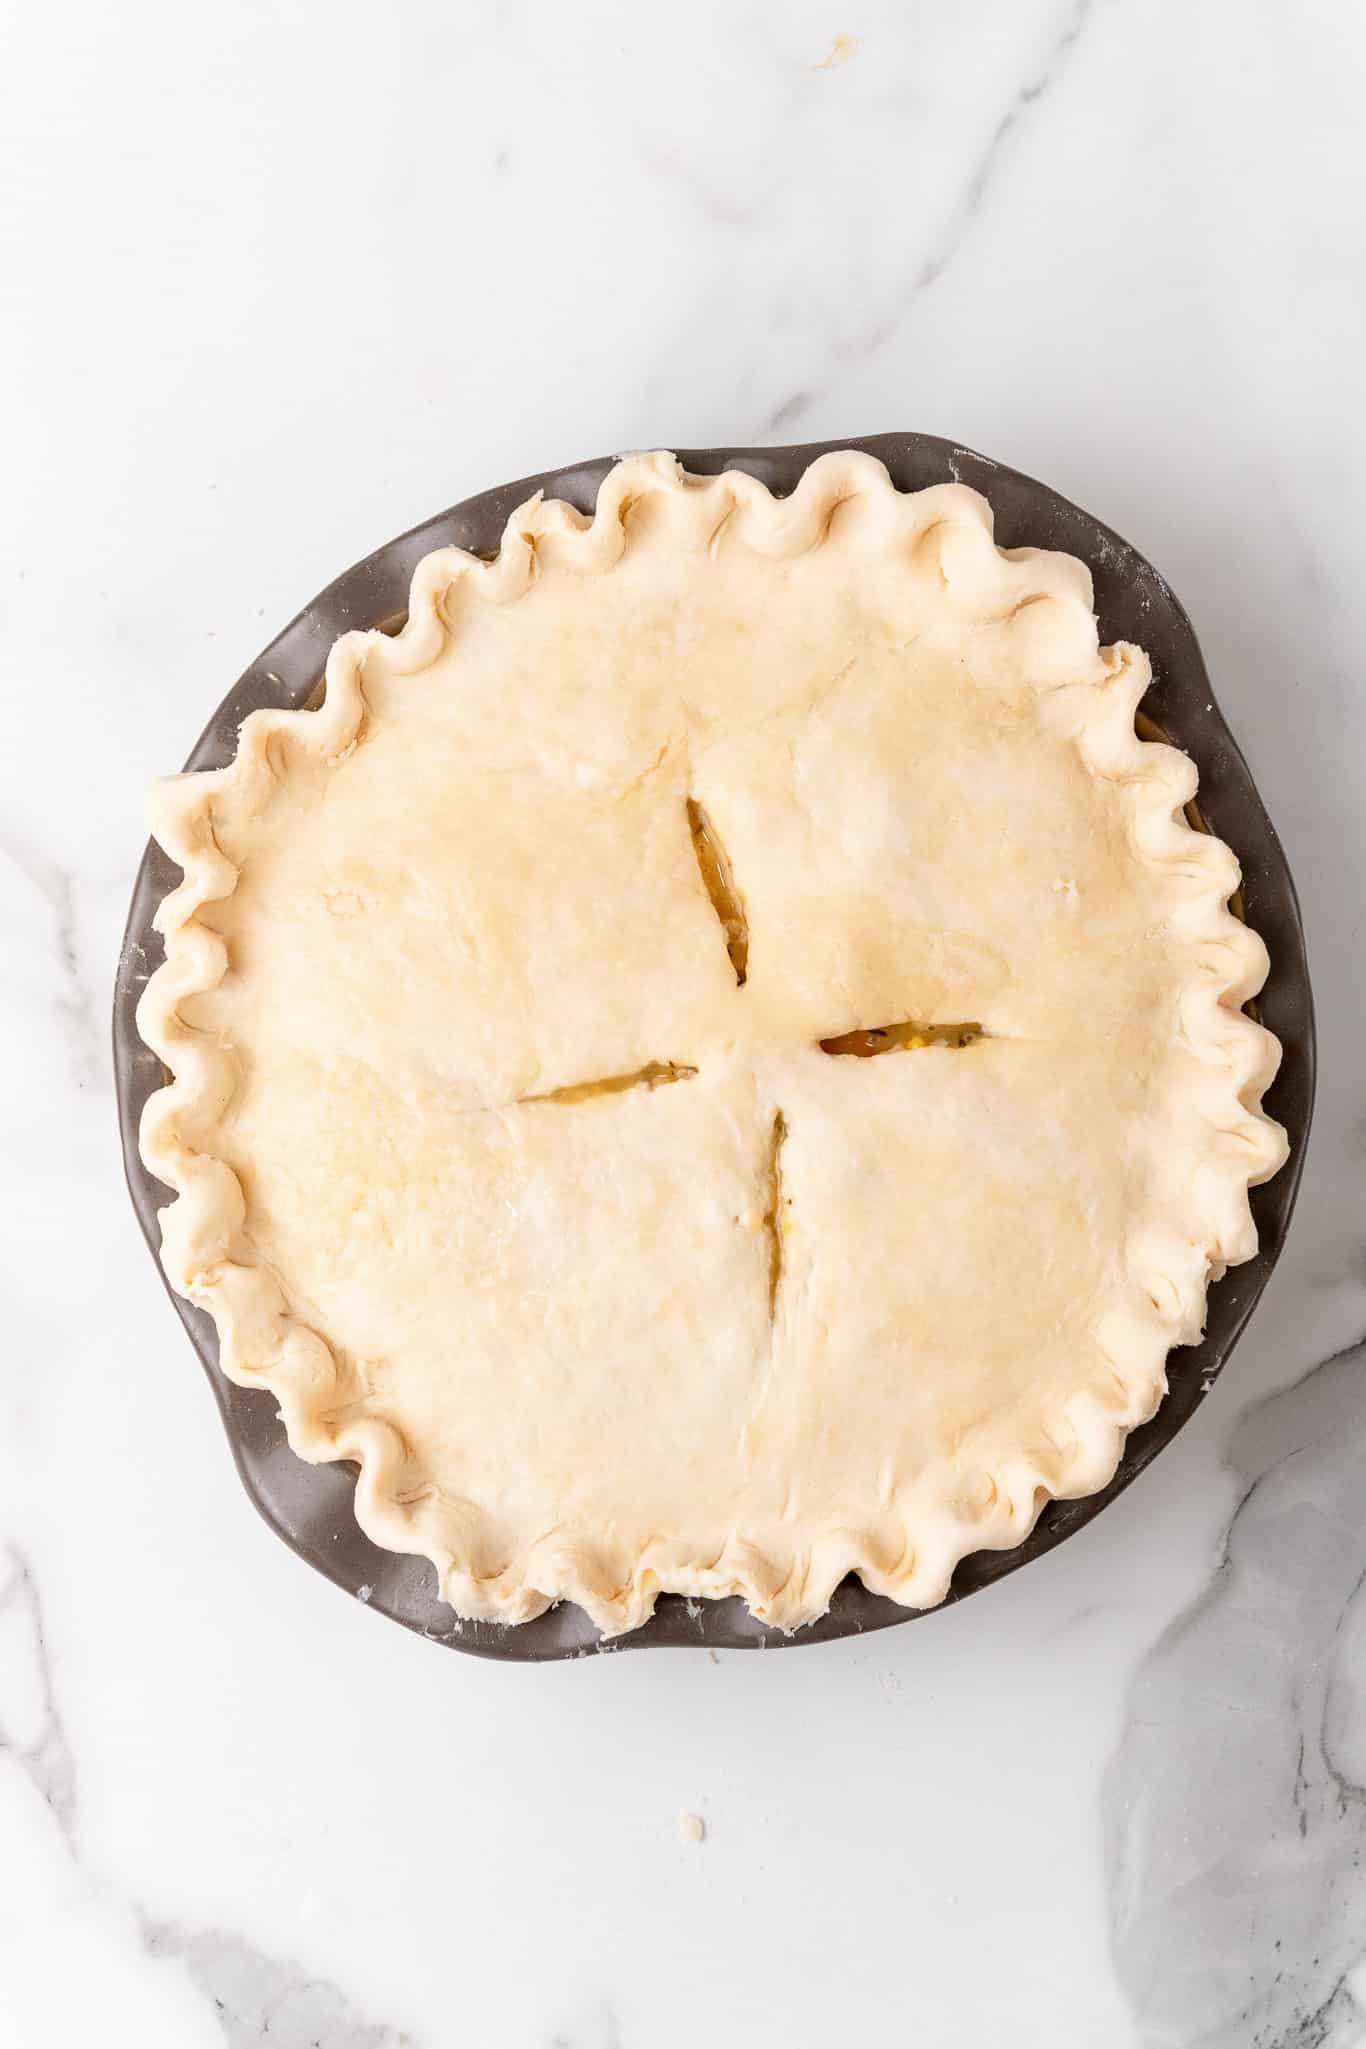
- Bake for 60 minutes, or until the filling is bubbly and the crust is golden. If the edges of the crust brown too quickly, cover them with foil for the last 20 minutes of baking.
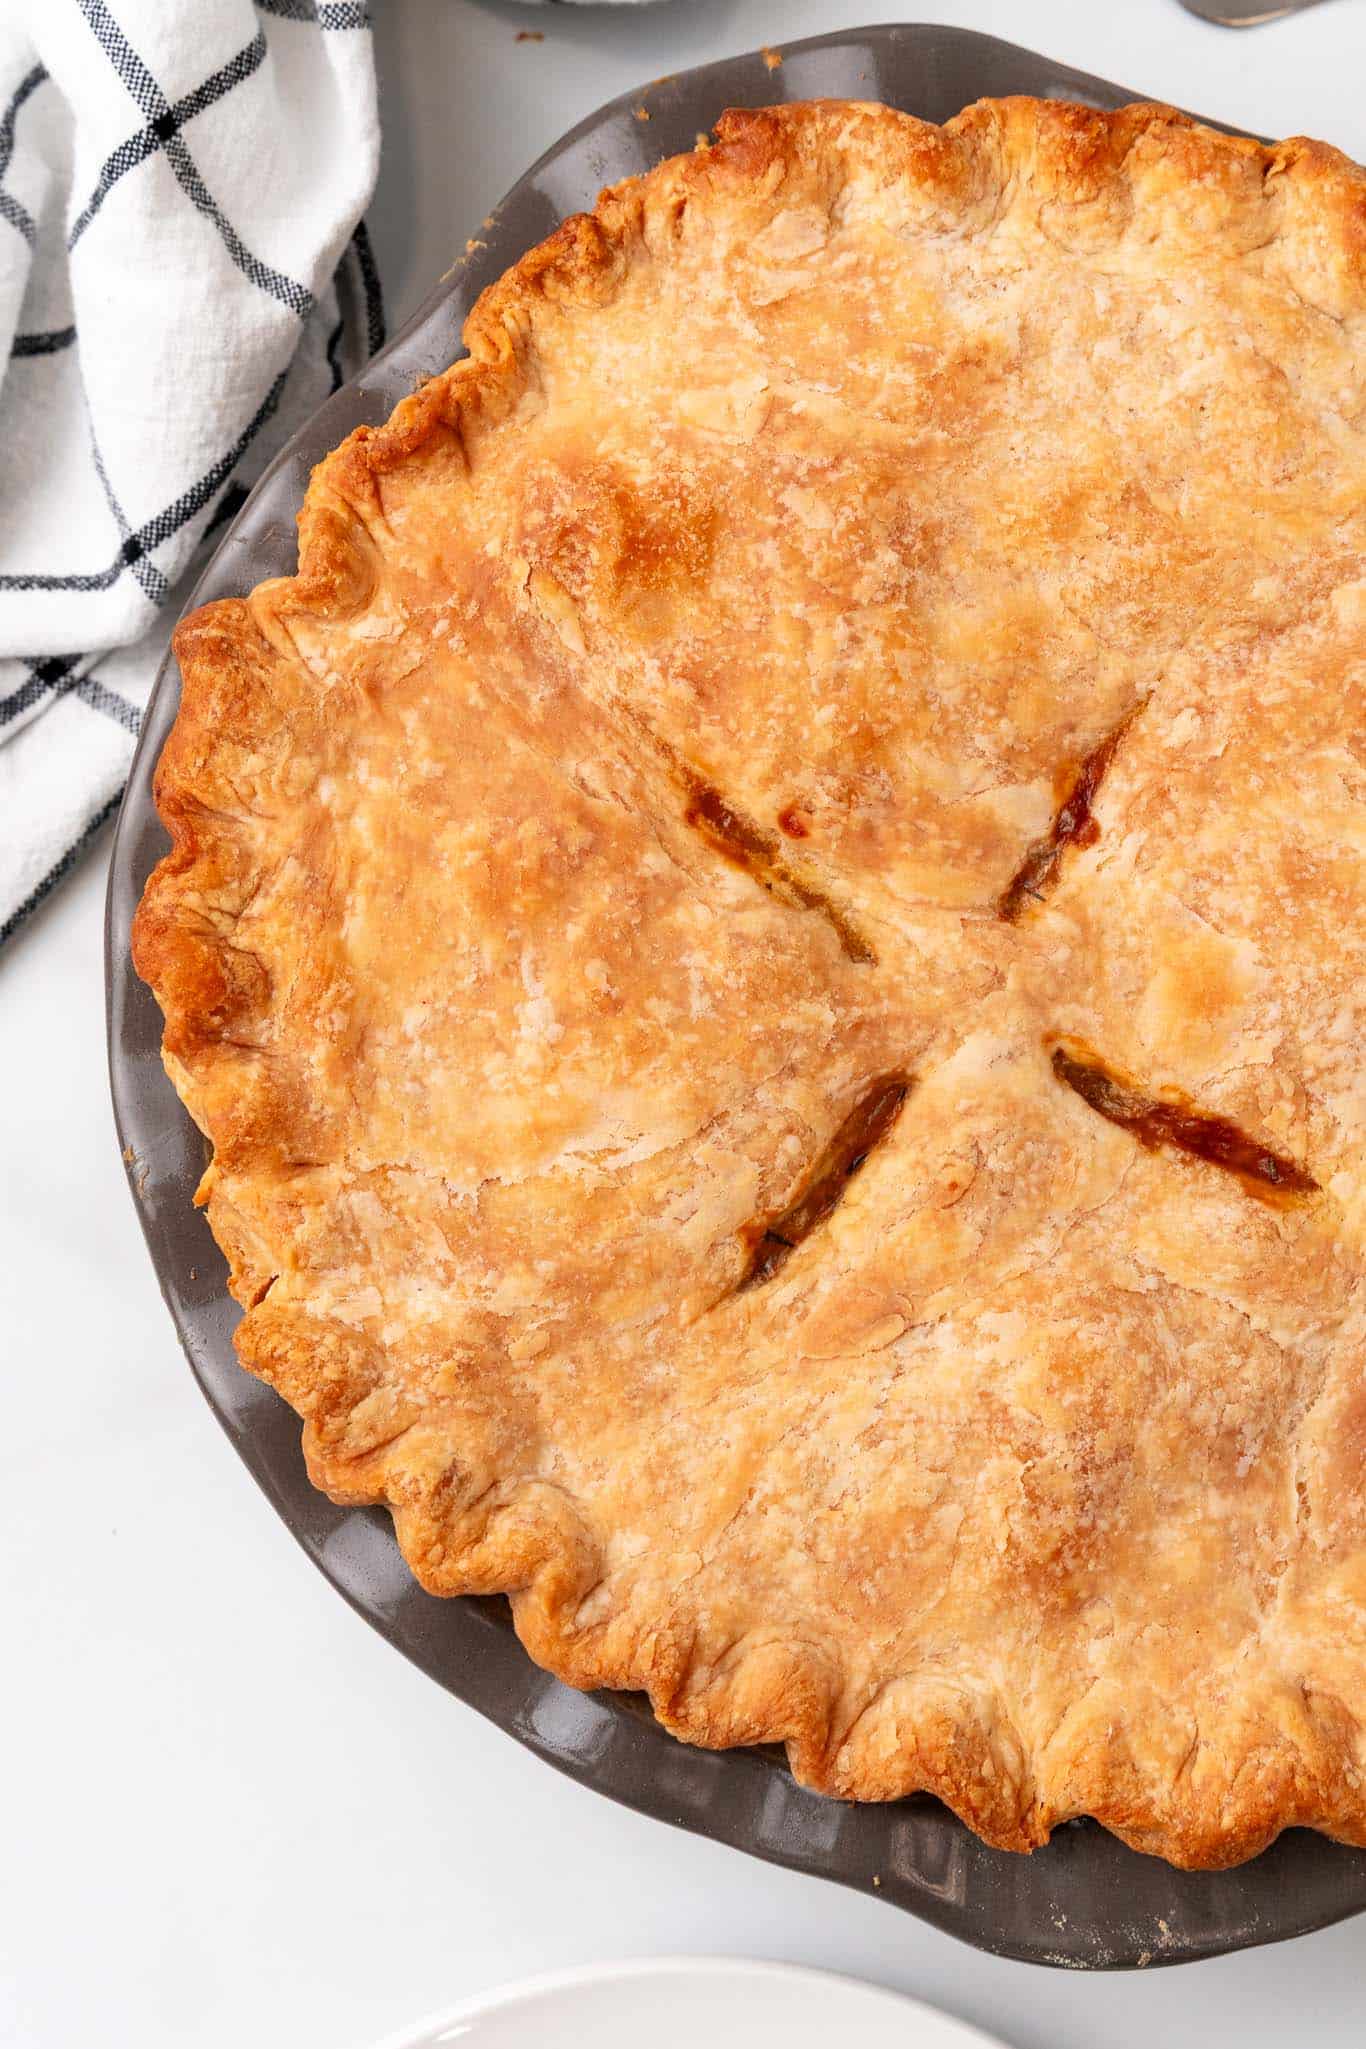
- Allow to cool for 20 minutes before slicing.
Notes
Make it gluten-free: use a 1:1 gluten-free flour blend in both the crust and the filling.
No shortening? Use all vegan butter (½ cup total for the crust); the crust will be slightly less flaky.
Mini pot pies: divide the filling among four 5-inch pie dishes, top each with crust, and bake for 20-25 minutes.
Storage: refrigerate leftovers for 3-5 days or freeze slices for up to 2 months; reheat in a 350°F oven.
Nutrition (Estimate per Serving)
Calories: 412kcalCarbohydrates: 40gProtein: 10gFat: 24gSaturated Fat: 5gPolyunsaturated Fat: 10gMonounsaturated Fat: 8gTrans Fat: 1gCholesterol: 1mgSodium: 1130mgPotassium: 308mgFiber: 5gSugar: 2gVitamin A: 3169IUVitamin C: 12mgCalcium: 41mgIron: 3mg
Vegan-ize any recipe!Grab our free vegan cheat sheet, packed with my favorite easy substitutions to make any recipe vegan.
15-Minute Vegetable Curry (with frozen veggies!)
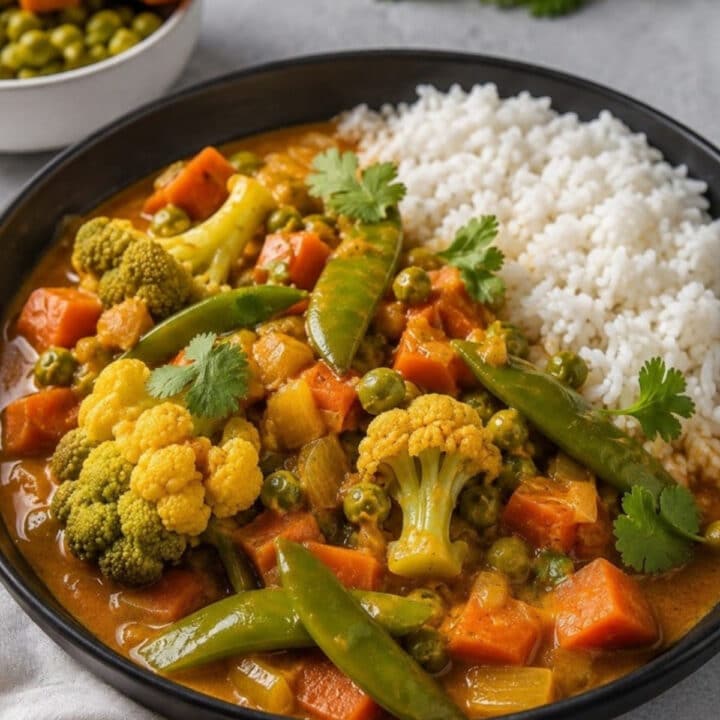
Whoever said that a hearty, flavorsome curry needs hours of simmering and a pantry full of exotic spices clearly hasn't tried my Quick & Easy Vegetable Curry! A bag of frozen vegetables, a can of chickpeas and creamy coconut milk come together in a fragrant, gently spiced sauce, and dinner is on the table in about 15 minutes.
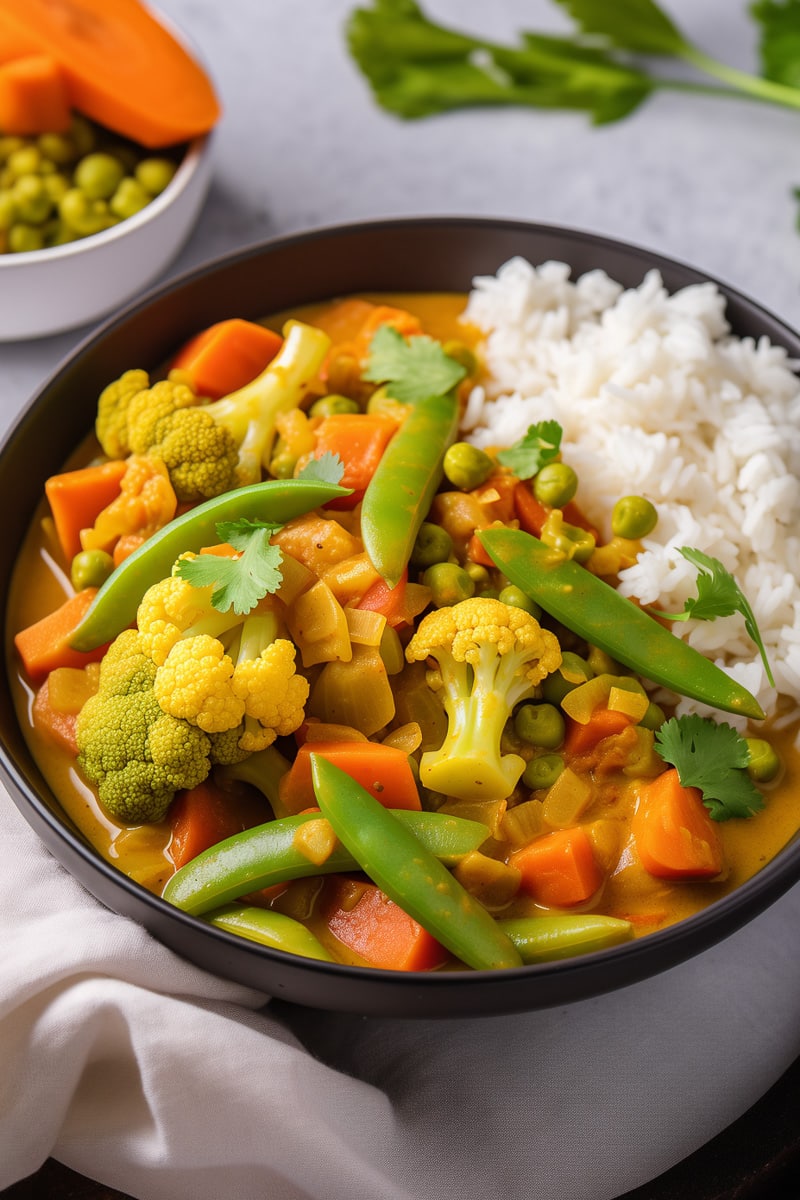
This curry is the dish you turn to on those frantic weeknights when the fridge is half-empty, the family is hungry, and time is of the essence. Ready in just 15 minutes, thanks to the help of some frozen veggies, it's like a little weeknight magic trick. Now you see an empty kitchen, now you don't!
This Quick & Easy Vegetable Curry is...
- Unbelievably fast. Ready, set, curry in just 15 minutes!
- Surprisingly simple. It uses ingredients you likely have on hand already.
- Comfort food. Each spoonful is like a warm, spice-infused embrace.
- Versatile. Have some extra veggies or tofu? Toss them in! This recipe is easy to customize.
Key Ingredients & Substitutions
- Frozen vegetables. I love the classic mix of carrots, peas, corn, and green beans, but literally any frozen veggie blend will do, so pick your own favorite. There's no need to thaw them first; they go straight from the freezer into the pan.
- Curry powder. This is the most important of the spices in this recipe, so I recommend choosing a high-quality curry powder for the best flavor. Blends vary a lot in heat and intensity, so taste and adjust. Garam masala works in a pinch, though it gives a warmer, less turmeric-forward flavor.
- Cumin, turmeric, garlic and ginger. These build on the curry powder and give the sauce real depth. If you don't have fresh ginger, use ¼ teaspoon of ground ginger and add it with the other spices.
- Coconut milk. This brings creaminess and lots of flavor. Full-fat canned coconut milk gives the richest sauce. Light coconut milk works if you'd like something lighter, and for a coconut-free version, use a creamy unsweetened oat milk or cashew cream (both are covered in the variations below).
- Chickpeas. A can of chickpeas turns the curry into a filling one-pot meal and adds plant protein. White beans, lentils or cubed tofu are all good swaps.
- Vegetable broth. Note that vegetable broth brands can vary pretty wildly in terms of saltiness. So be sure to taste your curry at the end, and adjust the salt accordingly. You may find that no extra salt is needed at all, or you may want to add quite a bit!
Which Vegetables Work Best (Fresh vs. Frozen)
Frozen vegetables are the secret to the 15-minute timing. They're already washed, chopped and blanched, so they only need a few minutes in the simmering sauce to become tender. A classic mix of carrots, peas, corn and green beans is great, and so are frozen cauliflower florets, broccoli, cut spinach, edamame, bell pepper strips or a "stir-fry" blend. Frozen vegetables are picked and frozen at their peak, so they're a genuinely good choice here, not just a shortcut.
Fresh vegetables work too; they just take a little longer. Cut everything into small, even pieces so it cooks at the same rate. Add the sturdiest vegetables first (diced potato, sweet potato, carrot or cauliflower), let them simmer for about 8 minutes, and then add quicker-cooking ones such as zucchini, bell pepper, green beans or peas. Tender greens like spinach go in at the very end. Expect the total cooking time to stretch to 20 to 25 minutes, depending on what you use.
Whichever you choose, aim for about 3 cups of vegetables for one can of coconut milk. Much more than that and the sauce gets thin and the flavors get diluted.
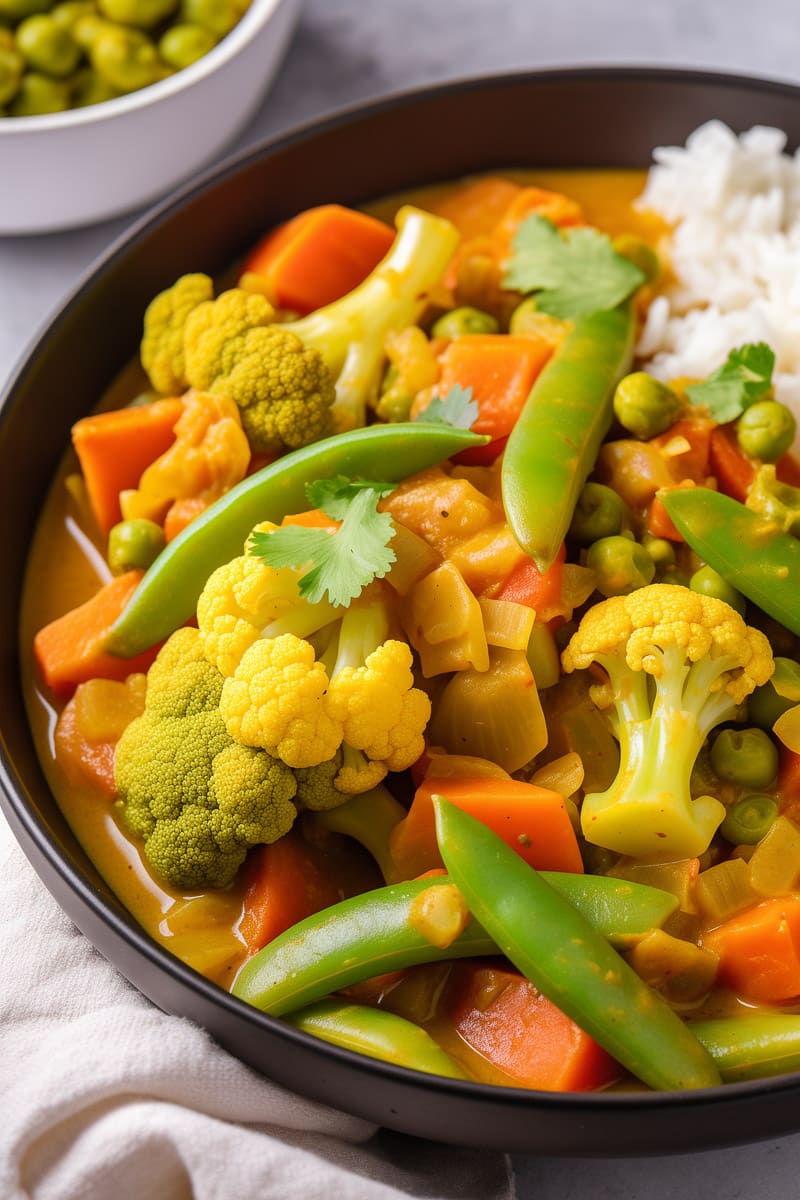
Helpful Tips
Don't be shy with the curry powder. If your curry powder is on the mild side, don't be shy to add a bit more than called for. You measure that stuff with your heart.
Bloom the spices. Cooking the curry powder, cumin and turmeric in the oil for a full minute before adding the liquid wakes up their flavor. Stir constantly so they don't scorch; if the pan looks dry, add a splash of broth.
Use a wide pan. A large, deep skillet or sauté pan gives the sauce more surface area, so it comes back to a simmer quickly after the frozen vegetables go in and reduces a little as it cooks.
Adjust the thickness at the end. If the sauce is thinner than you'd like, let it simmer uncovered for a few extra minutes or mash a few of the chickpeas against the side of the pan. If it's too thick, loosen it with a splash of broth or water.
Finish with acid. A squeeze of lime juice right before serving brightens all the warm spices and balances the richness of the coconut milk. Taste again after adding it, and then adjust the salt.
Make It Your Own
- Chickpeas, or not. Chickpeas are already in the recipe, but you can double them for an extra-hearty curry, or swap in white beans, kidney beans or a cup of cooked lentils. Leave them out entirely for a lighter vegetable side dish.
- Protein power-up with tofu. Toss in some pan-fried tofu or tempeh for an extra protein punch. Cube extra-firm tofu, brown it in a separate pan, and stir it in at the end so it stays crisp. For more ideas, see our family-friendly tofu recipes or these easy curried sweet potatoes and tofu.
- Coconut milk swaps. Light coconut milk gives a thinner, lighter sauce. For a coconut-free curry, use 1 cup of creamy unsweetened oat milk or cashew cream plus an extra ½ cup of broth, or stir in a can of crushed tomatoes for a tomato-based curry.
- Spice level. As written, this curry is mild and kid-friendly. For more heat, add a pinch of cayenne or red pepper flakes with the spices, a sliced green chili with the garlic, or use a hot curry powder. Serve chili sauce on the side if some at the table like it milder.
- Add fresh greens. Stir in a couple of handfuls of baby spinach or shredded kale in the last minute of cooking for extra nutrients. And it looks gorgeous too!
- Make it sweeter. For a sweeter curry, try adding a dash of maple syrup or agave syrup, or a handful of golden raisins.
Serving Suggestions
Serve this curry hot with a side of fluffy basmati rice to soak up the sauce, or dress it up with our lemon-flavored rice with vegetables. Quinoa or couscous make a tasty twist, and cauliflower rice is a good lower-carb option.
It's also delicious with flatbreads for scooping, like roti, vegan naan bread or our homemade chapati. Round out an Indian-inspired spread with our masala lentils or Madras lentils, plus a spoonful of minty apple-apricot chutney.
I like to garnish my curry with some chopped fresh cilantro and some lime wedges, a classic combo. But this would also be great topped with chopped peanuts or cashews, sliced red onion, a dollop of plain vegan yogurt, or lemon instead of lime.
Storing & Freezing
Store this vegetable curry in an airtight container in the refrigerator for 3 to 4 days. Like most curries, it tastes even better the next day as the flavors meld, which makes it a great make-ahead lunch. To serve again, simply reheat over medium heat on the stovetop, adding a splash of broth or water if the sauce has thickened.
The curry can be frozen for up to 3 months, though the vegetables will be a little softer and the coconut milk may separate slightly once thawed. A good stir while reheating brings the sauce back together. Thaw it overnight in the fridge and reheat gently on the stovetop. For the best texture, freeze the curry without rice and cook the rice fresh when you serve it.
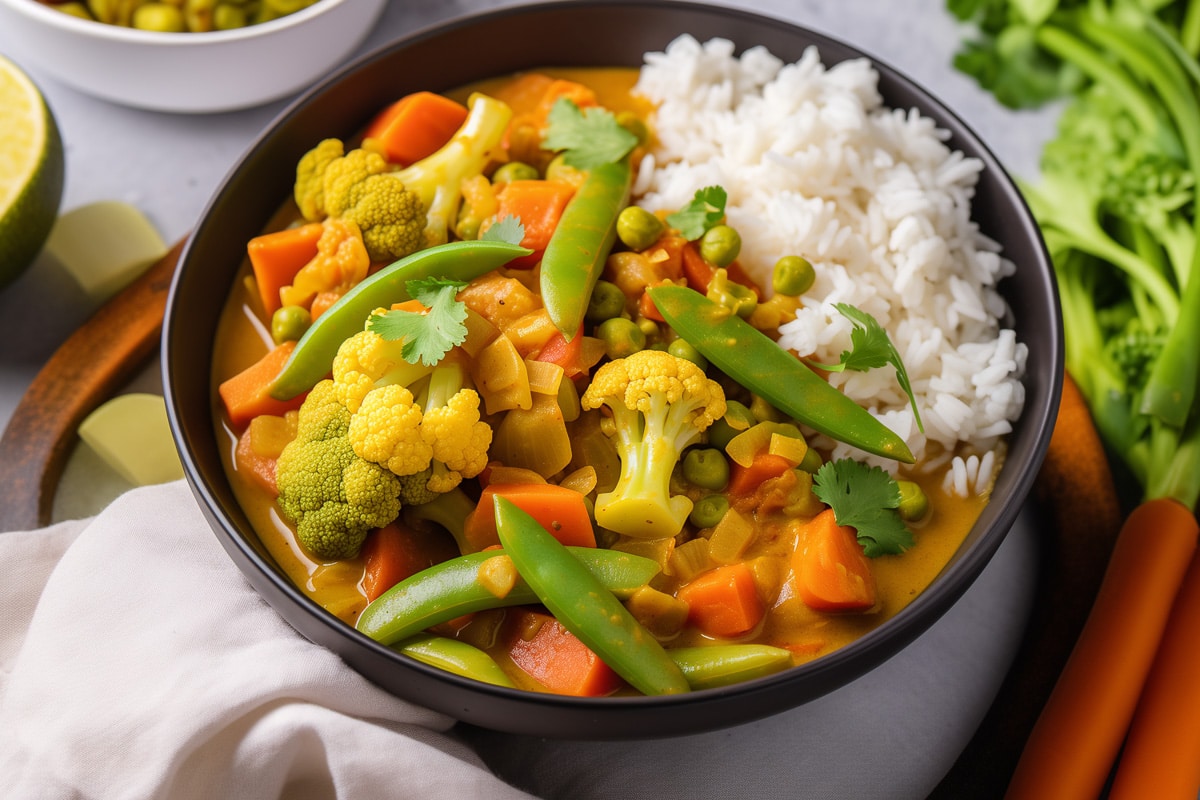
Made this curry? I'd love to hear how it turned out and which vegetables you used! Please leave a star rating in the recipe card below, and share your tweaks in the comments.
More Easy Vegan Indian Recipes
If you love this quick and easy vegetable curry, be sure to check out these other delicious vegan recipes:
Recipe

15-Minute Vegetable Curry (with frozen veggies!)
This 15-minute vegetable curry turns a bag of frozen veggies, a can of chickpeas and creamy coconut milk into a fragrant, warmly spiced weeknight dinner. Serve it over basmati rice or with warm naan.
Print
Pin
Save
Servings: servings
Ingredients
- 2 tablespoons coconut oil
- 1 small red onion finely chopped
- 2 cloves garlic minced
- 1 inch piece of ginger grated
- 1½ tablespoons good-quality curry powder adjust according to taste
- 1 teaspoon ground cumin
- ½ teaspoon turmeric powder
- 1 (14-ounce) can coconut milk full-fat for the creamiest sauce
- 1 cup vegetable broth
- 3 cups mixed frozen vegetables such as carrots, peas, corn, and green beans
- 1 (15-ounce) can chickpeas drained and rinsed
- Salt and pepper to taste
- Fresh cilantro and lime wedges for serving
Instructions
- Heat 2 tablespoons of coconut oil in a large skillet over medium heat. Sauté 1 small chopped red onion for about 3 minutes until soft. Then, add 2 minced garlic cloves and 1-inch grated ginger, cooking for another minute until fragrant.
- Stir in 1½ tablespoons of curry powder, 1 teaspoon of ground cumin, and ½ teaspoon of turmeric. Cook for 1 minute to release the flavors.
- Pour in a 14-ounce can of coconut milk and 1 cup of vegetable broth, mixing well.
- Add 3 cups of mixed frozen vegetables and a 15-ounce can of drained and rinsed chickpeas. Bring to a simmer, then reduce the heat to maintain a gentle simmer.
- Let the curry cook for about 8-10 minutes, or until the vegetables are tender.
- Season with salt and pepper to taste.
- Serve hot, garnished with fresh cilantro and a squeeze of lime juice. This curry goes well with rice or flatbread.
Notes
Using fresh vegetables: cut them into small, even pieces and add sturdier ones (carrots, potatoes, cauliflower) first. Simmer a few minutes longer, until tender.
Spice level: this version is mild. Add a pinch of cayenne or a sliced green chili with the garlic for more heat.
Storage: keeps 3 to 4 days in the fridge and up to 3 months in the freezer.
Nutrition (Estimate per Serving)
Calories: 424kcalCarbohydrates: 35gProtein: 10gFat: 31gSaturated Fat: 25gPolyunsaturated Fat: 1gMonounsaturated Fat: 2gSodium: 489mgPotassium: 701mgFiber: 10gSugar: 2gVitamin A: 7095IUVitamin C: 18mgCalcium: 99mgIron: 7mg
Vegan-ize any recipe!Grab our free vegan cheat sheet, packed with my favorite easy substitutions to make any recipe vegan.
Sweet Potato Lentil Soup (Vegan & Vegetarian)

This Sweet Potato Lentil Soup is loaded with healthy flavor from hearty sweet potatoes, protein-packed lentils, and fresh tomatoes. Plus it's vegetarian, vegan, and ready in under an hour!
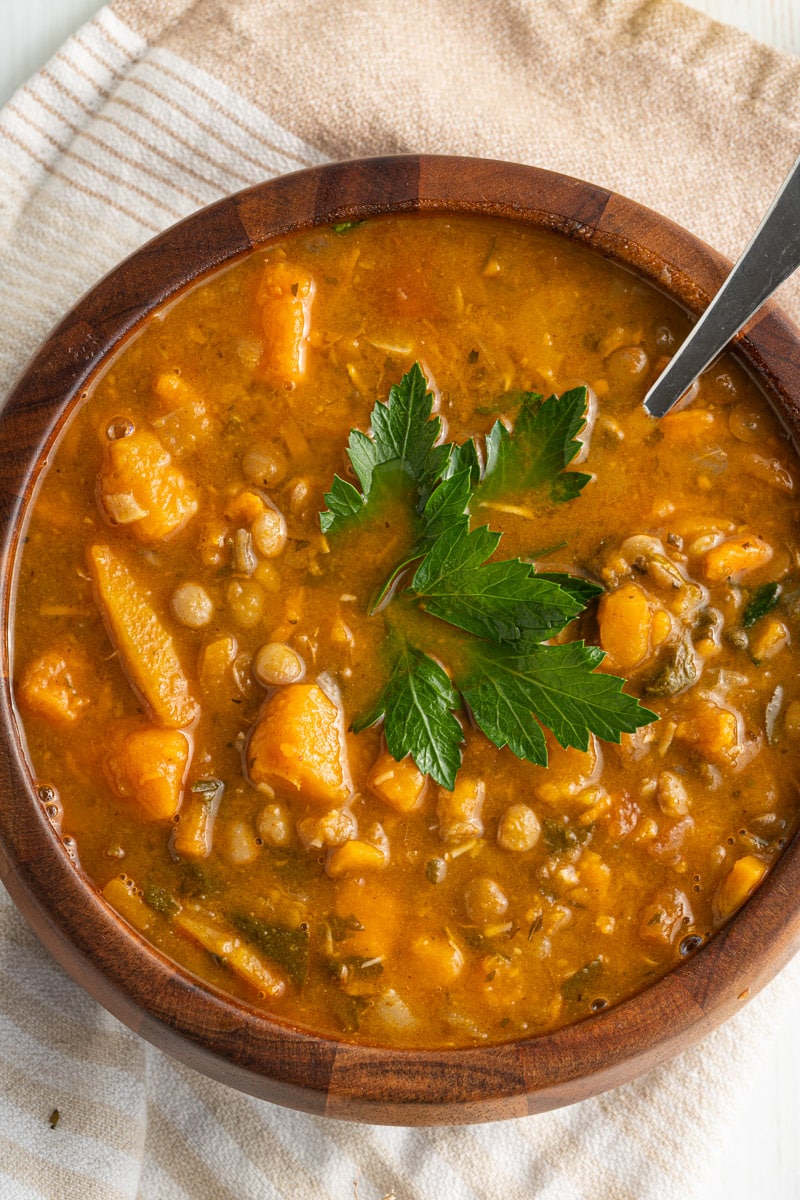
This vegan soup is one you can make and use to meal prep for lunches and dinners. Learn how easy it is to make this sweet potato soup.
Another delicious soup is this sweet potato chili, it is loaded with flavor. You might also want to try out my vegan stew. For a tasty side to pair with your soup try my quinoa bread rolls.
This Sweet Potato Lentil Soup Recipe Is...
- Vegan
- Vegetarian
- Dairy Free
- Nutrient Rich
- Meal Prep Friendly Recipe
Key Ingredients & Substitutions
- Dry lentils. Brown or green lentils (like these Palouse brown lentils) are the best choice here because they soften fully in about 30 minutes but still hold their shape. There's no need to soak them; just rinse and pick them over for any small stones. French green lentils stay a little firmer, while red lentils break down into a thicker, almost creamy soup and are usually tender in 15 to 20 minutes.
- Sweet potato. One large sweet potato, about a pound, gives the soup its body and natural sweetness. Cut it into small, even cubes so it cooks in the same time as the lentils. A few pieces will soften and melt into the broth, which thickens it nicely. Butternut squash or pumpkin works as a swap.
- Carrots, onion, and garlic. This is the flavor base of the soup. Sautéing the carrots first gives them a little color and a deeper, sweeter flavor before everything else goes in.
- Tomatoes. Two fresh chopped tomatoes add brightness and a touch of acidity to balance the sweet potato. When tomatoes are out of season, use one 14.5-ounce can of diced tomatoes with their juices instead.
- Vegetable broth. Six cups of broth make a brothy, spoonable soup. Low-sodium broth is the safer bet, since the recipe also adds salt; you can always season more at the end. If you need the soup to be gluten-free, check the broth label.
- Smoked paprika, oregano, and bay leaves. Smoked paprika gives the soup a gentle, smoky warmth, dried oregano adds an earthy herbal note, and bay leaves round out the broth as it simmers. Fish the bay leaves out before serving.
- Spinach and parsley. Fresh spinach wilts right into the soup and adds color and nutrients, and fresh parsley keeps the flavor bright. Frozen spinach works too; use about half a cup, thawed and squeezed dry.
How to Make Lentil and Sweet Potato Soup
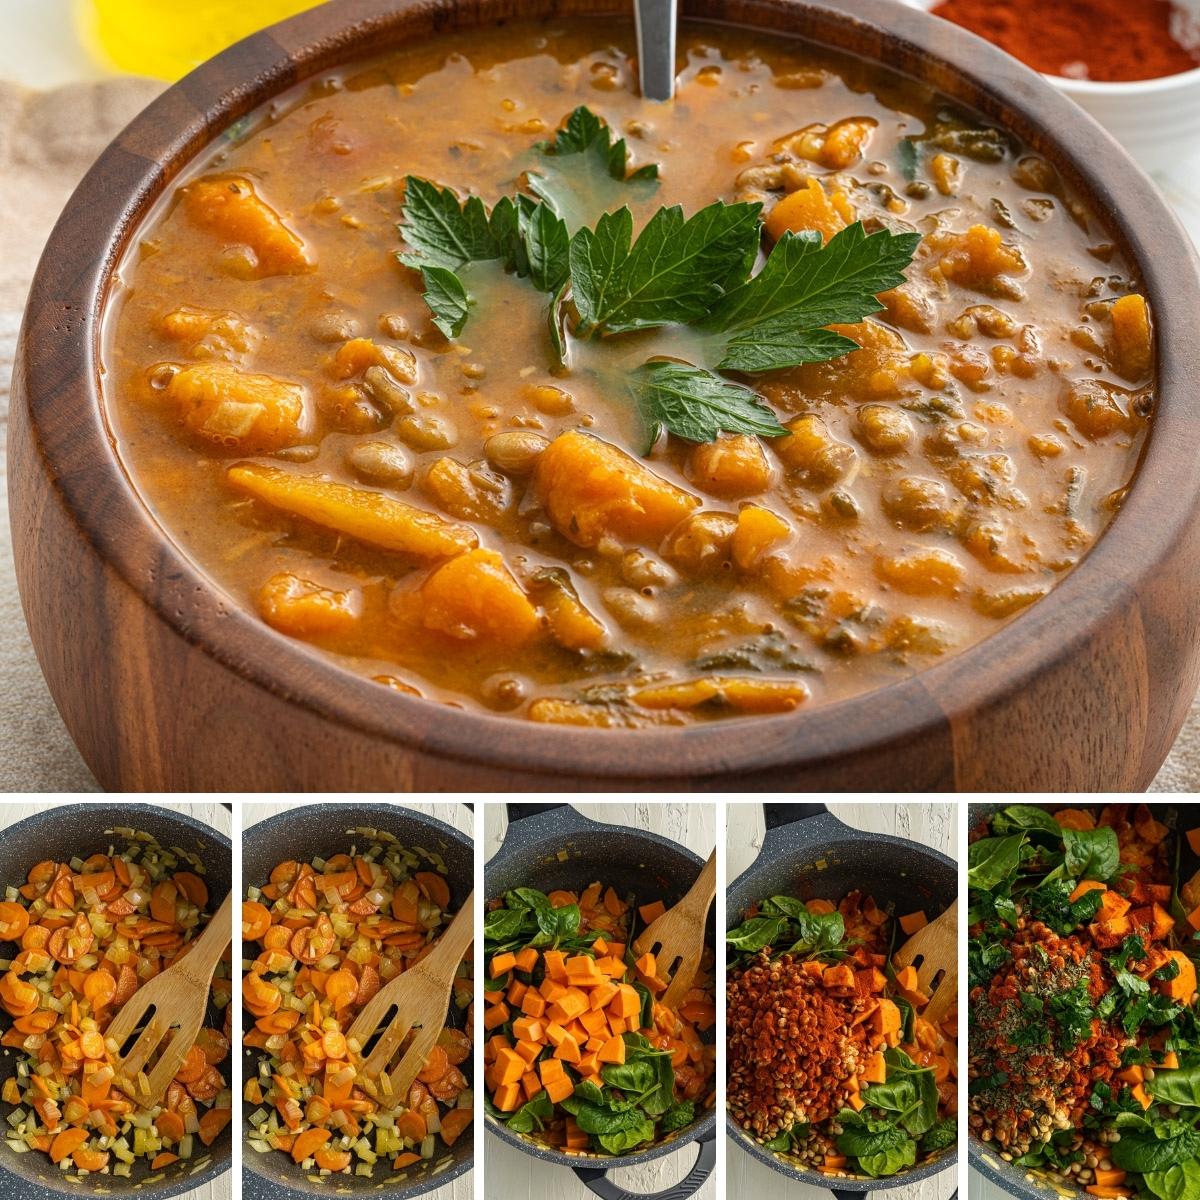
Full directions for this vegan lentil soup are in the printable recipe card at the bottom of the post. This is a quick walk through.
- Start by heating oil in a pot on the stove. Add in the carrots and saute till they are softened.
- Then add in the onion and garlic cooking until the onions are transluscent.
- Next add in the tomatoes and bay leaves and cook for a few minutes.
- Add in remaining ingredients, and bring the soup to a boil. Then reduce and simmer for 30 minutes or until the potatoes are fork tender.
- Serve and enjoy.
Helpful Tips for Sweet Potato Lentil Soup
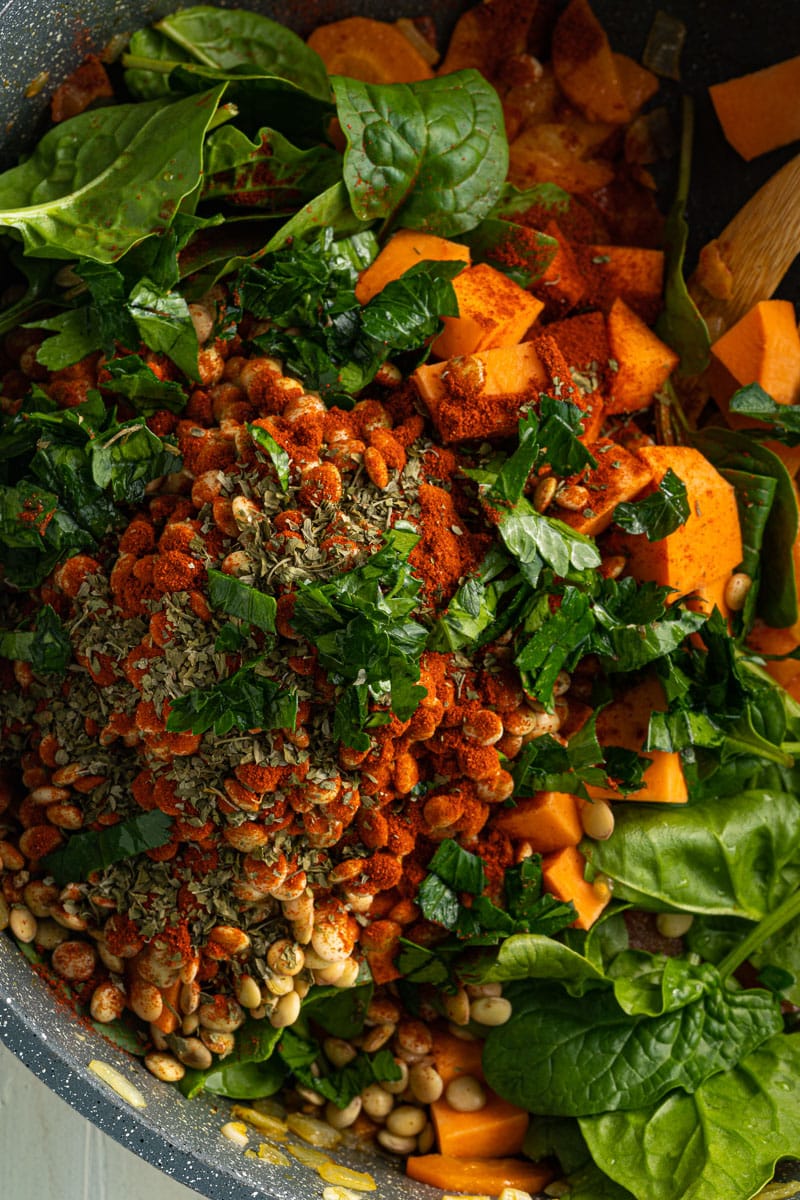
Heavy Duty Pot
I recommend using a heavy duty pot like a Dutch oven as it will create an even heating on the soup. If you use a lighter pot you will find that hot spots can be created and the overall doneness of the soup can vary.
Cutting Up Vegetables
Aim to cut up your vegetables into bite-size pieces. It is also important to cut your vegetables into evenly cut pieces. That way all the potatoes and carrots are cooked evenly.
Variations To Sweet Potato Lentil Soup
Add More Spices and Herbs
As you can see I used just a handful of spices and herbs for this recipe. Feel free to adjust the spices to fit your flavor preference if you would like. This would also be delicious with some garam masala or curry powder, or some chili powder for extra spice. If you love those Indian-inspired spices, you'll also enjoy our vegan chana masala, our easy vegan dal tadka, or our Madras lentils.
Mix up the Vegetables
You are welcome to use any vegetables of your choosing to flavor your soup. You could peel and dice up a Russet or Yukon Gold potato. Or add in some corn or other vegetables to add more flavor. Use whatever is in season!
Try Kale
Instead of using spinach you could swap with kale. I prefer the flavor of spinach, but kale is a wonderful substitute and also super nutritious.
Serving Ideas
With lentils for protein and sweet potatoes for heartiness, this soup is filling enough to be dinner on its own. A slice of bread for dipping makes it complete: try it with warm focaccia bread, a wedge of easy vegan cornbread, or a couple of fluffy vegan biscuits.
For a lighter meal, pair a smaller bowl with a crisp green salad tossed in a 5-minute vinaigrette. The tangy dressing is a nice contrast to the sweet, smoky soup. Finish each bowl with a squeeze of lemon, a drizzle of good olive oil, extra chopped parsley, or a pinch of red pepper flakes if you like some heat.
If you're making it for meal prep, spoon the soup over a scoop of cooked brown rice or quinoa to stretch it into an even heartier lunch. Keep in mind that the lentils keep absorbing liquid in the fridge, so add a splash of broth or water when you reheat it.
Sweet Potato Lentil Soup FAQs
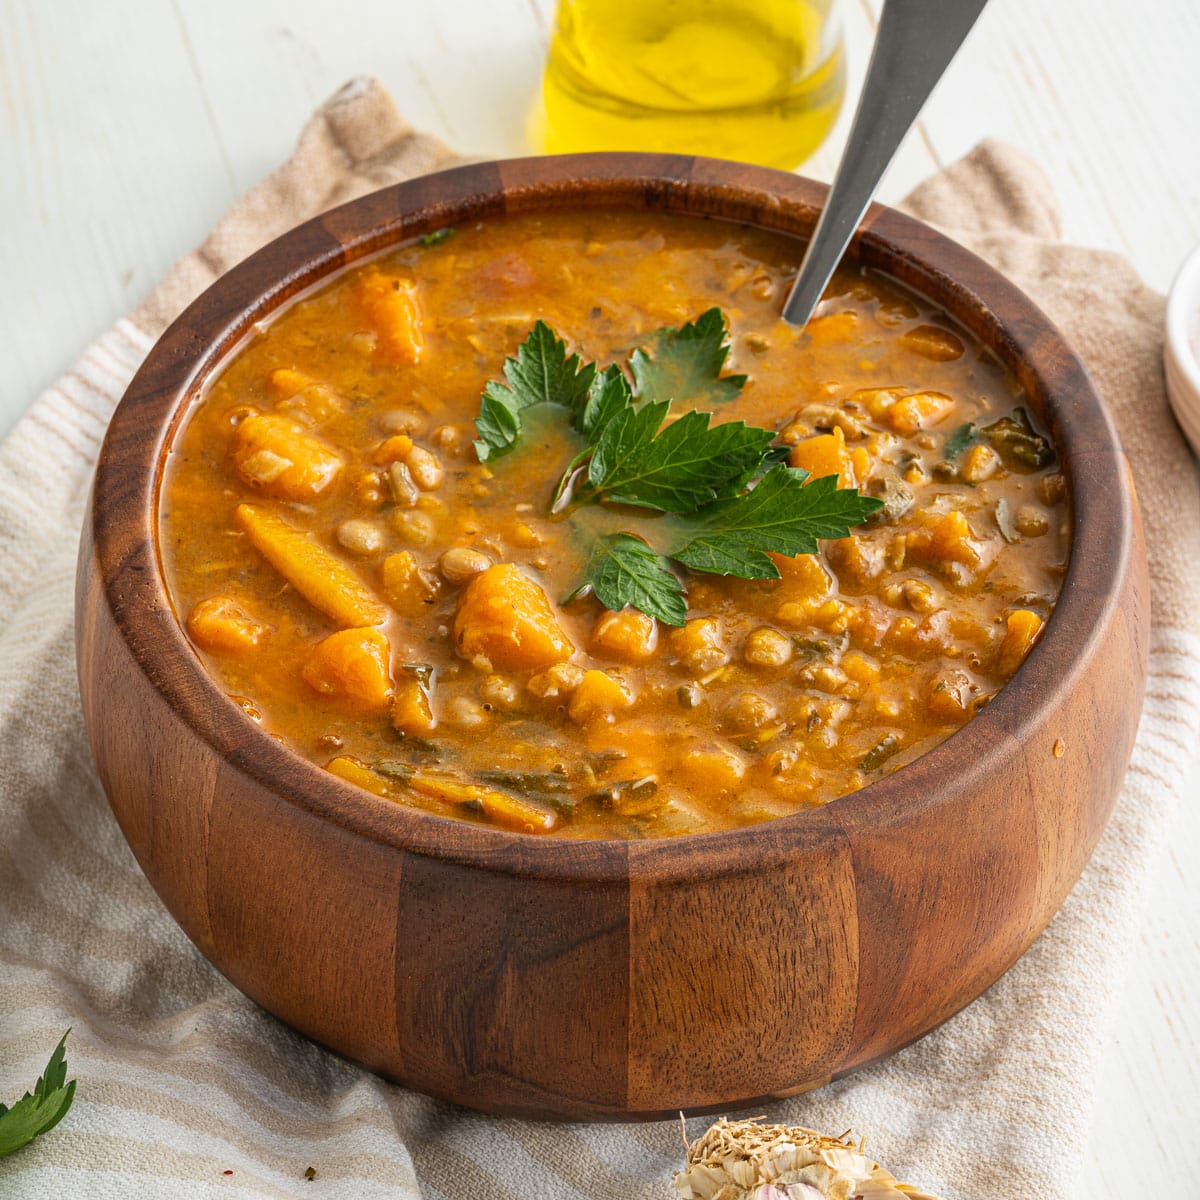
How to make the soup creamier?
You can take out some of the soup and blend it up to puree it. This will then be poured back into the pot and stir to thicken. Or you can add in some coconut milk to add a creamy texture to the soup if you want.
How to store the sweet potato lentil soup?
This soup can be stored in the fridge in an airtight container for up to a week. This soup is wonderful for meal prepping for lunches or dinners.
Best way to warm up lentil and sweet potato soup?
You can warm it up in the microwave or even on the stovetop in a pan. Just heat on low heat and stir often or it will burn.
More Tasty Recipes
If you love this Lentil Sweet Potato Soup, be sure to check out these other delicious recipes:
- Old Fashioned Vegan Stew
- Vegan Sweet Potato Casserole
- Sweet Potato Black Bean Chili
- Okra Masala Bindi Bhaji
- Masala Lentils Sabut Masoor
Recipe

Sweet Potato Lentil Soup (Vegan & Vegetarian)
This hearty sweet potato lentil soup is packed with tender lentils, sweet potatoes, carrots, tomatoes, and spinach in a smoky, herby broth. It's a cozy, protein-rich vegan meal that's perfect for meal prep.
Print
Pin
Save
Servings: servings
Ingredients
- 1 cup dry lentils rinsed and drained
- 1 yellow onion peeled and finely chopped
- 1 sweet potato large, peeled and chopped into small cubes
- 2 carrots peeled and sliced
- 6 cups vegetable broth
- 2 tablespoon olive oil
- 3 garlic cloves minced
- 1 cup fresh spinach roughly chopped
- 2 tomatoes chopped
- ½ teaspoon smoked paprika
- 4 bay leaves
- 1 teaspoon salt
- ½ teaspoon ground black pepper
- 1 teaspoon dried oregano
- ¼ cup fresh parsley chopped
Instructions
- Heat the olive oil in a large, heavy pot over medium heat. Add the sliced carrots and sauté until slightly golden and softened, about 4-5 minutes.
- Add the onion and garlic and cook for another 4-5 minutes, stirring often, until the onion is soft and translucent.
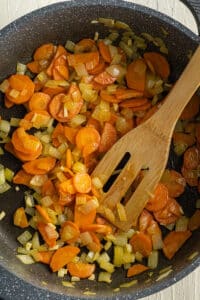
- Add the chopped tomatoes and bay leaves. Cook for 3-5 minutes, until the tomatoes begin to break down.
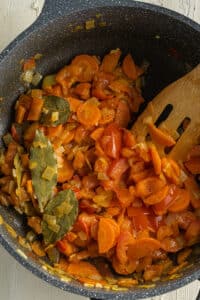
- Add the sweet potato, spinach, rinsed lentils, smoked paprika, dried oregano, salt, black pepper, parsley, and vegetable broth. Stir to combine.
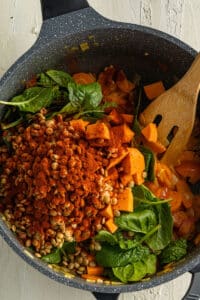
- Bring the soup to a boil, then reduce the heat to low and simmer, partially covered, for 30 minutes, or until the lentils and sweet potatoes are tender.

- Remove and discard the bay leaves. Taste and adjust the salt and pepper, then serve hot.
Notes
- Lentils: Brown or green lentils hold their shape best. Red lentils cook faster (usually 15 to 20 minutes) and break down into a thicker soup.
- Broth and salt: Low-sodium vegetable broth is recommended; taste and adjust the salt at the end. For a gluten-free soup, use a certified gluten-free broth.
- Creamier soup: Blend 1 to 2 cups of the soup and stir it back in, or add a splash of coconut milk.
- Tomatoes: One 14.5-ounce can of diced tomatoes with their juices can replace the fresh tomatoes.
- Freezing: Cool completely and freeze in airtight containers for up to 3 months. Thaw overnight in the fridge and reheat with a splash of broth or water, since the lentils thicken the soup as it sits.
Nutrition (Estimate per Serving)
Calories: 342kcalCarbohydrates: 55gProtein: 15gFat: 8gSaturated Fat: 1gPolyunsaturated Fat: 1gMonounsaturated Fat: 5gSodium: 2059mgPotassium: 1020mgFiber: 19gSugar: 11gVitamin A: 15552IUVitamin C: 24mgCalcium: 94mgIron: 5mg
Vegan-ize any recipe!Grab our free vegan cheat sheet, packed with my favorite easy substitutions to make any recipe vegan.
Easy Vegan Coleslaw
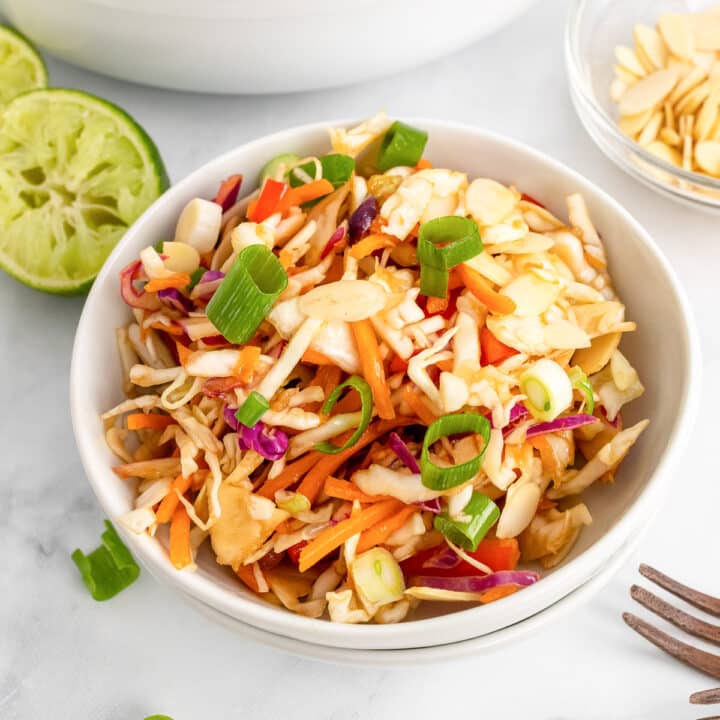
This easy vegan coleslaw is the ultimate side dish to serve up. Loaded with crisp cabbage, red bell pepper, carrots, and paired with a homemade coleslaw dressing. Top with crunchy slivered almonds and green onions.
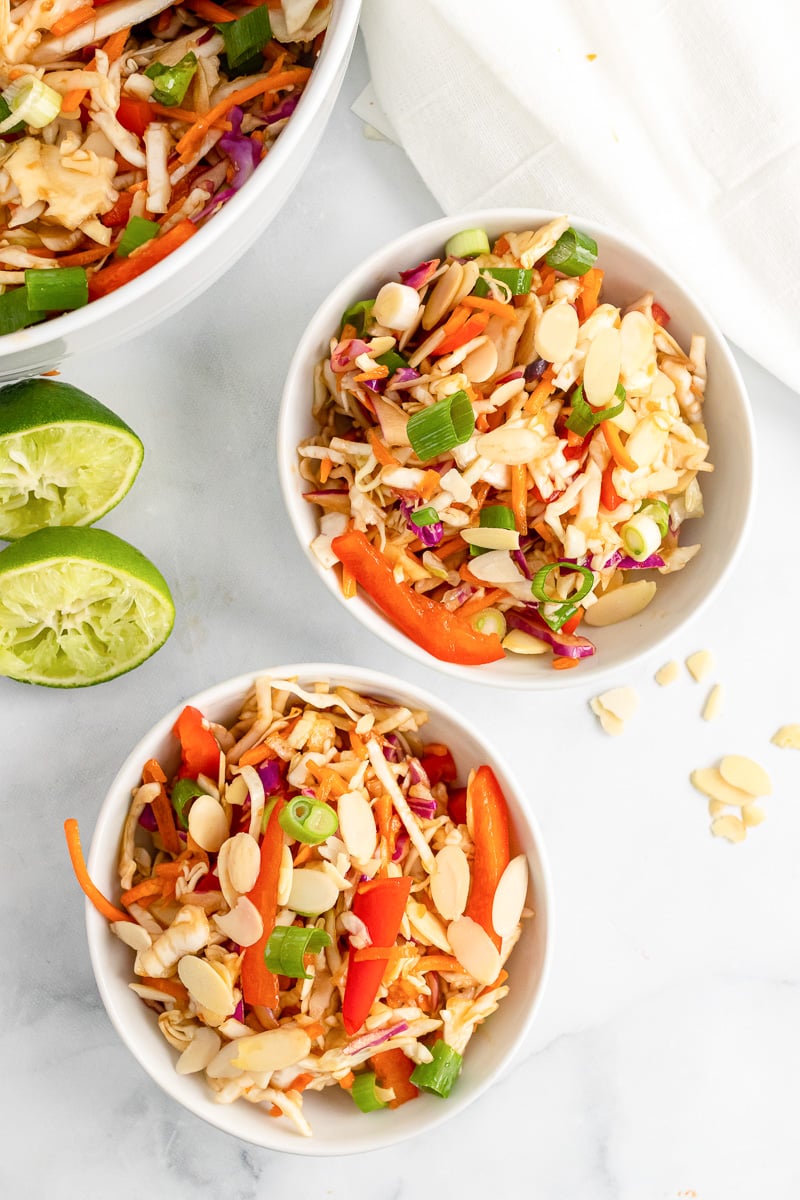
Whether you are needing a potluck side dish or weeknight side, this vegan coleslaw recipe is a must make. It is nutrient rich and loaded with flavor. Tangy, crunchy, and slightly sweet. A vegan side dish that won't disappoint.
An easy Asian coleslaw recipe that is going to win you over with one bite. Also check out my other slaw recipes. If you like sweet slaws this apple raisin slaw is popular as well.
This Vegan Coleslaw Recipe Is...
- Made without mayo
- Vegan
- Vegetarian
- Naturally Gluten Free
- Crunchy
- Homemade Coleslaw Dressing
How to Make Vegan Coleslaw
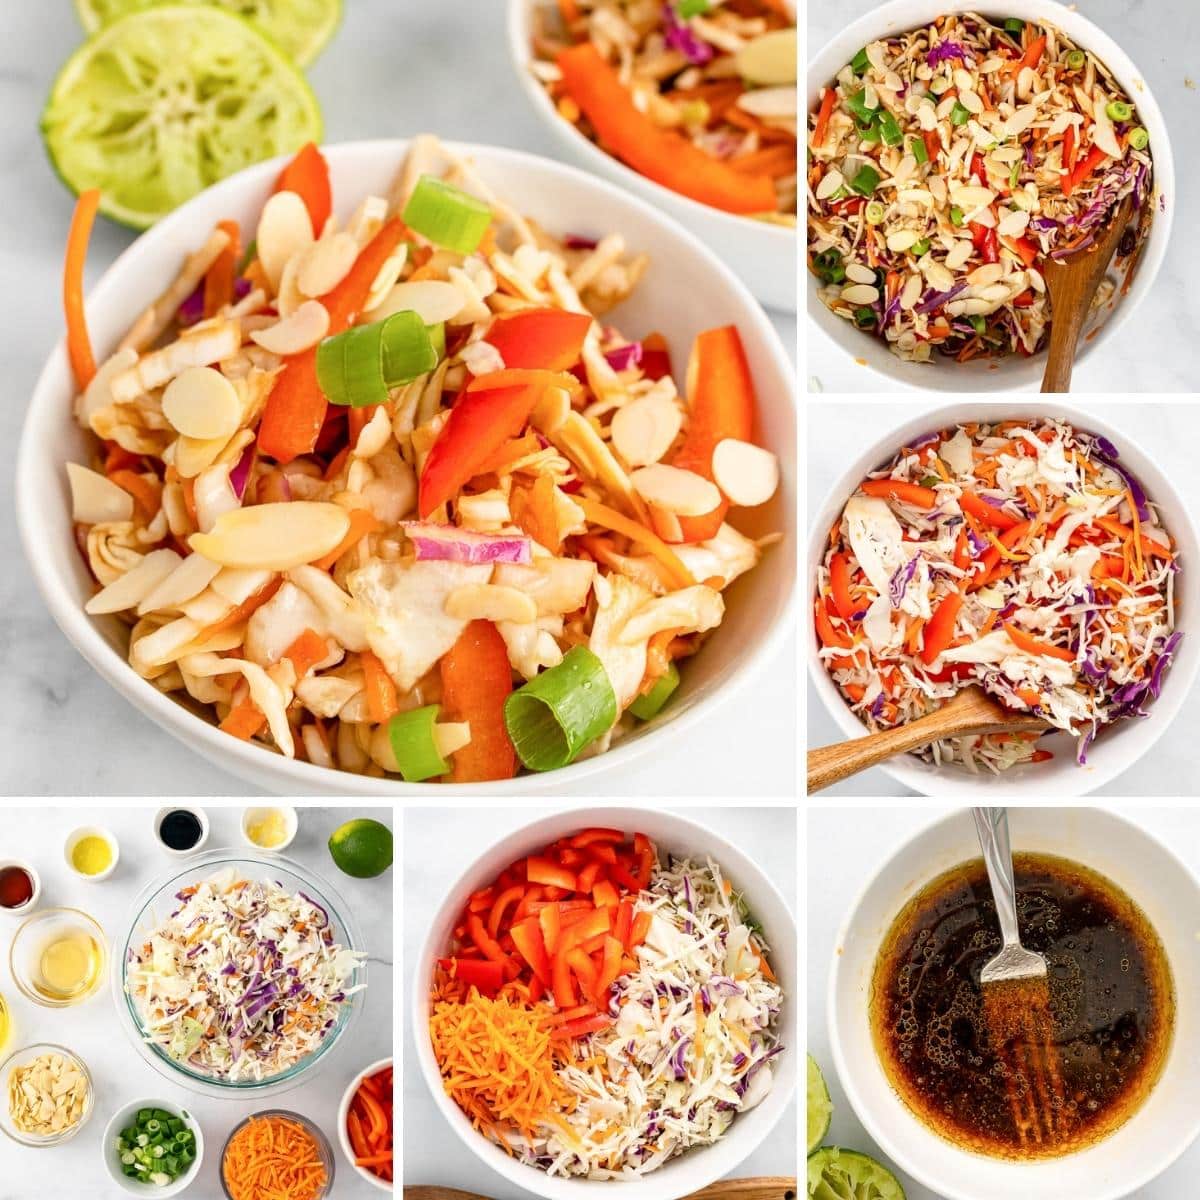
Full steps on how to make this vegan coleslaw is featured in the printable recipe card at the bottom of the post. This is a quick walk through on how it is made.
- Grab a mixing bowl and add your coleslaw, red bell pepper and carrots. Then you you will toss to mix the ingredients together.
- Next you will grab a small bowl and add all the ingredients in the dressing, and whisk well. Once it is creamy and no clumps it is mixed enough.
- Pour the dressing on top of the cabbage mixture and toss to coat all the ingredients.
- If you want top with slivered almonds and green onions right before serving.
Helpful Tips For Vegan Coleslaw Recipe
Chop Vegetables Small
You will want to chop your vegetables into bite size pieces. If the pieces are too large it will make it harder to eat the salad. If you find your coleslaw mix is in too big of pieces you can chop it down as well.
Marinate Slaw
If you want you can marinate the coleslaw for 2-3 hours before you serve it. This will help enhance all the flavors and help break down the coleslaw a bit. You can eat it without chilling first, but it will add more flavor.
Whisk
I do recommend using a whisk for mixing up the dressing. I find it helps to remove any clumps that are in the dressing, and really incorporates all the seasonings and oils.
Variations to Vegan Coleslaw
Vinegar
If you don't have a rice vinegar you can use a white wine vinegar. It will alter the flavor a bit but it won't be that noticeable.
Soy Sauce
If you are worried about the sodium, you can use a low sodium sauce. Simply use the same amount the 1 tablespoons.
Cranberries or Raisins
If you do want to add sweetness to the coleslaw, just add in ¼ cup of raisins or dried cranberries for the salad.
Vegan Coleslaw FAQs
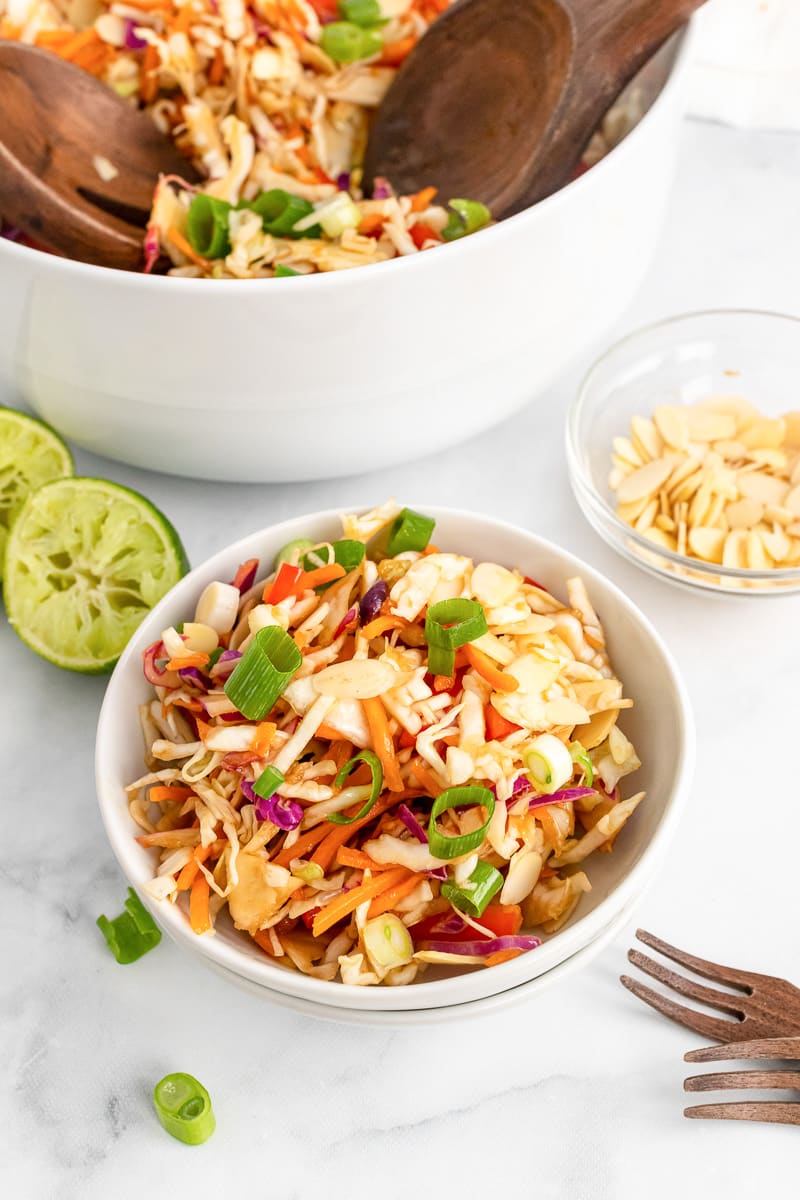
Can I use fresh cabbage instead of coleslaw mix?
Grab a green cabbage and thinly slice it up and use instead of a bag of coleslaw mix. Depending on the size of the cabbage you might use some or all of the cabbage.
How long will this coleslaw last?
You can store this coleslaw in the fridge in an airtight container for 3-4 days. You will find with each day the vegetables will soften up a bit. I do recommend eating it within the first 2 days of it being made.
Can you freeze coleslaw?
Unfortunately you can't freeze the coleslaw. The vegetables would become very mushy once it is thawed from being frozen. So I recommend only making what you plan to eat.
Recipe

Easy Vegan Coleslaw
This tasty vegan coleslaw is loaded with fresh veggies, easy to make in just a few minutes, and tossed with a delicious sweet and savory dressing. Perfect for summer!
Print
Pin
Save
Servings: servings
Ingredients
- 1 bag coleslaw mix shredded
- 1 red bell pepper thinly sliced
- 1 cup carrots shredded
For dressing:
- 2 tablespoons olive oil or sunflower oil
- 2 tablespoons seasoned rice vinegar
- 1 tablespoon sesame oil
- 1 tablespoon soy sauce or tamari
- juice of 1 lime
- 1 tablespoon ginger peeled and minced or use ginger paste
- 1 clove garlic peeled and minced
For topping:
- ¼ cup slivered almonds
- 1 pc green onion thinly sliced
Instructions
- In a large mixing bowl, toss together the coleslaw mix, red bell pepper, and carrots.
- In a separate small bowl, whisk together the olive oil, rice vinegar, sesame oil, soy sauce, lime juice, ginger, and garlic.
- Pour the dressing over the coleslaw mix and toss until the veggies are well coated.
- If desired, top the coleslaw with slivered almonds and green onions before serving.
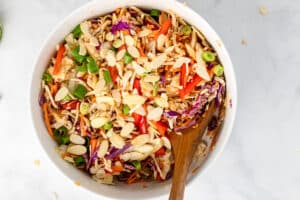
Notes
- If you prefer your vegan coleslaw more chilled, you can refrigerate for 2 hours before serving.
Nutrition (Estimate per Serving)
Calories: 94kcalCarbohydrates: 7gProtein: 2gFat: 7gSaturated Fat: 1gPolyunsaturated Fat: 2gMonounsaturated Fat: 4gSodium: 148mgPotassium: 213mgFiber: 3gSugar: 3gVitamin A: 3195IUVitamin C: 41mgCalcium: 40mgIron: 1mg
Vegan-ize any recipe!Grab our free vegan cheat sheet, packed with my favorite easy substitutions to make any recipe vegan.
Old-Fashioned Vegan Stew
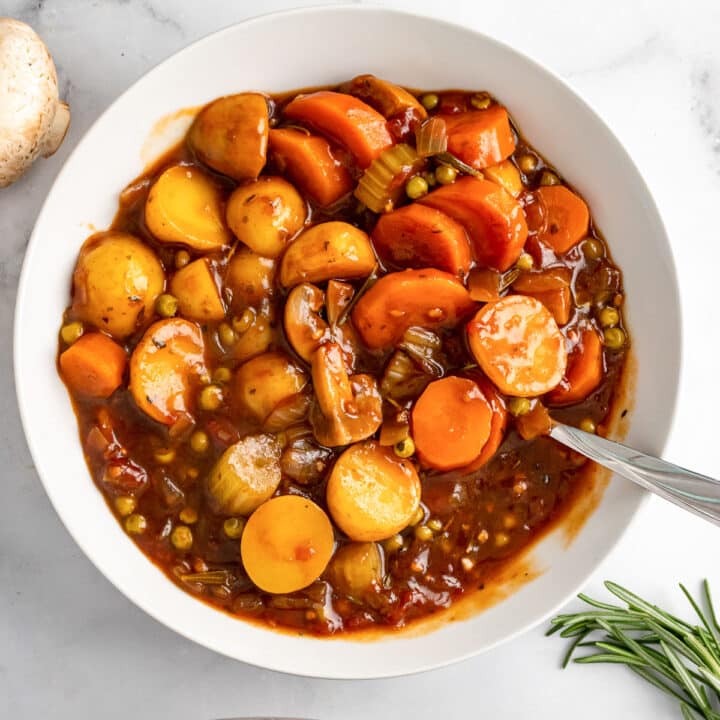
This Old-Fashioned Vegan Stew is thick, hearty, and comforting. It's loaded with tons of veggies and smothered in a thick, creamy, savory broth. This vegan stew is great for dinner and tastes delicious reheated the next day too.
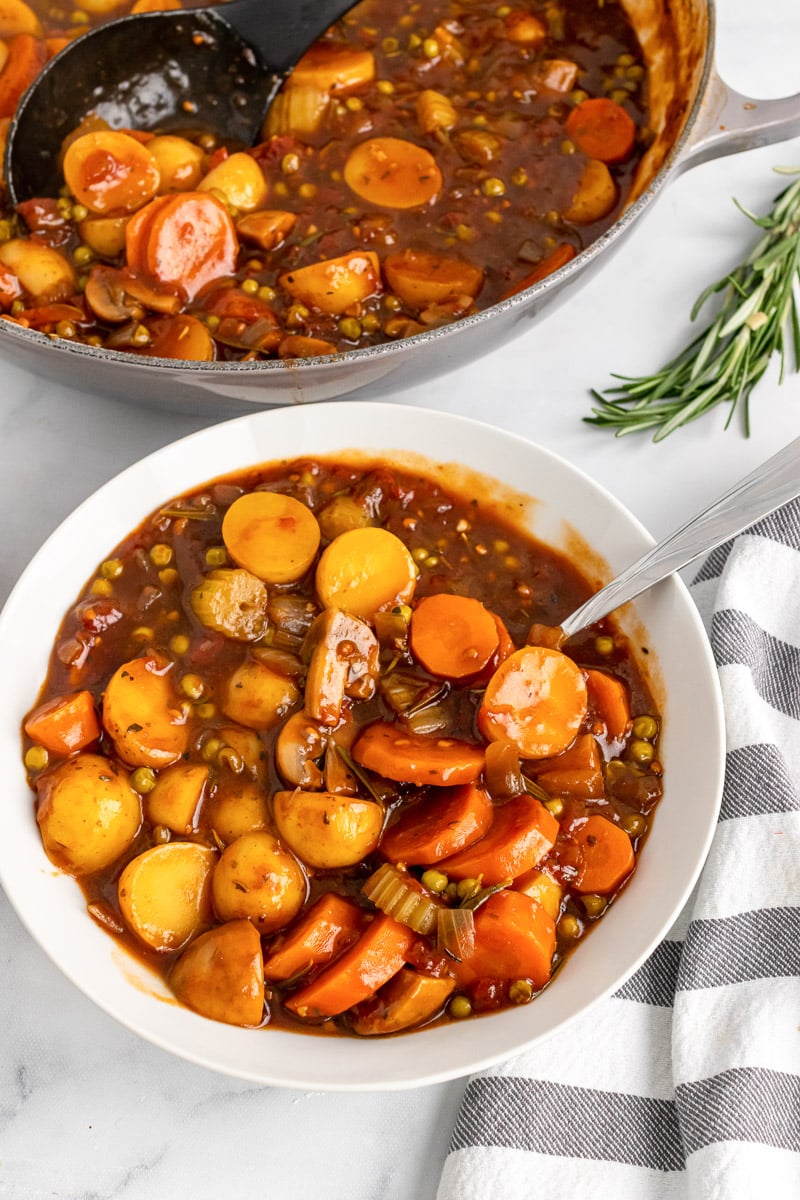
This vegan stew is loaded with carrots, celery, potatoes, mushrooms, peas, and more. This has quickly become one of my all time favorite vegan stews. Give it a try and let me know how you enjoy it!
This Old-Fashioned Vegan Stew recipe is...
- An old-fashioned classic stew
- Loaded with nutrient-rich veggies
- Thickened with a simple cornstarch slurry
- Made with flavorful fresh herbs
- Great for meal prepping
Key Ingredients & Substitutions
A good stew lives or dies by its broth. This one gets its deep, savory flavor from a few pantry ingredients that do the job beef usually does in a traditional stew: they add color, body, and plenty of umami.
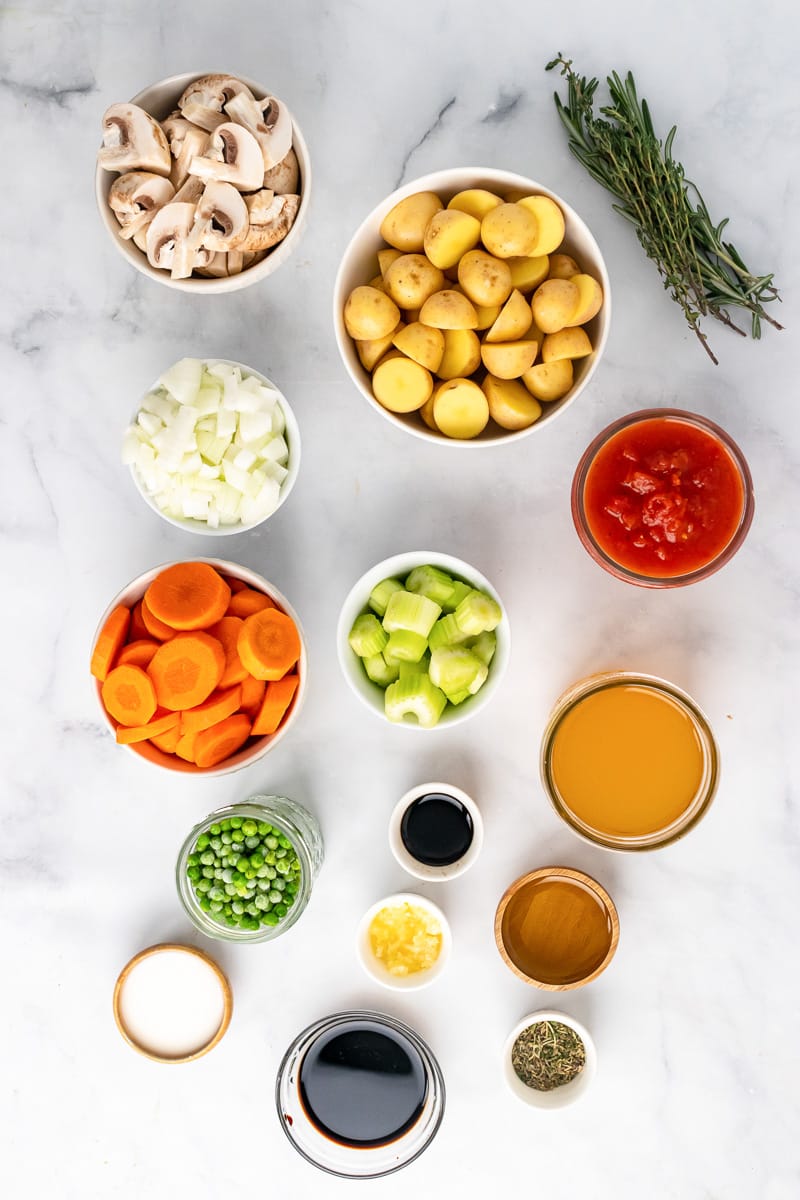
- Onion and garlic. Sautéing them in olive oil until soft and translucent builds the sweet, mellow base that everything else sits on. Don't skip this step or rush it.
- Soy sauce. This is the secret to the "beefy" flavor. It adds salt, deep color, and a big hit of umami. Use tamari or coconut aminos if you need the stew to be gluten-free or lower in sodium.
- Balsamic vinegar. A tablespoon adds a gentle sweetness and a little acidity that keeps the broth from tasting flat. Red wine vinegar works in a pinch.
- Diced tomatoes. Tomatoes give the broth its rich, reddish-brown color and more savory depth. For an even richer stew, stir in a tablespoon of tomato paste with the vegetables and let it cook for a minute before adding the liquid.
- Fresh rosemary and thyme. These are the classic stew herbs. If you only have dried, use about 1 teaspoon of each.
- Vegetable broth. Use a good-tasting broth, since it makes up most of the liquid. A mushroom broth or a spoonful of white or yellow miso stirred in at the end will make it taste even meatier.
- Mushrooms. White mushrooms are what's in the recipe, but cremini (baby bella) or chopped portobellos have more flavor and a meatier bite.
What to Use Instead of Beef
This stew is all about the vegetables, but if you're craving something closer to a classic beef stew, any of these make a great addition. Add one or two, not all of them at once.
- Extra mushrooms. Double the mushrooms and use cremini or thick-cut portobellos. Brown them well in a separate pan before adding them to the pot so they turn golden and chewy instead of soft.
- Soy curls. Butler Soy Curls are dried whole soybeans that turn tender and shreddy, a lot like stewed beef. Rehydrate about 1 ½ cups in warm broth for 10 minutes, squeeze them out, and brown them in a little oil and soy sauce before stirring them in.
- Seitan. Store-bought or homemade seitan has the chewiest, most "meaty" texture of any option. Cut it into bite-size chunks, brown it, and add it for the last 15 minutes of simmering so it doesn't get soggy. If you like seitan, try our Vegan Mushroom-Seitan Stroganoff too.
- Beans or lentils. For an easy protein boost, stir in a can of drained chickpeas, white beans, or kidney beans with the broth. Or add ½ cup of rinsed brown or green lentils along with an extra cup of broth; they'll cook through during the simmer.
- Tofu. Cubes of extra-firm tofu are another good choice. For a stew built around tofu from the start, see our Tofu and Vegetable Stew.
- A splash of red wine. Many of the richest stews use wine. Add about ½ cup of dry red wine after the vegetables have cooked for a few minutes, and let it bubble until it's reduced by about half before adding the broth. Look for a wine labeled vegan, since some are fined with animal products.
How to Make Old-Fashioned Vegan Stew
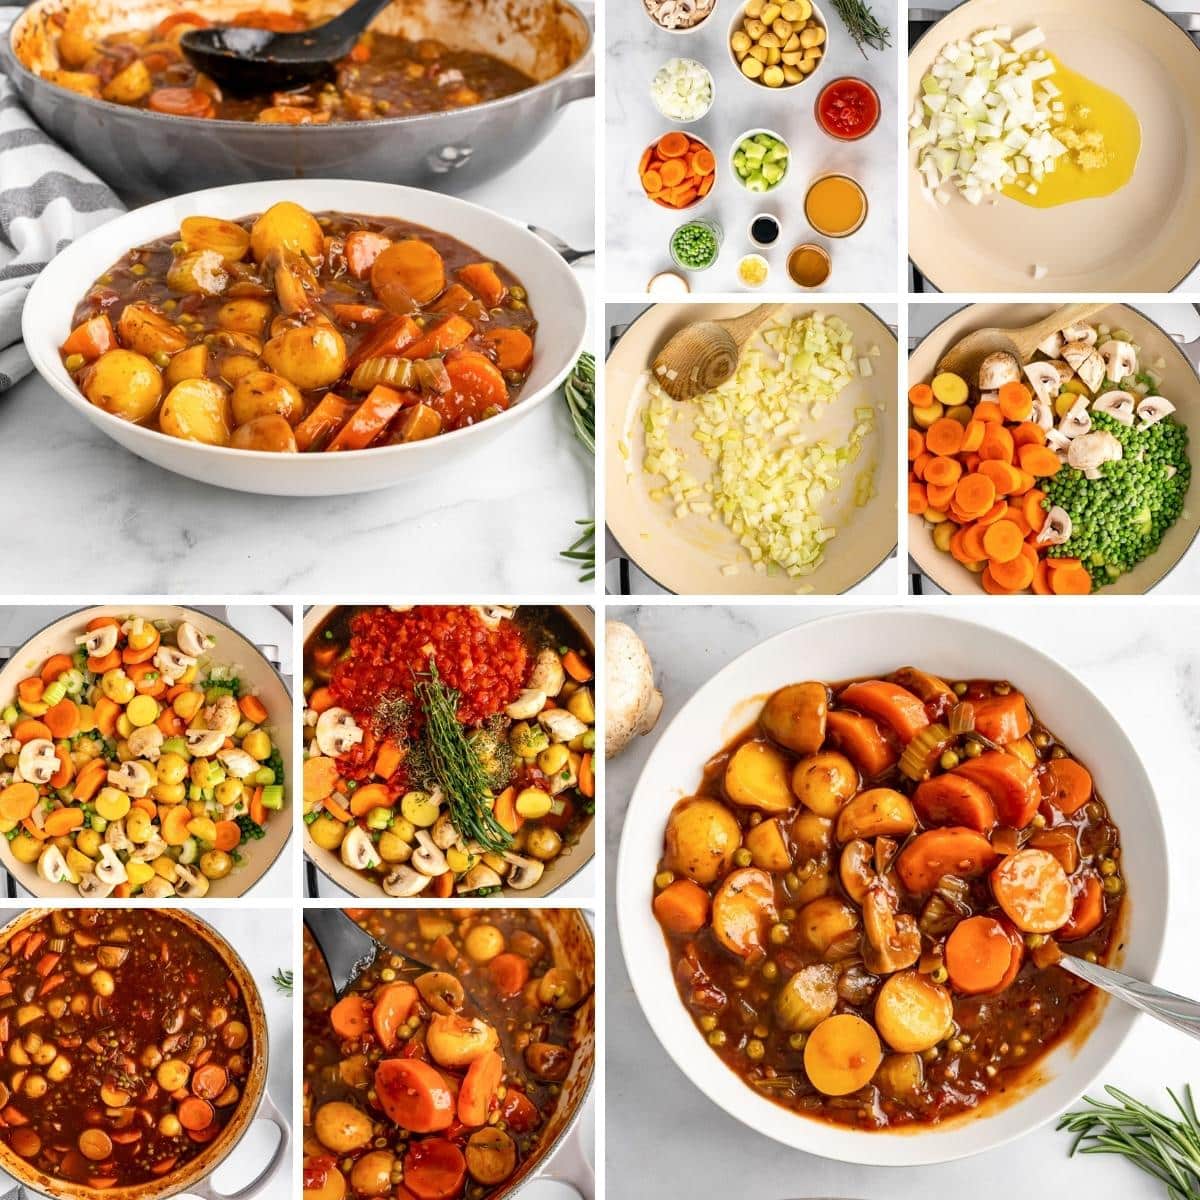
- Add oil to a pot. Cook onion and garlic on medium heat until translucent.
- Add carrots, celery, potatoes, mushrooms, and peas, and cook.
- Add herbs, broth, tomatoes, soy sauce, and vinegar. Stir and bring to boil.
- Make cornstarch slurry and stir in to thicken the stew.
- Turn down heat, cover, and let simmer.
Full directions for how to make Old-Fashioned Vegan Stew are in the printable recipe card at the bottom of the post.
Tips & Tricks for Old-Fashioned Vegan Stew
Cut the vegetables into bite-size pieces. Make sure that when you are chopping the vegetables for this stew, you cut everything into true bite-size pieces. You don't want super large chunks of vegetables, as they will be hard to eat and slower to cook through.
Sauté the garlic and onions. When you sauté the onion and garlic, it helps to really enhance the deep flavor of this vegan stew. The sautéed vegetables will give your stew a rich and hearty flavor. If you don't sauté the onions and garlic, as some people do to save time, you will find that they have a sharper flavor.
Use a heavy-duty pot. Using a Dutch oven or other heavy-duty pot is great, as it will provide an even cooking surface for the stew. Cast iron is a good choice as well. If your pot isn't sturdy, it can create hot spots and your veggies will vary in doneness.
How to thicken vegan stew. This recipe uses a cornstarch slurry: whisk the cornstarch into cold water until smooth, then stir it into the pot so it thickens without lumps. If you'd like the stew even thicker at the end, whisk another tablespoon of cornstarch into 2 tablespoons of cold water, stir it in, and simmer for 2 to 3 minutes. For a classic roux instead, skip the slurry and sprinkle 3 tablespoons of all-purpose flour over the sautéed onion and garlic, then stir and cook for 2 to 3 minutes before adding the broth a little at a time. Cook the flour longer, until it turns golden brown, for a darker, nuttier, more "beef stew" style broth. You can also mash a few of the cooked potatoes against the side of the pot for extra body.
Season at the end. Soy sauce and canned tomatoes are already salty, so taste the stew once it's done and only then add salt and pepper if it needs it. Pull out the rosemary and thyme stems before serving.
Variations to Old-Fashioned Vegan Stew
- Add rice or quinoa. Barley, rice, and quinoa are all great additions to this veggie-packed stew. Adding any of these grains will make your stew a lot heartier. I would recommend tossing some in if you feel you want a bit more depth.
- Mix in pasta. You can also add some vegan-friendly pasta to your stew. Just add it in at the end of the cooking time. Adding pasta will add more carbs to your stew but also allow it to stretch a bit more and feed a larger crowd.
- Different vegetables. You can mix in other varieties of veggies to your stew, as well. I used what I had on hand, but you can swap out different vegetables depending on what you have in your fridge and what's in season. For example, you could toss in some squash, zucchini, parsnips, or cauliflower!
- Add greens. Stir a couple of handfuls of chopped kale or baby spinach into the pot for the last 5 minutes of cooking.
- Make it "beefy." Add browned soy curls, seitan, or extra mushrooms, plus a splash of red wine, as described in the substitutions section above.
Serving Ideas
A big bowl of this stew is a meal on its own, but it's even better with something to soak up the broth. A loaf of warm, crusty bread is the classic choice. Fluffy vegan biscuits or a pan of easy vegan cornbread are just as good, and you can also cook dumplings right in the pot (see the FAQs below).
Since the stew is rich and savory, a simple green salad makes a nice, fresh contrast. Toss mixed greens with a quick 5-minute vinaigrette and dinner is done.
Make-Ahead, Storing & Freezing
Like most stews, this one tastes even better the next day, once the flavors have had time to blend, so it's a great make-ahead meal. Let it cool, then store your leftover stew in an airtight container in the fridge for 3-5 days. When you want some, you can simply warm it up in the microwave or over low heat on the stove. Just make sure to stir your stew periodically as it reheats, since it will stick and burn if left to simmer too long. The broth thickens as it sits, so add a splash of broth or water while reheating if needed.
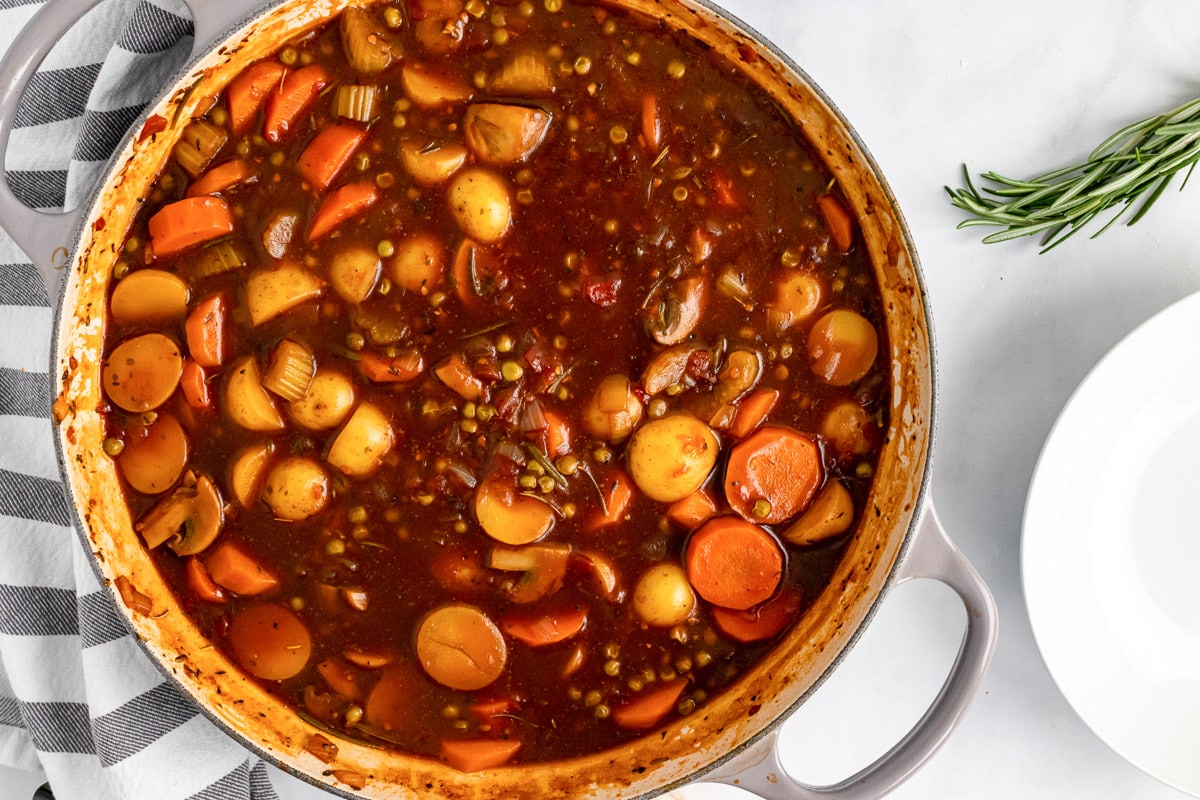
To freeze, portion the cooled stew into freezer-safe containers, leaving a little room at the top, and freeze for up to 3 months. The potatoes can turn slightly softer and grainier after freezing, but the stew still tastes great. Thaw it overnight in the fridge, then reheat gently on the stove, stirring often and thinning with a little broth. If you plan to freeze a batch, you can leave out the peas and stir in fresh ones while reheating so they stay bright green.
Old-Fashioned Vegan Stew FAQs
What can I use instead of beef in vegan stew?
The best swaps are meaty mushrooms (cremini or portobello), soy curls, seitan, extra-firm tofu, or beans and lentils. Mushrooms and seitan give the closest chew to stewed beef, while beans and lentils add protein and make the stew extra filling. Brown mushrooms, soy curls, seitan, or tofu before adding them for the best texture and flavor.
How do you make stew without meat?
Build the flavor in layers. Sauté onion and garlic until soft, add hearty vegetables like potatoes, carrots, and celery, then simmer everything in a good vegetable broth seasoned with umami-rich ingredients like soy sauce, tomatoes, and balsamic vinegar. Fresh herbs and a thickener, like the cornstarch slurry in this recipe or a flour roux, give it that classic, stick-to-your-ribs stew texture.
Can I make this stew in a slow cooker?
Yes. For the best flavor, sauté the onion and garlic in a pan first, then add them to the slow cooker with everything except the peas, cornstarch, and water. Cook on LOW for 7 to 8 hours or on HIGH for about 4 hours, until the potatoes and carrots are tender. Stir in the cornstarch slurry and peas, then cook on HIGH for another 20 to 30 minutes until thickened. Find more ideas in our roundup of the best vegan slow cooker recipes.
Can I add dumplings?
Absolutely. Mix 1 cup of all-purpose flour, 1 ½ teaspoons of baking powder, and ½ teaspoon of salt, then stir in ½ cup of unsweetened plant milk and 2 tablespoons of olive oil or melted vegan butter just until a soft dough forms. During the last 15 minutes of cooking, drop spoonfuls onto the gently simmering stew, cover the pot, and don't lift the lid until the dumplings are puffed and cooked through. Make sure the stew has plenty of liquid, adding a little extra broth if needed, since the dumplings soak some of it up.
How do you know when the stew is done?
You will know your stew is done when the potatoes are fork tender. When the potatoes are done, you can take your stew off the heat. However, I like to cook mine a bit longer as it helps blend the flavors even more.
Why add in the cornstarch slurry?
Cornstarch and water combined, referred to as a slurry, is a thickening agent used for thickening soups, stews, and more. I find that a cornstarch slurry is great for thickening dishes without altering the flavor of the recipes you are cooking.
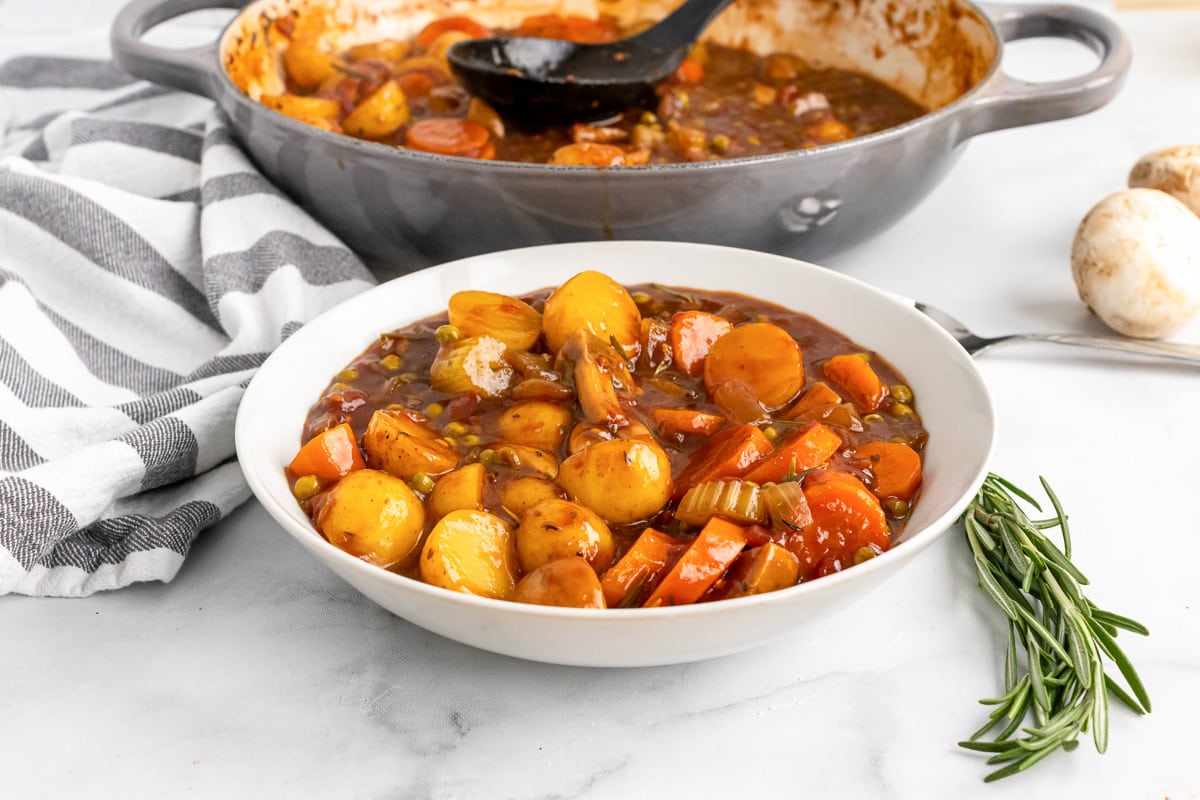
More Cozy Vegan Stews and Soups
If you love this vegan stew, be sure to check out these other delicious ideas:
- Tofu and Vegetable Stew
- Vegan Sweet Potato Lentil Soup
- Vegan Sweet Potato Black Bean Chili
- Miso Butternut Squash Soup
- Yellow Squash Soup
- Vegan Comfort Food Casseroles
- Creamy Pasta and Butternut Squash Casserole
- Vegan Creamy Mushroom Pasta
And while you're here, don't forget to grab a copy of my free vegan cheat sheet. It's packed with all my favorite substitutions to vegan-ize any recipe!
Recipe

Old-Fashioned Vegan Stew
This Old-Fashioned Vegan Stew is thick, hearty, and comforting. It's loaded with tons of veggies and smothered in a thick, creamy broth base.
Print
Pin
Save
Servings: servings
Ingredients
- 2 tablespoon olive oil
- 1 onion minced
- 2 cloves garlic minced
- 3 large carrots sliced
- 2 stalks celery sliced
- 2 cups baby potatoes halved
- 1 cup white mushrooms sliced & quartered
- 1 cup frozen peas
- 1 teaspoon Italian seasoning
- 2 cups vegetable broth
- 19 oz diced tomatoes canned with garlic
- 3 tablespoon soy sauce
- 1 tablespoon balsamic vinegar
- 2 sprigs rosemary
- small bunch fresh thyme
- 2 tablespoon cornstarch
- 3 tablespoon water
Instructions
- In a large pot or Dutch oven, heat the olive oil over medium heat, then add the onion and garlic; sauté 3-4 minutes or until the onion is translucent.

- Add the carrots, celery, baby potatoes, mushrooms, and peas into the pot.
- Cook for 2-3 minutes.
- Add the Italian seasoning, vegetable broth, diced tomatoes, soy sauce, balsamic vinegar, rosemary, and thyme. Stir and bring to a boil.
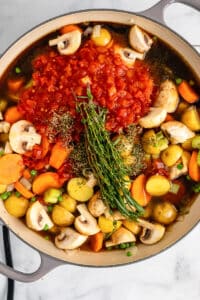
- In a small bowl, whisk together the cornstarch and water to form a slurry mix. Add to the stew and stir.

- Turn heat down, cover pot, and simmer for 45 minutes or until veggies are tender.

- Remove the rosemary and thyme stems, taste and season with salt and pepper if needed, and serve.

Notes
Optional protein: For a heartier, higher-protein stew, stir in 1 can (15 oz) of drained chickpeas, white beans, or kidney beans along with the broth. Or add ½ cup rinsed brown or green lentils plus 1 extra cup of vegetable broth; they will cook through during the simmer. Browned soy curls, seitan, or extra mushrooms also work (see the post above for details).
Optional red wine: For a deeper, richer broth, add ½ cup dry vegan red wine after the vegetables have cooked for 2–3 minutes, and simmer until reduced by about half before adding the remaining ingredients.
Seasoning: Soy sauce and canned tomatoes are already salty, so taste at the end and add salt and pepper only if needed.
Nutrition (Estimate per Serving)
Calories: 244kcalCarbohydrates: 39gProtein: 8gFat: 8gSaturated Fat: 1gPolyunsaturated Fat: 1gMonounsaturated Fat: 5gSodium: 1282mgPotassium: 974mgFiber: 7gSugar: 12gVitamin A: 8362IUVitamin C: 48mgCalcium: 99mgIron: 3mg
Vegan-ize any recipe!Grab our free vegan cheat sheet, packed with my favorite easy substitutions to make any recipe vegan.
Portobello Mushroom Steak
This Portobello Mushroom Steak recipe makes a delicious vegan steak that is incredibly easy to whip up. You can make this vegan steak and potatoes recipe any night of the week!
These juicy, seasoned portobello steaks are baked with asparagus and then paired with vegan mashed potatoes. Serve them alongside a crisp green salad and some homemade lemonade. You could also serve them with some rice and green beans.
There are so many delicious options for meatless dinners! Lately I've been loving these Vegan Sloppy Joes, this Lentil Shepherd's Pie, and these Tofu Enchiladas with Sweet Potato in Mole Sauce. But, I think these Portobello Mushroom Steaks are turning into my new favorite!
This Portobello Mushroom Steak recipe is…
- Vegan
- Naturally gluten-free
- Vegetarian
- Ready in 30 minutes
- Simple to make
- Made with everyday ingredients
- Versatile
How to Make Portobello Mushroom Steak
- Preheat oven and prepare the mushroom marinade.
- Prep mushrooms, then place in baking dish.
- Brush with marinade & bake, flipping both sides.
- Serve warm and enjoy!
Full directions for how to make Portobello Mushroom Steak are in the printable recipe card below.
Tips & Tricks for Portobello Mushroom Steak
Baking Time
Depending on the size of your mushrooms, the bake time will vary. Make sure you use the baking time in the recipe as a guide. You will need to check on your mushrooms to make sure they are cooked to your preference.
Cooking Vegetables
I added asparagus to my baking dish as an extra side, but adding asparagus to the pan is optional. Alternately, you could add other different vegetables into your baking dish. Broccoli, snap peas, Brussels sprouts, and more would all be tasty.
Mushroom Marinade
Once you baste the mushrooms, pour the remainder of the marinade into the baking dish. As the mushrooms bake, they will soak up the additional marinade flavor. The extra marinade also provides a nice texture to the outside of the baked mushrooms.
Variations To Portobello Mushroom Steak
Seasoning the Steaks
I used a simple marinade, but you are welcome to change it up using ingredients you prefer. I find this marinade to have a savory and tangy flavoring that makes these steaks really stand out. If you are looking for a different flavor profile, feel free to alter the ingredients to match your flavor preference.
Adding Vegetables
Cook your mushrooms with different vegetables. Broccoli, cauliflower, carrots, or even green beans could be a delicious swap for the asparagus!
Portobello Mushroom Steak FAQs
How do you know when mushroom steaks are cooked?
Your steaks are done once they have browned up a bit in the oven. You will want to bake the steaks to your preference of doneness. Since there is no meat in this recipe, you can cook the mushrooms as long or little as you prefer.
How do you store leftover mushrooms?
Place your cooked mushrooms in an airtight container and store them in the fridge for 2-3 days. You will find that after 3 days the mushrooms begin to get a bit softer in texture.
How do you reheat mushroom steaks?
I find that reheating mushrooms steaks in the oven or even a skillet on the stove helps to give them a better texture. You can reheat them in the microwave, but the mushrooms will be a bit softer in texture.
More Vegan Recipes
If you love this portobello mushroom "steak" recipe, be sure to check out these other delicious ideas:
Also try: our Easy Portobello Burgers.
Recipe
Portobello Steak with Mashed Potatoes
This Portobello Mushroom Steak recipe makes a delicious vegan steak that is incredibly easy to whip up. Make this vegan steak and potatoes recipe for any night of the week!
Print
Pin
Save
Servings: servings
Ingredients
Portobello steaks
- 4 large Portobello mushrooms
- ⅓ cup balsamic vinegar
- ¼ cup olive oil
- ½ teaspoon cumin
- ½ teaspoon black pepper
- ½ teaspoon smoked paprika
- 3 cloves garlic
- 1 tablespoon vegan-friendly steak seasoning
- salt to taste
Mashed Potatoes
- 3 small potatoes
- 1 tablespoon olive oil or vegan butter
- ½ teaspoon salt
- ½ teaspoon black ground pepper
- 1 teaspoon thyme or rosemary optional
Optional:
- 1 bunch asparagus
Instructions
- Preheat the oven to 400°F.
- In a large bowl, make the portobello marinade. Combine the olive oil, balsamic vinegar, spices, and garlic.
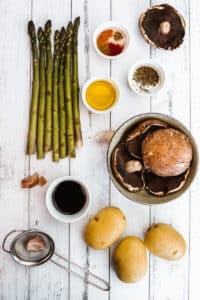
- Place portobellos and asparagus in a large oven-safe skillet. With a pastry brush, generously brush the marinade over the tops and bottoms of the mushrooms and asparagus.
- Arrange mushrooms top side down and pour the remaining marinade over them. Bake for 20 minutes. Remove from oven, flip, and bake another 5-10 minutes or until mushrooms are cooked all the way through.
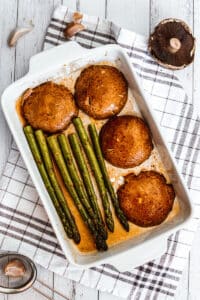
- For Potatoes: Wash and peel the potatoes. Bring them to boil and cook until tender, about 15 minutes. Mash the potatoes using a potato masher or a hand blender. Add olive oil, black pepper, and salt, to taste. Add fresh herbs just before serving.

- Enjoy!
Nutrition (Estimate per Serving)
Calories: 624kcalCarbohydrates: 71gProtein: 15gFat: 34gSaturated Fat: 5gTrans Fat: 1gSodium: 675mgPotassium: 2260mgFiber: 13gSugar: 17gVitamin A: 2065IUVitamin C: 66mgCalcium: 144mgIron: 9mg
Vegan-ize any recipe!Grab our free vegan cheat sheet, packed with my favorite easy substitutions to make any recipe vegan.
Roasted Veggies with Vegan Cheese Sauce
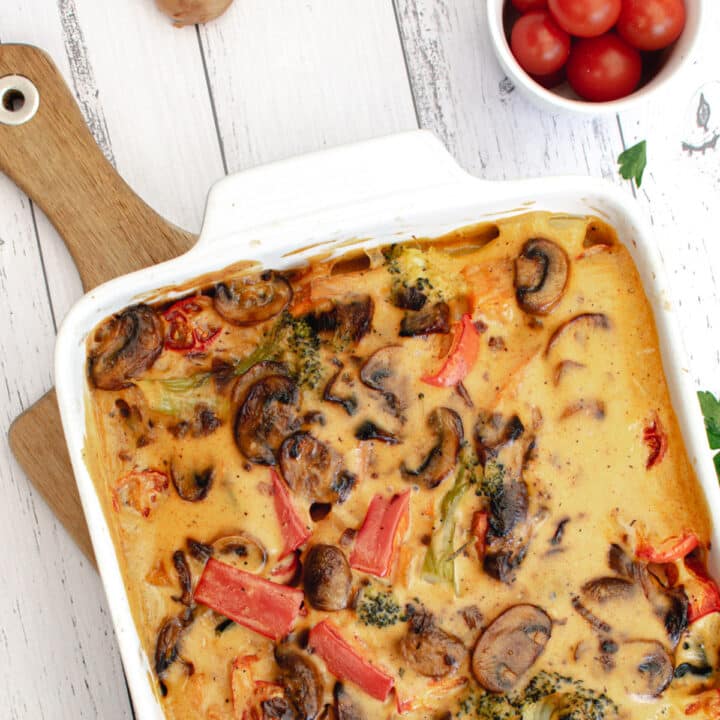
Serve up these Roasted Veggies with Vegan Cheese Sauce for dinner tonight. This vegetable side dish will blow you away!
In this simple recipe, roasted onions, broccoli, zucchini, and sweet potatoes, are smothered in a creamy homemade vegan cheese sauce.
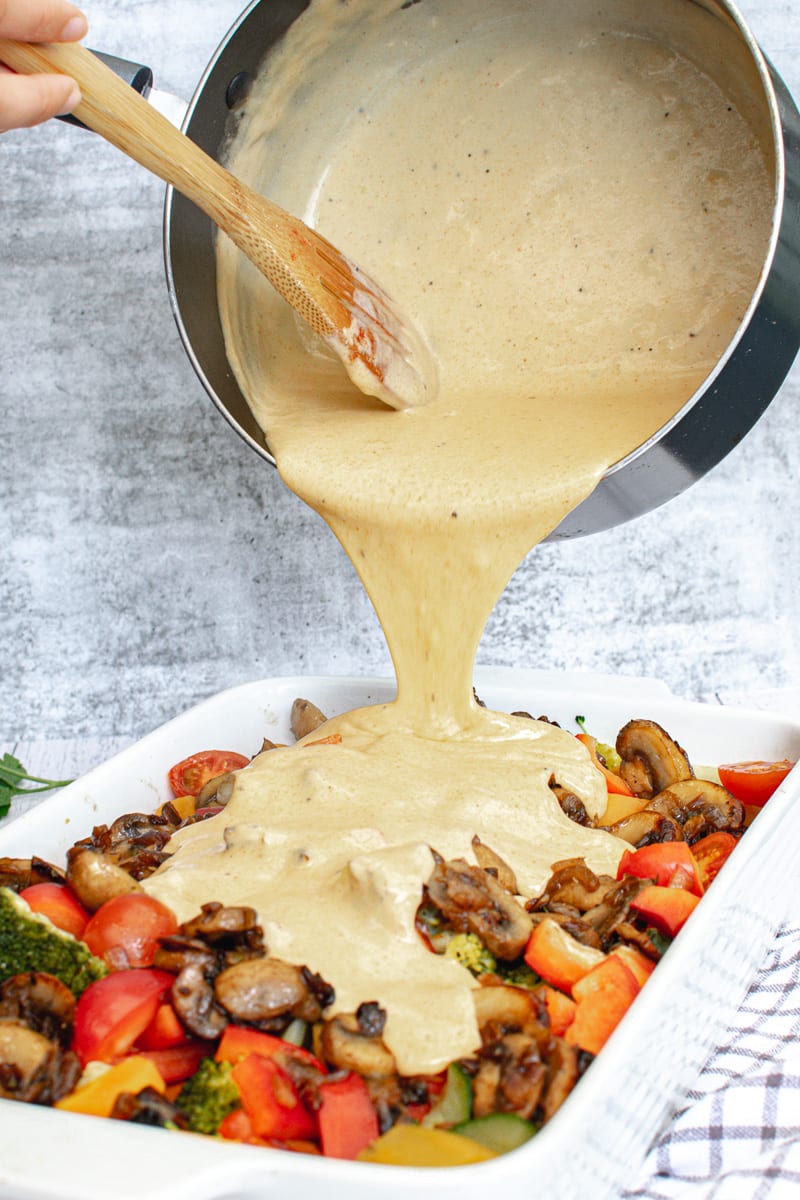
Skip the boring side dishes and whip up one that will become the star of the night. This cheesy vegetable recipe will change your side dishes in a big way.
I love using this dish as a side when we have meals like Lentil Fritters with Garlic Sauce or Vegan Bolognese.
Why You Will Love Roasted Veggies with Vegan Cheese Sauce...
- Simple ingredients
- Unique combo
- Tons of flavor
- Easy to make
- Great side dish
- Gluten-free
How to Make Roasted Veggies with Vegan Cheese Sauce
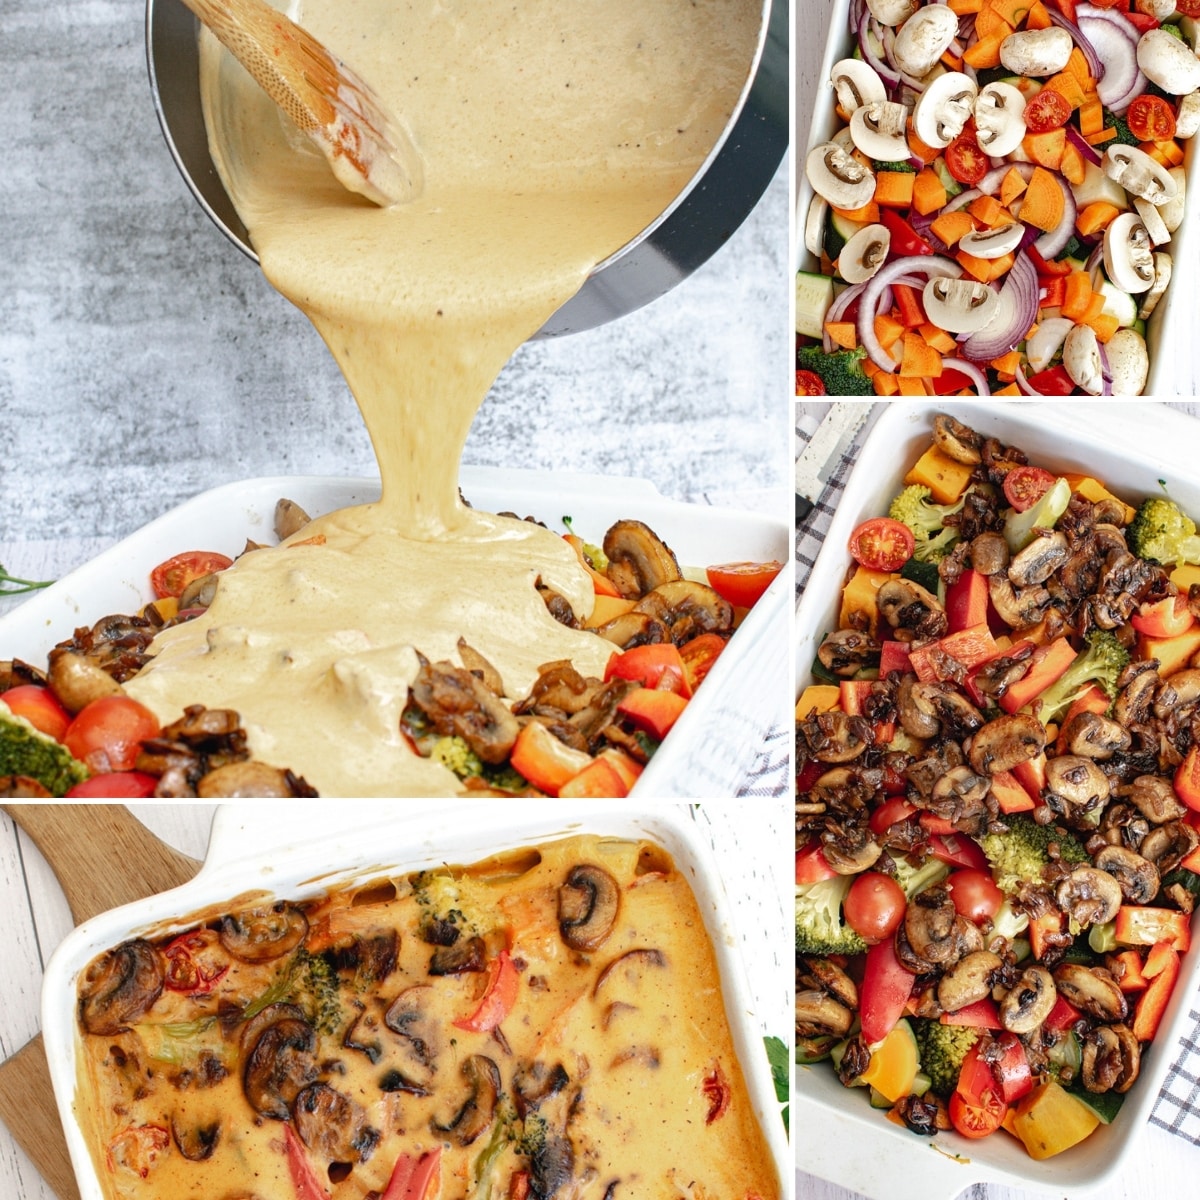
- Start by preheating the oven.
- Add some oil to a non-stick pan and sauté your onions.
- Next, add in the garlic and mushrooms, and cook till onions are translucent and the mushrooms are tender.
- In a pot, bring water to a boil. Add other veggies and cook as directed.
- For the cheese sauce, add ingredients to a pot and stir until sauce thickens.
- Place all veggies on a baking sheet, drizzle with oil, then salt and pepper. Roast veggies.
- Drizzle with cheese and devour!
Full directions for this Roasted Veggies with Vegan Cheese Sauce recipe are in the printable recipe card below.
Tips & Tricks for Roasted Veggies with Vegan Cheese Sauce
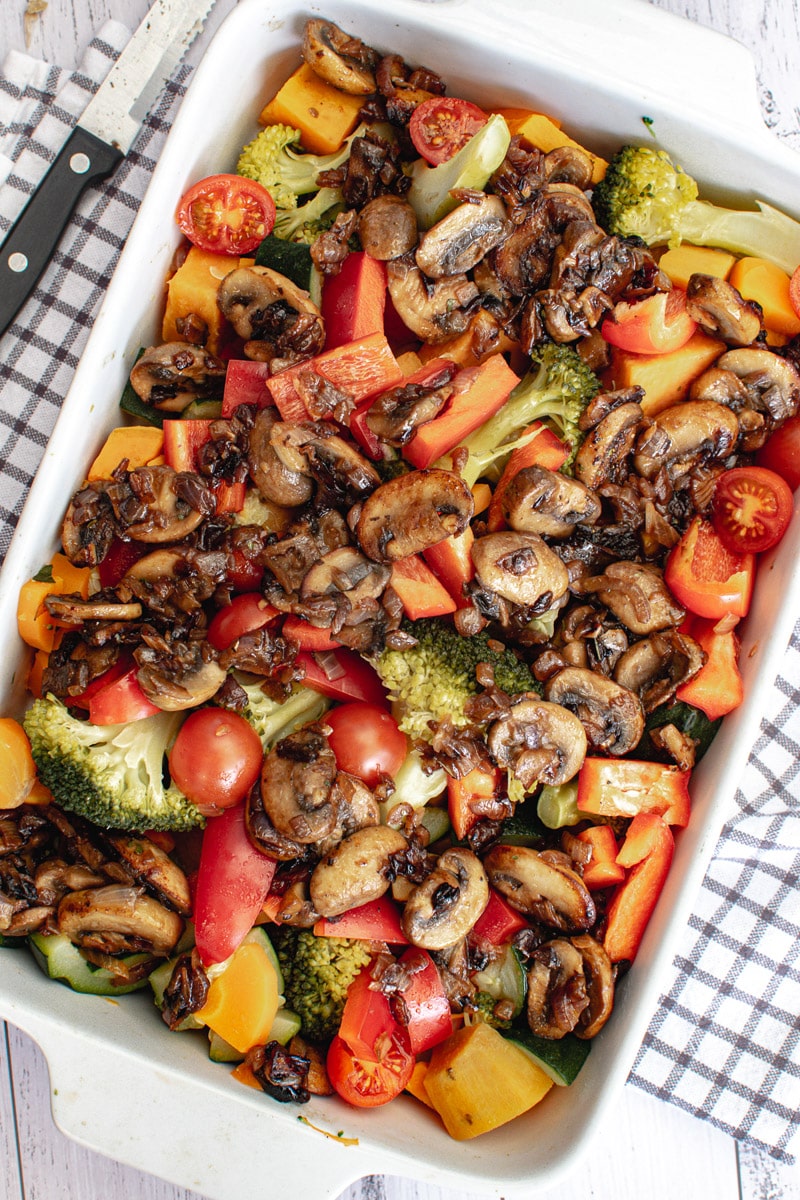
Sautéing the Vegetables
It is important to follow the directions for sautéing the vegetables. Sautéing them first will provide a nice texture to the dish and bring out the optimal flavor of the vegetables.
Stirring the Sauce
Make sure to stir the cheese sauce until it reaches the proper thickness. If you do not stir continuously, the bottom of your cheese sauce will be burnt.
Variations To Roasted Veggies with Vegan Cheese Sauce
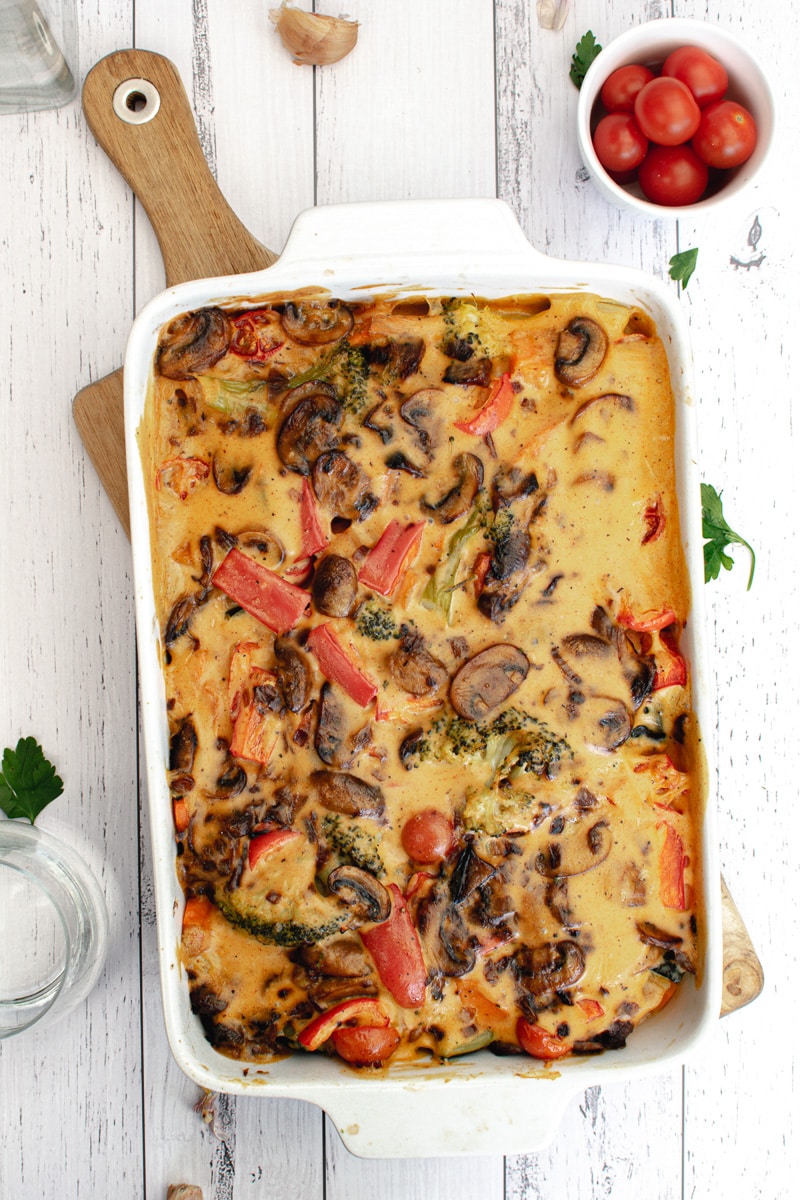
Use Different Spices
Consider changing up the spices that you use in the cheese sauce. I used paprika, oregano, salt, and pepper. Consider adding in some garlic, Cajun spice, or other ingredients to change up the flavor of your sauce.
Swap Vegetables
If you want, swap the veggies in the recipe for other veggies that you have on hand. Snap peas, fresh green beans, etc would all taste great!
Roasted Veggies with Vegan Cheese Sauce FAQs
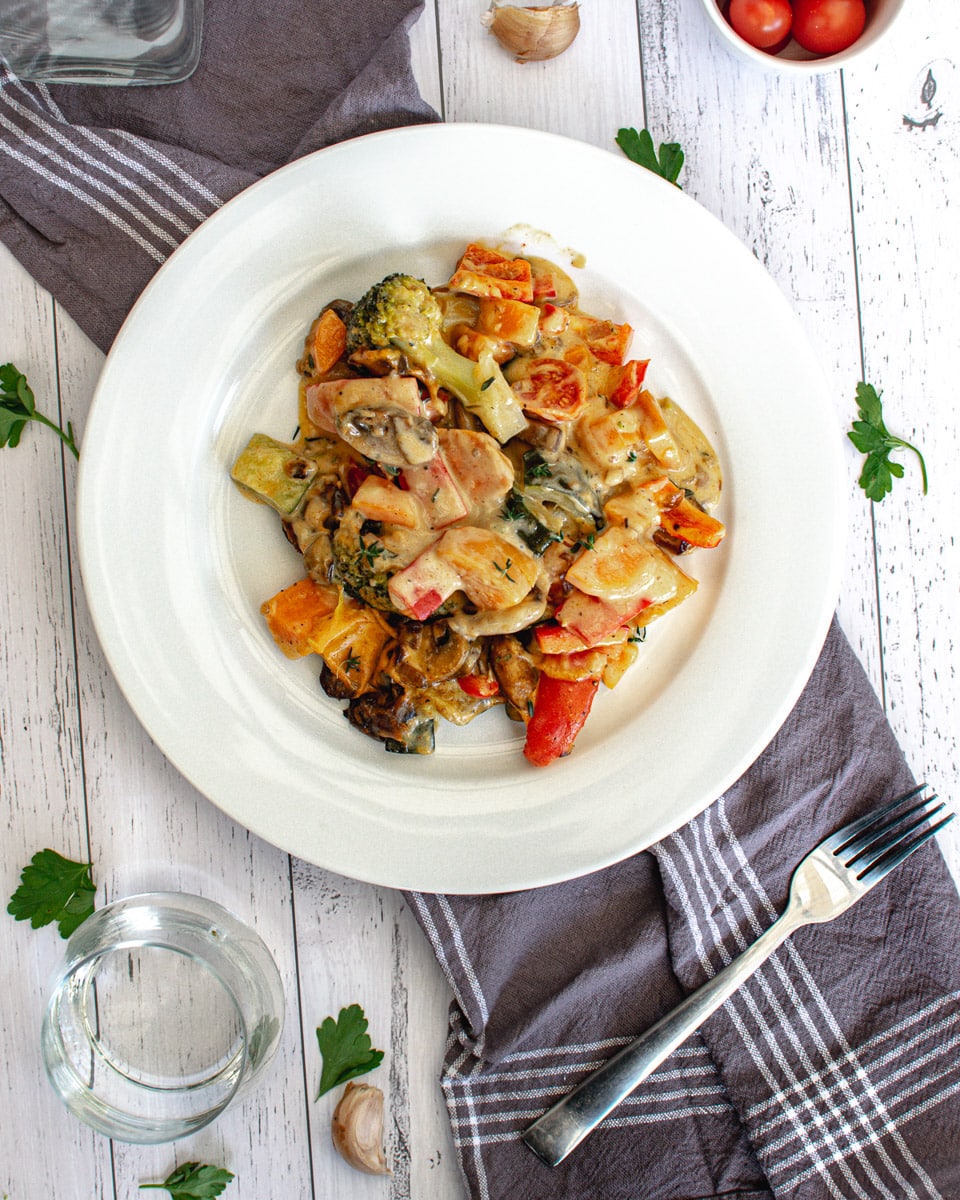
What is a substitute for nutritional yeast?
If you don't have nutritional yeast, you can use dried mushrooms, concentrated vegetable bouillon, or even mashed chickpeas instead. Though, for this creamy cheese sauce, I recommend using nutritional yeast as the other ingredients will alter the texture of the cheese.
Why didn't my cheese sauce thicken?
The key to making this cheese sauce is to follow the directions and make sure that you give the sauce time on the stovetop. If you rush the cooking process, you will find the sauce doesn't have time to thicken.
Stir the sauce continuously, and it will thicken.
How do you store leftovers?
Store your vegetables and cheese sauce in the refrigerator. It will last 3-4 days. You will find the vegetables soften a bit, so they are best served warm and fresh.
When ready to eat your leftovers, reheat in a skillet or in the microwave.
Recipe
Roasted Veggies with Vegan Cheese Sauce
Need a simple veggie-packed side dish? These roasted onions, broccoli, zucchini, and sweet potatoes, are smothered in a creamy homemade vegan cheese sauce. Yum!
Print
Pin
Save
Servings: servings
Ingredients
For the Vegan Cheese Sauce:
- ½ cup vegan cheese cheddar variety
- 1 cup non-dairy milk such as soy milk
- 2 tablespoon nutritional yeast
- 1 teaspoon smoked paprika
- 1 teaspoon oregano
- 2 tablespoon olive oil
- salt and pepper, to taste
For the Roasted Vegetables:
- 4 cloves garlic minced
- 1 onion peeled and chopped
- 1 large sweet potato chopped into bite sized pieces
- 2 carrots peeled and chopped into ½" pieces
- 1 zucchini halved and sliced into ½" thick half moons
- ½ head broccoli florets roughly chopped
- 1 red bell pepper chopped into bite sized pieces
- 1 cup cherry tomatoes
- 2 cups button white mushrooms cleaned and sliced
- salt and pepper
Instructions
- Preheat the oven to 400°F.
- Heat olive oil in a non-stick pan over medium-high heat. Add onion and sauté for 2-3 minutes.
- Add garlic and mushroom. Sauté until onion is translucent and mushrooms are cooked, 5-6 minutes. Set aside.
- Meanwhile, bring a pot of water to a boil.
- Add the carrots, broccoli, and sweet potatoes to the boiling water and cook for 10 minutes. (They don't need to be totally cooked, as the cooking will finish in the oven.)
- For the sauce, simply place all the ingredients into a saucepan stirring continuously until you get a thick-cheesy sauce.
- Place all the vegetables, including the red pepper and cherry tomatoes, onto a baking sheet. Drizzle with additional olive oil. Season with salt and pepper, to taste.
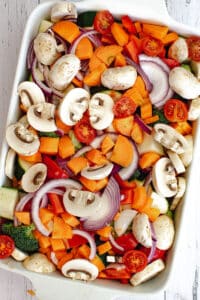
- Roast vegetables in the oven for 10-15 minutes, until the red pepper is tender.
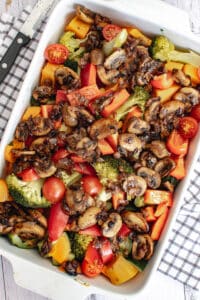
- Pour the cheese sauce over the vegetables, and cook for 5 more minutes or until all the veggies are fork-tender.

Nutrition (Estimate per Serving)
Calories: 262kcalCarbohydrates: 32gProtein: 9gFat: 12gSaturated Fat: 2gSodium: 236mgPotassium: 945mgFiber: 7gSugar: 11gVitamin A: 14819IUVitamin C: 68mgCalcium: 157mgIron: 2mg
Vegan-ize any recipe!Grab our free vegan cheat sheet, packed with my favorite easy substitutions to make any recipe vegan.
Best Vegan Potato Salad Recipe
The best vegan potato salad recipe, loaded with fresh herbs and lots of vegetables! Creamy, indulgent and flavorful, it's a perfect summery side dish that's great for BBQs and picnics. It's guaranteed to impress even the fussiest eaters!
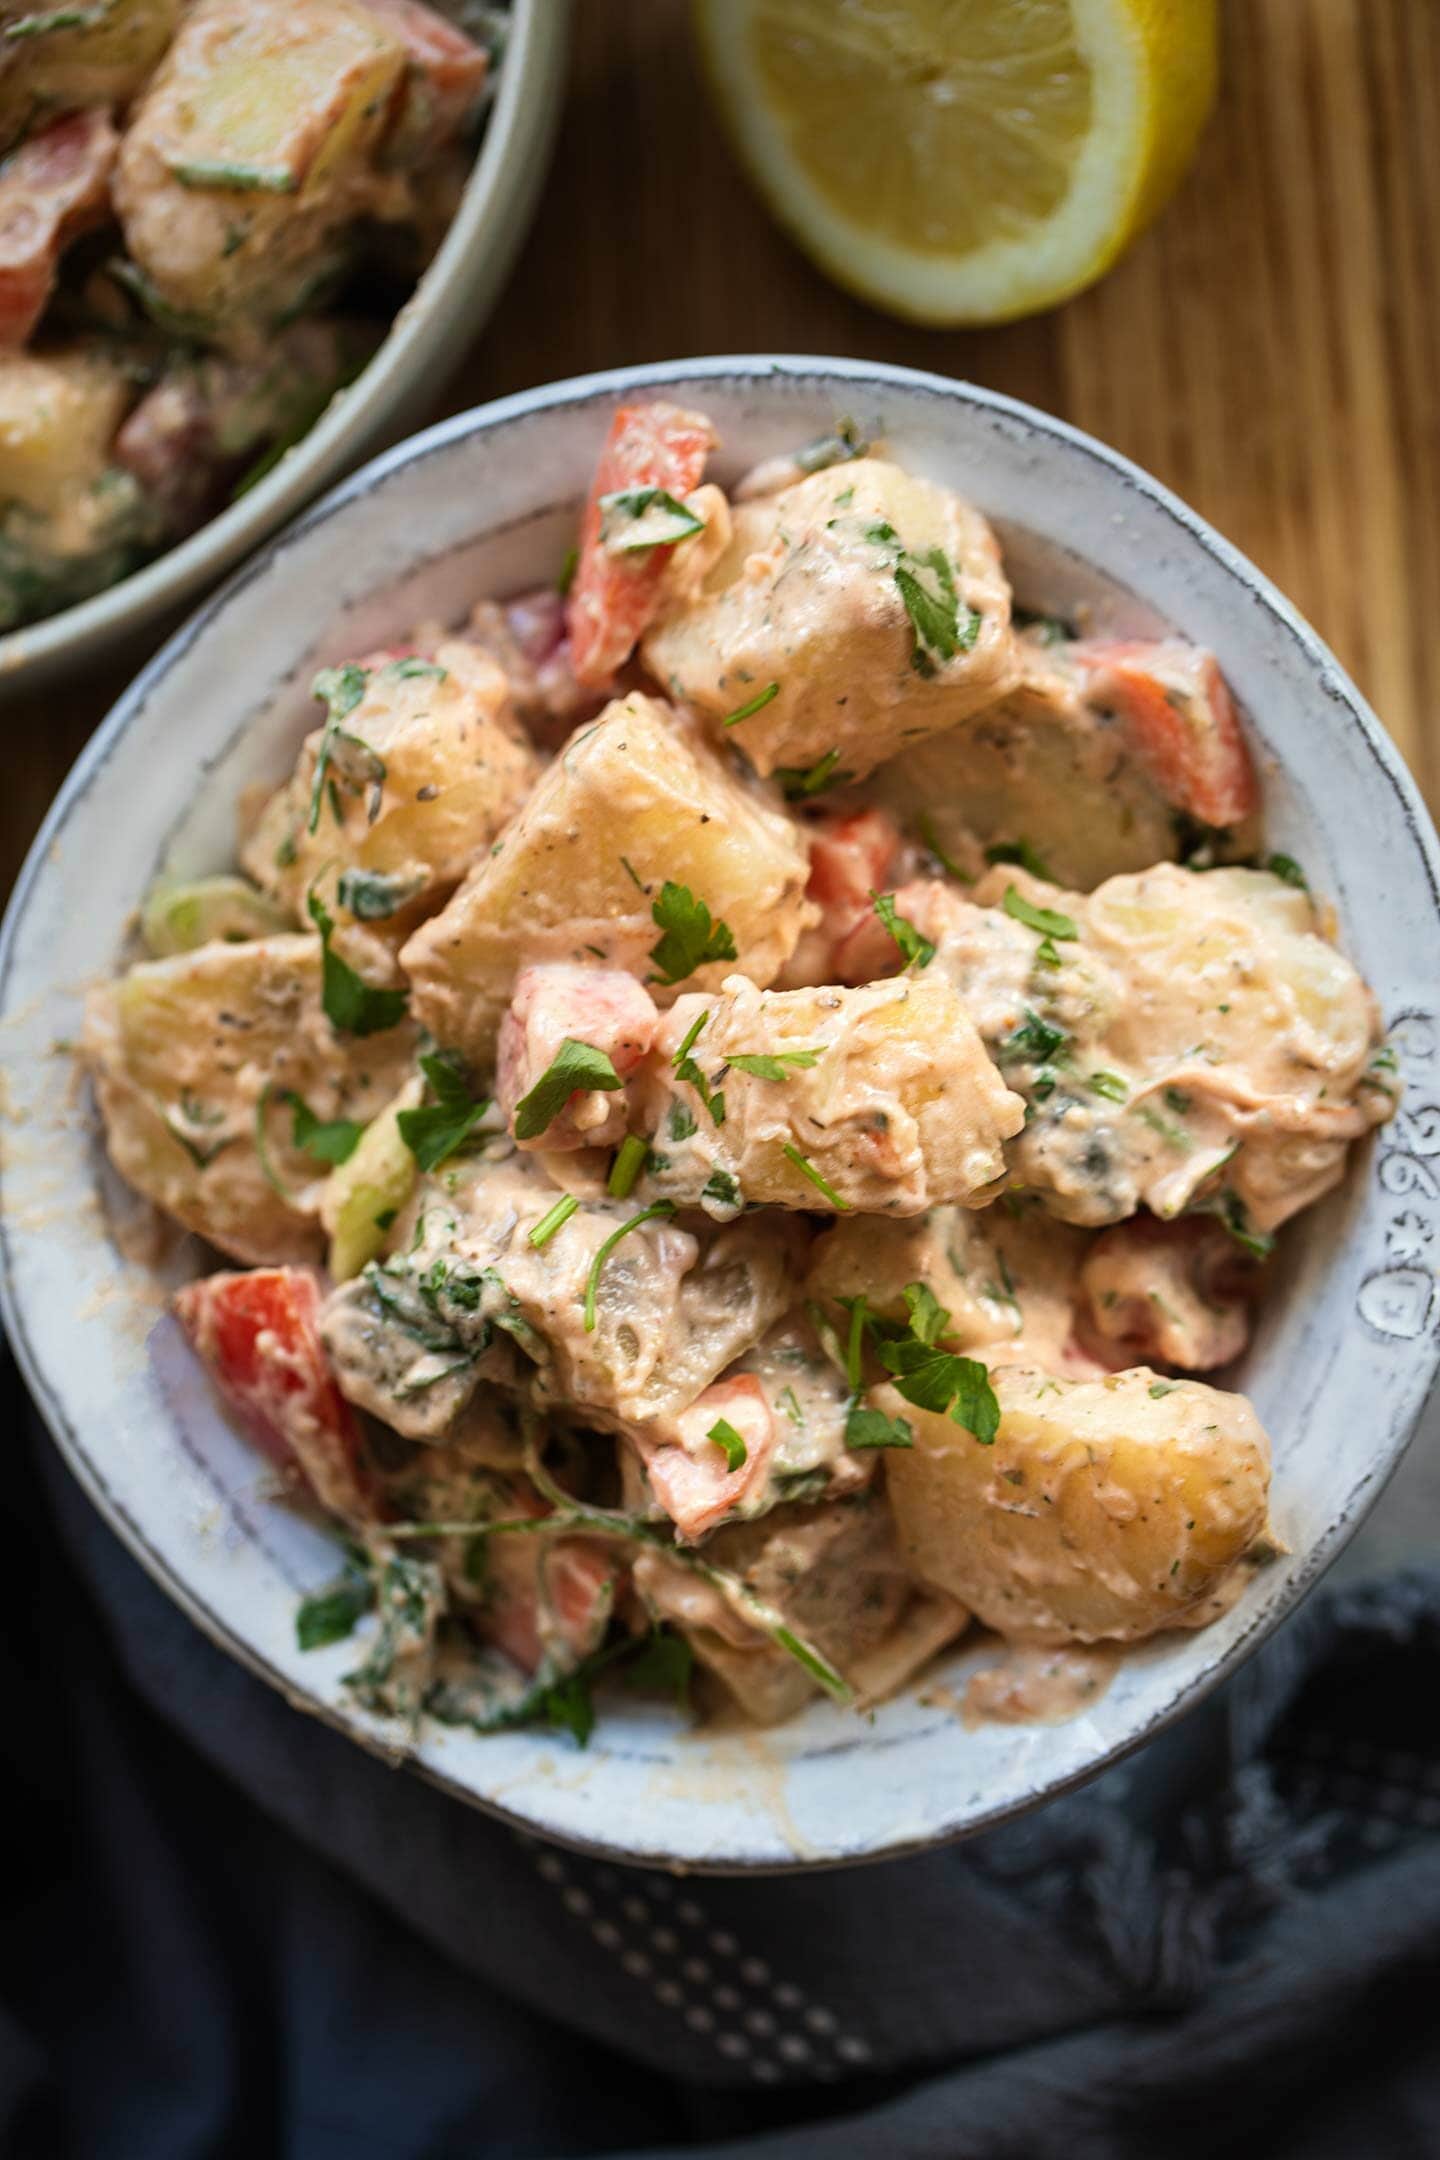
As summer approaches, I find myself craving salad more and more. Potato salad in particular. It's just such a nostalgic dish that goes so well with everything, making it ideal for an outdoor get-together. And I believe that when it comes to potato salad, homemade is always the way to go. Not only is it hard to find vegan potato salads at the store, all the ones that are available are mediocre at best.
But don't worry, because this amazing dairy-free potato salad will be perfect for vegans and non-vegans alike. Last year, I made a potato salad with smoky tempeh. But, I wanted to develop an even simpler recipe for which you need literally 20 minutes. The ingredients and preparation are super simple, but the resulting flavor is phenomenal. It's herby, it's refreshing, it has just the right amount of tanginess. The potatoes are creamy and fluffy, adding hints of earthiness and nostalgia.
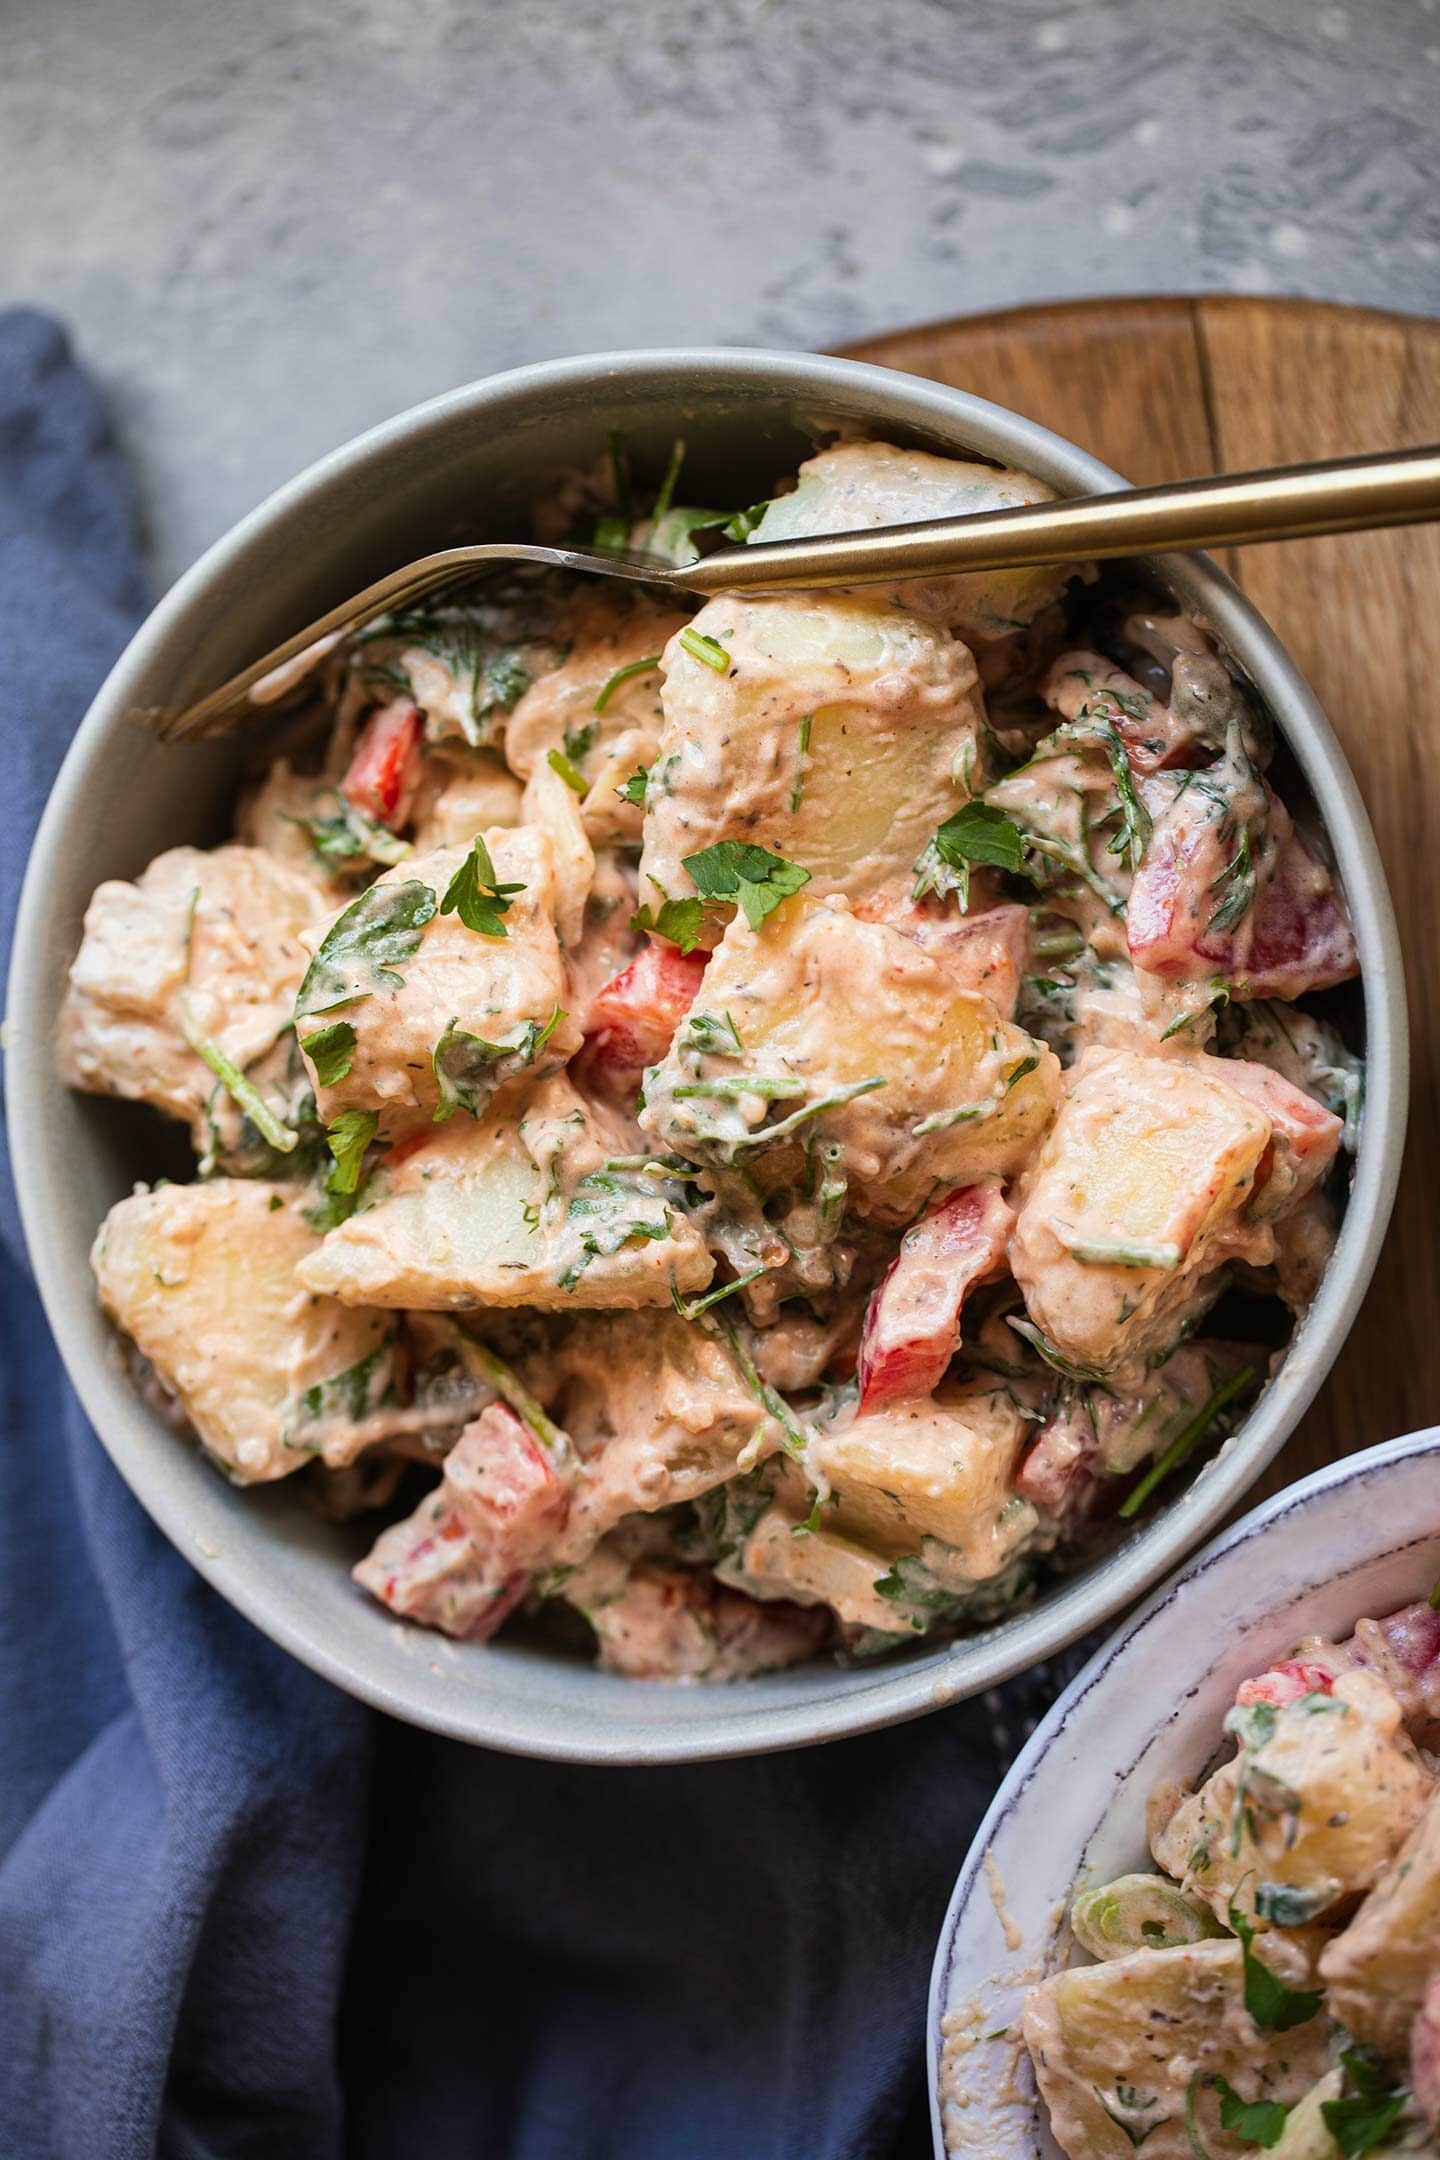
Bring it along to a BBQ or picnic, or serve as a side dish for any summery dinner. There's a few tricks that you need to keep in mind when it comes to making a perfect potato salad, but overall, it's an ideal effortless dish that everyone will love.
Vegan potato salad recipe ingredients
Potatoes. You can use any potato variety of your choice, but waxy potatoes usually work best. You can use either large potatoes, simply peeling and dicing them, or new potatoes, which you can boil whole and save even more time.
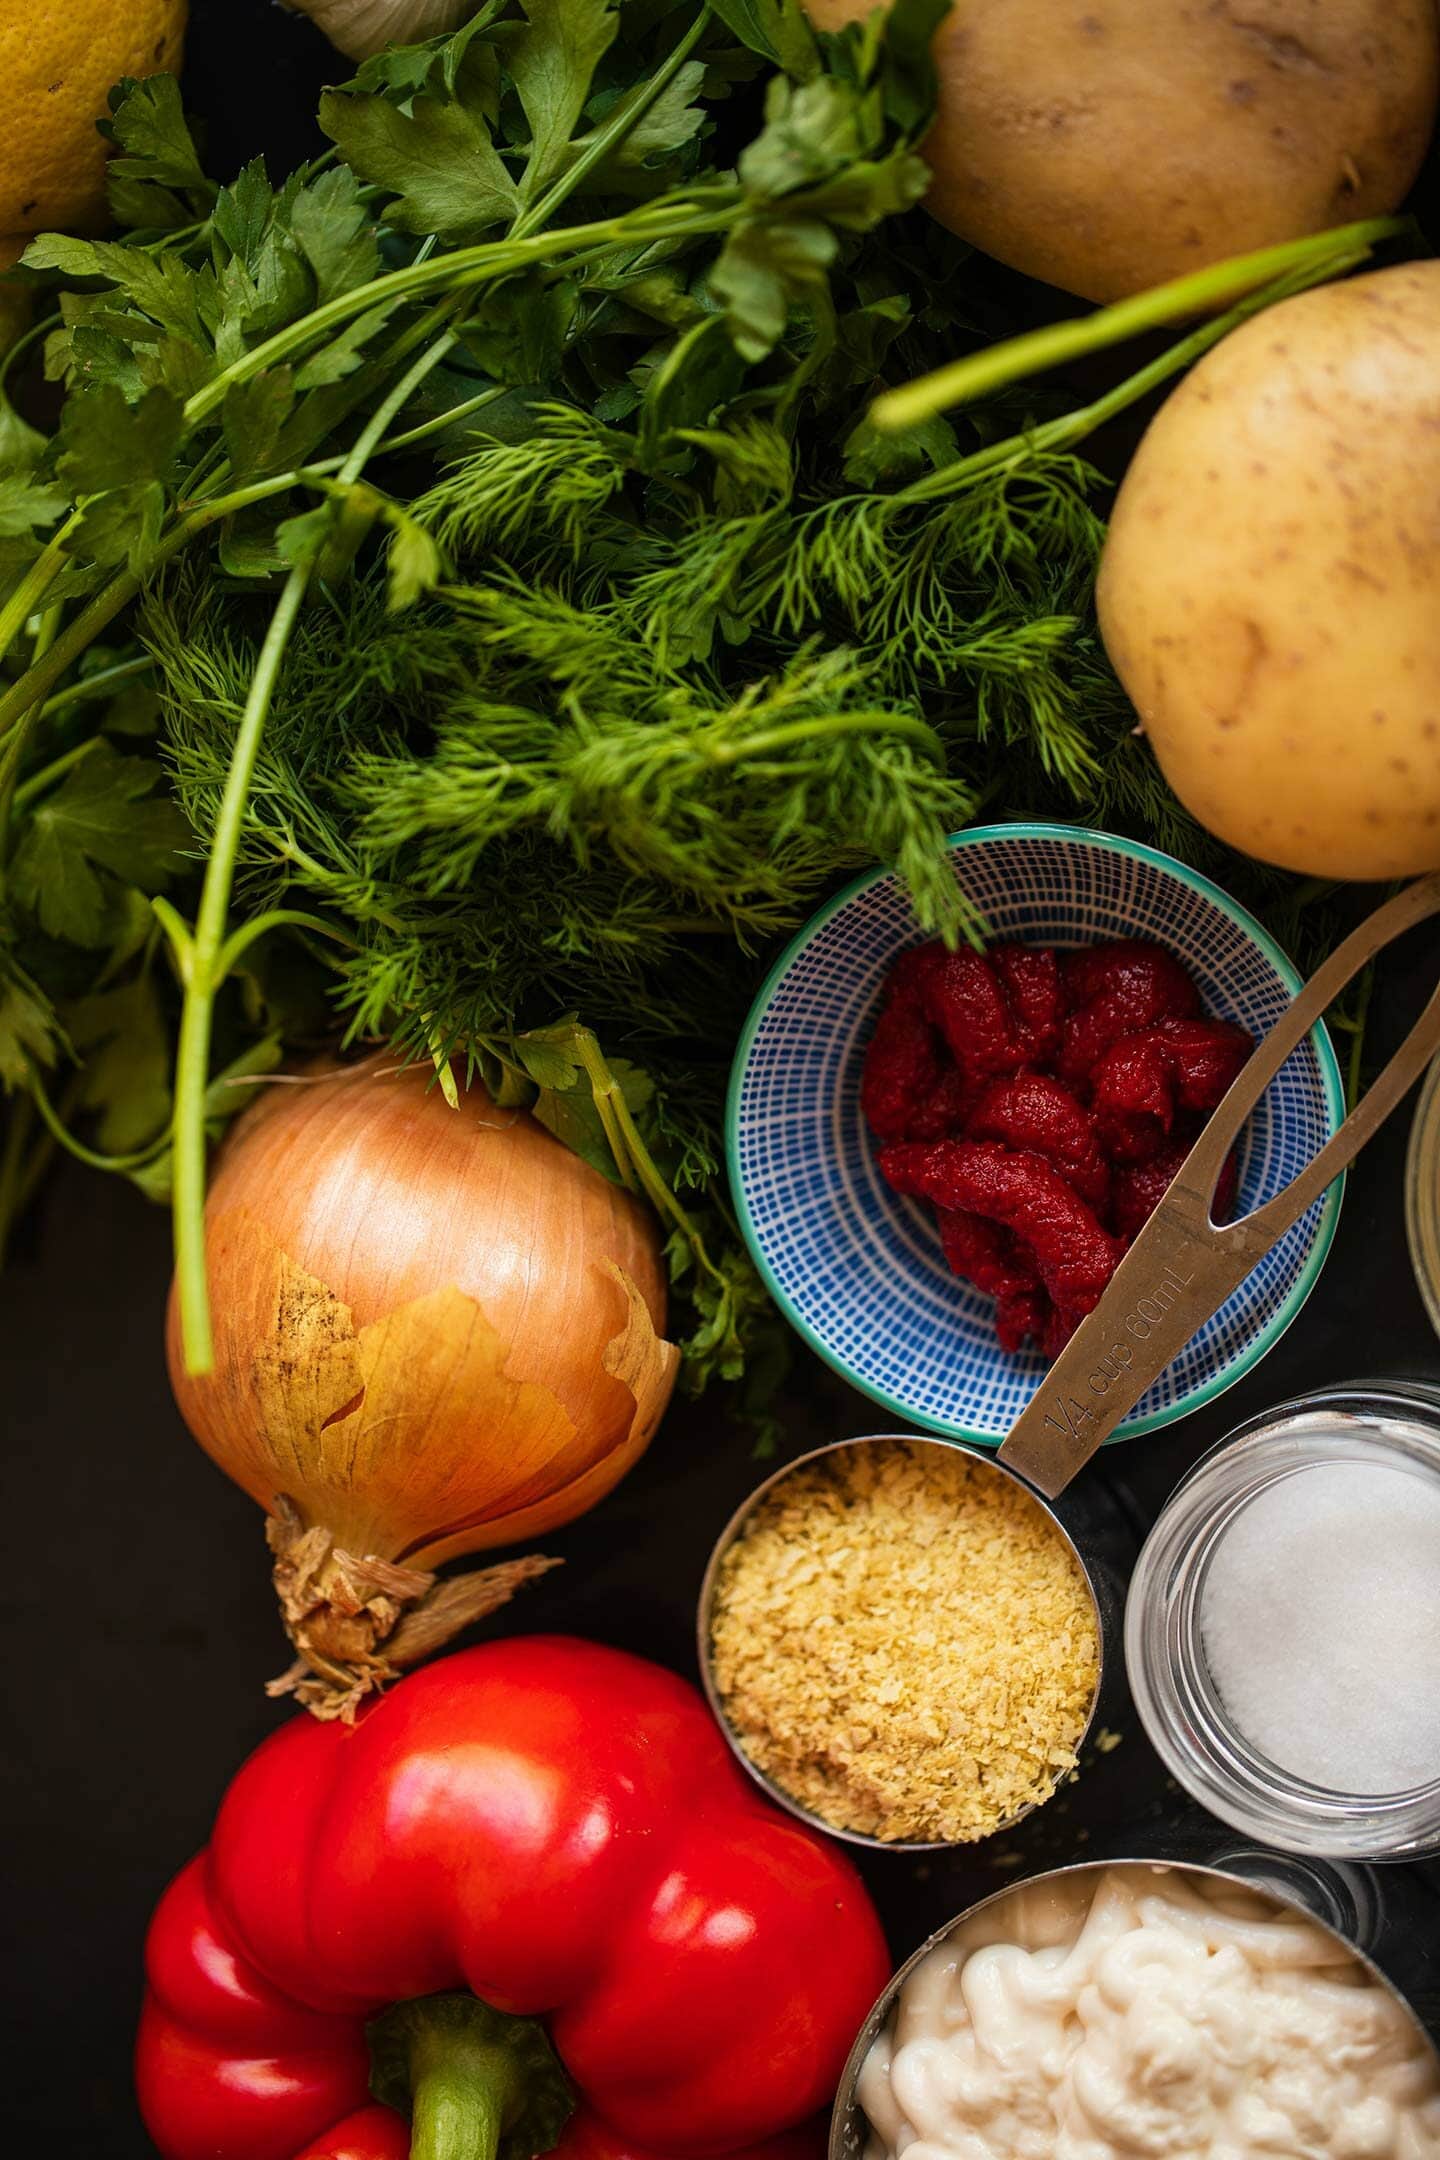
Vegetables of your choice. You can really add any vegetables that you prefer or that you may have in the fridge. I used red peppers, onions, and carrots. Other vegetables that work well involve cucumber, zucchini and cauliflower.
Fresh herbs. I used dill and cilantro. A generous amount of fresh herbs is an ideal addition to vegan potato salad. They add a lot of flavor and freshness, working perfectly with the other ingredients to create nuance.
Garlic. Don't skip this, because garlic is a key ingredient that can take any salad to the next level.
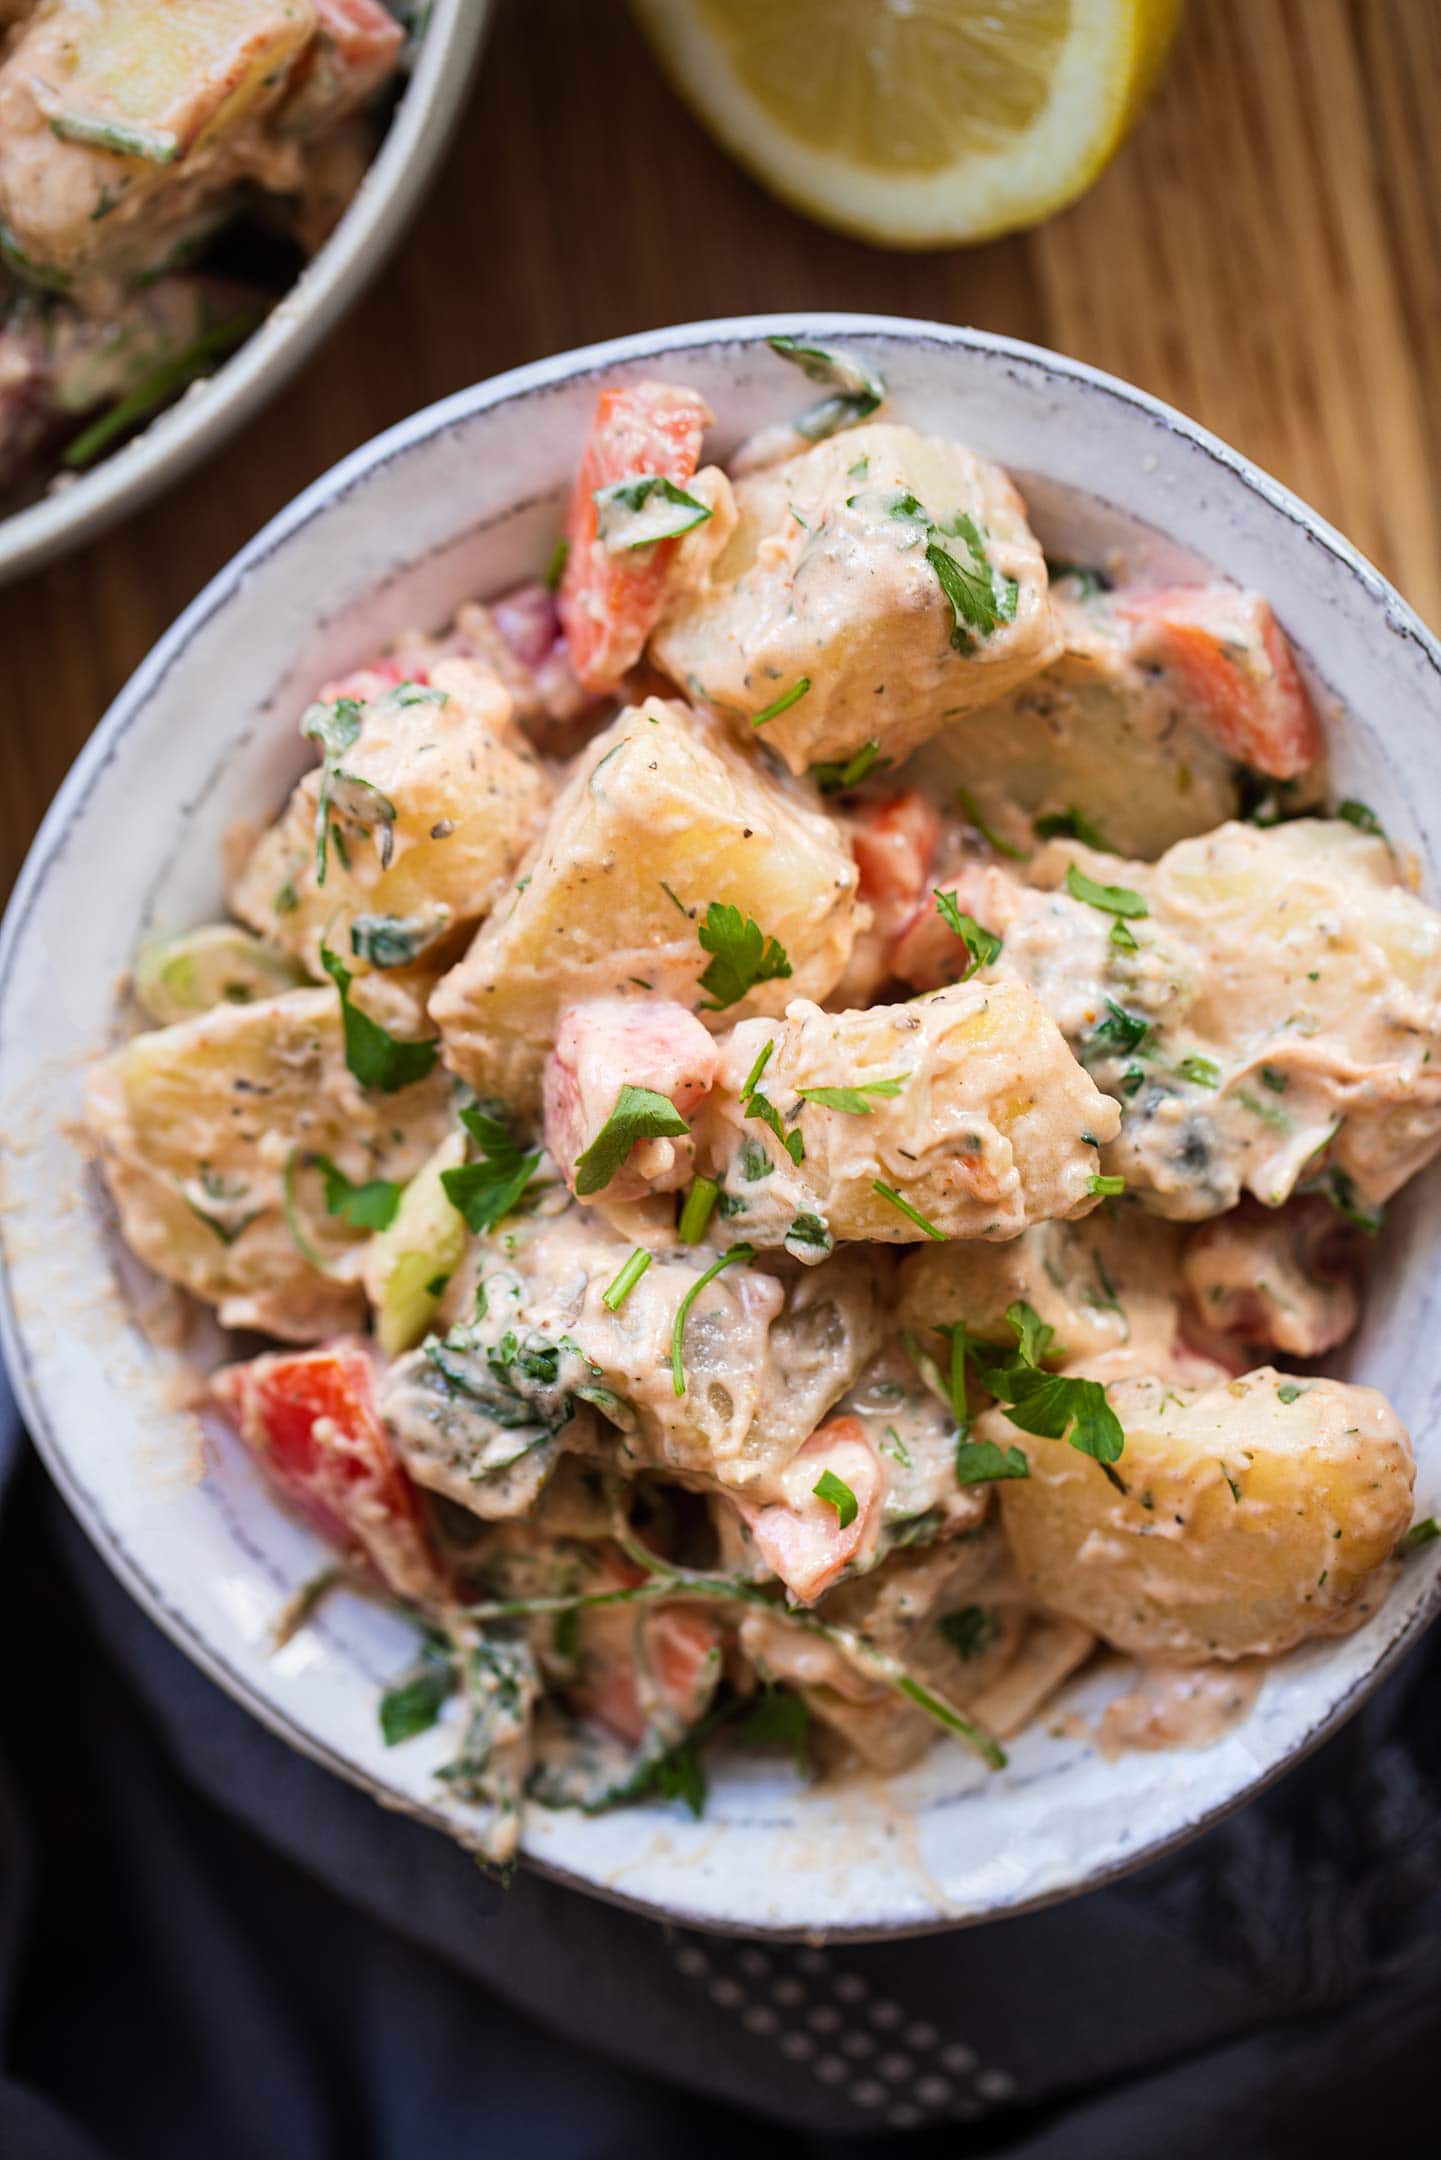
Pickles. Once again, don't leave out the finely diced pickles, because they add that signature tanginess we all love in a potato salad. Capers also work really well.
Lemon juice. I would recommend using freshly-squeezed lemon juice for the best results in order to give the potato salad a more authentic flavor.
Vegan mayonnaise. You can either make your own, or use a good quality store-bought vegan mayo. Keep reading as I've listed some substitutions below that you can use instead. You can also leave it out completely for a more fresh/light salad.
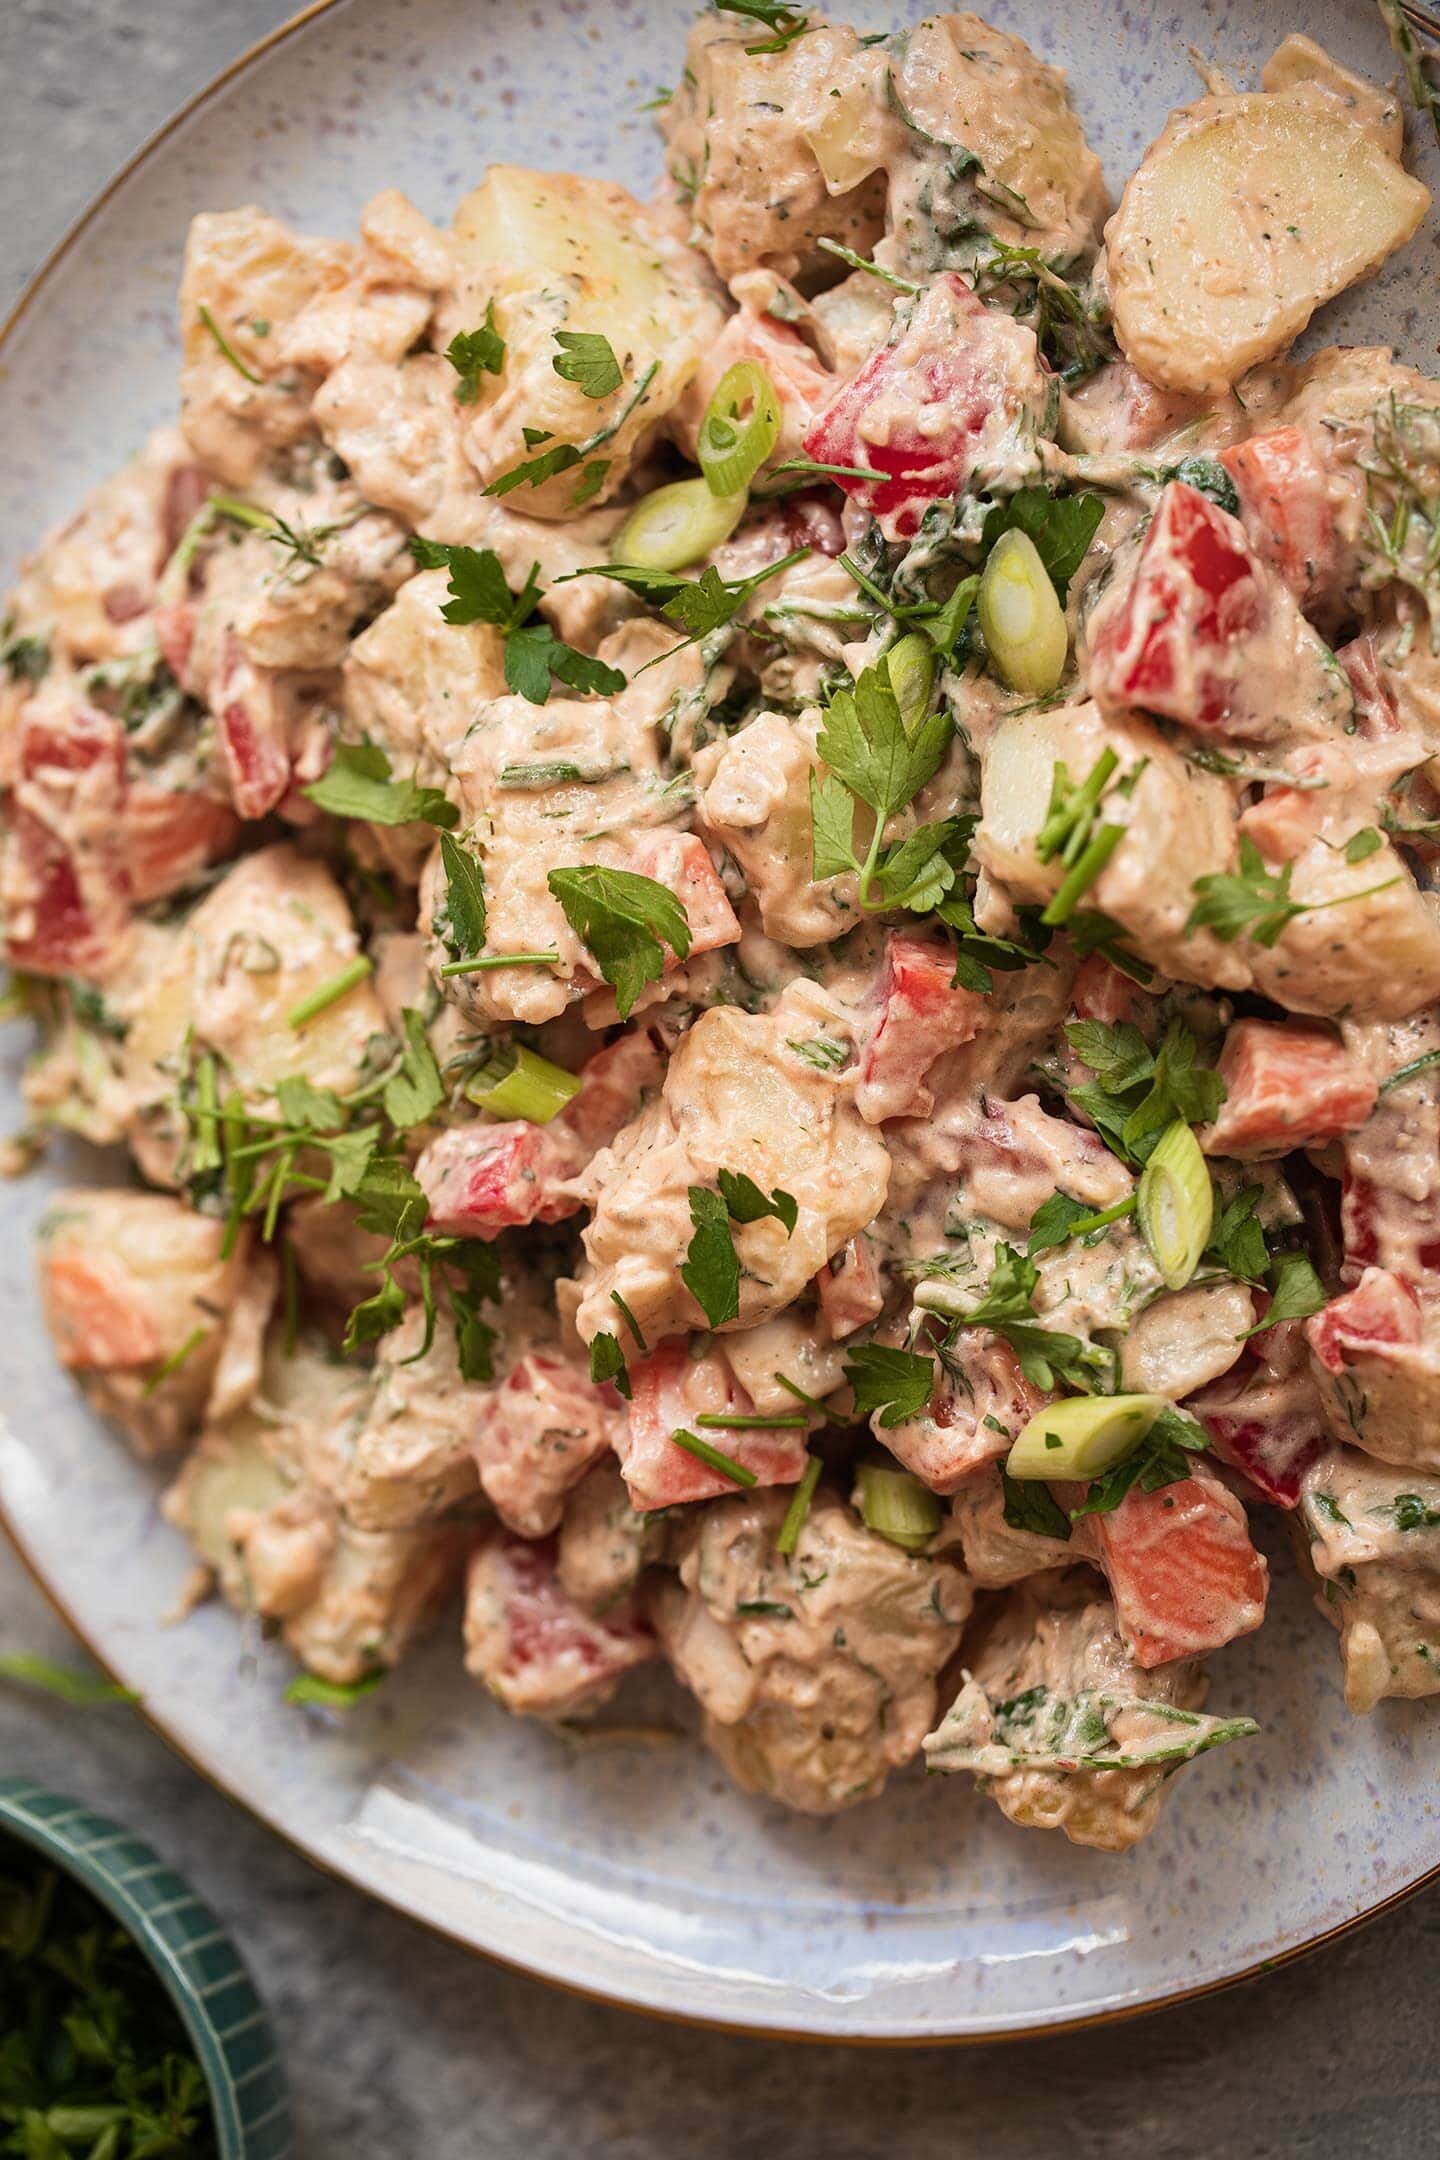
Nutritional yeast. This is great for adding a hint of cheesiness. You can leave it out or add grated vegan cheese instead.
Tomato paste. This will also help to create a distinctive tangy flavor.
Mustard. This is another key potato salad ingredient that helps to create that signature authenticity. Ensure that it's vegan though because some brands have sneaky non-vegan ingredients.
Dried thyme. Great for another layer of earthiness.
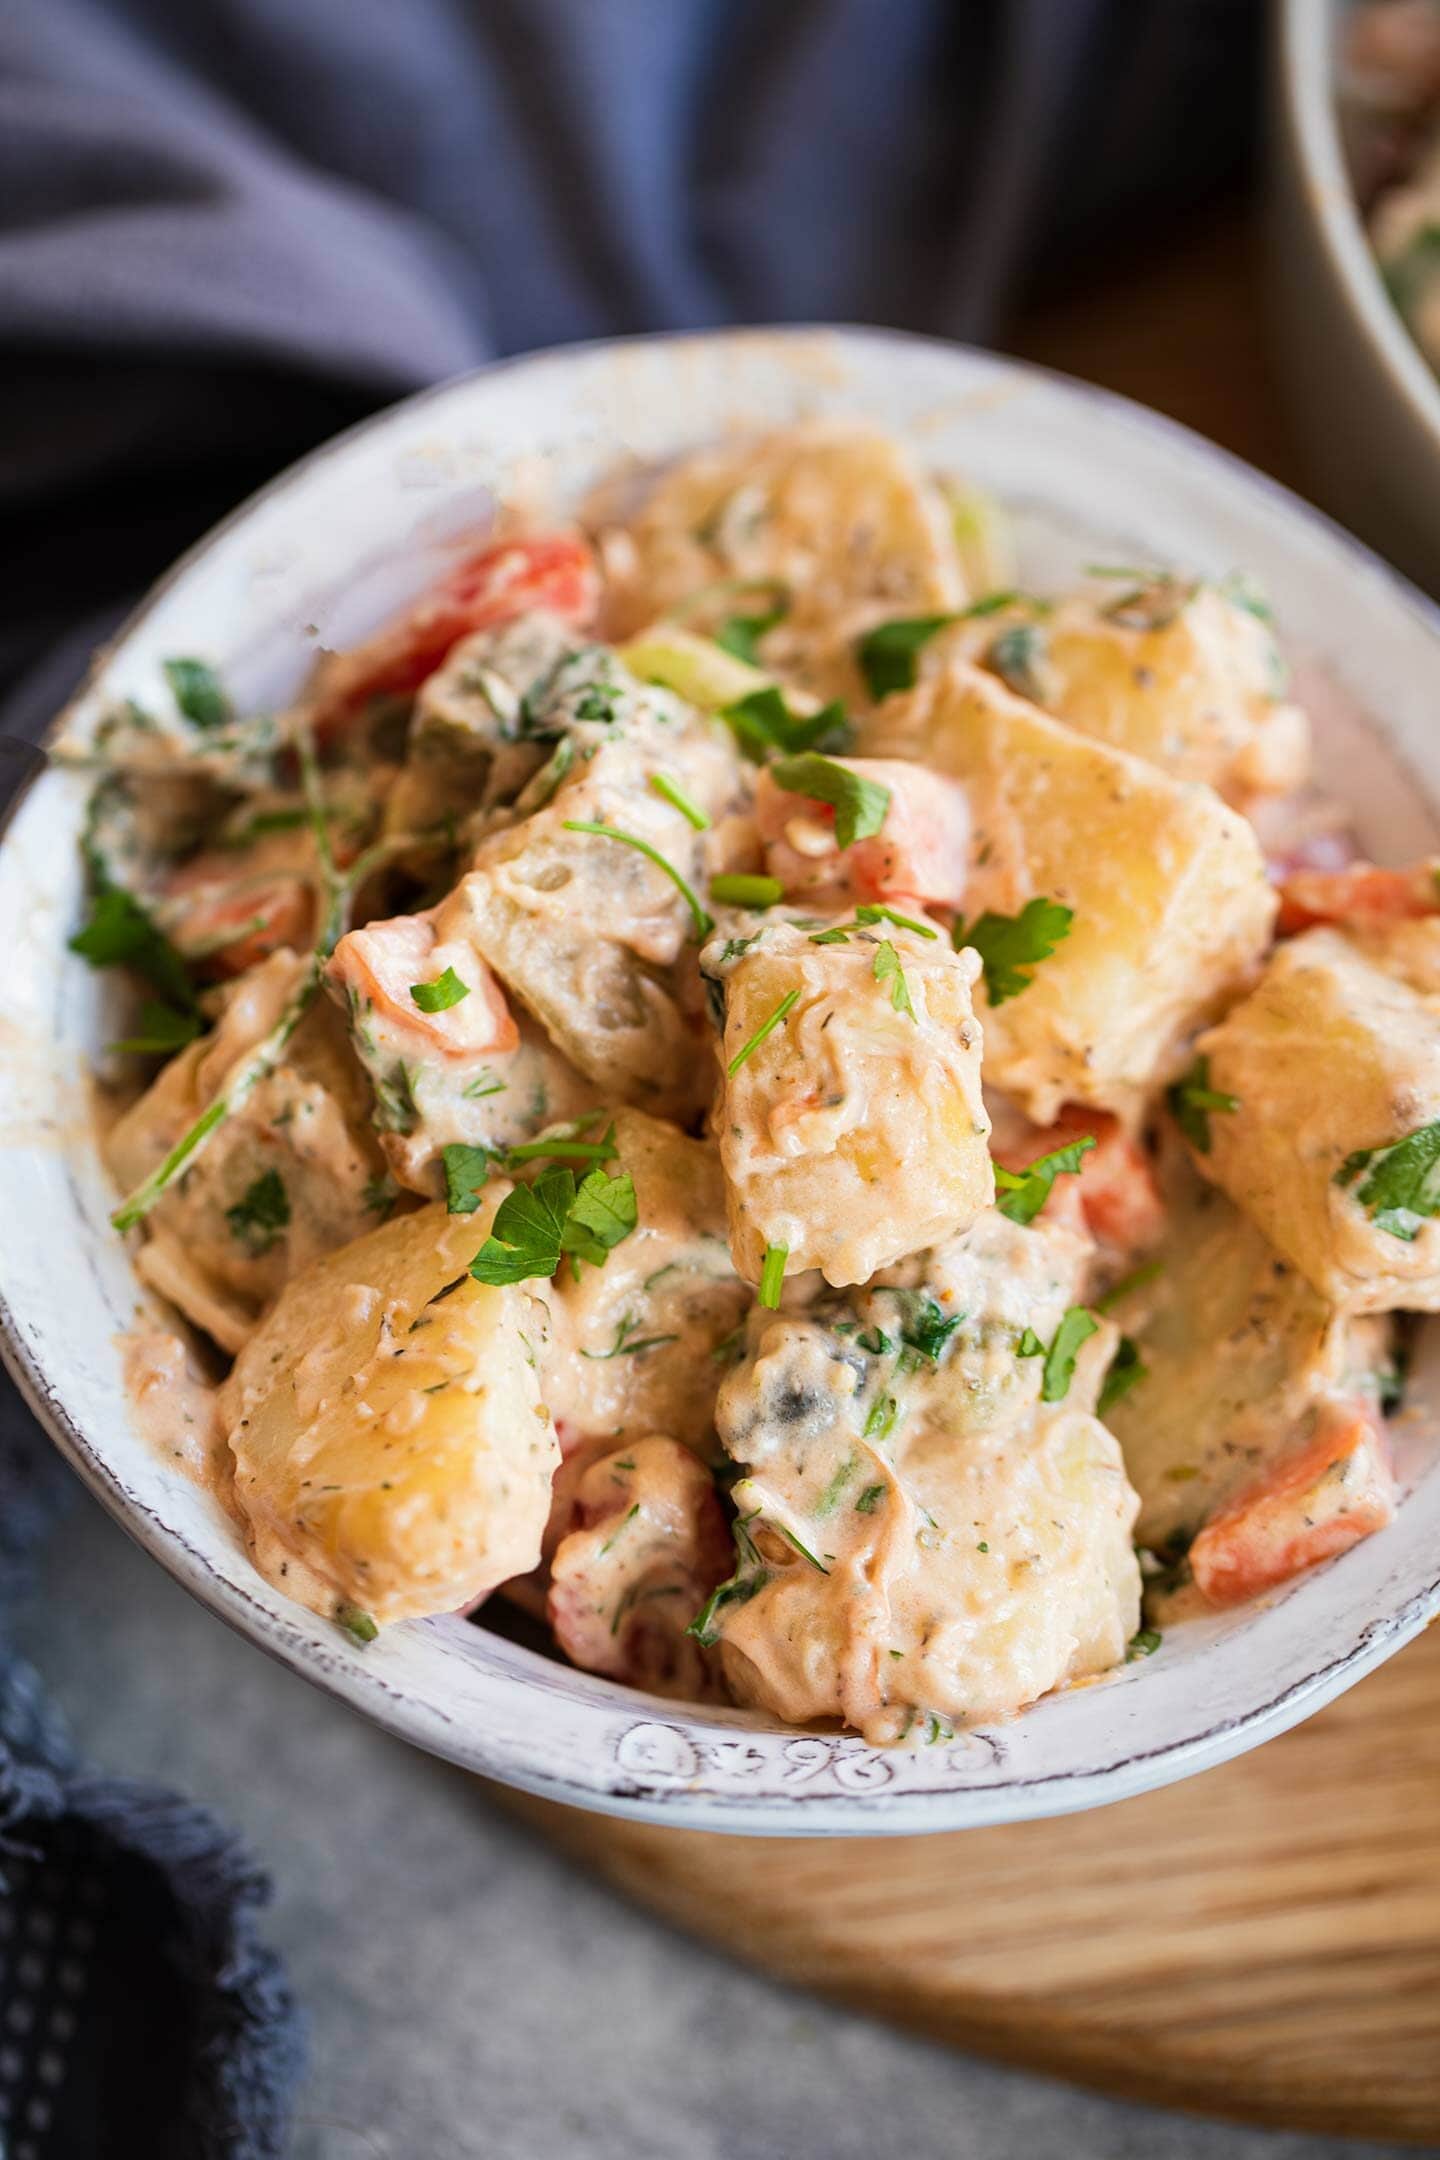
How to make vegan potato salad from scratch
Start by generously salting a saucepan of water and add the peeled and diced potatoes. Cook until fully fork-tender, but make sure not to overcook. For medium-sized potato chunks, you will need around 12-15 minutes.
Meanwhile, you can prepare the other vegetables by de-seeding and dicing the peppers, peeling and dicing the onion, and peeling and chopping the carrots. Also finely chop the dill and cilantro.
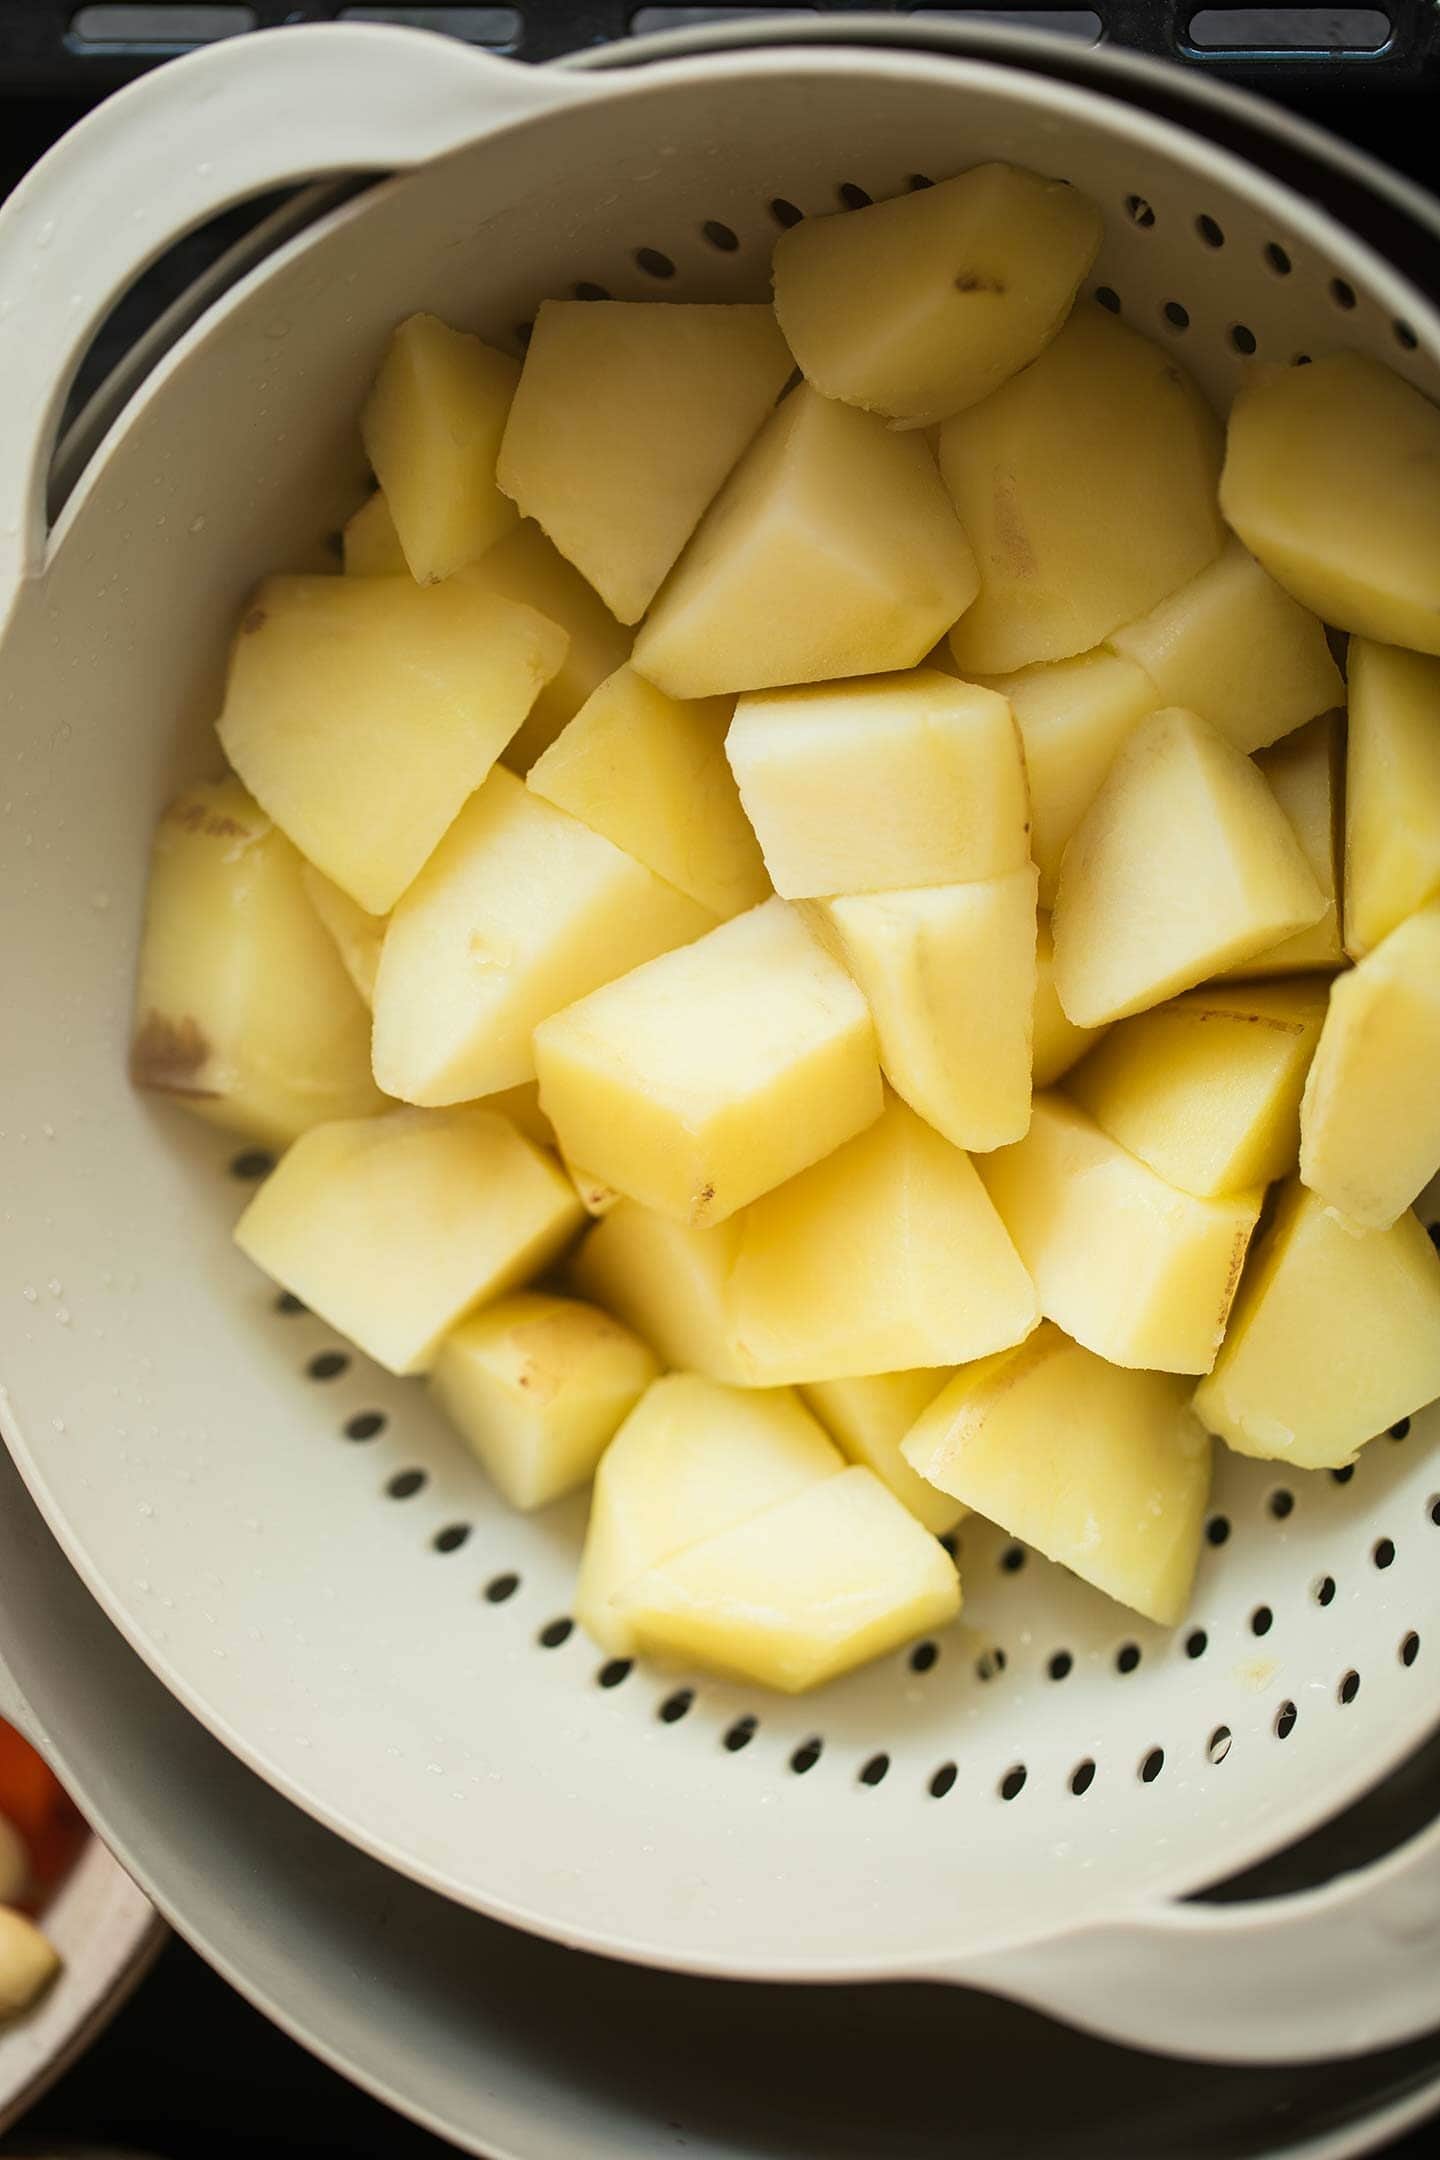
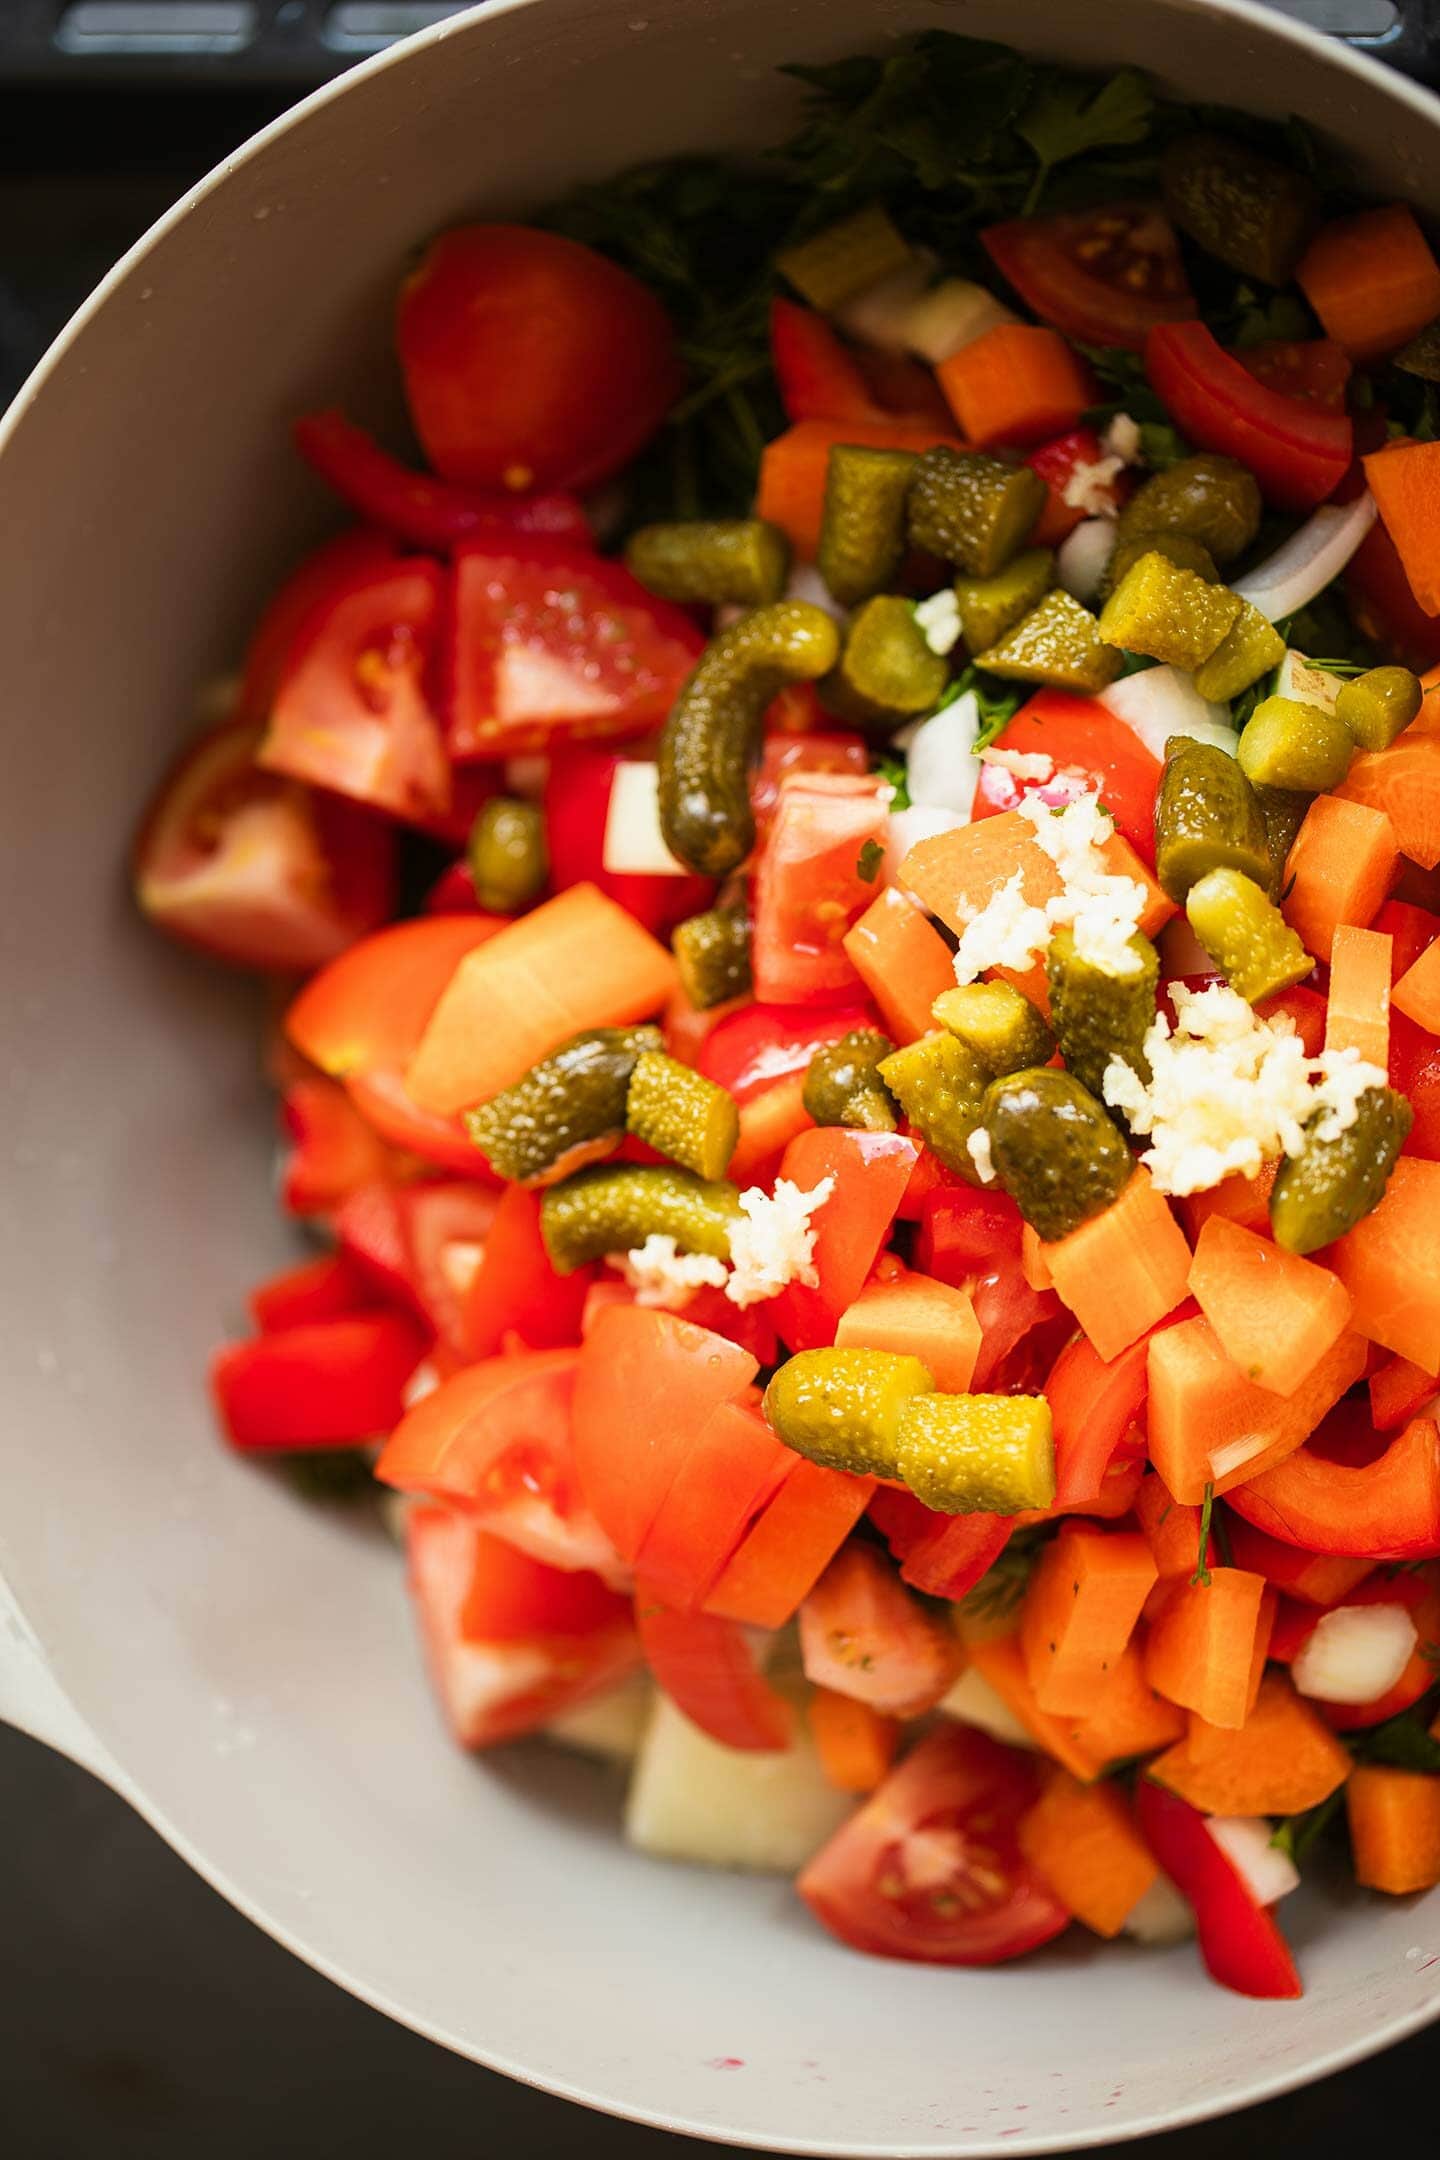
When the potatoes are ready, drain and rinse them, and shake them a few times in the colander to fluff up. Then, transfer them to a large mixing bowl together with the vegetables, fresh herbs, garlic, pickles and lemon juice. Mix together thoroughly.
Now, add the vegan mayonnaise, nutritional yeast, tomato paste, mustard and dried thyme. Mix together thoroughly once again, and the potato salad is now ready to serve!
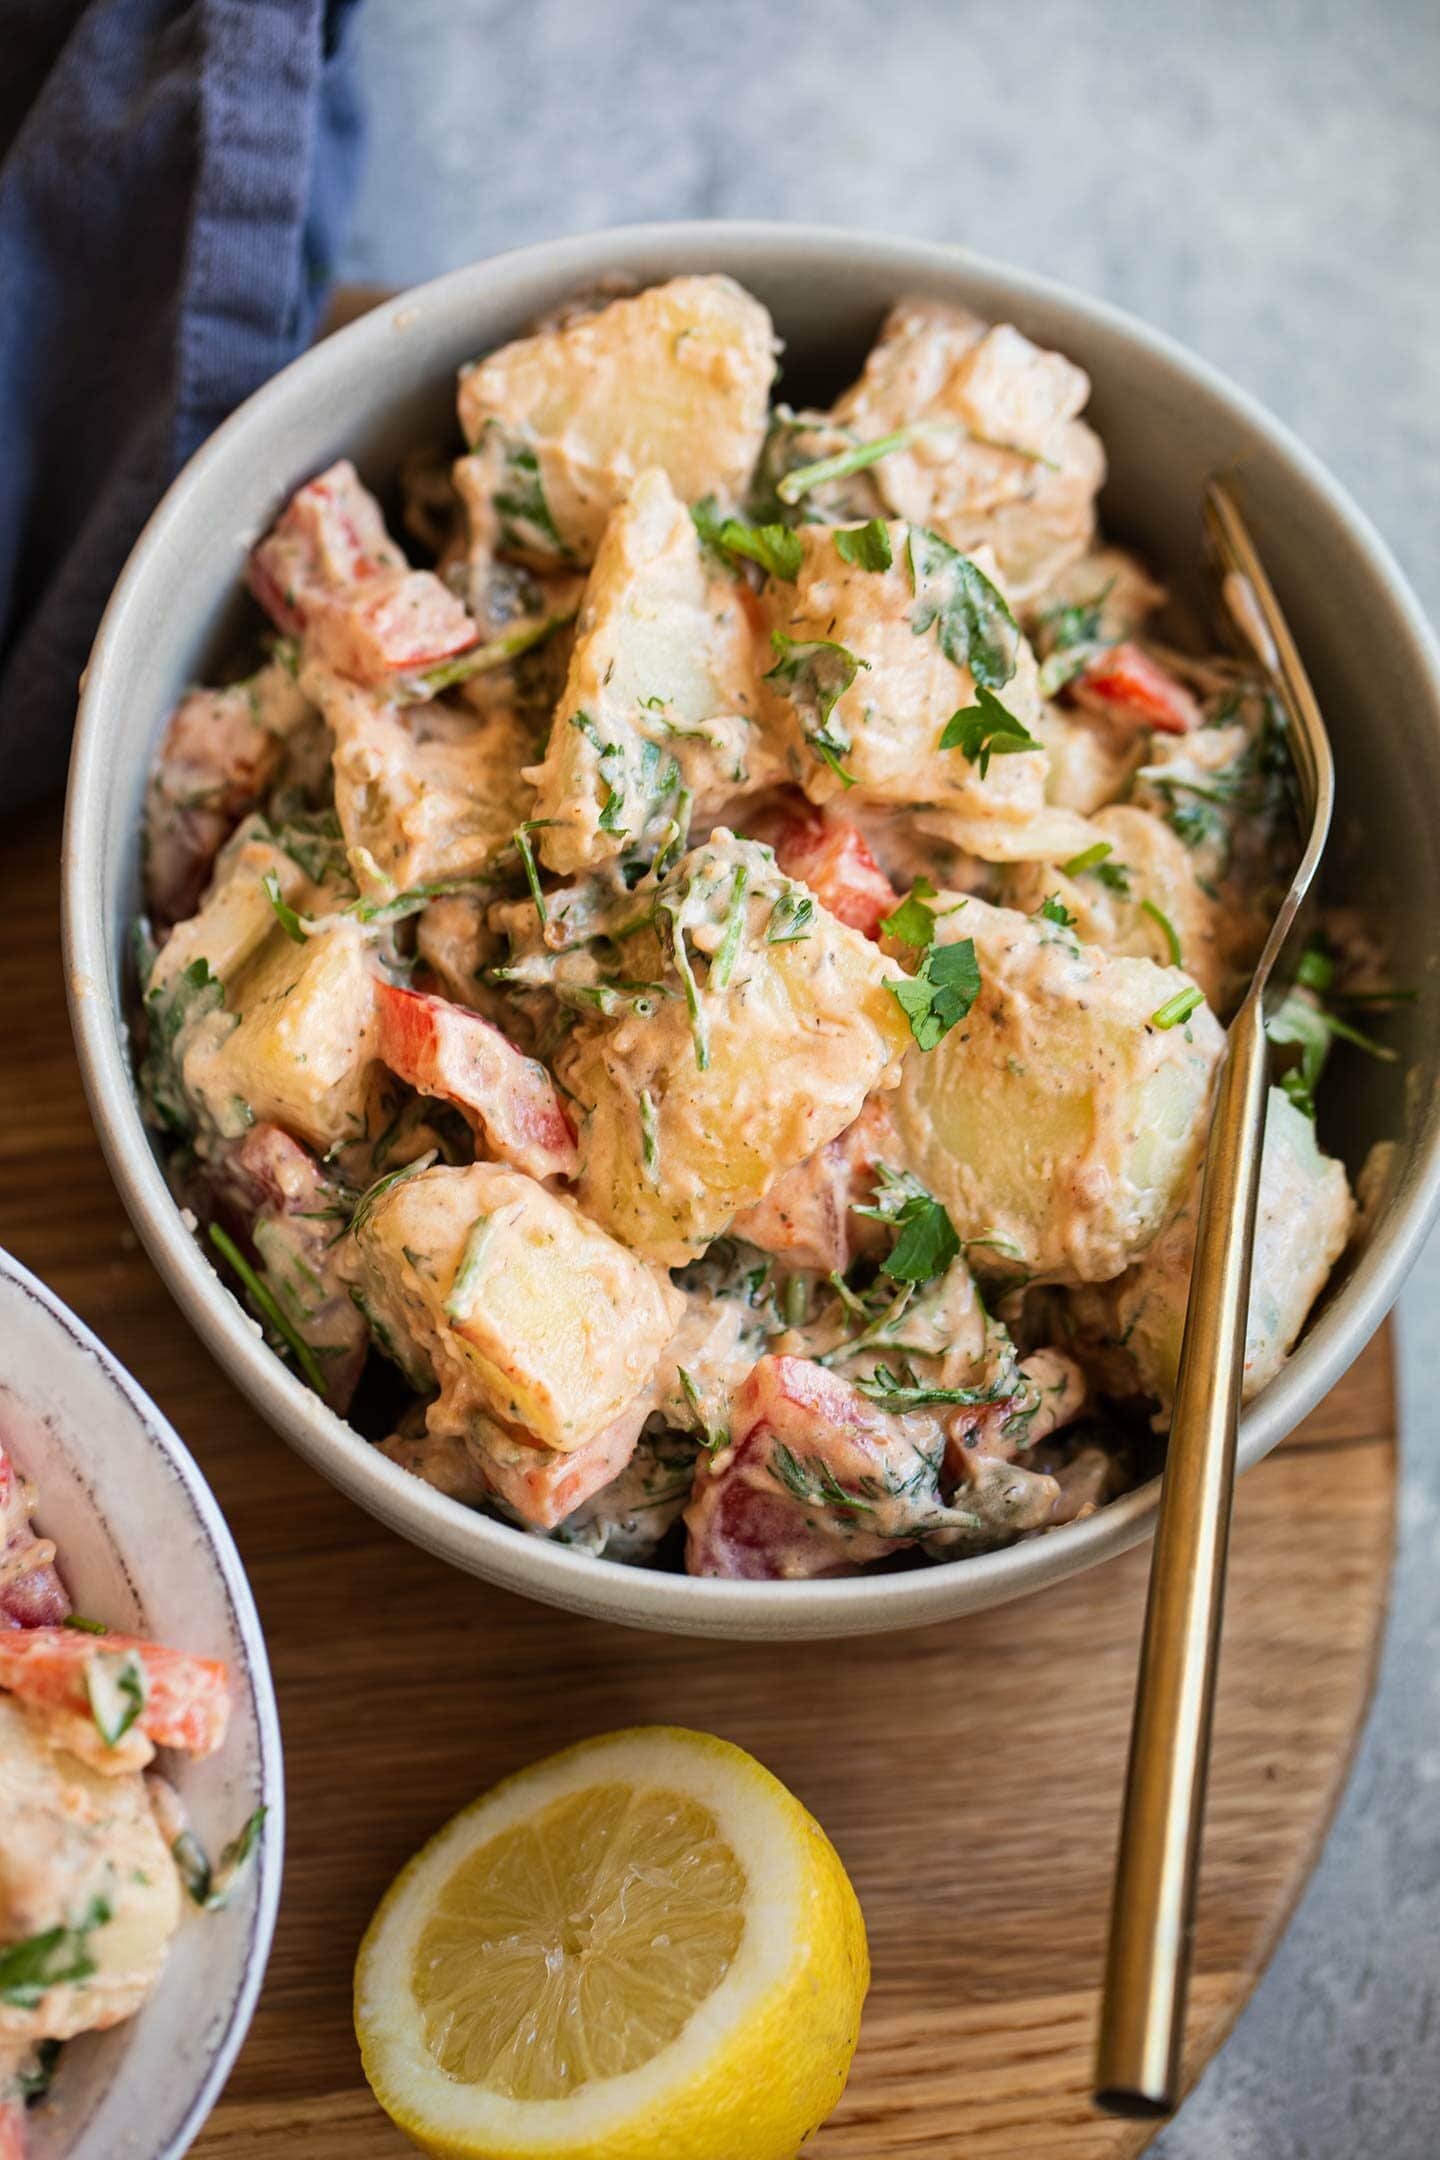
Tips for success
- Make sure to generously salt the water before boiling the potatoes. This will help to maximise the flavor of the actual potatoes.
- Shaking the potatoes in the colander a few times, like in my recipe for crispy roast potatoes, will help to fluff them up and make the final vegan potato salad creamier.
- Be generous with the fresh herbs and the vegetables! This is key for adding texture and freshness, which is key to a great summery side dish.
- Serve immediately while still slightly warm, or leave to chill in the fridge for 15 minutes before serving.
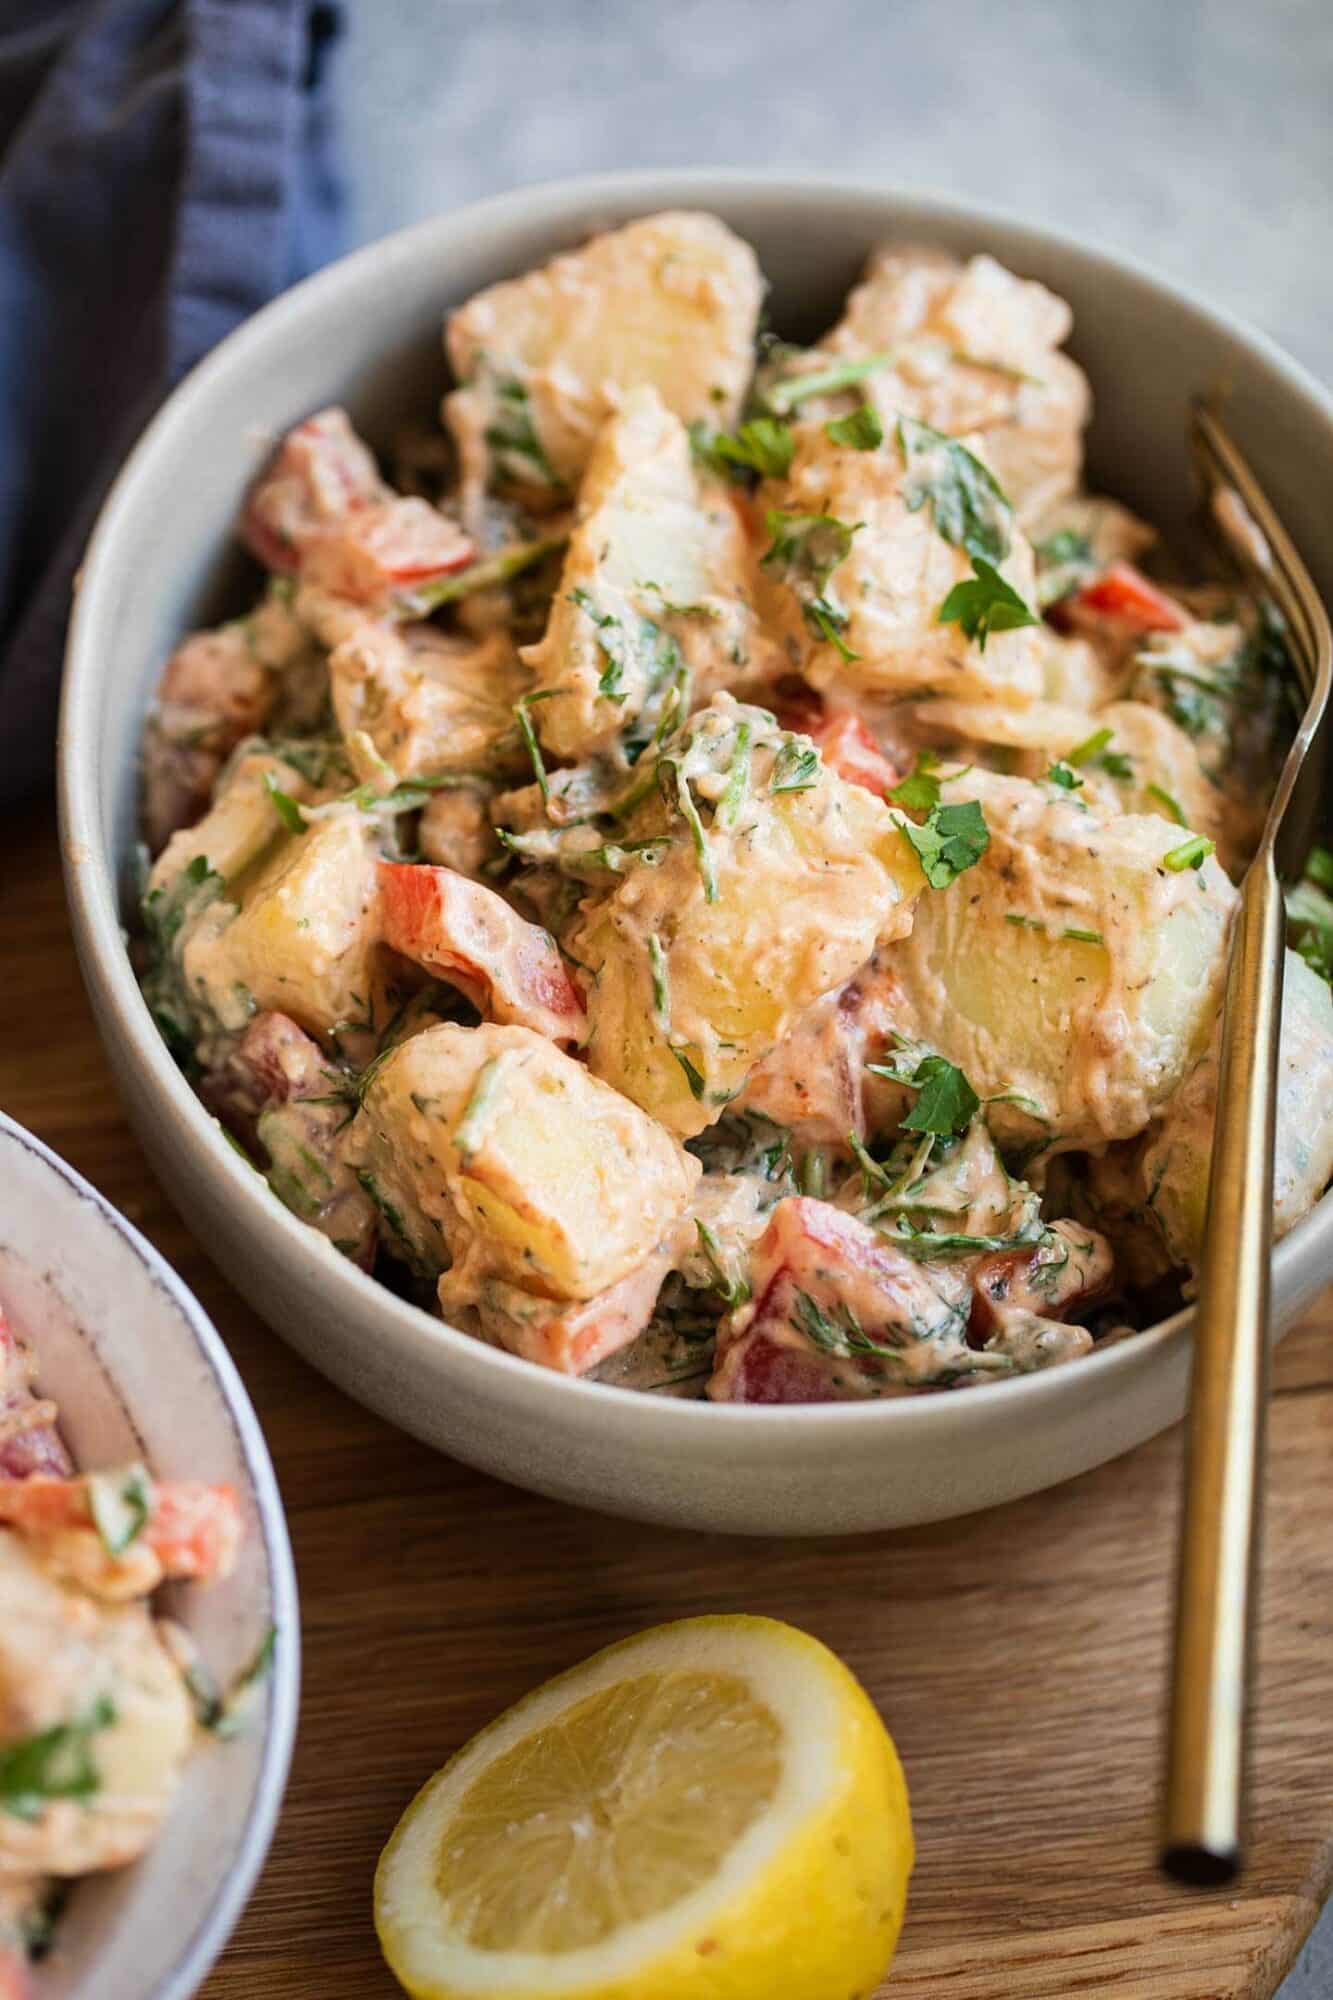
Alternatives to vegan mayonnaise
While using vegan mayonnaise in potato salad is probably the easiest option, I understand that it may not be everyone's cup of tea. If that's the case, you can use homemade vegan sour cream instead, or spicy cashew cream. Simply using a dairy-free yoghurt, like soy yoghurt or coconut yoghurt, would also work. Just make sure that it's unsweetened and neutrally-flavored.
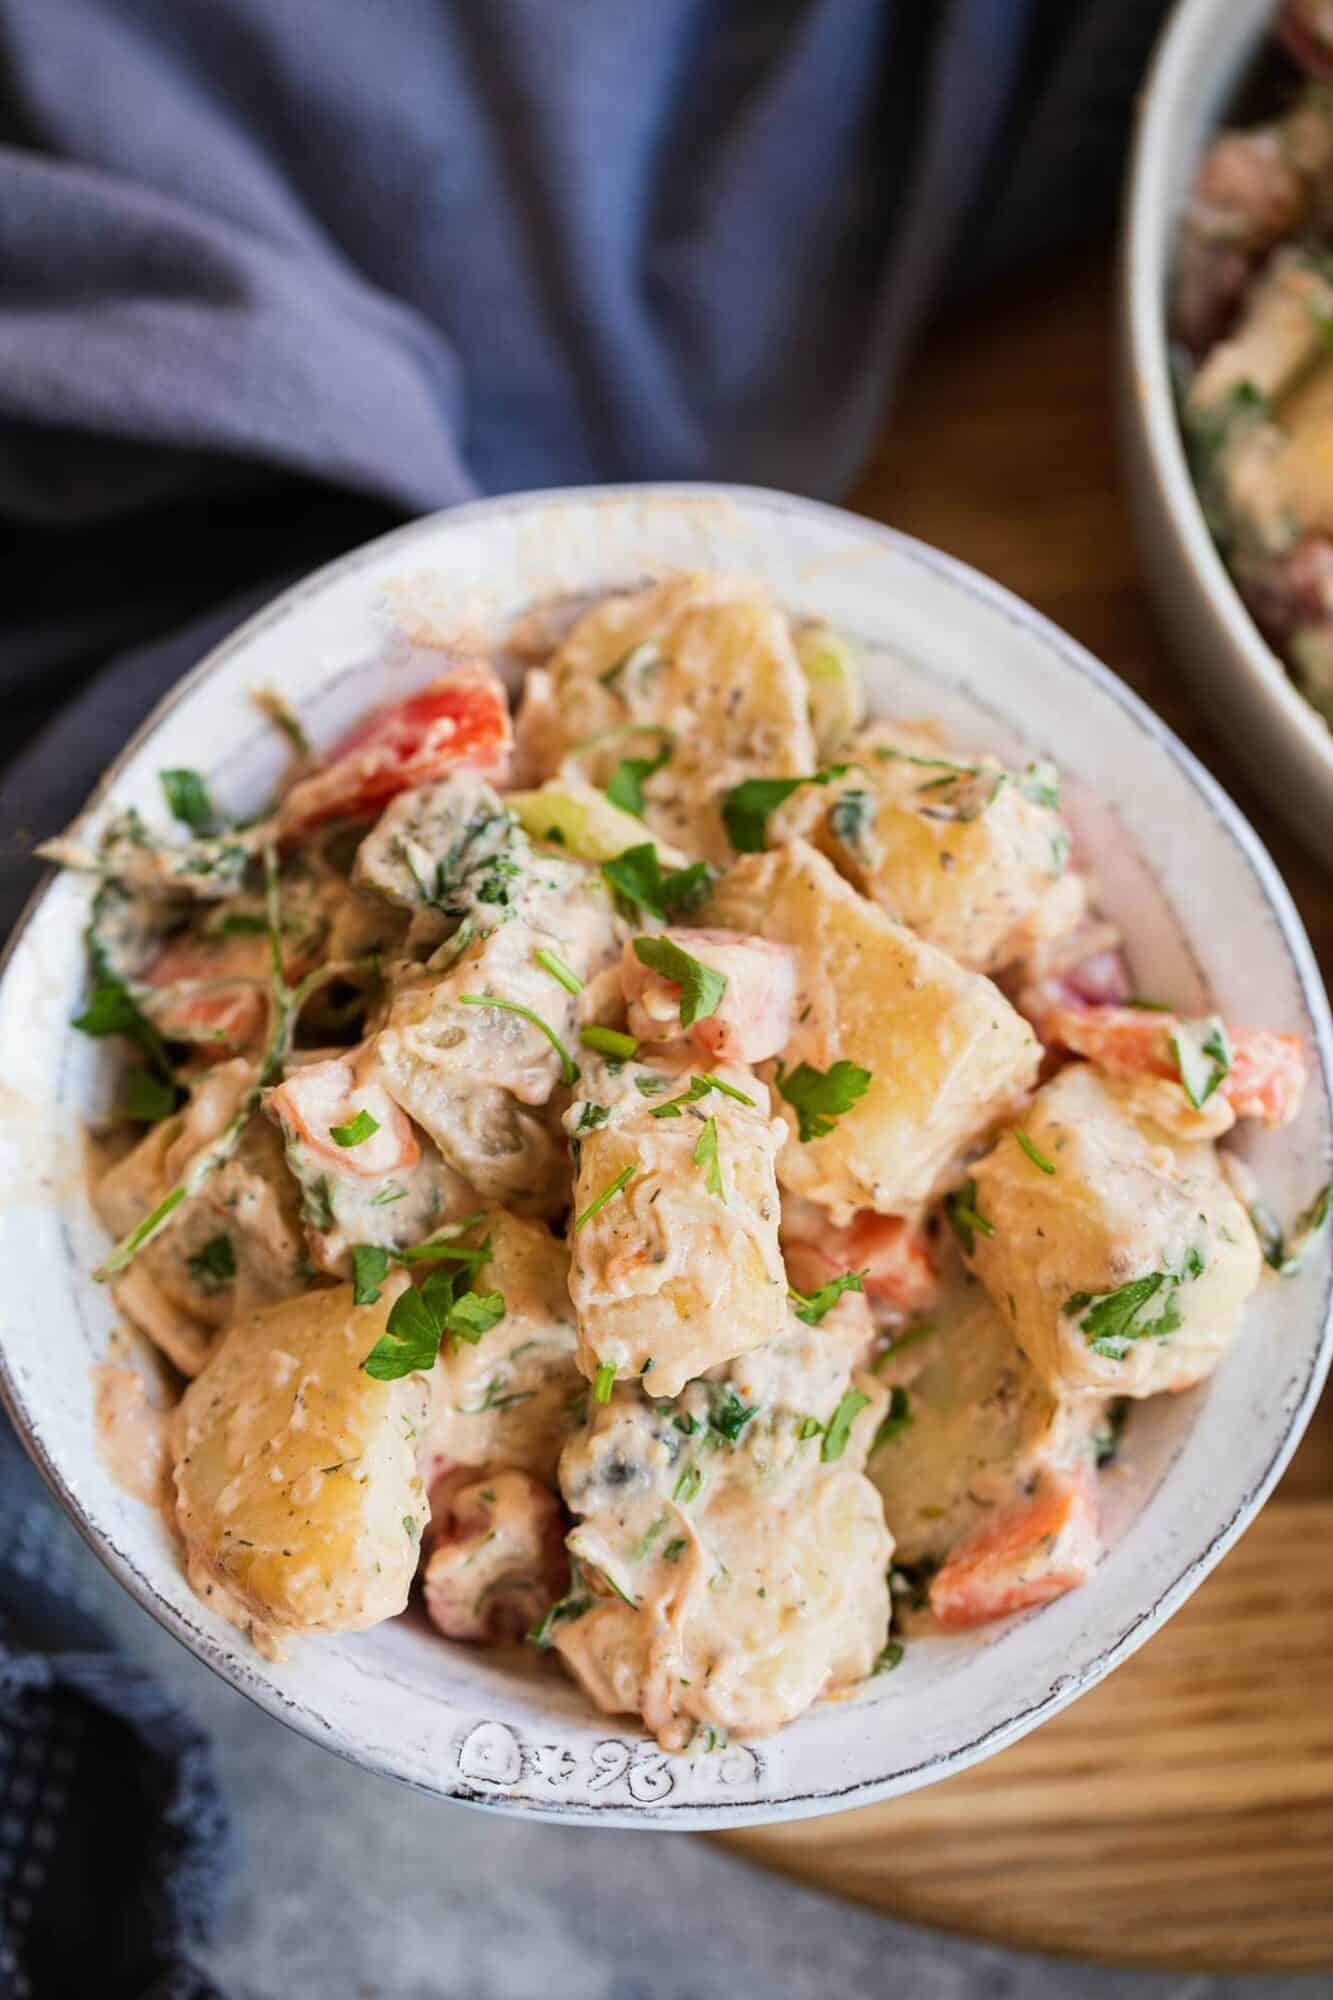
How to make vegan potato salad ahead of time
Potato salad keeps really well in the fridge and tastes even better the next day! You can keep it in the fridge in an airtight container for up to 4 days. Unfortunately, however, this is not a freezer-friendly dish as freezing and thawing ruins the texture.
Other amazing vegan side dishes
- Vegan cauliflower cheese is comforting and crowd-pleasing.
- Try a creamy vegan pasta salad for a refreshing, summery side dish.
- You just can't go wrong with crispy sweet potato wedges!
- Smashed potatoes with avocado sauce are crispy and cheesy.
- Try a macaroni salad with tofu 'feta'!
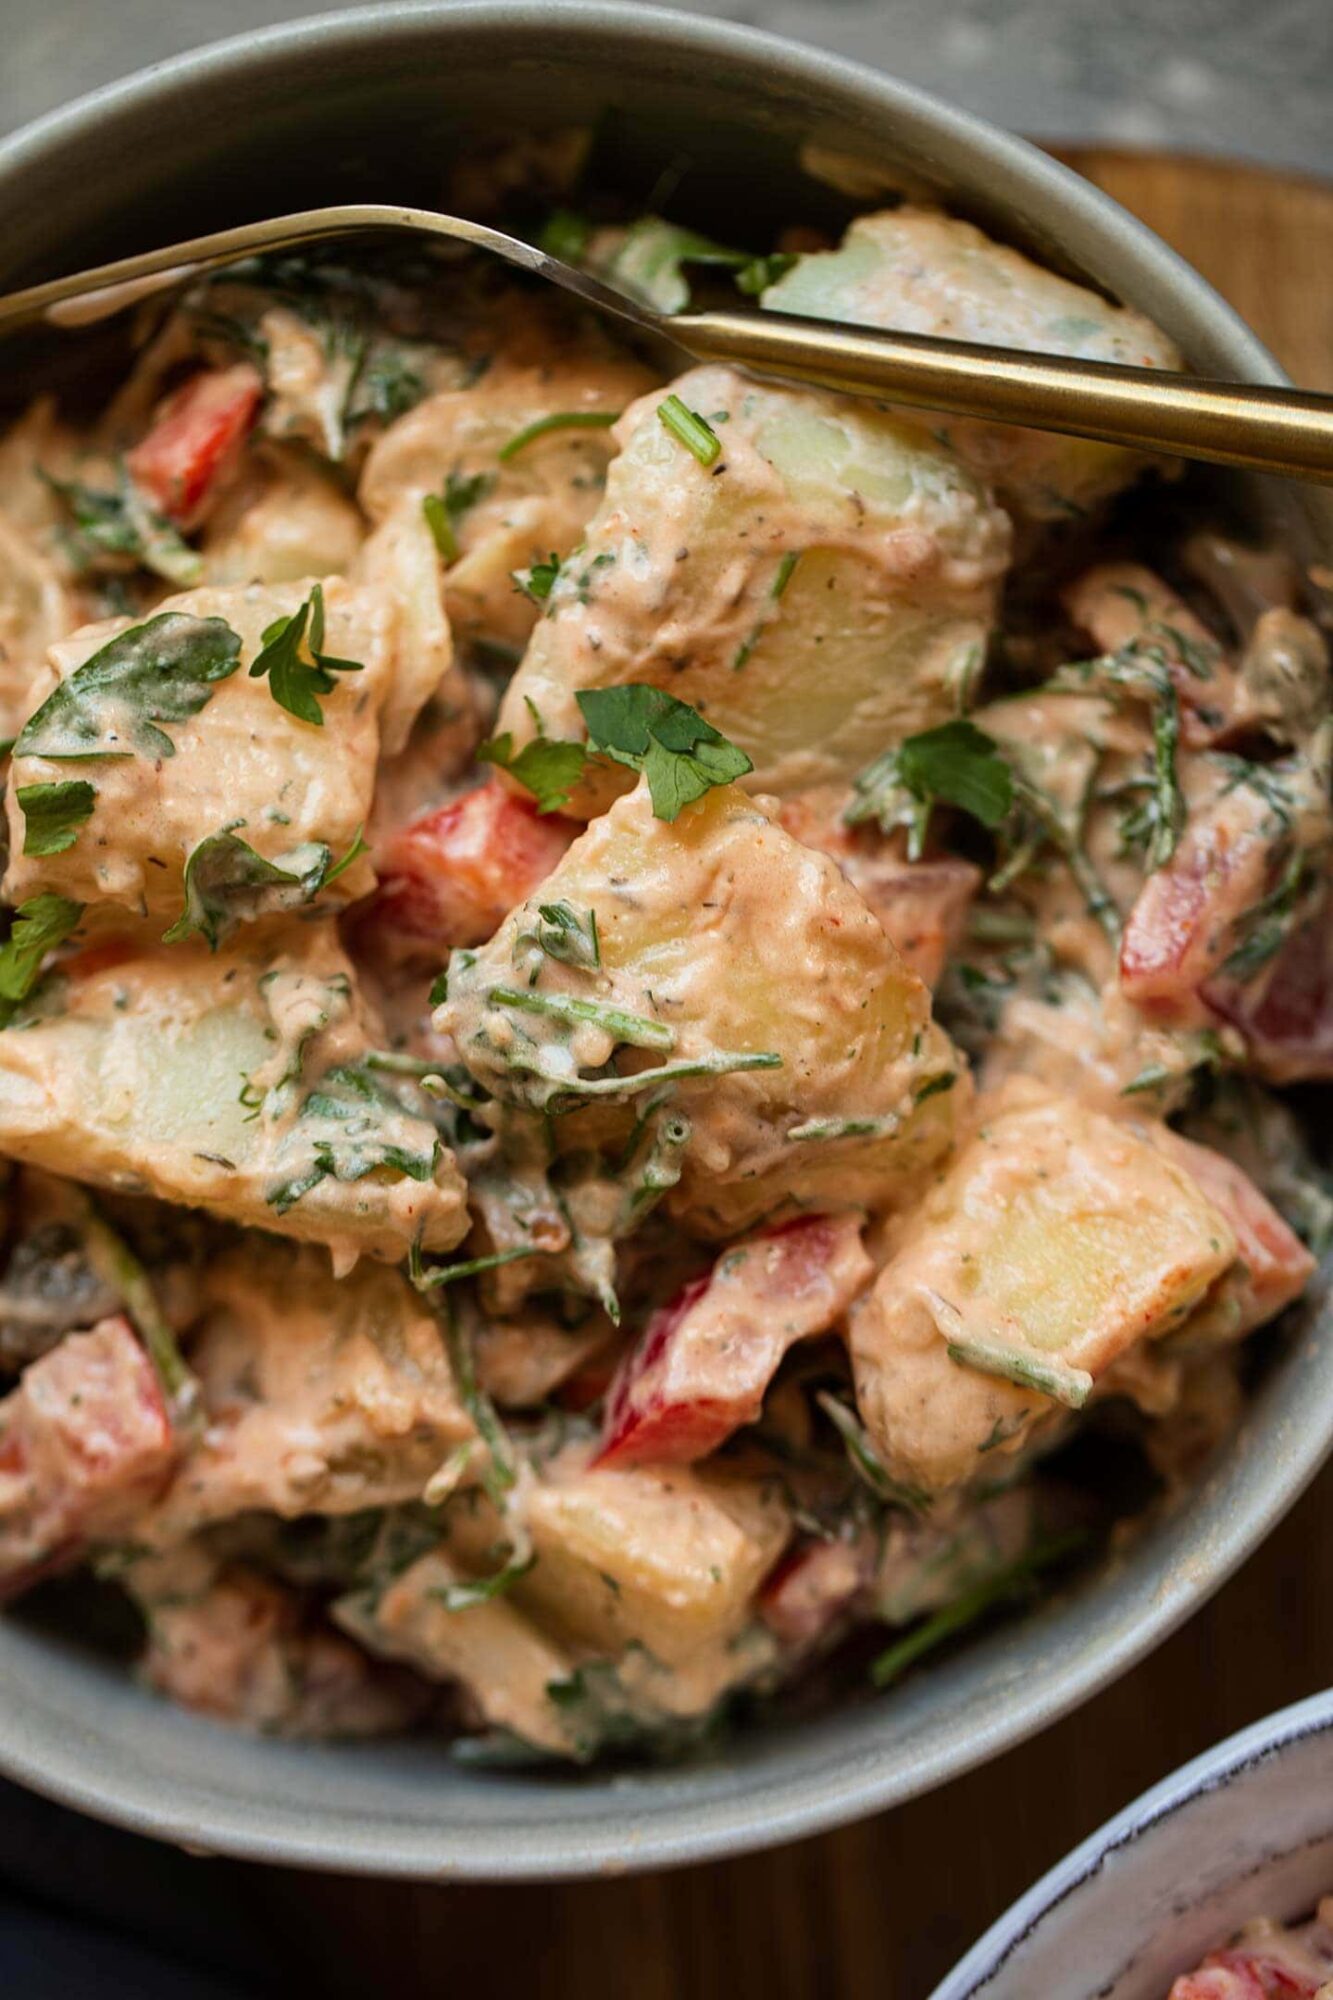
If you give this vegan potato salad recipe a go, be sure to tag me on Instagram (@earthofmariaa) so I can see your creations, and leave your feedback in the comments below together with a star rating - I love hearing from you!

Recipe
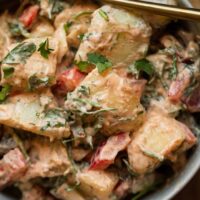
Best Vegan Potato Salad Recipe
This best vegan potato salad recipe with lots of vegetables is an ideal side dish for summer! Creamy and herby, with just the right amount of tanginess, it's great for BBQs and picnics. Guaranteed to impress vegans and non-vegans alike!
Print
Pin
Save
Servings:
Equipment
- Saucepan
- Colander
- Mixing bowl
Ingredients
- 5 cups potatoes peeled and diced
- 1 large red bell pepper
- 1 large onion
- 2 large carrots
- 1 cup dill
- 1 cup cilantro
- 3 cloves garlic minced
- ½ cup pickles diced
- 1 large lemon juice of
- 1 ½ cups vegan mayonnaise
- ¼ cup nutritional yeast
- 2 tablespoon tomato paste
- ½ tablespoon mustard
- 1 tablespoon dried thyme
Instructions
- Generously salt a saucepan of water and add the peeled and diced potatoes. Cook until fully fork-tender, but make sure not to overcook. For medium-sized potato chunks, you will need around 12-15 minutes.
- Prepare the other vegetables by de-seeding and dicing the peppers, peeling and dicing the onion, and peeling and chopping the carrots. Also finely chop the dill and cilantro.
- Drain and rinse the potatoes, and shake them a few times in the colander to fluff up. Then, transfer them to a large mixing bowl together with the vegetables, fresh herbs, garlic, pickles and lemon juice. Mix together thoroughly.
- Add the vegan mayonnaise, nutritional yeast, tomato paste, mustard and dried thyme. Mix together thoroughly once again. Serve immediately, or leave to chill in the fridge for 15 minutes.
Video
Notes
- Make sure to generously salt the water before boiling the potatoes.
- Shaking the potatoes in the colander a few times, like in my recipe for crispy roast potatoes, will help to fluff them up and make the final vegan potato salad creamier.
- Be generous with the fresh herbs and the vegetables!
- This vegan potato salad keeps well in the fridge for 4-5 days in an airtight container.
Nutrition (Estimate per Serving)
Calories: 344kcalCarbohydrates: 19gProtein: 3gFat: 27gSaturated Fat: 3gSodium: 388mgPotassium: 500mgFiber: 3gSugar: 4gVitamin A: 4341IUVitamin C: 47mgCalcium: 51mgIron: 2mg
Vegan-ize any recipe!Grab our free vegan cheat sheet, packed with my favorite easy substitutions to make any recipe vegan.
Vegan Charcuterie Board
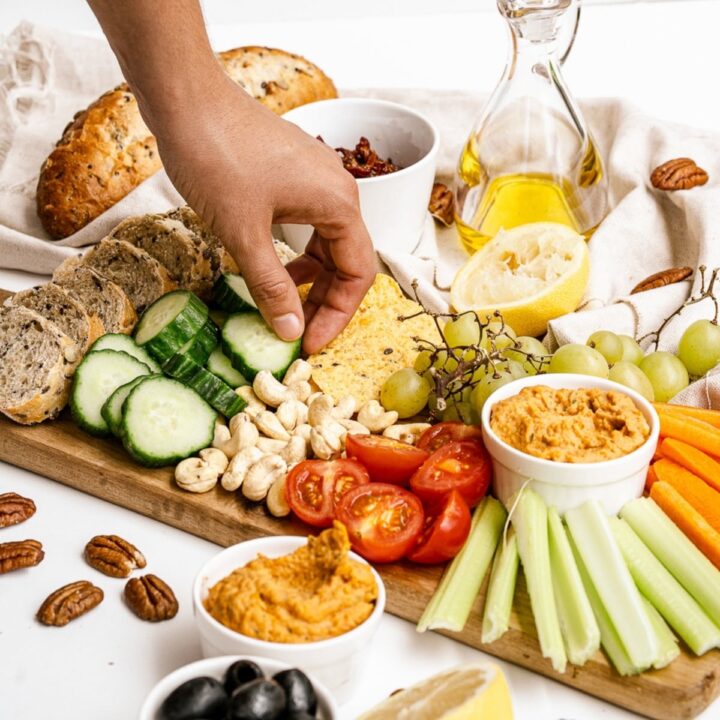
This beautiful and delicious Vegan Charcuterie Board is perfect for holiday celebrations, casual entertaining, or just a fun weeknight in. This vegan snack board is loaded with fresh veggies, fruits, nuts, and plenty of yummy dips.
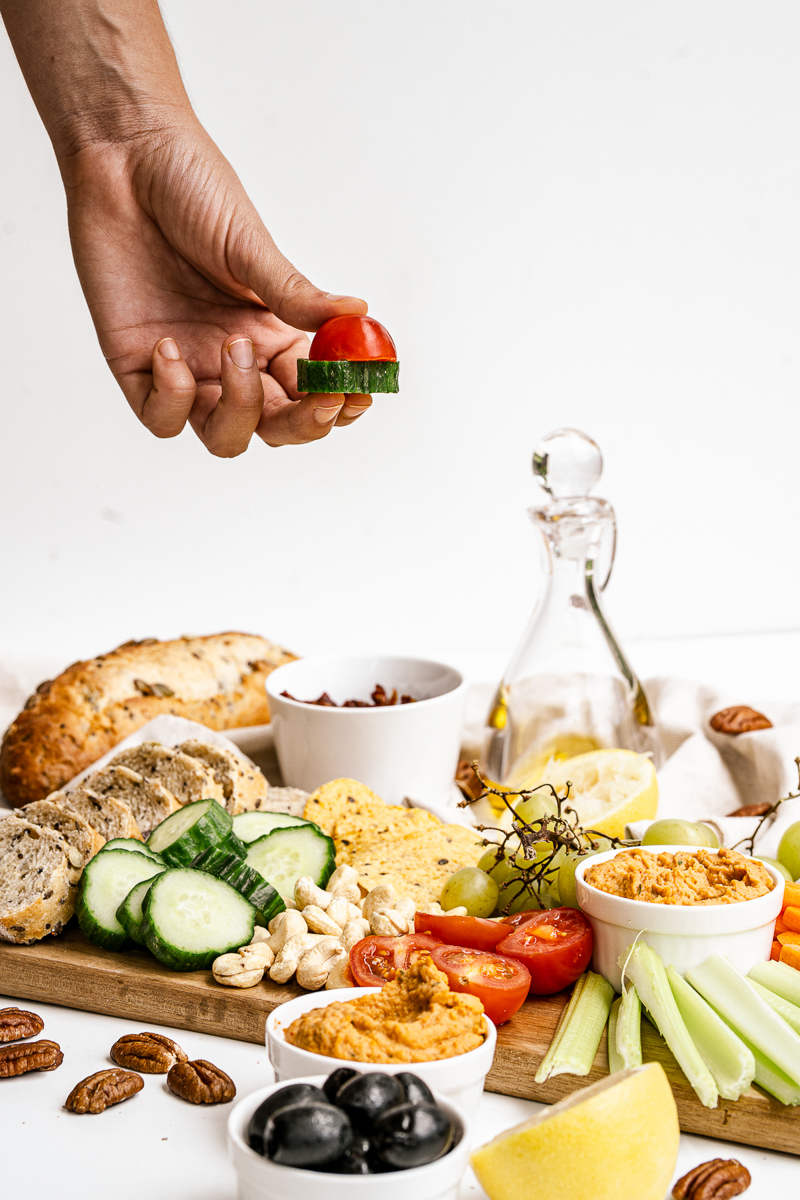
This vegan snack board is loaded with healthy and satisfying snacking options. Crunchy nuts, creamy hummus, fresh veggies, and more.
Want to get a bit fancier than just basic hummus? Try adding this Vegan Jackfruit Crab Dip or this Garlic Cashew Cheese spread to your board.
Or simply spice up your hummus game (literally) with this Grilled Red Pepper Hummus.
Why You Will Love This Vegan Charcuterie Board...
- Simple assembly.
- Homemade hummus,
- Crisp veggies and crunchy nuts!
- Nice variety of snacks,
- Vegan friendly.
- Vegetarian friendly.
- Stunning presentation,
And while you're here, don't forget to grab a copy of my free vegan cheat sheet. It's packed with all my favorite substitutions to vegan-ize any recipe!
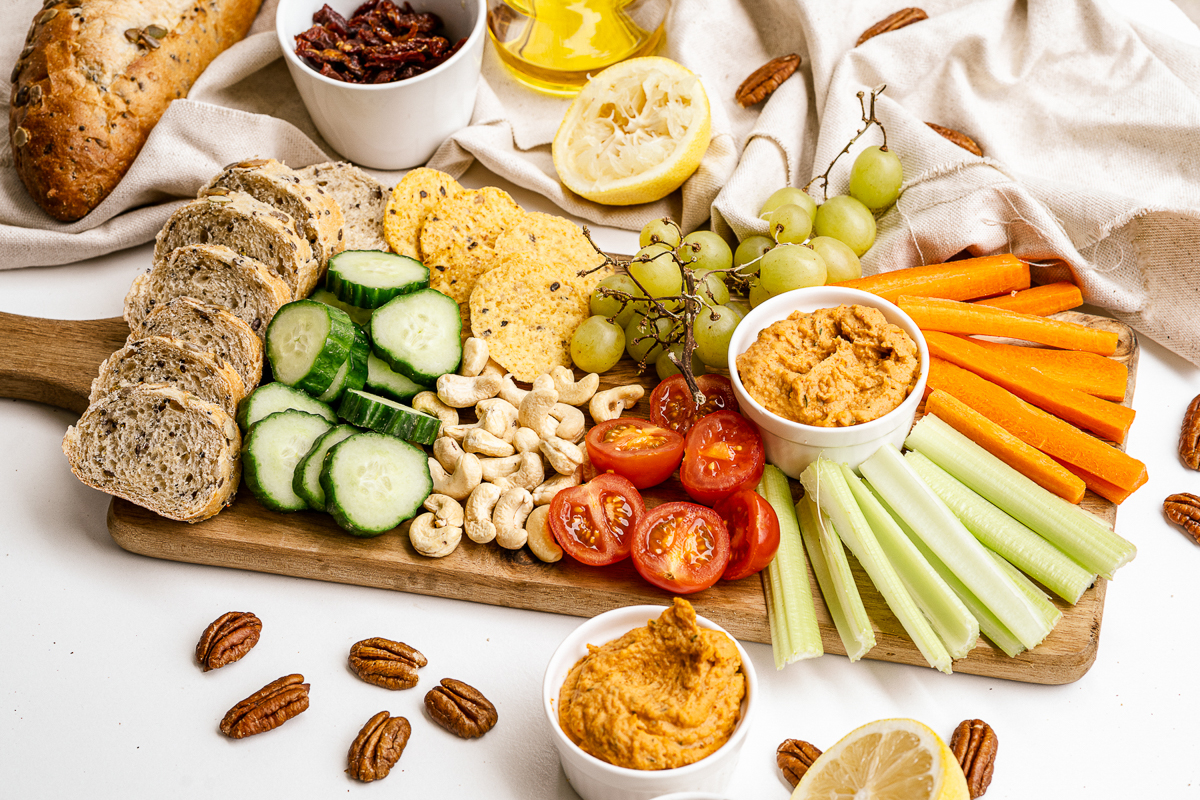
How to Make Vegan Charcuterie Board
- Start by adding all the ingredients for your hummus in the blender or food processor. Mix until creamy in texture.
- Pour the hummus into serving bowls, and place on a charcuterie board.
- Assemble all your snacks around it, and get to snacking!
Tips and Tricks for the Perfect Vegan Charcuterie Board
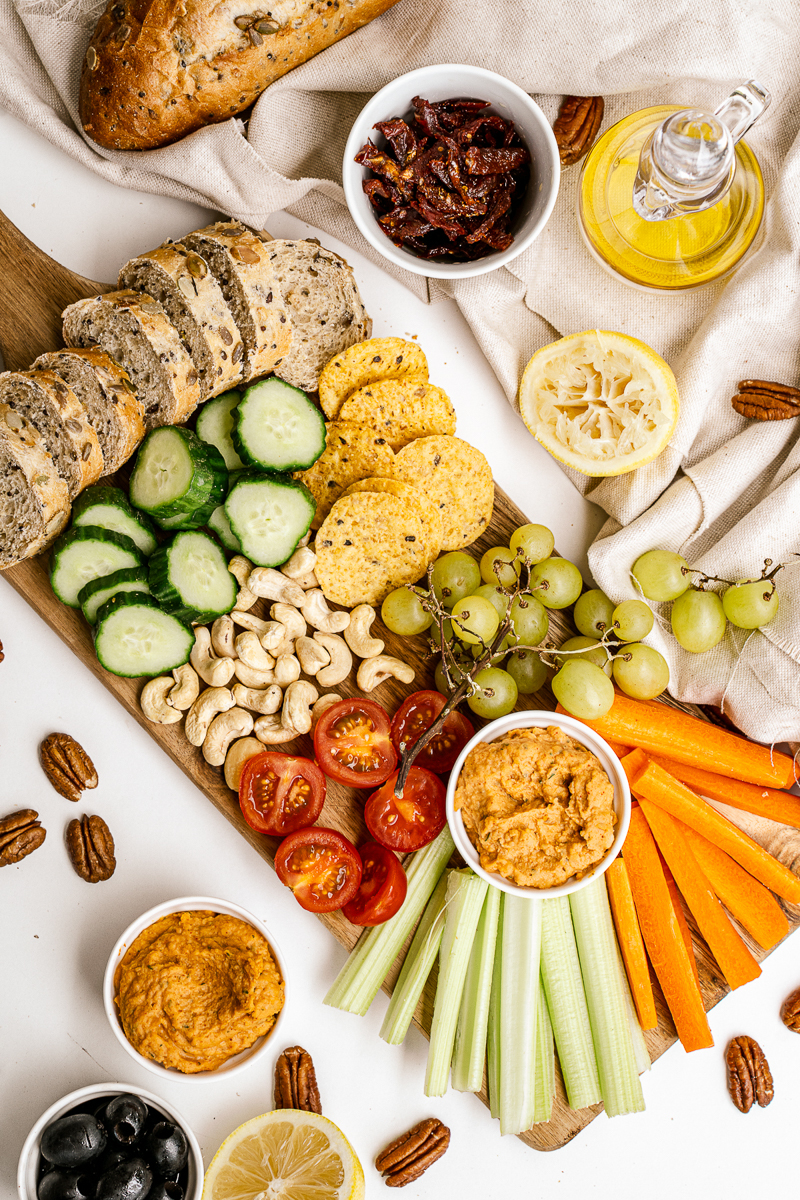
Choosing A Board
Making a charcuterie doesn't mean you have to go out and buy a super expensive board. Just reach for any wooden cutting board or tray that is large enough to hold all you plan to serve.
Even a cookie sheet can be a base for your board in a pinch! Make sure to pick a tray that has enough room for all your snacks to fit, but doesn't leave a lot of empty space. The board needs to look full for the best presentation.
Prepare in Advance
You can prepare your board in advance if you prefer, which is great for entertaining. Just assemble your snack board as you would like, cover it tightly with plastic wrap, and store in the fridge until you are ready to serve.
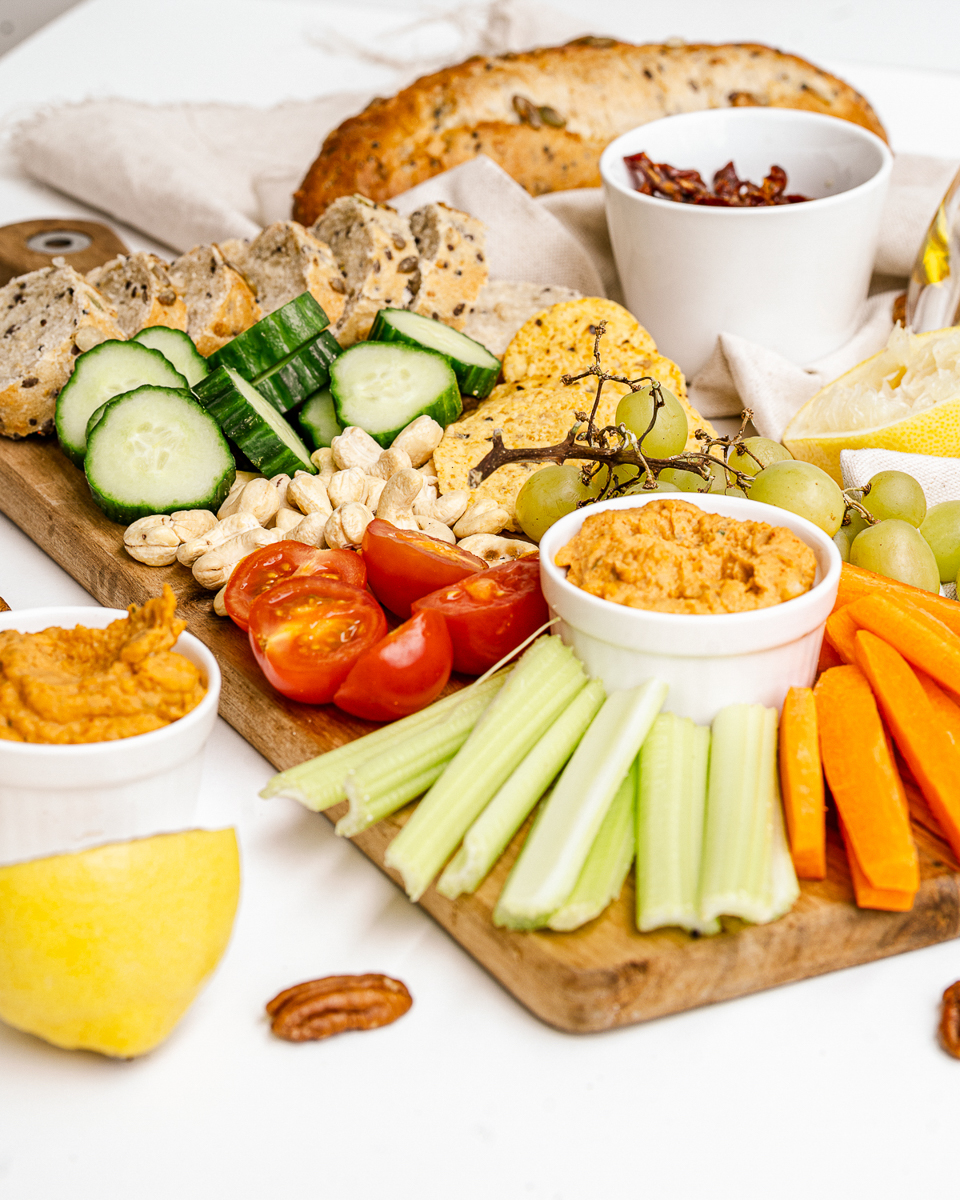
Add More Dips
I served my vegan charcuterie board with homemade hummus - the recipe is in the recipe card below!
Consider placing several small bowls of hummus around the snack board, rather than one large bowl. The placement can help create balance!
Plus, it's easier for everyone grab a bite when there are several dip bowls strategically placed.
However, serving a few different vegan dips will help balance out your board flavor-wise as well as visually. If you want to add more dips, here are a few of my favorite options:
- Vegan Blue Cheese Dressing, such as this one from Daiya
- Vegan Artichoke Dip (This 5-minute version is a great choice!)
- Vegan Jackfruit "Crab" Dip
- Baba Ghanouj (an eggplant and tahini dip)
- Sun Dried Tomato Dip
- Avocado Edamame Dip
- Olive Oil & Balsamic Vinegar - perfect for dipping bread.
More Snack Board Ingredients
You can change up this grazing board to fit your own tastes and use whatever you have on hand. Some delicious choices for your vegan charcuterie board are:
- Carrot Sticks
- Cucumbers
- Tomatoes
- Artichoke Hearts
- Sun Dried Tomatoes
- Olives - all different varieties!
- Nuts - Cashews and Pecans are a great coice.
- Pita Chips
- Tortilla Chips
- Sliced Whole Grain Bread
- Grapes
- Berries - Strawberries, Raspberries, Blueberries
- Vegan Mozzarella Sticks - a crowd-pleasing hot appetizer that disappears fast.
Include Something Sweet!
I tend to lean towards savory ingredients when it comes to snacking. But it can be nice to include a little something sweet on your board as well.
Grapes and fresh berries are a great option, and they pair well with many of the savory ingredients too.
Or you could get really fancy and serve a chocolate hummus paired with strawberries and melon on one end of the tray. Yum!
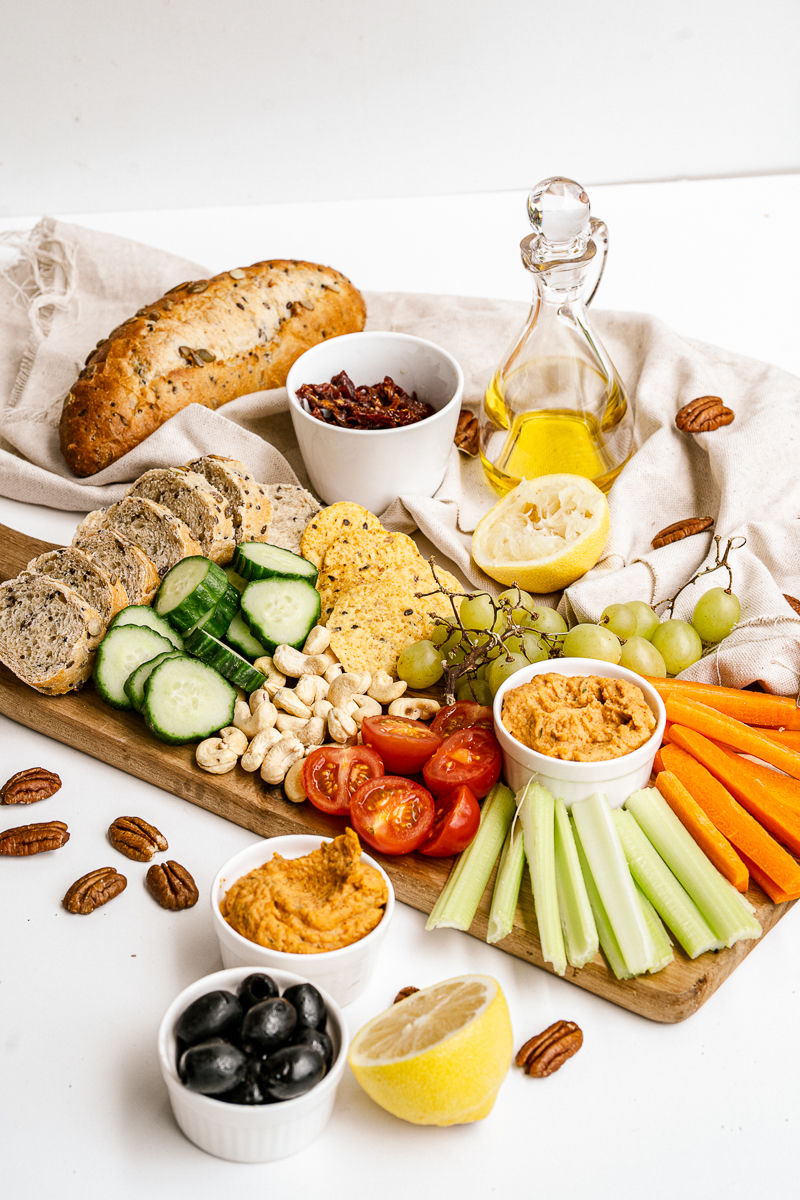
Vegan Charcuterie FAQs
How do you say "charcuterie board?"
Not quite sure how to say "charcuterie?" Here is how to pronounce it: "shahr-ku-tuh-ree." Now you know. 😉
How do you build a charcuterie board?
Start by placing dip on both ends of the board. Then begin to add vegetables, nuts, and such on the board. I began by laying items around the bowls, and then worked my way out to the edge of the board, filling in all the empty spaces.
Are a grazing board and a charcuterie the same thing?
Essentially, yes, the two names mean the same thing. Traditionally "charcuterie" includes meat, but today most people use the term "charcuterie board" to refer to any assortment of snacks laid out on a tray.
You will find that - no matter the name - an arrangement of your favorite tasty snacks on a board is a surefire crowd pleaser!
What are items to put on a vegan charcuterie tray?
Vegetables, veggie "meat," vegan cheese, dips, crackers, bread, etc. You might even enjoy adding in some nuts, fresh fruit, and more.
More Recipes to Try
I love serving up one of these snack boards as the start to a delicious Sunday Brunch. And if brunching sounds amazing to you - go check out my Vegan Brunch Book!
If you love this vegan charcuterie board, don't miss these other delicious vegan ideas:
Also worth trying: our olive and sun-dried tomato tapenade.
- Vegan Thanksgiving and Vegan Christmas Cookbooks (new!)
- Easy & Inexpensive Vegan Party Snacks
- 25 Best Vegan Dip Recipes
- The Best Vegan Tailgate Foods
Recipe
Vegan Charcuterie Board
This beautiful and delicious Vegan Charcuterie Board is perfect for holiday celebrations, casual entertaining, or just a fun weeknight in. This vegan snack board is loaded with fresh veggies, fruits, nuts, and plenty of yummy dips.
Print
Pin
Save
Servings: servings
Ingredients
Board
- 2 carrots peeled and sliced into matchsticks
- 1 cucumber sliced
- 3 celery stalks trimmed and cut in half lengthwise
- ½ cup pecans
- 1 cup grapes
- 1 cup cherry tomatoes halved
- ½ cup cashews
- ½ cup sundried tomatoes
- 1 cup corn chips
- ½ cup olives
- baguette sliced
Homemade Hummus
- 15 oz chickpeas canned, drained, and rinsed
- 1 garlic clove
- ¼ cup fresh parsley
- ½ teaspoon salt
- 1 tablespoon olive oil plus extra for drizzling
- 1 tablespoon tahini paste
- ½ teaspoon smoked paprika plus extra for garnish
- juice of ½ lemon
Instructions
- Add all hummus ingredients to the bowl of a food processor. Blend on high speed until it forms a smooth paste.
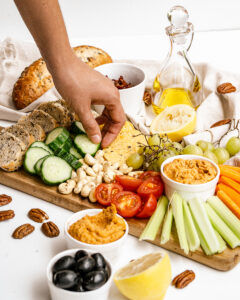
- Garnish hummus with additional smoked paprika and a drizzle of olive oil.
- Arrange hummus and all remaining ingredients onto a large serving platter to form your charcuterie board.
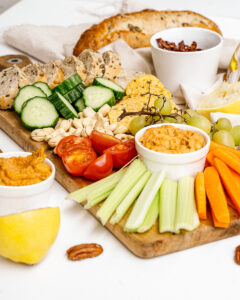
Nutrition (Estimate per Serving)
Calories: 254kcalCarbohydrates: 29gProtein: 8gFat: 14gSaturated Fat: 2gTrans Fat: 1gSodium: 300mgPotassium: 553mgFiber: 6gSugar: 9gVitamin A: 2413IUVitamin C: 11mgCalcium: 68mgIron: 3mg
Vegan-ize any recipe!Grab our free vegan cheat sheet, packed with my favorite easy substitutions to make any recipe vegan.
Vegan Spinach Artichoke Dip

We've given a classic appetizer a plant based makeover with this Vegan Spinach Artichoke Dip. It's every bit as creamy and delicious as the original, but this one is entirely vegan friendly!

Hot artichoke dip has always been one of my favorite appetizers, so of course I had to recreate it in it's vegan form!
This dip tastes every bit as indulgent as the original thanks to the addition of creamy white beans and vegan cream cheese.
If you love this hot dip recipe, you might also like this 5-Minute Vegan Artichoke Dip, which is served cold.

Tips & Tricks
Vegan Cream Cheese
You'll need a dairy-free vegan cream cheese for this recipe. I personally like the one from Follow Your Heart or this one from Violife. If you have a little more time on your hands, try making your own homemade vegan cream cheese.
Serving the Dip
Serve this vegan spinach artichoke dip with crisp crackers or baguette slices. Or try it with fresh veggies such as baby carrots, red bell pepper, and Belgian endive leaves.
Free Vegan Cheat Sheet
If you love making vegan versions of your favorite recipes, go grab our free vegan cheat sheet while you're here. It's packed full of my favorite easy plant based substitutions, to make just about any recipe vegan.
This recipe was adapted from Nava Atlas's Vegan Holiday Kitchen.
Recipe

Vegan Spinach Artichoke Dip
This Vegan Spinach Artichoke Dip is so creamy and delicious, no one would ever guess it's plant based. And it's packed with flavor from garlic, fresh herbs, and creamy white beans.
Print
Pin
Save
Servings: servings
Ingredients
- 1 tablespoon olive oil
- 1 medium onion chopped
- 2 cloves garlic minced
- 15 oz cannellini beans canned, drained and rinsed
- ½ cup vegan cream cheese
- 14 oz artichoke hearts canned, drained
- 1 cup baby spinach or arugula or watercress leaves
- 2 tablespoons fresh dill or 1 teaspoon dried dill
- ½ teaspoon dried thyme
- salt and pepper to taste
- ½ cup grated mozzarella-style nondairy cheese optional
- Paprika for topping
Instructions
- Preheat the oven to 375º F.
- Heat the oil in a small skillet. Add the onion and garlic and sauté over medium-low heat until the onion is golden and just beginning to brown.
- Transfer the onion mixture to a food processor, along with the beans and cream cheese. Process until smooth.
- Add the artichoke hearts, spinach, dill, thyme, salt, and pepper. Pulse on and off until the artichokes and spinach are finely and evenly chopped but not pureed. Transfer the mixture to a small ovenproof container.
- Top with the cheese. Bake for 20 to 25 minutes, or until the cheese is melted and the top is golden. Sprinkle the top with paprika. Serve hot or warm, providing a small spreading knife or serving spoon.
Nutrition (Estimate per Serving)
Calories: 182kcalCarbohydrates: 20gProtein: 6gFat: 10gSaturated Fat: 3gSodium: 568mgPotassium: 60mgFiber: 6gSugar: 2gVitamin A: 483IUVitamin C: 3mgCalcium: 74mgIron: 2mg
Vegan-ize any recipe!Grab our free vegan cheat sheet, packed with my favorite easy substitutions to make any recipe vegan.
This article was first published in September 2013. It has since been updated.
Vegan Baked Mac And Cheese

This vegan baked mac and cheese is perfect for a comforting weeknight dinner! Made with a dairy-free 'cheese' sauce, topped with gluten-free breadcrumbs, flavorful and creamy, this meal requires just simple ingredients and a few easy steps.

Oh, mac and cheese. The stuff that my dreams are made of. I'm not joking - I often fall asleep by switching off my existential worries and thinking about creamy pasta deliciousness instead. 10/10 would recommend.
Seriously though, I can't believe it's taken me this long to share a baked mac and cheese recipe. I have variations of this dish on an almost weekly basis, so finally - here we are. In general, a pasta dinner as good as this is my go-to dish for any Friday night comfort dinner. But it's perfect for pretty much any day or any occasion, and if you give it a go you will see why I say that!
So if you're searching for last-minute dinner inspiration, this vegan baked mac and cheese is a perfect option. You need hardly any time, simple ingredients, and the result is phenomenal.

Vegan baked mac and cheese
So, a little bit about this recipe. If you're wondering what it tastes like, think chewy, tender noodles enveloped in a thick and rich sauce that melts in your mouth, plus just a light coat of optional vegan cheese (or gluten-free breadcrumbs )on top for a little bit of extra texture. The sauce has a savoury flavour that's also very cheesy. Trust me, it tastes even better than it sounds/looks.
The main ingredient for the dairy-free cheese sauce is cashews, which are a staple in vegan cooking in general. Cashews are neutral in flavour and can be blended to make amazing sauces, dressings and dips. This is a great example! Beyond that, you need just simple ingredients to make amazing flavor and a great texture, too.
Right before baking, I added breadcrumbs and grated vegan cheese. These are optional, but 100% recommended! The end result is amazingly comforting and with an amazing texture. Pasta dreams come true!
Ingredients you'll need
- Olive oil to cook the vegetables.
- Carrots, onion and garlic. These are cooked in olive oil and added to the sauce.
- Cashews. Soak these for 3-4 hours, or simmer for 15 minutes to soften.
- Plant based milk. Use any unsweetened plant based milk variety of your choice.
- Mustard. Ensure vegan.
- Paprika.
- Nutritional yeast. This is an amazing ingredient for adding a cheesy flavor to the sauce!
- Tomato paste.
- Apple cider vinegar.
- Cumin.
- Breadcrumbs. You can either make your own breadcrumbs, or use store-brought.
- Vegan cheese. This is optional, but very much recommended! Choose a variety that melts well.
How to make the best dairy-free baked mac and cheese
Preheat the oven to 180 degrees C/350 F.
Cook the pasta. Follow instructions on packaging, but make sure it is slightly al dente/prevent overcooking.
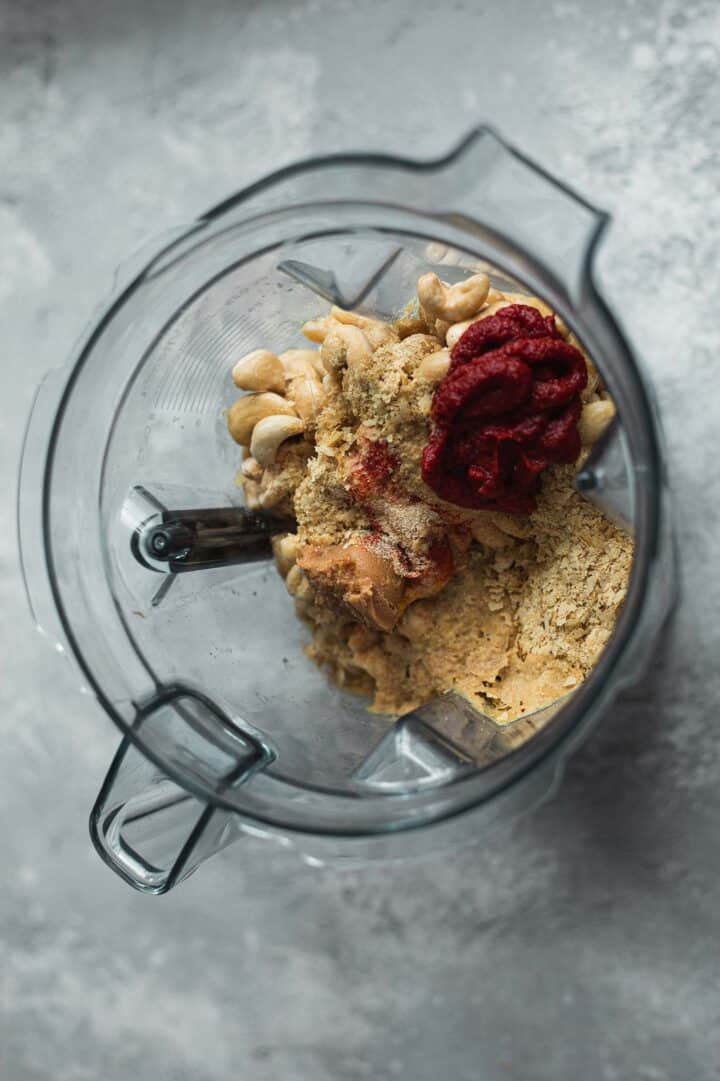
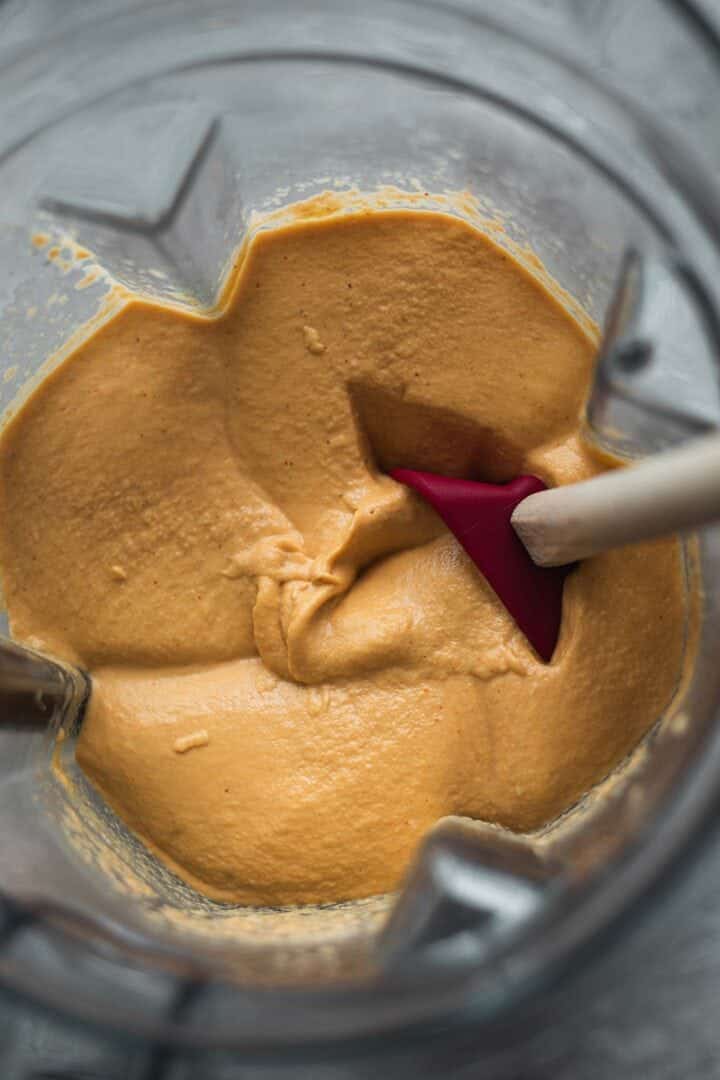
Cook the vegetables. Heat the olive oil in a frying pan over a medium-high heat, then add the carrots, onion and garlic and cook for 5 minutes, until softened.
Make the sauce. Add the vegetables to a blender or food processor, together with the cashews, plant based milk, mustard, paprika, salt, nutritional yeast, tomato paste, apple cider vinegar, and cumin. Blend until smooth.

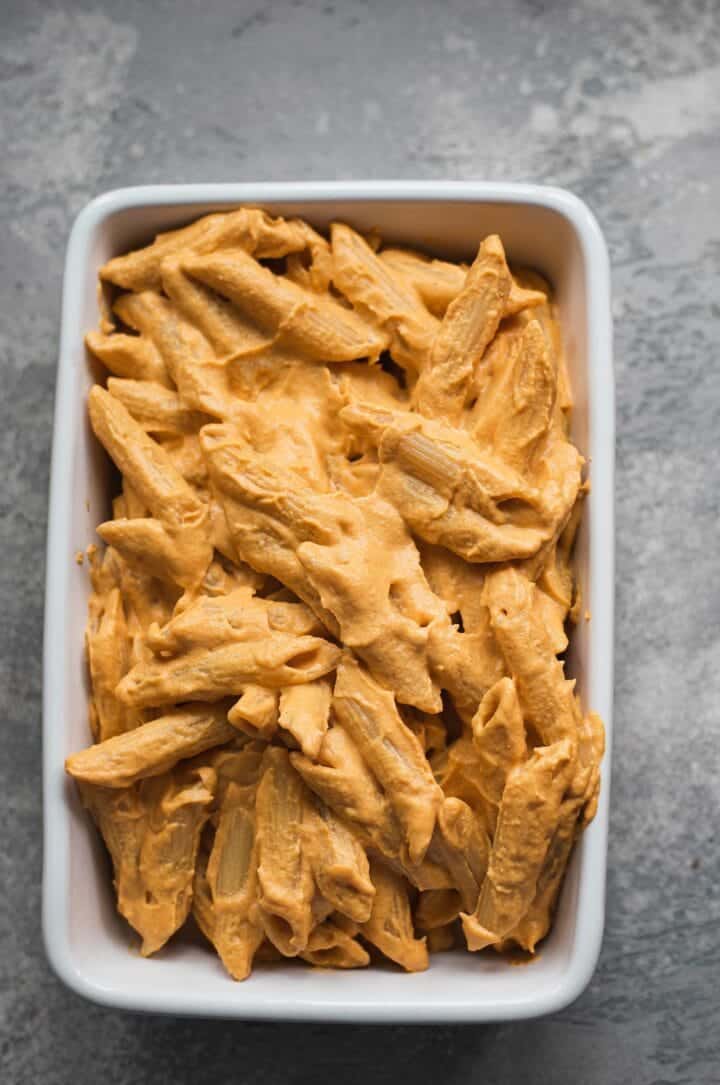
Combine with the pasta. Drain the pasta (but don't rinse) and mix together in a large mixing bowl together with the sauce.
Bake the mac and cheese. Transfer the mac and cheese to a rectangular baking dish. Sprinkle with breadcrumbs and vegan cheese, then bake in the preheated oven for 25 minutes.
Bake the mac and cheese. Transfer the mac and cheese to a rectangular baking dish. Sprinkle with breadcrumbs and vegan cheese, then bake in the preheated oven for 25 minutes.


Cashew alternatives
Let's talk about cheese for a second. It's one of those fears they'll miss intensely if they go vegan. Granted, I've never been a huge cheese fanatic so gave it up with little struggle. But the good news for everyone who is? There are countless ways to replace cheese in your diet.

Cashews is one option. They are amazing for using in sauces and here, they create the amazing creamy texture. If you can't eat cashews, however, you can replace them with a can of coconut milk - don't worry, it won't taste like coconut.
How do I store baked vegan mac and cheese?
You can store leftovers in an airtight container for up to 3-4 days in the fridge. To freeze, store either in freezer-friendly containers or in freezer bags for up to 2 months. Allow to thaw fully in the fridge, then reheat in the microwave or on the stove, adding a splash of plant based milk.

If you want to make this dish ahead of time, I would recommend making the sauce, cooking the macaroni and storing them in separate containers. When ready to make, simply mix together, transfer to a baking dish, add the toppings, and bake as instructed.
Stovetop instructions
This vegan mac and cheese can easily be made on the stove, which is a great option if you are in a rush. Simply transfer the sauce and the cooked pasta to a large pan and stir for a few minutes over a medium heat. You can also add extra vegan cheese, or leafy greens like kale or spinach.

What's to love about this mac and cheese recipe?
It's ...
- Very creamy and indulgent.
- Perfect for a comforting weeknight dinner.
- Made with simple and accessible ingredients.
- Freezer-friendly and great for meal prep.
- Easy and beginner-friendly.
- A great way to impress non-vegans!
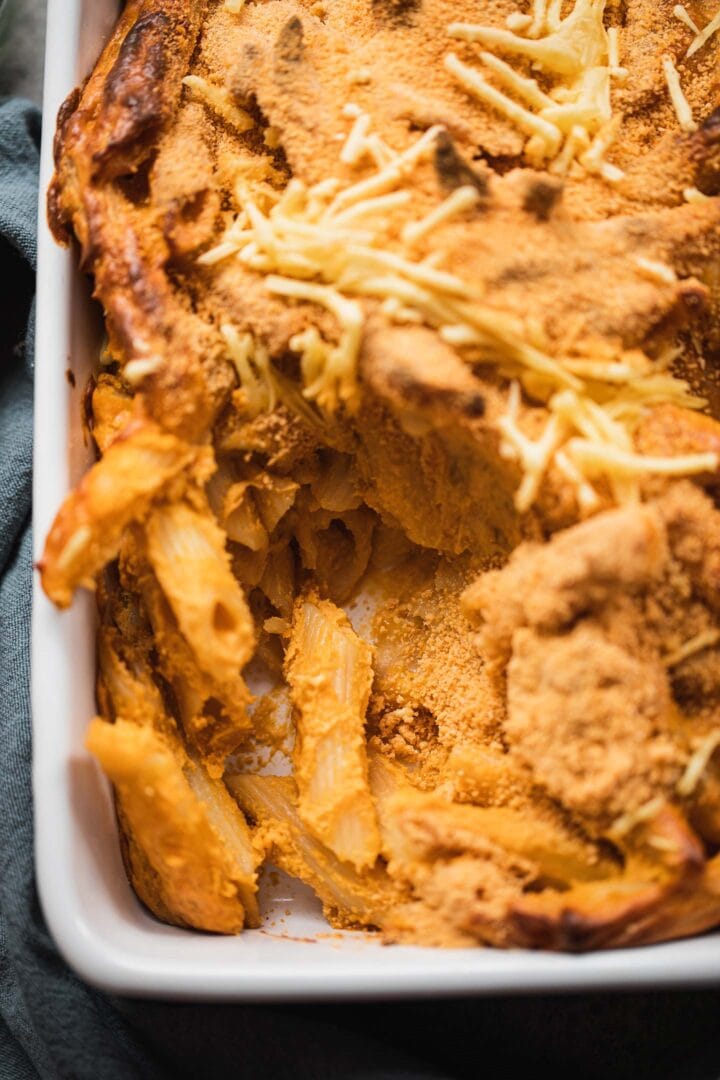
Tips and tricks for success
- The nutritional yeast here works really well to add a cheesy flavour and so I would not recommend leaving it out.
- Ensure that the mustard is vegan, as some have sneaky non-vegan ingredients.
- Soak the cashews really well and be patient when blending to ensure the smoothest texture.
- To make this baked vegan mac and cheese gluten-free, use gluten-free pasta.
- You can use any pasta of your choice. Make sure it's slightly undercooked before mixing it with the sauce because it will continue cooking in the oven.
- You can adjust the type and amount of spices you use depending on your preference. Also, if you prefer it spicy, I would recommend adding sriracha, and chilli flakes on top when serving.
Other vegan pasta recipes
- If you're looking for something meal prep friendly, try my easy vegetable and mushroom pasta.
- My fail-proof fettuccine Alfredo is yet another crowd-pleasing dinner.
- If baking pasta is your thing, my pasta bake with tofu may be the dish for you.
- Vegan avocado pasta is ready in under 15 minutes!
- My roasted red pepper pasta is perfect for a comforting weeknight dinner.

Let me know in the comments: what's your favourite type of vegan cheese? If you give this vegan baked mac and cheese recipe a go, be sure to tag me on Instagram (@earthofmariaa) so I can see your creations, and leave your feedback in the comments below together with a star rating.
Also worth trying: our vegan pumpkin mac and cheese.

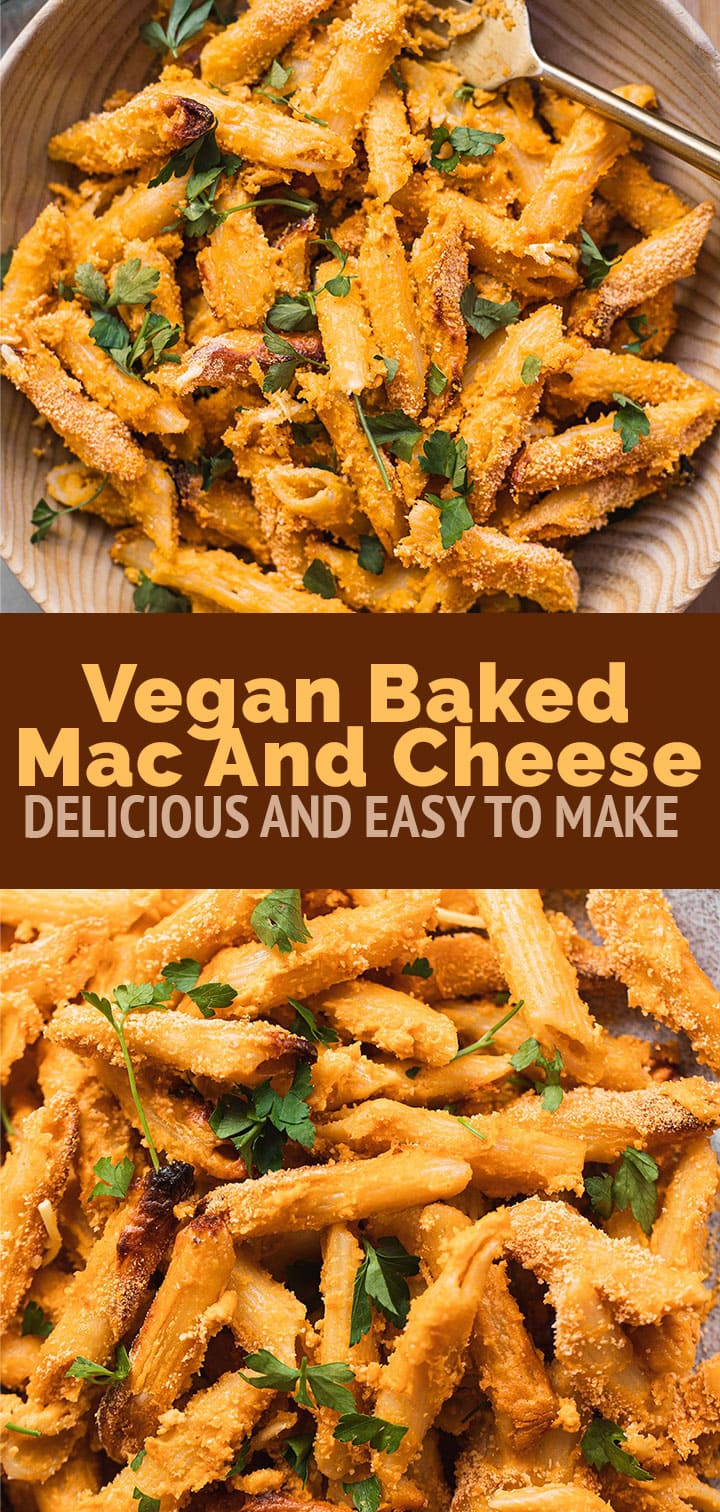
Recipe

Vegan Baked Mac And Cheese (Gluten-free and Oil-free)
This baked vegan mac and cheese is perfect for a weeknight dinner that's super easy to make! Featuring a creamy, smooth dairy-free sauce and a breadcrumb topping, this is a perfect family-friendly and crowd-pleasing dish.
Print
Pin
Save
Servings:
Equipment
- Conventional oven
- Saucepan
- Frying pan
Ingredients
- 3 cups pasta use any pasta of your choice
- 2 tablespoon olive oil
- 1 large carrot diced
- 1 large onion diced
- 3 cloves garlic minced
- 1 ½ cups cashews soaked
- 1 ½ cups plant based milk
- ½ tablespoon mustard ensure vegan
- 1 teaspoon paprika
- ¼ cup nutritional yeast
- 2 tablespoon tomato paste
- 1 tablespoon apple cider vinegar
- ½ teaspoon cumin
- ½ cup breadcrumbs
- ½ cup vegan cheese grated
Instructions
- Preheat the oven to 180 degrees C/350 F.
- Cook the pasta according to packaging instructions on packaging, but make sure it is slightly al dente/prevent overcooking.
- Heat the olive oil in a frying pan over a medium-high heat, then add the carrots, onion and garlic and cook for 5 minutes, until softened.
- Add the vegetables to a blender or food processor, together with the cashews, plant based milk, mustard, paprika, salt, nutritional yeast, tomato paste, apple cider vinegar, and cumin. Blend until smooth.
- Drain the pasta (but don't rinse) and mix together with the sauce in a large mixing bowl.
- Transfer the mac and cheese to a rectangular baking dish. Sprinkle with breadcrumbs and vegan cheese, then bake in the preheated oven for 25 minutes.
Notes
Instructions for making ahead and storing
- Store leftovers in an airtight container for up to 3-4 days in the fridge. To freeze, store either in freezer-friendly containers or in freezer bags for up to 2 months. Allow to thaw fully in the fridge, then reheat in the microwave or on the stove, adding a splash of plant based milk.
- To make ahead of time, make the sauce, cook the macaroni and store them in separate containers. When ready to make, simply mix together, transfer to a baking dish, add the toppings, and bake as instructed above.
- The nutritional yeast here works really well to add a cheesy flavour and so I would not recommend leaving it out.
- Ensure that the mustard is vegan.
- Either soak the cashews for 4 hours, or simmer them in a saucepan for 15 minutes.
- You can use any pasta of your choice. Make sure it's slightly undercooked before mixing it with the sauce because it will continue cooking in the oven.
- You can adjust the type and amount of spices you use depending on your preference.
- If you prefer spicy mac and cheese, add sriracha, and chilli flakes on top when serving.
Nutrition (Estimate per Serving)
Calories: 532kcalCarbohydrates: 47gProtein: 17gFat: 34gSaturated Fat: 6gSodium: 1429mgPotassium: 1233mgFiber: 8gSugar: 15gVitamin A: 4176IUVitamin C: 19mgCalcium: 215mgIron: 7mg
Vegan-ize any recipe!Grab our free vegan cheat sheet, packed with my favorite easy substitutions to make any recipe vegan.
Vegan Minestrone Soup
Whip up this Vegan Minestrone Soup for dinner tonight! This healthy, vegetable-packed take on the Italian classic is loaded with kidney beans, fire-roasted tomatoes, tender potatoes, flavorful broth, and pasta, all cooked in one pot.

This hearty plant-based soup takes just about 30 minutes of simmering, which makes it perfect for an easy weeknight meal. It uses pantry staples you probably already have, and the leftovers are even better the next day.
This Vegan Minestrone Soup is...
- A classic, comforting recipe
- Full of flavor from fire-roasted tomatoes and Italian herbs
- Packed with healthy veggies and fiber
- Completely vegan and dairy-free
- Great for meal prep
Key Ingredients & Substitutions
- Onion, celery, and carrots. This classic trio is the flavor base of almost every good minestrone. Sauté them gently in olive oil until soft and sweet before anything else goes in. A diced red bell pepper or a small zucchini can join them if you have one to use up.
- Whole fire-roasted tomatoes. Fire-roasted tomatoes add a subtle smoky depth that regular canned tomatoes don't have. Plain whole or diced canned tomatoes work too; just add a pinch more Italian seasoning to make up for the flavor.
- Kidney beans. They make the soup filling and add plant protein. Cannellini, great northern, pinto, or chickpeas are all easy swaps. Rinse and drain canned beans so the broth stays clean-tasting.
- Potato. A diced potato gives the soup body and a little creaminess. Yukon gold holds its shape best, but a russet or red potato is fine. Cut it small so it cooks as fast as the pasta.
- Pasta. Small shapes such as elbows, ditalini, or small shells are ideal because they fit on a spoon. Gluten-free pasta works well; add it near the end, since it tends to soften faster.
- Vegetable broth. The broth is most of the soup, so use one you like the taste of. Low-sodium broth lets you control the salt yourself.
- Dried spices. Garlic powder, onion powder, and Italian seasoning keep this recipe quick. If you have fresh garlic, sauté two minced cloves with the vegetables instead of the garlic powder.
- Vegan parmesan. A sprinkle on top adds a salty, nutty finish. Use a store-bought cashew parm such as NOOCH IT Cashew Parmesan, or make your own homemade vegan parmesan with nuts and nutritional yeast.

Making Vegan Minestrone Soup
- Start by heating some oil in a large pot. Add the onion, celery, and carrots and sauté until softened.
- Add the kidney beans, spices, and fire-roasted tomatoes. Break the tomatoes down with a wooden spoon.
- Add the potatoes, pasta, and broth. Bring it to a simmer, then cover and cook on low until the potatoes are tender and the pasta is done.
- Season with salt and pepper, then serve the minestrone topped with parsley and vegan parmesan.
Measurements and complete directions are in the printable recipe card below.
Helpful Tips
Use a heavy-bottomed pot. A heavy pot helps your soup cook evenly. An enameled cast-iron Dutch oven, or even a sturdy stockpot, is ideal for soups and stews. Lighter, thin-bottomed pans can scorch in spots once the pasta starts releasing starch.
Dice the vegetables evenly. It's important that your vegetables are cut to roughly the same size so they all cook at the same rate. Otherwise, some veggies will be underdone while others turn mushy. Keep the potato pieces small (about ½ inch) so they're tender by the time the pasta is cooked.
Stir while it simmers. Pasta cooked right in the soup likes to settle and stick to the bottom of the pot. Give it a good stir every few minutes, and keep the heat at a gentle simmer rather than a hard boil.
Keep extra broth on hand. The pasta keeps soaking up liquid as it sits, so the soup thickens noticeably after cooking. Loosen it with a splash of broth or water just before serving, especially when reheating leftovers.
Season at the end. Broths vary a lot in saltiness, so taste the soup once the pasta is cooked and add salt and pepper then. A squeeze of lemon juice right before serving brightens all the flavors.

Variations
- Beans. Swap the kidney beans for pinto beans or white cannellini beans, or try a mix of two types of beans for more variety.
- Seasonal produce. Take advantage of any seasonal produce you have around the house. Just about any veggies will work here; zucchini, summer squash, green beans, and peas are all great additions.
- Creamy base. Stir in some coconut milk at the end. Cream is often added to soups for a creamy texture, and coconut milk is a wonderful vegan-friendly alternative.
- Orzo. Tiny rice-shaped pasta makes a lighter, brothier soup. See our Vegan Orzo Minestrone Soup for a version built around it.
- Noodles. For a slurpable twist with long pasta, try our Italian Minestrone Noodle Soup.
Tuscan-Style Minestrone with Farro
For a heartier, fall-style bowl, replace the pasta with about ¾ cup of rinsed semi-pearled farro, and use cannellini or other white beans instead of kidney beans. Add the farro with the broth plus an extra cup or two of liquid, since farro needs more time (about 20 to 25 minutes) and absorbs more broth than pasta. Stir in 3 to 4 cups of chopped kale or Swiss chard during the last 5 minutes, just until wilted. Finish with a drizzle of good olive oil, a squeeze of lemon, and vegan parmesan. Note that farro is a type of wheat, so this version isn't gluten-free.

Serving Ideas
Minestrone is a complete meal on its own, but some bread for dunking makes it even better. Reach for crusty bread, breadsticks, or a pan of homemade focaccia bread. Even a half sandwich is a great match for this tasty soup.
For something fresh alongside, serve a crisp green salad or a vegan kale Caesar salad. Set out a bowl of vegan parmesan, chopped parsley, and red pepper flakes at the table so everyone can top their own bowl.
Storing & Freezing
Store leftover minestrone in an airtight container in the refrigerator for 4 to 5 days. The pasta will keep absorbing broth, so add a splash of broth or water when you reheat it on the stovetop over low heat or in the microwave. If you're making the soup ahead for meal prep, you can cook the pasta separately and add it to each bowl as you serve, which keeps it from getting too soft.
Yes, you can freeze minestrone soup for up to 3 months. The pasta will be softer in texture after freezing, but it will still be delicious. Let the soup cool completely, then transfer it to freezer-safe containers, leaving a little room at the top so the soup has space to expand. Thaw overnight in the refrigerator and reheat gently on the stovetop, adding extra broth as needed.

More Vegan Soups
If you love this recipe, be sure to check out these other delicious ideas:
- Vegan Orzo Minestrone Soup
- Italian Minestrone Noodle Soup
- Miso-Butternut Squash Soup with Noodles
- Cozy Vegan Soups for Fall and Winter
Recipe
Vegan Minestrone Soup
This easy one-pot vegan minestrone soup is loaded with vegetables, kidney beans, fire-roasted tomatoes, potatoes, and pasta in a flavorful broth. A cozy, healthy dinner that's great for meal prep.
Print
Pin
Save
Servings: servings
Equipment
Ingredients
- 2 tablespoon olive oil
- ½ onion diced
- ⅓ Cup celery diced (about 1 stalk)
- ⅓ Cup carrots diced
- 1 can whole fire roasted tomatoes (28 oz) with juices
- 1 can kidney beans (15 oz), drained and rinsed
- 1 teaspoon garlic powder
- 1 teaspoon onion powder
- 1 teaspoon Italian seasoning
- 1 large potato peeled and diced into ½-inch pieces
- 2 Cups pasta small shape, such as elbows or ditalini
- 5 Cups vegetable broth plus more as needed
- salt and pepper to taste
- vegan parmesan for topping
- fresh parsley chopped, for topping
Instructions
- Heat the olive oil in a large pot or Dutch oven over medium heat. Add the onion, celery, and carrots and cook, stirring occasionally, until softened, about 5 minutes.

- Add the fire-roasted tomatoes with their juices, the kidney beans, garlic powder, onion powder, and Italian seasoning. Stir to combine.

- Cover with a lid and cook for 5 minutes. Using a wooden spoon or spatula, roughly break down the tomatoes.

- Add the potatoes, pasta, and vegetable broth. Stir and bring to a simmer.

- Cover and cook on low, stirring every few minutes, for 12 to 15 minutes, until the potatoes are tender and the pasta is cooked. Add a splash more broth if the soup gets too thick.
- Season to taste with salt and pepper. Serve topped with chopped parsley and vegan parmesan.
Notes
- Dice the potatoes into small (about ½-inch) pieces so they cook at the same speed as the pasta.
- Top your soup with a fresh crack of pepper, a sprinkle of vegan parmesan, and some chopped parsley.
- The pasta keeps absorbing broth as the soup sits. Add a splash of broth or water when reheating.
- Refrigerate leftovers in an airtight container for 4 to 5 days, or freeze for up to 3 months.
- Tuscan-style variation: use ¾ cup semi-pearled farro instead of pasta and white beans instead of kidney beans, add 1 to 2 extra cups of broth, and simmer 20 to 25 minutes. Stir in 3 to 4 cups chopped kale or Swiss chard for the last 5 minutes.
Nutrition (Estimate per Serving)
Calories: 489kcalCarbohydrates: 89gProtein: 18gFat: 9gSaturated Fat: 1gPolyunsaturated Fat: 1gMonounsaturated Fat: 5gSodium: 1462mgPotassium: 1363mgFiber: 13gSugar: 15gVitamin A: 2883IUVitamin C: 36mgCalcium: 126mgIron: 6mg
Vegan-ize any recipe!Grab our free vegan cheat sheet, packed with my favorite easy substitutions to make any recipe vegan.
35+ Vegan Easter Recipes
Planning a plant-based Easter? Whether you're hosting a big family brunch or enjoying a quiet holiday morning at home, these vegan Easter recipes have you covered. I've rounded up 50 of our favorite dishes, from savory quiches and frittatas to fluffy pancakes, fresh spring sides, and plenty of sweet treats, and every one of them is 100% vegan.
Easter arrives just as spring produce hits its stride, so many of these recipes celebrate tender asparagus, sweet peas, new potatoes, carrots, strawberries, and lemons. For a balanced brunch menu, pick one or two savory dishes like the Vegan Potato and Spinach Frittata or the Spring Vegetable Tart, add something sweet such as Vegan French Toast, round it out with a fresh salad and a roasted vegetable side, then finish with a slice of Vegan Carrot Cake. It wouldn't be Easter without it!
Hosting is much easier when you plan ahead. Quiches, tarts, and grain salads like the Spring Farro Asparagus Salad can be made the day before, and muffins, scones, and quick breads can be baked ahead and frozen. Missing deviled eggs? Deviled Chickpea Bites and Deviled Tomatoes are fun plant-based twists on the classic, and they disappear fast from any appetizer table.
A few tools make Easter cooking and baking even more fun. A 9-inch tart pan with a removable bottom turns out picture-perfect quiches and tarts, a set of Easter cookie cutters lets you cut sugar cookies into bunnies, chicks, and eggs, and silicone Easter egg candy molds turn homemade Vegan Peanut Butter Cups into peanut butter eggs for the Easter baskets.
P.S. If you want to make things even easier this Easter, go snag a copy of my new Vegan Brunch Book. It's the perfect way to plan a delicious and simple Easter brunch!
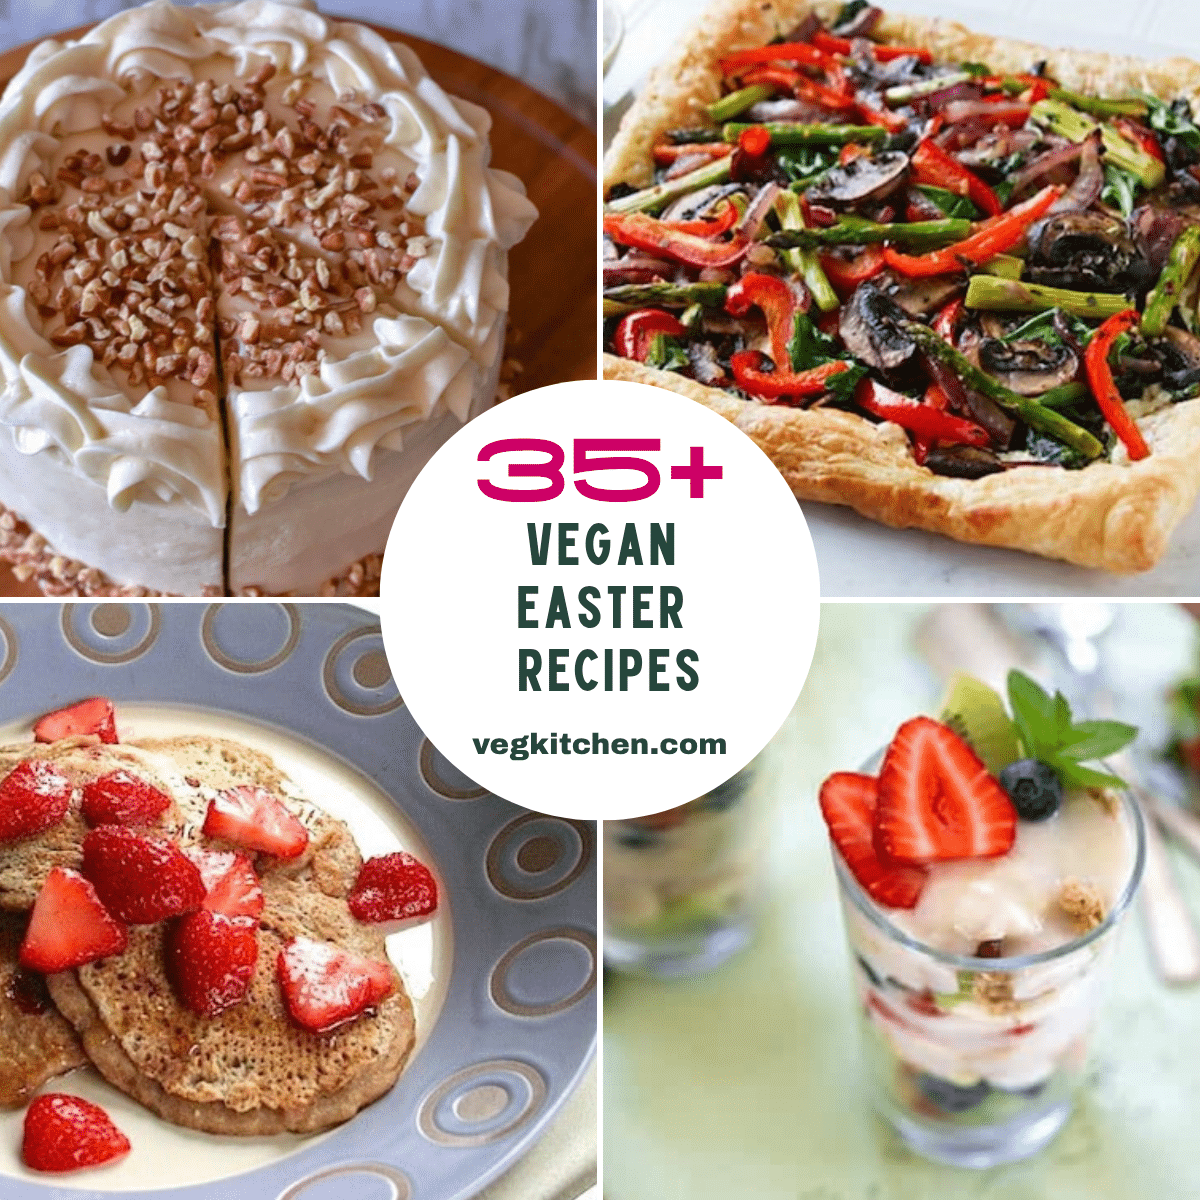
Here are 50 of our favorite vegan Easter recipes, starting with savory brunch dishes and sweet brunch favorites, followed by spring sides, salads, and starters, and finishing with Easter desserts and treats. Happy Easter!
35+ Vegan Easter Recipes
Savory Brunch Recipes
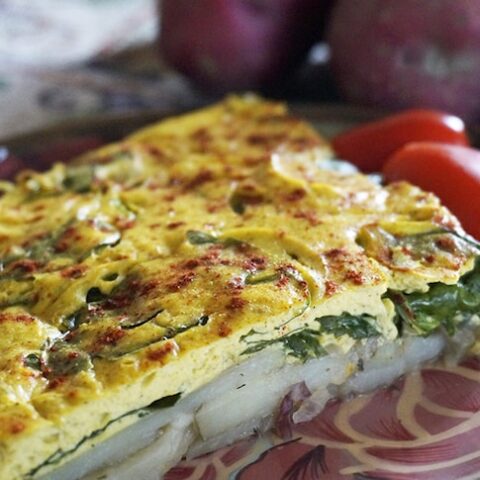
This oven-baked frittata has a golden potato and onion base topped with a savory tofu and spinach layer. It slices neatly and holds well, so you can bake it before guests arrive and serve it warm or at room temperature.
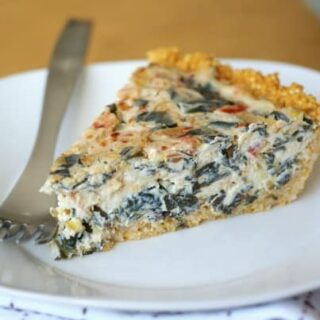
A creamy tofu filling bakes up in a crisp millet crust that just happens to be gluten-free. Swap in whatever spring vegetables you have on hand, from asparagus to leeks, for a quiche that suits your Easter menu.
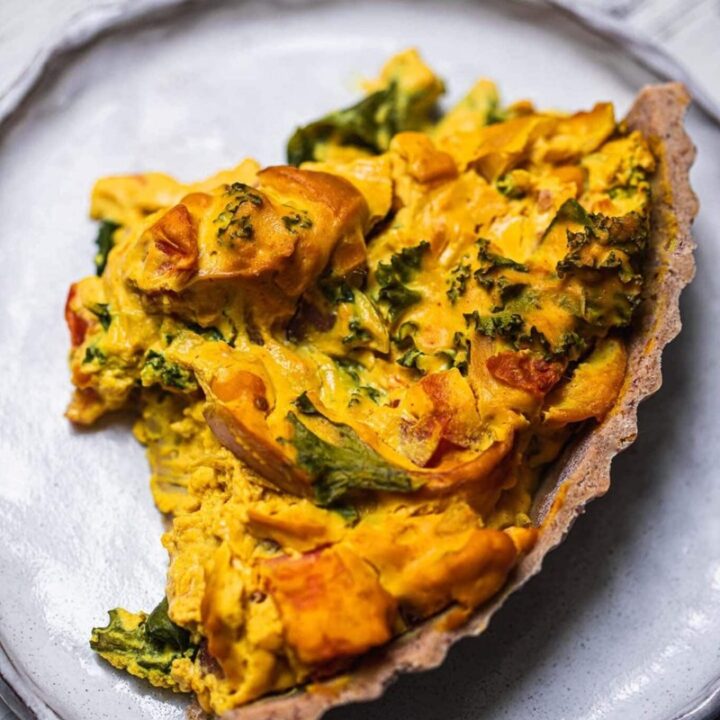
Silky tofu, onion and nutritional yeast make a cheesy-tasting filling in this easy gluten-free quiche. It's a reliable centerpiece for an Easter brunch and reheats beautifully for breakfast the next day.
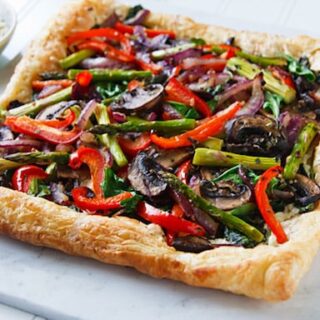
Puff pastry gets piled with asparagus, mushrooms, red pepper, spinach and sun-dried tomatoes for a tart that looks like it came from a bakery. It's simple to put together and makes a show-stopping savory dish for the holiday table.
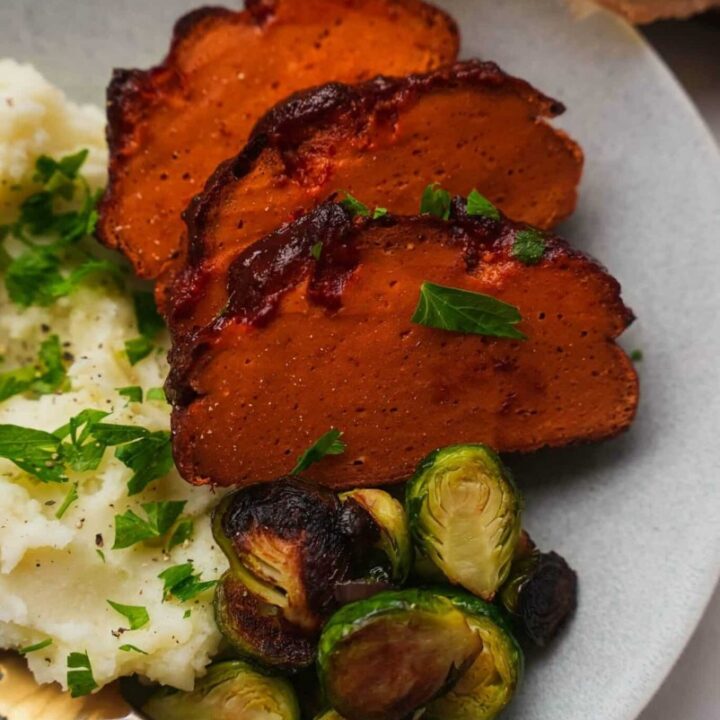
Want a plant-based stand-in for the traditional Easter ham? This seitan and tofu roast is smoky, sweet and sliceable, finished with a sticky maple glaze. Serve it at a late brunch or as the main event at Easter dinner.

Toasted English muffins are layered with tomato and avocado and smothered in a creamy, tangy tahini-lemon sauce. It brings all the brunch-restaurant appeal of eggs Benedict without any eggs or dairy.

This colorful tofu scramble is loaded with greens and red bell pepper, so it looks festive on a brunch buffet. It's easy to double for a crowd.

Chickpea flour cooks into soft, fluffy curds that taste remarkably like scrambled eggs. Spinach, peppers and fresh herbs make it a protein-packed savory option for your Easter brunch.

Baked tofu, potato, scallions, peppers and spinach come together in a hearty egg-free frittata. Cut it into wedges for an easy make-ahead brunch dish that everyone can enjoy.
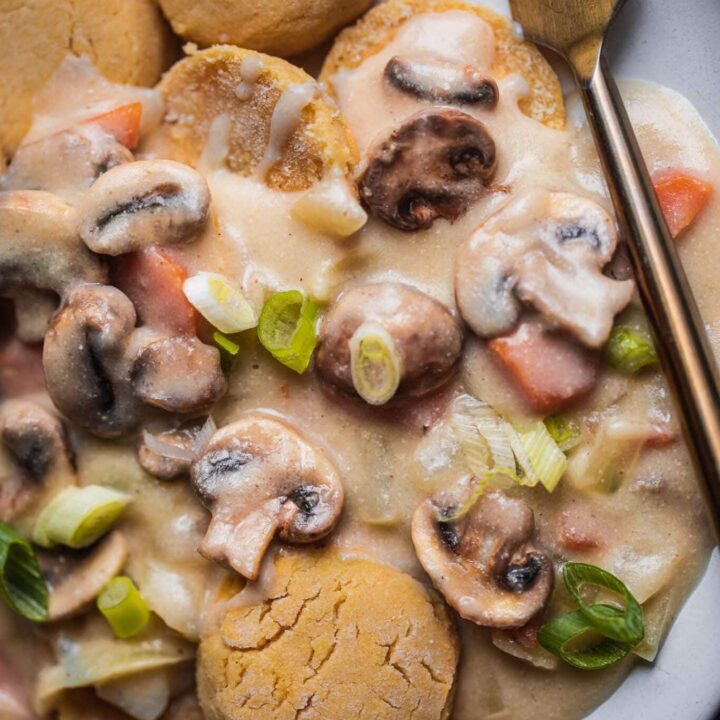
Tender gluten-free biscuits are smothered in a rich, savory mushroom gravy for the ultimate comfort-food brunch. It's a cozy dish for a cool spring morning when the whole family is gathered around the table.
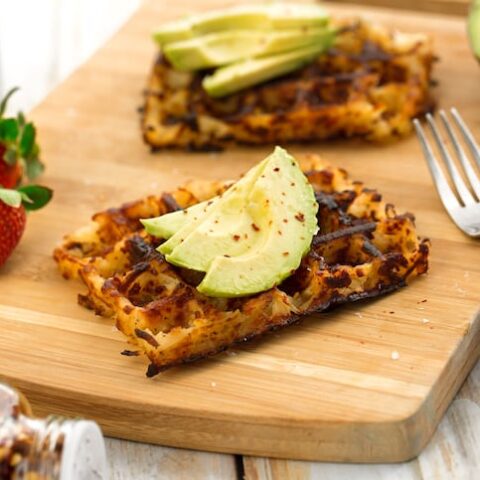
Shredded potatoes go straight into the waffle iron and come out crisp and golden on every side. With just four ingredients, they're a fun, kid-friendly side for an Easter brunch spread.

Potatoes, protein-rich tempeh, bell pepper and kale cook up into a hearty one-skillet hash. Pass the hot sauce and let everyone dig in.
These oven-baked home fries have a little heat from chili powder and cayenne and a lot of zest. Baking them means less fuss at the stove while you finish the rest of your brunch.

Smoky, crispy coconut bacon takes simple avocado toast to the next level. Set out a platter for a brunch crowd, or make it for yourself the morning after Easter.
Sweet Brunch Recipes

Chia seeds and almond milk make a cinnamon-vanilla custard that coats thick slices of bread perfectly. It's ready in less than 20 minutes, so you can make a big batch for the whole family.

Fresh spring strawberries are folded right into these whole-grain pancakes, with a little cornmeal for texture. Serve them with maple syrup and extra berries on top.

These fluffy, golden pancakes are bursting with blueberries and made with simple pantry ingredients. They might just become your go-to holiday brunch pancakes.

Soft, gooey cinnamon rolls make any morning feel like a celebration, and these are completely dairy-free. Bake a pan for Easter morning and watch them disappear.
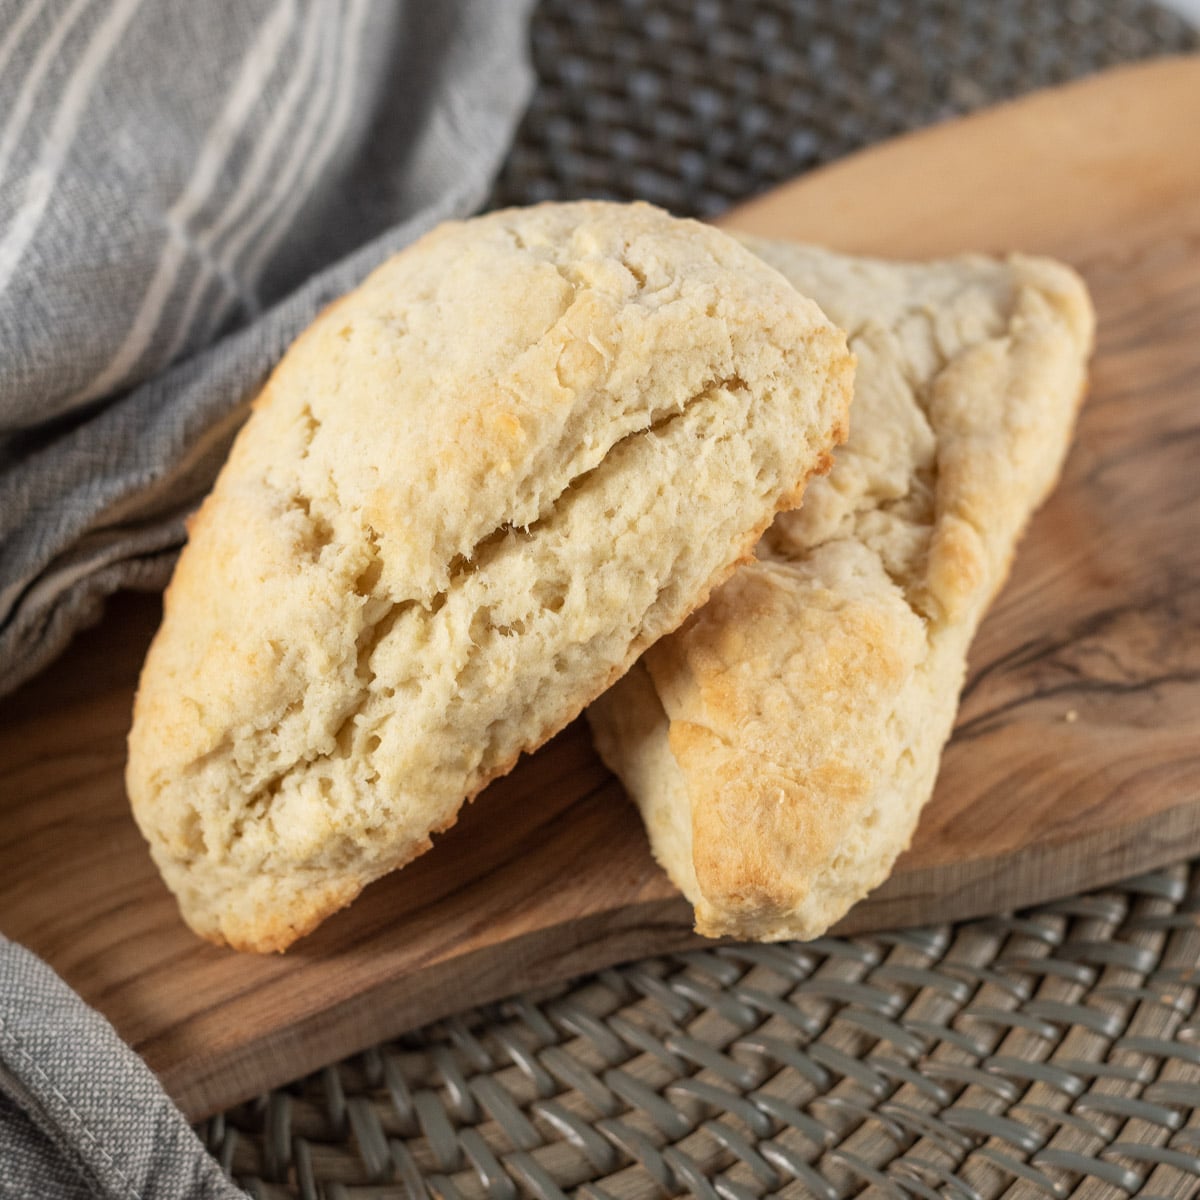
Bright lemon zest and chewy crystallized ginger flavor these easy vegan scones. Their fresh, sunny flavor is a natural fit for a spring brunch.

A double hit of lemon juice and zest makes these vegan blueberry muffins taste extra fresh. They work with fresh or frozen berries, so you can bake them any time of year.

Carrots and orange juice give these moist muffins a lovely golden color and a boost of vitamins. A basket of them is a fitting nod to the Easter bunny.
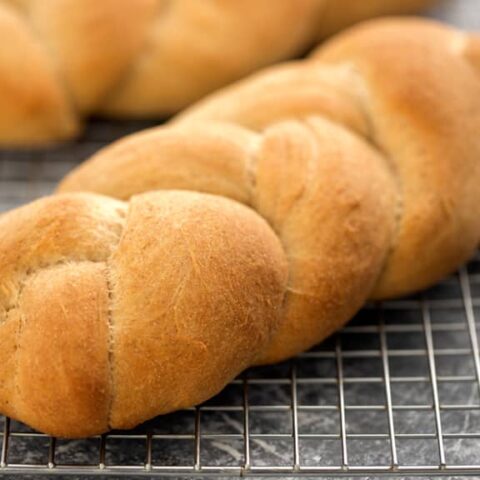
This soft, slightly sweet braided bread is made without eggs and looks beautiful on a holiday table. Leftovers make wonderful vegan French toast.
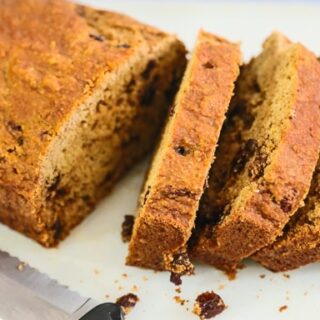
This moist, cinnamon-scented quick bread is studded with raisins and topped with walnuts. No yeast is needed, so it's an easy bake for a busy holiday weekend.

Made with just five ingredients, these soft, thin crepes are easy to master. Fill them with strawberries, blueberries and maple syrup for an elegant Easter brunch.
Layers of fresh fruit, crunchy granola and creamy soy yogurt look lovely served in clear glasses. They're easy to assemble and add a light, colorful touch to a brunch spread.
Spring Sides, Salads and Starters

A tangy, mustardy chickpea filling piped onto cucumber rounds gives you all the flavor of deviled eggs. They're a perfect plant-based appetizer for Easter.

Plum tomatoes are hollowed out and stuffed with a creamy, curry-spiced chickpea filling. This retro-style appetizer is a fun vegan stand-in for classic deviled eggs.
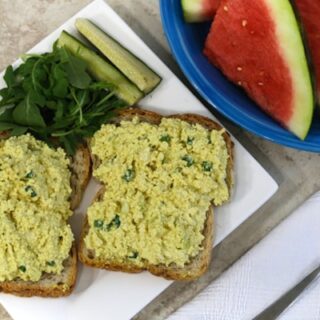
Firm tofu, celery, scallion and a touch of curry powder make a creamy salad that tastes like the classic egg salad. Serve it on toast or crackers, or tuck it into a sandwich.
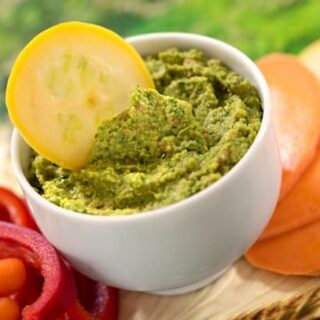
This bright green dip of sweet peas, parsley and pistachios is pure spring. Serve it with colorful raw vegetables and crisp breads before the main meal.
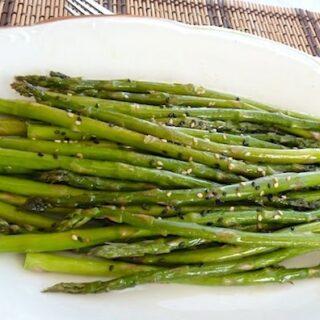
Roasting brings out the best in fresh spring asparagus, and a little sesame oil and rice vinegar make it irresistible. It's an easy side that goes with nearly any Easter menu.

Agave nectar and balsamic vinegar replace the honey in this sweet, glossy carrot side dish. The colorful roasted carrots are just right for an Easter spread.
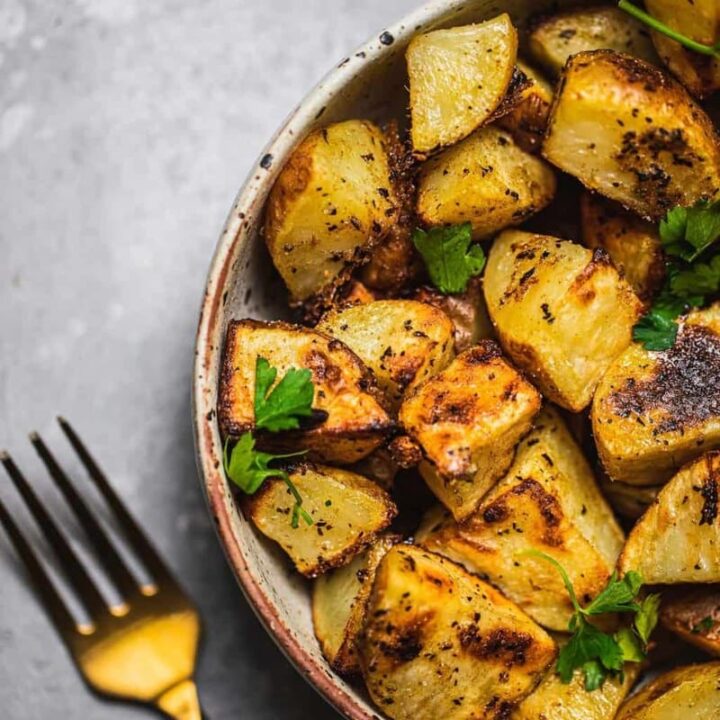
These Greek-inspired potatoes roast up crispy outside and tender inside, with lots of lemon and oregano. They're a crowd-pleasing side for Easter brunch or dinner.

Tiny spring potatoes are tossed with a mellow parsley and almond pesto. It's a fresh, herby side that's lovely warm or at room temperature.

Thin layers of potato bake in a creamy cashew sauce until bubbly and golden. It's a special-occasion side dish that feels indulgent without any dairy.
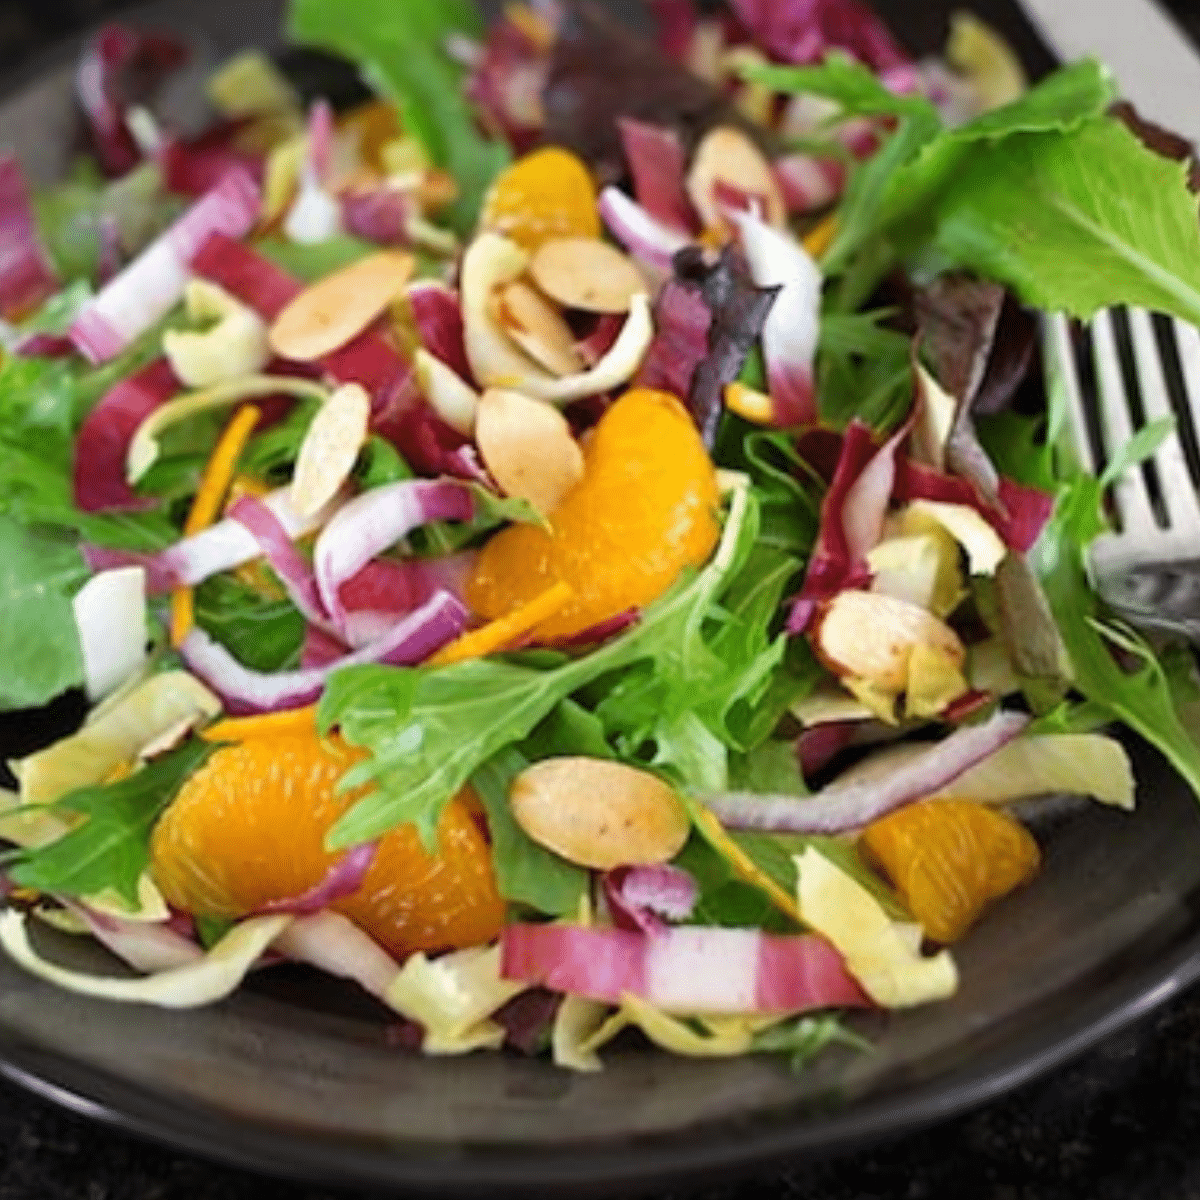
Tender greens, crisp Belgian endive, juicy oranges and toasted almonds make a refreshing salad. A light citrus dressing ties it all together.
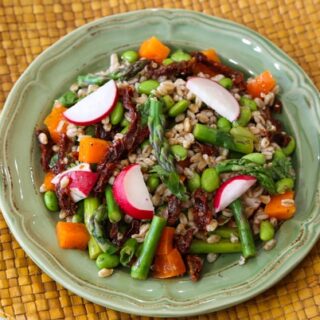
Nutty farro is tossed with asparagus, radishes, scallions, fresh dill and lemon. It's a hearty grain salad that can be made ahead for a holiday gathering.

This mayo-free potato salad is packed with fresh herbs, green peas and colorful vegetables and dressed in a tangy vinaigrette. It's a great make-ahead dish for a brunch buffet.
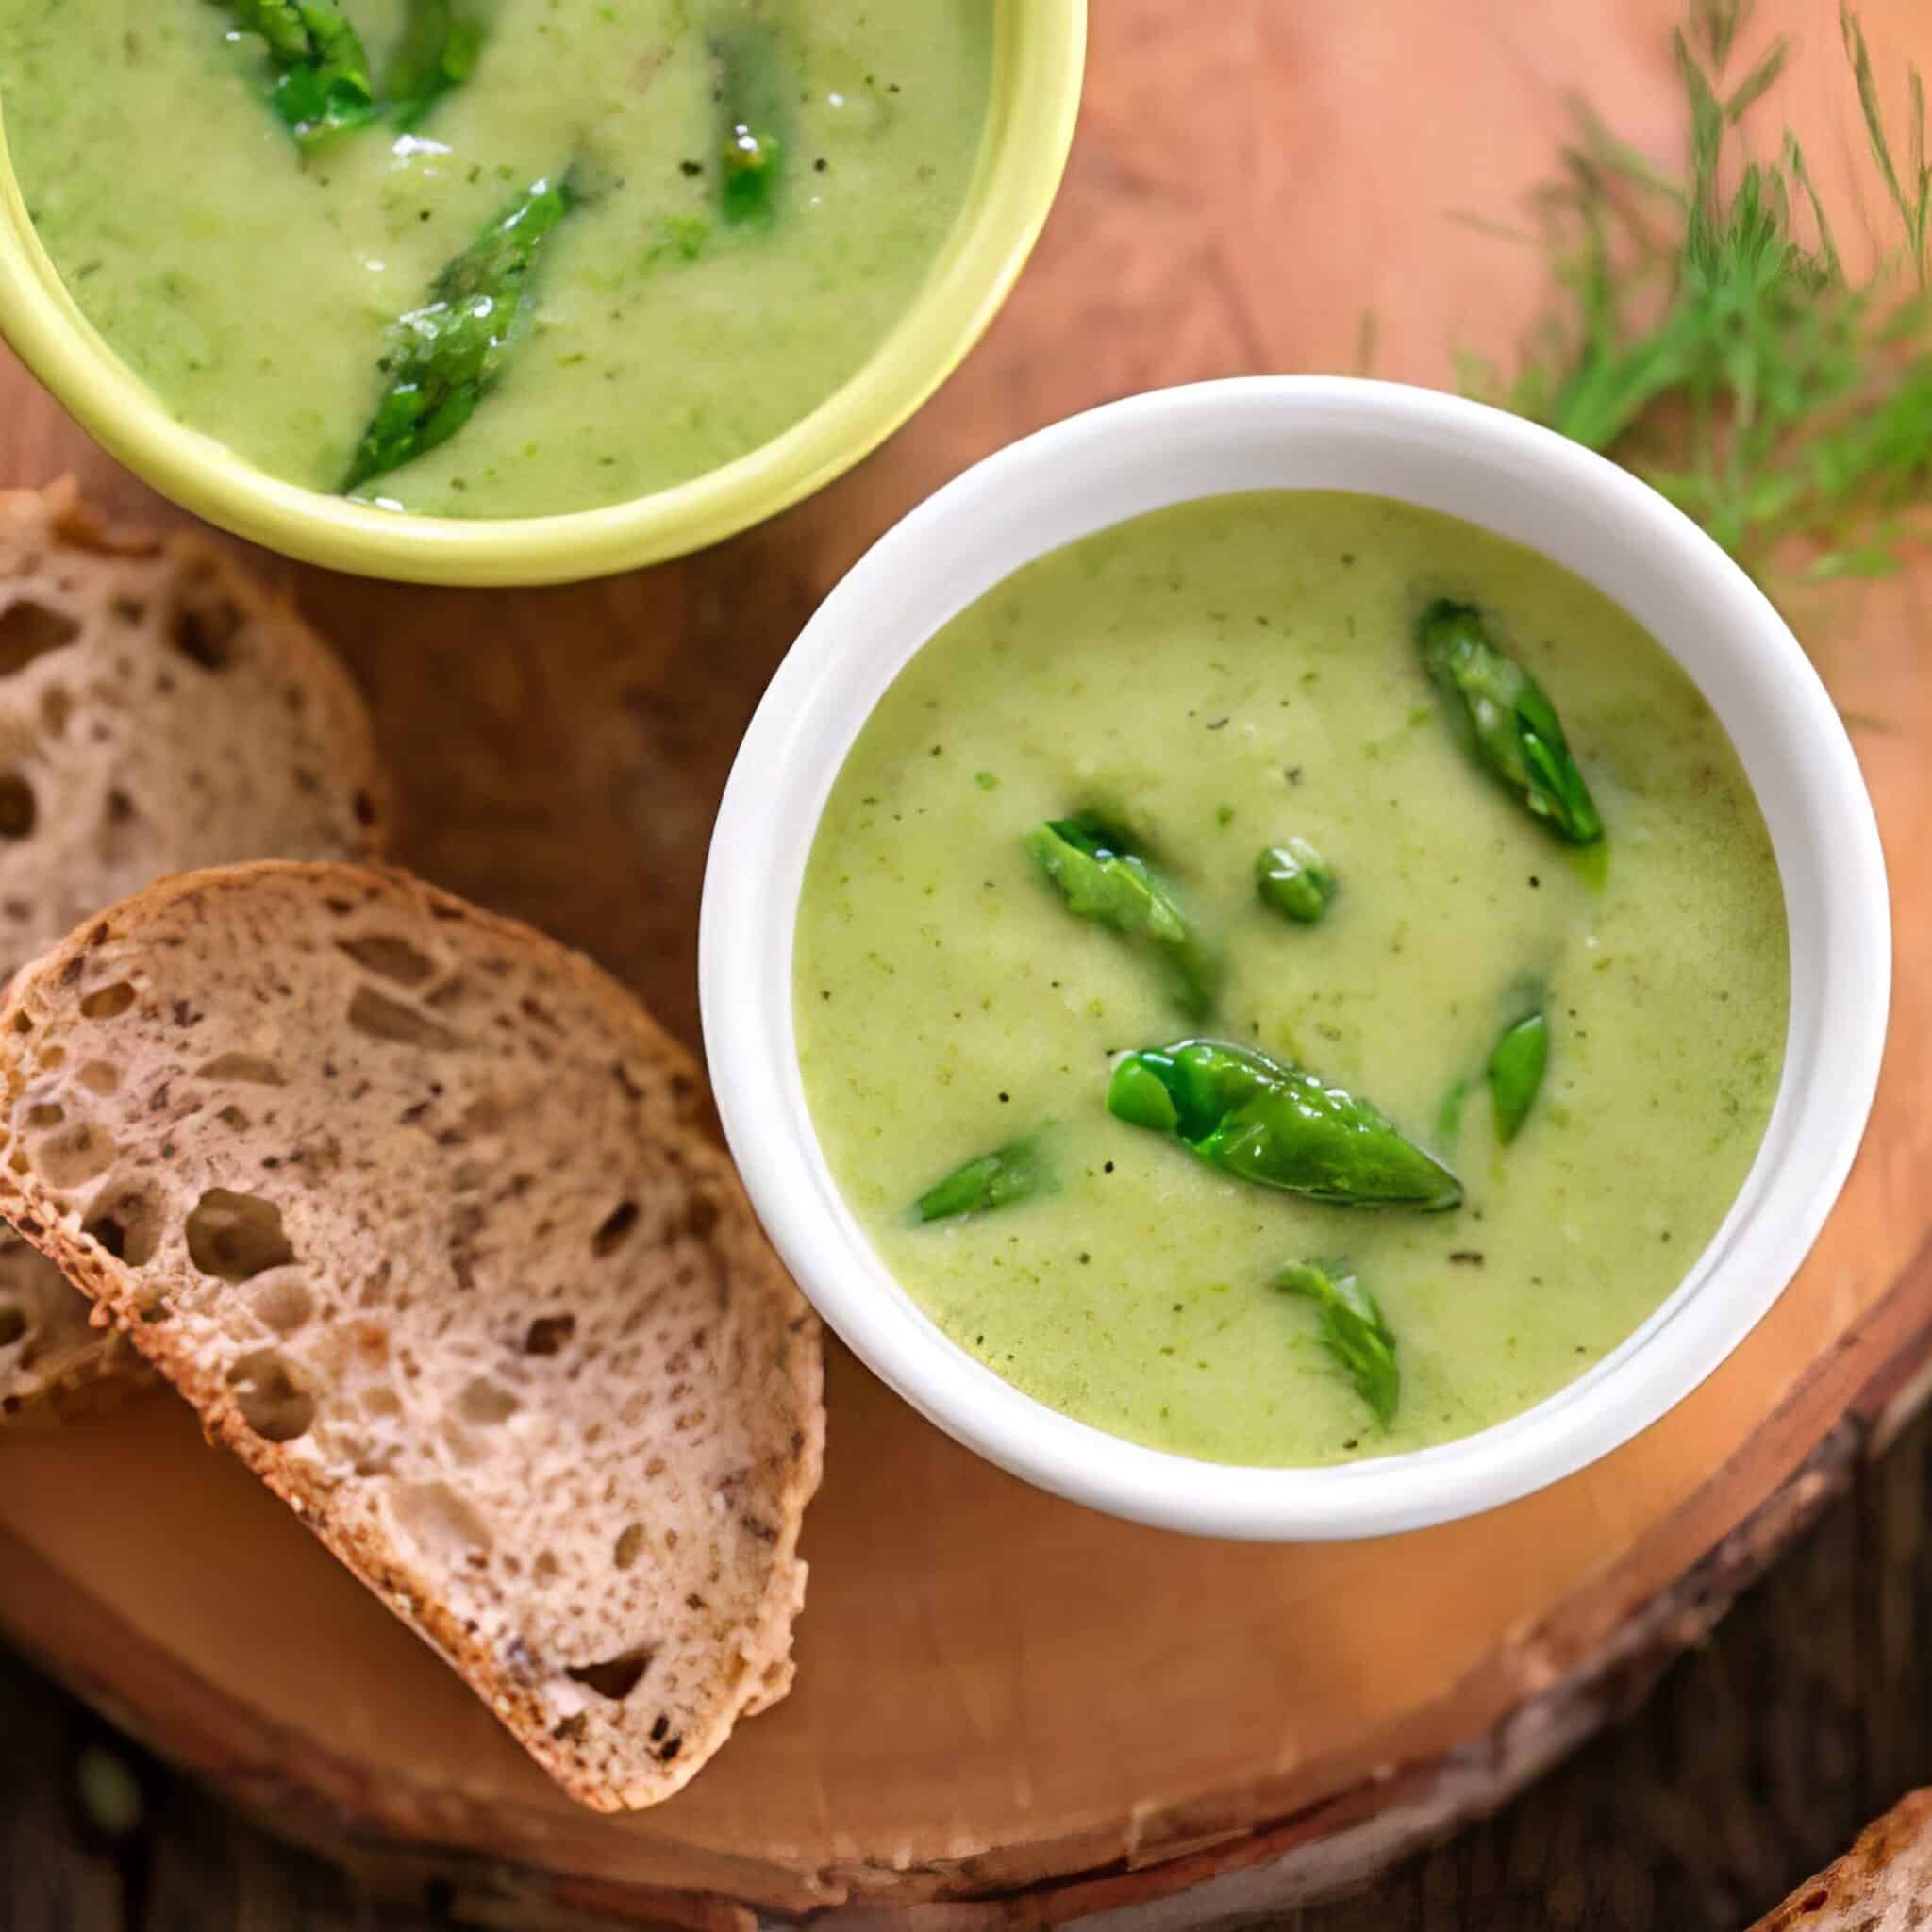
Fresh asparagus, potato and dill blend into a bright, creamy soup with no cream at all. Serve it in small cups as a first course or alongside a quiche.
Easter Desserts and Treats
No Easter is complete without carrot cake! This moist one-bowl cake is topped with a decadent maple cream cheese frosting that no one will guess is vegan.
All the flavor of carrot cake rolled into date-sweetened, bite-size bliss balls. They're a fun, healthier treat to tuck into Easter baskets.
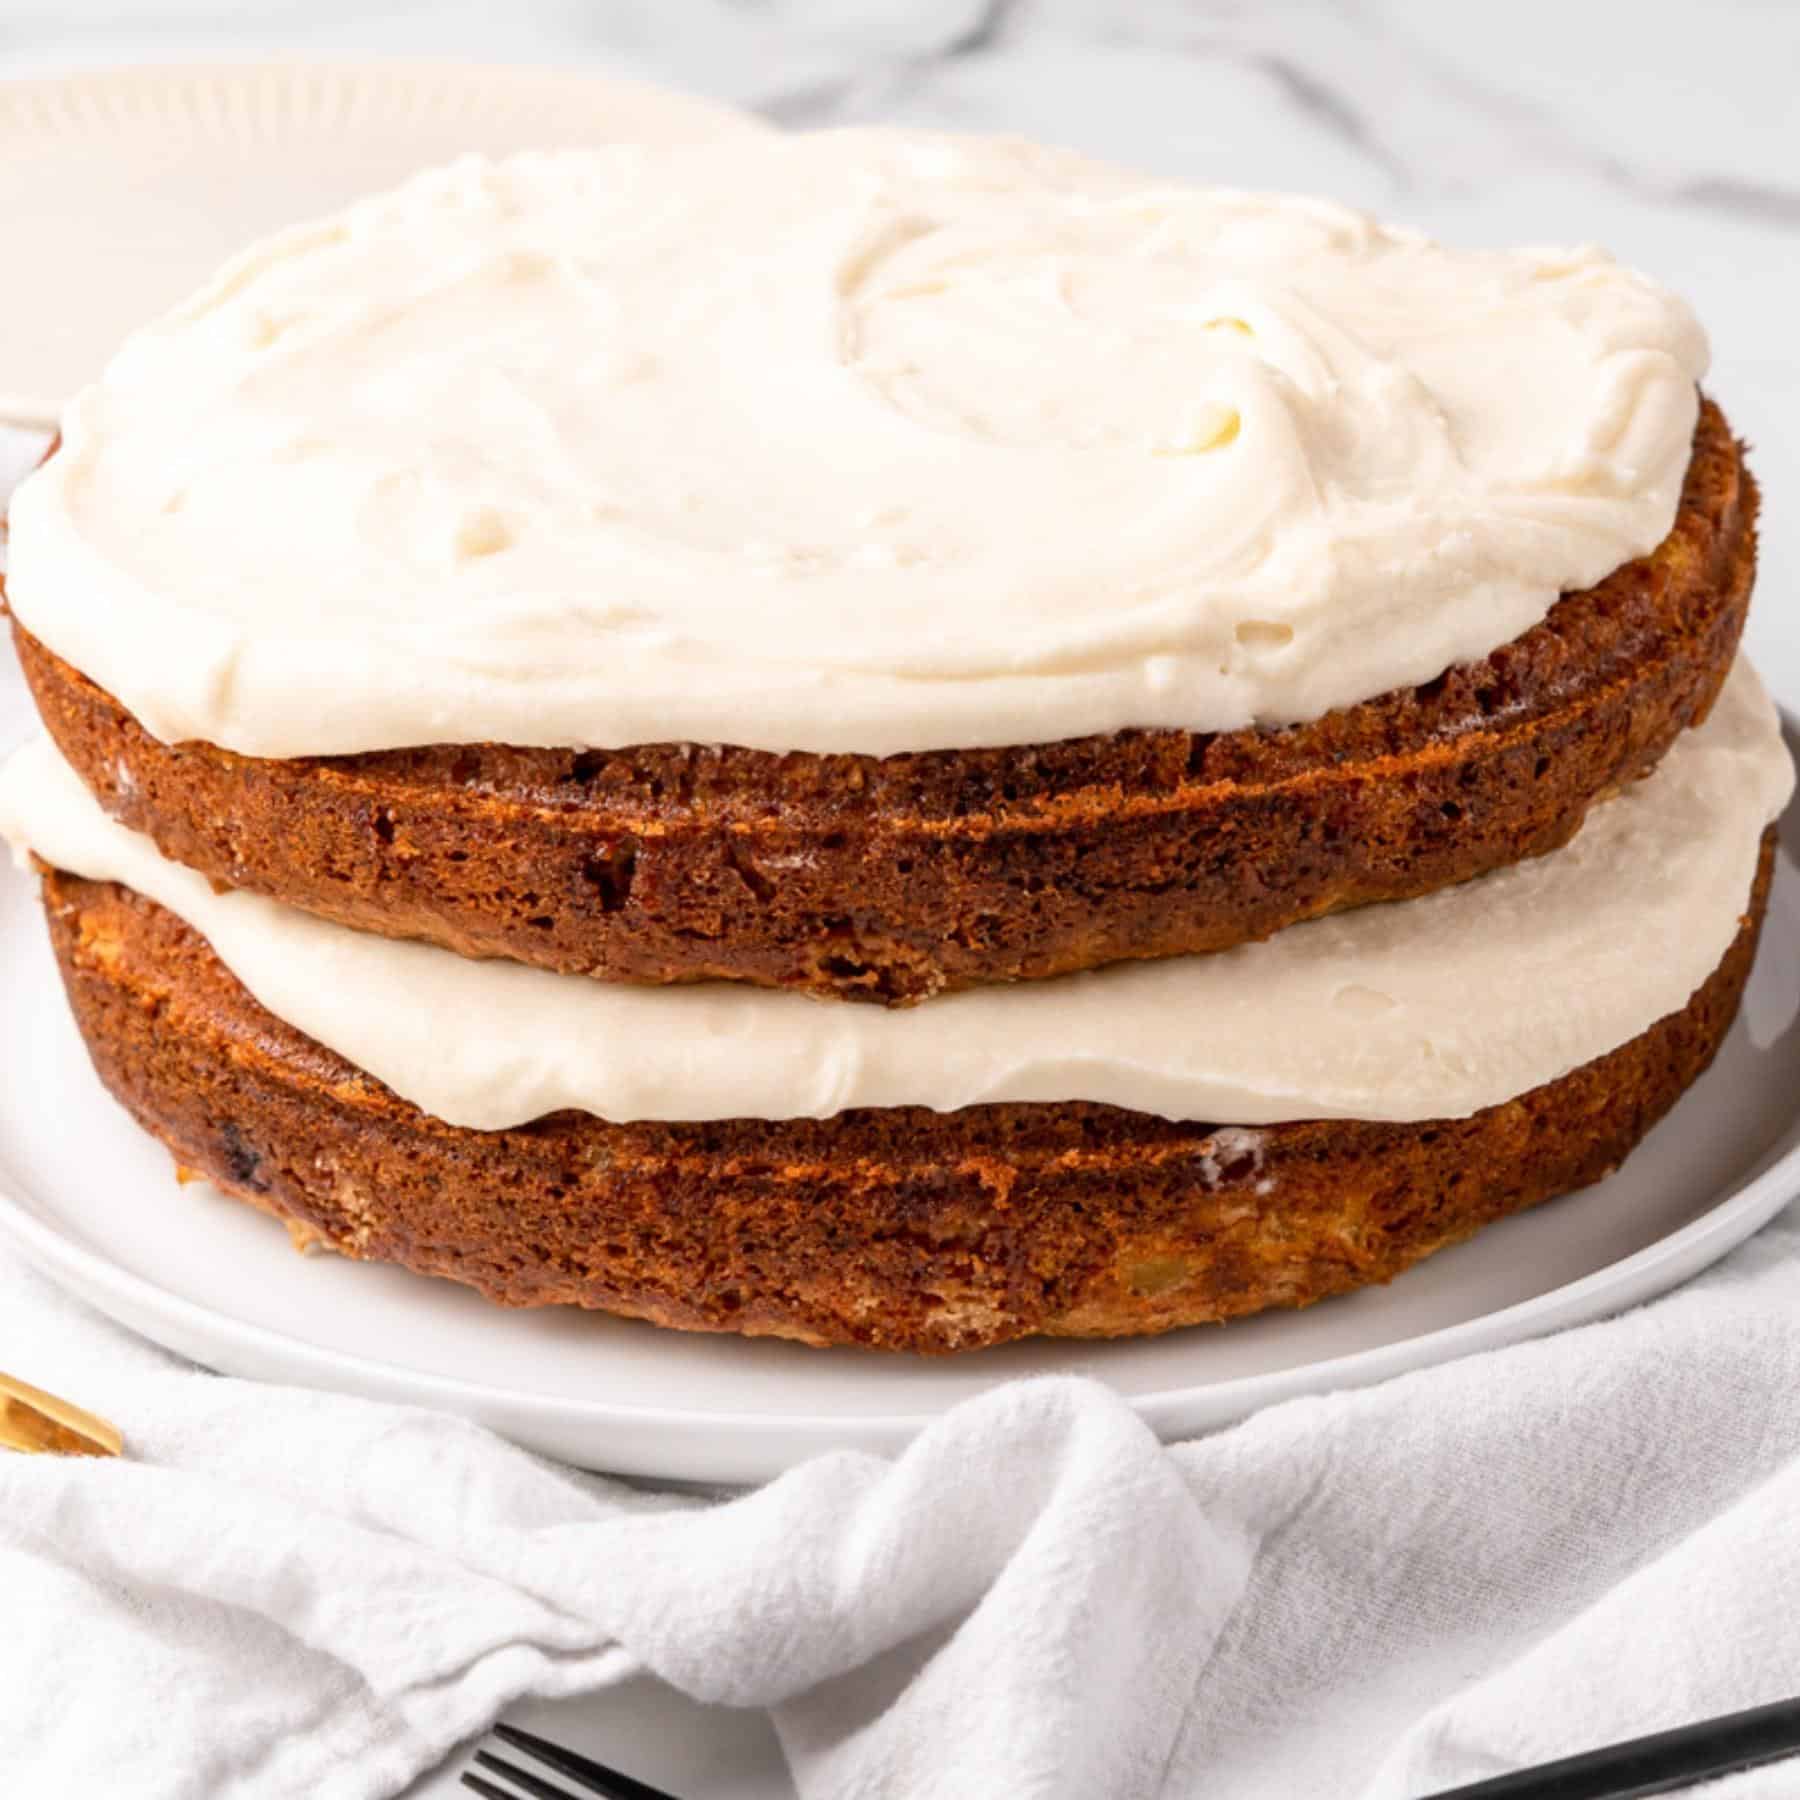
This Southern favorite is bursting with banana, pineapple and warm spices and finished with a vegan cream cheese frosting. It's a gorgeous layer cake for a spring celebration.

These homemade peanut butter cups taste better than store-bought and need just six simple ingredients. Make them in egg-shaped molds for a homemade take on peanut butter eggs.

Almonds, dates and cacao are rolled in coconut for a naturally sweet, no-bake treat. They're a healthier way to enjoy chocolate this Easter.
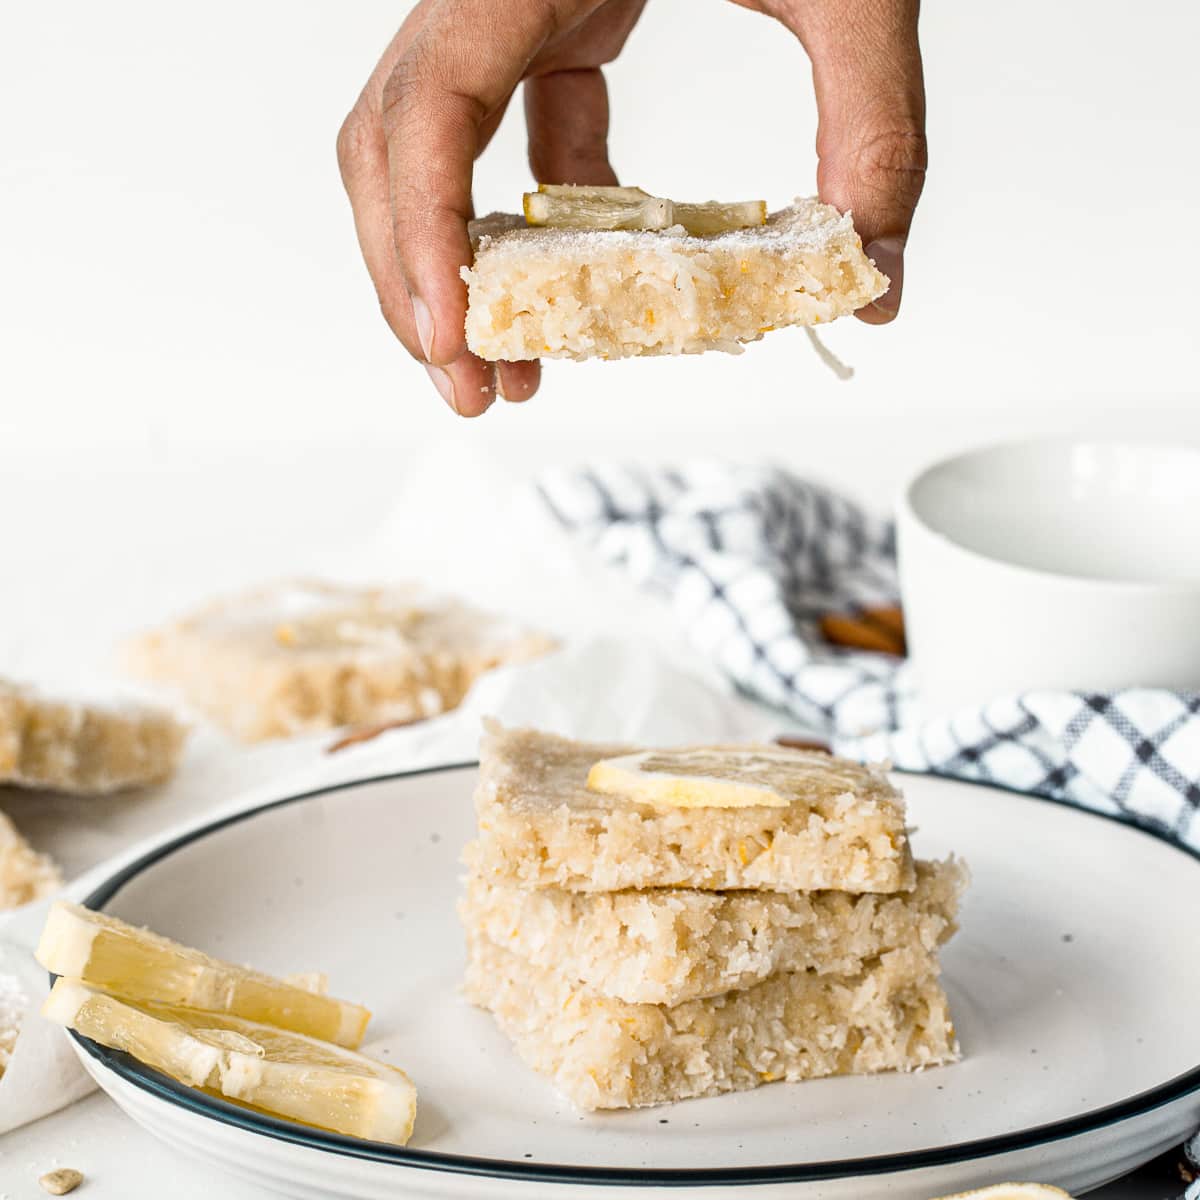
Bright, tart and sweet, these lemon bars come together with a handful of ingredients and no oven. They're a refreshing finish to a holiday brunch.
This fluffy lemon poppy seed cake is moist, zesty and made with gluten-free flour. Its sunny flavor makes it a perfect spring dessert.
A big, beautifully glazed orange bundt cake studded with raisins and finished with a sweet orange cream glaze. It's easy to slice and serve for a crowd.

Fresh strawberries are wrapped in a flaky homemade crust for a rustic free-form tart. It's a simple, stunning way to celebrate the first berries of spring.

Soft, chewy sugar cookies are made with simple ingredients and a sparkle of sanding sugar. Cut the dough into bunnies and eggs for an Easter cookie-decorating party.
This fluffy, moist cake is bursting with colorful sprinkles inside and out. Choose pastel sprinkles for a cheerful Easter dessert.

A light, creamy lemon mousse sits in a nut and coconut crust and is topped with fresh raspberries. This raw tart is an elegant, no-bake way to end your Easter meal.
And if you love these vegan Easter recipes, be sure to check out these other delicious ideas:
- Vegan Easter Desserts and Treats
- 5 Easy, Festive Vegan Main Dishes for Easter
- 35+ Healthy Vegan Breakfast Recipes
- 10 Make-Ahead Vegan Breakfast Casseroles
- The Best Vegan Pancake Recipes
And if you're still searching for the perfect recipes, be sure to check out my new Vegan Brunch Book! It's the easiest way to plan the ultimate vegan friendly Easter Brunch.
Vegan Lentil Meatloaf with Tomato Glaze
Serve up this Vegan Lentil Meatloaf with Tomato Glaze for your main entree tonight. This meatloaf is made with plant-based protein, loaded with spices and seasonings, and tastes incredible.

The homemade tomato glaze in this recipe is the perfect compliment to this lentil loaf dish. Pair this vegan meatloaf with your favorite sides and ring that dinner bell.
This Vegan Lentil Meatloaf is...
- Vegan
- Vegetarian
- Easy to make
- Loaded with flavor
- Great for weeknight dinner
- Great for leftovers
And if you're here planning your holiday menu, don't forget to check out our new Vegan Thanksgiving and Vegan Christmas cookbooks!
How to Make Lentil Meatloaf

- Line your loaf pan with parchment or baking paper and set it aside.
- Cut the onions, carrots, and garlic into small pieces.
- In a pan on the stove, add oil and garlic; cook until fragrant. Then add in the onions and carrots, and cook until onions are translucent.
- Toss in shallots and cook a couple more minutes.
- In a bowl, add lentils and veggies, and blend it up for a paste. Add in walnuts and mix again.
- Toss in spices, breadcrumbs, rest of lentils, etc. Stir to mix.
- Press mixture into the loaf pan, and mix up the glaze and pour over the lentil meatloaf.
- Bake as directed.
Full directions for the recipe, along with measurements, are in the printable recipe card below.
Tips and Tricks

Food Processor vs Immersion blender
You can use either a food processor or immersion blender to blend the lentils into a paste. You will mix in the remaining ingredients at the end to create the slightly chunky texture.
Cooking Time For Lentils
Cook your lentils to start, and then work on chopping and cooking up the vegetables. This will help maximize your time and ensure you don't waste time waiting around for the lentils.
You can also use any leftover lentils you may have on hand.
Make Ahead
Want to make this vegan meatloaf a day in advance? Go ahead and prep the meatloaf mixture, then just cover it and put it in the fridge. The day you are serving the loaf, bake as directed. I would bake it covered for the first 30 minutes, then uncovered for the rest of the baking time.
The meatloaf will take a bit more time to cook since it is being cooked in a chilled pan.
Variations

Brown Lentils
Brown lentils tend to be the best, as they give the best texture to the meatloaf. But if you have another variety of lentils on hand, go right ahead and use them.
Spices and Herbs
Want to change up the flavor components? Feel free to change up the spices and herbs used. You will find that all types of spices can provide a different flavor. Get creative and have fun.
Double the Glaze
Want more glaze to pour on top? If you prefer a heavy sauce, then go ahead and double the glaze recipe. It only takes a few minutes to make double and it will bake up just as good.
And while you're here, don't forget to grab a copy of my free vegan cheat sheet. It's packed with all my favorite substitutions to vegan-ize any recipe!
More Tasty Vegan Recipes
If you love this vegan lentil meatloaf, be sure to check out these other delicious ideas:
Recipe

Vegan Lentil Meatloaf with Tomato Glaze
This vegan lentil meatloaf is loaded with spices and seasonings and topped with a homemade tomato glaze. It makes a perfect plant-based protein main entrée.
Print
Pin
Save
Servings: servings
Ingredients
- 2 tablespoon olive oil
- 1 onion
- 1 carrot
- 2 garlic cloves
- 2 ½ cups cooked lentils
- 2 shallots
- ½ cup walnuts
- ¾ cup breadcrumbs
- 1 flaxseed egg 1 tablespoon flaxseed + 4 tablespoon water
- 1 tablespoon balsamic vinegar
- 2 tablespoon soy sauce
- ½ teaspoon garlic powder
- 1 teaspoon smoked paprika
- ¼ teaspoon cumin
- 1 teaspoon dried thyme
- 1 teaspoon dried oregano
- ½ teaspoon ground pepper
- ½ teaspoon salt
Tomato Glaze
- 3 tablespoon tomato paste
- 1 tablespoon balsamic vinegar
- 2 tablespoon maple syrup
- ½ teaspoon sweet paprika
- ¼ teaspoon salt
Instructions
- Line a loaf pan with baking paper and set aside.

- Chop garlic cloves, onion, and carrot in very small pieces.
- Sauté garlic in a heated pan with olive oil until fragrant. Then add onion and carrot, and sauté for 4-5 minutes or until onion is translucent.

- Chop shallots and add it to the other vegetables. Cook for two more minutes.

- Place the cooked vegetables in a big bowl and add 2 cups of lentils (leaving ½ apart).

- Using a hand blender, process the vegetables into a smooth paste. Then add walnuts and blend again; this can be done with a food processor as well.

- Add all the spices, the rest of the lentils, breadcrumbs, flaxseed egg, olive oil, balsamic vinegar, soy sauce, and salt. Stir to combine.

- Transfer the mixture to the prepared loaf pan, pressing with a spoon to get a compact loaf.

- For the glaze, whisk all the ingredients and spread it with a spoon over the top of the loaf.

- Bake for 40 minutes at 350°F, or until golden brown on the edges.

Nutrition (Estimate per Serving)
Calories: 498kcalCarbohydrates: 72gProtein: 26gFat: 13gSaturated Fat: 2gSodium: 805mgPotassium: 1065mgFiber: 27gSugar: 11gVitamin A: 2115IUVitamin C: 8mgCalcium: 116mgIron: 8mg
Vegan-ize any recipe!Grab our free vegan cheat sheet, packed with my favorite easy substitutions to make any recipe vegan.
Vegan Crunchwrap Supreme

This vegan Crunchwrap Supreme is made with a smoky tempeh filling, homemade dairy-free nacho 'cheese', and guacamole. It's bursting with flavour, and is perfect for an indulgent lunch. Easy to make gluten-free.

You know those recipes that you just want to make over and over again? Yep, this tempeh Crunchwrap is one of those for me. I am seriously obsessed. I've seen Crunchwraps all over social media for a while, and knew I needed to make my own vegan version.
The original Crunchwrap Supreme is from Taco Bell, made with beef and nacho cheese. But, a homemade, plant based version is incredibly easy to put together. Just follow the steps below and you will see for yourself! Chances are, if you're like me and love wholesome comfort food, you will love this as well.
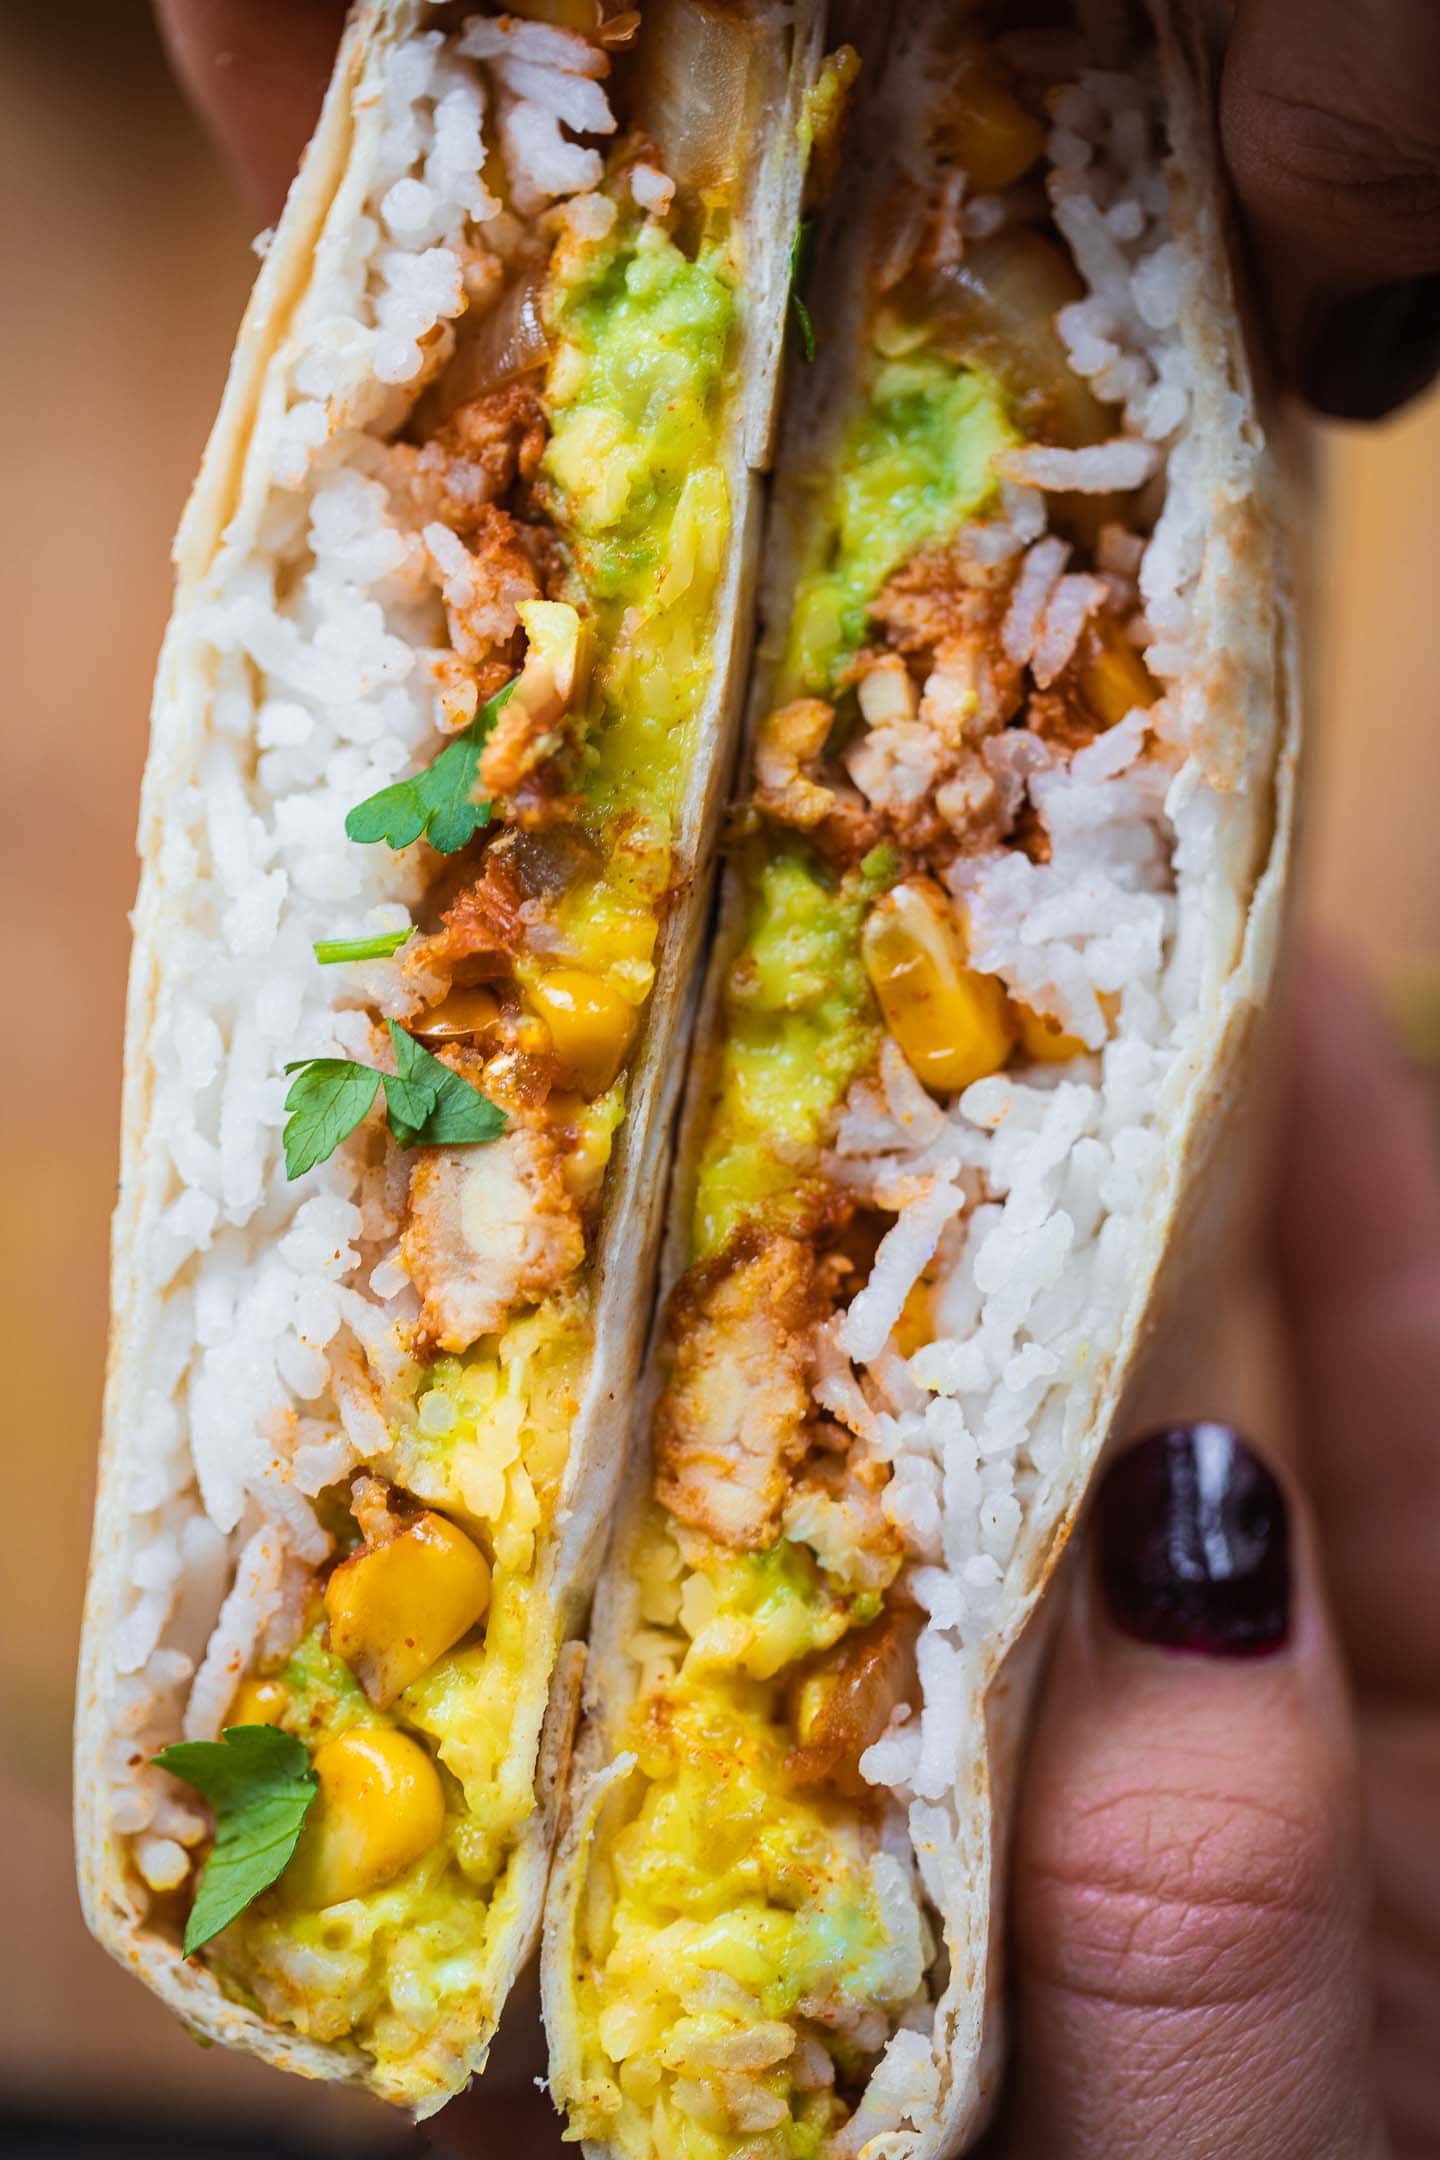
About this vegan Crunchwrap Supreme
The thing that I love about Crunchwraps is that you can really load them up with different ingredients and they won't fall apart. Well, you have to try very hard in order for that to happen (I've had a few such accidents myself during recipe testing lol). Regardless, every bite is packed full of deliciousness, and the wonderful crispy texture of the wrap really brings everything together.

Here, I used tempeh for the filling. I love tempeh, because it's such a versatile ingredient with a great texture and a neutral flavour. With just a few ingredients, it's so easy to transform it. In this Crunchwrap recipe, it takes the place of the ground beef.

I also made a homemade nacho 'cheese' sauce. The great thing about this one is just how simple it is. You don't need a blender, and there are no cashews. You simply put all the ingredients to a saucepan, whisk, and you're good to go! In fact, I love using this 'cheese' as a sauce for many recipes, such as salads and nourish bowls.
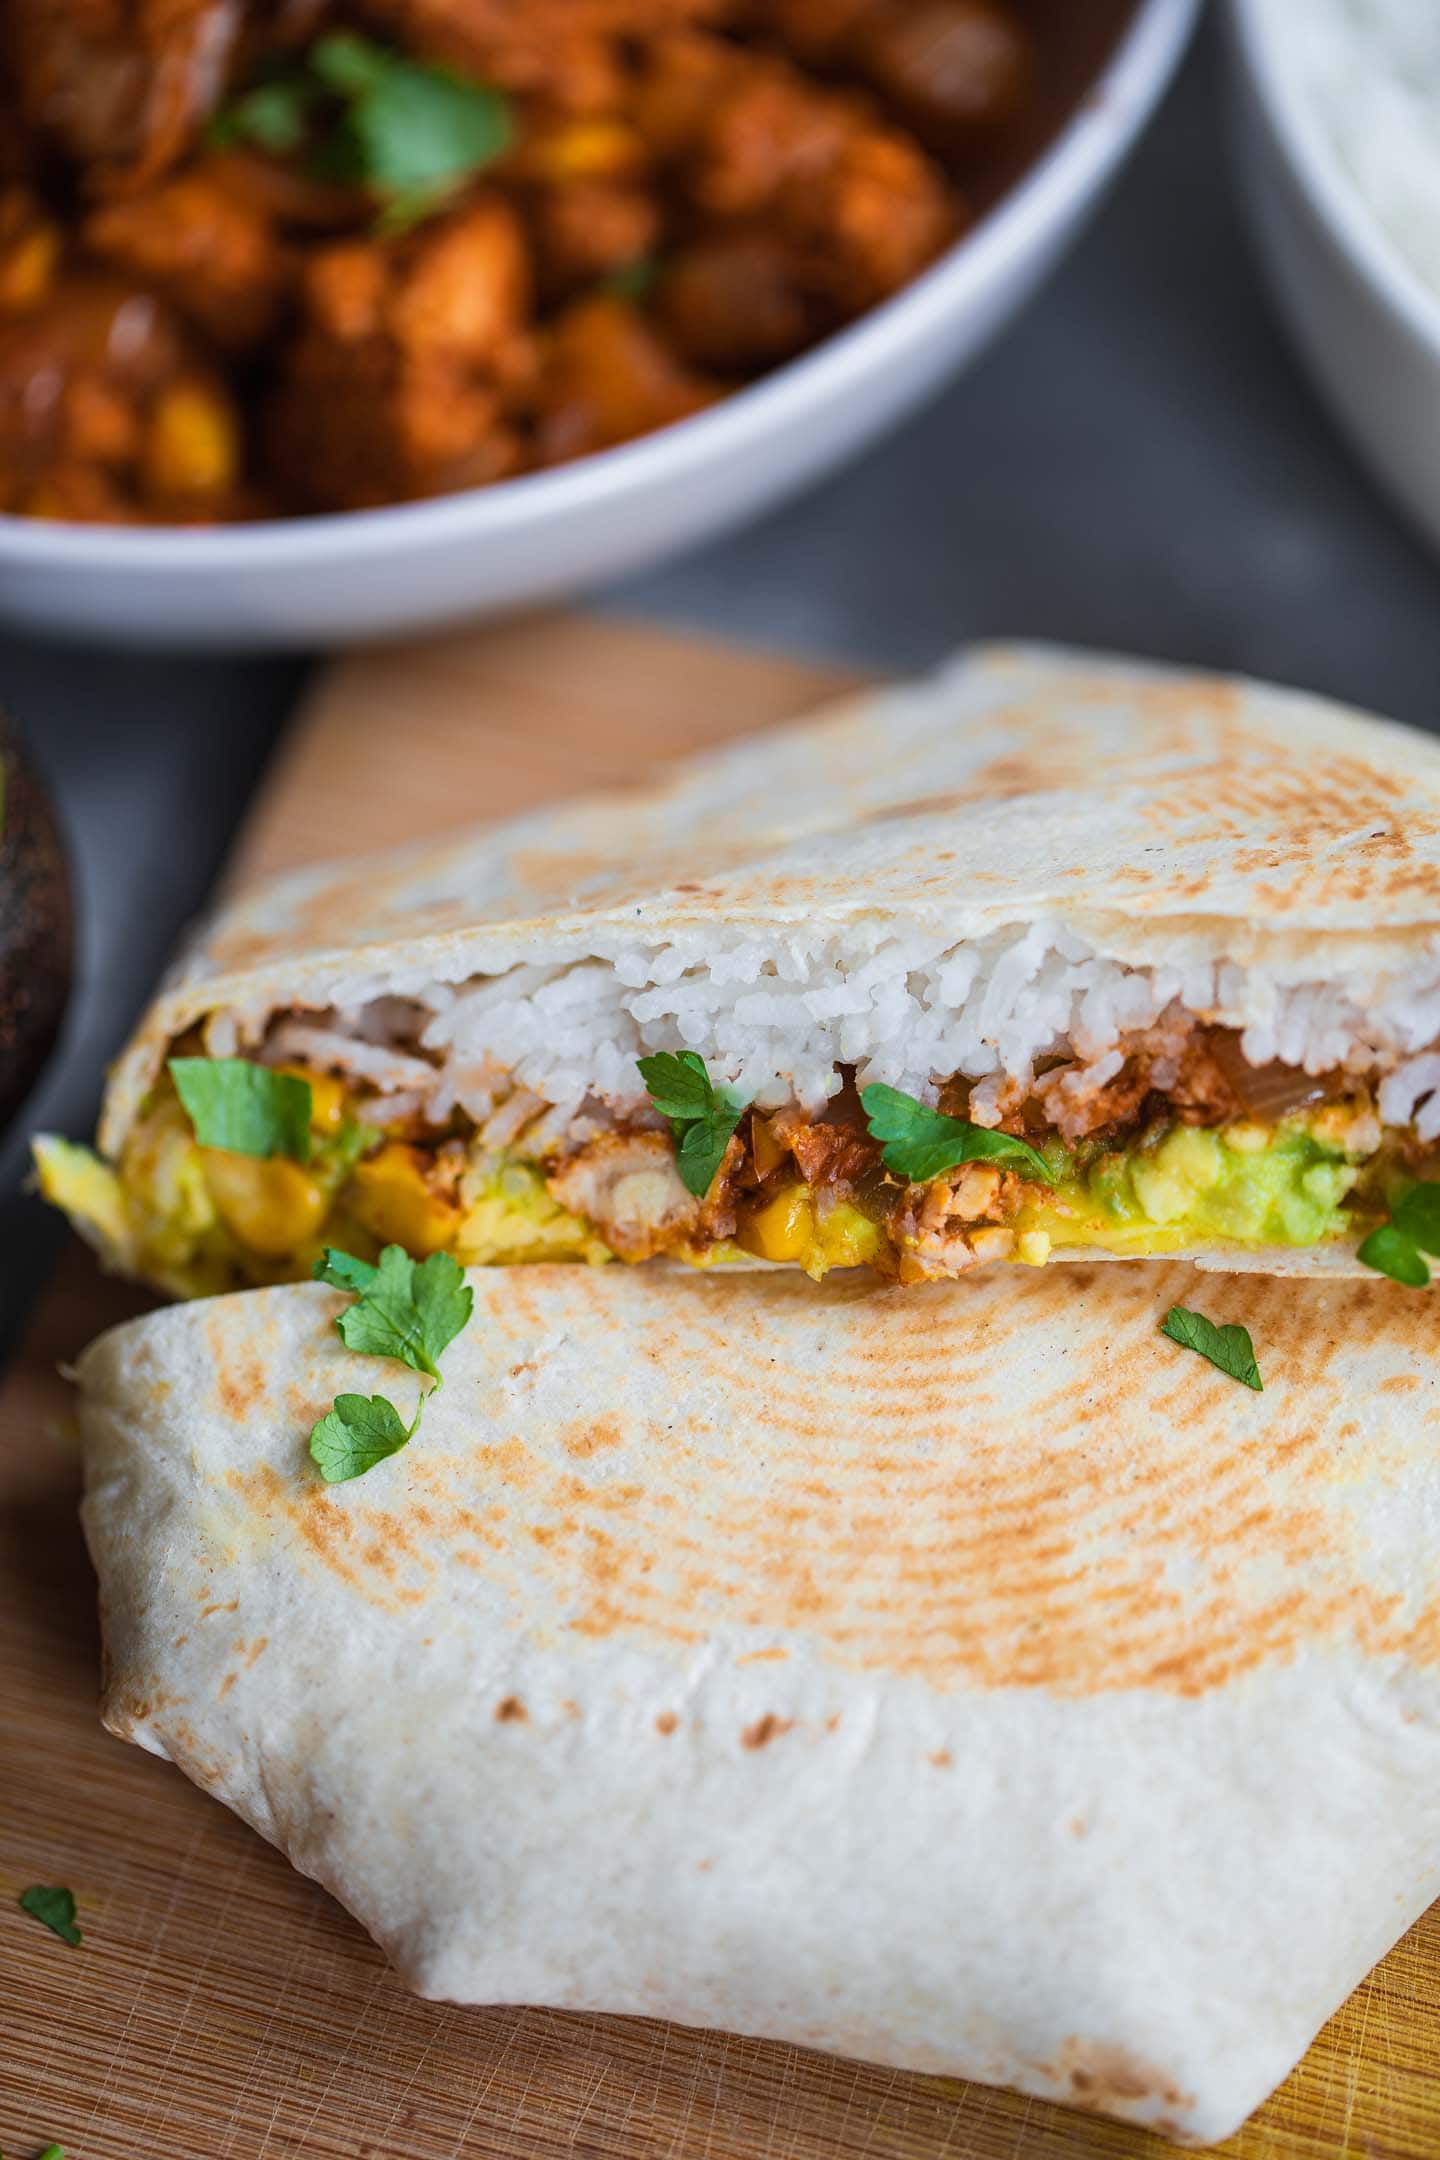
I also added avocado, rice and a little bit of grated vegan cheese. Simple, but incredibly yummy!
Smoky tempeh filling
You only need a few simple ingredients to make the smoky tempeh filling. Those are:
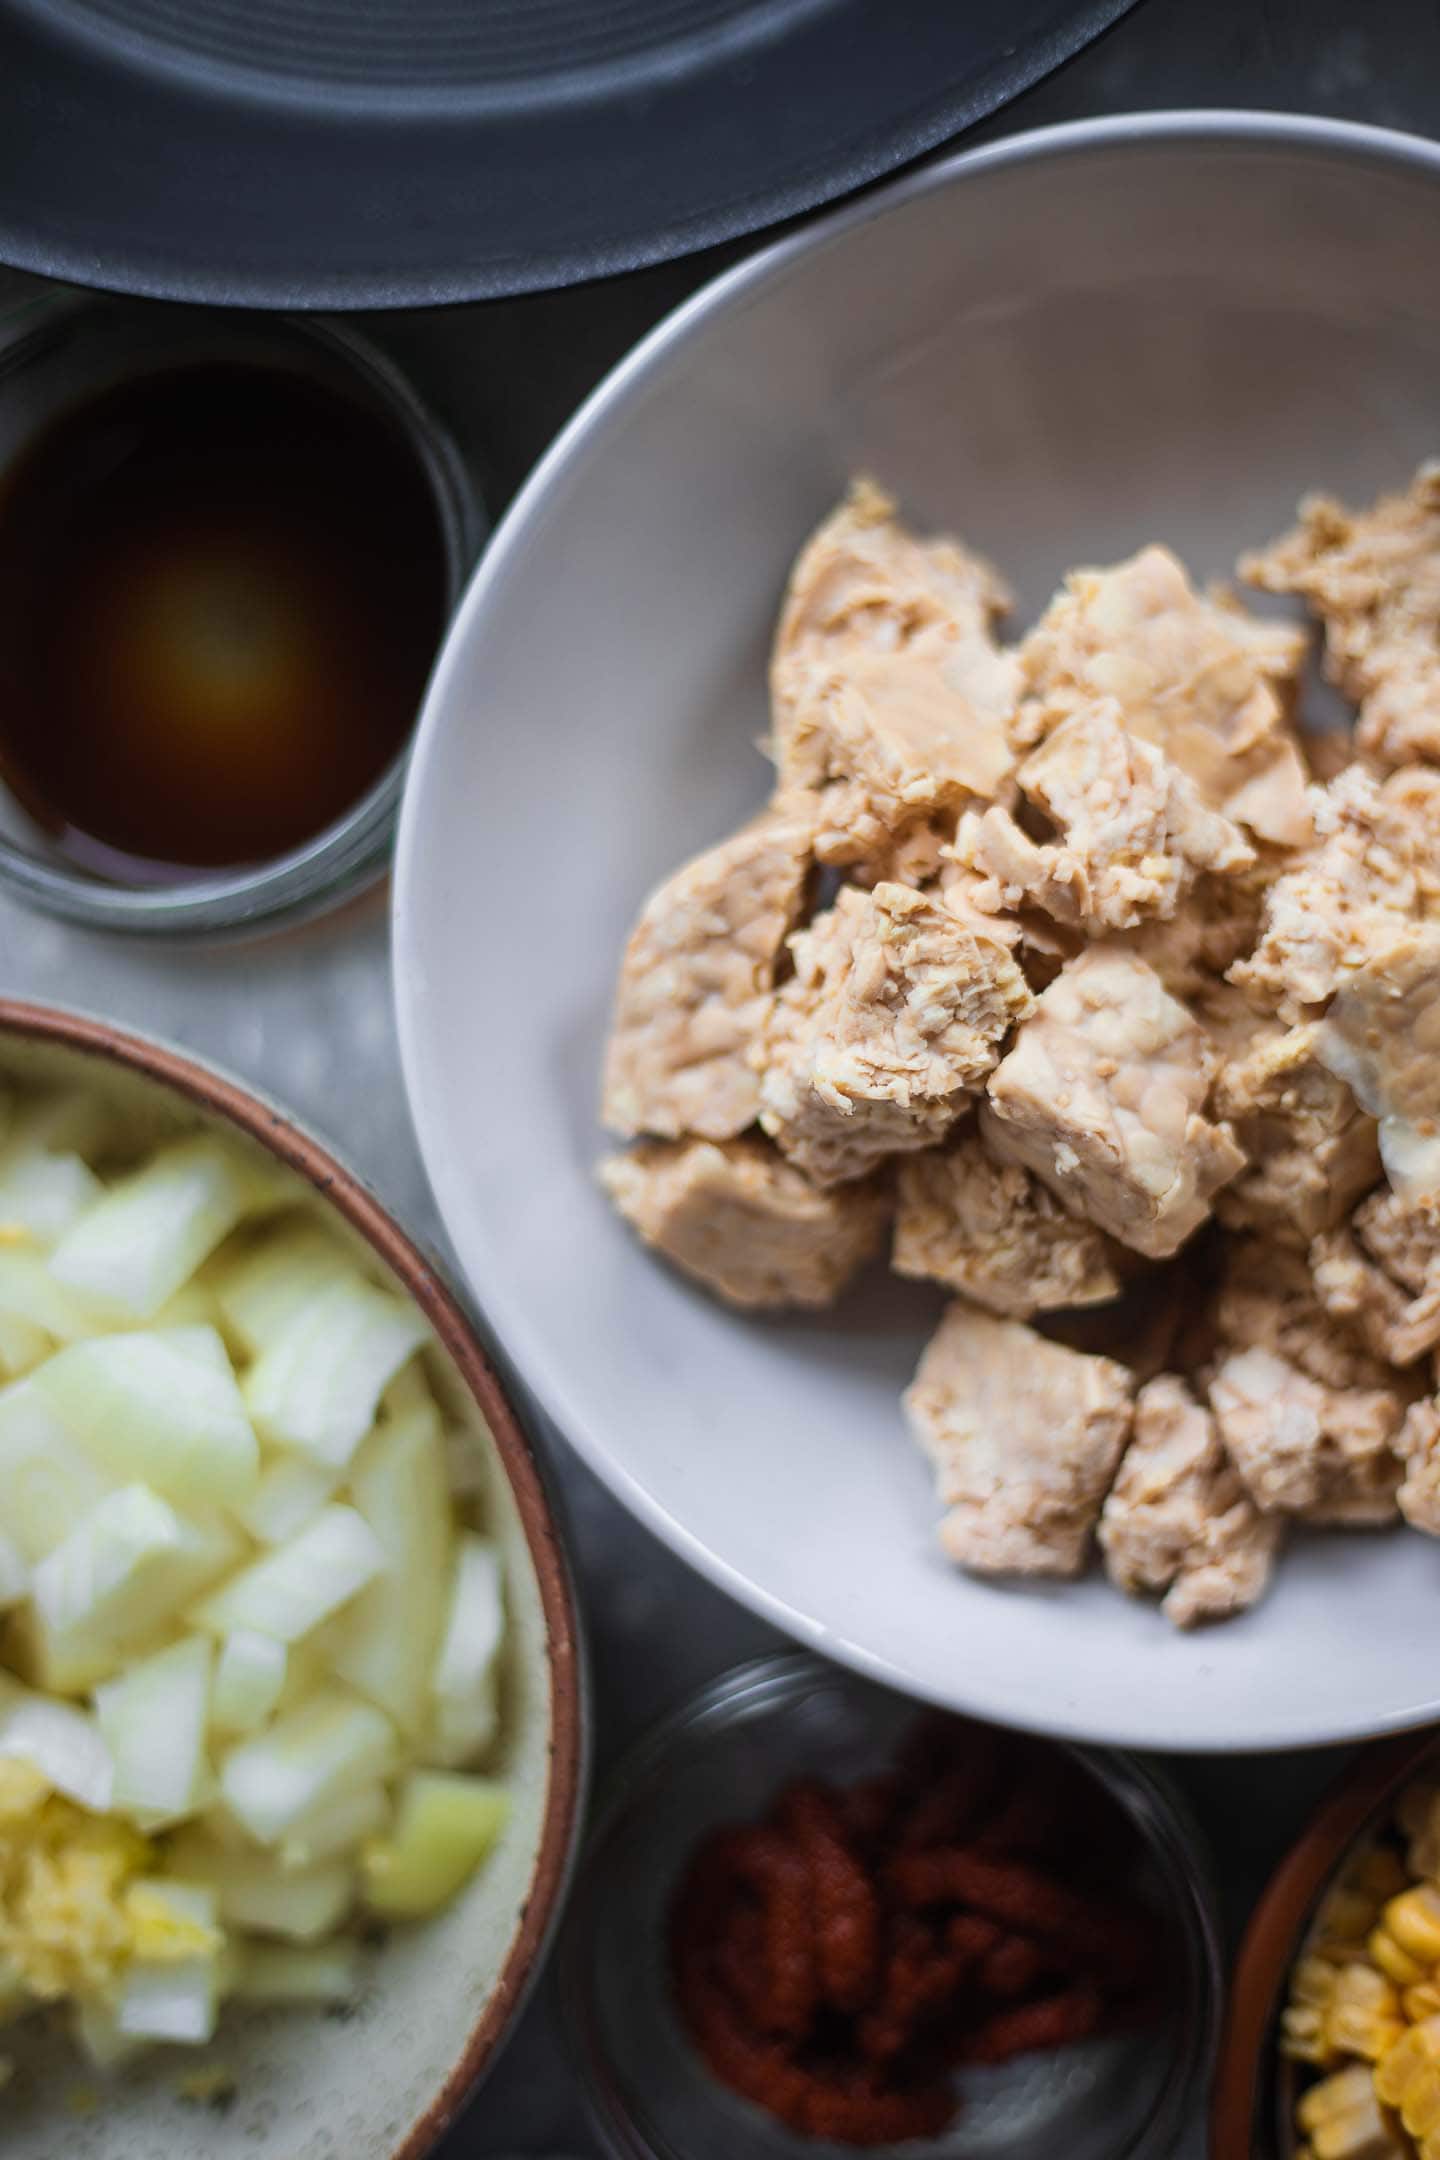
- Onion and garlic.
- Tempeh. I would recommend steaming this beforehand to get rid of any bitter flavour. You can also use crumbled extra firm tofu.
- Sweetcorn.
- Tomato paste.
- Tamari. You can also use soy sauce if not avoiding gluten, or coconut aminos for a soy-free version.
- Cumin and smoked paprika.
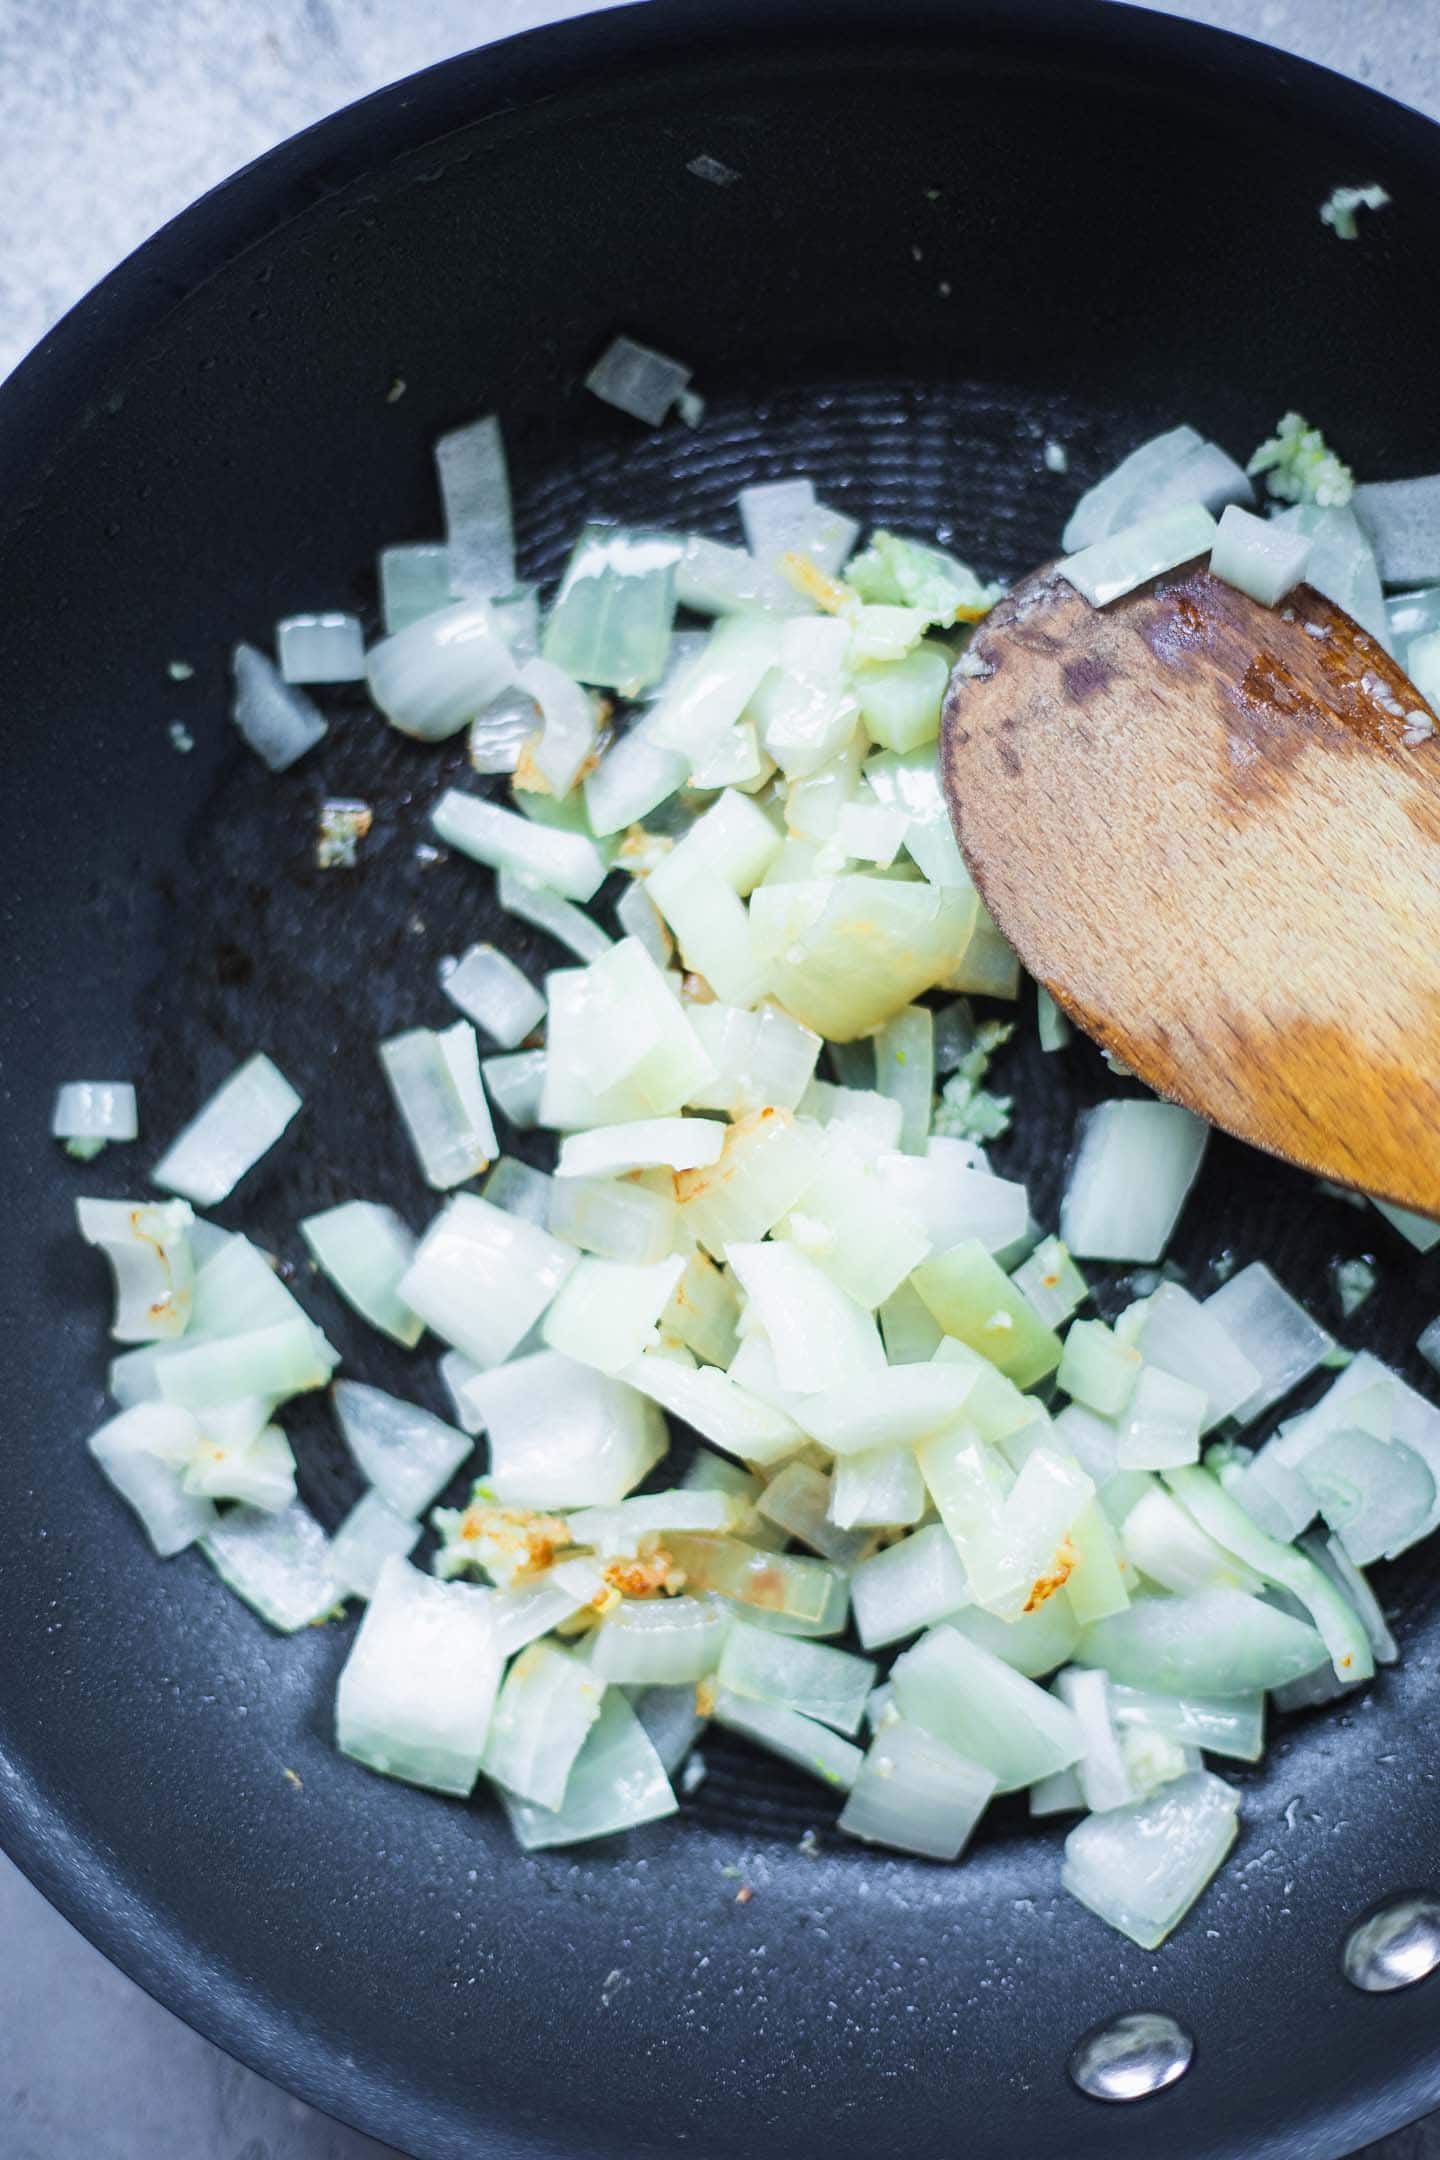
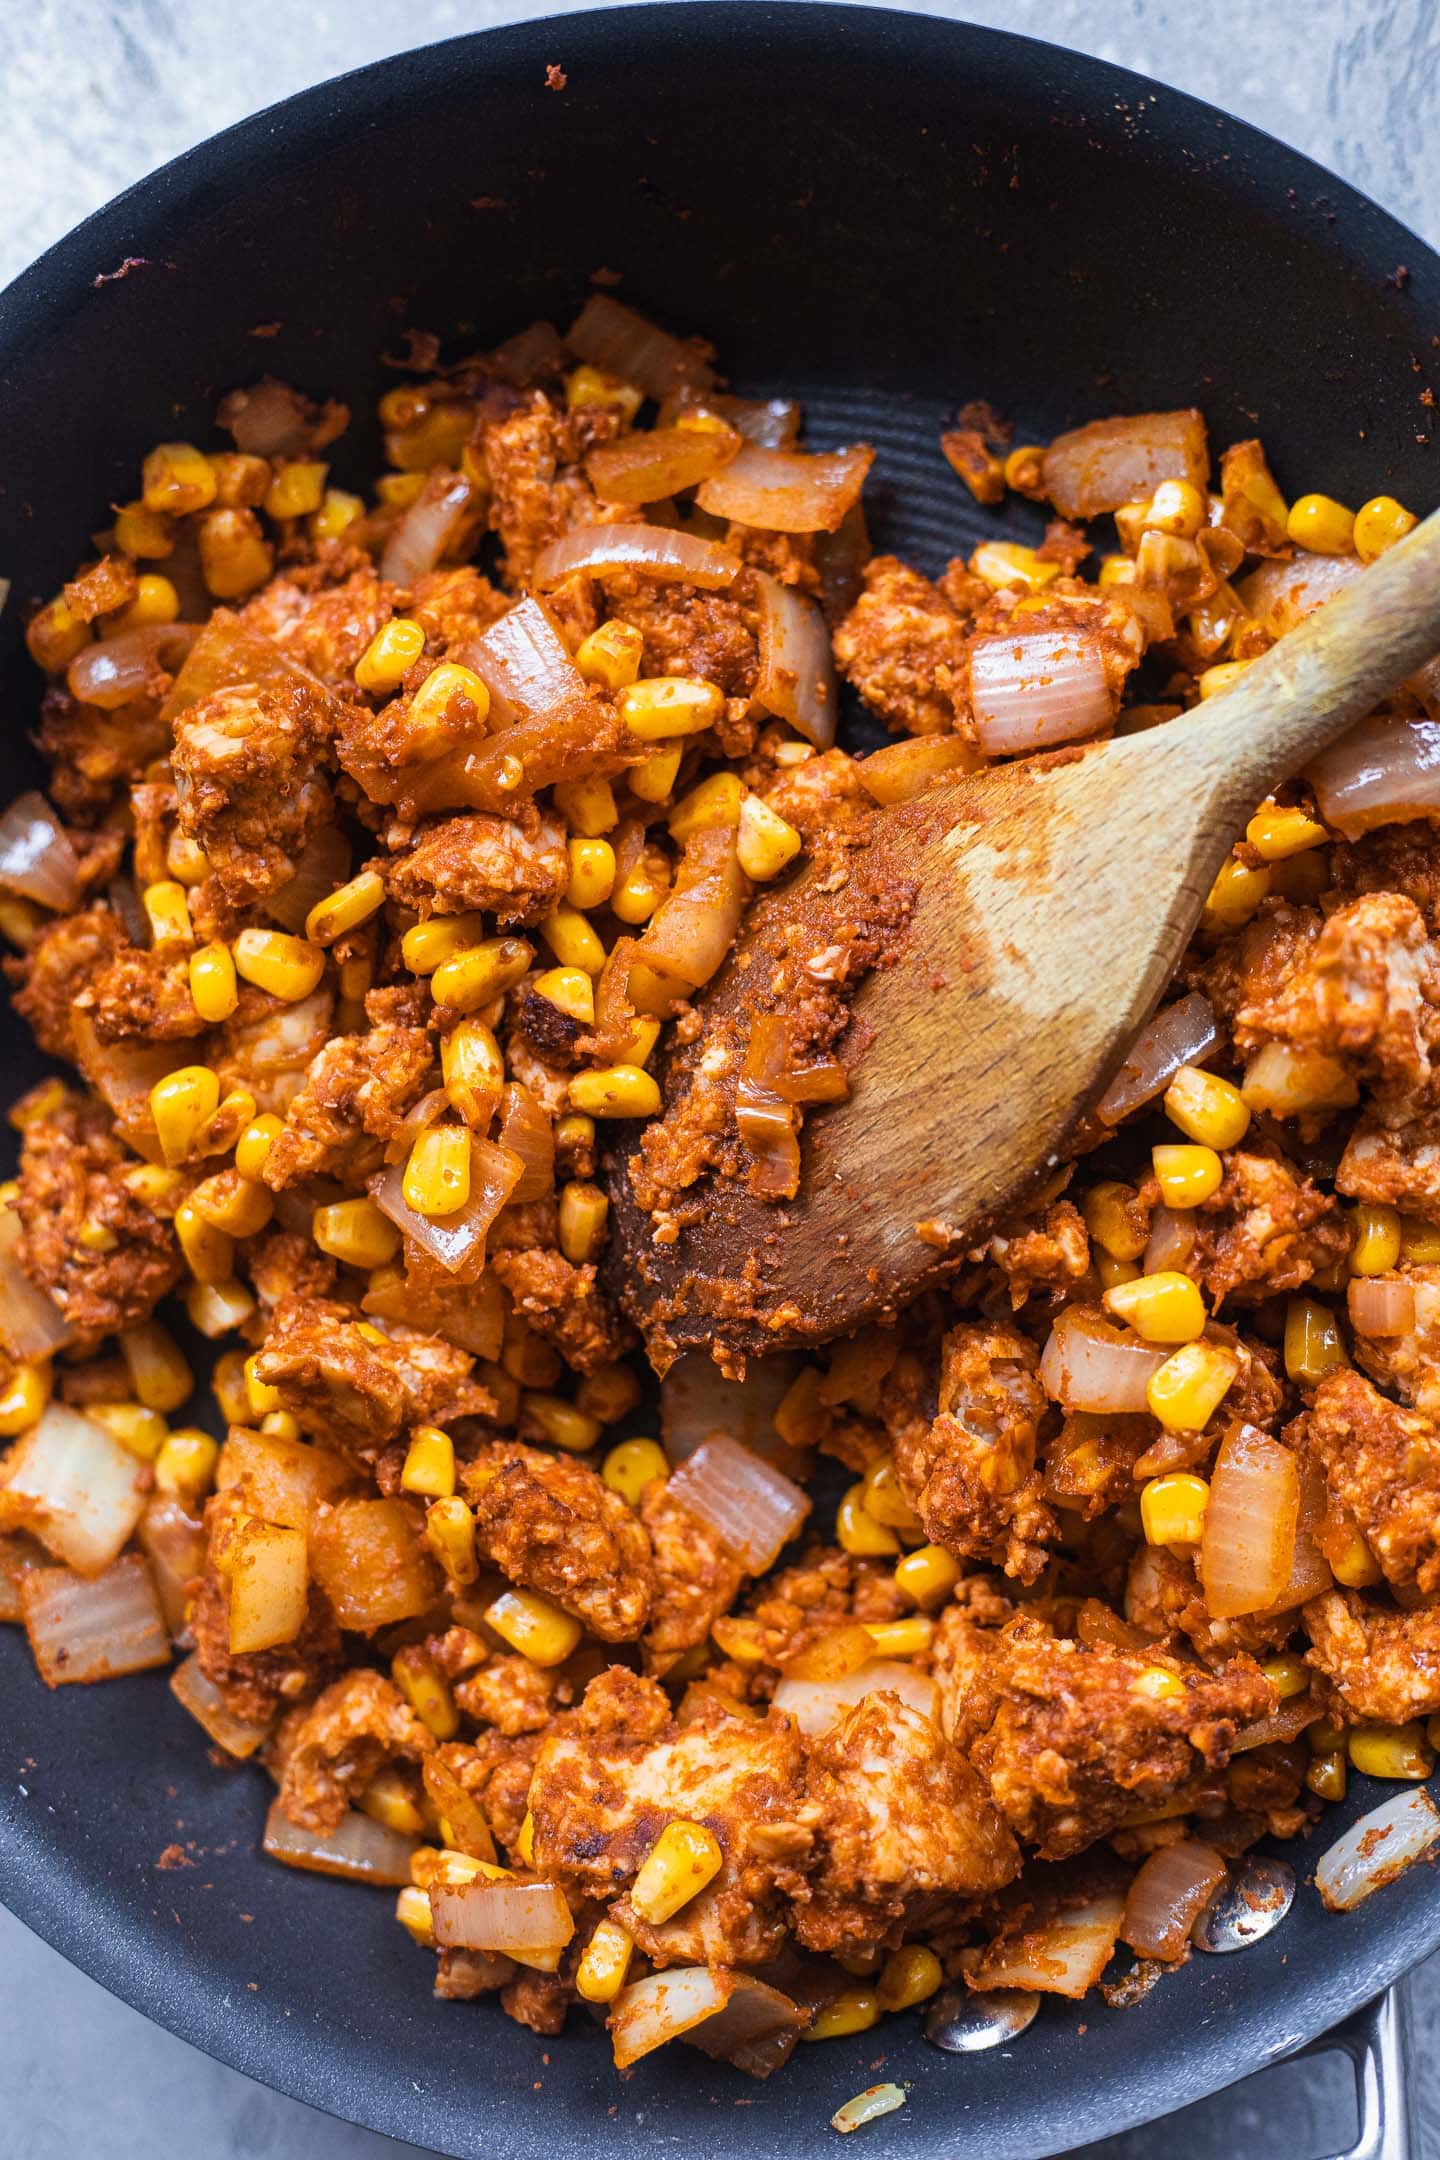
Simply cook the onion and garlic. Then, when they soften, add the rest of the ingredients and cook over a medium-high heat for around 5 minutes. That's it!
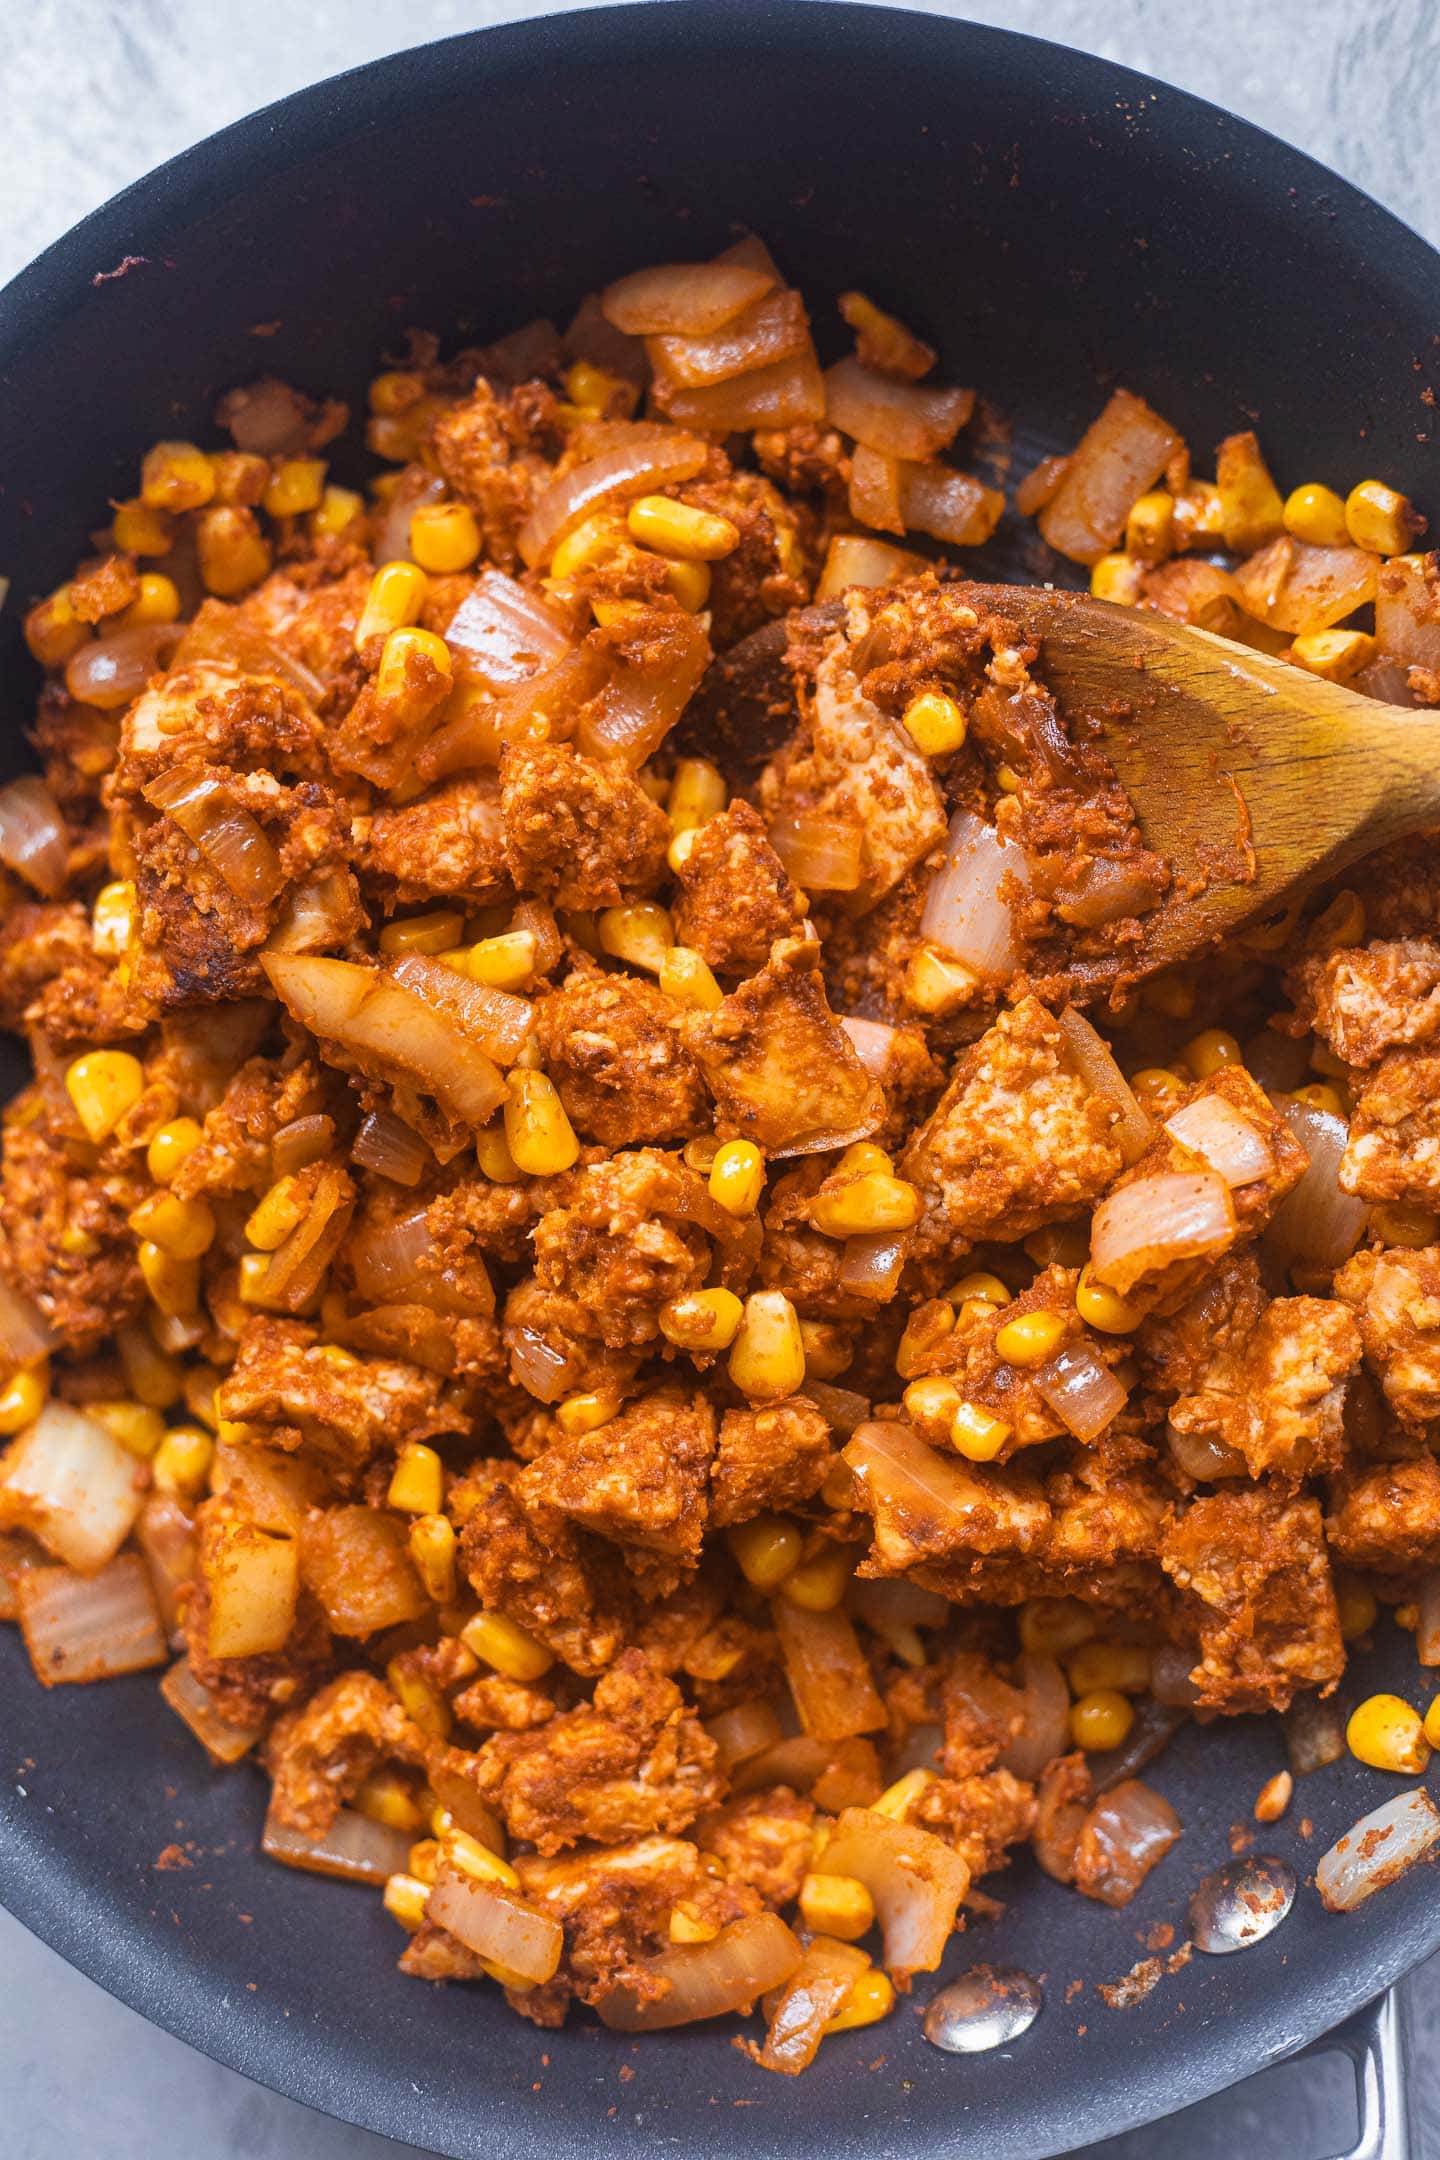
Vegan nacho cheese
As I mentioned, this nacho 'cheese' is cashew-free and doesn't require a blender. The ingredients you will need are:
- Coconut milk. Full fat coconut milk from a tin works best.
- Turmeric.
- Salt.
- Nutritional yeast. This is great for adding a 'cheesy' flavour.
- Apple cider vinegar.
- Cornstarch.
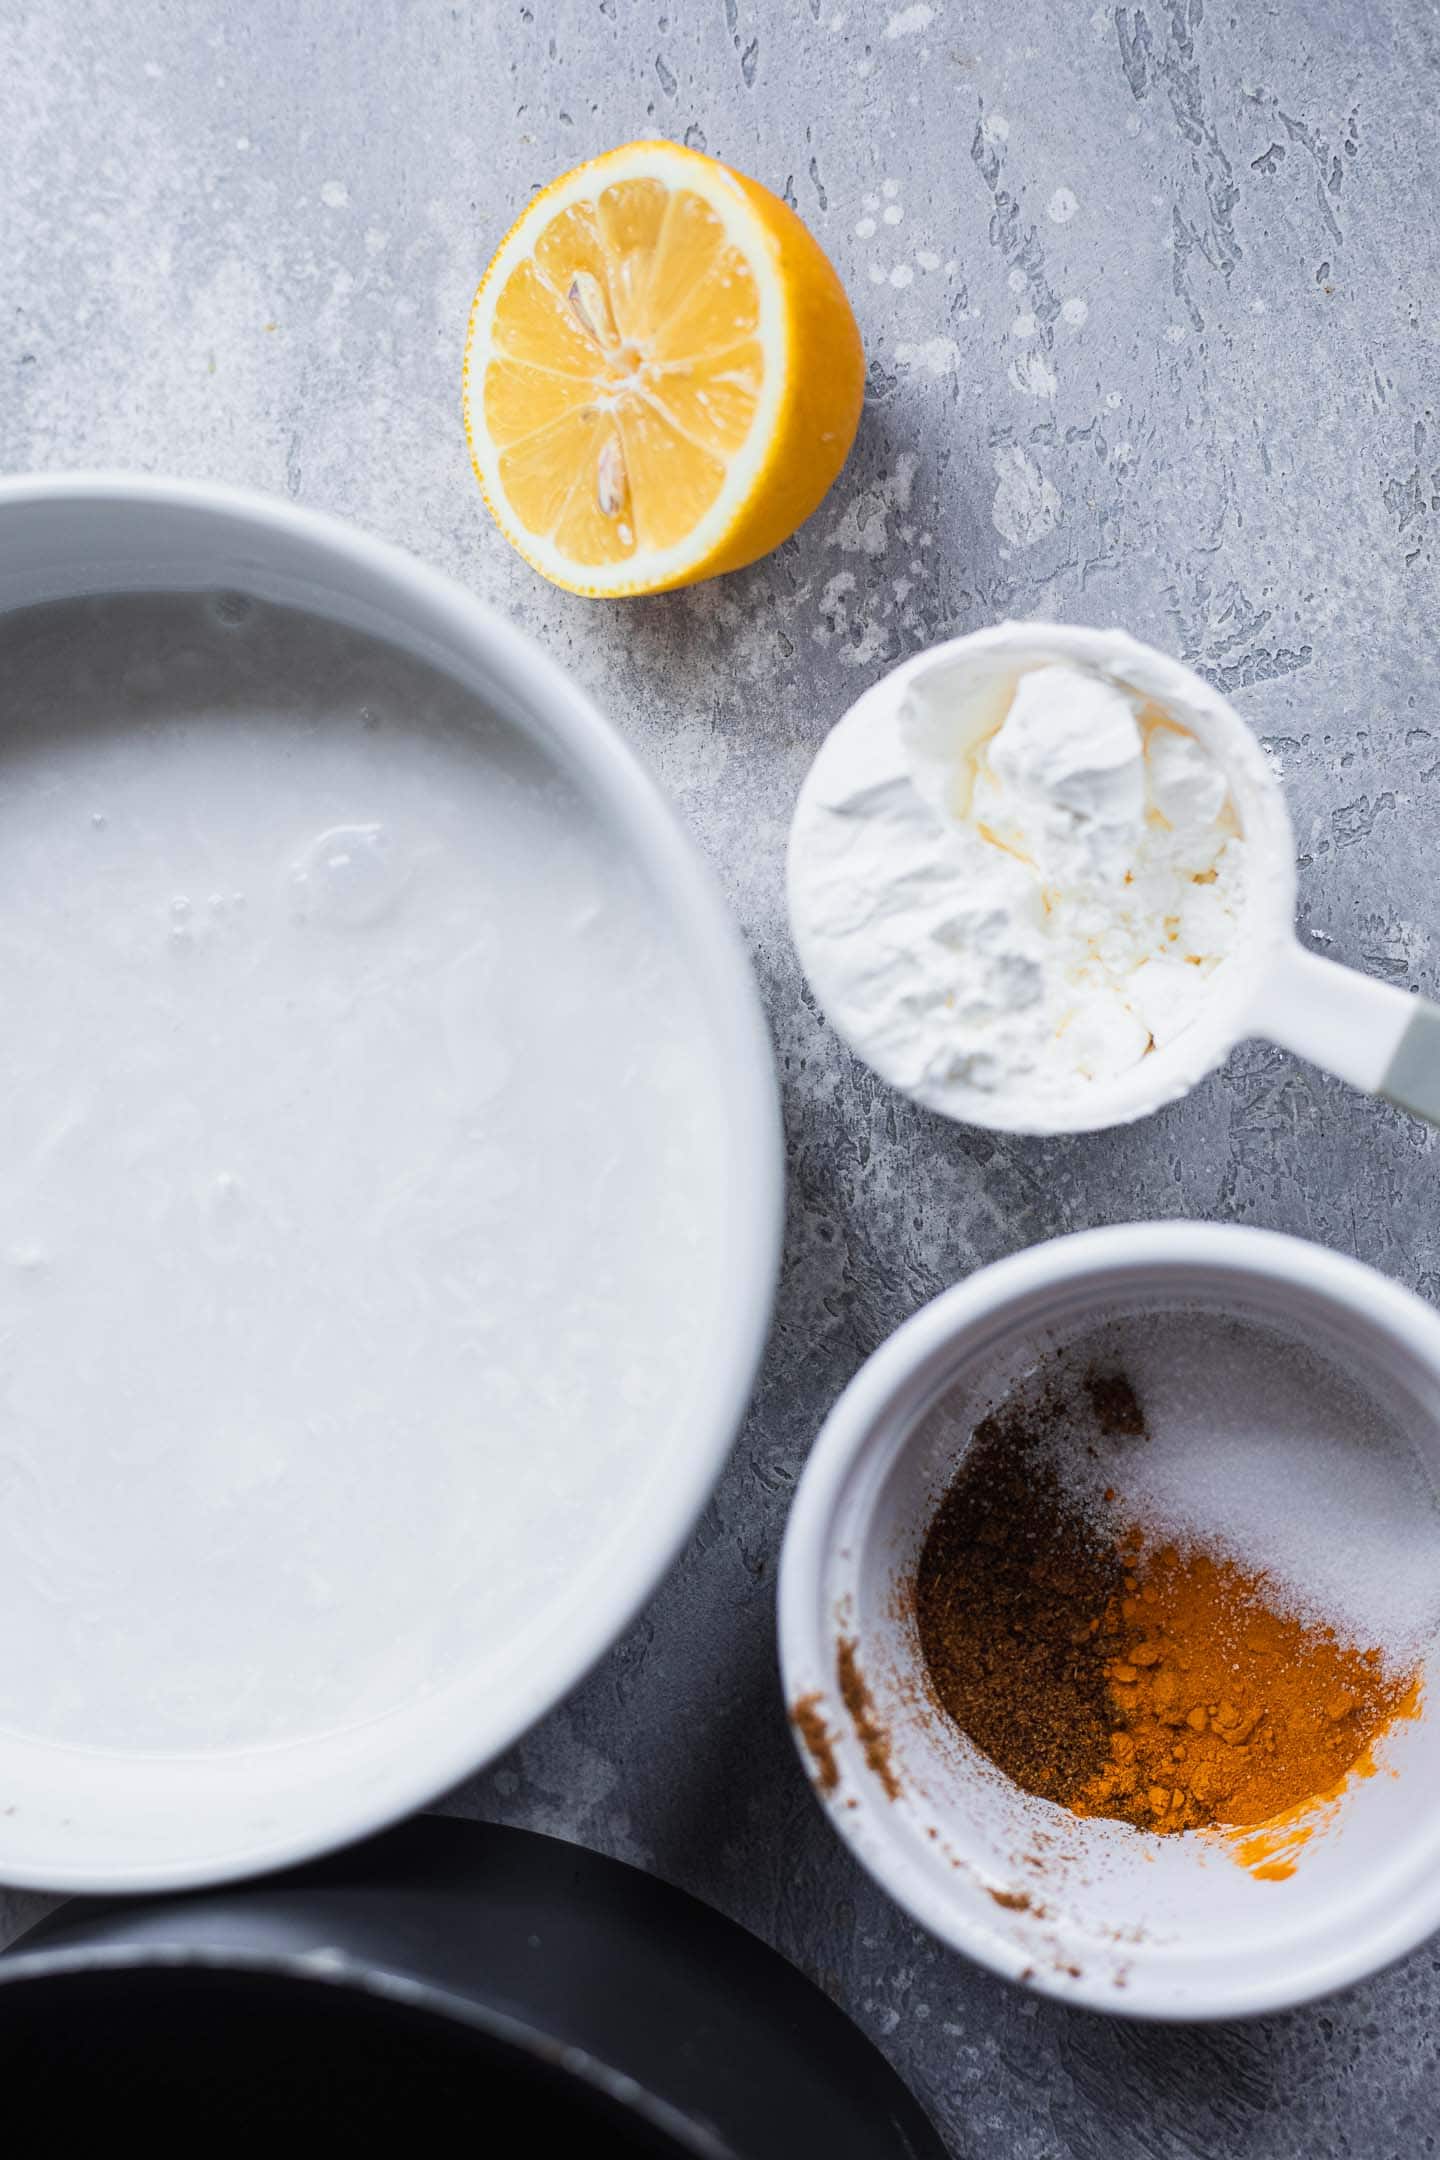
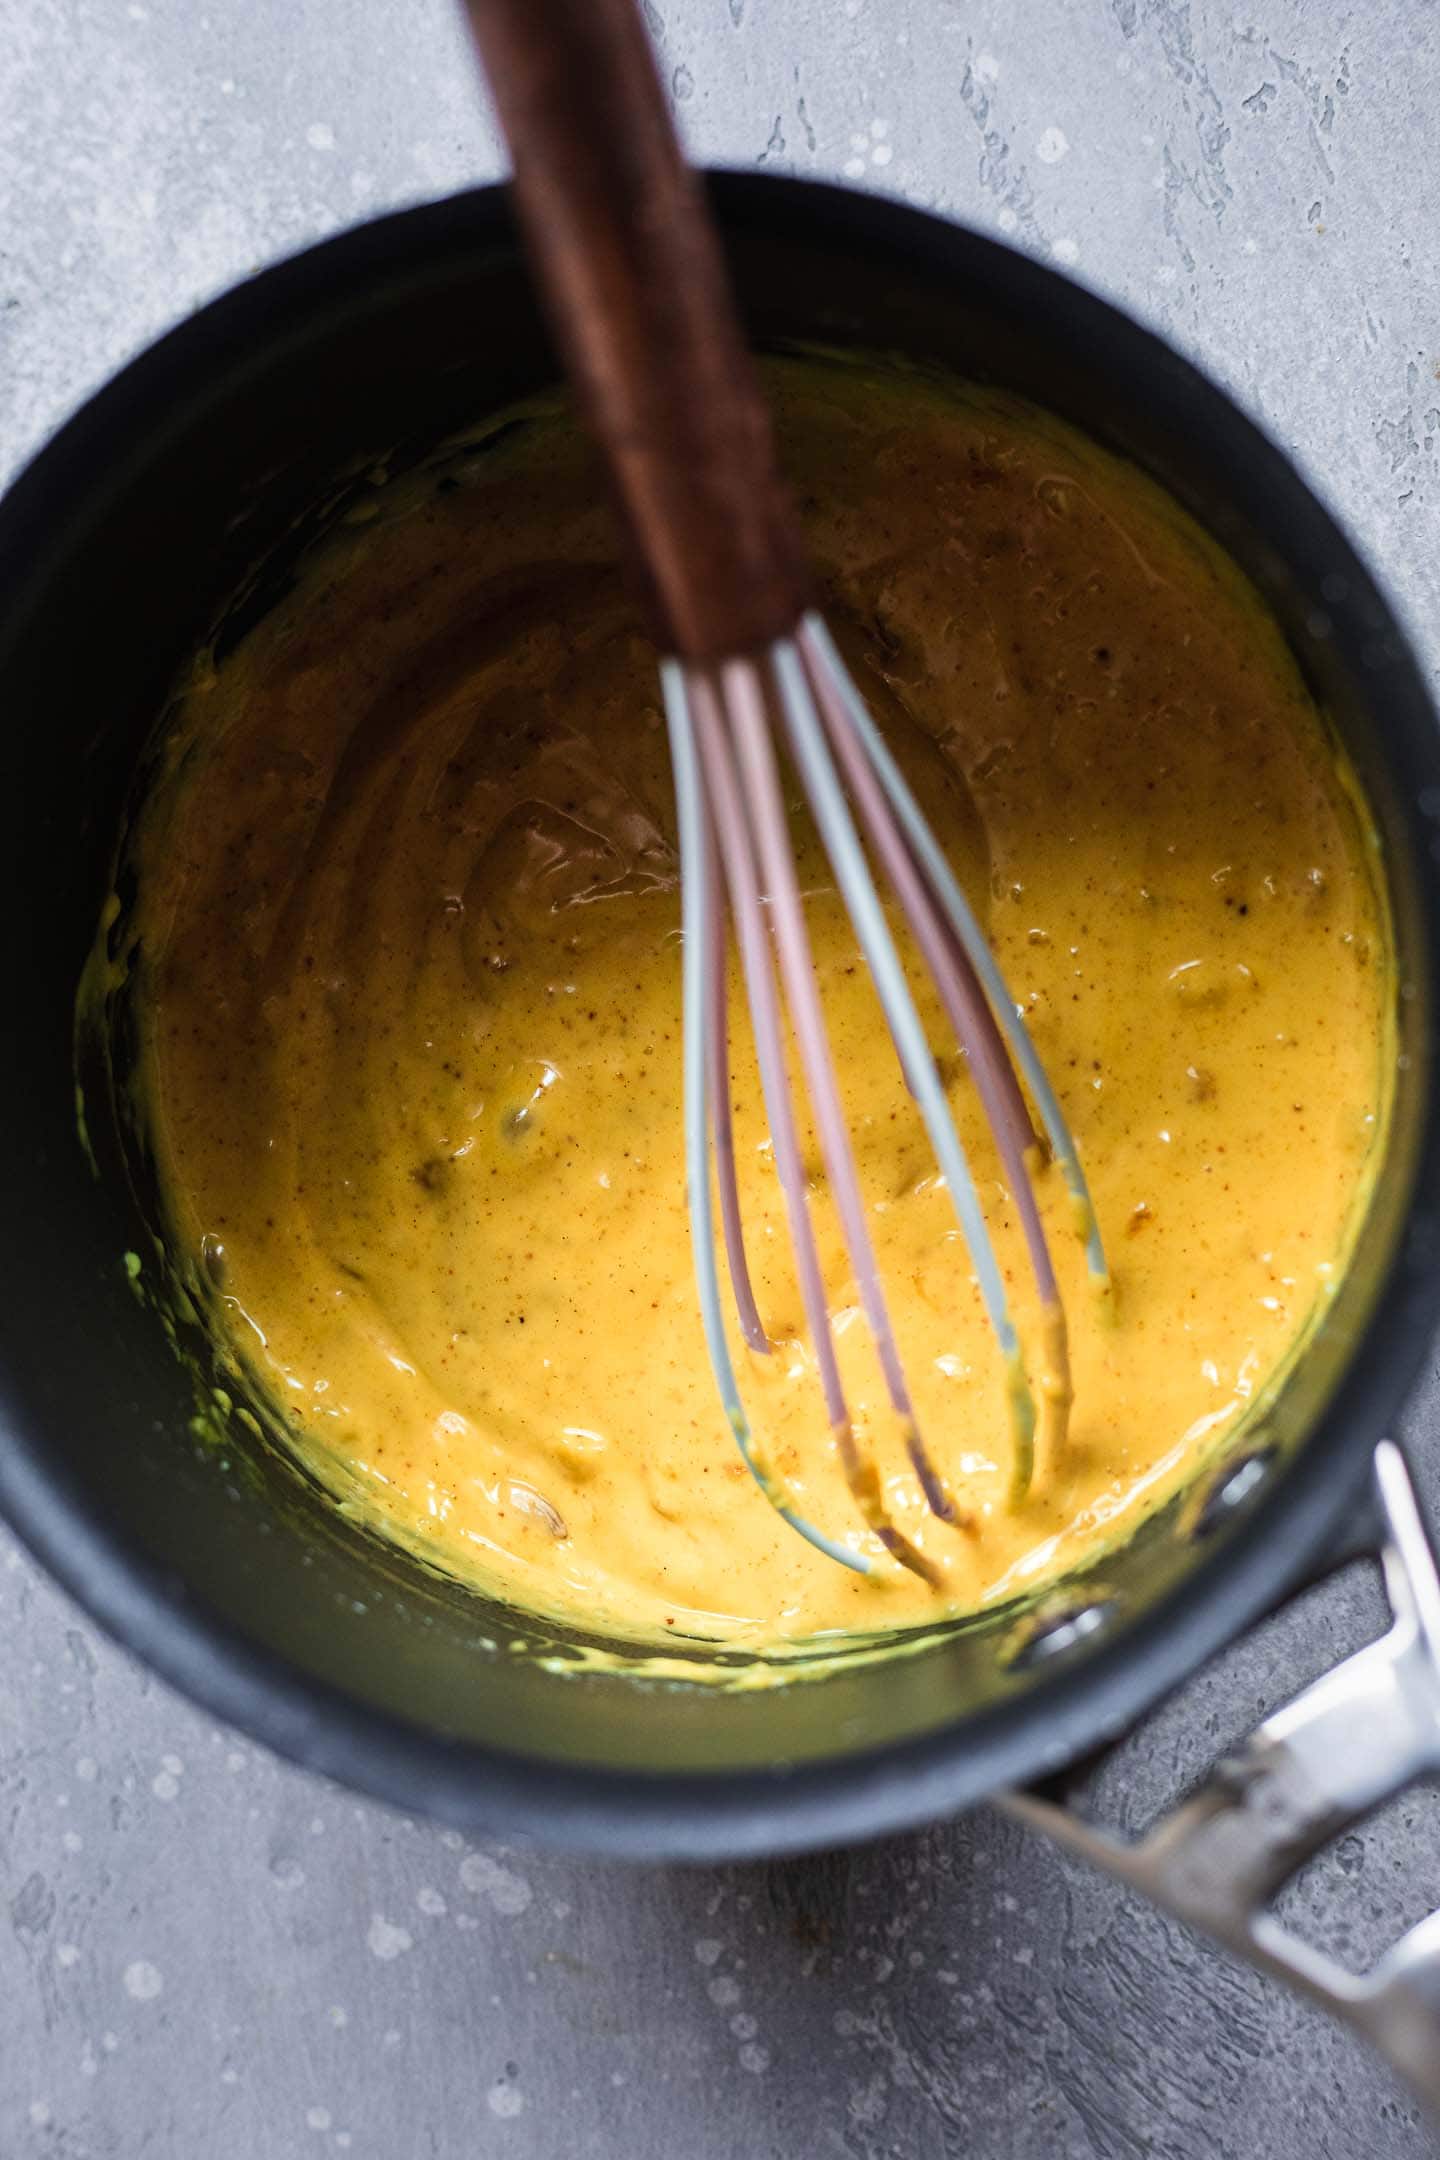
Simply add all the ingredients to a saucepan and whisk over a medium heat until the 'cheese' thickens.
What else should I add to a vegan Crunchwrap?
Crunchwraps are super versatile - you can switch up the ingredients and try out different fillings to see which ones you prefer. As you can see, I added rice, mashed avocado and grated vegan cheese. However, the following filling ideas also work really well:
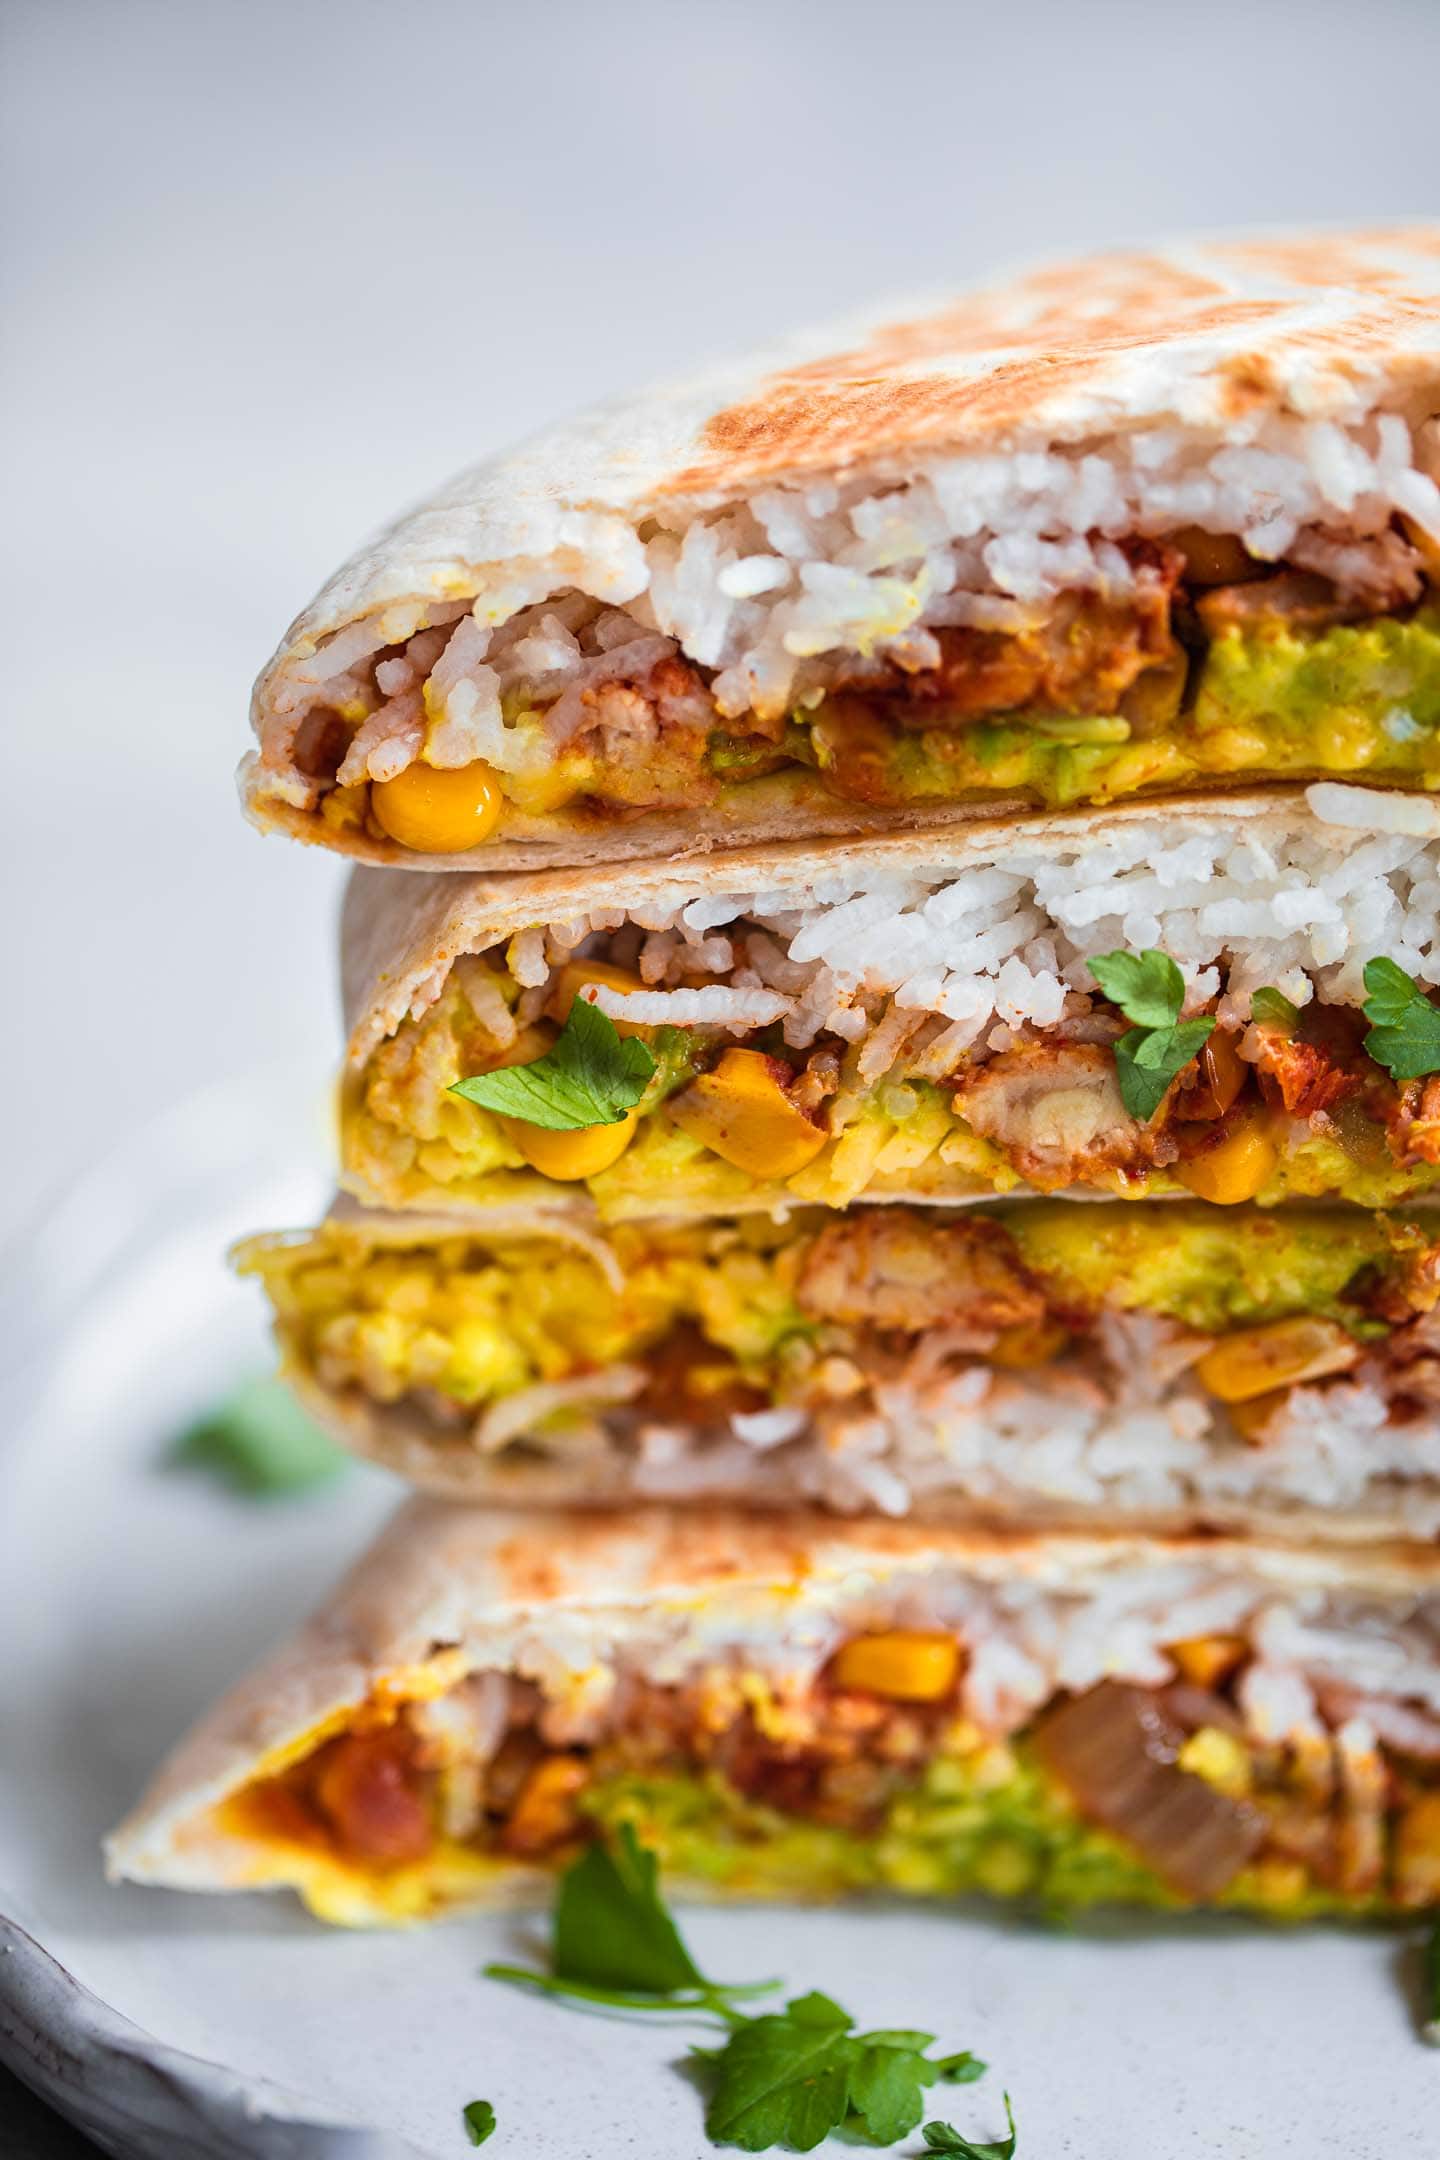
- Quinoa.
- Wholegrain rice.
- Vegetables of your choice, such as tomatoes, carrots and zucchini.
- Vegan sour cream.
- Spicy cashew cream.
- Chunky guacamole.
- Black beans.
- Vegan walnut taco meat - a savory walnut-mushroom mixture that makes a fantastic hearty filling.
- Sweet potato.
- Tostada shells or corn chips for some extra crunch.
Try out different ones and see which ones you like best! The great thing is that there are so many options, so you will never get bored of this recipe.

Vegan Crunchwrap Supreme step-by-step
I would recommend starting by cooking the rice. While that's cooking, make the tempeh filling and the cheese sauce. By preparing them simultaneously, you will save a lot of time.
Place a large tortilla on a flat surface and add 3-4 tablespoon rice in the middle, spreading it out into a circle.
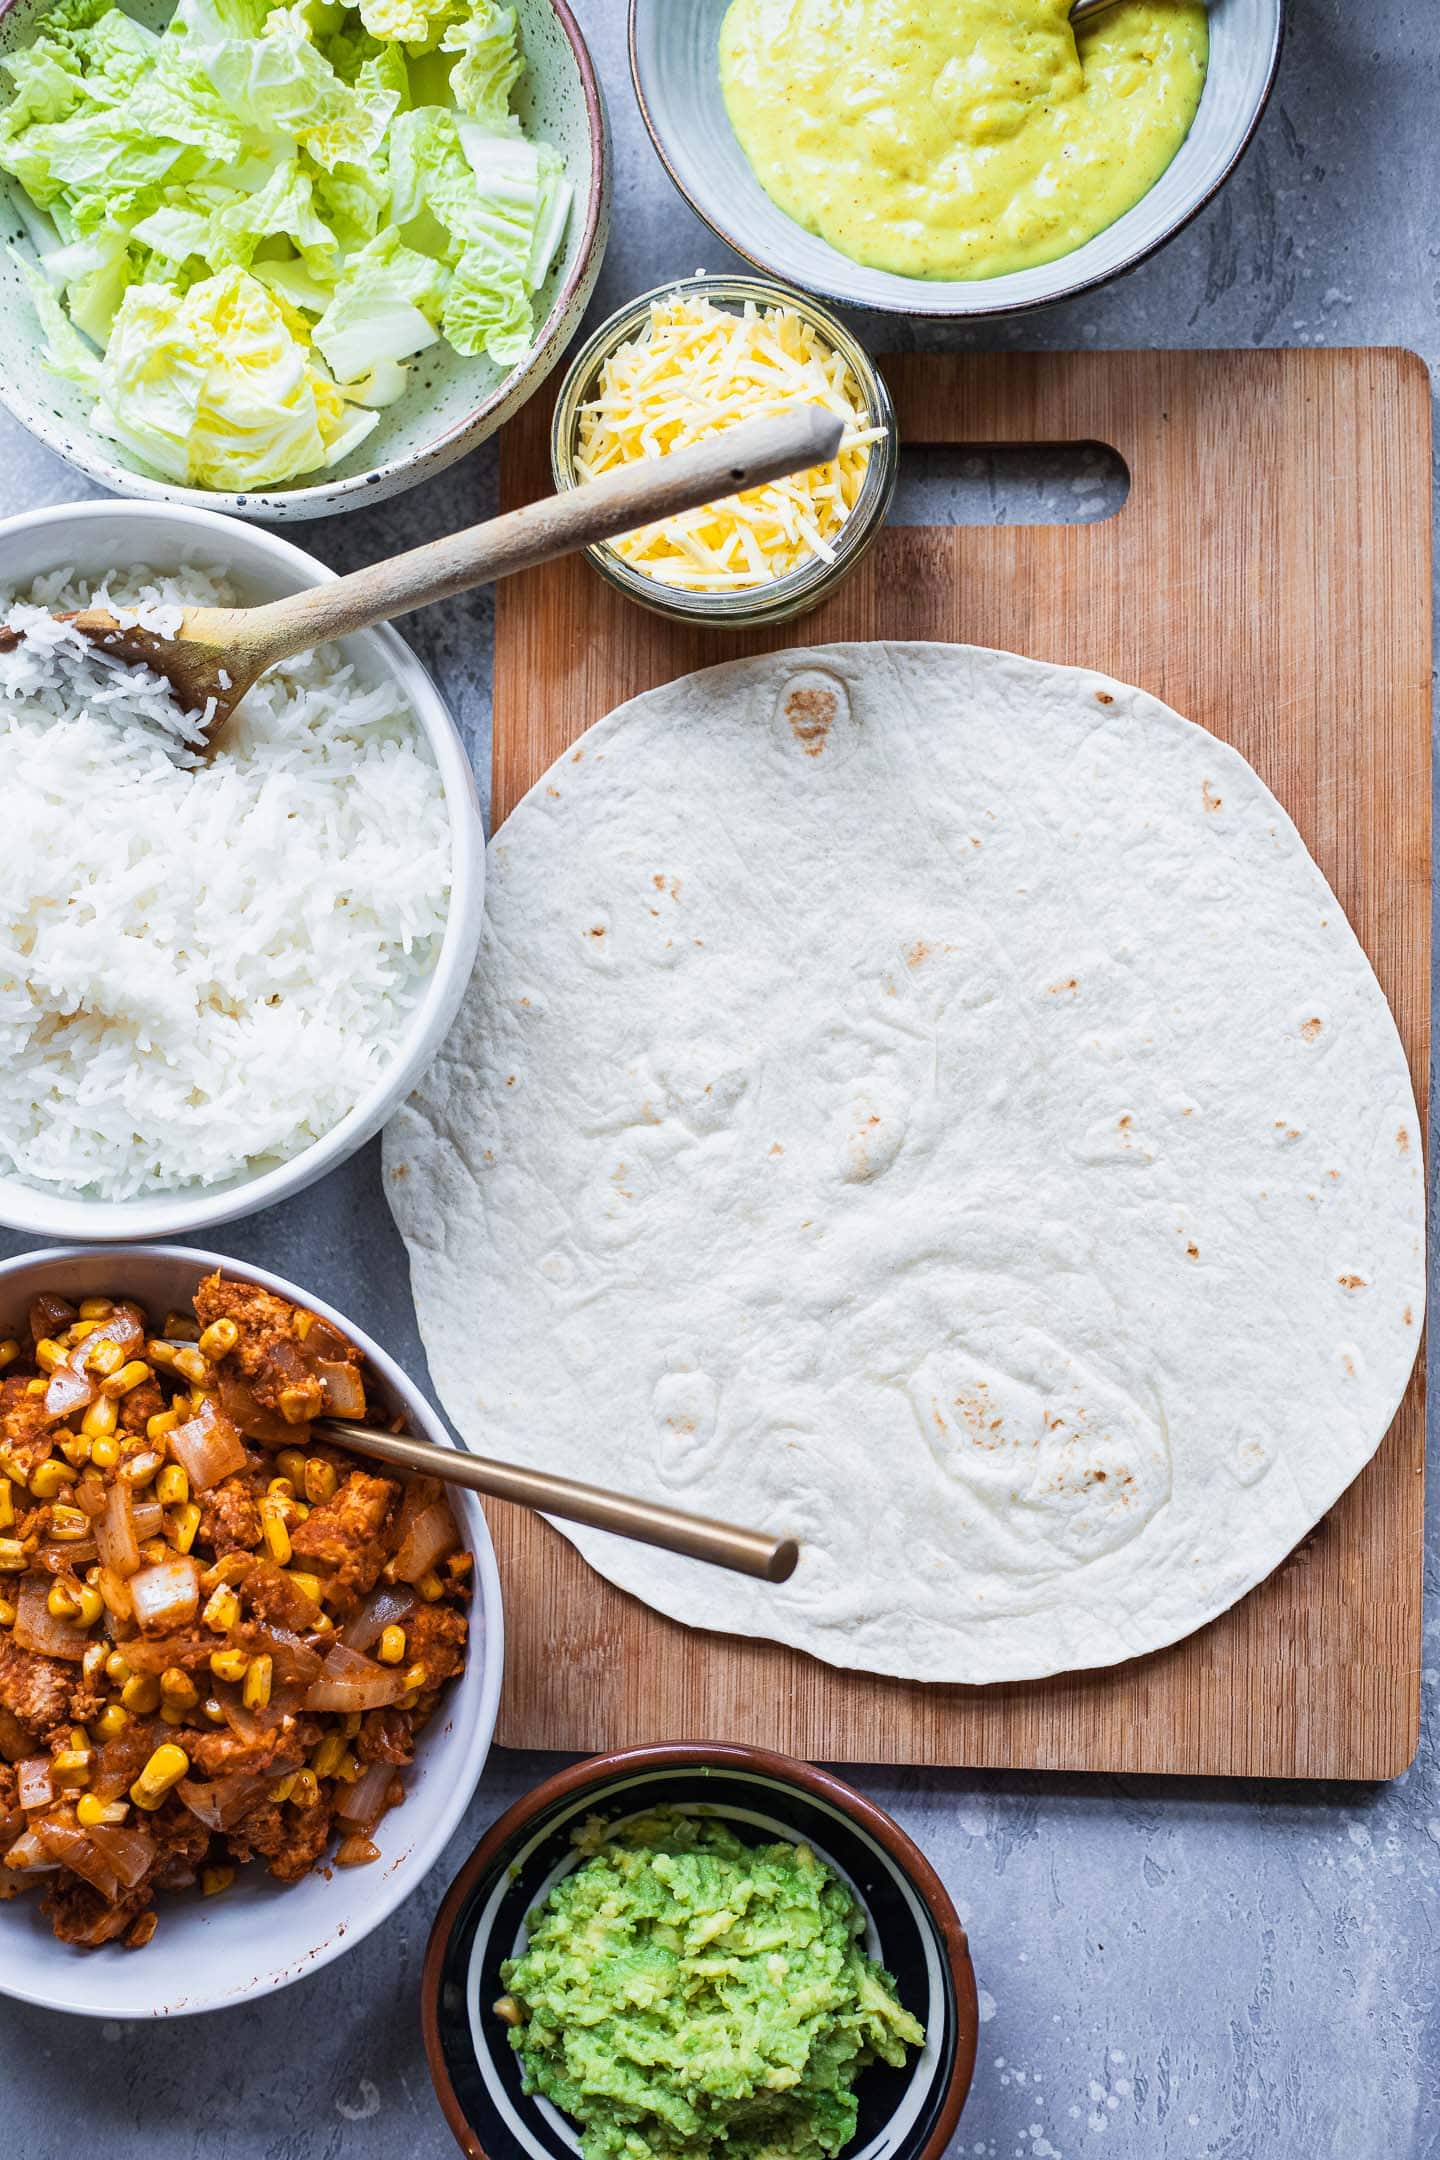
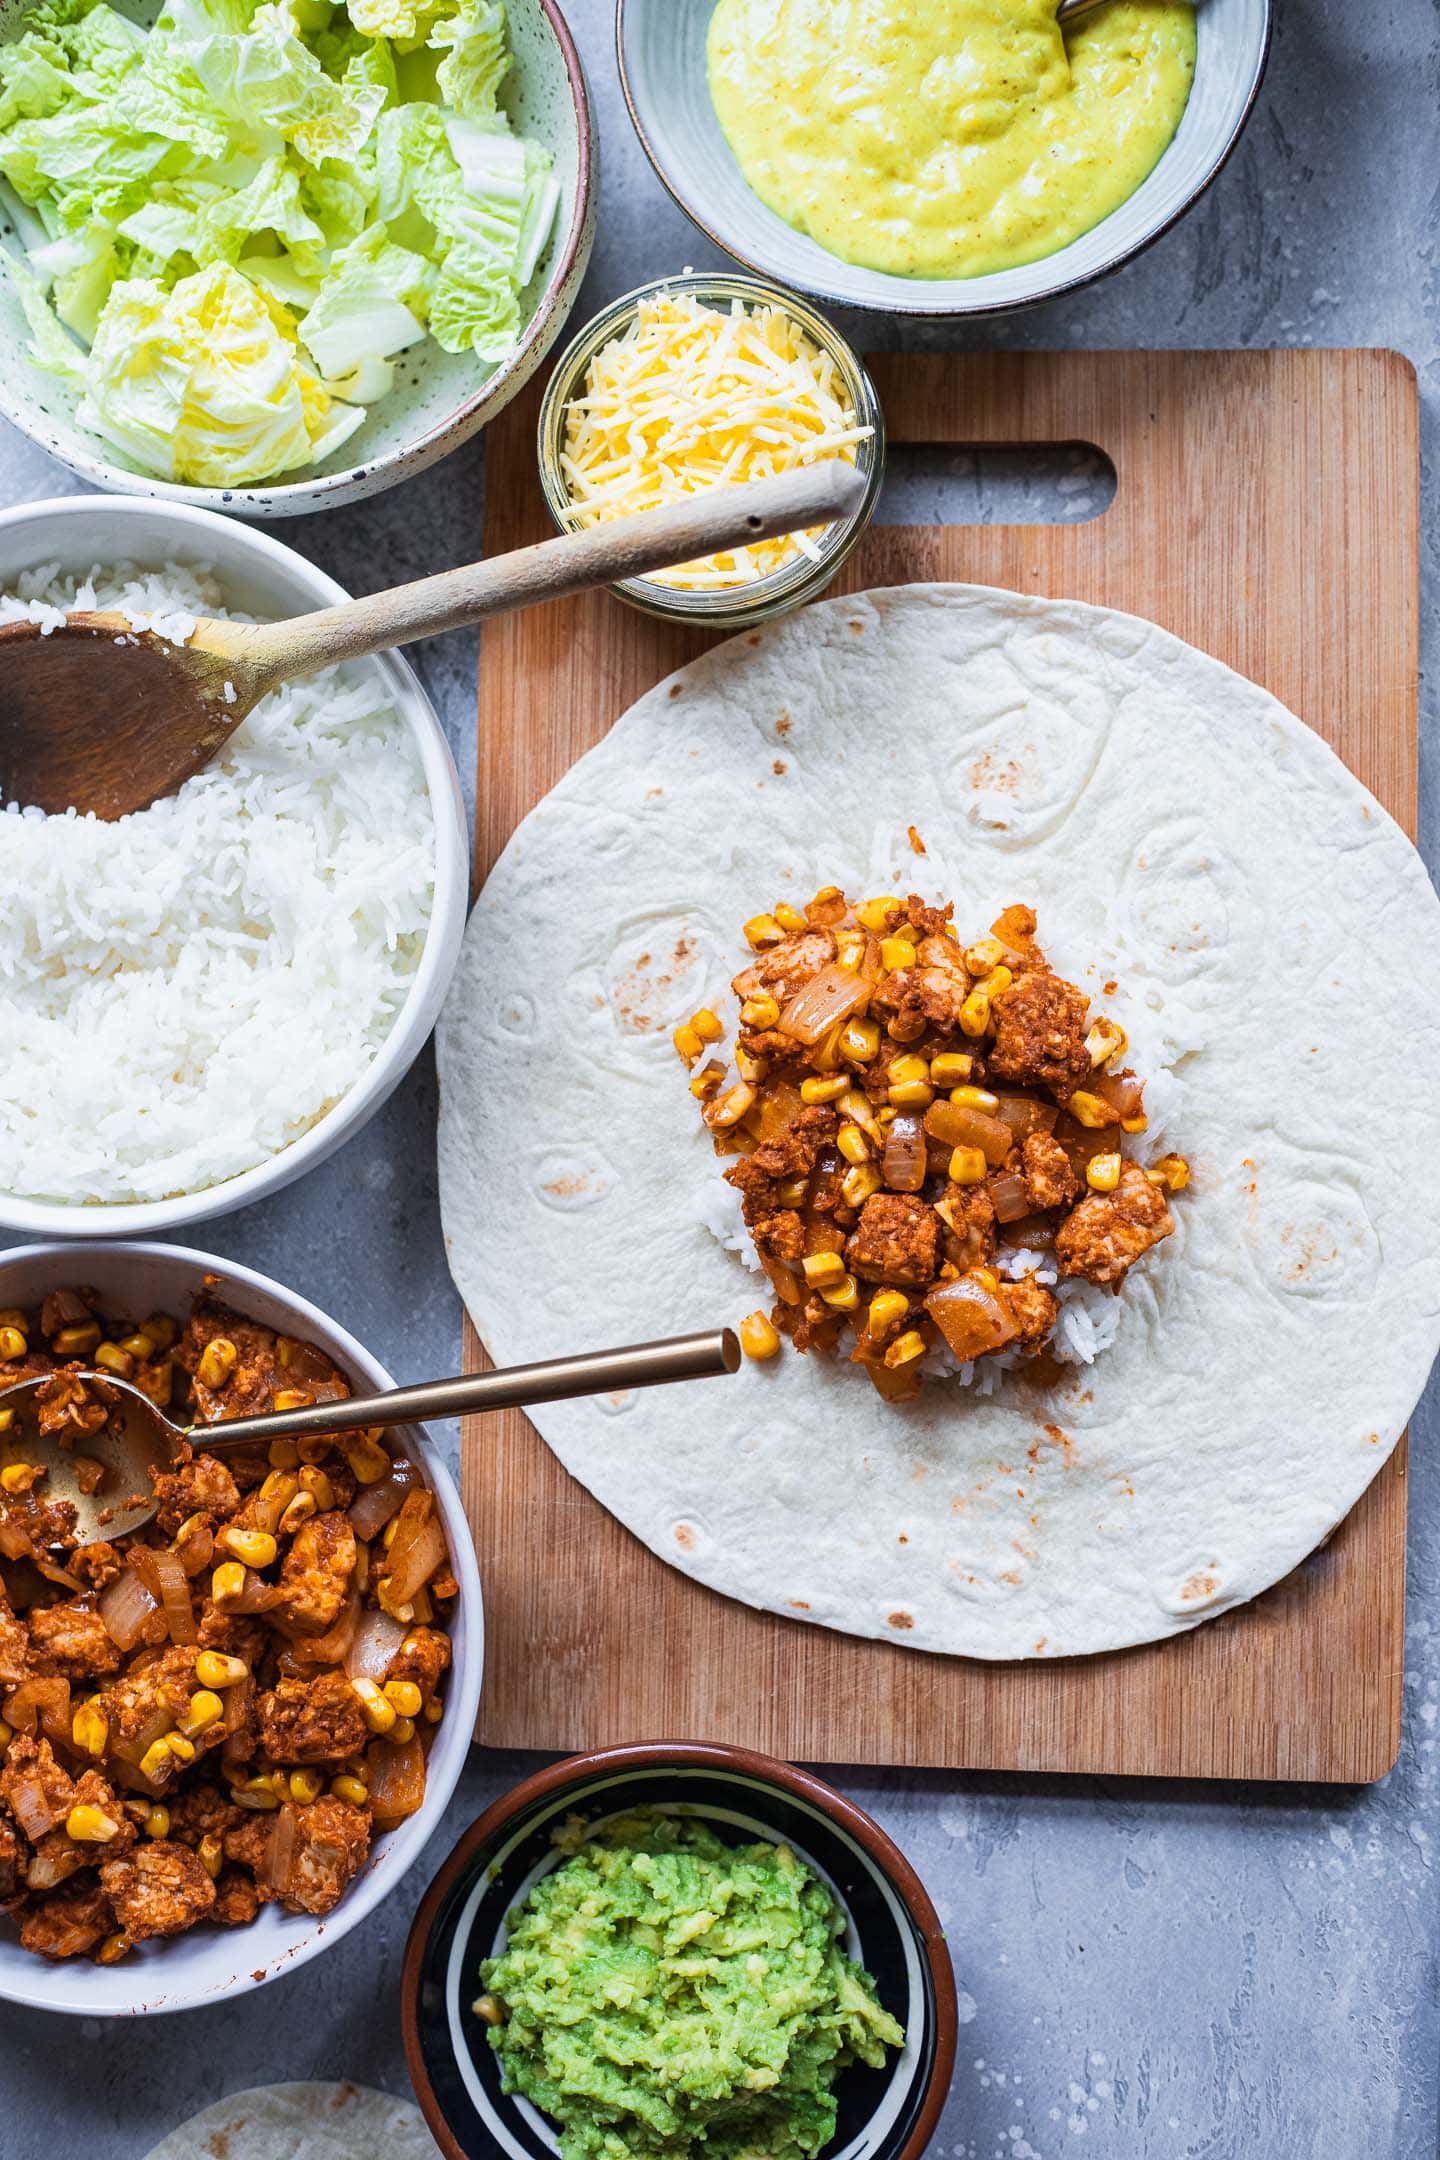
Next, add smoked tempeh on top, followed by a layer of mashed avocado. Finish with the homemade nacho 'cheese', and a sprinkle of grated vegan cheese.
Place a smaller tortilla on top and press down lightly. You can either buy a small tortilla at the store, or make your own by placing a round cup or cookie cutter in the centre of a large tortilla and cutting around the edges. Do not discard the rest of the tortilla - you can use it for homemade chips to dip in any leftover nacho 'cheese' sauce.
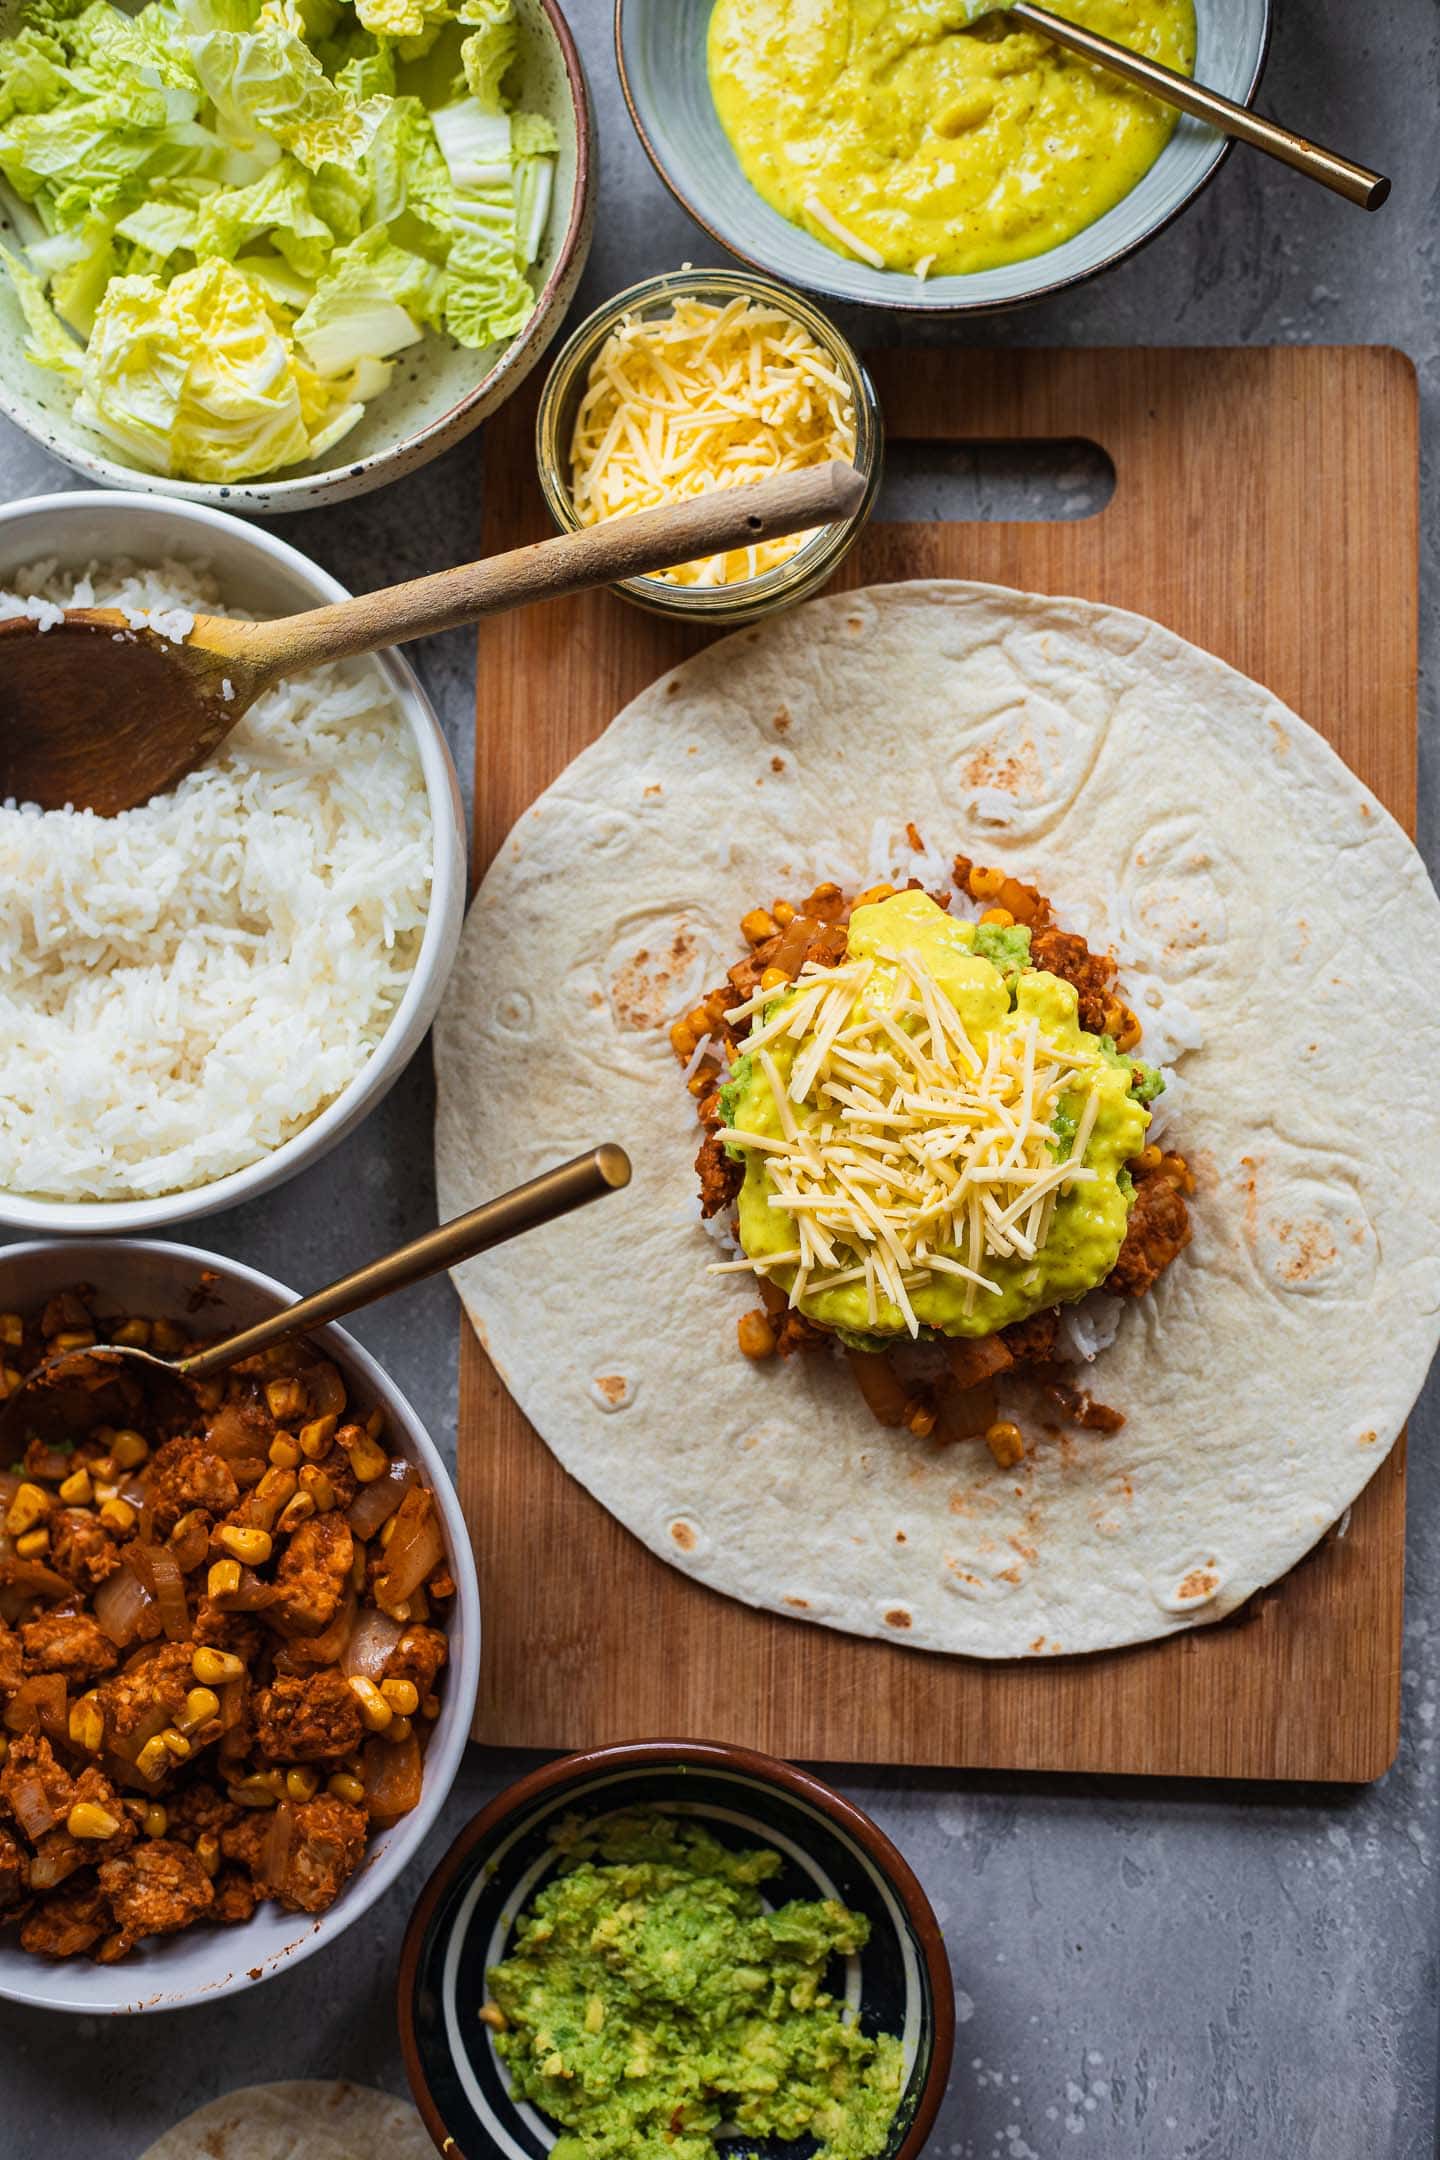
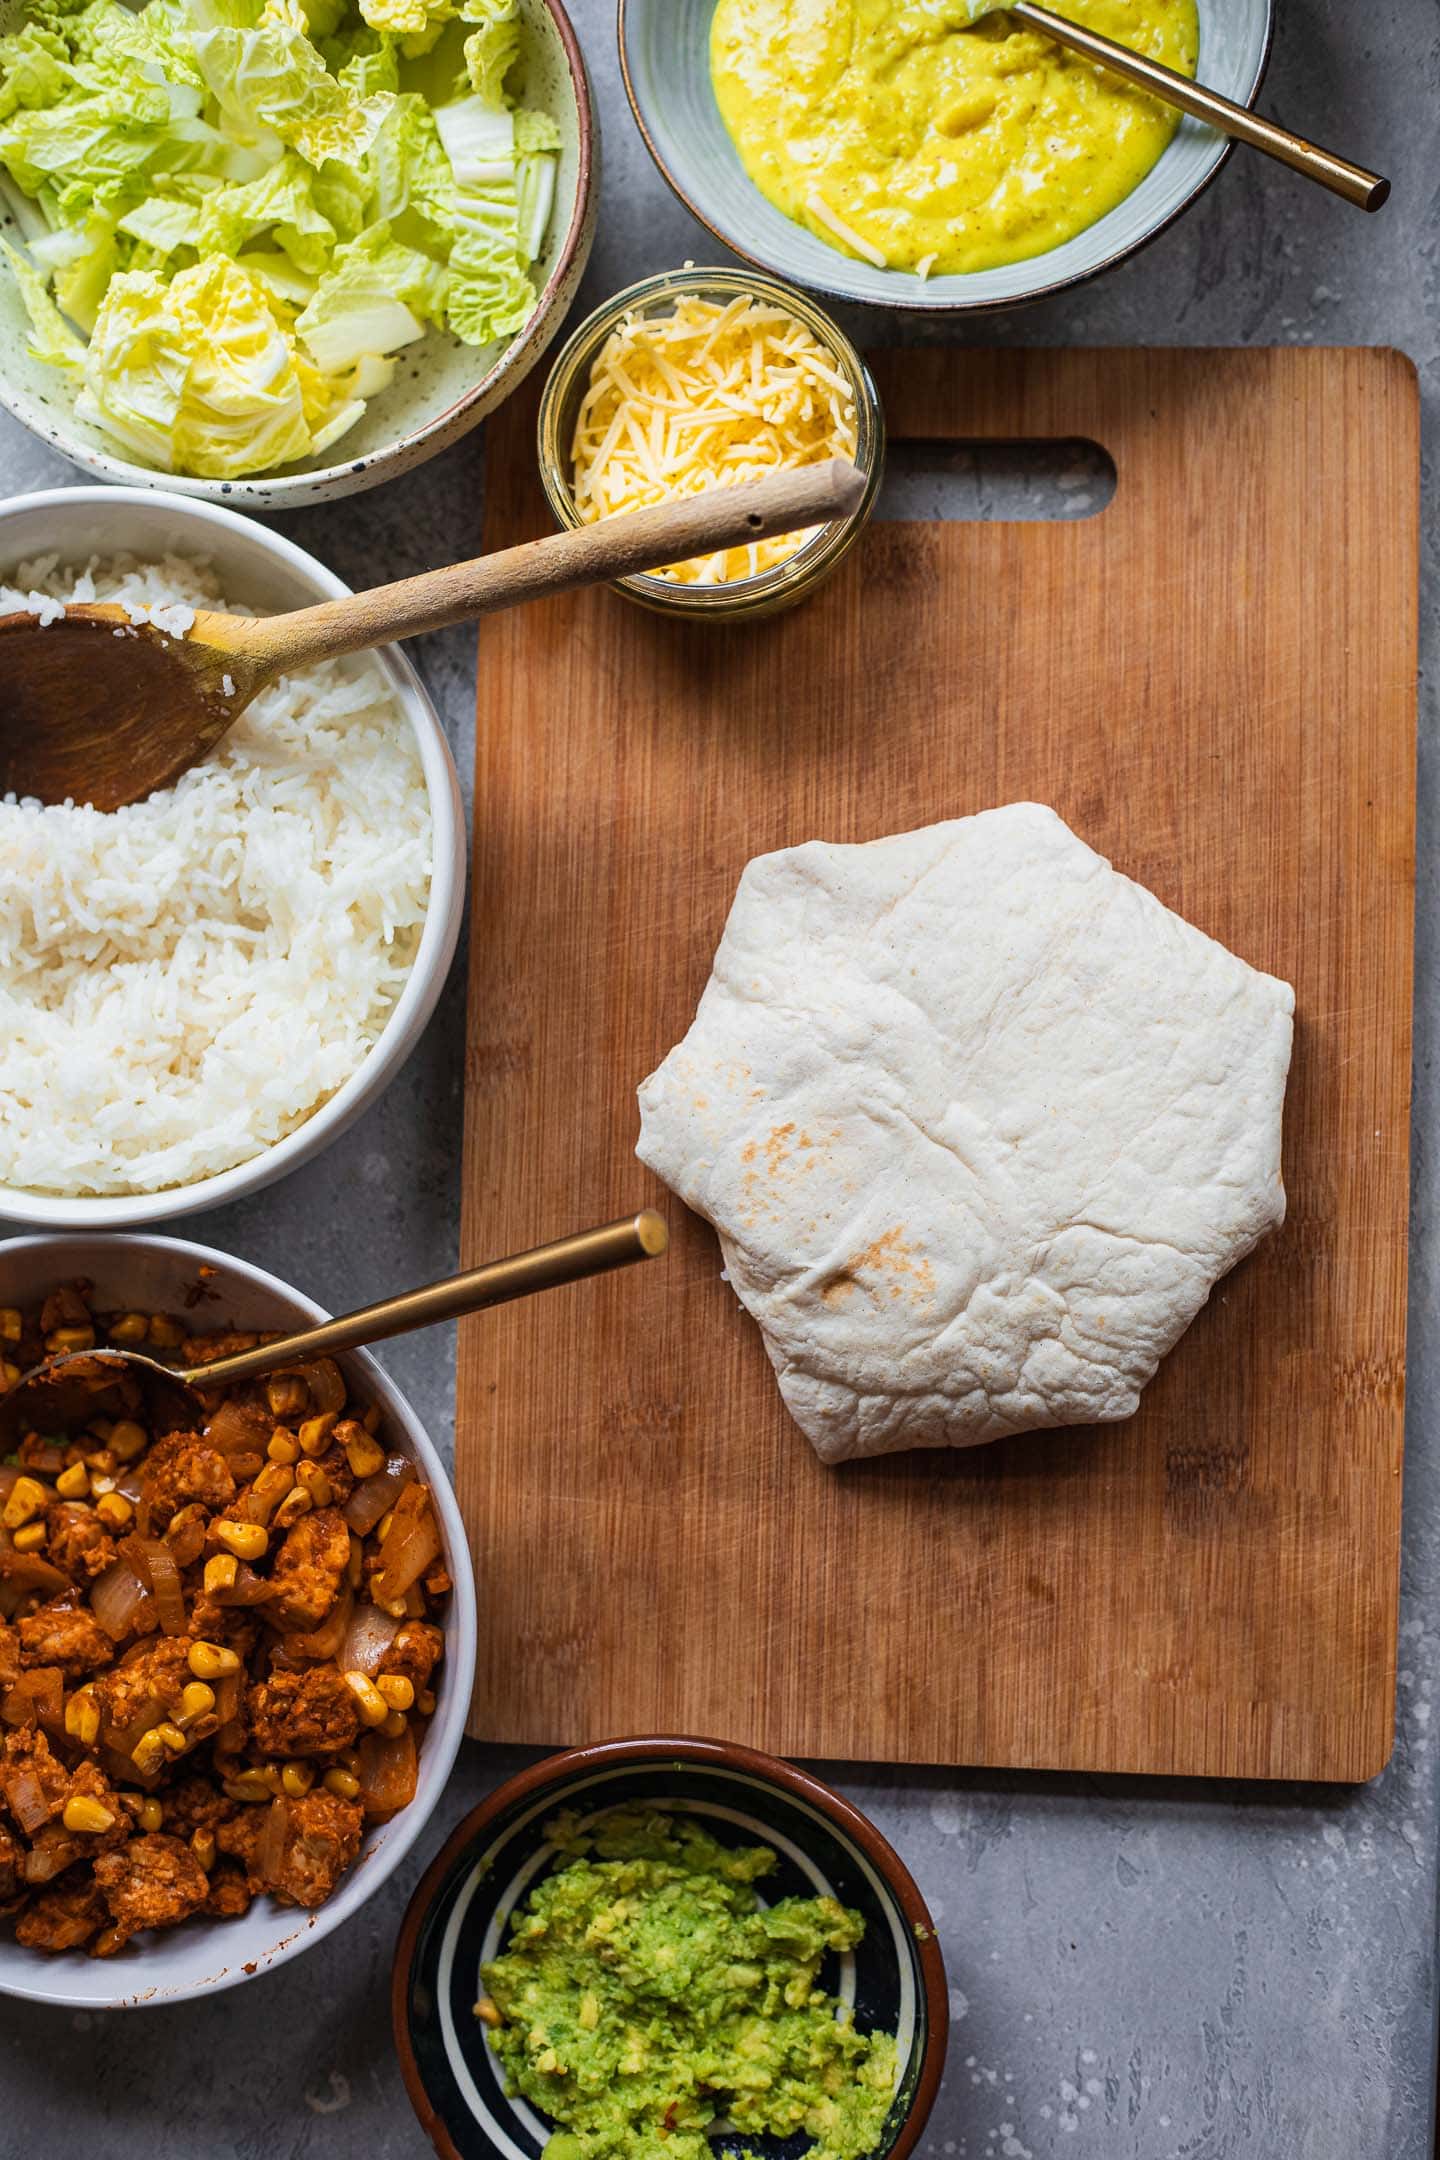
Fold the edges of the tortilla towards the centre until completely sealed. Press it down once again and flip.
Now use a spatula to transfer the Crunchwrap to a lightly greased frying pan. Cook for 3-4 minutes on each side over a medium-high heat, until crispy.
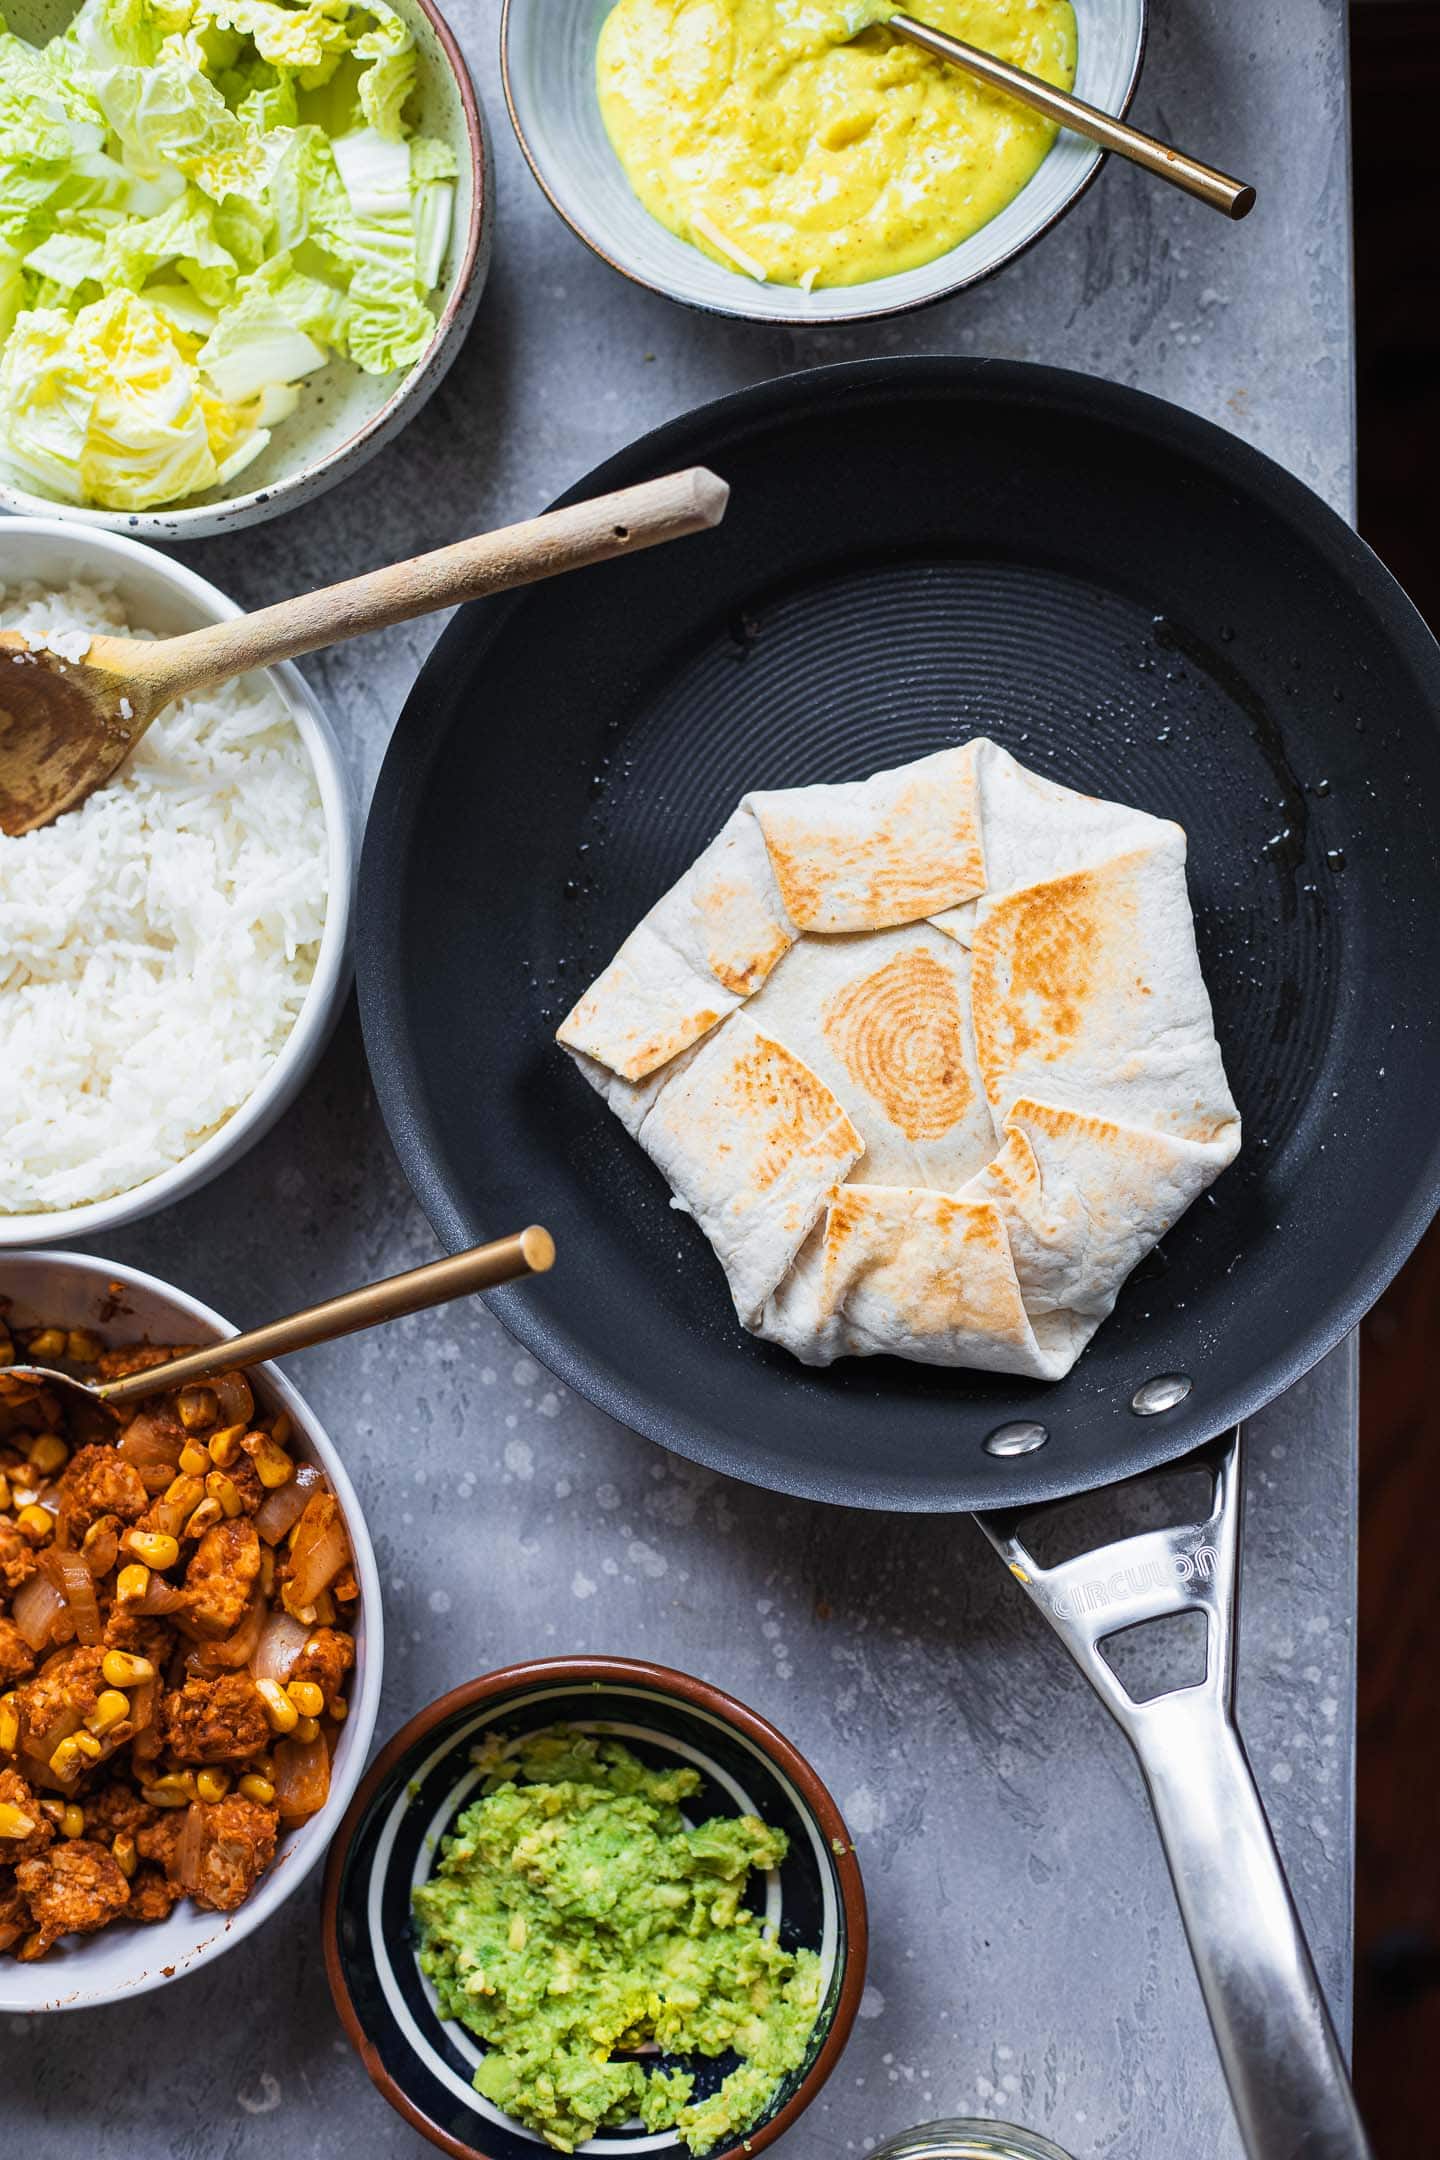
Can I make a Crunchwrap ahead of time?
You can make this vegan Crunchwrap Supreme ahead of time and leave in the fridge for 2-3 days, but keep in mind this may cause the wrap to go soggy.
Instead, I would recommend making the smoky tempeh, the rice and the nacho 'cheese' sauce ahead of time and storing them in separate containers for up to around 3 days, and assemble the wraps when ready.
Also worth trying: our vegan sloppy joes.
Other delicious vegan lunch recipes
- Sweet potato soup, if you're after something cosy!
- Falafel - these make an amazing addition to pitta bread, wraps and sandwiches.
- Butter bean sweet potato stew - this is a great comforting meal that's ready in no time!
- My vegan lentil burgers are easy to make and super flavourful.
- For a delicious taco filling, try this vegan walnut taco meat - hearty, protein-rich, and packed with Tex-Mex flavor.
- So are avocado wraps with chickpeas!
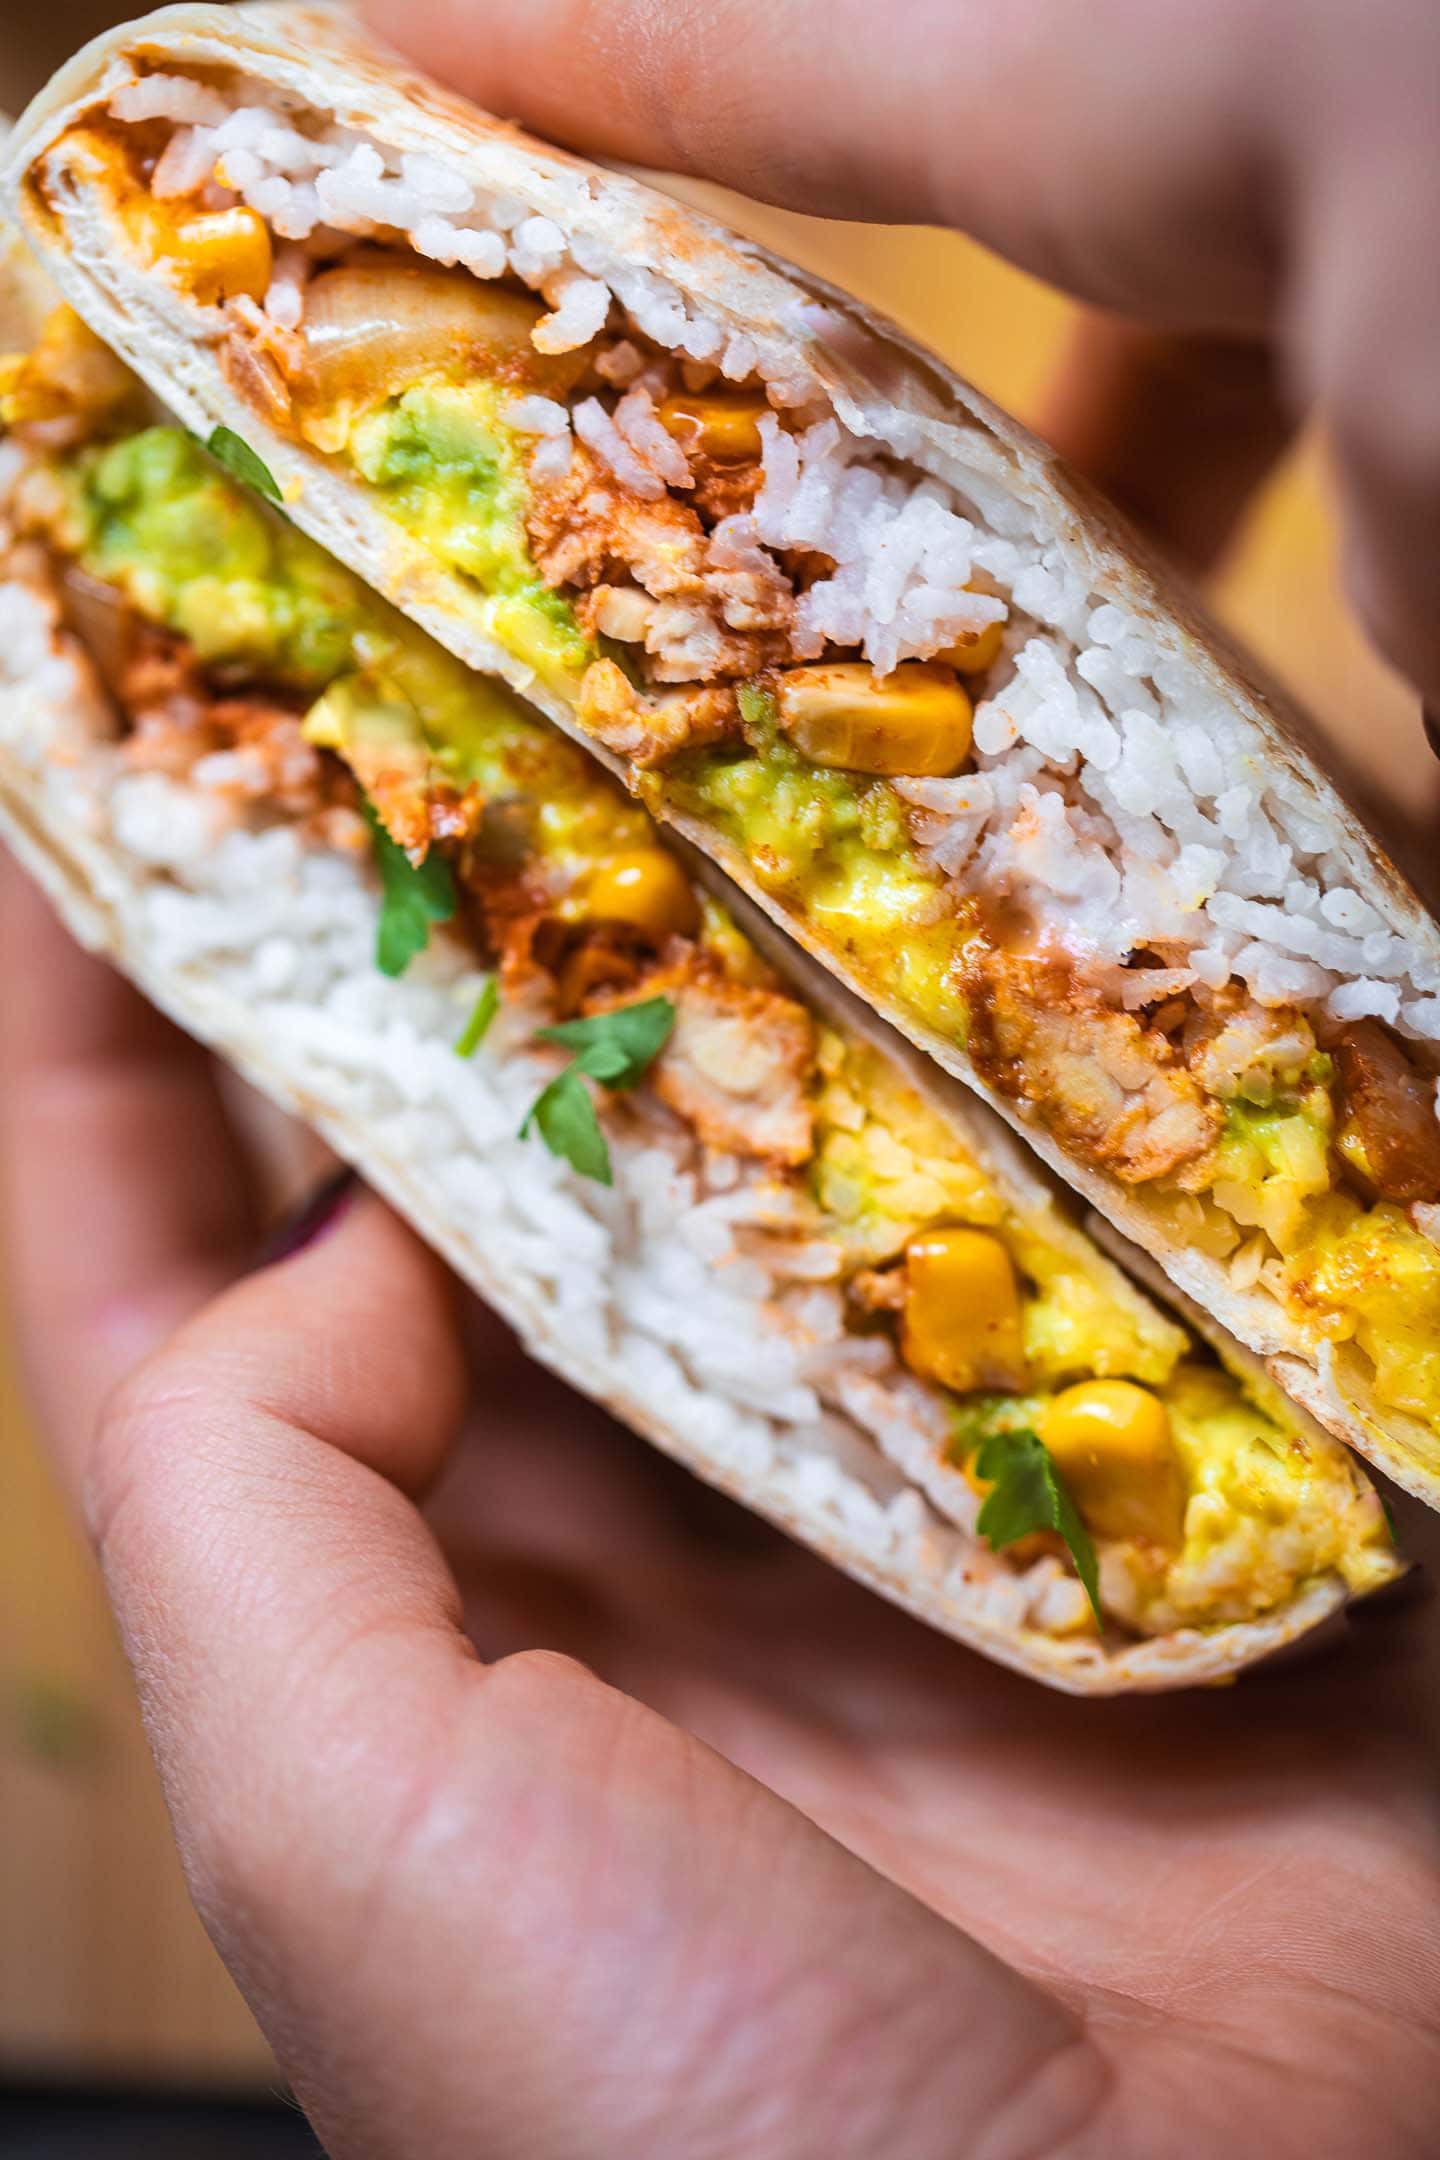
Let me know in the comments: what's your favourite plant based lunch? If you give this vegan Crunchwrap Supreme recipe a go, be sure to tag me on Instagram (@earthofmariaa), and leave your feedback in the comments below
Recipe

Vegan Cruchwrap Supreme
This vegan Crunchwrap Supreme is made with tempeh, dairy-free nacho 'cheese', rice and avocado. It's easy to make and perfect for a plant based lunch that's ready in 30 minutes!
Print
Pin
Save
Servings: crunchwraps
Equipment
- Frying pan
- Saucepan
- Whisk
Ingredients
For the smoky tempeh filling
- 1 tablespoon olive oil
- 1 medium onion diced
- 2 cloves garlic minced
- 5 oz tempeh crumbled
- ½ cup fresh sweetcorn
- 2 tablespoon tomato paste
- 2 tablespoon tamari
- 1 teaspoon cumin
- 1 teaspoon smoked paprika
For the dairy-free nacho 'cheese' sauce
- ½ cup coconut milk full-fat, from a tin
- ½ teaspoon turmeric
- ½ teaspoon salt
- 3 tablespoon nutritional yeast
- 1 tablespoon apple cider vinegar
- 2 tablespoon cornstarch
Other ingredients to serve
- ½ cup cooked rice
- 1 large avocado mashed
- ¼ cup vegan cheese grated
Instructions
Make the tempeh filling
- Heat the olive oil in a non-stick frying pan over a medium-high heat. Add the onion and garlic, cooking for 2-3 minutes, until softened.
- Add the tempeh, sweetcorn, tomato paste, tamari, cumin and smoked paprika. Cook for 5 minutes, until the tempeh is lightly crispy.
Make the 'cheese' sauce
- Add the coconut milk, turmeric, salt, nutritional yeast, apple cider vinegar and cornstarch to a saucepan. Whisk until the 'cheese' thickens.
Assemble the Crunchwraps
- Place a large tortilla on a flat surface and add 3-4 tablespoon rice in the middle, spreading it out into a circle.
- Add smoked tempeh on top, followed by a layer of mashed avocado. Finish with the homemade nacho 'cheese', and a sprinkle of grated vegan cheese.
- Place a smaller tortilla on top and press down lightly. You can either buy a small tortilla at the store, or make your own by placing a round cup or cookie cutter in the centre of a large tortilla and cutting around the edges.
- Fold the edges of the tortilla towards the centre until completely sealed. Press it down once again and flip.
- Now use a spatula to transfer the Crunchwrap to a lightly greased frying pan. Cook for 3-4 minutes on each side over a medium-high heat, until crispy.
Video
Notes
Do not discard the rest of the tortilla when making the smaller circle - you can use it for homemade chips to dip in any leftover nacho 'cheese' sauce.
Nutrition (Estimate per Serving)
Calories: 737kcalCarbohydrates: 63gProtein: 29gFat: 46gSaturated Fat: 17gSodium: 1881mgPotassium: 1578mgFiber: 14gSugar: 7gVitamin A: 999IUVitamin C: 21mgCalcium: 157mgIron: 8mg
Vegan-ize any recipe!Grab our free vegan cheat sheet, packed with my favorite easy substitutions to make any recipe vegan.

Vegan Bolognese Sauce

This Vegan Bolognese Sauce is the perfect Italian-inspired sauce to eat atop your favorite noodles. And because this recipe is vegan, compared to regular Bolognese sauce, it takes a fraction of the time to make.

This vegan Bolognese recipe is packed with flavor! Its tomato sauce and red wine base are perfectly complemented by garlic, paprika, and oregano-a quintessential Italian spice combo.
And it definitely pays to be vegan with this recipe because it only takes 30 minutes to make! Regular Bolognese sauce can take hours, but this vegan recipe uses textured soy protein, which is ready in a jiffy!
This vegan Bolognese recipe is...
- vegan
- vegetarian
- plant-based
- gluten-free
- ready in 30 minutes
- a quick tomato sauce recipe
How to Make Vegan Bolognese Sauce

- Heat olive oil in a large pot on the stove.
- Chop the onion, carrot, garlic, and green pepper. Make sure to remove the seeds from the green pepper and discard.
- Add the chopped vegetables and garlic to the pot and sauté. Stir occasionally so that nothing sticks to the bottom of the pan.
- Once the onions are translucent, add the paprika and oregano along with the vegan red wine.
- Stir the ingredients, bring them to a simmer, and then cover the pot to let the wine cook down.
- Next, add the diced tomatoes, the tomato sauce, and the maple syrup to the pot.
- Cover the pot again to let it cook and soften the tomatoes.
- While the sauce is cooking, start making the textured soy protein.
- Hydrate the textured soy protein by boiling it in water. Make sure the water covers it. Keep adding water until the soy protein is tender.
- Use a colander to get rid of the extra water.
- Add the soy protein to the sauce, combine, and cook for just a bit longer.
- Serve the vegan Bolognese sauce over your favorite noodles and enjoy!
Scroll down for the full recipe with measurements and detailed instructions.
Variations

Fresh Toppings
Who doesn't love a picture-worthy meal? Beautiful and delicious!
Top your noodles and vegan Bolognese sauce with halved cherry tomatoes and fresh basil. If you have some extra time, you can make some vegan parmesan to top it off.
Try It With Veggie Noodles
While egg and flour noodles will work great with this vegan Bolognese sauce, you can also try it with veggie noodles. You can buy these at the store or grab your spiralizer and make your own.
Try this sauce with noodles made from zucchini, summer squash, sweet potatoes, carrots, or beets.
Vegan Bolognese Sauce FAQs

How long should you simmer Bolognese?
For this vegan Bolognese recipe, you'll simmer your sauce for 10 minutes after adding the wine and herbs and then again for 10 to 15 minutes after adding the tomatoes and maple syrup.
Though other recipes for Bolognese take far longer because of the meat, this vegan version is much quicker because the soy protein is cooked separately.
Can you overcook Bolognese?
Nope! You can't overcook Bolognese. Just keep it hydrated so as it doesn't burn on the bottom of the pan. If it's looking like the liquid level is getting low while you're simmering the sauce, add some more liquid.
Do you simmer Bolognese with lid on or off?
For vegan Bolognese, you're totally fine to simmer the sauce with the lid on. This will speed up the cooking time and works just as well as simmering it with the lid off.
Why is my Bolognese sauce watery?
If your Bolognese sauce is too watery, you may just need to simmer it for longer. To thicken it up, you might also try adding something more solid like more diced tomatoes that will soften and thicken the sauce.
Recipe

Vegan Bolognese
This Vegan Bolognese Sauce is the perfect Italian-inspired sauce to eat atop your favorite noodles. And because this recipe is vegan, compared to regular Bolognese sauce, it takes a fraction of the time to make.
Print
Pin
Save
Servings: servings
Ingredients
- 1 cup textured soy protein
- 2 tablespoon olive oil
- 1 onion
- 1 carrot
- 3 cloves garlic
- 1 teaspoon paprika
- 1 teaspoon dry oregano
- ½ cup vegan red wine
- 1 tablespoon maple syrup
- 1 can diced tomato
- 1 cup tomato sauce
- ½ red or green pepper
- 1 cup water
- Salt & black pepper to taste
Instructions
- In a large pot, heat 2 tablespoons oil over medium heat.

- Chop the onion, carrot, garlic, and pepper. Transfer to a pot and sauté for about 10 minutes, stirring occasionally. Once onions are fragrant and translucent, add fresh herbs and wine, bring to a simmer and cover for 10 minutes to let the wine cook down.

- Add the diced tomatoes, tomato sauce, and maple syrup to the simmering vegetables. Stir to combine, season with salt and pepper, then cover again and let cook for another 10-15 minutes.

- Meanwhile, hydrate the soy protein in boiling water. The water should easily cover it, you need to get a tender "minced meat", add as much water as you need. You can always use a colander to get rid of extra water.
- Finally, add the soy "meat" to the sauce, cook for just another minute.

Nutrition (Estimate per Serving)
Calories: 233kcalCarbohydrates: 24gProtein: 14gFat: 7gSaturated Fat: 1gSodium: 487mgPotassium: 578mgFiber: 7gSugar: 13gVitamin A: 3037IUVitamin C: 31mgCalcium: 149mgIron: 5mg
Vegan-ize any recipe!Grab our free vegan cheat sheet, packed with my favorite easy substitutions to make any recipe vegan.
Lentil Fritters with Garlic Sauce
Whip up a batch of these flavorful Lentil Fritters with Garlic Sauce. Mushrooms, garlic, lentils, quinoa, walnuts, and more come together in this lentil cake recipe.
These lentil patties are great for a tasty vegan lunch or dinner. They're also great for meal prepping! Here is a plant-based recipe that kids and adults can enjoy.
This lentil fritters recipe is...
- Vegan
- Vegetarian
- Gluten-free
- Dairy-free
- Flavorful
- Great for meal prepping
How to Make Lentil Fritters with Garlic Sauce
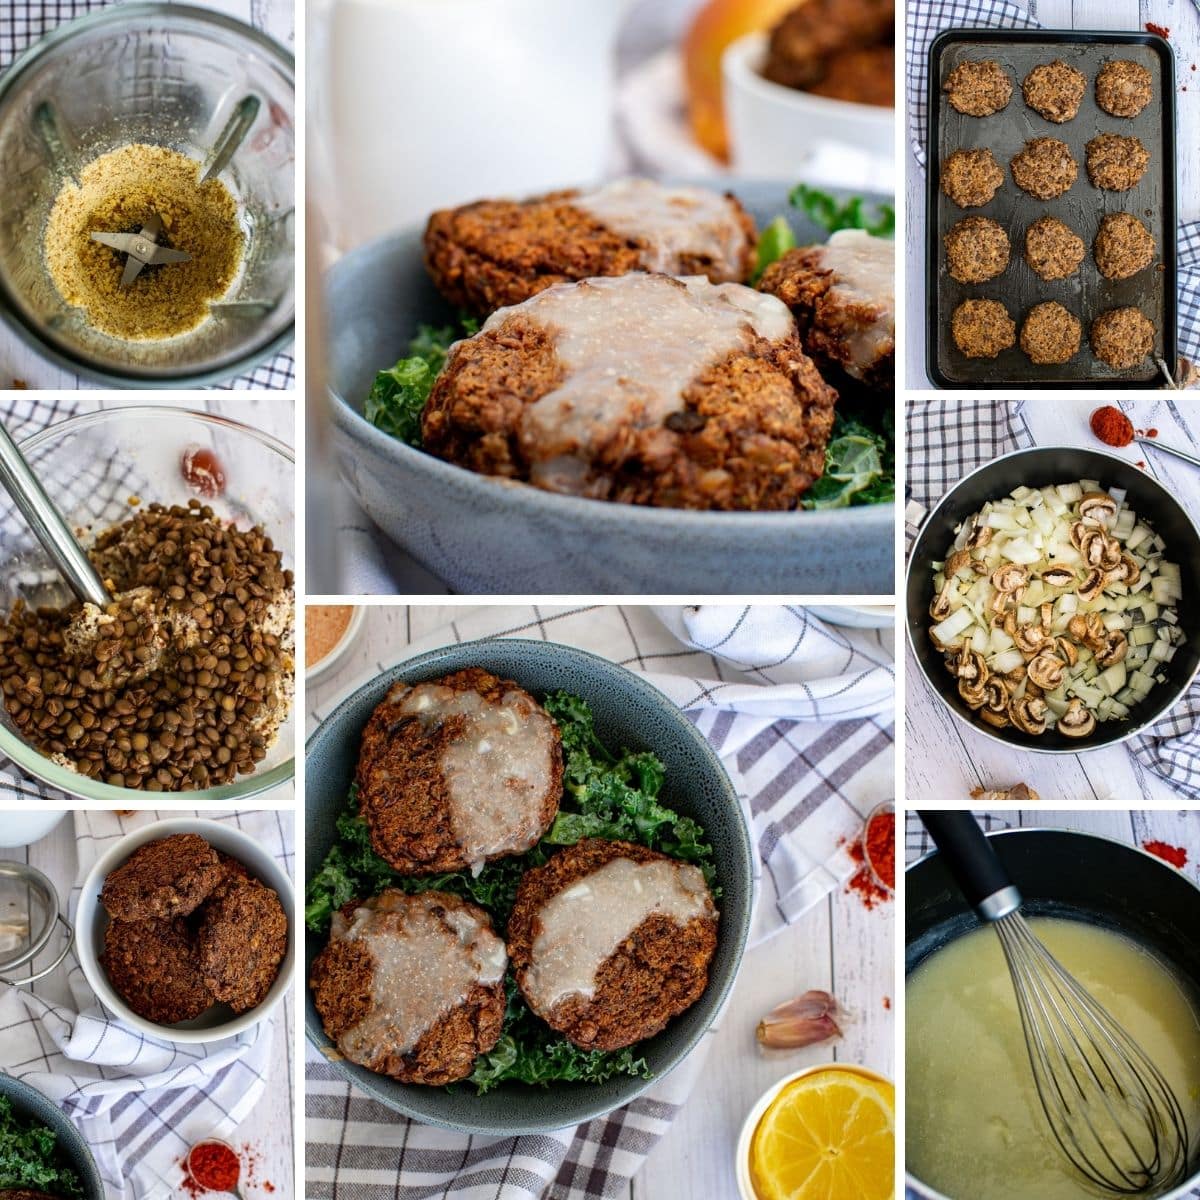
- Start by cooking your lentils as directed on the package.
- In a saucepan, add oil, onion, garlic, and mushrooms. Stir occasionally.
- Add in your nuts and pulse the mixture in a food processor until the walnuts form a powder.
- Add the mushroom mixture and half the lentils to a bowl. Add in walnut powder and mix.
- Add your remaining lentils to the dough. Mix well.
- Create 12-15 patties, and pan sear.
Full measurements and directions can be found in the printable recipe card below.
Lentil Fritters Variations
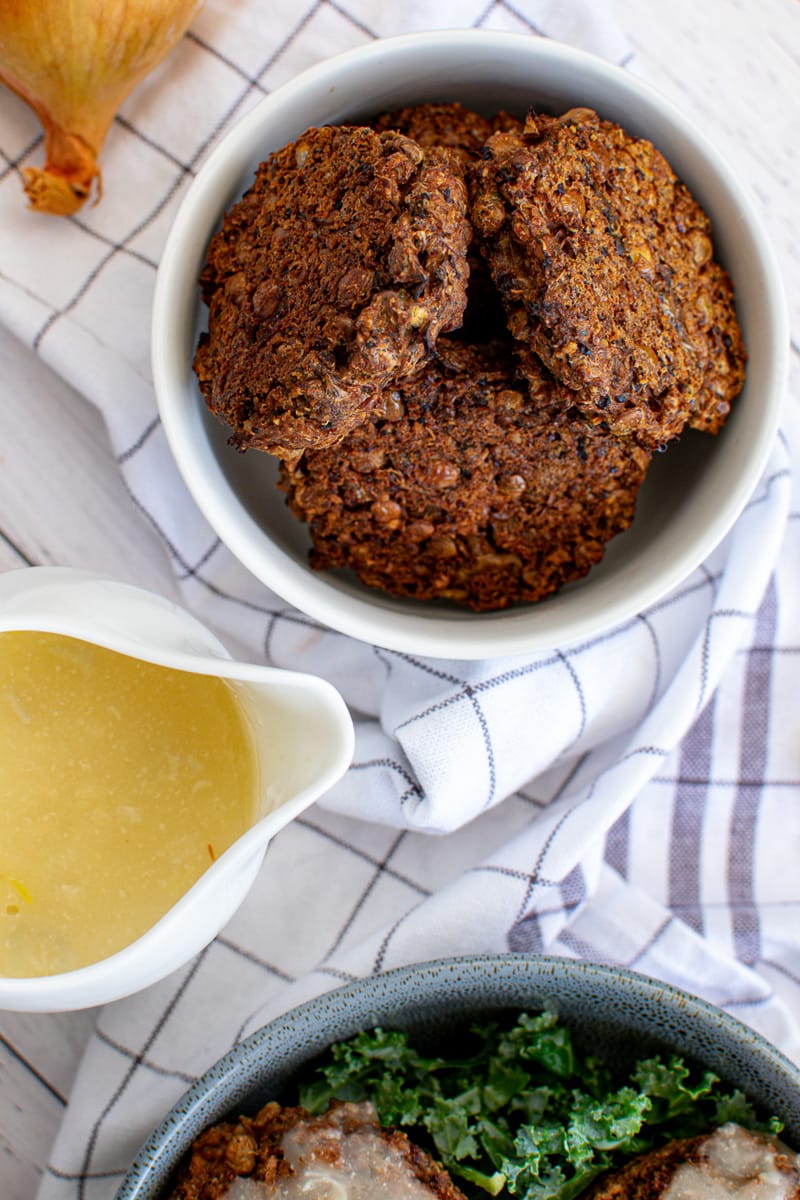
Change Up The Vegetables
Feel free to add extra veggies to these lentil fritters. Any finely chopped vegetables can work well in this dish - carrots, bell peppers, and zucchini are all great additions.
Cook in the Air Fryer
Consider air-frying your lentil fritters instead of baking in the oven. Add a small bit of oil to the air fryer, and cook a few lentil patties at a time, making sure to leave space between them for the hot air to circulate.
Swap the Sauce
If you want to skip the garlic sauce, these fritters are perfectly tasty on their own. Try serving them with a simple squeeze of fresh lemon juice, salt, and pepper for a lighter preparation. Or experiment with other dipping sauces like a vegan cheese sauce, vegan alfredo sauce, or even this vegan Big Mac sauce.
FAQs
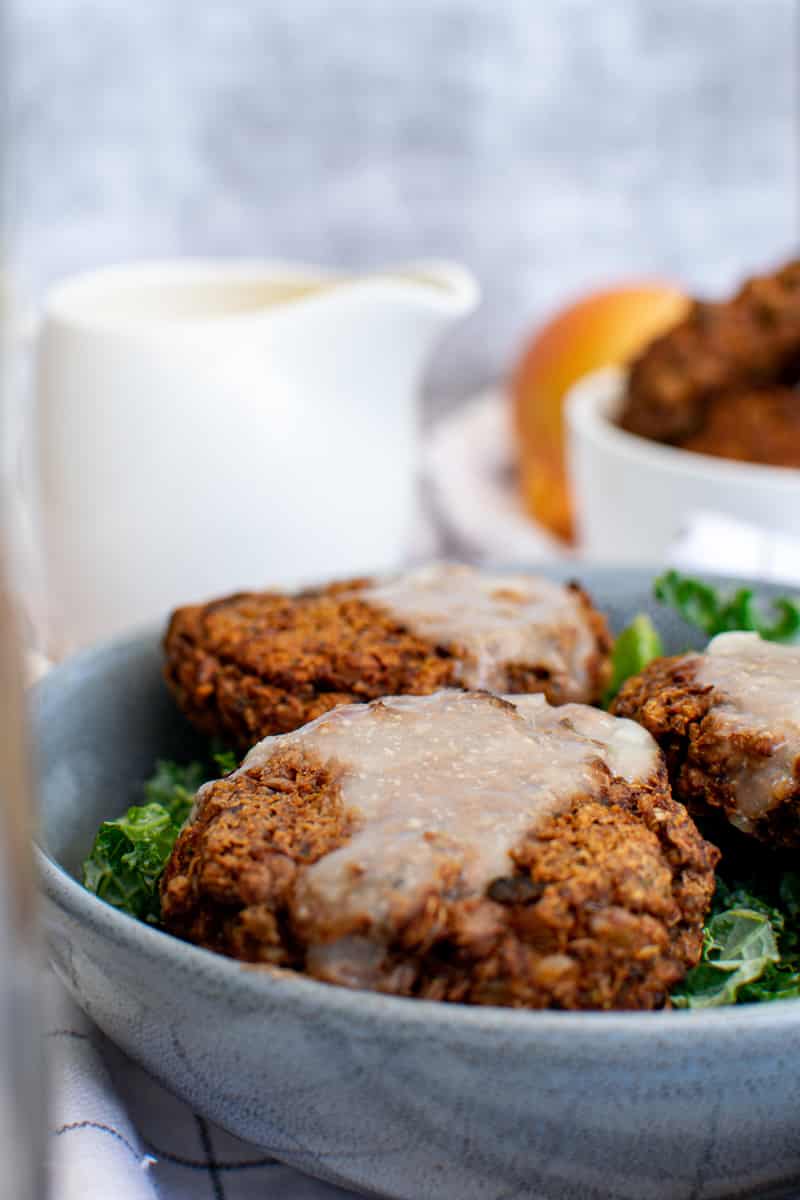
What can I do with leftover cooked lentils?
This lentil cake recipe has become my go-to way to use up leftover cooked lentils from other recipes like these masala lentils, lentil meatloaf, or this pasta salad with lentils.
What do you serve with lentil fritters?
These vegan-friendly lentil fritters are perfect served with a creamy vegan pasta salad, a fresh vegan salad, or this summery tomato and peach salad.
Why are my fritters soggy?
Most of the time, there are two potential reasons for soggy fritters: not enough dry ingredients or too many liquid ingredients. Eyeballing your measurements can make the fritters off-texture. Make sure to measure all your ingredients carefully!
What's the best way to reheat the lentil fritters?
I have found reheating your lentil cakes in a pan on the stove provides the best texture. When you microwave the lentils, it can make them a bit soggy and rubbery. Slowly heating the lentil cakes on the stove allows the outside to crisp back up!
Interested in More Lentil Recipes?
Here are a few more of my favorite vegan lentil recipes:
Also worth trying: our vegan Greek pasta salad.
Recipe

Lentil Fritters with Garlic Sauce
Whip up a batch of these flavorful Lentil Fritters with Garlic Sauce. Vegan friendly fritters are filled with lentils, garlic, and walnuts!
Print
Pin
Save
Servings: patties
Ingredients
Lentil cakes
- 2 cups lentils cooked according to package directions
- 1 tablespoon olive oil
- ½ onion diced
- 4 garlic cloves roughly chopped
- 8 ounces mushrooms sliced
- ½ cup quinoa cooked according to package directions
- ½ cup walnuts or cashews
- 1 teaspoon cumin
- 1 teaspoon smoked paprika
- 1 teaspoon parsley dry or fresh
- ¾ teaspoon salt
- 1 tablespoon ground flax +2 tablespoon of water
- 3 tablespoons water
- 2 teaspoons soy sauce or tamari for gluten free
Garlic sauce
- 1 cup soy milk or other plant based milk
- 2 tablespoon nutritional yeast
- 2 garlic cloves chopped, or 1 tablespoon garlic powder
- 1 tablespoon cornstarch or another thickener
- salt to taste
- lemon juice to taste
Instructions
Instructions for Lentil Cakes
- Cook dry lentils in simmering water until tender. Drain. You will need 2 cups cooked.
- Sauté the onion, garlic, and mushrooms in olive oil over medium heat for 5 minutes. Add a little water if it gets too dry. Turn heat down to low and cook until very tender and cooked through. Set aside.
- Blend the walnuts into a coarse flour. Pour that flour into a medium bowl.
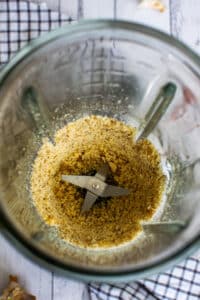
- Add half of the lentils and the mushroom mixture, salt, spices, flax egg.
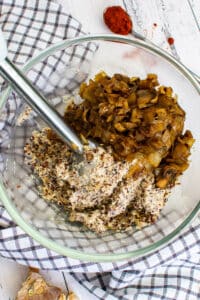
- Mix everything until it's well combined and forms a thick dough using a hand blender. Stir in the remaining whole lentils and quinoa.
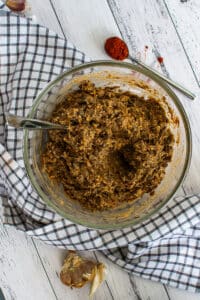
- Using wet hands form into 12-15 little cakes.
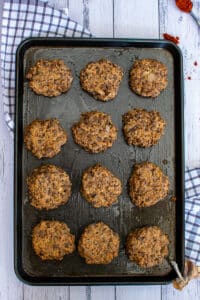
- Sear in a skillet, in a little oil, over medium heat-taking care to let them brown and form a crust before flipping.
- Serve with garlic sauce.
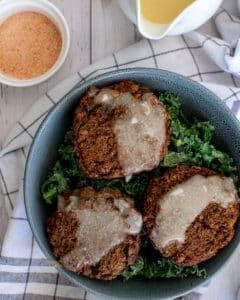
Instructions for Garlic Sauce
- Pour all the ingredients into a heated pan, whisking constantly until thickened-about 3-5 minutes. Then remove from heat.

Nutrition (Estimate per Serving)
Calories: 119kcalCarbohydrates: 13gProtein: 6gFat: 5gSaturated Fat: 1gSodium: 215mgPotassium: 296mgFiber: 4gSugar: 2gVitamin A: 166IUVitamin C: 3mgCalcium: 48mgIron: 2mg
Vegan-ize any recipe!Grab our free vegan cheat sheet, packed with my favorite easy substitutions to make any recipe vegan.
Vegan Biscuits And Gravy
These gluten-free vegan biscuits and gravy are perfect for a comforting breakfast, brunch or dinner. Serve flaky biscuits that are entirely dairy-free served with a creamy and rich mushroom and vegetable gravy for a meal that's ideal for a cold day, as well as super easy to make from scratch.
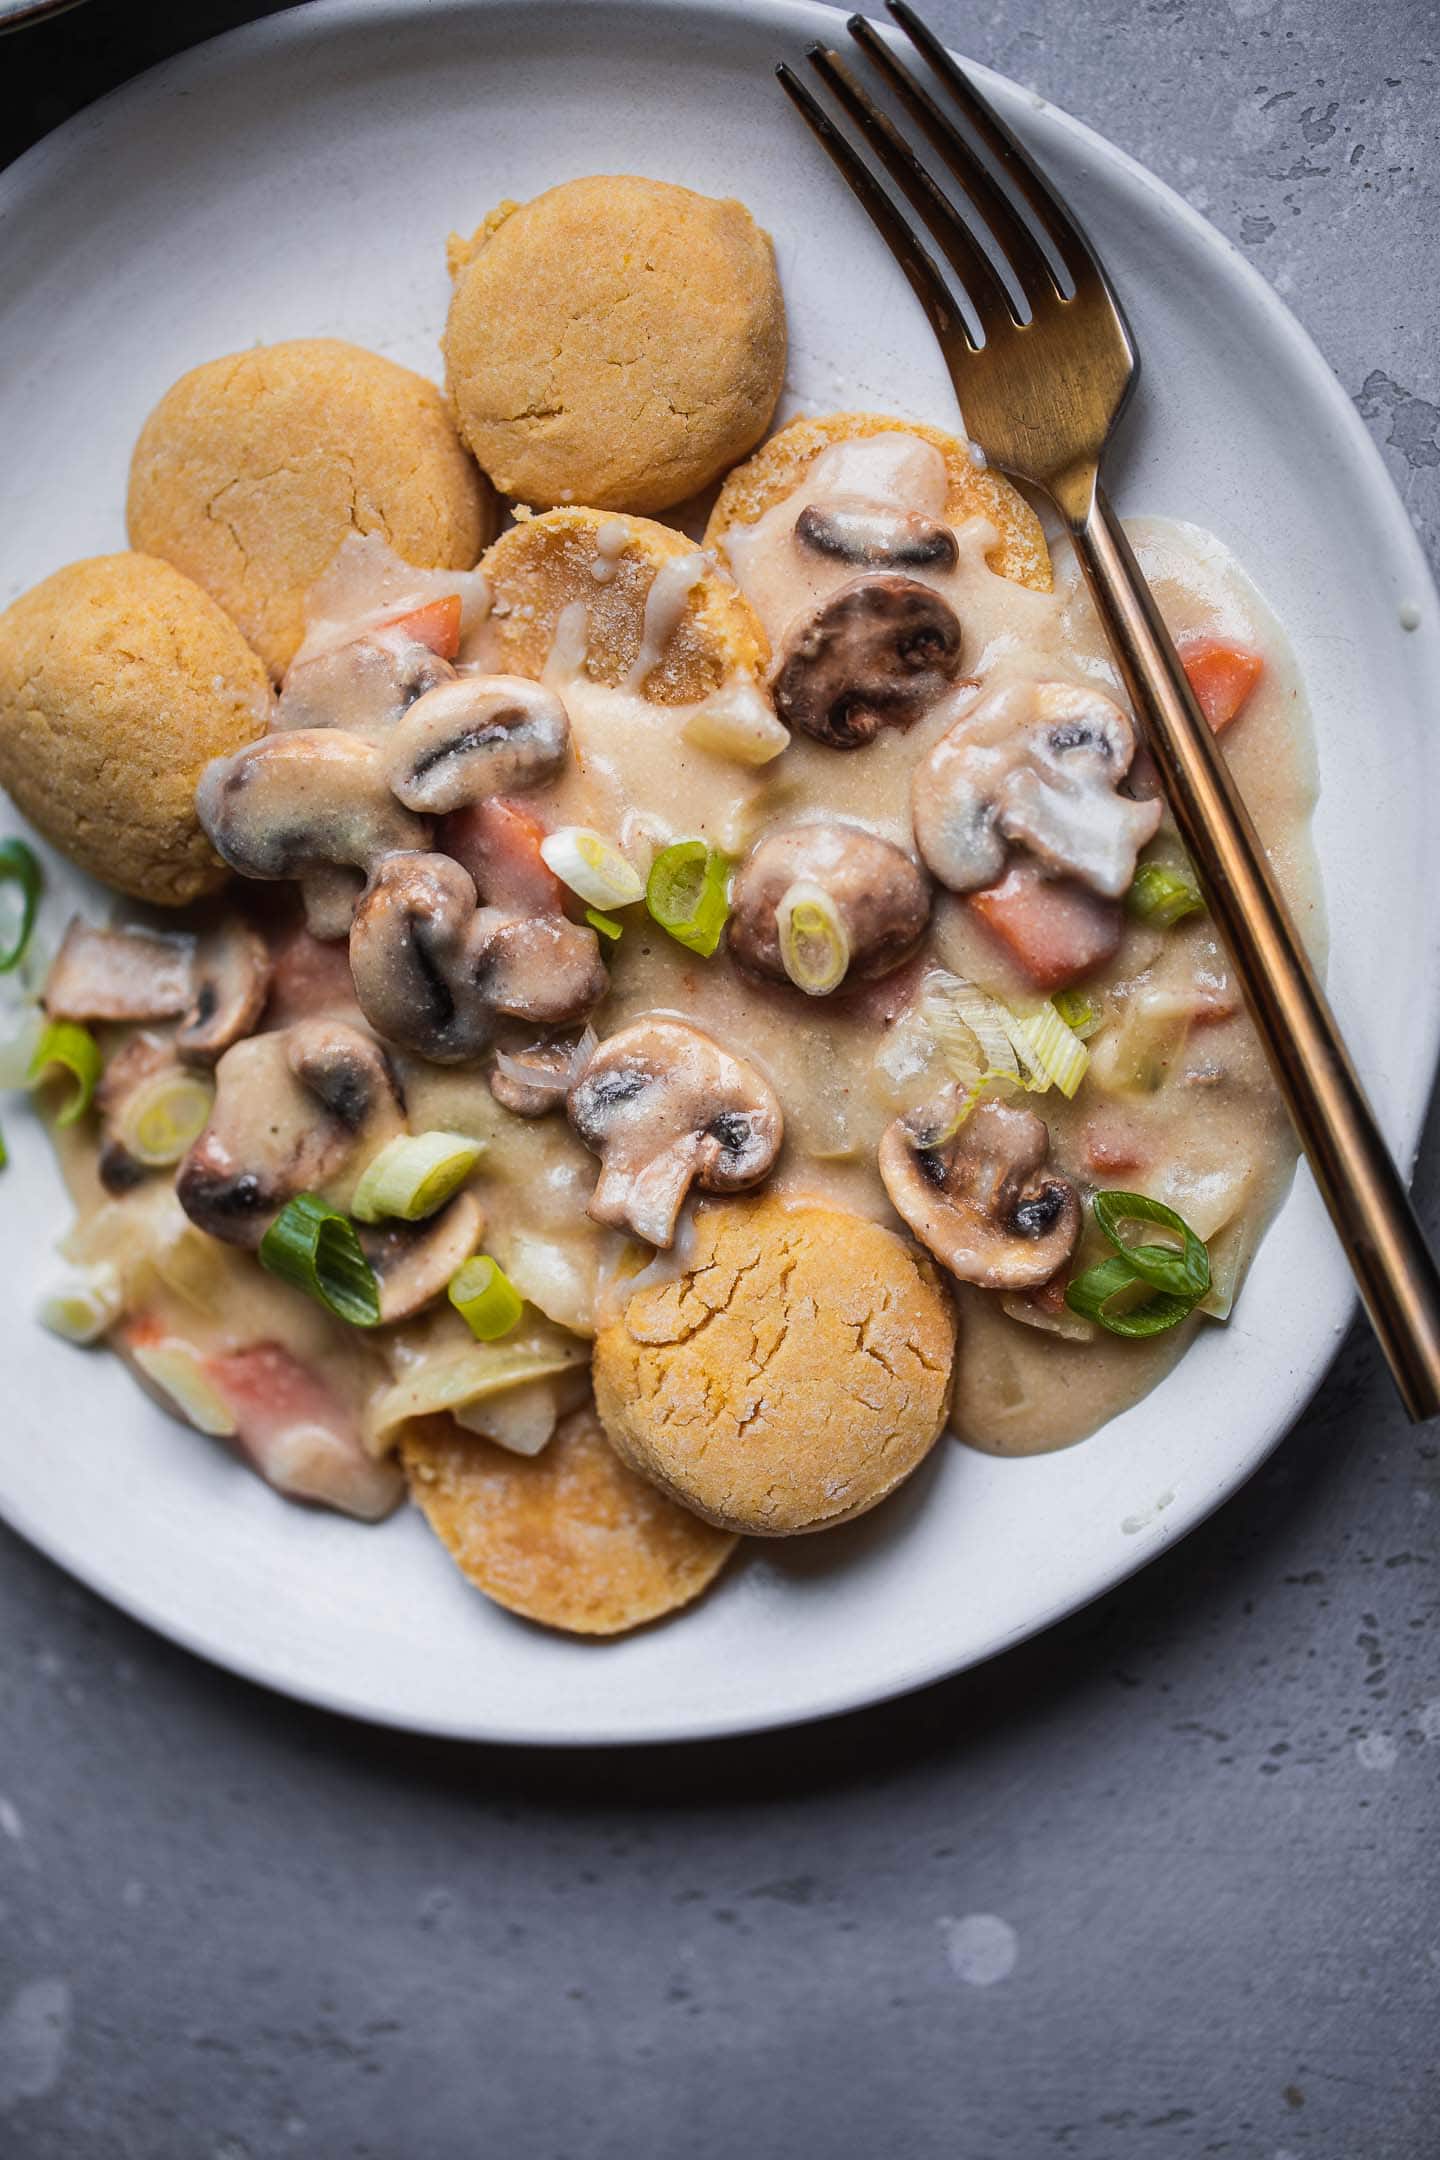
Oftentimes, all I want is a big plateful of comfort food that's savoury, rich and bursting with flavour. Even better if it goes from kitchen to plate in little time, with minimal effort. A dinner like that is ideal after a long day of studying.
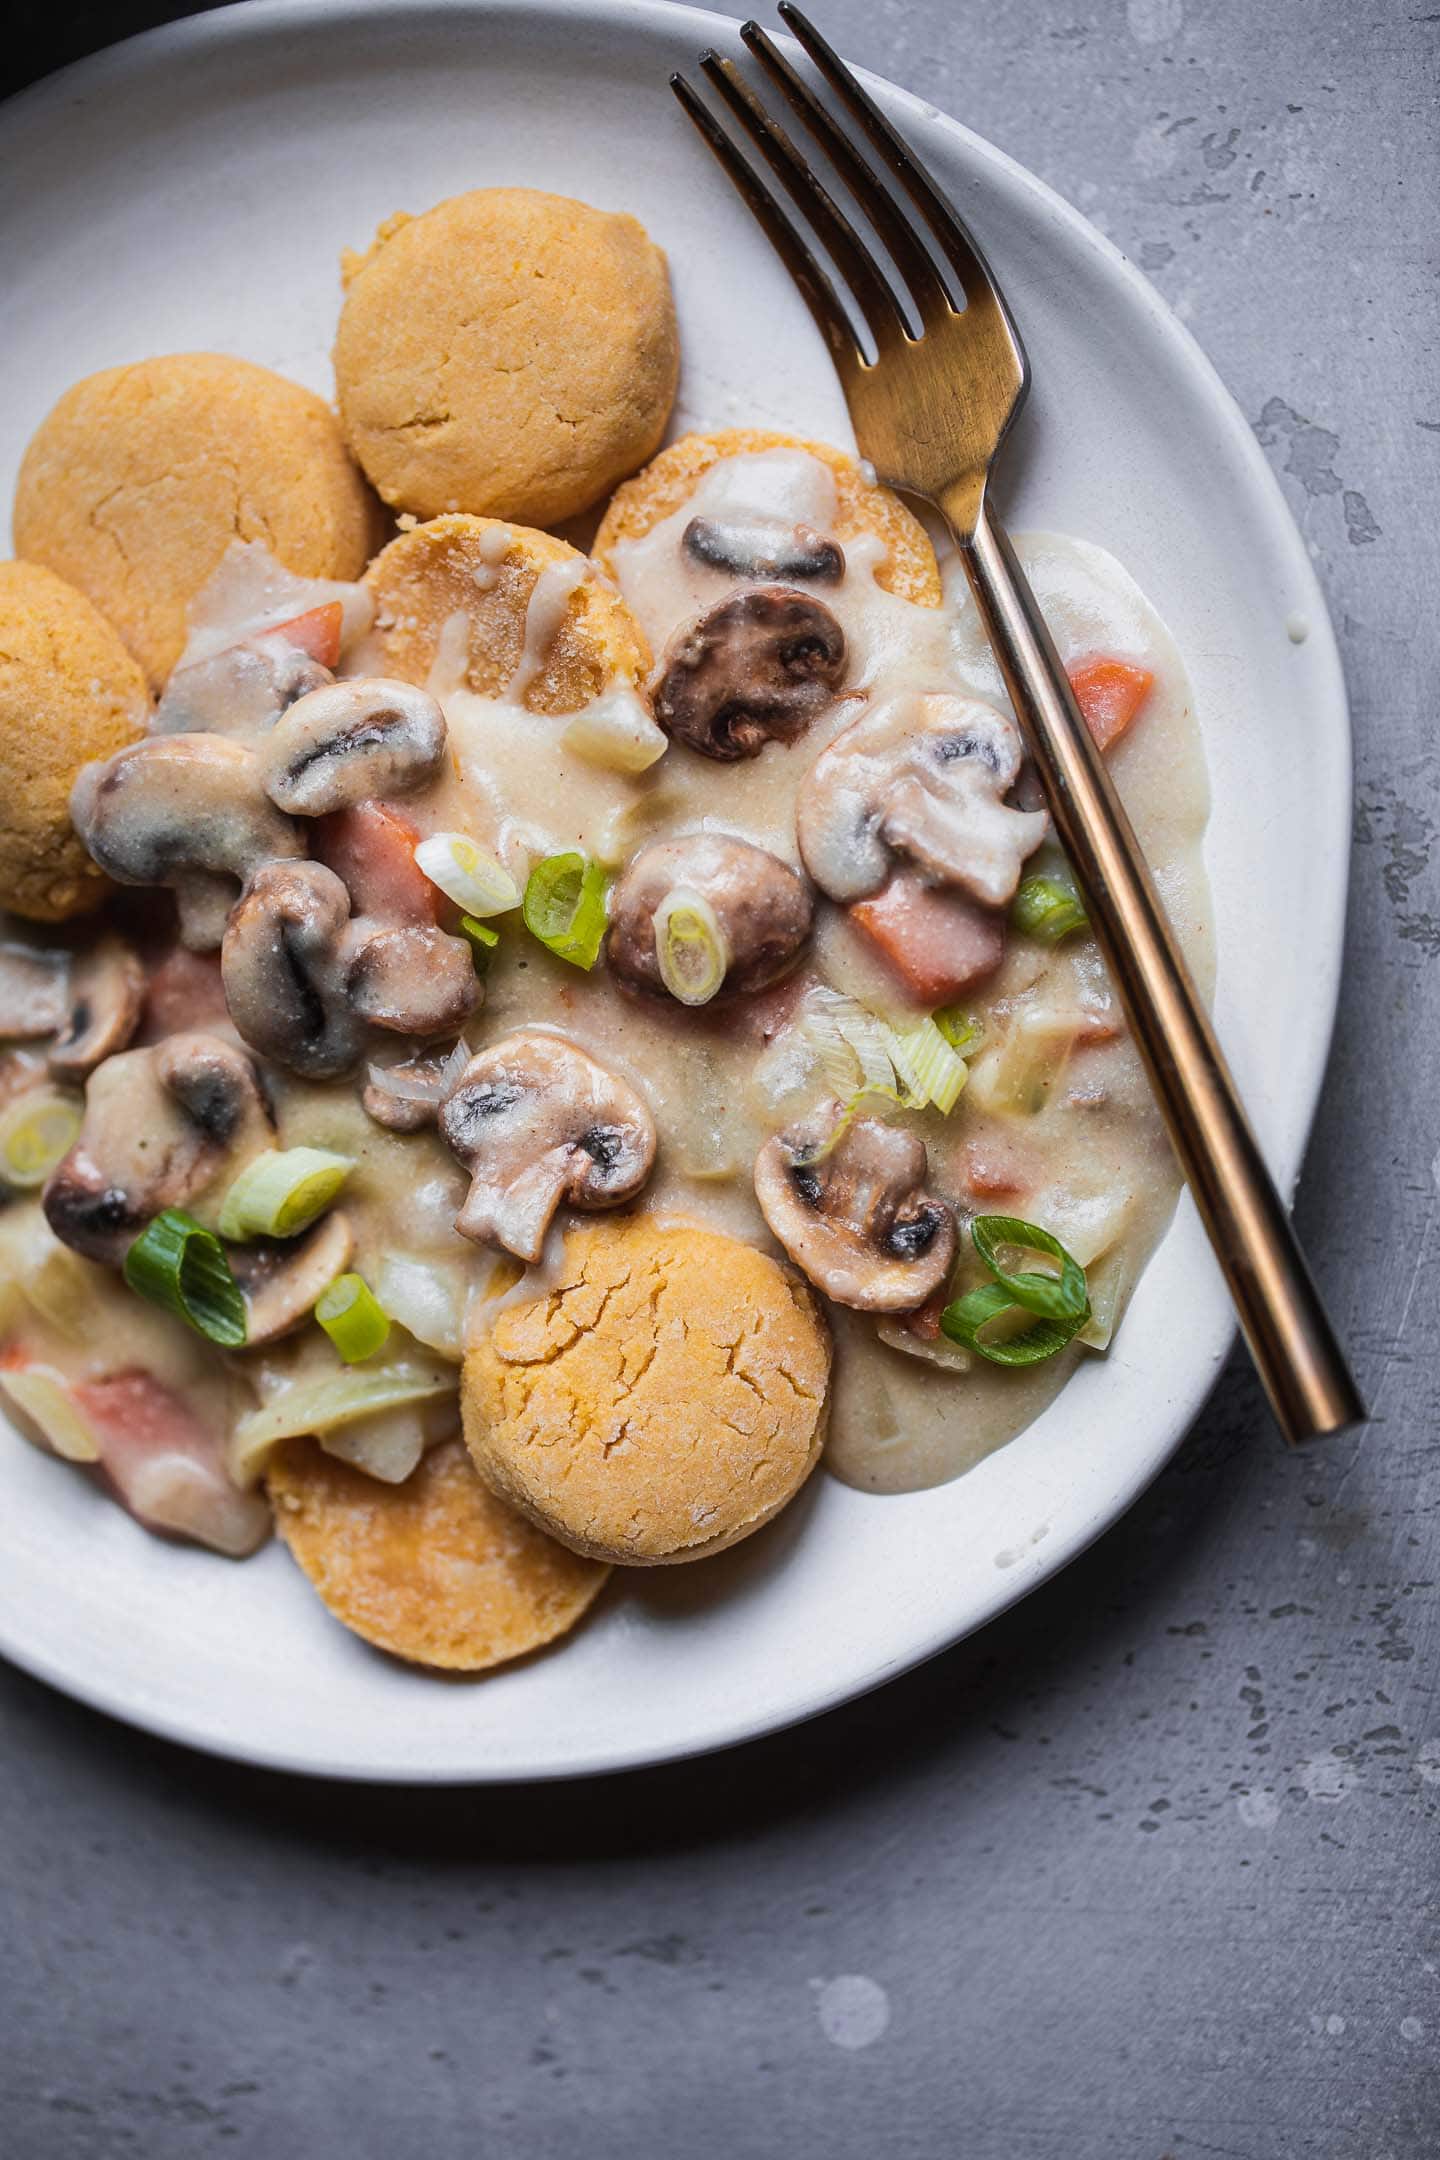
Or, sometimes I need a wholesome, indulgent breakfast after staying up late to churn out an essay. That's when biscuits and gravy come in. They are such a versatile dish, that's ideal for pretty much any meal. You can serve them up for brunch, but they also make a fantastic evening meal.
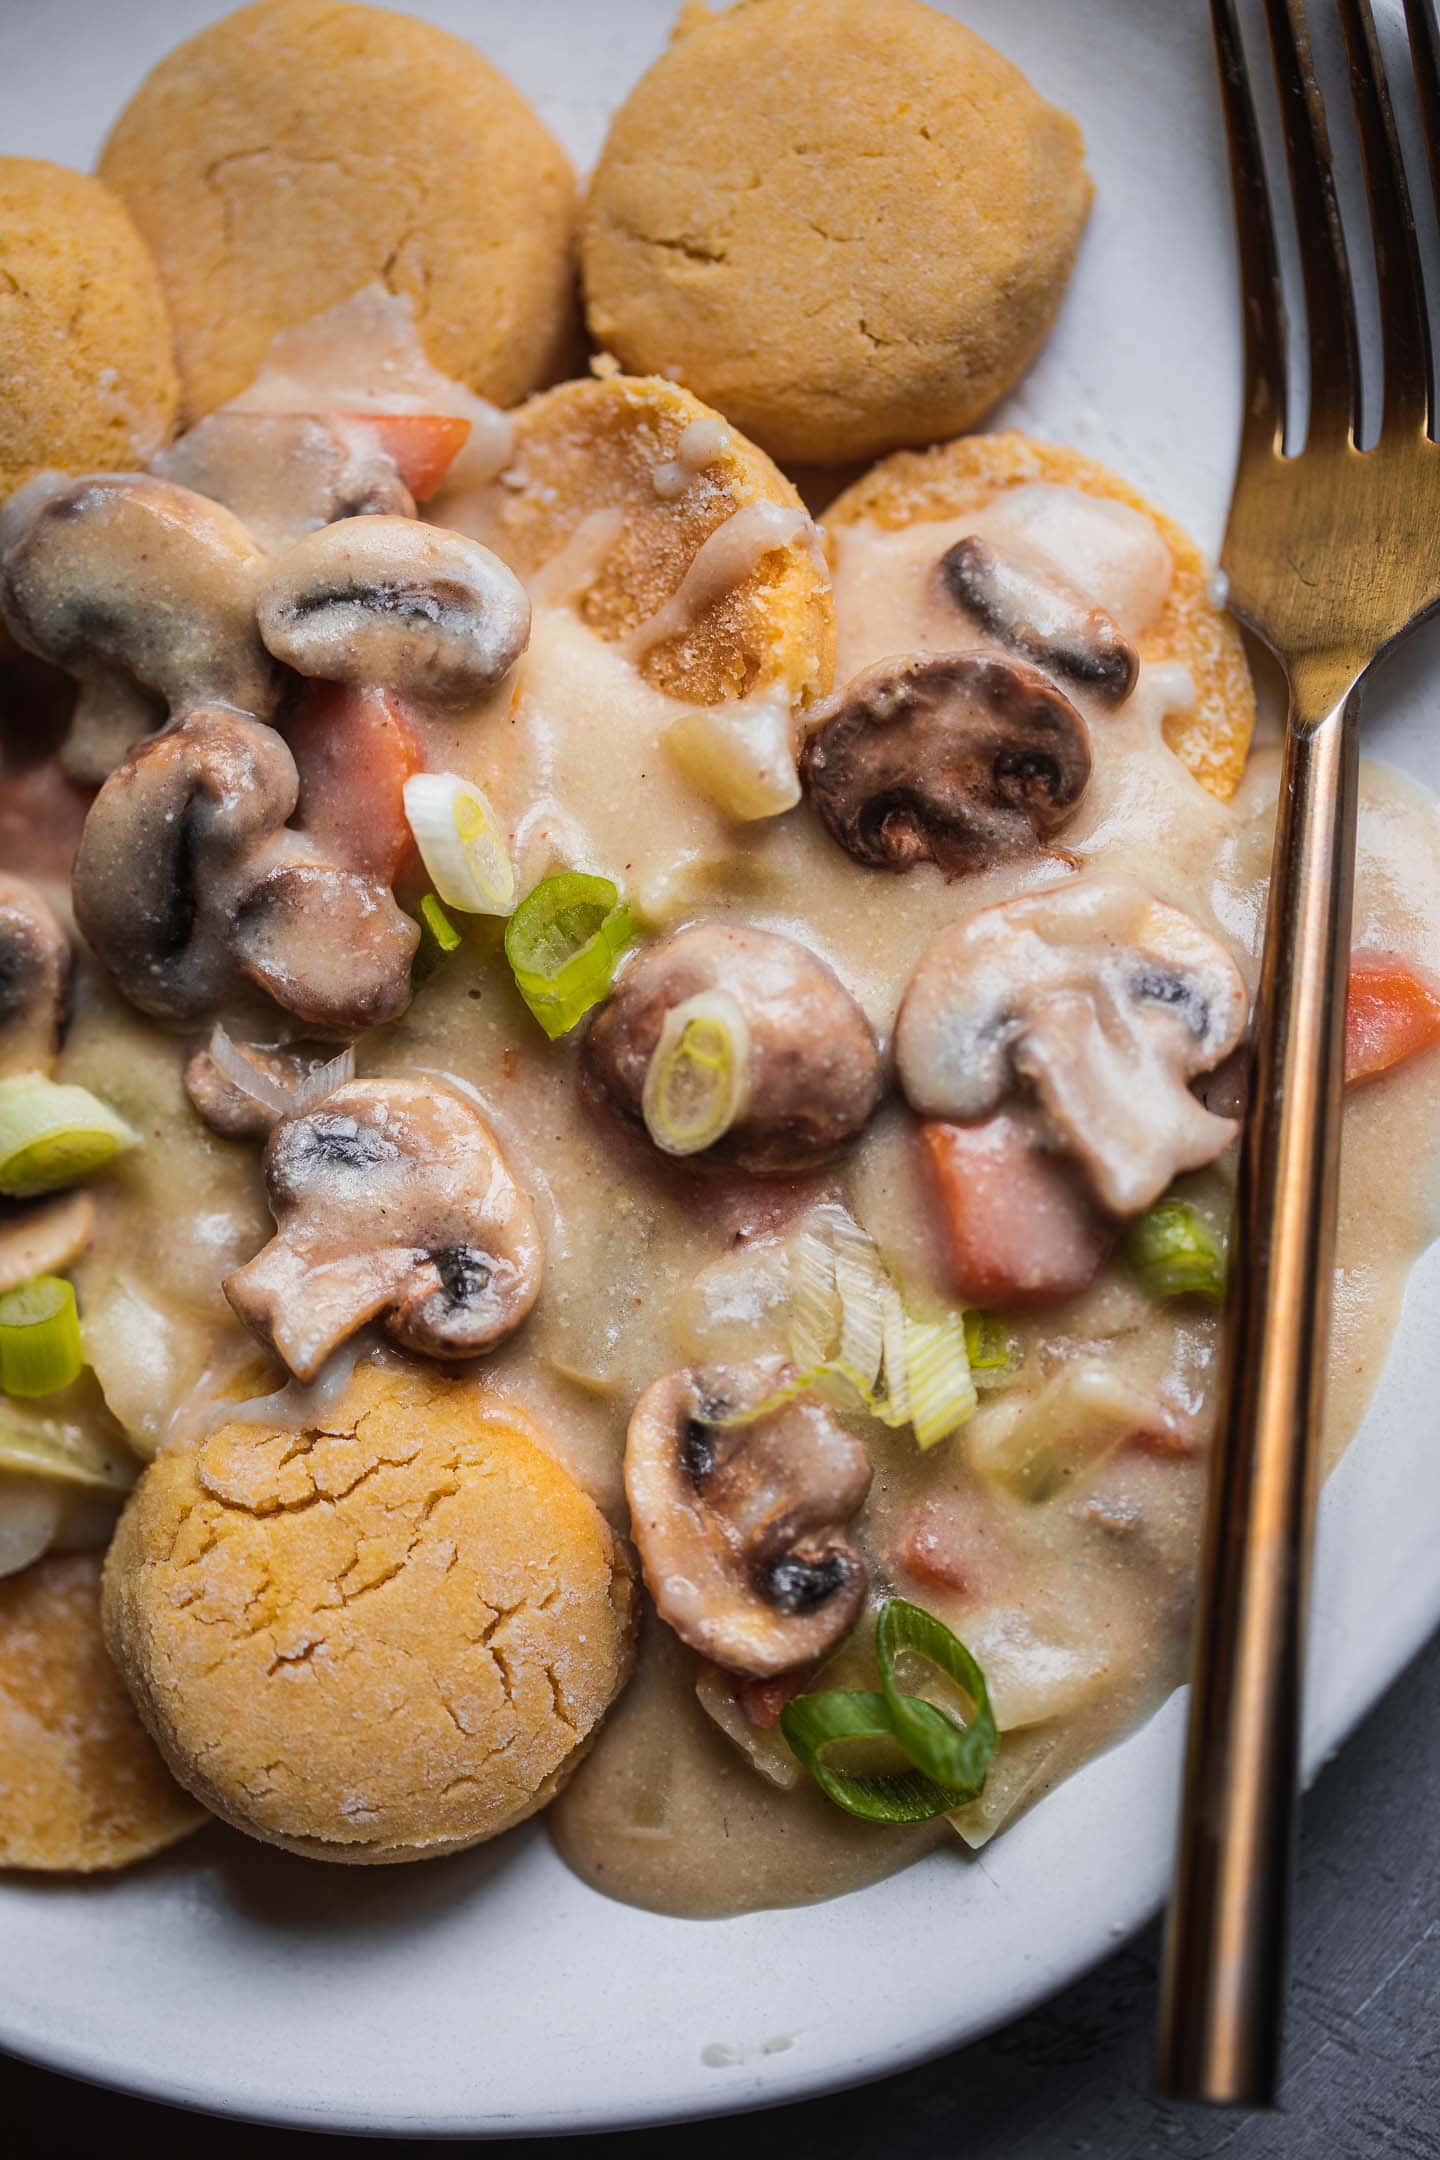
This version is entirely vegan, as well as gluten-free! But it absolutely does not miss any flavour, or comfort factor.
Gluten-free vegan biscuits
These vegan biscuits are the star of the show here! It took a few attempts to get the texture of gluten-free biscuits just right, but the result is absolutely phenomenal. They are light, flaky, and with a perfect buttery flavour. They practically melt in your mouth!
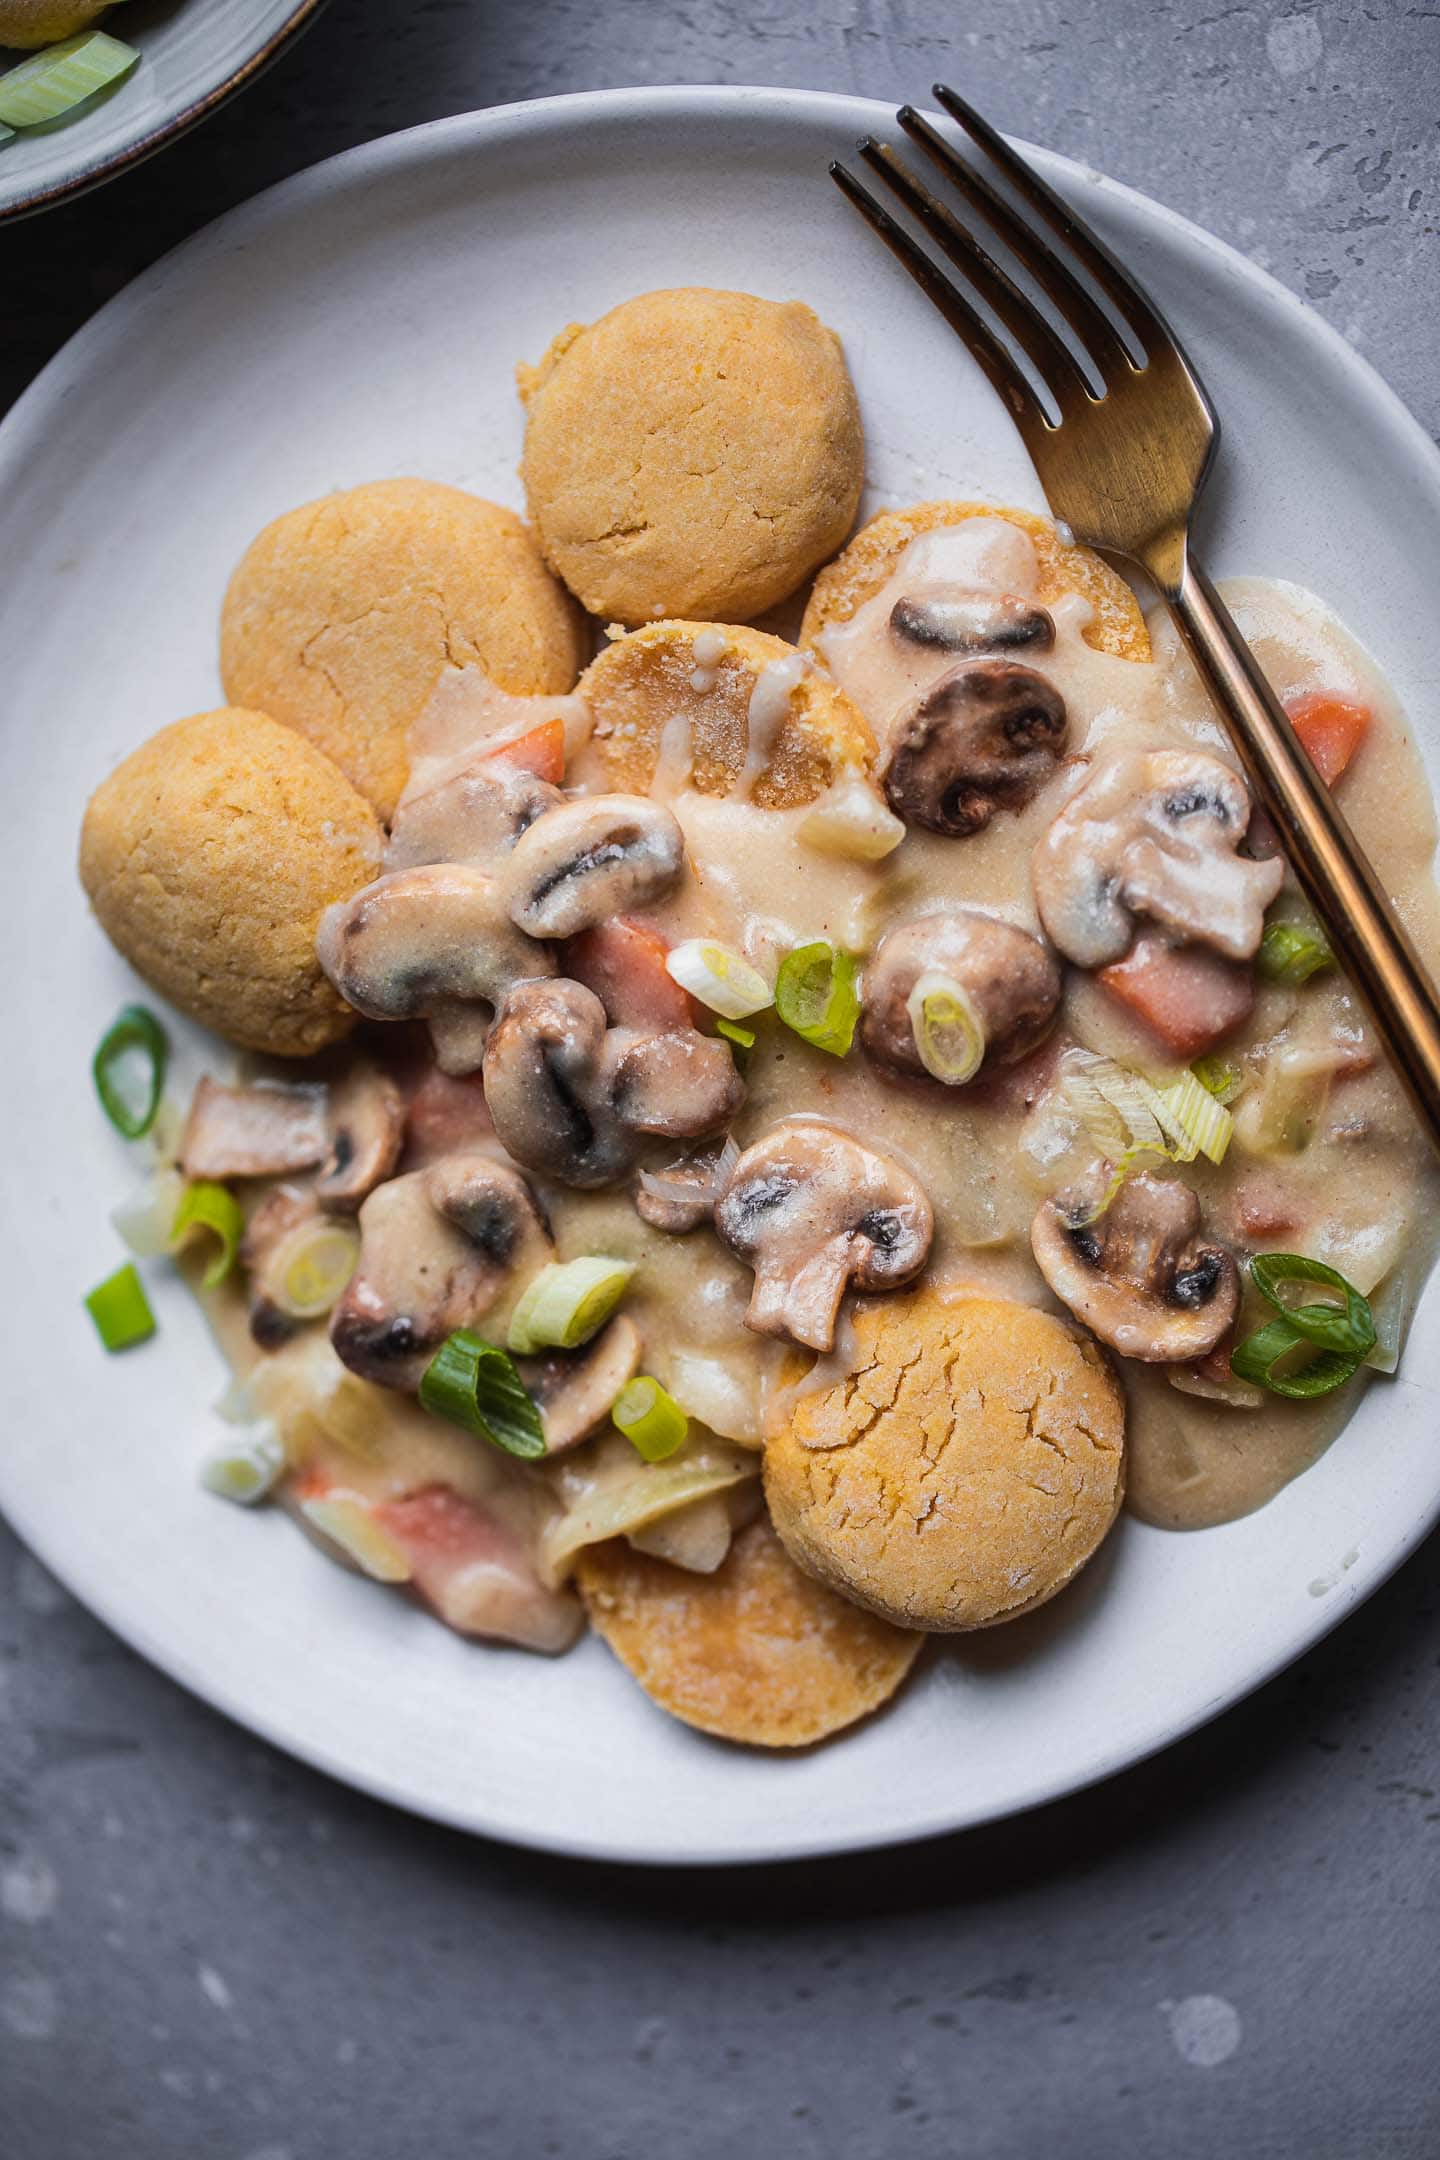
I actually like to make a bigger batch and just snack on them throughout the week, either on their own or with a spread. They really are that deliciuous!
Ingredients and substitutions for gluten-free biscuits
- Plant based milk. Use any unsweetened variety of your choice.
- Apple cider vinegar. This will be used to make the 'buttermilk' mixture.
- Brown rice flour.
- Cornmeal. Also known as maize flour, this is perfect for creating a buttery and slightly crumbly texture.
- Baking powder.
- Sugar.
- Xanthan gum.
- Vegan butter. Preferably, use the variety that comes in a stick, and make sure it is as cold as possible before starting to cook.
How to make vegan biscuits
Firstly, stir together the plant based milk and apple cider vinegar and set aside for around 10 minutes to curdle. When it is almost done, preheat the oven to 180 degrees C/350 F.
Meanwhile, in a large mixing bowl combine the brown rice flour, cornmeal, baking powder, sugar and xanthan gum. Now add the vegan butter and use a palette knife to make a crumbly texture. Do not use your hands to mix, as this will melt the butter.
Now pour in the 'buttermilk' mixture and mix together using a rubber spatula until a dough forms.
Transfer the dough to a lightly floured surface and roll out into a flat rectangle. Fold the rectangle in half, and then roll out once more into a sheet around ¾ inch in thickness.


Use a cookie cutter to cut out the biscuit shapes and transfer them to a baking tray lined with parchment paper. Bake in the preheat oven for 20-25 minutes, until lightly golden brown.
Vegan mushroom gravy
Honestly, this gravy with mushrooms and carrots is delicious enough to eat by itself with a spoon! It goes so well in vegan biscuits and gravy, but it can also be served with other vegan meals, such as a nut roast or mashed potatoes.
It is rich and savoury, with a nutty and cheesy undertone. You only need simple ingredients to make it and practically no time. Simply start making it when the biscuits are almost ready and serve straight away for comfort food deliciousness!
Ingredients for this vegan gravy
- Vegan butter. This will be used for cooking the vegetables. You can use it with any oil of your choice.
- Onion.
- Carrots. Finely diced carrots are great for adding texture.
- Mushrooms. Button mushrooms or chestnut mushrooms work well here.
- Coconut milk from a can. You can use full fat or reduced fat coconut milk depending on your preference.
- Nutritional yeast. A perfect ingredient for adding a cheesy and nutty undertone.
- Salt.
- Buckwheat flour. This will be used for thickening the sauce. You can replace with all-purpose gluten-free flour, cornstarch, or arrowroot.
- Plant based milk from a carton.
How to make dairy-free gravy
It's so easy to make this essential component of vegan biscuits and gravy. Melt the butter in a saucepan. Next, add the onion and carrots, and cook for 3-4 minutes, until they start to soften.
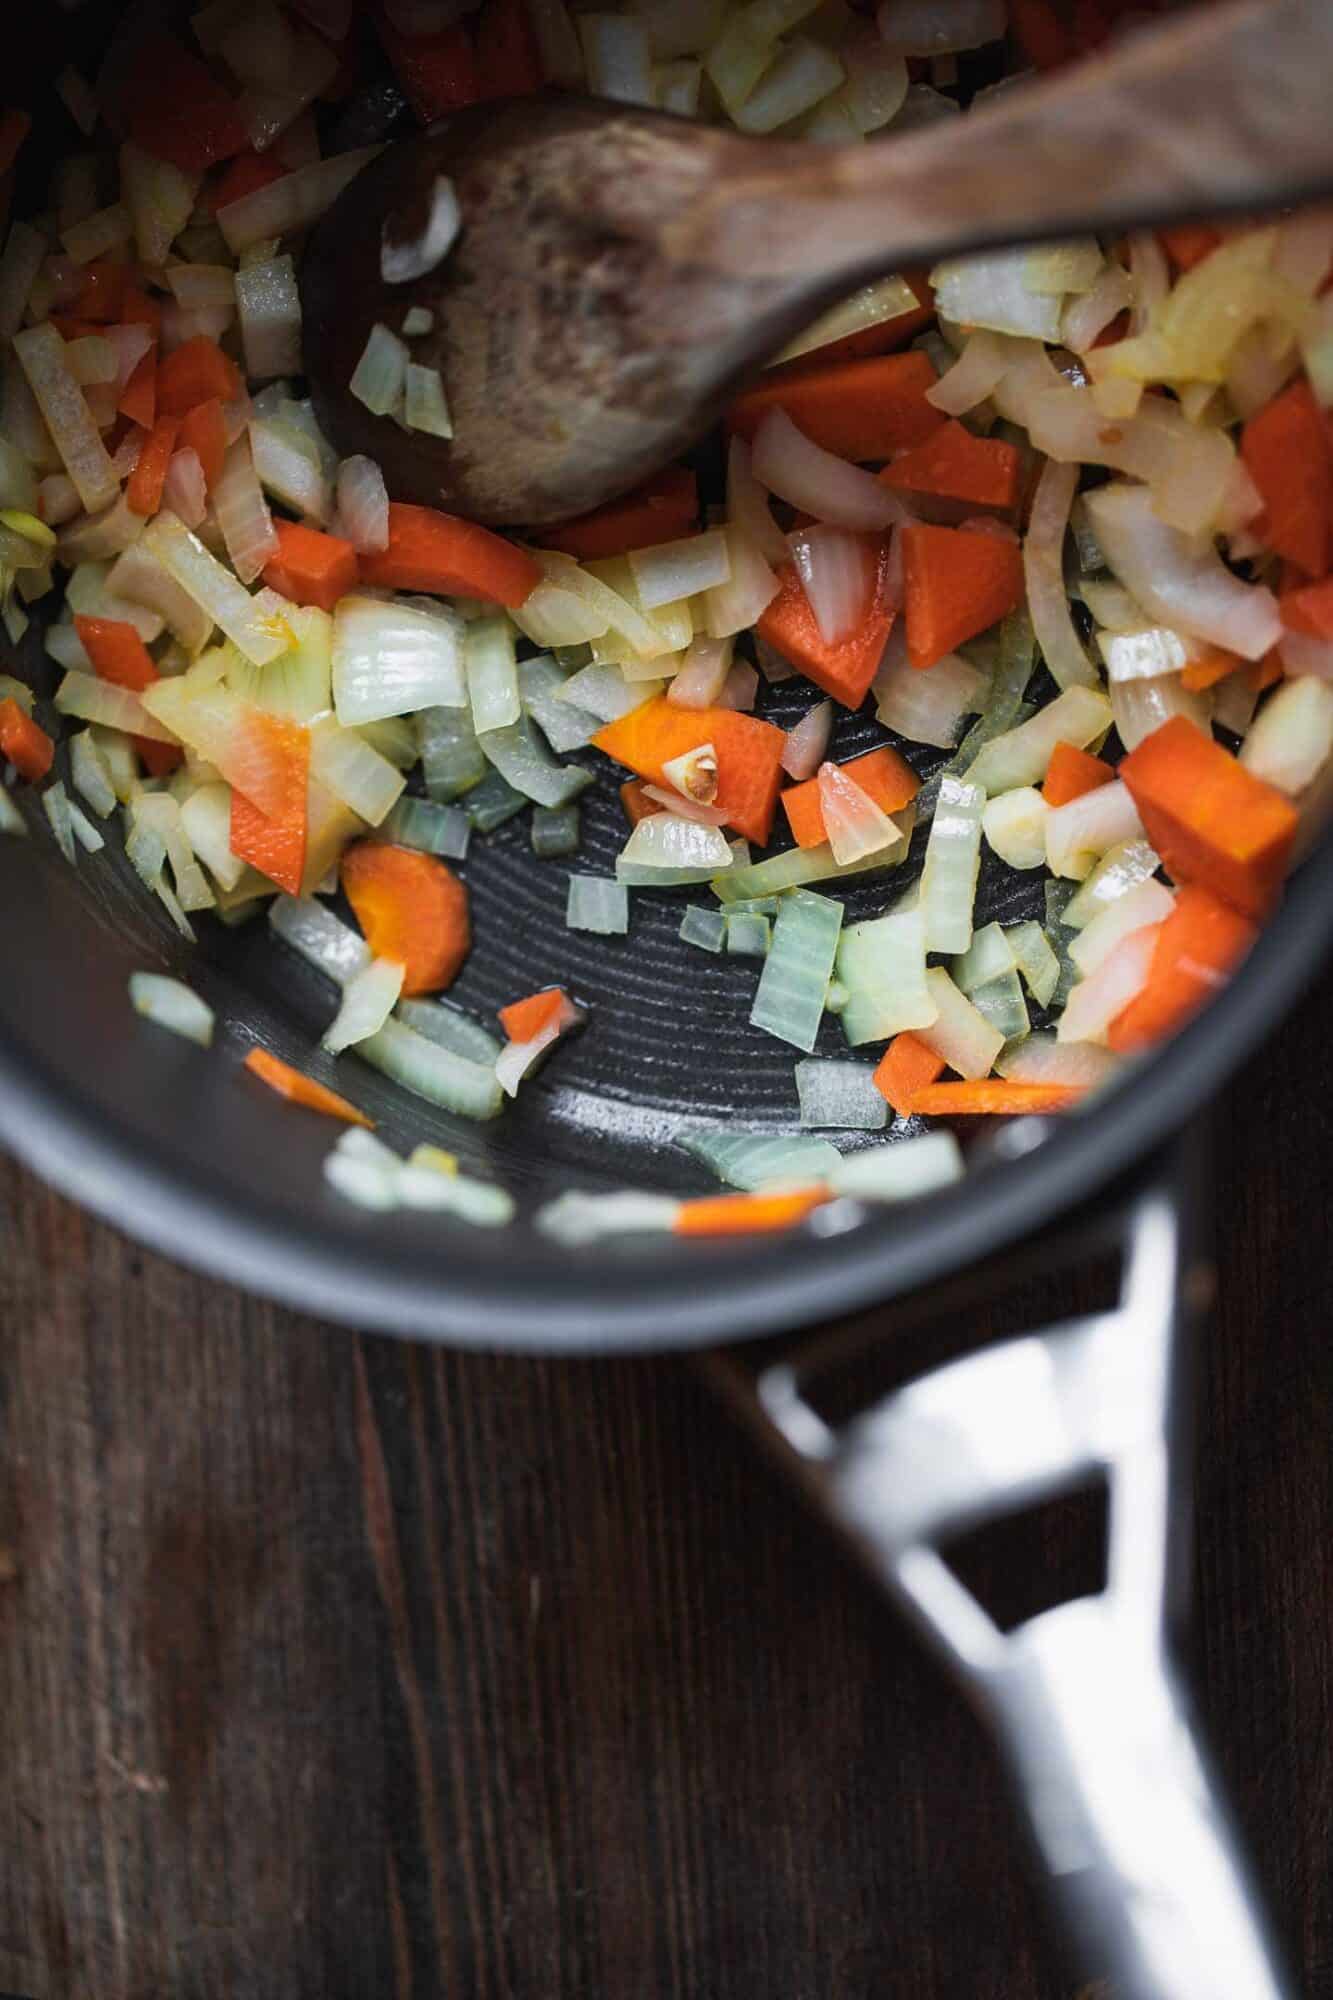
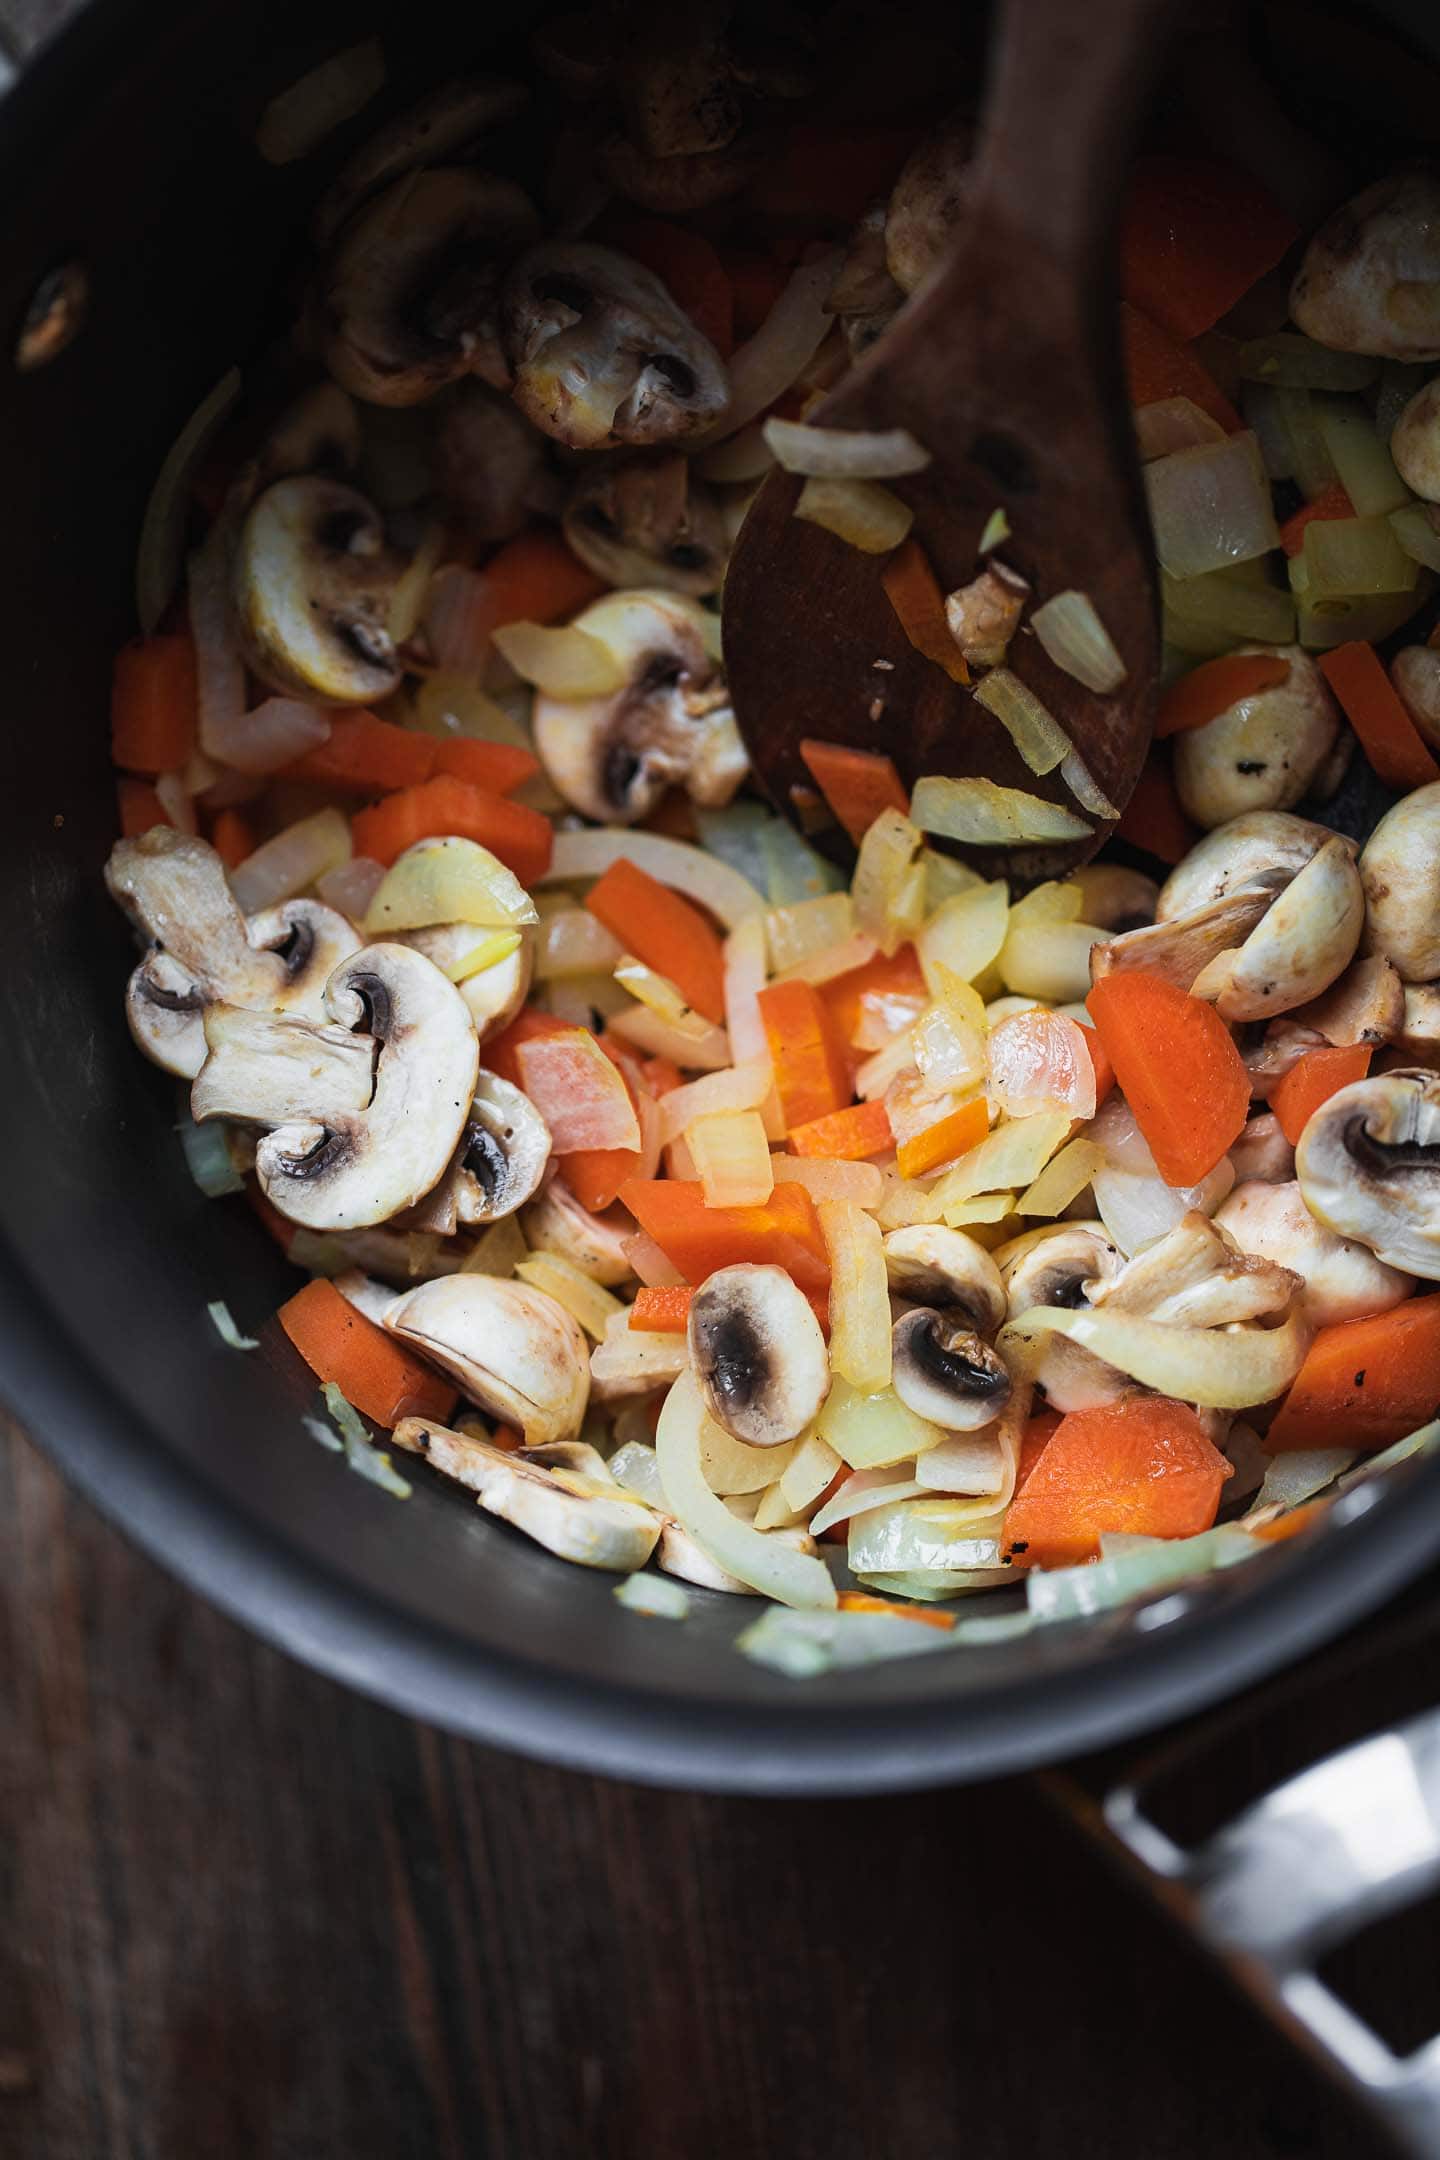
Now add the mushrooms and cook for 3-4 minutes more, until they start to soften.
Pour in the coconut milk, also adding the nutritional yeast, salt, buckwheat flour and plant based milk. Stir until the sauce thickens.
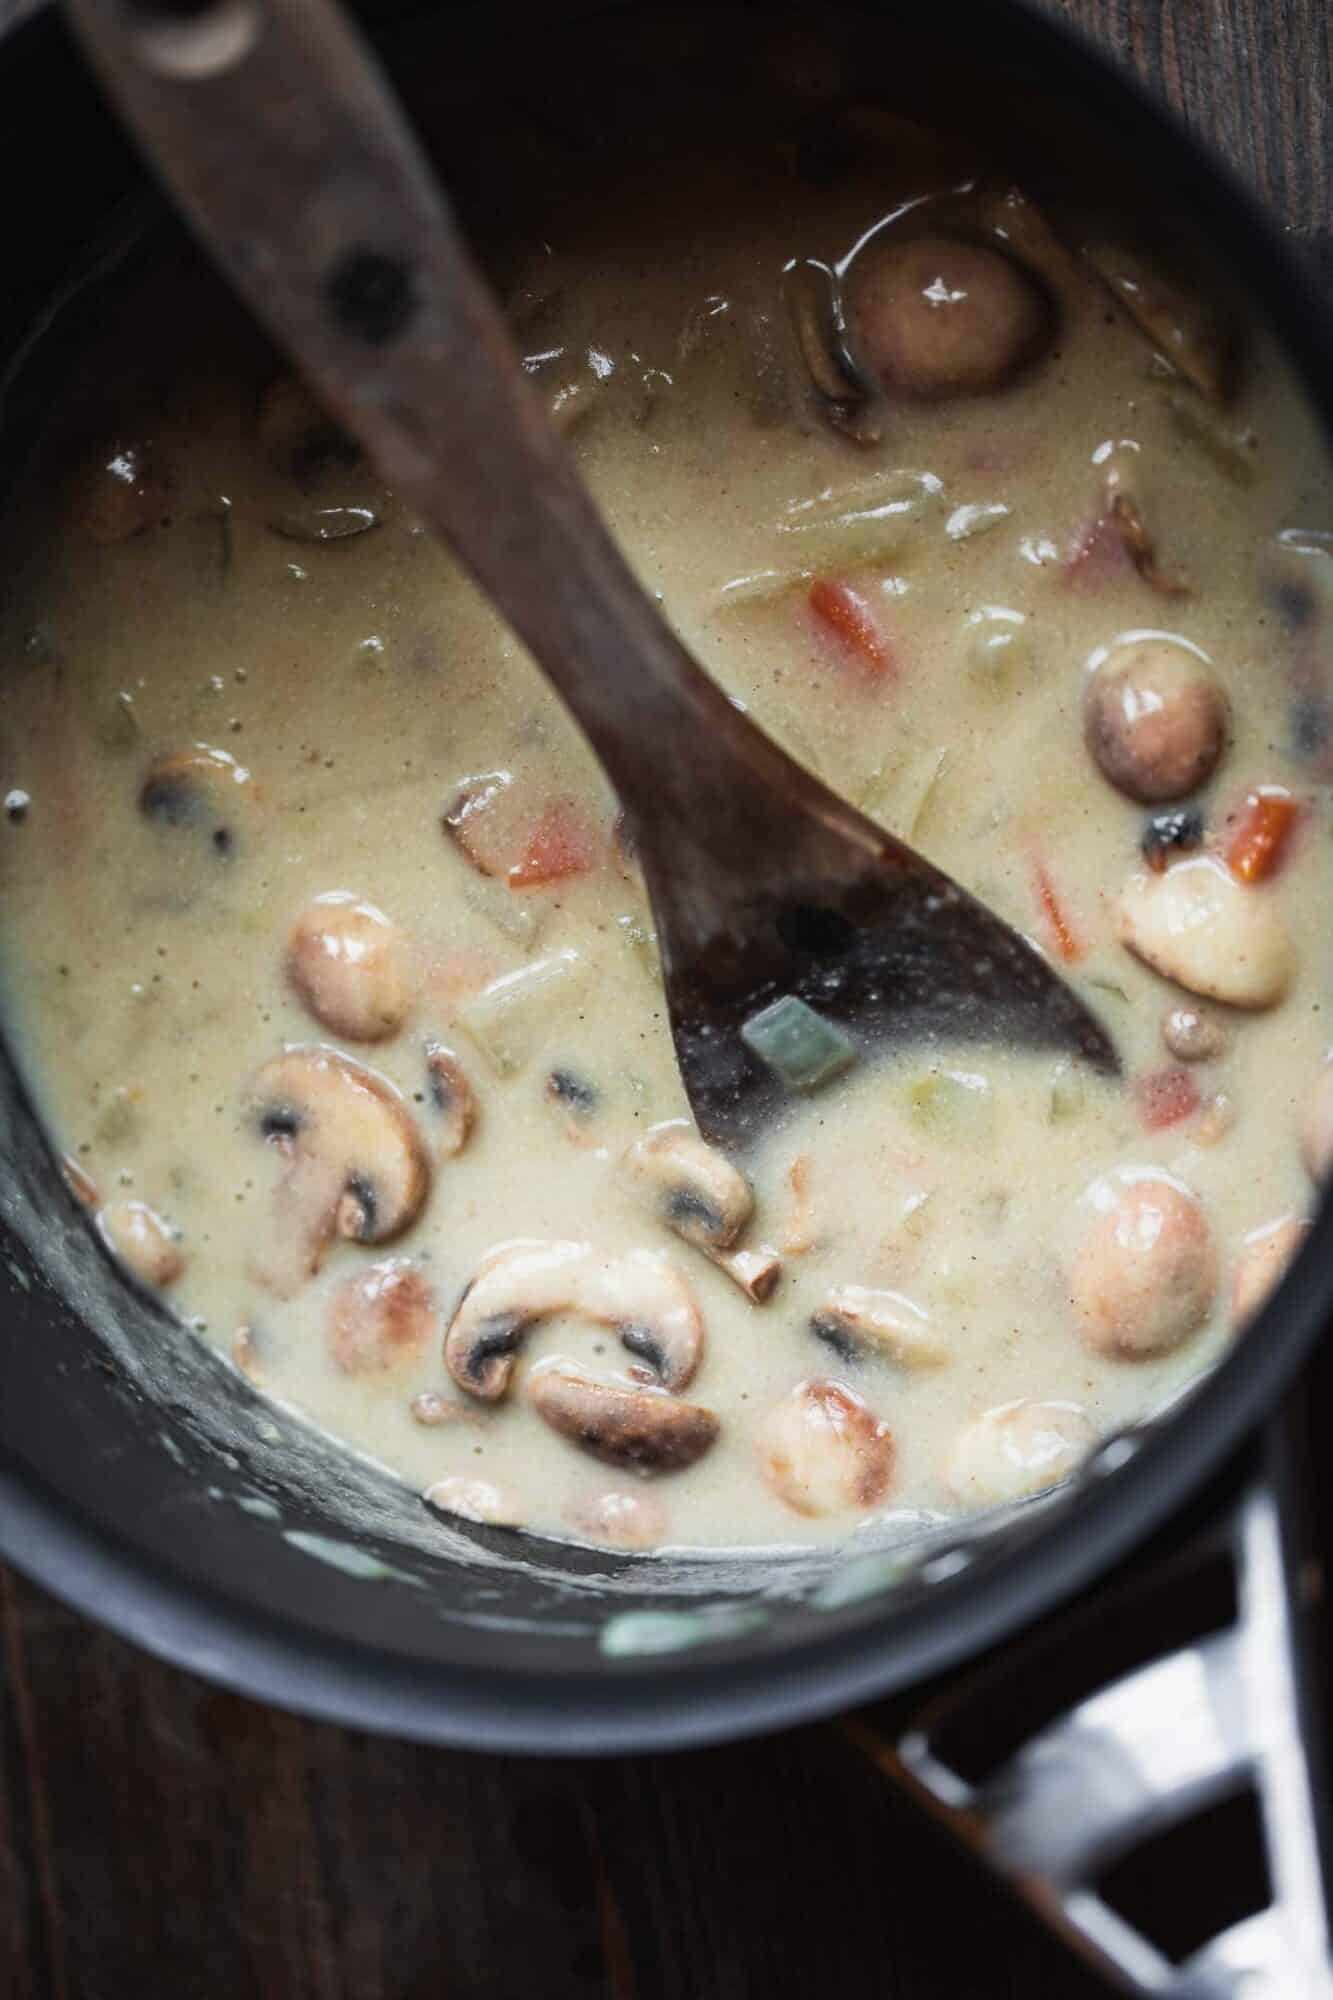
Storing and freezing biscuits and gravy
Both the biscuits and the gravy can be kept in the fridge for up to 4 days in airtight containers. Keep them in the freezer in freezer-friendly containers for up to 2 months. Be sure to thaw fully before reheating.
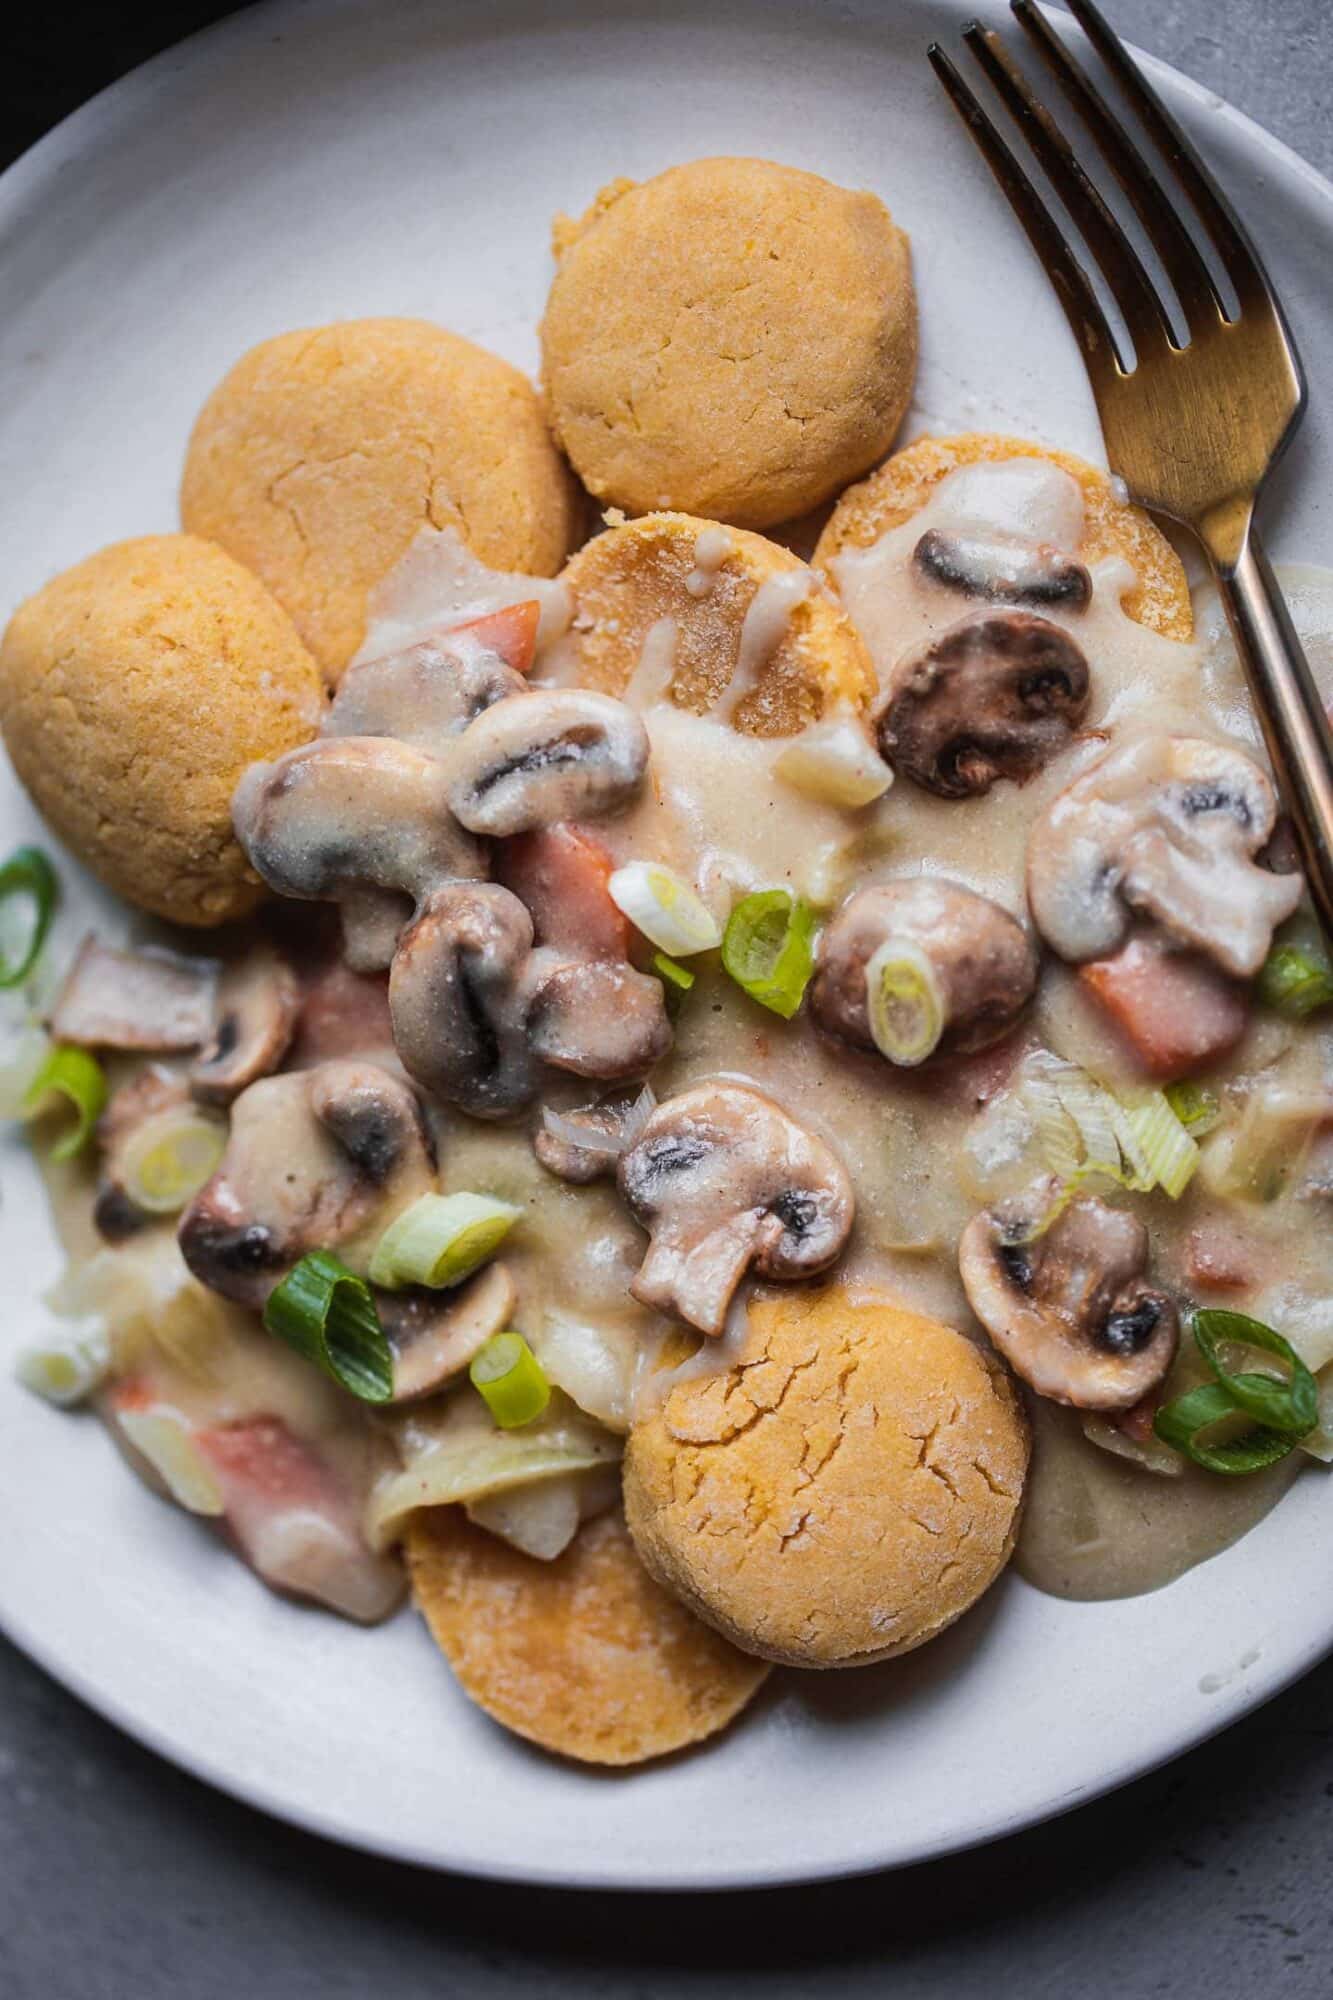
You can reheat the biscuits in the microwave by placing them on a plate and microwaving at 80% power for 3 minutes. To reheat the gravy, simply add to a saucepan and stir until warm, adding more plant based milk if necessary.
More vegan comfort food you might love
- Vegan scalloped potatoes
- Cauliflower Alfredo sauce
- Tomato bisque
- Spicy butternut squash soup
- Cauliflower cheese
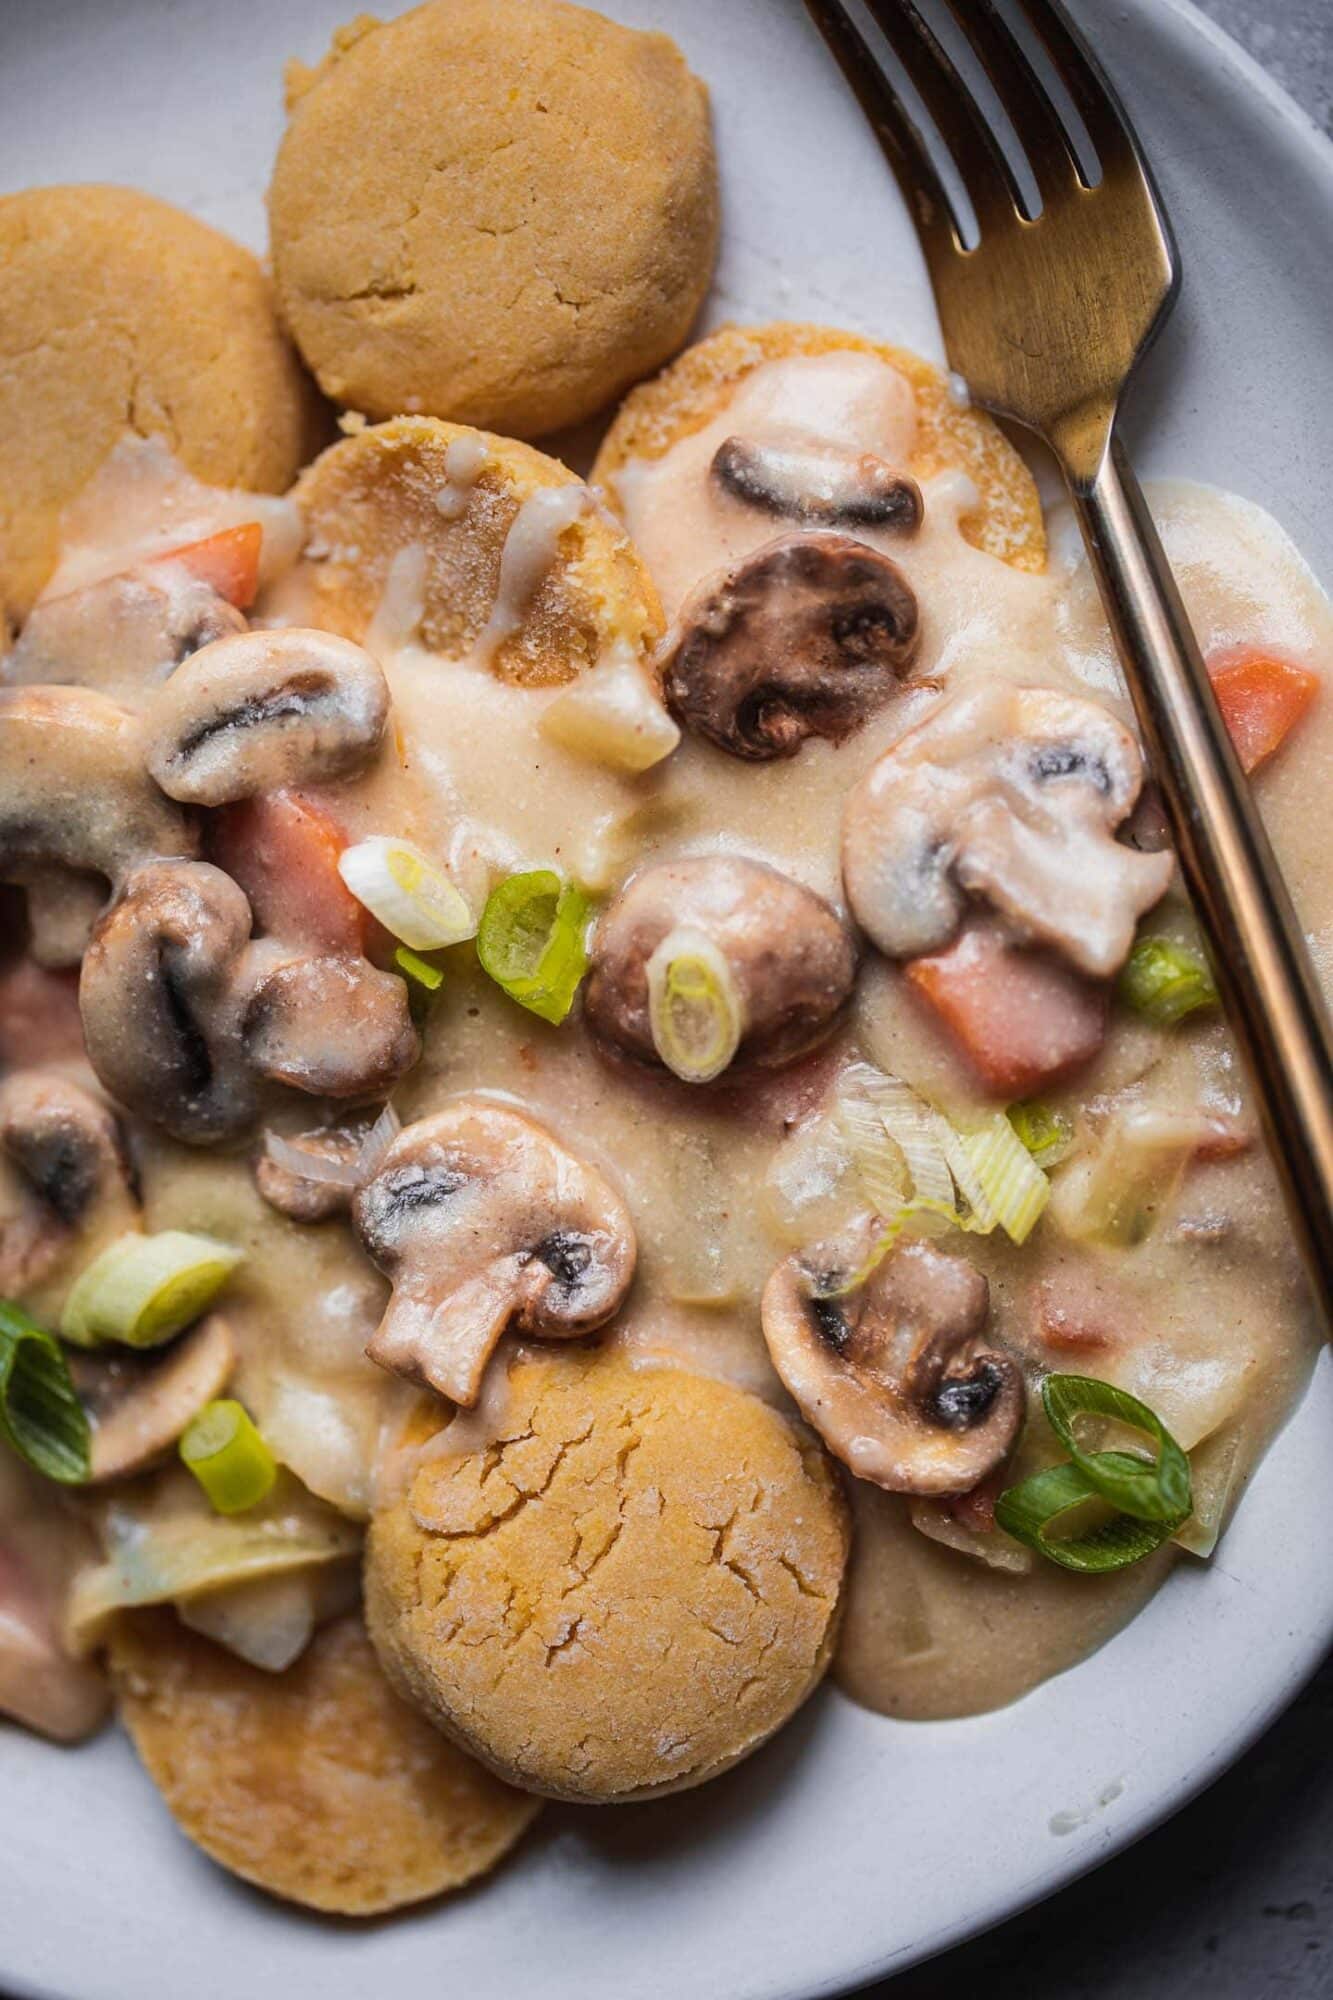
Let me know in the comments: what's your favourite cosy and savoury breakfast or brunch? If you give these vegan biscuits and gravy a go, be sure to tag me on Instagram (@earthofmariaa) so I can see your creations, and leave your feedback in the comments below together with a star rating.
Recipe

Vegan Biscuits and Gravy (Gluten-free)
These vegan biscuits and gravy are perfect for a comforting breakfast, brunch or dinner that's easy to make. The biscuits are flaky and soft, and the gravy is rich, savoury and made with just a handful of ingredients. Gluten-free and ready in around 35 minutes.
Print
Pin
Save
Servings:
Equipment
- Mixing bowl
- Conventional oven
- Cookie cutter
- Baking tray
- Saucepan
Ingredients
For the biscuits
- 1 cup plant based milk
- 2 tablespoon apple cider vinegar
- 2 ½ cup brown rice flour
- 1 cup cornmeal
- 2 teaspoon baking powder
- 2 teaspoon sugar
- 1 teaspoon xanthan gum
- ½ cup vegan butter
For the gravy
- 1 tablespoon vegan butter
- 1 medium onion diced
- 1 large carrot peeled and diced
- 2 cups mushrooms chopped
- 1 can coconut milk
- 2 tablespoon nutritional yeast
- ½ teaspoon salt
- ¼ cup buckwheat flour
- ½ cup plant based milk from a carton
Instructions
Make the biscuits
- Stir together the plant based milk and apple cider vinegar and set aside for around 10 minutes to curdle. When it is almost done, preheat the oven to 180 degrees C/350 F.
- Meanwhile, in a large mixing bowl combine the brown rice flour, cornmeal, baking powder, sugar and xanthan gum. Now add the vegan butter and use a palette knife to make a crumbly texture. Do not use your hands to mix, as this will melt the butter.
- Pour in the 'buttermilk' mixture and mix together using a rubber spatula until a dough forms.
- Transfer the dough to a lightly floured surface and roll out into a flat rectangle. Fold the rectangle in half, and then roll out once more into a sheet around ¾ inch in thickness.
- Use a cookie cutter to cut out the biscuit shapes and transfer them to a baking tray lined with parchment paper. Bake in the preheat oven for 20-25 minutes, until lightly golden brown.
Make the gravy
- Melt the butter in a saucepan. Next, add the onion and carrots, and cook for 3-4 minutes, until they start to soften.
- Add the mushrooms and cook for 3-4 minutes more, until they start to soften.
- Pour in the coconut milk, also adding the nutritional yeast, salt, buckwheat flour and plant based milk. Stir until the sauce thickens.
Nutrition (Estimate per Serving)
Calories: 653kcalCarbohydrates: 83gProtein: 12gFat: 32gSaturated Fat: 16gSodium: 454mgPotassium: 830mgFiber: 8gSugar: 5gVitamin A: 2813IUVitamin C: 3mgCalcium: 176mgIron: 5mg
Vegan-ize any recipe!Grab our free vegan cheat sheet, packed with my favorite easy substitutions to make any recipe vegan.


Hoisin-Glazed Bok Choy with Tofu and Soba Noodles
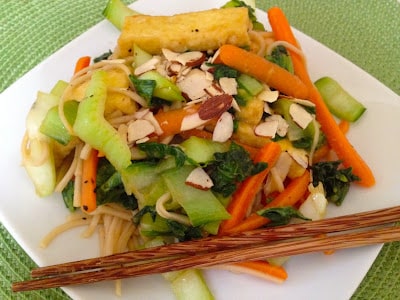
This Hoisin-Glazed Bok Choy with Tofu and Soba Noodles recipe makes a quick, delicious dish of tofu and greens with a hint of citrus. For a dazzling plate, serve with a beet salad. Recipe from Wild About Greens;* photo by Gail Davis of Hungry Vegan. [Read more...]
Baba Ganoush (Eggplant and Tahini Dip)
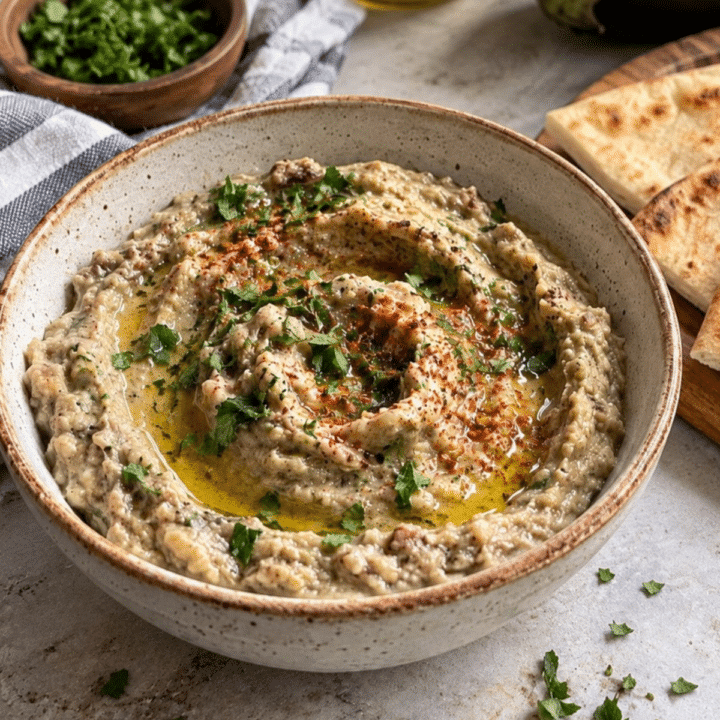
Baba ganoush is the classic Middle Eastern eggplant dip: smoky charred eggplant blended with tahini, lemon juice and garlic into a silky, rich spread that's made for scooping up with warm pita. This version adds a golden sautéed onion for extra depth, and it's naturally vegan and gluten-free.
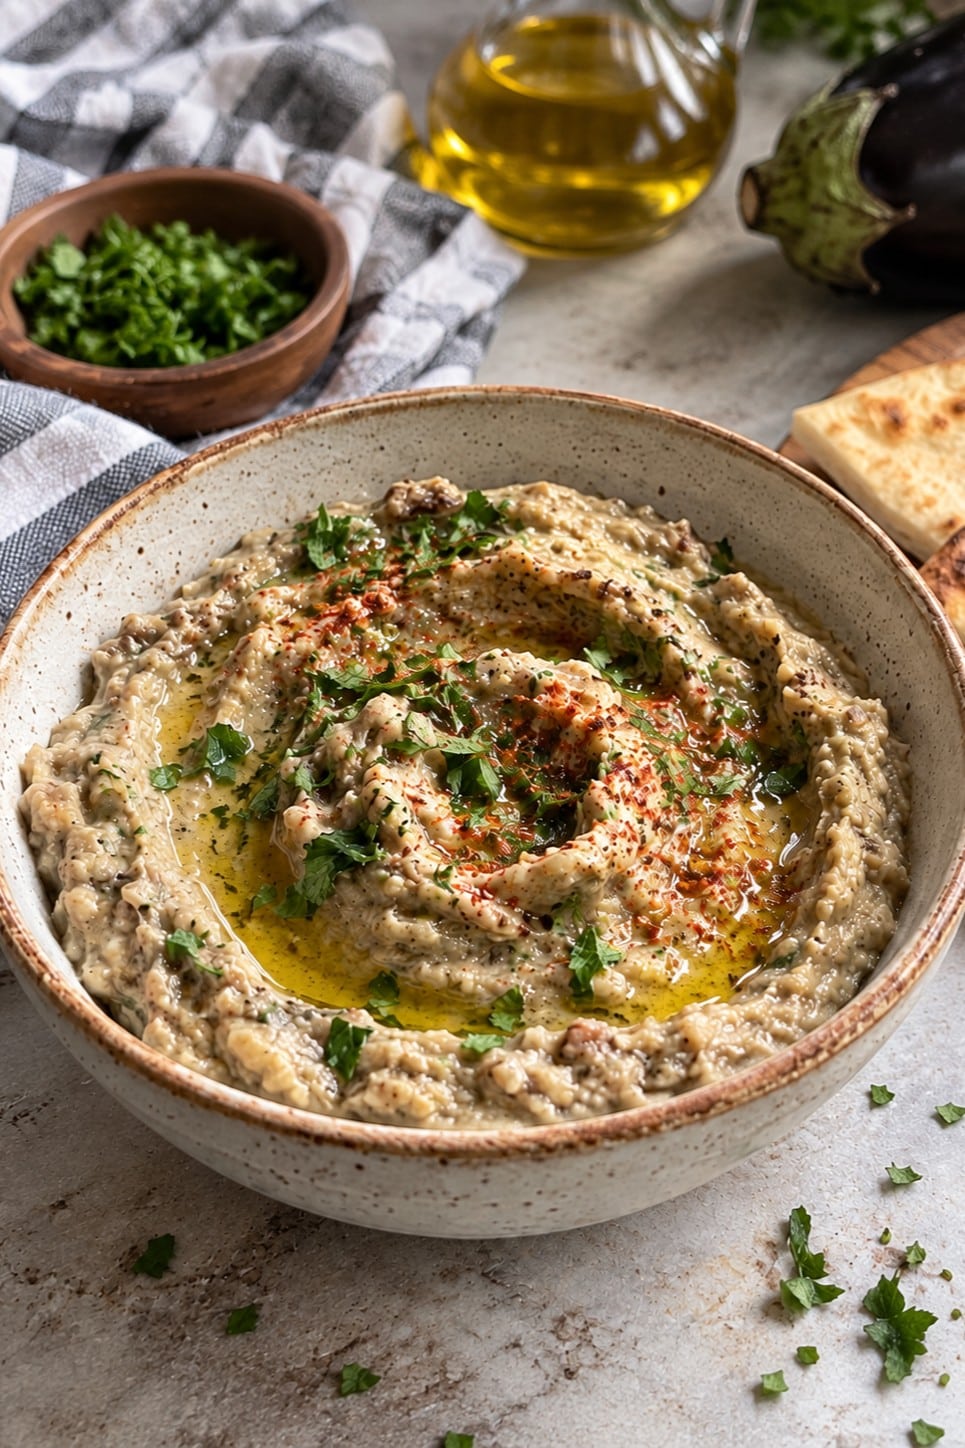
Baba Ganoush, Baba Ghanouj, or Baba Ghanoush?
You'll see this dip spelled half a dozen ways: baba ganoush, baba ghanouj, baba ghanoush, baba ghannouj, and even babaganoush as one word. They're all the same thing. The name comes from Arabic, and because it's transliterated into English letters rather than translated, every cookbook, restaurant menu and grocery label seems to settle on its own spelling. "Baba ganoush" is the most common spelling in the U.S. today, while "baba ghanouj" is closer to how it's often written in Lebanon and in older cookbooks (this recipe was originally published here under that name).
Whatever you call it, it's one of the great dips of the Middle Eastern mezze table, served alongside hummus, tabbouleh and pickled vegetables. At its heart, it's simply an eggplant tahini dip, and once you've made it at home with properly charred eggplant, the tubs at the store won't measure up.
Key Ingredients & Substitutions
- Eggplant. Two medium globe eggplants (about 2 pounds total) give you roughly 2 ½ cups of dip. Choose firm, glossy eggplants that feel heavy for their size; they have fewer seeds and less bitterness. Italian or Japanese eggplants work too, though they're slimmer and will char faster.
- Tahini. This sesame paste is what turns roasted eggplant into baba ganoush, adding creaminess and a gentle nutty bitterness. Stir the jar well before measuring, since the oil separates. A smooth, runny brand like Baron's 100% pure tahini blends in easily. If you're out, a spoonful of unsweetened sunflower seed butter is the closest stand-in.
- Onion and garlic. Most Middle Eastern versions use raw garlic only. Sautéing a chopped onion with the garlic until golden is this recipe's twist; it mellows the garlic's bite and adds a sweet, savory backbone. Skip the onion and use one raw clove for a more traditional, sharper dip.
- Lemon juice. Fresh lemon juice brightens the smoky eggplant and balances the tahini. Bottled juice works in a pinch, but start with less, as it can taste harsh.
- Ground cumin. A half teaspoon adds warmth without taking over. Smoked paprika or a pinch of sumac are good alternatives.
- Olive oil. A tablespoon for sautéing, plus a good drizzle of extra-virgin olive oil over the top when serving.
Helpful Tips
Char the eggplant hard. The smoky flavor of great baba ganoush comes from blackened skin, so don't pull the eggplants early. They're ready when the skin is charred and blistered all over and the eggplants have completely collapsed and feel soft all the way through. Under-cooked eggplant tastes spongy and bitter. If you have a gas stove or grill, charring the eggplants directly over the flame gives the smokiest result of all.
Prick before broiling. Poke each eggplant several times with a fork before it goes under the broiler. This lets steam escape so the eggplants don't burst, and helps them cook evenly.
Drain the flesh. Once the eggplant is cool enough to handle, scoop the flesh into a colander and let it sit for 10 minutes. The brownish liquid that drains off carries much of the bitterness and would make the dip watery.
Pulse, don't purée. Baba ganoush should be a little rustic, with some texture from the eggplant. Use short pulses in a food processor and stop while it's still slightly chunky. You can also mash everything by hand with a fork for an even more traditional texture.
Season at the end. Eggplants vary a lot in flavor and moisture, so taste the finished dip and adjust. More lemon brightens it, more tahini makes it richer, and a pinch of salt pulls everything together. The flavor also deepens as it rests, so it's even better after an hour.
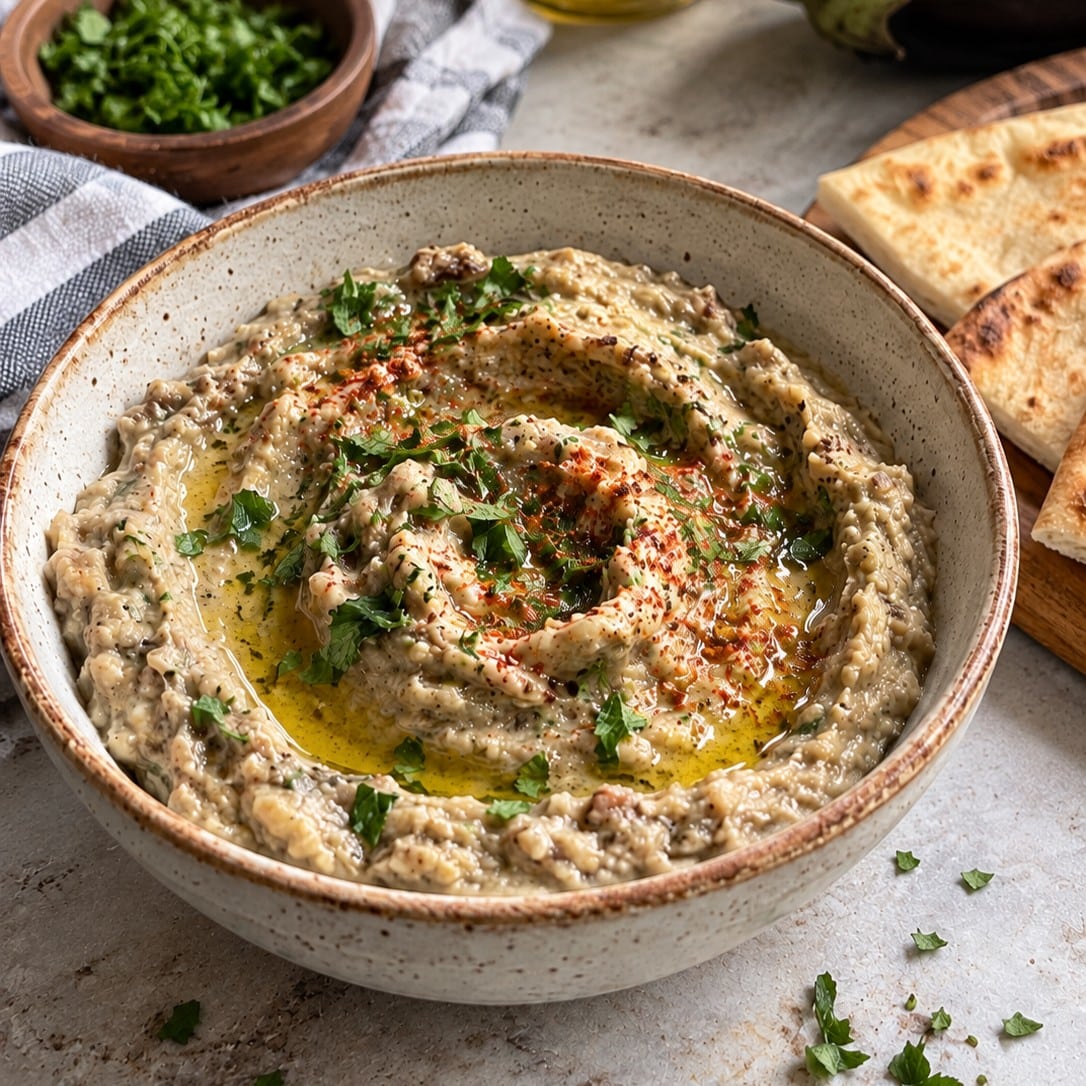
Variations
- Classic, no onion. Leave out the onion and blend the eggplant with one raw garlic clove, tahini, lemon and salt for the traditional Levantine version.
- Extra smoky. Add ½ teaspoon smoked paprika to the processor, especially if you're broiling rather than charring over a flame.
- Herby. Pulse in a handful of fresh parsley or mint for a greener, fresher-tasting dip.
- Pomegranate topping. Scatter pomegranate seeds over the top for color, crunch and a sweet-tart contrast.
- Spicy. Blend in a pinch of cayenne or Aleppo pepper, or top with a drizzle of chili oil.
- Toasted pine nuts. Toast a couple of tablespoons of pine nuts in a dry skillet and sprinkle them over the dip just before serving.
Serving Ideas
Serve baba ganoush at room temperature in a shallow bowl, swirled with the back of a spoon and finished with olive oil, a dusting of paprika and chopped parsley. Warm pita wedges are the classic partner, but homemade Lebanese lavash bread, pita chips, crackers, and raw vegetables like cucumber, carrots, bell pepper strips and radishes are all great for dipping.
For a Middle Eastern mezze spread, set it out with a bowl of hummus (try one of these flavored hummus recipes), a bright tabbouleh salad, olives and marinated vegetables. It's also excellent as a spread: tuck it into pita with vegan falafel and chopped salad, or spread it on a sandwich in place of mayo.
To round out a light meal, pair it with a crunchy fattouche salad and some roasted chickpeas.
Storing & Freezing
Store baba ganoush in an airtight container in the refrigerator for up to 4 days. Press a piece of plastic wrap onto the surface or add a thin layer of olive oil on top to keep it from drying out and darkening. Let it sit at room temperature for 20 to 30 minutes before serving, then stir and taste; you may want a squeeze of fresh lemon to wake it up. It's a great make-ahead dip for parties, since the flavor improves after a few hours in the fridge.
You can freeze baba ganoush for up to 3 months, though the texture becomes a little looser and more watery after thawing. Freeze it without the garnishes, thaw overnight in the refrigerator, pour off any liquid that separates, then stir well (or give it a quick pulse in the food processor) and adjust the seasoning with lemon juice and salt before serving.
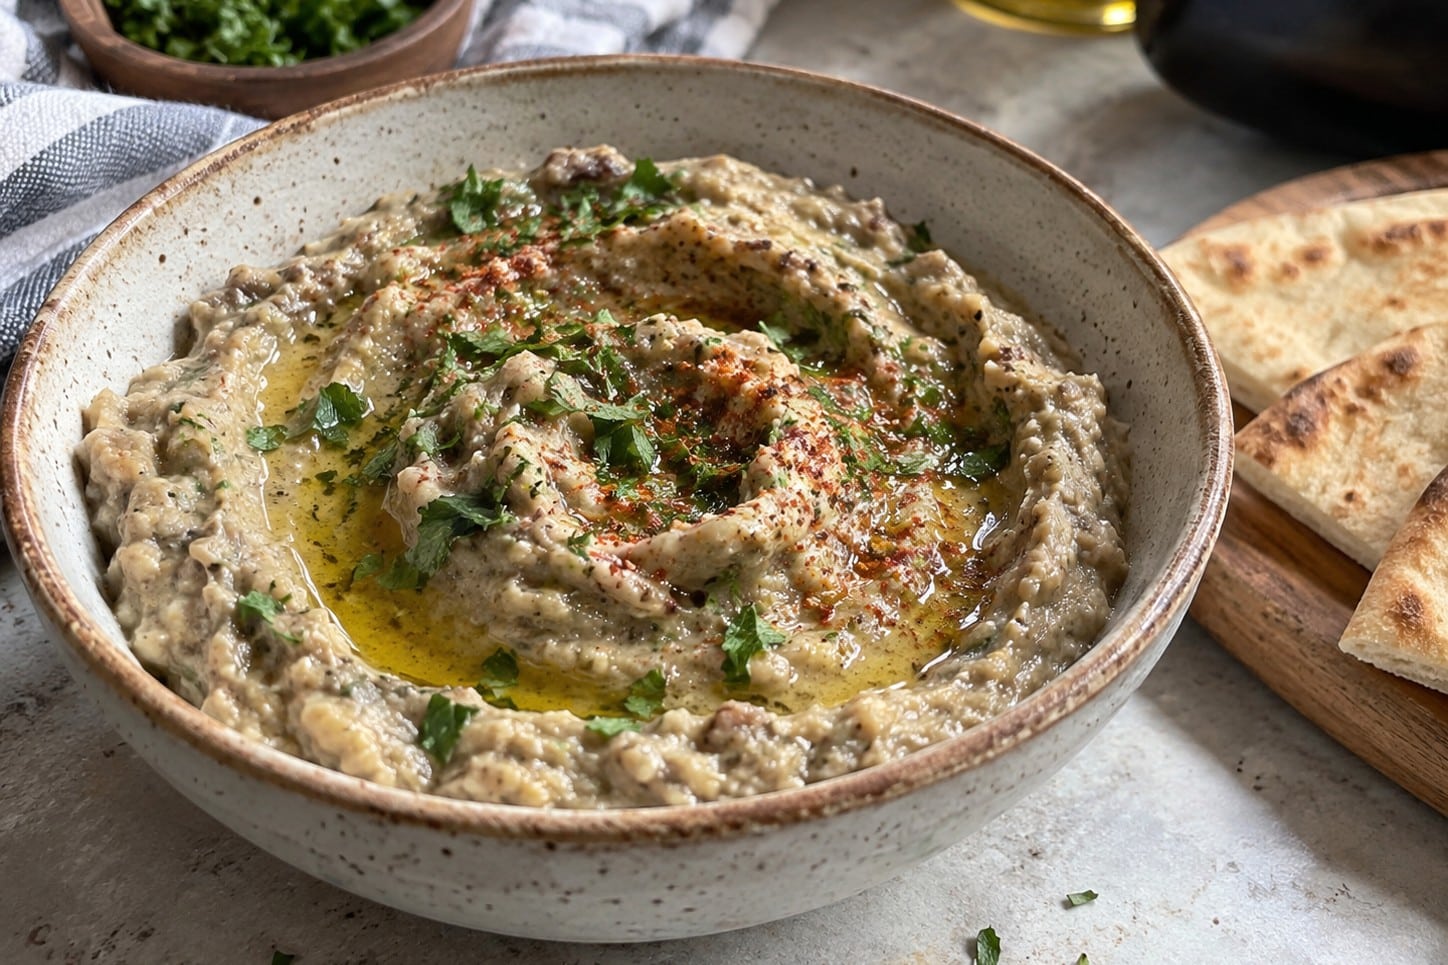
More Middle Eastern and Eggplant Recipes
If you loved this eggplant dip, here are a few more recipes you might enjoy:
- Couscous Stuffed Eggplant
- Vegan Tahini Yogurt Sauce
- 34 Vegan Mediterranean Diet Recipes
- 35+ Vegan Appetizer Recipes for the Holidays
Recipe
Baba Ganoush (Eggplant and Tahini Dip)
Smoky, creamy baba ganoush, the classic Middle Eastern eggplant dip, made with charred eggplant, tahini, lemon, garlic and a golden sautéed onion. Serve with warm pita or raw veggies. Makes about 2 ½ cups, enough for 8 to 10 as an appetizer.
Print
Pin
Save
Servings: servings
Equipment
- baking sheet rimmed, lined with foil
Ingredients
- 2 medium eggplants about 2 lb (900 g) total
- 1 tablespoon olive oil plus more for drizzling
- 1 large onion chopped
- 3 cloves garlic minced (use 4 for a more garlicky dip)
- 3 tablespoon tahini well stirred, plus more to taste
- 3 tablespoon lemon juice from about 1 lemon, plus more to taste
- ½ teaspoon ground cumin
- salt and freshly ground pepper to taste
- paprika sweet or smoked, for garnish (optional)
- fresh parsley chopped, for garnish (optional)
Instructions
- Preheat the broiler with an oven rack about 6 inches below the heating element. Line a rimmed baking sheet with foil.
- Prick the whole eggplants several times with a fork and arrange them on the baking sheet. Broil, turning with tongs every 8 to 10 minutes, until the skin is charred and blistered all over and the eggplants have completely collapsed and feel very soft, 25 to 35 minutes depending on their size and your broiler.
- Let the eggplants cool until you can handle them, about 10 minutes. Slit them open, scoop the flesh into a colander, and discard the skins and stems. Let the flesh drain for 10 minutes.
- Meanwhile, heat the oil in a skillet over medium heat. Add the onion and sauté until translucent, about 5 minutes. Add the garlic and continue to sauté, stirring often, until the onion is golden brown, 5 to 7 minutes more.
- Combine the drained eggplant, the onion and garlic mixture, the tahini, lemon juice and cumin in a food processor. Pulse until the mixture is a slightly chunky purée. Season with salt and pepper, then taste and add more tahini or lemon juice if you like.
- Transfer to a shallow serving bowl and swirl the top with the back of a spoon. Drizzle with olive oil and sprinkle with paprika and parsley, if using. Serve at room temperature with pita or raw vegetables.
Notes
No broiler? Roast the pricked eggplants on the foil-lined baking sheet at 450°F (230°C) for 40 to 45 minutes, turning once, until collapsed and very soft. You'll get less smokiness, so consider adding ½ teaspoon smoked paprika.
Gas stove or grill: For the smokiest baba ganoush, char the eggplants directly over a medium flame, turning with tongs, until blackened all over and completely soft, about 15 to 20 minutes.
Classic version: Most traditional Middle Eastern baba ganoush (also spelled baba ghanouj or baba ghanoush) has no onion. Skip the onion and sauté step and blend in 1 raw garlic clove instead.
Storage: Refrigerate in an airtight container for up to 4 days, or freeze for up to 3 months. Stir well and refresh with lemon juice and salt before serving.
Nutrition (Estimate per Serving)
Calories: 88kcalCarbohydrates: 11gProtein: 2gFat: 5gSaturated Fat: 1gPolyunsaturated Fat: 2gMonounsaturated Fat: 2gSodium: 6mgPotassium: 328mgFiber: 4gSugar: 5gVitamin A: 33IUVitamin C: 7mgCalcium: 26mgIron: 1mg
Vegan-ize any recipe!Grab our free vegan cheat sheet, packed with my favorite easy substitutions to make any recipe vegan.
Vegan Thai Pineapple Stir-Fried Rice
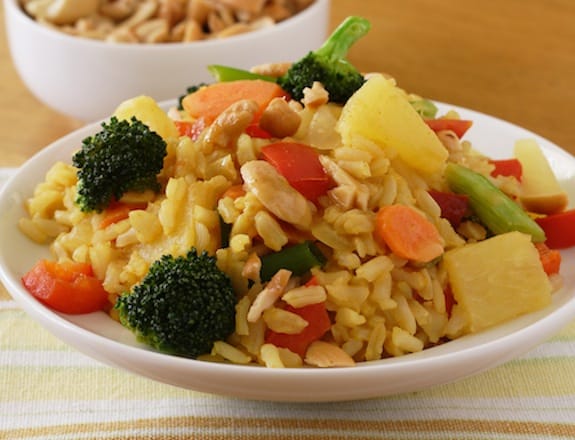
Colorful and luscious, this Thai restaurant classic can be made easily at home, using brown rice, pineapple, and veggies like broccoli, bell peppers, and carrots. When fresh pineapple is in season and reasonably priced, try this stir-fried rice recipe with the fresh fruit! Adapted from Vegan Express. Photo by Susan Voisin. [Read more...]
Enlightened Miso Power Bowl
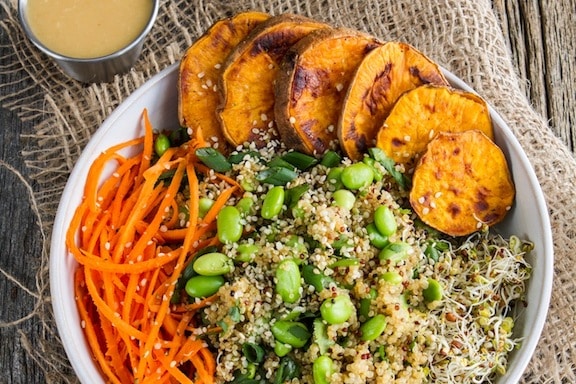
This Enlightened Miso Power Bowl is a fun recipe that will keep your energy high for hours. Miso is a fermented food that aids in digestion and adds a wonderful umami flavor to foods. If you are new to miso, Orange-Maple Miso Dressing is a great way to incorporate it into your diet. It's a great gluten-free, nut-free, refined sugar–free, and soy-free option! Recipe and photo from The Oh She Glows Cookbook* by Angela Liddon. [Read more...]
Mixed Green Salad with Beets and Walnuts
This simple mixed green salad with beets and walnuts makes a delicious light yet filling meal. Marinated beets add plenty of flavor to this winter salad, and the walnuts add a satisfying crunch!

If you've been craving a big, fresh salad - this is just the recipe you've been looking for!
This dinner-worthy mixed green salad is loaded with fresh mixed greens and hearty roasted beets for a salad that's just perfect for chilly fall and winter evenings.
This beet and mixed greens salads is:
- Packed with fresh, healthy ingredients.
- Light and refreshing.
- Hearty enough for a filling dinner.
- Loaded with flavor from the homemade dressing.
- Totally delicious.

Tips & Tricks
The roasted beets are the star of the show in the mixed green salad. But if roasting beets from scratch is too time consuming, there are a few simple shortcuts.
You can opt for pickled beets instead of freshly roasted ones. Use a 12-ounce jar of pickled beets. Drain off about ½ cup of the liquid to combine with the olive oil for the dressing.
Alternatively, you can use pre-packed steamed beets if those are available in your grocery store. You can usually find them refrigerated in the produce section.

More Recipes
If you love this simple vegan salad, be sure to check out these other tasty recipes:
- Mixed Green Salad with Apples, Carrots, and Beets
- Vegan Kale Salad with Orange Miso Dressing
- More Easy Beet Recipes
Recipe

Green Salad with Beets and Walnuts
This simple mixed green salad with beets and walnuts makes for a fresh, easy, and filling winter salad.
Print
Pin
Save
Servings: servings
Ingredients
- 4 medium beets or see shortcut
- 2 tablespoon apple cider vinegar
- 2 tablespoon lemon juice
- 2 tablespoon maple syrup or agave nectar
- 4 oz mixed baby greens or ½ head red-leaf lettuce, torn into bite sized pieces
- 2 carrots peeled and sliced, or shaved with a vegetable peeler
- ½ cup walnuts chopped
- several sprigs fresh dill leaves finely chopped
- 3 tablespoon olive oil
- salt and black pepper to taste
Instructions
Cook the Beets
- To roast the beets, preheat oven to 400 degrees F. Cut the top green tops off of the beets, if still attached. Scrub the beets clean. Wrap each beetroot in a piece of aluminum foil.
- Arrange the beets on a baking sheet. Roast for 45-60 minutes, until fork tender. The cook time will vary a bit based on the size of the beets.
- Remove from oven, and allow the beets to cool. Use a paper towel or clean dishcloth to rub the skins off of the beets. If the beets are fully cooked, the skin should peel away easily. Chop the beets into bite sized pieces for your salad.
- Alternatively, you can use pickled beets. See the notes section for this trick.
- Combine the vinegar, lemon juice, and maple syrup in a medium bowl. Whisk together. Add salt and pepper, to taste.
- Add the beets to the bowl with the dressing, and stir to coat them well. Let stand for at least 30 minutes, stirring occasionally.
Prepare the Salad
- Assemble the salads by tossing together the mixed greens, marinated beets, and walnuts.
- Drizzle with remaining marinade for additional dressing, if desired.
Notes
Shortcut: Use a 12-ounce jar pickled beets - make sure it's not too high in added sugars, and NOT high-fructose corn syrup! Drain off a scant ½ cup of the liquid to combine with the olive oil to use as the dressing.
Nutrition (Estimate per Serving)
Calories: 271kcalCarbohydrates: 21gProtein: 4gFat: 20gSaturated Fat: 2gPolyunsaturated Fat: 8gMonounsaturated Fat: 9gSodium: 94mgPotassium: 513mgFiber: 4gSugar: 14gVitamin A: 5448IUVitamin C: 15mgCalcium: 53mgIron: 1mg
Vegan-ize any recipe!Grab our free vegan cheat sheet, packed with my favorite easy substitutions to make any recipe vegan.
Korean Japchae (Shirataki Noodles with Vegetables)

This Korean Japchae recipe is a slightly adventurous spin on fried rice. It marries slurpy shirataki noodles and a blizzard of vegetables in a rich soy and mirin broth. This dish is easy to make, kid-friendly, and restorative to eat whether served hot or cold. Recipe and photo by Ellen Kanner. [Read more...]
Vegan Cheese Sauce

This classic Vegan Cheese Sauce recipe is extremely simple to make and can be refrigerated for up to one week. Meet your new favorite food.


Recipe

Vegan Cheese Sauce
This classic Vegan Cheese Sauce recipe is extremely simple to make and can be refrigerated for up to one week.
Print
Pin
Save
Servings: cup
Ingredients
- 1 ½ cup Yukon potatoes peeled and quartered
- ⅓ cup carrots diced
- ¼ cup nutritional yeast
- 2 tablespoon olive oil
- 2 tablespoon unsweetened almond milk
- 1 teaspoon lemon juice
- 1 clove garlic minced
- ½ teaspoon vinegar
- ½ teaspoon salt
- ¼ teaspoon cumin
Instructions
- Put the potatoes and carrots in a pot and cover with water.
- Bring to a boil then reduce to medium heat.
- Simmer for 12 minutes. Drain.
- Put the potatoes and carrots in a blender. Add the remaining ingredients. Mix until it is smooth.
Nutrition (Estimate per Serving)
Calories: 592kcalCarbohydrates: 72gProtein: 14gFat: 29gSaturated Fat: 4gPolyunsaturated Fat: 3gMonounsaturated Fat: 21gSodium: 1254mgPotassium: 1877mgFiber: 12gSugar: 5gVitamin A: 7142IUVitamin C: 75mgCalcium: 104mgIron: 4mg
Vegan-ize any recipe!Grab our free vegan cheat sheet, packed with my favorite easy substitutions to make any recipe vegan.
- 1
- 2
- 3
- …
- 5
- Next Page »