
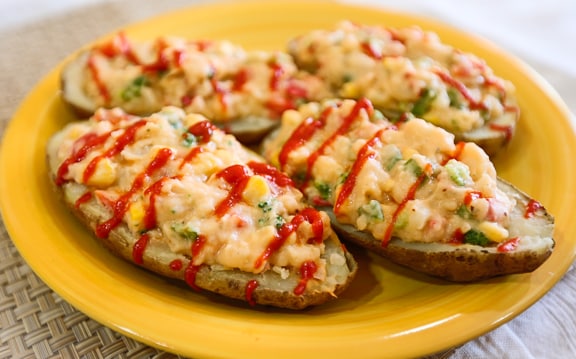
I learned long ago that leftover potatoes come in handy if they're ready to use all week long. One of my favorite ways to enjoy potatoes is scooped out, mashed, and stuffed right back into the shells. The skins become super crunchy on the outside, and the filling is pure creamy goodness on the inside. Using leftover cooked vegetables, which add extra fiber and nutrients, along with a bit of hummus, dinner almost makes itself. These are simple, satisfying, and completely delicious. Photos by Evan Atlas. Recipe by Vicki Brett-Gach from her blog Ann Arbor Vegan Kitchen. [Read more...]
Search Results for: cashew cream
Raw Cold Beet Borscht
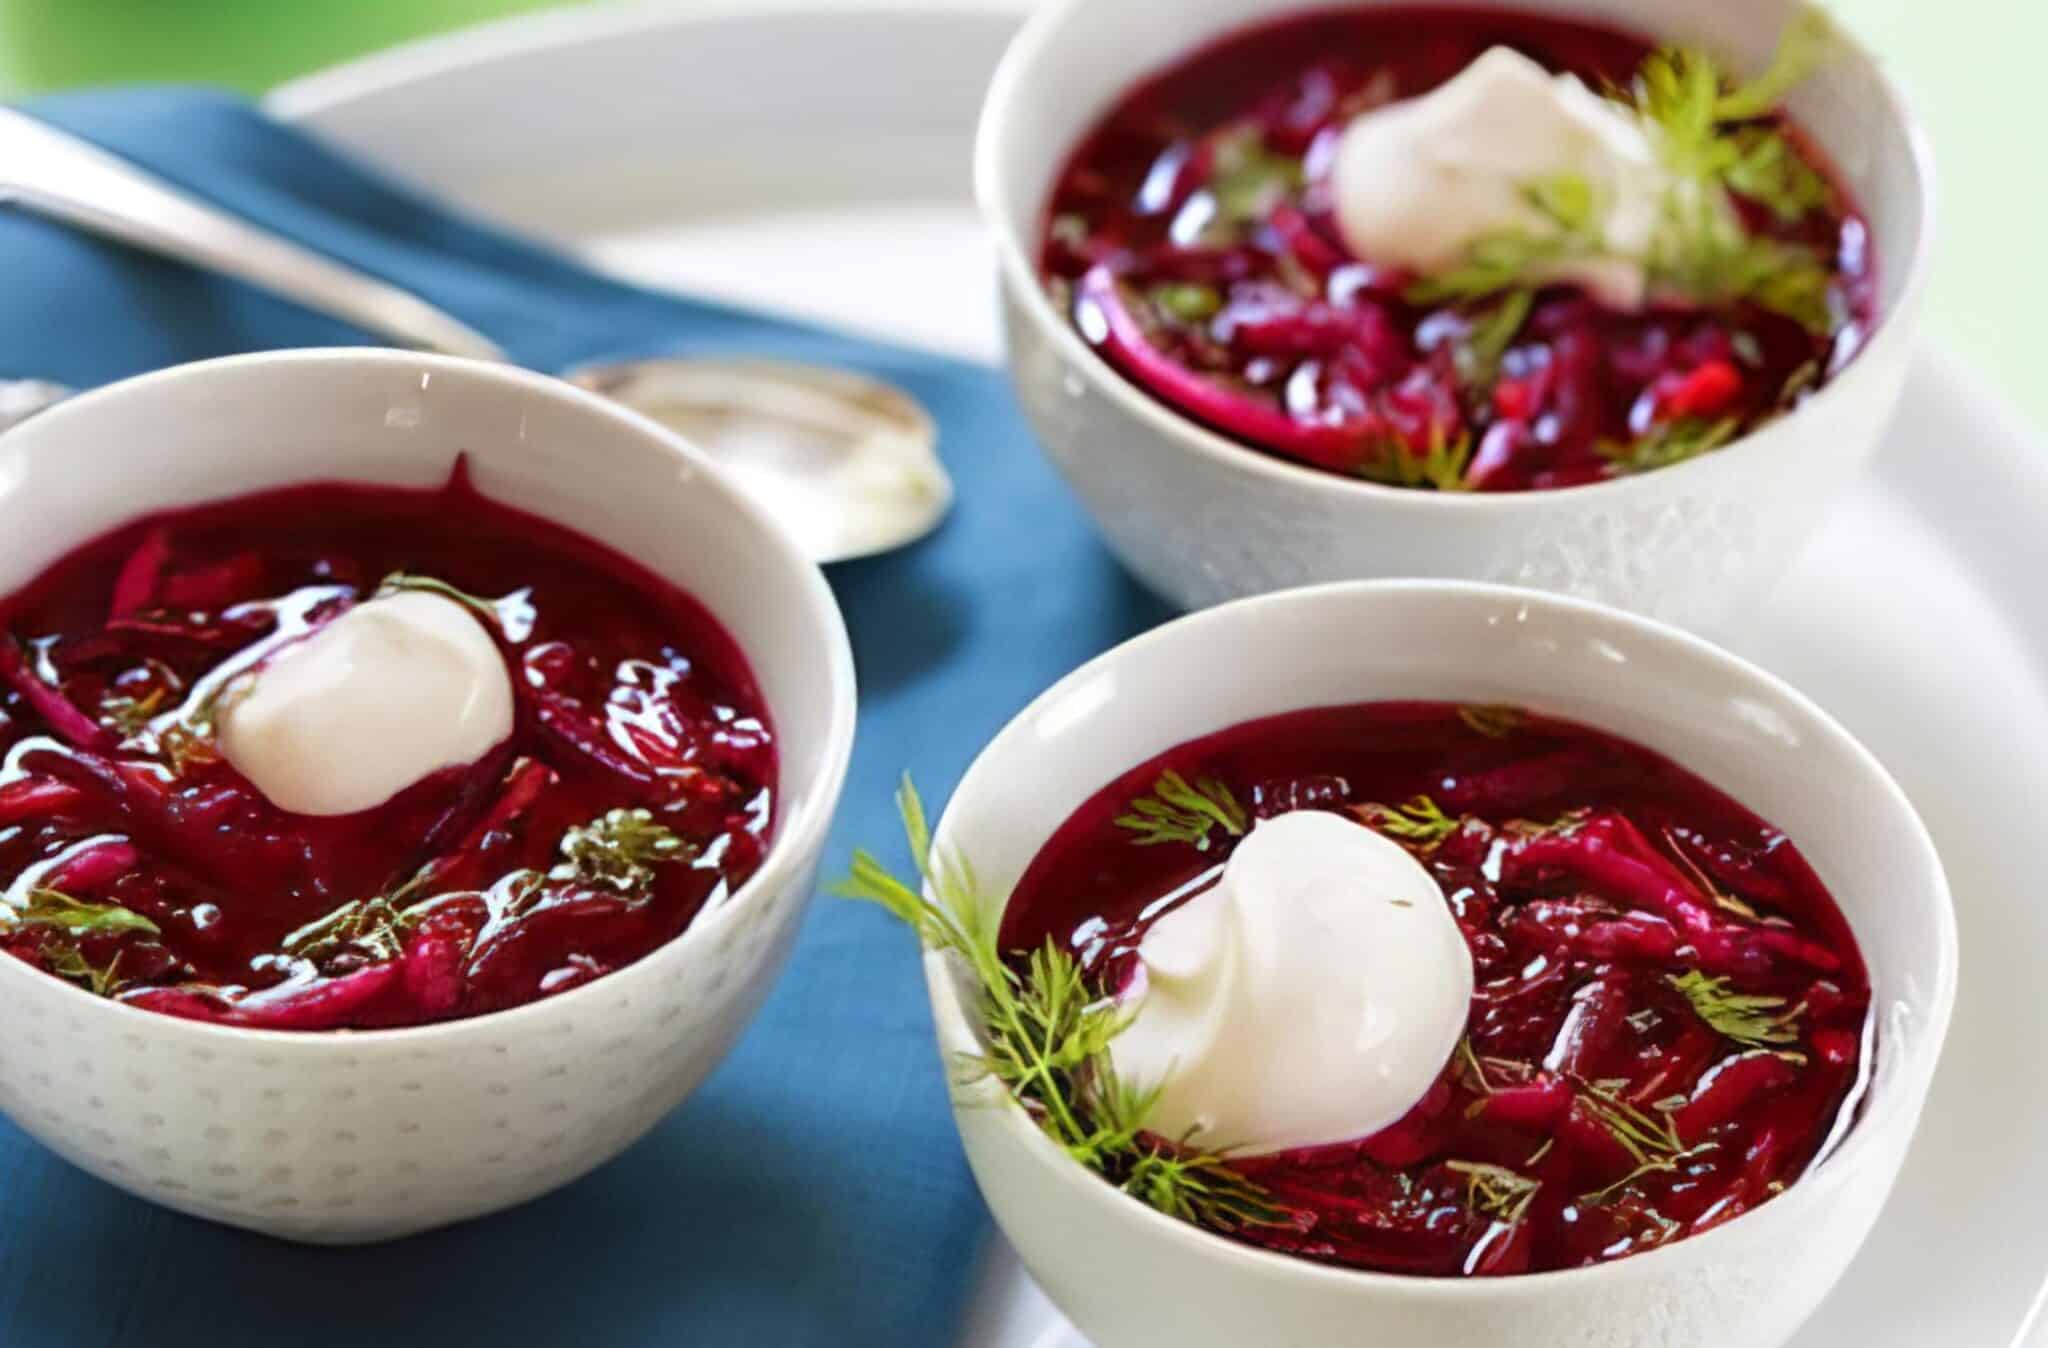
This raw beet borscht is a refreshing, no-cook version of the classic Eastern European soup. Bursting with the natural sweetness of beets, carrots, and apples, it's a vibrant dish perfect for warm days.
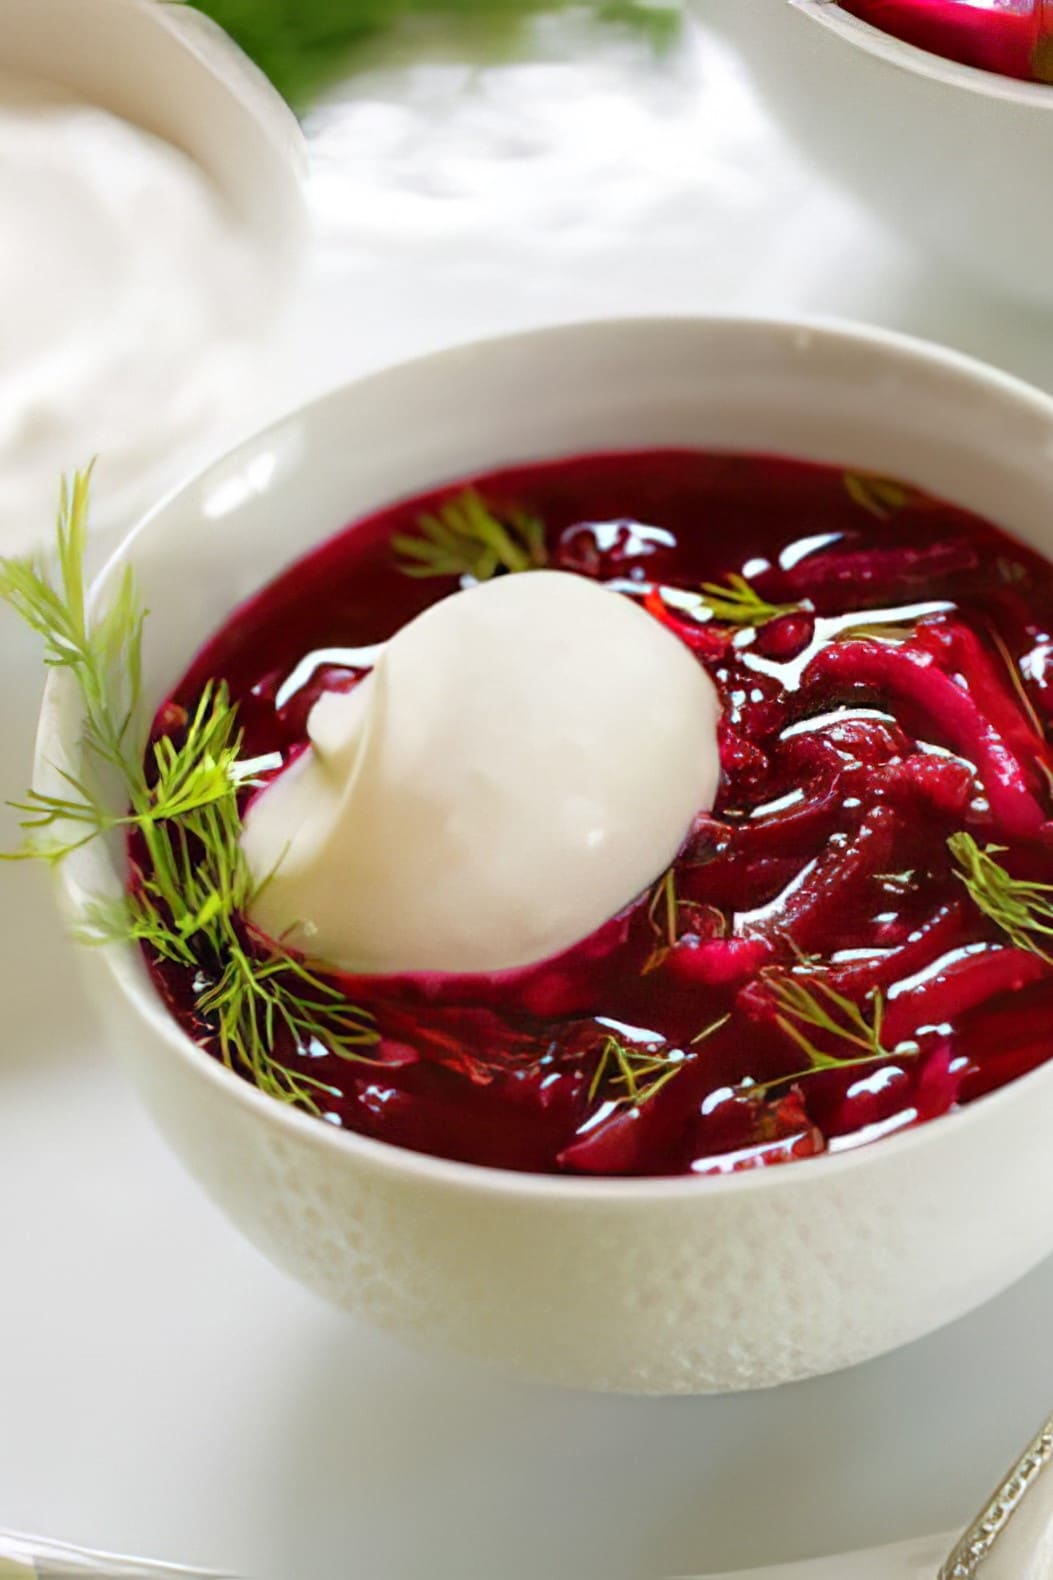
Traditional borscht is a hearty, cooked beet soup enjoyed hot or cold. This raw adaptation skips the cooking, preserving the crisp textures and earthy flavors of fresh vegetables and fruits.
The combination of grated beets, carrots, cucumber, and sweet apple creates a naturally sweet base, while lemon juice adds a zesty brightness.
Fresh dill and scallions introduce herbal notes, making this chilled soup a delightful starter or light meal.
Why You'll Love This Raw Beet Borscht
- No-Cook Preparation: Ideal for hot days when you want to avoid the stove.
- Nutrient-Rich: Retains the full spectrum of vitamins and minerals from raw vegetables.
- Vegan and Gluten-Free
- Quick and Easy: Minimal pr!eparation time; just grate, mix, and chill.
Helpful Tips & Substitutions
Grate with Ease: Use a food processor with a grating attachment to save time and effort. You can grate the vegetables by hand as well, but it quite the chore. Be sure to check the guide to cooking beets for more tips on how to prepare them!
Chill Thoroughly: Allow the soup to refrigerate for at least 3 hours to enhance the flavors and ensure it is fully chilled.
Creamy toppings: Top your borscht with a dollop of vegan sour cream or cashew cream. It's a delightful contrast to the tangy soup. Coconut yogurt is also a good choice.
Use any beets! While traditional red beets are the most common for making borscht, golden beets can be used for a different hue and milder taste.
Variations to Try
Add a Spicy Kick: Add a pinch of cayenne pepper or finely chopped jalapeño for some heat.
Herbal Twist: Incorporate fresh mint or basil for a different flavor profile.
Nutty Addition: Top with chopped walnuts or almonds for added texture and richness.
More Vegan Recipes
If you love this vegan borscht, be sure to check out these other delicious ideas:
Recipe
Raw Cold Beet Borscht
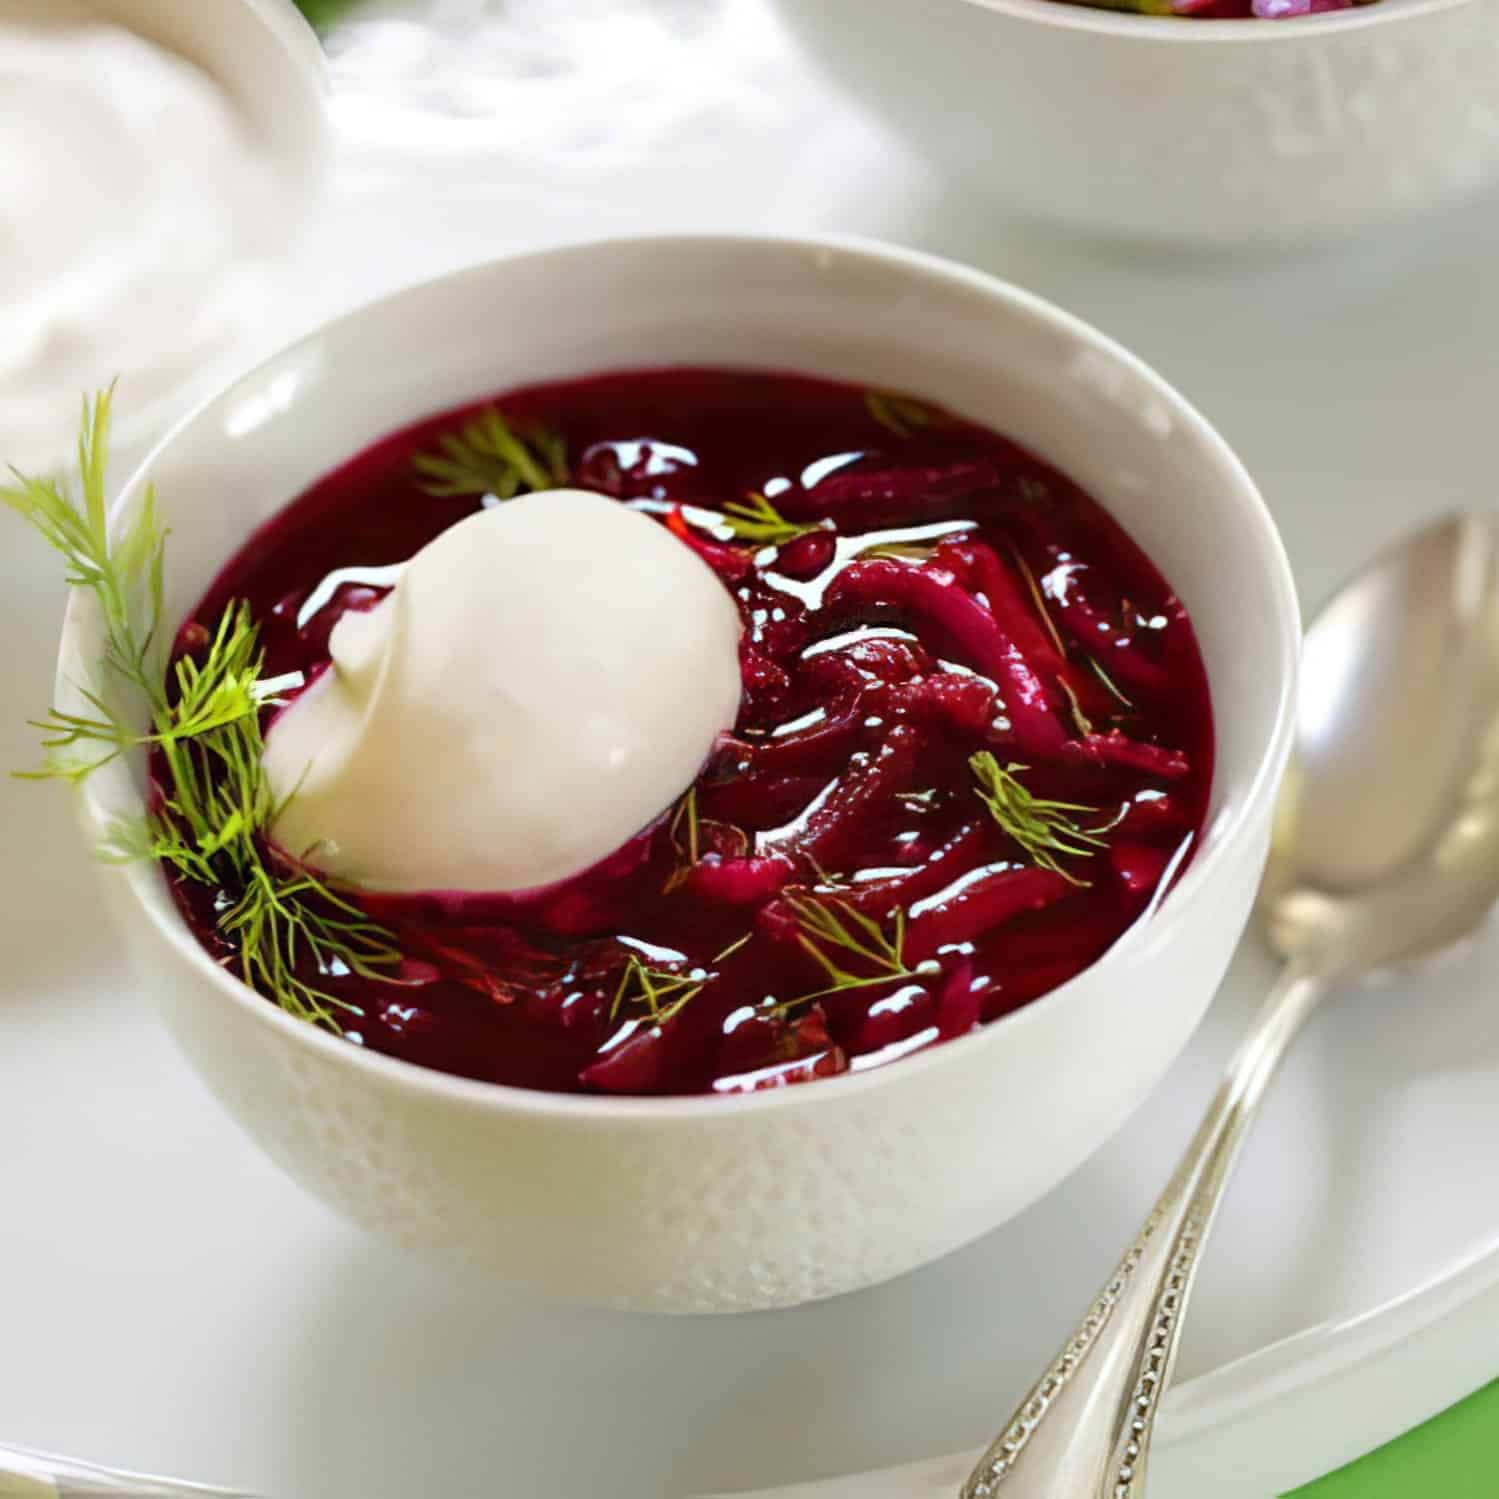
This raw beet borscht is a refreshing, no-cook version of the classic Eastern European soup.
Print
Pin
Save
Servings:
Equipment
- Food processor with grater attachment
Ingredients
- 2 large beets peeled and cut into chunks (or see note if you'd like to lightly cook the beets)
- ½ small cucumber cut into chunks
- 1 medium apple sweet variety, cut into chunks
- 1 medium carrot peeled and cut into chunks
- 2 tablespoons fresh dill minced, add more to taste
- 1 scallion thinly sliced
- Juice of 1 to 2 lemons to taste
- 3 tablespoons agave nectar or to taste
- salt and freshly ground pepper to taste
- vegan sour cream purchased or homemade, or Cashew Cream for topping, optional
Instructions
- Grate the beets, cucumber, apple, and carrot in a food processor fitted with the grating blade. Transfer the grated ingredients to a soup tureen or some other kind of serving container such as a deep, steep-sided casserole dish.
- Fill the container with enough water to give the soup a dense but not overly crowded consistency. Stir in the dill and scallions.
- Add the juice of 1 to 1 ½ lemons (depending on how large and juicy they are), and the agave. Season gently with salt and pepper.
- Cover and let the soup chill for at least 3 hours. This can be made the morning before you want to serve it for dinner, or the day before. Just before serving, taste and add more lemon juice and agave to your liking.
- Serve garnished with a dollop of vegan sour cream or cashew cream, if desired.
Notes
If you prefer beets lightly cooked, just use your favorite cooking method, whether in the microwave or on the stovetop. Don't overcook! Cook just until they can be pierced, then plunge them in a bowl of ice water until they're cool enough to handle.
Nutrition (Estimate per Serving)
Calories: 94kcalCarbohydrates: 22gProtein: 2gFat: 0.3gSaturated Fat: 0.04gPolyunsaturated Fat: 0.1gMonounsaturated Fat: 0.03gSodium: 79mgPotassium: 384mgFiber: 4gSugar: 17gVitamin A: 1784IUVitamin C: 9mgCalcium: 23mgIron: 1mg
Vegan-ize any recipe!Grab our free vegan cheat sheet, packed with my favorite easy substitutions to make any recipe vegan.
Puree of Spring or Summer Greens
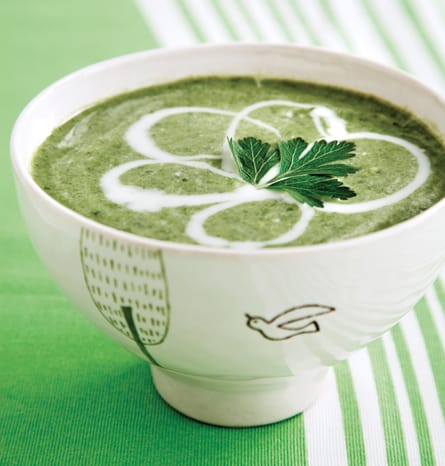
Here’s a soup designed to make the most of kale or chard, spinach, arugula, and lettuces when they become too abundant. When greens threaten to take over the fridge, I turn to this recipe, which has become an annual tradition! If you love greens and have plenty of them, you’ll find this nourishing recipe useful as well as delicious. Make sure all greens are very well washed. Adapted from Vegan Soups and Hearty Stews for All Seasons.
Spinach, Leek, and Potato Matzo Gratin
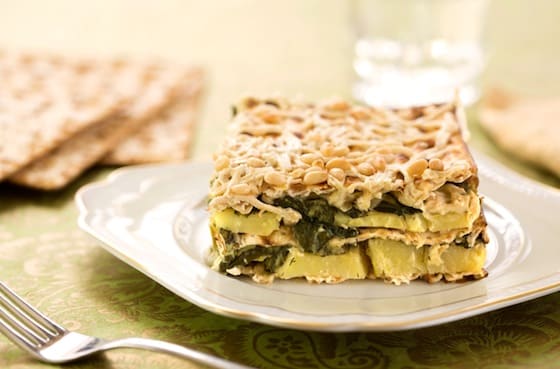
This dish closely resembles layered matzo casseroles, called minas, which are commonly served at Sephardic Seders. They consist of layered matzos, vegetables, and cheese. With optional Daiya cheese, or no cheese at all, it's a tradition well worth adopting (and adapting) for the vegan Passover Seder. Photos by Hannah Kaminsky. Adapted from Vegan Holiday Kitchen. [Read more...]
Simple Soups for Kids and Teens

Is there anyone out there who isn't instantly comforted by the thought of a nice warm bowl of soup? Here are a few easy, appealing vegan soups that can become the favorites of kids and teens. Even kids who balk at vegetables may be more likely to enjoy them when enveloped in a tasty broth. See also Creamy Corn Chowder in Tofu 101. And make sure to explore the entire Veg Kids and Teens page on VegKitchen for lots of easy, healthy recipes for vegetarian and vegan kids and teens. [Read more...]
Pasta and Tofu Salad

This simple pasta salad is reminiscent of a retro favorite, tuna-noodle salad, with baked or firm herbed tofu standing in. It's a pasta salad that's welcome all year round, not just during summer months. In addition, once you have your noodles cooked, this takes hardly more time to make for lunch than a sandwich, and packs up really well as a portable lunch. Serve with cherry tomatoes and carrot sticks (or baby carrots) on the side. Photos by Rachael Braun.
Baked Rice with Vegan Cheese and Green Chiles

In this Southwestern-style rice casserole, vegan cheese, green chiles, and cilantro give a delectable flavor to an otherwise simple dish. This is delicious served with Beer-Stewed Pinto Beans and a big green salad. Photos by Hannah Kaminsky. [Read more...]
Vegan Black Bean & Corn Quesadillas
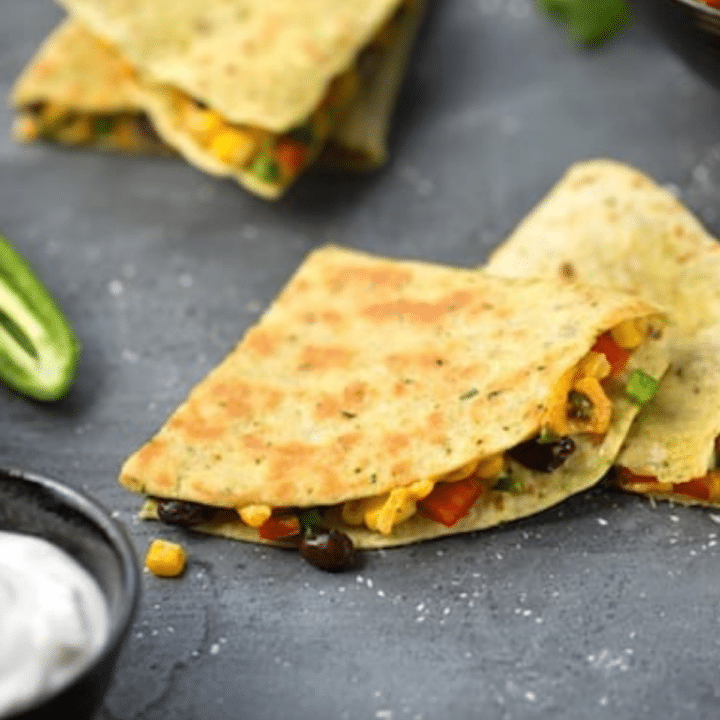
Quesadillas made with vegan cheese are a great choice for an easy dinner. Black beans and corn make a hearty, satisfying filling, and you can make these on the stovetop or in the oven depending on how many you're feeding and how much time you have.
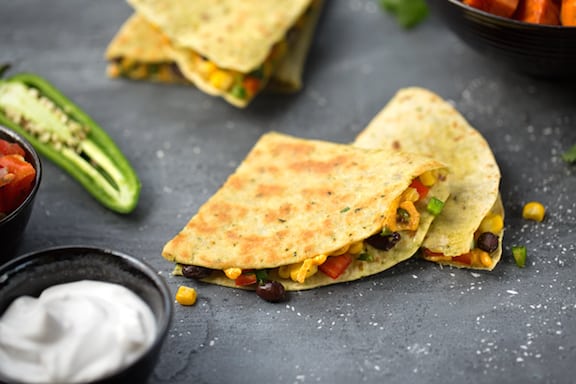
Photos by Hannah Kaminsky.
Key Ingredients & Substitutions
- Black beans and corn. A hearty, classic filling combination — fresh or thawed frozen corn both work well, and canned black beans (drained and rinsed) save time over cooking from dry.
- Jalapeño or green chiles. Adjust the amount to control the heat — canned chiles work well if fresh jalapeños aren't available, and are milder overall.
- Nondairy cheddar-style cheese. Helps hold the filling together and melts nicely — shred it yourself from a block for the best melt, since pre-shredded often has anti-caking additives that melt less smoothly.
- Flour tortillas. Choose a size that suits your pan; large tortillas make bigger quesadillas but can be trickier to flip.
- Salsa and vegan sour cream. Homemade or store-bought both work well as toppings that add moisture and freshness to balance the rich filling.
Variations
- Add greens. A handful of chopped spinach or kale stirred into the filling adds extra nutrition without changing the flavor much.
- Swap the beans. Pinto beans work well in place of black beans, or use a mix of both.
- Make it extra cheesy. Add a little more cheese for a gooier quesadilla, especially if you're cooking on the stovetop where the cheese needs to hold everything together.
- Add sauteed onions and peppers. A quick sauté of bell pepper and onion bulks up the filling into more of a fajita-style quesadilla.
- Add a squeeze of lime. Stirred into the filling or squeezed over the finished quesadilla, it brightens everything considerably.
Tips for the Best Quesadillas
- Don't overfill. Leaving a border around the edge makes folding and flipping much easier, and keeps filling from spilling out into the pan.
- Cook until golden. Whether on the griddle or in the oven, look for a light golden brown color on both sides before removing.
- Flip carefully. If cooking on a griddle, use a wide spatula to flip without spilling the filling, and don't rush it — a properly set tortilla flips much more cleanly.
- Cut into wedges with a pizza cutter. This makes them easier to serve and eat than trying to cut through with a knife.
- Keep finished quesadillas warm in a low oven. This is especially helpful if you're cooking a big batch on the stovetop in sequence.
Make Ahead & Storage
The bean and corn filling can be made up to 2 days ahead and refrigerated, which makes assembly quick on a busy weeknight. Once cooked, leftover quesadillas keep for a couple of days in the fridge and reheat well in a dry skillet or the oven — a microwave will work in a pinch, but the tortilla won't stay as crisp.
How to Serve
Top with salsa and a dollop of vegan sour cream, and serve with a big salad and a simple grain or potatoes — better yet, sweet potatoes.
Recipe
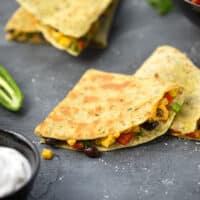
Vegan Black Bean & Corn Quesadillas
Quesadillas made with vegan cheese, black beans, and corn — a great choice for an easy dinner, made on the stovetop or in the oven.
Print
Pin
Save
Servings: quesadillas
Ingredients
Filling
- 1 15- to 16-ounce can black beans drained and rinsed
- 1 cup cooked fresh or thawed frozen corn kernels
- 1 medium red bell pepper very thinly sliced
- 2 to 3 tablespoons minced fresh cilantro
- 2 scallions thinly sliced
- 1 teaspoon ground cumin
- 1 or 2 fresh jalapeño peppers seeded and minced, or 4-ounce can mild or hot chopped green chiles
To Finish
- 8 soft taco-size (8-inch) flour tortillas
- 1 cup grated cheddar-style nondairy cheese or as desired
- salsa homemade or prepared, as desired
- vegan sour cream or cashew cream optional
Instructions
- Heat a large non-stick griddle, or preheat the oven to 400°F.
- Combine the filling ingredients in a mixing bowl and stir together. Arrange the filling on one half of each tortilla, leaving about a ½-inch border near the edges. Sprinkle each with a little of the cheese. Fold each tortilla over to make a half-circle.
- If heating on a griddle, cook the quesadillas on both sides until nicely golden brown (flip them carefully!). If using the oven, bake for 15 minutes at 400°F, or until the quesadillas are hot and beginning to turn light golden brown.
- Arrange one quesadilla on each serving plate and cut in half with a sharp knife to make two wedges. Top each with a bit of the salsa and, if desired, a small dollop of sour cream.
Notes
Serve with a big salad and a simple grain or potatoes (better yet, sweet potatoes).
Vegan-ize any recipe!Grab our free vegan cheat sheet, packed with my favorite easy substitutions to make any recipe vegan.

Find more of VegKitchen's Vegan Dinner Recipes and more Burritos, Enchiladas, and Tortilla Dishes. Find lots more tortilla recipes in A Southwestern Supper.
Sweet and Spicy Glazed Nuts
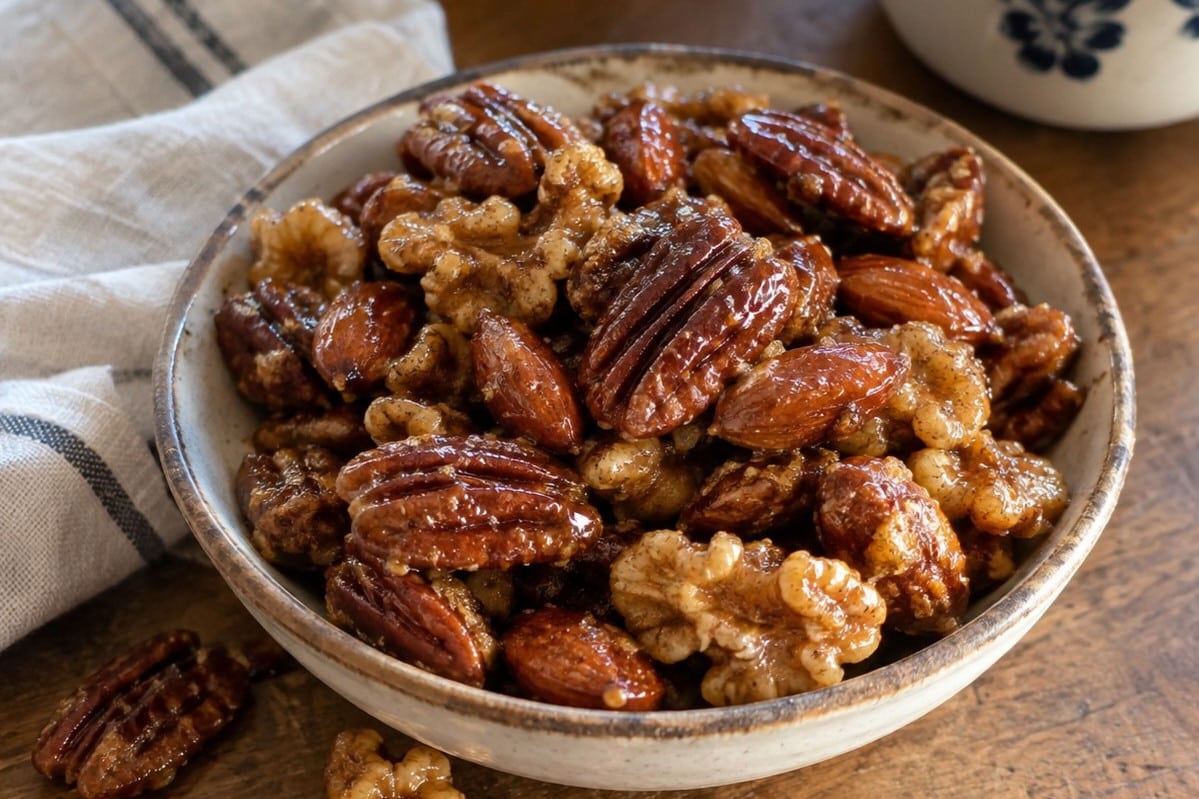
These sweet and spicy glazed nuts are pecans, almonds and walnuts tossed in a maple-cinnamon glaze with a kick of chili and cayenne, then baked until glossy and crisp. They take five minutes to stir together, make an easy vegan snack for any day of the week, and disappear fast from a holiday appetizer table.
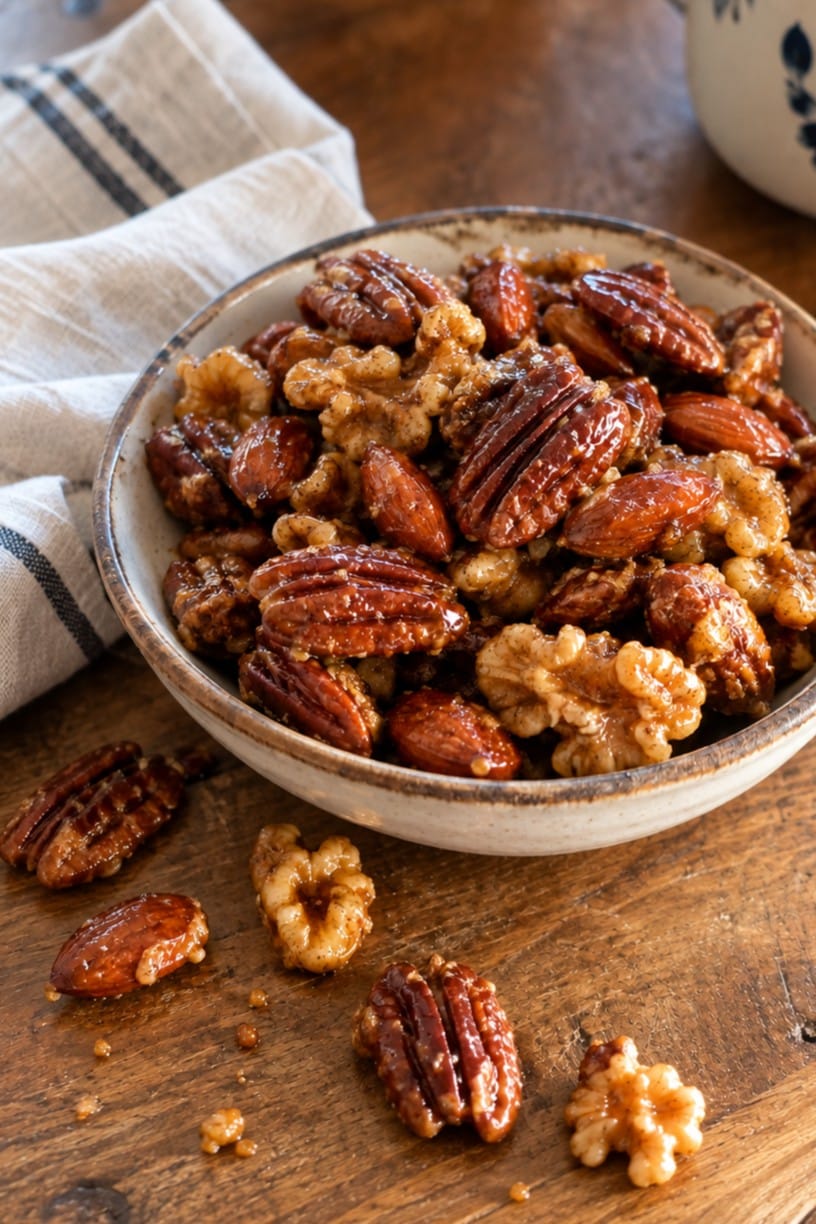
Unlike candied nuts made with egg whites or butter, these glazed nuts get their shine from nothing more than maple syrup and a spoonful of coconut sugar, so they're naturally vegan and gluten-free. The glaze turns sticky in the oven and sets into a thin, crackly shell as the nuts cool, with warm spice up front and a slow, gentle heat at the finish.
Key Ingredients & Substitutions
- Mixed raw nuts. A blend of pecan halves, whole almonds and walnut halves gives you a mix of buttery, crunchy and slightly bitter. Any raw, unsalted nuts work, including cashews, hazelnuts and macadamias. Start with raw rather than roasted nuts, since they toast in the oven as the glaze bakes on; already-roasted nuts can taste burnt by the time the glaze sets.
- Maple syrup. Pure maple syrup is the base of the glaze and adds a deep, caramel-like sweetness. Agave nectar works the same way and tastes a little milder. Skip pancake syrup, which is mostly corn syrup and won't set as nicely.
- Coconut sugar. Just one tablespoon of coconut sugar helps the syrup dry into a crisp coating instead of staying tacky. Light brown sugar is an easy swap.
- Warm spices. Cinnamon, ground ginger and a pinch of nutmeg give the nuts their cozy, holiday flavor. Pumpkin pie spice can stand in for all three if that's what you have.
- Chili powder and cayenne. Chili powder brings mild, earthy heat, while cayenne pepper is what makes these spicy glazed nuts actually spicy. Use ⅛ teaspoon for a gentle warmth or up to ½ teaspoon if you like real heat.
- Salt. Half a teaspoon of fine sea salt balances the sweetness. Leave it out if you start with salted nuts.
- Dried cranberries (optional). Stirred in after baking, they add chewy tartness and a festive pop of color. Raisins, chopped dried cherries or chopped dried apricots are all good alternatives.
Helpful Tips
Line the pan. Maple glaze bakes onto a bare pan like cement. A sheet of parchment paper or foil on a rimmed baking sheet means the nuts lift right off and cleanup takes seconds. If you use foil, a light film of oil keeps the glaze from sticking to it.
Spread them in a single layer. Nuts piled on top of each other steam rather than toast, and the glaze stays soft. Give them room on the pan, and scrape every last bit of glaze from the bowl over the top.
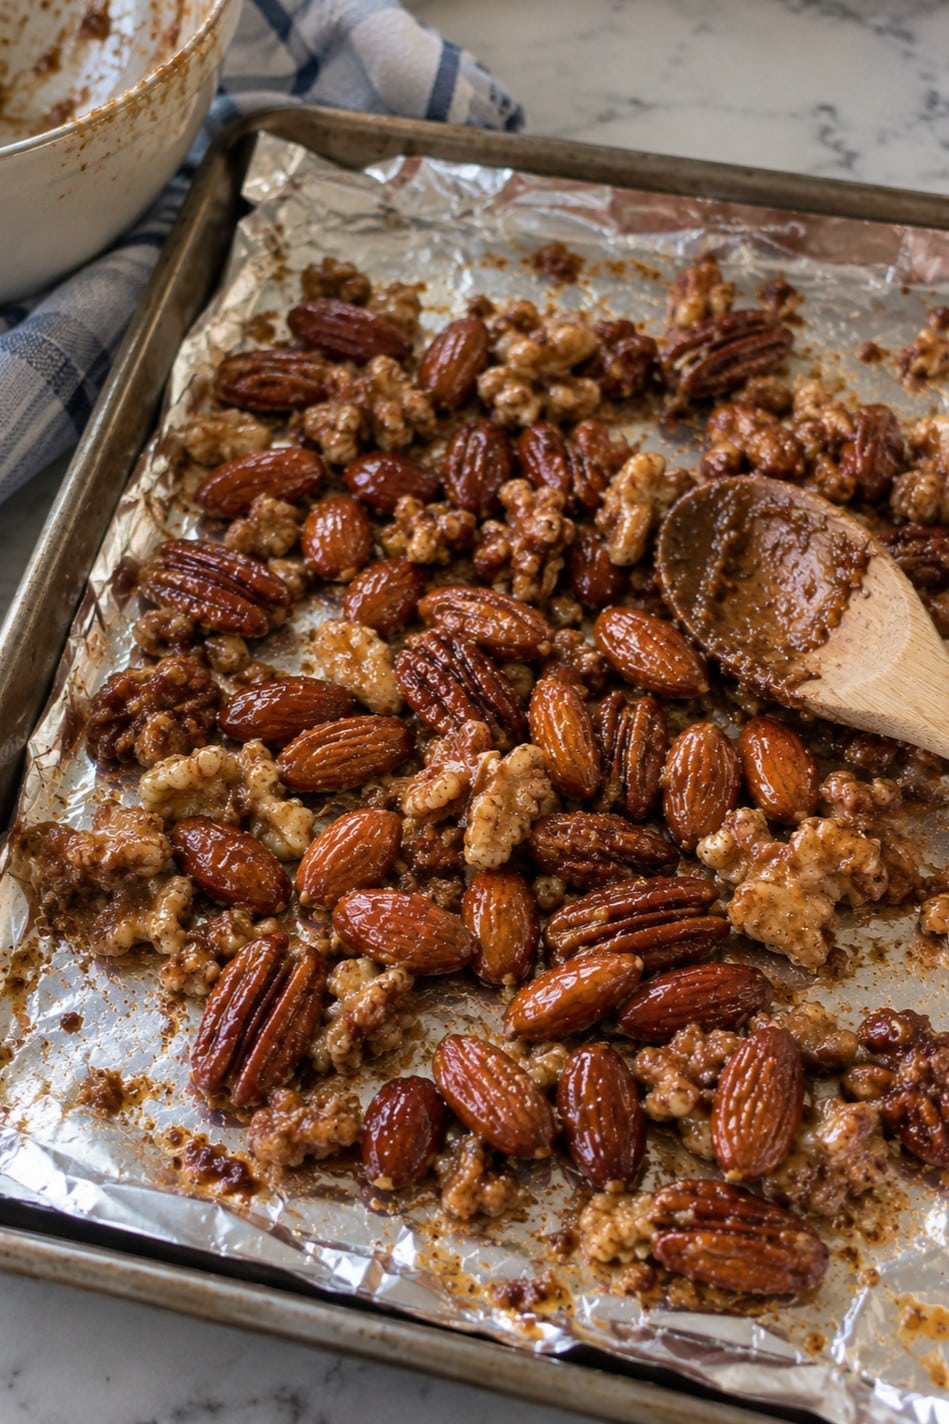
Stir once, then watch the last few minutes. Give the nuts a stir halfway through baking so they cook evenly and the glaze coats every side. Maple syrup goes from bubbling to scorched quickly, so check them at the 15-minute mark. They're ready when the glaze is bubbling all over and the nuts smell toasty.
Let them cool completely. Straight out of the oven the nuts will feel sticky and you'll wonder whether they worked. They did. The glaze firms up as it cools, so leave them on the pan for about 20 minutes, then break apart any clusters.
Fix sticky nuts with a few more minutes. If the nuts are still tacky once they're fully cool, the glaze didn't cook long enough, which often happens in a humid kitchen. Return the pan to the oven for 3 to 5 minutes and let them cool again.
Variations
Once you've made the basic recipe, it's easy to change the flavor. Keep the maple syrup, sugar and salt the same and swap the spices:
- Smoky chipotle. Replace the chili powder and cayenne with ½ teaspoon smoked paprika and ¼ teaspoon chipotle powder, and leave out the nutmeg. Great with a cold drink.
- Rosemary and sea salt. Skip the cinnamon, ginger and nutmeg. Add 1 tablespoon finely chopped fresh rosemary and a pinch of black pepper to the glaze, and sprinkle flaky salt over the nuts as soon as they come out of the oven.
- Chai spice. Use ½ teaspoon cinnamon plus ¼ teaspoon each ground cardamom and ginger, a pinch of cloves and a pinch of black pepper. Leave out the chili powder and cayenne for a sweeter, fragrant mix.
- Curry and lime. Swap the warm spices for 1 teaspoon curry powder, keep the cayenne, and toss the warm nuts with the finely grated zest of one lime. Cashews are especially good this way.
- Gingerbread. Use 2 tablespoons maple syrup and 2 tablespoons molasses, increase the ginger to ½ teaspoon, add a pinch of cloves, and leave out the chili powder and cayenne.
- Everything bagel. Leave out all the sweet spices, keep the cayenne, and toss the nuts with 1 tablespoon everything bagel seasoning before baking.
Serving Ideas
Set out a bowl of glazed nuts with drinks before dinner, or tuck them onto a vegan cheese board alongside crackers, olives, grapes and sliced apples. They're a natural fit for a holiday spread too; pair them with a few dishes from our vegan appetizer recipes for the holidays for an easy party menu.
For everyday snacking, pack a handful into a lunch box or keep a jar on the counter as an afternoon pick-me-up. More ideas for satisfying bites are in our roundup of healthy vegan snacks. Glazed nuts are also great chopped and scattered over salads like this jicama salad with oranges and watercress, over roasted squash or sweet potatoes, or on top of a bowl of dairy-free ice cream.
They also make a lovely homemade gift. Pack them into small jars or cellophane bags with a ribbon and a tag listing the ingredients, since anyone with nut allergies will want to know.
Storing & Freezing
Once they're completely cool, store the glazed nuts in an airtight container at room temperature for up to 2 weeks. Keep them away from the stove and out of humid spots, since moisture is what softens the glaze. If they lose some crunch, crisp them on a lined baking sheet at 325°F for 3 to 4 minutes and let them cool again. Add the dried cranberries just before serving if you plan to keep the nuts for more than a few days, so the fruit doesn't soften the coating.
For longer storage, freeze them in a freezer bag or container with as much air removed as possible for up to 3 months. The nuts don't freeze solid, so you can grab a handful straight from the freezer, or let them come to room temperature for about 15 minutes in the closed container before opening it so condensation doesn't make them sticky.
More Vegan Snacks
If you loved these glazed nuts, here are a few more snacks you might enjoy:
- Flavored Popcorn Recipes and Ideas
- Vegan Pumpkin Protein Balls
- Vegan Granola Bars
- Vegan Chocolate Matzo Brittle
Recipe
Sweet and Spicy Glazed Nuts
Pecans, almonds and walnuts baked in a maple-cinnamon glaze with chili powder and cayenne until glossy and crisp. An easy vegan, gluten-free snack for parties, gifting or everyday munching.
Print
Pin
Save
Servings: servings (¼ cup each)
Equipment
Ingredients
- ¾ cup pecan halves raw
- ¾ cup whole raw almonds
- ½ cup walnut halves raw
- ¼ cup maple syrup or agave nectar
- 1 tablespoon coconut sugar or light brown sugar
- ½ teaspoon ground cinnamon
- ½ teaspoon chili powder
- ¼ teaspoon cayenne pepper or to taste
- ¼ teaspoon ground ginger
- ⅛ teaspoon ground nutmeg
- ½ teaspoon sea salt fine
- ½ cup dried cranberries optional
Instructions
- Preheat the oven to 325°F (165°C). Line a rimmed baking sheet with parchment paper or lightly oiled foil.
- In a medium bowl, whisk together the maple syrup, coconut sugar, cinnamon, chili powder, cayenne, ginger, nutmeg and salt until smooth.
- Add the pecans, almonds and walnuts and stir until every nut is evenly coated.
- Spread the nuts in a single layer on the prepared baking sheet and scrape any glaze left in the bowl over the top.
- Bake for 15 to 18 minutes, stirring once halfway through, until the glaze is bubbling all over and the nuts are fragrant and a shade darker. Watch closely toward the end, since the maple glaze can scorch quickly.
- Let the nuts cool completely on the pan, about 20 minutes; the glaze firms up and turns crisp as it cools. Break apart any clusters.
- Toss with the dried cranberries, if using, and transfer to a serving bowl or an airtight container.
Notes
Spice level: ¼ teaspoon cayenne gives a gentle, building heat. Use ⅛ teaspoon for mild or up to ½ teaspoon for spicy.
Nuts: Use any 2 cups of raw, unsalted nuts, such as cashews, hazelnuts or macadamias. If your nuts are salted, leave out the sea salt.
Still sticky? If the nuts are tacky once fully cool, bake them 3 to 5 minutes longer and let them cool again.
Storage: Keep in an airtight container at room temperature for up to 2 weeks, or freeze for up to 3 months. Add the cranberries just before serving if storing for more than a few days.
Nutrition (Estimate per Serving)
Calories: 197kcalCarbohydrates: 16gProtein: 4gFat: 15gSaturated Fat: 1gPolyunsaturated Fat: 6gMonounsaturated Fat: 7gSodium: 122mgPotassium: 160mgFiber: 3gSugar: 11gVitamin A: 56IUCalcium: 51mgIron: 1mg
Vegan-ize any recipe!Grab our free vegan cheat sheet, packed with my favorite easy substitutions to make any recipe vegan.
35+ Vegan Appetizer Recipes for the Holidays
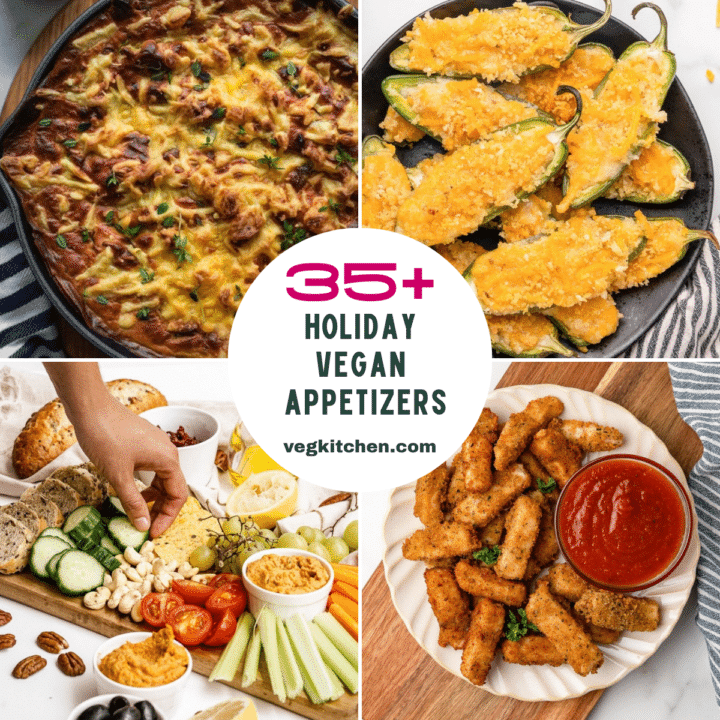
Holiday entertaining is a lot more fun when the food is easy to graze on. Whether you're hosting a Christmas open house, bringing a dish to a Friendsgiving potluck, or ringing in the New Year with friends, a spread of vegan appetizers keeps everyone happy, including the guests who don't eat plant-based. These recipes are festive, crowd-pleasing, and completely free of meat, dairy, and eggs.
One of the easiest ways to host is to skip the sit-down dinner and set out a mix of hot and cold appetizers instead, followed by a few desserts. Aim for a balance: one or two creamy dips, a cheesy baked bite, something fresh and crunchy, and a pâté or spread with good bread and crackers. A vegan charcuterie board is a great anchor for the table, since it fills a lot of space and lets everyone help themselves.
Many of these recipes can be made a day or two ahead. Dips, pâtés, marinated olives, and spreads like Vegan Onion Marmalade all keep well in the fridge, and several actually taste better after the flavors have had time to meld. That leaves only the warm bites, like jalapeño poppers, mozzarella sticks, and spinach artichoke dip, to bake or fry once guests start arriving. Plan on about 4 to 6 bites per person if appetizers are leading into a meal, and closer to 10 to 12 if they are the meal.
A few simple tools make the job easier. A good food processor does the heavy lifting for the hummus, pâtés, and cashew cheeses on this list. A large acacia wood serving board turns crackers, olives, and spreads into an instant centerpiece, and a pack of bamboo cocktail picks makes meatballs, mushrooms, and other small bites easy to grab while mingling.
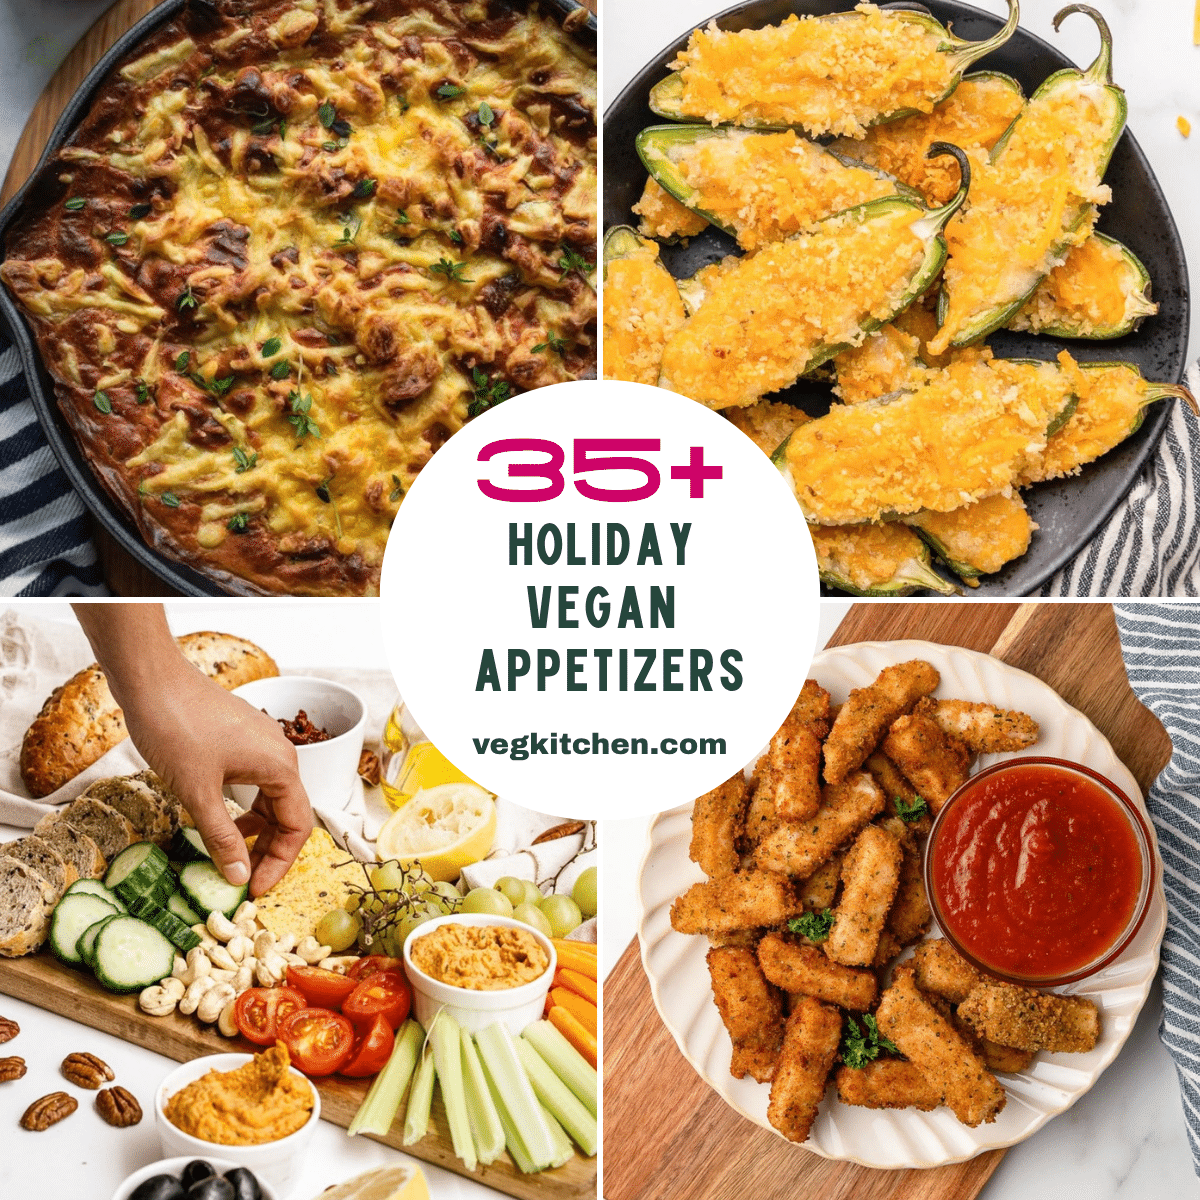
From creamy dips and elegant pâtés to cheesy baked bites and crispy fritters, here are more than 35 of our favorite vegan appetizer recipes for the holidays, mostly from our own VegKitchen archives along with a few favorites from our sister site, Oh My Veggies.
35+ Vegan Appetizer Recipes for the Holidays

This warm, creamy dip gets its richness from soaked cashews and silken tofu, with miso and tamari adding a savory depth that rivals the dairy version. It's ready in under 30 minutes, so you can pull a bubbling skillet out of the oven just as guests arrive.
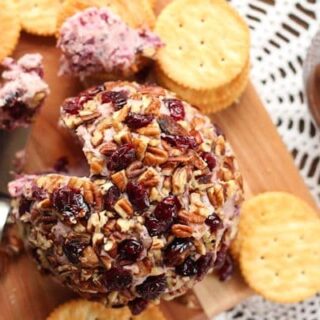
A tangy cashew cheese is rolled in dried cranberries and chopped pecans for a festive red-and-green centerpiece. Set it out with crackers and it'll be the first thing to disappear from the holiday table.

Halved jalapeños are packed with a cheesy filling of vegan cream cheese and cheddar, then baked under a crunchy panko topping. They're spicy, creamy and crisp all at once, which is exactly what you want from a party appetizer.
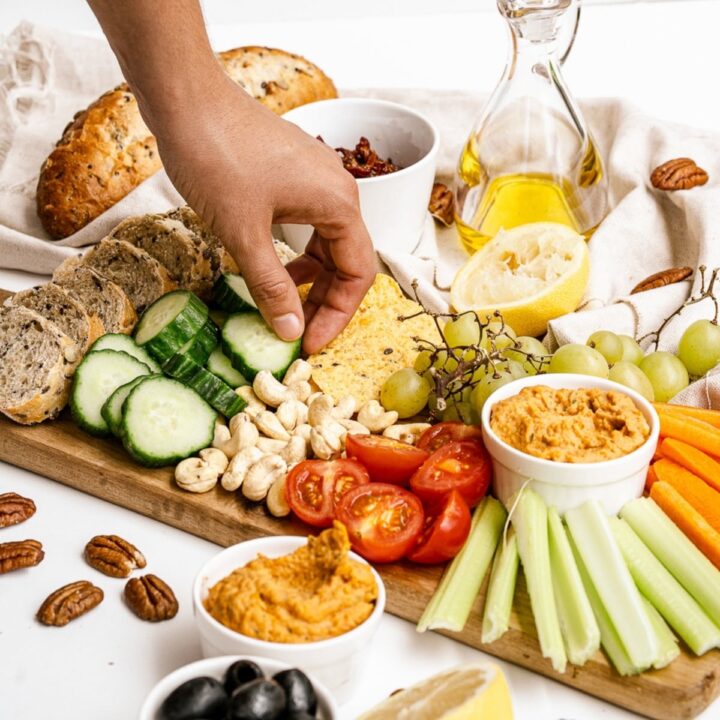
This colorful board brings together crisp veggies, grapes, nuts, olives, sun-dried tomatoes and a smoky homemade hummus. It takes more arranging than cooking, and it lets everyone graze at their own pace.
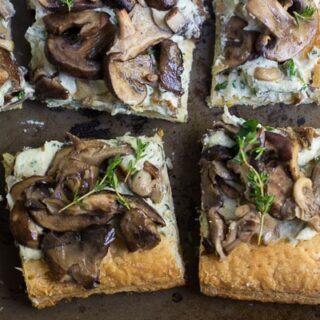
Flaky puff pastry is spread with a garlicky herbed cashew cheese and topped with mushrooms simmered in white wine. Cut it into small squares and it becomes an elegant bite for a holiday cocktail party.

Walnuts, mushrooms, oats and tomato paste come together in savory little balls that hold their shape beautifully. Serve them on toothpicks with a bowl of warm marinara for dipping.

A tangy, mustardy chickpea filling is piled onto cucumber rounds and baguette slices, then finished with chives and paprika. They have all the retro charm of deviled eggs, made completely plant-based.

Vegan mozzarella is dipped in almond milk, coated in Italian breadcrumbs and pan-fried until golden and stretchy inside. Serve them hot with marinara and watch them vanish.
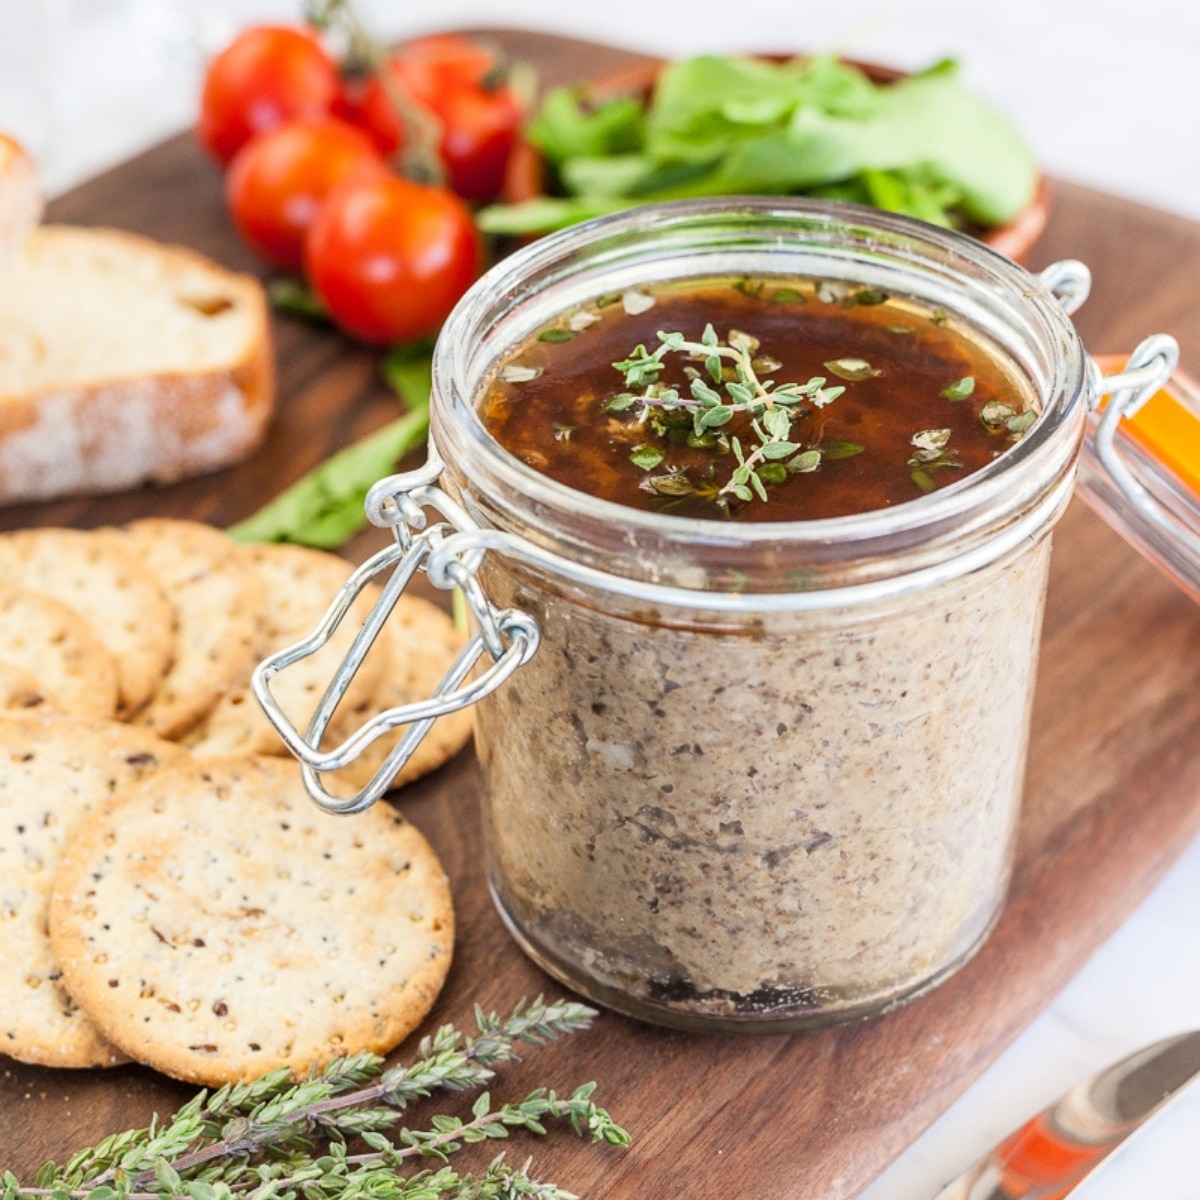
Wild mushrooms, lentils and cannellini beans are blended with thyme, a splash of cognac and a whisper of truffle oil. It's a rich, special-occasion spread that's lovely with toasted sourdough and a glass of wine.
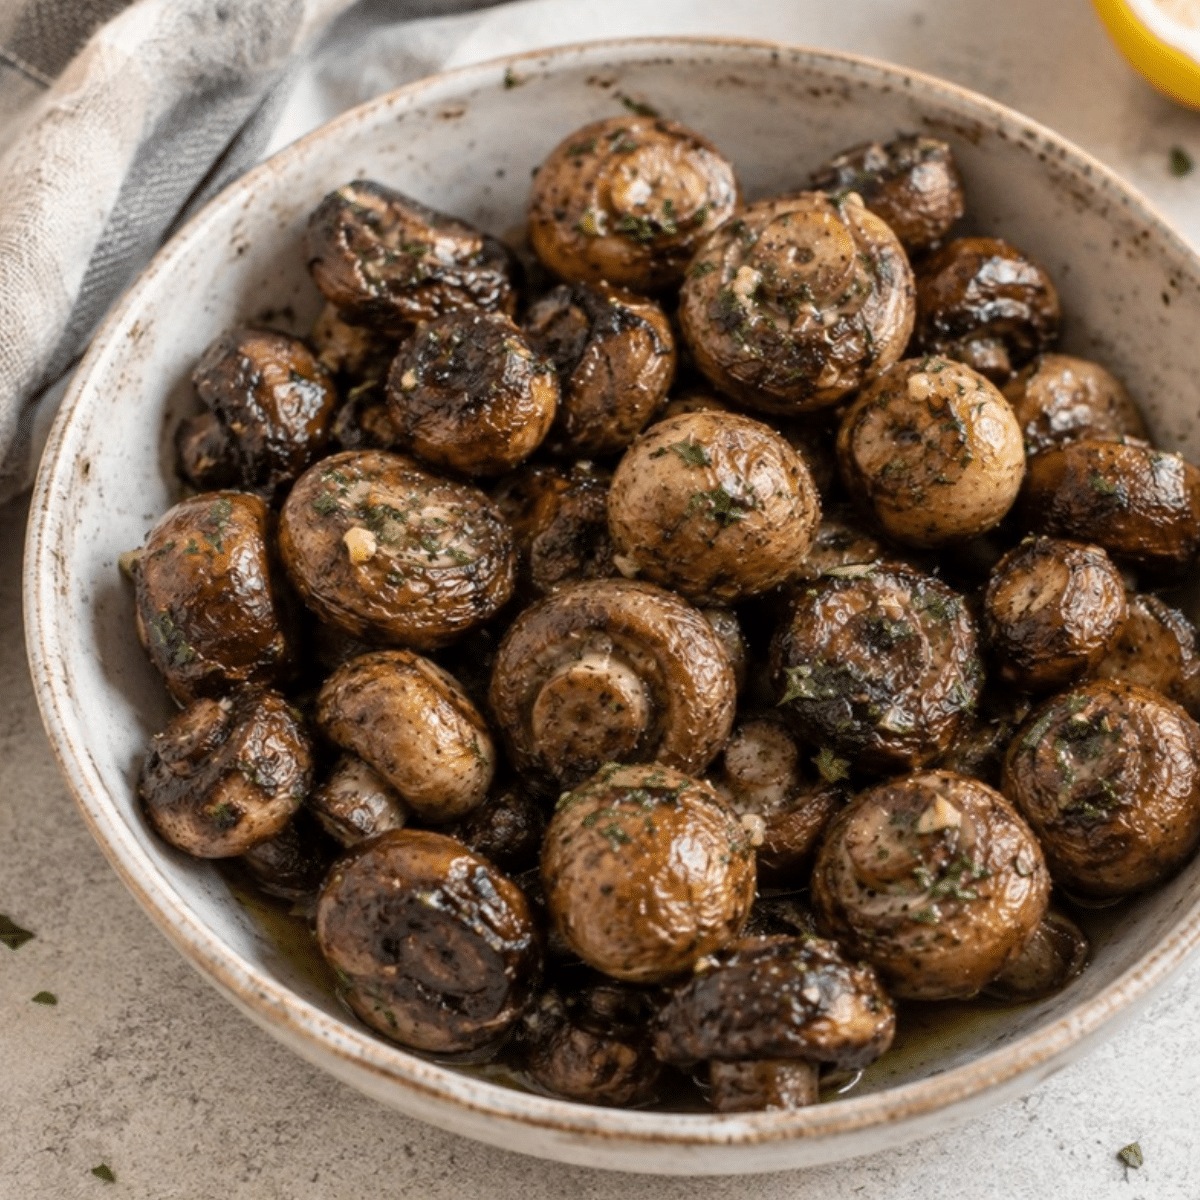
Whole mushrooms are tossed in a bright lemon-garlic marinade and broiled until charred and tender. They take under 15 minutes, and they're easy to serve on a platter with toothpicks.

Shredded young jackfruit stands in for crab in this creamy cashew dip seasoned with Old Bay, Dijon and lemon. Spread it on crackers or toasts for a seafood-style starter that's entirely plant-based.

Seasoned tempeh meatballs are baked until golden, then coated in a tangy pineapple sweet and sour sauce with a kick of Sriracha. It's the classic party meatball, and it works just as well in a slow cooker on the buffet.

Small plum tomatoes are hollowed out and filled with a curry-spiced chickpea mixture that tastes a lot like the filling in deviled eggs. Their bright red color makes them a natural fit for a holiday spread.

These homemade pretzels get a quick baking soda bath for that classic chewy crust, then a shower of everything bagel seasoning. Serve them warm with mustard or a vegan cheese sauce.
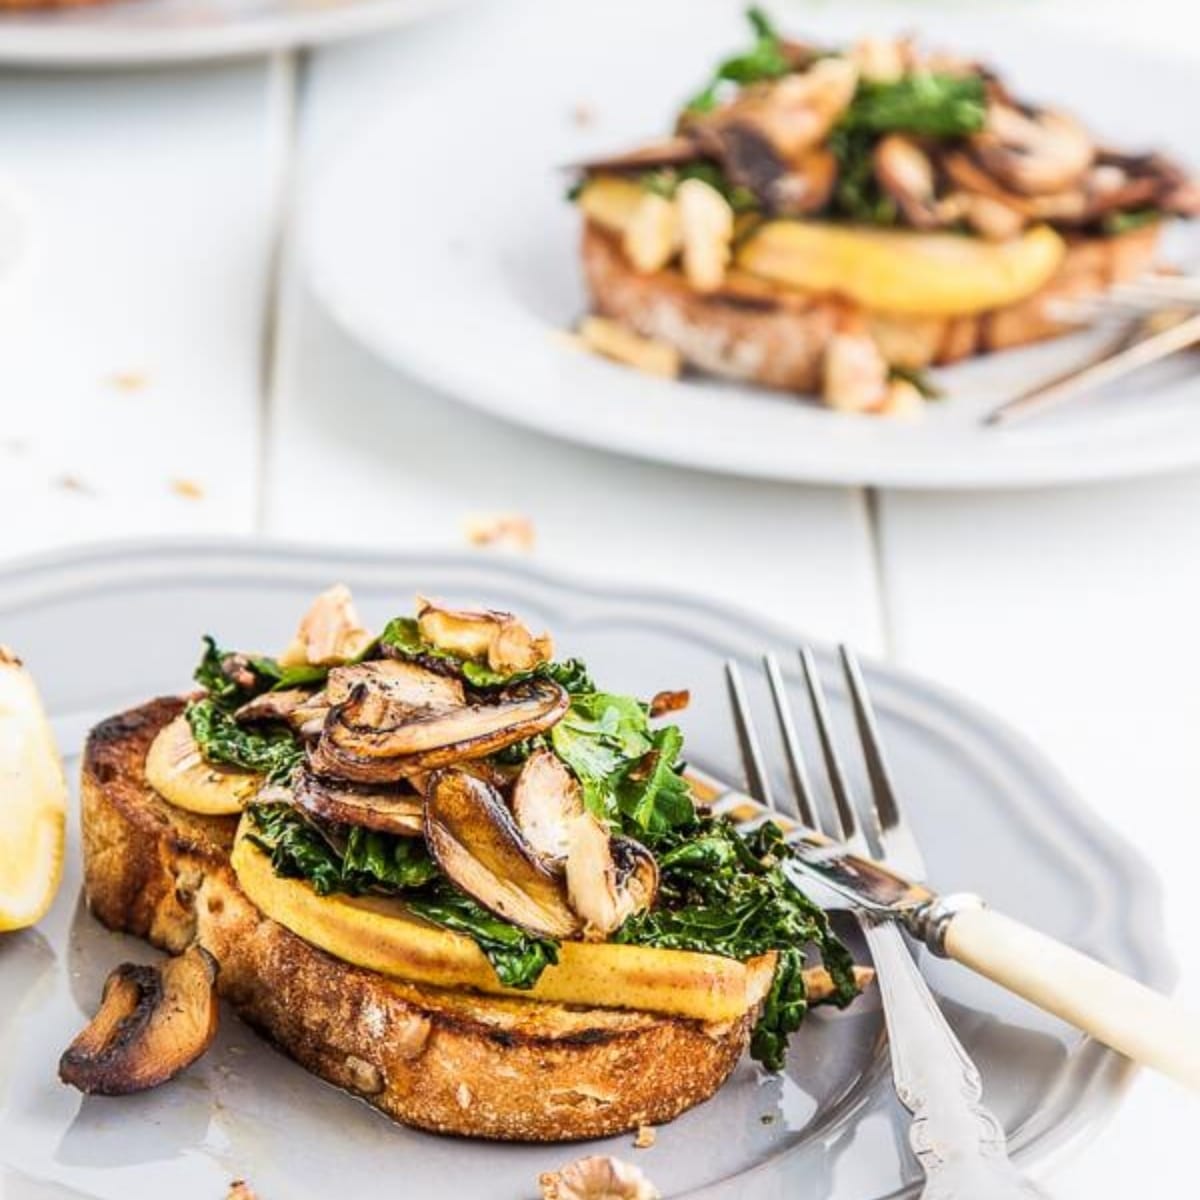
Sourdough toasts are topped with sautéed mushrooms, leeks and cavolo nero, plus sweet slices of pear and a sprinkle of toasted walnuts. Cut them into smaller pieces for a seasonal appetizer that feels a little fancy.

Battered cauliflower florets are baked and tossed in buffalo sauce sweetened with a touch of maple syrup. Serve these "wings" with celery sticks and a creamy vegan dip.
Caramelized onions, toasted cashews and green beans blend into a savory spread with a lovely texture. It's a longtime holiday favorite, and it's best with rye crackers or crisp vegetables.

Little chickpea flour pancakes are topped with creamy hummus and garlicky porcini mushrooms, then finished with microgreens. They're naturally gluten-free and pretty enough for a New Year's Eve party.
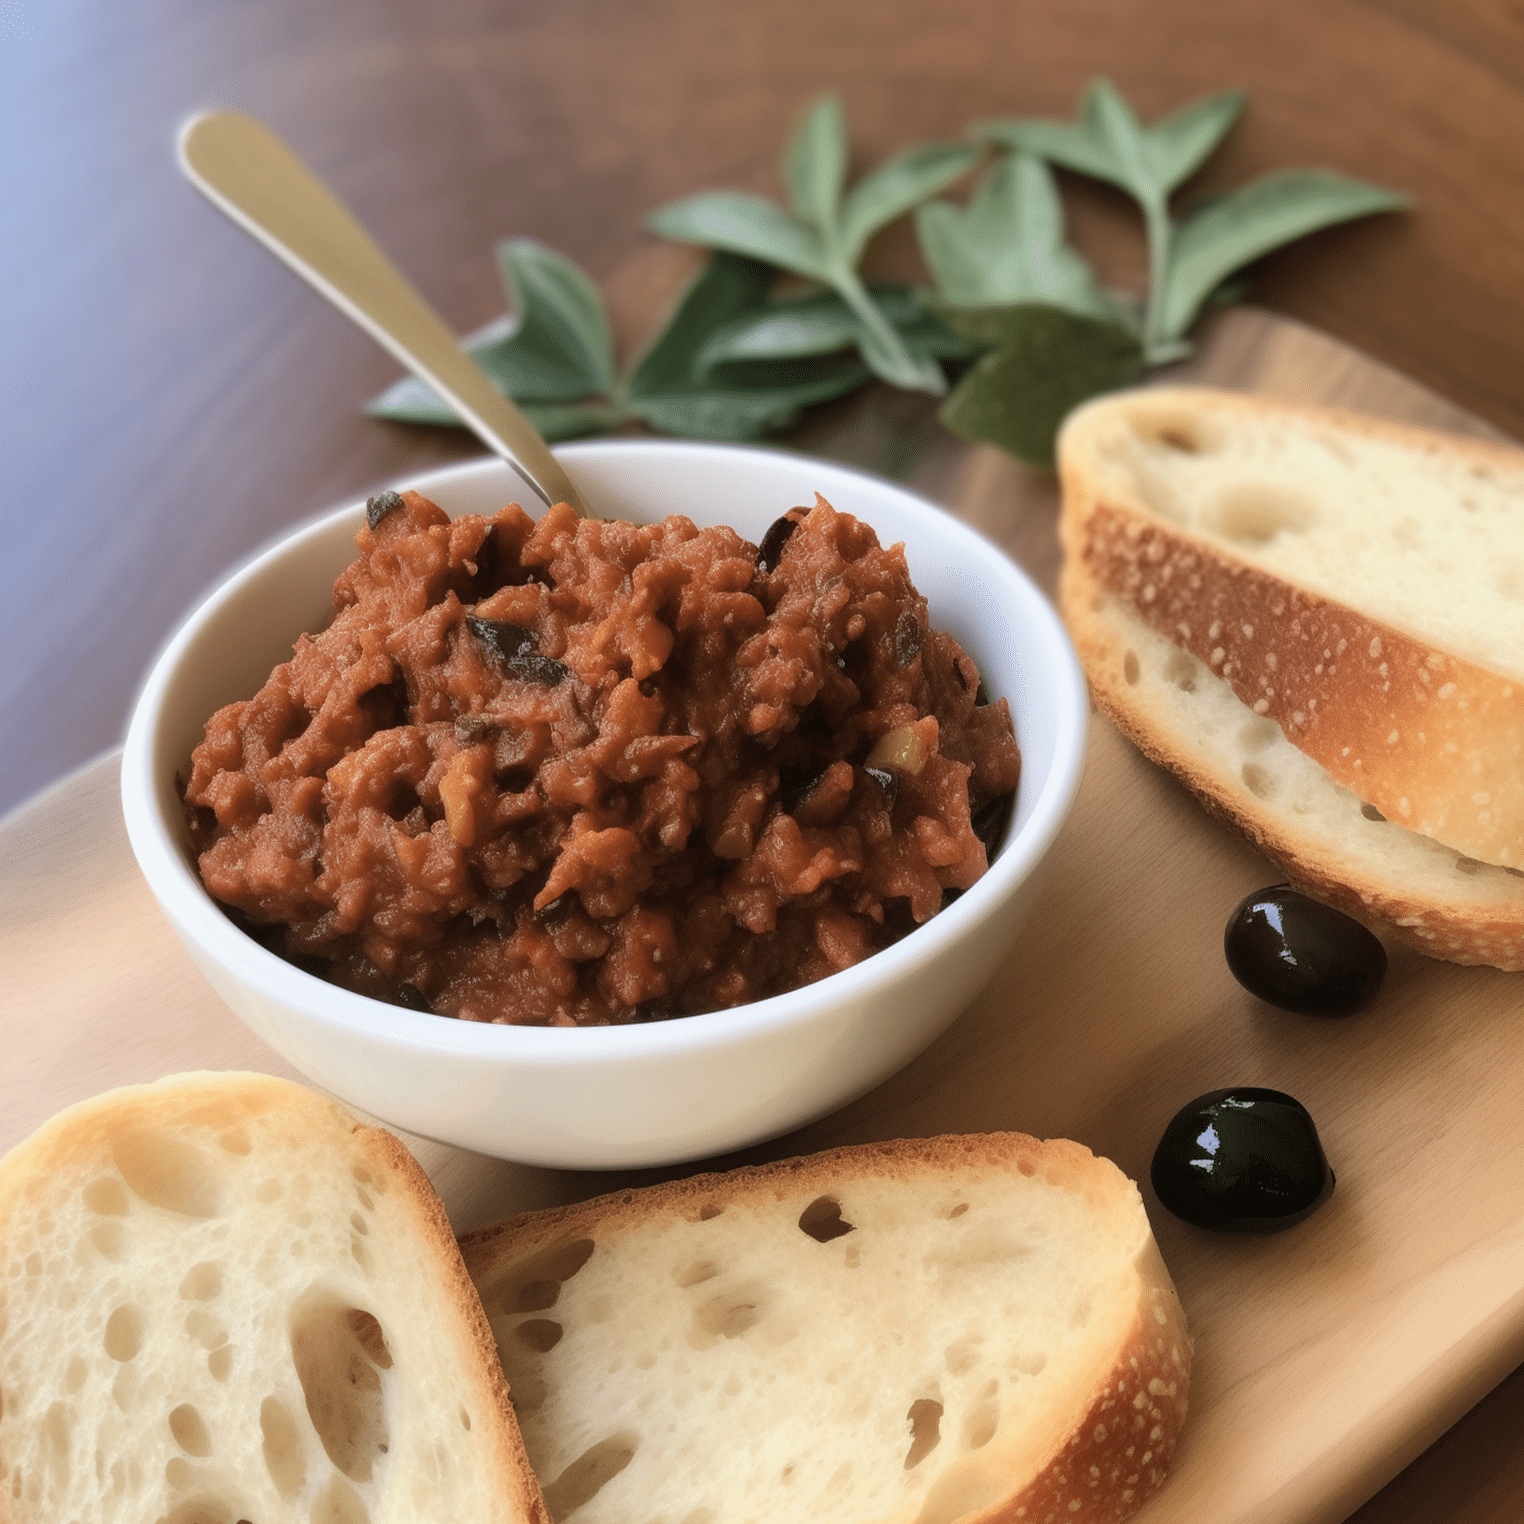
Kalamata olives, sun-dried tomatoes, walnuts and parsley come together in minutes in the food processor. Spoon this bold, briny spread onto baguette slices for an easy crostini.
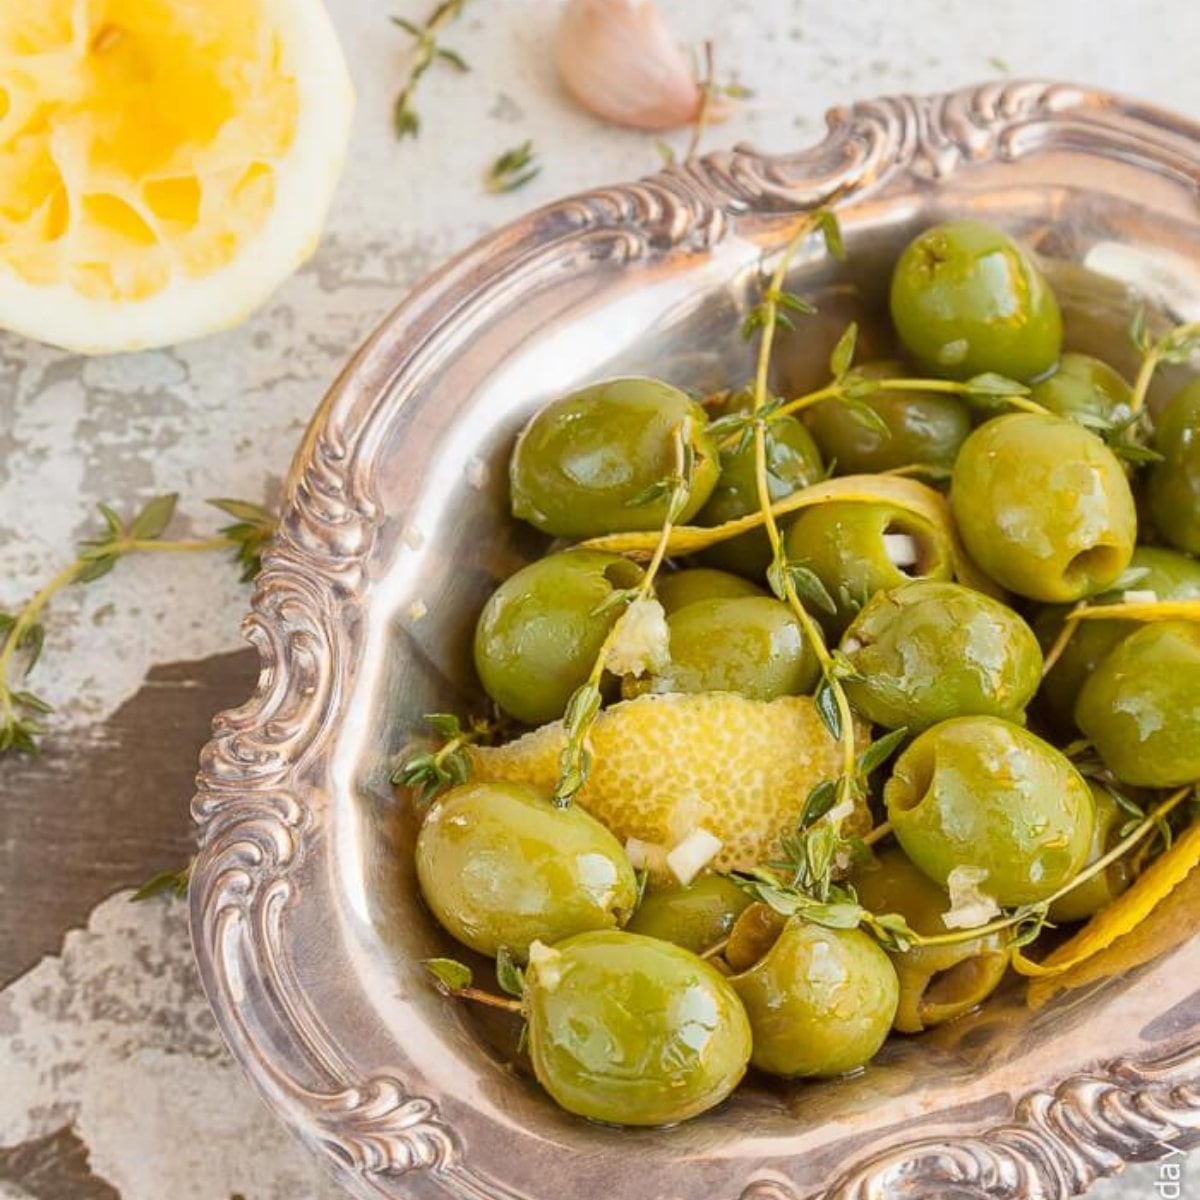
Plump green olives are marinated with lemon zest, garlic, thyme and good olive oil. Make them a few days ahead and they only get better, which makes them a smart choice for a busy holiday week.
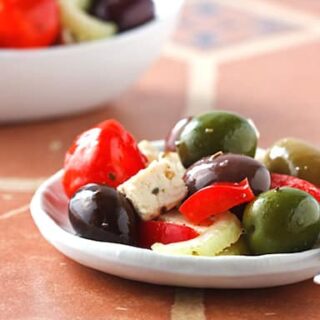
Cubes of lemony, oregano-marinated tofu "feta" are tossed with mixed olives, celery, red pepper and pickled peppers. It's colorful and briny, and a small bowl goes a long way.
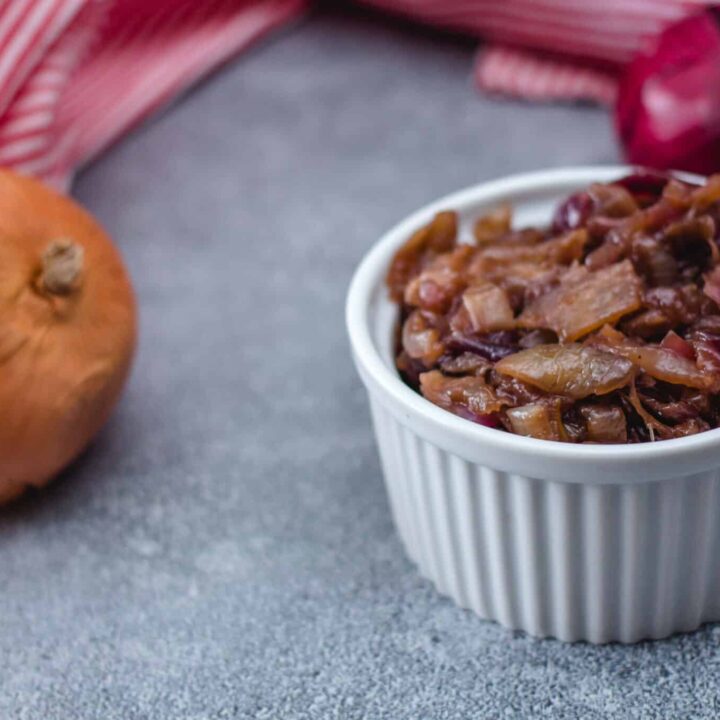
Thinly sliced onions are cooked low and slow with sugar and balsamic vinegar until jammy and sweet. Spread it on crostini, pair it with vegan cheese, or add it to your appetizer board.
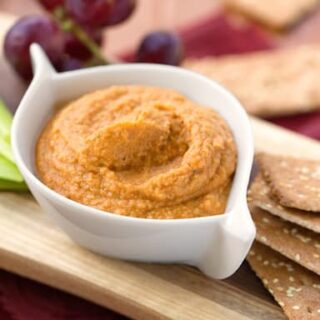
Creamy cannellini beans and oil-cured sun-dried tomatoes make a savory, rosy spread with a hint of thyme. Serve it with crispbreads and raw vegetables for an easy make-ahead starter.
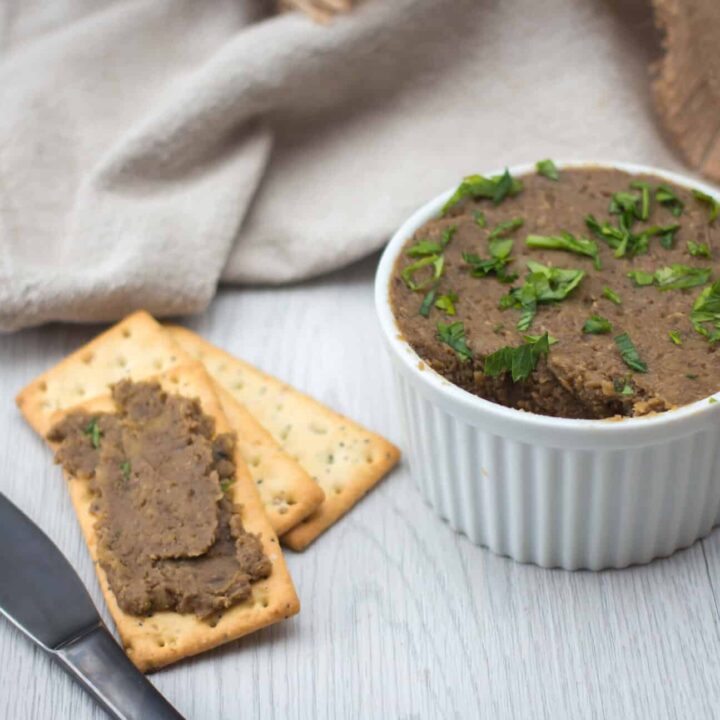
Green lentils are simmered with onion, garlic and warm spices like cinnamon, clove and nutmeg, then blended smooth. It's a hearty, protein-rich spread that's great with crackers and a little mustard.

Fluffy seasoned mashed potato is coated in breadcrumbs and baked or fried until crunchy outside. Make them bite-size and serve with a dipping sauce for a crowd-pleasing appetizer.

These tapas-style fritters are made with chickpea flour and flecked with spinach, garlic and whole chickpeas. Dip them in bold romesco sauce and pour a glass of Spanish wine.
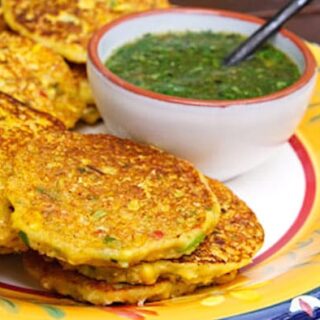
Fresh corn, cornmeal and scallions are pan-fried into golden little fritters. A quick tomatillo-cilantro sauce adds a bright, zesty finish, and they're good warm or at room temperature.
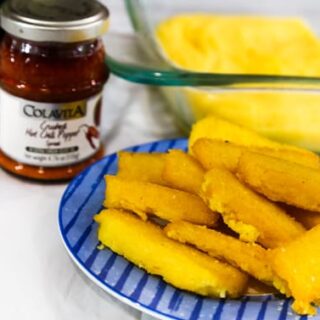
Firm polenta is cut into sticks and baked until crisp on the outside and creamy in the middle. Serve them with marinara, tapenade or a spicy chile sauce for dipping.

Crispy filo pastry triangles are filled with a spiced potato and pea filling flavored with ginger, cumin and garam masala. Serve them with chutney or your favorite dip for a flavorful holiday bite.
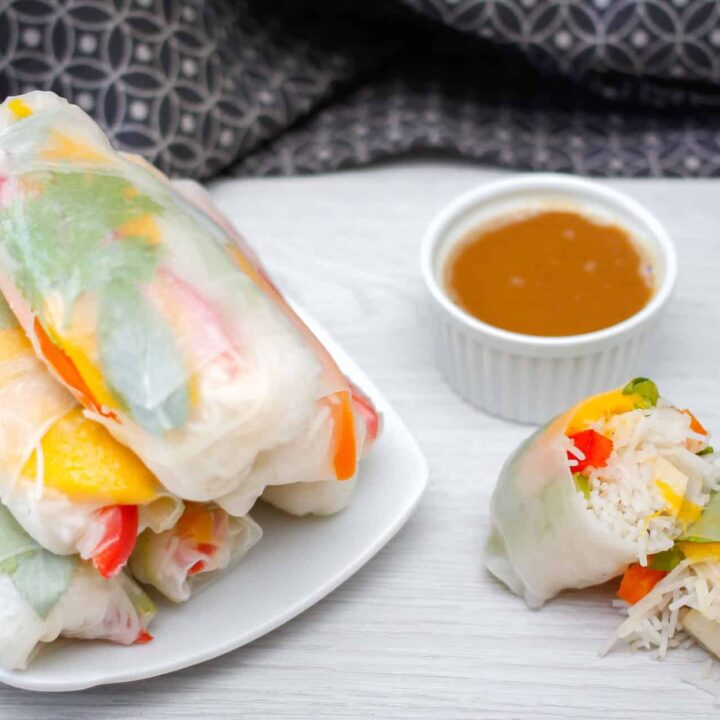
Rice paper rolls are filled with tofu, vermicelli noodles, crunchy carrots, peppers and fresh mint. They're light and fresh, a nice contrast to all the rich holiday food.
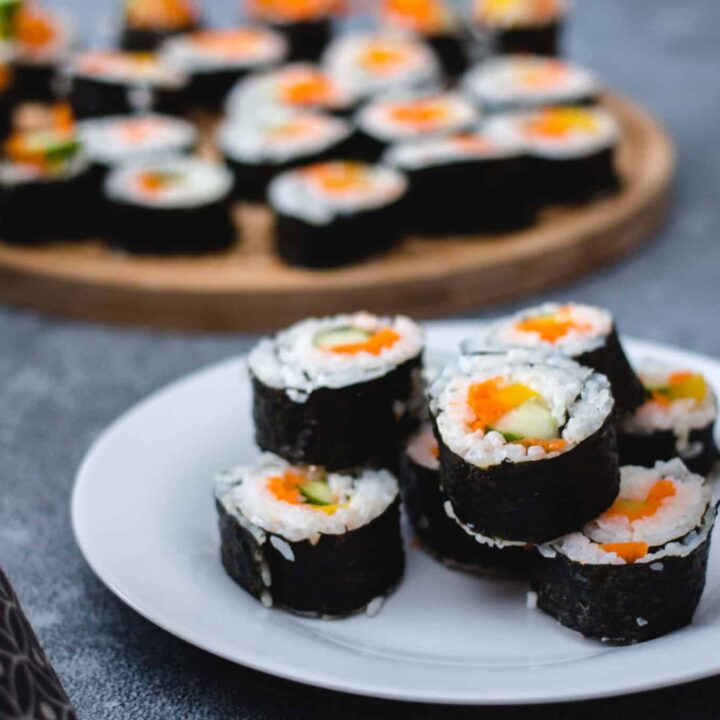
Seasoned sushi rice and crunchy cucumber, carrot and celery are rolled in nori and sliced into neat rounds. They look impressive on a platter and are easier to make than you might think.
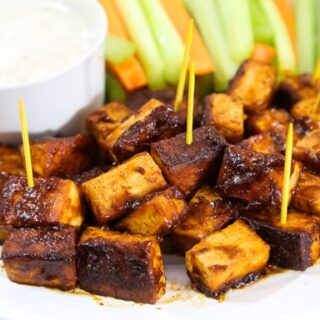
Store-bought chipotle baked tofu is tossed with barbecue sauce and Sriracha for a near-instant appetizer. Serve with celery sticks and vegan ranch when you need something hearty in about 20 minutes.
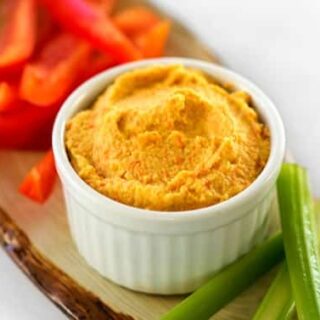
Cashews and carrots are blended with nutritional yeast and smoky seasoning into a cheddar-style spread that can also be set into slices. Serve it with baguette, crackers and a few small bunches of grapes.
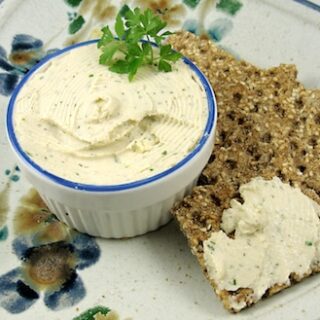
Silken tofu and cashews are blended with garlic, chives and parsley into a creamy herbed spread. It's addictive on crackers, rye crisps or crusty bread.
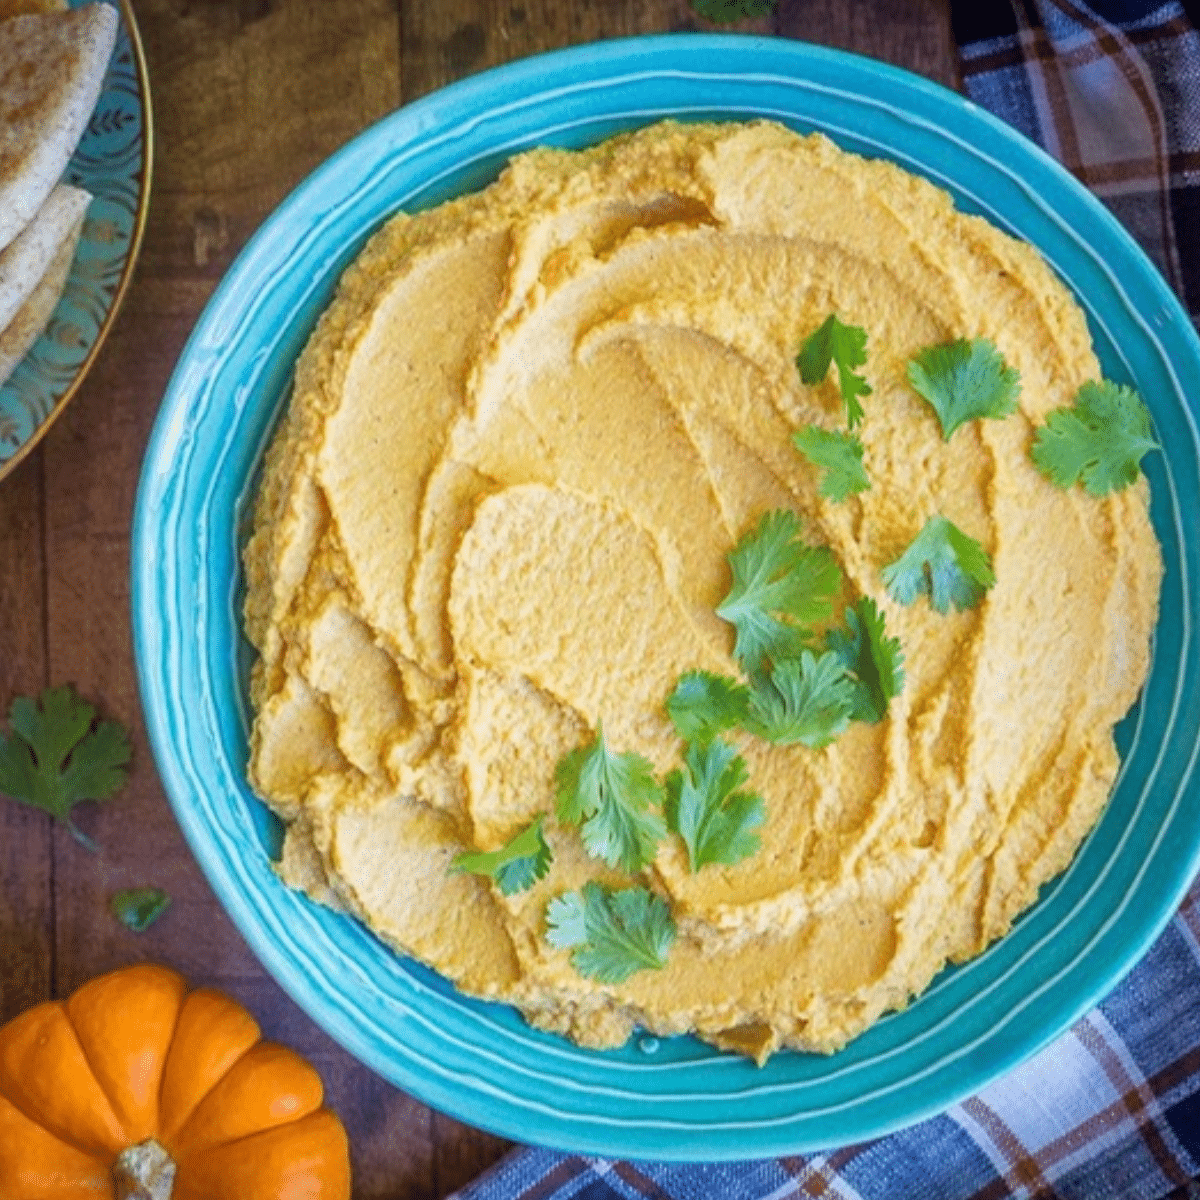
Canned pumpkin, chickpeas and tahini are blended with warm curry spices for a seasonal twist on hummus. It's ready in 10 minutes and looks great in a bowl surrounded by pita chips and veggies.
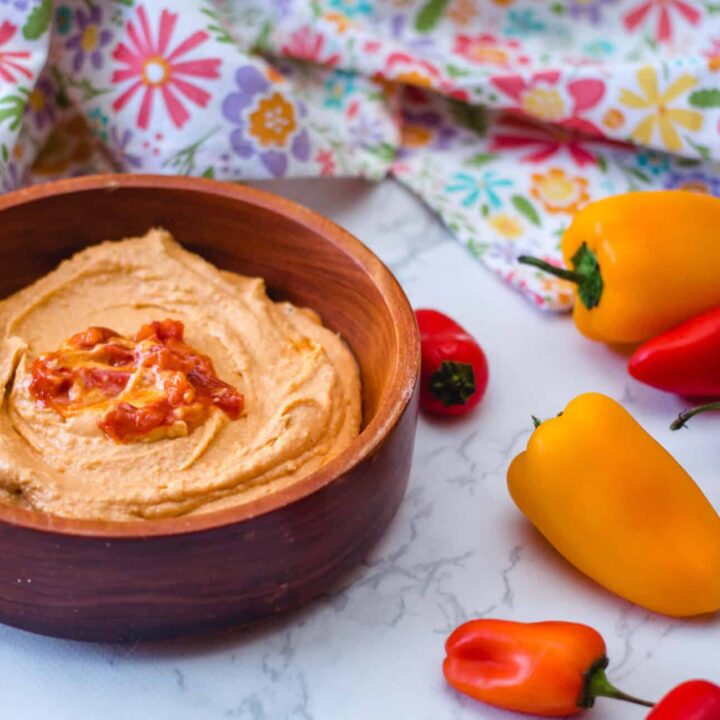
Jarred roasted red peppers give classic hummus a sweet, smoky flavor and a pretty color. It comes together in about 10 minutes with simple pantry ingredients.
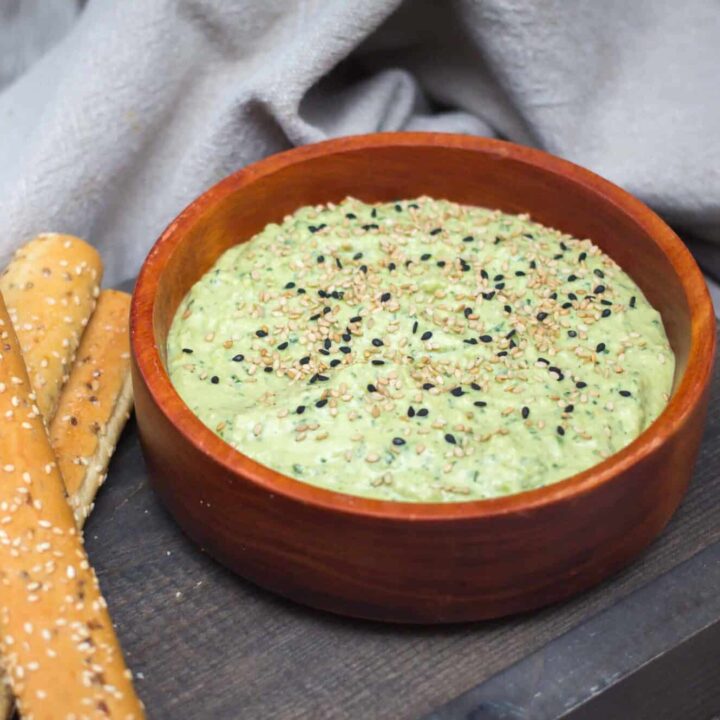
Edamame replaces chickpeas in this bright green hummus with tahini, lemon and fresh cilantro. Serve it with grilled pitas, tortilla chips or raw vegetables for a fresh-tasting dip.
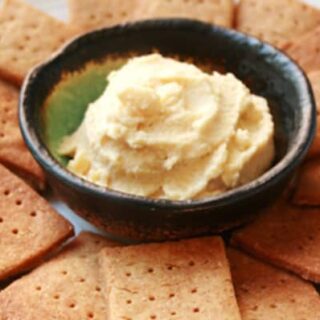
Hummus goes right into the dough of these crisp homemade crackers made with whole wheat and chickpea flours. Serve them with any of the dips and spreads on this list.
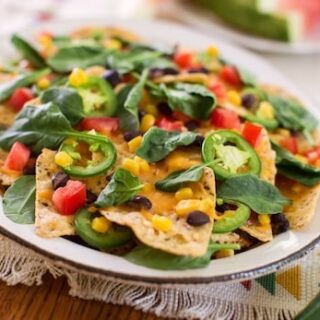
Tortilla chips are piled high with vegan cheddar, black beans, corn, jalapeños, tomato and spinach, then topped with salsa and guacamole. Make a big platter for a casual holiday get-together or a New Year's Day game.
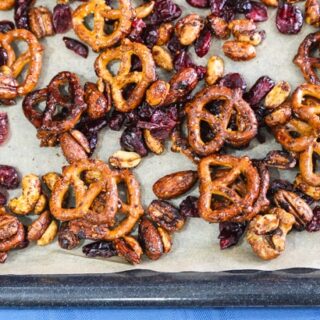
Mixed nuts, pretzels and dried cranberries are baked in a maple-soy glaze with cinnamon, ginger and a little barbecue spice. It's an easy holiday snack mix that also makes a great homemade gift.
Looking for something to round out the menu? If you want a spreadable cheese to go with your crackers, our homemade vegan cream cheese is easy to whip up a day ahead. And if you love these vegan appetizer recipes, be sure to check out these other tasty ideas:
Leek and Potato Soup with Watercress
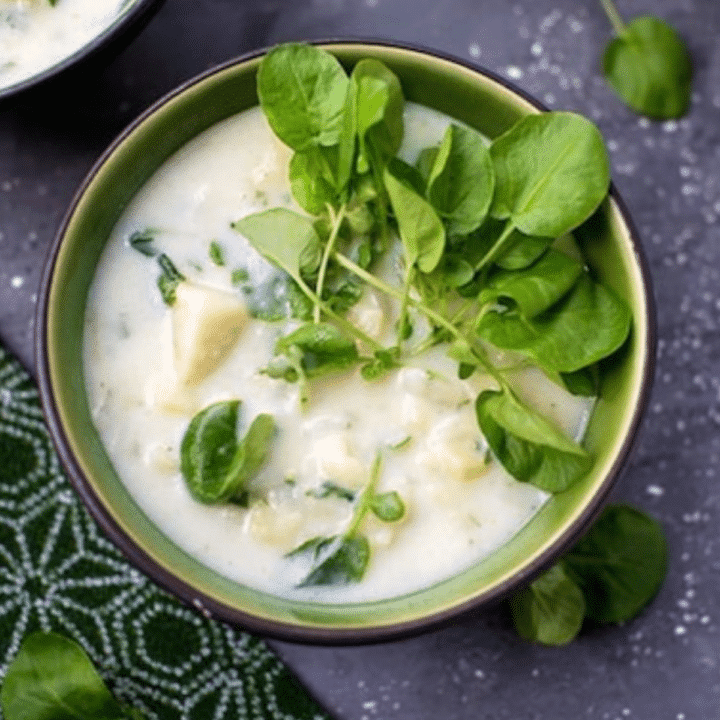
This vegan leek and potato soup is creamy, gently oniony, and finished with a big handful of peppery watercress that brightens every spoonful. It's simple enough for a weeknight, and it tastes even better the day after you make it.

Photos by Hannah Kaminsky.
Classic leek and potato soup usually leans on butter and cream, but you don't need either one here. Mashing some of the potatoes right in the pot thickens the broth naturally, and a splash of unsweetened rice milk makes it silky without weighing it down. The watercress goes in at the end, so it keeps its fresh, slightly spicy bite.
Key Ingredients & Substitutions
- Leeks. Use the white and palest green parts, which are the most tender and the sweetest. The dark green tops are tough, but you can save them for homemade vegetable stock. If you're short on leeks, a large sweet onion will work, though the soup will taste a little less delicate.
- Potatoes. Yukon Gold potatoes give the creamiest, most buttery texture, while russets break down more and make a thicker soup. Either works. Red potatoes hold their shape, so choose them only if you like a chunkier bowl.
- Vegetable bouillon. Bouillon cubes and water keep this recipe budget-friendly. We like Edward & Sons Garden Veggie bouillon cubes, which are vegan and gluten-free. You can also swap the water and cubes for about 5 cups of low-sodium vegetable broth.
- Watercress. Its peppery flavor is what makes this soup special. Baby arugula is the closest substitute; baby spinach works too, but it's much milder.
- Rice milk. Unsweetened rice milk is light and neutral. Unsweetened oat milk, soy milk, or almond milk are all good swaps. Just make sure it's unsweetened and unflavored.
Helpful Tips
Clean the leeks well. Leeks grow in sandy soil, and grit hides between the layers. Slice them first, then swish the slices in a big bowl of cold water. The dirt sinks to the bottom, so lift the leeks out with your hands or a slotted spoon rather than pouring them into a colander.
Cook the leeks low and slow. Keeping the pot covered over medium heat lets the leeks soften and turn sweet before they take on a little golden color. Rushing this step over high heat can scorch them and leave a bitter edge.
Mash only part of the potatoes. A roomy Dutch oven gives you space to press some of the potatoes against the side of the pot with a potato masher. That releases their starch and thickens the soup while leaving tender chunks behind. For a smoother soup, a few quick pulses with an immersion blender do the job; just don't overdo it, or the potatoes can turn gluey.
Keep it below a boil after adding the milk. Nondairy milks can separate if they boil hard. A gentle simmer over very low heat keeps the soup smooth.
Make it a day ahead. Like many soups, this one improves as it rests, because the leeks and potatoes have time to mellow and blend. If you're making it ahead, hold back the watercress and stir it in when you reheat, so it stays bright green.

Variations
- Extra creamy. Blend a quarter cup of soaked raw cashews with the rice milk before adding it for a richer, more velvety soup.
- Garlic and herb. Add 2 or 3 minced garlic cloves with the leeks, and a sprig of fresh thyme along with the bay leaf.
- Spring green. Stir in a cup of frozen peas or a handful of chopped asparagus during the last 5 minutes of simmering.
- Smoky. A half teaspoon of smoked paprika gives the soup a subtle, warming depth, especially nice on colder days.
- Protein boost. Add a can of drained, rinsed white beans with the milk to make the soup more filling.
Serving Ideas
This soup is hearty enough to be a light meal on its own, especially with some good bread for dunking. A slice of Quick Three-Grain Brown Bread or a square of Easy Vegan Cornbread rounds it out nicely.
For a fuller dinner, pair a bowl with a crisp salad. Leftover watercress is perfect in a Jicama Salad with Oranges and Watercress, or simply toss mixed greens with a 5-Minute Vinaigrette. Looking for more ways to cook with spuds? Browse our favorite vegan potato recipes.
Storing & Freezing
Let the soup cool, then refrigerate it in an airtight container for up to 4 days. It thickens as it sits, so add a splash of rice milk or water when you reheat it gently on the stovetop over low heat. Keep the garnish watercress separate and add it just before serving.
You can freeze this soup for up to 3 months, ideally before adding the fresh watercress garnish. Potatoes can turn a little grainy after freezing, so thaw the soup overnight in the fridge, then reheat it slowly and give it a good stir or a quick pulse with an immersion blender to bring back its creamy texture.

More Cozy Vegan Soups
If you loved this recipe, here are a few more you might enjoy:
- Vegan Lemony Leek and Mushroom Soup
- Cream of Corn and Watercress Soup
- Vegan Cream of Asparagus Soup
- Vegan Cream of Broccoli Soup
Recipe
Leek and Potato Soup with Watercress
A cozy, creamy vegan leek and potato soup finished with peppery fresh watercress. It's naturally dairy-free and gluten-free, and it tastes even better the next day.
Print
Pin
Save
Servings: servings
Equipment
- Potato masher
Ingredients
- 1 ½ tablespoons olive oil
- 3 large leeks white and palest green parts only, sliced and rinsed well
- 4 large potatoes about 2 ½ pounds, peeled and diced
- 1 bay leaf
- 2 vegetable bouillon cubes gluten-free if needed
- 5 cups water or just enough to cover the potatoes
- 1 cup packed watercress leaves thick stems removed, roughly chopped
- 1 to 1 ½ cups unsweetened rice milk or other nondairy milk plus more as needed
- Salt and freshly ground pepper to taste
- 2 tablespoons chopped fresh parsley or more, to taste
- Watercress leaves for garnish
Instructions
- Heat the oil in a large soup pot or Dutch oven over medium heat. Add the leeks, cover, and cook for 8 to 10 minutes, stirring occasionally, until they're soft and just beginning to turn golden.
- Add the potatoes, bay leaf, bouillon cubes, and just enough water to cover the potatoes (about 5 cups). Bring to a boil, then reduce the heat to a gentle simmer. Cover and cook for 15 to 20 minutes, until the potatoes are very tender when pierced with a fork.
- Remove and discard the bay leaf. Mash some of the potatoes against the side of the pot with a potato masher or the back of a large spoon (or give the soup a few short pulses with an immersion blender) until it's thick and creamy but still a little chunky.
- Stir in the watercress and 1 cup of the rice milk. Simmer over very low heat, uncovered, for 10 minutes, stirring occasionally; don't let it come to a boil. Season to taste with salt and pepper.
- For the best flavor, let the soup stand off the heat for 1 to 2 hours, or let it cool and refrigerate overnight. Reheat gently over low heat, stir in the parsley, and thin with more rice milk if it's too thick. Taste and adjust the seasoning.
- Ladle into bowls and top each serving with a generous handful of fresh watercress leaves.
Notes
Make ahead: The flavor improves after a night in the fridge. For the brightest green color, hold back the watercress in step 4 and stir it in when you reheat the soup, simmering just until wilted.
Gluten-free: Potatoes, leeks, and watercress are naturally gluten-free, but some bouillon cubes aren't. Check the label if you need the soup to be fully gluten-free.
Storage: Refrigerate in an airtight container for up to 4 days. Freeze (without the garnish) for up to 3 months; thaw overnight and reheat gently, whisking or mashing to smooth out the texture.
Nutrition (Estimate per Serving)
Calories: 239kcalCarbohydrates: 46gProtein: 5gFat: 5gSaturated Fat: 1gPolyunsaturated Fat: 1gMonounsaturated Fat: 3gSodium: 283mgPotassium: 902mgFiber: 5gSugar: 6gVitamin A: 1040IUVitamin C: 47mgCalcium: 70mgIron: 3mg
Vegan-ize any recipe!Grab our free vegan cheat sheet, packed with my favorite easy substitutions to make any recipe vegan.
Vegan Pasta Alfredo with Peas & Asparagus
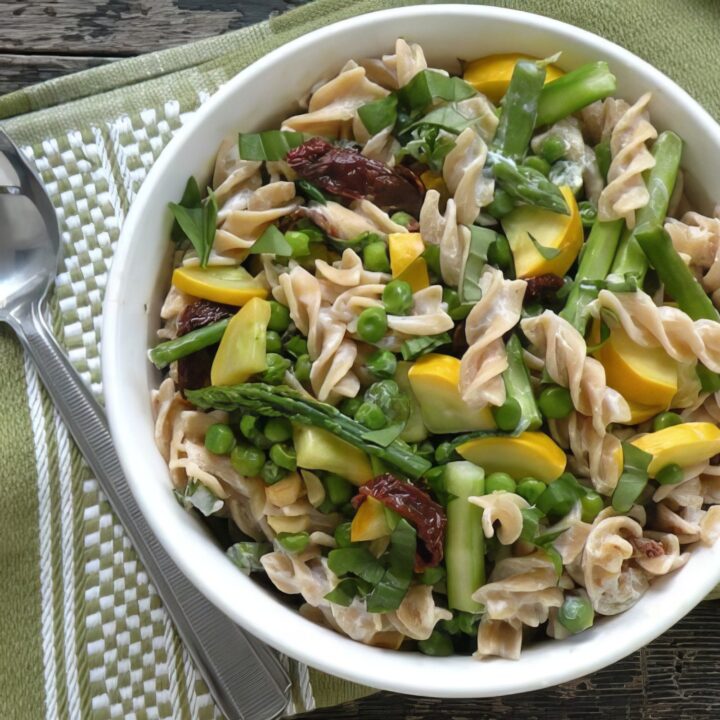
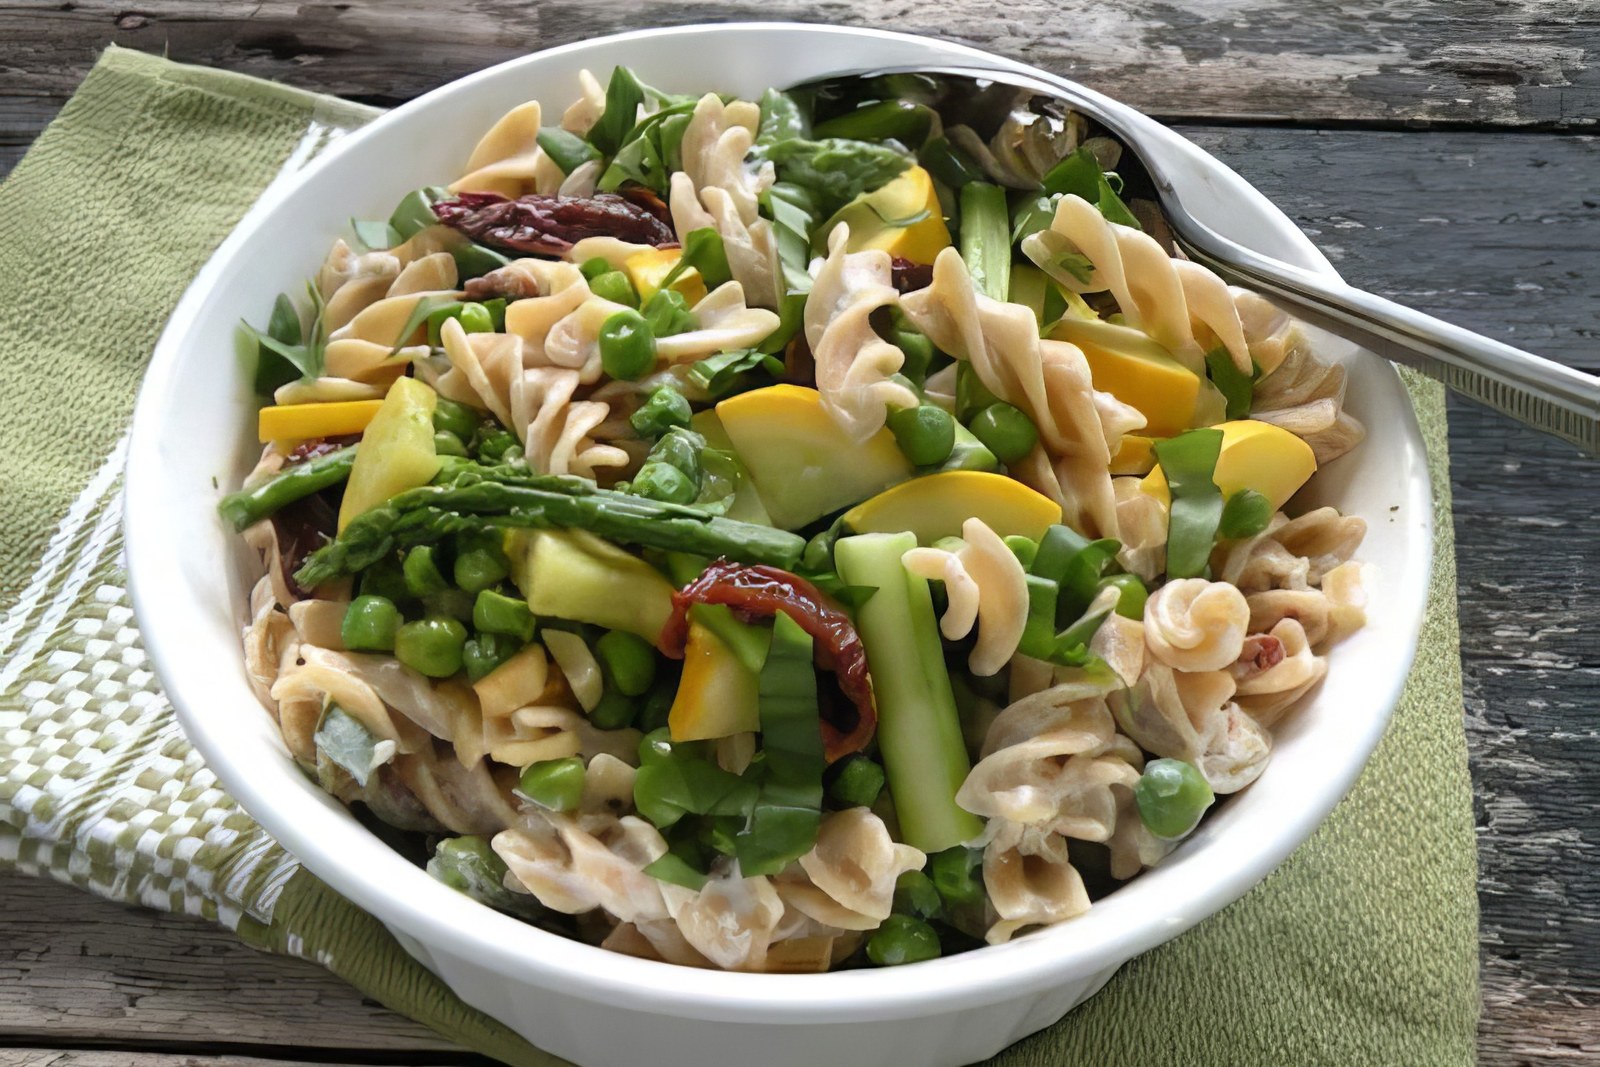
This vegan pasta alfredo with peas and asparagus is spring comfort food at its best - a silky, creamy sauce made entirely from blended silken tofu, tossed with tender spring vegetables and your favorite pasta shape. No dairy, no compromise.
Key Ingredients & Substitutions
- Firm silken tofu. The secret to the dairy-free alfredo sauce - it blends completely smooth and creates a rich, creamy texture without any cream, butter, or cashews. Use firm silken tofu (like Mori-Nu shelf-stable) for the best result. Soft silken tofu works too and gives a slightly thinner sauce. Do not substitute regular firm tofu, which is too grainy to blend smoothly.
- Asparagus. Slender spears are ideal here - they cook quickly and are tender all the way through without peeling. If you can only find thick asparagus, peel the lower third of each stalk. Snap off the woody ends and cut into 1½-inch pieces so they're easy to eat with pasta.
- Yellow summer squash. Adds color and a mild sweetness. Zucchini is a direct swap. You can also skip it and increase the asparagus.
- Frozen peas. Sweet and bright - they thaw almost instantly in the pan. Fresh shelled peas in season are even better if you have them.
- Sun-dried tomatoes. Concentrated, chewy, and deeply savory - they balance the creaminess of the tofu sauce beautifully. Oil-packed or rehydrated dry-packed both work well. Slice them before adding.
- Pasta shape. Use a chunky shape - rotini, fusilli, farfalle, or gemelli - so the sauce and vegetables have something to cling to. Whole-grain pasta adds fiber and a nuttier flavor that plays well with the vegetables.
- Fresh lemon juice. The acid in the tofu sauce is what makes it taste bright and fresh rather than flat. Don't skip it.
Variations
- Add white beans. Stir in a drained 15-ounce can of cannellini or great northern beans for extra protein. For a no-cook pasta option, also try our vegan Greek pasta salad. If you love asparagus, our cream of asparagus soup makes a beautiful spring starter.
- eartiness.
- Make it gluten-free. Use your favorite GF pasta - brown rice pasta, chickpea pasta, or lentil pasta all work well with this sauce.
- Add nutritional yeast. Stir 2 to 3 tablespoons into the tofu sauce before blending for a cheesy, savory depth reminiscent of parmesan.
- Swap the greens. Stir in a few handfuls of baby spinach or arugula with the pasta at the end - they'll wilt just from the heat of the dish.
- Mushroom version. Add 8 ounces of sliced cremini or shiitake mushrooms to the pan with the garlic for an earthier, more substantial dish.
- Lemon herb version. Add the zest of one lemon to the tofu sauce and finish with a generous handful of fresh basil for a brighter, more Italian feel.
Tips for the Best Vegan Pasta Alfredo
- Blend the tofu sauce until completely smooth. Any graininess in the sauce will be noticeable in the final dish. Blend for a full minute, scraping down the sides, until the texture is silky.
- Reserve pasta water. A splash of the starchy cooking water is your best friend for loosening the sauce if it thickens too much when it hits the hot pasta.
- Don't overcook the vegetables. Tender-crisp is what you're after - asparagus and peas should still have a little bite. Five minutes in the covered pan is usually enough.
- Keep the heat low when adding the sauce. Silken tofu can break or become grainy if overheated. Warm it gently over low heat just until it's heated through.
- Serve immediately. Like all creamy pasta dishes, this is best fresh off the stove. The sauce will thicken as it sits - if reheating leftovers, add a splash of water or plant-based milk and warm over low heat.
How to Serve
Serve straight from the pan into wide pasta bowls, topped with extra fresh basil or parsley and a crack of black pepper. This is a complete meal on its own, but it pairs well with a simple green salad, garlic bread, or a wedge of crusty sourdough. For a more elaborate spread, serve alongside a bowl of marinated olives or a light tomato bruschetta. This also pairs beautifully alongside our vegan zucchini lasagna for an Italian dinner spread. Leftovers keep in the fridge for up to 3 days - reheat gently with a splash of water to revive the sauce.
Recipe
Vegan Pasta Alfredo with Peas & Asparagus
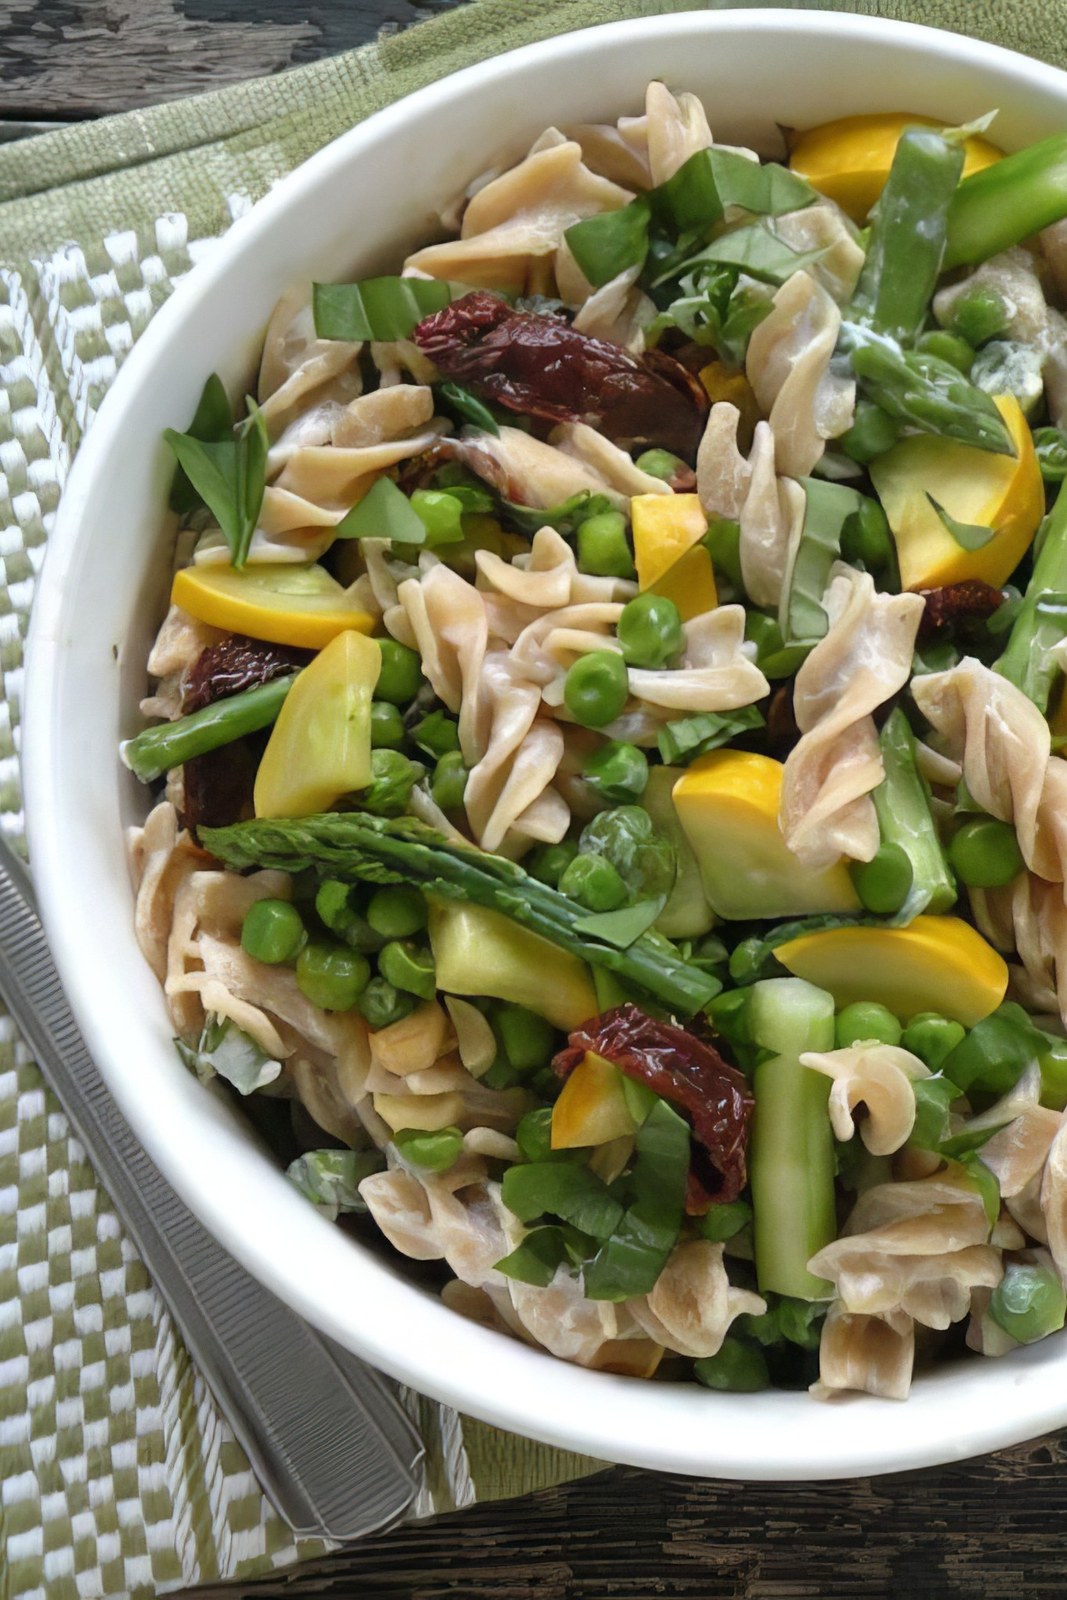
A creamy vegan pasta alfredo made with silken tofu instead of dairy — light, luscious, and packed with spring vegetables. Asparagus, sweet peas, yellow squash, and sun-dried tomatoes make every bite colorful and satisfying.
Print
Pin
Save
Servings: servings
Ingredients
Pasta & Vegetables
- 12 ounces rotini, fusilli, farfalle, or other chunky pasta whole-grain preferred
- 1 tablespoon extra-virgin olive oil
- 3 cloves garlic minced
- 10 ounces slender asparagus tough ends snapped off, cut into 1½-inch pieces
- 1 cup frozen green peas or fresh shelled peas
- 1 medium yellow summer squash quartered lengthwise and thinly sliced
- ⅓ cup sun-dried tomatoes sliced (oil-packed or rehydrated)
- ¼ cup fresh parsley or basil minced or thinly sliced
Silken Tofu Alfredo Sauce
- 12.3 ounce package firm silken tofu drained
- 2 tablespoons fresh lemon juice about ½ lemon
- salt and freshly ground black pepper to taste
Instructions
- Cook the pasta in a large pot of well-salted boiling water according to package directions until al dente. Drain and set aside, reserving ¼ cup of the pasta cooking water.
- While the pasta cooks, combine the silken tofu and lemon juice in a blender or food processor. Blend until completely smooth and creamy, about 1 minute. Season with salt and pepper. Set aside.
- Heat the olive oil in a large, wide skillet over medium heat. Add the garlic and sauté for 1 to 2 minutes until fragrant and lightly golden — do not let it brown. Add the asparagus, peas, squash, sun-dried tomatoes, and ¼ cup water. Cover and cook for 4 to 5 minutes, stirring once halfway through, until the vegetables are just tender-crisp.
- Pour the silken tofu sauce over the vegetables and stir to coat. Cook over low heat for 1 to 2 minutes until heated through. If the sauce seems thick, stir in a splash of the reserved pasta water to loosen it.
- Add the drained pasta to the skillet and toss well to combine everything. Stir in the fresh parsley or basil. Taste and adjust salt and pepper. Serve immediately.
Notes
Silken tofu: Firm silken tofu (such as Mori-Nu) blends into a perfectly smooth, dairy-free cream sauce. Do not substitute regular firm tofu — it won't blend smoothly. Soft silken tofu works too and gives a slightly thinner sauce.
Asparagus prep: Use slender asparagus spears — they're tender throughout and don't need peeling. If using thicker spears, peel the lower third of each stalk with a vegetable peeler.
Make it gluten-free: Use your favorite gluten-free pasta. Brown rice pasta or chickpea pasta both hold up well with this sauce.
Add protein: Stir in a drained can of white beans or a handful of shelled edamame with the vegetables for extra plant-based protein.
Nutrition (Estimate per Serving)
Calories: 444kcalCarbohydrates: 23gProtein: 9gFat: 6gSaturated Fat: 2gPolyunsaturated Fat: 1gMonounsaturated Fat: 3gCholesterol: 7mgSodium: 63mgPotassium: 544mgFiber: 3gSugar: 1gVitamin A: 237IUVitamin C: 23mgCalcium: 105mgIron: 3mg
Vegan-ize any recipe!Grab our free vegan cheat sheet, packed with my favorite easy substitutions to make any recipe vegan.
Also try: our vegan creamy mushroom pasta.
Roasted Butternut Squash and Pasta Casserole
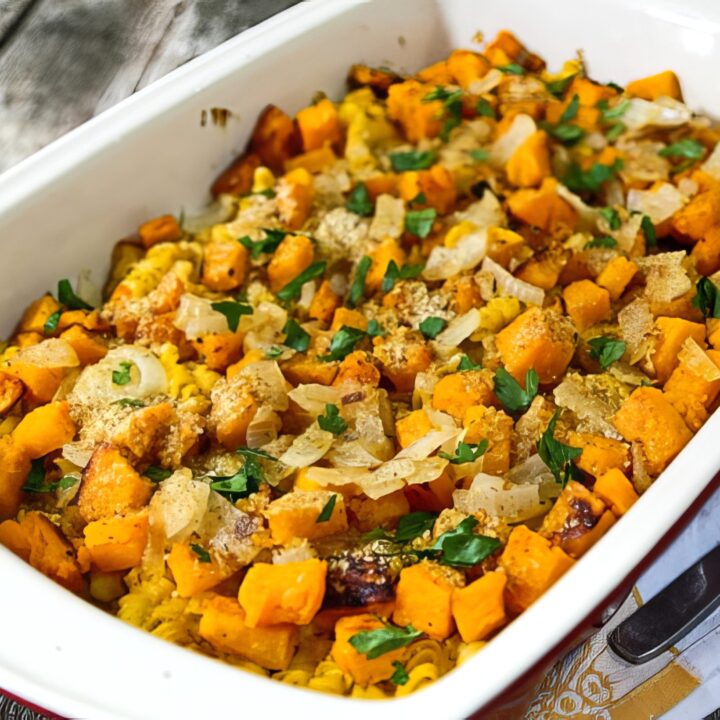
This hearty pasta casserole is loaded with flavor from roasted butternut squash and a velvety, dairy-free sauce, all finished with a golden, crunchy breadcrumb topping. It's comforting, easy to make, and guaranteed to have everyone coming back for seconds.
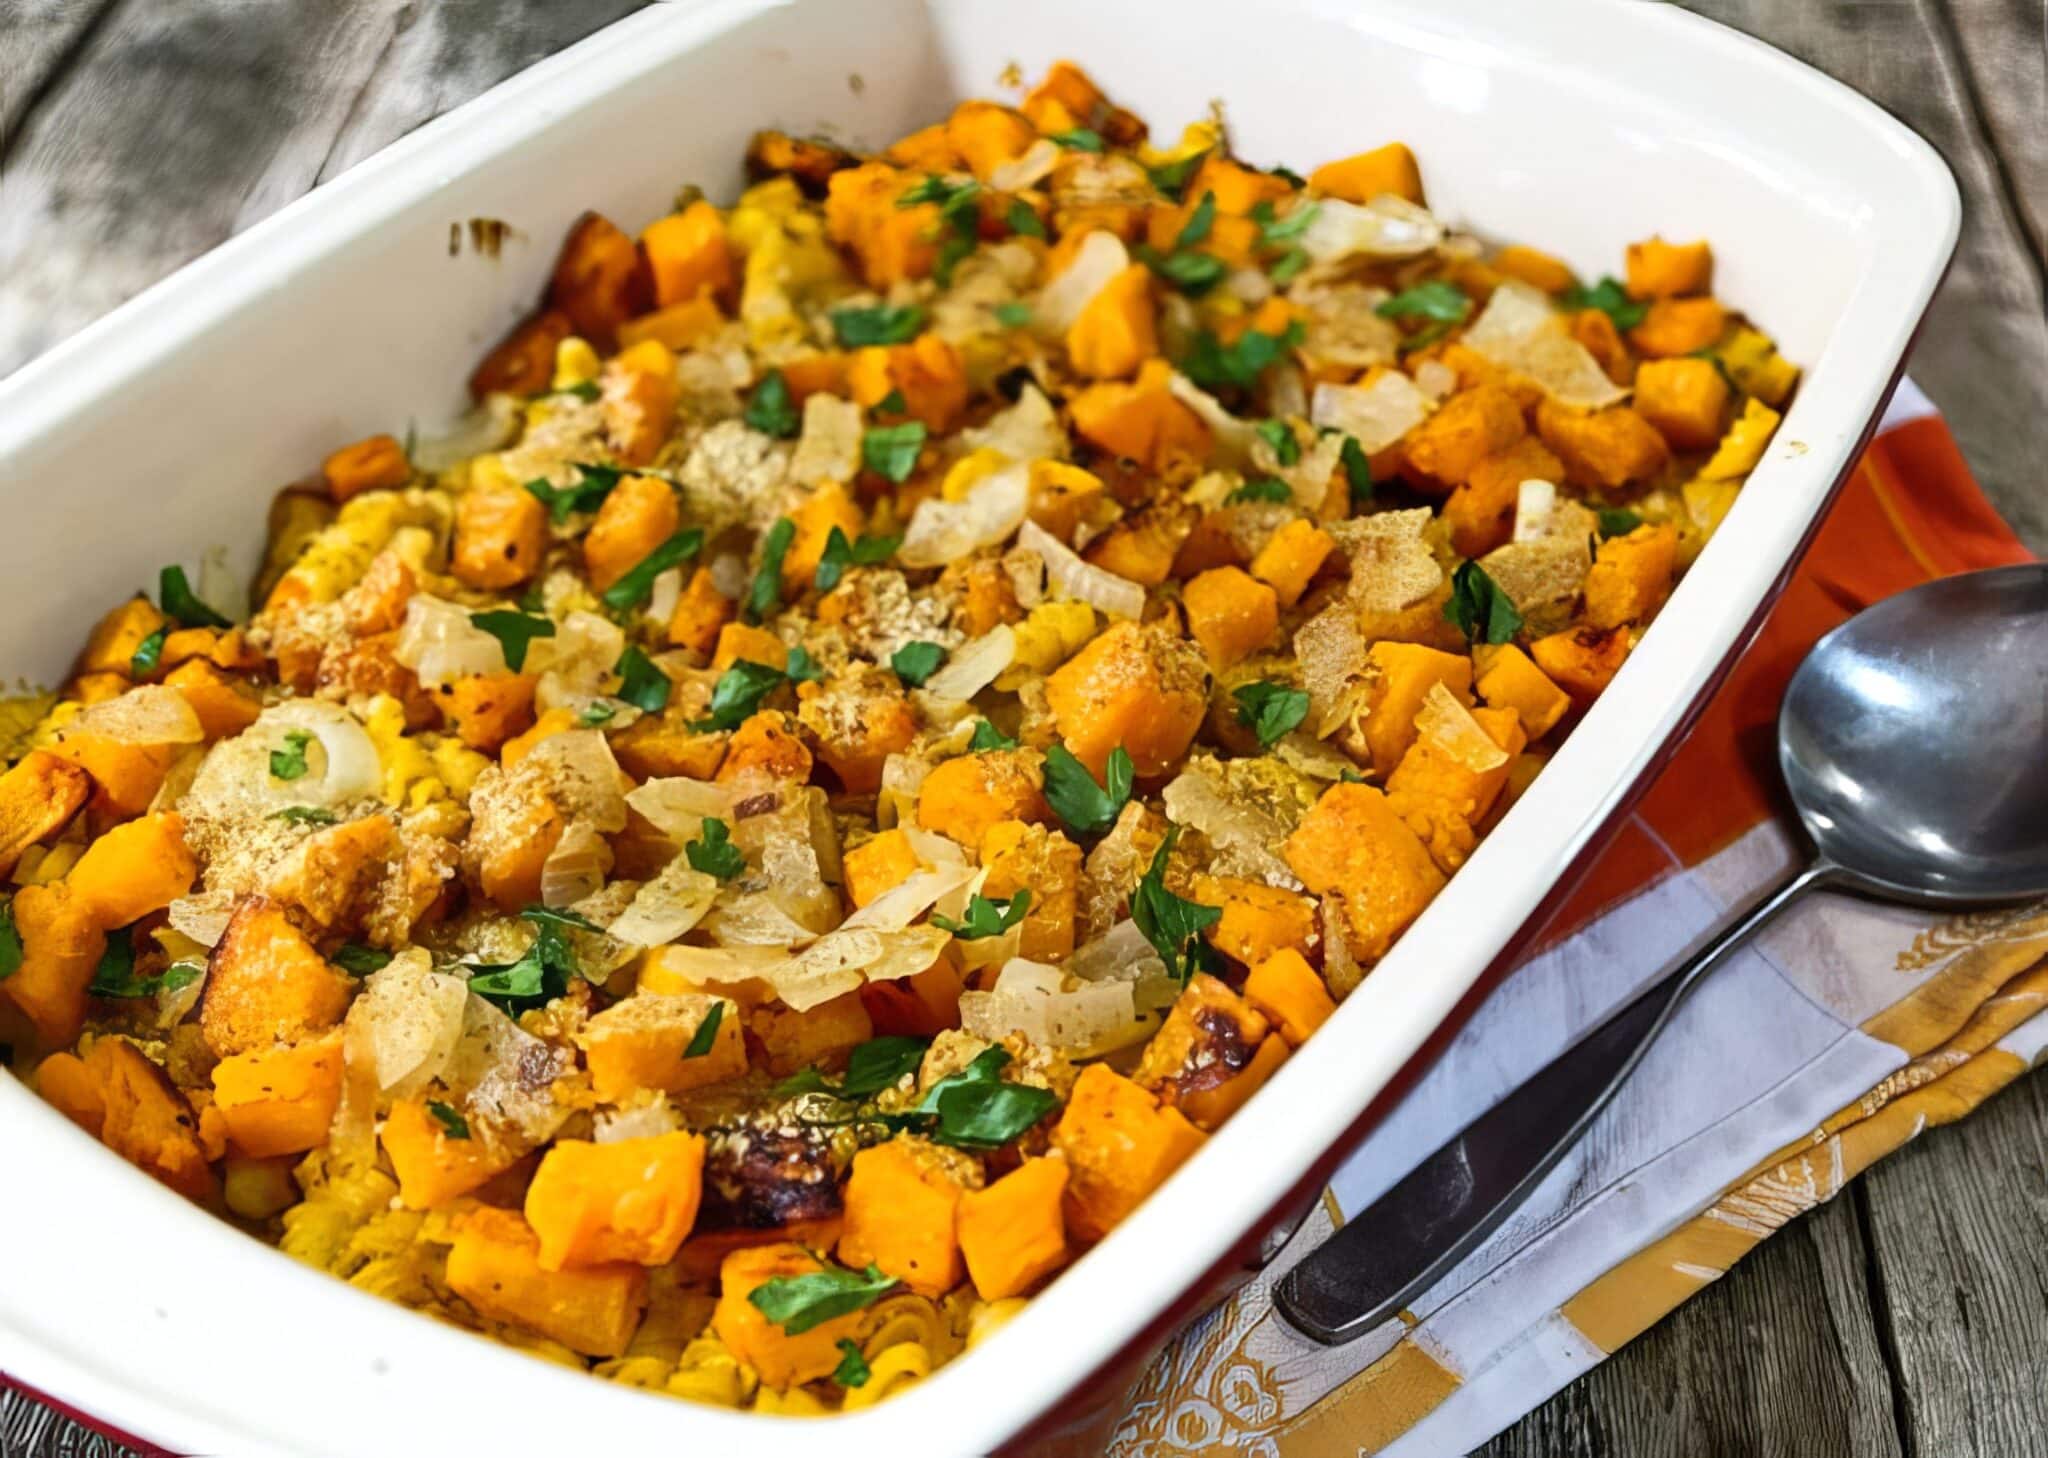
This is the kind of casserole you make when you're craving comfort food but still want to feel like a responsible adult. It's rich, creamy, baked to golden perfection. And, plot twist: there's no dairy, no cream, and no cheese.
I first made this on one of those in-between fall days - too warm for soup, too cool for salad, and just right for something slowly baked. It turned out to be one of those meals you don't expect to fall in love with, but then you go back for thirds and start texting people about it.
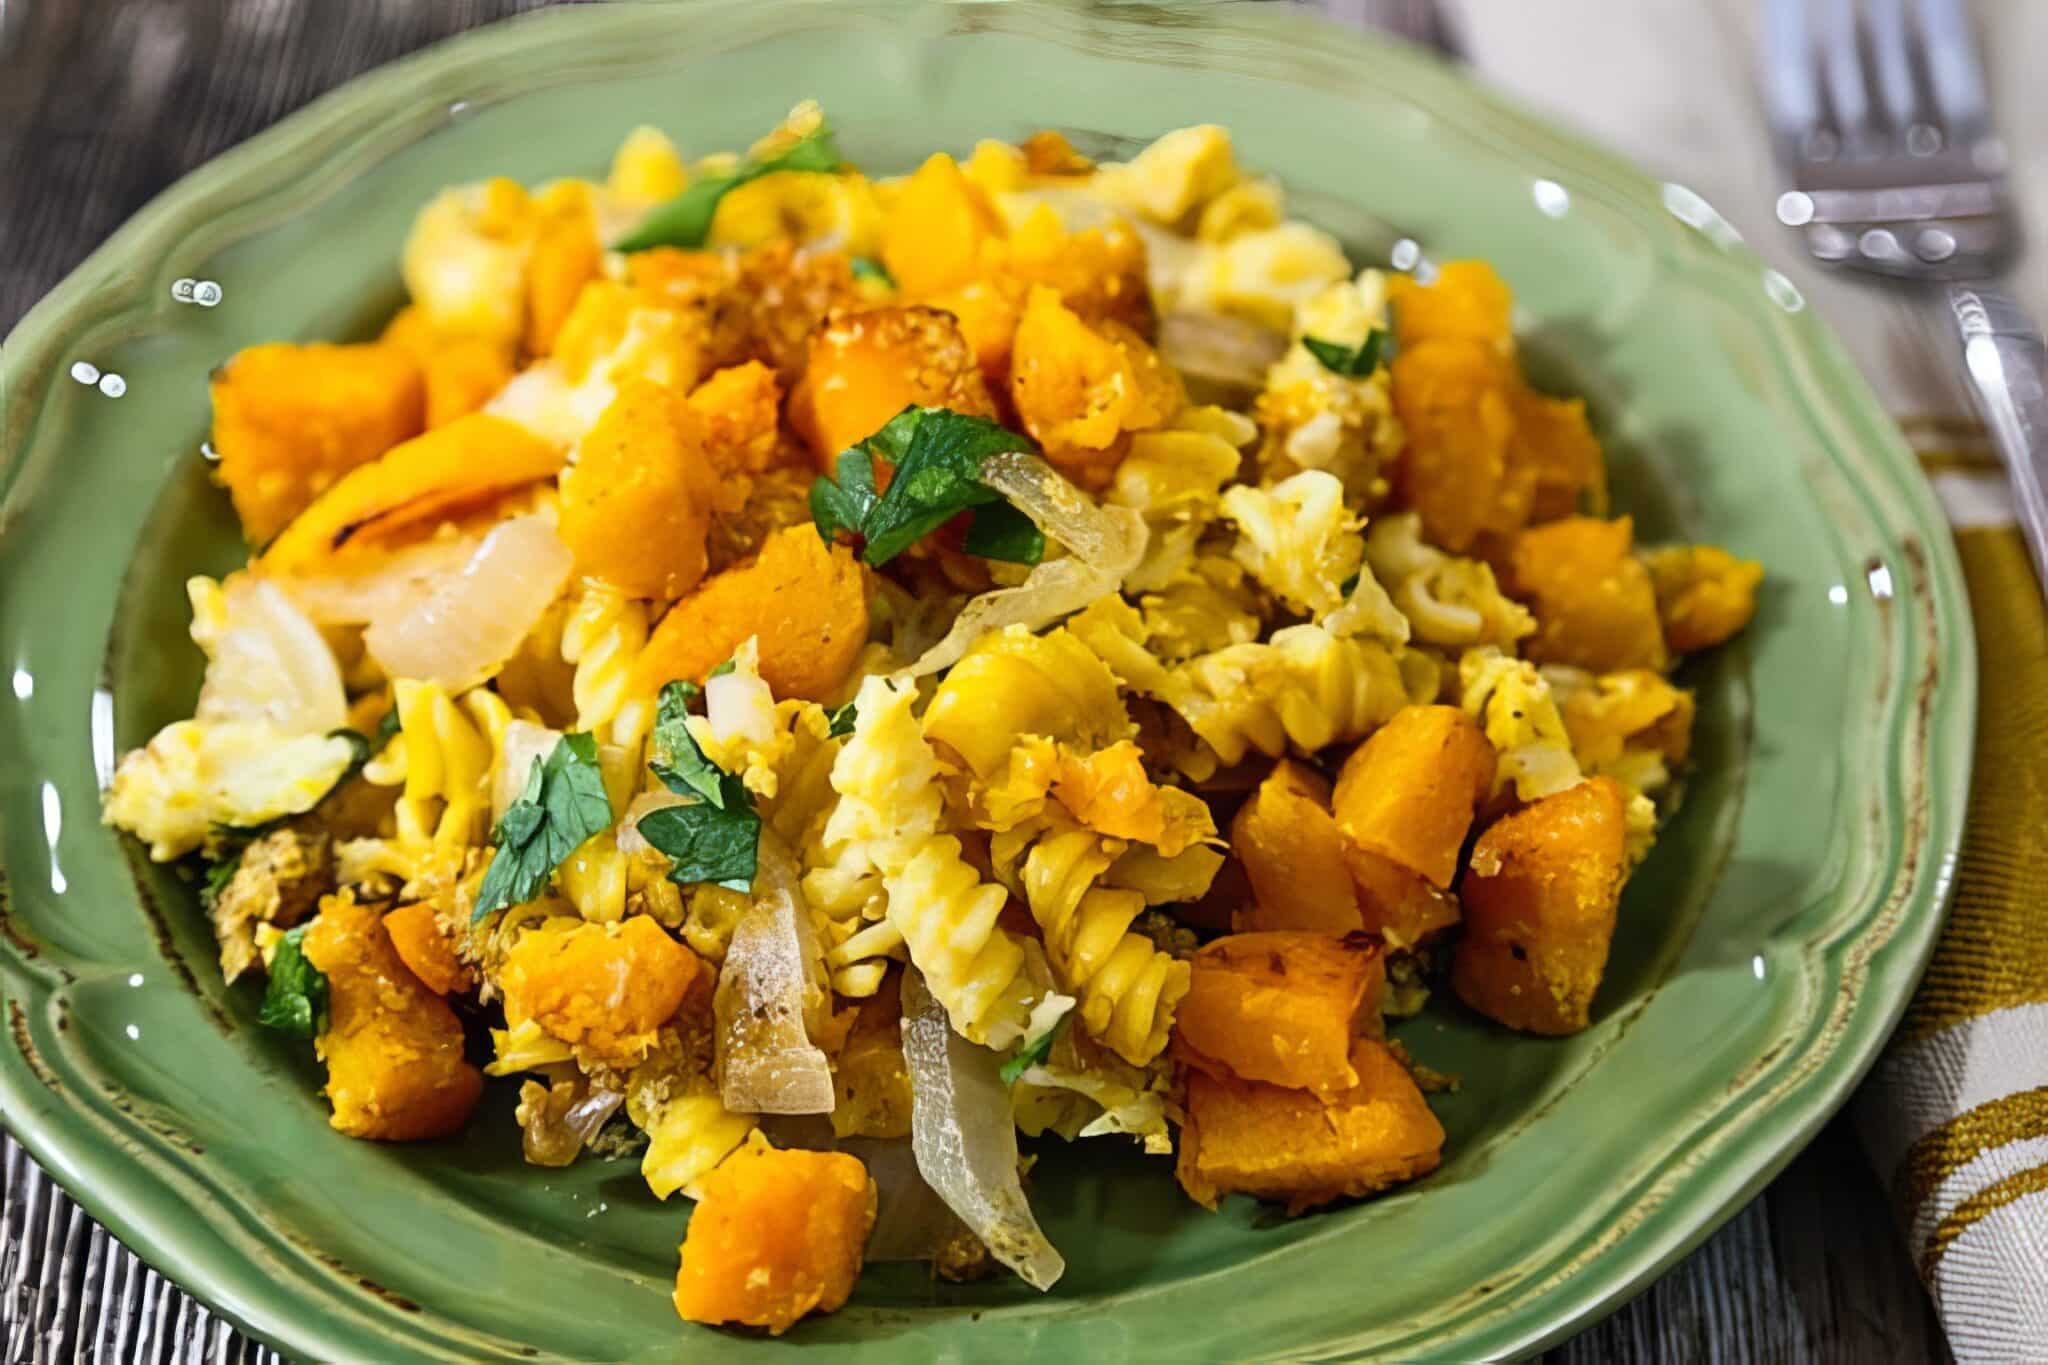
Key Ingredients & Substitutions
- Pasta - Short shapes like rotini or shells hold onto all that dreamy sauce best. You can use whole grain, gluten-free, or just classic white pasta.
- Butternut Squash - Roasted until tender, then blended into the base of the sauce.
- Onion - Sautéed until golden and sweet!
- Silken Tofu - Don't fear the tofu! It makes the sauce ultra-creamy and keeps things nice and light. If you do not want to use tofu, you can substitute cooked (or canned) white beans for a similar consistency.
- Nutritional Yeast - That umami-rich, cheesy flavor - without any dairy.
- Nondairy Milk - Unsweetened, please. Just enough to help everything blend smoothly. You can use almond milk, cashew milk, or your own favorite.
- Paprika - A dash for warmth and color, plus a little extra for sprinkling on top. Smoked paprika works well here also.
- Breadcrumbs - For that golden, crunchy finish.
Helpful Tips
Make ahead tip! You can roast the butternut squash a day ahead and store it in the fridge. This makes prep time a breeze when you're ready to assemble the casserole.
Use the neck for cubes, the base for sauce. - The thicker neck of the squash stays firmer after roasting and is perfect for dicing into cubes for texture in the casserole. The softer base (the bulb) gets softer and blends best into a super creamy sauce.
Blend until smooth and silky. - Take your time when blending the butternut squash sauce. A high-speed blender will give you that ultra-velvety finish, but any blender or food processor will work with a little patience. If the mixture seems too dry, add a bit more almond milk.
Don't overcook the pasta. - Cook the pasta just to al dente. It'll soften more as it bakes, so this helps keep the texture just right.
Customize the topping. - No breadcrumbs? No problem. Use crushed crackers, panko, or even a sprinkle of chopped nuts for a crunchy finish.
Also worth trying: our creamy asparagus and pea pasta.
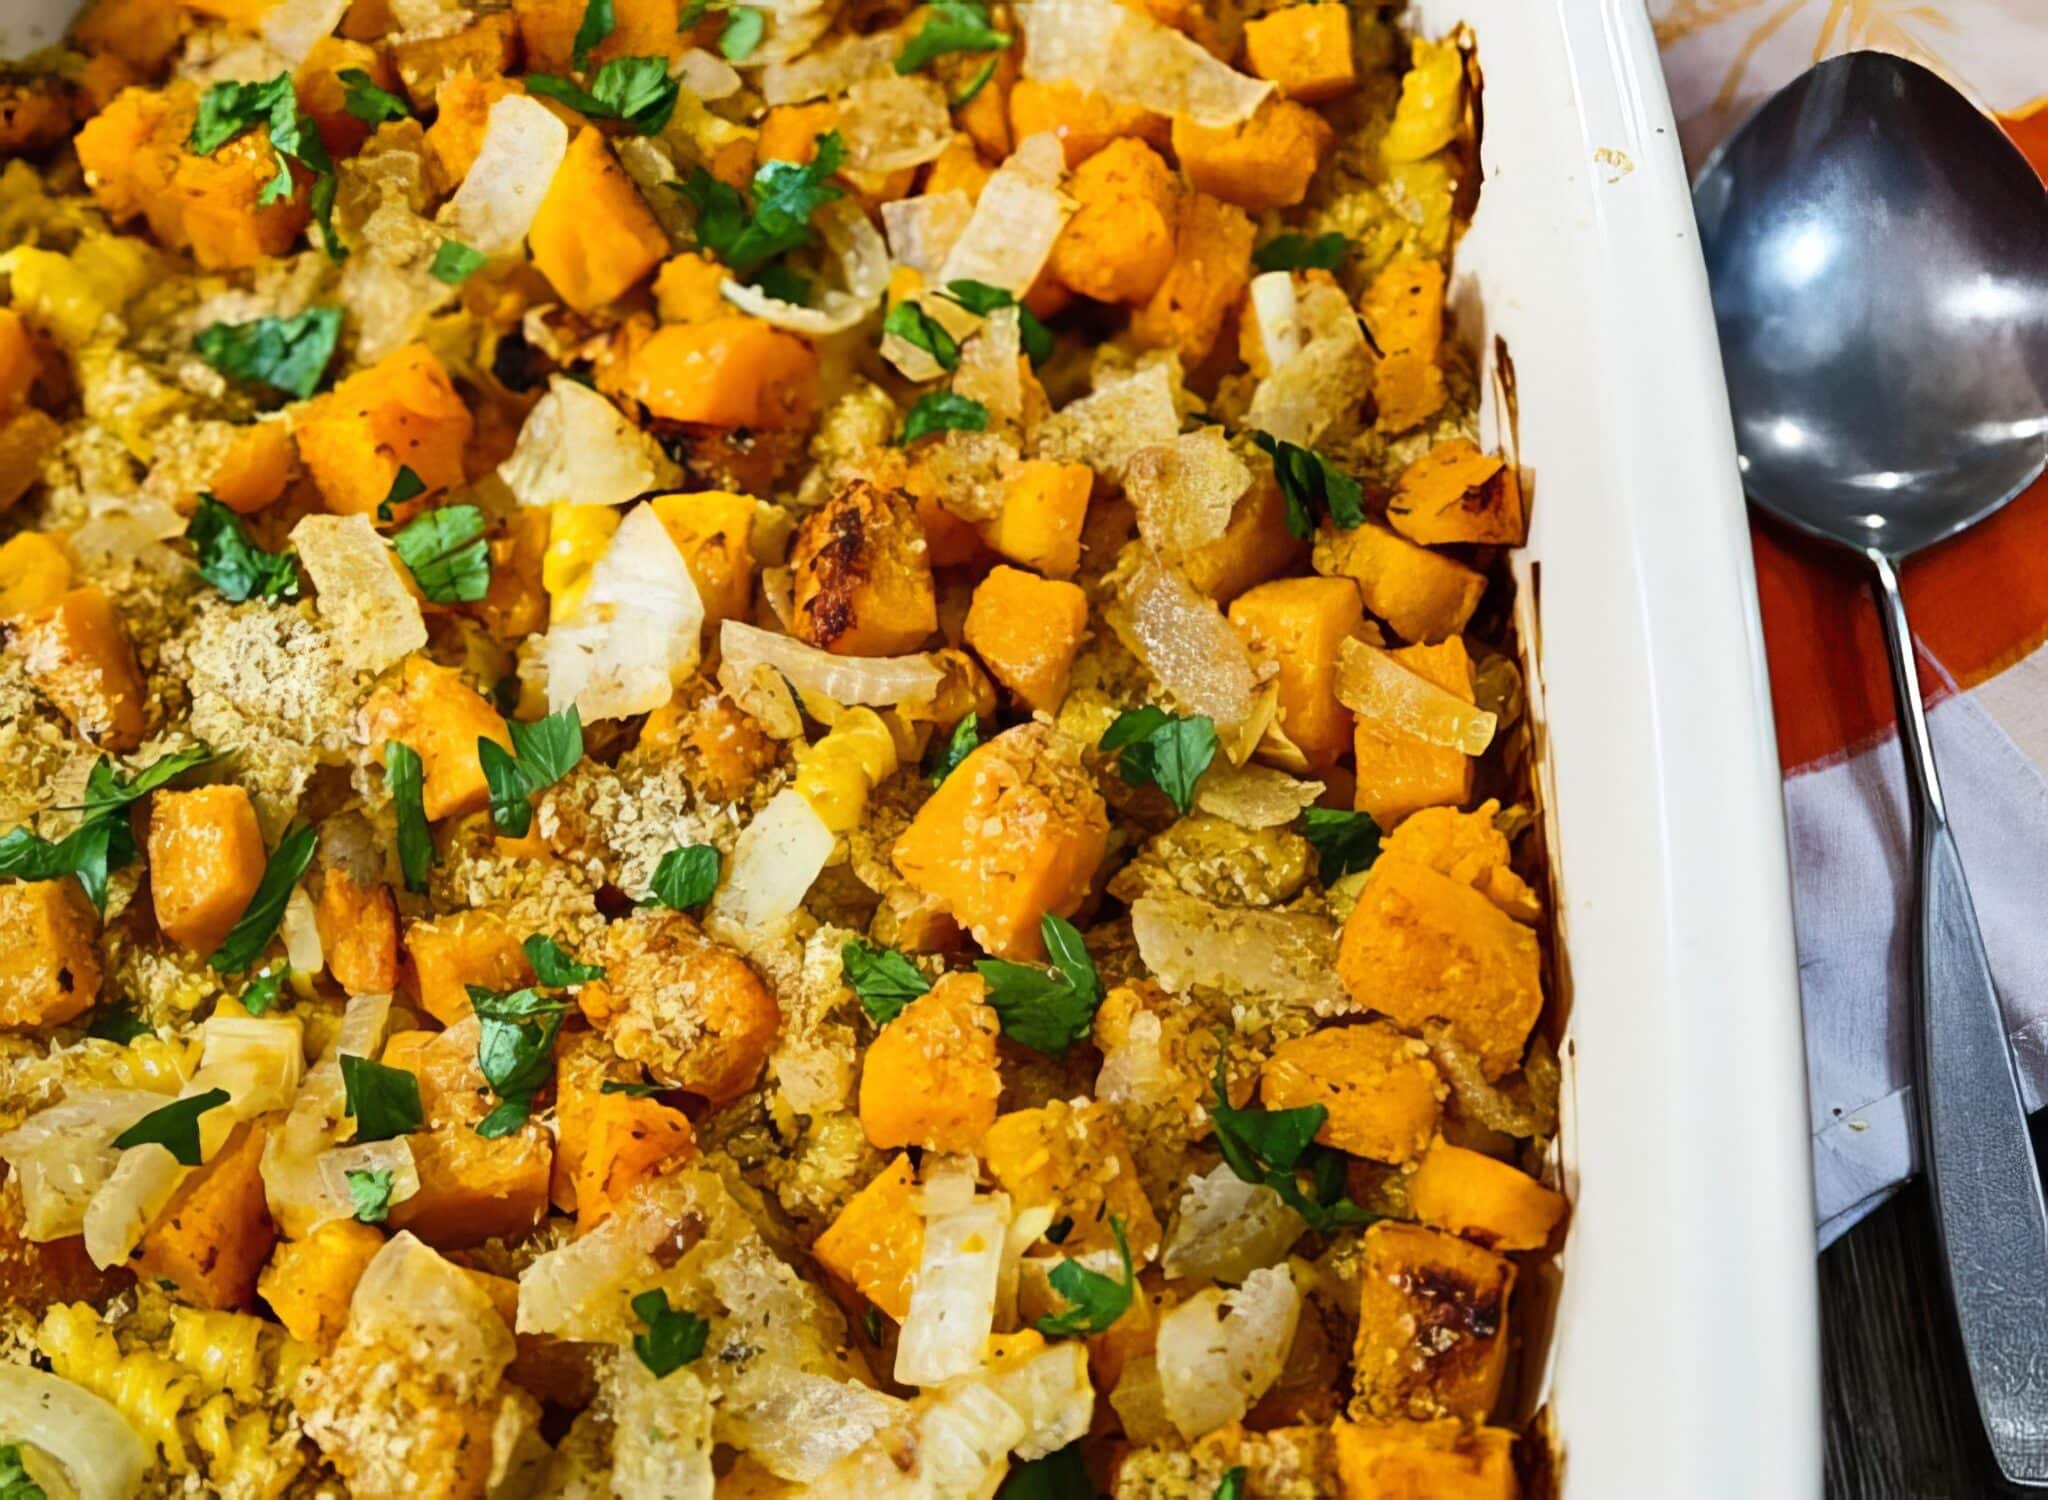
Easy Variations
Add greens. - Stir in a handful of sautéed spinach or kale before baking for an extra boost of color and nutrients.
Make it smoky. - Add a pinch of smoked paprika or chipotle powder to the sauce for a subtle smoky flavor that plays well with the sweetness of the squash.
Gluten-free option. - Use your favorite gluten-free pasta and swap the breadcrumbs for gluten-free panko or crushed rice crackers.
Use zucchini instead of pasta. - Swap the pasta for thin zucchini strips to make a lighter, gluten-free version. For a fully developed take on that idea, check out our vegan zucchini lasagna.
Go herbaceous! - Mix in chopped fresh sage or thyme. A little goes a long way and pairs beautifully with the squash.
Protein boost. - Add cooked lentils, chickpeas, or vegan sausage slices to the mix before baking for a heartier, more filling dish.
Single-serve style - Divide the mixture into ramekins for mini casseroles. Perfect for dinner parties or easy meal prep! For another hearty baked casserole dinner, our vegan pot pie casserole is a crowd-pleasing comfort food classic. For a fresh summer side, also try our zucchini with mint. For a creamy weeknight pasta option, our vegan creamy mushroom pasta is a favorite.
More Tasty Recipes
If you love this casserole, be sure to check out these other delicious recipes:
- Vegan Sweet Potato Casserole
- Black Bean and Zucchini Tortilla Casserole
- 15 Best Vegan Casserole Recipes
- 10 Make Ahead Vegan Breakfast Casseroles
Recipe
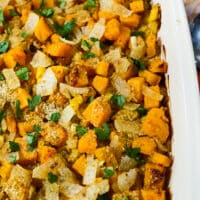
Roasted Butternut Squash and Pasta Bake
This hearty pasta casserole is loaded with flavor from roasted butternut squash and a velvety, dairy-free sauce, all finished with a golden, crunchy breadcrumb topping. It's comforting, easy to make, and guaranteed to have everyone coming back for seconds.
Print
Pin
Save
Servings:
Equipment
Ingredients
- 12 ounces pasta such as rigatoni or rotini
- 2 tablespoons olive oil plus extra for topping
- 1 large onion finely chopped
- 1 medium butternut squash
- ¼ cup nutritional yeast
- 12.3 ounces firm or extra-firm silken tofu
- ½ cup almond milk or other nondairy milk, unsweetened
- ½ teaspoon paprika plus extra more for topping
- salt and pepper to taste
- ½ cup breadcrumbs
- 2 tablespoons fresh parsley optional, chopped, for topping
Instructions
- Preheat the oven to 400°F (200°C).
- Cut a medium butternut squash in half lengthwise. Scoop out the seeds and place both halves, cut side down, on a parchment-lined or lightly oiled baking sheet. Roast for 35-45 minutes, or until the wide (bulb) end is completely tender and can be easily pierced with a fork, but is not mushy. The narrow (neck) end should be tender but still hold its shape.
- Let the squash cool until safe to handle. Gently remove the tough skin, so only the tender squash remains. Chop into cubes and set aside. You should get about 3 - 4 cups total.
- While the squash is roasting, cook the pasta according to package directions, then drain and transfer to a large mixing bowl. Set aside.
- Heat 1 tablespoon olive oil in a large skillet over medium heat. Add 1 large finely chopped onion and sauté until golden and soft, about 8-10 minutes. Scoop out about ¼ cup of the cooked onion and set it aside to mix into the casserole later. The rest will go into the sauce.
- Heat half of the oil in a medium skillet. Add the onion cook until golden. Transfer to a food processor or blender, leaving about ½ cup's worth aside for topping.
- Blend the Sauce. In a blender or food processor, approximately ⅔ of the cubed squash, the remaining sauteed onion, silken tofu, nondairy milk, nutritional yeast, paprika, salt and pepper. Blend until completely smooth. The sauce should be velvety and pourable; add a splash more milk if needed.
- In a large mixing bowl, combine the cooked pasta, remaining squash cubes, and the reserved ¼ cup of sautéed onion. Pour the creamy squash sauce over everything and stir gently to coat.
- Transfer the mixture to a lightly oiled 2-quart casserole dish. Sprinkle the breadcrumbs over the top. Add a sprinkle of paprika and a drizzle of olive oil, if desired.
- Bake uncovered at 400°F for 20-25 minutes, or until the top is golden and the edges are bubbling. For extra crispiness, broil for the last 2-3 minutes, watching closely.
- Let the casserole sit for 5-10 minutes after baking. Garnish with parsley, if desired. This helps it set up and makes it easier to serve. Slice, scoop, and enjoy warm!
Nutrition (Estimate per Serving)
Calories: 297kcalCarbohydrates: 51gProtein: 10gFat: 6gSaturated Fat: 1gPolyunsaturated Fat: 2gMonounsaturated Fat: 3gSodium: 80mgPotassium: 578mgFiber: 4gSugar: 5gVitamin A: 10060IUVitamin C: 23mgCalcium: 104mgIron: 2mg
Vegan-ize any recipe!Grab our free vegan cheat sheet, packed with my favorite easy substitutions to make any recipe vegan.
Vegan Pumpkin Mac and Cheese
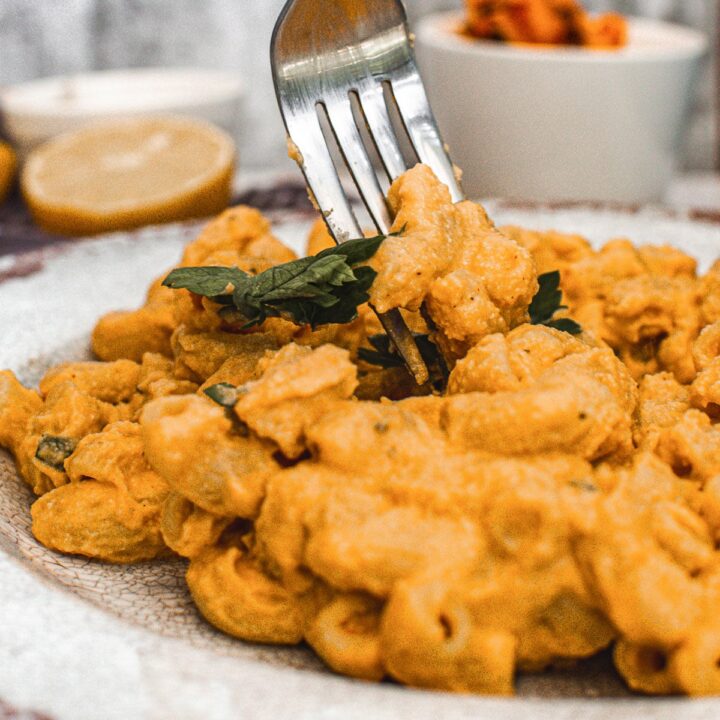
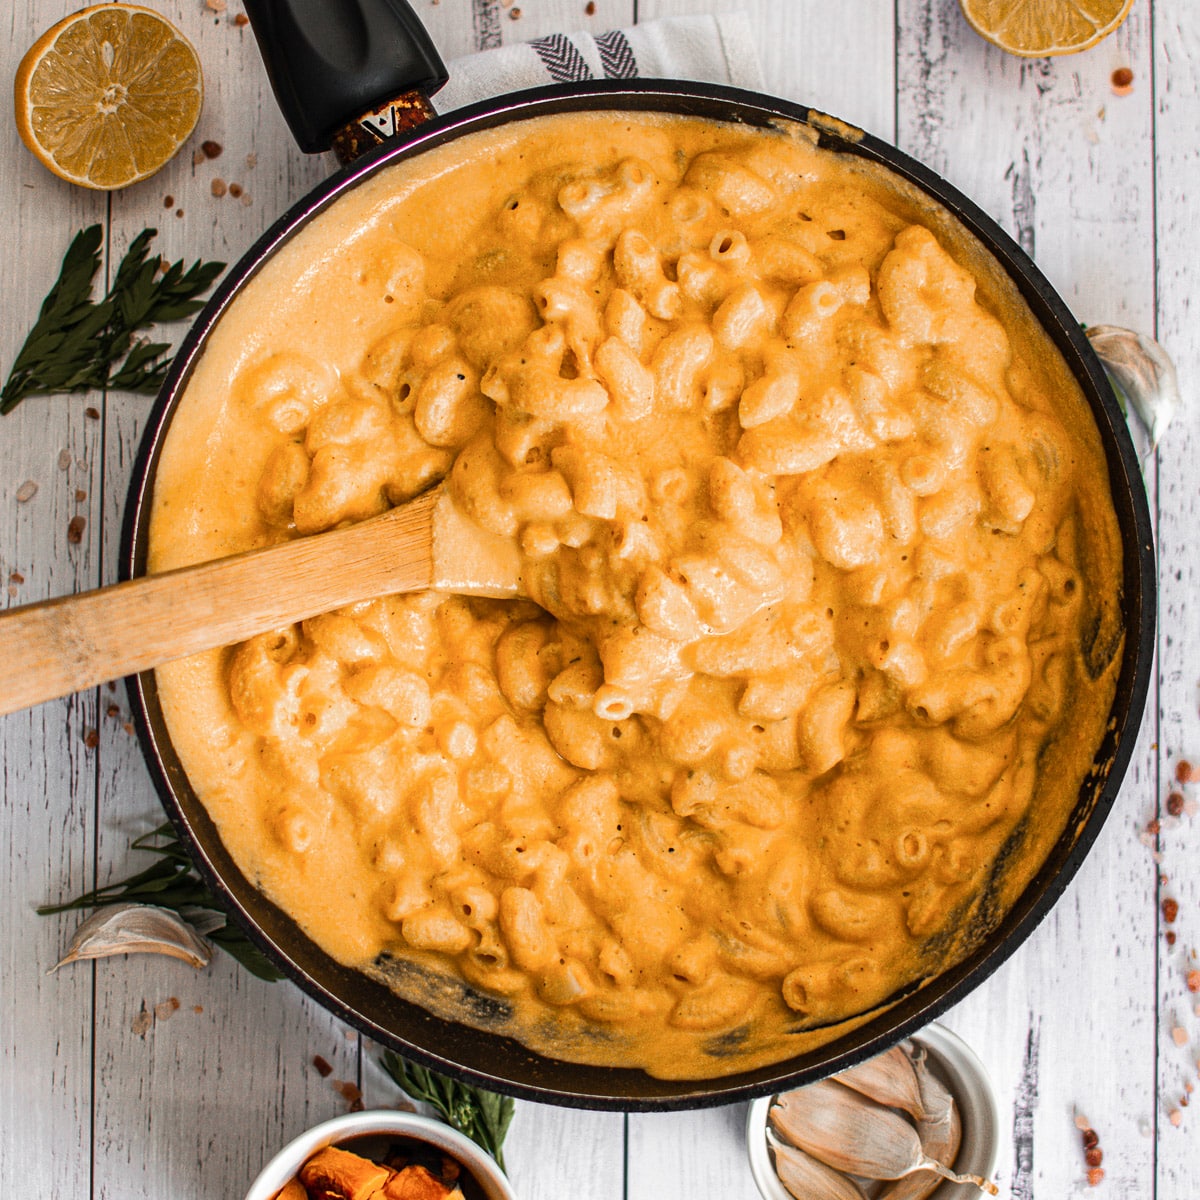
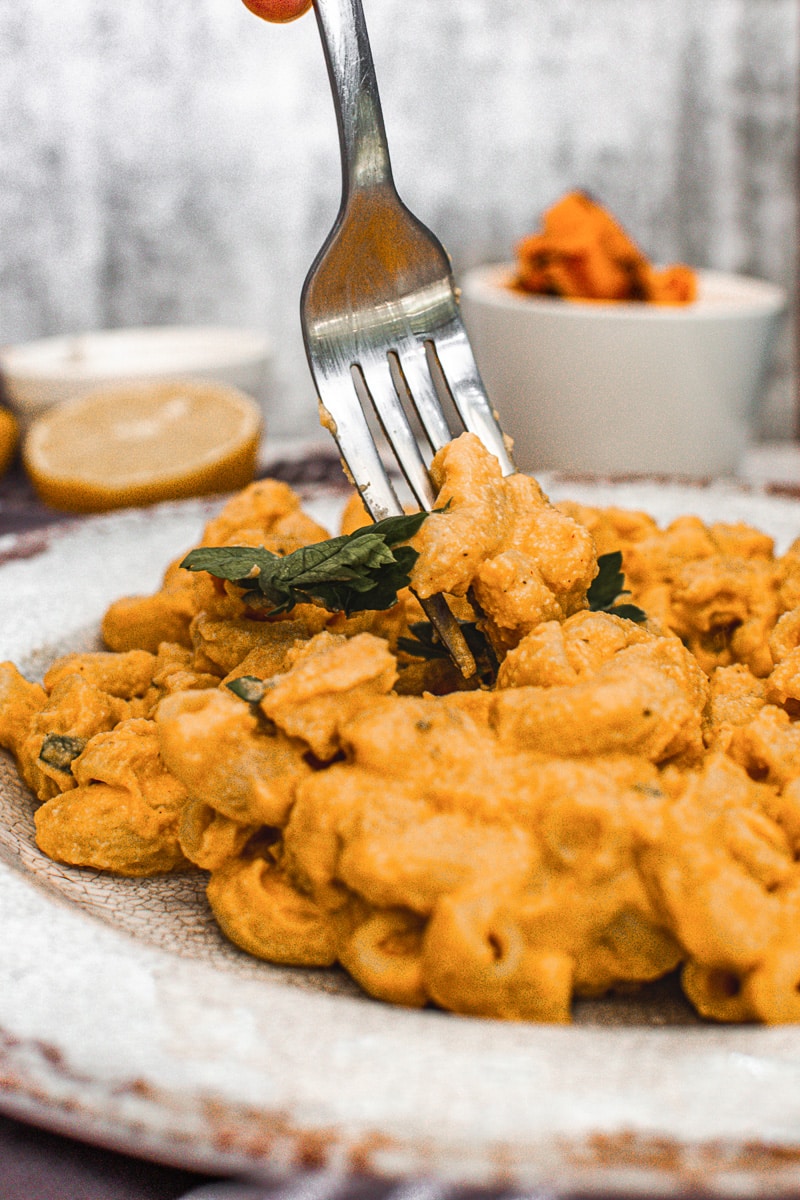
This Vegan Pumpkin Mac and Cheese is creamy, delicious, and super simple to throw together. It's the ultimate Fall comfort food!
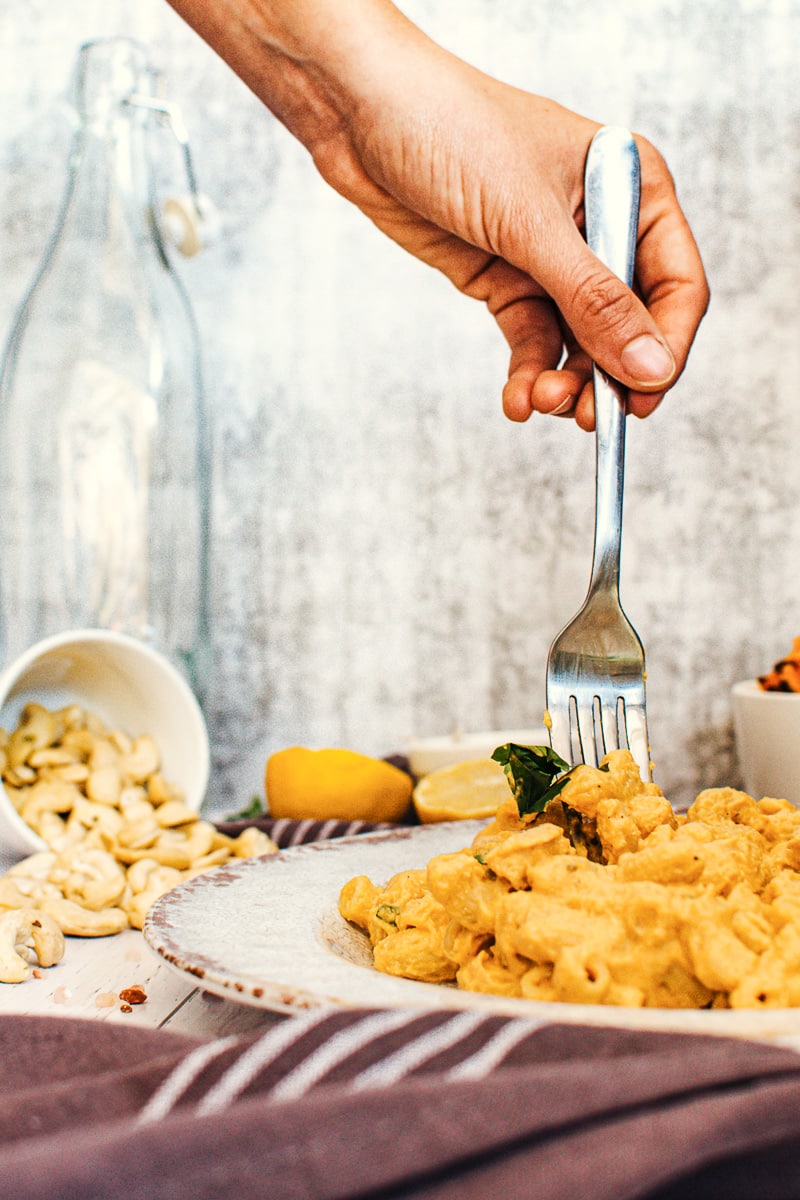
This vegan mac and cheese is loaded with creamy, cheesy, pumpkin flavor. It's an epic adult version of your favorite childhood meal!
This has quickly become one of my all time favorite vegan comfort foods and a family favorite for the fall and winter seasons.
This pumpkin mac and cheese pasta is:
- vegan
- dairy-free
- made with real pumpkin puree
- gluten-free (if you use gluten-free pasta)
- a delicious lunch or dinner the whole family can enjoy
- made with simple ingredients
- creamy and cheesy
If you're a fan of this, be sure to check out my traditional vegan mac and cheese recipe and all my favorite vegan pasta dishes too!
Key Ingredients & Substitutions
- Pumpkin puree. Use plain canned pumpkin, like this organic pumpkin puree, not pumpkin pie filling, which is already sweetened and spiced. Homemade roasted pumpkin puree works too; if it looks watery, let it drain in a fine-mesh sieve for 20 minutes so the sauce doesn't turn thin. Canned butternut squash or sweet potato puree can be swapped in cup for cup.
- Raw cashews. Soaked cashews are the secret to a sauce that tastes rich and velvety instead of just "pumpkin-y." Buy raw, unsalted cashews; roasted or salted ones blend up grainier and throw off the seasoning. For a nut-free version, use ½ cup of silken tofu or ½ cup of raw sunflower seeds, soaked the same way.
- Nutritional yeast. This is where the cheesy, savory flavor comes from, so don't skip it. There's no perfect stand-in, but if you're short, a teaspoon of white miso blended into the sauce adds a similar savory depth.
- Coconut milk. Canned coconut milk makes the sauce luxurious, and the pumpkin and spices hide most of the coconut flavor. For a lighter sauce, use unsweetened oat or soy milk instead (see our guide to the best non-dairy milks); it will be a little less thick, so add it gradually.
- Ground mustard, garlic powder and onion powder. These give the sauce that classic mac and cheese tang. Ground mustard (dry mustard powder) is the one people tend to skip, but it's what makes this taste like cheese sauce rather than soup. A teaspoon of Dijon mustard can stand in for it.
- Smoked paprika and nutmeg. Smoked paprika adds a subtle, cheddar-like smokiness and a deeper orange color, while a small pinch of nutmeg rounds out the pumpkin. Keep the nutmeg light so the dish stays savory, not dessert-like.
- Lemon juice. A little acidity keeps the rich sauce from tasting flat. Fresh lemon is best; apple cider vinegar works in a pinch.
- Pasta. Rigatoni's wide ridged tubes trap the sauce, but elbow macaroni or medium shells give you a more classic mac. For a gluten-free version, use gluten-free pasta (see the tip below).
Helpful Tips
How to Make It Gluten-Free: The pasta is the only ingredient in this recipe that contains gluten. Swap the rigatoni for 10 ounces of gluten-free pasta, such as brown rice, chickpea or lentil rigatoni or penne, and cook it just to al dente, since gluten-free pasta softens quickly in the warm sauce. Everything in the sauce, including the nutritional yeast, is naturally gluten-free. If you're cooking for someone with celiac disease, check that your spices and ground mustard are labelled gluten-free.
Blend Until Silky Smooth: Don't rush the blending step - give it a full minute or two so the sauce turns out creamy and lump-free. No one wants grainy mac & cheese (vegan or not).
Cook Pasta Just to Al Dente: Slightly undercook your pasta since it'll soften a bit more once you mix it with the warm vegan cheese sauce. Mushy mac is a tragedy we can all avoid.
Salt Matters: Taste the sauce before mixing it into the pasta and adjust the salt. Pumpkin can be a little sweet, so don't be shy about seasoning it properly.
Add Pasta Water If Needed: If your sauce feels too thick once mixed with the pasta, add a splash or two of reserved pasta water to loosen things up without diluting the flavor.
Also worth trying: our pumpkin seed butter.
Easy Variations
Add Some Green: Toss in a handful of baby spinach, kale, or even frozen peas at the end for a little color and extra nutrition. Your body will thank you.
Smoky Vibes: Stir in a teaspoon of smoked paprika or chipotle powder for a smoky twist. It turns the cozy factor up to 11.
Get Cheesy (Again): Want it extra cheesy? Mix in a little vegan cream cheese, a scoop of nutritional yeast, or your favorite melty dairy-free cheese.
Roasted Veg Boost: Roasted cauliflower, broccoli, or butternut squash make great mix-in. And they're a great way to sneak in some veggies for the family.
Crunchy Toppings: Pour the mac and cheese into a baking dish, top with breadcrumbs, and broil for a few minutes. Yum!
Spice It Up: A pinch of cayenne, a few dashes of hot sauce, or some red pepper flakes = yes, yes, and yes.
Pumpkin Swap: No pumpkin? No problem. Use canned butternut squash, sweet potato puree, or even carrot purée if you're feeling really wild.
Protein Power: Stir in some sautéed tempeh, lentils, or chickpeas to bulk things up and keep you fueled up longer.
Serving Ideas
This pumpkin mac is hearty enough to be the main event. Serve big bowls of it with a crisp green salad tossed in a sharp garlic mustard vinaigrette, since the acidity cuts through the creamy sauce. Roasted broccoli, green beans or Brussels sprouts are easy sides that round out the plate and add some crunch.
For fall dinners and holiday tables, it also makes a crowd-pleasing side dish. Set it next to a vegan main like portobello mushroom steaks or maple-sriracha Brussels sprouts with cranberry wild rice, and everyone gets something cozy on their plate.
Finish each bowl with a few toppings for contrast: toasted pumpkin seeds, crispy fried sage leaves, chopped parsley, a crack of black pepper, or a pinch of red pepper flakes. For kids, keep it simple and serve it with steamed peas and apple slices.
FAQs
Can I leave out the nutritional yeast in the recipe?
The nutritional yeast (I use this brand) gives a pleasant nutty flavor and texture that resembles traditional parmesan cheese. When paired up with the creamy cashews it really helps give that cheesy consistency we all love! So personally, I wouldn't leave it out.
Is there an alternative to soaking the cashews overnight?
If you forget to soak your cashews or don't have the time, here's a trick. Boil water in a large pot. Then remove it from the heat and allow the cashews to sit in the hot water for 30-60 minutes. This will be enough to still give that ultra-creamy texture you want!
Can I make butternut squash mac and cheese instead?
Yes, totally! This recipe works exactly the same with 2 cups of pureed butternut squash in place of the pumpkin. For a version made with roasted butternut squash and tofu, try this Butternut Squash Mac and Cheese from Oh My Veggies.
Can I make this ahead of time?
Totally. You can make the sauce a day or two in advance and just cook the pasta fresh when you're ready to eat. It makes weeknights feel way less chaotic.
How do I store leftovers?
Pop any leftovers into an airtight container and store them in the fridge for up to 4 days. This dish thickens a lot as it sits. When reheating leftovers, stir in a little non-dairy milk or water to revive that creamy texture.
Can I freeze it?
I wouldn't. Pasta tends to get weird and mushy after freezing, and the creamy texture of the sauce doesn't always bounce back. If you must freeze it, freeze just the sauce and make fresh pasta when you're ready to eat.
Is this gluten-free?
It can be! The pasta is the only ingredient with gluten, so just swap in your favorite gluten-free pasta. Chickpea pasta, rice pasta, quinoa spirals - whatever works for you. Just adjust the cook time accordingly.
More Vegan Recipes
If you love this vegan pumpkin mac and cheese, be sure to check out these other delicious recipes:
- Roasted Butternut Squash and Pasta Casserole
- Vegan Butternut Squash Pie
- Vegan Pumpkin Pie
- For a hearty comfort food dinner, also try our vegan pot pie casserole.
- For an easy pumpkin snack, try our pumpkin protein balls.
- Vegan Pumpkin Waffles
Recipe
Vegan Pumpkin Mac and Cheese
This Vegan Pumpkin Mac and Cheese tosses pasta in a silky, blender-made sauce of pumpkin, soaked cashews, nutritional yeast and coconut milk. It's creamy, cheesy, and ready in about 40 minutes, the ultimate fall comfort food.
Print
Pin
Save
Servings: servings
Equipment
Ingredients
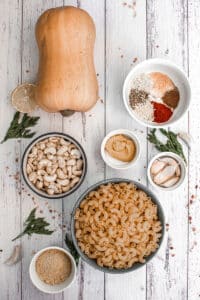
- 2 cups pumpkin puree
- ½ cup raw cashews soaked in cool water overnight or for 1 hour in boiling water
- ¼ cup nutritional yeast
- 1 teaspoon ground mustard
- 1 teaspoon garlic powder
- 1 teaspoon onion powder
- ½ teaspoon smoked paprika
- ¼ teaspoon ground nutmeg
- 1 ½ teaspoons sea salt
- black pepper to taste
- 2 tablespoons lemon juice
- 1 cup coconut milk
- 10 ounces rigatoni pasta medium-sized macaroni shells, or pasta of your choice; use gluten-free pasta for a gluten-free version
Instructions
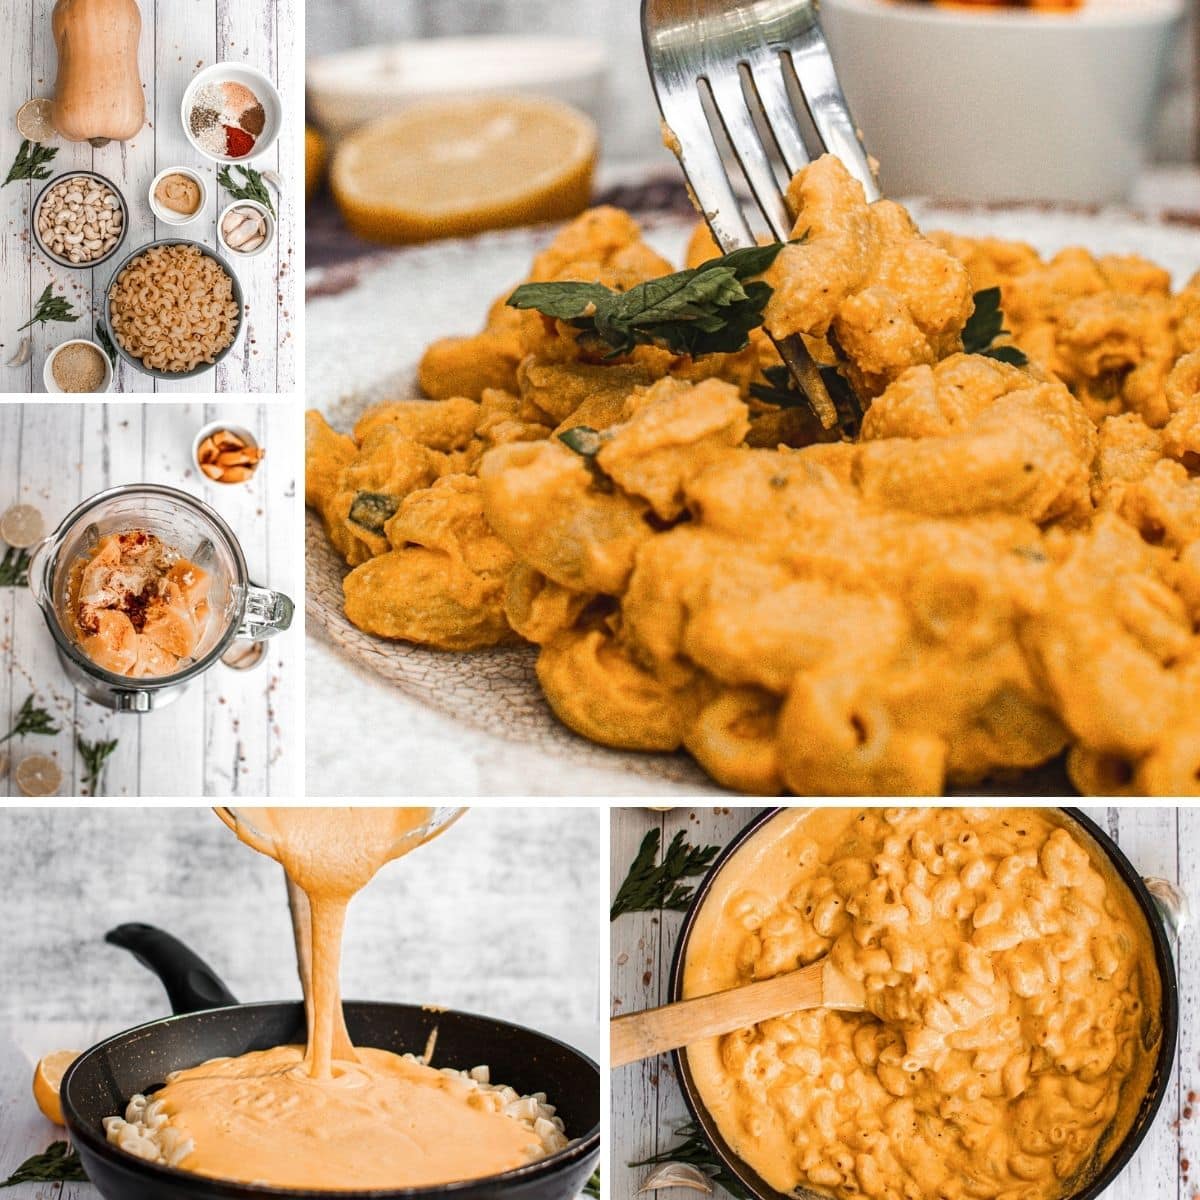
- Bring a large saucepan of water to a boil and salt generously. Cook the pasta according to the package directions until just al dente. Reserve ½ cup of the pasta water, then drain the pasta in a colander.
- In a high-powered blender, add the pumpkin, the soaked and drained cashews, nutritional yeast, ground mustard, garlic powder, onion powder, smoked paprika, nutmeg, salt, black pepper to taste, lemon juice, and coconut milk. Blend until the sauce is completely smooth and creamy, about 1-2 minutes. Taste for seasonings and adjust accordingly, adding more salt as needed.
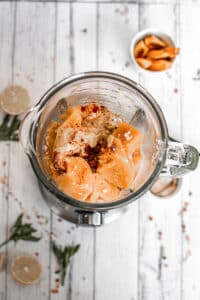
- Return the cooked and drained pasta to the saucepan and add the cheese sauce.

- Heat over medium heat, stirring often, until the sauce is well combined with the pasta and warmed through, about 3-5 minutes. If the sauce is too thick, stir in a splash of the reserved pasta water. Season the mac and cheese to taste and serve hot.

Notes
Soaking the cashews: Soak them in cool water overnight, or cover them with just-boiled water for 30-60 minutes if you're short on time. Drain before blending.
Gluten-free: The pasta is the only ingredient that contains gluten. Use 10 ounces of gluten-free pasta (such as brown rice, chickpea or lentil rigatoni or penne) and cook it just to al dente; everything else is naturally gluten-free.
Storage: Refrigerate leftovers in an airtight container for up to 4 days. The sauce thickens as it sits, so stir in a splash of non-dairy milk or water when reheating. The sauce alone can be frozen for up to 3 months; cook fresh pasta when you're ready to serve.
Nutrition (Estimate per Serving)
Calories: 525kcalCarbohydrates: 72gProtein: 16gFat: 21gSaturated Fat: 12gPolyunsaturated Fat: 2gMonounsaturated Fat: 5gSodium: 893mgPotassium: 728mgFiber: 7gSugar: 7gVitamin A: 19189IUVitamin C: 9mgCalcium: 69mgIron: 6mg
Vegan-ize any recipe!Grab our free vegan cheat sheet, packed with my favorite easy substitutions to make any recipe vegan.
Best Vegan Halloween Candy Brands (and they're easy to find!)

Just because you've gone vegan doesn't mean you have to miss out on the Halloween candy madness. In fact, some of the best candies out there are accidentally vegan. Whether you're filling a candy cauldron, assembling the ultimate treat bags, or just hoarding a stash for your Halloween movie marathon (same), this list is here to help you snack responsibly.
Here are the best vegan Halloween candies that prove you don't need animal products to have a scary-good time! Every brand on the list was re-checked for 2026 against the manufacturer's own ingredient information, and we've noted the fine print where a candy comes with a caveat.

How to Tell If Halloween Candy Is Vegan
You may be surprised at just how many candy brands are accidentally vegan, meaning they just happen to be vegan without making that a part of their marketing. Very few of them carry a vegan label, though, so the ingredient list is your best friend. These are the ingredients that pop up most often, so be sure to check your labels for them:
Gelatin. This is the chief offender in many gummy-type candies. Gelatin is made from animal skin and bones (usually pigs and cows) and gives gummies and chews their bouncy texture. Vegan gummies use pectin, starch, or plant gums instead. If you want to swap it out in your own baking, our vegan substitutions guide covers agar and other plant-based options.
Carmine. This is a lesser-known one. Carmine (also listed as cochineal, carminic acid, or Natural Red 4) is a red dye made from crushed insects. It shows up in some red, pink, and purple candies, so give brightly colored treats a second look.
Confectioner's glaze. That glossy shine on jelly beans, candy corn, and many candy-coated chocolates often comes from confectioner's glaze, which is another name for shellac, a resin secreted by lac insects. You may also see it listed as "resinous glaze" or "pharmaceutical glaze." Carnauba wax, on the other hand, comes from palm leaves and is vegan.
Milk ingredients. This one is typically easiest to spot, and it comes up constantly in milk chocolate candies, caramels, and nougat. Check the labels for milk, nonfat milk, milkfat, butter, butterfat, cream, whey, casein, and lactose. The allergen statement ("Contains: Milk") is a handy shortcut.
Eggs, honey, and beeswax. Egg whites turn up in some surprising places, like marshmallow-style and nougat candies. Honey sweetens some hard candies and chews, and beeswax is sometimes used as a coating instead of plant-based carnauba wax.
Check the exact variety, not just the brand. Formulas change between product lines, seasonal shapes, and countries. Classic Skittles have no gelatin, for example, but Skittles Gummies do, and Swedish Fish and Sour Patch Kids both sell "Chews" versions made with gelatin. A few ingredients, like mono- and diglycerides or "natural flavors," can come from either plant or animal sources and usually aren't labeled either way, so how strict you want to be with those is up to you.
What about Sugar?
Sugar can be a hot topic in the vegan community, as it can often be tough to tell if a specific brand is vegan-friendly or not. What's the issue? Some brands use bone char in the process of refining their sugar. This is especially common in the USA. Beet sugar, certified organic sugar, and dextrose (corn sugar) aren't filtered through bone char.
But of course most candy brands do not disclose the source of the sugar used in their manufacturing, or they use multiple sources. Because of this, many vegans choose to not overthink sugar. My personal approach is to purchase vegan-friendly sugar brands for use in my own home cooking, but not to overthink it too much when buying commercial products. There's only so much you can do. The same goes for "may contain milk" warnings: they flag shared equipment for people with allergies, not a milk ingredient in the candy itself.
Vegan Halloween Candy
Here are all my favorite vegan-friendly Halloween candy ideas!
1

🍓 YumEarth Organic Halloween Fruit Gummies
Gummy ghosts and goblins? Yes please. These fruity little guys are organic, free of the top allergens, and set with pectin instead of gelatin, and YumEarth labels them vegan.
2

🐟 Swedish Fish Mini Packs
Chewy, fruity, and unapologetically weird in the best way. The classic soft and chewy fish (these minis included) have no animal ingredients, but skip Swedish Fish Chews, which contain gelatin.
3

🍭 YumEarth Organic Halloween Pops
Classic lollipops with a clean conscience. YumEarth labels these vegan, and they're made with organic cane sugar and colored with fruit and vegetable concentrates instead of artificial dyes.
4

💎 Candy Necklaces by Smarties
Wearable candy? Iconic. It's jewelry you can snack on, and Smarties says every product it makes is vegan.
5

🧟♂️ Sour Patch Kids Zombies
These sour-then-sweet zombies are the kind of undead we want to see. The classic gummies have no animal ingredients, but Sour Patch Kids Chews contain gelatin, so check which bag you're grabbing.
6

🍓 Twizzlers Strawberry Twists
Chewy, twisty, and strangely addictive. The strawberry twists have no animal ingredients listed (they do contain wheat), which makes them an easy, accidentally vegan candy bowl filler.
7

🍬 Smarties Original Rolls
Old-school and totally underrated. Tart, sweet, and confirmed vegan by Smarties itself, so your nostalgic fave is fair game.
8

🍓 Annie’s Fruit Tape
Like a fruit roll-up, but organic and bunny-approved. Annie's Fruit Tape is gelatin free with no animal ingredients listed. Peel, snack, and feel just a little superior.
9

🧱 AMOS 4D Vegan Gummy Blocks
Who says you can't play with your food? Stack, snack, repeat. Just make sure the box says vegan: AMOS's regular 4D gummy blocks are made with gelatin.
10

🌪️ Airheads Variety Pack
Stretchy, tangy, and perfect for stuffing trick-or-treat bags. The classic taffy bars have no animal ingredients listed, but double-check other Airheads products: some Xtremes Bites are colored with carmine, and Airheads says its pops may contain dairy.
11

🍺 Dad’s Root Beer Barrels
Old-fashioned flavor that hits like a fizzy blast from the past. These hard candies are made from sugar, corn syrup, flavors, and colors, with no dairy or gelatin, but give the bag a quick label check since the maker doesn't post ingredients online.
12

🍿 Cracker Jack Caramel Popcorn with Peanuts
Salty-sweet with a surprise inside. Despite the caramel, the ingredient list has no milk or butter (it's sugar, corn syrup, molasses, popcorn, and peanuts), but it carries an OU-D kosher dairy mark, which usually means shared equipment with dairy. Stricter vegans may want to pass.
13
🐰 Annie’s Organic Bunny Fruit Snacks
Wholesome-ish, chewy, and adorable. Annie's labels these bunnies vegan and gelatin free, so they hop right into your heart, and your candy bowl.
14

🍭 Dum-Dums Original Pops
A rainbow of flavors in tiny pop form. The ingredient list is just sugar, corn syrup, fruit acids, salt, flavor, and colors, with no animal ingredients, though Spangler doesn't officially label them vegan.
15

🌈 Tie-Dye Fruit by the Foot
Throwback to school lunch vibes. It's gelatin free, but it does contain monoglycerides, which can come from plant or animal fats and aren't source-labeled, so it's a judgment call for strict vegans.
16

🍉 Jolly Rancher Hard Candy
Bold, tangy, and built to last, just like your Halloween sugar high. The original hard candy has no animal ingredients; stick to the hard candy, since other Jolly Rancher products use different recipes.
17

🌈 Skittles
Taste the vegan-friendly rainbow! Classic Skittles dropped gelatin years ago, but Skittles Gummies still contain it, so stick with the original chewy candies.
Vegan Halloween Candy FAQ
Are Skittles vegan?
Classic US Skittles are. The ingredient list on Skittles' own site has no gelatin, carmine, dairy, or shellac, and they're coated with plant-based carnauba wax. Skittles Gummies are a different story: they're made with gelatin, so leave those in the store.
Is any mainstream Halloween chocolate vegan?
Rarely. Most fun-size chocolate bars are made with milk chocolate, and even many dark chocolate candies include milkfat. If chocolate is a must, look for bars that are specifically labeled vegan or dairy-free, or bake up a batch of vegan Halloween cupcakes instead.
Does "may contain milk" mean a candy isn't vegan?
Not necessarily. That line is an allergen advisory saying the candy was made in a facility or on equipment that also handles milk. There's no milk in the recipe itself, so most vegans are fine with it, but it does matter if you're handing candy to a child with a dairy allergy.
What's the best vegan candy to hand out to trick-or-treaters?
Smarties and YumEarth are great picks because they're vegan and free of the most common allergens, so almost every kid who knocks can enjoy them. Dum-Dums, Twizzlers, and Jolly Rancher hard candy are cheap in bulk and easy to find at any grocery store in October.
Can a candy stop being vegan?
Yes. Recipes get reformulated, and seasonal or international versions of a favorite candy sometimes use different ingredients. It's worth a quick look at the label each Halloween, even for candy you've bought for years.
And if you're a Halloween lover like me, be sure to check out these other tasty ways to celebrate the spooky season, from homemade candied pumpkin seeds to a big bowl of flavored popcorn for movie night:
Vegan No-Bake Chocolate Cookies
Chocolate craving? These Vegan No Bake Chocolate Cookies are rich, fudgy, and ready in just 20 minutes - no oven needed!

Who doesn't love a cookie that requires no baking, minimal ingredients, and satisfies your sweet tooth in under 20 minutes? With a chewy, fudgy texture and the perfect balance of peanut butter and chocolate, these cookies are dangerously easy to make - and even easier to eat.
Best of all, these sweet treats are completely vegan!
Why You'll Love These Cookies
I've made a lot of no-bake cookies in my day, but this recipe takes the cake - or the cookie, rather. Not only are they ridiculously easy to put together, but they also have that perfect combination of chewy oats, creamy peanut butter, and rich chocolate flavor that makes you reach for another... and another. Plus, the fact that they're vegan and made with wholesome ingredients like coconut oil and almond milk is a huge bonus!
Whether you're craving something sweet late at night (guilty!) or need a last-minute dessert for guests, these vegan cookies are a surefire crowd pleaser.

These Vegan No-Bake Chocolate Cookies Are...
- Quick and Easy: Ready in just 20 minutes (with some chilling time in between).
- Naturally Vegan: No dairy, no eggs, no problem!
- Rich and Fudgy: The combination of peanut butter and chocolate makes these cookies super indulgent.
- Perfect for All Occasions: These cookies can be enjoyed as an afternoon snack, a party treat, or even a post-workout pick-me-up.
- No Oven Required: Hot days or busy schedules? Skip the baking and still enjoy homemade cookies.

Key Ingredients & Substitutions
Coconut Oil: This is the base fat for the recipe, giving the cookies a subtle coconut flavor and helping to hold everything together. If you're not a fan of coconut oil, you can substitute with vegan butter.
Almond Milk: Almond milk keeps the cookies creamy and vegan. If you prefer, you can substitute with any plant-based milk, like soy, oat, or even coconut milk.
Unsweetened Cocoa Powder: This adds rich chocolate flavor without adding too much extra sweetness. If you prefer a deeper chocolate taste, opt for dark cocoa powder.
Peanut Butter: Creamy peanut butter helps bind the cookies and adds that irresistible peanut-chocolate flavor combo. You can use any nut or seed butter, like almond butter or sunflower seed butter, for a different twist.
Quick-Cooking Oats: These oats are the perfect size and texture for no-bake cookies. You could also use old-fashioned rolled oats for a chunkier texture, but avoid using steel-cut oats, which won't soften enough.
Vanilla Extract: A splash of vanilla enhances all the flavors!
Sugar: Organic granulated sugar keeps the cookies sweet. For a slightly less processed option, you could use coconut sugar as an alternative,

Helpful Tips for the Perfect No-Bake Cookie
Chill the Cookies: Letting the cookies cool at room temperature for 30 minutes works great, but if you're impatient (I don't blame you), pop them in the fridge for about 15 minutes to speed things up.
Adjust the Consistency: If your cookie dough feels a bit too runny, add a bit more oatmeal. If it's too thick, stir in a splash of almond milk.
Customizable Nut Butters: While peanut butter gives these cookies their classic flavor, you can easily swap in other nut butters like almond or cashew. Just make sure it's creamy for the right consistency.
Storage: These cookies will keep well in an airtight container at room temperature for up to 5 days, or in the fridge for about a week. For longer storage, you can freeze them for up to 3 months.

Fun Variations to Try
Add Some Crunch: For a bit of extra texture, fold in some chopped nuts like peanuts, almonds, or walnuts into the cookie batter.
Chocolate Lovers' Dream: If you can't get enough chocolate, sprinkle some mini chocolate chips into the mixture before scooping the cookies.
Coconut Twist: Stir in a ½ cup of shredded coconut for a tropical flavor that pairs beautifully with the peanut butter.
Spiced Cookies: Add a pinch of cinnamon or espresso powder to the mixture for a little extra warmth or a touch of coffee flavor.
Nut-Free Option: Replace peanut butter with sunflower seed butter for a completely nut-free version that's just as delicious.
These cookies are also a great choice for Valentine's Day gifting - check out our full vegan Valentine's Day desserts roundup for even more ideas.
Love baking with chocolate? Our fudgy avocado brownies use ripe avocado in place of butter for an incredibly rich, dairy-free result. For a showstopping layer cake, also try our vegan chocolate orange cake or our vegan funfetti cake. For a frozen chocolate treat, our vegan fudgesicles are rich and creamy.

More Vegan Treats
If you love these no bake chocolate cookies, be sure to check out these other vegan dessert ideas:
- Vegan Chocolate Chip Cookies
- Vegan Thumbprint Cookies
- Vegan Chocolate Avocado Cookies
- Vegan Sugar Cookies
- Vegan Cinnamon Roll in a Mug
Also worth trying: our vegan sweet potato brownies.
Recipe
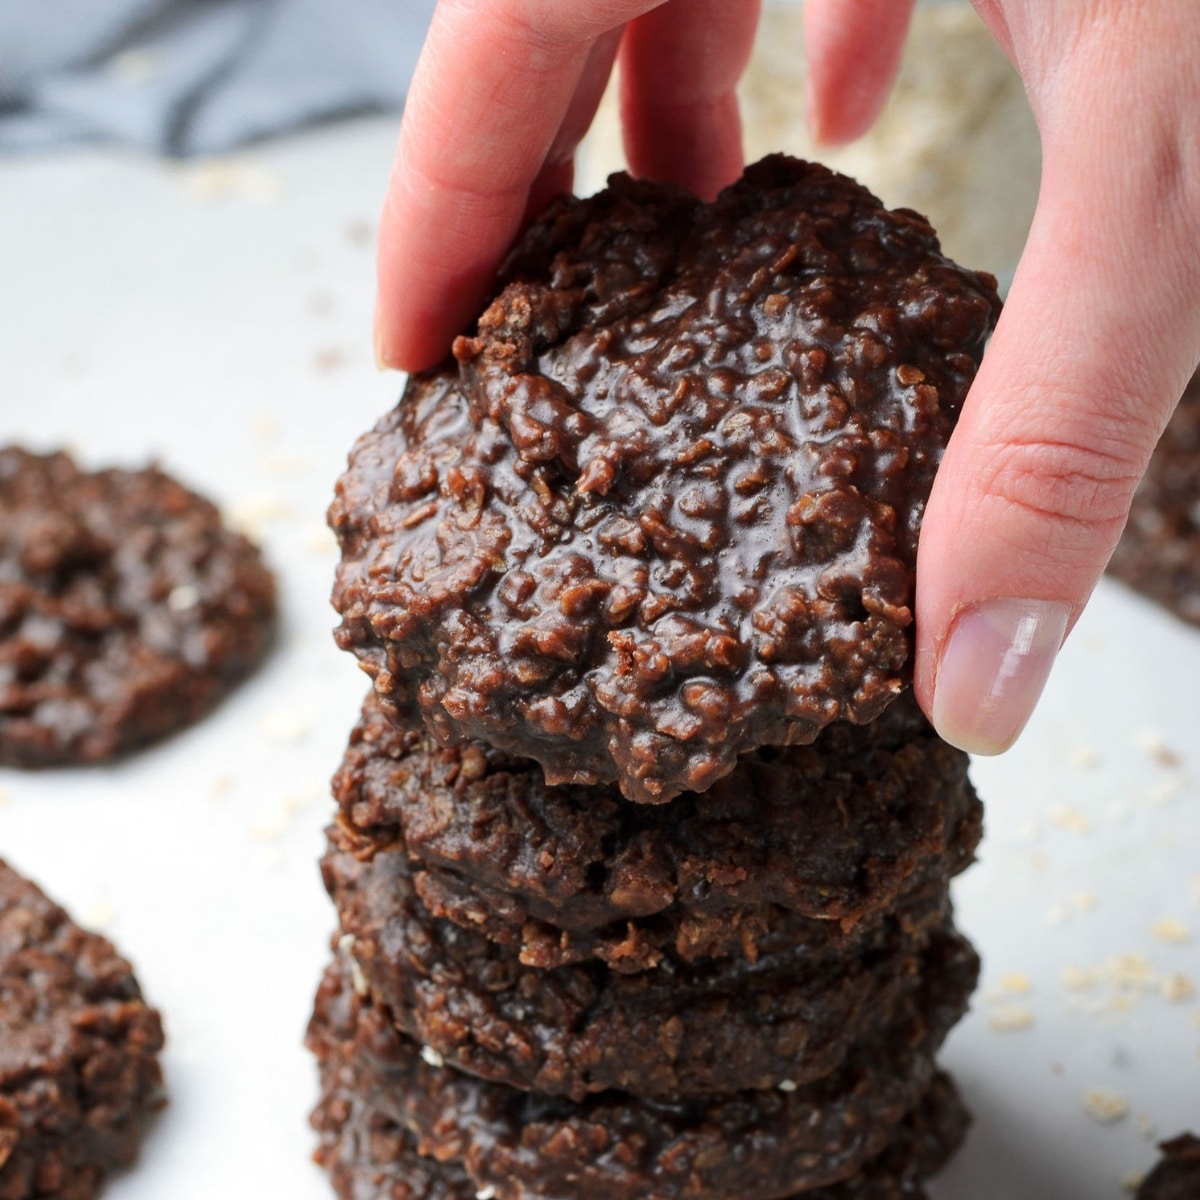
Vegan No-Bake Chocolate Cookies
These Vegan No Bake Chocolate Cookies are the perfect balance of peanut butter and chocolate. They're rich, fudgy, and ready in just 20 minutes!
Print
Pin
Save
Servings: cookies
Ingredients
- ¼ cup unsweetened cocoa powder
- 2 cups granulated sugar organic
- ½ cup coconut oil room temperature
- ½ cup almond milk
- ⅔ cup peanut butter
- 3 cups quick-cooking oatmeal
- 1 teaspoon vanilla extract
- pinch salt
Instructions
- Heat a saucepan over medium heat. Add the coconut oil, almond milk, sugar, and cocoa powder.

- Whisk continuously over medium heat until the butter is melted.

- Stir until the mixture starts to boil. Boil the mixture for 1 minute and then remove the saucepan from the heat.

- Add the peanut butter and vanilla extract. Stir to combine, until the peanut butter has melted and the mixture is smooth.

- Stir in the oatmeal and salt.

- Mix well until well combined.
- Line a baking sheet or cutting board with parchment paper.
- Use a spoon or a cookie scoop, to scoop the batter onto the prepared baking sheet, forming the cookies. Flatten the cookies to the desired thickness using the back of the spoon.

- Let the cookies sit at room temperature for 30 minutes, or chill them in the fridge for about 15 minutes until hardened.
- Ready to enjoy!

Nutrition (Estimate per Serving)
Calories: 202kcalCarbohydrates: 27gProtein: 3gFat: 11gSaturated Fat: 6gPolyunsaturated Fat: 1gMonounsaturated Fat: 3gTrans Fat: 0.001gSodium: 47mgPotassium: 90mgFiber: 1gSugar: 21gCalcium: 17mgIron: 1mg
Vegan-ize any recipe!Grab our free vegan cheat sheet, packed with my favorite easy substitutions to make any recipe vegan.
Vegan Funfetti Cake
This homemade vegan funfetti cake is fluffy, moist, and bursting with colorful sprinkles! And topped with a delicious funfetti frosting too. Perfect for a birthday party or just to satisfy your everyday sweet tooth.
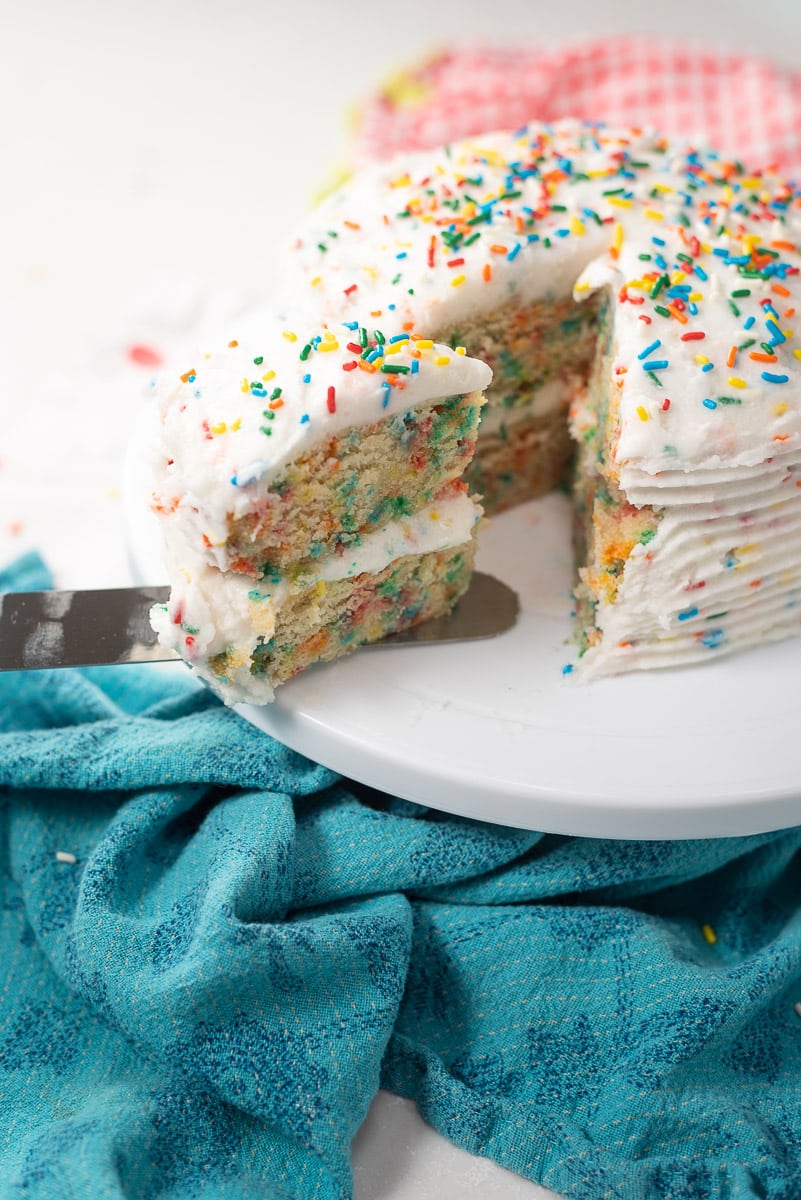
There's something undeniably magical about funfetti - it transforms a simple cake into a totally party-worthy treat. This particular funfetti cake is a family favorite in our house, even among the non-vegans in the crew. In fact, my son swears it's the best funfetti cake he's ever had!
This vegan funfetti cake is:
- Easy to make with simple ingredients.
- Fun and colorful.
- A surefire crowd pleaser.
- Better than any boxed cake mix.
- Perfect for a vegan birthday cake!
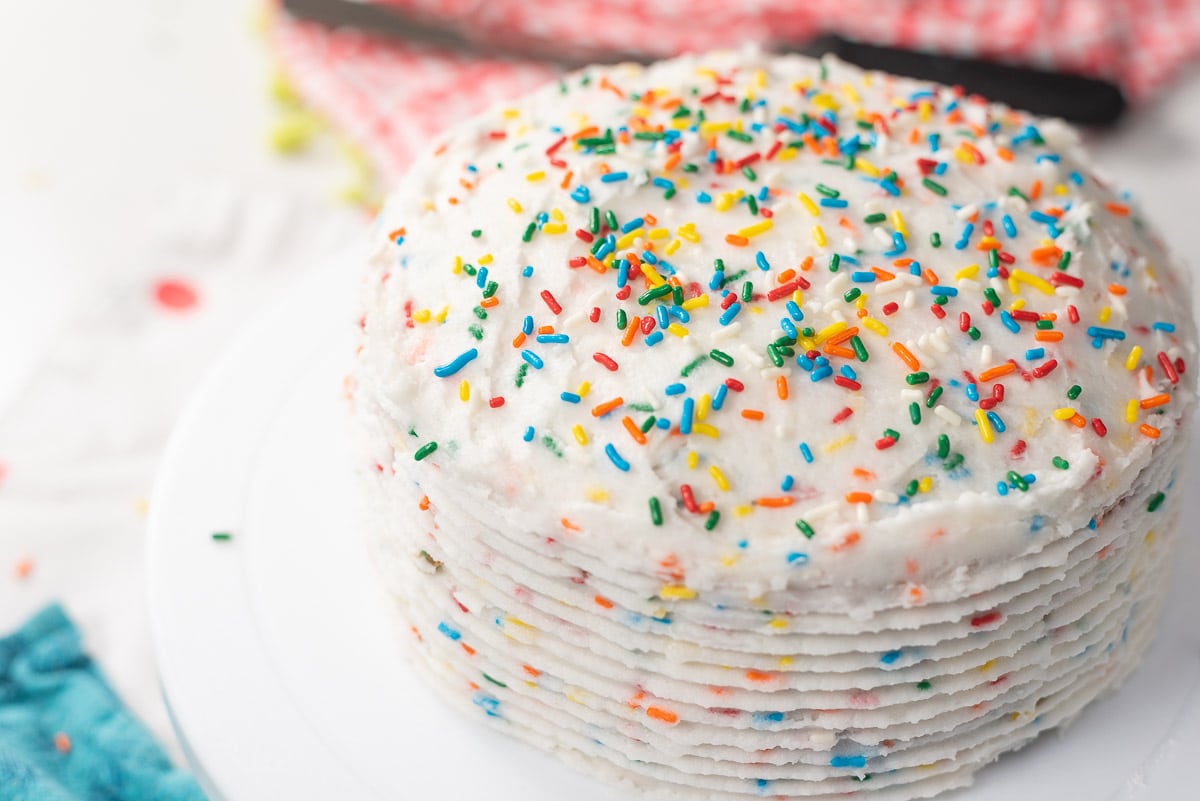
Key Ingredients & Substitutions
All of the ingredients for this cake (and the funfetti frosting) are simple and easy to find. No weird vegan ingredients here. 😉 But here are just a few notes to help you get the best results.
Rainbow Sprinkles
The heart of any funfetti cake is the sprinkles! But be sure to check the ingredients for any sneaky non-vegan ingredients. I like to buy these big jugs of vegan friendly sprinkles for all my baking.
Non-Dairy Milk
You can use any dairy free milk of your choice in this vegan cake. Almond, cashew and soy milk all work very well for baking.
Apple Cider Vinegar
This might seem like an odd cake ingredient, but it reacts with the baking powder to give the cake a perfect rise. I suggest using a high quality apple cider vinegar like Bragg's for the best results.
Sugar
This recipe calls for granulated sugar. Depending on the region you live in, your regular old white sugar may or may not be vegan. In the US, you will want to choose a brand clearly marked organic or vegan. This one from Whole Foods is cheap and vegan friendly.
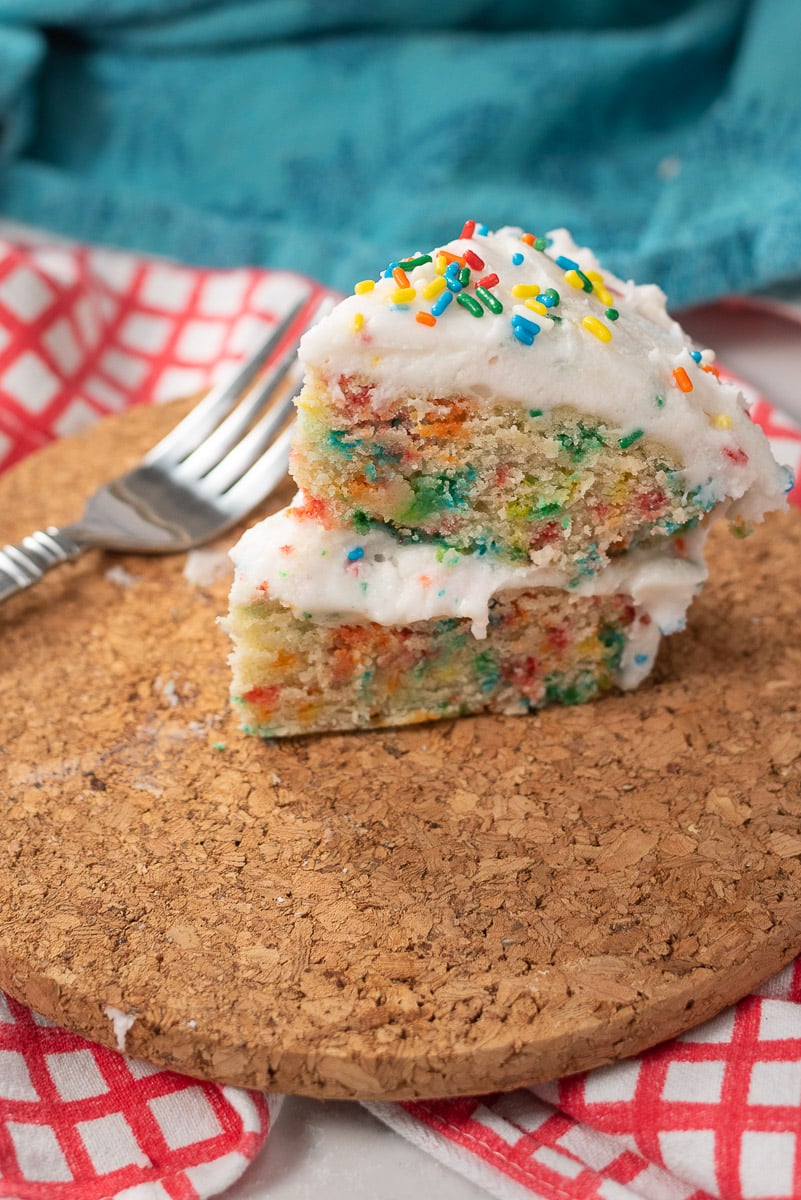
Tips and Tricks
Parchment Paper is Your Friend
To ensure your cake layers come out of the pans cleanly, don't skip lining your pans with parchment paper.
Cool Completely
Patience is key. Frosting a warm cake can lead to a melting disaster! So make sure to let the cake cool all the way down to room temperature before frosting it. You can speed up the process by putting it in the fridge for a bit.
Storing the Cake
Cover the cake and store in the fridge for 4-5 days. You can also freeze the cake for up to two months. If freezing, you will want to remove from the freezer to thaw the day before you plan to serve it.
If you're after a rich chocolatey cake, try our vegan chocolate orange cake, or for Halloween gatherings our vegan halloween cupcakes are perfect. For a refreshing chocolate treat, our chocolate raspberry banana smoothie doubles as a breakfast or dessert. If you want a quick single-serve vegan treat, our vegan cinnamon roll in a mug is ready in just minutes.
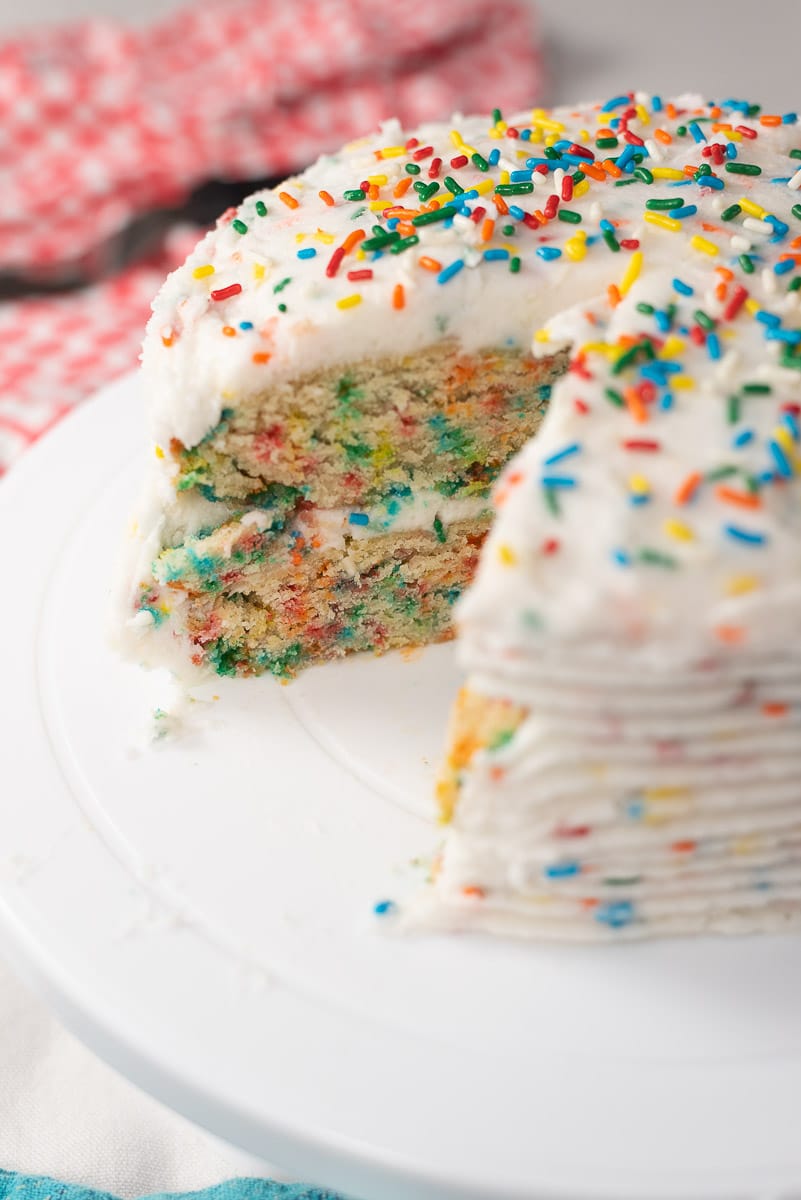
Variations to Try
Make it Gluten-Free
Replace the all-purpose flour with your favorite gluten-free flour blend for a gluten free version. Be sure to choose a gluten free brand of sprinkles too.
Switch Up the Sprinkles
While rainbow sprinkles are classic, feel free to use any vegan-friendly sprinkle variety you like. You can theme this cake to just about any occasion by just changing out the sprinkles. Halloween? Grab some orange and black sprinkles. Christmas? Go with red and green. Valentine's Day? Pink and red. You get the idea.
Alternative Frostings
Not a fan of buttercream? Try a vegan cream cheese frosting for a tangy twist.
Looking for more festive vegan dessert ideas? Our vegan Valentine's Day desserts roundup has 25 chocolatey, fruity, and romantic treats to choose from. Or for a breakfast-friendly alternative, our vegan pumpkin waffles are a festive fall option.
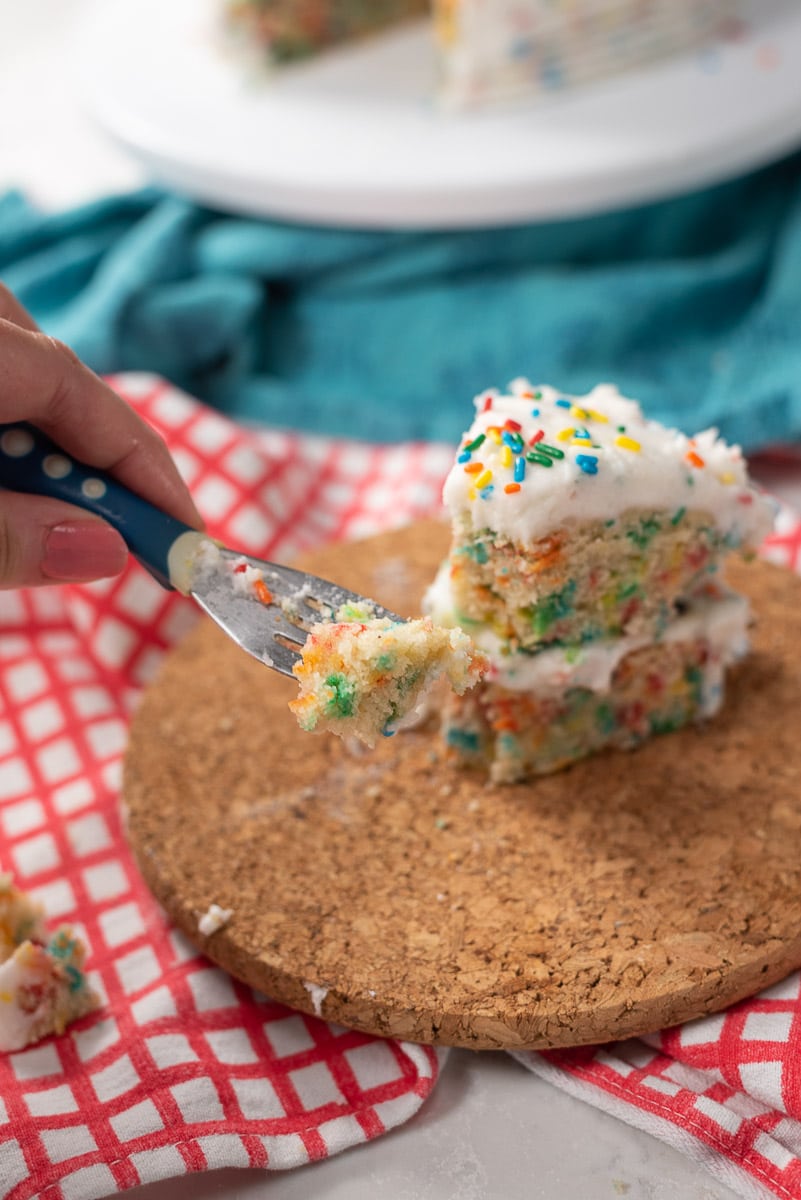
More Vegan Sweets
If you love this Vegan Funfetti Cake, be sure to check out these other delicious recipes:
Also worth trying: our guide to vegan Halloween candy.
Recipe
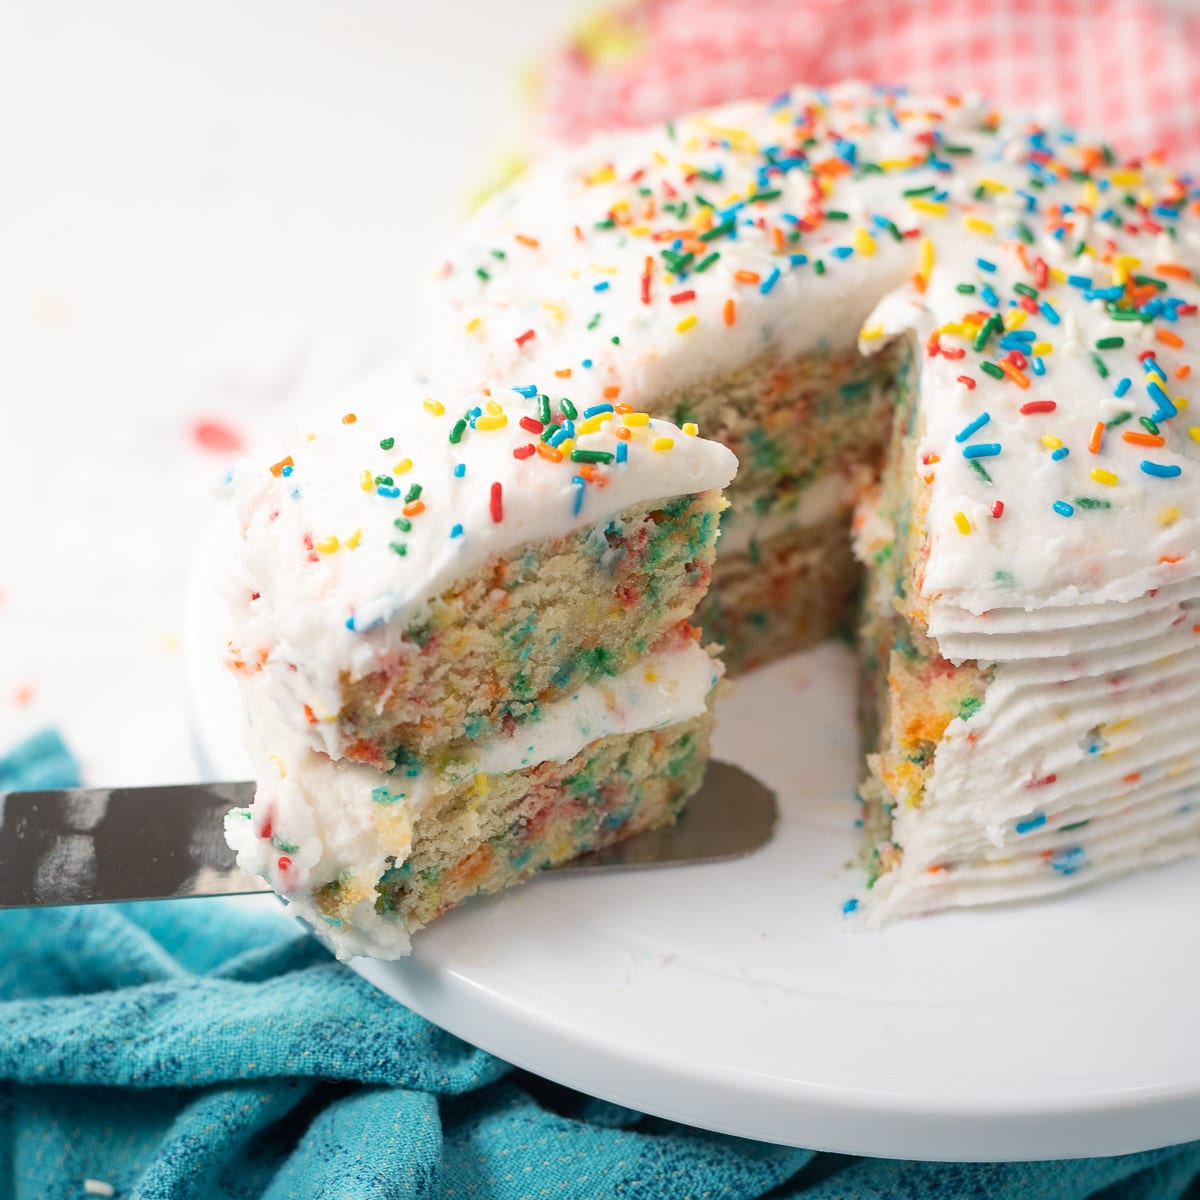
Vegan Funfetti Cake
This homemade vegan funfetti cake is fluffy, moist, and bursting with colorful sprinkles! And topped with a delicious funfetti frosting too.
Print
Pin
Save
Servings: servings
Ingredients
For the Cake:
- 2 ½ cups all-purpose flour
- 1 ½ cups granulated sugar organic
- ½ cup rainbow sprinkles vegan-friendly
- 1 tablespoon baking powder
- ½ teaspoon salt
- 1 ⅓ cups unsweetened non-dairy milk such as almond or soy
- ½ cup vegetable oil
- ¼ cup unsweetened applesauce
- 1 tablespoon apple cider vinegar
- 1 tablespoon pure vanilla extract
For the Vegan Funfetti Frosting:
- 1 cup vegan butter softened
- 4 cups powdered sugar sifted
- 2 teaspoons pure vanilla extract
- 2-4 tablespoons unsweetened non-dairy milk as needed for consistency
- ¼ cup rainbow sprinkles
- Additional rainbow sprinkles for decoration
Instructions
For the Cake:
- Preheat your oven to 350°F (175°C). Grease two 8-inch round cake pans and line the bottoms with parchment paper for easy removal.
- In a large mixing bowl, sift together the flour, sugar, baking powder, and salt. Stir in the rainbow sprinkles to distribute evenly.
- In another bowl, whisk together the non-dairy milk, vegetable oil, applesauce, apple cider vinegar, and vanilla extract until well combined.
- Pour the wet ingredients into the dry ingredients and mix until just combined, being careful not to overmix.
- Divide the batter evenly between the two prepared cake pans, using a spatula to smooth the tops.
- Bake for 25-30 minutes, or until a toothpick inserted into the center comes out clean.
- Let the cakes cool in the pans for about 10 minutes, then transfer to a wire rack to cool completely.
For the Vegan Buttercream Frosting:
- Using a hand mixer or a stand mixer with the paddle attachment, beat the vegan butter until creamy.
- Gradually add the powdered sugar, 1 cup at a time, beating well after each addition.
- Add the vanilla extract and 2 tablespoons of non-dairy milk. Beat for an additional 3-5 minutes or until the frosting is light and fluffy. If the frosting is too thick, add more non-dairy milk, one tablespoon at a time, until reaching the desired consistency.
- Once the cakes are completely cool, place one layer on a serving plate or cake stand.
- Spread a layer of frosting on the top of the first cake layer, then place the second cake layer on top.
- Frost the top and sides of the cake with the remaining buttercream frosting, smoothing it out with a knife or spatula.
- Decorate the top with additional rainbow sprinkles to match the Funfetti theme.
- Chill the cake in the refrigerator for at least 30 minutes before slicing to allow the frosting to set.
Nutrition (Estimate per Serving)
Calories: 522kcalCarbohydrates: 98gProtein: 3gFat: 13gSaturated Fat: 4gPolyunsaturated Fat: 3gMonounsaturated Fat: 5gTrans Fat: 0.1gSodium: 340mgPotassium: 56mgFiber: 1gSugar: 76gVitamin A: 781IUVitamin C: 0.1mgCalcium: 106mgIron: 2mg
Vegan-ize any recipe!Grab our free vegan cheat sheet, packed with my favorite easy substitutions to make any recipe vegan.
Vegan Cinnamon Roll in a Mug

Craving a warm cinnamon roll, but don't have hours to spend in the kitchen? Enter this Vegan Cinnamon Roll in a Mug: a soft, cinnamon-swirled bun that cooks in the microwave in under a minute and gets a simple sweet glaze on top. It's the ultimate vegan dessert for one!

You may have seen these cinnamon bun mug cakes making the rounds on TikTok. So of course I had to try my hand at creating a vegan version of this tasty little treat, and I am totally in love with the results! This Vegan Cinnamon Roll in a Mug is:
- Quick and easy to make in just minutes.
- Made with simple pantry ingredients, no yeast and no rising time.
- Perfect for just one person (or two, if you're feeling generous).
- 100% vegan: no butter, eggs, or dairy milk.
Key Ingredients & Substitutions
- All-purpose flour. Regular unbleached all-purpose flour gives the softest, most bread-like texture. If you follow a gluten-free diet, a 1:1 gluten-free baking flour is the easiest swap. Almond or coconut flour can also work, but they absorb liquid very differently, so add the milk a little at a time until the dough comes together.
- Plant-based milk. I used oat milk, which is naturally a little sweet and creamy. Cashew, almond, or soy milk all work fine too. Unsweetened is best, since the filling and glaze bring plenty of sugar.
- Organic cane sugar. Note that I specify organic sugar in the recipe. This is because many brands of non-organic white sugar are processed with bone char, so they aren't actually vegan! Choosing sugar marked organic ensures no bone char was used. Light brown sugar (also organic) gives the filling a deeper, more caramel-like flavor.
- Cinnamon. This is the star, so use a jar that's fresh and fragrant. I like Simply Organic Ceylon cinnamon, which is sweet and mellow. Cassia (the common supermarket cinnamon) is spicier and bolder; either one works.
- Coconut oil. Coconut oil takes the place of butter in the filling and greases the mug so the roll slides out easily. Melted vegan butter is a great substitute if you want a more classic buttery flavor.
- Baking powder. Since there's no yeast, baking powder is what makes the roll rise and turn fluffy in the microwave. Make sure yours isn't expired, or the roll will be dense.
- Powdered sugar. Stirred together with a splash of plant-based milk, organic powdered sugar makes the quick glaze. As with granulated sugar, organic guarantees it's vegan.
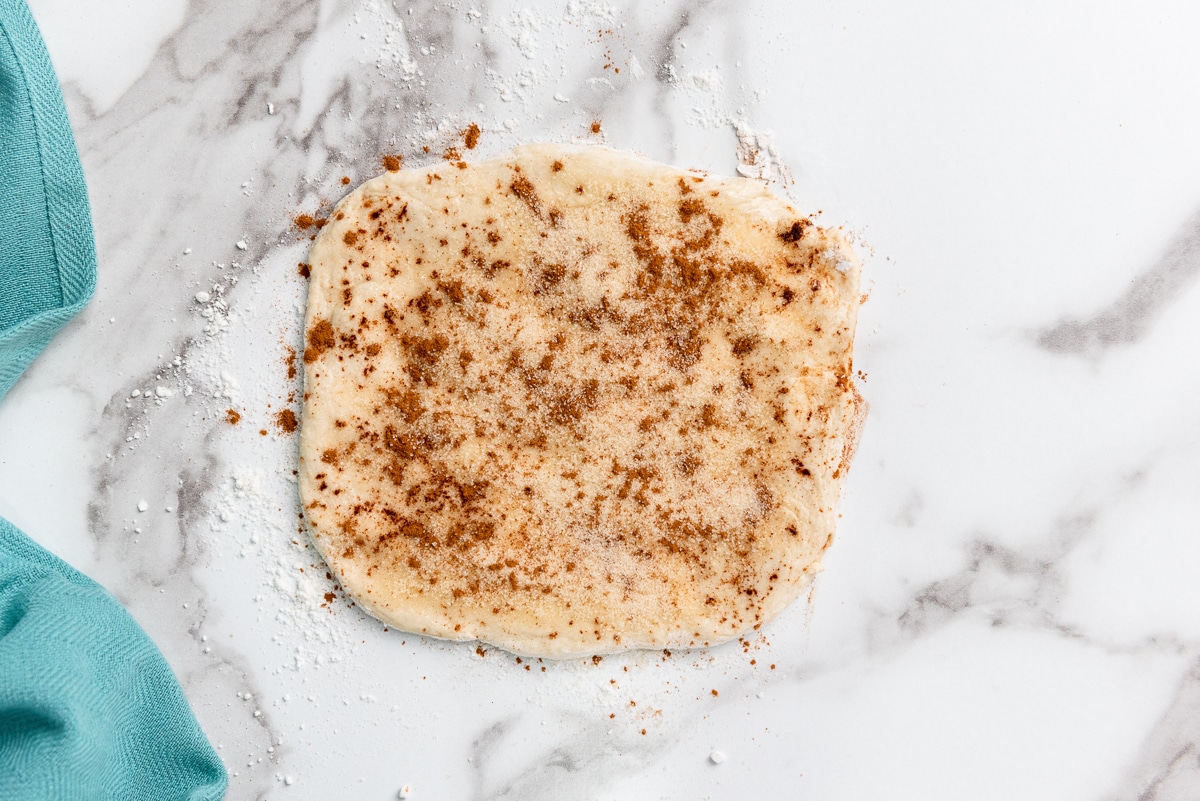
Helpful Tips
Use an oversized mug. The roll puffs up as it cooks, so a standard 8-ounce coffee cup can overflow. A large microwave-safe ceramic mug (at least 12 ounces, ideally wider than it is tall) gives the dough room to rise and cook evenly.
Don't overwork the dough. Stir just until a soft ball forms. Kneading or mixing for too long develops the gluten and makes the roll chewy instead of tender.
Roll it up snugly. Roll the dough into a tight log before coiling it into the mug, so the cinnamon sugar stays tucked inside and you get those classic swirls.
Microwave in short bursts. Microwaves vary a lot in power. Start with 50 seconds, then add 5 seconds at a time until the top no longer looks wet. Overcooking is the fastest way to a tough, rubbery roll, and it will keep setting for a moment after you take it out.
Glaze it while it's warm. Pouring the glaze over the hot roll lets it melt into all the nooks. Give it 30 seconds to sink in before you dig in.
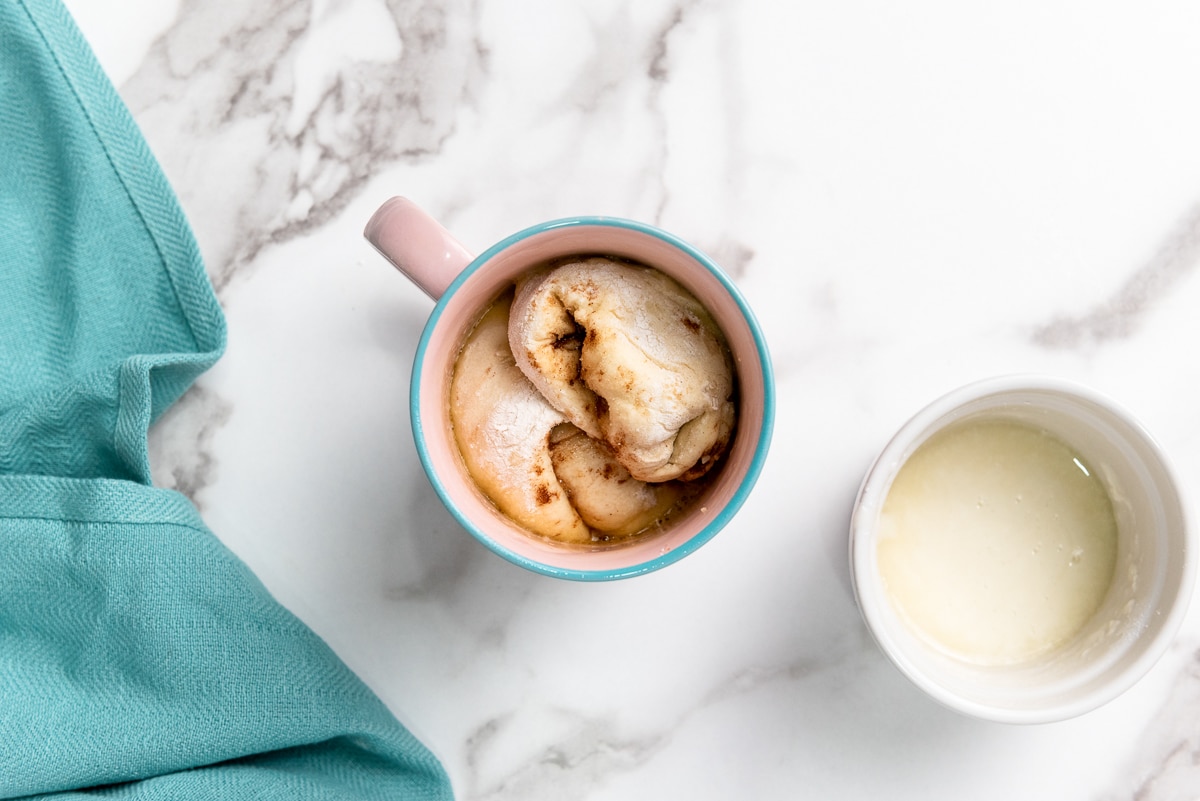
Variations
Add new flavors or mix-ins for a completely new spin on the cinnamon roll. Some ideas include:
- Chocolate chip. Scatter a few dark chocolate chips over the cinnamon sugar before rolling.
- Chocolate cinnamon. Add a dash of cocoa powder to the filling.
- Nutty. Sprinkle on chopped pecans or walnuts for extra crunch.
- Coconut. Add a spoonful of shredded coconut to the filling.
- Fruity. Tuck in raisins or dried cherries for a fruity spin.
- Maple glaze. Swap the milk in the glaze for a little maple or agave syrup.
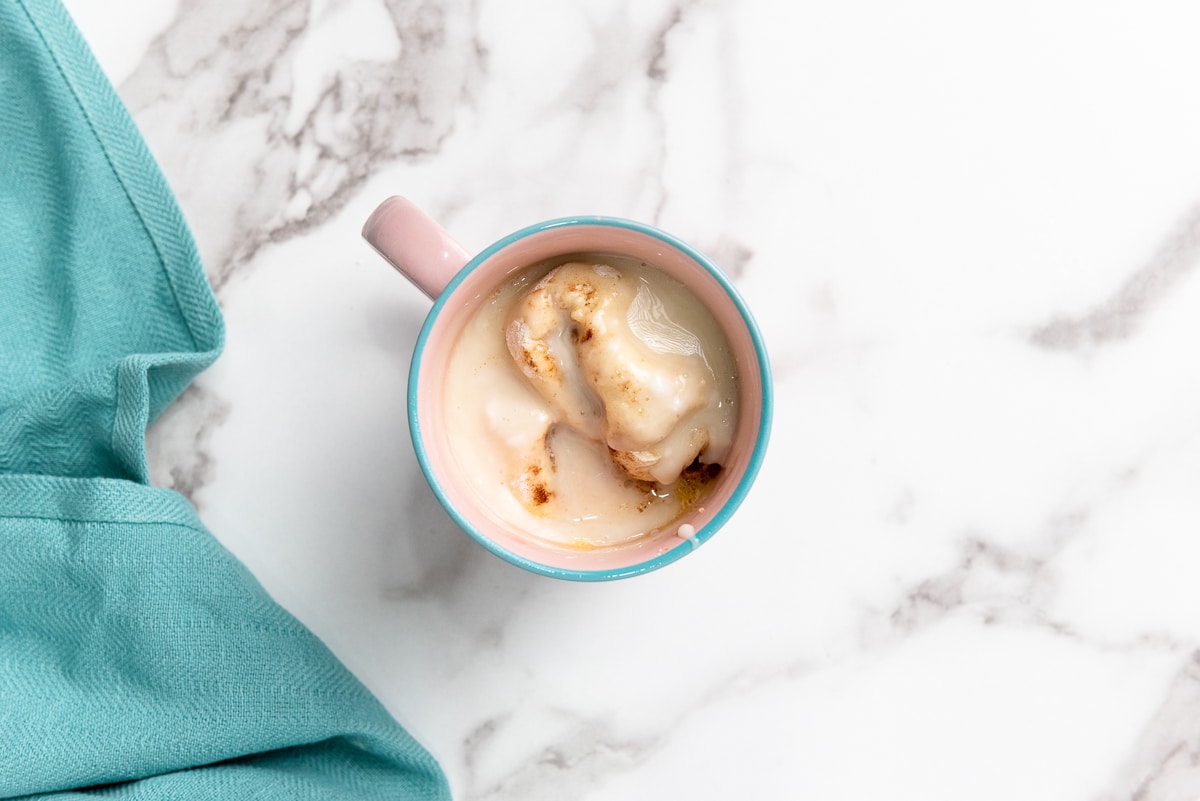
Serving Ideas
This cinnamon roll is best eaten warm, straight from the mug with a spoon. For a cozy treat, pair it with a hot drink, such as a homemade vegan pumpkin spice latte in the fall or one of these vegan hot beverages for cold weather when the temperature drops.
To make it more of a dessert, run a knife around the inside of the mug and tip the roll onto a small plate, then top it with a scoop of vegan vanilla ice cream or a spoonful of strawberry nice cream so it melts into the warm swirls. It also makes a fun, quick weekend breakfast alongside fresh berries or sliced apples.
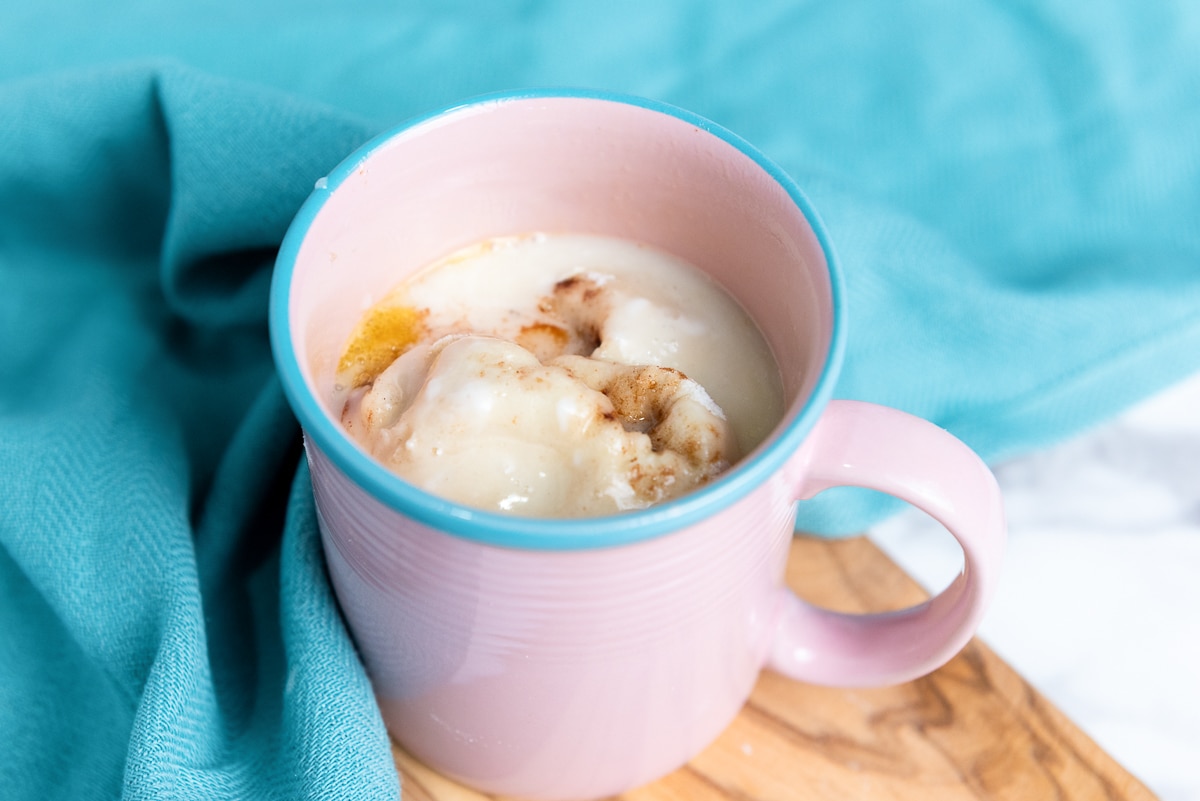
Storing & Freezing
A mug cinnamon roll is really meant to be enjoyed fresh, since microwaved dough firms up as it cools. If you do have leftovers, cover the mug and keep it in the refrigerator for up to 1 day. Reheat it in the microwave for 10 to 15 seconds, just until warm, to soften it again. If you want to prep ahead, you can mix the dry ingredients and store them in a small airtight container for up to a month, so all you need to do is add the milk.
We don't recommend freezing the finished roll: the glaze weeps as it thaws and the texture turns tough and dry. Since it only takes about 6 minutes from start to finish, it's much better to make a fresh one whenever the craving hits.
More Quick Vegan Treats
If you love this vegan cinnamon roll in a mug, be sure to check out these other tasty treats:
- Vegan Sweet Potato Mug Cake
- Vegan Mug Brownies
- Cinnamon Apple Chickpea Cake
- Vegan Sweet Potato Brownies
- Fudgy Avocado Brownies
Recipe

Vegan Cinnamon Roll in a Mug
A soft, gooey vegan cinnamon roll made right in a mug in the microwave, swirled with cinnamon sugar and finished with a simple glaze. Dessert for one in about 6 minutes, no yeast required.
Print
Pin
Save
Servings: serving
Equipment
- large microwave-safe mug at least 12 oz
Ingredients
Dough
- 9 tablespoon unbleached all-purpose flour
- 4 tablespoon plant based milk I used oat milk
- ½ teaspoon baking powder
- ¼ teaspoon salt
Filling
- 1 tablespoon coconut oil melted, divided
- 1 ½ tablespoon organic cane sugar
- ¾ teaspoon cinnamon
Frosting
- 4 tablespoon organic powdered sugar
- 1 teaspoon plant based milk I used oat milk
Instructions
- Make the dough. In a small bowl, whisk together the flour, baking powder, and salt. Add 4 tablespoon of plant-based milk and stir just until a soft dough ball forms. If it's sticky, add a little more flour; if it seems dry, add a little more milk.
- Lightly flour your counter and roll out the dough into a square about ¼ inch thick, with each side about the height of your mug.
- Brush about half of the melted coconut oil over the top of the dough, then sprinkle the sugar and cinnamon evenly over it. Roll the dough up tightly into a log.
- Brush the remaining coconut oil on the inside of a large microwave-safe mug. Coil the rolled dough into the mug, swirl side up.
- Microwave on high for 50 seconds. If the top still looks wet, continue cooking in 5-second increments until it's just set. Don't overcook, or the roll will turn tough.
- In a separate small bowl, stir together the powdered sugar and 1 teaspoon of plant-based milk until smooth and pourable. Pour the glaze over the warm cinnamon roll and let it sit for 30 seconds before serving.
Notes
- Use a large microwave-safe mug (at least 12 oz) so the roll has room to rise.
- Microwaves vary in power. Start with 50 seconds and add 5 seconds at a time; overcooking makes the roll tough.
- Gluten-free: swap in a 1:1 gluten-free baking flour.
- Use organic sugar and organic powdered sugar to be sure they are vegan (not processed with bone char).
- Best eaten warm, right away.
Nutrition (Estimate per Serving)
Calories: 563kcalCarbohydrates: 104gProtein: 7gFat: 15gSaturated Fat: 12gPolyunsaturated Fat: 1gMonounsaturated Fat: 1gSodium: 880mgPotassium: 86mgFiber: 3gSugar: 50gVitamin A: 6IUVitamin C: 0.1mgCalcium: 221mgIron: 4mg
Vegan-ize any recipe!Grab our free vegan cheat sheet, packed with my favorite easy substitutions to make any recipe vegan.
Vegan Zucchini Lasagna
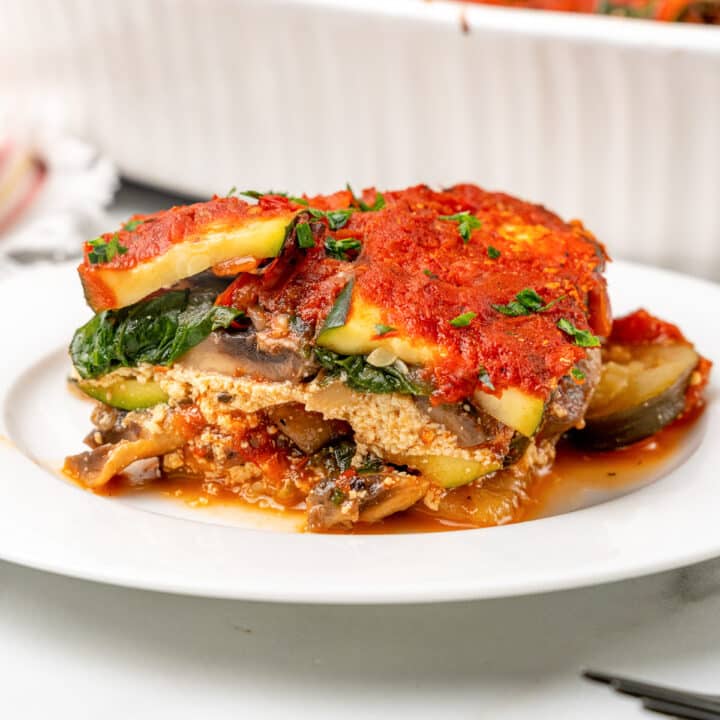
Are you looking for a delicious and healthy vegan dinner idea? Look no further than this vegan zucchini lasagna. It's light, healthy, and bursting with flavor from fresh veggies, tangy marinara, and creamy vegan ricotta. Yum!
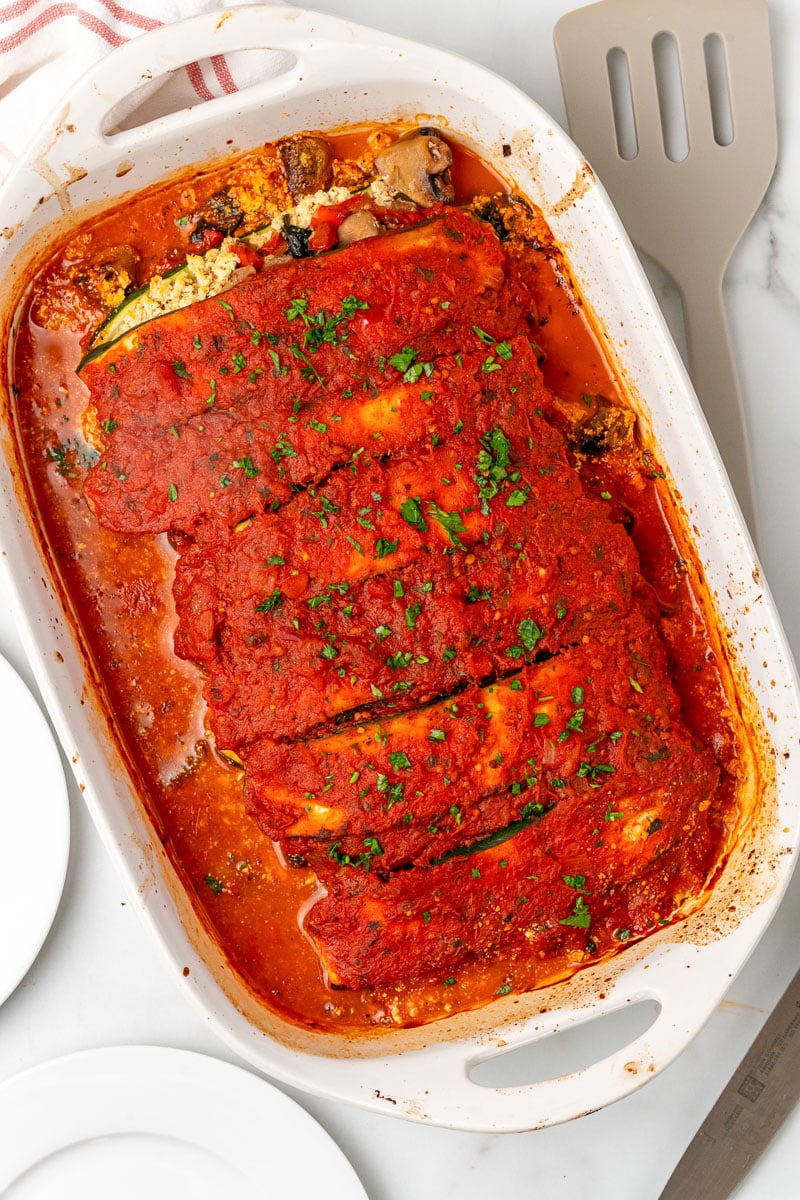
As an Italian, I've eaten more than my share of lasagna in my life. In fact, traditional lasagna is my son's all time favorite food and the dish we make for most holidays in our home. It's comfort food at its finest!
But it's also a heavy dish. And on these hot summer days, I need something a bit lighter. So I came up with this veggie-centric vegan friendly version of my fave pasta dish!
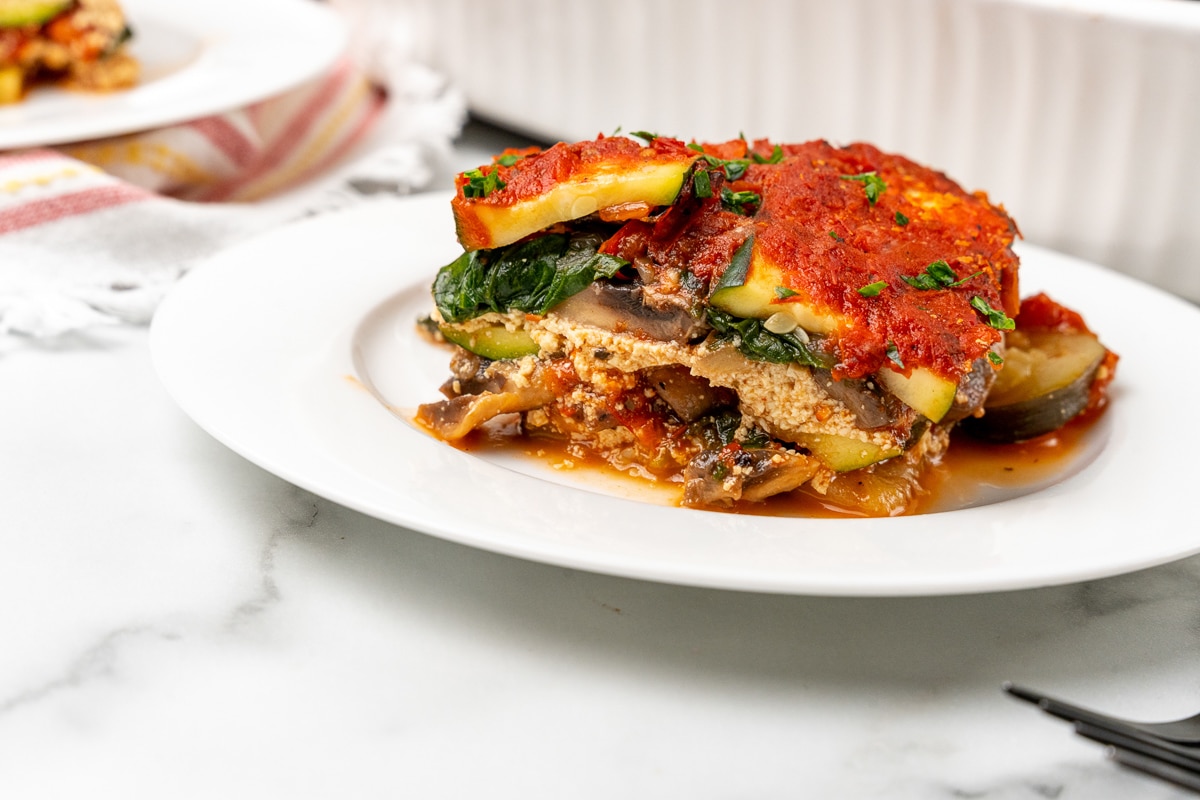
This Vegan Zucchini Lasagna is:
- Light & healthy!
- Family friendly - even the kids will eat this.
- Ready in under an hour.
- Vegan.
- Vegetarian.
- Dairy-free.
- Gluten-free.
- a delicious plant-based meal!
With its fresh vegetables, rich tomato sauce, and hearty vegan cheese, this zucchini lasagna is sure to satisfy your taste buds. Plus, it's the perfect way to sneak more veggies into your meal. Enjoy!
And don't forget to check out my other vegan pasta recipes for more delicious vegan dinner ideas.
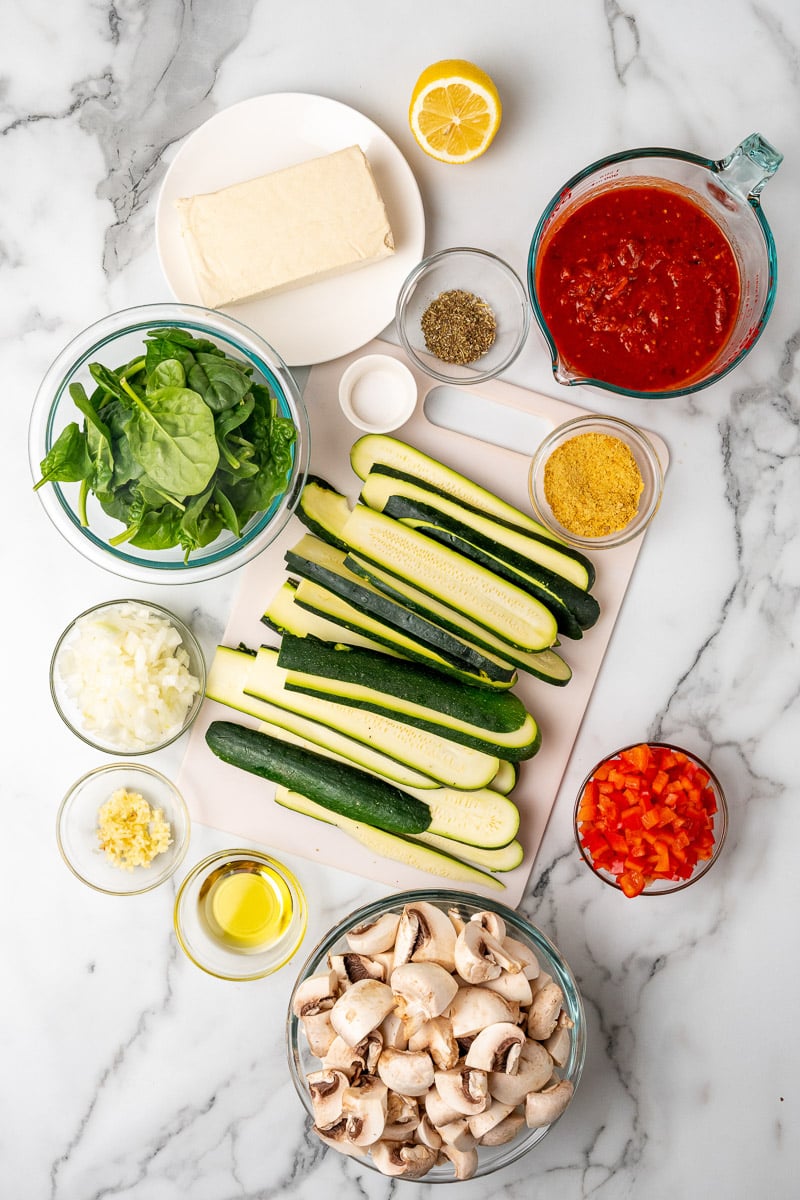
Ingredients & Supplies You'll Need
Here's what you'll need to make this delicious zucchini lasagna:
- Zucchini - the star ingredient!
- Firm Tofu - to make a vegan ricotta cheese substitute.
- Nutritional yeast - to add that cheesy flavor.
- Italian Seasoning
- Salt
- Lemon Juice
- Olive oil
- Onion
- Bell pepper
- Garlic
- Mushrooms
- Baby Spinach - Or you can use kale if you prefer.
- Tomato Sauce
- Fresh Basil - Optional, but recommended!
In addition to these ingredients, you will need a 9"x 13" baking dish and either a vegetable peeler or a mandoline slicer for slicing the zucchini.
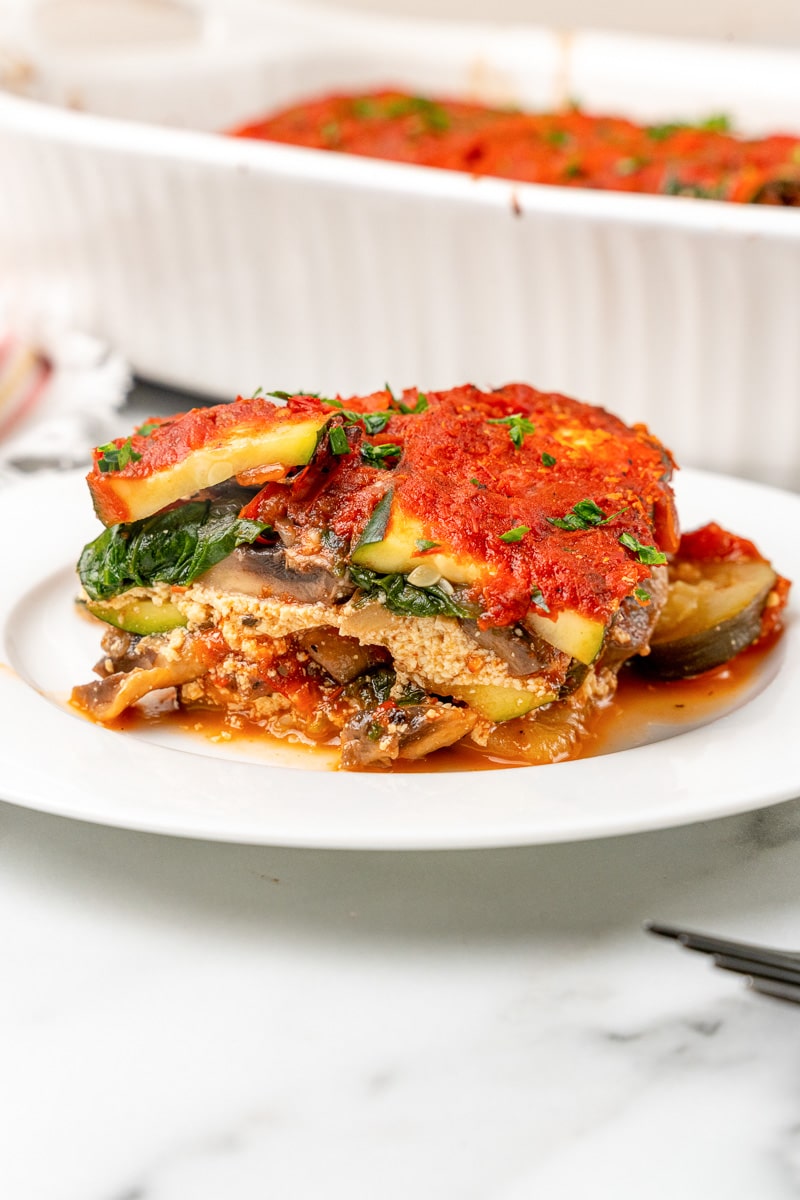
How to Make Zucchini Lasagna
The first step is to slice your zucchinis lengthwise into thin strips. Lay them out on a paper towel and sprinkle them all over with salt. Allow them to sit for at least 15 minutes to draw out all of the excess moisture - this will keep your lasagna from becoming a soggy mess!
Next, you'll prepare a vegan tofu "ricotta" by blending the tofu, nutritional yeast, Italian seasoning, salt, and lemon juice in a food processor until smooth.
In a large skillet, sauté the bell peppers and onions until they are translucent. Add the garlic and mushrooms and cook until the mushrooms are browned and the excess liquid has evaporated. Finally, add the spinach and allow it to wilt.
Now, it's time to assemble your lasagna. Add a layer of tomato sauce to the bottom of a 9x13 baking dish, then a layer of zucchini slices. Follow that with another layer of sauce, followed by half of the cooked vegetables and half of the vegan ricotta. Then, add another layer of zucchini noodles, sauce, remaining vegetables, and remaining vegan ricotta. Finally, top with a final layer of zucchini slices and remaining sauce.
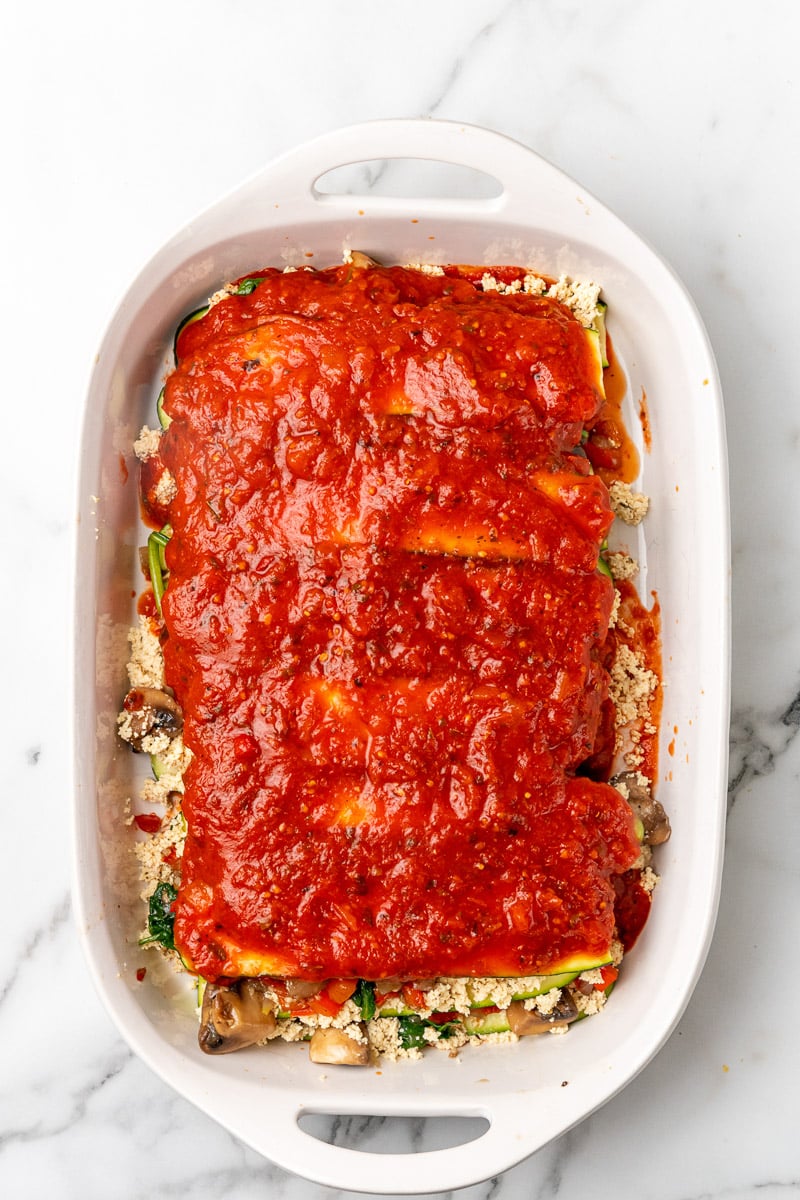
Cover the baking dish and bake in the oven at 400 degrees Fahrenheit for 45 minutes or until it is bubbly. Once done, remove the lasagna from the oven and add fresh minced basil. Allow it to sit for 10 minutes before serving.
(As always, see the recipe card below for more detailed instructions, measurements, and step-by-step images.)
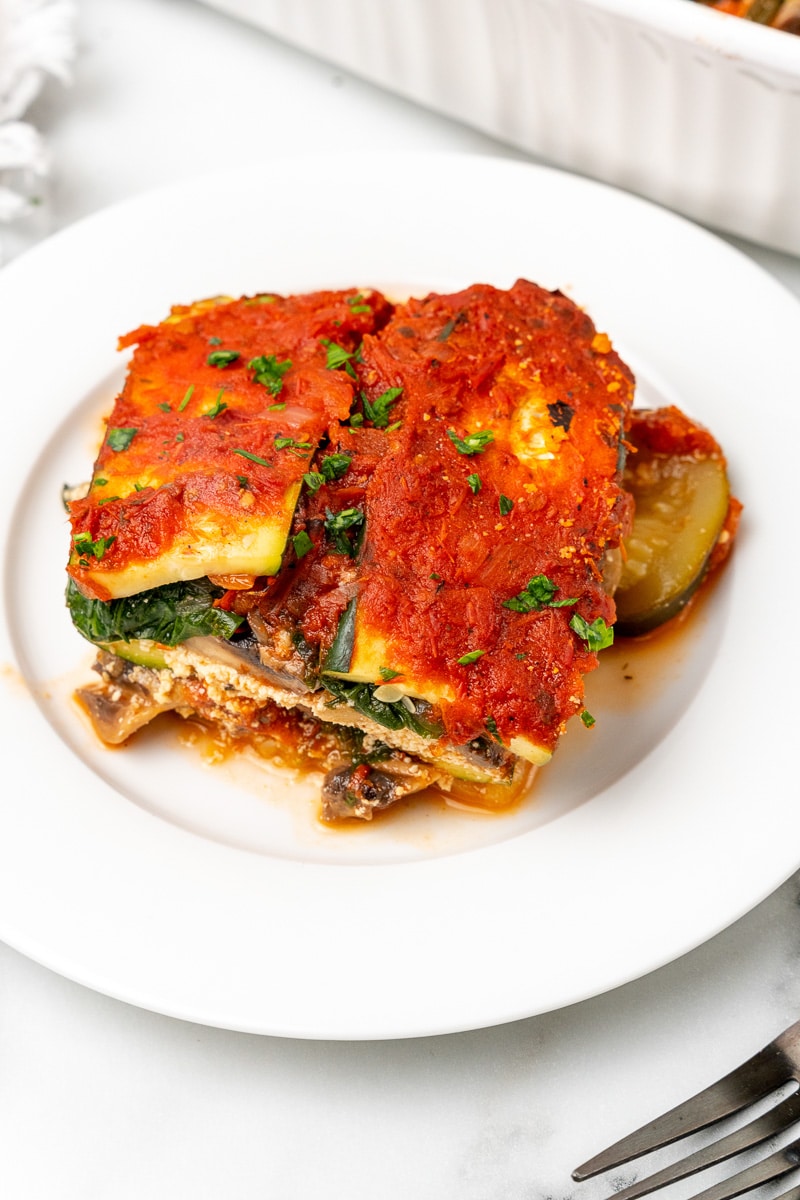
Helpful Tips & Tricks
Here are some helpful tips and tricks for making a delicious vegan lasagna!
Slicing the Zucchini Strips
Use a vegetable peeler or a mandoline slicer to create very thin, uniform slices of zucchini. This will ensure that your lasagna layers cook evenly and don't become mushy. You are unlikely to get thin enough slices by simply using a kitchen knife.
Remove the Moisture from the Zucchini
After slicing your zucchini, lay the pieces out on paper towels and sprinkle with salt. This will help draw out excess moisture, making for a firmer lasagna. Don't skip this step or you will get soggy lasagna!
Storing the Leftovers
If you have leftovers, store them in an airtight container in the fridge for up to 3-4 days. For best results, reheat in the oven or microwave before enjoying.
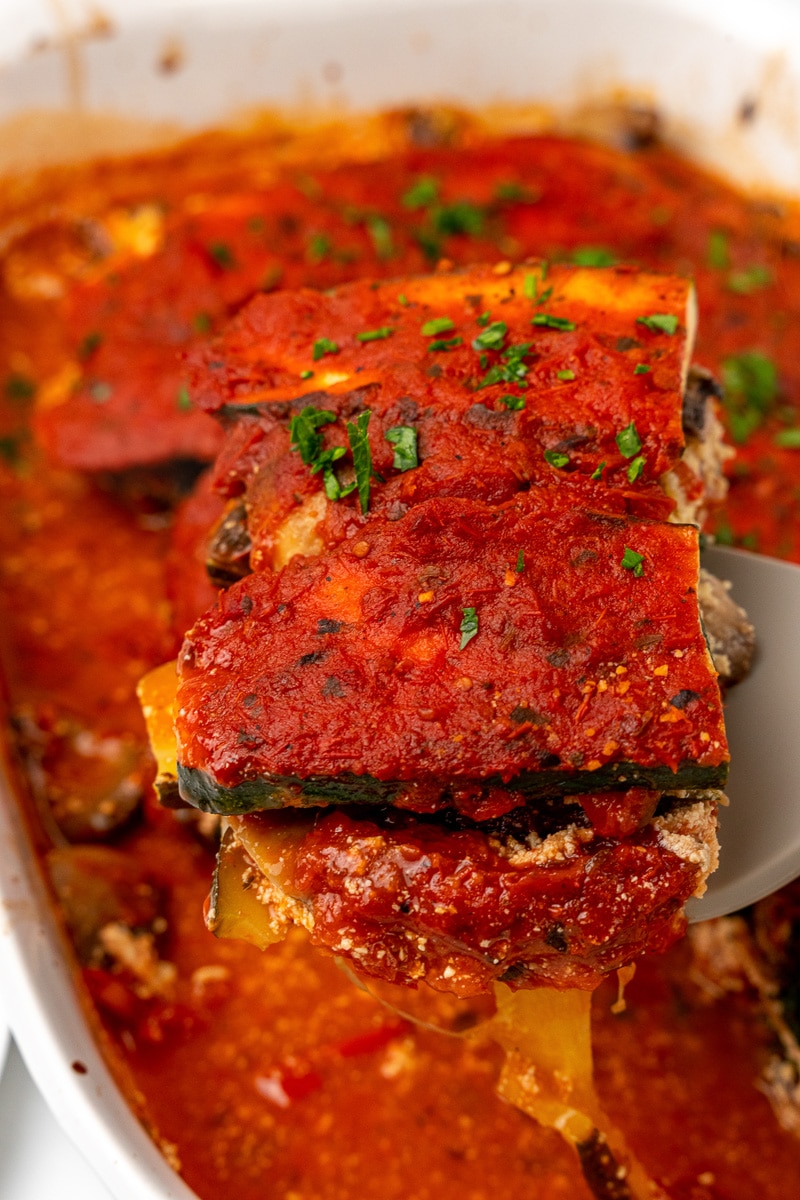
Variations & Substitutions
Homemade Marinara Sauce
I used a simple plain tomato sauce for this recipe, to let the veggies shine. You can use any tomato or pasta sauce of your choice, or try your hand at making homemade tomato sauce.
Vegan Ricotta
This recipe uses a simple homemade tofu ricotta. For an alternative, this cashew ricotta is also a great choice. If you're short on time, consider using store bought vegan ricotta. There are many delicious options available at most grocery stores. I'm a fan of the Kite Hill brand.
Add Vegan Mozzarella
I wanted to limit the processed ingredients in this healthy lasagna recipe, but you could also add some dairy free mozzarella shreds to the top if you're craving more cheesiness.
Spice it Up
For more flavor, consider adding fresh herbs such as basil or oregano to your marinara sauce. Or for a little spice, add some crushed red pepper flakes. Yum!
Add Some Protein
If you want a protein boost, add in some meatless soy crumbles or crumble up some Beyond Sausages - they are perfect for this! You could also add lentils, chickpeas, or beans for a fun variation.
Roasted Vegetables
Consider using roasted vegetables such as eggplant, bell peppers, or mushrooms to add different textures and flavors to the dish.
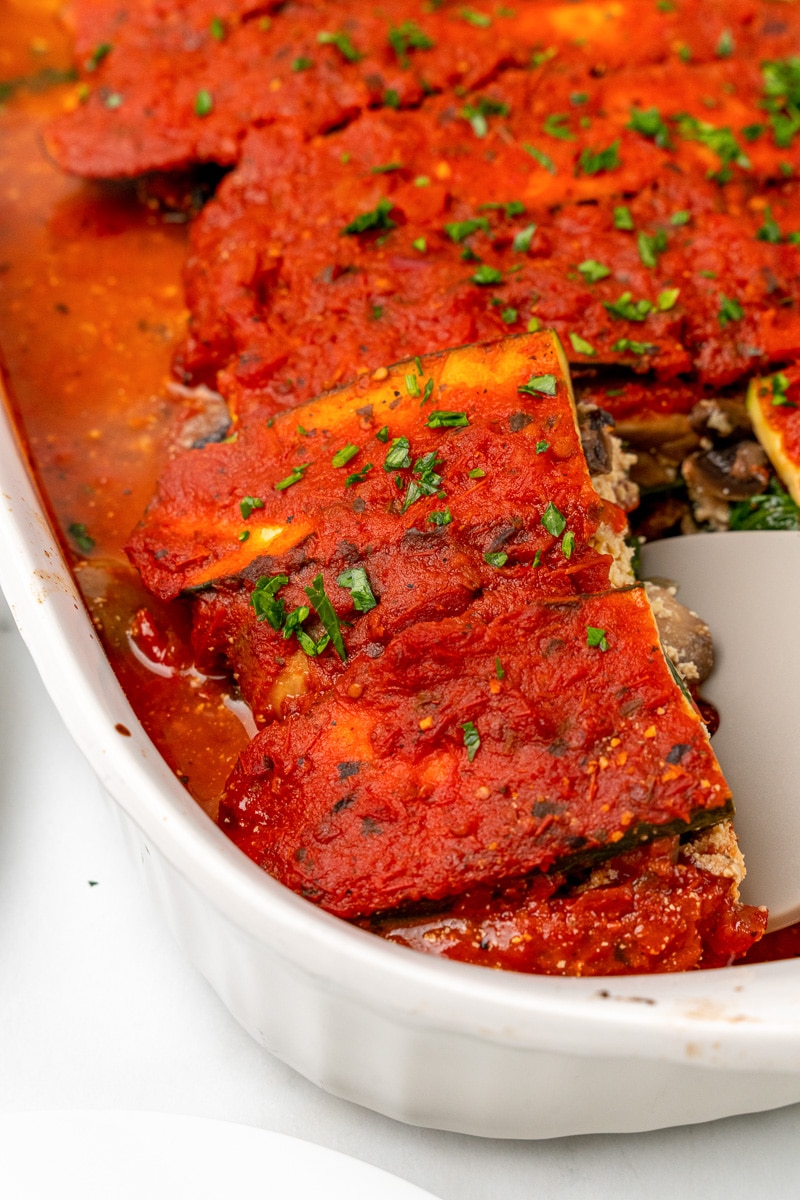
Fun Fact: Where did Lasagna Originate?
The origins of lasagna are a highly debated topic. While most people assume the dish came from Italy, this popular recipe has made quite the journey around the world!
Some believe it began with laganon, a Greek word describing flat sheets of pasta that were cut into strips. Still others suggest that lasagna first appeared as far back as the 14th century in England and Italy, where cookbooks detailed various recipes for layers of cheese and pasta baked together. It wasn't until the 16th century when tomato-based versions of the dish were recorded that it bore closer resemblance to today's version.
But wherever it came from and whoever created it - our taste buds thank you!
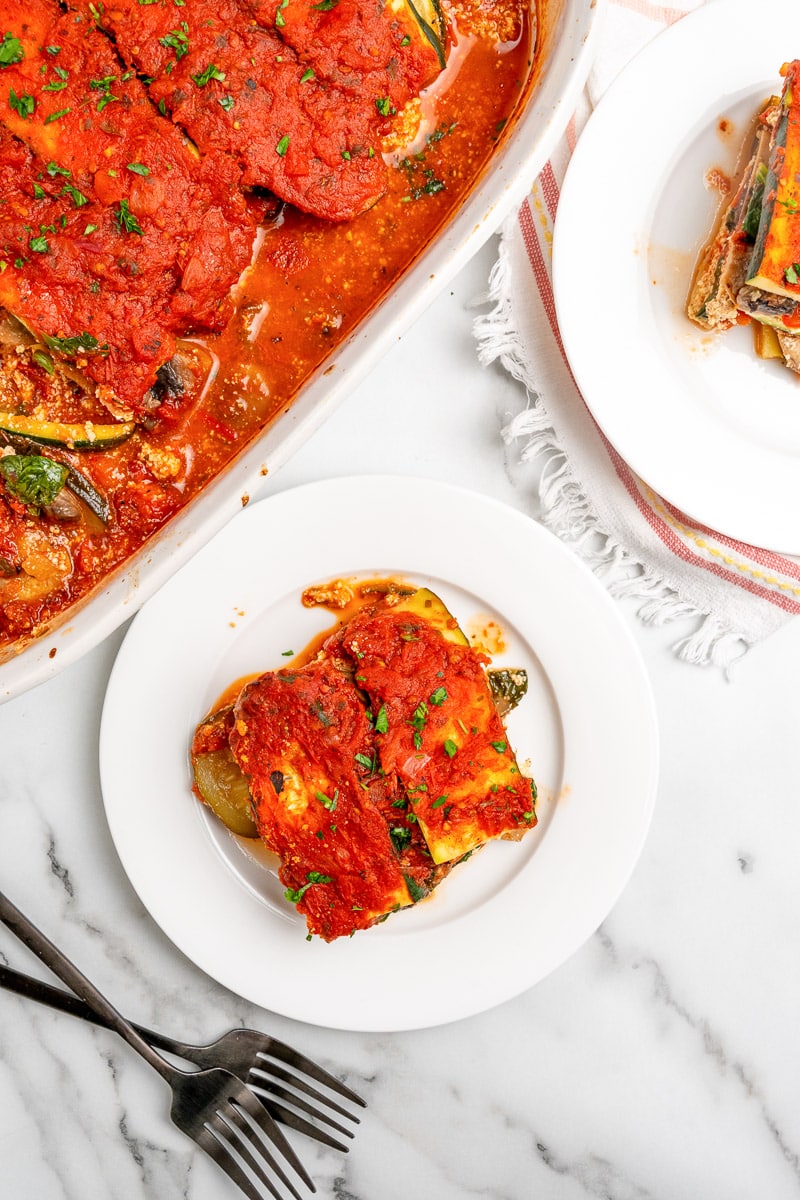
More Tasty Vegan Recipes
If you love this vegan zucchini lasagna, be sure to check out these other delicious plant based ideas:
Also worth trying: our Italian-style vegan sausage and peppers.
Also worth trying: our vegan creamy mushroom pasta.
Also worth trying: our vegan pot pie casserole.
Also worth trying: our homemade vegan pizza dough.
Also try: our Vegan Greek Pasta Salad.
Also try: our Zucchini With Mint.
- Vegan Zucchini Noodles with Vegan Bolognese Sauce
- Vegan Vodka Pasta
- 15+ Comforting Vegan Casserole Ideas
- For a fresh summer side, also try our tomato relish salad with grilled vegetables.
Recipe
Vegan Zucchini Lasagna
This vegan zucchini lasagna is light, healthy, and bursting with flavor from fresh veggies, tangy marinara, and creamy vegan ricotta. Yum!
Print
Pin
Save
Servings: servings
Ingredients
- 4 large zucchini
- 14 oz. firm tofu
- 2 tablespoons nutritional yeast
- 2 teaspoons italian seasoning
- 1 teaspoon salt
- Juice of half a lemon
- 1 tablespoon olive oil
- 1 onion chopped
- 1 bell pepper diced
- 3 cloves garlic minced
- 1 lb mushrooms quartered
- 4 cups baby spinach
- 3-4 cups tomato sauce
- Minced fresh basil optional
Instructions
- Preheat oven to 400 F
- Slice the zucchini lengthwise into thin strips, lay out on a paper towel and sprinkle with salt, allow to sit at least 15 minutes to draw some moisture out
- Meanwhile prepare the tofu ricotta. Combine the tofu, nutritional yeast, italian seasoning, salt and lemon juice in a food processor
- Blend until smooth and set aside
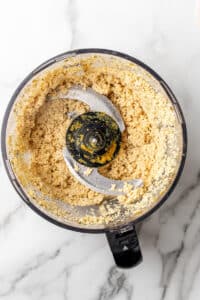
- In a large skillet over medium heat, add the oil followed by the onion and peppers and saute for 5-6 minutes, or until the onion is translucent
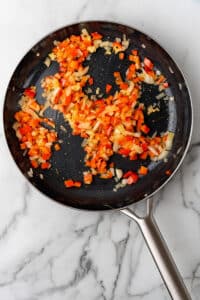
- Add the garlic and stir, then add the mushrooms and cook until the mushrooms are browned and the excess liquid has evaporated
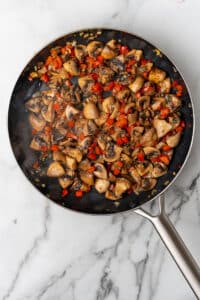
- Add the spinach and allow to wilt
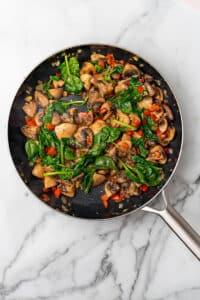
- Add a layer of sauce to the bottom of a 9x13 baking dish, then a layer of zucchini, followed by sauce, then half the vegetables, then half the vegan ricotta
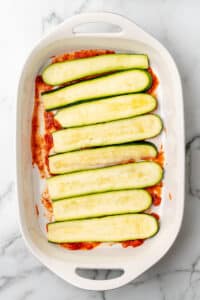
- Repeat with another layer of zucchini, followed by sauce, then half the vegetables, then half the vegan ricotta
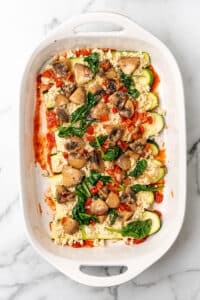
- Keep repeating with a layer of zucchini, sauce, remaining vegetables and remaining vegan ricotta
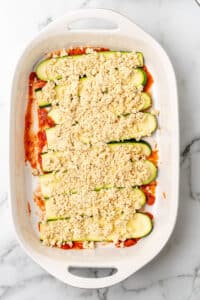
- Then fininsh with a final layer of zucchini and remaining sauce on top
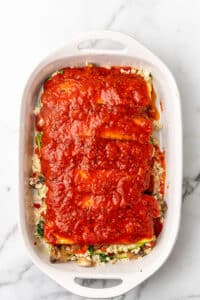
- Cover and bake in the oven for 45 minutes, or until bubbly
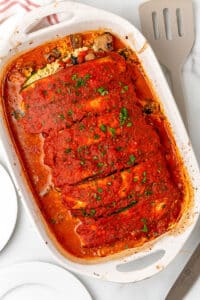
- Add the fresh minced basil and allow to sit for 10 minutes before slicing and serving
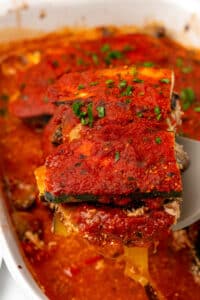
Nutrition (Estimate per Serving)
Calories: 175kcalCarbohydrates: 20gProtein: 14gFat: 7gSaturated Fat: 1gPolyunsaturated Fat: 3gMonounsaturated Fat: 3gSodium: 1003mgPotassium: 1190mgFiber: 7gSugar: 11gVitamin A: 3300IUVitamin C: 66mgCalcium: 162mgIron: 4mg
Vegan-ize any recipe!Grab our free vegan cheat sheet, packed with my favorite easy substitutions to make any recipe vegan.
Chickpea Chocolate Chip Cookies
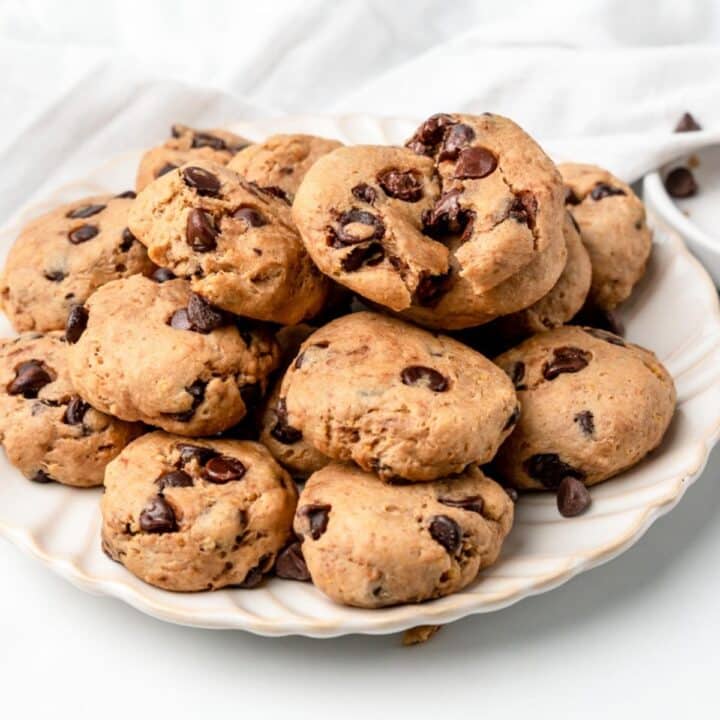
These chickpea chocolate chip cookies are soft, chewy, and studded with melty chocolate, and nobody will guess there's a whole can of chickpeas in the dough. They come together in a food processor in about 10 minutes, need no chilling, and make a protein-packed vegan treat that kids and adults both enjoy.
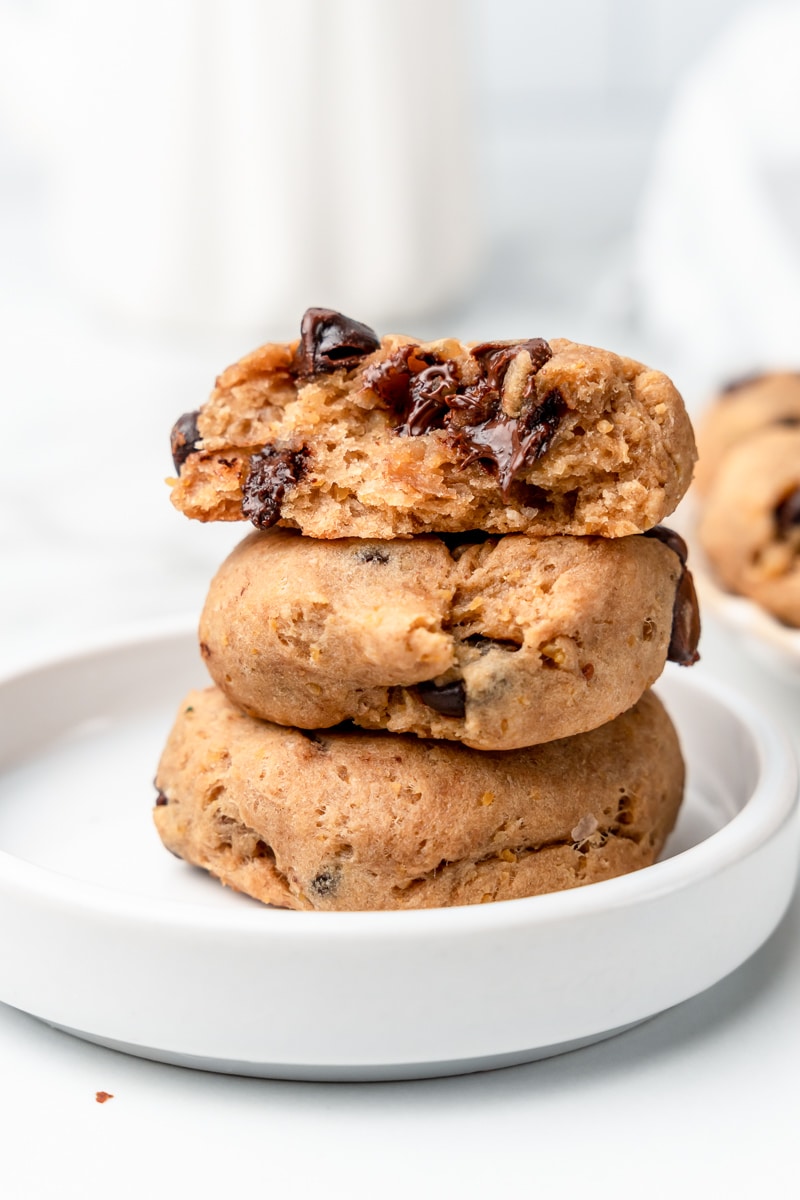
The chickpeas get ground up so finely that you won't even know they're in the cookies, which makes this a great way to sneak a little extra fiber and protein into a treat. If you're a fan of baking with beans, try this Cinnamon Apple Chickpea Cake next, or browse more easy vegan desserts.
Key Ingredients & Substitutions
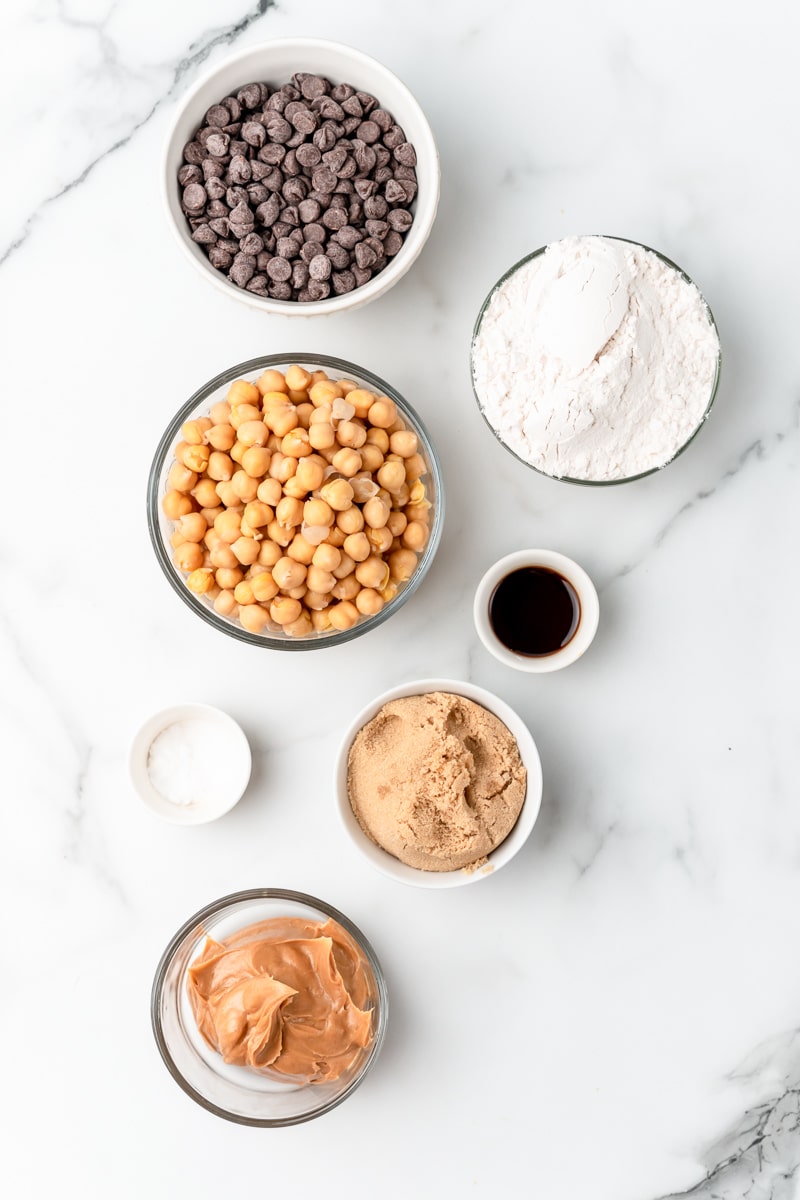
- Chickpeas. This is why these cookies work. Blended smooth, canned chickpeas add moisture, body, and a soft, almost cookie-dough-like chew, so the recipe needs no oil, vegan butter, or egg replacer. Their flavor is mild and disappears behind the peanut butter and chocolate. Rinse and drain them well, and pat them dry with a towel; extra liquid makes the dough sticky. One 15-ounce can (about 1 ½ cups cooked chickpeas) is exactly what you need.
- Vegan chocolate chips. Not every chocolate chip is dairy-free. Many popular semi-sweet chips contain milk, milkfat, or butterfat, so read the label. Brands made to be vegan, like Enjoy Life, Pascha, Hu, and Gefen vegan semi-sweet dark chocolate chips, are a safe bet. Mini chips spread through the dough more evenly if you want chocolate in every bite.
- Peanut butter. Creamy, natural-style peanut butter binds the dough and gives the cookies their rich, nutty flavor. Almond butter or cashew butter work the same way. Sunflower seed butter makes these nut-free, though it can turn the inside of the cookies slightly green when it reacts with baking soda; it's harmless and still tastes great.
- Flour. Regular all-purpose flour gives the cookies structure. White whole wheat flour works for a heartier cookie. We haven't tested a gluten-free version, but a 1:1 gluten-free baking blend is the swap most likely to succeed.
- Brown sugar. Brown sugar adds a caramel note and helps keep the cookies soft. Coconut sugar is an easy 1:1 swap. Some cane sugars are filtered with bone char, so look for organic or certified vegan sugar if that matters to you.
- Vanilla, baking soda, and salt. Vanilla rounds out the flavor, baking soda gives a little lift, and salt keeps the cookies from tasting flat.
How to Make Chickpea Chocolate Chip Cookies
Full measurements and steps are in the printable recipe card below. Here's a quick walk-through with photos.
1. Load the food processor. Preheat the oven to 350°F and line a baking sheet with parchment paper. Add the chickpeas, flour, peanut butter, brown sugar, vanilla, baking soda, and salt to a large food processor. Everything goes in except the chocolate chips.
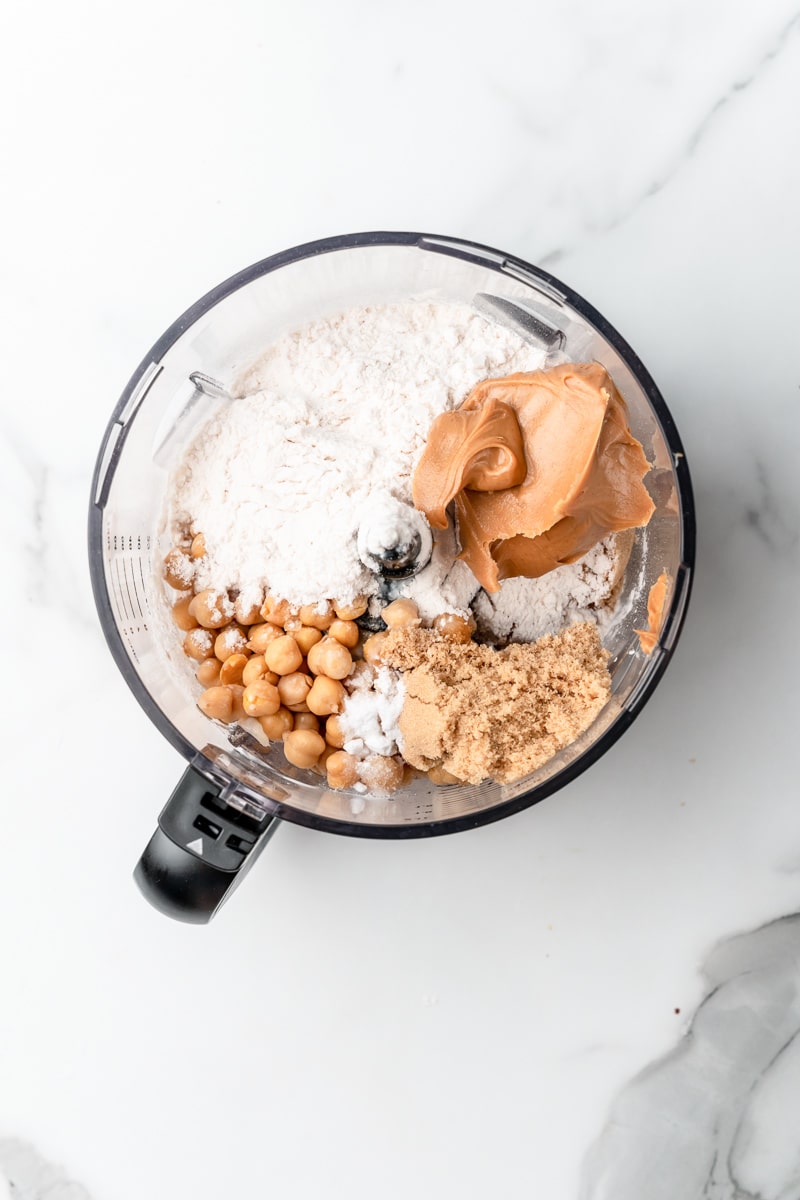
2. Blend the dough. Pulse, then run the processor until the mixture forms a smooth, thick dough, scraping down the sides once or twice. You shouldn't see any chickpea pieces.
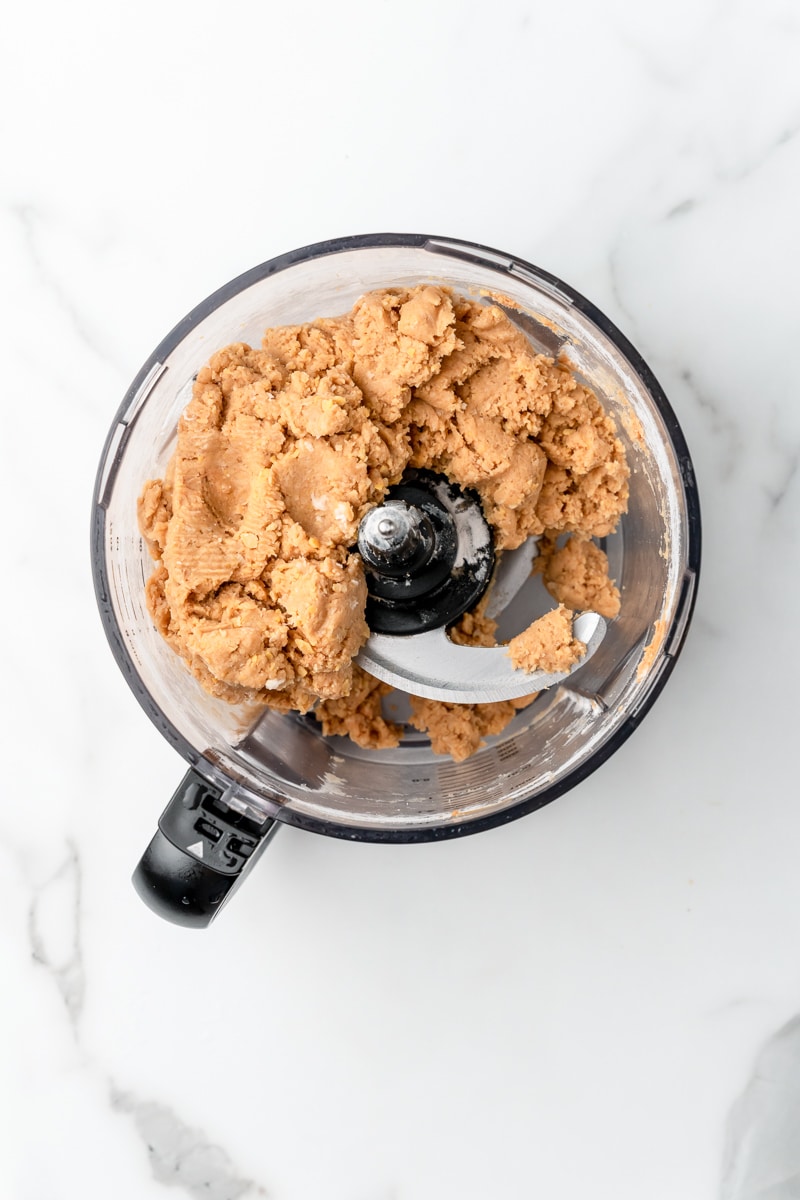
3. Fold in the chocolate. Remove the blade and stir in the chocolate chips with a spatula. Folding them in by hand keeps the chips whole instead of chopping them into the dough.
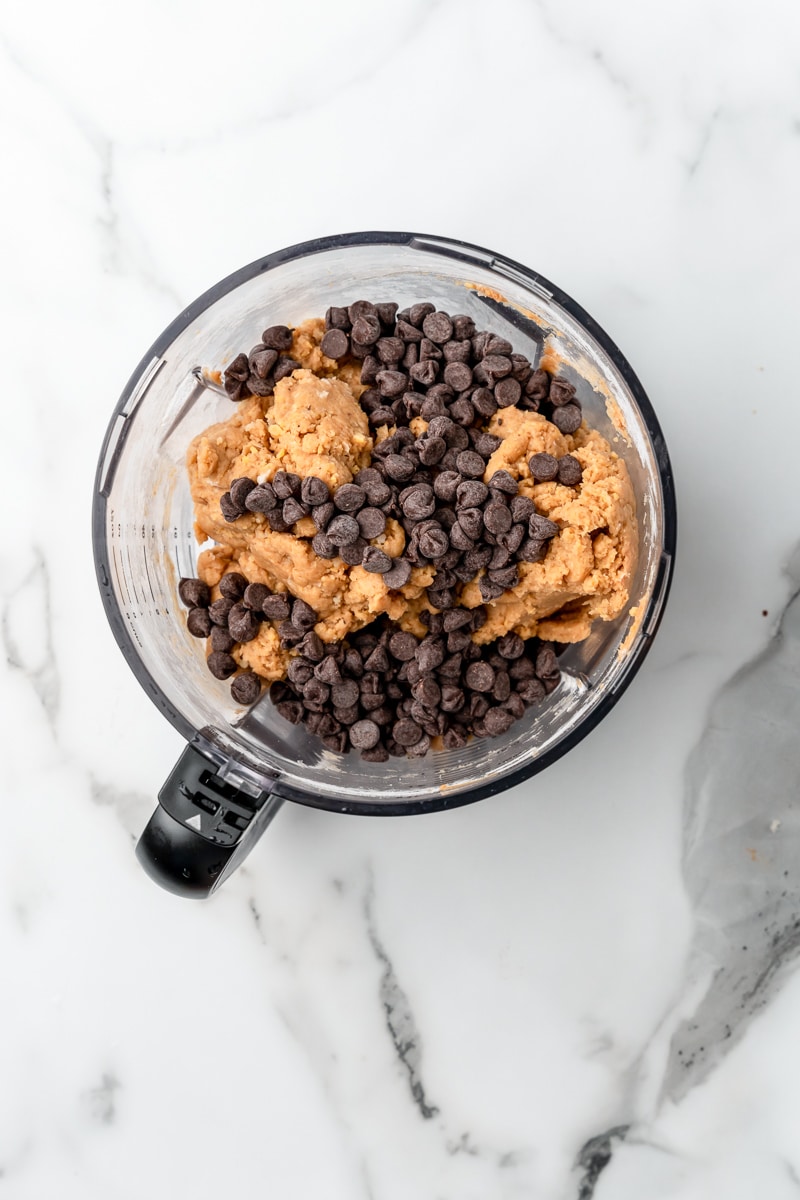
4. Scoop and bake. Scoop heaping tablespoons of dough onto the prepared sheet and bake for about 10 minutes, until the edges are lightly golden. Let the cookies cool on the tray for 5 minutes, then move them to a wire rack to finish cooling.
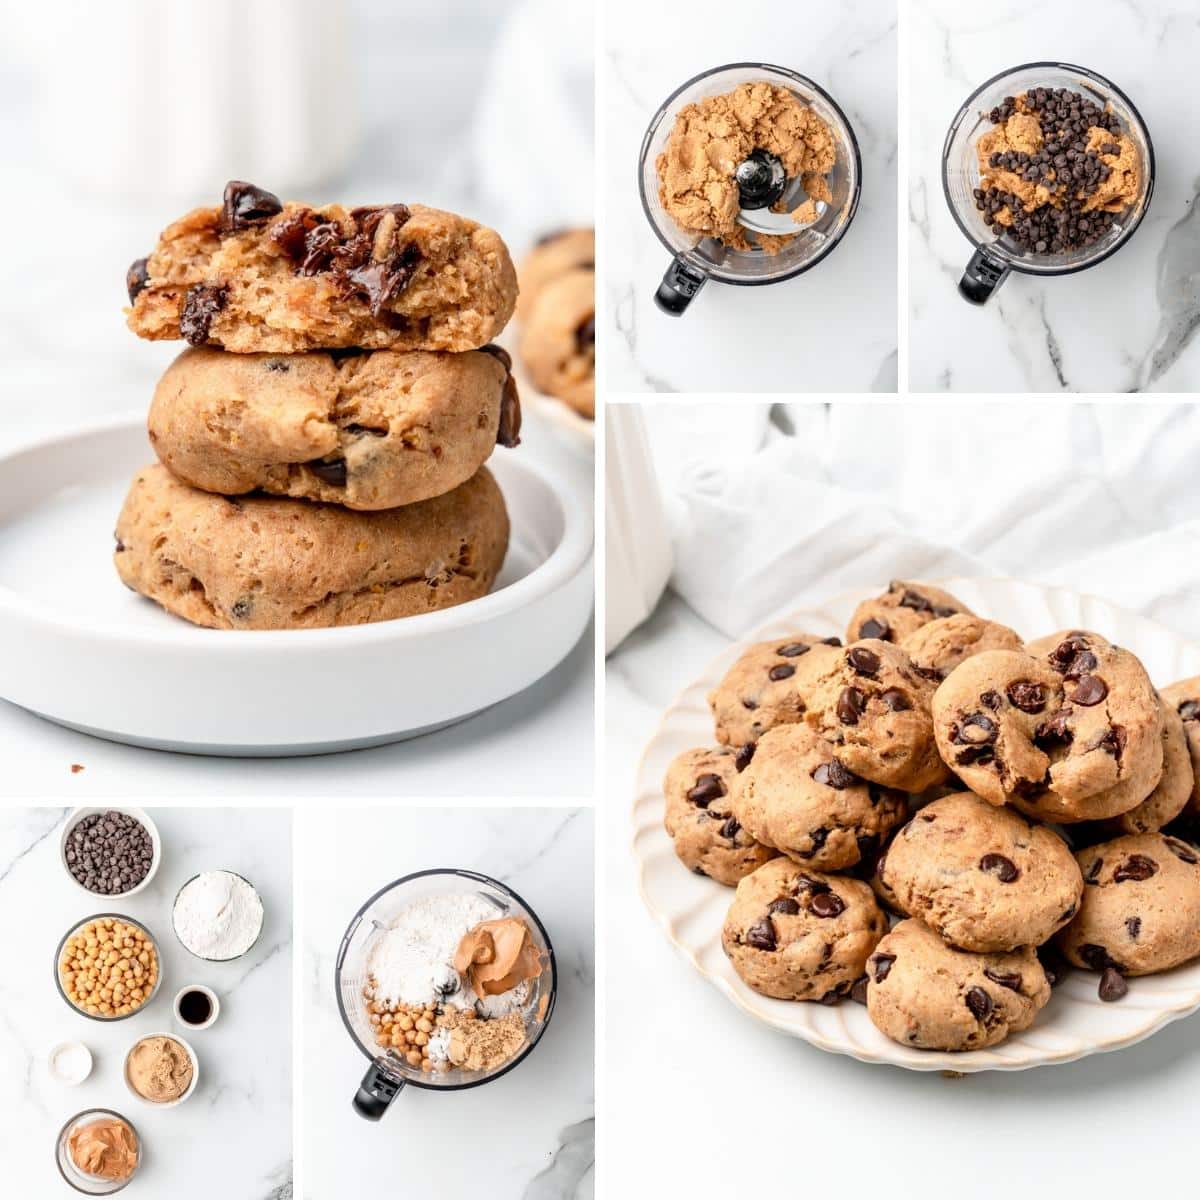
Helpful Tips
Blend until completely smooth. It's important to break the chickpeas down fully and mix them well, otherwise they'll change the texture of the cookies. Any whole or half chickpeas left in the dough will show up as dense, beany bites, so give it an extra 20 or 30 seconds if you're unsure.
Use a cookie scoop. A medium cookie scoop (about 1 ½ tablespoons) keeps every cookie the same size and shape, so they all bake evenly. It also makes quick work of this soft, slightly sticky dough.
Shape them the way you want them. This dough doesn't spread much in the oven, so the cookies will keep roughly the shape you give them. For a flatter, classic-looking cookie, press each scoop down gently with damp fingers before baking.
Don't overbake. Pull the cookies when the edges are golden and the tops look set. They'll seem a little soft in the middle but firm up as they cool on the tray. Baked too long, they turn dry and cakey.
Doubling the recipe. You can double the batch and bake it in rounds. If you have a smaller food processor, blend the dough in two batches so everything gets fully smooth.
Variations
- Nuts. Fold in ¼ cup of chopped walnuts or pecans along with the chocolate chips for crunch.
- Dried fruit. Mix in ¼ cup of dried cranberries, cherries, or raisins, or use them in place of half the chocolate.
- Different chips. Swap in dairy-free white chocolate chips, vegan dark chocolate chunks, or vegan-labeled peanut butter chips.
- Warm spices. Add ½ teaspoon of cinnamon, or a pinch of pumpkin pie spice in the fall.
- Flaky salt. Sprinkle a few flakes of sea salt on each cookie right before baking for a salty-sweet finish.
Serving Ideas
These cookies are at their best slightly warm, when the chocolate is still soft, with a tall glass of cold oat or almond milk for dunking. They're filling enough to work as an after-school snack or a lunchbox treat, and they pair nicely with a morning coffee or a Chocolate Raspberry Banana Smoothie.
For dessert, sandwich a scoop of dairy-free vanilla ice cream between two cookies, or set out a platter alongside Vegan Snickerdoodles and Chocolate Crinkle Cookies for a bake sale or holiday cookie tray.
Storing & Freezing
Once the cookies have cooled completely, store them in an airtight container at room temperature for up to 2 days. Because the chickpeas keep them moist, they last longer in the fridge, up to 5 days. Let chilled cookies sit out for 10 minutes, or warm them in the microwave for a few seconds, to bring back that soft, chewy texture.
Yes, you can freeze these chocolate chip cookies. Store the cooled cookies in a freezer bag or airtight freezer container for up to 3 months. Thaw them on the counter for about 30 minutes, or warm them in a 300°F oven for 5 minutes. You can also freeze scooped balls of raw dough on a tray, then bag them and bake straight from frozen, adding a couple of minutes to the baking time.
Tried these chickpea cookies? Please leave a star rating in the recipe card below and tell us how they turned out in the comments. We love hearing from you!
More Vegan Cookies and Treats
If you love these chickpea chocolate chip cookies, be sure to check out these other delicious vegan treats:
- Vegan Chocolate Chip Cookies
- Vegan Thumbprint Cookies
- Vegan No-Bake Chocolate Cookies
- Fudgy Avocado Brownies
Recipe

Chickpea Chocolate Chip Cookies
These chickpea cookies are soft, chewy, and loaded with vegan chocolate chips. The dough comes together in a food processor with one can of chickpeas and peanut butter, with no chilling, oil, or egg replacer needed.
Print
Pin
Save
Servings: cookies
Equipment
- cookie scoop medium, about 1 ½ tablespoons
Ingredients
- 1 can chickpeas 15-ounce can, rinsed, drained and patted dry
- 1 cup flour all-purpose
- ½ cup peanut butter creamy, natural-style
- ½ cup brown sugar packed
- 1 teaspoon vanilla extract
- ½ teaspoon baking soda
- ¼ teaspoon salt
- 1 cup vegan chocolate chips
Instructions
- Preheat the oven to 350°F (175°C). Line a baking sheet with parchment paper and set aside.
- In a large food processor, add the chickpeas, flour, peanut butter, brown sugar, vanilla, baking soda, and salt.
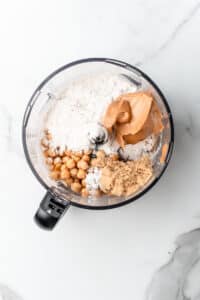
- Pulse a few times, then process until the mixture forms a smooth, thick dough with no visible chickpea pieces, scraping down the sides once or twice.
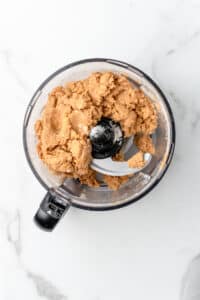
- Remove the blade and stir in the chocolate chips with a spatula.
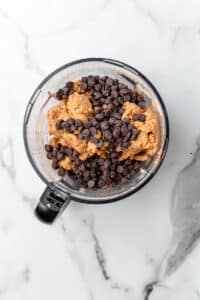
- Scoop heaping tablespoons of dough (a medium cookie scoop works well) onto the prepared sheet, about 2 inches apart. The cookies won't spread much, so press them down gently if you'd like flatter cookies. Bake for 10 to 12 minutes, until the edges are lightly golden and the tops look set.
- Let the cookies cool on the tray for 5 minutes, then transfer them to a wire rack to finish cooling.

Notes
Chocolate chips: check the label, since many semi-sweet chips contain milk or butterfat. Enjoy Life, Pascha, Hu and Gefen make vegan chips.
Nut butter: almond or cashew butter work in place of peanut butter. Sunflower seed butter makes the cookies nut-free but can turn the centers slightly green (harmless).
Shaping: the dough doesn't spread much. For flatter cookies, press each scoop down gently with damp fingers before baking.
Storage: airtight at room temperature up to 2 days, in the fridge up to 5 days, or frozen up to 3 months.
Nutrition (Estimate per Serving)
Calories: 246kcalCarbohydrates: 34gProtein: 6gFat: 11gSaturated Fat: 4gPolyunsaturated Fat: 2gMonounsaturated Fat: 3gSodium: 144mgPotassium: 143mgFiber: 3gSugar: 18gVitamin A: 5IUCalcium: 44mgIron: 2mg
Vegan-ize any recipe!Grab our free vegan cheat sheet, packed with my favorite easy substitutions to make any recipe vegan.
Vegan Sweet Potato Casserole

With the holidays approaching you will have to try this vegan sweet potato This vegan sweet potato casserole is comfort food at its best! Rich, creamy sweet potatoes melted together with brown sugar and cinnamon, and layered with a crunchy pecan topping. Perfect for the holidays!

While this is a must have for the holidays this casserole is great to make all year round. I love to incorporate sweet potatoes into our daily diet.
This Vegan Sweet Potato Casserole Recipe Is...
- Vegan
- Gluten Free
- Vegetarian
- Dairy Free
And if you're here planning your holiday menu, don't forget to check out our new Vegan Thanksgiving and Vegan Christmas cookbooks!
How to Make This Vegan Sweet Potato Casserole Recipe

Full steps on how to make this vegan sweet potato casserole is in the post below. This is a quick walk through on how it is made.
- Start by preheating your oven and prep your baking dish.
- Then you will mash the cooked sweet potatoes and add in the other ingredients and mixing until creamy.
- Then you will add the topping ingredients in a bowl.
- Sprinkle over the sweet potatoes, and then bake until golden brown and bubbly.
- Serve warm and enjoy.
Helpful Tips for Making Sweet Potato Casserole

Prep In Advance
You will find you can prep the sweet potatoes in advance to speed up the prep work if you would like. You can peel and dice up the potatoes and cook in water until fork tender. Or you can bake the sweet potatoes whole in the oven until fork tender.
Creamy Texture
We love to have a creamy texture to the sweet potatoes. By mashing it fully it will give you a super nice and creamy texture. You can leave pieces larger to add texture to the casserole.
Sweet Potato Casserole Variations

Stronger Coconut Flavor
If you want to help amplify the coconut flavor in the casserole you can add ¼ cup shredded coconut to the topping. This will add another layer of flavor to the casserole.
Nuts
Feel free to swap pecans with walnuts if you would like. It will change up the flavor a bit without taking too much away from the flavor.
Non-Dairy Milk
If you don't have or use almond milk, you can swap with coconut milk, cashew milk, or another plant based dairy alternative.
Sweet Potato Casserole Frequently Asked Questions

Are canned yams and sweet potatoes the same?
Depending on where you live you might find you can buy yams and sweet potatoes. They look very similar to each other but some offer a whiter flesh vs an orange flesh of the potatoes.
Can sweet potato casserole be made ahead and frozen?
You can indeed make and freeze your casserole if you would like. Just prep the casserole and refrigerate or freeze until you are ready to bake the casserole. If you do freeze place in a cooled oven and begin baking.
How to store leftovers?
Store any leftovers you would like in the fridge for 3-5 days. You can reheat the casserole in the microwave or even in the oven if you would like.
More Vegan Recipes
If you love this vegan sweet potato casserole, be sure to check out these other delicious ideas:
And for the easiest holiday yet, don't forget to check out my complete Vegan Thanksgiving cookbook!
Recipe

Vegan Sweet Potato Casserole
This vegan sweet potato casserole is comfort food at its best! Rich, creamy sweet potatoes melted together with brown sugar and cinnamon, and layered with a crunchy pecan topping. Perfect for the holidays!
Print
Pin
Save
Servings: servings
Ingredients
For the sweet potato:
- 4 cups cooked mashed sweet potato about 2- 2 ½ lbs raw sweet potatoes
- ½ cup almond milk
- ½ cup brown sugar
- ¼ cup coconut oil melted
- 2 teaspoons cinnamon
- 1 teaspoon vanilla
- ½ teaspoon salt
For the topping:
- 1 cup chopped pecans
- ½ cup flour
- ⅓ cup brown sugar
- 1 teaspoon cinnamon
- 3 tablespoons coconut oil melted
Instructions
- Preheat oven to 400 F, grease a 2 qt baking dish and set aside
- Combine the cooked potatoes, almond milk, brown sugar, coconut oil, cinnamon, vanilla and salt until smooth and slightly fluffy, pour into prepared baking dish and beat until smooth and slightly fluffy, pour into prepared baking dish.

- Stir together the chopped pecans, flour, brown sugar, and cinnamon.

- Then mix in the melted coconut oil until mixture looks like wet sand.

- Evenly spread out the sweet potato mixture into the prepare casserole pan.

- Sprinkle the topping over the sweet potato mixture.

- Bake until topping is golden brown and filling is bubbly

- Serve warm

Notes
- This is so creamy and tasty - you wouldn't know it is vegan!
- You can amplify the coconut flavor in this by using coconut milk and adding ¼ cup shredded coconut to the topping
- It is so much easier to prepare the potatoes in advance, but if you are making it all at once then you will need 6-8 medium sweet potatoes peeled and cubed. Boil until tender then mash with a fork (any remaining lumps will get broken up when you beat it with the milk to to make the filling)
Nutrition (Estimate per Serving)
Calories: 373kcalCarbohydrates: 45gProtein: 3gFat: 22gSaturated Fat: 11gPolyunsaturated Fat: 3gMonounsaturated Fat: 6gSodium: 209mgPotassium: 323mgFiber: 4gSugar: 26gVitamin A: 9444IUVitamin C: 2mgCalcium: 76mgIron: 1mg
Vegan-ize any recipe!Grab our free vegan cheat sheet, packed with my favorite easy substitutions to make any recipe vegan.
5-Minute Vegan Peanut Butter Dip
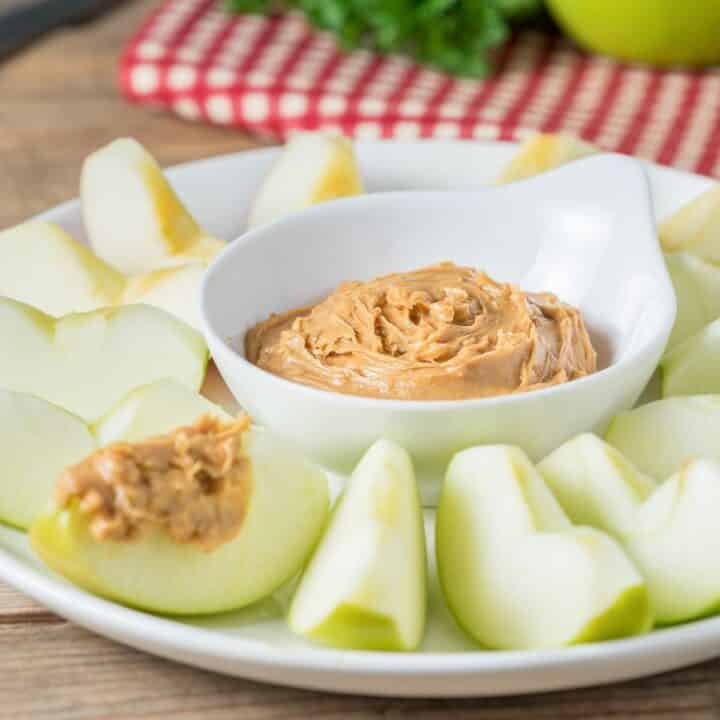
This quick and easy vegan peanut butter dip is perfect for dipping fresh apples, veggies, or spreading on toast or crackers. And it's ready in just 5 minutes!
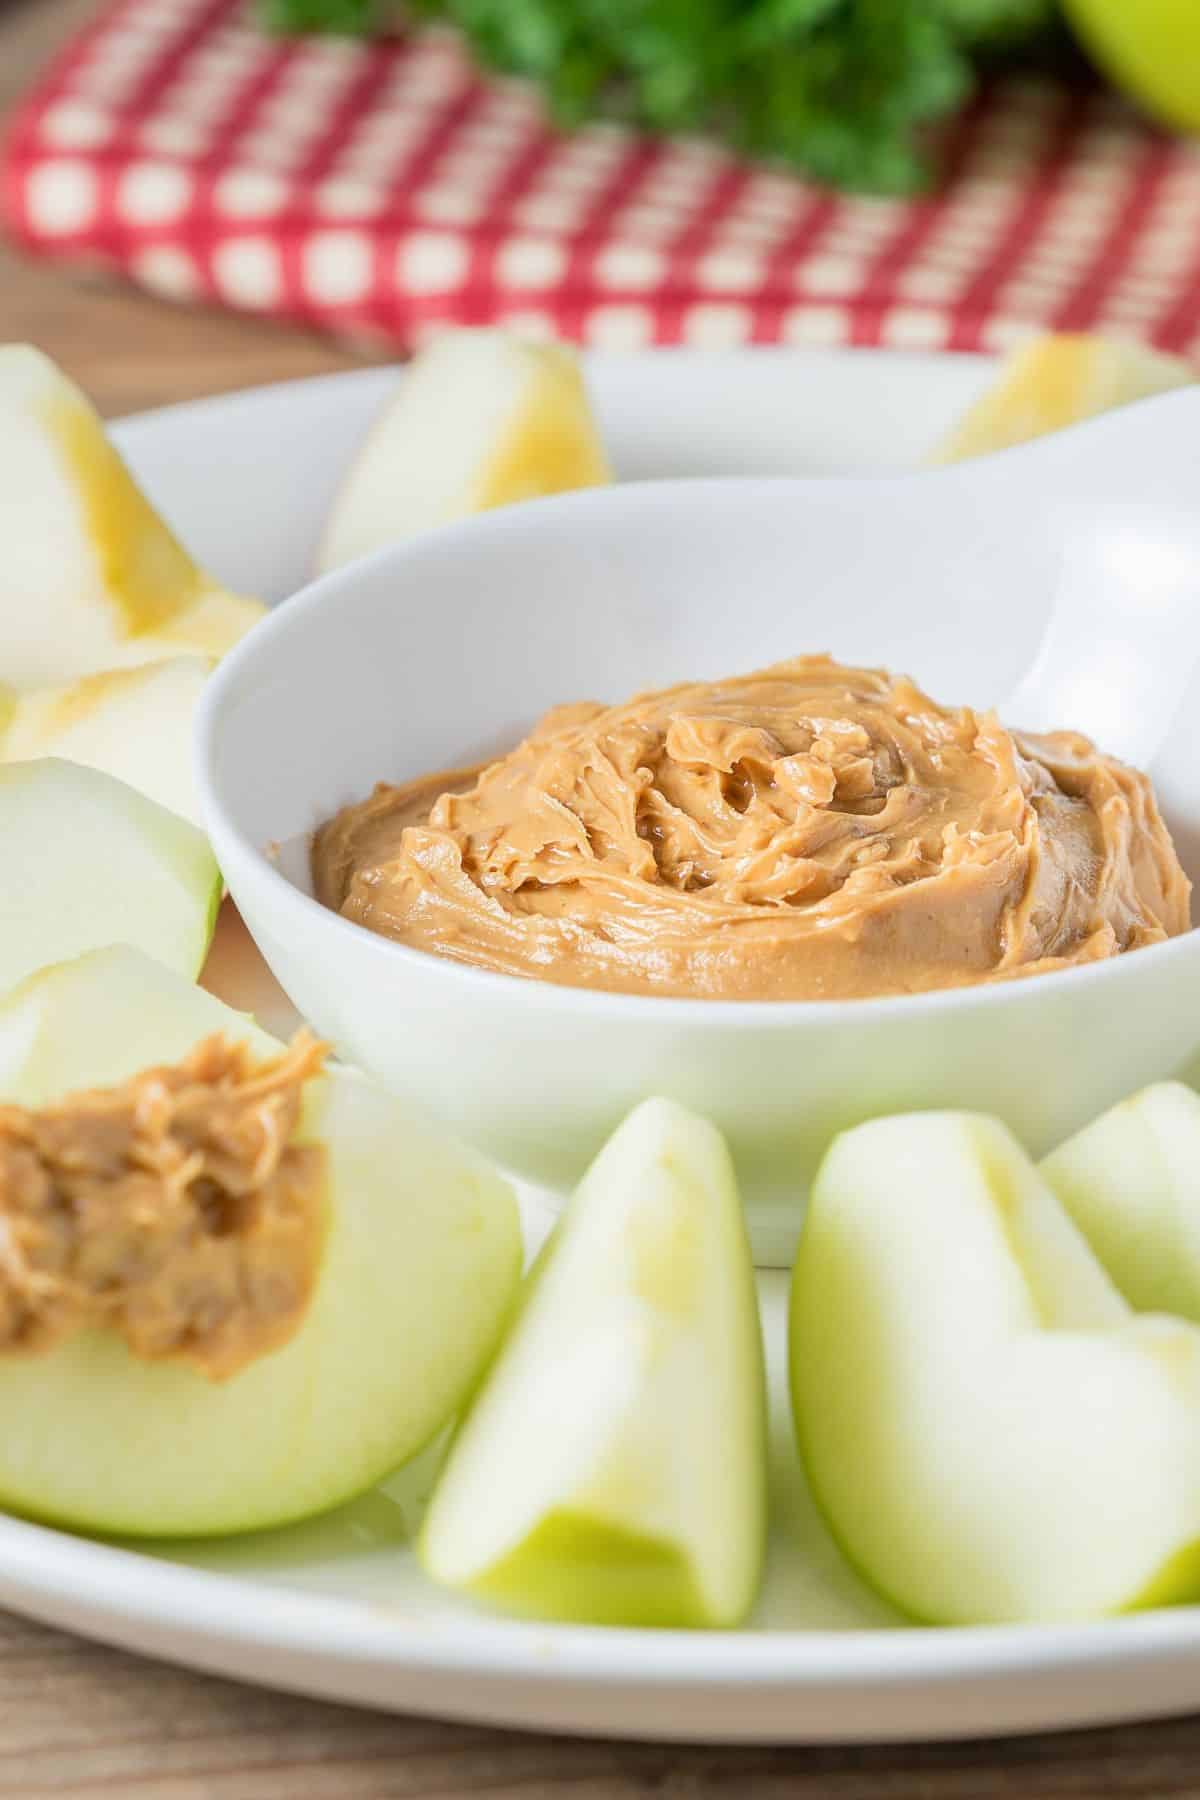
I whipped this up one afternoon as a quick snack one afternoon when I was craving something a bit sweet. And it's turned out to be one of my new favorite vegan snack!
How to Serve Peanut Butter Dip
I served this vegan peanut butter dip in so many ways, but my favorites are:
- As a dipping sauce for fresh apple slices.
- As a topping for celery sticks.
- Spread on a slice of whole wheat toast for breakfast.
This could even make a great lunch served on a slice of toast alongside a delicious and healthy green smoothie.
Variations
Any nut butter can replace the peanut butter in this dip - try cashew butter or almond butter for a creamy alternative.
This dip does not need to be measured exactly, just throw the ingredients in your blender and blend away. If you need a bit more nondairy milk to get it to blend, add some. If you need more maple syrup or another date to sweeten it, add it. Experiment! It really is hard to mess up this mixture of ingredients. They just go together and come out great.
This is also a great way to incorporate flax seed into your diet. Flax is high in Omega-3 essential fatty acids which are good fats shown to have heart healthy effects. Flax is also high in fiber. In order to absorb these nutrients, the seed must be broken apart in a blender or grinder.
More Vegan Recipes
If you love this vegan peanut butter dip, be sure to check out our other vegan snack ideas or these reader favorites:
Recipe
Easy Vegan Peanut Butter Dip
This quick and easy peanut butter dip is perfect for dipping fresh apples, veggies, or spreading on toast or crackers.
Print
Pin
Save
Servings: ¼ cup servings
Equipment
Ingredients
- ½ cup peanut butter
- ¼ cup almond milk or other nondairy milk
- ¼ cup maple syrup or 2-3 Medjool dates
- ½ banana
- 1 tablespoon ground flaxseed
- apple slices, fresh veggies, or toast for serving
Instructions
- Blend all ingredients in blender until smooth.
- Add more nondairy milk if needed and scrape down sides.
- Serve with apple slices or on toast.
Nutrition (Estimate per Serving)
Calories: 181kcalCarbohydrates: 16gProtein: 5gFat: 12gSaturated Fat: 2gPolyunsaturated Fat: 3gMonounsaturated Fat: 6gSodium: 107mgPotassium: 196mgFiber: 2gSugar: 12gVitamin A: 6IUVitamin C: 1mgCalcium: 41mgIron: 1mg
Vegan-ize any recipe!Grab our free vegan cheat sheet, packed with my favorite easy substitutions to make any recipe vegan.
Images via Canva Pro.
Vegan Granola Bars

Whip up a batch of these Vegan Granola Bars for a simple and hearty snack option. They are loaded with creamy peanut butter, quick oats, rice cereal, dried fruit, coconut, nuts, and more. Even better, these tasty bars don't contain preservatives the way storebought bars do.

This vegan bar is going to fuel your body, satisfy you, and leave you happy. Learn how easy it is to make your own granola bars!
Also, here are a few more snacks to try out. Try my oat flour banana bread, carrot cake bliss balls, or even these bran muffins.
This Vegan Granola Bars recipe is...
- Vegan
- Nutrient rich
- Dairy free
- Gluten free
- Homemade
How to Make Vegan Granola Bars

- In a saucepan, melt peanut butter, syrup, oil, and cinnamon.
- Once smooth, remove from heat and stir in remaining ingredients.
- Pour mixture into a prepared 9x9 pan and press down firmly.
- Let the bars set up, then slice and serve.
Full directions for how to make Vegan Granola Bars are in the printable recipe card at the bottom of the post.
Tips & Tricks for Vegan Granola Bars

Prep Your Pan
I like to line my pan with parchment paper. This will allow you to lift the cooled granola bars out of the pan to slice them easily. If you don't line your pan, the bars can be tricky to remove.
Press Down Bars
Use the bottom of a cup to really press the bars together in the pan. This will help the mixture to all stick together. If you don't press it well, the granola bars may fall apart.
Variations to Vegan Granola Bars

Nut Butter
Instead of using peanut butter, swap it out for your favorite nut butter. Just remember that other nut butters tend to be a lot softer than peanut butter, so maybe use a bit less of another nut butter.
Nuts
I used pecans and sunflower seeds in my granola bars. You are welcome to change out the nuts to any kind you want. Walnuts, cashews, peanuts, pumpkin seeds, etc. would all work great!
Fruit
I used dried cranberries in my bars, but dried blueberries, strawberries, or other fruit would also be tasty.
Liquid Sweetener
Agave or other liquid sweeteners could be used to replace the maple syrup in this recipe if you would prefer. They all should work the same way.
Vegan Granola Bars FAQs

How long does it take the granola bars to set up?
You will want to chill your granola bars for at least 2-4 hours before you slice them. The bars need time to cool down, as the hot peanut butter mixture will be too runny to stick together.
How should I store these granola bars?
These bars will need to be stored in an airtight container in the fridge. Since there aren't any preservatives in these bars, they will become too soft and spoil if left on the counter.
Can you freeze these granola bars?
These granola bars can be frozen. Just place them in a proper container or freezer bag. Then you can freeze them for 3-4 months. Simmply thaw the bars in the fridge the night before you plan to eat them.
Does this granola bar recipe double well?
You are more than welcome to double this recipe. Just use a 9x13 pan if you decide to double the granola bars.
More Vegan Recipes
If you love these vegan granola bars, be sure to check out these other delicious ideas:
Also worth trying: our pumpkin seed butter.
Recipe

Vegan Granola Bars
Whip up a batch of these Vegan Granola Bars for a simple and hearty snack option. Even better, these tasty bars don't contain preservatives!
Print
Pin
Save
Servings: bars
Ingredients
- 1 cup creamy peanut butter
- ½ cup maple syrup
- ¼ cup coconut oil
- 1 teaspoon cinnamon
- 2 cups quick oats
- 1 cup puffed rice cereal
- ½ cup dried cranberries
- ½ cup pecans chopped
- ¼ cup flaked coconut
- ¼ cup sunflower seeds
Instructions
- In a large saucepan, melt peanut butter, maple syrup, coconut oil, and cinnamon over low heat.

- Stir until smooth.

- Remove mixture from heat and stir in the oats, rice cereal, cranberries, pecans, flaked coconut, and sunflower seeds.

- Stir until everything is coated in the peanut butter mixture.

- Pour the mixture into a parchment-lined 9x9 square dish and press down firmly.

- Allow bars to cool completely in the fridge before slicing into your bars.

- Store your granola bars in an airtight container in the fridge.
Notes
- It's important to pack the bars very tightly. You can use a measuring cup or the bottom of a glass to get the bars very condensed.
- Store granola bars in the fridge, otherwise they will not stay in bar form.
- These bars can easily be customized to suit your preferences; as long as there is a total of 1 ½ cups of mix ins, you don't have to use the exact ones mentioned in the recipe.
Nutrition (Estimate per Serving)
Calories: 495kcalCarbohydrates: 45gProtein: 12gFat: 33gSaturated Fat: 11gPolyunsaturated Fat: 7gMonounsaturated Fat: 12gSodium: 143mgPotassium: 373mgFiber: 5gSugar: 22gVitamin A: 6IUVitamin C: 1mgCalcium: 59mgIron: 2mg
Vegan-ize any recipe!Grab our free vegan cheat sheet, packed with my favorite easy substitutions to make any recipe vegan.
Vegan Scalloped Potatoes
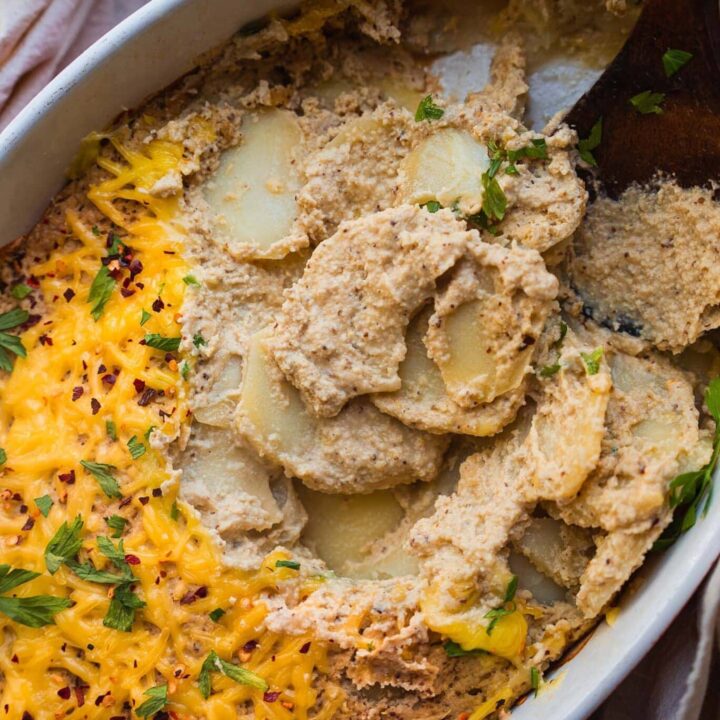
These vegan scalloped potatoes make an excellent side dish for Christmas, or any special occasion! Although dairy-free and made with just simple ingredients, they are super creamy, flavourful and easy - no one will believe that this crowd-pleasing recipe is fully plant based.

Ah, side dishes. They can have a bit of a negative reputation. When you're not sure what to cook, you may resort to throwing together a boring salad, or just bringing out some bread. Which can be okay for a last-minute option, but certainly isn't the most exciting.
But, fear not. Vegan side dishes such as these scalloped potatoes can be so good, they almost overshadow the main. I mean, I can't imagine a Christmas without at least one potato-based dish on the table. Sure, normal roast potatoes are great. But even better? Yep, you guessed it. Vegan scalloped potatoes come to the rescue. I would say that they are even good enough to eat as a main course!

Easy vegan scalloped potatoes
These vegan scalloped potatoes are a dream come true for anyone! They make an exceptional crowd-pleasing side dish, and even the strictest critic won't be able to tell that they're entirely dairy-free. Bring them along to any occasion, and no one will be left disappointed.

The sauce is exceptionally simple, using cashews as the main ingredient. Cashews make an incredible base for creamy sauces because when blended, the resulting texture is smooth and silky. Plus, they have a neutral flavor, and therefore take on the flavor profile of whatever other ingredients you add to them.

The waxy, crumbly potatoes pair so well with the dairy-free 'cheese' sauce. There's a hint of tanginess from the lemon, with the nutritional yeast adding an even stronger cheesy flavor. And of course, the addition of garlic really takes this amazing side dish to the next level!
How to make vegan scalloped potatoes
Making dairy-free scalloped potatoes is exceptionally easy. The hardest part is probably waiting for them while they're in the oven.


Start by preheating the oven to 350 degrees F, or 180 degrees C. Prepare the potatoes, by first of all peeling them, and then slicing them into thin circles.
Next, make the sauce by adding the cashews, plant based milk, nutritional yeast, cumin, onion powder, dry coriander, salt, garlic, mustard, sriracha, and lemon juice to a blender or food processor. Blend until smooth and until no texture remains.


Now, pour some olive oil to the bottom of a large oval baking dish. Add the potato circles to the bottom of the baking dish in a single layer. Pour enough sauce on top of them to cover the potatoes entirely when spread out. Repeat until you have used up all of the potatoes.


Cover the baking dish with foil, and bake for 50 minutes. After this time, take out the potatoes, add grated vegan cheese on top, then place back in the oven for 10 minutes more.
Allow to cool for a few minutes, then serve and enjoy!
How to store scalloped potatoes
You can make these scalloped potatoes ahead of time. Bake with the aluminium foil, then place in the fridge, covered tightly. When you are ready to serve, place back in the oven, uncovered, for around 30 minutes. I wouldn't recommend storing them for longer than around 3 days.

You can also freeze any leftovers for up to a month. Simply transfer the scalloped potatoes to freezer-friendly ziplock bags. Before reheating, allow to thaw fully in the fridge overnight. Then, place in a baking dish, cover with foil, and bake for 45 minutes at 350 degrees F/180 degrees C.
Recipe tips and substitutions

- Slice the potatoes thinly and evenly. Using a mandolin will help you achieve even slices.
- Use a waxy potato variety for the best texture and flavour.
- Make sure to soak the cashews for at least an hour for the best texture. If not using a high speed blender, I would recommend soaking them for at least 4.
- You can add other vegetables of your choice to scalloped potatoes. For instance, steamed broccoli or cauliflower both work really well.
Other amazing vegan side dishes
- You can't go wrong with dairy-free cauliflower cheese!
- Olive oil skillet bread is always a crowd pleaser.
- Crispy lemon potatoes are a must-try.
- Garlic and herb vegan cheese is ideal for any occasion!

Let me know in the comments - what's your favourite side dish? If you give these vegan scalloped potatoes a go, be sure to tag me on Instagram (@ohmyveggies) so I can see your creations, and leave your feedback in the comments below together with a star rating.

Recipe

Vegan Scalloped Potatoes
These vegan scalloped potatoes make an excellent side dish for Christmas, or any special occasion! Although dairy-free and made with just simple ingredients, they are super creamy, flavourful and easy - no one will believe that this crowd-pleasing recipe is fully plant based.
Print
Pin
Save
Servings:
Equipment
- Conventional oven
- Aluminium foil
Ingredients
- 2 lbs potatoes (around 4 large potatoes)
- 2 cups cashews soaked
- 2 cups plant based milk
- ½ cup nutritional yeast
- 1 teaspoon cumin
- 1 teaspoon onion powder
- 1 teaspoon dried coriander
- 1 teaspoon salt
- 4 cloves garlic
- 1 tablespoon sriracha
- 1 lemon juice of
- 1 tablespoon olive oil
- 1 cup vegan cheese grated
Instructions
- Preheat the oven to 350 degrees F, or 180 degrees C.
- Prepare the potatoes, by first of all peeling them, and then slicing them into thin circles.2 lbs potatoes
- Make the sauce by adding the cashews, plant based milk, nutritional yeast, cumin, onion powder, dry coriander, salt, garlic, mustard, sriracha, and lemon juice to a blender or food processor. Blend until smooth and until no texture remains.2 cups cashews, 2 cups plant based milk, ½ cup nutritional yeast, 1 tsp cumin, 1 tsp onion powder, 1 tsp dried coriander, 1 tsp salt, 4 cloves garlic, 1 tbsp sriracha, 1 lemon
- Pour olive oil to the bottom of a large oval baking dish. Add the potato circles to the bottom of the baking dish in a single layer. Pour enough sauce on top of them to cover the potatoes entirely when spread out. Repeat until you have used up all of the potatoes.1 tbsp olive oil
- Cover the baking dish with foil, and bake for 50 minutes. After this time, take out the potatoes, add grated vegan cheese on top, then place back in the oven for 10 minutes more.1 cup vegan cheese
- Allow to cool for a few minutes, then serve and enjoy!
Video
Nutrition (Estimate per Serving)
Calories: 345kcalCarbohydrates: 35gProtein: 11gFat: 20gSaturated Fat: 4gPolyunsaturated Fat: 3gMonounsaturated Fat: 9gSodium: 580mgPotassium: 818mgFiber: 5gSugar: 4gVitamin A: 18IUVitamin C: 19mgCalcium: 118mgIron: 4mg
Vegan-ize any recipe!Grab our free vegan cheat sheet, packed with my favorite easy substitutions to make any recipe vegan.
Vegan Charcuterie Board
This beautiful and delicious Vegan Charcuterie Board is perfect for holiday celebrations, casual entertaining, or just a fun weeknight in. This vegan snack board is loaded with fresh veggies, fruits, nuts, and plenty of yummy dips.
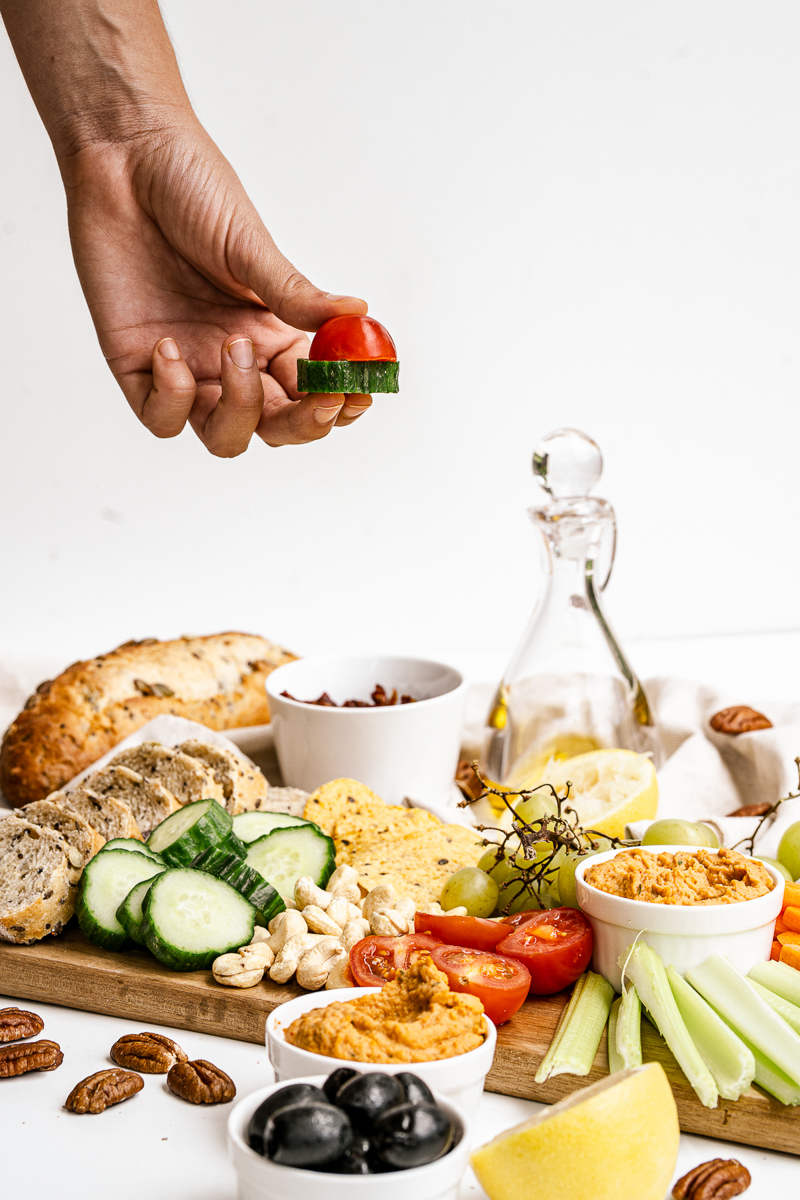
This vegan snack board is loaded with healthy and satisfying snacking options. Crunchy nuts, creamy hummus, fresh veggies, and more.
Want to get a bit fancier than just basic hummus? Try adding this Vegan Jackfruit Crab Dip or this Garlic Cashew Cheese spread to your board.
Or simply spice up your hummus game (literally) with this Grilled Red Pepper Hummus.
Why You Will Love This Vegan Charcuterie Board...
- Simple assembly.
- Homemade hummus,
- Crisp veggies and crunchy nuts!
- Nice variety of snacks,
- Vegan friendly.
- Vegetarian friendly.
- Stunning presentation,
And while you're here, don't forget to grab a copy of my free vegan cheat sheet. It's packed with all my favorite substitutions to vegan-ize any recipe!
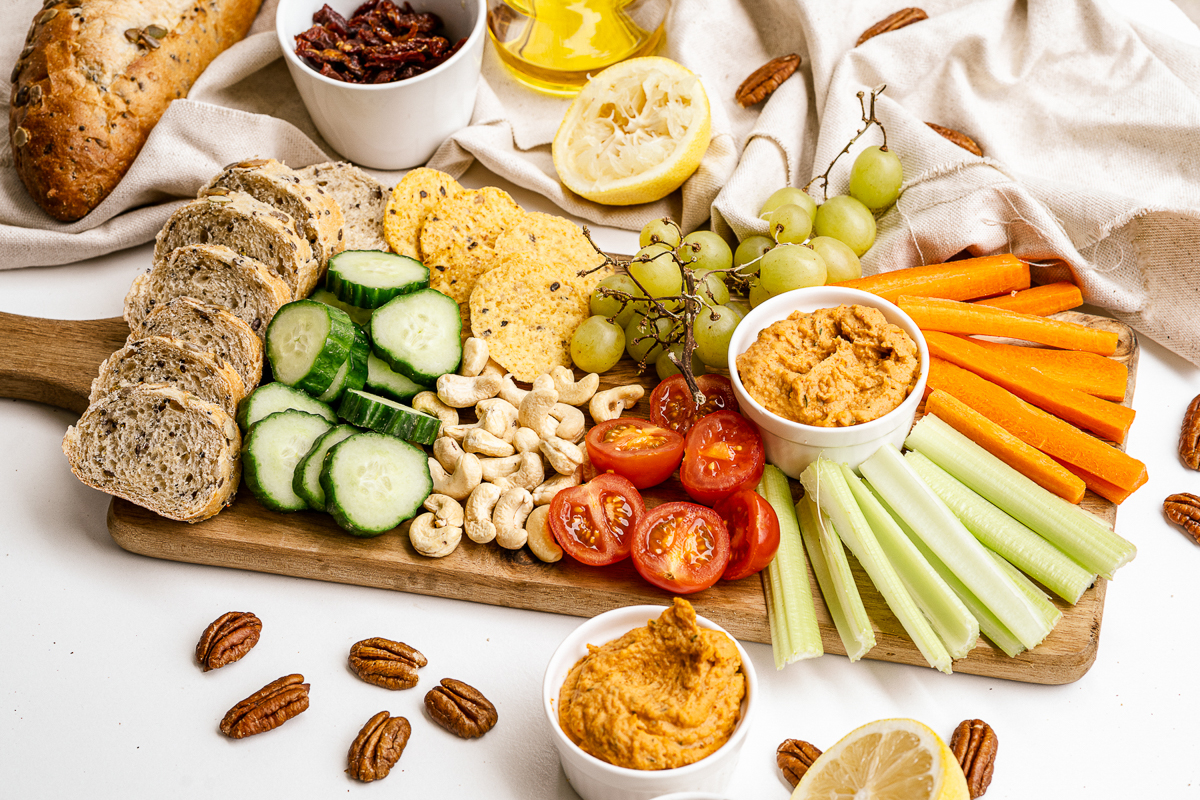
How to Make Vegan Charcuterie Board
- Start by adding all the ingredients for your hummus in the blender or food processor. Mix until creamy in texture.
- Pour the hummus into serving bowls, and place on a charcuterie board.
- Assemble all your snacks around it, and get to snacking!
Tips and Tricks for the Perfect Vegan Charcuterie Board
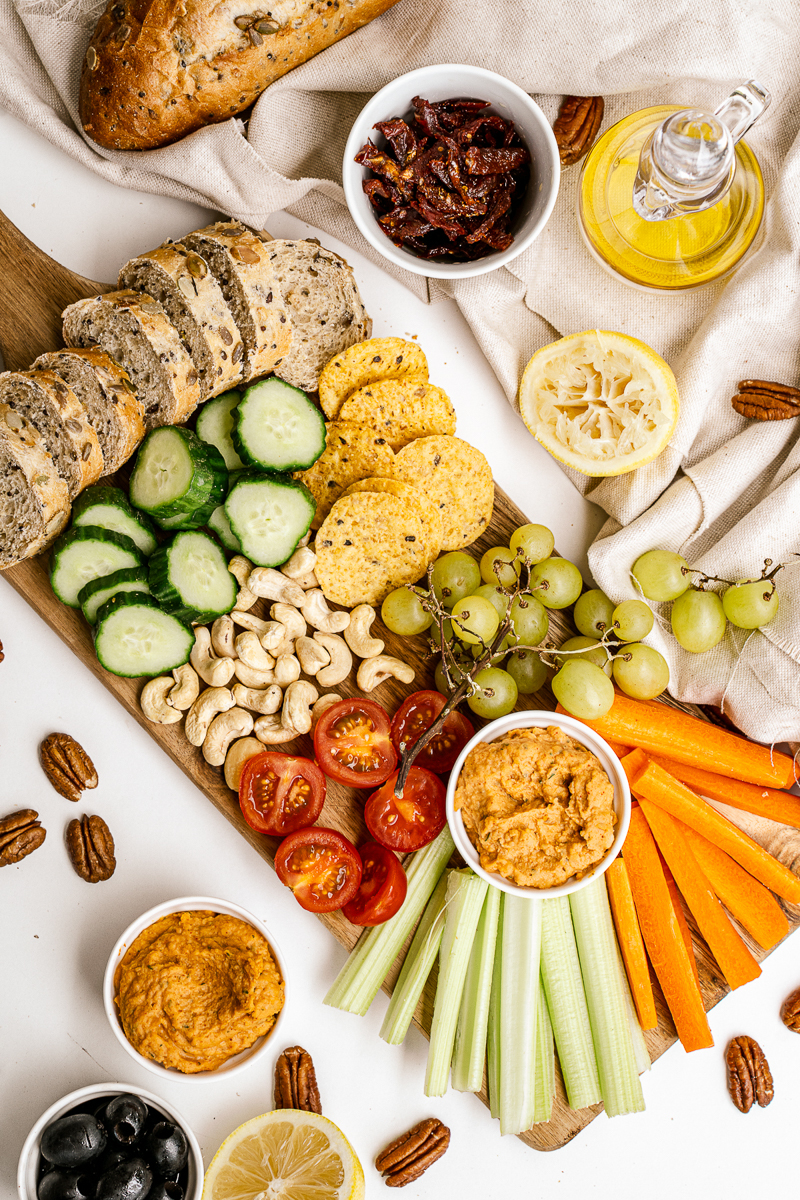
Choosing A Board
Making a charcuterie doesn't mean you have to go out and buy a super expensive board. Just reach for any wooden cutting board or tray that is large enough to hold all you plan to serve.
Even a cookie sheet can be a base for your board in a pinch! Make sure to pick a tray that has enough room for all your snacks to fit, but doesn't leave a lot of empty space. The board needs to look full for the best presentation.
Prepare in Advance
You can prepare your board in advance if you prefer, which is great for entertaining. Just assemble your snack board as you would like, cover it tightly with plastic wrap, and store in the fridge until you are ready to serve.
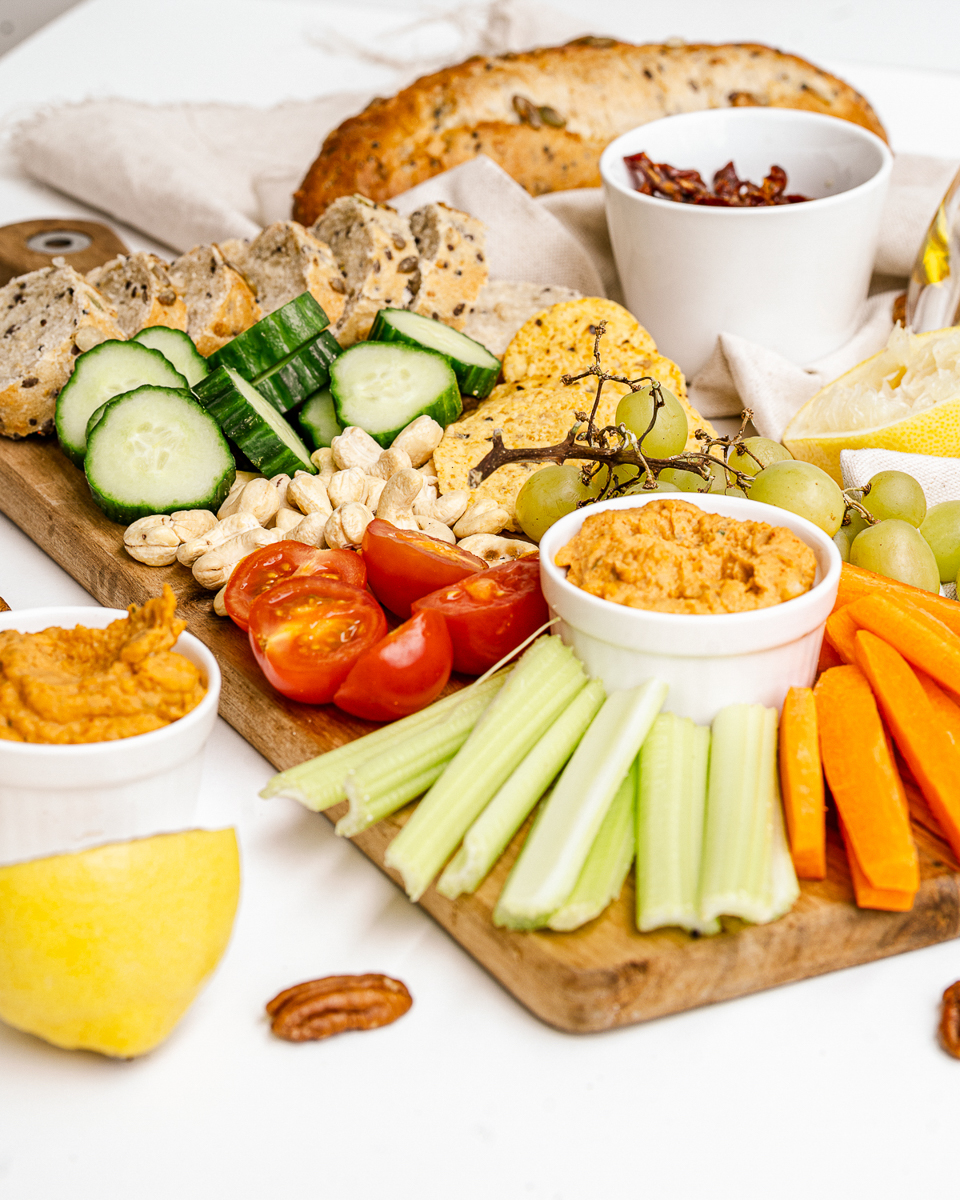
Add More Dips
I served my vegan charcuterie board with homemade hummus - the recipe is in the recipe card below!
Consider placing several small bowls of hummus around the snack board, rather than one large bowl. The placement can help create balance!
Plus, it's easier for everyone grab a bite when there are several dip bowls strategically placed.
However, serving a few different vegan dips will help balance out your board flavor-wise as well as visually. If you want to add more dips, here are a few of my favorite options:
- Vegan Blue Cheese Dressing, such as this one from Daiya
- Vegan Artichoke Dip (This 5-minute version is a great choice!)
- Vegan Jackfruit "Crab" Dip
- Baba Ghanouj (an eggplant and tahini dip)
- Sun Dried Tomato Dip
- Avocado Edamame Dip
- Olive Oil & Balsamic Vinegar - perfect for dipping bread.
More Snack Board Ingredients
You can change up this grazing board to fit your own tastes and use whatever you have on hand. Some delicious choices for your vegan charcuterie board are:
- Carrot Sticks
- Cucumbers
- Tomatoes
- Artichoke Hearts
- Sun Dried Tomatoes
- Olives - all different varieties!
- Nuts - Cashews and Pecans are a great coice.
- Pita Chips
- Tortilla Chips
- Sliced Whole Grain Bread
- Grapes
- Berries - Strawberries, Raspberries, Blueberries
- Vegan Mozzarella Sticks - a crowd-pleasing hot appetizer that disappears fast.
Include Something Sweet!
I tend to lean towards savory ingredients when it comes to snacking. But it can be nice to include a little something sweet on your board as well.
Grapes and fresh berries are a great option, and they pair well with many of the savory ingredients too.
Or you could get really fancy and serve a chocolate hummus paired with strawberries and melon on one end of the tray. Yum!
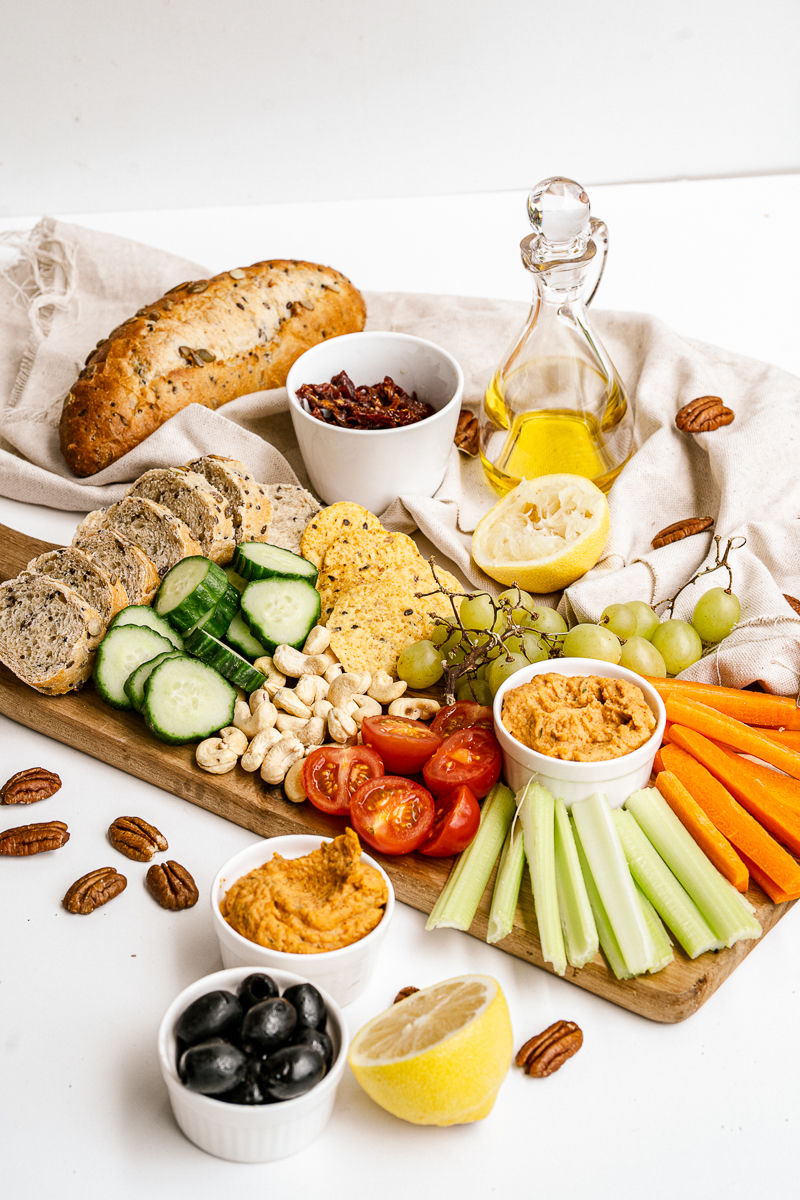
Vegan Charcuterie FAQs
How do you say "charcuterie board?"
Not quite sure how to say "charcuterie?" Here is how to pronounce it: "shahr-ku-tuh-ree." Now you know. 😉
How do you build a charcuterie board?
Start by placing dip on both ends of the board. Then begin to add vegetables, nuts, and such on the board. I began by laying items around the bowls, and then worked my way out to the edge of the board, filling in all the empty spaces.
Are a grazing board and a charcuterie the same thing?
Essentially, yes, the two names mean the same thing. Traditionally "charcuterie" includes meat, but today most people use the term "charcuterie board" to refer to any assortment of snacks laid out on a tray.
You will find that - no matter the name - an arrangement of your favorite tasty snacks on a board is a surefire crowd pleaser!
What are items to put on a vegan charcuterie tray?
Vegetables, veggie "meat," vegan cheese, dips, crackers, bread, etc. You might even enjoy adding in some nuts, fresh fruit, and more.
More Recipes to Try
I love serving up one of these snack boards as the start to a delicious Sunday Brunch. And if brunching sounds amazing to you - go check out my Vegan Brunch Book!
If you love this vegan charcuterie board, don't miss these other delicious vegan ideas:
Also worth trying: our olive and sun-dried tomato tapenade.
- Vegan Thanksgiving and Vegan Christmas Cookbooks (new!)
- Easy & Inexpensive Vegan Party Snacks
- 25 Best Vegan Dip Recipes
- The Best Vegan Tailgate Foods
Recipe
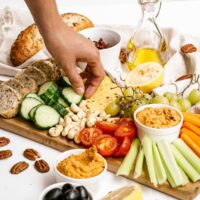
Vegan Charcuterie Board
This beautiful and delicious Vegan Charcuterie Board is perfect for holiday celebrations, casual entertaining, or just a fun weeknight in. This vegan snack board is loaded with fresh veggies, fruits, nuts, and plenty of yummy dips.
Print
Pin
Save
Servings: servings
Ingredients
Board
- 2 carrots peeled and sliced into matchsticks
- 1 cucumber sliced
- 3 celery stalks trimmed and cut in half lengthwise
- ½ cup pecans
- 1 cup grapes
- 1 cup cherry tomatoes halved
- ½ cup cashews
- ½ cup sundried tomatoes
- 1 cup corn chips
- ½ cup olives
- baguette sliced
Homemade Hummus
- 15 oz chickpeas canned, drained, and rinsed
- 1 garlic clove
- ¼ cup fresh parsley
- ½ teaspoon salt
- 1 tablespoon olive oil plus extra for drizzling
- 1 tablespoon tahini paste
- ½ teaspoon smoked paprika plus extra for garnish
- juice of ½ lemon
Instructions
- Add all hummus ingredients to the bowl of a food processor. Blend on high speed until it forms a smooth paste.
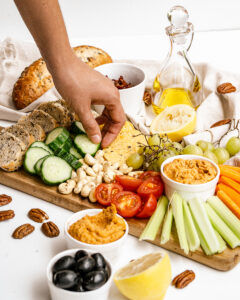
- Garnish hummus with additional smoked paprika and a drizzle of olive oil.
- Arrange hummus and all remaining ingredients onto a large serving platter to form your charcuterie board.
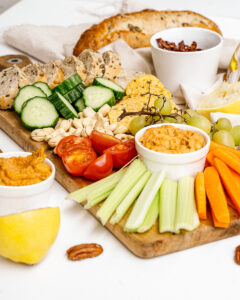
Nutrition (Estimate per Serving)
Calories: 254kcalCarbohydrates: 29gProtein: 8gFat: 14gSaturated Fat: 2gTrans Fat: 1gSodium: 300mgPotassium: 553mgFiber: 6gSugar: 9gVitamin A: 2413IUVitamin C: 11mgCalcium: 68mgIron: 3mg
Vegan-ize any recipe!Grab our free vegan cheat sheet, packed with my favorite easy substitutions to make any recipe vegan.
Protein Chocolate Smoothie Bowl & Cookie Dough Bites
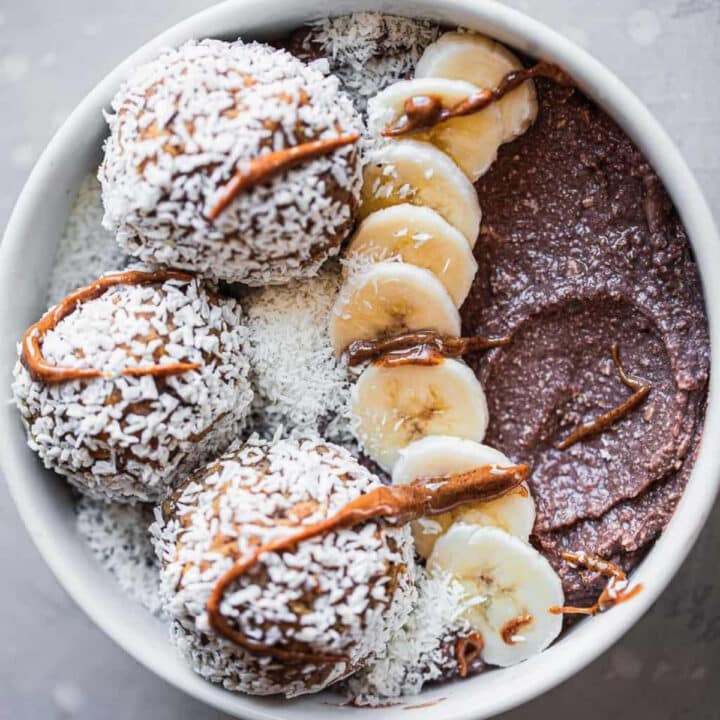
This protein-packed vegan chocolate smoothie bowl is the definition of dessert for breakfast! Serve it with the chewy secret ingredient cookie dough bites to start your morning in a healthy, yet delicious way. Gluten-free, oil-free, dairy-free.
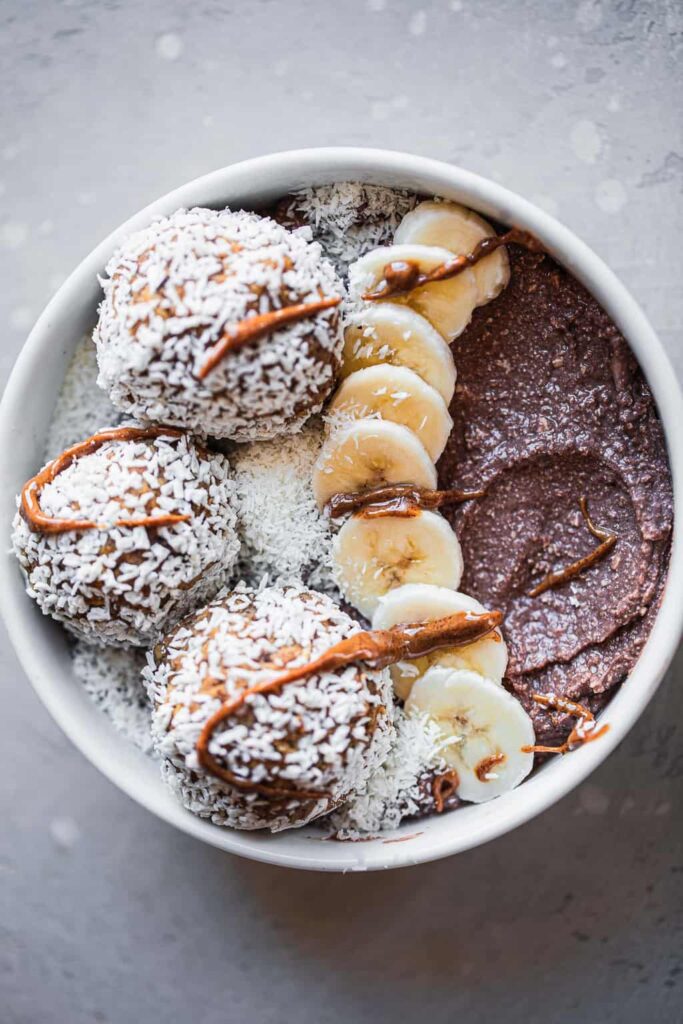
You can quite often find me in the kitchen experimenting with new smoothie bowl recipes. From banana ice cream to frozen cauliflower and colorful superfoods, it's easy to throw together something new every day.
And as long as you don't go overboard with any of the ingredients (I've had a few spinach-y disasters in the past), it's quite hard to go wrong in terms of taste. No wonder everyone on Instagram seems to love them!
Simply throw a few ingredients into a blender, and you've got yourself a hydrating, nourishing breakfast.
These vegan smoothie bowls are:
- Packed full of vegan protein. While I don't struggle with protein on my vegan diet, I definitely like to look for interesting ways to boost my intake!
- Creamy and super smooth.
- Ready in ten minutes. Definitely goes to show that healthy eating doesn't have to be boring or time consuming.
- Exactly like eating dessert for breakfast.
- Perfectly chocolatey.
- Gluten-free.
- Oil-free.
- Refined sugar-free.
Vegan Chocolate Smoothie Bowl
However, the one thing I struggle with is that fruit and veg-only smoothies don't keep me full for very long. No matter the portion size, my stomach starts rumbling again within half an hour.
My go-to solution that doesn't take the option of enjoying a bowl of fruity goodness of the table is 'buffing up' my smoothies with healthy fats or a source of protein (a few tablespoons of oats works like magic too).
I love adding avocado to green smoothies, cashews to banana ice cream and nut butters to pretty much anything. Avocado also makes an incredible brownie - try our fudgy avocado brownies for proof.
Protein powders are great for extra flavor and helping build muscle and recover from working out at the same time.
Tofu in smoothie bowls?
The protein base of this chocolate smoothie bowl is tofu. Before you run away, hear me out. Of course, tofu is a go-to plant based protein source for many, but I don't blame you if you don't automatically think to put it in a smoothie.
I saw a couple other people do it, which made me skeptical at first. I feared a weird texture and aftertaste. But now that I've given it a go myself, I'm definitely not going back.
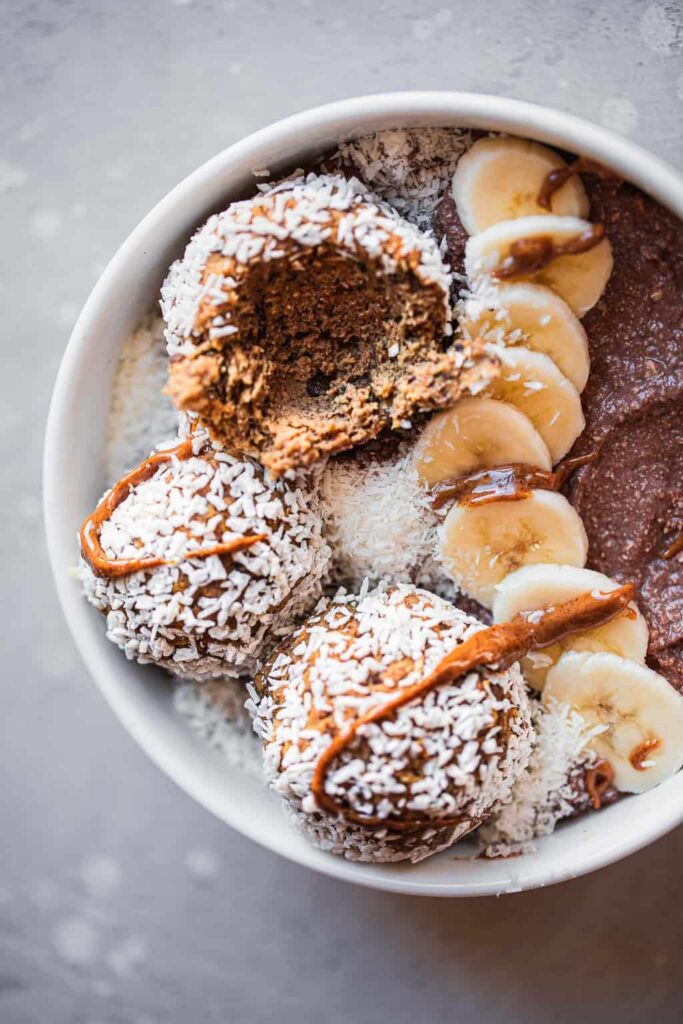
You might ask which tofu variety you should use. The recipe works really well with silken tofu, which makes the texture smooth and silky. I like using firm tofu too for a thicker texture that's a little bit like ice cream.
The trick is to use a high speed blender or a good quality food processor, to make sure you're not surprised with any tofu chunks.
No-bake Cookie Dough Balls
Chickpeas are simply amazing. Hummus is an obvious favourite recipe. Cookie dough is not so obvious - but with a few extra ingredients, you can turn beans into dense bites of deliciousness.
Of course, you can make and eat them by themselves, storing them in the fridge for an energizing snack (In fact, I'd recommend leaving them in the fridge for at least half an hour for optimal results).
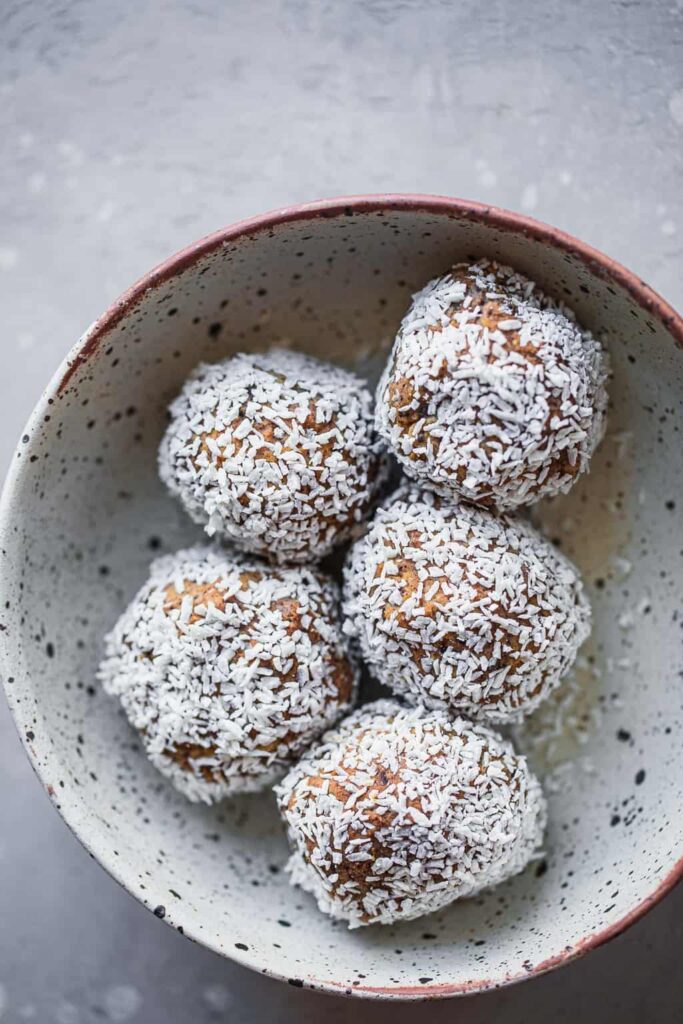
But when eaten together with the protein smoothie bowl, these cookie dough balls take an already amazing breakfast to the next level.
I added protein powder for a hint of extra flavor. It's optional, as the chickpeas contain a lot of protein in themselves.
Plus, you can adjust the amount of maple syrup used depending on how sweet you want them to be. If you don't use protein powder, I'd recommend adding a few tablespoons extra syrup to bring in more sweetness.
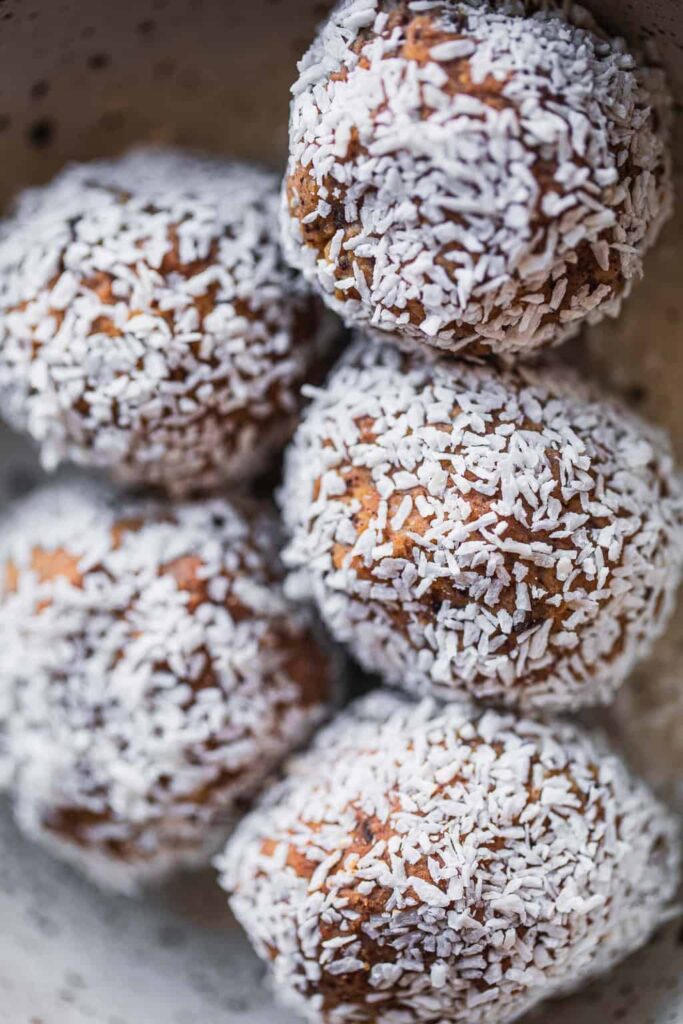
Ingredients and Substitutions
For the cookie dough bites:
- Chickpeas.
- Protein powder. Use either a vanilla, a chocolate, or a neutrally flavored one. (I like this vanilla one.)
- Dark chocolate.
- Plant based milk of your choice. (I prefer almond milk.)
- Maple syrup.
- Almond butter, or any nut or seed butter of your choice.
- Shredded coconut.
For the smoothie bowl
- Banana.
- Tofu, either silken or firm.
- Cacao powder.
- Plant based milk of your choice.
How to Make the Vegan Smoothie Bowl
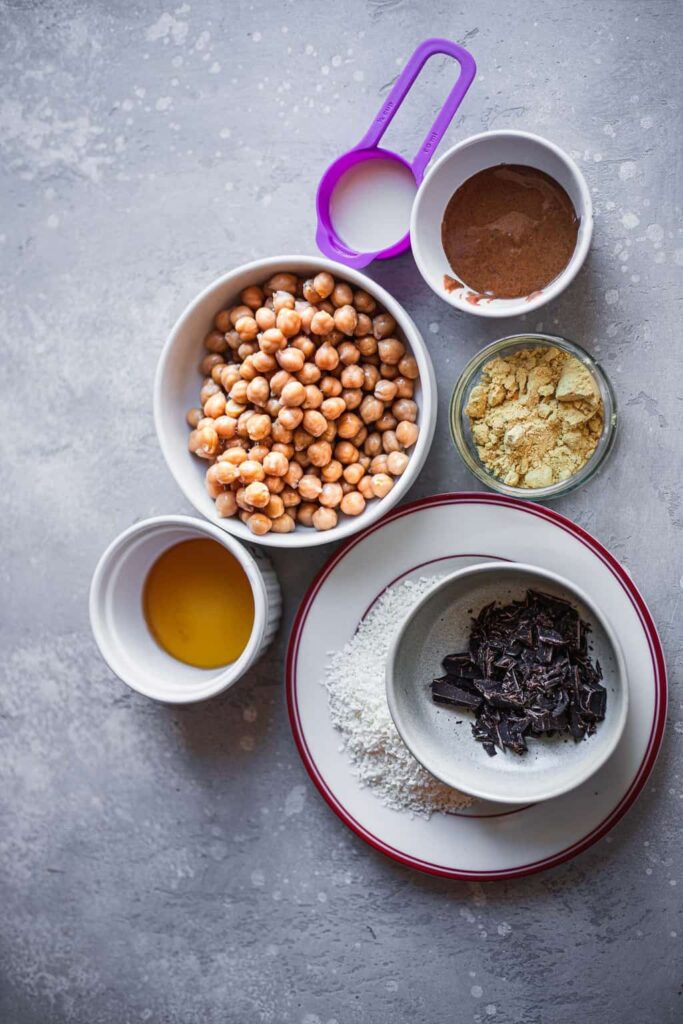
To make the cookie dough bites, add the chickpeas, protein powder, dark chocolate, plant based milk, maple syrup, and almond butter to a high speed blender and blend until smooth.
Using damp hands, make evenly-sized balls from the dough and roll each one in shredded coconut. If you want to, leave in the fridge for 30 minutes to chill to firm them up a little bit more.
To make the smoothie bowl, add the banana, tofu, cacao powder and plant based milk to a blender or food processor and blend until smooth.
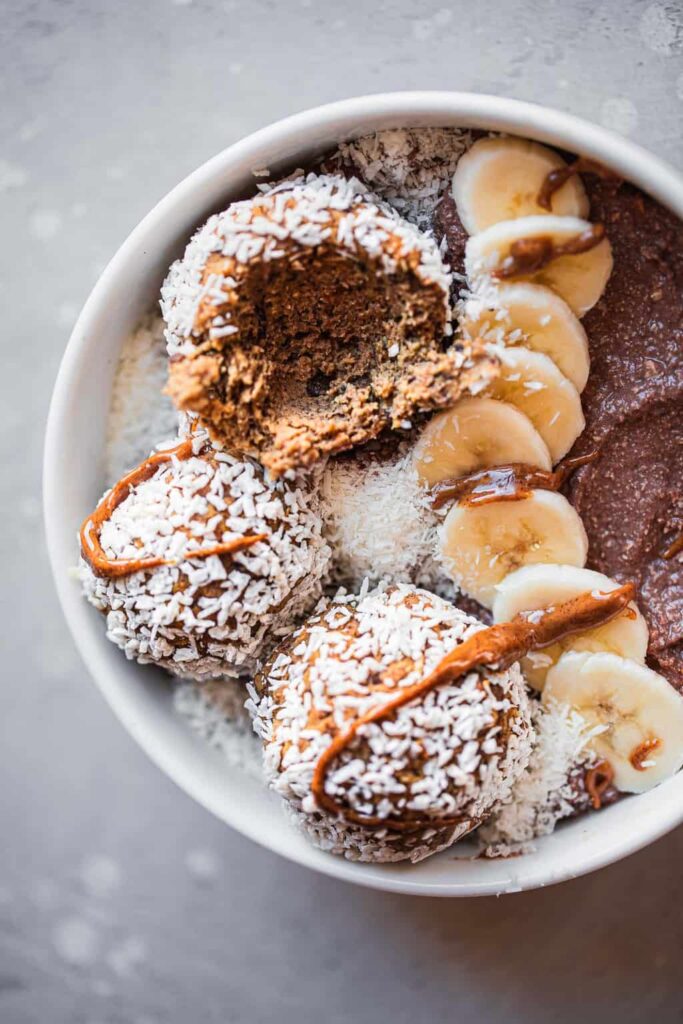
Eat this straight away, ideally as breakfast or a post-workout meal - although, pudding for dinner is never out of the question!
You can even do your preparation in the evening, store it in the fridge, and jump out of bed the next morning, knowing you have a chocolate treat waiting for you.
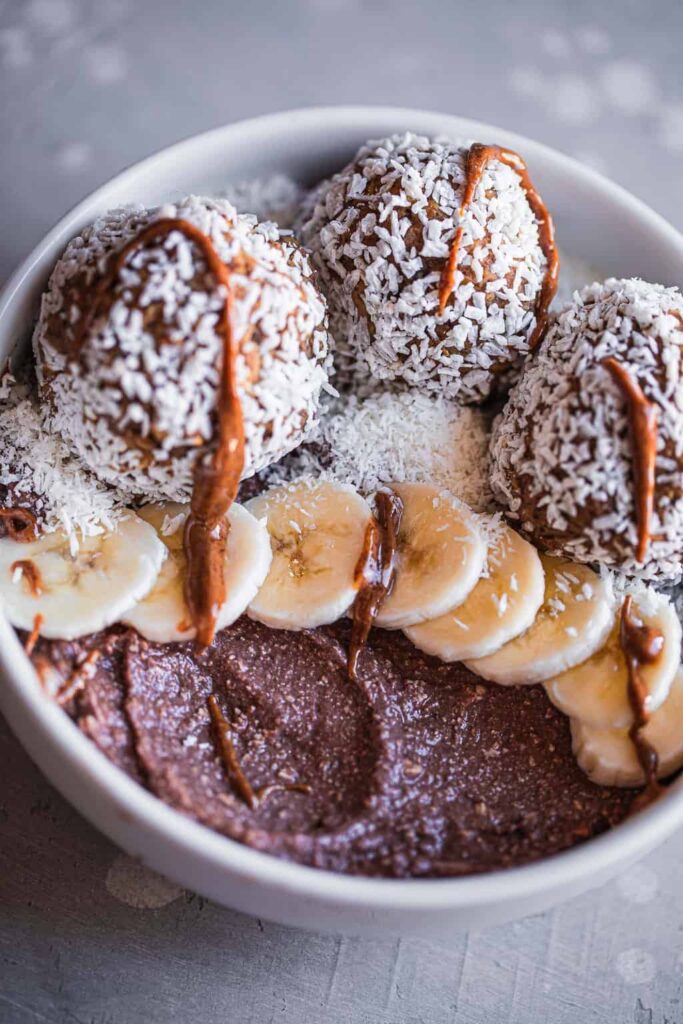
More Recipes
If you love this vegan chocolate smoothie bowl and cookie dough bites, be sure to check out these other delicious recipes:
Also worth trying: our chocolate raspberry banana smoothie.
Also try: our Vegan Chocolate Avocado Cookies With Double Chocolate Chunks.
- Chocolate Mint Green Smoothie
- Green Smoothie Bowl
- Chocolate Cherry Protein Shake
- Vegan Chocolate Desserts
Recipe
Vegan Protein Chocolate Smoothie Bowl & Cookie Dough Bites
This protein-packed vegan chocolate smoothie bowl is the definition of dessert for breakfast! Serve it with the decadent cookie dough bites to start your morning in a healthy, yet delicious way. Gluten-free, oil-free, and dairy-free.
Print
Pin
Save
Servings: servings
Equipment
- Blender
Ingredients
For the smoothie bowl
- 1 large banana
- 7 oz silken tofu
- 1 tablespoon cacao powder
- 2 tablespoon plant based milk
For the cookie dough balls
- 1 can chickpeas drained and rinsed (about 240g or 1.5 cups)
- ½ scoop vegan protein powder optional
- 1 oz dark chocolate chopped
- 3 tablespoon plant based milk
- 2 tablespoon maple syrup
- 2 tablespoon almond butter
- ⅓ cup desiccated coconut
Instructions
TO MAKE THE SMOOTHIE BOWL
- Add the banana, tofu, cacao powder and plant based milk to a blender or food processor and blend until smooth.
TO MAKE THE COOKIE DOUGH BITES
- Add the chickpeas, protein powder, dark chocolate, plant based milk, maple syrup, and almond butter to a high speed blender and blend until smooth. Using damp hands, make evenly-sized balls from the dough and roll each one in shredded coconut. If you want to, leave in the fridge for 30 minutes to chill to firm them up a little bit more.
Nutrition (Estimate per Serving)
Calories: 450kcalCarbohydrates: 44gProtein: 12gFat: 28gSaturated Fat: 13gTrans Fat: 1gCholesterol: 1mgSodium: 68mgPotassium: 772mgFiber: 8gSugar: 26gVitamin A: 44IUVitamin C: 5mgCalcium: 174mgIron: 4mg
Vegan-ize any recipe!Grab our free vegan cheat sheet, packed with my favorite easy substitutions to make any recipe vegan.
Vegan Jackfruit Crab Dip
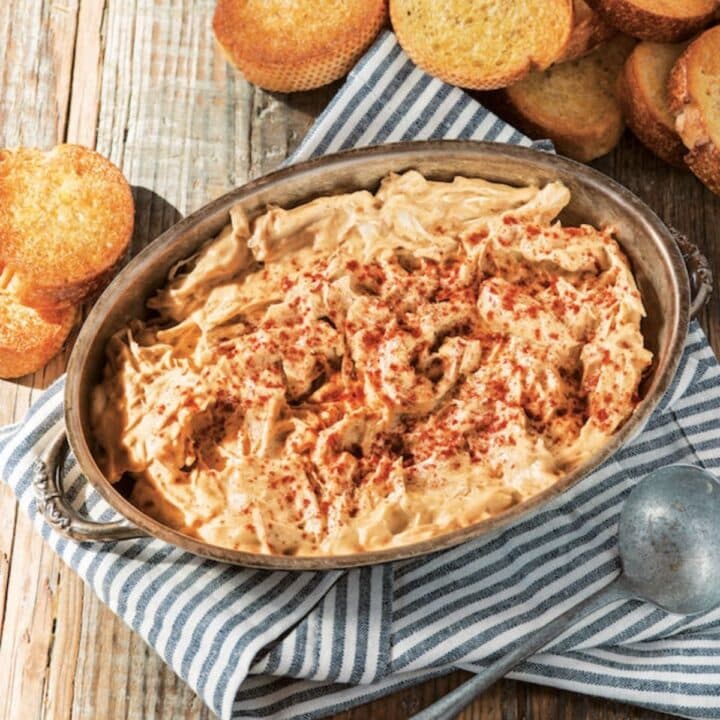
This vegan crab dip, made with jackfruit, is so creamy and mild in flavor, perfect for spreading on crackers or for dipping with your favorite veggies.
Our vegan version of traditional crab dip is every bit as good as the conventional recipe. Shredded young jackfruit is surprisingly similar in texture to crab, and the flavors of the Dijon, Old Bay seasoning and the other spices are spot on.
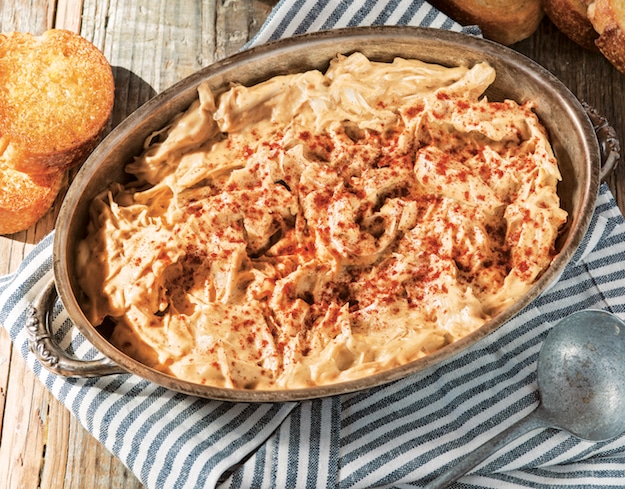
Recipe and photos from Great Vegan BBQ Without a Grill by Linda and Alex Meyer, the mother-daughter team behind Veganosity. © 2018, Page Street Publishing, reprinted by permission.
In case you're not familiar with Old Bay seasoning, let us acquaint you. Old Bay is a fragrant mix of spices, such as celery salt, mace, cloves, ginger, cardamom, and more.
It's what gives most crab cakes their flavor, and it's what brings this vegan crab dip to life. (You can grab yourself some right here!)
To get the texture and mouth feel of crab without the meat, we used shredded jackfruit, and the creaminess of mayonnaise comes from cashews.
It's the ultimate party food. Bring this, and your appetite, to your next get together. You and your friends are going to love it! Serve with crackers, toasted sliced bread or corn chips.
And if you enjoy vegan-izing your favorite recipes, be sure to check out our free vegan substitution cheat sheet. It's packed with all my favorite plant based substitutions to make vegan cooking easy!
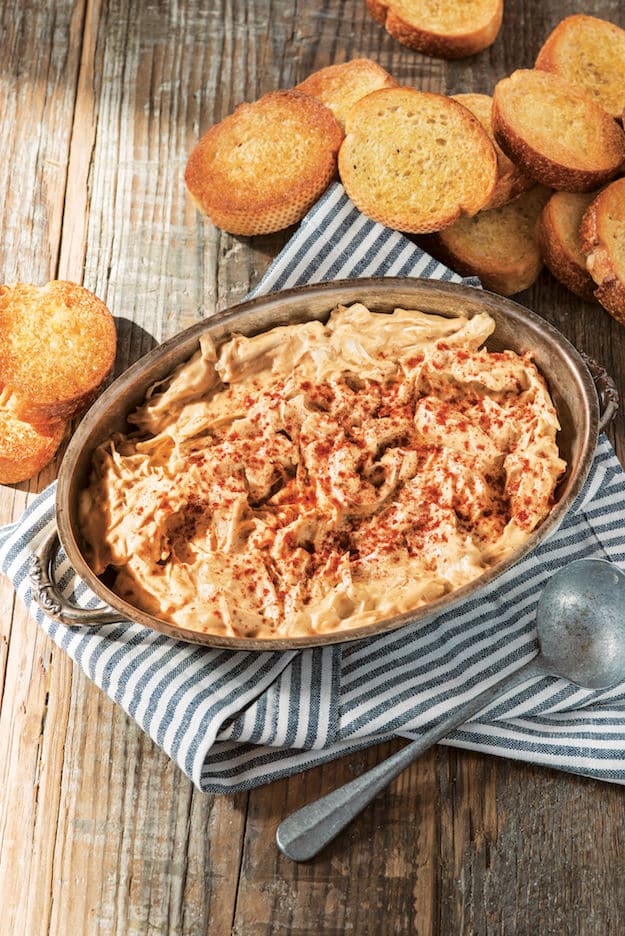
If you love this recipe, be sure to check out these other easy vegan appetizers:
Recipe

Vegan Crab Dip - Made with Jackfruit!
This vegan crab dip, made with jackfruit, is so creamy and delicious. It's perfect for spreading on crackers or for dipping with your favorite veggies.
Print
Pin
Save
Servings: servings
Ingredients
- 2 cups raw cashews soaked in 2 cups water overnight
- 1 large clove garlic
- ¼ cup cashew milk unsweetened, or other dairy free milk
- 2 tablespoon lemon juice
- 2 tablespoon Dijon mustard
- ½ teaspoon Old Bay seasoning
- ½ teaspoon ground sea salt
- ¼ teaspoon ground paprika
- ⅛ teaspoon onion powder
- 14- ounce can young jackfruit packed in water or 1½ cups fresh jackfruit
Instructions
- Drain and rinse the cashews and put into a high-powered blender or food processor. Add the garlic, cashew milk, lemon juice, mustard, Old Bay seasoning, salt, paprika and onion powder and blend for approximately 2 minutes (scrape the sides frequently), or until it's smooth and velvety. You shouldn't see or taste pieces of solid nuts.
- Scrape the cashew mixture into a medium bowl.
- Drain and rinse the jackfruit well. Shred the jackfruit with a fork or in a food processor and put in the bowl with the cashew mixture. Gently fold until fully combined. Serve with crackers, toast or sliced vegetables.
Nutrition (Estimate per Serving)
Calories: 308kcalCarbohydrates: 29gProtein: 9gFat: 20gSaturated Fat: 3gSodium: 70mgPotassium: 598mgFiber: 3gSugar: 15gVitamin A: 122IUVitamin C: 11mgCalcium: 38mgIron: 3mg
Vegan-ize any recipe!Grab our free vegan cheat sheet, packed with my favorite easy substitutions to make any recipe vegan.
Vegan Baked Mac And Cheese
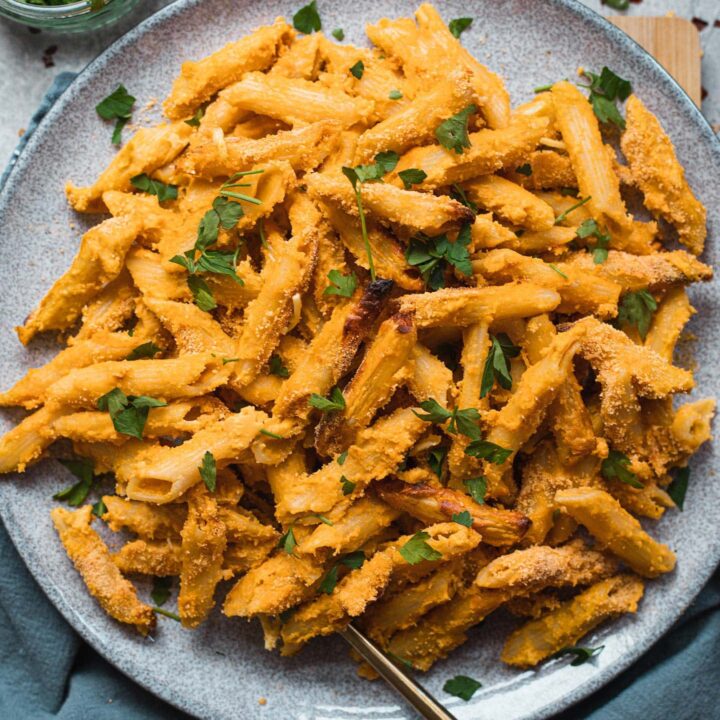
This vegan baked mac and cheese is perfect for a comforting weeknight dinner! Made with a dairy-free 'cheese' sauce, topped with gluten-free breadcrumbs, flavorful and creamy, this meal requires just simple ingredients and a few easy steps.
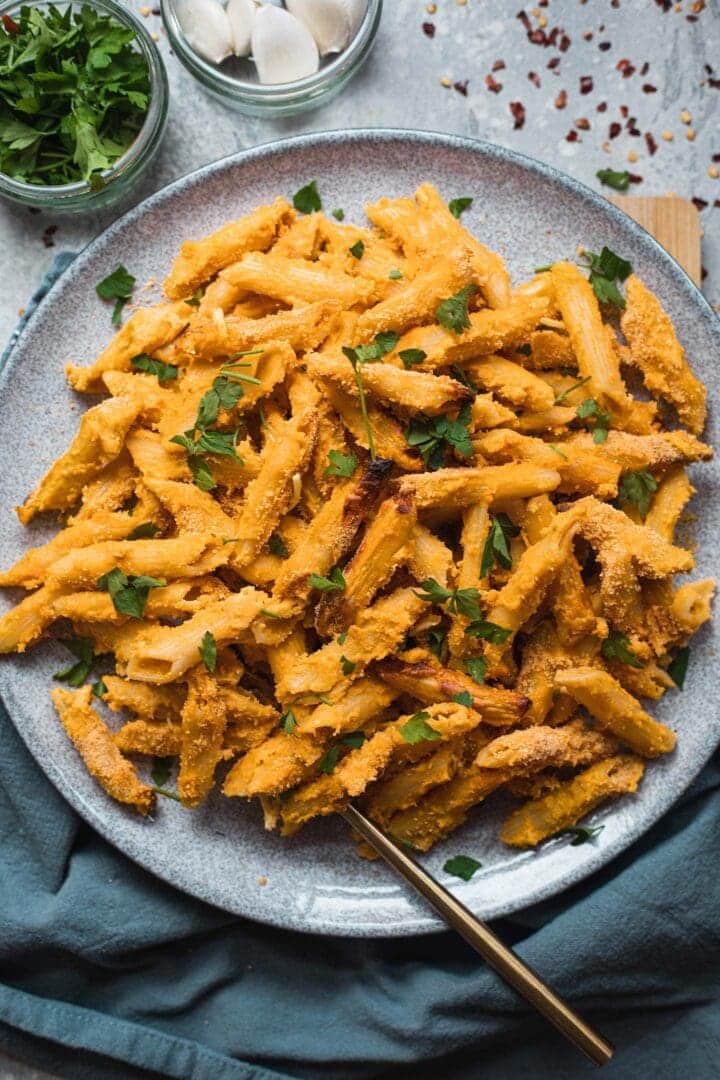
Oh, mac and cheese. The stuff that my dreams are made of. I'm not joking - I often fall asleep by switching off my existential worries and thinking about creamy pasta deliciousness instead. 10/10 would recommend.
Seriously though, I can't believe it's taken me this long to share a baked mac and cheese recipe. I have variations of this dish on an almost weekly basis, so finally - here we are. In general, a pasta dinner as good as this is my go-to dish for any Friday night comfort dinner. But it's perfect for pretty much any day or any occasion, and if you give it a go you will see why I say that!
So if you're searching for last-minute dinner inspiration, this vegan baked mac and cheese is a perfect option. You need hardly any time, simple ingredients, and the result is phenomenal.
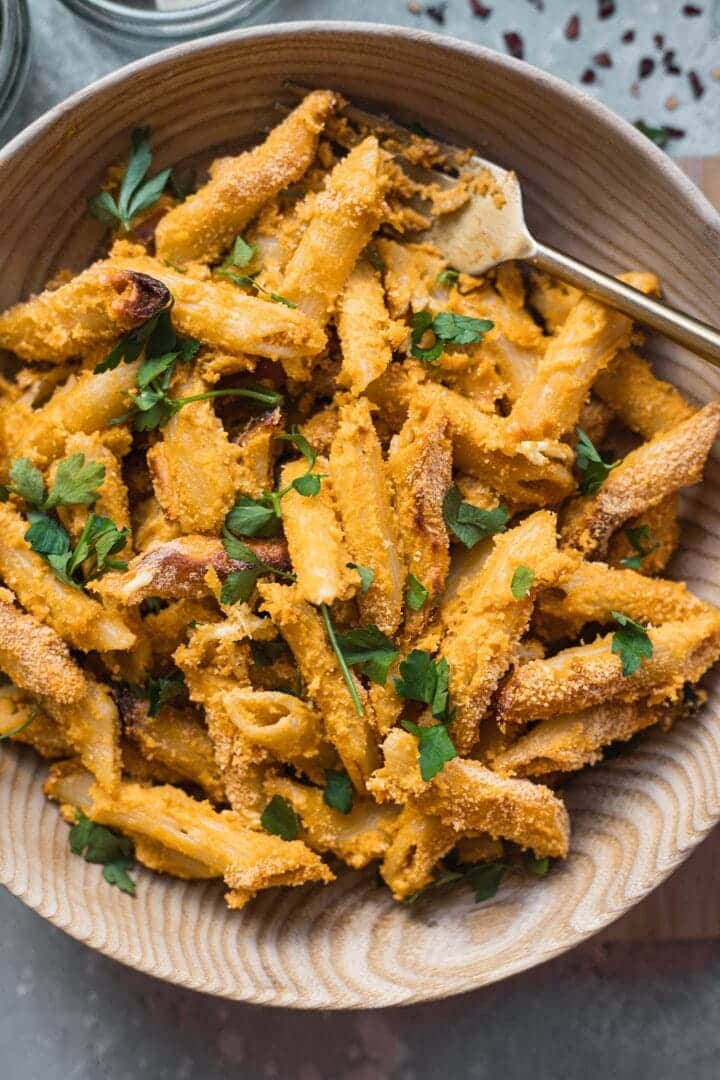
Vegan baked mac and cheese
So, a little bit about this recipe. If you're wondering what it tastes like, think chewy, tender noodles enveloped in a thick and rich sauce that melts in your mouth, plus just a light coat of optional vegan cheese (or gluten-free breadcrumbs )on top for a little bit of extra texture. The sauce has a savoury flavour that's also very cheesy. Trust me, it tastes even better than it sounds/looks.
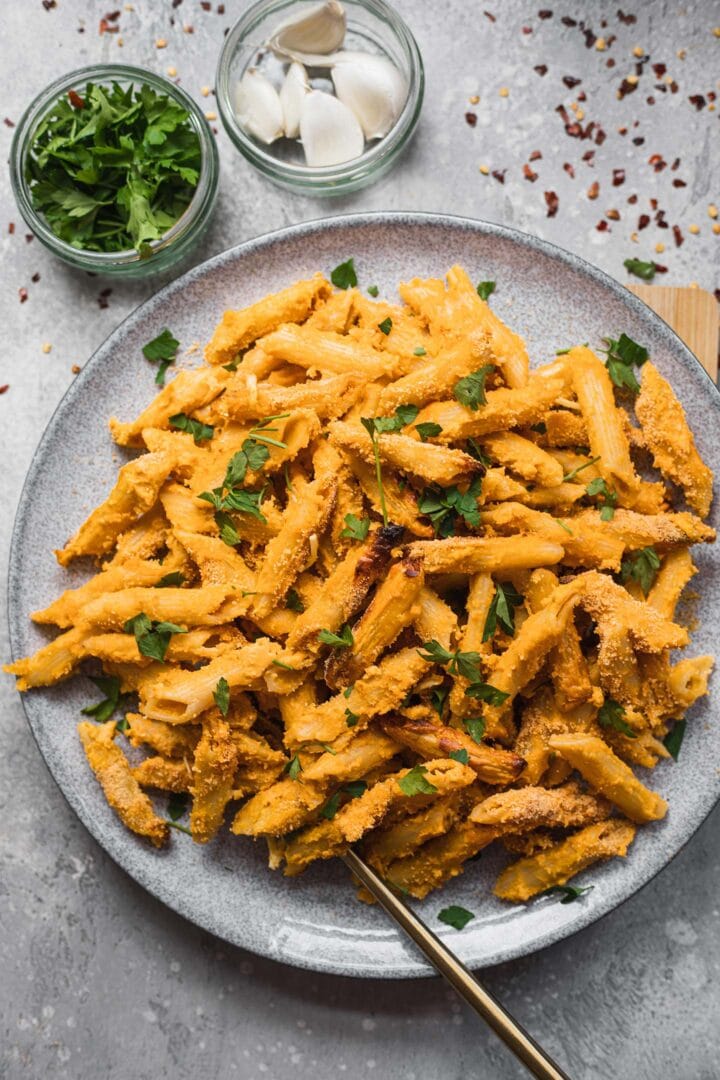
The main ingredient for the dairy-free cheese sauce is cashews, which are a staple in vegan cooking in general. Cashews are neutral in flavour and can be blended to make amazing sauces, dressings and dips. This is a great example! Beyond that, you need just simple ingredients to make amazing flavor and a great texture, too.
Right before baking, I added breadcrumbs and grated vegan cheese. These are optional, but 100% recommended! The end result is amazingly comforting and with an amazing texture. Pasta dreams come true!
Ingredients you'll need
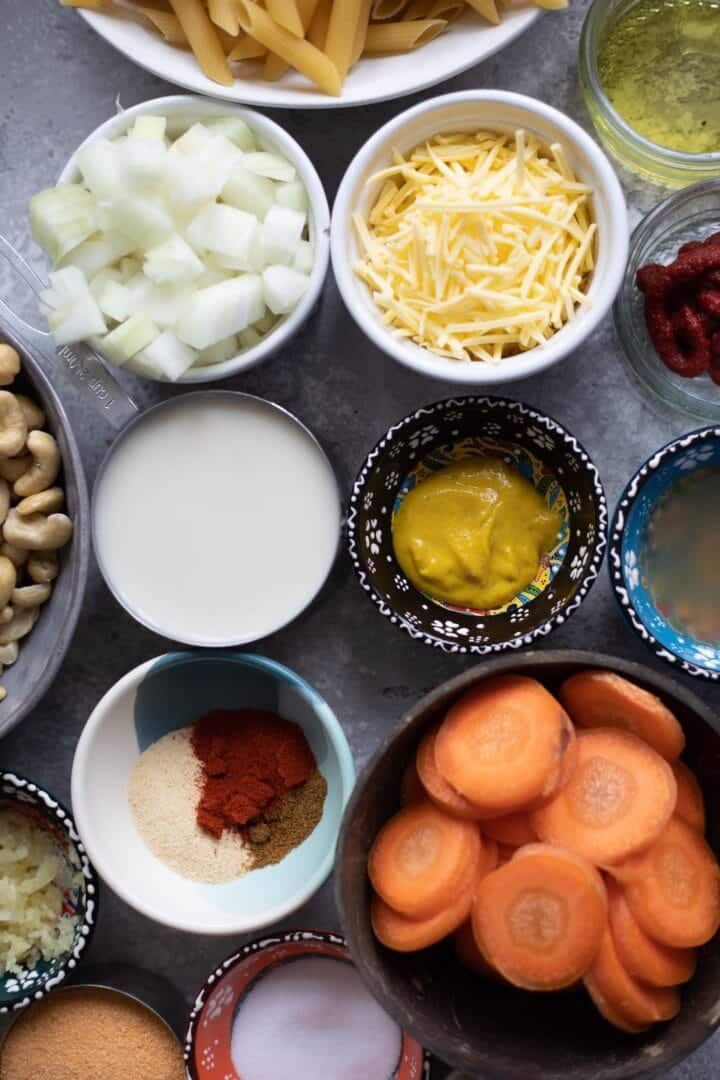
- Olive oil to cook the vegetables.
- Carrots, onion and garlic. These are cooked in olive oil and added to the sauce.
- Cashews. Soak these for 3-4 hours, or simmer for 15 minutes to soften.
- Plant based milk. Use any unsweetened plant based milk variety of your choice.
- Mustard. Ensure vegan.
- Paprika.
- Nutritional yeast. This is an amazing ingredient for adding a cheesy flavor to the sauce!
- Tomato paste.
- Apple cider vinegar.
- Cumin.
- Breadcrumbs. You can either make your own breadcrumbs, or use store-brought.
- Vegan cheese. This is optional, but very much recommended! Choose a variety that melts well.
How to make the best dairy-free baked mac and cheese
Preheat the oven to 180 degrees C/350 F.
Cook the pasta. Follow instructions on packaging, but make sure it is slightly al dente/prevent overcooking.
Cook the vegetables. Heat the olive oil in a frying pan over a medium-high heat, then add the carrots, onion and garlic and cook for 5 minutes, until softened.
Make the sauce. Add the vegetables to a blender or food processor, together with the cashews, plant based milk, mustard, paprika, salt, nutritional yeast, tomato paste, apple cider vinegar, and cumin. Blend until smooth.
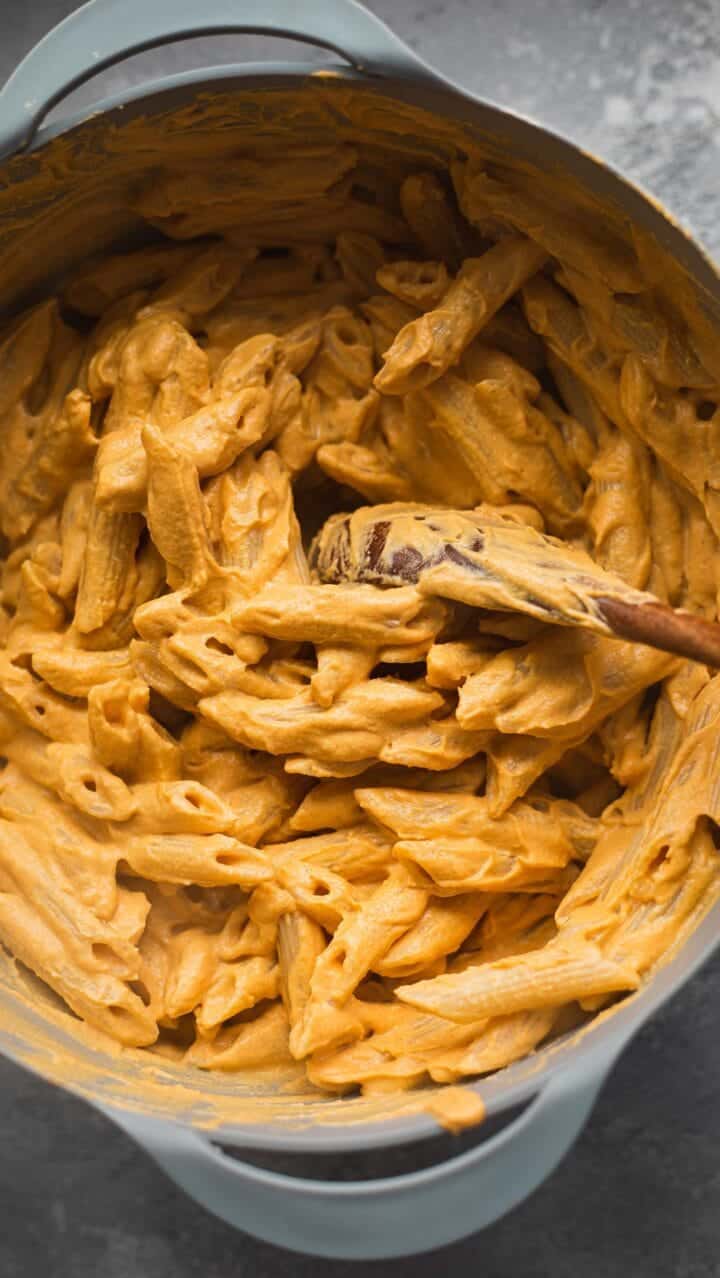
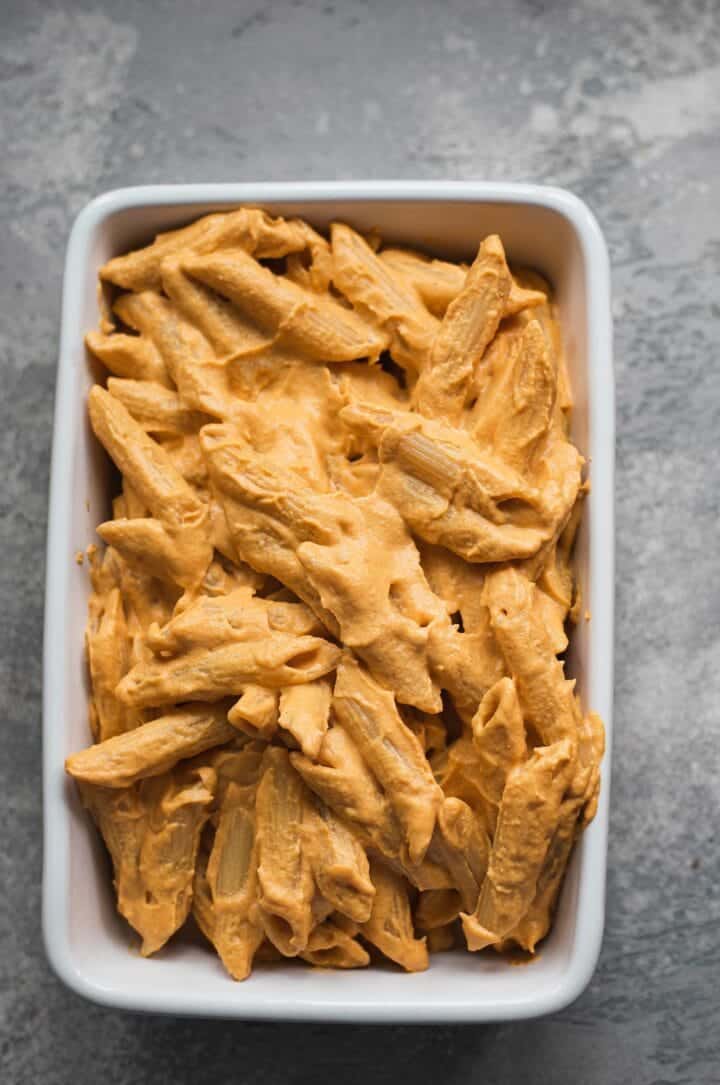
Combine with the pasta. Drain the pasta (but don't rinse) and mix together in a large mixing bowl together with the sauce.
Bake the mac and cheese. Transfer the mac and cheese to a rectangular baking dish. Sprinkle with breadcrumbs and vegan cheese, then bake in the preheated oven for 25 minutes.
Bake the mac and cheese. Transfer the mac and cheese to a rectangular baking dish. Sprinkle with breadcrumbs and vegan cheese, then bake in the preheated oven for 25 minutes.
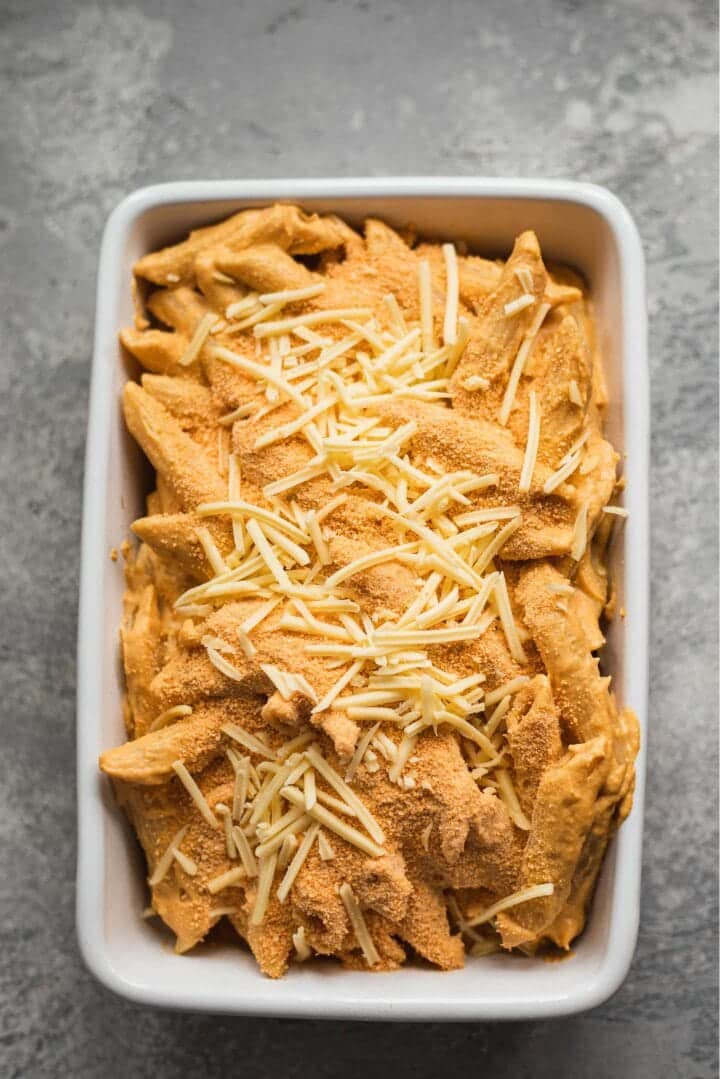
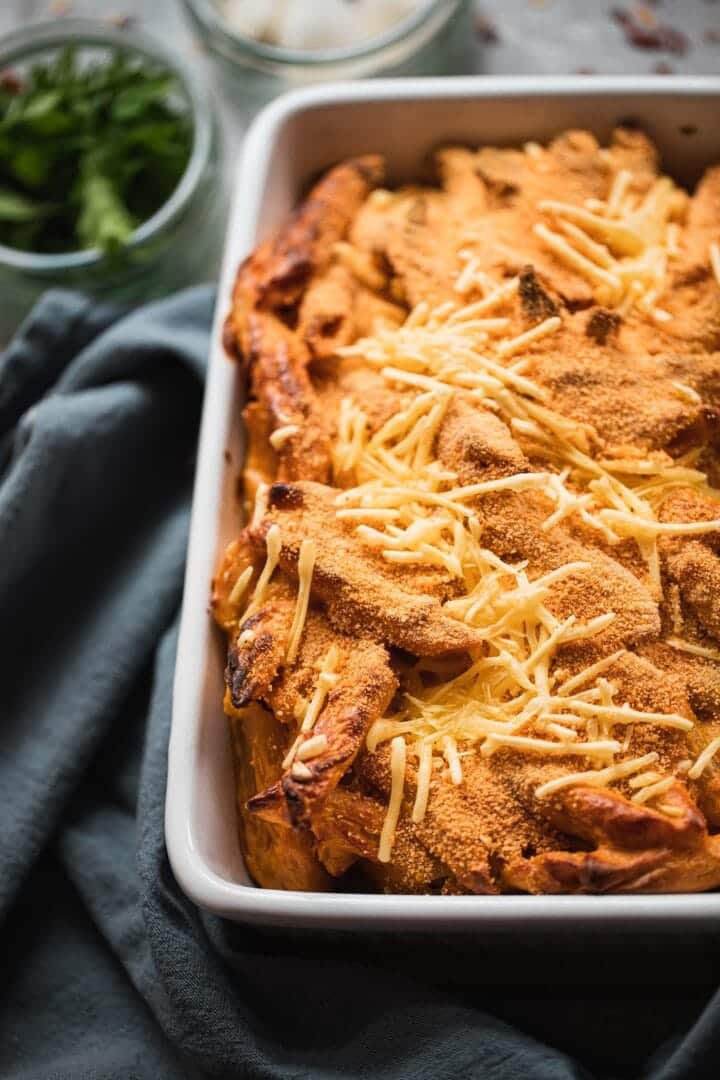
Cashew alternatives
Let's talk about cheese for a second. It's one of those fears they'll miss intensely if they go vegan. Granted, I've never been a huge cheese fanatic so gave it up with little struggle. But the good news for everyone who is? There are countless ways to replace cheese in your diet.
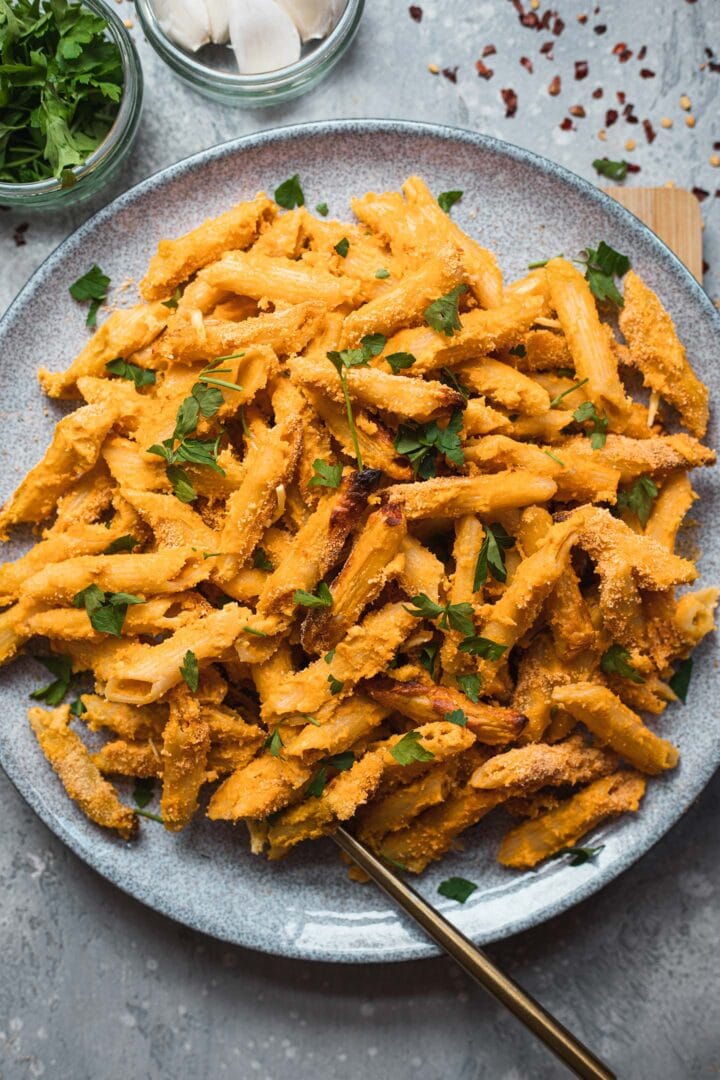
Cashews is one option. They are amazing for using in sauces and here, they create the amazing creamy texture. If you can't eat cashews, however, you can replace them with a can of coconut milk - don't worry, it won't taste like coconut.
How do I store baked vegan mac and cheese?
You can store leftovers in an airtight container for up to 3-4 days in the fridge. To freeze, store either in freezer-friendly containers or in freezer bags for up to 2 months. Allow to thaw fully in the fridge, then reheat in the microwave or on the stove, adding a splash of plant based milk.
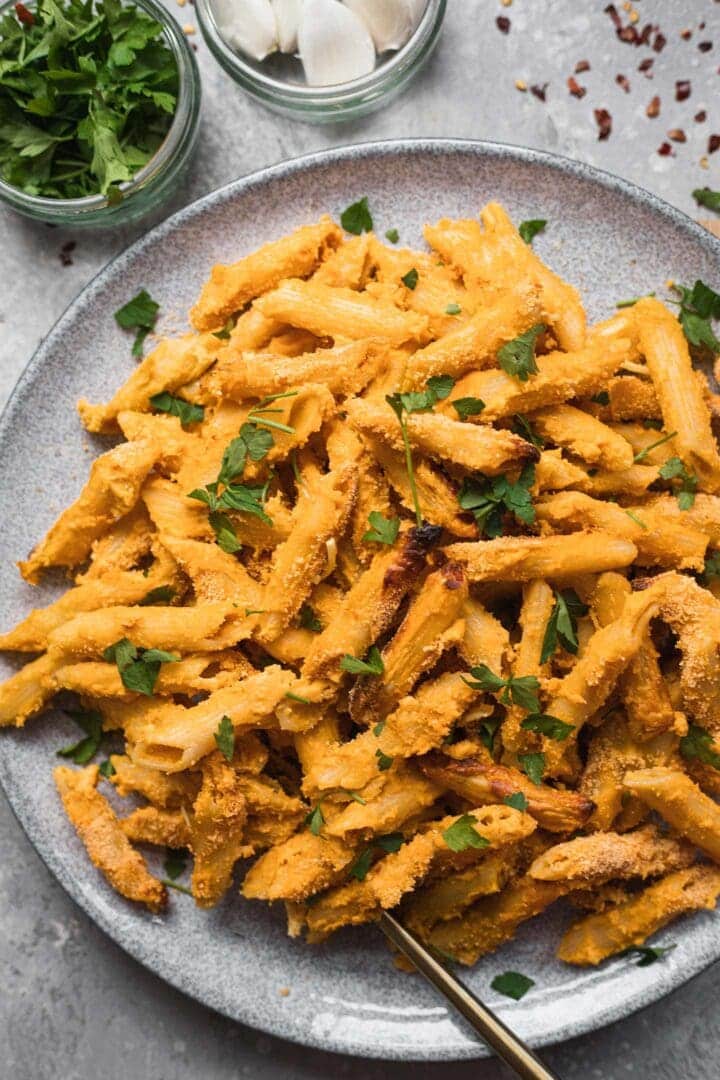
If you want to make this dish ahead of time, I would recommend making the sauce, cooking the macaroni and storing them in separate containers. When ready to make, simply mix together, transfer to a baking dish, add the toppings, and bake as instructed.
Stovetop instructions
This vegan mac and cheese can easily be made on the stove, which is a great option if you are in a rush. Simply transfer the sauce and the cooked pasta to a large pan and stir for a few minutes over a medium heat. You can also add extra vegan cheese, or leafy greens like kale or spinach.
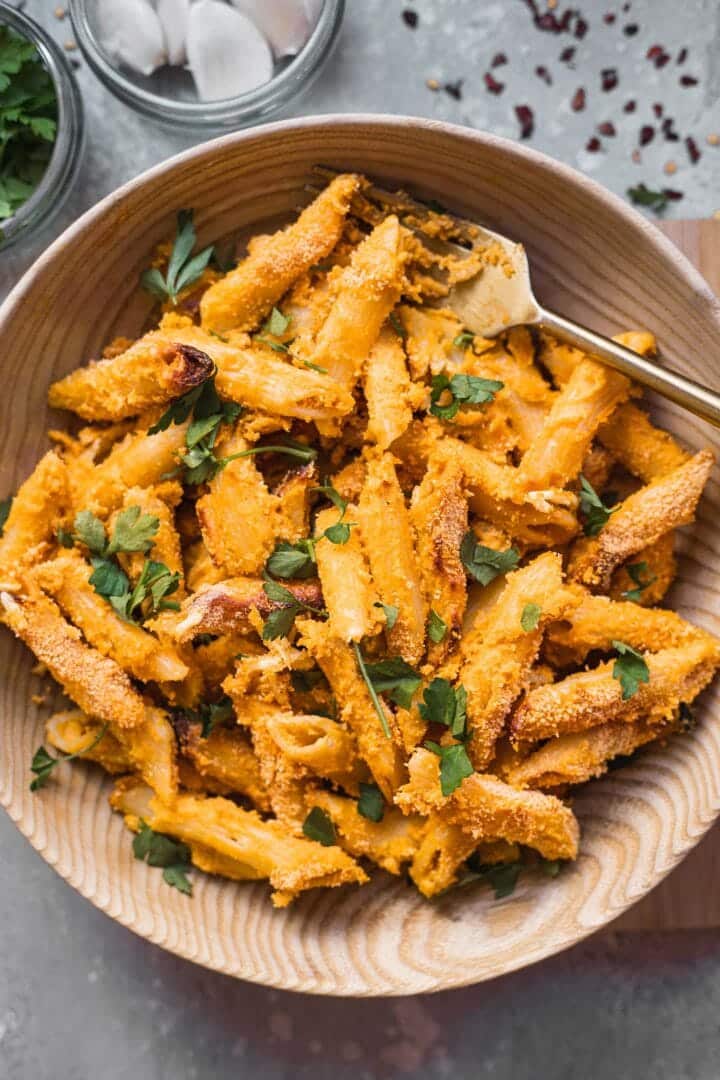
What's to love about this mac and cheese recipe?
It's ...
- Very creamy and indulgent.
- Perfect for a comforting weeknight dinner.
- Made with simple and accessible ingredients.
- Freezer-friendly and great for meal prep.
- Easy and beginner-friendly.
- A great way to impress non-vegans!
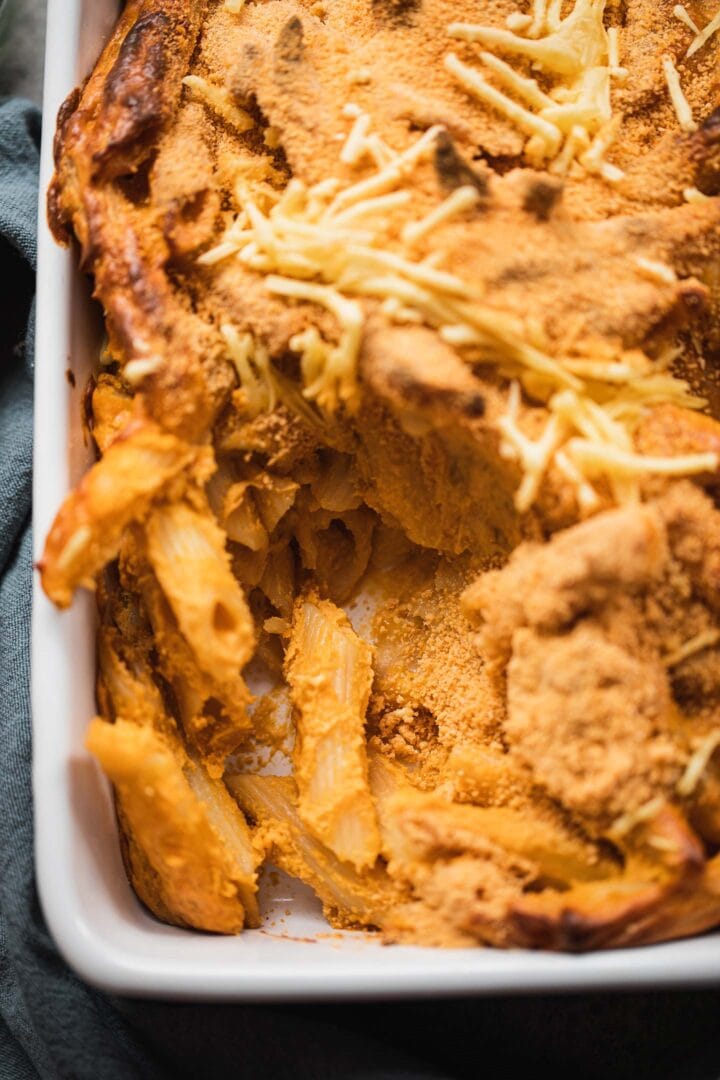
Tips and tricks for success
- The nutritional yeast here works really well to add a cheesy flavour and so I would not recommend leaving it out.
- Ensure that the mustard is vegan, as some have sneaky non-vegan ingredients.
- Soak the cashews really well and be patient when blending to ensure the smoothest texture.
- To make this baked vegan mac and cheese gluten-free, use gluten-free pasta.
- You can use any pasta of your choice. Make sure it's slightly undercooked before mixing it with the sauce because it will continue cooking in the oven.
- You can adjust the type and amount of spices you use depending on your preference. Also, if you prefer it spicy, I would recommend adding sriracha, and chilli flakes on top when serving.
Other vegan pasta recipes
- If you're looking for something meal prep friendly, try my easy vegetable and mushroom pasta.
- My fail-proof fettuccine Alfredo is yet another crowd-pleasing dinner.
- If baking pasta is your thing, my pasta bake with tofu may be the dish for you.
- Vegan avocado pasta is ready in under 15 minutes!
- My roasted red pepper pasta is perfect for a comforting weeknight dinner.
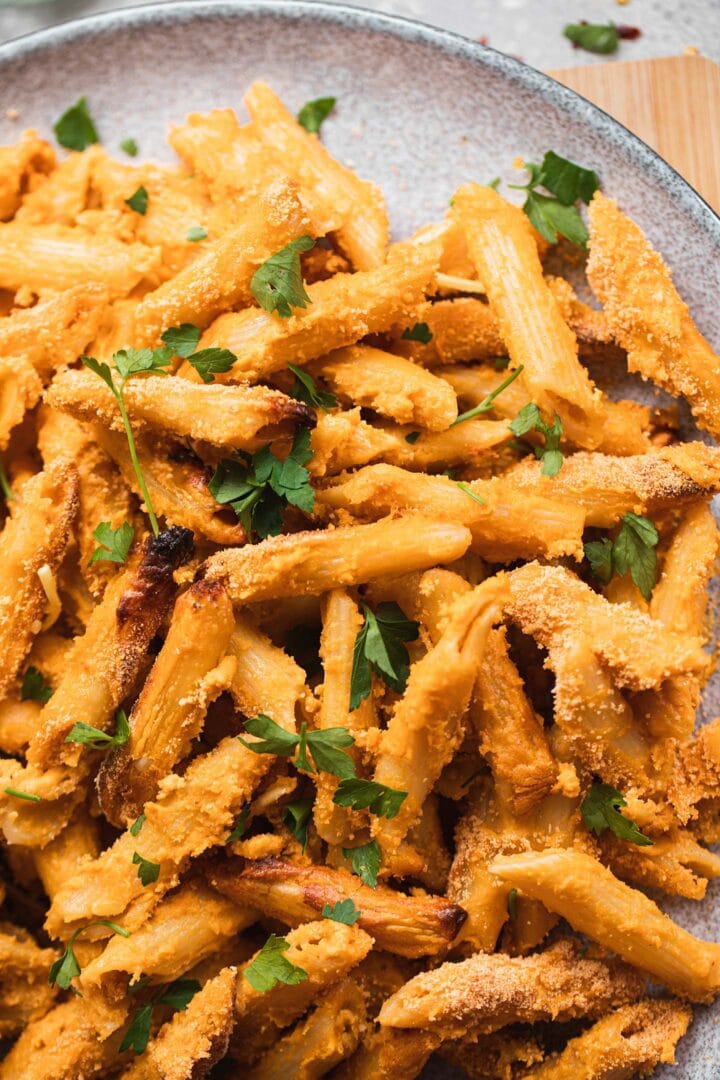
Let me know in the comments: what's your favourite type of vegan cheese? If you give this vegan baked mac and cheese recipe a go, be sure to tag me on Instagram (@earthofmariaa) so I can see your creations, and leave your feedback in the comments below together with a star rating.
Also worth trying: our vegan pumpkin mac and cheese.

Recipe

Vegan Baked Mac And Cheese (Gluten-free and Oil-free)
This baked vegan mac and cheese is perfect for a weeknight dinner that's super easy to make! Featuring a creamy, smooth dairy-free sauce and a breadcrumb topping, this is a perfect family-friendly and crowd-pleasing dish.
Print
Pin
Save
Servings:
Equipment
- Conventional oven
- Saucepan
- Frying pan
Ingredients
- 3 cups pasta use any pasta of your choice
- 2 tablespoon olive oil
- 1 large carrot diced
- 1 large onion diced
- 3 cloves garlic minced
- 1 ½ cups cashews soaked
- 1 ½ cups plant based milk
- ½ tablespoon mustard ensure vegan
- 1 teaspoon paprika
- ¼ cup nutritional yeast
- 2 tablespoon tomato paste
- 1 tablespoon apple cider vinegar
- ½ teaspoon cumin
- ½ cup breadcrumbs
- ½ cup vegan cheese grated
Instructions
- Preheat the oven to 180 degrees C/350 F.
- Cook the pasta according to packaging instructions on packaging, but make sure it is slightly al dente/prevent overcooking.
- Heat the olive oil in a frying pan over a medium-high heat, then add the carrots, onion and garlic and cook for 5 minutes, until softened.
- Add the vegetables to a blender or food processor, together with the cashews, plant based milk, mustard, paprika, salt, nutritional yeast, tomato paste, apple cider vinegar, and cumin. Blend until smooth.
- Drain the pasta (but don't rinse) and mix together with the sauce in a large mixing bowl.
- Transfer the mac and cheese to a rectangular baking dish. Sprinkle with breadcrumbs and vegan cheese, then bake in the preheated oven for 25 minutes.
Notes
Instructions for making ahead and storing
- Store leftovers in an airtight container for up to 3-4 days in the fridge. To freeze, store either in freezer-friendly containers or in freezer bags for up to 2 months. Allow to thaw fully in the fridge, then reheat in the microwave or on the stove, adding a splash of plant based milk.
- To make ahead of time, make the sauce, cook the macaroni and store them in separate containers. When ready to make, simply mix together, transfer to a baking dish, add the toppings, and bake as instructed above.
- The nutritional yeast here works really well to add a cheesy flavour and so I would not recommend leaving it out.
- Ensure that the mustard is vegan.
- Either soak the cashews for 4 hours, or simmer them in a saucepan for 15 minutes.
- You can use any pasta of your choice. Make sure it's slightly undercooked before mixing it with the sauce because it will continue cooking in the oven.
- You can adjust the type and amount of spices you use depending on your preference.
- If you prefer spicy mac and cheese, add sriracha, and chilli flakes on top when serving.
Nutrition (Estimate per Serving)
Calories: 532kcalCarbohydrates: 47gProtein: 17gFat: 34gSaturated Fat: 6gSodium: 1429mgPotassium: 1233mgFiber: 8gSugar: 15gVitamin A: 4176IUVitamin C: 19mgCalcium: 215mgIron: 7mg
Vegan-ize any recipe!Grab our free vegan cheat sheet, packed with my favorite easy substitutions to make any recipe vegan.
Vegan Minestrone Soup
Whip up this Vegan Minestrone Soup for dinner tonight! This healthy, vegetable-packed take on the Italian classic is loaded with kidney beans, fire-roasted tomatoes, tender potatoes, flavorful broth, and pasta, all cooked in one pot.

This hearty plant-based soup takes just about 30 minutes of simmering, which makes it perfect for an easy weeknight meal. It uses pantry staples you probably already have, and the leftovers are even better the next day.
This Vegan Minestrone Soup is...
- A classic, comforting recipe
- Full of flavor from fire-roasted tomatoes and Italian herbs
- Packed with healthy veggies and fiber
- Completely vegan and dairy-free
- Great for meal prep
Key Ingredients & Substitutions
- Onion, celery, and carrots. This classic trio is the flavor base of almost every good minestrone. Sauté them gently in olive oil until soft and sweet before anything else goes in. A diced red bell pepper or a small zucchini can join them if you have one to use up.
- Whole fire-roasted tomatoes. Fire-roasted tomatoes add a subtle smoky depth that regular canned tomatoes don't have. Plain whole or diced canned tomatoes work too; just add a pinch more Italian seasoning to make up for the flavor.
- Kidney beans. They make the soup filling and add plant protein. Cannellini, great northern, pinto, or chickpeas are all easy swaps. Rinse and drain canned beans so the broth stays clean-tasting.
- Potato. A diced potato gives the soup body and a little creaminess. Yukon gold holds its shape best, but a russet or red potato is fine. Cut it small so it cooks as fast as the pasta.
- Pasta. Small shapes such as elbows, ditalini, or small shells are ideal because they fit on a spoon. Gluten-free pasta works well; add it near the end, since it tends to soften faster.
- Vegetable broth. The broth is most of the soup, so use one you like the taste of. Low-sodium broth lets you control the salt yourself.
- Dried spices. Garlic powder, onion powder, and Italian seasoning keep this recipe quick. If you have fresh garlic, sauté two minced cloves with the vegetables instead of the garlic powder.
- Vegan parmesan. A sprinkle on top adds a salty, nutty finish. Use a store-bought cashew parm such as NOOCH IT Cashew Parmesan, or make your own homemade vegan parmesan with nuts and nutritional yeast.

Making Vegan Minestrone Soup
- Start by heating some oil in a large pot. Add the onion, celery, and carrots and sauté until softened.
- Add the kidney beans, spices, and fire-roasted tomatoes. Break the tomatoes down with a wooden spoon.
- Add the potatoes, pasta, and broth. Bring it to a simmer, then cover and cook on low until the potatoes are tender and the pasta is done.
- Season with salt and pepper, then serve the minestrone topped with parsley and vegan parmesan.
Measurements and complete directions are in the printable recipe card below.
Helpful Tips
Use a heavy-bottomed pot. A heavy pot helps your soup cook evenly. An enameled cast-iron Dutch oven, or even a sturdy stockpot, is ideal for soups and stews. Lighter, thin-bottomed pans can scorch in spots once the pasta starts releasing starch.
Dice the vegetables evenly. It's important that your vegetables are cut to roughly the same size so they all cook at the same rate. Otherwise, some veggies will be underdone while others turn mushy. Keep the potato pieces small (about ½ inch) so they're tender by the time the pasta is cooked.
Stir while it simmers. Pasta cooked right in the soup likes to settle and stick to the bottom of the pot. Give it a good stir every few minutes, and keep the heat at a gentle simmer rather than a hard boil.
Keep extra broth on hand. The pasta keeps soaking up liquid as it sits, so the soup thickens noticeably after cooking. Loosen it with a splash of broth or water just before serving, especially when reheating leftovers.
Season at the end. Broths vary a lot in saltiness, so taste the soup once the pasta is cooked and add salt and pepper then. A squeeze of lemon juice right before serving brightens all the flavors.

Variations
- Beans. Swap the kidney beans for pinto beans or white cannellini beans, or try a mix of two types of beans for more variety.
- Seasonal produce. Take advantage of any seasonal produce you have around the house. Just about any veggies will work here; zucchini, summer squash, green beans, and peas are all great additions.
- Creamy base. Stir in some coconut milk at the end. Cream is often added to soups for a creamy texture, and coconut milk is a wonderful vegan-friendly alternative.
- Orzo. Tiny rice-shaped pasta makes a lighter, brothier soup. See our Vegan Orzo Minestrone Soup for a version built around it.
- Noodles. For a slurpable twist with long pasta, try our Italian Minestrone Noodle Soup.
Tuscan-Style Minestrone with Farro
For a heartier, fall-style bowl, replace the pasta with about ¾ cup of rinsed semi-pearled farro, and use cannellini or other white beans instead of kidney beans. Add the farro with the broth plus an extra cup or two of liquid, since farro needs more time (about 20 to 25 minutes) and absorbs more broth than pasta. Stir in 3 to 4 cups of chopped kale or Swiss chard during the last 5 minutes, just until wilted. Finish with a drizzle of good olive oil, a squeeze of lemon, and vegan parmesan. Note that farro is a type of wheat, so this version isn't gluten-free.

Serving Ideas
Minestrone is a complete meal on its own, but some bread for dunking makes it even better. Reach for crusty bread, breadsticks, or a pan of homemade focaccia bread. Even a half sandwich is a great match for this tasty soup.
For something fresh alongside, serve a crisp green salad or a vegan kale Caesar salad. Set out a bowl of vegan parmesan, chopped parsley, and red pepper flakes at the table so everyone can top their own bowl.
Storing & Freezing
Store leftover minestrone in an airtight container in the refrigerator for 4 to 5 days. The pasta will keep absorbing broth, so add a splash of broth or water when you reheat it on the stovetop over low heat or in the microwave. If you're making the soup ahead for meal prep, you can cook the pasta separately and add it to each bowl as you serve, which keeps it from getting too soft.
Yes, you can freeze minestrone soup for up to 3 months. The pasta will be softer in texture after freezing, but it will still be delicious. Let the soup cool completely, then transfer it to freezer-safe containers, leaving a little room at the top so the soup has space to expand. Thaw overnight in the refrigerator and reheat gently on the stovetop, adding extra broth as needed.

More Vegan Soups
If you love this recipe, be sure to check out these other delicious ideas:
- Vegan Orzo Minestrone Soup
- Italian Minestrone Noodle Soup
- Miso-Butternut Squash Soup with Noodles
- Cozy Vegan Soups for Fall and Winter
Recipe
Vegan Minestrone Soup
This easy one-pot vegan minestrone soup is loaded with vegetables, kidney beans, fire-roasted tomatoes, potatoes, and pasta in a flavorful broth. A cozy, healthy dinner that's great for meal prep.
Print
Pin
Save
Servings: servings
Equipment
Ingredients
- 2 tablespoon olive oil
- ½ onion diced
- ⅓ Cup celery diced (about 1 stalk)
- ⅓ Cup carrots diced
- 1 can whole fire roasted tomatoes (28 oz) with juices
- 1 can kidney beans (15 oz), drained and rinsed
- 1 teaspoon garlic powder
- 1 teaspoon onion powder
- 1 teaspoon Italian seasoning
- 1 large potato peeled and diced into ½-inch pieces
- 2 Cups pasta small shape, such as elbows or ditalini
- 5 Cups vegetable broth plus more as needed
- salt and pepper to taste
- vegan parmesan for topping
- fresh parsley chopped, for topping
Instructions
- Heat the olive oil in a large pot or Dutch oven over medium heat. Add the onion, celery, and carrots and cook, stirring occasionally, until softened, about 5 minutes.

- Add the fire-roasted tomatoes with their juices, the kidney beans, garlic powder, onion powder, and Italian seasoning. Stir to combine.

- Cover with a lid and cook for 5 minutes. Using a wooden spoon or spatula, roughly break down the tomatoes.

- Add the potatoes, pasta, and vegetable broth. Stir and bring to a simmer.

- Cover and cook on low, stirring every few minutes, for 12 to 15 minutes, until the potatoes are tender and the pasta is cooked. Add a splash more broth if the soup gets too thick.
- Season to taste with salt and pepper. Serve topped with chopped parsley and vegan parmesan.
Notes
- Dice the potatoes into small (about ½-inch) pieces so they cook at the same speed as the pasta.
- Top your soup with a fresh crack of pepper, a sprinkle of vegan parmesan, and some chopped parsley.
- The pasta keeps absorbing broth as the soup sits. Add a splash of broth or water when reheating.
- Refrigerate leftovers in an airtight container for 4 to 5 days, or freeze for up to 3 months.
- Tuscan-style variation: use ¾ cup semi-pearled farro instead of pasta and white beans instead of kidney beans, add 1 to 2 extra cups of broth, and simmer 20 to 25 minutes. Stir in 3 to 4 cups chopped kale or Swiss chard for the last 5 minutes.
Nutrition (Estimate per Serving)
Calories: 489kcalCarbohydrates: 89gProtein: 18gFat: 9gSaturated Fat: 1gPolyunsaturated Fat: 1gMonounsaturated Fat: 5gSodium: 1462mgPotassium: 1363mgFiber: 13gSugar: 15gVitamin A: 2883IUVitamin C: 36mgCalcium: 126mgIron: 6mg
Vegan-ize any recipe!Grab our free vegan cheat sheet, packed with my favorite easy substitutions to make any recipe vegan.
Vegan Nutella

Learn how to make Vegan Nutella at home in no time. This silky-smooth homemade Nutella is so rich and decadent, and it's made with just 7 simple ingredients! Use it to dip fresh fruit, use as a frosting for desserts, and more.

This chocolate hazelnut spread uses raw hazelnuts, 60% dark chocolate, and a few other ingredients. Make yourself some homemade Nutella in no time and enjoy your creamy and delicious chocolate spread.
This Vegan Nutella Is...
- vegan
- vegetarian
- gluten-free
- dairy-free
- spreadable and creamy
- a great frosting for desserts
- storable for 1 month
How to Make Vegan Nutella

- Start by preheating the oven to 350°F.
- You want to spread out all your hazelnuts onto a pan and roast as directed on a baking sheet.
- Toss roasted hazelnuts into a food processor and pulse until you have a thick nut butter.
- Once the nut butter is ready, pour in the coconut oil and melted chocolate. Then add in the vegetable milk, vanilla, maple syrup, and sea salt. Process a bit longer until well mixed.
- Transfer to an airtight container and store.
Scroll down for the full recipe and measurements to the Nutella recipe.
Tips and Tricks

Thickness
When making homemade chocolate hazelnut spread, you will find that storing the Nutella in the refrigerator will leave it thicker. If you store it at room temperature, it will be a bit thinner in texture.
Remove Skins From Hazelnuts
One easy way to remove the roasted hazelnuts' skins is to place them on a dishtowel. Then fold the towel over and rub vigorously to remove the shells. This will give your chocolate nut spread a creamier texture.
Variations

Swapping Nuts
Consider swapping out the hazelnuts for another nut like cashews or almonds. Granted, it will no longer be a hazelnut spread. But you can essentially roast, blend, and mix any kind of nut just like hazelnuts to make a chocolate nut spread.
High Powered Blender
It would be best to use either a high-speed blender or food processor to get the right consistency for your nut spread. Otherwise, you will find your nuts don't break down enough to make it as creamy as you would hope.
Frosting
When making a homemade frosting, consider adding some of the spread to give it a Nutella flavoring! This chocolate nut spread is so easy to incorporate into baking and other sweet desserts.
Vegan Nutella FAQs

Can I Use Artificial Sweeteners In Vegan Nutella?
You will find that using artificial sweeteners will stiffen up the spread. That is why I recommend using maple syrup or date puree to add enough sweetness to the spread.
How Can I Use Nutella Spread?
This chocolate Nutella spread can be used to spread on waffles, toast, stir in batters for cookies, cakes, and more. For a delicious waffle pairing, try these vegan pumpkin waffles, or spread it over vegan lemon ginger scones for a delicious twist. Or you can eat a little off a spoon. The possibilities are endless on how to enjoy this spread.
Can You Double This Nutella Spread Recipe?
This recipe can double and triple very easily. Just make sure you have enough room in your food processor or high-speed blender. Then store remaining Vegan Nutella in a sterilized jar.
Recipe

Vegan Nutella
Learn how to make Vegan Nutella at home in no time. This silky-smooth homemade Nutella is so rich and decadent, and it's made with just 7 simple ingredients! Use it to dip fresh fruit, use as a frosting for desserts, and more.
Print
Pin
Save
Servings: servings
Ingredients
- 400 g raw unsalted hazelnuts skinned
- 100 g 60% dark chocolate
- 2 tablespoon coconut oil melted
- 4 tablespoon maple syrup or 3 tablespoon date puree
- ½ cup vegetable milk
- 1 teaspoon vanilla extract
- ¼ teaspoon sea salt
Instructions
- Heat your oven to 175°C (350°F).
- Spread the hazelnuts in a baking tray, and roast for 15 minutes.

- Remove from the oven, and place into a food processor or high-speed blender.

- Blitz for a few minutes, until you have a thick and creamy nut butter. (You'll probably need to stop and scrape down the sides of the bowl-or jar-a few times.)

- While the nuts are processing, break the chocolate into small pieces and melt with the coconut oil.

- Once the nut butter is ready, add the melted chocolate and coconut oil, maple syrup, vegetable milk, vanilla extract, and salt.

- Blitz for another couple of minutes, until everything is completely mixed together and smooth.

- Transfer to a sterilised jar, and store at room temperature or in the fridge for a thicker texture. It will remain good for a month.

Nutrition (Estimate per Serving)
Calories: 596kcalCarbohydrates: 28gProtein: 11gFat: 52gSaturated Fat: 11gTrans Fat: 1gCholesterol: 1mgSodium: 101mgPotassium: 604mgFiber: 8gSugar: 15gVitamin A: 20IUVitamin C: 4mgCalcium: 103mgIron: 5mg
Vegan-ize any recipe!Grab our free vegan cheat sheet, packed with my favorite easy substitutions to make any recipe vegan.
Lentil Fritters with Garlic Sauce
Whip up a batch of these flavorful Lentil Fritters with Garlic Sauce. Mushrooms, garlic, lentils, quinoa, walnuts, and more come together in this lentil cake recipe.
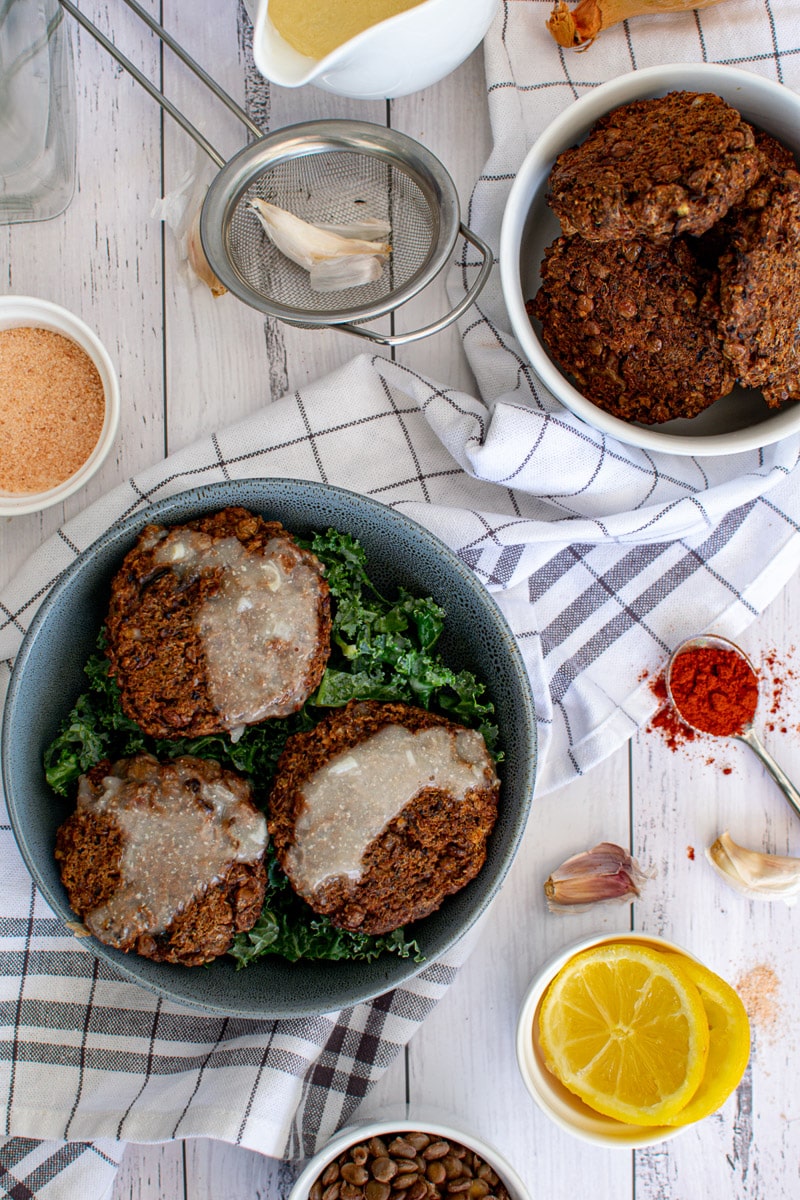
These lentil patties are great for a tasty vegan lunch or dinner. They're also great for meal prepping! Here is a plant-based recipe that kids and adults can enjoy.
This lentil fritters recipe is...
- Vegan
- Vegetarian
- Gluten-free
- Dairy-free
- Flavorful
- Great for meal prepping
How to Make Lentil Fritters with Garlic Sauce
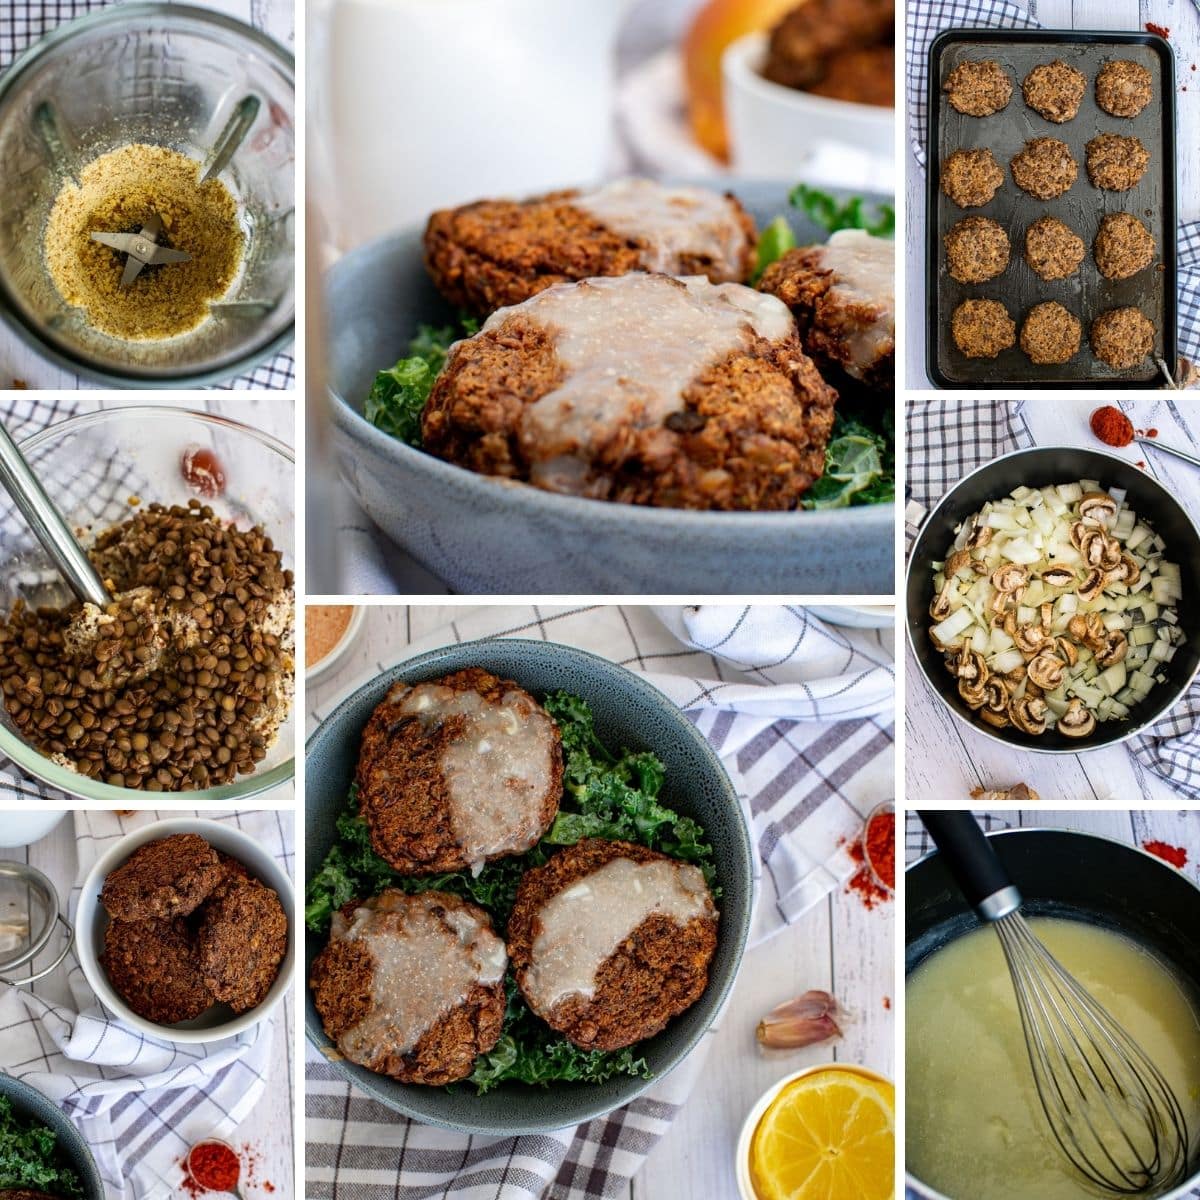
- Start by cooking your lentils as directed on the package.
- In a saucepan, add oil, onion, garlic, and mushrooms. Stir occasionally.
- Add in your nuts and pulse the mixture in a food processor until the walnuts form a powder.
- Add the mushroom mixture and half the lentils to a bowl. Add in walnut powder and mix.
- Add your remaining lentils to the dough. Mix well.
- Create 12-15 patties, and pan sear.
Full measurements and directions can be found in the printable recipe card below.
Lentil Fritters Variations
Change Up The Vegetables
Feel free to add extra veggies to these lentil fritters. Any finely chopped vegetables can work well in this dish - carrots, bell peppers, and zucchini are all great additions.
Cook in the Air Fryer
Consider air-frying your lentil fritters instead of baking in the oven. Add a small bit of oil to the air fryer, and cook a few lentil patties at a time, making sure to leave space between them for the hot air to circulate.
Swap the Sauce
If you want to skip the garlic sauce, these fritters are perfectly tasty on their own. Try serving them with a simple squeeze of fresh lemon juice, salt, and pepper for a lighter preparation. Or experiment with other dipping sauces like a vegan cheese sauce, vegan alfredo sauce, or even this vegan Big Mac sauce.
FAQs
What can I do with leftover cooked lentils?
This lentil cake recipe has become my go-to way to use up leftover cooked lentils from other recipes like these masala lentils, lentil meatloaf, or this pasta salad with lentils.
What do you serve with lentil fritters?
These vegan-friendly lentil fritters are perfect served with a creamy vegan pasta salad, a fresh vegan salad, or this summery tomato and peach salad.
Why are my fritters soggy?
Most of the time, there are two potential reasons for soggy fritters: not enough dry ingredients or too many liquid ingredients. Eyeballing your measurements can make the fritters off-texture. Make sure to measure all your ingredients carefully!
What's the best way to reheat the lentil fritters?
I have found reheating your lentil cakes in a pan on the stove provides the best texture. When you microwave the lentils, it can make them a bit soggy and rubbery. Slowly heating the lentil cakes on the stove allows the outside to crisp back up!
Interested in More Lentil Recipes?
Here are a few more of my favorite vegan lentil recipes:
Also worth trying: our vegan Greek pasta salad.
Recipe
Lentil Fritters with Garlic Sauce
Whip up a batch of these flavorful Lentil Fritters with Garlic Sauce. Vegan friendly fritters are filled with lentils, garlic, and walnuts!
Print
Pin
Save
Servings: patties
Ingredients
Lentil cakes
- 2 cups lentils cooked according to package directions
- 1 tablespoon olive oil
- ½ onion diced
- 4 garlic cloves roughly chopped
- 8 ounces mushrooms sliced
- ½ cup quinoa cooked according to package directions
- ½ cup walnuts or cashews
- 1 teaspoon cumin
- 1 teaspoon smoked paprika
- 1 teaspoon parsley dry or fresh
- ¾ teaspoon salt
- 1 tablespoon ground flax +2 tablespoon of water
- 3 tablespoons water
- 2 teaspoons soy sauce or tamari for gluten free
Garlic sauce
- 1 cup soy milk or other plant based milk
- 2 tablespoon nutritional yeast
- 2 garlic cloves chopped, or 1 tablespoon garlic powder
- 1 tablespoon cornstarch or another thickener
- salt to taste
- lemon juice to taste
Instructions
Instructions for Lentil Cakes
- Cook dry lentils in simmering water until tender. Drain. You will need 2 cups cooked.
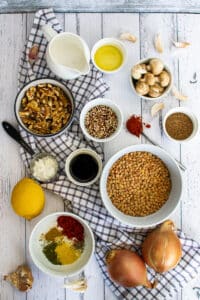
- Sauté the onion, garlic, and mushrooms in olive oil over medium heat for 5 minutes. Add a little water if it gets too dry. Turn heat down to low and cook until very tender and cooked through. Set aside.
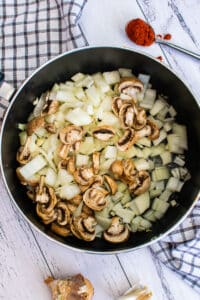
- Blend the walnuts into a coarse flour. Pour that flour into a medium bowl.
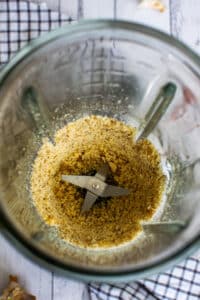
- Add half of the lentils and the mushroom mixture, salt, spices, flax egg.
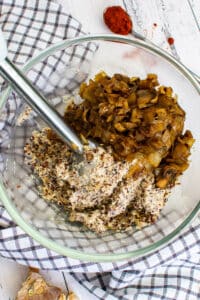
- Mix everything until it's well combined and forms a thick dough using a hand blender. Stir in the remaining whole lentils and quinoa.
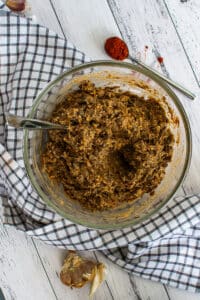
- Using wet hands form into 12-15 little cakes.
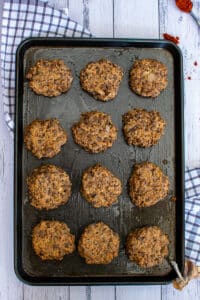
- Sear in a skillet, in a little oil, over medium heat-taking care to let them brown and form a crust before flipping.
- Serve with garlic sauce.
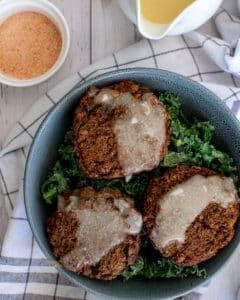
Instructions for Garlic Sauce
- Pour all the ingredients into a heated pan, whisking constantly until thickened-about 3-5 minutes. Then remove from heat.

Nutrition (Estimate per Serving)
Calories: 119kcalCarbohydrates: 13gProtein: 6gFat: 5gSaturated Fat: 1gSodium: 215mgPotassium: 296mgFiber: 4gSugar: 2gVitamin A: 166IUVitamin C: 3mgCalcium: 48mgIron: 2mg
Vegan-ize any recipe!Grab our free vegan cheat sheet, packed with my favorite easy substitutions to make any recipe vegan.
Homemade Vegan Eggnog (Dairy-free, Eggless)
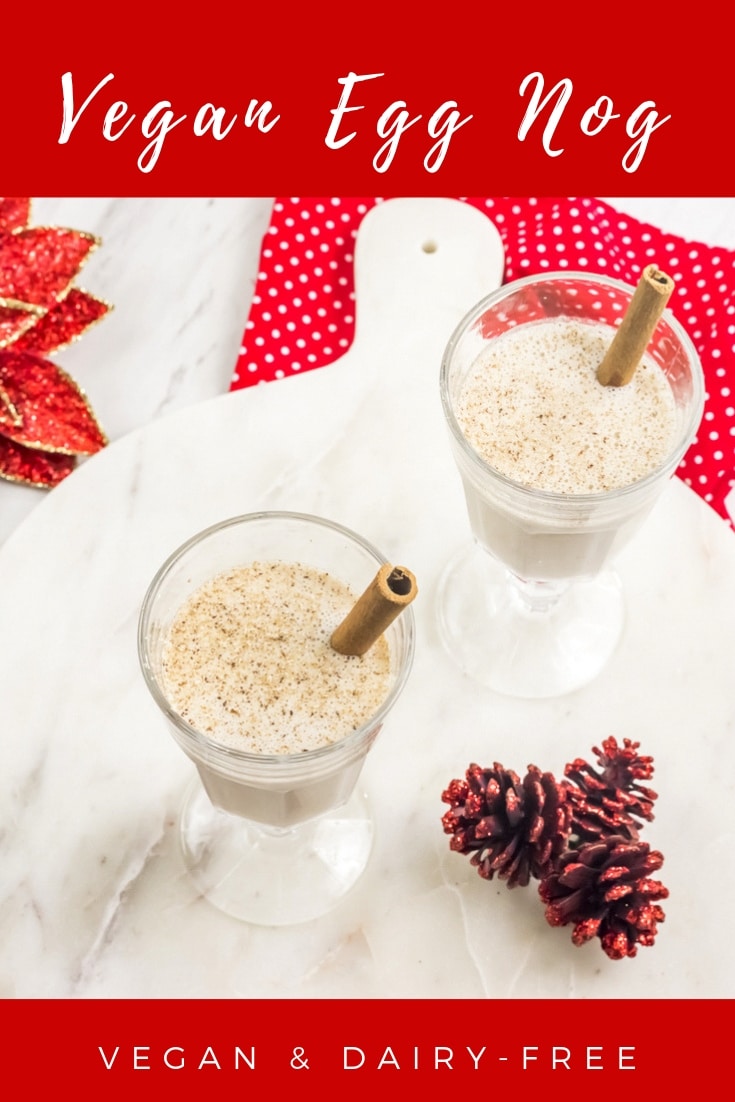
This ultra creamy homemade Vegan Eggnog is made with raw cashews, coconut milk, nutmeg, cinnamon, and allspice. This egg-less delight is light and healthy, but still rich and creamy, and filled with festive spice!
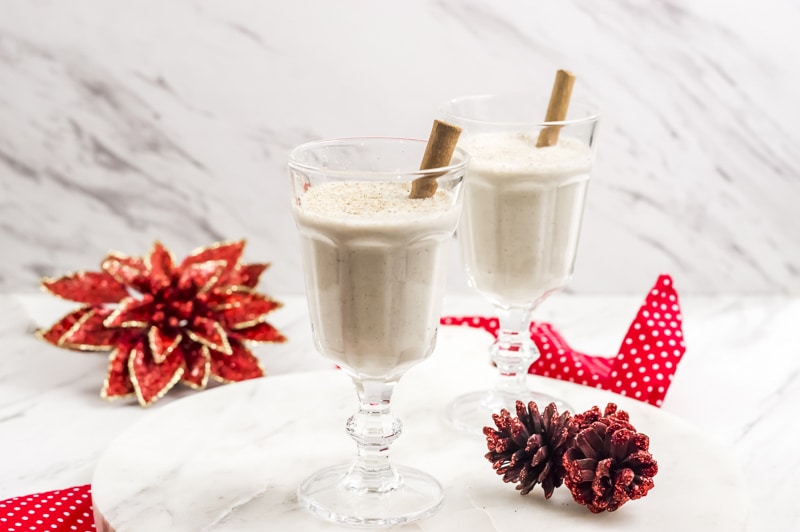
Let's admit it, most traditional eggnog recipes are trying to kill us.
Well, okay. That's a bit dramatic.
But traditional eggnog is a dairy-rich beverage laden with milk, heavy cream, sugar, and egg yolks. This is probably why we drink eggnog only at Christmas time. 😉
Healthy-ish Vegan Eggnog Recipe
I've reinvented this classic holiday drink, and skipped all the eggs and dairy called for in traditional recipes.
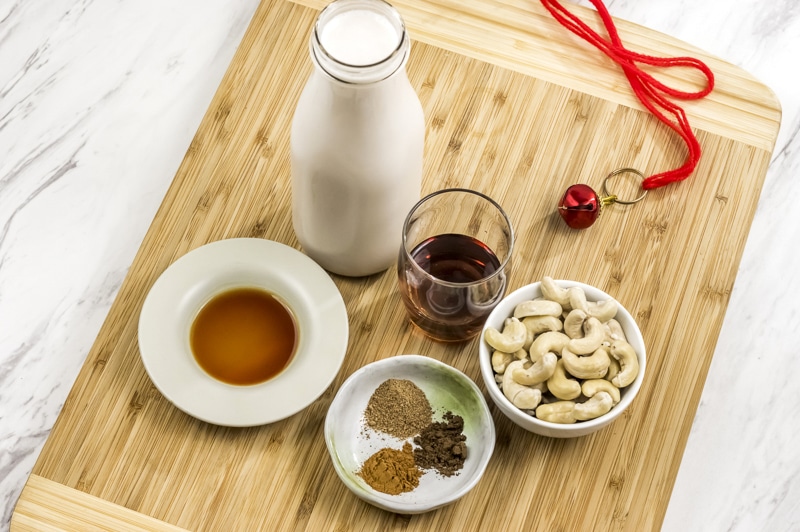
This vegan eggnog is naturally sweetened with pure maple syrup! (If you want to get really fancy, try it with this bourbon-barrel aged maple syrup.)
Raw cashews take the place of eggs in this vegan recipe. And it's so quick and easy, you can make it in a blender in just minutes!
You can drink this non-alcoholic eggnog as it is, or you can make a boozy version. It is the holidays, after all.
Just add some bourbon, brandy, rum, or whiskey to spike your eggnog. I prefer brandy in mine, for the nice depth of flavor.
How to Make Vegan Eggnog
You won't believe how simple this is!
Start off by soaking your cashews overnight. A little trick - you can also cheat by soaking them in boiling water for 30 minutes instead.
Then drain the cashews and combine them with maple syrup, vanilla, cinnamon, allspice nutmeg, and coconut milk - and blend!
That's it. Just let the vegan eggnog chill in the fridge until it's nice and cold.
Tips for Perfect Eggless Eggnog
Tip #1: I love coconut milk in this vegan eggnog, because it adds a great creamy texture and extra flavor. (This is the brand I use.) But you can use other plant milks like almond milk, rice milk, soy milk or oat milk if you prefer.
Tip #2: You can experiment with other nuts as well. Cashews are my go-to for making creamy vegan sauces (like this alfredo), because they get so nice and creamy in the blender.
But a friend of mine makes her vegan eggnog with hazelnuts - soaked overnight first - and that is totally delicious too.
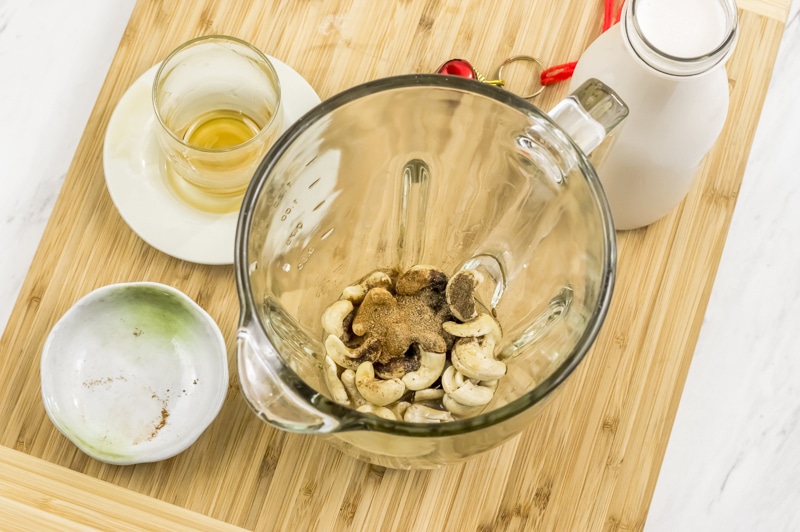
Tip #3: Maple syrup is my go-to sweetener for this recipe. In like to use a fancy, flavored syrup to give it a little oomph. This one is my current fave!
But if you're not into syrup, you can try other vegan-friendly sweeteners like agave nectar, brown rice syrup or barley malt syrup. (Grab my free vegan substitution cheat sheet for ideas.)
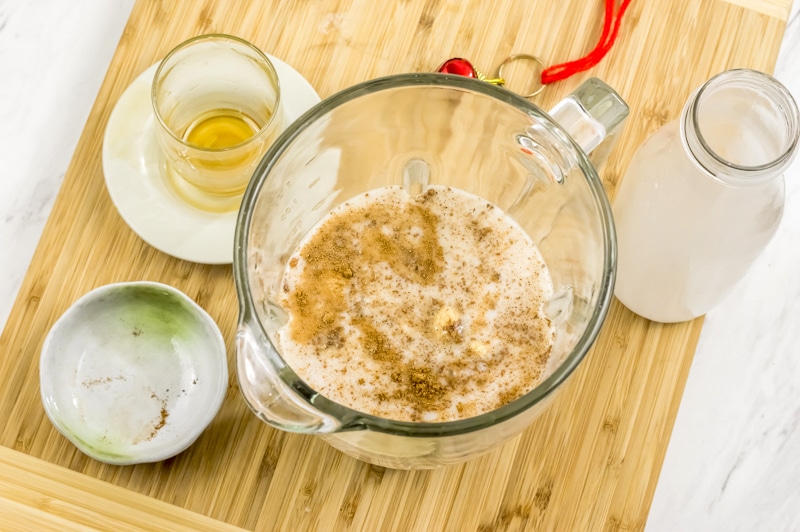
How to Thicken Vegan Eggnog
One thing that makes traditional eggnog so appealing is its rich and creamy texture.
The traditional recipes are thickened with eggs and while this vegan version is creamy enough, you can adjust the consistency to your liking.
Add more coconut milk (or any plant milk) if you want it a bit lighter. To thicken it more, you can add a thickening mixture of 3 tablespoons cornstarch or arrowroot powder (or any thickening agent) and ¼ cup almond milk or just plain water.
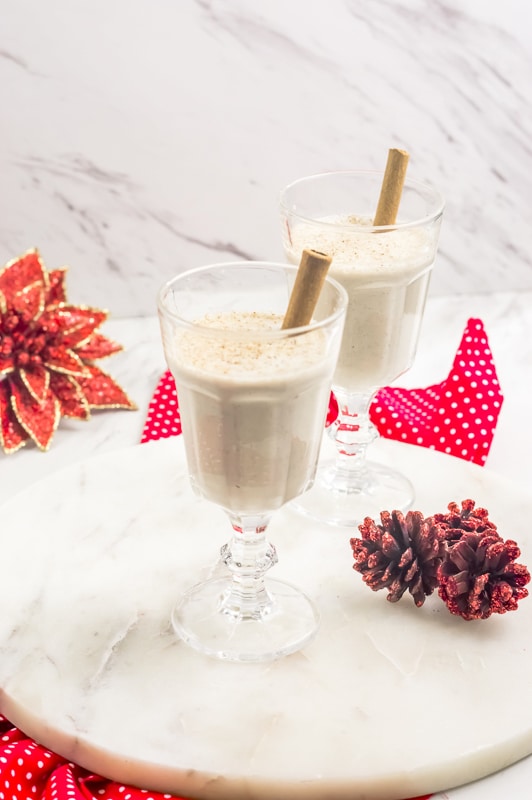
Mix this slurry with the other ingredients in a large saucepan set over medium-high heat. Mix until smooth for about 4-5 minutes or until the mixture begins to thicken. Remove from heat and allow to cool.
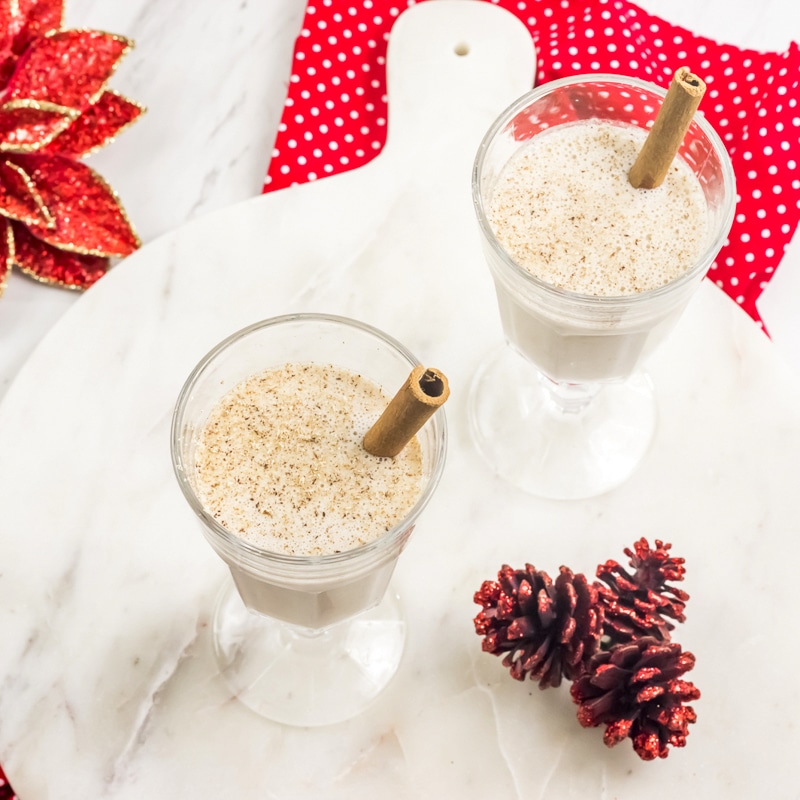
This homemade vegan eggnog is awesomely delicious and healthier, it's gonna be your favorite holiday drink!
More Holiday Recipes
If you love this vegan eggnog, be sure to check out these other delicious ideas:
- 56 Christmas Cocktails
- Easy Christmas Cupcakes
- The BEST Vegan Christmas Recipes
- 12+ Vegan Christmas Cookies
Recipe
Vegan Eggnog Homemade Dairy-free, Egg-free
This ultra-creamy vegan eggnog is made with raw cashews, coconut milk, nutmeg, cinnamon, allspice and everything nice! This eggless delight is light and healthy but still rich and creamy. You're not gonna miss that little festive taste!
Print
Pin
Save
Servings: glasses
Ingredients
- ½ cup Raw Cashews
- 2 cups full fat Coconut Milk
- ¼ cup Maple Syrup
- ½ teaspoon ground Nutmeg
- ¼ teaspoon ground Cinnamon
- ¼ teaspoon ground Allspice
- 1 teaspoon Vanilla Extract
Instructions
- Soak the cashews in water, overnight. Or soak them in boiling water for 1 hour.
- Drain the cashews.
- Combine the cashews, maple syrup, vanilla extract, cinnamon, all spice, nutmeg and the coconut milk in a blender. Blend until smooth.
- Let it chill in the fridge for 2 hours.
- Serve with a sprinkle of freshly grated nutmeg (ground nutmeg works too) and a cinnamon stick.
Nutrition (Estimate per Serving)
Calories: 371kcalCarbohydrates: 22gProtein: 5gFat: 31gSaturated Fat: 22gSodium: 18mgPotassium: 400mgSugar: 13gVitamin C: 1.2mgCalcium: 48mgIron: 4.8mg
Vegan-ize any recipe!Grab our free vegan cheat sheet, packed with my favorite easy substitutions to make any recipe vegan.
Chickpea-Mushroom Soup with Tahini
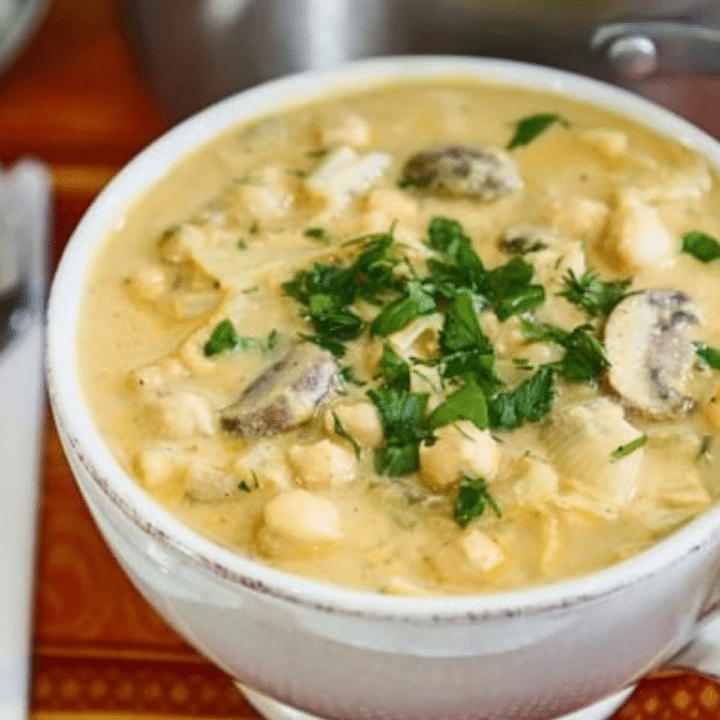
The classic Middle Eastern team of chickpeas and tahini comes together in this tasty, offbeat soup. Half the chickpeas are pureed with tahini into a creamy, nutty base, then simmered with mushrooms, cabbage, cumin, and a big handful of fresh herbs, with a squeeze of lemon at the end to brighten it all up.

Photos by Evan Atlas.
It's a creamy soup without a drop of dairy, hearty enough for dinner and ready in under an hour. Most of the ingredients are pantry staples, and the fresh parsley, dill, and scallions stirred in at the end keep it tasting lively rather than heavy.
Key Ingredients & Substitutions
- Chickpeas. They do double duty here: half are pureed to thicken the soup and half stay whole for texture. Home-cooked chickpeas are lovely, but two 15-ounce cans, drained and rinsed, work just as well. Cannellini beans are the closest swap if you're out.
- Tahini. This sesame paste is what makes the broth creamy and gives it a mellow, nutty depth. Stir the jar well before measuring, since the oil separates. Smooth cashew butter or sunflower seed butter can stand in, though the flavor will be sweeter and less savory.
- Mushrooms. Cremini (baby bella) mushrooms have a bit more flavor than white button mushrooms, but either is fine. Sliced shiitake caps add an earthier note.
- Cabbage. A cup of finely shredded green (white) cabbage adds body and a gentle sweetness. Napa cabbage cooks faster and is milder; a handful of chopped kale or spinach also works.
- Broth. Use vegetable broth, or do as the original recipe does and dissolve two vegetable bouillon cubes in 4 cups of water. If you use a salted broth, go easy on the salt at the end.
- Seasonings. Ground cumin brings warmth, and an all-purpose salt-free seasoning blend adds a layer of herbs and aromatics without extra sodium. No blend on hand? Use ½ teaspoon each of dried thyme, garlic powder, and sweet paprika.
- Fresh herbs and lemon. Parsley, dill, and scallion greens go in at the end so they stay bright. Don't skip the lemon juice; it balances the richness of the tahini.
Helpful Tips
Take your time with the onions. Sautéing the onion and garlic over medium-low heat until golden takes 8 to 10 minutes, but that slow start builds the flavor base for the whole pot. If the garlic starts to brown before the onion softens, add it a few minutes later.
Blend the chickpeas until completely smooth. Add just enough water or broth to the food processor to get the chickpeas and tahini moving, then let it run for a full minute or two. A silky puree gives you a creamy soup; a grainy one leaves it pasty.
Keep the heat gentle after adding the puree. Once the tahini mixture goes in, the soup thickens and can catch on the bottom of the pot. Keep it at a bare simmer and stir now and then.
Adjust the thickness at the end. This soup should be medium-thick, somewhere between a creamy soup and a stew. Add water a little at a time until it's where you like it, then taste again for salt and lemon, since extra liquid dilutes both.
Let it rest if you have time. Like many bean soups, this one gets better after standing off the heat for an hour or two, as the flavors meld. Just heat it through gently before serving.
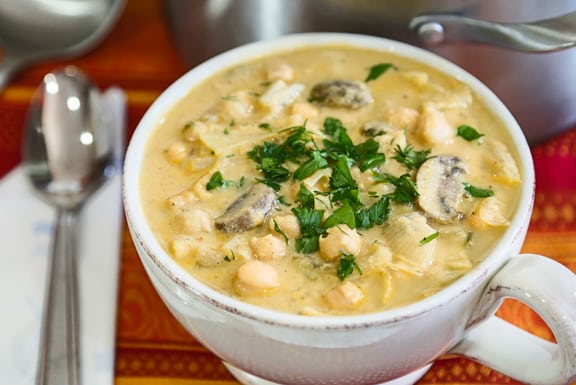
Variations
- Spiced up. Add ½ teaspoon smoked paprika and a pinch of cayenne or red pepper flakes with the cumin for a warmer, smokier bowl.
- Extra greens. Stir in a few big handfuls of baby spinach or chopped kale along with the reserved chickpeas.
- Heartier. Add a cup of cooked brown rice, bulgur, or small pasta at the end to turn it into a one-bowl meal.
- Lemony and bright. Add the grated zest of one lemon along with the juice, and finish each bowl with a little extra dill.
- Tahini drizzle. Top each serving with a spoonful of vegan tahini yogurt sauce and a sprinkle of za'atar or sumac.
Serving Ideas
Serve this soup with warm whole wheat pita bread for dipping. For a Middle Eastern-style spread, pair it with a tabbouleh salad or a crunchy fattouche salad, and a steamed green vegetable such as green beans or broccoli.
It also makes a nice start to a meze-style meal with baba ghanouj, olives, and raw vegetables. If you're a chickpea fan, you'll find plenty more ideas in our roundup of vegan chickpea recipes.
Storing & Freezing
Store leftovers in an airtight container in the refrigerator for up to 4 days. The soup thickens considerably as it chills because of the pureed chickpeas and tahini, so add a splash of water or broth when you reheat it, and warm it gently over medium-low heat, stirring often. Taste again before serving; a fresh squeeze of lemon and a few more chopped herbs will wake it right back up.
This soup freezes well for up to 3 months. Let it cool completely, then freeze it in portions, leaving some headspace in each container. Thaw overnight in the refrigerator, then reheat gently on the stovetop. The tahini may separate slightly after freezing; a good stir (or a quick whirl with an immersion blender) brings it back together. For the freshest flavor, you can freeze the soup before adding the herbs and lemon, and stir them in after reheating.

More Vegan Soup Recipes
If you loved this recipe, here are a few more you might enjoy:
- Vegan Lemony Leek and Mushroom Soup
- Vegan Split Pea Soup
- Vegan Cream of Broccoli Soup
- Cozy Vegan Soups for Fall and Winter
Recipe
Chickpea-Mushroom Soup with Tahini
The classic Middle Eastern team of chickpeas and tahini makes a creamy, dairy-free base for this hearty soup with mushrooms, cabbage, cumin, and plenty of fresh herbs. Serve with warm whole wheat pita bread.
Print
Pin
Save
Servings: servings
Ingredients
- 1 tablespoon olive oil
- 1 medium onion chopped
- 3–4 cloves garlic minced
- 4 cups vegetable broth or 4 cups water plus 2 vegetable bouillon cubes
- 2 cups cremini mushrooms or white or baby bella mushrooms, sliced
- 1 cup green cabbage finely shredded
- 1 teaspoon ground cumin
- 2 teaspoon salt-free seasoning
- 3 ½ cups chickpeas cooked, or two 15-ounce cans, drained and rinsed
- ¼ cup tahini sesame paste; stir well before measuring
- ¼–½ cup fresh parsley finely chopped, to taste
- 3–4 scallions green parts only, thinly sliced
- 2–3 tablespoon fresh dill minced, or more to taste
- ½–1 lemon juiced, to taste
- salt and freshly ground pepper to taste
Instructions
- Heat the oil in a large soup pot over medium-low heat. Add the onion and garlic and sauté, stirring occasionally, until the onion is golden, 8 to 10 minutes.
- Add the broth (or water and bouillon cubes), mushrooms, cabbage, cumin, and salt-free seasoning. Bring to a rapid simmer over medium-high heat, then lower the heat, cover, and simmer gently for 15 minutes, until the cabbage is tender.
- Meanwhile, set aside half of the chickpeas. Place the rest in a food processor or blender with the tahini and about ½ cup water, adding a little more water as needed to keep it moving. Process until completely smooth, then stir the puree into the soup.
- Stir in the reserved whole chickpeas and return to a simmer. Cover and simmer very gently for 10 minutes, stirring occasionally so the soup doesn't stick to the bottom of the pot.
- Stir in the parsley, scallions, dill, and lemon juice. Add water as needed, a little at a time, for a medium-thick consistency.
- Season with salt and pepper and simmer for 5 minutes longer. Serve at once, or let the soup stand off the heat for an hour or two to let the flavors meld, then heat through gently before serving.
Notes
Storage: Refrigerate leftovers in an airtight container for up to 4 days. The soup thickens as it chills, so thin it with a little water or broth when reheating.
Freezing: Freeze for up to 3 months. Thaw overnight in the fridge and reheat gently, stirring well if the tahini separates.
Tahini swap: Smooth cashew butter or sunflower seed butter can stand in for tahini, though the flavor will be a little sweeter.
Nutrition (Estimate per Serving)
Calories: 273kcalCarbohydrates: 37gProtein: 12gFat: 10gSaturated Fat: 1gPolyunsaturated Fat: 4gMonounsaturated Fat: 4gSodium: 645mgPotassium: 555mgFiber: 10gSugar: 8gVitamin A: 693IUVitamin C: 17mgCalcium: 117mgIron: 5mg
Vegan-ize any recipe!Grab our free vegan cheat sheet, packed with my favorite easy substitutions to make any recipe vegan.
Vegan Sweet Potato Gnocchi (gluten free!)
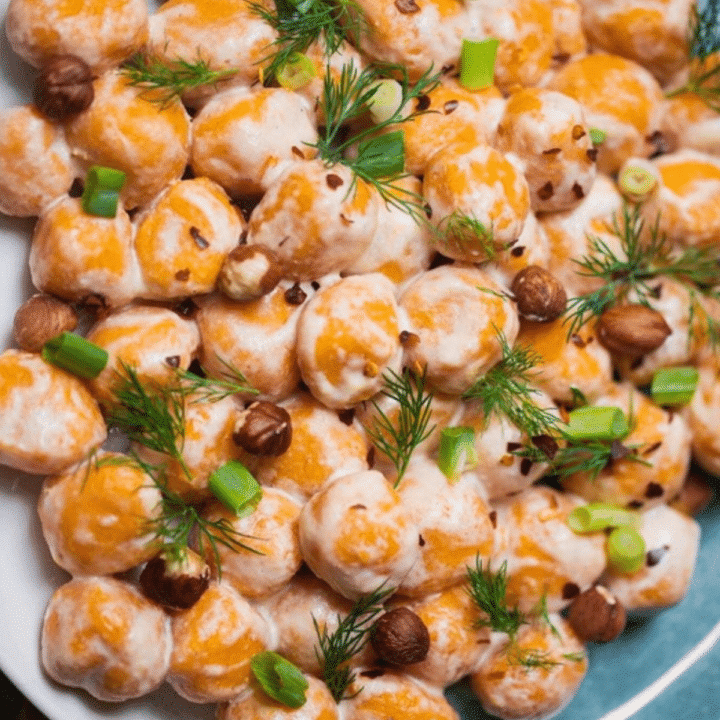
These vegan sweet potato gnocchi are soft, pillowy little dumplings made from roasted sweet potato and a trio of gluten-free flours, with no eggs, no dairy and no wheat. They're naturally sweet, a little chewy, and just right for tossing with whatever sauce you love on a cozy night in.

Squash and sweet potato pasta dishes are having a real moment, and homemade gnocchi is one of the most satisfying ways to join in. The dough comes together from just five pantry ingredients plus water, the shaping is simple (we roll ours into little balls), and a big batch freezes beautifully for quick dinners later. If you've only ever bought gnocchi in a vacuum pack, this is the version that will change your mind.
Key Ingredients & Substitutions
- Sweet potato. Roasting (rather than boiling) the sweet potatoes keeps them dry and concentrates their flavor, which means you need less flour and end up with lighter gnocchi. Orange-fleshed varieties give the prettiest color. Canned sweet potato puree is too wet for this recipe, so stick with fresh.
- Ground flaxseed. Mixed with water, ground flaxseed makes a flax egg that binds the dough in place of a real egg. Ground chia seeds work the same way if that's what you have.
- Rice flour. White rice flour is the main structure of the dough and keeps the recipe gluten-free. Use finely milled white rice flour rather than brown, which can make the gnocchi gritty.
- Tapioca flour. A little tapioca flour (also sold as tapioca starch) gives the gnocchi their signature chew and helps them hold together in the water. Arrowroot or potato starch are the best swaps.
- Chickpea flour. Chickpea flour adds a bit of protein and a savory note that balances the sweet potato. It's also the flour you'll adjust at the end, adding a spoonful at a time until the dough is soft but not sticky.
- Sea salt. Sweet potato needs a good pinch of salt to taste its best. Salt the cooking water too.
- A note on gluten. Every flour here is naturally gluten-free, but if you're cooking for someone with celiac disease, buy flours labeled certified gluten-free, since some are processed alongside wheat.
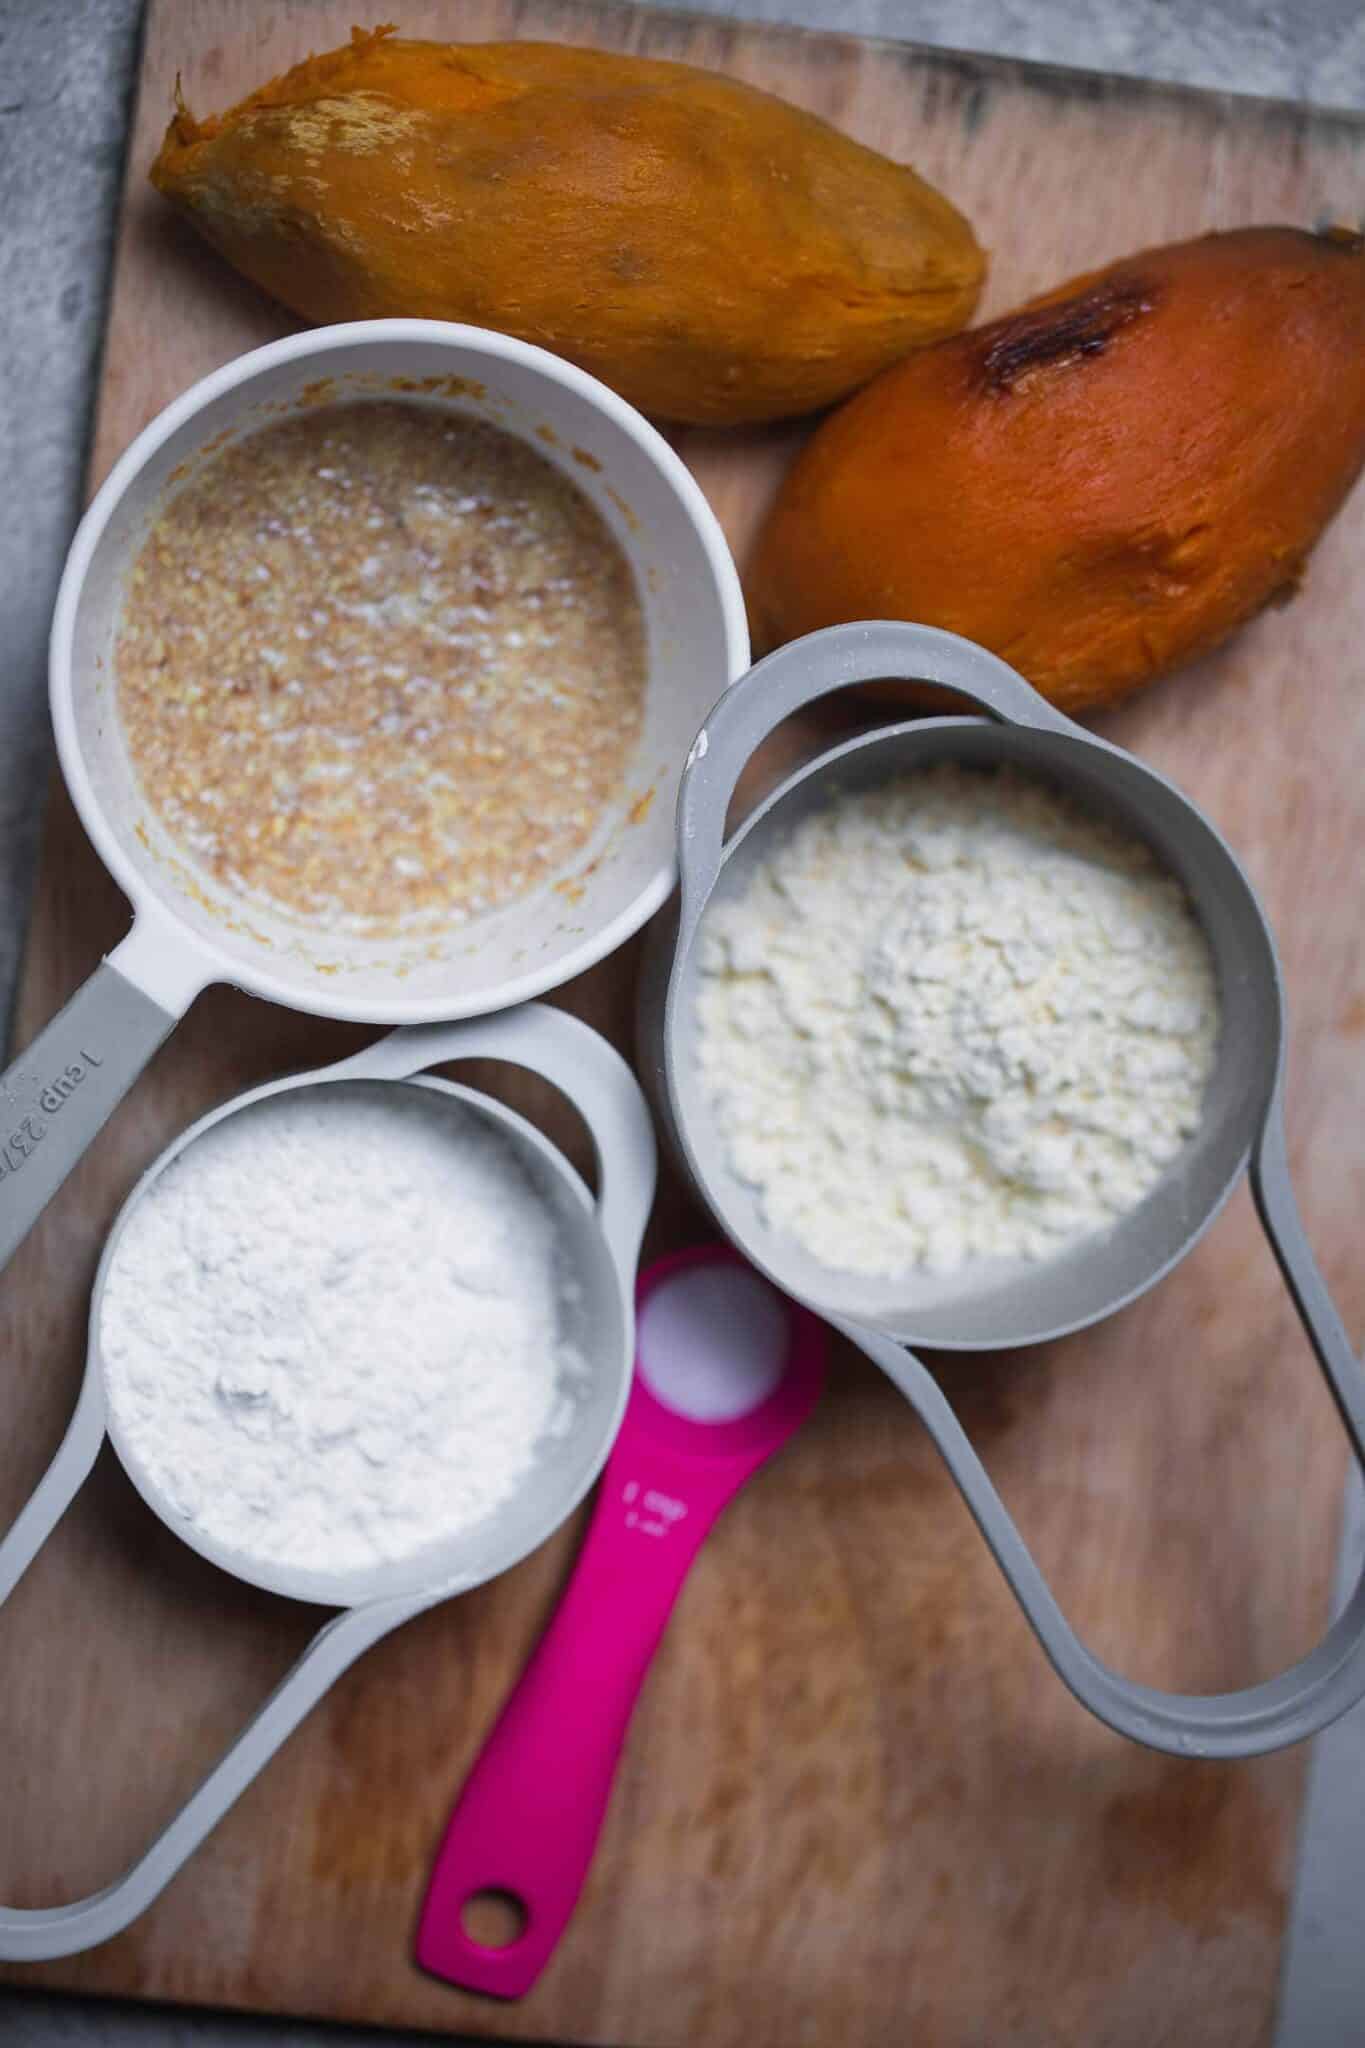
How to Make Sweet Potato Gnocchi
1. Bake the sweet potatoes
Prick the sweet potatoes a few times with a fork and bake them at 400°F (200°C) for 45 to 50 minutes, until they're completely soft and starting to caramelize at the edges. Let them cool until you can handle them comfortably, then peel off the skins.
2. Make the flax egg and mash
While the potatoes cool, stir the ground flaxseed with the water and let it sit for about 10 minutes to thicken. Mash the sweet potato until completely smooth using a masher or, even better, a potato ricer, which gives you the fluffiest, lump-free base.
3. Mix the dough
Add the sea salt and flax egg to the mashed sweet potato and stir well. Mix in the rice flour and tapioca flour, then add the chickpea flour and knead gently just until a soft dough forms. You may need a little more chickpea flour than the recipe lists, depending on how moist your potatoes are, but add it a spoonful at a time. Too much flour makes dense, dry gnocchi.
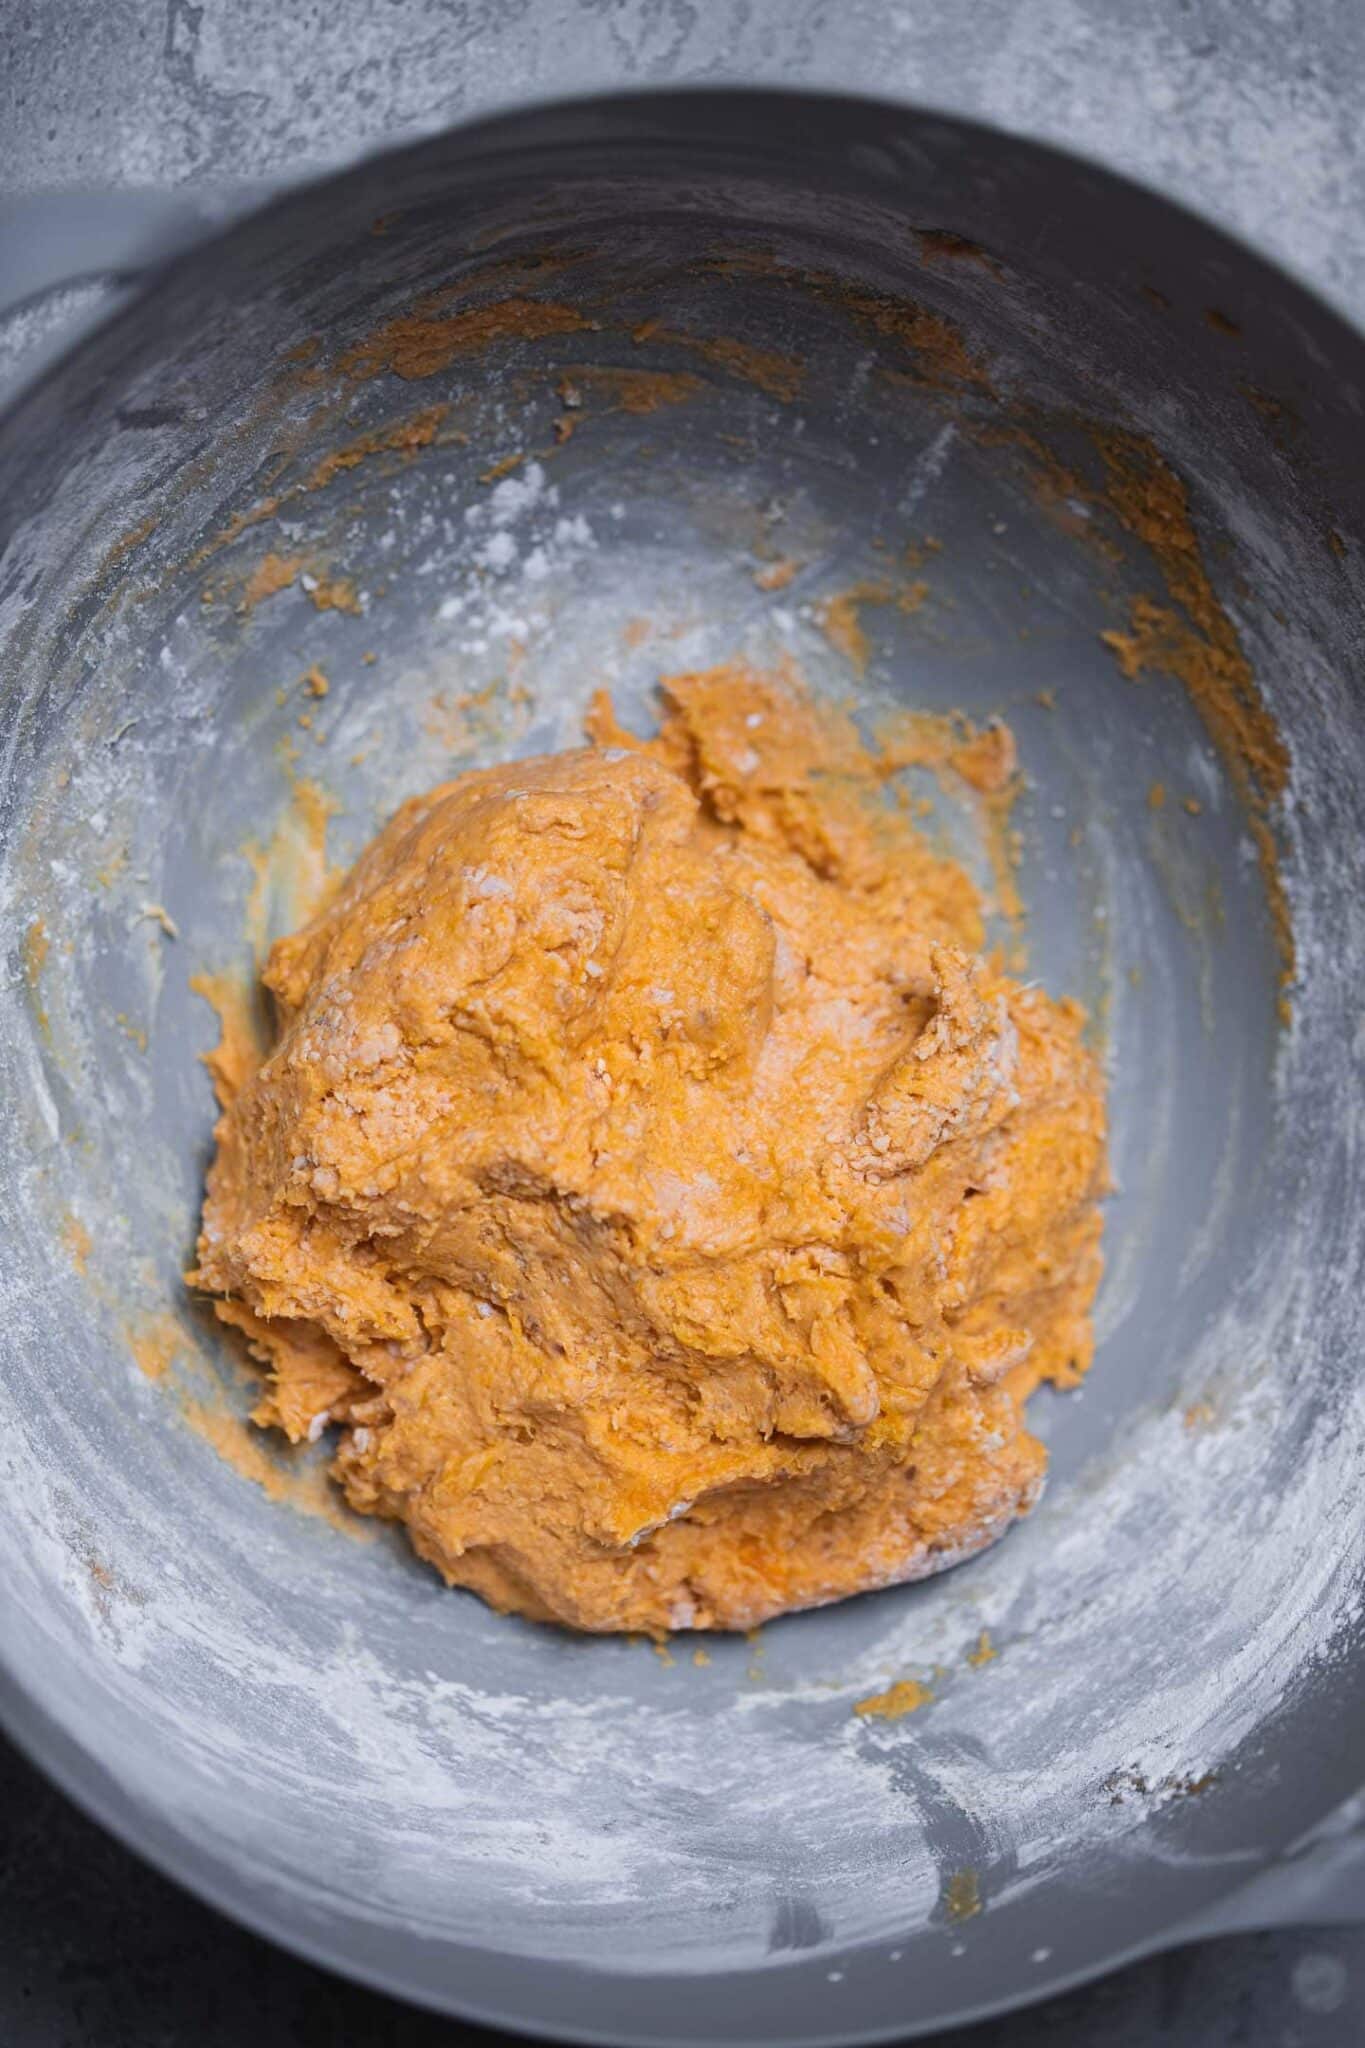

4. Shape the gnocchi
Turn the dough out onto a surface well dusted with rice flour and cut it into quarters. Roll each quarter into a long rope about ¾ inch thick, then cut it into 1-inch pieces. Roll each piece into a little ball, as we did here, or press it gently with a fork for the classic ridged shape.
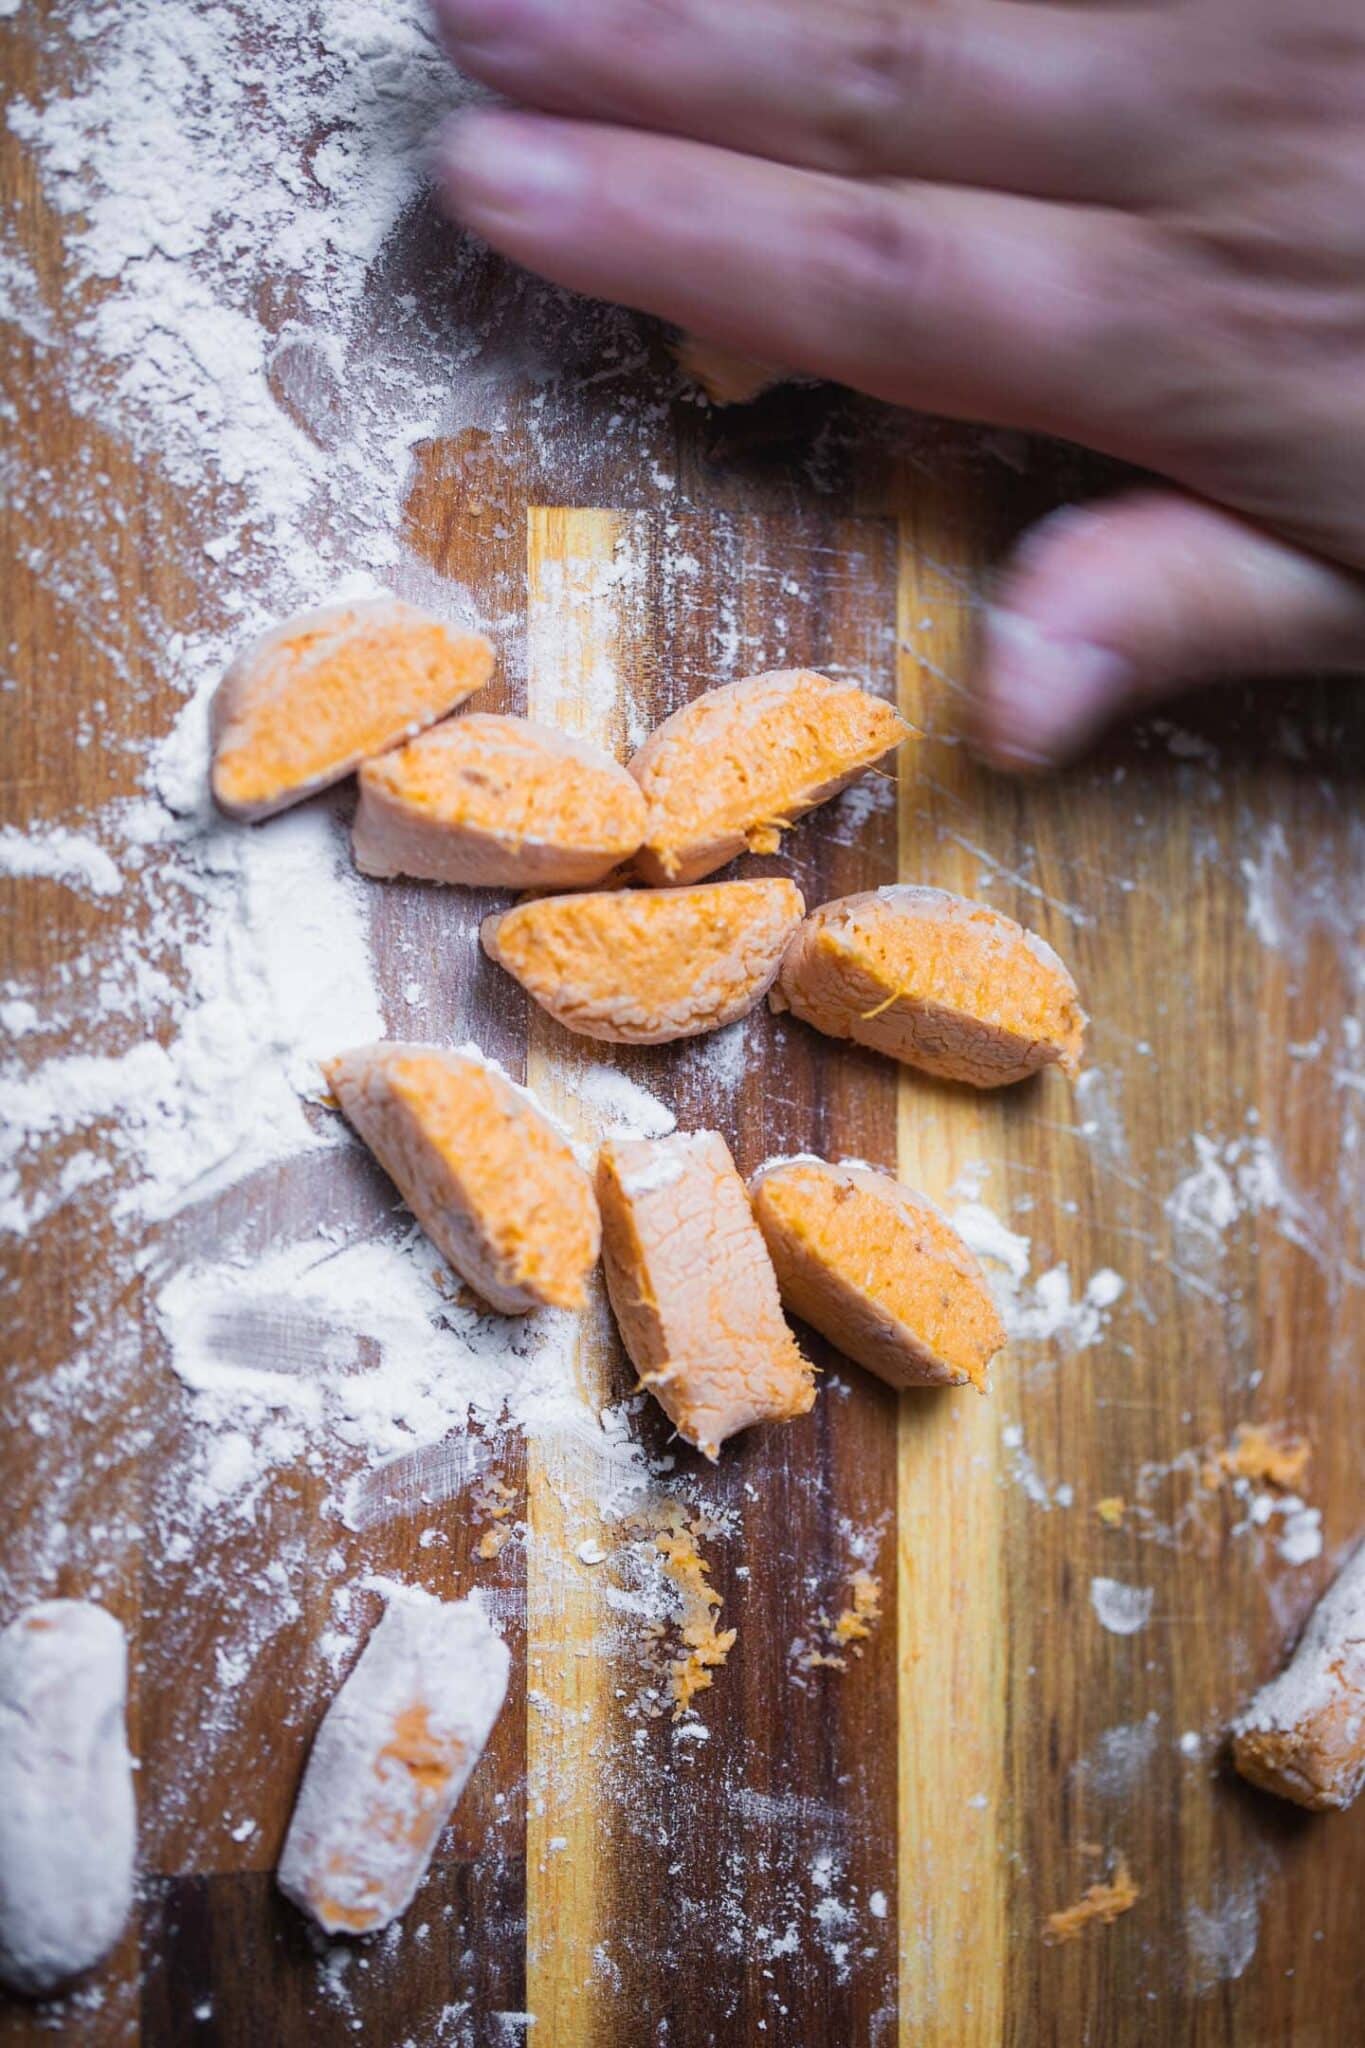

5. Cook the gnocchi
Bring a large pot of salted water to a gentle boil. Add the gnocchi in batches so they aren't crowded and cook for 3 to 5 minutes, until they float to the surface. Lift them out with a slotted spoon and set them aside while you cook the rest.

Helpful Tips
Roast, don't boil. Boiled sweet potatoes soak up water, and wet potatoes need extra flour to form a dough. Roasting drives off moisture, so the gnocchi stay light and tender.
Mash while warm, mix while cool. Warm sweet potato mashes more smoothly, but let it cool to room temperature before adding the flax egg and flours so the dough doesn't turn gummy.
Go easy on the flour. The dough should feel soft and slightly tacky, like play dough, not stiff. Test one gnocchi in the simmering water before shaping the whole batch. If it falls apart, knead in another tablespoon of chickpea flour.
Keep the water gentle. A hard rolling boil can knock soft gluten-free gnocchi apart. Keep it at a lively simmer and stir once, carefully, so nothing sticks to the bottom.
Crisp them up. For golden edges, pan-fry the boiled gnocchi in a little olive oil or vegan butter for 3 to 4 minutes after draining. It's the easiest way to add texture.
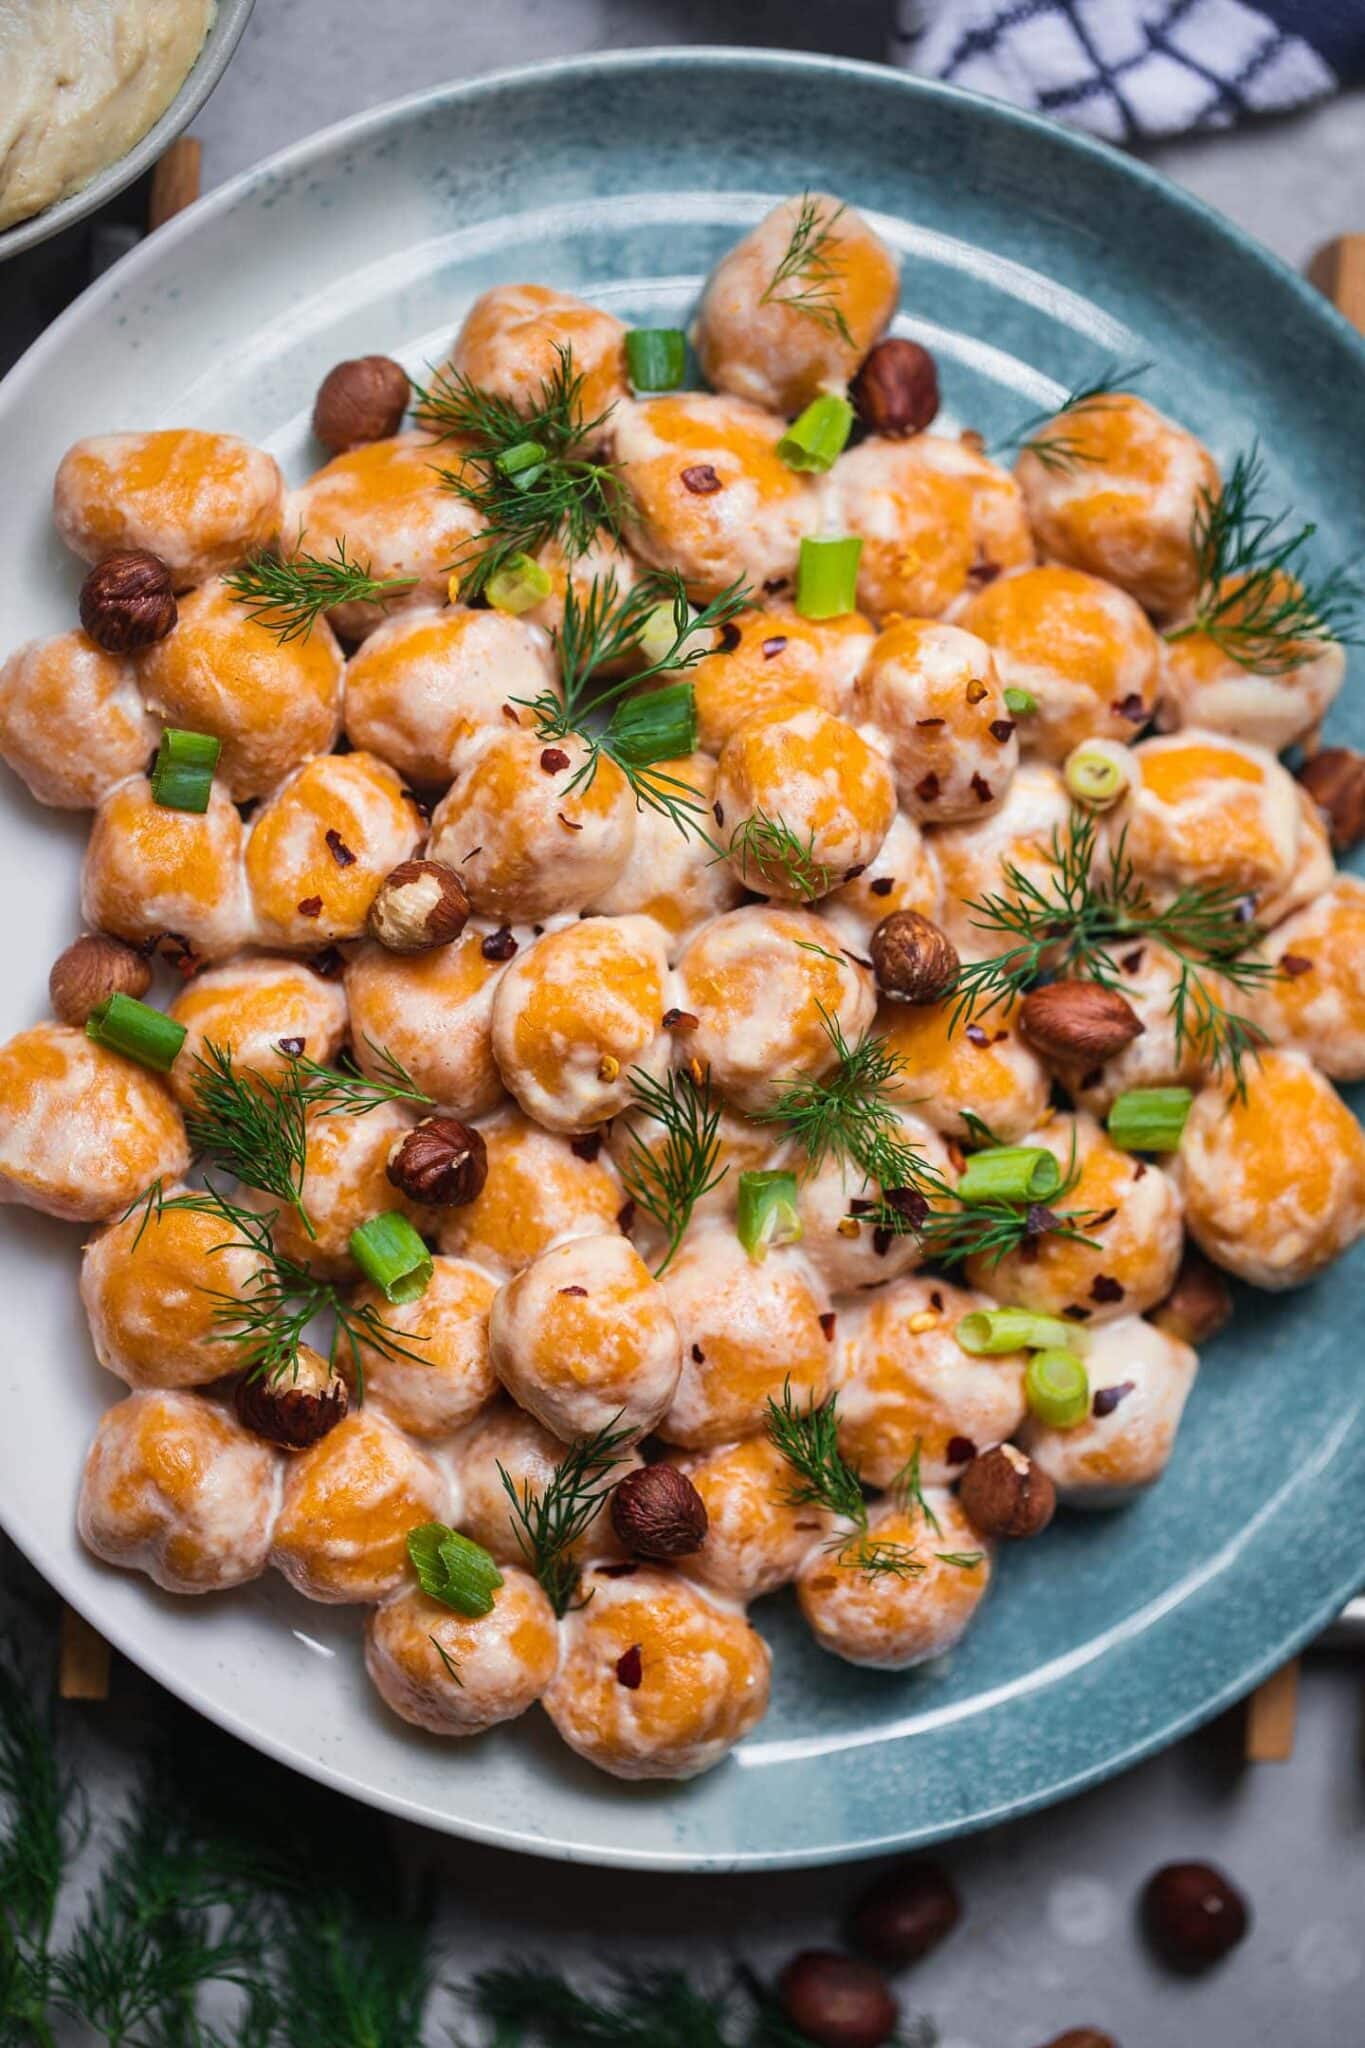
Variations
- Butternut squash gnocchi. Swap the sweet potato for the same weight of roasted, well-drained butternut or kabocha squash. You may need a bit more chickpea flour.
- Herbed gnocchi. Knead 1 to 2 tablespoons of finely chopped fresh sage, thyme or rosemary into the dough.
- Warmly spiced. Add a pinch of nutmeg, smoked paprika or cinnamon to play up the sweet potato.
- Cheesy gnocchi. Mix 2 tablespoons of nutritional yeast into the dry flours for a savory, parmesan-like flavor.
- Classic potato-style. Replace half the sweet potato with a baked russet potato for a milder, more traditional gnocchi.
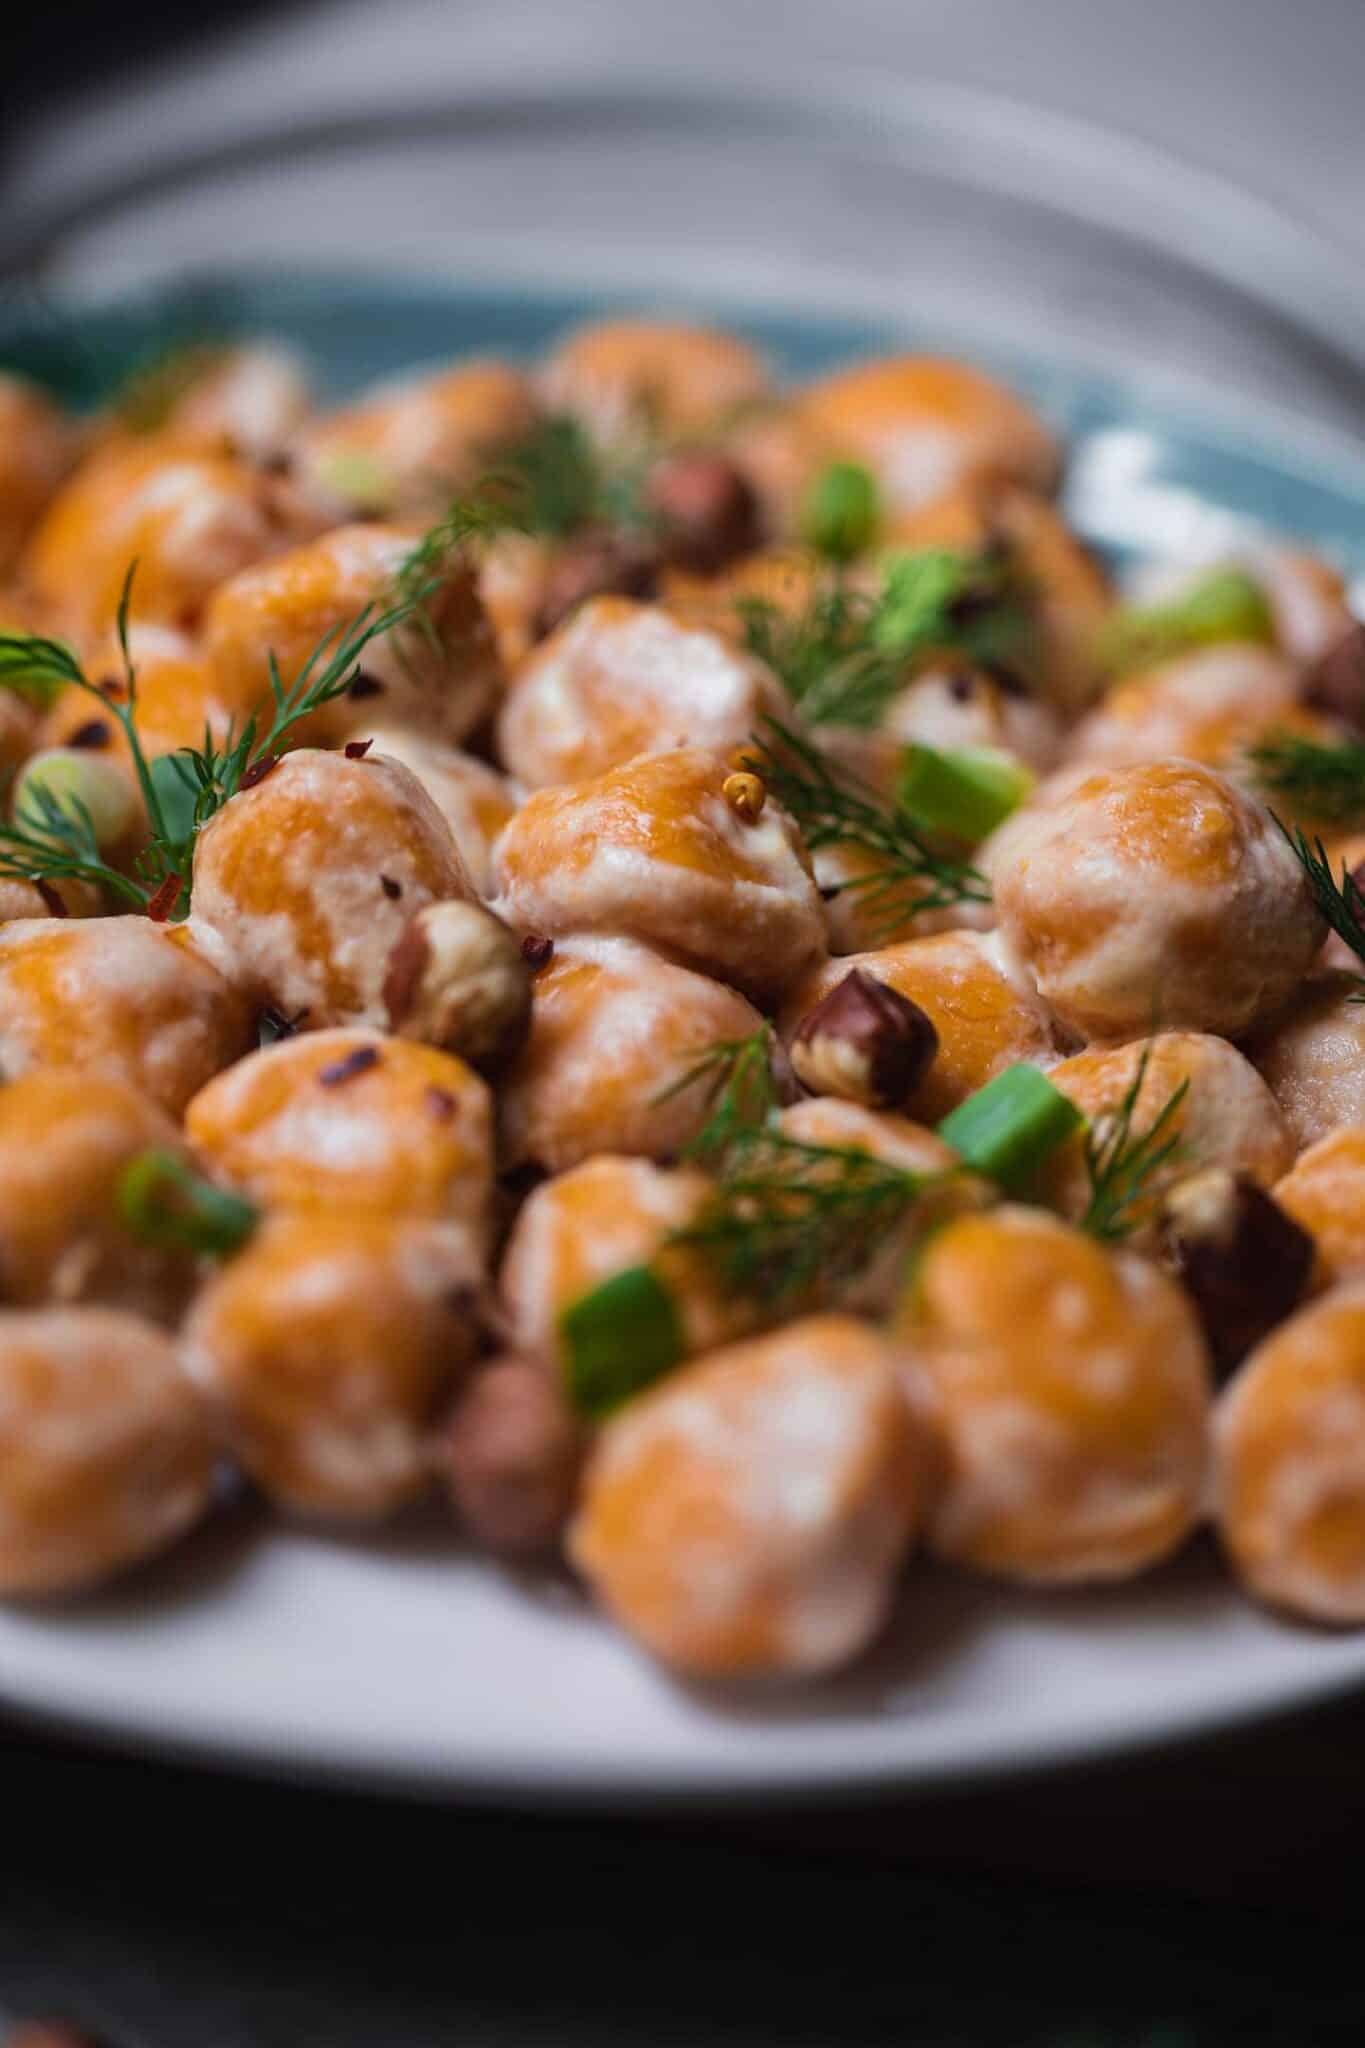
Serving Ideas
Sweet potato gnocchi are wonderful kept simple: toss them in melted vegan butter with fresh sage and a pinch of salt, or crisp them in a skillet and finish with a squeeze of lemon. Here we served them with vegan sour cream, then topped them with fresh dill, sliced green onion, toasted hazelnuts and a few chili flakes for crunch and heat.
For a heartier dinner, spoon them into a bowl of vegan bolognese sauce, toss them with basil pesto (the one from our vegan pesto pasta is perfect), or coat them in a creamy vegan alfredo sauce. A green salad or some roasted broccoli on the side rounds out the meal.
Looking for more ways to use the season's favorite root vegetable? Browse our collection of vegan sweet potato recipes, or our round-up of vegan gluten-free recipes if you're cooking for a gluten-free table.
Storing & Freezing
Store cooked gnocchi in an airtight container in the refrigerator for up to 3 days. Toss them with a little oil first so they don't stick together. Reheat them in a skillet with a splash of oil or vegan butter, which also crisps them nicely, or warm them through in your sauce. Uncooked, shaped gnocchi are best frozen rather than refrigerated, since the dough softens as it sits.
Gnocchi freeze exceptionally well, which makes this a great batch-cooking recipe. Arrange the uncooked, shaped gnocchi on a floured baking sheet so they aren't touching and freeze for 2 to 3 hours, until firm. Transfer them to a freezer bag or container and freeze for up to 3 months. Cook them straight from frozen in gently boiling salted water, adding a minute or two to the cooking time. There's no need to thaw first.
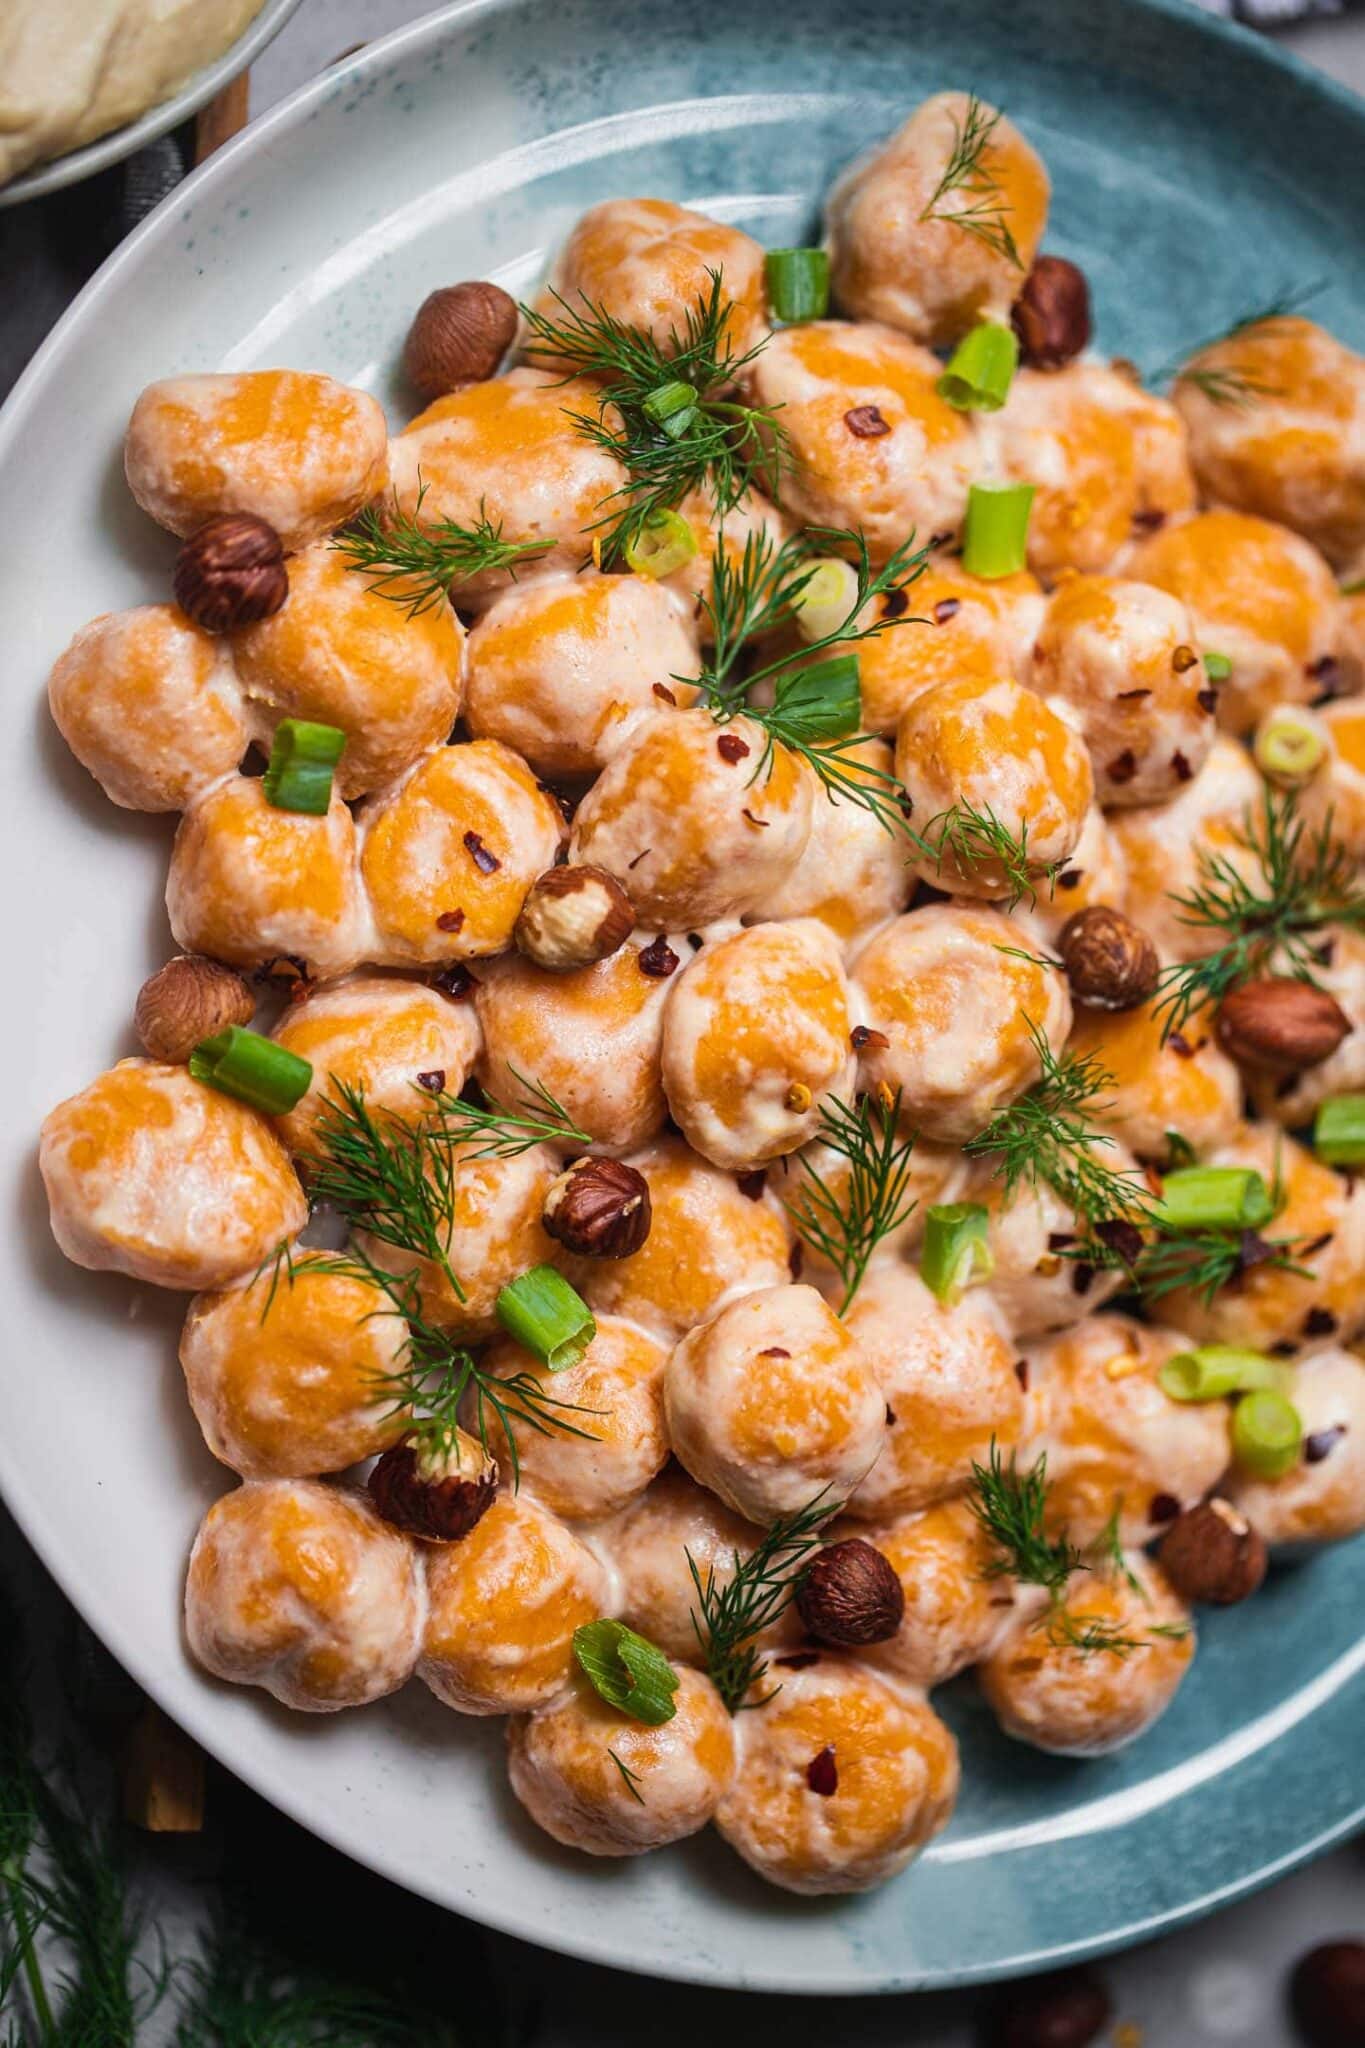
More Vegan Gnocchi & Pasta Recipes
If you loved this recipe, here are a few more you might enjoy:
- Gnocchi with Vegan Sausage and Gravy
- Quick Gnocchi with Beans and Greens
- Vegan Pumpkin Mac and Cheese
- Roasted Butternut Squash and Pasta Casserole
Recipe

Vegan Sweet Potato Gnocchi (gluten free!)
Soft, pillowy vegan sweet potato gnocchi made with roasted sweet potato and gluten-free rice, tapioca and chickpea flours. Egg-free, dairy-free and freezer-friendly, they're perfect with your favorite sauce.
Print
Pin
Save
Servings: servings
Equipment
- Conventional oven
- Mixing bowl
- Potato masher
- Saucepan
Ingredients
- 15 oz sweet potato about 2 medium
- 1 teaspoon sea salt
- 1 tablespoon ground flaxseed
- 3 tablespoon water for the flax egg
- ¾ cup rice flour + 2 tbsp, plus more for dusting
- ¼ cup tapioca flour
- ¼ cup chickpea flour plus more as needed
Instructions
- Preheat the oven to 400°F (200°C). Prick the sweet potatoes a few times with a fork, place them on a lined baking sheet and bake for 45 to 50 minutes, until completely soft and caramelized at the edges.
- While the potatoes cool, stir the ground flaxseed and water together in a small bowl and let it sit for about 10 minutes to thicken. Once the potatoes are cool enough to handle, peel off the skins and mash the flesh in a mixing bowl with a potato ricer or masher until completely smooth. Let it cool to room temperature.
- Add the sea salt and flax egg to the mashed sweet potato and stir well. Mix in the rice flour and tapioca flour until combined.
- Add the chickpea flour and knead gently just until a soft dough forms. If the dough is very sticky, add more chickpea flour a tablespoon at a time, but don't overdo it or the gnocchi will be dry and dense.
- Turn the dough out onto a surface well dusted with rice flour and cut it into quarters. Roll each quarter into a rope about ¾ inch thick and cut it into 1-inch pieces. Roll each piece into a ball, or press gently with a fork for ridges.
- Bring a large saucepan of salted water to a gentle boil. Add the gnocchi in batches so the pot isn't crowded and cook for 3 to 5 minutes, until they float to the surface. Remove with a slotted spoon and repeat with the remaining gnocchi. Serve with your favorite sauce.
Video
Notes
Flour amounts: Sweet potatoes vary in moisture, so add the chickpea flour gradually. The dough should be soft and slightly tacky, not stiff. Test-cook one gnocchi before shaping the whole batch; if it falls apart, knead in another tablespoon of chickpea flour.
Gluten-free: All the flours are naturally gluten-free. For celiac-safe gnocchi, choose flours labeled certified gluten-free.
To freeze: Freeze the uncooked, shaped gnocchi on a floured tray until firm, then transfer to a freezer bag for up to 3 months. Cook from frozen, adding 1 to 2 minutes.
Nutrition (Estimate per Serving)
Calories: 269kcalCarbohydrates: 57gProtein: 6gFat: 2gSaturated Fat: 1gSodium: 645mgPotassium: 465mgFiber: 5gSugar: 5gVitamin A: 15082IUVitamin C: 3mgCalcium: 45mgIron: 1mg
Vegan-ize any recipe!Grab our free vegan cheat sheet, packed with my favorite easy substitutions to make any recipe vegan.
Healthy Pasta with Vegan Alfredo Sauce

If you've been looking for a healthier alfredo pasta sauce recipe (that's also vegan!), here it is. This one, which you can make with either silken tofu or cannellini beans, is mild and creamy, but harbors a fraction of the fat and calories of the traditional cream-based sauce. While the pasta is tasty in an of itself, what totally makes it for me are the veggie toppings, which can be varied each time. This is delicious with a briny salad like Chickpea and Carrot Salad with Parsley and Olives and some tomato wedges. Photos by Hannah Kaminsky. [Read more...]
Luscious Pistachio Smoothie

This smoothie brings back happy memories of eating gobs of pistachio ice cream with my cousins at Jones Beach. Pistachio was always one of my favorite flavors. The texture is smooth and thick like an old-fashioned milk shake. Pistachios contain large amounts of antioxidants, beta-carotene, vitamin E and lutein compared to other nuts. They are also lower in calories than other nuts and are loaded with flavor and healthy fats. Contributed by Helyn Dunn, from Helyn’s Healthy Kitchen.
[Read more...]
Green Smoothie Bowl

This Green Smoothie Bowl will give you the perfect balance between a healthy breakfast that keeps you from snacking between meals and a delicious breakfast that is absolutely tasty!

The idea of a green smoothie is to mix together a variety of greens and super foods to boost the nutrition of the smoothie. A green smoothie allows you to get a head start on your daily intake of fruits and vegetables.
Because the consistency of this smoothie bowl is so thick, you can eat it with a spoon. Don't forget to sprinkle all sorts of ingredients on top to vary the textures and flavors!
This Green Smoothie Bowl recipe is...
- Healthy
- Delicious
- Full of vitamins
- Quick & easy to make
How to Make Green Smoothie Bowl
- The day before, peel, cut, and freeze the banana.
- The next day, peel and cut the avocado. Rinse the spinach leaves.
- Place all the ingredients in the blender.
- Blend the ingredients until smooth.
- Serve the smoothie in a bowl sprinkled with healthy toppings.
Full directions for how to make Green Smoothie Bowl are in the printable recipe card below.
Also worth trying: our chocolate raspberry banana smoothie.
More Smoothie Recipes
- Vegan Chocolate Smoothie Bowl with Cookie Dough Bites
- Raspberry and Tofu Smoothie
- Luscious Pistachio Smoothie
- Peaches & Cream Smoothie Bowl
- Orange Cardamom Beet Smoothie
Recipe

Green Smoothie Bowl
This Green Smoothie Bowl will give you the perfect balance between a healthy breakfast that keeps you from snacking between meals and a delicious breakfast that is absolutely tasty!
Print
Pin
Save
Servings: serving
Ingredients
- 1 banana
- 1 avocado
- 1 handful spinach leaves
- ½ lime
- 1 tablespoon cashew purée
- ¼ cup rice milk
- 1 tablespoon blueberries
- 1 tablespoon raspberries
- 1 tablespoon hemp seeds
Instructions
- The day before, peel the banana, cut it, and place it in the freezer.
- The next day, peel the avocado and cut the flesh into pieces. Rinse the spinach leaves.
- Place the banana, avocado, spinach leaves, lime juice, cashews, and rice milk in the blender jar.
- Blend the ingredients until smooth.
- Serve the smoothie in a bowl and sprinkle with hemp seeds, blueberries, and strawberries.
Nutrition (Estimate per Serving)
Calories: 632kcalCarbohydrates: 63gProtein: 14gFat: 42gSaturated Fat: 6gPolyunsaturated Fat: 10gMonounsaturated Fat: 23gSodium: 64mgPotassium: 1699mgFiber: 20gSugar: 22gVitamin A: 3289IUVitamin C: 54mgCalcium: 106mgIron: 5mg
Vegan-ize any recipe!Grab our free vegan cheat sheet, packed with my favorite easy substitutions to make any recipe vegan.
10 Incredible No-Bake Vegan Pies

Whether fruity, creamy, chocolatey, or nutty, these no-bake vegan pies are sure to please your sweet tooth. They're cool, refreshing, and insanely delicious.
You won't believe how easy it is to pull together one of these no-bake desserts. Let's get started!
Blueberry Cheesecake

Blueberry Cheesecake might just be the best cheesecake you've ever tasted! Rich with nuts and flavored with summer blueberries, you won't believe that this is a raw, vegan dessert. Other than the 20 minutes of prep time, this pie takes about 4 hours of freezing time.
Raspberry Lemon Mousse Tart

Raspberry Lemon Mousse Tart is made with a nut crust of almonds, macadamia nuts, and shredded coconut. This tart is astoundingly light, flavorful, and fresh!
Raw Vegan Orange Creamsicle Ice Cream Cake

Raw Vegan Orange Creamsicle Ice Cream Cake is a summery dessert with everything you love about Creamsicles-but in cake form! While the presentation makes it look like you've been working on this dessert for days, it actually requires very little effort. Best of all, this orange creamsicle ice cream cake is vegan and raw.
Vanilla Pudding Pie Filling

Vanilla Pudding Pie Filling is perfect for a no-bake pie that sets up beautifully and becomes a luscious canvas for fresh fruit. Try it with berries in the summer and apples, pears, or tiny oranges in the fall or spring. Look for agar powder, a seaweed-based gelling agent, at any natural foods store.
Chocolate-Coated Key Lime-Coconut Creme Pie
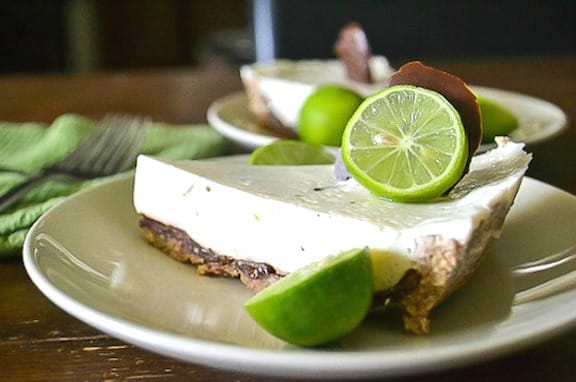
Chocolate-Coated Key Lime-Coconut Creme Pie is a delicious combination of coconut creme and key lime. The tangy lime in this pie has been tamed somewhat. If you want more lime flavor, feel free to up the amount of juice (reducing the other liquids to compensate) or add more lime zest. The hint of chocolate and crunchy toasted coconut and cacao nibs contrast wonderfully with the creaminess of the "custard."
Jamocha Silk Pie

Jamocha Silk Pie blends chocolate with a hint of coffee. This pie is easy and pretty enough to throw together for last-minute company. You can make this pie in about 10 minutes, plus about 30 minutes to firm up in the freezer-if you can wait that long.
Vanilla and Raspberry Vegan Cheesecake

Vanilla and Raspberry Vegan Cheesecake is much lighter and fresher-tasting than a dairy cheesecake-and the cashew topping is a great medium for color and decoration. Even though it looks stunning as a whole cake, we sometimes make individual ones in a silicone muffin tray.
Buckeye Pie
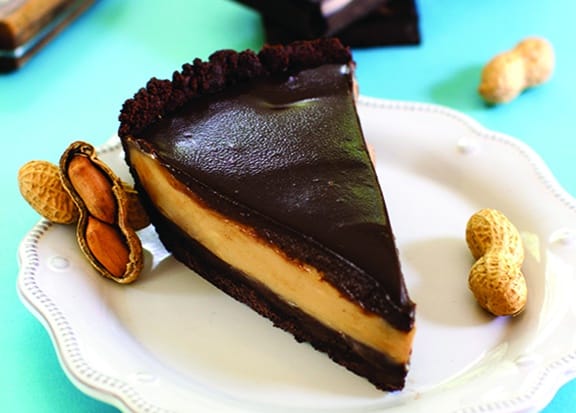
Buckeye Pie features a chocolate crust blanketed by a ganache topping. The silky peanut butter mousse at the center is creamy and luscious. The hardest part of this pie is making the crust (if indeed you're making yours from scratch). So once the crust is baked and ready to go, you're more than halfway done!
No-Bake Vegan Strawberry Pie

Photo: Making Thyme for Heath
No-Bake Vegan Strawberry Pie from Making Thyme for Health is made with vegan gelatin and a gluten-free almond oat crust. Serve your pie with coconut whipped cream for the ultimate spring or summer dessert!
Vegan Banana Coconut Cream Pie

Photo: Plant Craft
Vegan Banana Coconut Cream Pie from Plant Craft is almost completely sweetened by dates and bananas alone. But you would never know it from the taste! The texture is perfect light and creamy-and no one would ever guess it's actually healthy, vegan, and raw.
Looking for more spectacular vegan desserts for a special occasion? Our 25+ Vegan Valentine's Day Desserts collection has 25+ gorgeous recipes perfect for entertaining.
Vanilla and Raspberry Vegan Cheesecake
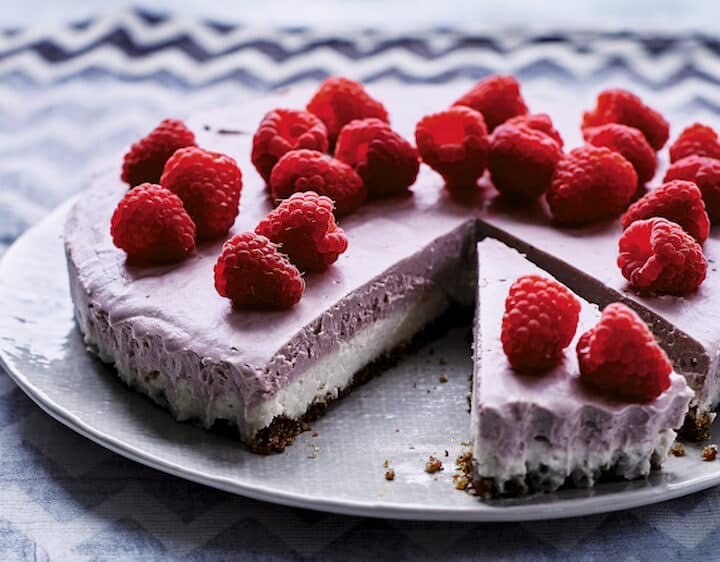
This raw cheesecake is much lighter and fresher-tasting than a dairy cheesecake and the cashew topping is such a good medium for color and decoration. Even though it looks stunning as a whole cake, we sometimes make individual ones in a silicone muffin tray.
It makes a fantastic light dessert, or, with a bit of imaginative decoration it makes a tastefully subtle celebration cake too-with a bit of planning needed for the freezing time. Freeze-dried raspberry powder may seem like a futuristic ingredient, but it is well worth having in your pantry as it has so many uses. Try stirring it into oatmeal and adding to your smoothies.
Recipe and photos from Super Loaves and Simple Treats: Modern Baking for Healthier Living by Melissa Sharp © 2018, Avery Publishing. Reprinted by permission.
Vegan American Cheese Slices

The same classic American cheese taste you grew up with: mild, firm, and satisfying. These creamy golden-hued vegan American cheese slices are perfect sliced on sandwiches and crackers. Recipe and photo from Vegan Cheese: Simple, Delicious Plant-Based Recipes by Jules Aron, ©2017 by Countryman Press, reprinted by permission. [Read more...]
21 Vegan Hot Beverages for Cold Weather

Whether you need to cozy up with a book and a blanket, or you are having a family get together for the holidays, this list of vegan hot beverages for cold weather has everything you need.
[feast_advanced_jump_to]When the days start getting shorter, and the temperatures start to drop, it's nice to have a nice warm mug in your hands. Hot beverages are a large part of that cozy feeling in cold weather.
Many popular coffee house drinks aren't vegan, but you should not have to miss out on these treats when the chill hits the air. That is why I've collected this list of vegan hot beverages for cold weather.
Vegan Hot Chocolate

There is no better place to start a list of hot beverages than hot chocolate. This Vegan Hot Chocolate is extra rich and creamy because of the addition of arrow root. Give this one a try!
Chai Tea Latte

Sometimes chai just hits the spot. The spices that are used for chai are perfect for the fall and holiday season. This recipe tells you how to make a chai concentrate so that you can keep in the refrigerator and have this delicious Chai Tea Latte whenever you want.
Pumpkin Spice Latte

Every autumn, people lose their minds over pumpkin spice everything. For the pumpkin spice-loving vegan, here is a great recipe for a Pumpkin Spice Latte that is karma friendly. For some people, it is not fall until they have their pumpkin spice latte, so welcome to autumn!
Slow Cooker Spiced Cider

No list of hot beverages is complete without a spiced apple cider recipe. This recipe is great because you make it in a slow cooker. That means that this Slow Cooker Spiced Cider is not only easy to make, but it also makes your house smell great while it is cooking.
Peanut Butter Hot Chocolate

Nothing goes together quite as well as chocolate and peanut butter. This warm drinkable hot chocolate with peanut butter in it is decadent and delicious. Peanut Butter Hot Chocolate is a rich beverage, so go easy!
London Fog Latte

The distinct taste of bergamot is what makes Earl Grey tea so great. This London Fog Latte is essentially an Earl Grey vanilla latte. It's a great drink for when it's cold outside and you want to curl up with a good book.
Caramel Macchiato

Caramel Macchiatos is like a dessert in a cup. The vegan caramel sauce is great. With this vegan version, you don't have to miss out on your favorite coffee drink ever again.
Cranberry Mulled Cider

This Cranberry Mulled Cider is a variation on the traditional spiced cider. The addition of cranberry juice makes this a tart little taste of fall. This would be a great beverage for a party or a family get together. You can make it in a slow cooker, which makes it even easier to serve hot.
Peppermint Hot Chocolate

Peppermint is the official taste of the Christmas season. There is nothing better than clutching a hot cup of Peppermint Hot Chocolate when it is snowing outside. Here is a great vegan version that we hope will warm your heart this holiday season.
Peppermint Chocolatte

This Peppermint Chocolatte is the perfect coffee to get you in the holiday spirit. It's a festive blend of rich coffee, hot chocolate, and peppermint syrup-all topped off with whipped cream and crushed peppermints. It's easy, fun, and pretty enough for a party. Plus, it's 100% vegan and dairy-free!
Peppermint Mocha

This Peppermint Mocha is the flavor of the holiday season with the caffeine kick of coffee. Now, when you crave this holiday classic, you can have it in the comfort of your own home. We hope that you enjoy this seasonal favorite!
Apple Cider Vinegar Cinnamon Tea

This Apple Cider Vinegar Cinnamon Tea is great for detoxification or when you are sick. This is like a cinnamon hot toddy, but you trade the alcohol for apple cider vinegar. When the colder months get you under the weather, this is the drink that you need.
Vegan Hot White Chocolate

This is an ingenious way to make Vegan Hot White Chocolate. The recipe uses cocoa butter and a special blend of almonds, cashews, and oats to make the milk. These ingredients absorb the cocoa butter and give the drink its thick and rich body. We hope you enjoy it!
Maple Cinnamon Chamomile Tea Latte

This Maple Cinnamon Chamomile Tea Latte is a delicate tea latte that uses chamomile, maple, and cinnamon for a nice light flavor. It's great for dunking cookies too.
Vegan "Bulletproof" Coffee

For those who are vegan and want to try the ketogenic diet, this Vegan "Bulletproof" Coffee is a perfect breakfast. The recipe calls for sugar (which is decidedly not keto), but you could use another sugar substitute instead. The recipe only includes coffee and coconut oil, but for those that like cream in their coffee try coconut milk. When you combine this coffee drink in the blender, it will have a nice frothy top like a latte!
Tomato Tea

This Tomato Tea is somewhere between a tomato soup and a warm bloody mary. It is intended to help fight colds, but it would be a great beverage on a cold day as well.
Gingerbread Hot Chocolate

This is a hot chocolate recipe with the spices of gingerbread. Gingerbread Hot Chocolate is a rich beverage that's perfect for those chilly nights during the holidays. This would be a perfect accompaniment for vegan ginger cookies.
Matcha Latte

This is a simple green tea Matcha Latte. You can blend it in a blender with a little coconut oil to get a nice frothy top. This latte is a great way to warm up, and it's also loaded with antioxidants.
Ginger Turmeric Tea

This is a great and simple tea for those who associate pain with the onset of colder weather. This Ginger Turmeric Tea is loaded with good stuff that will help reduce inflammation. We hope that this tea soothes your pain and your soul this fall.
Vegan Chia Horchata

Horchata is the seasoned drink of Latin origin. The traditional recipe uses nuts or rice in the drink, so it is an easy beverage to make vegan. This recipe is basically warm seasoned vanilla almond milk with chia seeds instead of rice. This Vegan Chia Horchata is a very comforting and filling drink.
Golden Milk Latte

Golden Milk Latte is another great warm drink for the person that has pain due to cold weather. This is vanilla almond milk infused with Turmeric, ginger, cinnamon, and just a pinch of black pepper (to help the body use the curcumin in the turmeric better). This is a delicious and healthy drink that will really warm you up this fall and winter!
For even more delicious winter beverage options go check out these belly-warming fall coffee drinks.
Vegan Sweet Potato Pie


Vegan sweet potato pie, made with silken tofu, sets up beautifully when baked. The cheering color makes it perfect for fall or winter occasions. Pie crust sizes vary, so if excess filling remains after pouring into the crust, fill a ramekin or two, and bake at the same time as the pie to make mini-puddings. Photos: Hannah Kaminsky. [Read more...]